
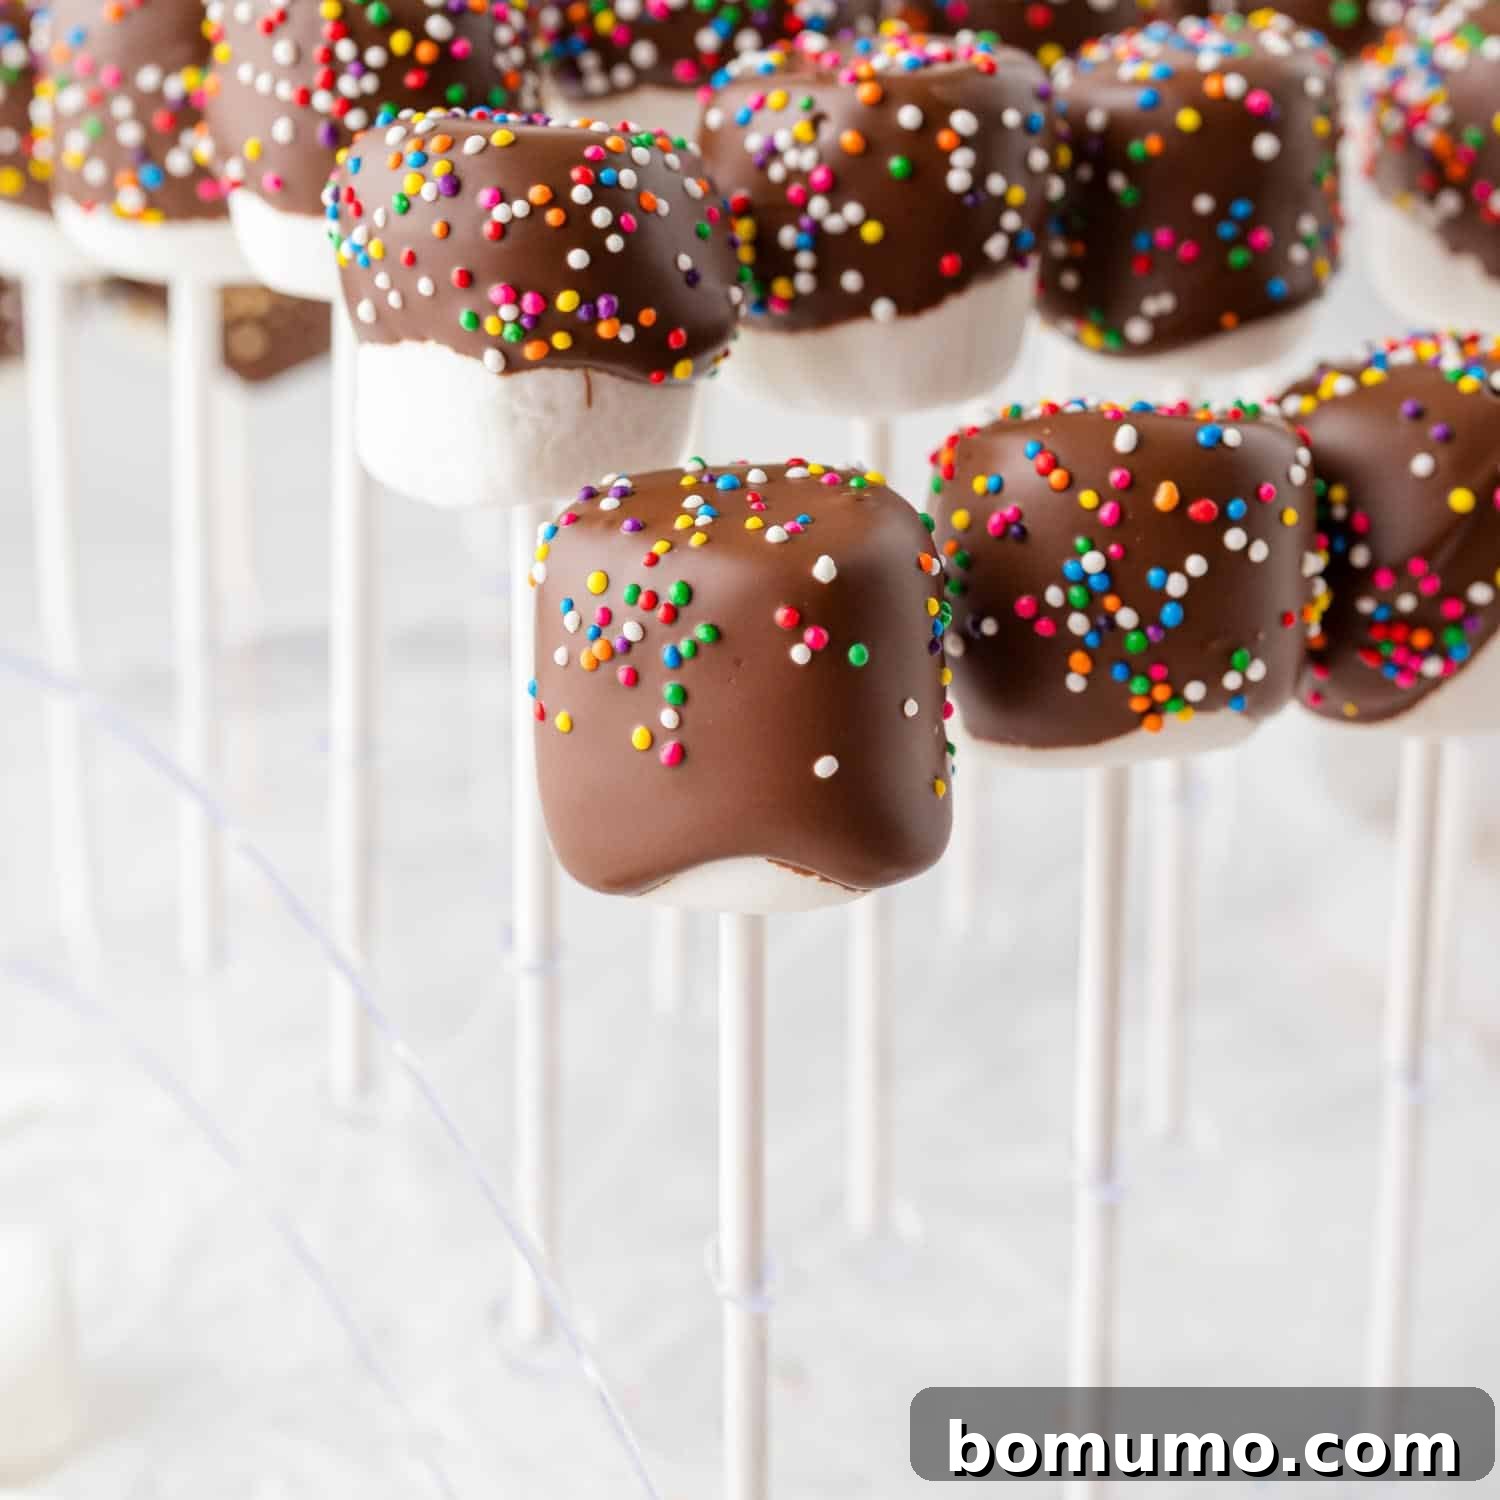
Recipe Overview: Delicious Chocolate Covered Marshmallows
Why You’ll Love This Recipe: Prepare to fall in love with these chocolate covered marshmallows! They are the quintessential easy, last-minute treat for any celebration, from birthdays to holiday gatherings. Both children and adults are enchanted by their simple charm and delightful taste, making them incredibly fun and stress-free to prepare. With endless customization possibilities, these treats offer a nostalgic appeal that brings smiles to every face.
Preparation Time: Approximately 15 minutes of active hands-on work.
Essential Equipment: You’ll need lollipop sticks for easy handling. While optional, a styrofoam block or a cake pop stand can be incredibly helpful for holding the pops upright as they set, ensuring a perfect finish.
Yields: This recipe generously makes about 5 dozen (60) delicious chocolate covered marshmallow pops, perfect for sharing or a large party.
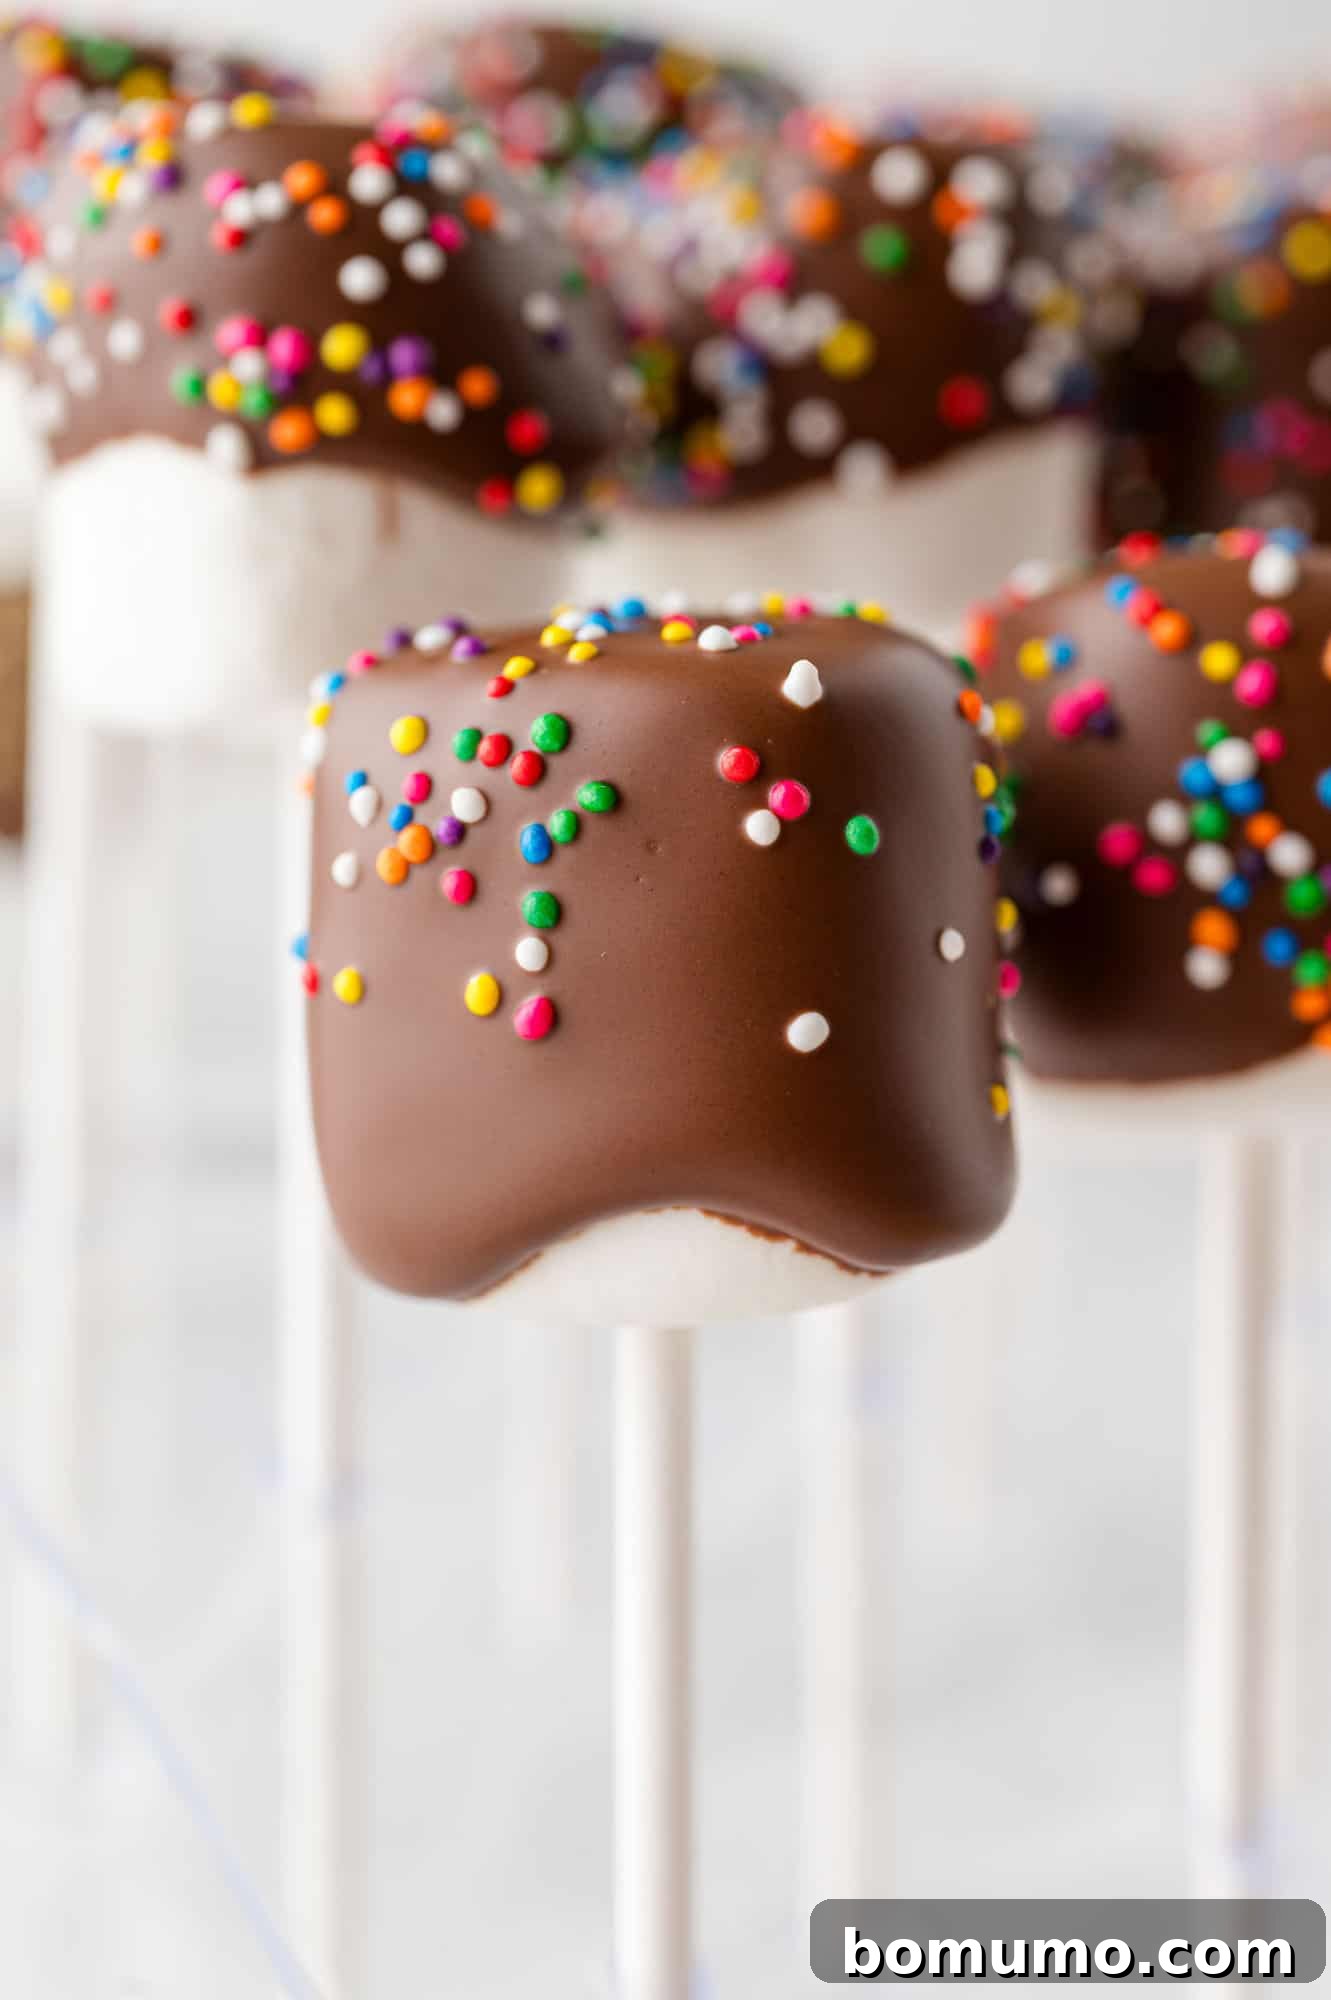
If you’re ever in a bind for a quick, charming party favor or a delightful holiday treat, look no further! This recipe for chocolate covered marshmallows is your ultimate solution. It truly doesn’t get much simpler, more satisfying, or more universally loved than this delightful dessert. For those who adore uncomplicated sweets that deliver maximum impact, these treats are a dream come true.
Forget the fuss and extensive time commitment often associated with elaborate desserts like cake pops. These chocolate covered marshmallow pops offer all the fun and appeal with significantly less effort and a much faster preparation time. Kids, in particular, will be just as thrilled, if not more, by these charming creations. Imagine large, fluffy marshmallows, delicately skewered onto lollipop sticks, then generously dipped into rich, melted chocolate and adorned with your favorite decorations. The potential for creativity is boundless, making them not just a treat to eat, but a joy to make. Plus, it’s a fantastic opportunity to get the kids involved in the kitchen – just be prepared for a little happy mess!
Why These Chocolate Covered Marshmallows Are Your Next Go-To Treat
There are countless reasons to adore these simple yet sophisticated chocolate covered marshmallow pops. From their effortless preparation to their customizable charm, they hit all the right notes for a memorable dessert.
- A Fantastic Family Activity: Making these marshmallow pops is a wonderful way to spend quality time together. It’s also an ingenious idea for DIY party favors! Set up a decorating station at a birthday party and let children personalize their own chocolate covered marshmallow pops to take home. They’ll love choosing their favorite sprinkles, candies, and toppings, turning dessert into an interactive craft.
- Gourmet Appeal Without the High Cost: Have you ever seen beautifully decorated marshmallows in specialty candy stores or bakeries, complete with a hefty price tag? Once you discover how incredibly easy and affordable it is to create them at home, you’ll never consider buying them again. Achieve that sophisticated, gourmet look for a fraction of the cost.
- No Baking or Advanced Decorating Skills Needed: If you find traditional baking challenging, or if piping intricate rosettes isn’t quite your forte, you’re going to absolutely adore these marshmallow treats. There’s no oven involved, no complex techniques, just simple dipping and decorating. They are remarkably easy to assemble, consistently delicious, and always impress with minimal effort. They are the perfect solution for anyone needing a delightful treat without the stress of baking.
- Infinitely Customizable for Any Occasion: Whether it’s a vibrant birthday party, a festive holiday gathering, or a themed event, these marshmallow pops can be tailored to fit any aesthetic. Change your chocolate type, sprinkles, or toppings to match colors, themes, or flavors, making them incredibly versatile.
- Nostalgic Comfort Food with a Twist: Marshmallows and chocolate are a classic combination, evoking childhood memories of s’mores and hot cocoa. This recipe elevates that nostalgic comfort into an elegant, easy-to-serve treat that appeals to all ages.
Quick Tip: Lollipop Stick Alternatives
If you don’t have lollipop sticks on hand, don’t worry! You can easily use regular toothpicks to dip the marshmallows. After dipping and decorating, carefully lay them on parchment paper to solidify. Once the chocolate is firm, you can remove the toothpicks, leaving a clean, delightful treat.
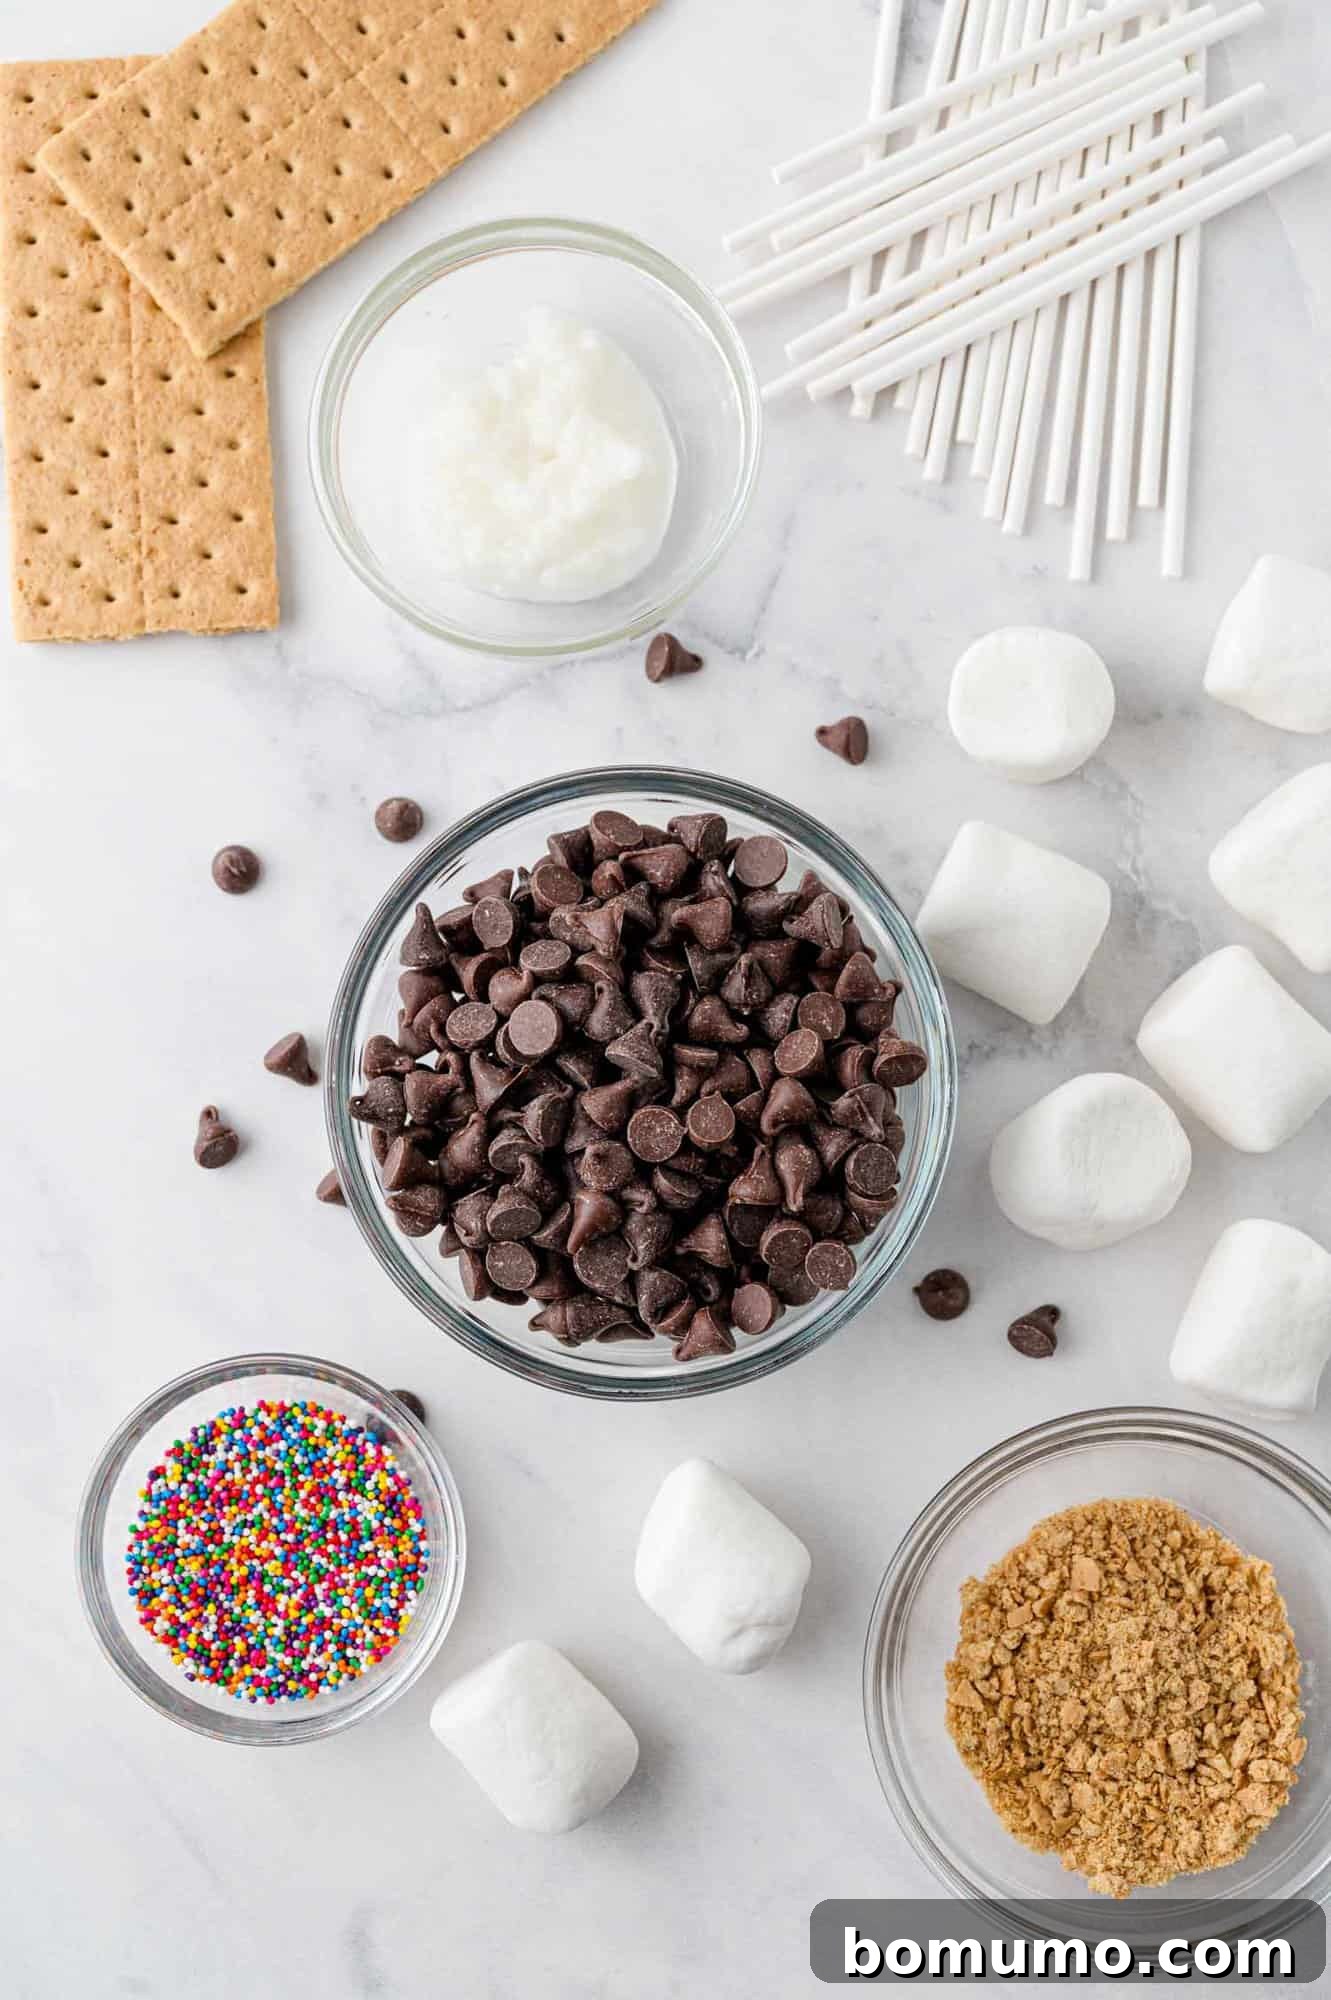
Essential Ingredients for Perfect Chocolate Covered Marshmallows
Crafting these delightful treats requires just a few simple ingredients, easily found at any grocery store. The beauty lies in their simplicity, allowing the quality of each component to shine. (You’ll find precise measurements and full instructions on the recipe card below in a printable format).
- Chocolate Chips or Candy Melts: This is the foundation of your treat. You have the freedom to choose your favorite flavor: classic milk chocolate for a sweet, creamy taste, rich dark chocolate for a more intense cocoa experience, or versatile white chocolate, which can also be tinted with food coloring for themed events. Candy melts are another excellent option, known for their smooth consistency and vibrant colors, making them ideal for dipping and achieving a professional finish.
- Shortening or Coconut Oil: A small amount of either shortening or coconut oil is crucial for achieving the perfect dipping consistency for your chocolate. It helps to thin out the melted chocolate slightly, making it smoother and easier to work with, ensuring an even, glossy coat on your marshmallows. This is similar to how a two-ingredient chocolate magic shell works, using chocolate and coconut oil to create a quick-hardening coating.
- Large Marshmallows: While gourmet flavored marshmallows would certainly add an interesting twist, they are entirely unnecessary. A standard bag of everyday large marshmallows from your local grocery store, the kind you’d use for classic s’mores, works perfectly. Their fluffy texture and mild sweetness are ideal for this recipe.
- Lollipop Sticks: These are indispensable for transforming your chocolate covered marshmallows into easy-to-handle “pops.” They provide a convenient handle for dipping and for enjoying the finished treat. Look for them in the baking or craft section of your store.
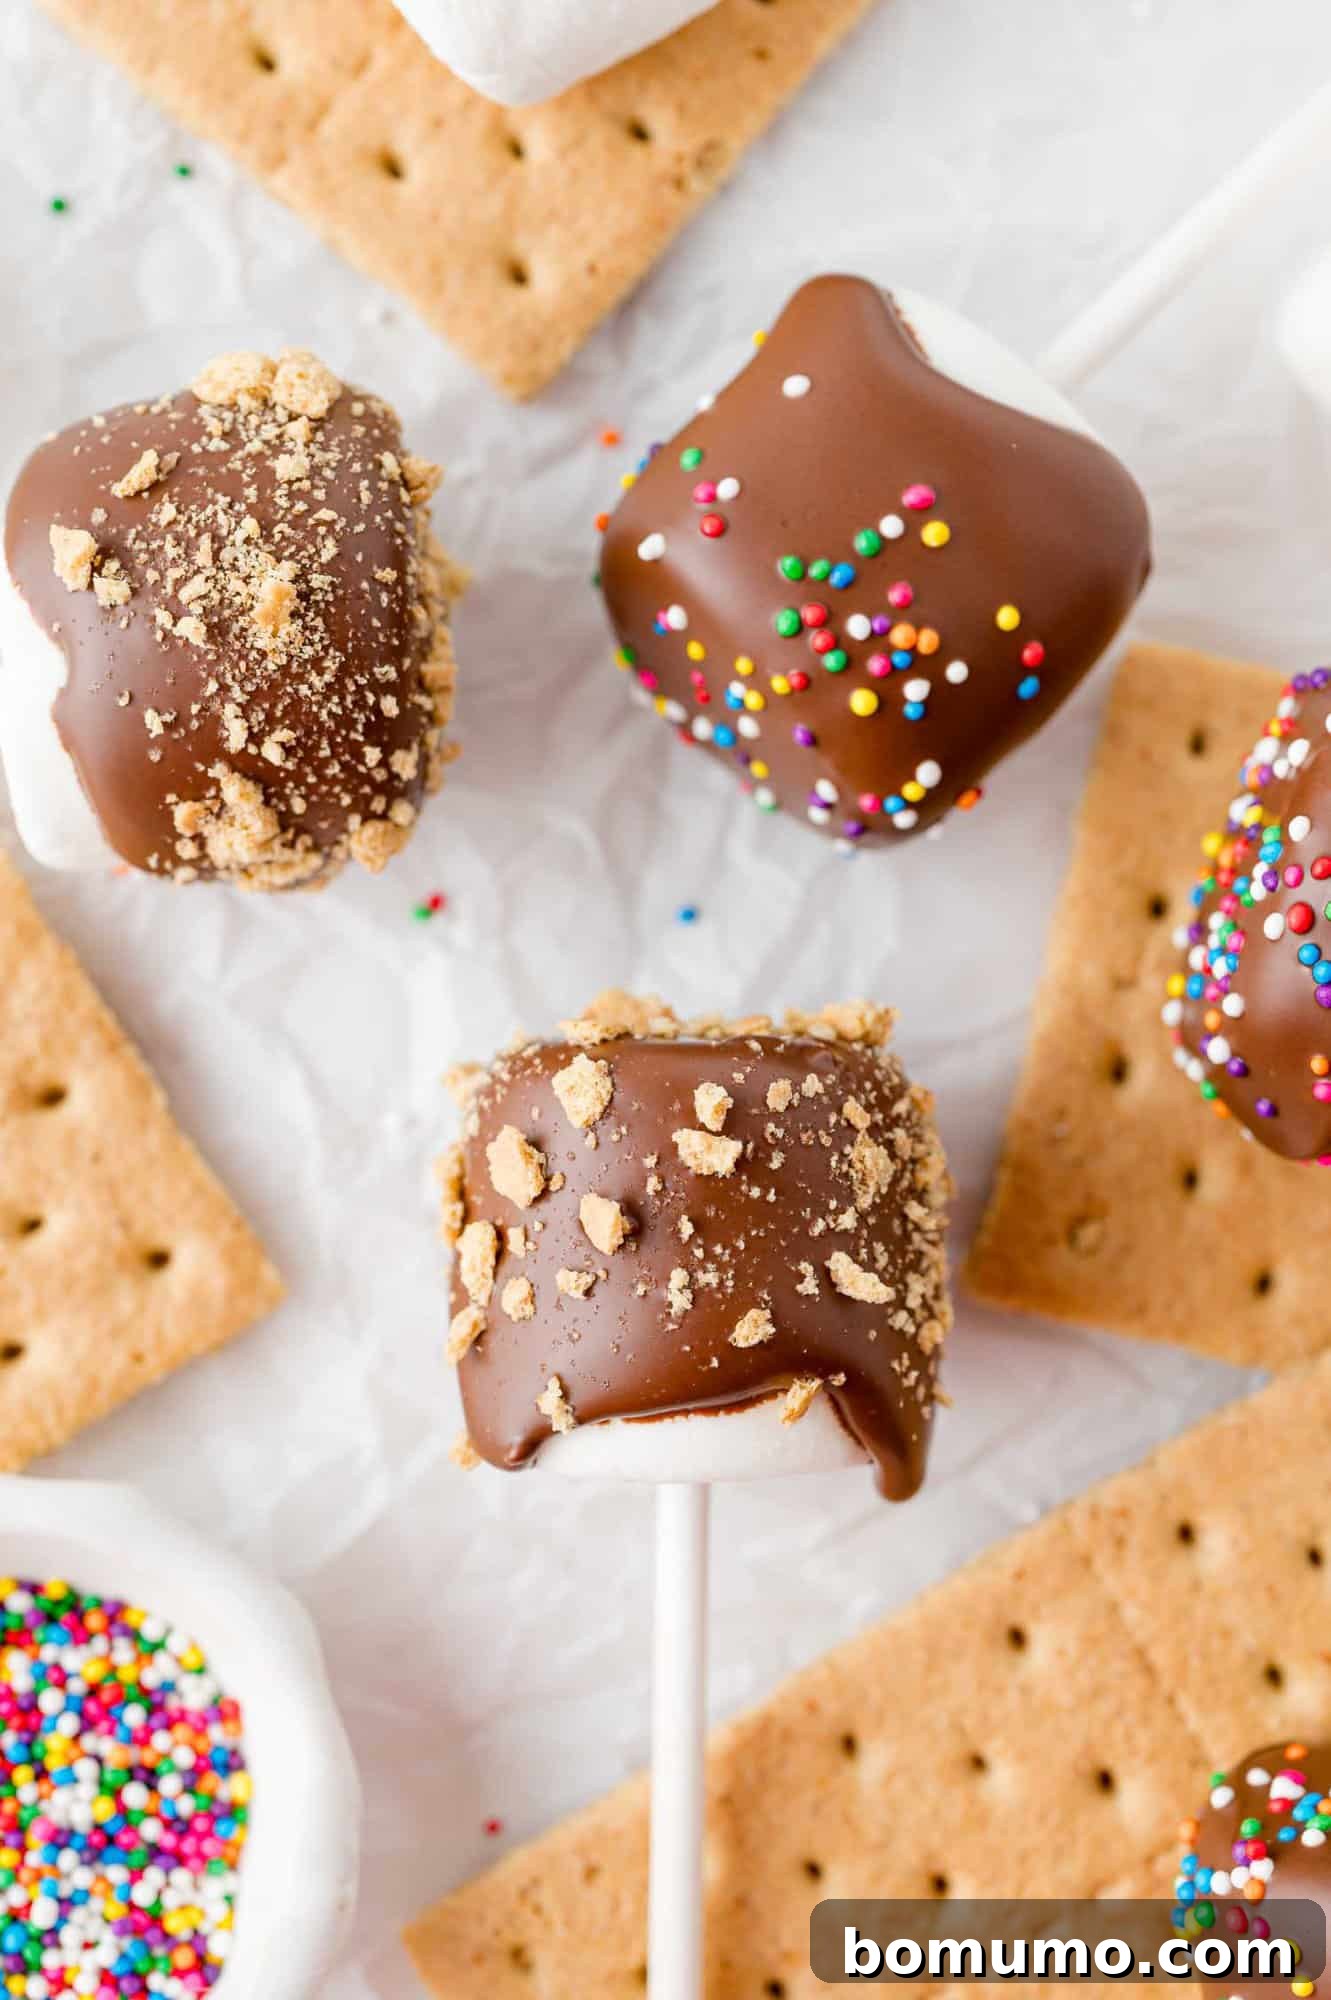
- Decorations: This is where the real fun begins and your creativity can truly flourish! We love using classic sprinkles for a festive look, finely crushed graham crackers for a s’mores-inspired touch, or chopped nuts for added texture and flavor. However, the possibilities are limitless!
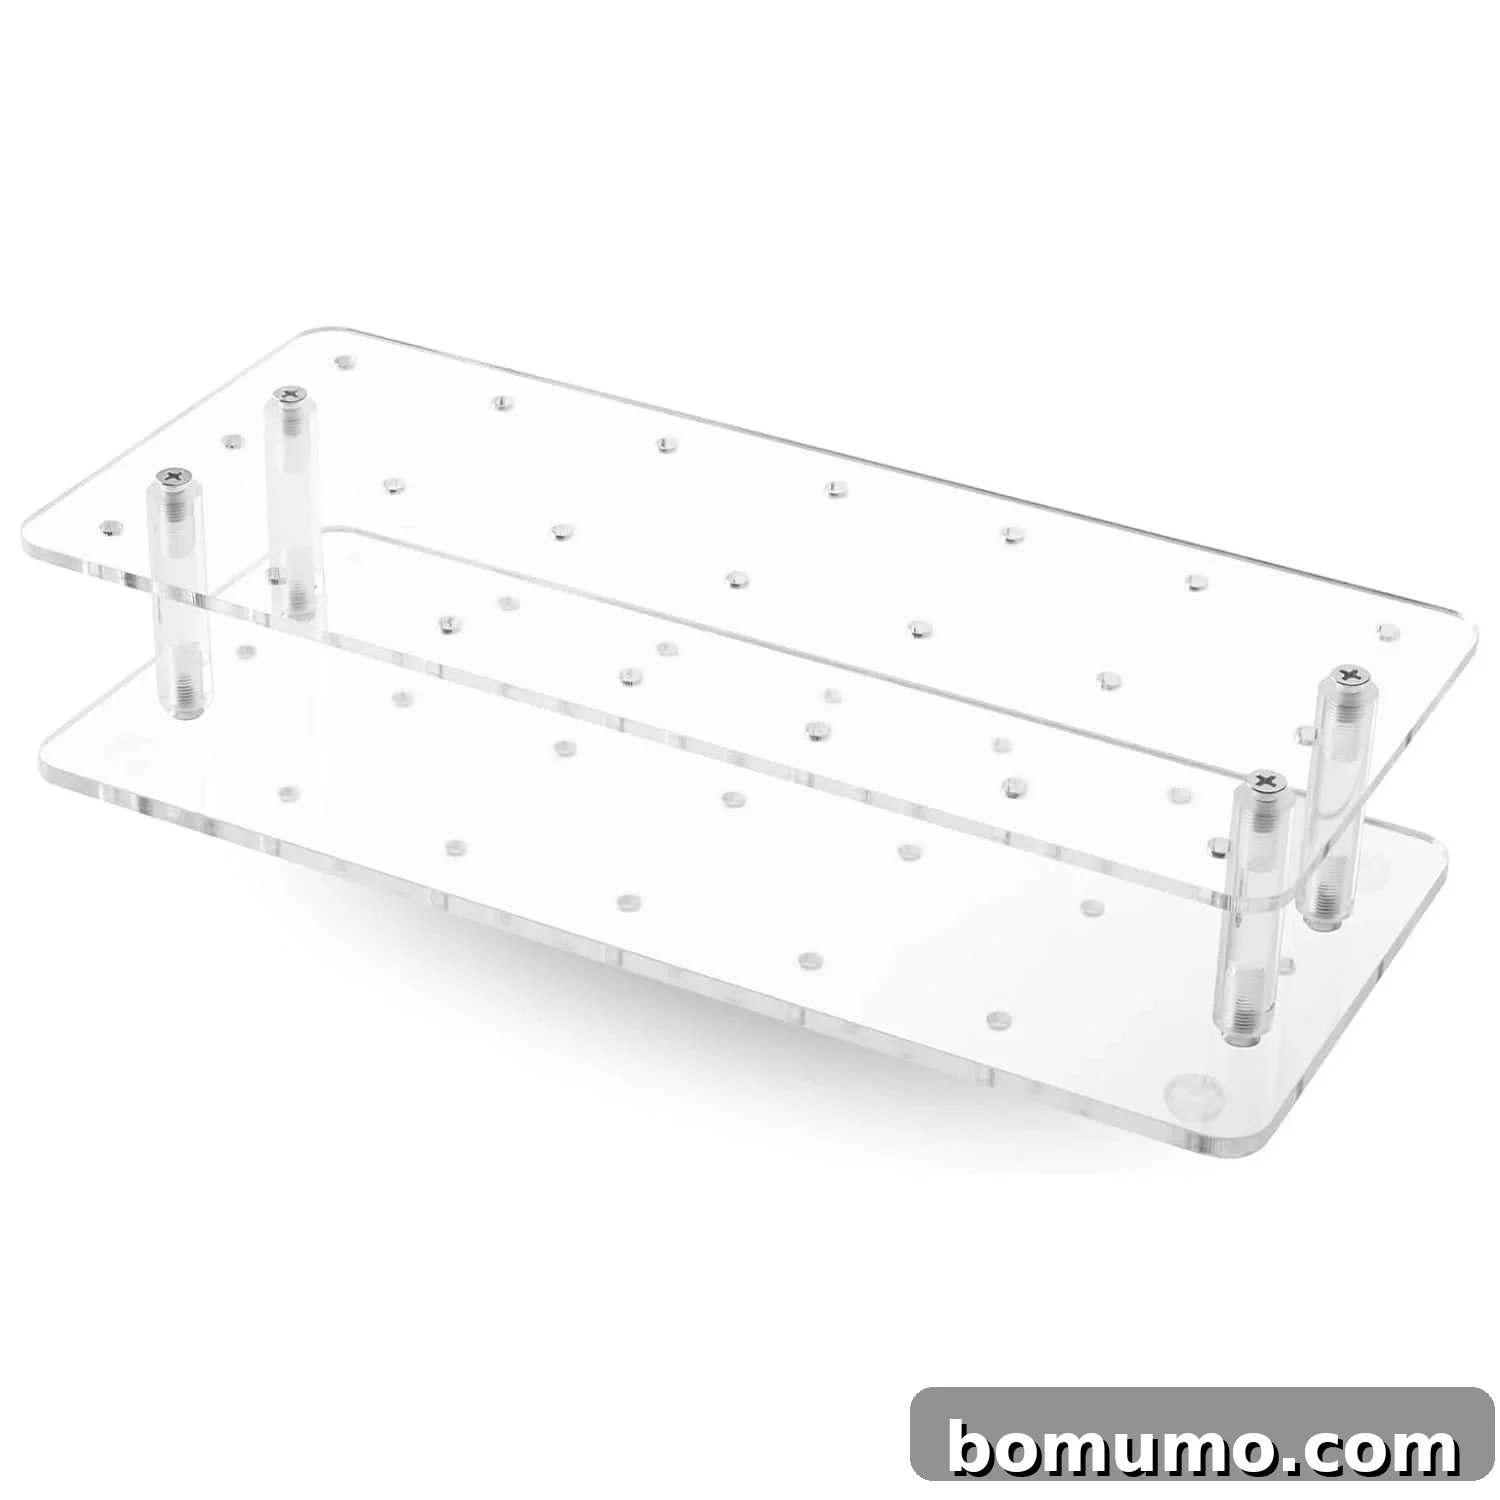
Handy Cake Pop Stand
Even if you’re not making cake pops, a versatile cake pop stand is an incredibly useful tool for various treats like these marshmallow pops. It keeps them upright while the chocolate sets, preventing flat sides and messy surfaces. I also find mine indispensable for making adorable snowman Oreo pops and other stick-based desserts!
Step-by-Step Guide: Crafting Your Own Chocolate Covered Marshmallows
Making chocolate covered marshmallows is a straightforward and rewarding process. Follow these simple steps for perfectly coated and decorated treats every time.
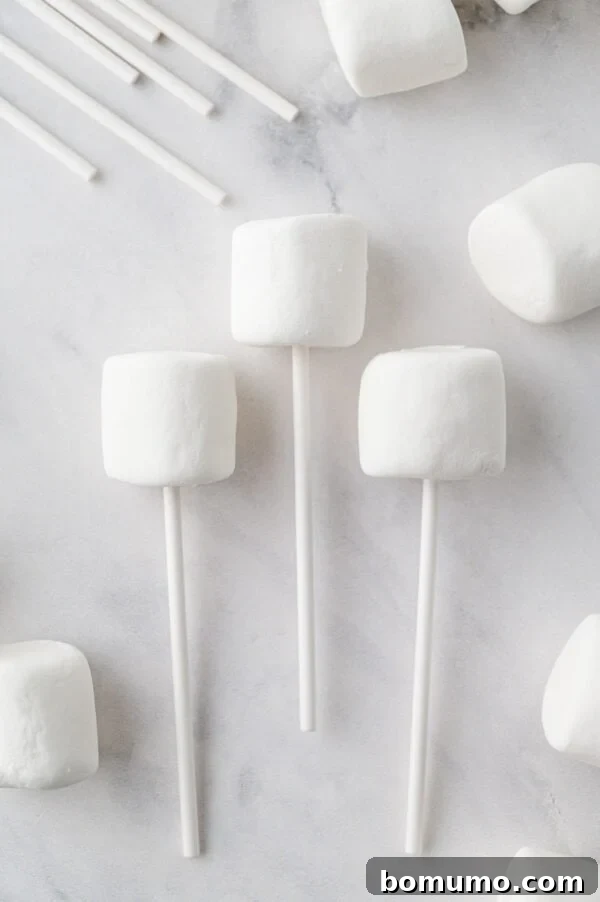
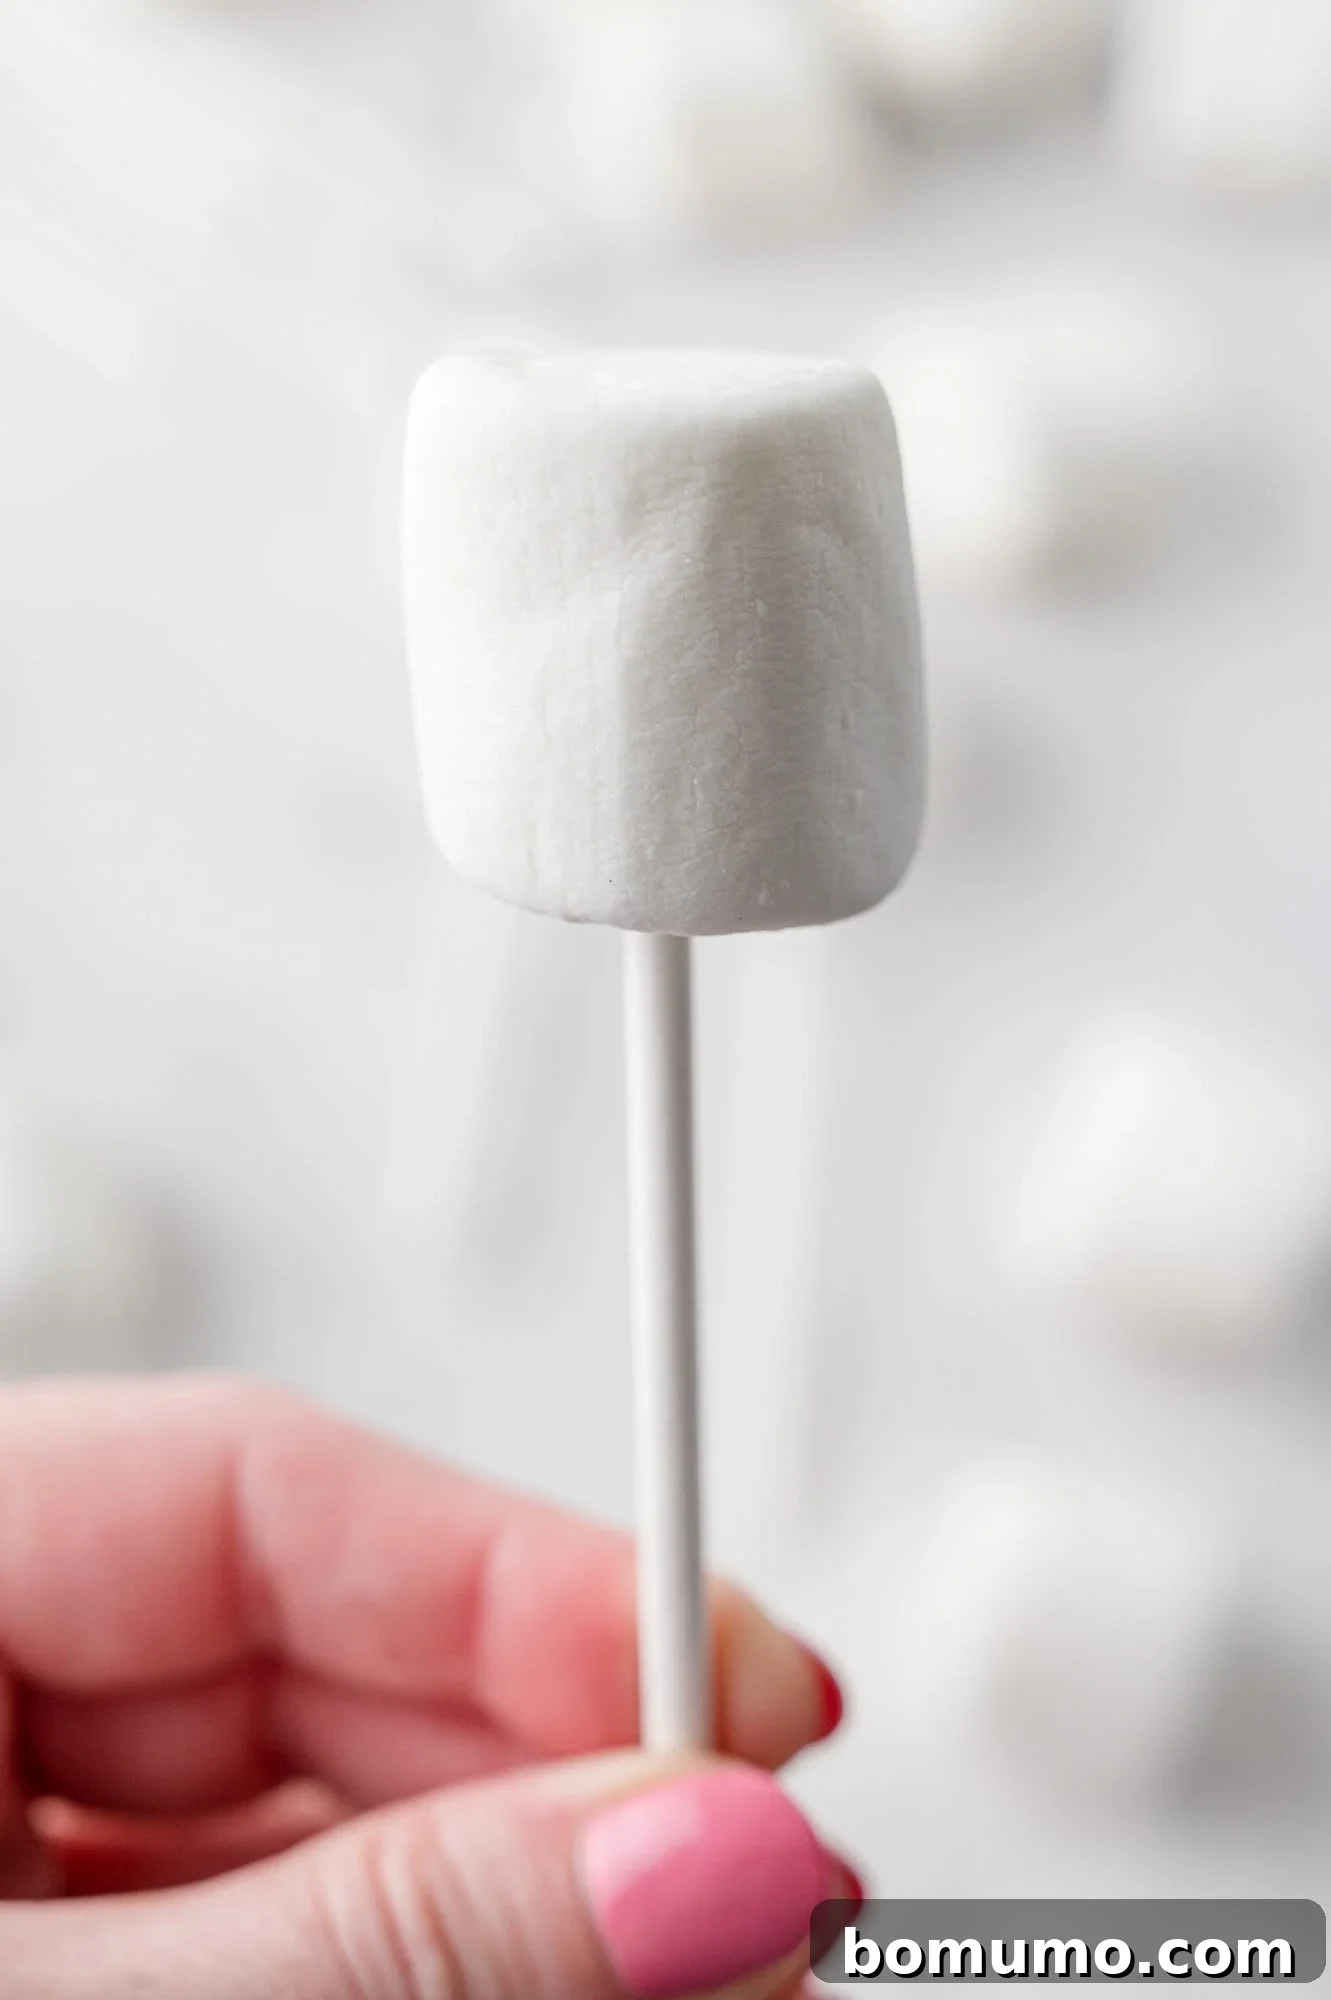
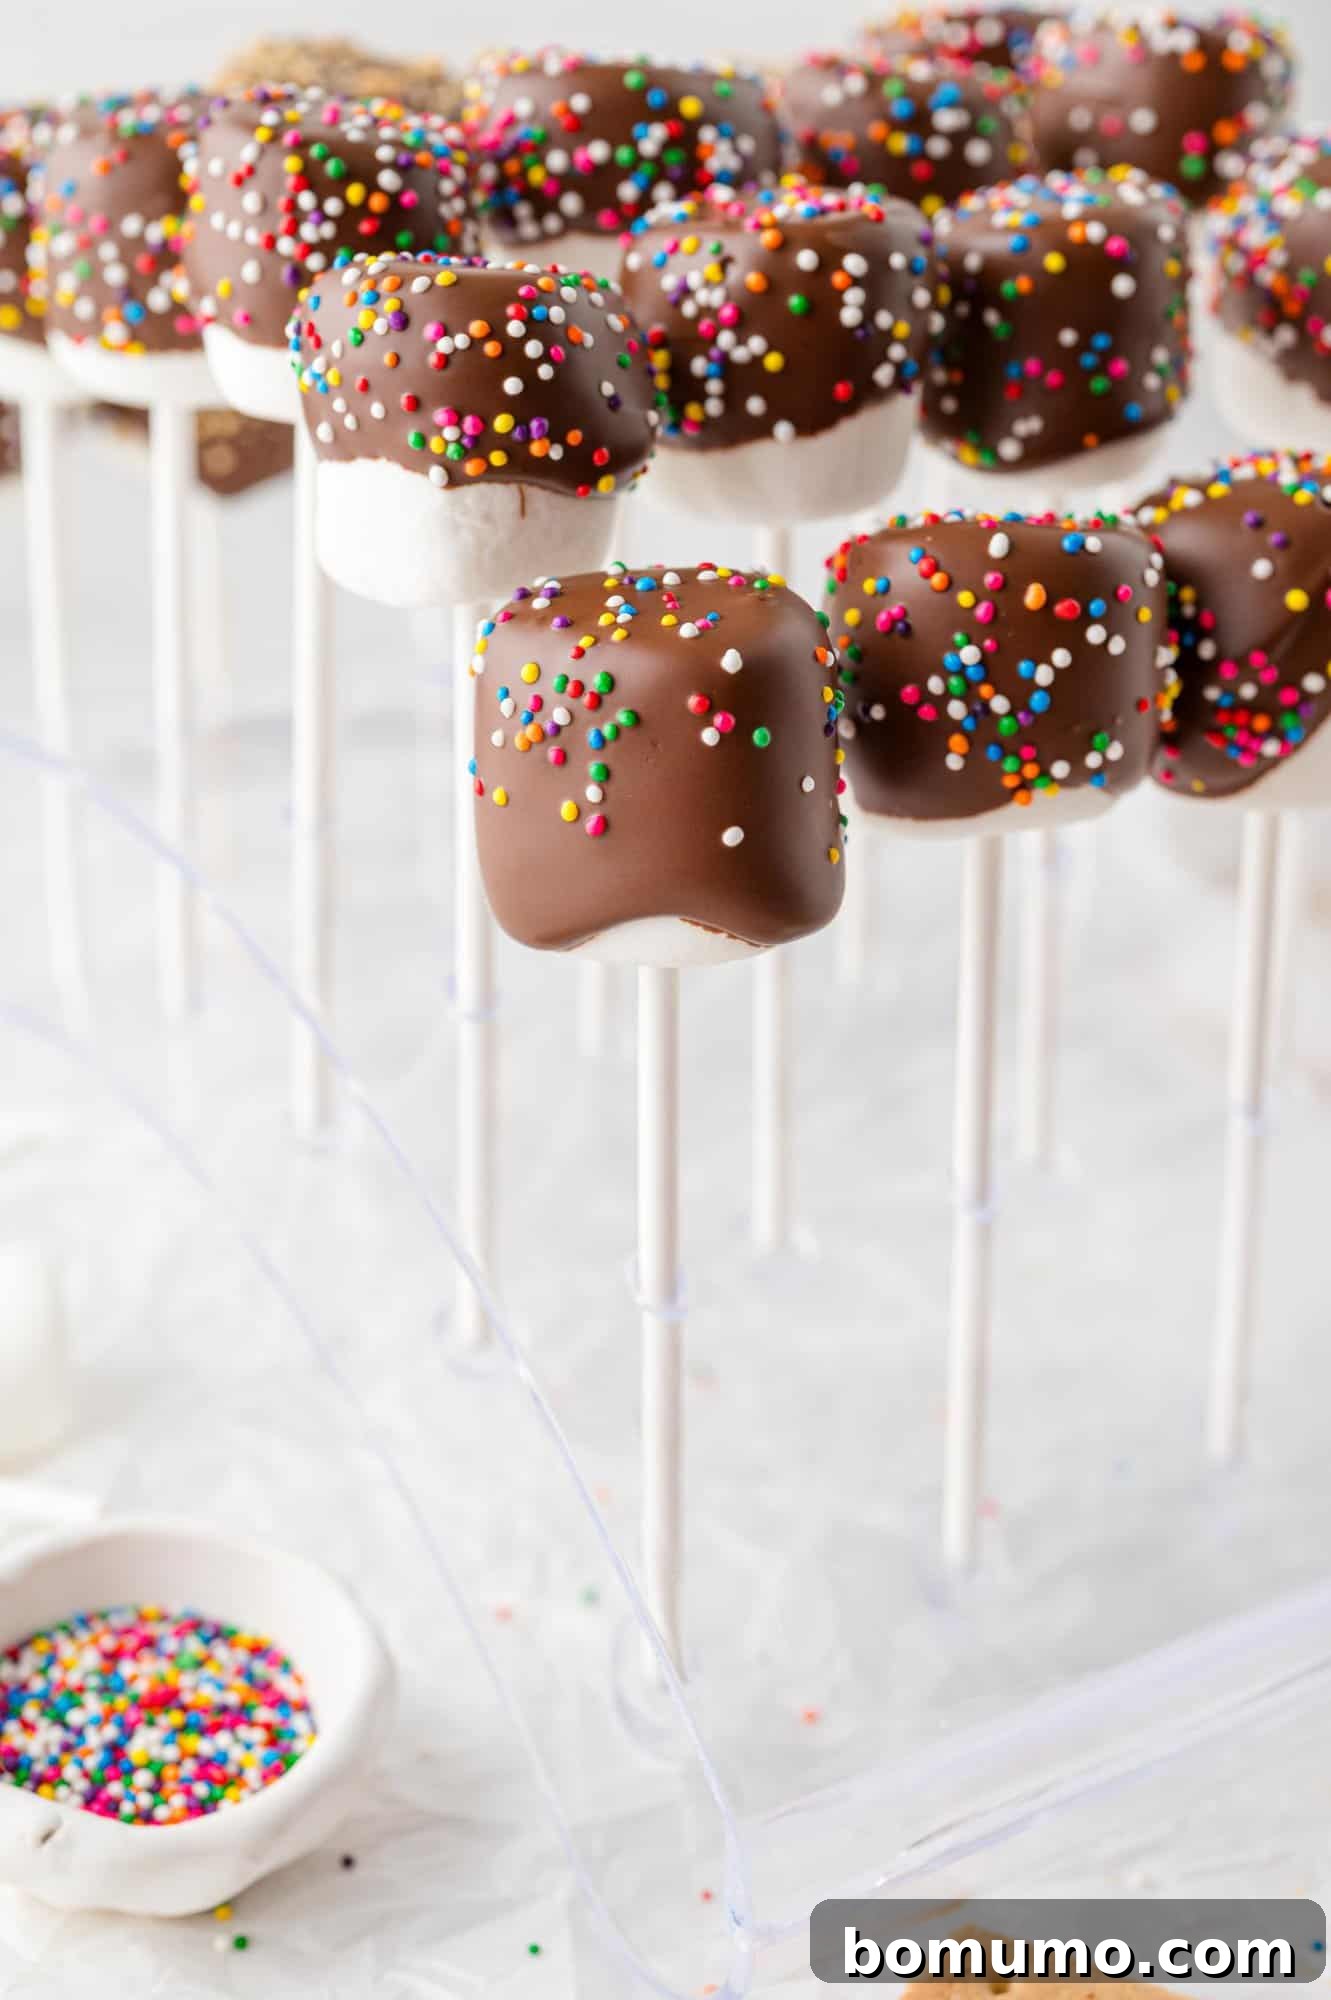
1. Prepare Your Workspace: Before you even think about melting chocolate, ensure your workstation is fully prepped. This crucial step makes the dipping process smooth and stress-free. Insert the lollipop sticks securely into each marshmallow, creating a sturdy handle for dipping. Arrange your chosen decorations – sprinkles, crushed nuts, graham cracker crumbs – in shallow dishes or bowls so they are easily accessible for immediate use. Lastly, have your drying station ready: a thick piece of styrofoam or a dedicated cake pop stand works perfectly to hold the dipped marshmallows upright as they harden. If using parchment paper, have it laid out.
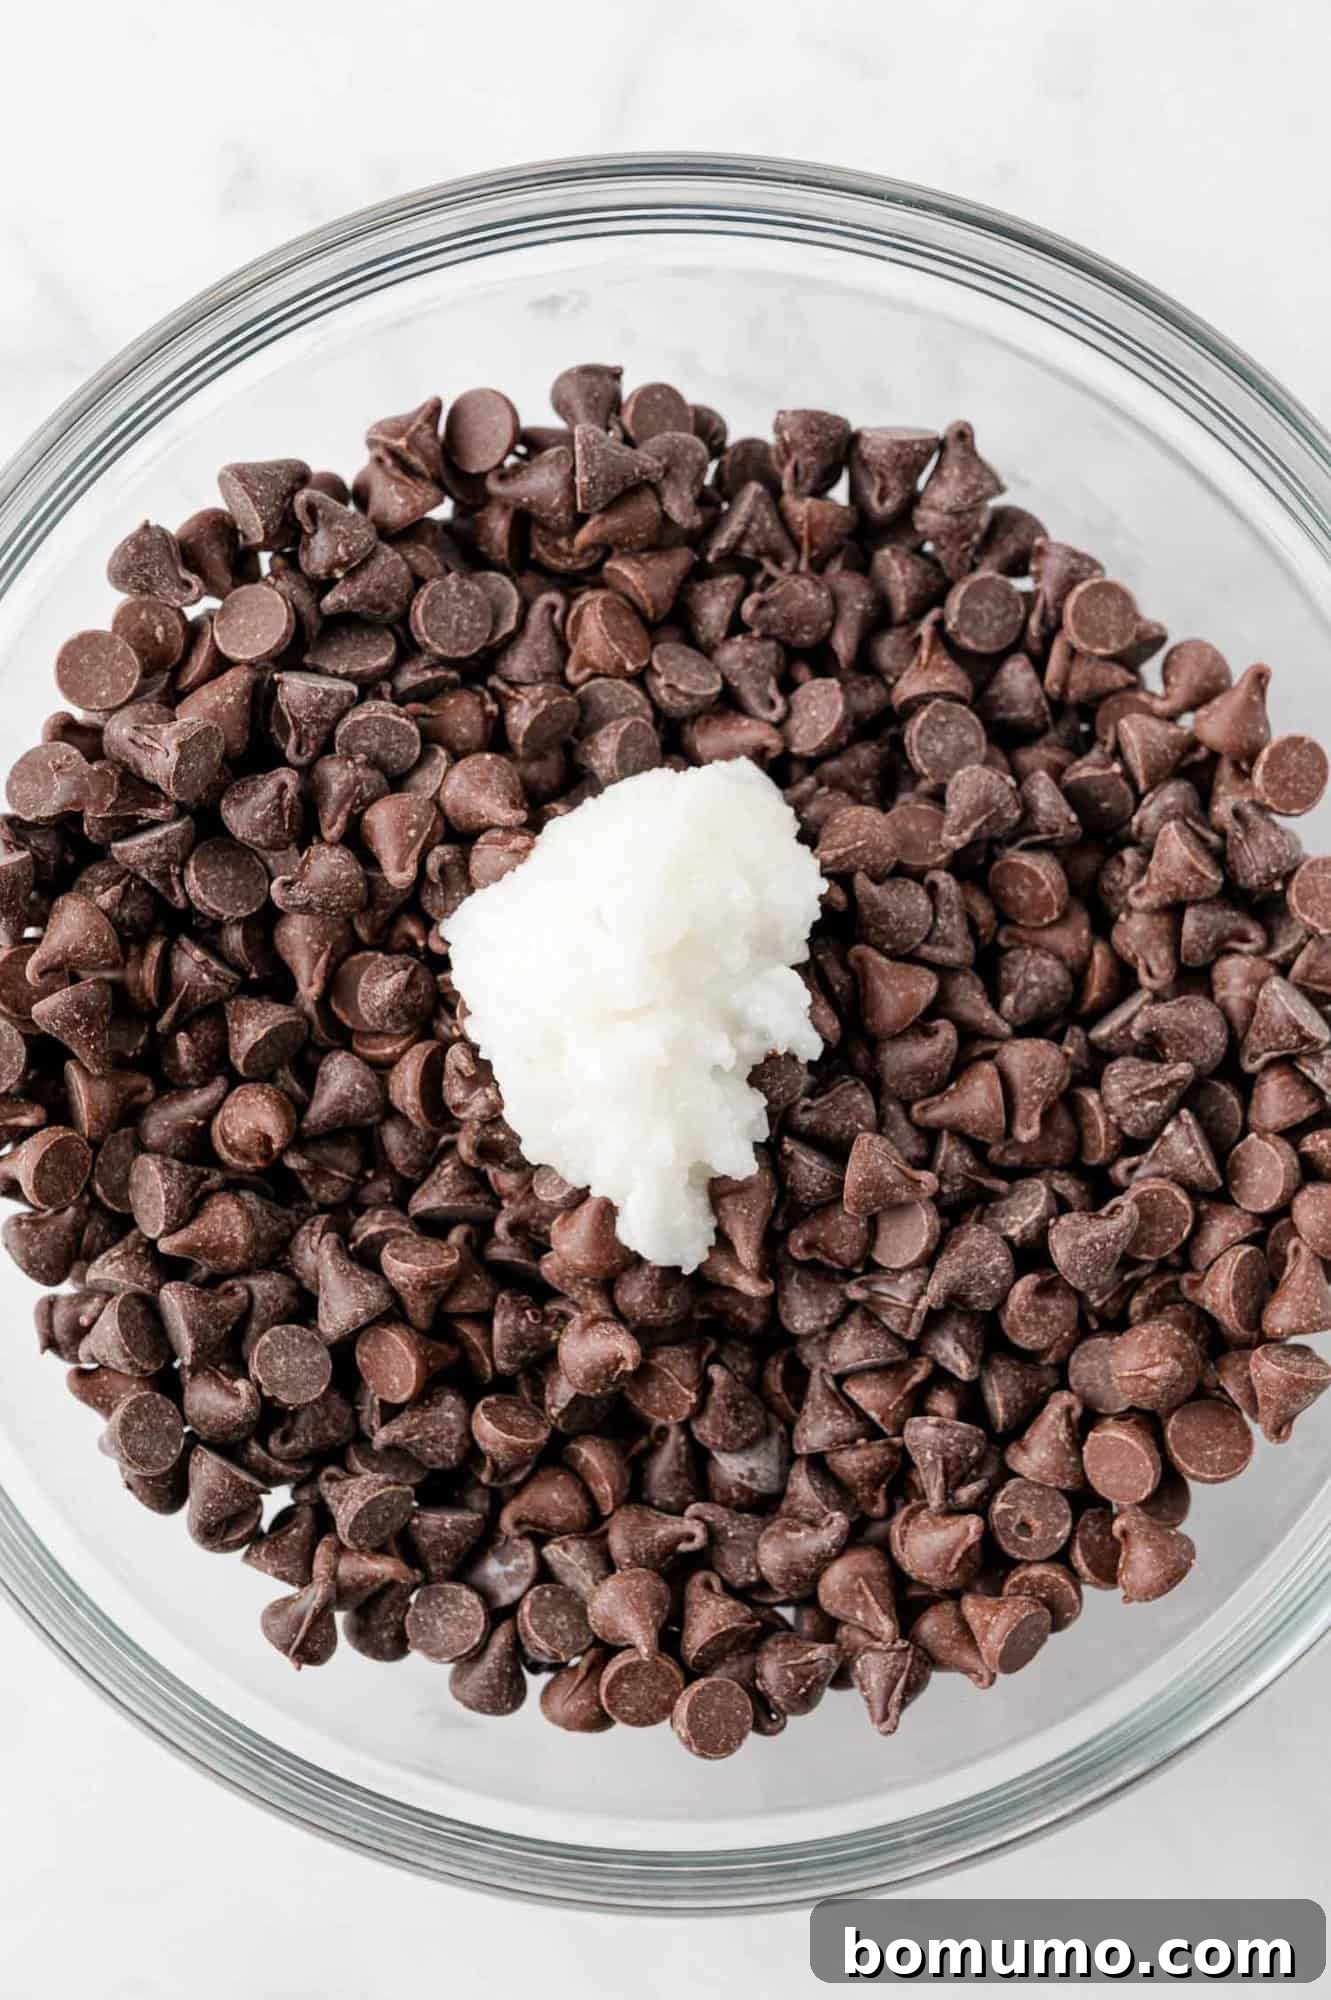
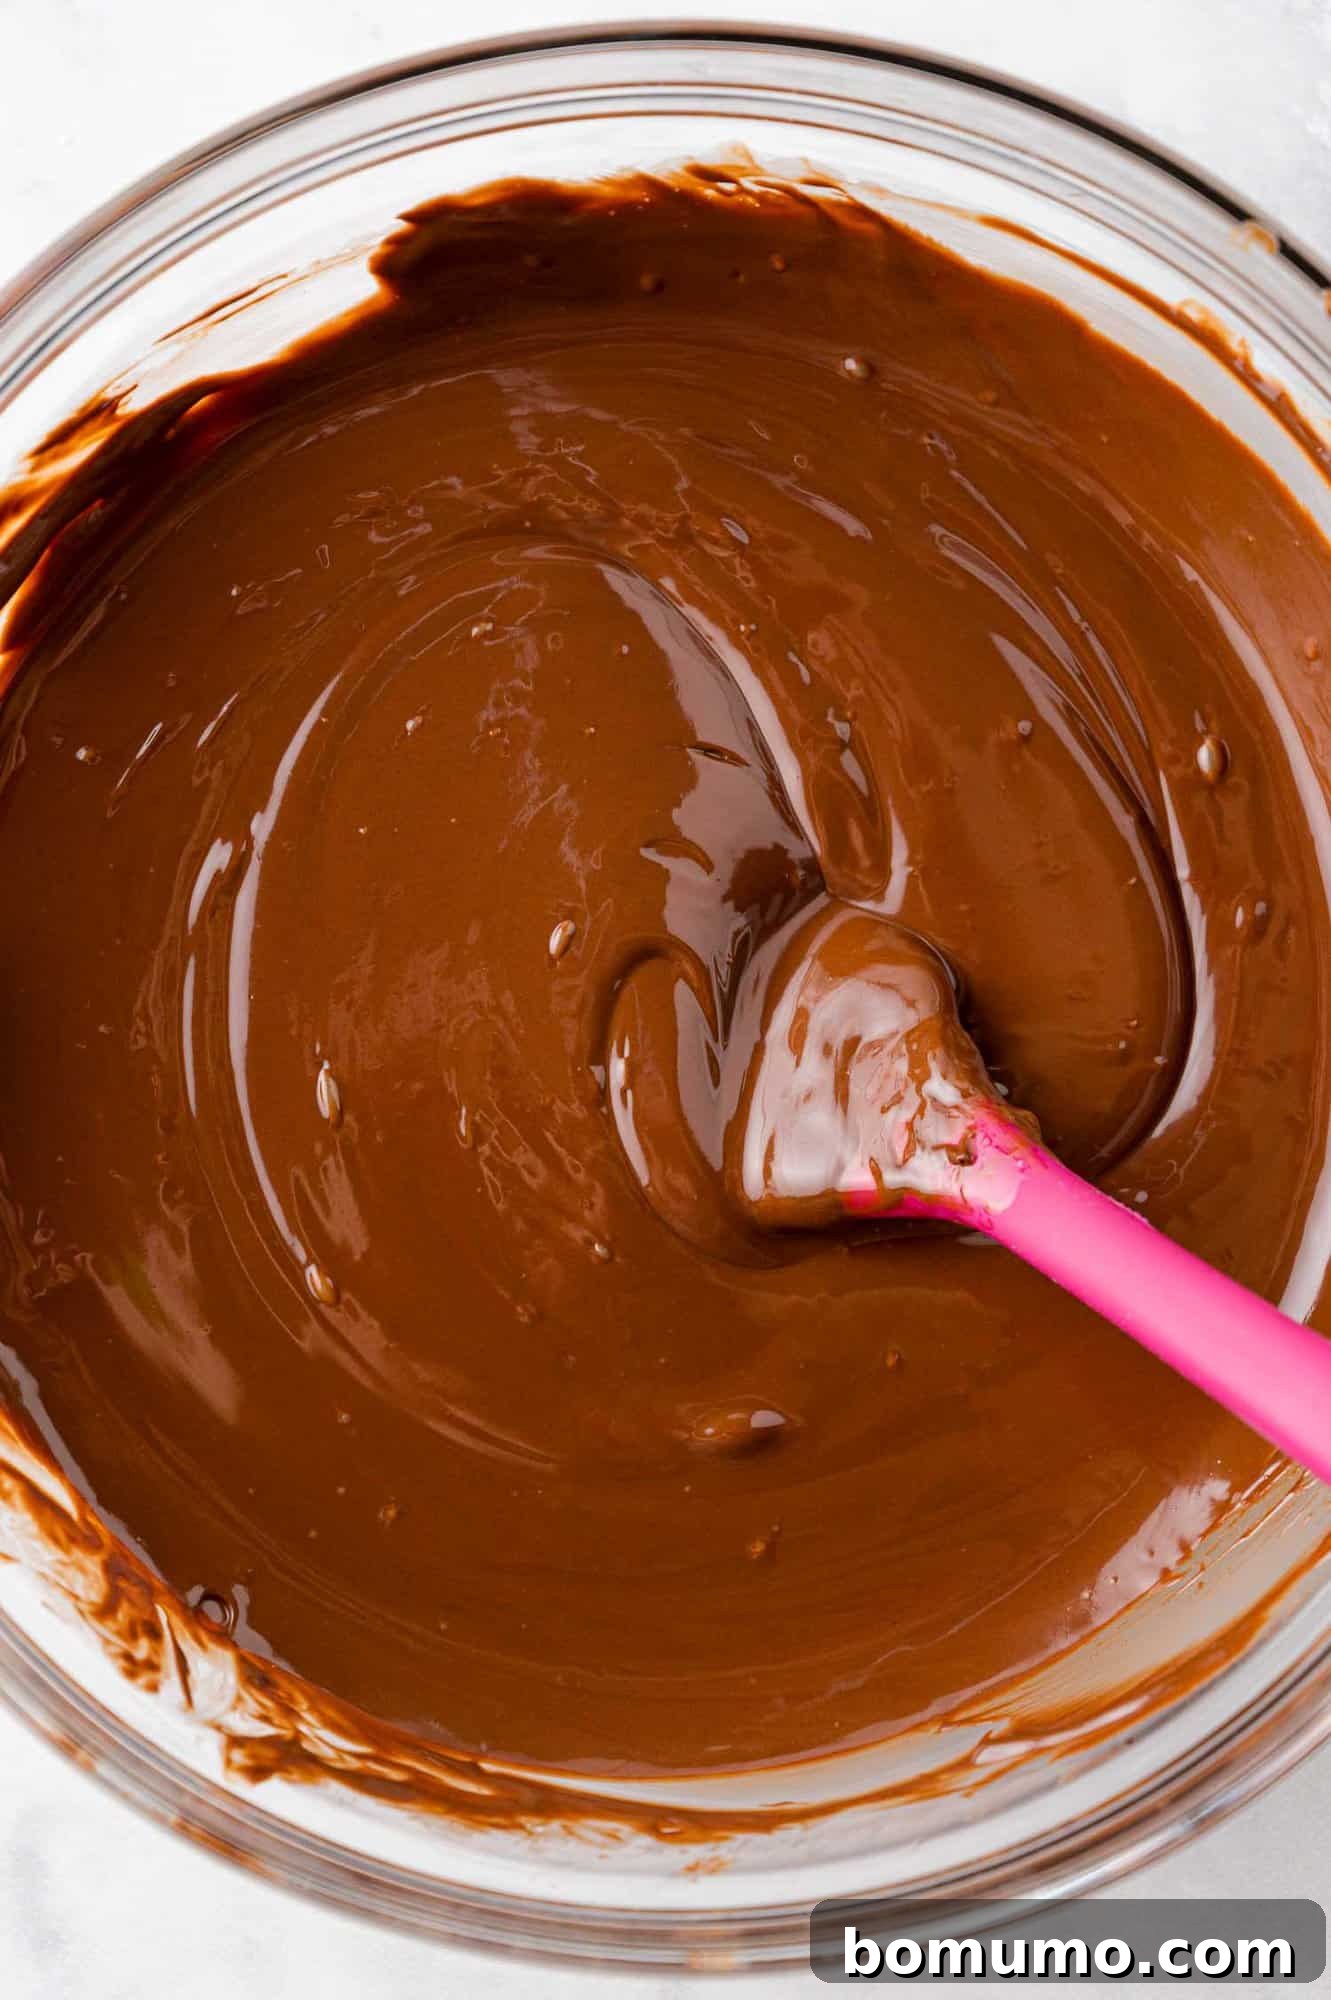
2. Perfectly Melt the Chocolate: Select a microwave-safe bowl or a measuring cup that is deep enough to allow for easy marshmallow dipping without the chocolate spreading too thinly. Combine your chocolate chips (or candy melts) with the shortening or coconut oil. Microwave the mixture in short, 20-second intervals. After each interval, stir the chocolate thoroughly. This method allows the residual heat to continue melting the chocolate, preventing it from overheating, which can cause it to seize or burn. Continue until the chocolate is completely smooth and free of lumps.
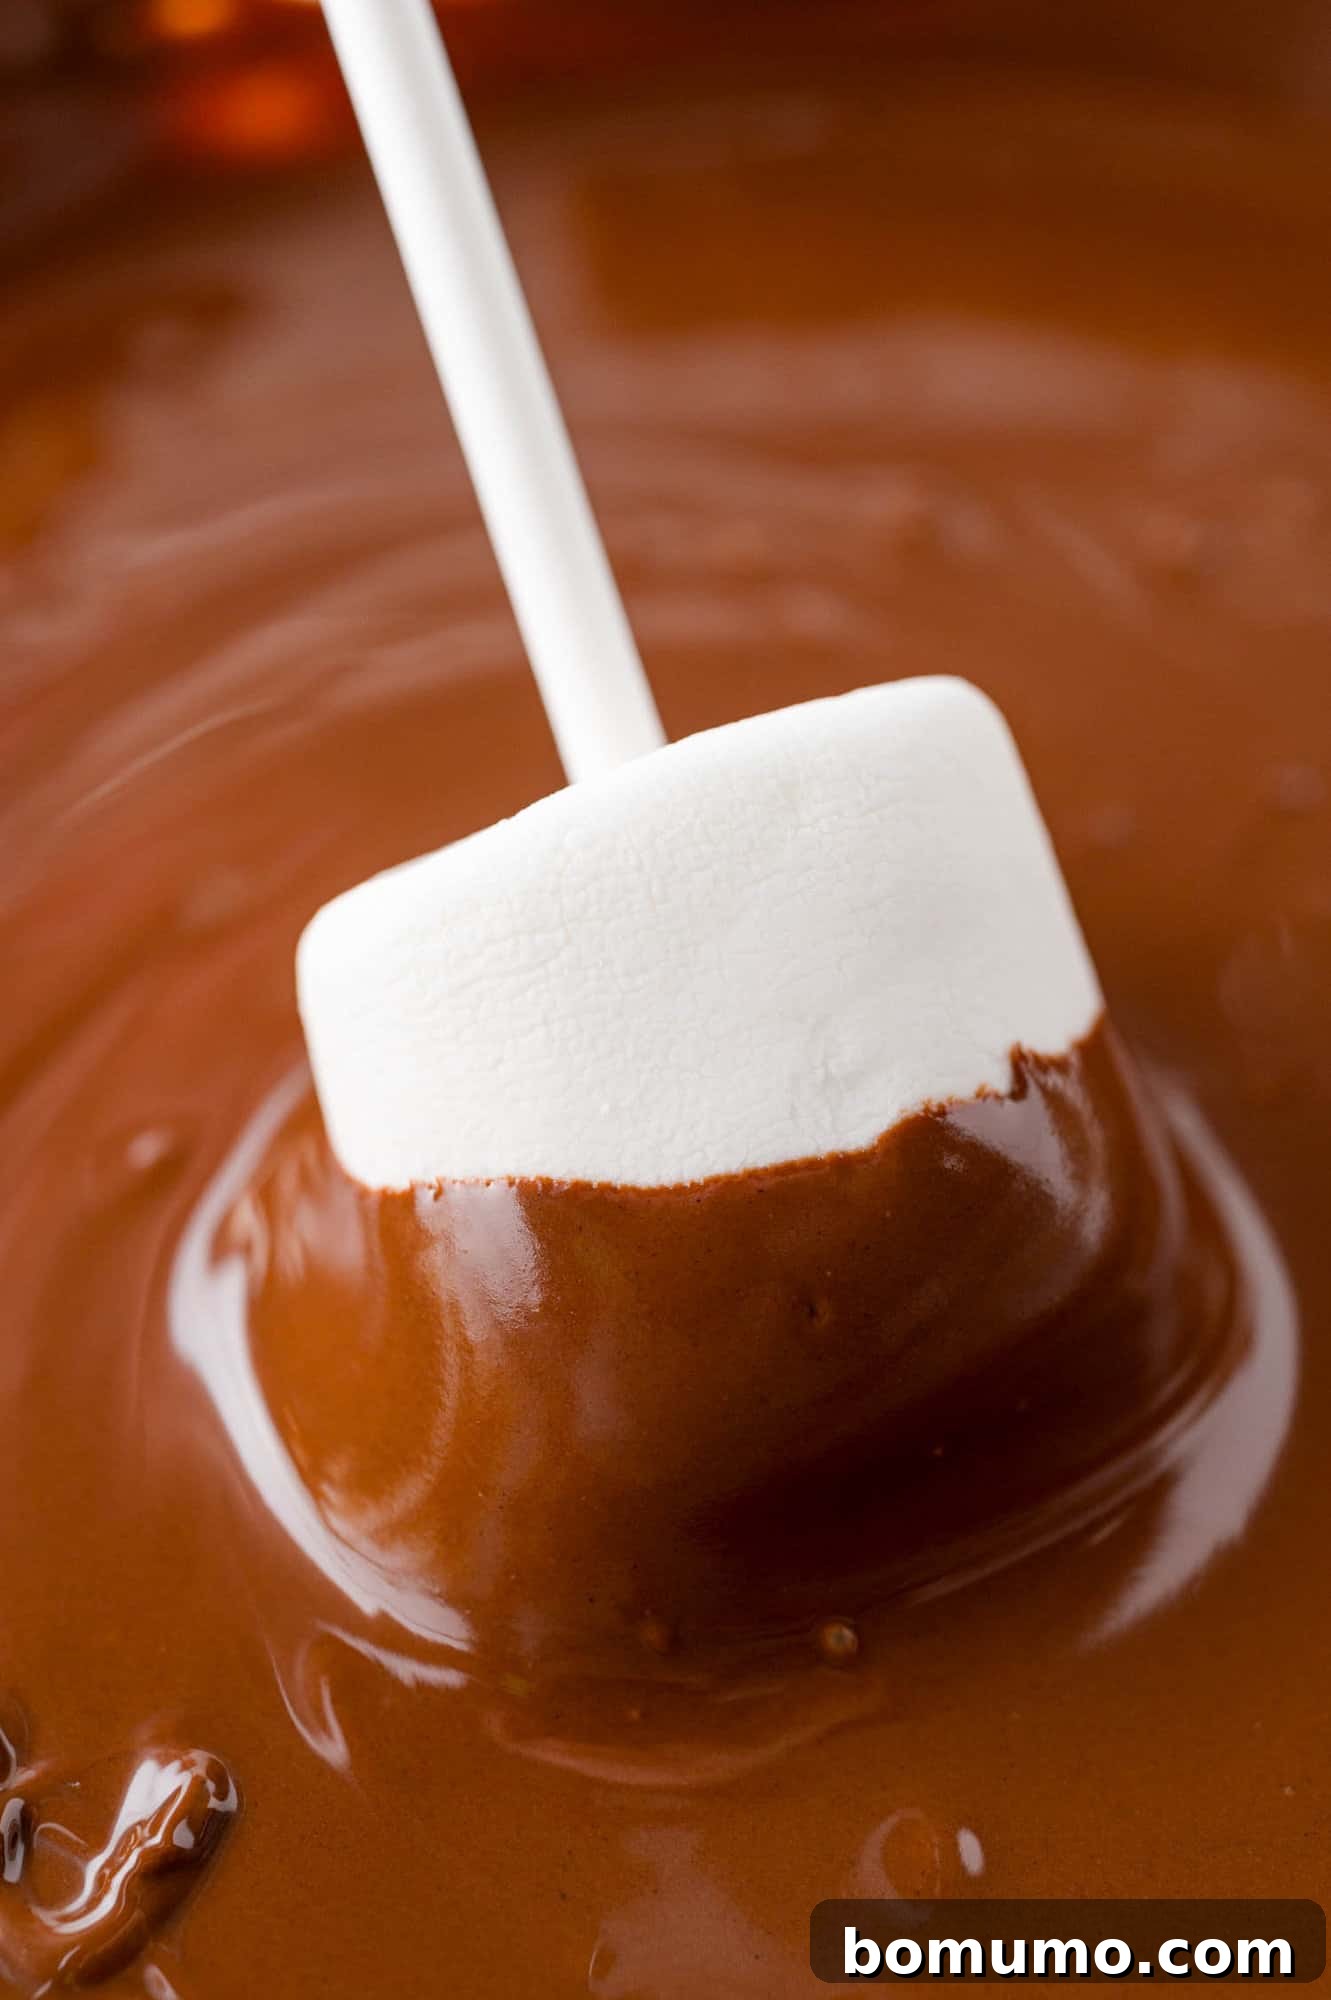
3. Dip with Precision: Grasping the lollipop stick firmly, gently submerge each marshmallow into the melted chocolate. You can choose to partially dip the marshmallow, coating it about three-quarters of the way down to the stick, or fully immerse it for a completely enrobed treat. The choice is yours and depends on your desired aesthetic. After dipping, gently tap the stick against the edge of the bowl to remove any excess chocolate, ensuring a neat, even coating.
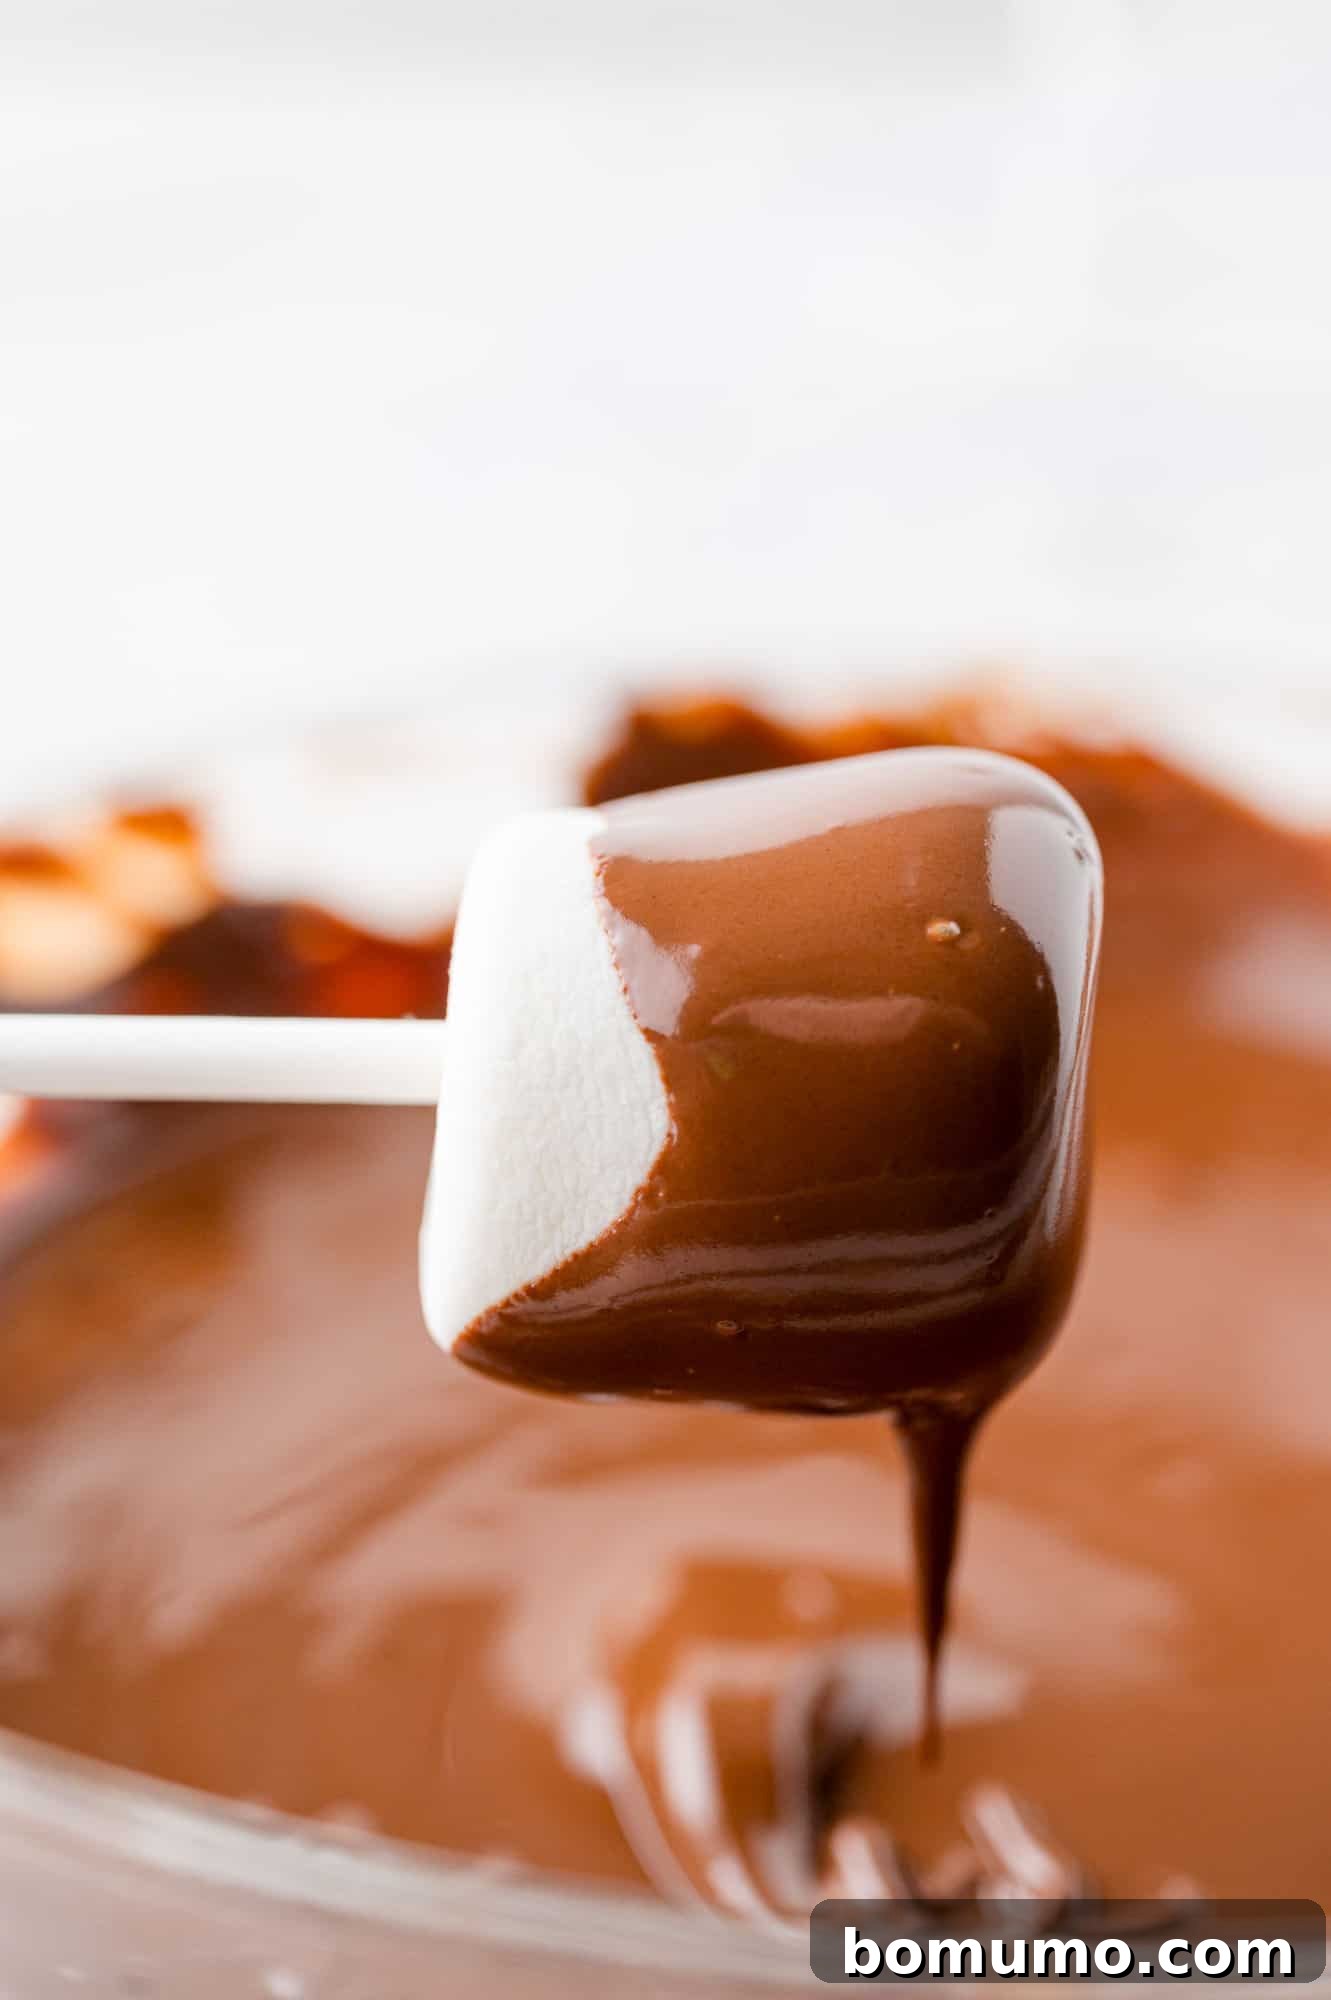
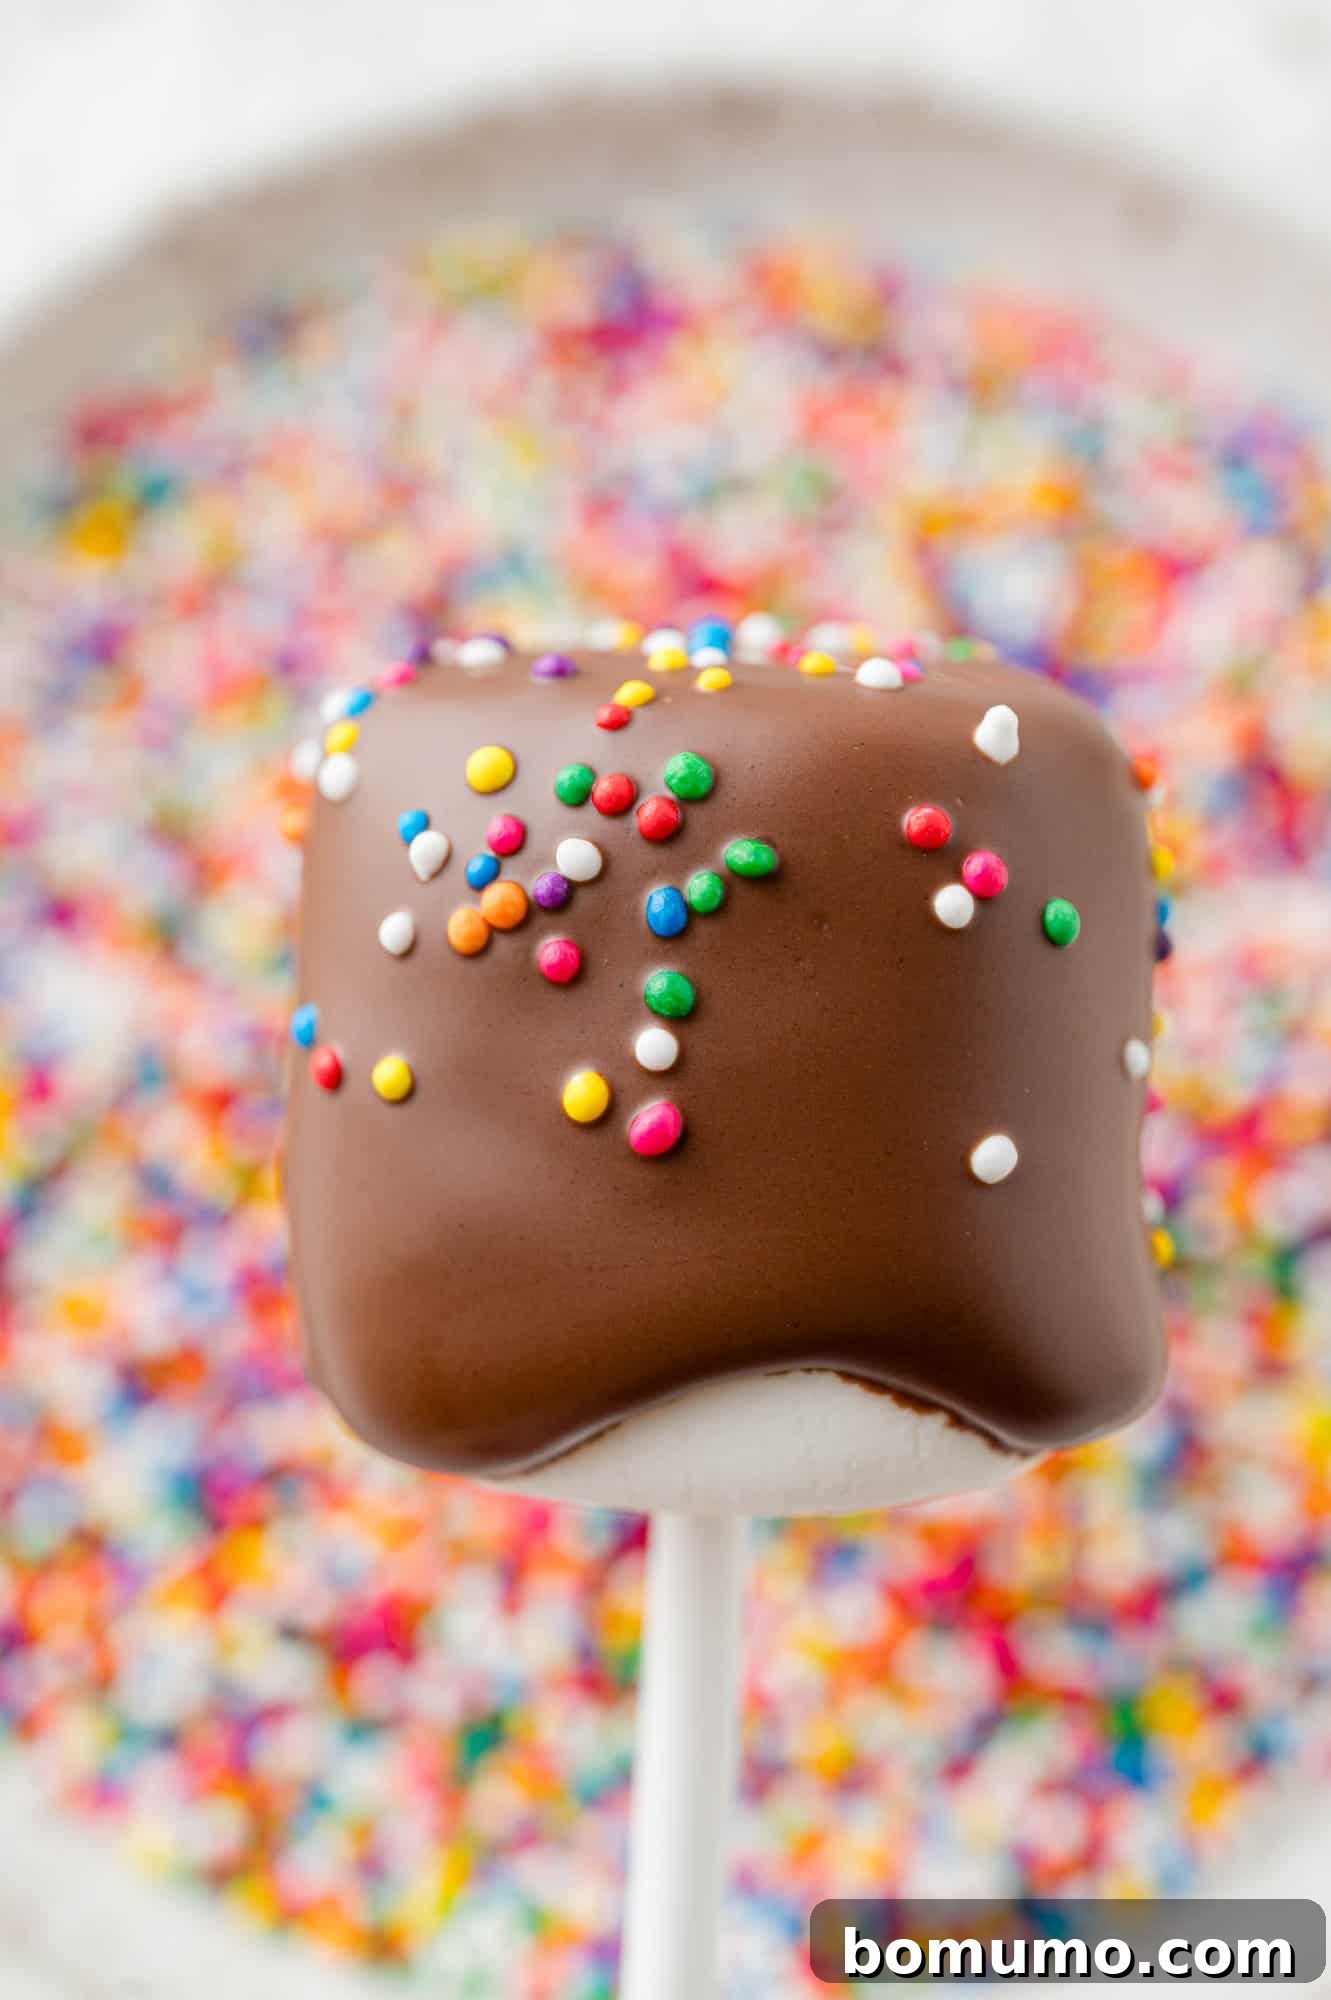
4. Decorate with Flair: Timing is key for this step! While the chocolate coating is still warm and wet, generously sprinkle your chosen decorations over the marshmallow. Alternatively, you can gently dip the chocolate-coated marshmallow directly into a shallow dish of sprinkles or crushed toppings. This ensures the decorations adhere perfectly before the chocolate begins to set. Work quickly but carefully to achieve a vibrant and appealing finish.
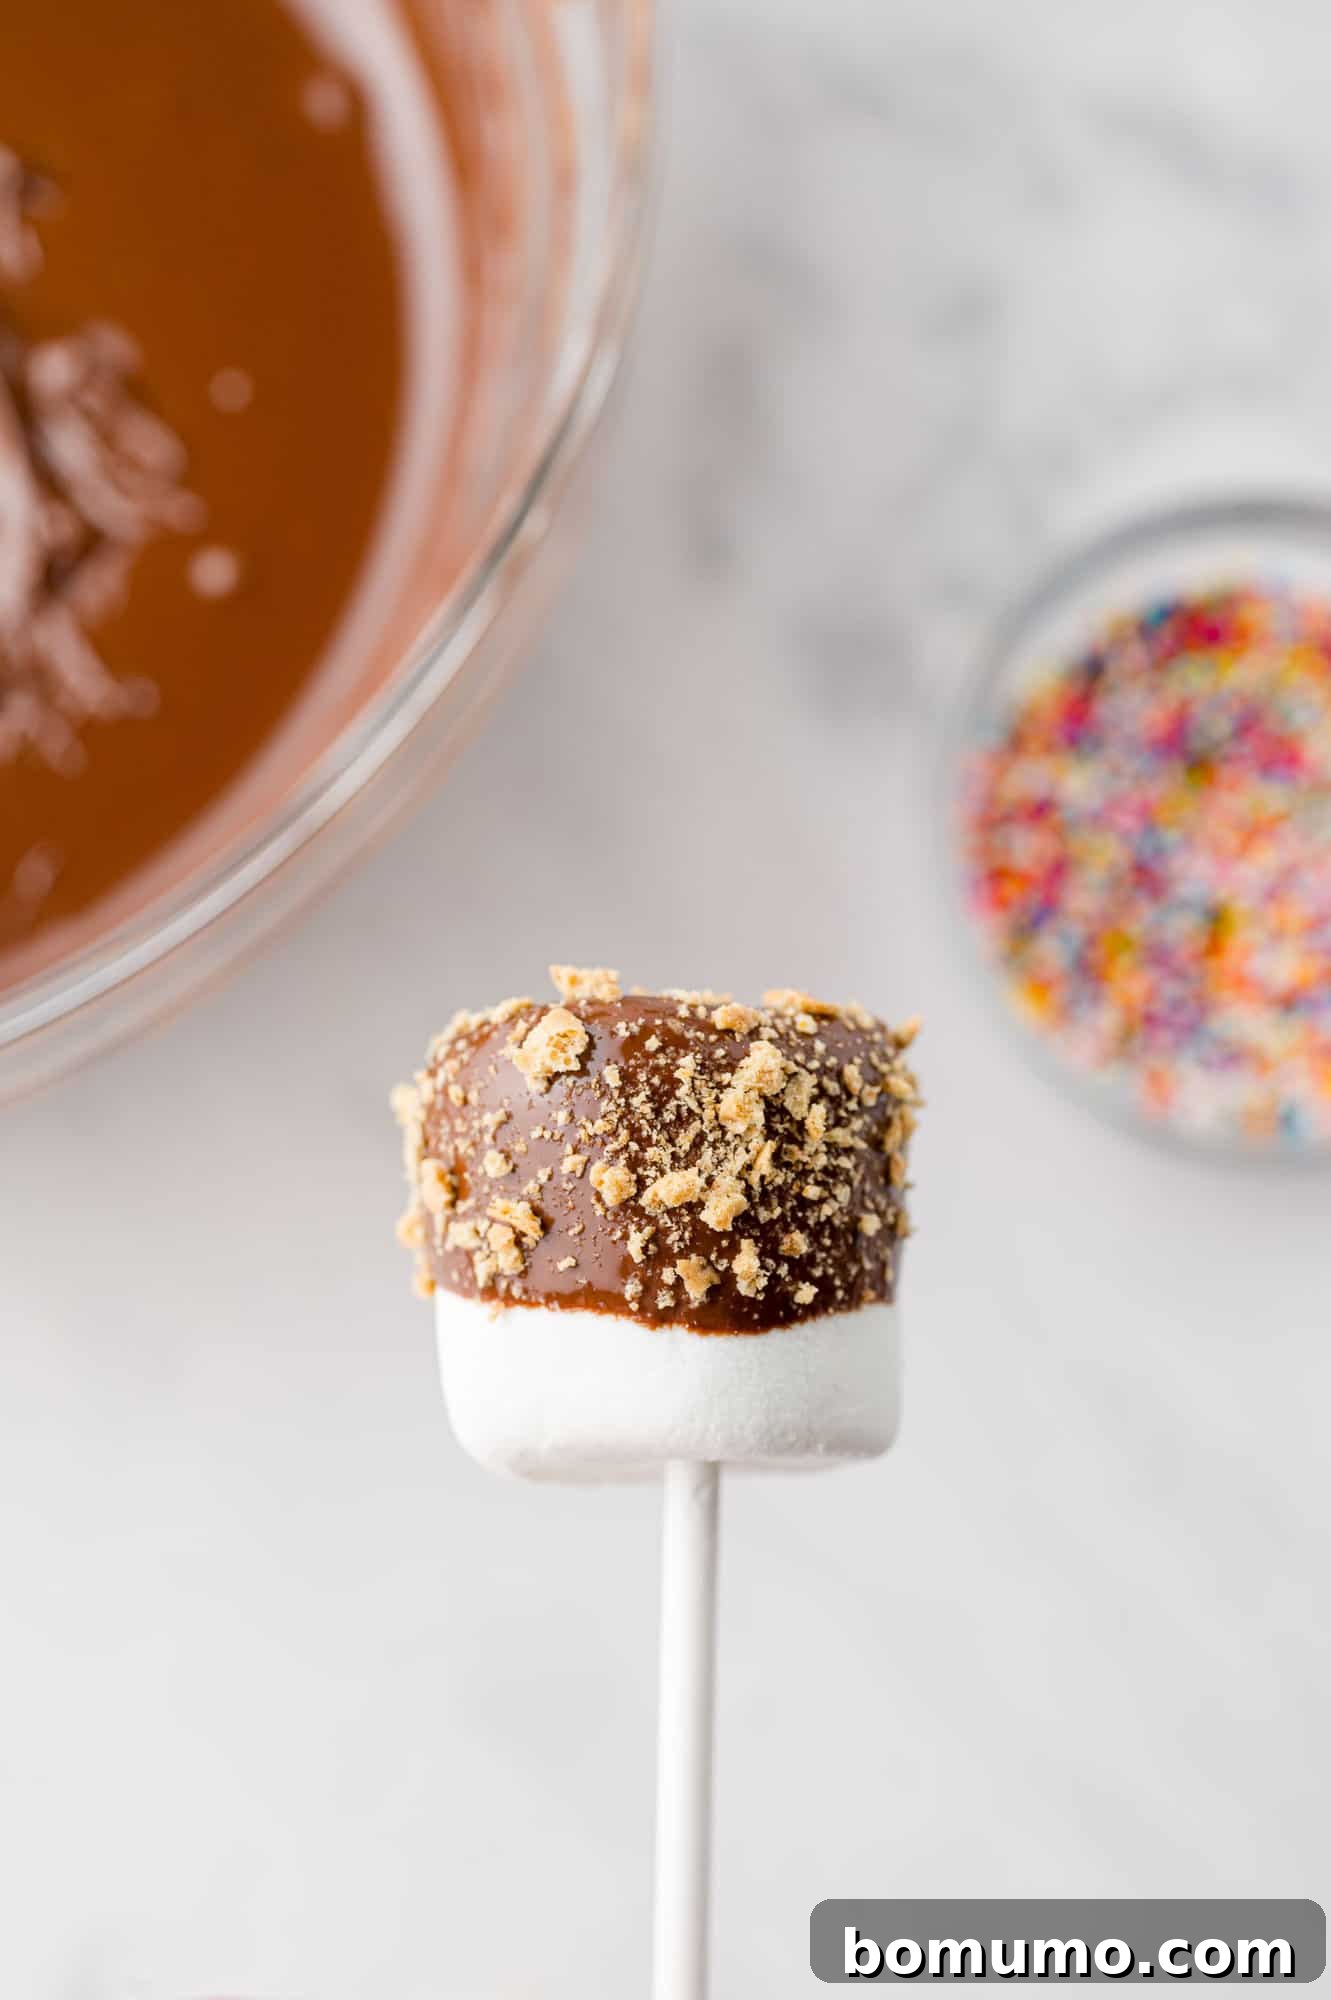
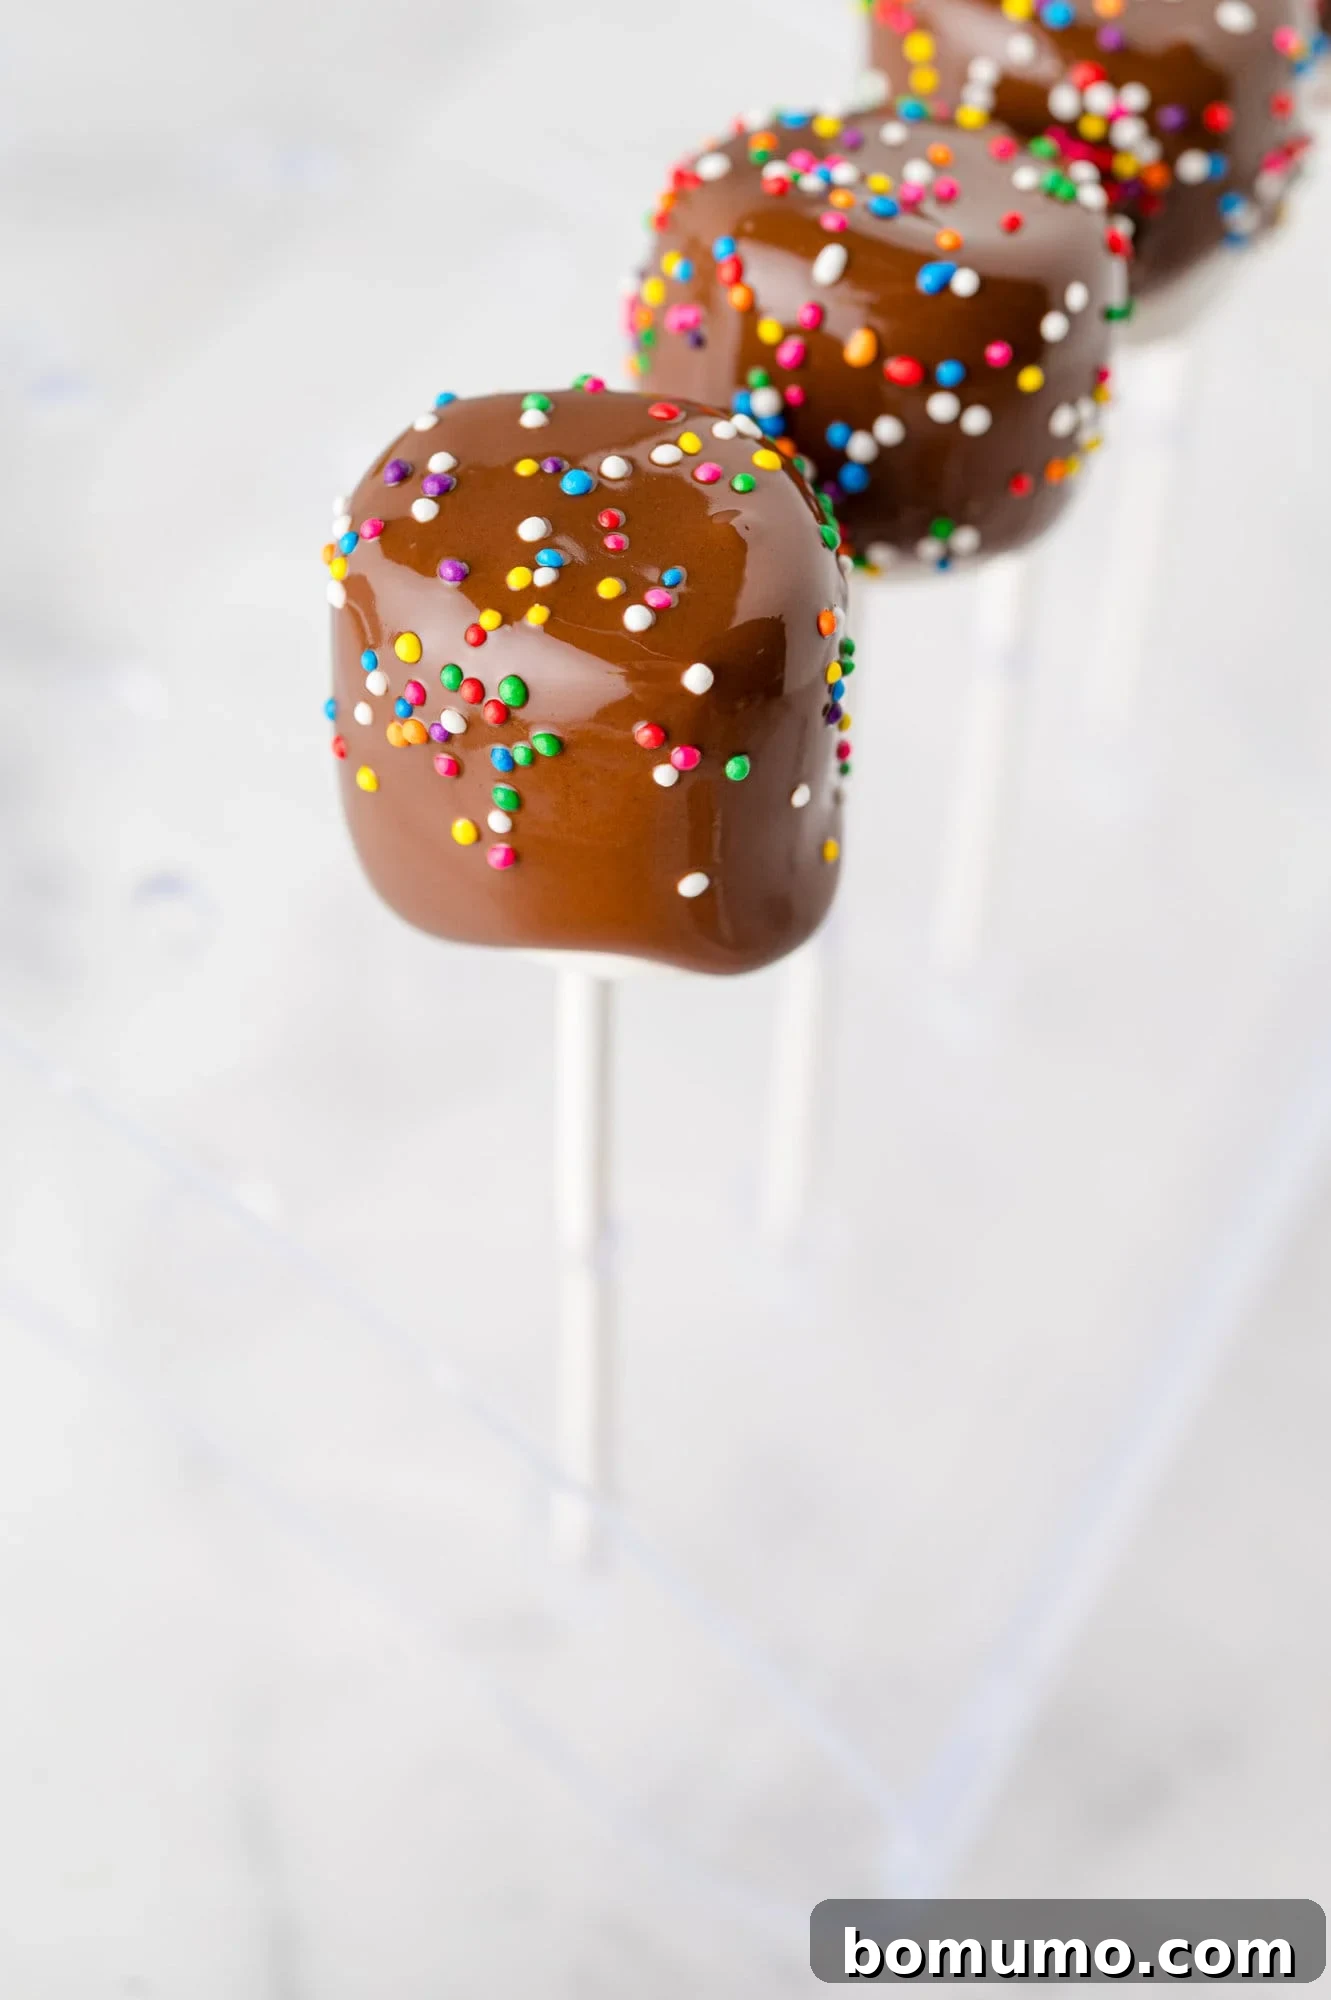
5. Allow to Dry and Set: Once decorated, carefully insert the lollipop sticks of your chocolate covered marshmallow pops into a piece of styrofoam or a cake pop stand. This method allows them to dry upright, ensuring the chocolate sets evenly all around and prevents any flat spots. If you don’t have a stand, you can carefully lay them flat on parchment paper, though this might result in one slightly flattened side. Allow the chocolate to set completely for at least 1 hour, or until it is firm to the touch, before serving or storing. This hardening process ensures a clean, non-sticky treat.
Expert Tips for Flawless Chocolate Covered Marshmallows
Achieving perfectly coated and delicious chocolate covered marshmallows is simple, especially with these helpful tips and tricks:
- Mastering Chocolate Melting: The key to smooth dipping chocolate is avoiding overheating. When using the microwave, always stir the chocolate thoroughly between each short interval. The residual heat will continue to melt the remaining bits, ensuring a silky, lump-free consistency. If you’re concerned about scorching, a double boiler method (placing a heat-proof bowl over a pot of simmering water) offers a gentler and more controlled melting process.
- Tap Off Excess Chocolate: After dipping each marshmallow, gently tap the lollipop stick against the side of the bowl. This allows any excess chocolate to drip off, preventing puddles at the base of your marshmallow pops and ensuring a cleaner, more professional finish. This also conserves chocolate and reduces mess.
- Drying Without a Stand? No Problem!: If you don’t have a styrofoam block or a cake pop stand, you can still achieve great results. Simply lay the freshly dipped and decorated marshmallows flat on a sheet of wax paper or parchment paper. Be aware that this might create a slightly flattened side where the marshmallow rests. If using this method, tapping off excess chocolate becomes even more critical.
- Homemade Marshmallow Compatibility: You can absolutely use homemade marshmallows for this recipe! Just ensure they are firm enough to hold their shape on a stick and won’t melt too quickly into the warm chocolate. If your homemade marshmallows are particularly soft, allow them to air dry for an extra hour or two before dipping to firm them up slightly.
- Scaling the Recipe: This recipe is easily adaptable. To make a smaller batch (approximately 30 marshmallows), simply halve the ingredients: use 1 ½ cups of chocolate chips or candy melts and ½ tablespoon of shortening or coconut oil. This makes it perfect for smaller gatherings or just a fun afternoon treat.
- Temperature Control is Key: Ensure your melted chocolate is warm enough to be liquid and easy to dip, but not so hot that it melts the marshmallows or becomes difficult to work with. If it starts to cool and thicken too much, a quick 5-10 second reheat in the microwave (and stirring!) can bring it back to the ideal consistency.
Unleash Your Creativity: More Topping Ideas
The beauty of chocolate covered marshmallows lies in their incredible versatility. Here are even more imaginative topping ideas to inspire your next batch:
- Fruity Delights: For a vibrant and slightly tart contrast, pulse freeze-dried raspberries, strawberries, or bananas in your food processor until they form a coarsely chopped powder. Sprinkle these over the wet chocolate for a burst of color and natural fruit flavor. These are best enjoyed shortly after the chocolate sets to maintain their crisp texture.
- Candy Extravaganza: Elevate your marshmallow pops with a variety of crushed candies. Mini M&Ms, finely chopped toffee bits, Reese’s Pieces, or even crushed Oreos add delightful crunch and familiar flavors. During the festive season, crushed candy canes offer a refreshing pepperminty twist, perfect for Christmas parties.
- Elegant Drizzles: For a sophisticated look, let the initial chocolate coating set completely. Then, using a piping bag with a very small tip or a fork, drizzle a contrasting type of chocolate (e.g., white chocolate over dark, or dark chocolate over white) or white chocolate tinted with food coloring over the top. This adds a beautiful visual element and another layer of flavor.
- Nutty Crunch: Introduce a delightful texture and rich flavor with finely chopped nuts. Almonds, peanuts, pecans, or walnuts are all excellent choices. Lightly toast the nuts beforehand to enhance their natural aroma and taste before sprinkling.
- Salty-Sweet Sensations: For an irresistible flavor combination that everyone loves, try adding a salty element. Crushed pretzels provide a fantastic crunch and savory counterpoint to the sweet chocolate and marshmallow. Crushed potato chips are another surprisingly delicious option for a unique salty-sweet experience.
- Coconut Flakes: Toasted or untoasted coconut flakes can add a tropical flair and lovely texture.
- Cereal Toppings: Crushed breakfast cereals like Fruity Pebbles, Cinnamon Toast Crunch, or Rice Krispies can add a fun, colorful, and crunchy dimension.
- Spices: A light dusting of cinnamon, nutmeg, or even chili powder (for an adventurous kick!) can add an unexpected depth of flavor.
Make Ahead & Storage Tips
Make Ahead & Storage Tips
While chocolate covered marshmallows are easy to make, they are best enjoyed relatively fresh. They don’t store exceptionally well for extended periods, so it’s advisable to enjoy them within a day or two of preparation to ensure optimal freshness and texture. If you plan to make them ahead, aim for no more than 48 hours in advance of serving.
To store your chocolate covered marshmallow pops, place them in an airtight container at room temperature. Avoid refrigerating them, as the cold can cause the chocolate to “sweat” or develop a dull appearance, and the marshmallows can become hard. Keep them away from direct sunlight or excessive heat to prevent melting. For a thoughtful touch when gifting these delightful pops or using them as party favors, clear cellophane bags tied with a festive ribbon are absolutely perfect. They not only look charming but also help protect the treats until they are ready to be devoured.
More Kid-Friendly Recipes for Every Occasion
If you loved making these easy and fun chocolate covered marshmallows, you’re in for a treat with our other kid-friendly recipes. These recipes are designed to be simple, engaging for little helpers, and universally loved by families. They’re perfect for involving children in the kitchen, creating delicious memories together, and enjoying delightful treats without much fuss.
Fruity Pebbles Treats
Hot Chocolate Dip
Monster Cookie Energy Balls
Funfetti Cookies
Chocolate Covered Marshmallows
Rachel Gurk
15 mins
1 min
1 hr
1 hr 16 mins
60 pops
Pin
Looking for a super easy, last-minute treat for birthdays or holidays? Chocolate covered marshmallows to the rescue! Kids (and grownups) love them and they’re a cinch to put together.
Ingredients
- 3 cups chocolate chips or candy melts (see note)
- 1 tablespoon shortening or coconut oil
- 1 bag (12-ounce) large marshmallows (approximately 58 to 60 marshmallows)
- 60 lollipop sticks (see note)
- Sprinkles, crushed graham crackers, and/or chopped nuts (for decoration)
Instructions
- Place chocolate chips or candy melts and shortening or coconut oil in a small microwave-safe bowl. Microwave in 20-second intervals, stirring well after each interval until the chocolate is melted and smooth. Be careful not to overheat the chocolate. Alternatively, use a double boiler to gently melt the chocolate.
- While the chocolate is melting, insert a lollipop stick into the center of each large marshmallow.
- Once the chocolate is perfectly melted, dip each marshmallow into the chocolate. You can coat it about three-quarters of the way down to the stick, or fully coat it if preferred. Gently tap the stick against the edge of the bowl to remove any excess chocolate.
- Immediately after dipping, while the chocolate is still wet, generously sprinkle with your chosen decorations (sprinkles, crushed graham crackers, chopped nuts, etc.). Refer to the notes section for more creative topping ideas.
- Stick the chocolate covered marshmallow pops into a styrofoam block or a cake pop stand to dry upright. If a stand is unavailable, lay them flat on wax paper or parchment paper.
- Allow the chocolate to harden completely for at least 1 hour, or until firm, before serving or storing.
Notes
- Chocolate Choice: Feel free to use semi-sweet, milk chocolate, or white chocolate chips, depending on your preference. Candy melts are also a great option for vibrant colors and smooth finishes.
- Lollipop Sticks: These can typically be found near cake decorating supplies in grocery stores or craft stores. They are also readily available online. If you don’t have lollipop sticks, toothpicks can be used for dipping; just carefully remove them before serving, placing the marshmallows on parchment paper to harden.
- Garnishes: Experiment with finely chopped nuts for texture, or various types of sprinkles (jimmies, nonpareils) to match your decorating theme. Be aware that certain toppings, like graham cracker crumbs, tend to soften over time, so these are best enjoyed soon after the chocolate sets.
- Half Batch: To make a smaller batch of approximately 30 marshmallows, use 1 ½ cups of chocolate chips or candy melts and ½ tablespoon of shortening or coconut oil.
Nutrition
, Calories: 65kcal
, Carbohydrates: 10g
, Protein: 0.1g
, Fat: 3g
, Saturated Fat: 2g
, Polyunsaturated Fat: 0.1g
, Monounsaturated Fat: 0.1g
, Trans Fat: 0.03g
, Sodium: 5mg
, Potassium: 26mg
, Fiber: 0.01g
, Sugar: 8g
, Calcium: 7mg
, Iron: 0.01mg
Nutrition information is automatically calculated, so should only be used as an approximation.
Did You Make This?
Share a comment and rating below! I love hearing what you think!