
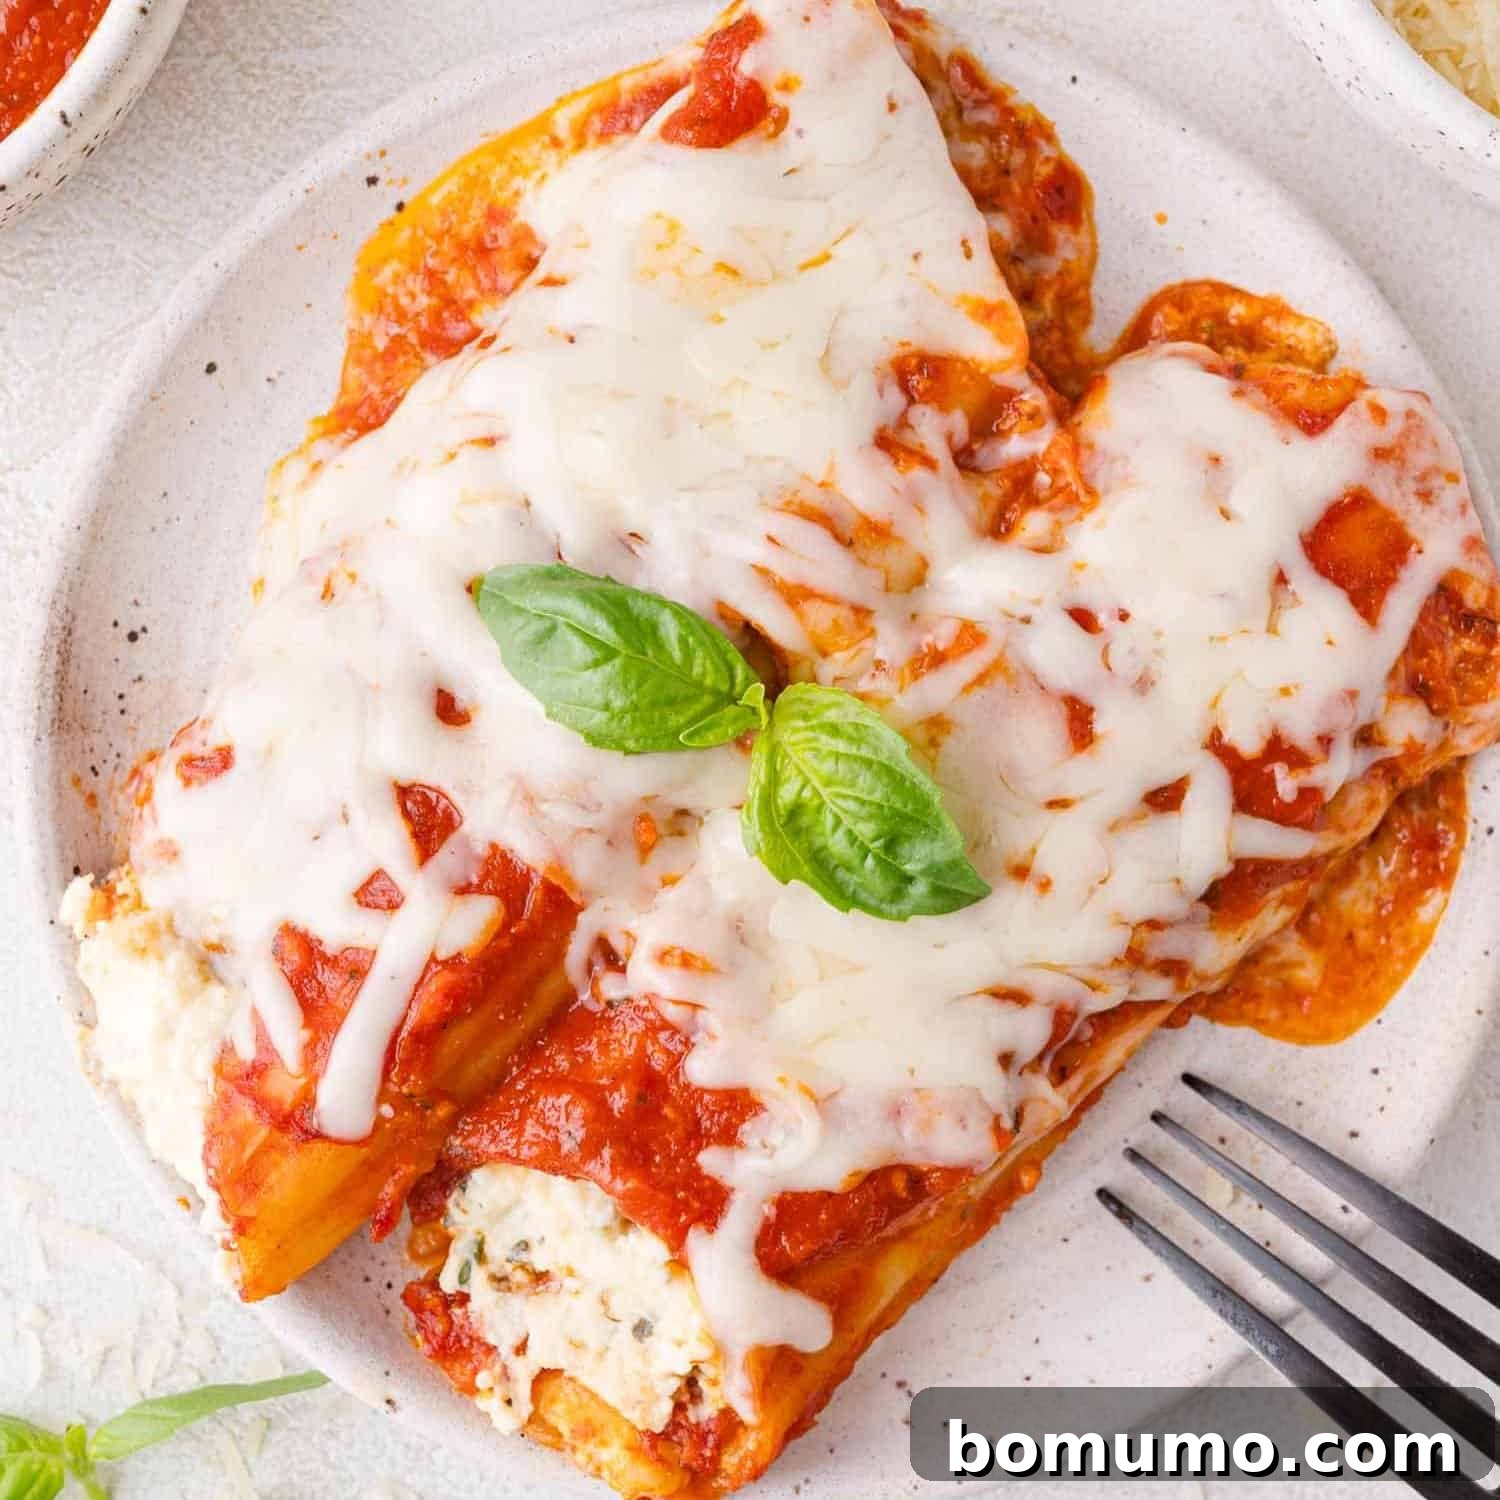
Recipe Overview: Delicious Homemade Manicotti
Why you’ll love it: This incredibly easy and satisfying cheese manicotti recipe is a true hero for busy weeknights and special occasions alike. It’s not just a delight to eat, but also incredibly versatile for meal prepping. You can assemble it in advance for a stress-free dinner later, or even freeze it for up to three months, making it perfect for convenient future meals!
How long it takes: Approximately 1 hour from start to finish (20 minutes prep, 40 minutes cook time)
Equipment you’ll need: A large pot for boiling pasta, a sturdy 9 x 13 inch baking dish, and a piping bag (or a simple ziploc bag with a corner snipped off) for easy filling.
Servings: This recipe generously serves 6 people, making it ideal for family dinners or small gatherings.
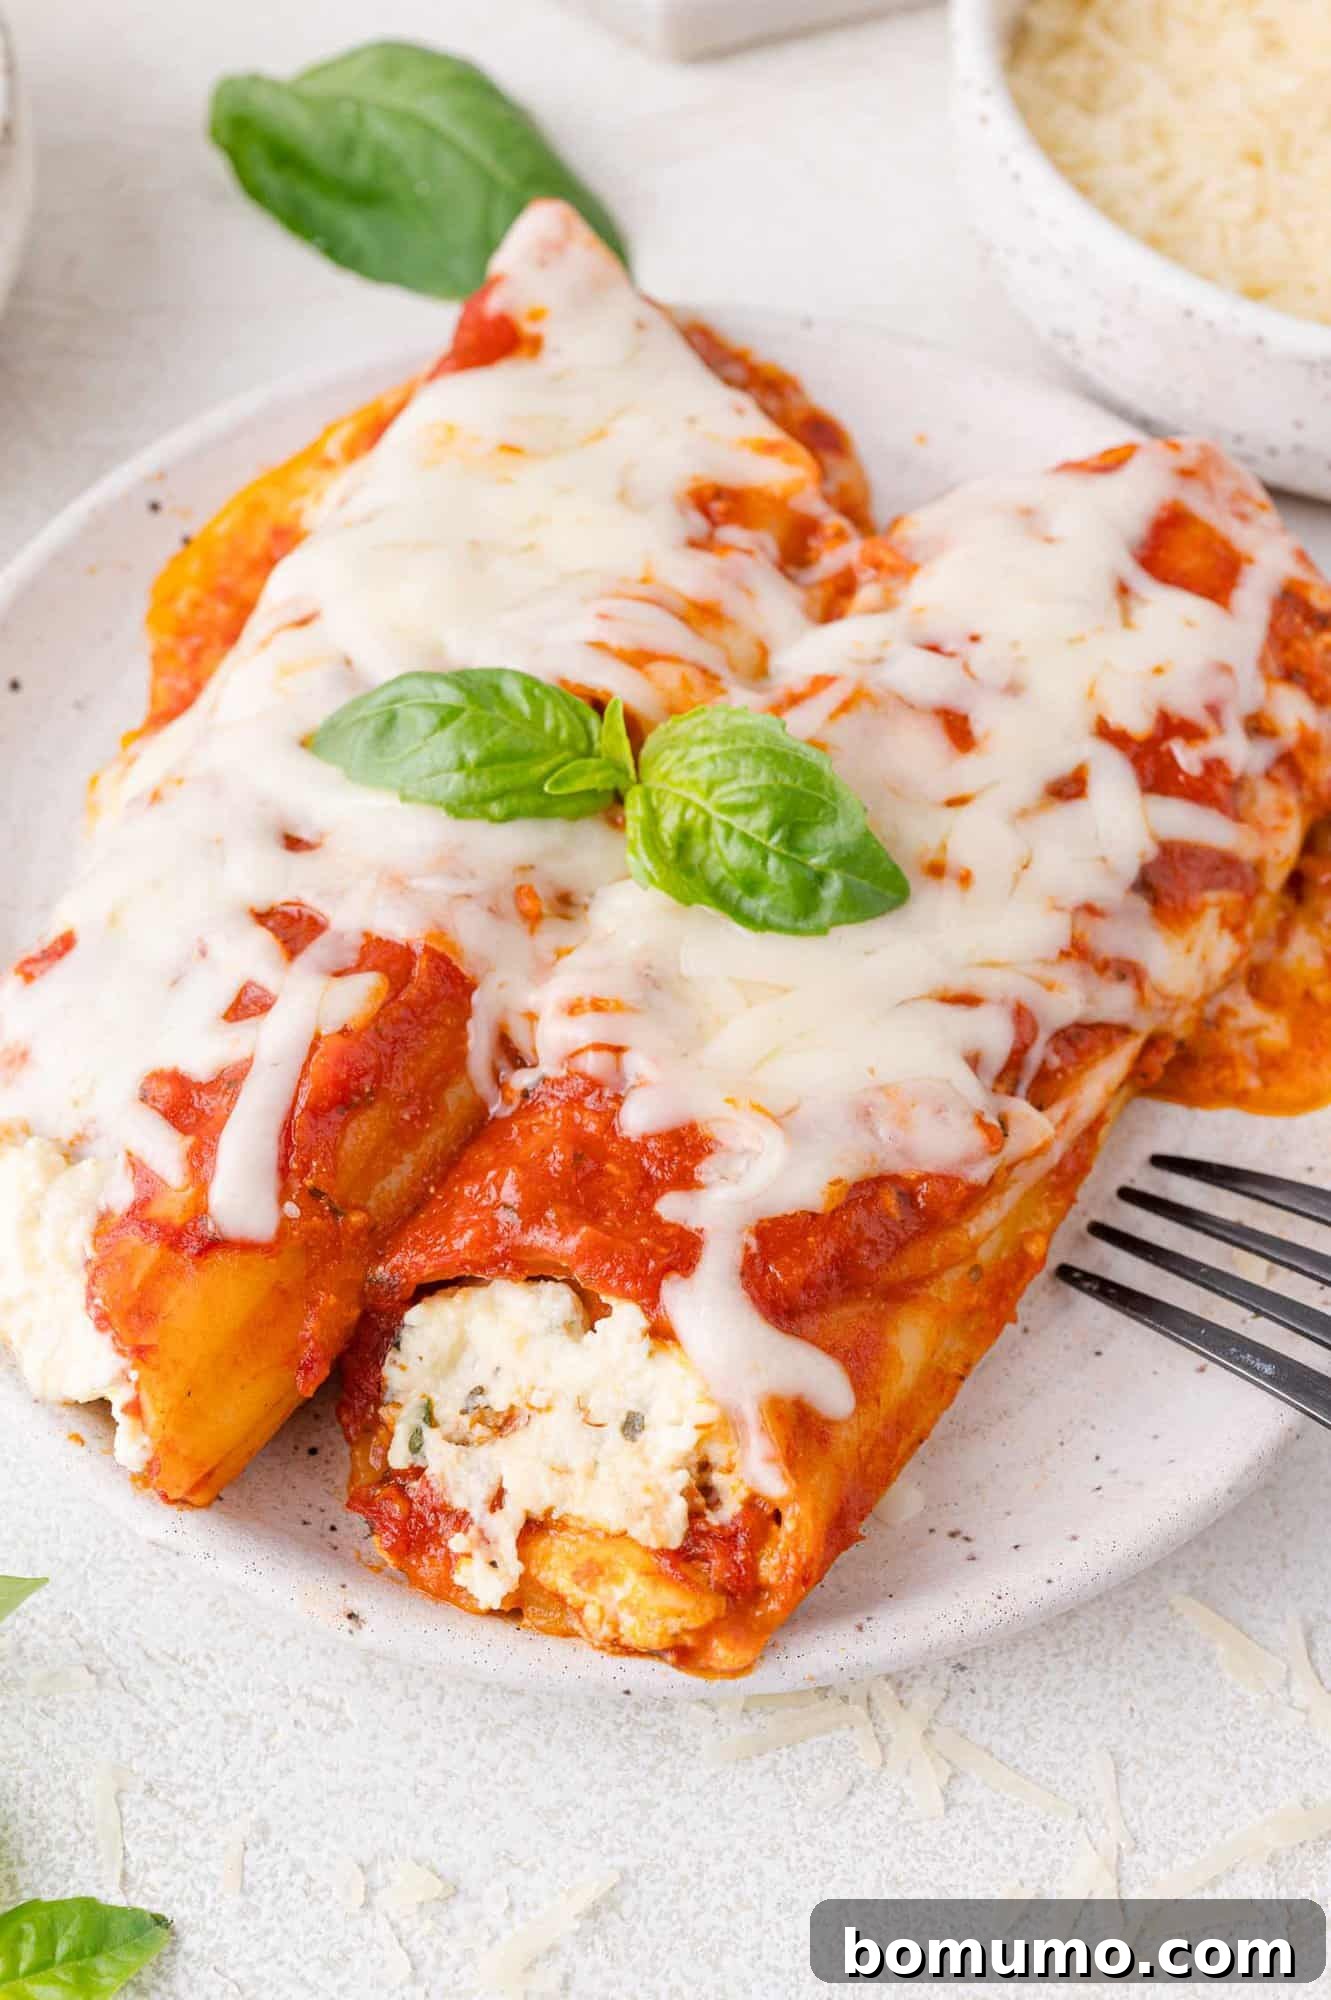
Pin this classic recipe to savor for later!
Pin It
Experience the Comfort of Creamy Homemade Manicotti
Manicotti holds a cherished spot in Italian-American cuisine as a beloved baked pasta dish. It shares a delightful kinship with other popular casseroles like stuffed shells, baked ravioli, and lasagna. At its heart, manicotti follows a time-tested, undeniably delicious formula: perfectly cooked pasta, a vibrant tomato sauce, and a rich, creamy ricotta cheese filling. While there are countless variations and exciting additions to explore, these three core ingredients lay the foundation for a deeply satisfying and comforting meal that’s perfect for any dinner occasion.
What Exactly is Manicotti?
The name “manicotti” itself offers a charming clue to its form, translating from Italian to “little sleeves.” This refers to the signature large, tubular pasta shells that are central to the dish. These impressive pasta tubes are traditionally filled with a seasoned ricotta cheese mixture, then generously blanketed in a robust tomato sauce and a final layer of melted cheese. The entire casserole is then baked to golden perfection in the oven until the cheese is wonderfully bubbly and melted, and the sauce is simmering with aromatic goodness. Each forkful promises a harmonious blend of tender pasta, savory sauce, and irresistible creamy cheese, making it a true comfort food classic.
Manicotti vs. Cannelloni: Understanding the Differences
It’s common for both manicotti and cannelloni to be mentioned in the same breath, and while they share striking similarities, they are not quite identical. The names are sometimes used interchangeably, leading to understandable confusion. However, there’s a key distinction: cannelloni is typically prepared by rolling sheets of fresh pasta, resulting in a thinner, smoother tube. Manicotti, on the other hand, is made using pre-formed, ridged, dry pasta shells. Both pasta types are traditionally filled with a creamy ricotta mixture, paired with a savory tomato sauce and a blanket of melted cheese, and baked until bubbling. Their tubular shape and common fillings certainly make them seem like close cousins, but the fundamental difference in the pasta itself — fresh, thin cannelloni versus sturdy, ridged dry manicotti — offers distinct textural experiences to the diner.
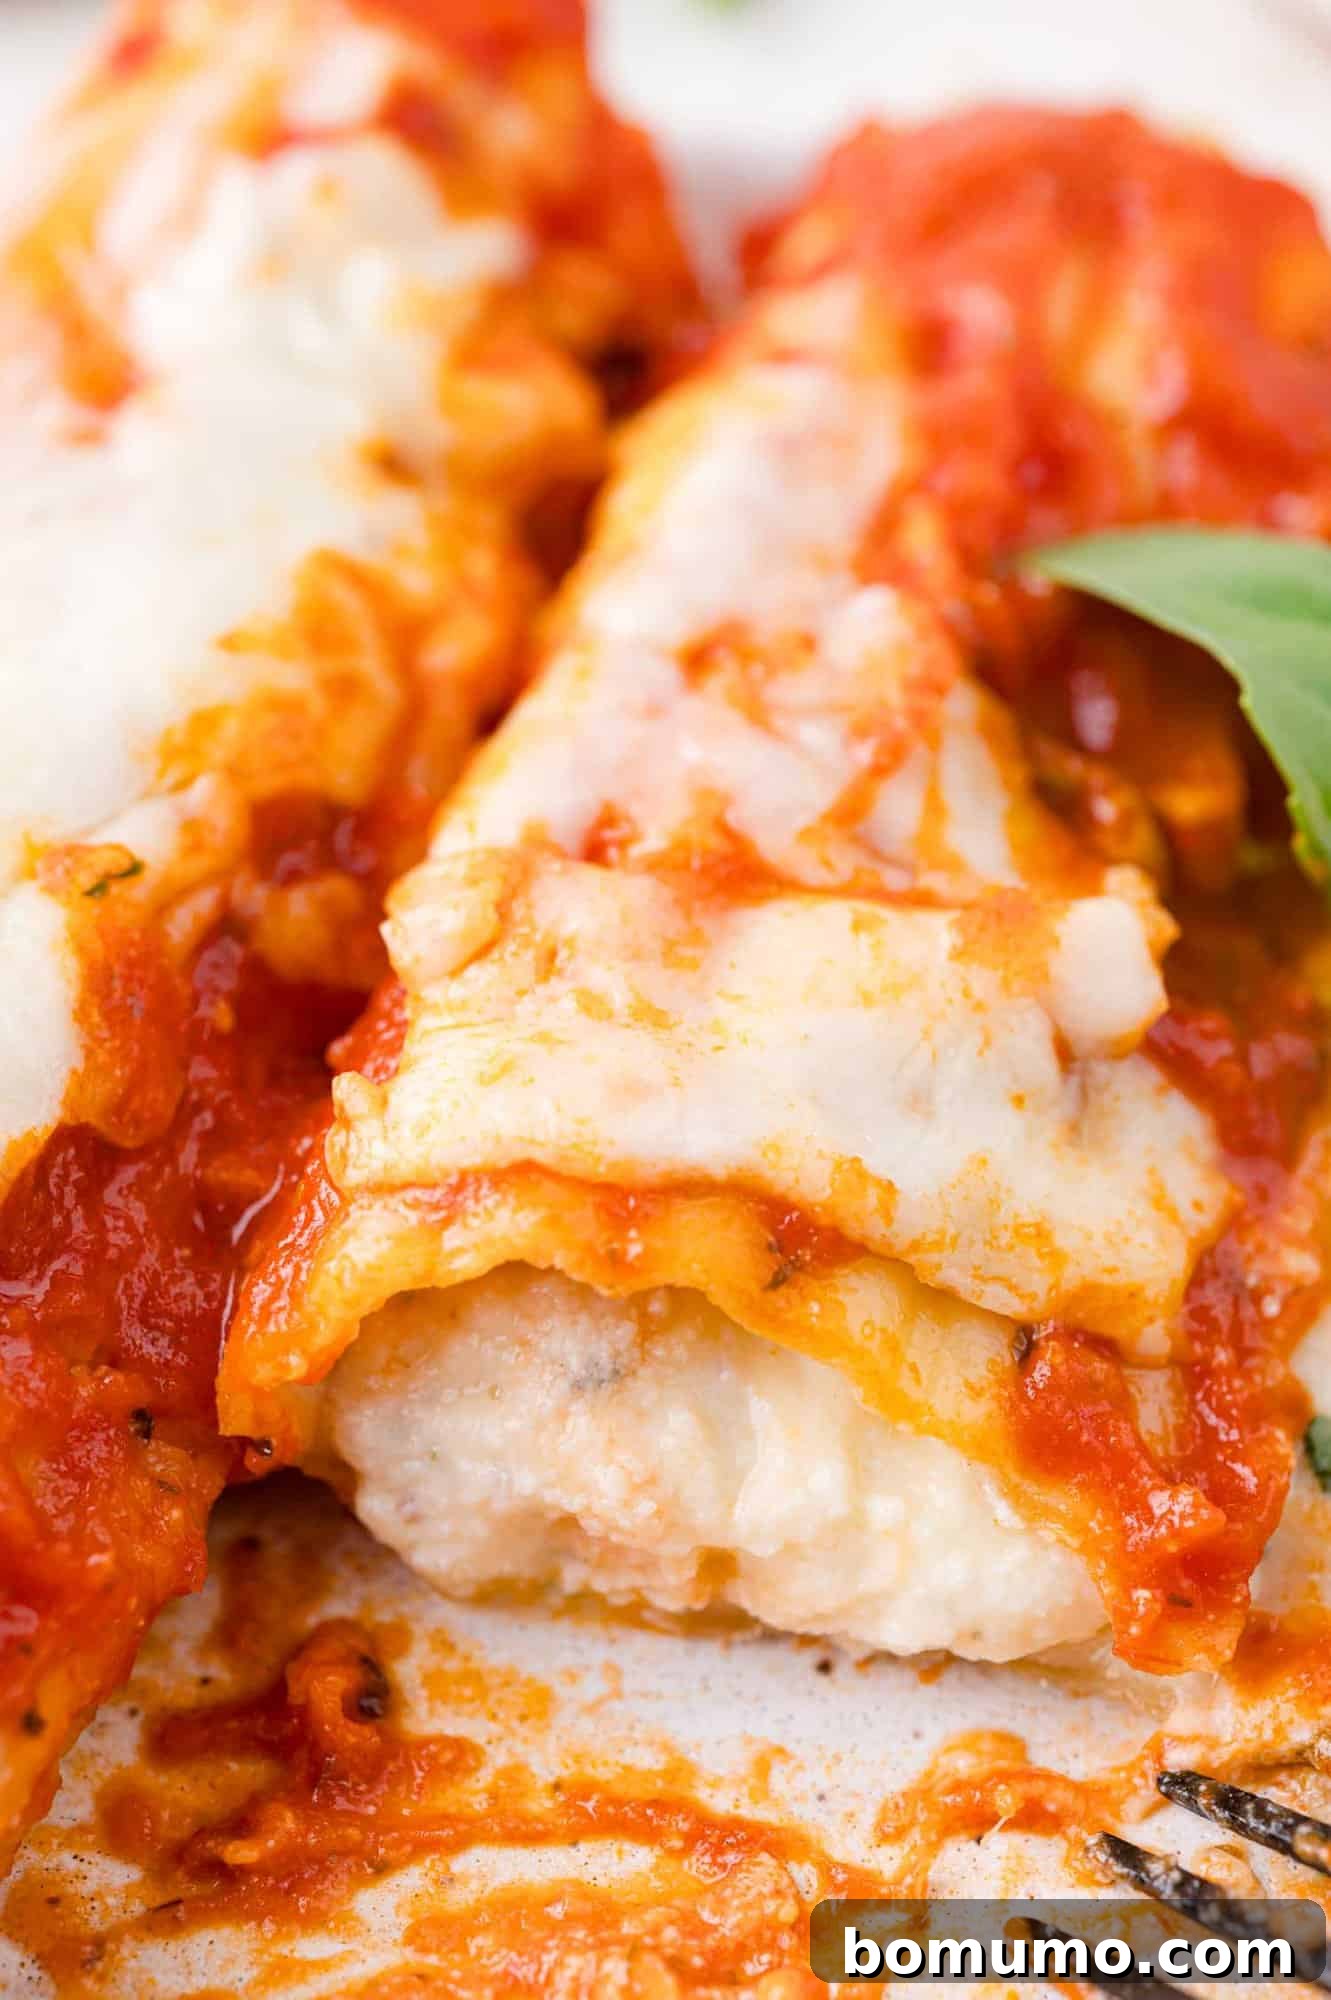
Irresistible Features of This Baked Manicotti Recipe
There’s a reason why homemade manicotti remains a timeless favorite. This particular recipe elevates the classic with several standout features:
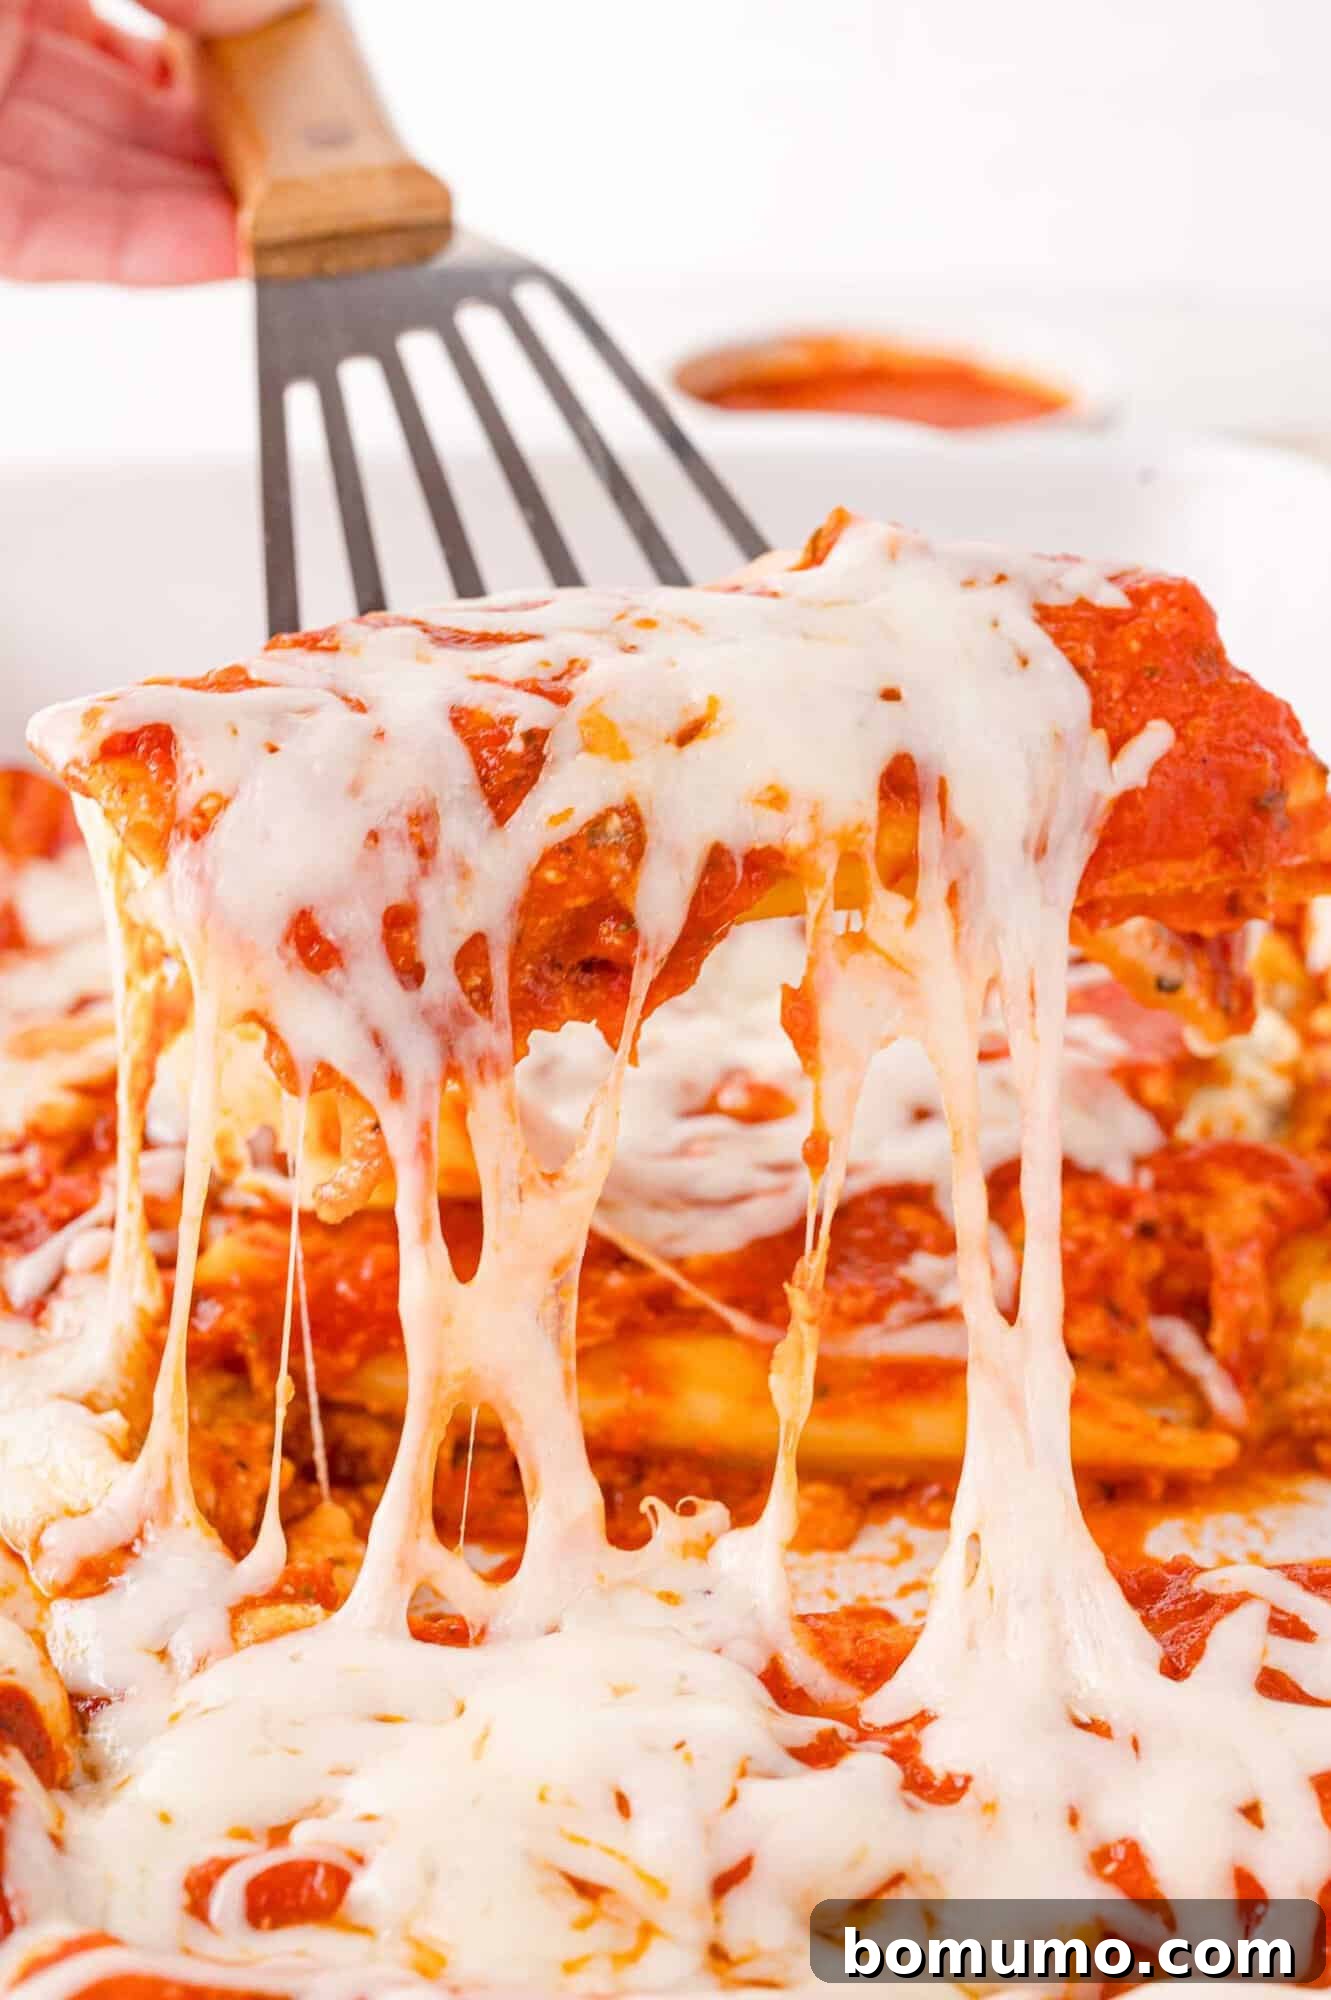
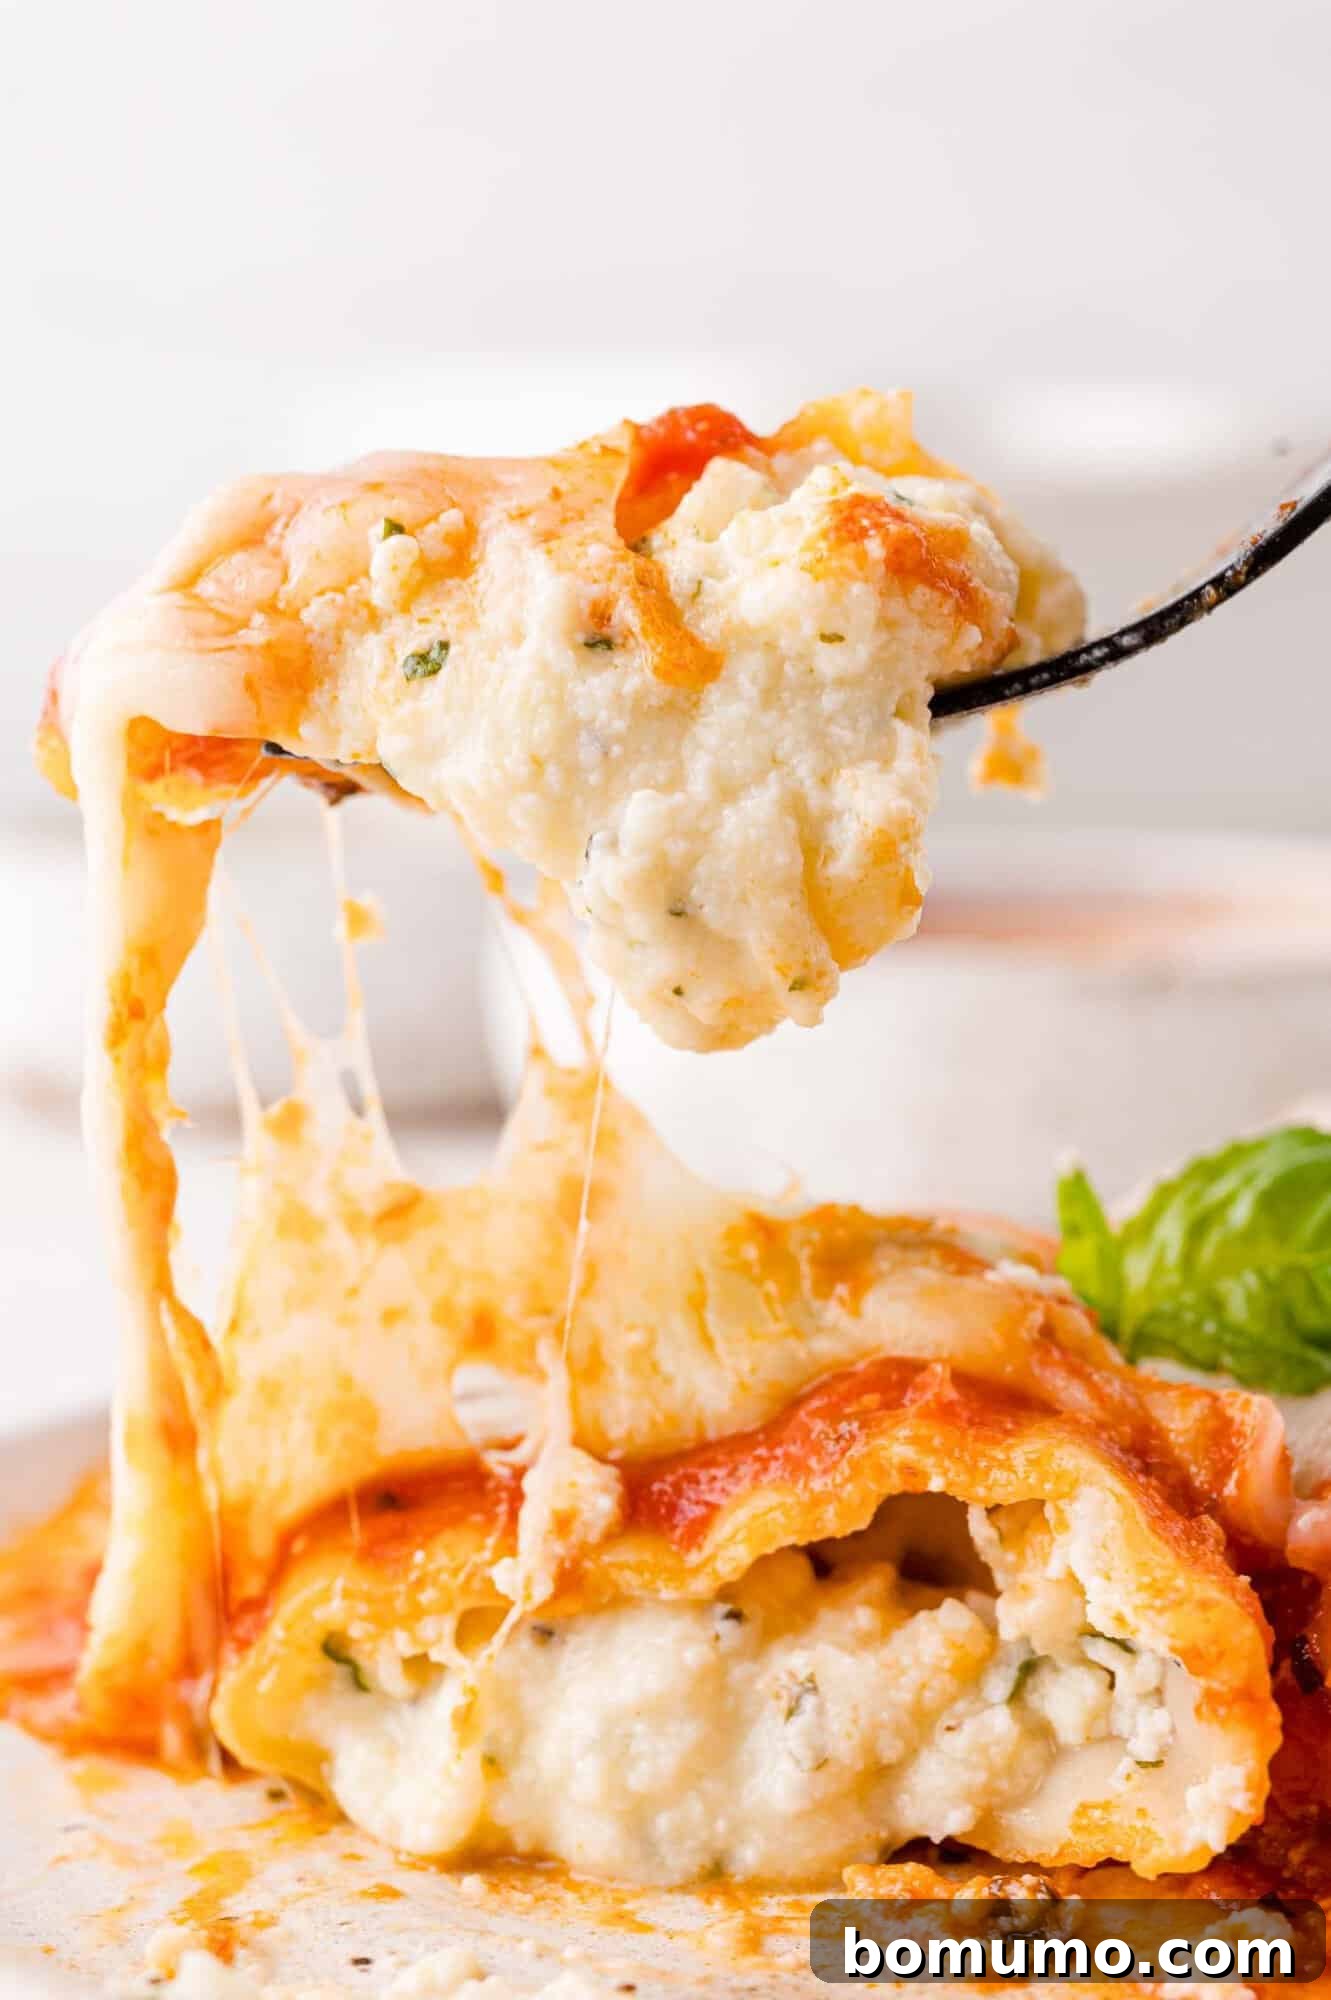
Unapologetically Creamy and Cheesy: Prepare your taste buds for an extraordinary cheese experience! My manicotti recipe boasts a luxurious blend of not one, not two, but three distinct cheeses: creamy ricotta, melty mozzarella, and sharp Parmesan. This trio creates a filling that is incredibly rich and satisfying. The robust flavor of the tomato sauce, however, plays a crucial balancing act, ensuring that the dish remains decadent without feeling overly heavy. It’s the perfect symphony of textures and flavors that will have everyone reaching for seconds.
Surprisingly Easy to Assemble: Unlike some other baked pasta dishes that can feel like a monumental task, this manicotti recipe is designed for ease. For many, constructing a traditional lasagna with all its intricate layering can be quite a production. Manicotti, by contrast, simplifies the process. The method of piping the delectable cheese filling directly into the pre-cooked pasta tubes is remarkably straightforward, often proving to be less messy and significantly less stressful than layering. Moreover, because this recipe focuses on a delicious cheese filling, there’s no need for the extra step of browning ground beef or sausage, further streamlining your cooking process. (For those interested in more shortcuts to delicious pasta bakes, don’t miss my lasagna soup or the incredibly easy one-pan skillet lasagna!)
The Ultimate Dish for Gatherings: Manicotti is more than just a meal; it’s a celebration dish. It consistently appears at potlucks, family celebrations, and holiday dinners for all the right reasons. Its crowd-pleasing appeal is undeniable, and its ease of preparation makes it a host’s dream. The ability to prepare it ahead of time means less stress on the day of your event, allowing you to enjoy your guests. Plus, this vegetarian-friendly version offers a thoughtful and delicious option for those who might not be partaking in other meat-based holiday fare, like a traditional Christmas ham. It’s a dish that brings people together, fostering warmth and good cheer around the table.
Kira Said:
“This was delicious! I didn’t expect to like the filling as much as I did (thought I’d prefer a meat filling), but I was pleasantly surprised. I followed the recipe exactly and wouldn’t change a thing. Thanks for such an easy-to-follow, tasty recipe. I ate way too many!”
Essential Ingredient Notes for Perfect Manicotti
Selecting the right ingredients is key to achieving the perfect texture and flavor in your homemade manicotti. Here’s a closer look at what you’ll need:
- Manicotti Pasta Shells: You’ll find these large, ridged pasta tubes in the dry pasta aisle of most grocery stores. It’s crucial to cook them until they are truly al dente—meaning firm to the bite but not hard. This ensures they hold their shape during filling and baking, preventing them from becoming mushy.
- Ricotta Cheese: This is the heart of your creamy filling. When it comes to ricotta, both whole milk and part-skim varieties work beautifully in this recipe. The difference in flavor and texture between the two is often negligible once baked, so feel free to use whichever you prefer or have on hand. Whole milk ricotta will yield a slightly richer filling.
- Shredded Mozzarella Cheese and Grated Parmesan Cheese: This recipe calls for a generous amount of both to create that signature cheesy goodness. For mozzarella, shredding your own from a block often results in better melting and a less starchy texture compared to pre-shredded bags. For Parmesan, while freshly grated is always superior, a good quality shelf-stable grated Parmesan is perfectly acceptable for convenience.
- Large Egg: Don’t skip the egg! It acts as a vital binder, providing structure and substance to the ricotta filling. Without it, the cheese mixture would be too loose and tend to ooze out of the pasta shells during baking, leading to a less cohesive and enjoyable dish.
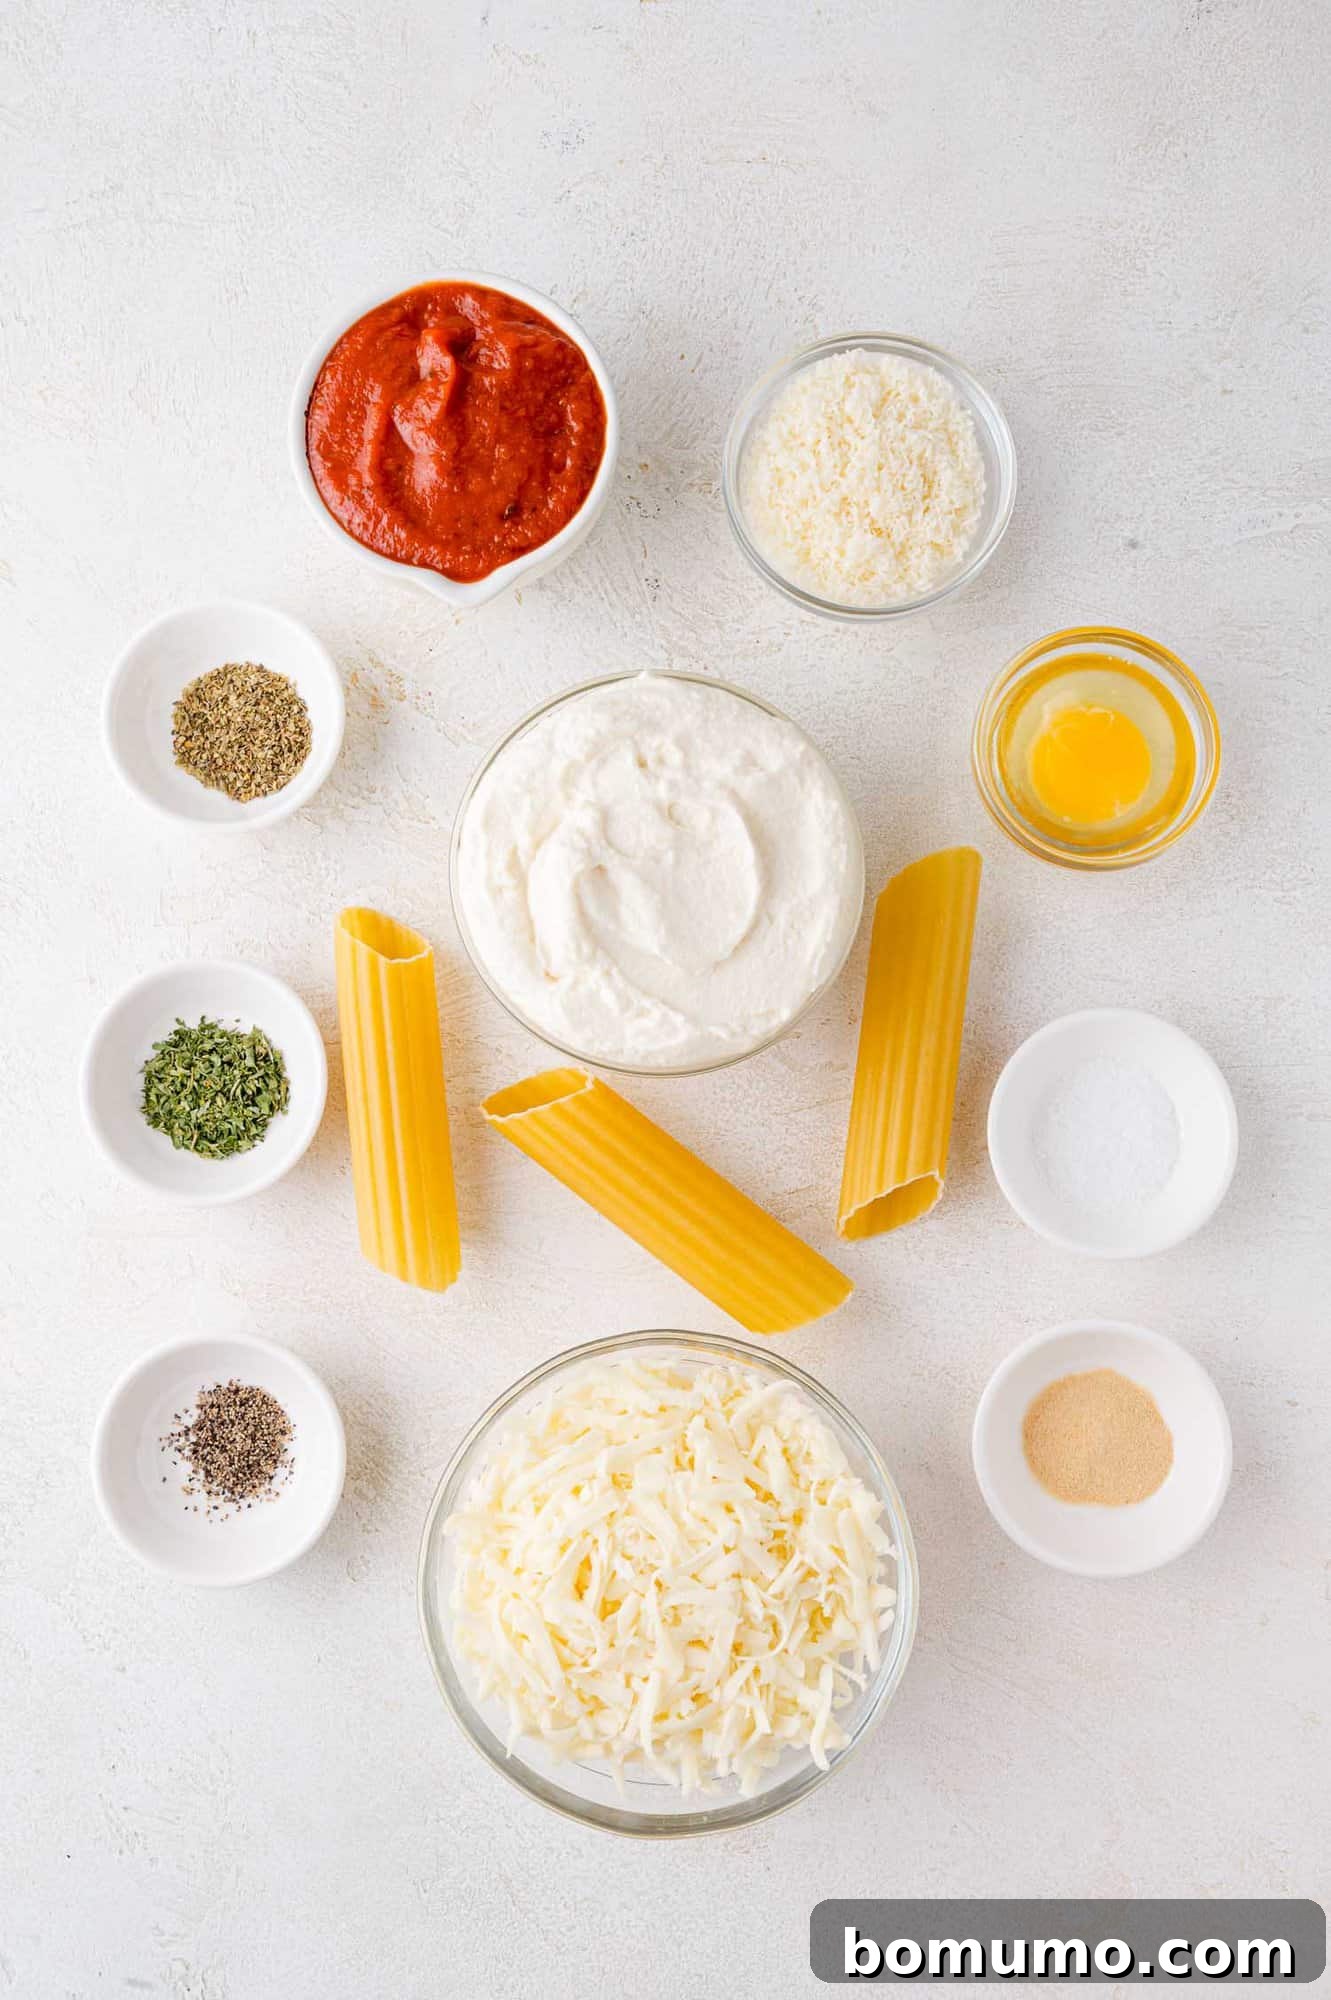
- Seasonings: The simple yet potent blend of dried parsley, dried oregano, garlic powder, kosher salt, and coarse ground black pepper forms the aromatic foundation of your cheese filling. These pantry staples infuse the ricotta with classic Italian flavors, elevating the entire dish.
- Marinara Sauce: A high-quality marinara sauce is essential. Whether you choose your favorite store-bought brand for convenience or opt for a homemade batch for superior flavor, ensure it’s a robust sauce that can stand up to the rich cheese filling.
- Fresh Basil or Parsley: While optional, a sprinkle of fresh basil or parsley before serving adds a beautiful pop of color, a burst of fresh flavor, and a delightful aromatic finish to your baked manicotti. It truly elevates the presentation and taste.
Crafting Your Own Delicious Manicotti: A Step-by-Step Guide
Making homemade manicotti might seem daunting, but with these clear steps, you’ll be serving up a comforting Italian classic in no time. Precision at each stage ensures a perfect result:
1. Cook the Pasta to Perfection: Begin by bringing a large pot of generously salted water to a rolling boil. Add your manicotti pasta shells and cook them according to the package directions, aiming for an al dente texture. This typically means the pasta should be firm to the bite but still pliable, usually around 6-7 minutes. It’s vital not to overcook the pasta; if the tubes become too soft, they will be much more difficult to handle and fill without tearing. Remember, the pasta will continue to cook in the oven, so slightly firm is ideal to prevent a mushy final dish.
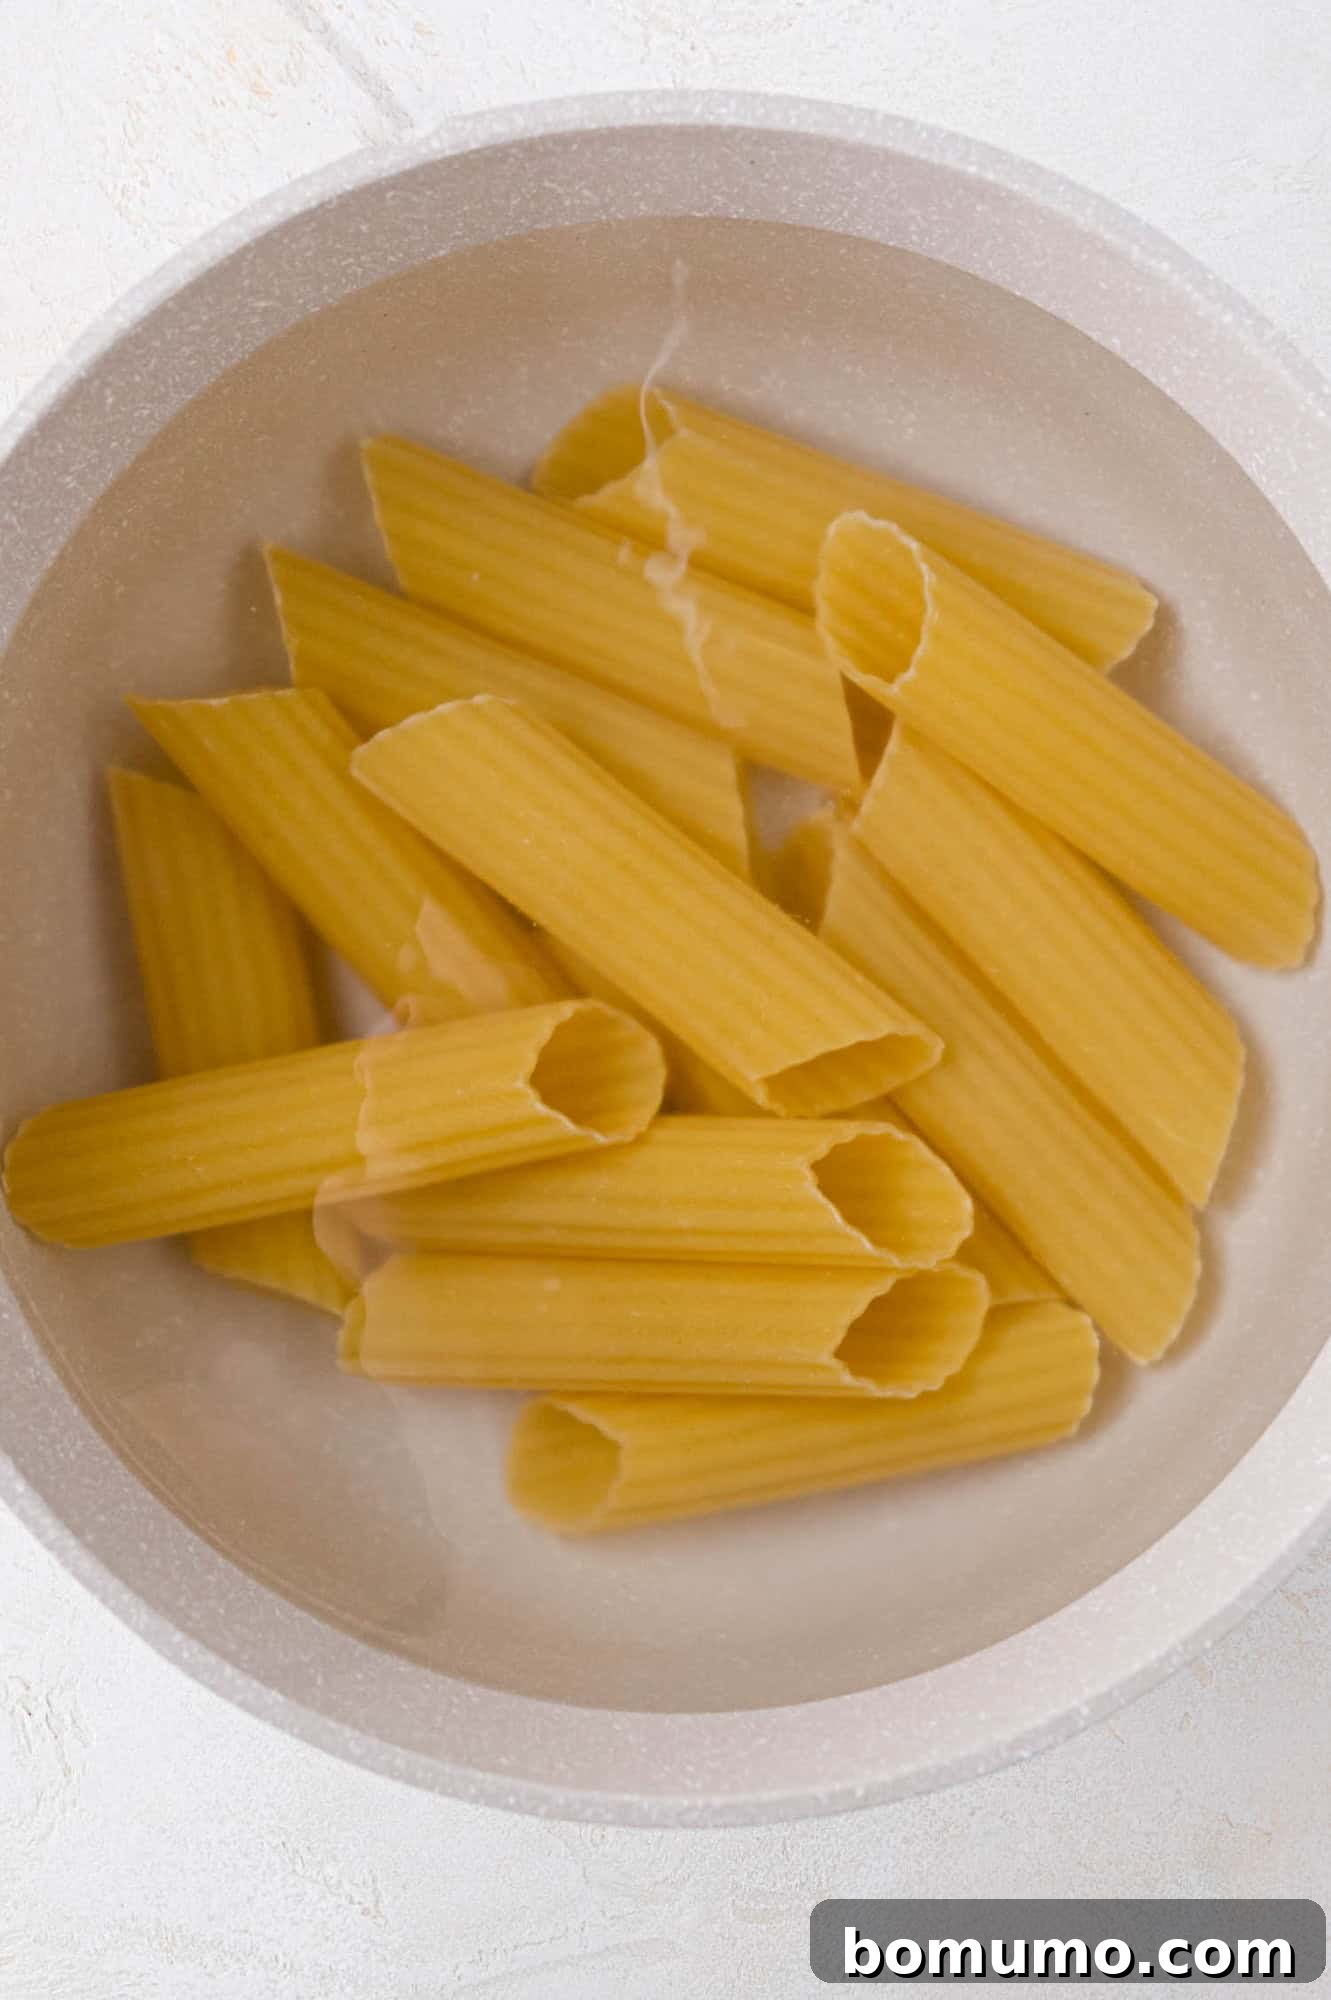
2. Prepare the Manicotti for Filling: Once the pasta is cooked al dente, carefully drain it in a colander. Gently rinse the manicotti with cold water to halt the cooking process and prevent the noodles from sticking together. This also helps to remove any excess starchy film. Transfer the drained tubes individually onto a clean, lint-free dish towel and allow them to dry completely. Excess moisture on the pasta can dilute your rich sauce and filling, impacting the overall flavor and texture of the dish.
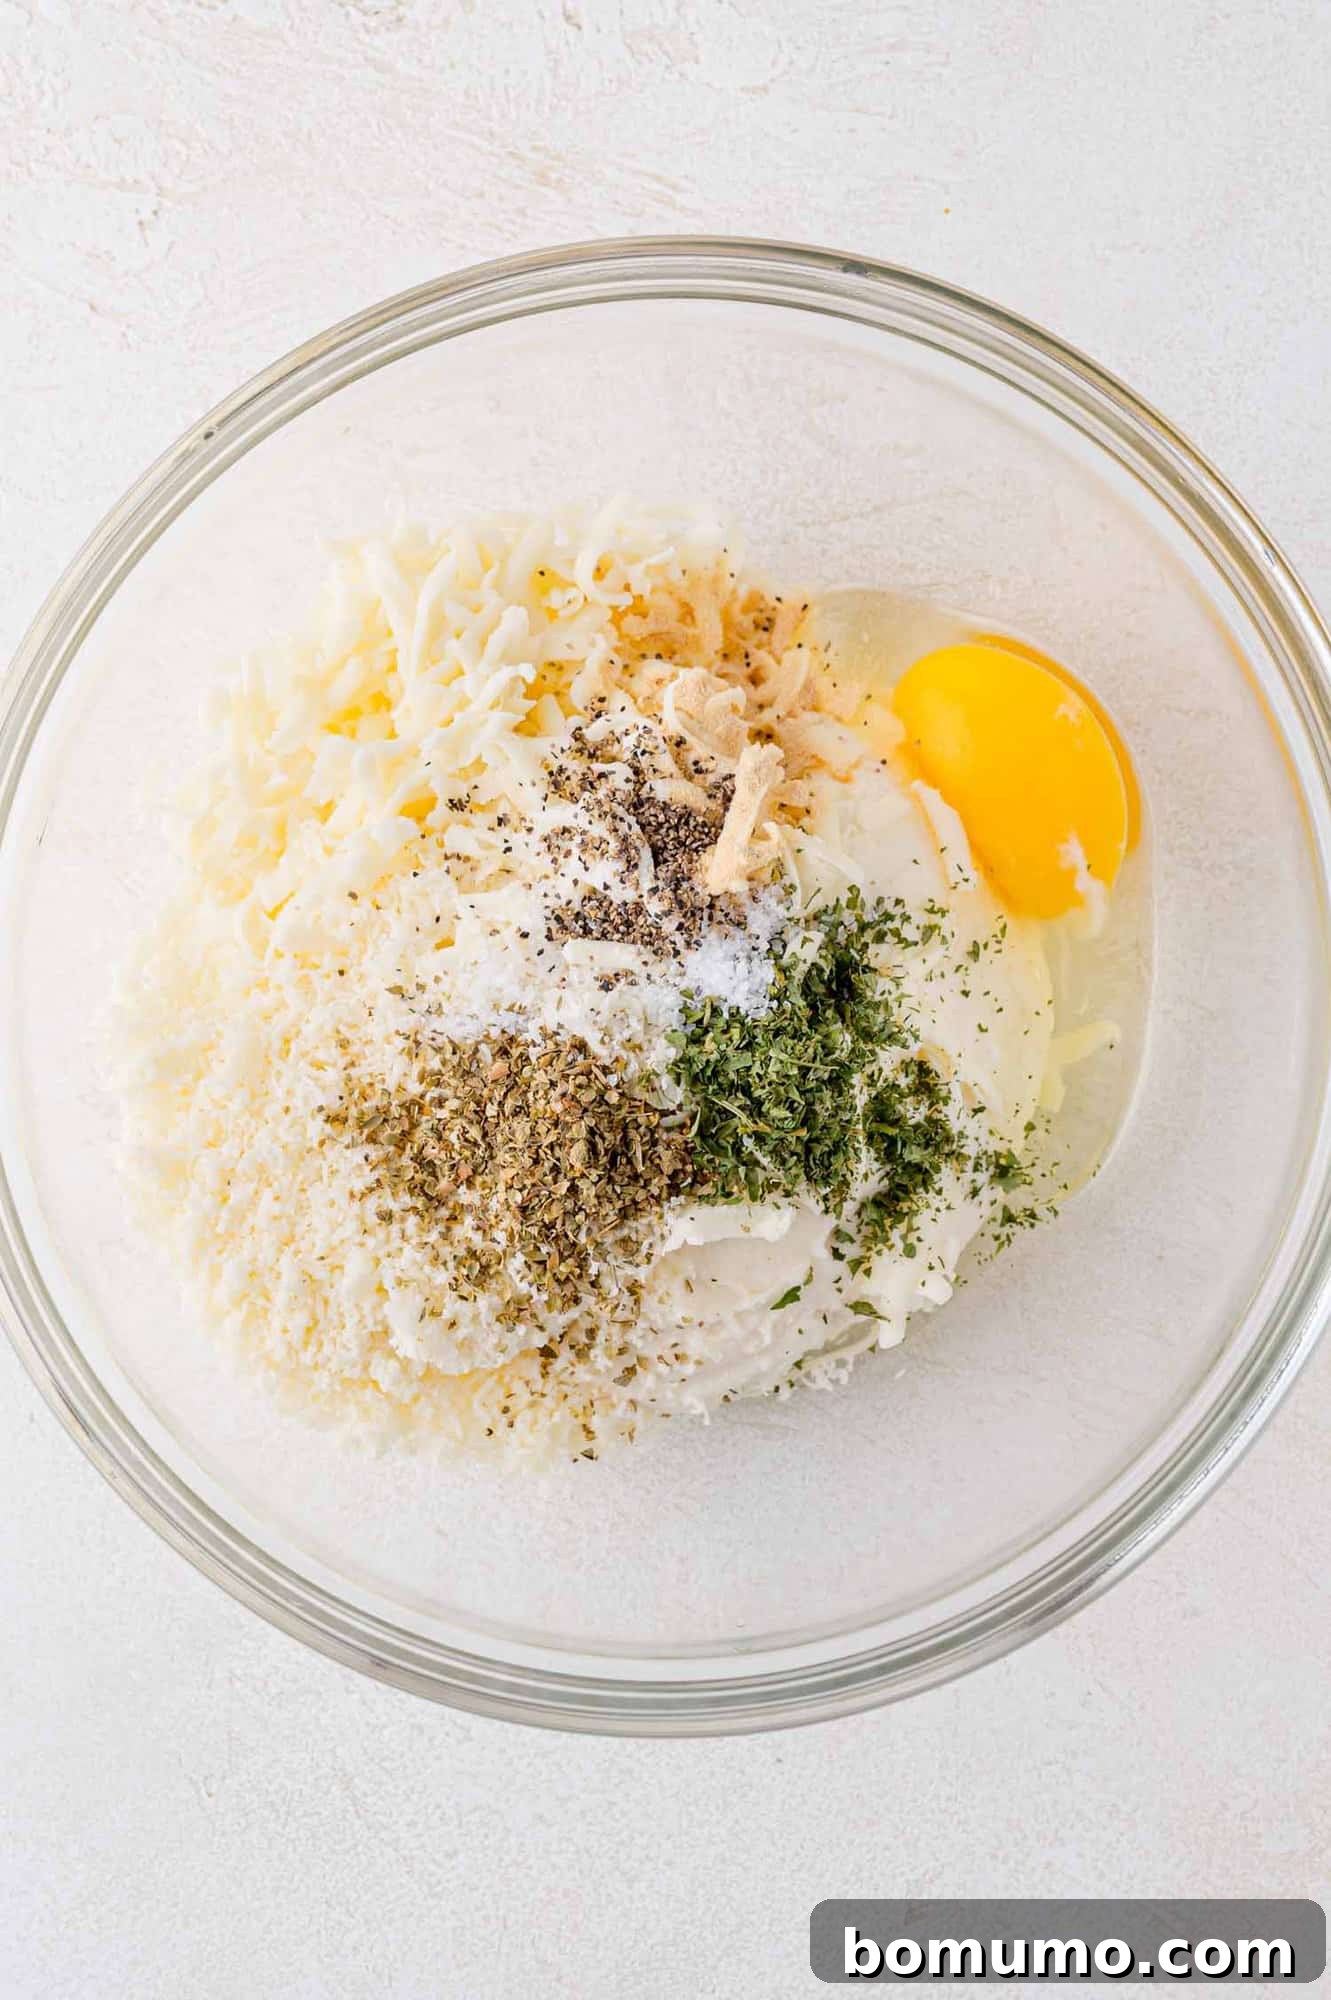
3. Craft the Creamy Filling: In a medium-sized mixing bowl, combine the ricotta cheese, 1 ½ cups of the shredded mozzarella, all of the grated Parmesan, the large egg, and your chosen seasonings: dried parsley, dried oregano, garlic powder, kosher salt, and coarse ground black pepper. Stir all these ingredients thoroughly until they are well-blended and the mixture appears homogenous. This is the delectable core of your manicotti. Once mixed, transfer this rich cheese filling into a piping bag, or if you don’t have one, a sturdy zip-top bag with one corner snipped off will work just as well.
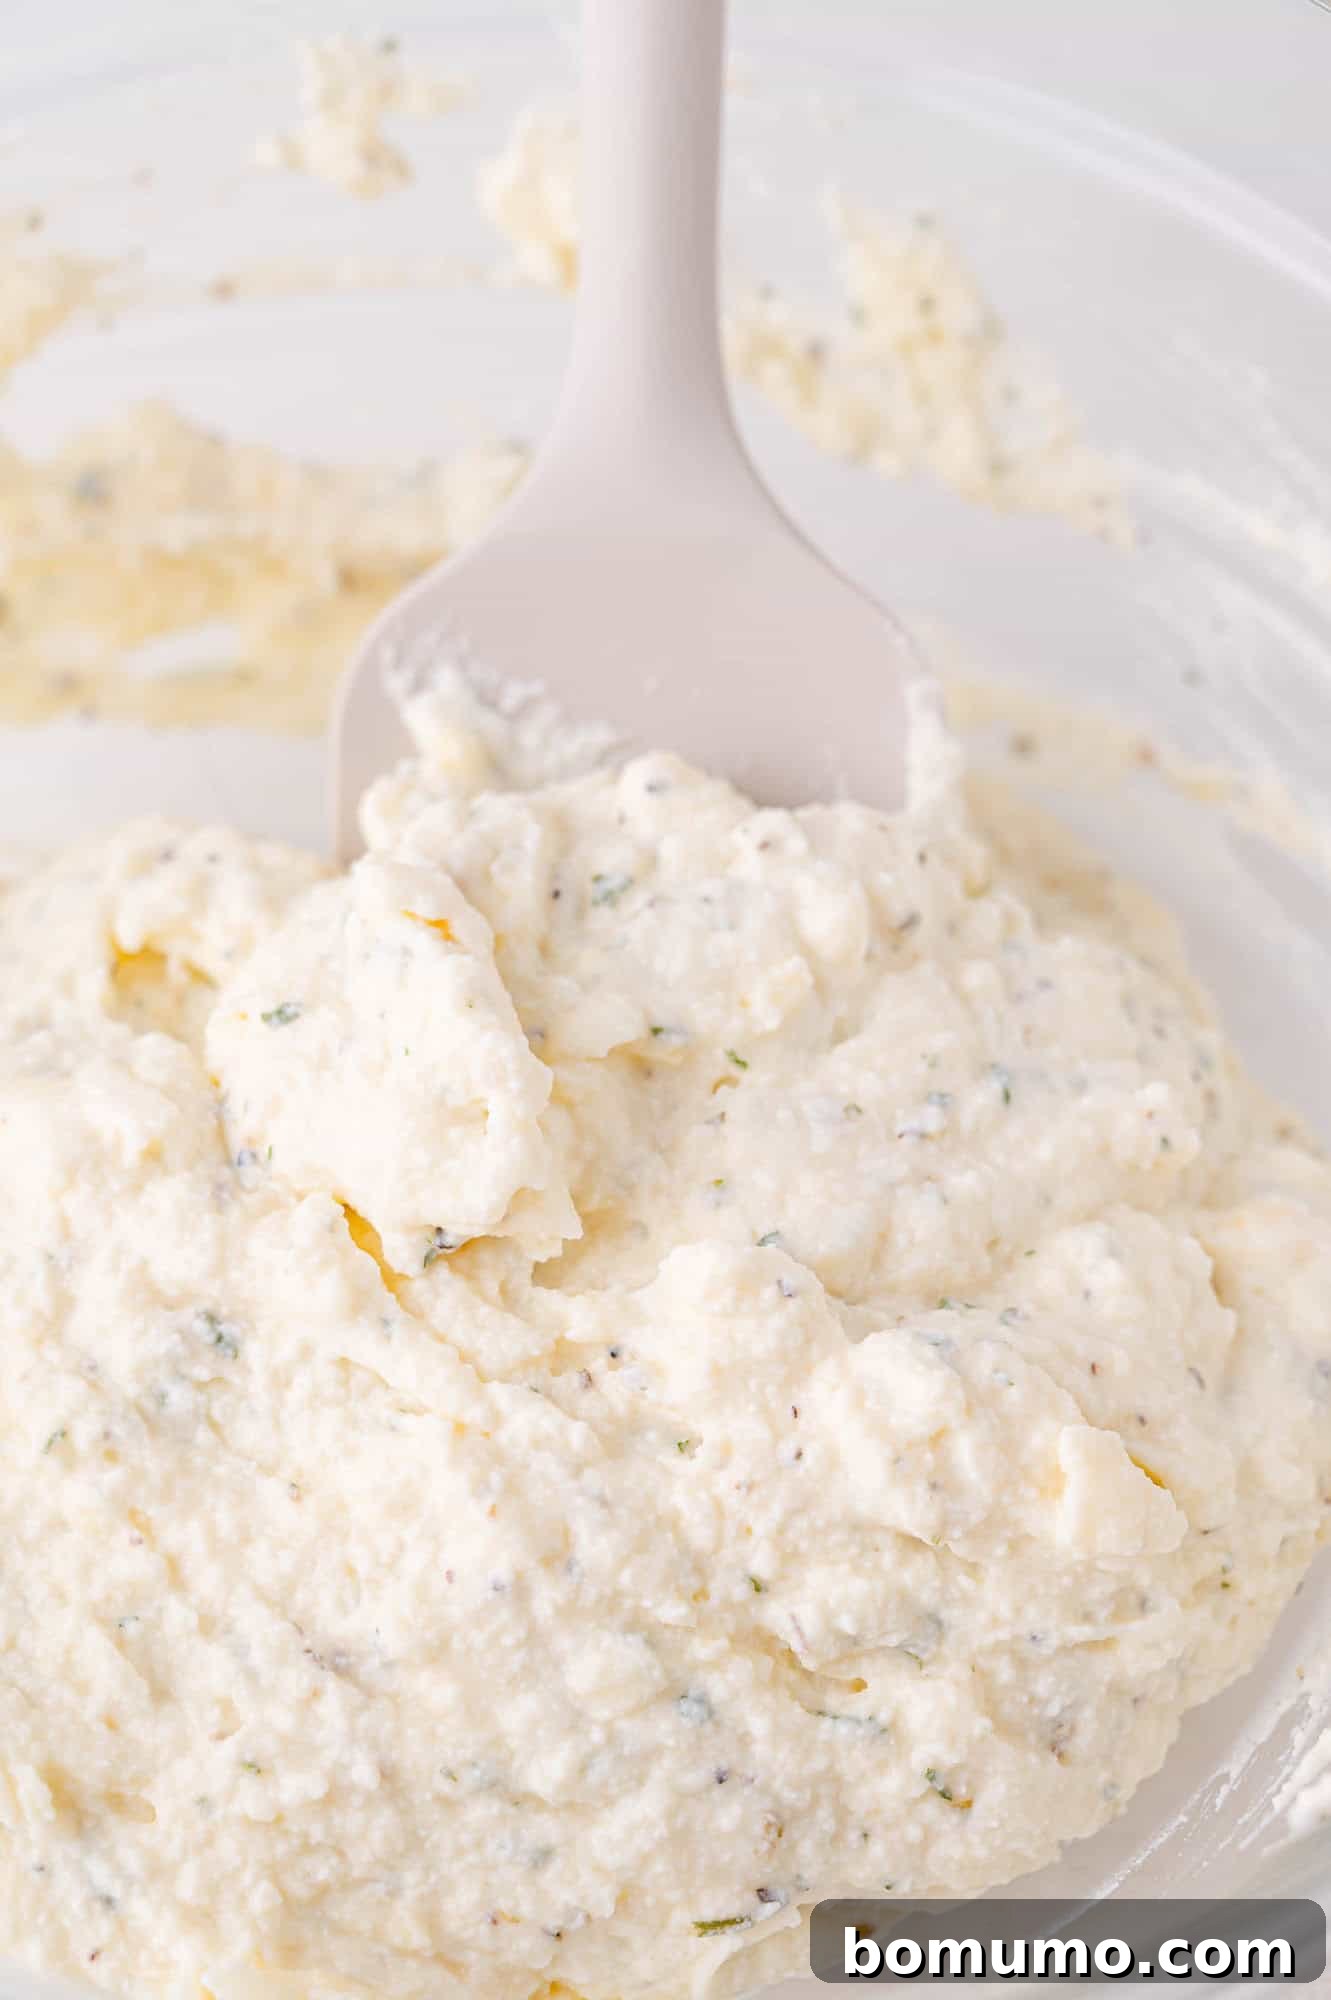
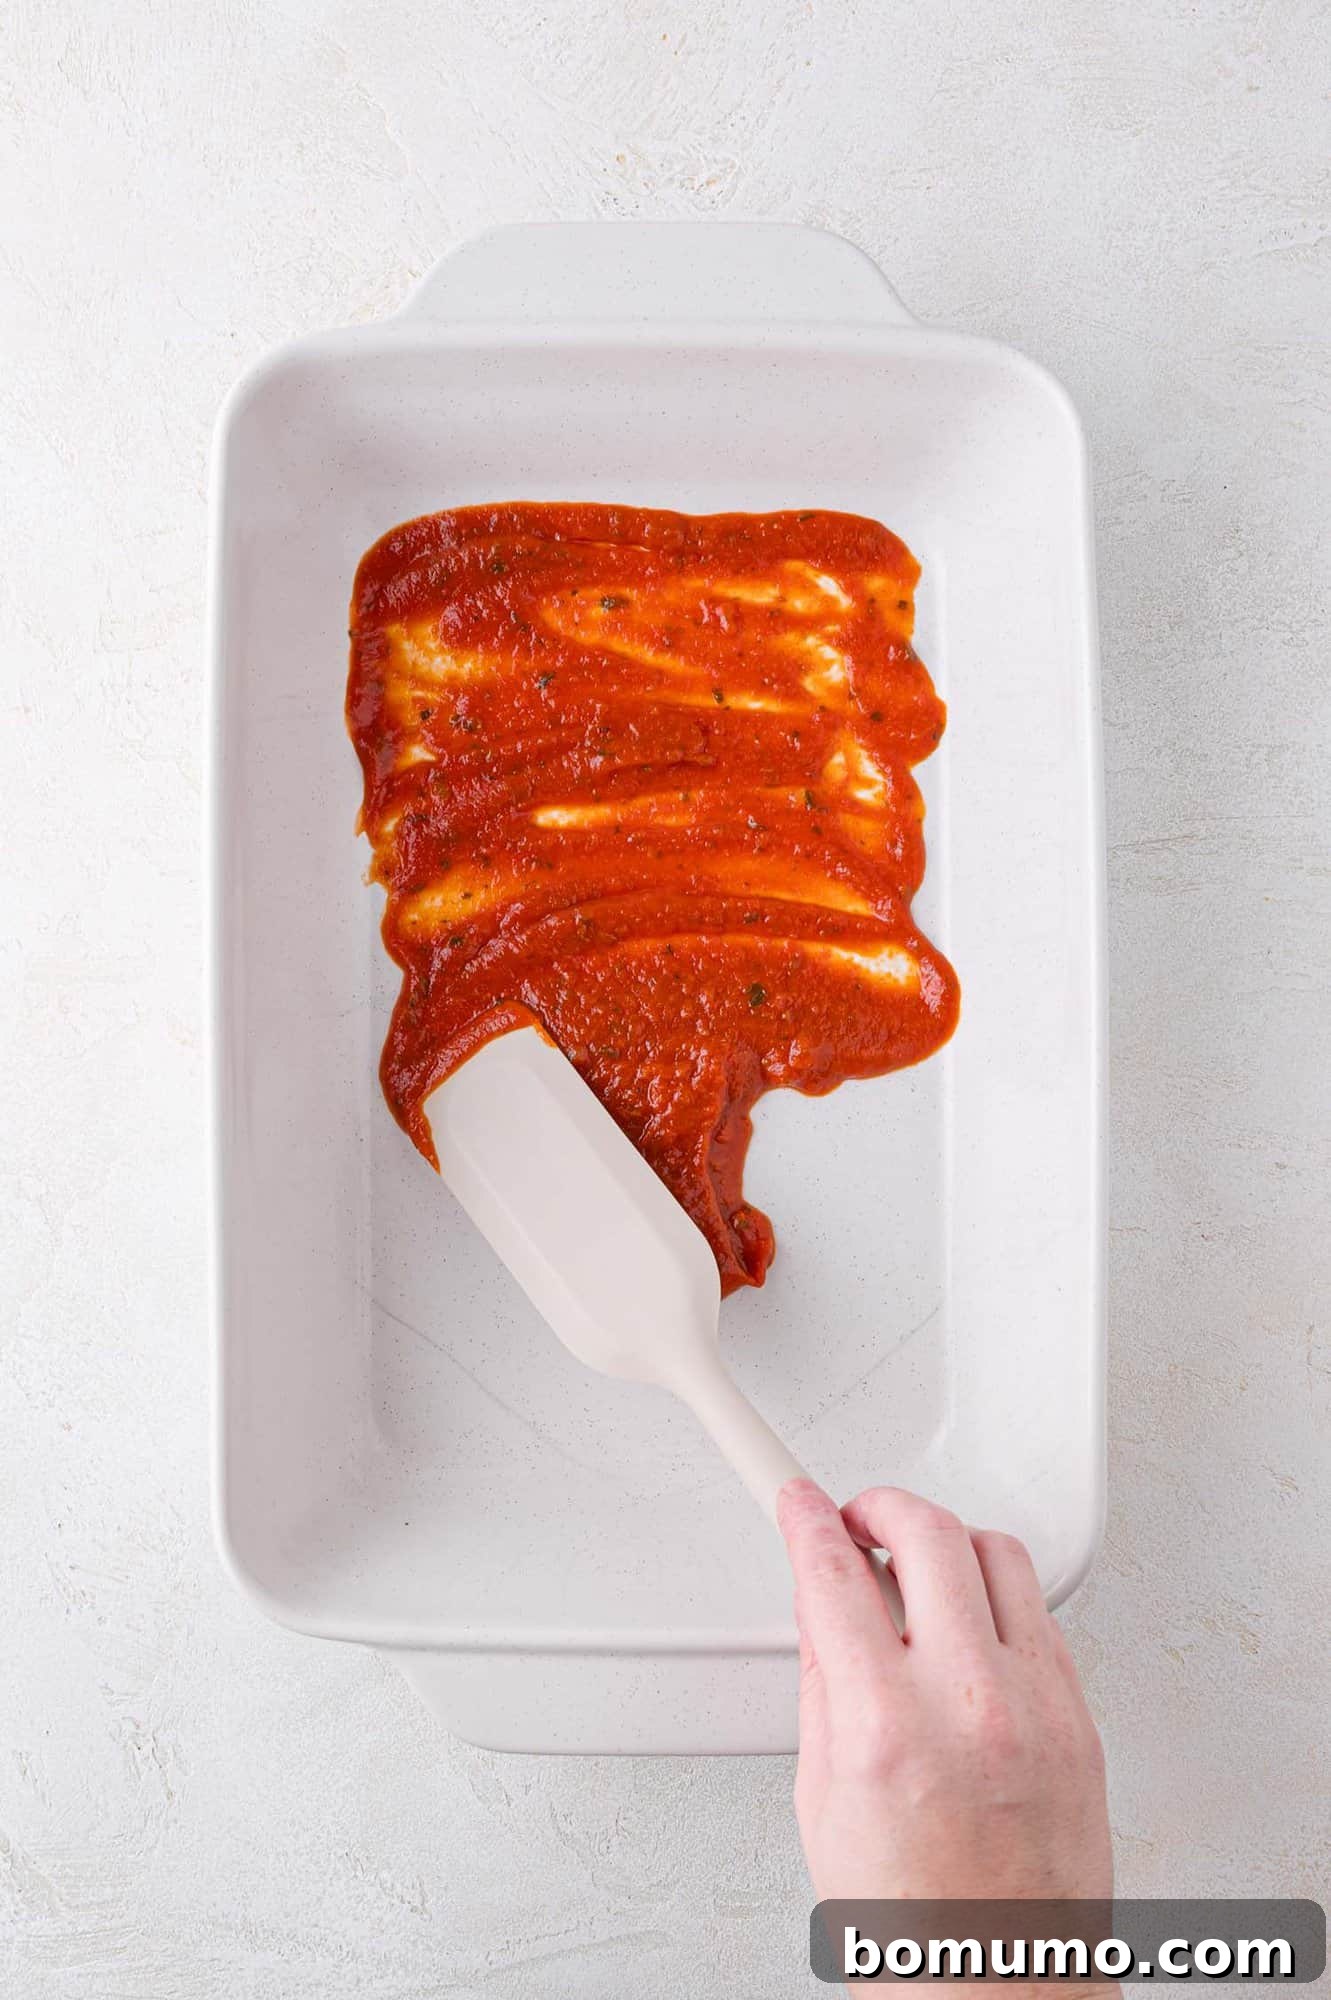
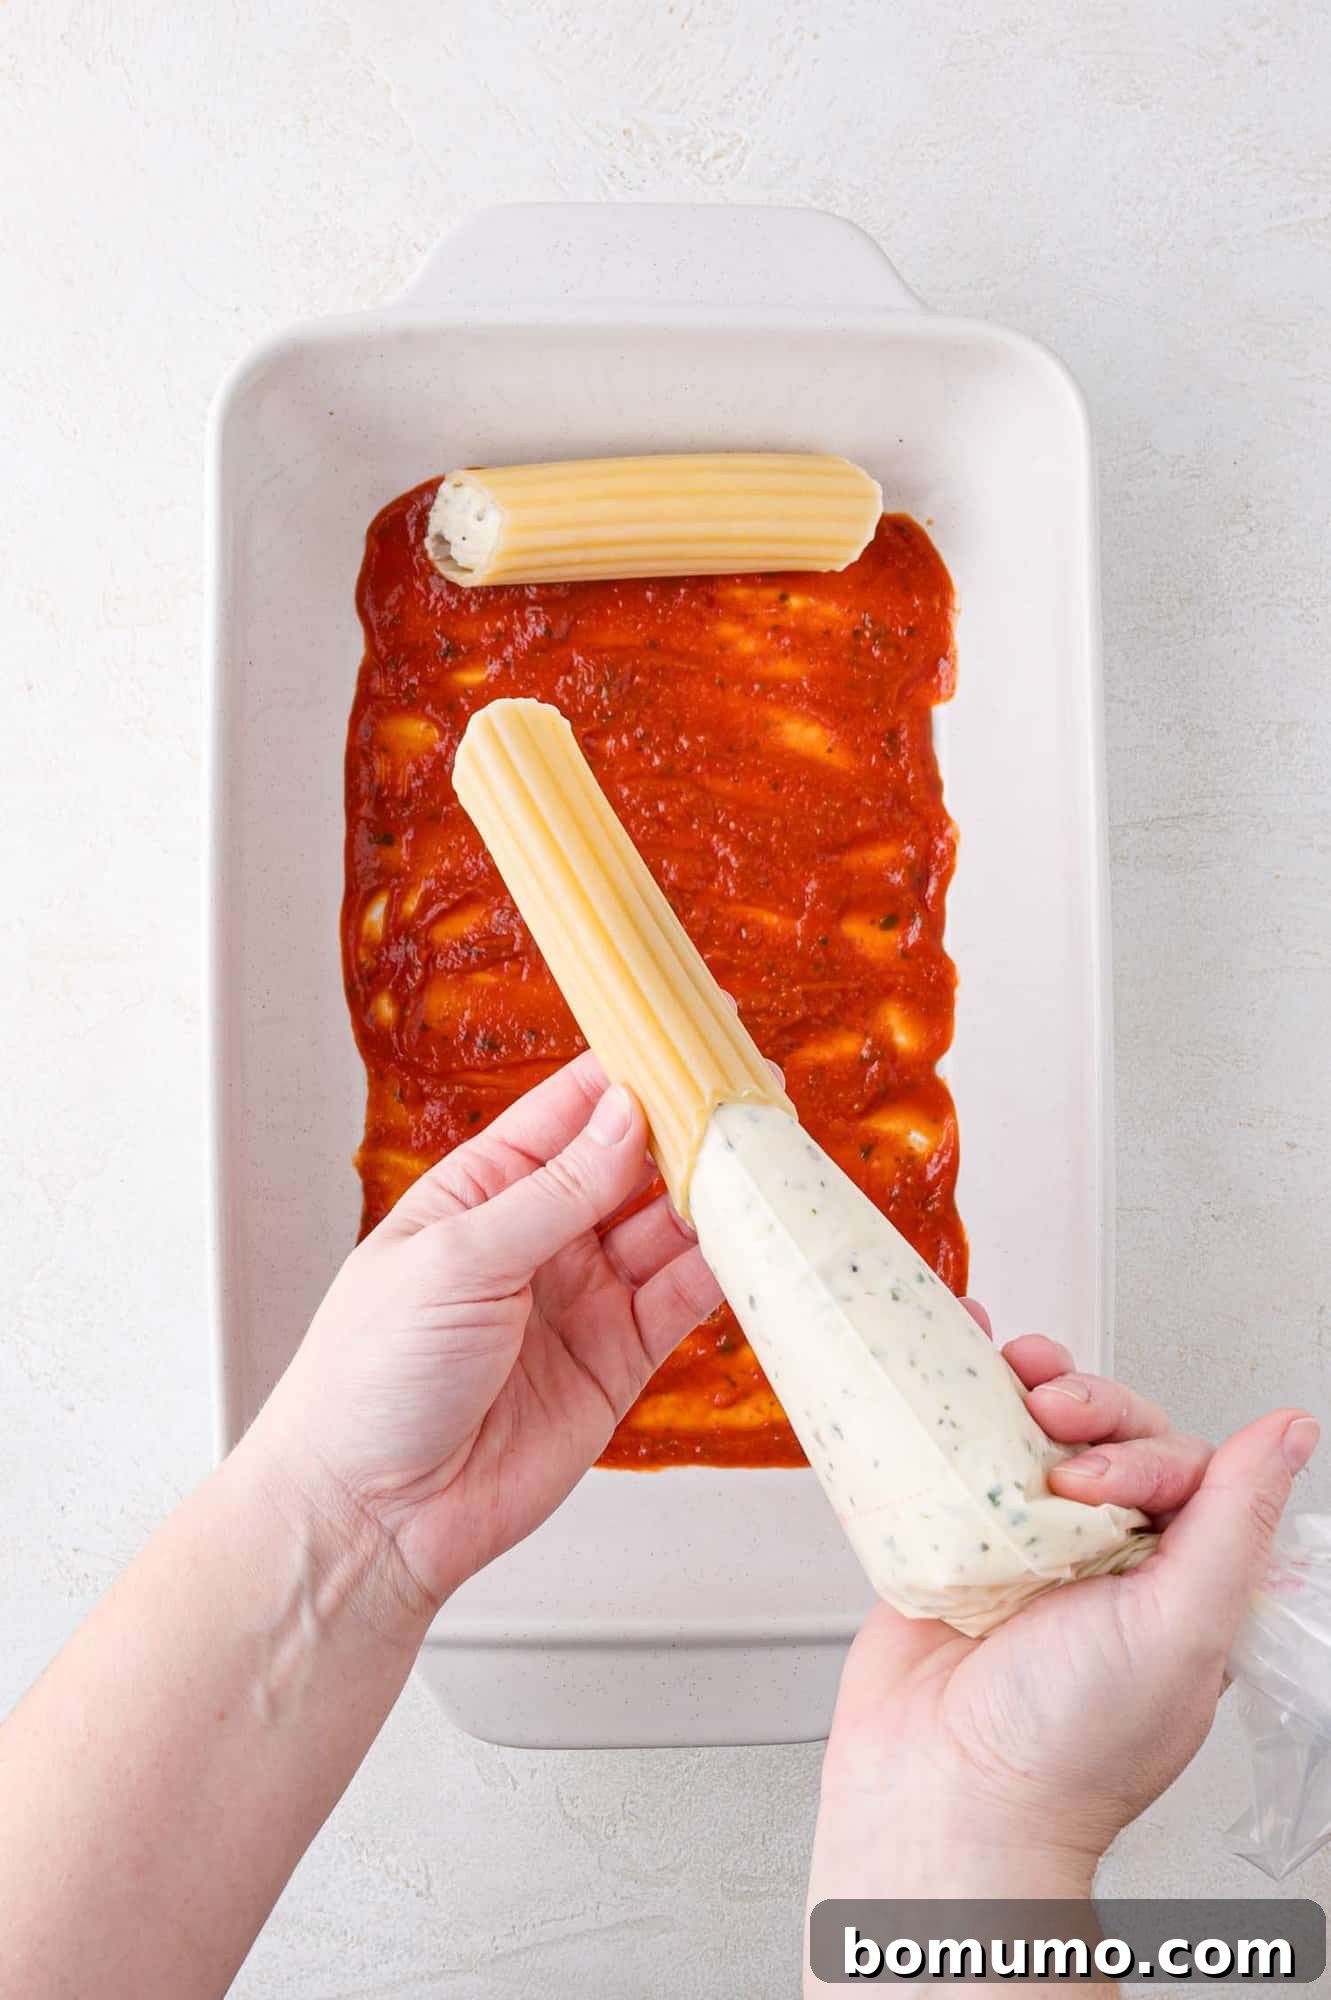
4. Fill the Pasta Shells: Before you begin filling, spread about half a cup of your marinara sauce evenly across the bottom of a 9 x 13-inch baking dish. This creates a flavorful base and prevents the pasta from sticking. Now, carefully pipe the ricotta mixture into each manicotti shell. Take your time and be gentle, as the pasta tubes can tear if handled too roughly. If a shell does happen to tear, simply fill it as best you can and arrange it torn-side-down in the baking dish—no one will ever know! Arrange the filled shells side-by-side in a single layer in the sauced dish as you complete them.
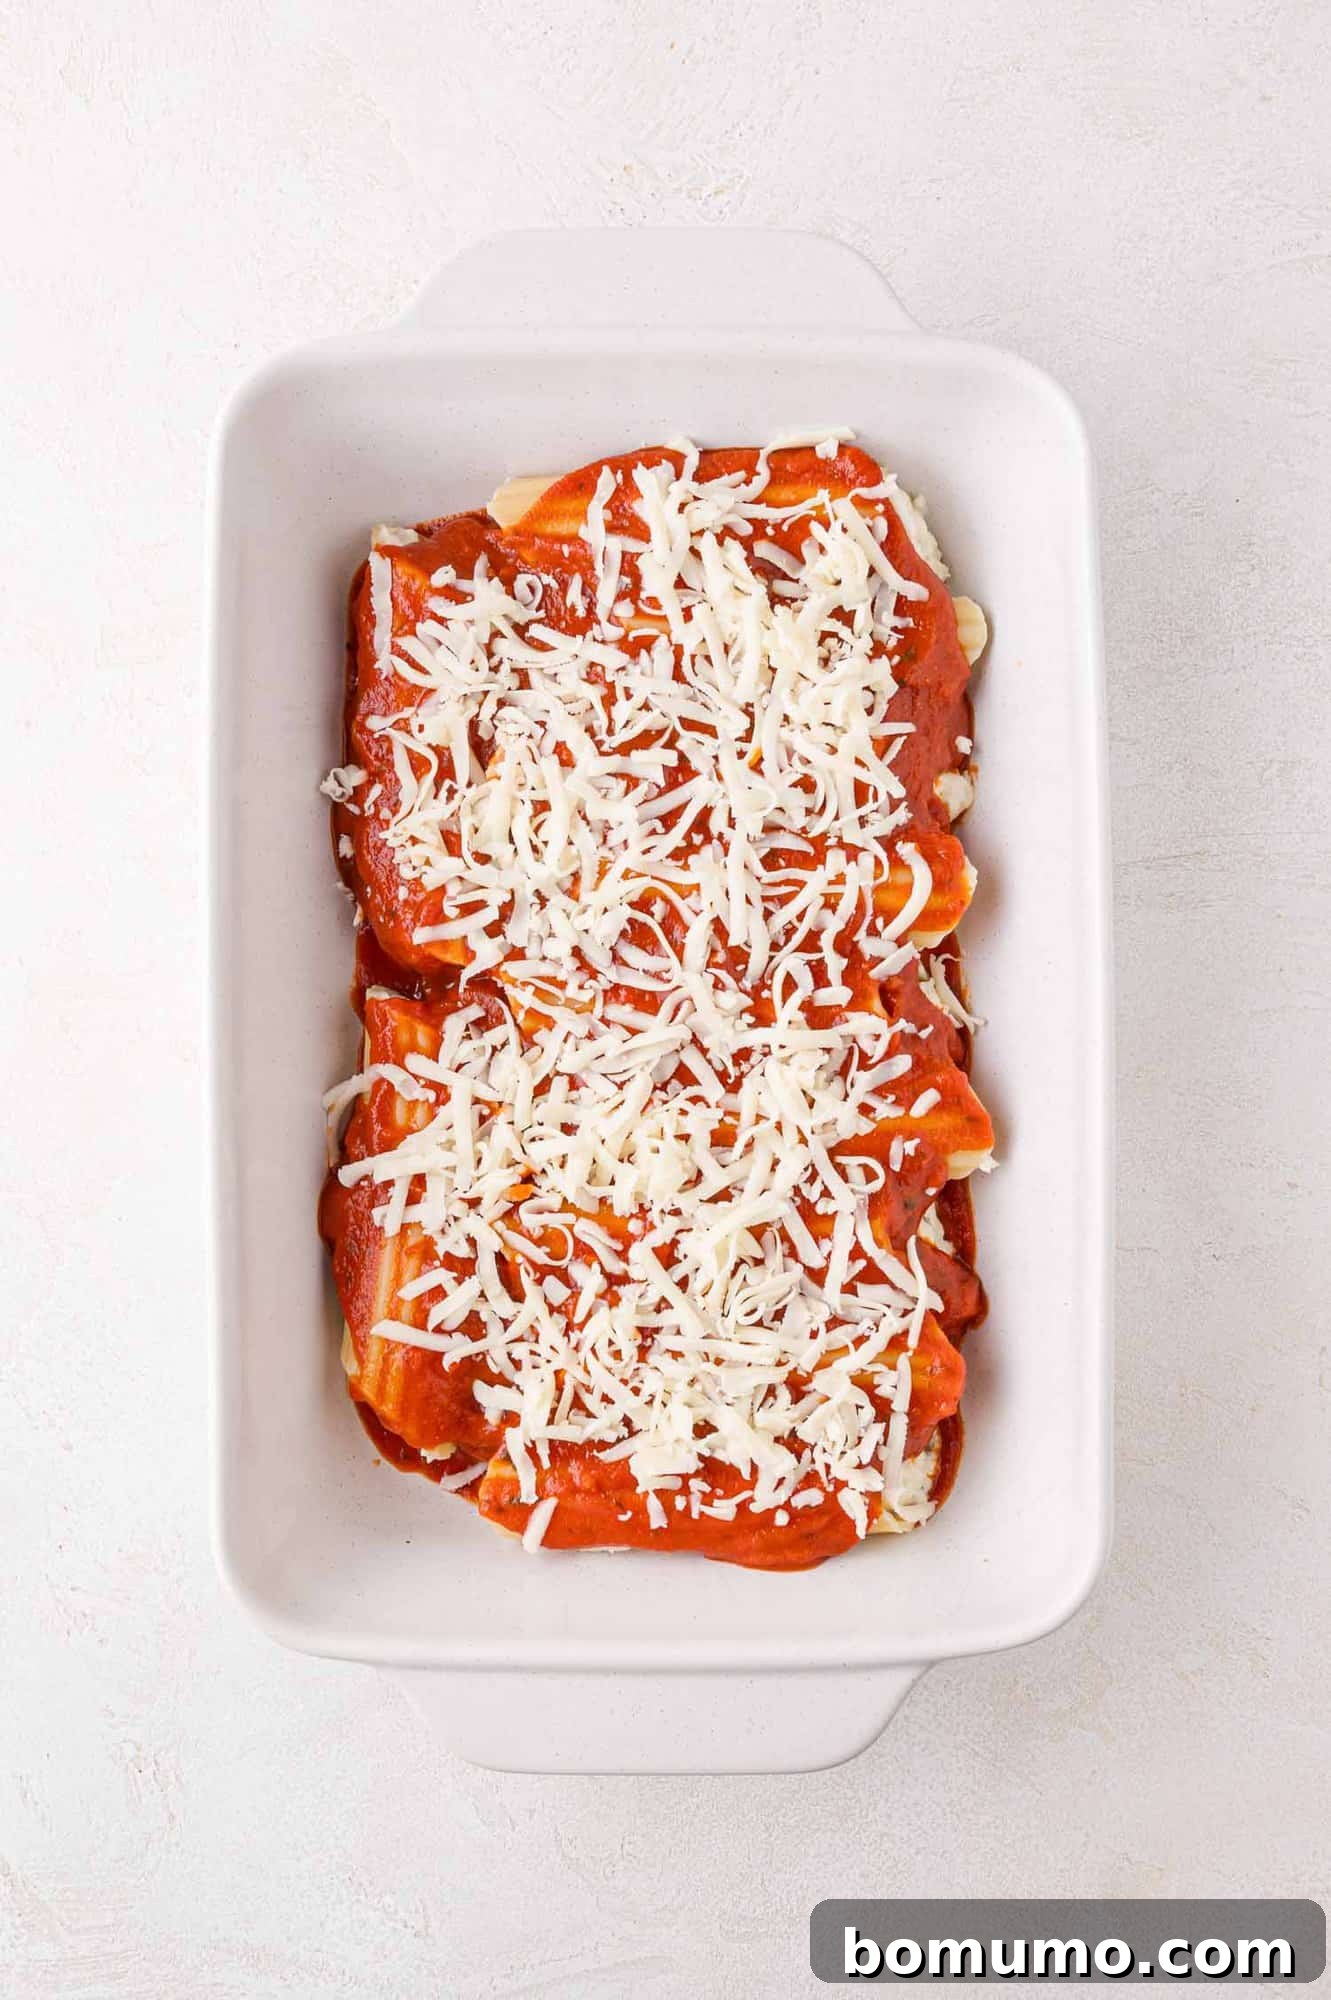
5. Assemble for Baking: Once all the manicotti shells are neatly arranged in the baking dish, pour the remaining marinara sauce evenly over the top. Make sure to get a little sauce into the crevices between each manicotti tube to ensure every bite is coated in flavor and moisture. Finally, generously sprinkle the reserved 1 cup of shredded mozzarella cheese over the entire dish, creating a blanket of cheesy potential.
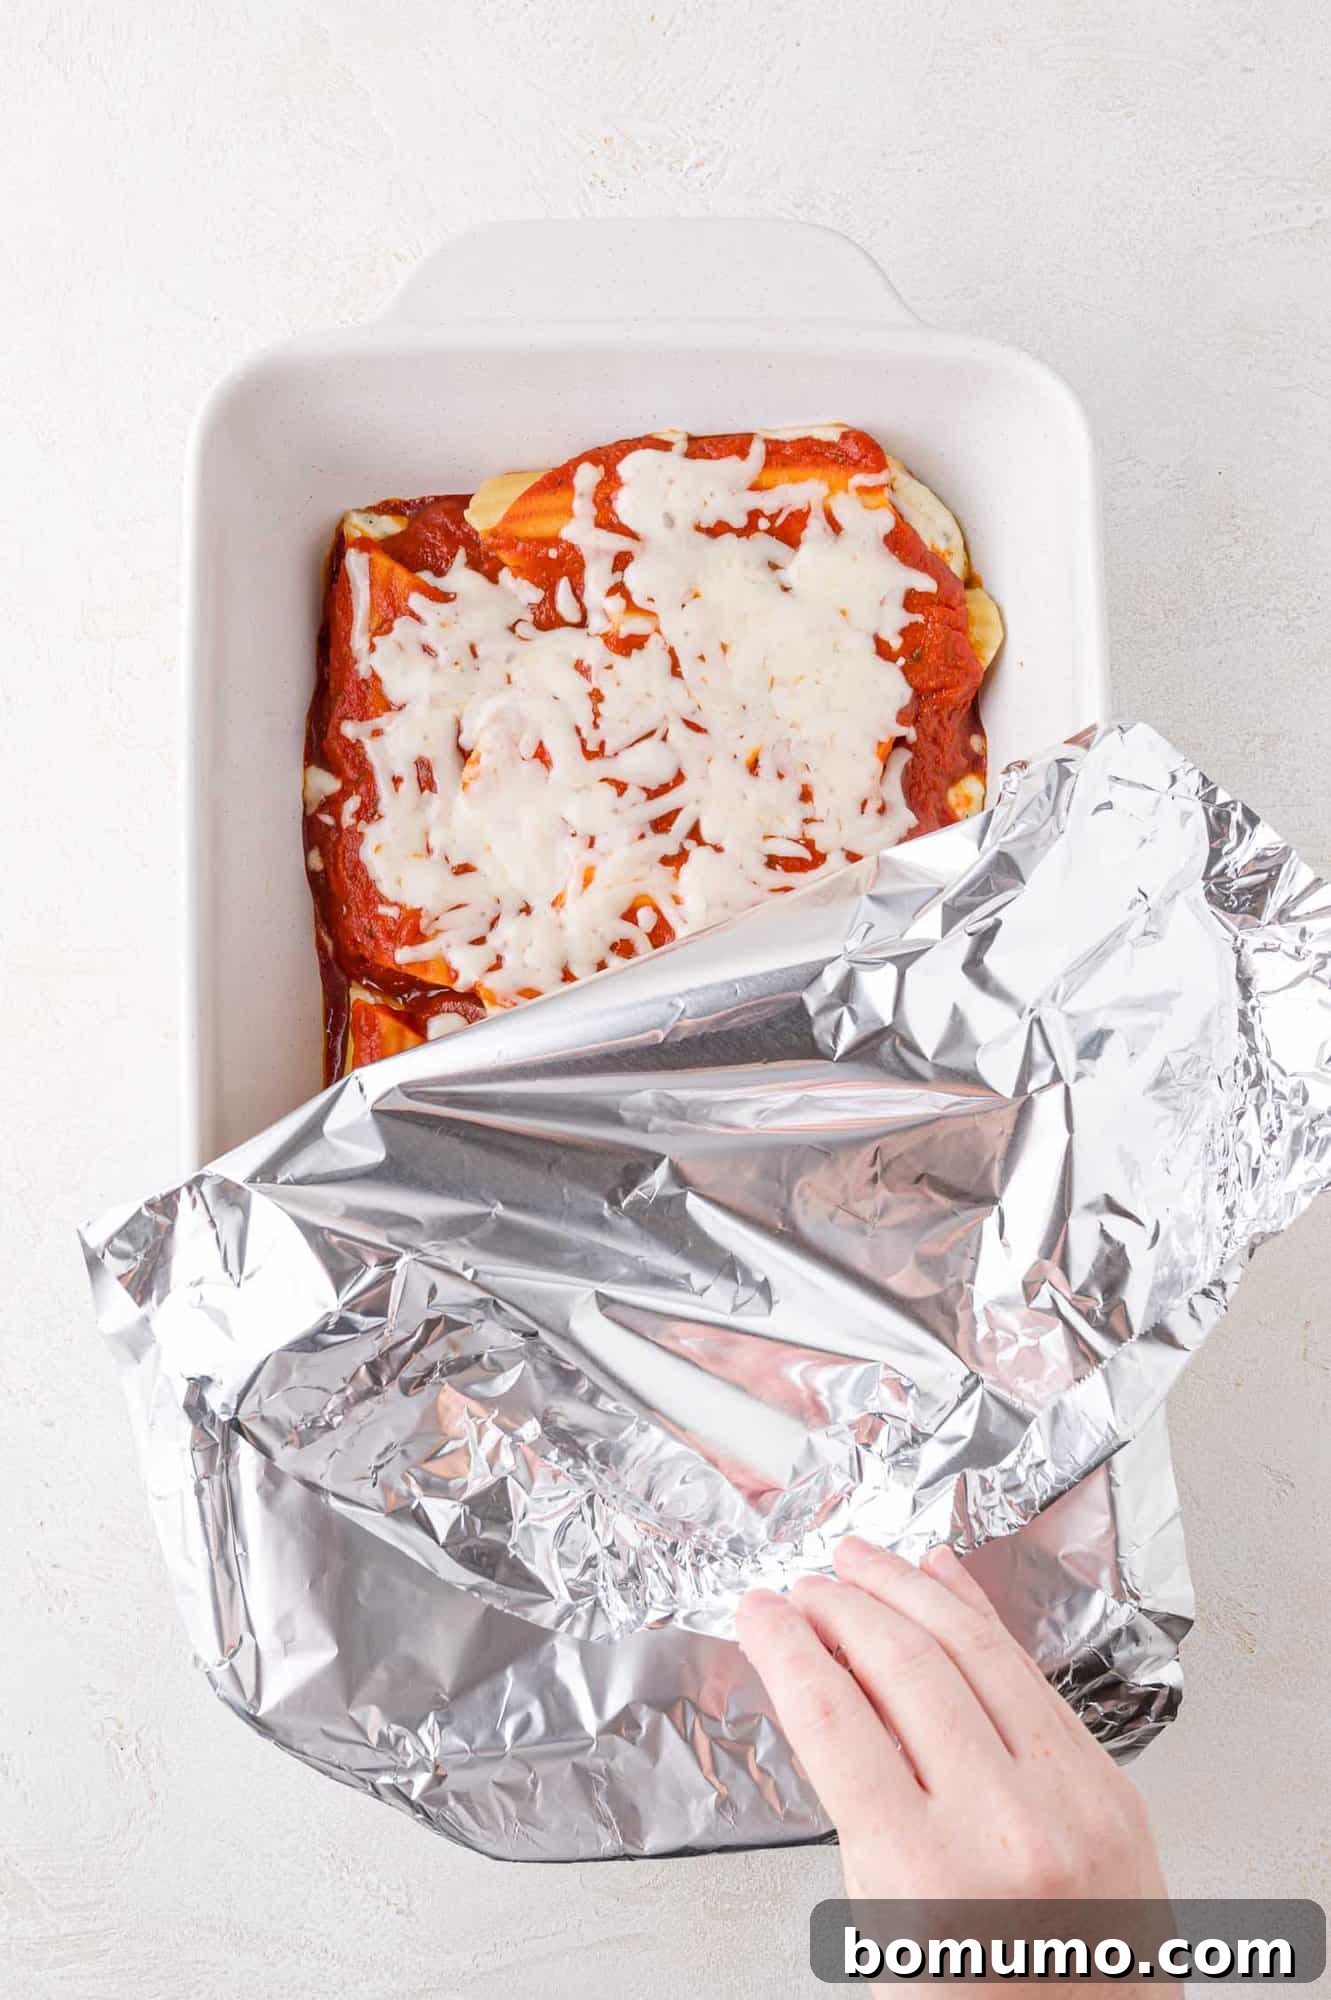
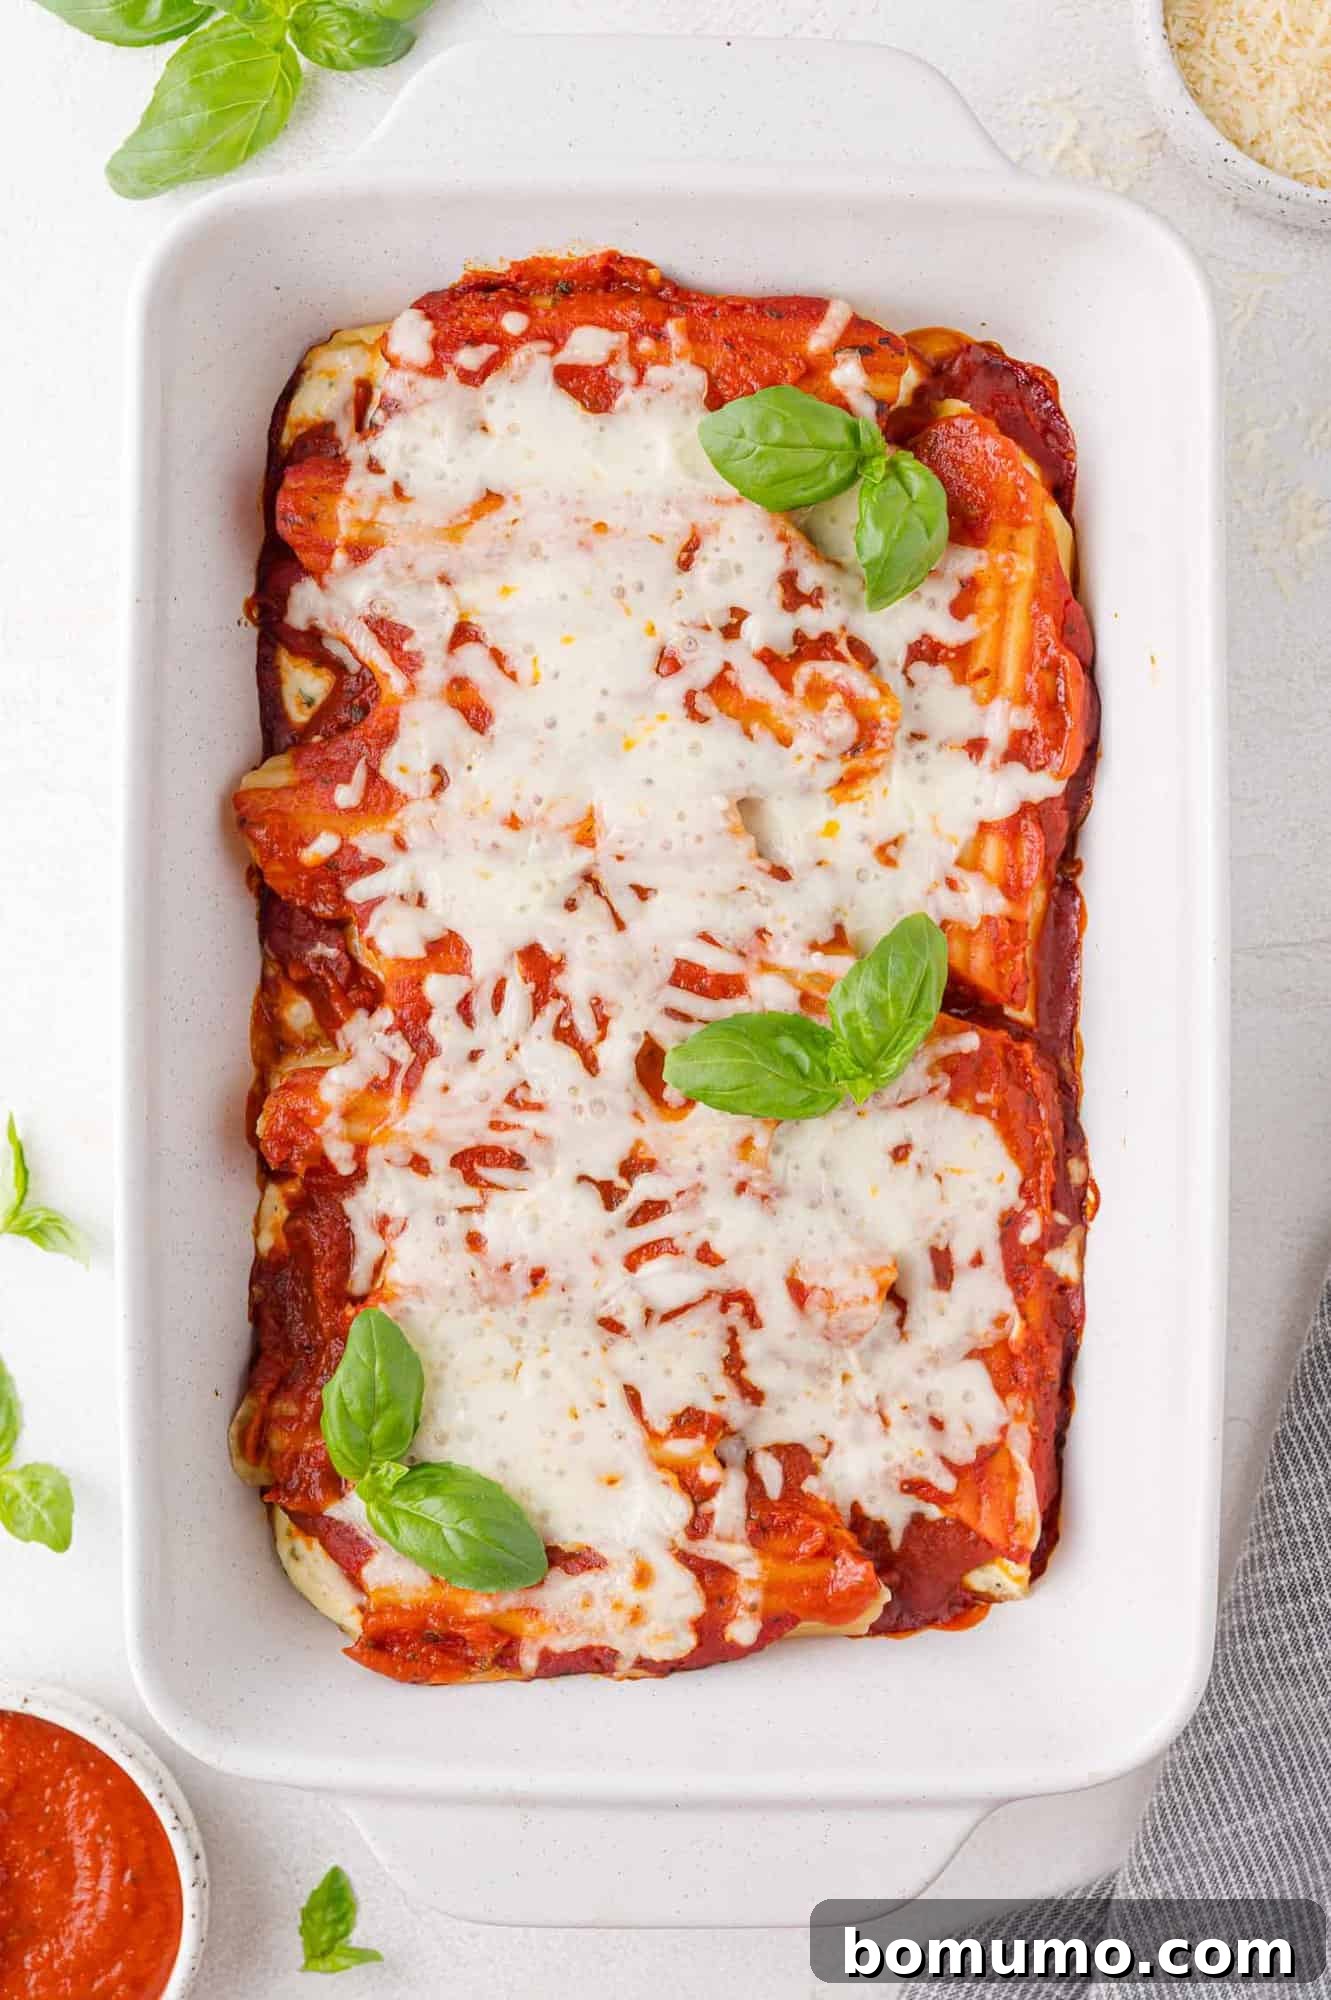
6. Bake to Golden Perfection: Cover the baking dish tightly with aluminum foil. This helps to steam the pasta and warm the filling evenly without drying out the top. Bake in a preheated 350°F (175°C) oven for 25 minutes. After this initial baking period, carefully remove the foil. Continue to bake for an additional 15 to 20 minutes, or until the cheese on top is beautifully melted, bubbly, and lightly golden brown, and the sauce is simmering enticingly around the edges.
7. Rest and Serve: While it might be tempting to dive right in, allow the baked manicotti to rest for about 5 to 10 minutes after removing it from the oven. This crucial resting period allows the filling to settle and firm up, making it much easier to serve without everything falling apart. Carefully scoop out two (or more!) perfectly filled manicotti per person. For an extra touch of freshness and visual appeal, garnish each serving with a sprinkle of fresh parsley or basil, if desired. Enjoy your homemade masterpiece!
Helpful Tips & Creative Variations for Your Manicotti
Elevate your manicotti game with these expert tips and exciting variations that cater to different tastes and needs:
- The Secret to Perfect Pasta: Boil in a Big Pot: One of the simplest yet most impactful tips is to boil your manicotti pasta in a generously sized pot. This provides ample space for the pasta tubes to circulate freely in the water, significantly reducing the chances of them sticking together, clumping, or tearing during cooking. More space equals perfectly cooked, easy-to-fill shells.
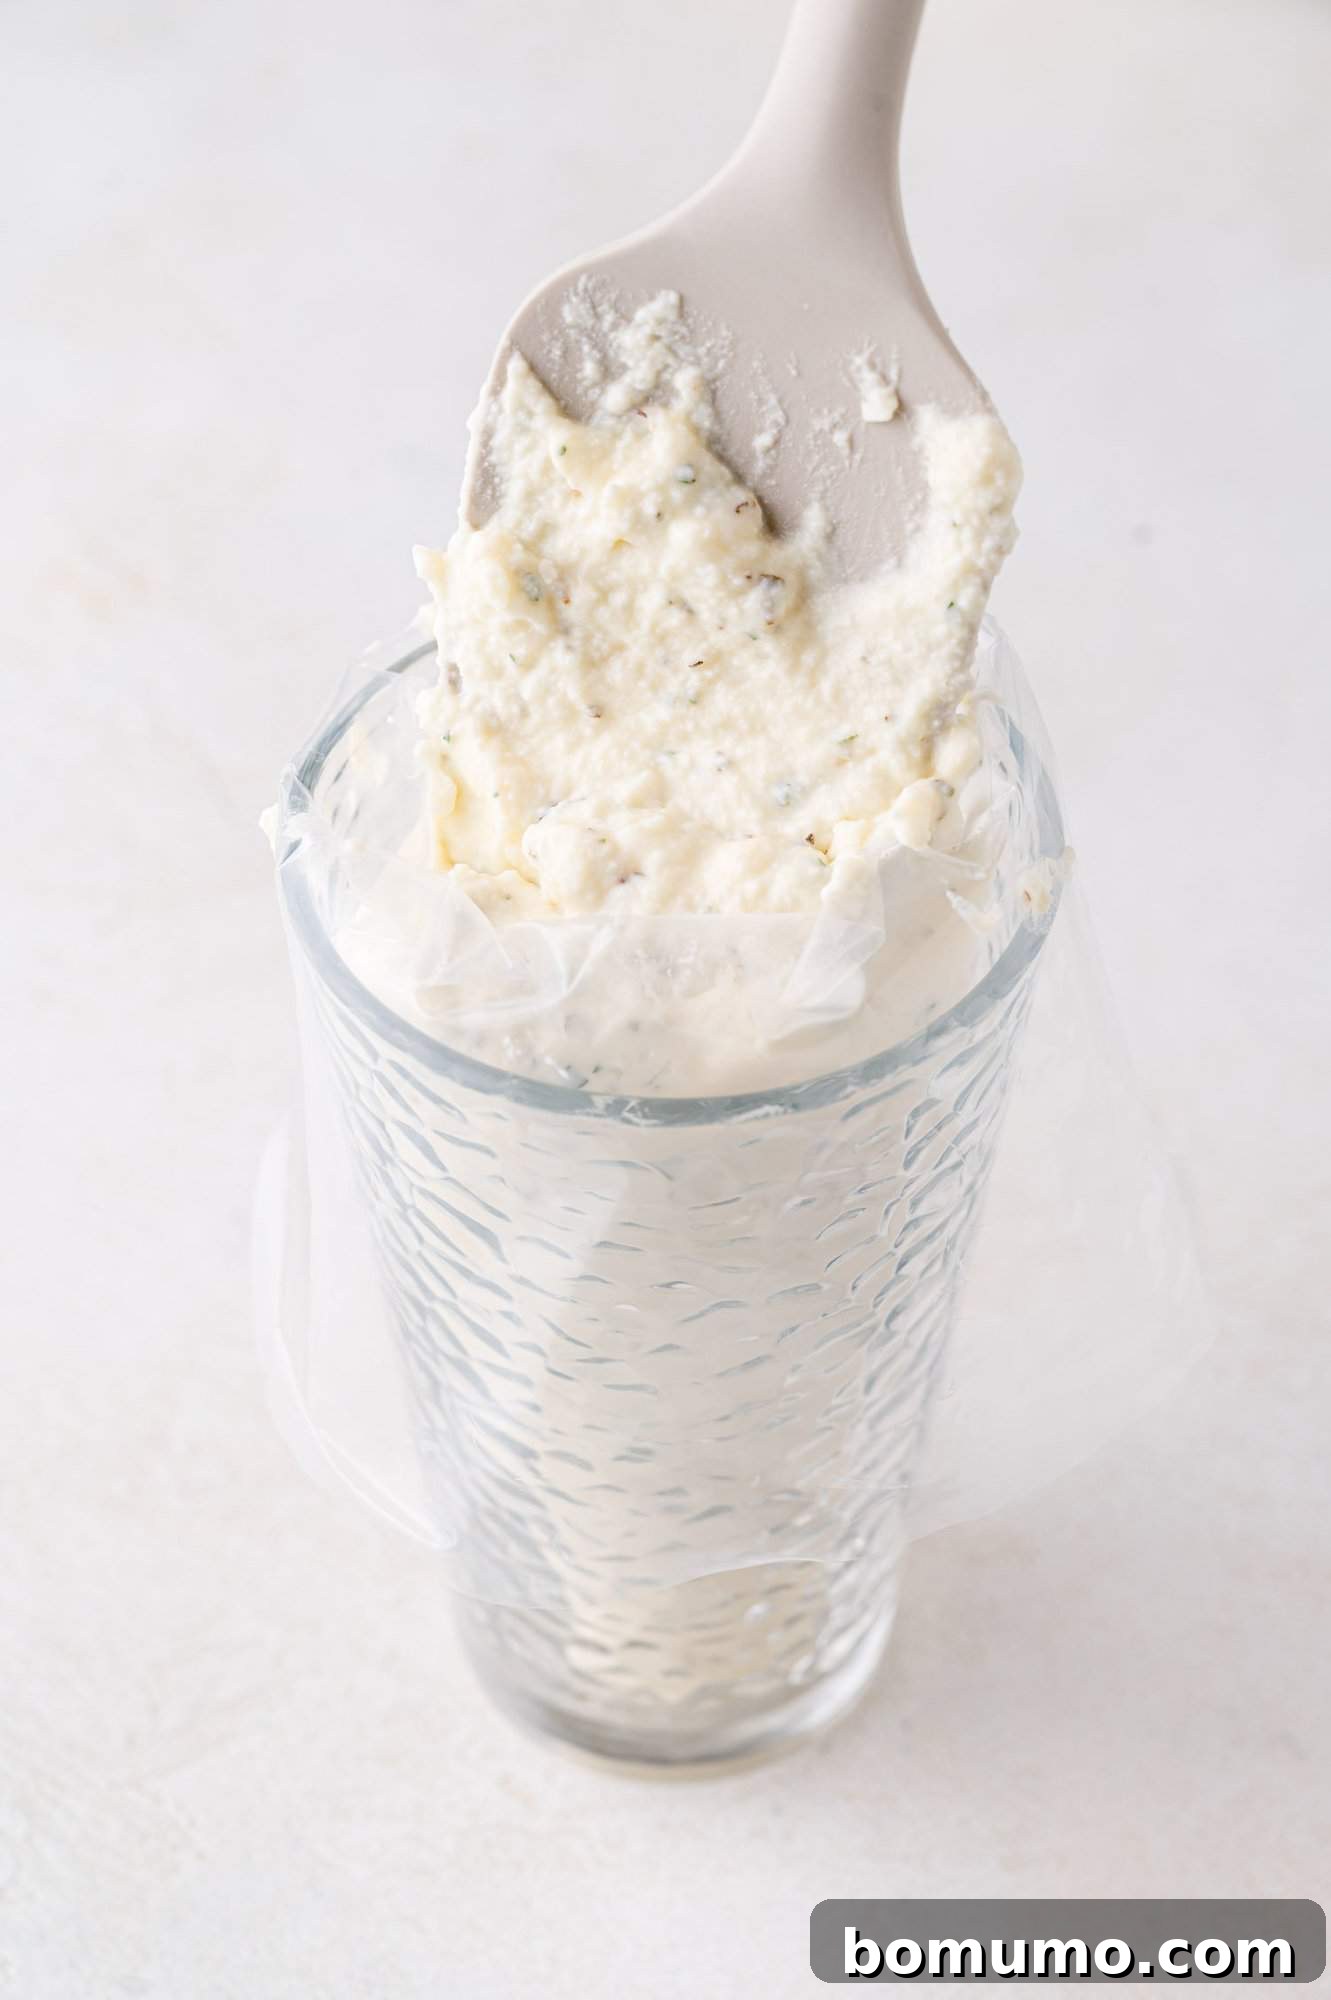
- Effortless Filling with a Glass: Filling a piping bag can sometimes be a bit awkward. To make this process seamless, stand an empty piping bag upright in a tall drinking glass. Fold the edges of the bag over the rim of the glass; this holds the bag open and stable. Spoon about half of your rich cheese filling into the bag. Once filled, unfold the edges, lightly twist the top of the bag to secure the filling, and lift it out of the glass. Snip about a half-inch off the tip of the bag, and you’re ready to pipe with precision. Repeat for the remaining filling.
- Master the Art of Make-Ahead Manicotti: This recipe is a dream for meal prep! You can completely assemble the manicotti up to the point of baking. Simply cover the casserole dish tightly with foil and refrigerate it for up to 24 hours. When you’re ready to bake, remove the dish from the refrigerator about 30 minutes beforehand to allow it to come closer to room temperature, then bake as directed. For an even longer-term solution, unbaked manicotti can be frozen directly in the baking dish for up to 3 months. For the best results, thaw the frozen dish in the refrigerator overnight before baking.
- Add a Hearty Meat Element: While this recipe shines with its cheesy vegetarian filling, you can easily transform it into a meat-lover’s delight. Instead of a plain marinara, opt for your favorite robust meat sauce. My homemade spaghetti sauce, for example, would be a fantastic choice, adding depth and savory richness. You could also brown ground beef, Italian sausage, or a mix of both, and either stir it into the marinara sauce or blend a small amount into the ricotta filling for an extra layer of flavor.
- Sneak in Some Greens: Boost the nutritional value and add a touch of freshness by incorporating vegetables into your manicotti. Thawed frozen spinach is a classic addition; just ensure you thoroughly wring out all excess moisture to prevent the filling from becoming watery. Finely chopped bell peppers, sautéed mushrooms, or even finely diced zucchini can also be added to the ricotta mixture or layered within the sauce for added texture and flavor.
- Explore Different Cheeses: While ricotta, mozzarella, and Parmesan are the traditional trio, don’t hesitate to experiment. A touch of provolone, fontina, or even smoked mozzarella could add unique flavor profiles to the filling or topping.
- Try a White Manicotti: For a completely different but equally delicious experience, consider using an Alfredo or béchamel sauce instead of marinara for a rich, creamy white manicotti.
Perfect Pairings: What to Serve with Manicotti
Complete your Italian feast with these delightful side dish suggestions that perfectly complement the richness of baked manicotti:
- Crisp Green Salad: A refreshing salad provides a welcome contrast to the hearty pasta. A simple house salad featuring fresh greens and a light vinaigrette, or a bag of mixed salad greens tossed with this vibrant homemade Italian dressing recipe, would be a perfect light side. If you’re a fan of Caesar, try making your own tangy Caesar dressing and crunchy Caesar croutons.
- Warm, Crusty Bread: You’ll want something to soak up every last drop of that delicious sauce! Texas toast garlic bread, with its buttery, garlicky goodness, is an excellent choice. Alternatively, delight your guests with your very own homemade cheesy breadsticks, made from scratch using easy pizza dough.
- Simple Veggie Sides: Complement the main course with easily prepared vegetable dishes. Air fryer broccoli, with its slightly crispy florets, or tender sautéed spinach are both quick, healthy, and pair wonderfully with classic Italian flavors.
- Hearty Meatballs: For families who believe no pasta dish is complete without meatballs, you’re in luck! These air fryer meatballs offer a convenient and delicious option. Or, try my oven-baked turkey meatballs, which can also be made with ground beef if preferred, for a juicy and flavorful addition.
Storage & Reheating
Making a large batch of manicotti is a fantastic idea, as it stores and reheats beautifully, providing delicious meals for days to come. Here’s how to best preserve your leftovers:
Refrigerator: To keep leftover manicotti fresh, transfer individual portions to an airtight container. It will stay delicious in the refrigerator for up to 3 days. If you have a larger portion remaining in the baking dish, simply cover the dish tightly with aluminum foil or plastic wrap before placing it in the fridge.
Freezer: For longer storage, manicotti is wonderfully freezer-friendly. To prevent freezer burn and maintain optimal quality, the best method is to freeze it in a freezer-safe bag. Once cooled, carefully transfer the sauced manicotti into a large zip-top freezer bag. Press out as much air as possible before sealing, then lay the bag flat in your freezer until the contents are frozen solid. This flat shape is great for stacking and saving space. When you’re ready to enjoy it again, transfer the frozen manicotti (still in the bag) to a casserole dish (to catch any potential drips) and thaw it overnight in the refrigerator before reheating.
Reheating: To reheat refrigerated leftovers, cover the pan with foil to lock in moisture and prevent the pasta from drying out. Bake in a 350°F (175°C) oven until thoroughly warmed through, typically 20-30 minutes for a full dish or less for smaller portions. Alternatively, the microwave works perfectly well for individual servings. Heat in short bursts, stirring occasionally, until hot. Be careful not to overheat, as this can make the pasta rubbery or dry.
Explore More Delicious Pasta Recipes
Chicken Tuscan Pasta Bake – Freezer Friendly
Taco Pasta (One Pan)
Instant Pot Crack Chicken Pasta – cheesy ranch perfection
Creamy Chicken and Asparagus Pasta
Manicotti
Rachel Gurk
20 mins
40 mins
1 hr
6
Ingredients
- 12 manicotti pasta shells, from 8 ounce package (see note #1)
- 2 cups ricotta cheese (15 to 16 ounce container)
- 2 ½ cups shredded mozzarella cheese, divided (reserve 1 cup for topping)
- ½ cup grated Parmesan cheese
- 1 large egg
- 1 teaspoon dried parsley
- 1 teaspoon dried oregano
- ½ teaspoon garlic powder
- ½ teaspoon kosher salt
- ¼ teaspoon coarse ground black pepper
- 2 cups marinara sauce (store-bought or homemade)
- fresh basil or parsley, optional for garnish
Instructions
-
Bring a large pot of salted water to a boil over high heat and cook the manicotti shells according to the package instructions. Cook until they are al dente (firm but not too soft), about 6 to 7 minutes. Avoid overcooking the pasta because if it’s too soft, the tubes can be more difficult to fill.
-
Drain the manicotti and rinse with cold water to prevent them from sticking together. I like to arrange them individually on a clean lint-free dish towel to drain completely. Set aside.
-
Meanwhile, in a medium bowl, mix together ricotta cheese, 1 ½ cups mozzarella, Parmesan, egg, parsley, oregano, garlic powder, salt, and black pepper. Stir until well combined.
-
Preheat oven to 350°F (175°C). Spread about ½ cup of sauce on the bottom of a 9 x 13-inch baking dish.
-
Fill a piping bag (or use a small spoon, or a zip-top bag with the corner cut off) with the ricotta mixture and carefully stuff each manicotti shell (see note #2). Be gentle to avoid tearing the pasta. Arrange the stuffed manicotti shells in a single layer in the baking dish.
-
Pour the remaining 1 ½ cups marinara sauce over the top of the manicotti. Sprinkle the remaining 1 cup shredded mozzarella over the manicotti.
-
Cover the dish with foil and bake for 25 minutes. Remove the foil and bake for an additional 15 to 20 minutes, or until the cheese is melted and bubbly.
-
Let the manicotti cool for five to ten minutes before serving. Garnish with fresh basil or parsley if desired. Carefully scoop out 2 stuffed manicotti per serving.
Notes
- Manicotti shells: Dry manicotti pasta is typically sold in an 8-ounce box, often containing two plastic trays with 6 to 8 shells each, totaling about 12 shells. If your brand happens to include more shells, it’s a good idea to cook all of them. You can either use slightly less filling per shell or keep the extra cooked shells as backups in case any tear during the delicate filling process.
- Filling tip: For an easier and cleaner filling experience, position your empty piping bag upright in a large drinking glass. Fold the open edges of the bag over the rim of the glass to hold it open securely. Spoon approximately half of the ricotta filling into the bag. Once filled, gently unfold the edges, twist the top of the bag to seal the filling, and carefully lift the bag out of the glass. Finally, snip off about a half-inch from the tip of the bag, and you’re ready to pipe the filling into your manicotti shells with precision.
- Make ahead: This recipe is perfect for preparing in advance. Assemble the manicotti completely, following all the instructions, but do not bake it. Instead, cover the baking dish tightly with aluminum foil and refrigerate it for up to 24 hours. When you’re ready to bake, remove the dish from the refrigerator about 30 minutes before placing it in the oven to allow it to temper slightly. Then, bake as directed. Unbaked manicotti can also be frozen for up to 3 months. For best results, thaw the frozen dish in the refrigerator overnight before baking.
- Add meat: To make a heartier, meat-filled version, simply replace the marinara sauce with your favorite meaty spaghetti sauce. This adds an extra layer of savory flavor and makes the dish even more substantial.
Nutrition
, Calories: 454 kcal
, Carbohydrates: 29g
, Protein: 28g
, Fat: 25g
, Saturated Fat: 15g
, Polyunsaturated Fat: 1g
, Monounsaturated Fat: 7g
, Trans Fat: 0.003g
, Cholesterol: 117mg
, Sodium: 1102mg
, Potassium: 429mg
, Fiber: 3g
, Sugar: 4g
, Vitamin A: 1160 IU
, Vitamin C: 6mg
, Calcium: 507mg
, Iron: 2mg
Nutrition information is automatically calculated, so should only be used as an approximation.
Share a comment and rating below! I love hearing what you think!