
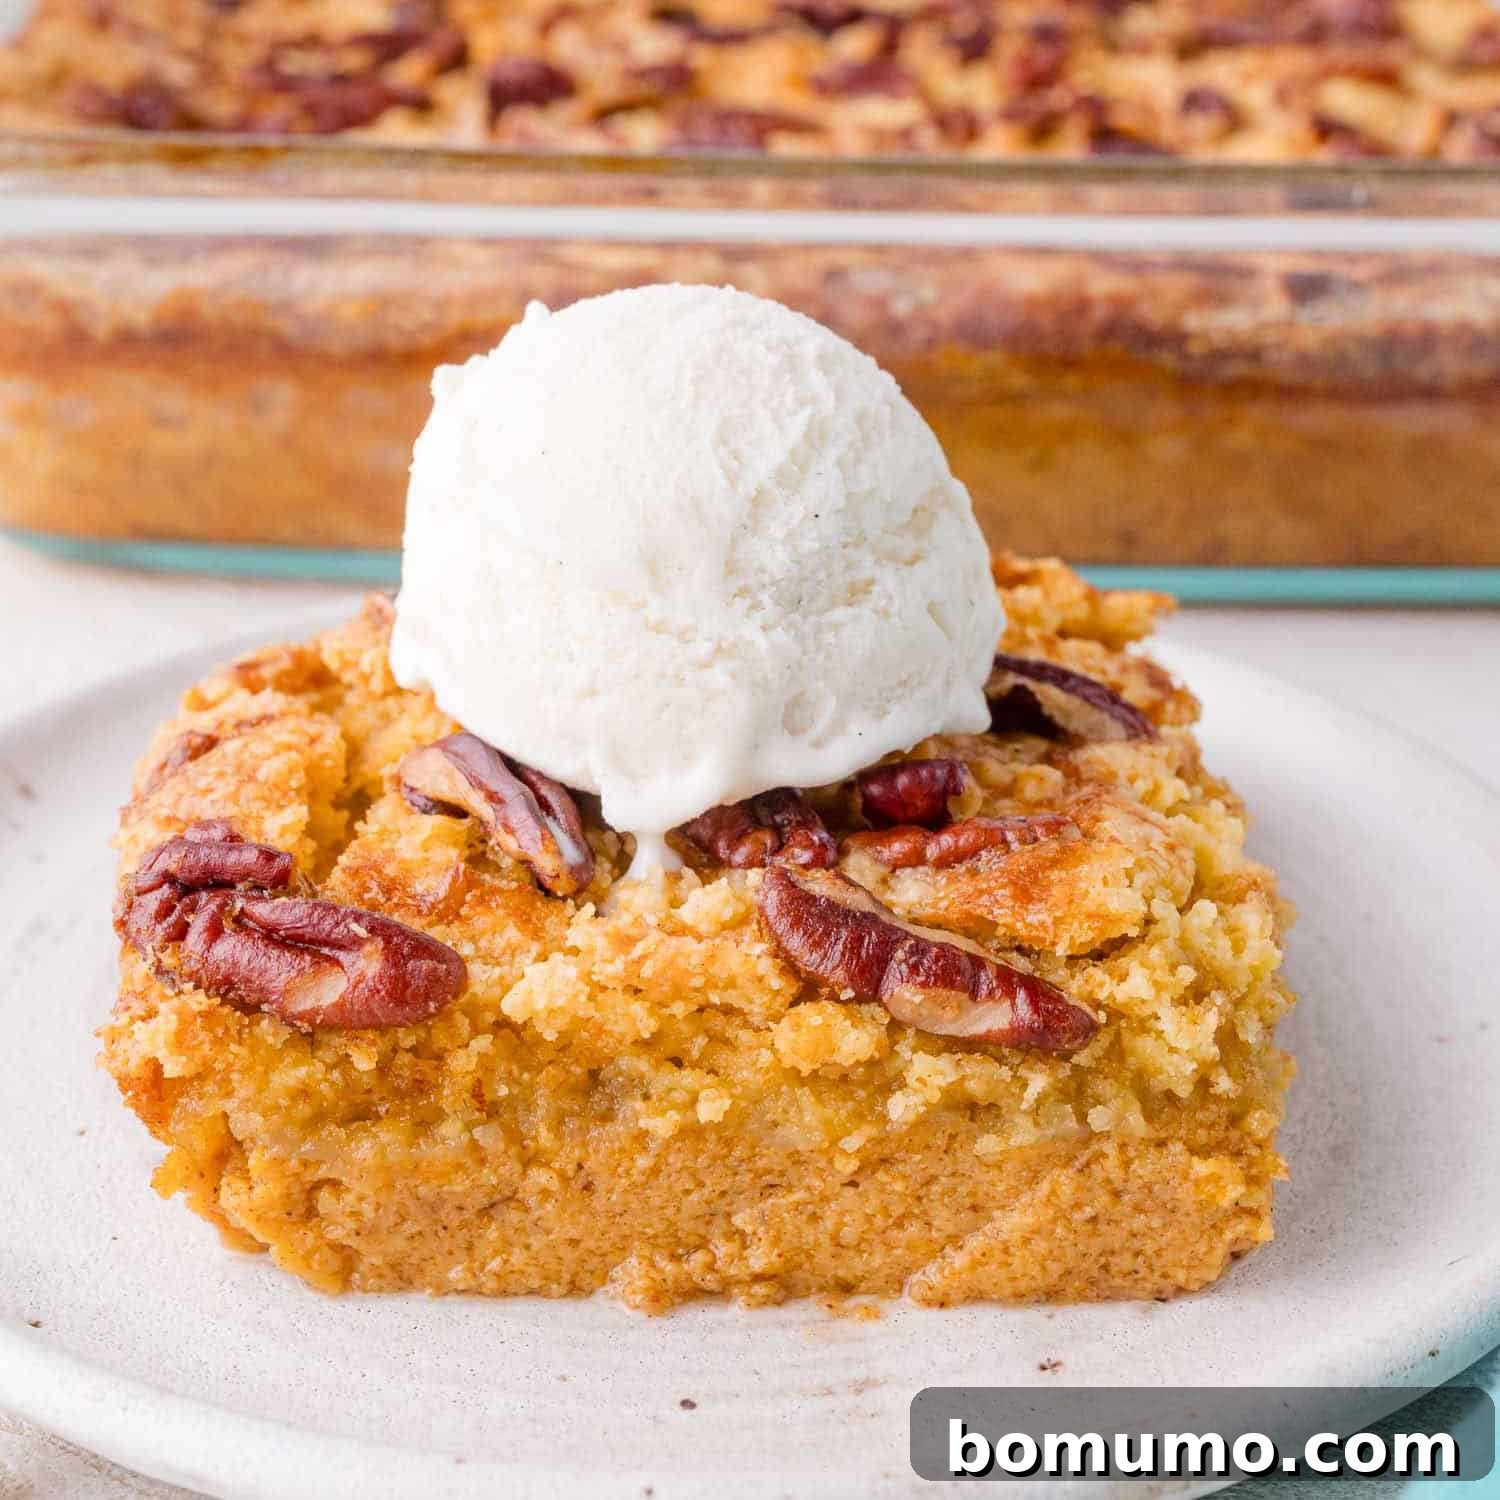
Pumpkin Dump Cake: An Irresistible Fall Dessert
Why you’ll adore it:
Forget everything you know about ordinary dump cakes! This Pumpkin Dump Cake elevates the classic with a luscious, creamy custard layer at its base, perfectly complementing the crisp, buttery, cobbler-like topping and delightful crunch of toasted pecans. It’s a symphony of textures and flavors that will redefine your perception of easy desserts.
Preparation & Baking Time: Approximately 1 hour (15 mins prep, 45 mins bake)
Essential Equipment: A standard 9×13-inch baking dish, a mixing bowl
Yields: 15 generous servings
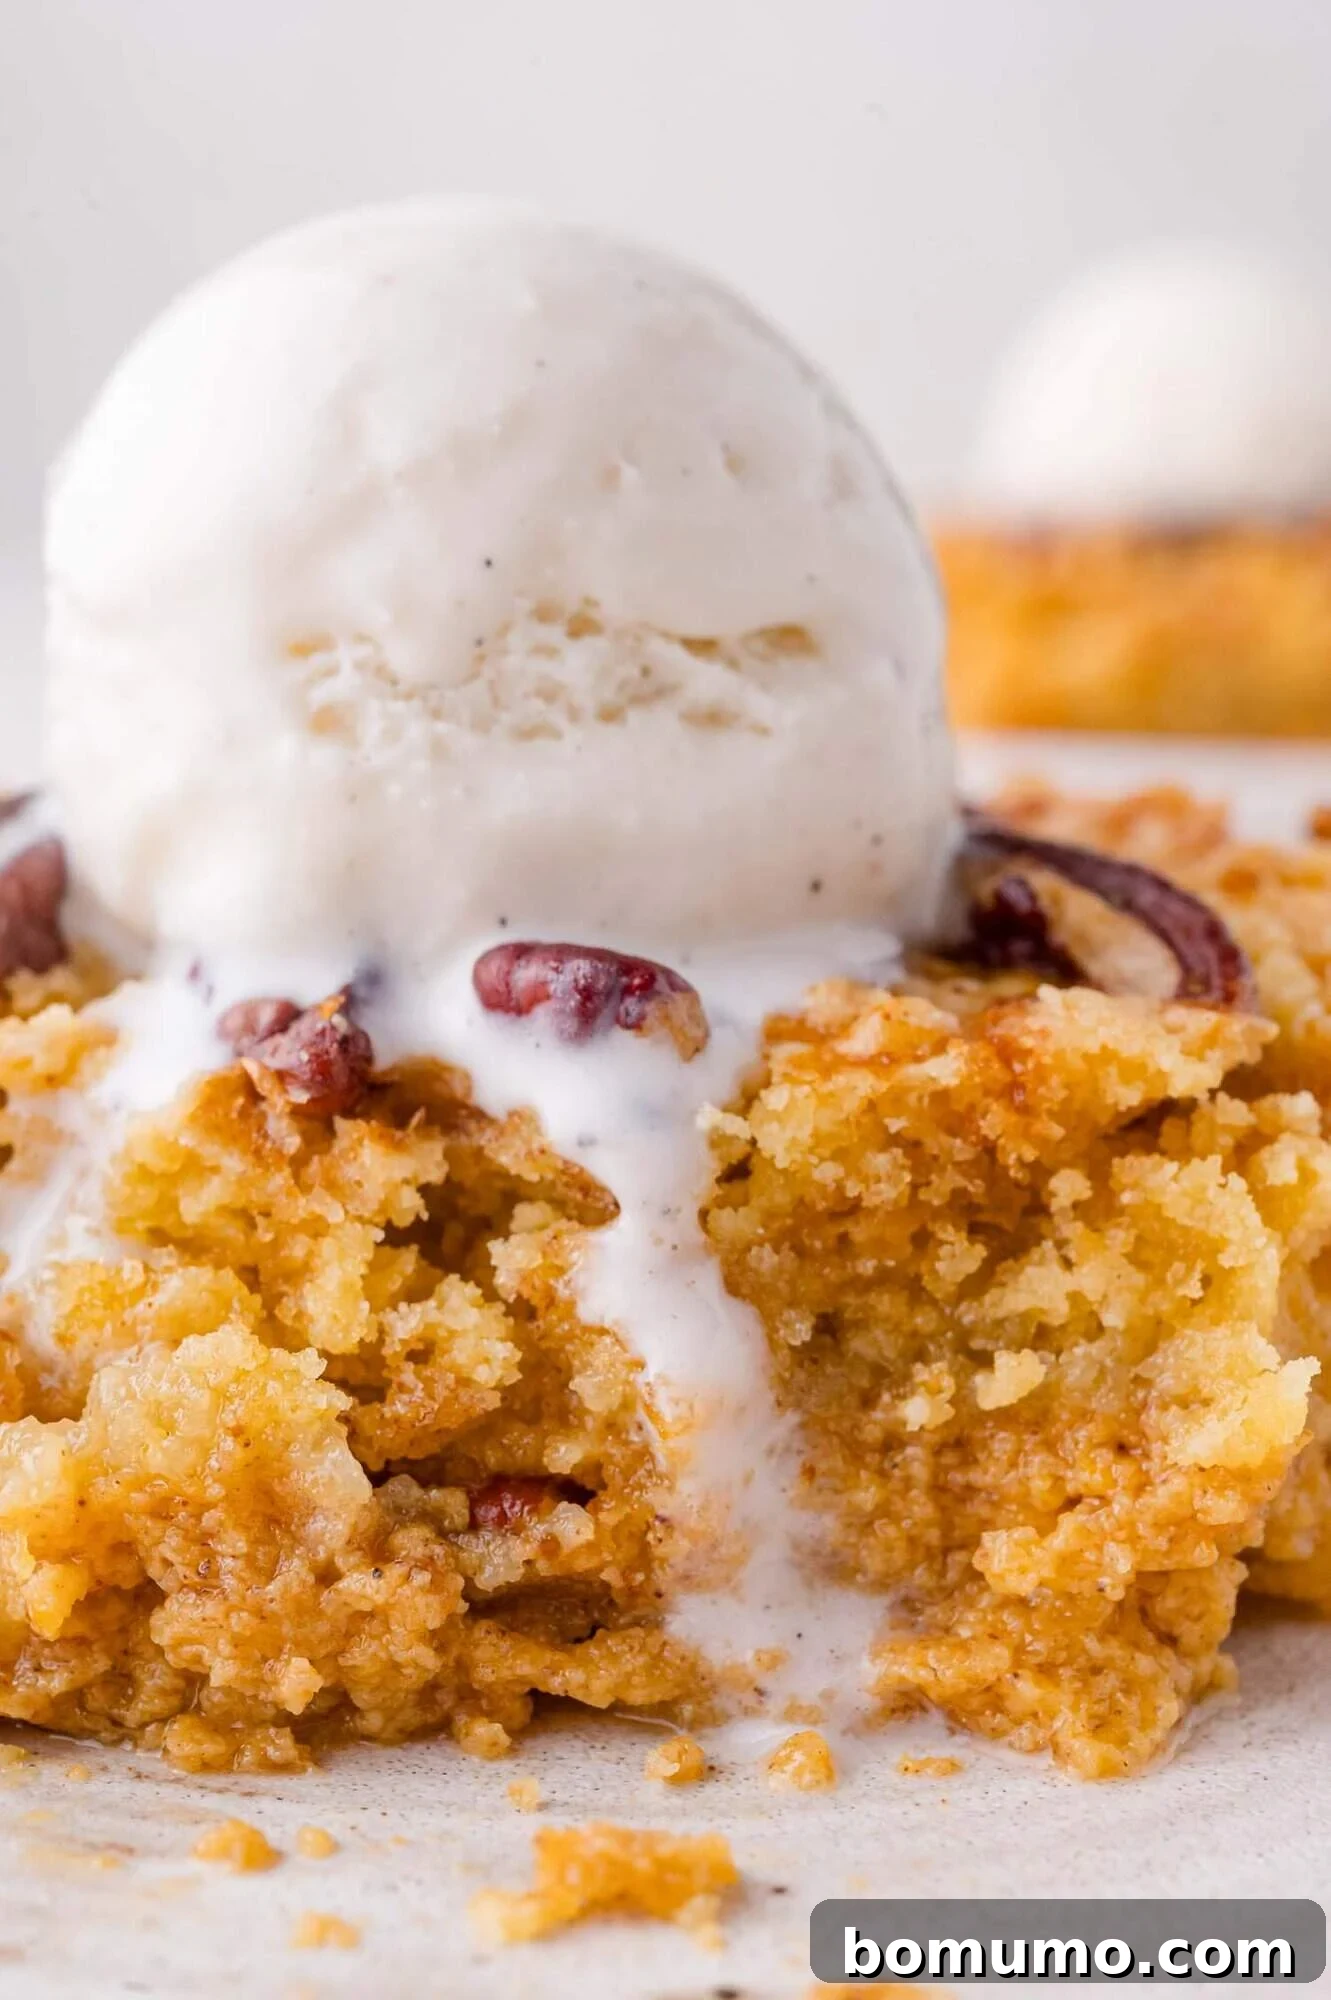
Why This Pumpkin Dump Cake is a Must-Try
Dump cakes are celebrated for their simplicity, making them a go-to for busy bakers and dessert enthusiasts alike. But not all dump cakes are created equal. This particular Pumpkin Dump Cake recipe consistently ranks among the best, and here’s why it deserves a spot in your fall dessert rotation:
- Embrace the Cozy Fall Flavors. If the arrival of autumn fills you with anticipation for pumpkin spice lattes, warm pumpkin pie, and delightful pumpkin bars, then this dump cake is your ultimate seasonal treat. Infused with warm, aromatic spices, it captures the very essence of fall in every spoonful, delivering that comforting feeling we all crave when the leaves start to turn.
- Effortless Preparation. The beauty of a dump cake lies in its name – it truly is as simple as “dumping” ingredients into a baking dish. This recipe minimizes fuss and maximizes flavor, proving that you don’t need to spend hours in the kitchen to create an impressive and utterly delicious dessert. It’s perfect for last-minute gatherings or when you simply want a quick indulgence.
- Perfect for Feeding a Crowd. Hosting a holiday party, a family get-together, or simply attending a potluck? This Pumpkin Dump Cake is your ideal solution. It’s not only incredibly delicious, promising to delight friends and family, but it also yields a generous 15 servings. It’s a guaranteed crowd-pleaser that simplifies entertaining. (Don’t forget to bring a generous tub of whipped topping or a gallon of vanilla bean ice cream!)
Prepare yourself to fall in love with this cake. Its rich flavors and delightful textures make it incredibly hard to resist, and I have no doubt it will become a cherished favorite in your home.
Before we dive into the step-by-step preparation, let’s fully understand the unique concept of a dump cake. As its name cleverly implies, this dessert involves layering, or “dumping,” all the ingredients into a single baking dish before letting the oven work its magic. While some dump cake variations are as straightforward as pie filling topped with dry cake mix and butter, this pumpkin version introduces a delightful twist. It’s only *slightly* more involved, but the incredible results are undeniably worth the minimal extra effort. Here’s a peek at the key layers you’ll be combining:
- A velvety, spiced pumpkin custard layer, reminiscent of a classic pumpkin pie filling.
- A light and fluffy dry cake mix that transforms into a tender crumbly topping.
- Crunchy, nutty pecans that add a perfect textural contrast.
- Rich, chilled butter, sliced precisely to melt and create a golden, crisp crust.
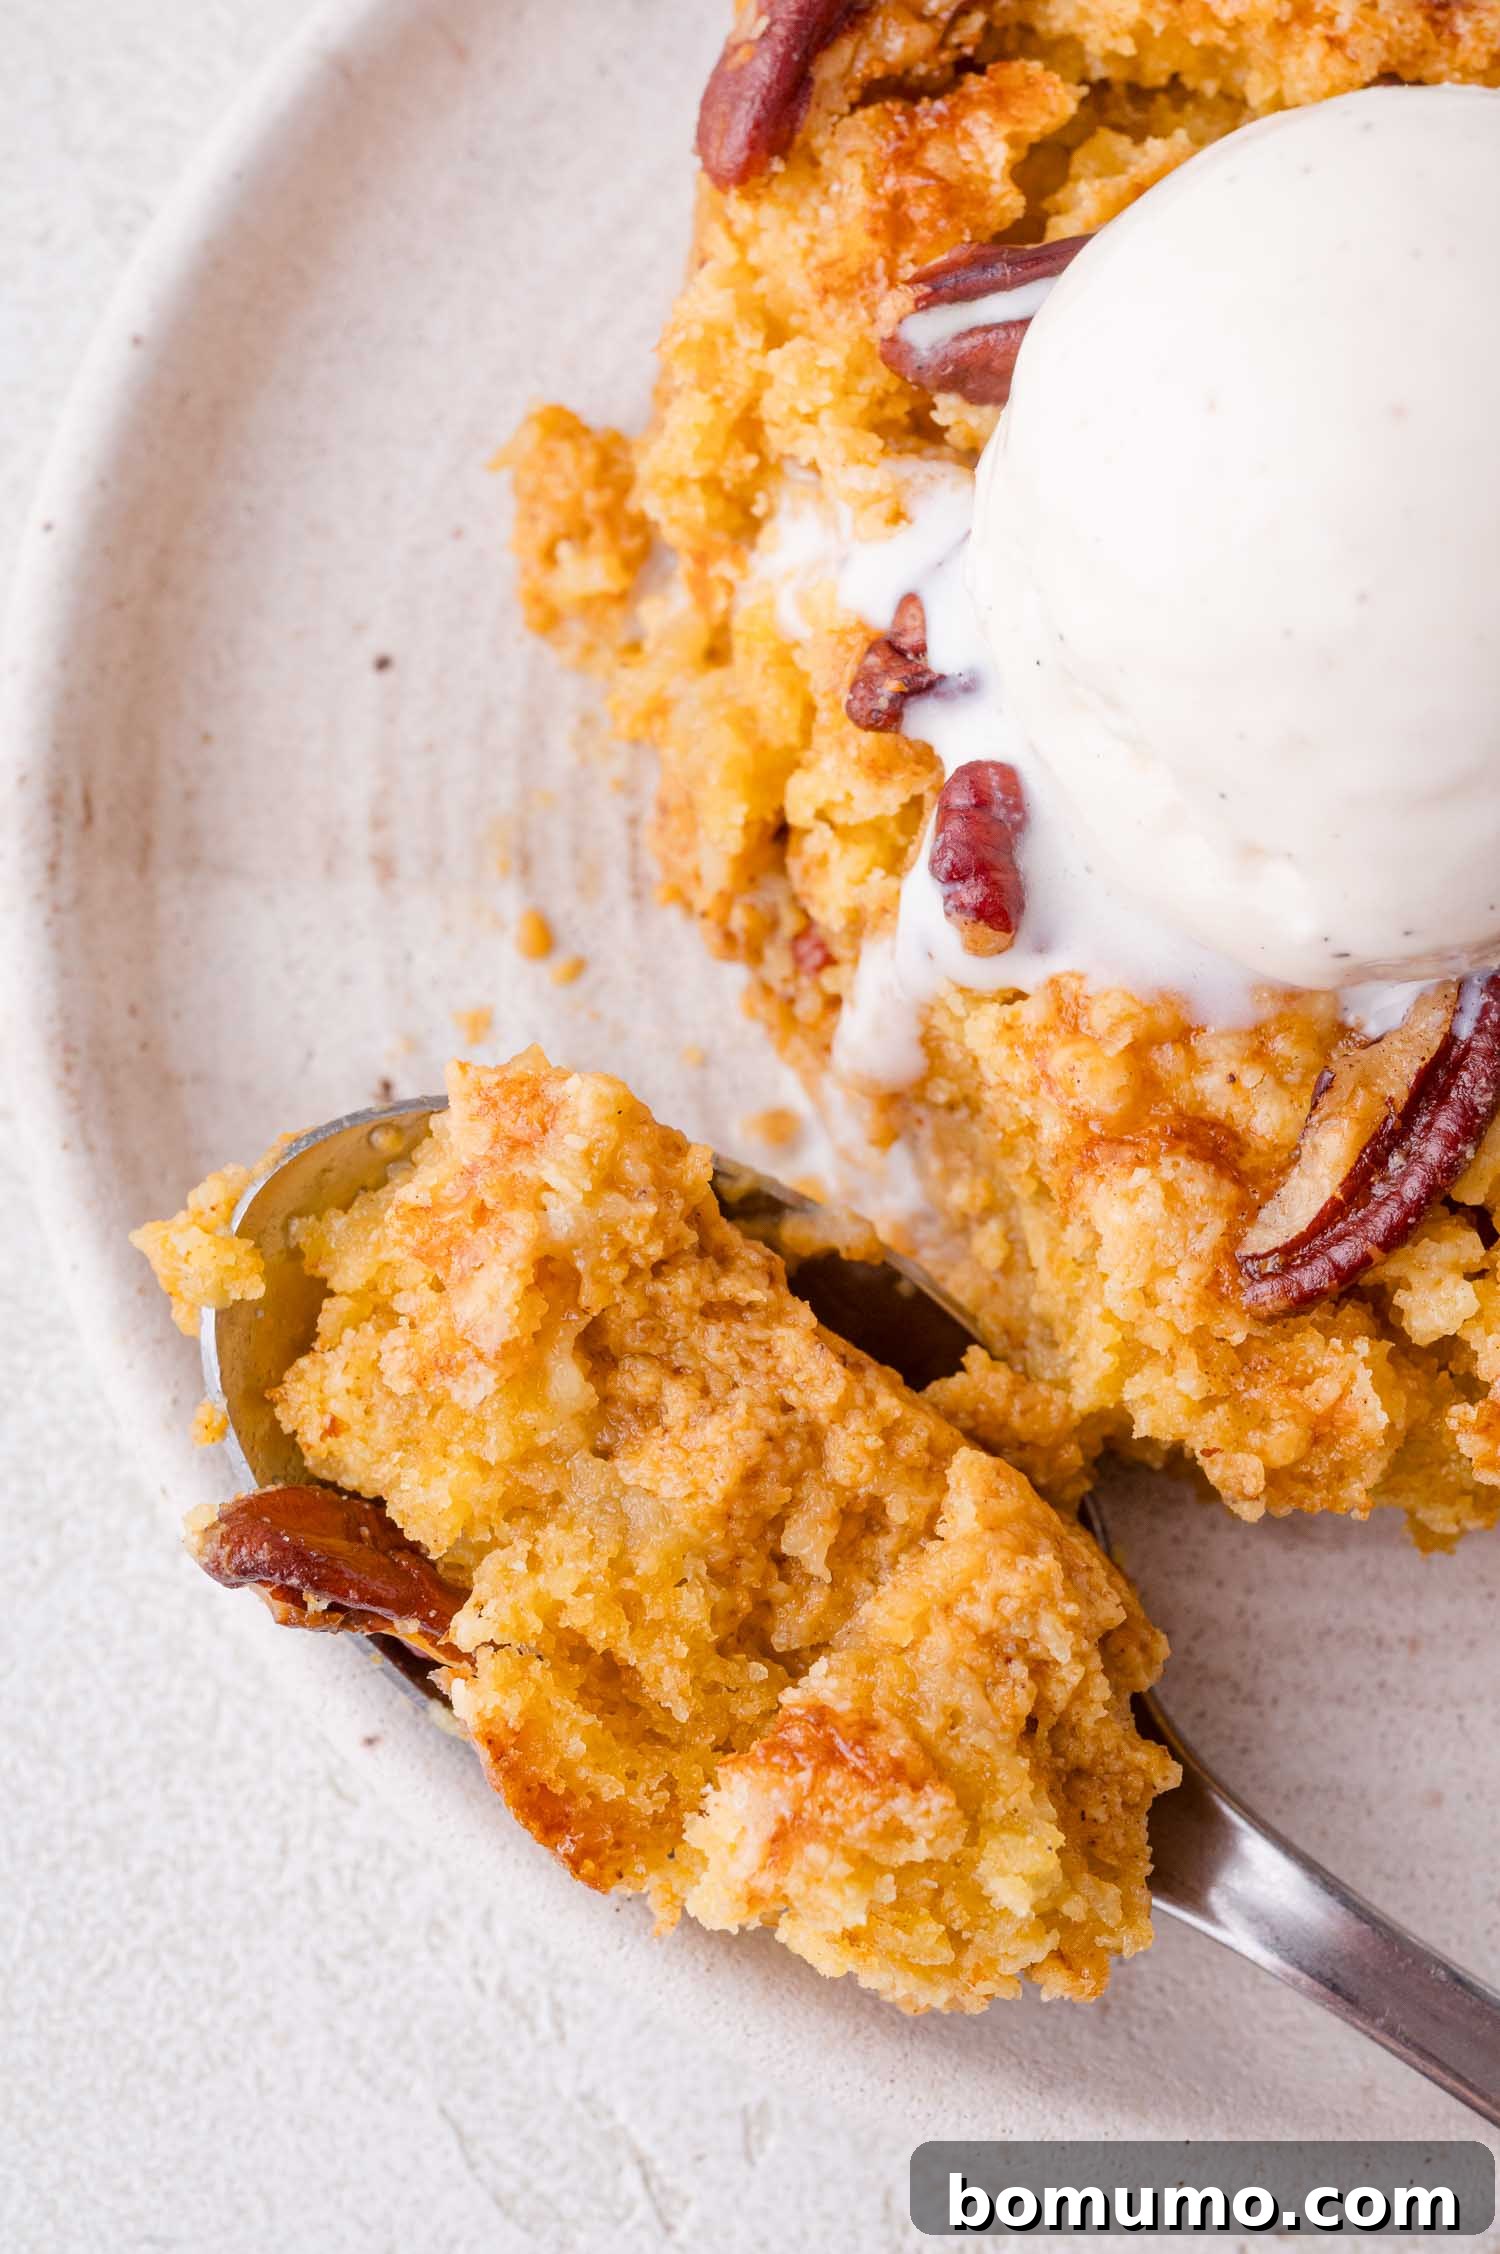
The finished Pumpkin Dump Cake boasts a texture that’s a delightful hybrid between a moist cobbler and a crumbly crisp. True confession: many find its unique combination of textures and flavors even more appealing than traditional pumpkin pie!
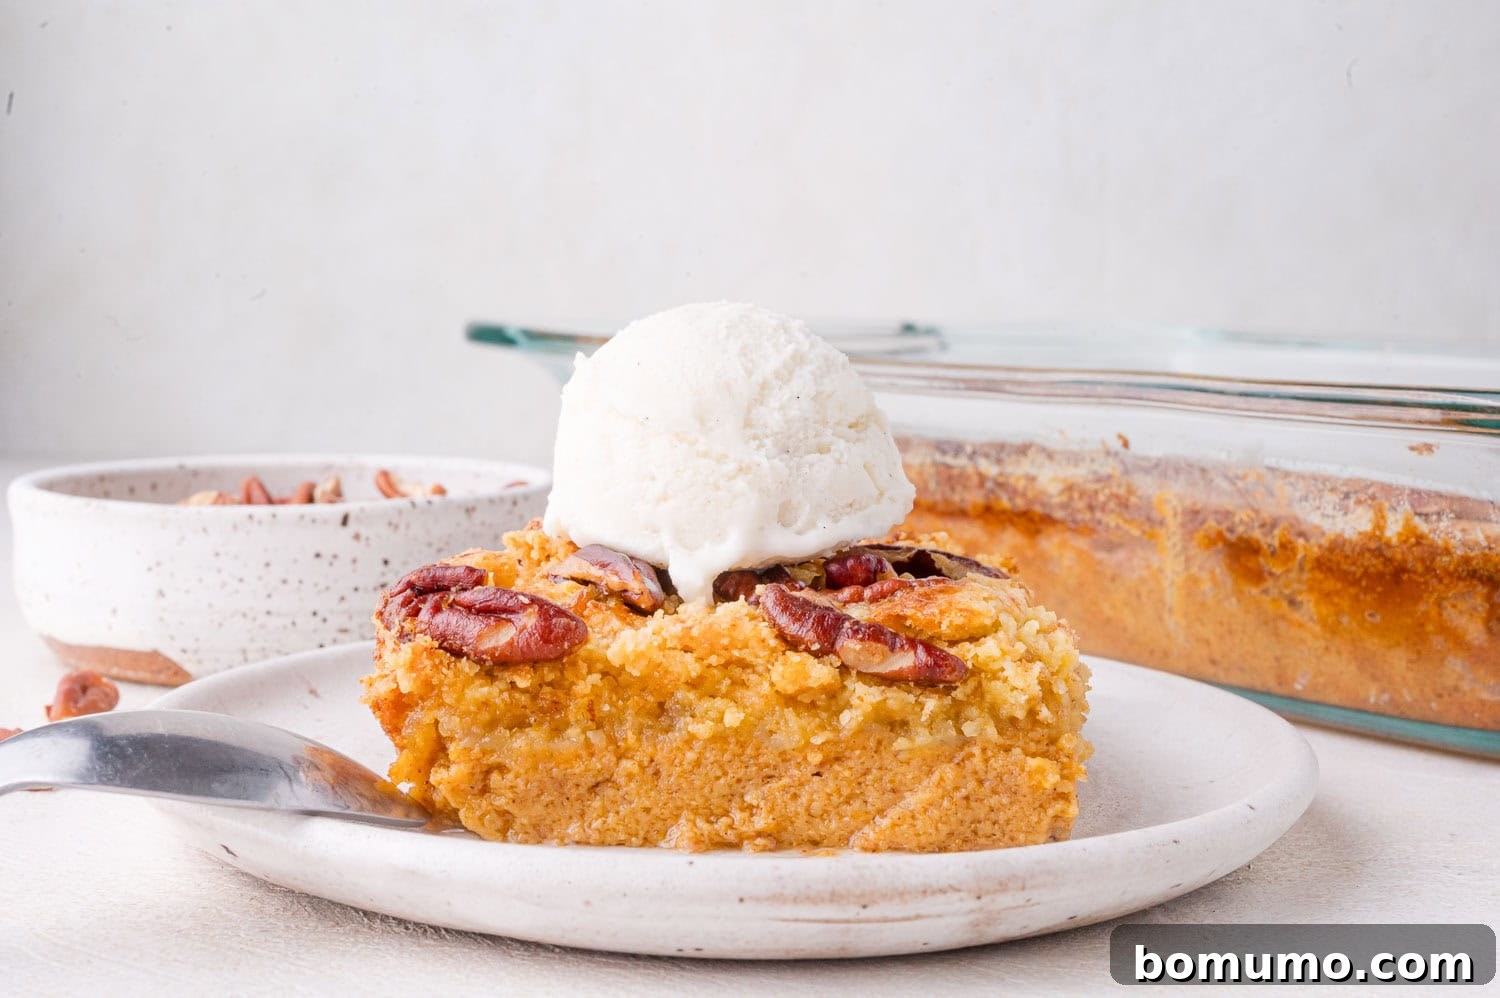
Key Ingredient Insights for Your Pumpkin Dump Cake
While the full recipe with precise measurements can be found below, here are some crucial notes and valuable insights gleaned from extensive testing to ensure your pumpkin dump cake turns out perfectly every time:
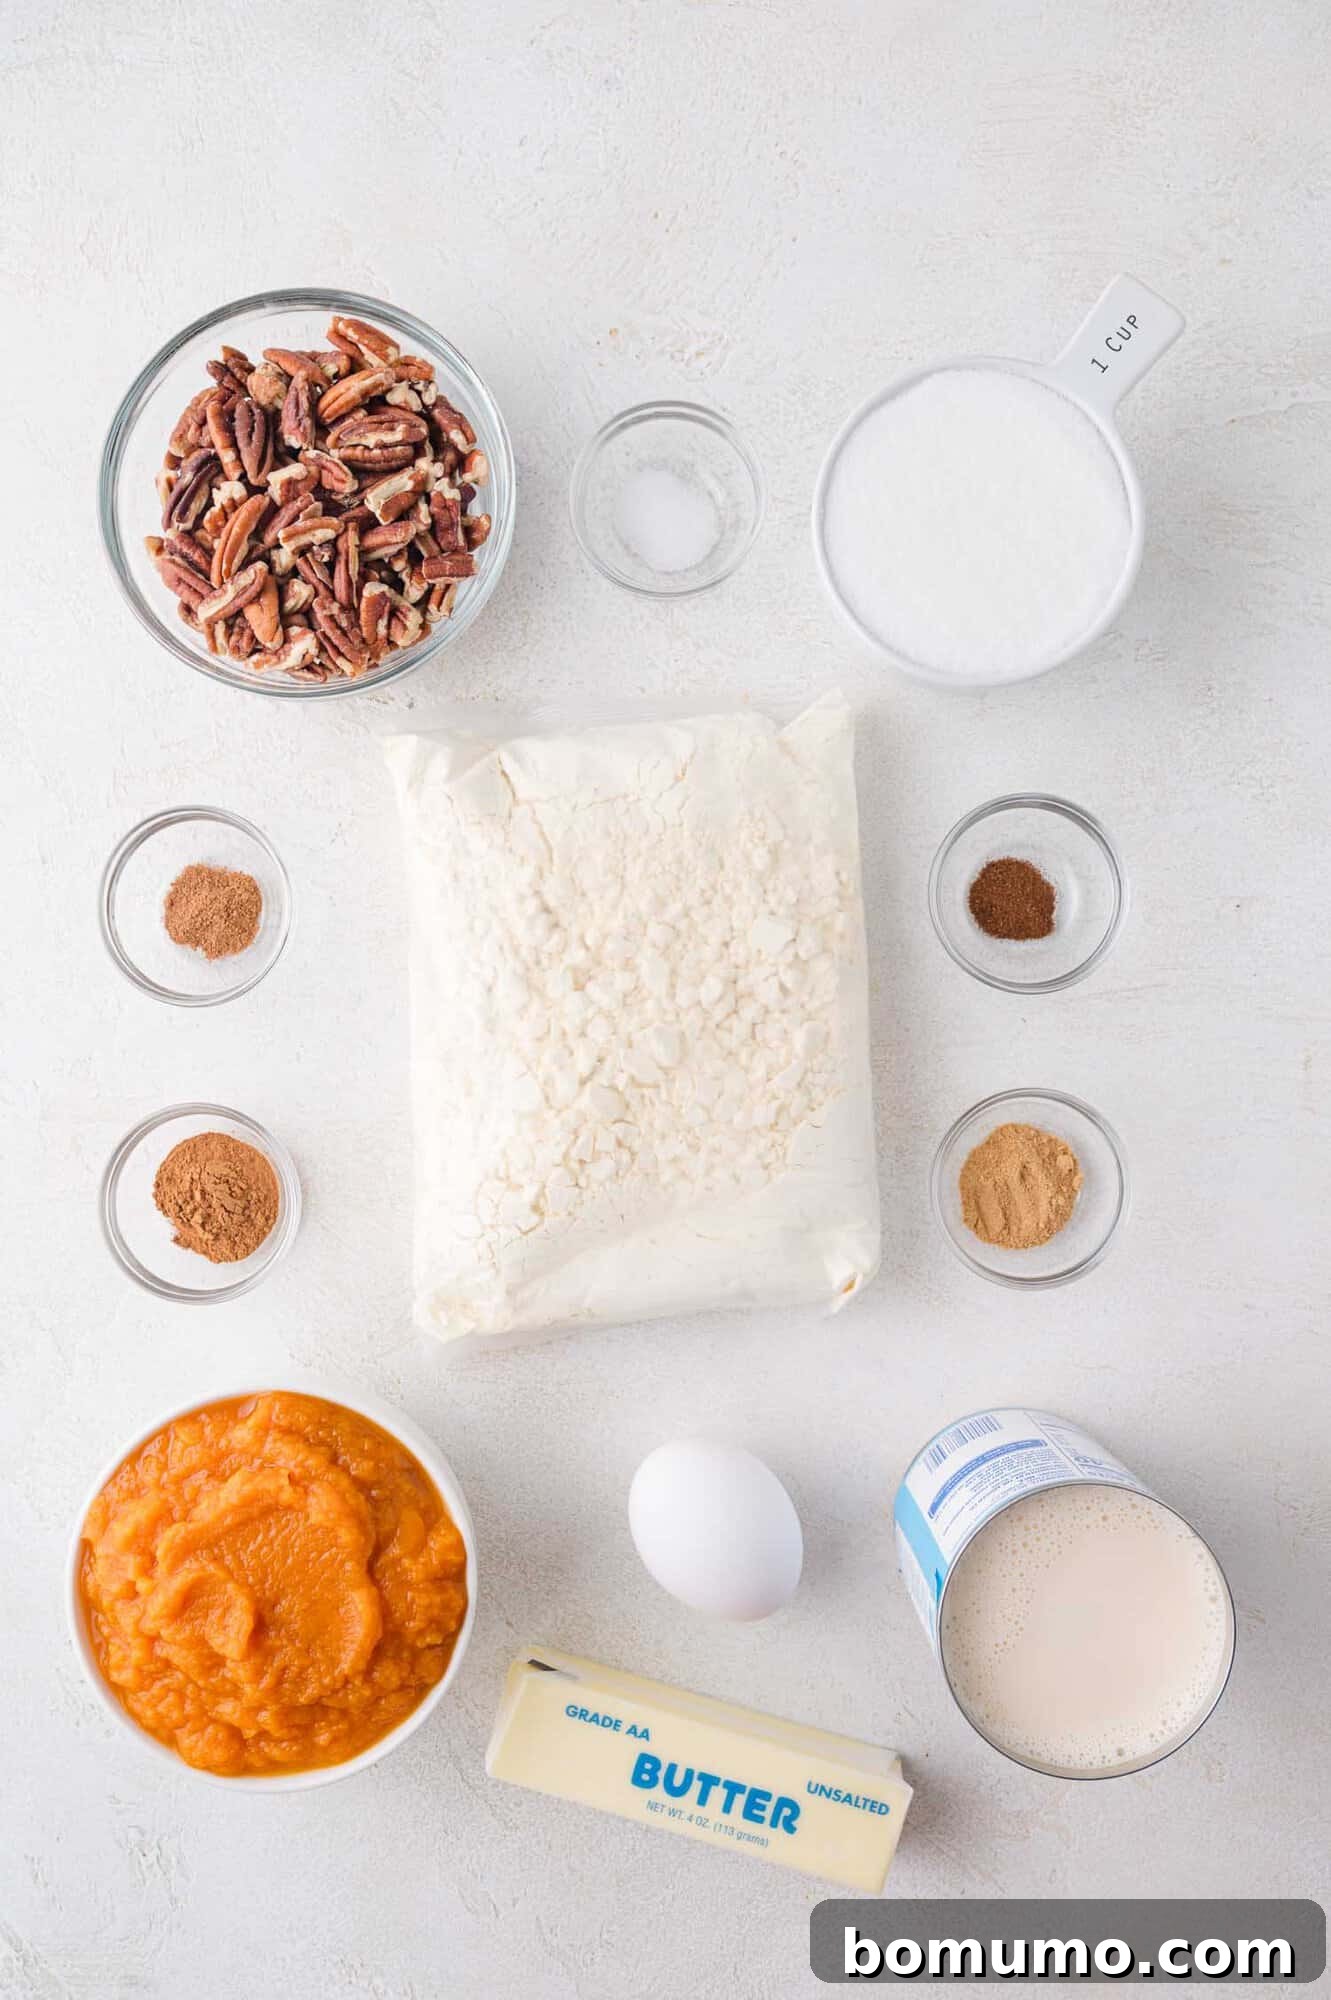
- Canned Pumpkin Purée: This is the heart of your custard layer. It’s absolutely essential to use 100% pure pumpkin purée, not pumpkin pie filling. Pumpkin pie filling is already sweetened and spiced, and using it would result in an overly sweet and potentially unbalanced dessert. Always check the label carefully!
- Yellow Cake Mix: The type and size of your cake mix can influence the final texture of your dump cake. During our recipe development, we experimented with several brands of plain yellow cake mixes. While all yielded tasty results, we observed that a 15.25-ounce box (like Duncan Hines) consistently produced a slightly better, more cohesive cobbler-like topping compared to a smaller 13.25-ounce box (such as Betty Crocker). If you can find the larger size, it’s recommended for optimal results.
- Chopped Pecans: These nuts are more than just a garnish; they are vital for adding a crucial contrasting texture to the soft, creamy cake beneath. The toasted, buttery crunch of pecans elevates the entire experience. We even tested a nut-free version for allergy considerations and found that the cake truly benefits from the pecans, lacking a certain depth and structural integrity without them. Feel free to toast them lightly before sprinkling for an enhanced nutty flavor.
- Unsalted Butter: The secret to a perfectly golden and crisp topping lies in how you apply the butter. After numerous trials, we discovered that arranging thinly sliced, well-chilled unsalted butter evenly over the dry cake mix yields the best results. Attempting to melt the butter and drizzle it resulted in undesirable dry, powdery spots on the cake’s surface. A key tip: thoroughly chilling your butter beforehand makes it significantly easier to slice into uniform thin pieces.
Mastering the Art of Pumpkin Dump Cake: A Step-by-Step Guide
Crafting this delightful pumpkin dump cake is surprisingly simple, transforming minimal effort into a maximum flavor experience. Follow these straightforward steps to create a dessert that will impress everyone:
Step 1: Prepare Your Baking Environment. Begin by preheating your oven to a steady 350ºF (175ºC). Next, generously grease a large 9×13-inch baking dish. You can use either butter or a nonstick cooking spray to ensure your cake doesn’t stick. Many home bakers, myself included, prefer using a clear glass baking dish for this recipe, as it allows you to observe the beautiful layers as they bake to perfection.
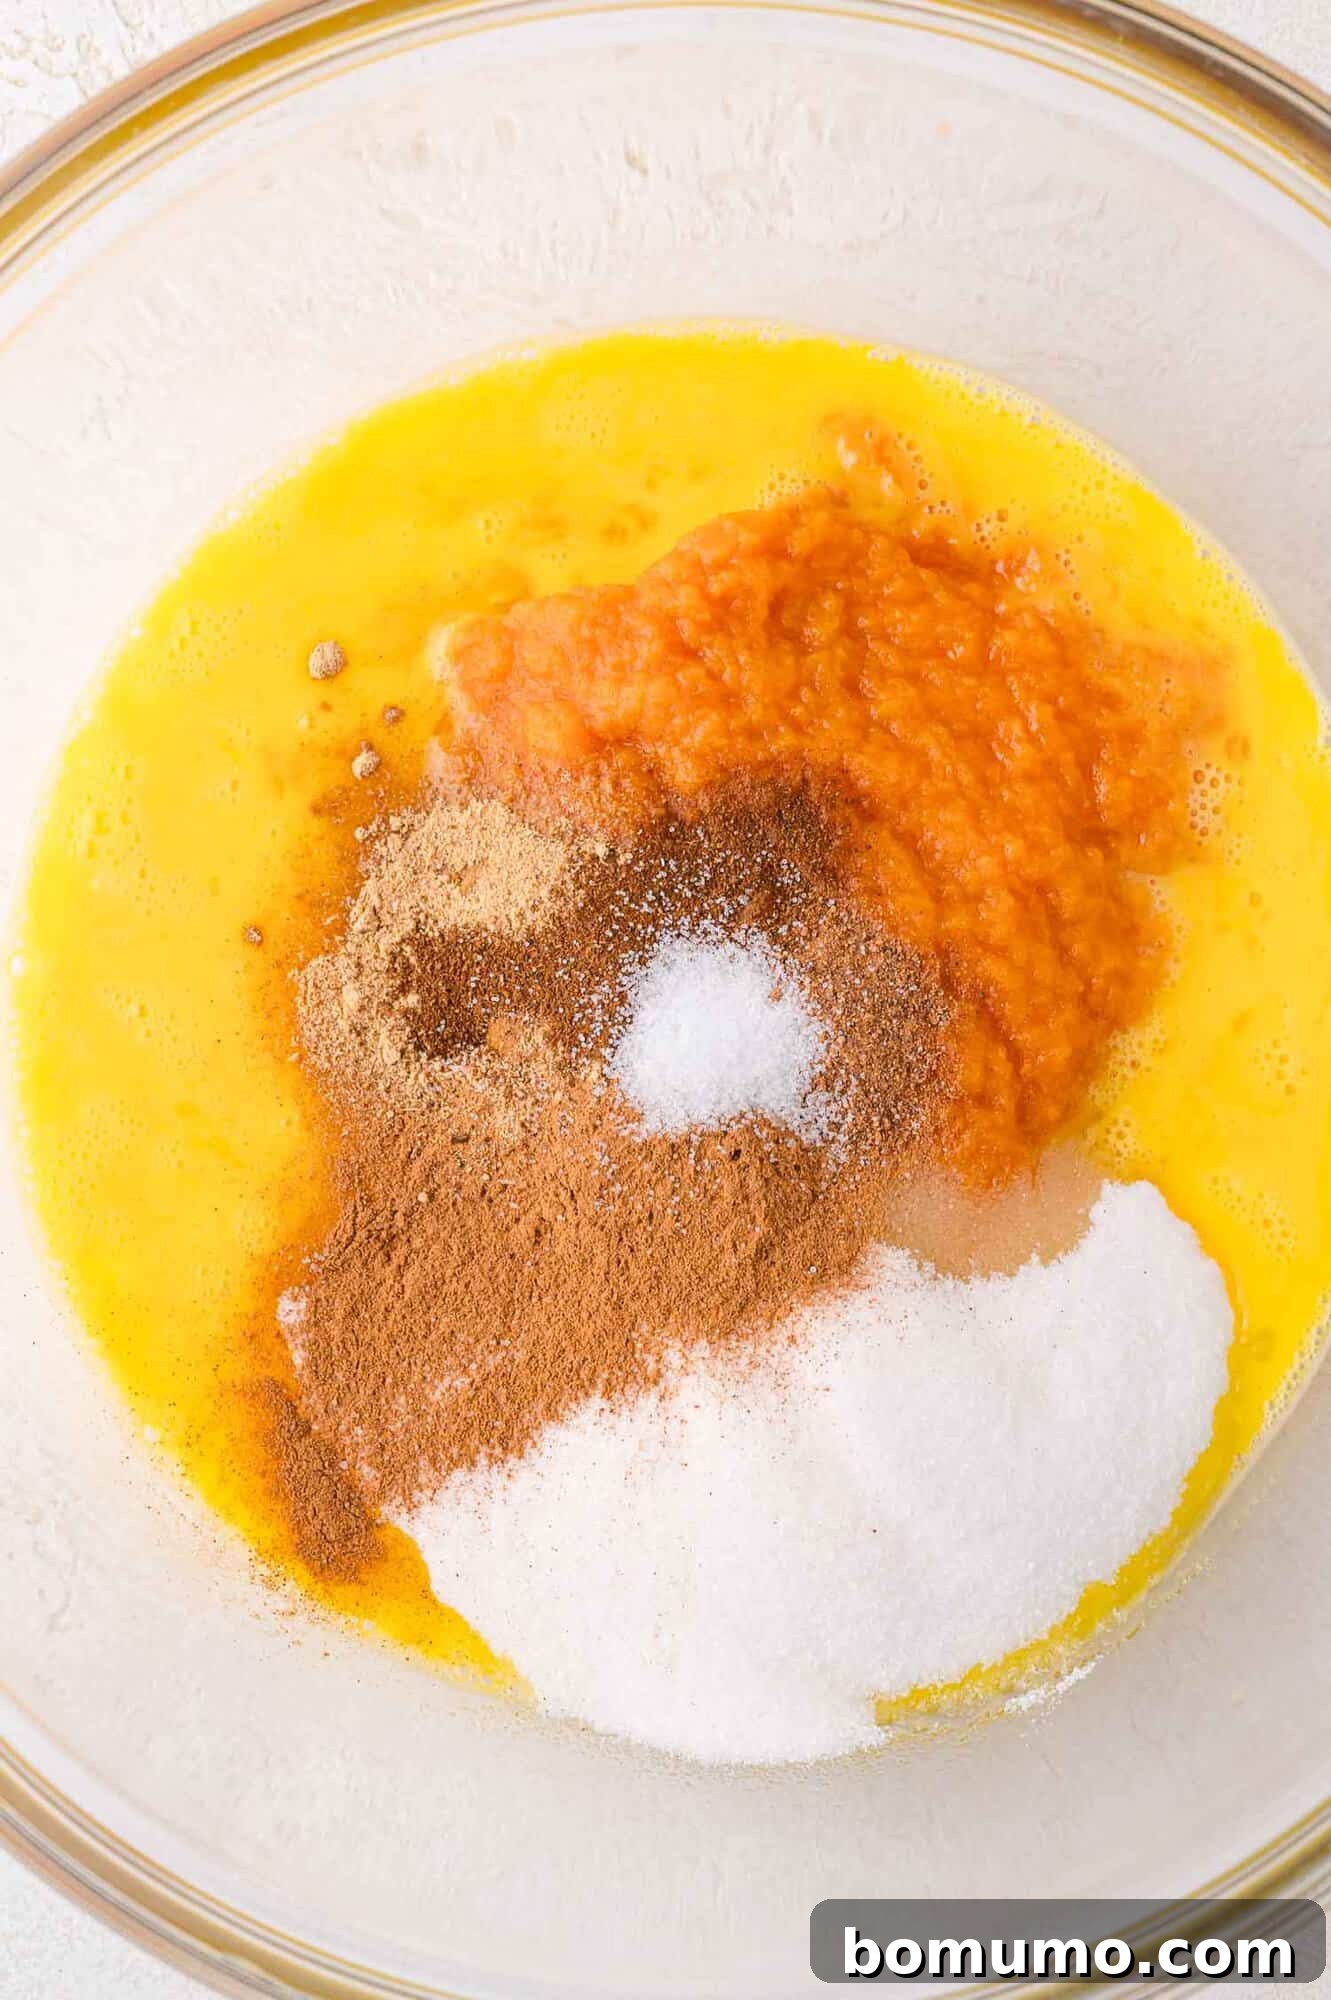
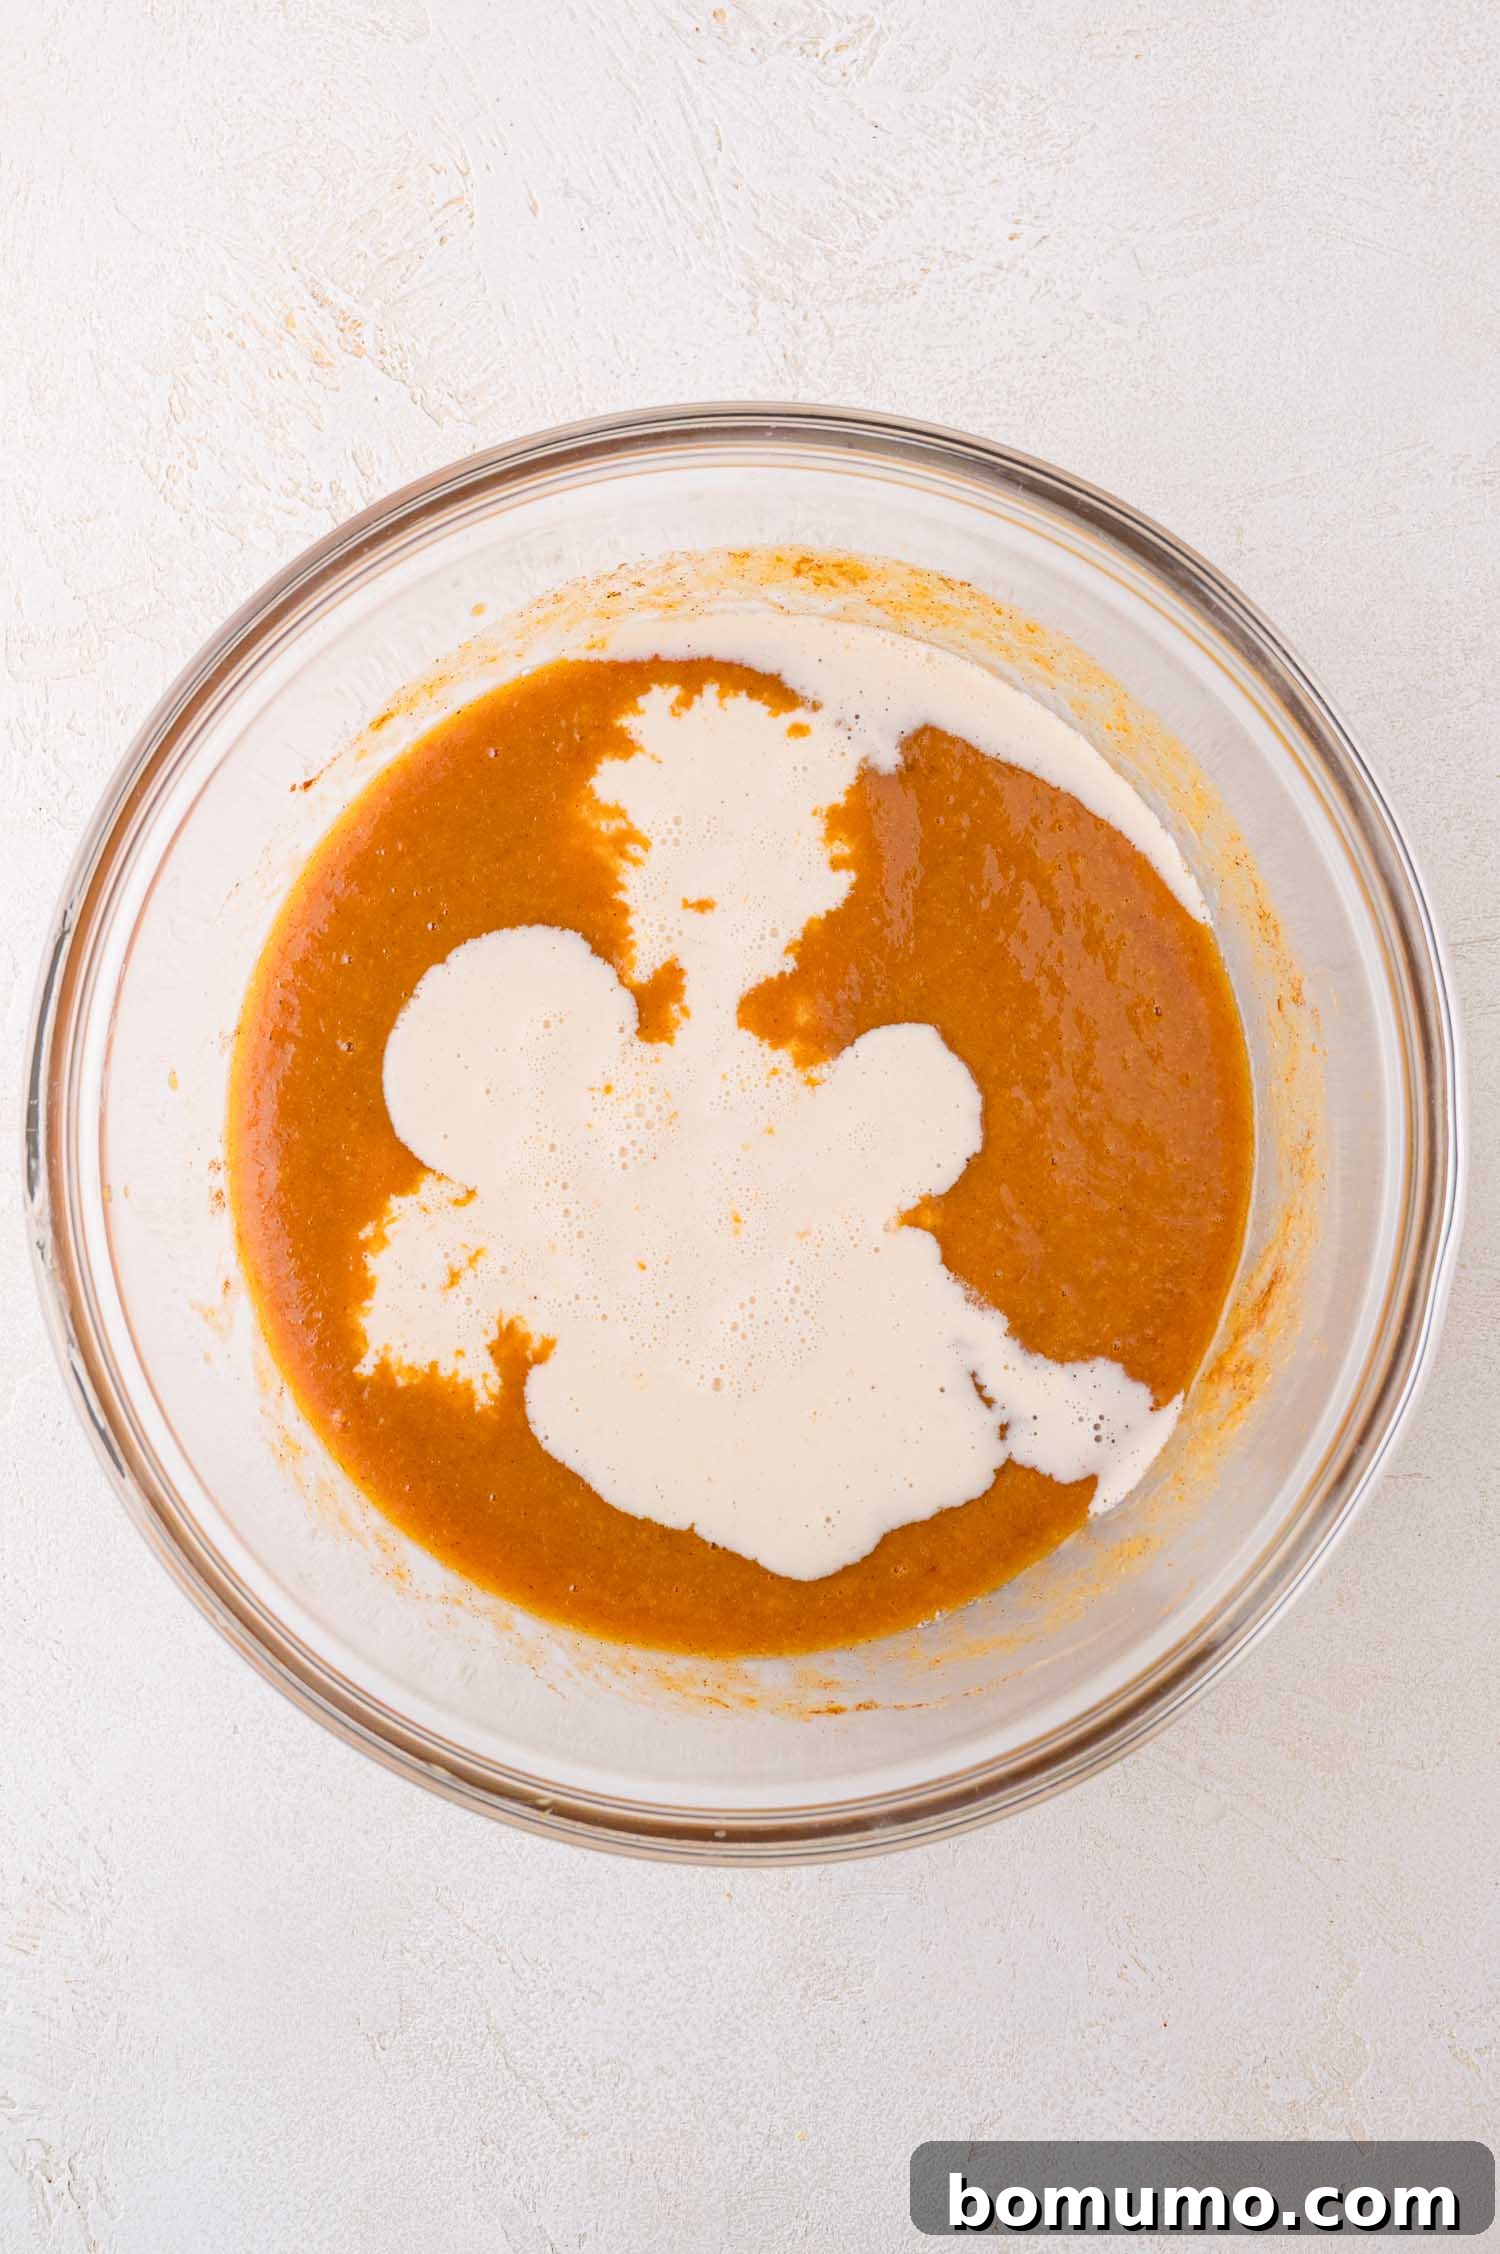
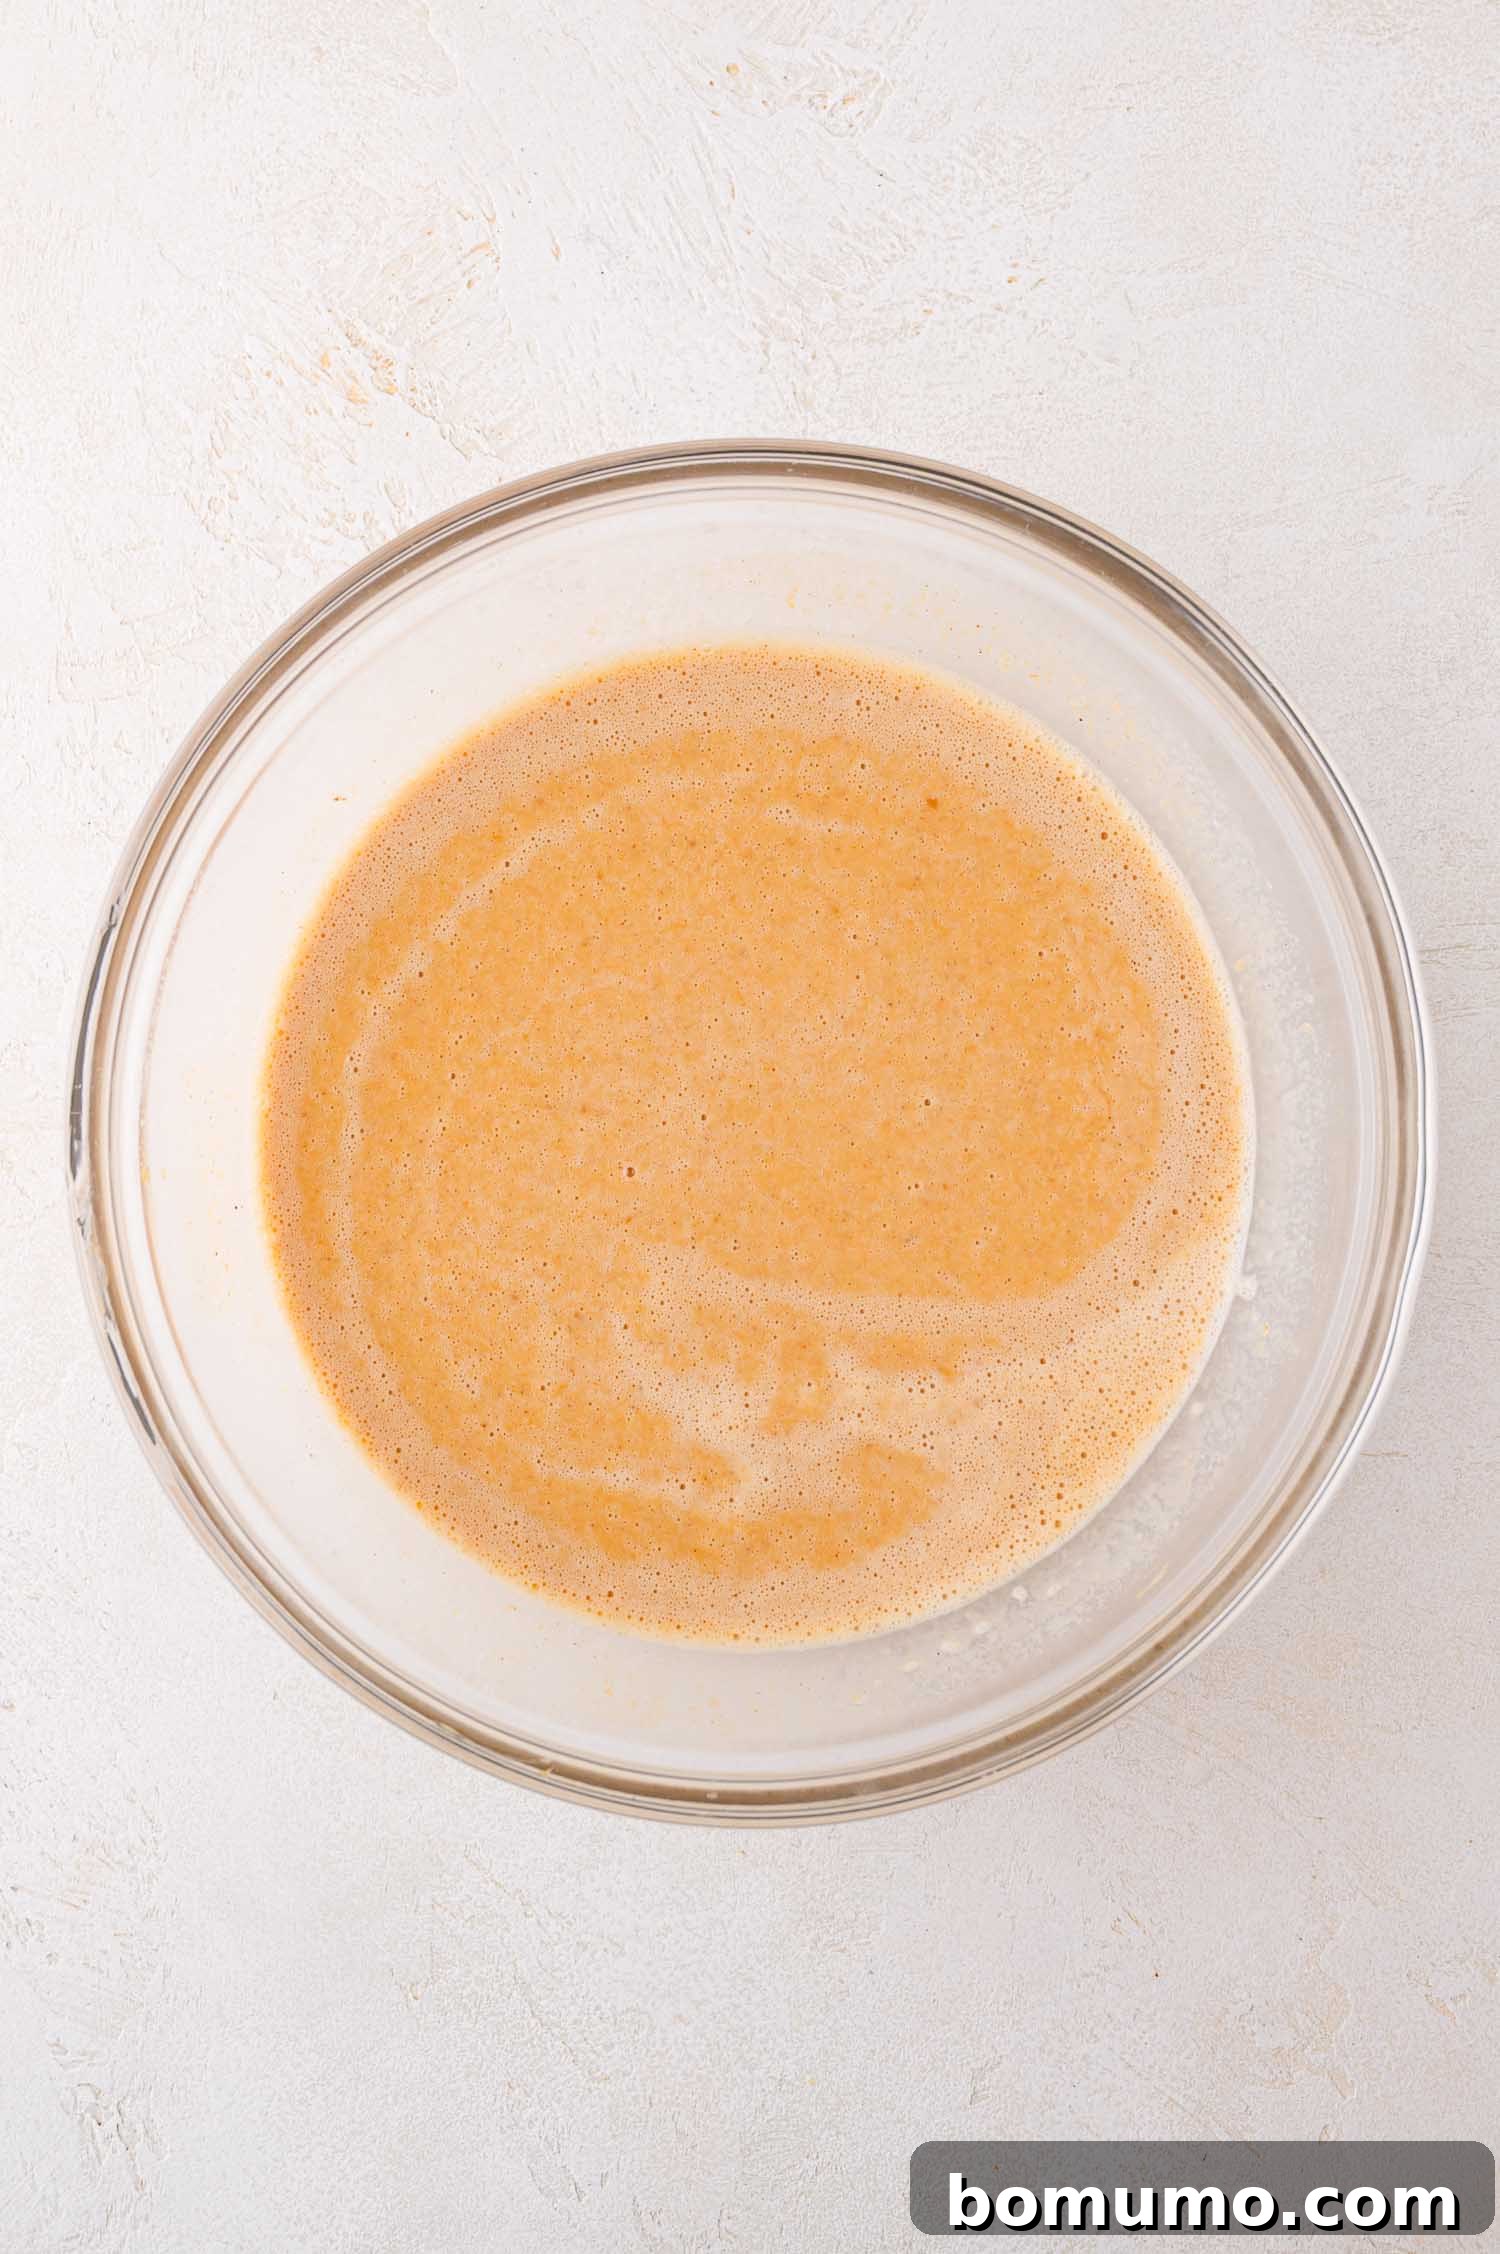
Step 2: Create the Rich Pumpkin Custard. In a sizable mixing bowl, crack your eggs and whisk them thoroughly until the whites and yolks are fully blended and uniform. This ensures a smooth custard base. Now, add the canned pumpkin purée, granulated sugar, a fragrant blend of spices (cinnamon, ginger, nutmeg, and optional cloves), and salt. Whisk these ingredients together until the mixture is completely smooth and all the ground spices are evenly incorporated without any clumps. This is a crucial step for a uniform flavor profile. Once the pumpkin mixture is beautifully blended, pour in the evaporated milk and whisk again until everything is combined and the custard achieves a smooth, creamy consistency. This forms the delightful base of your dump cake.
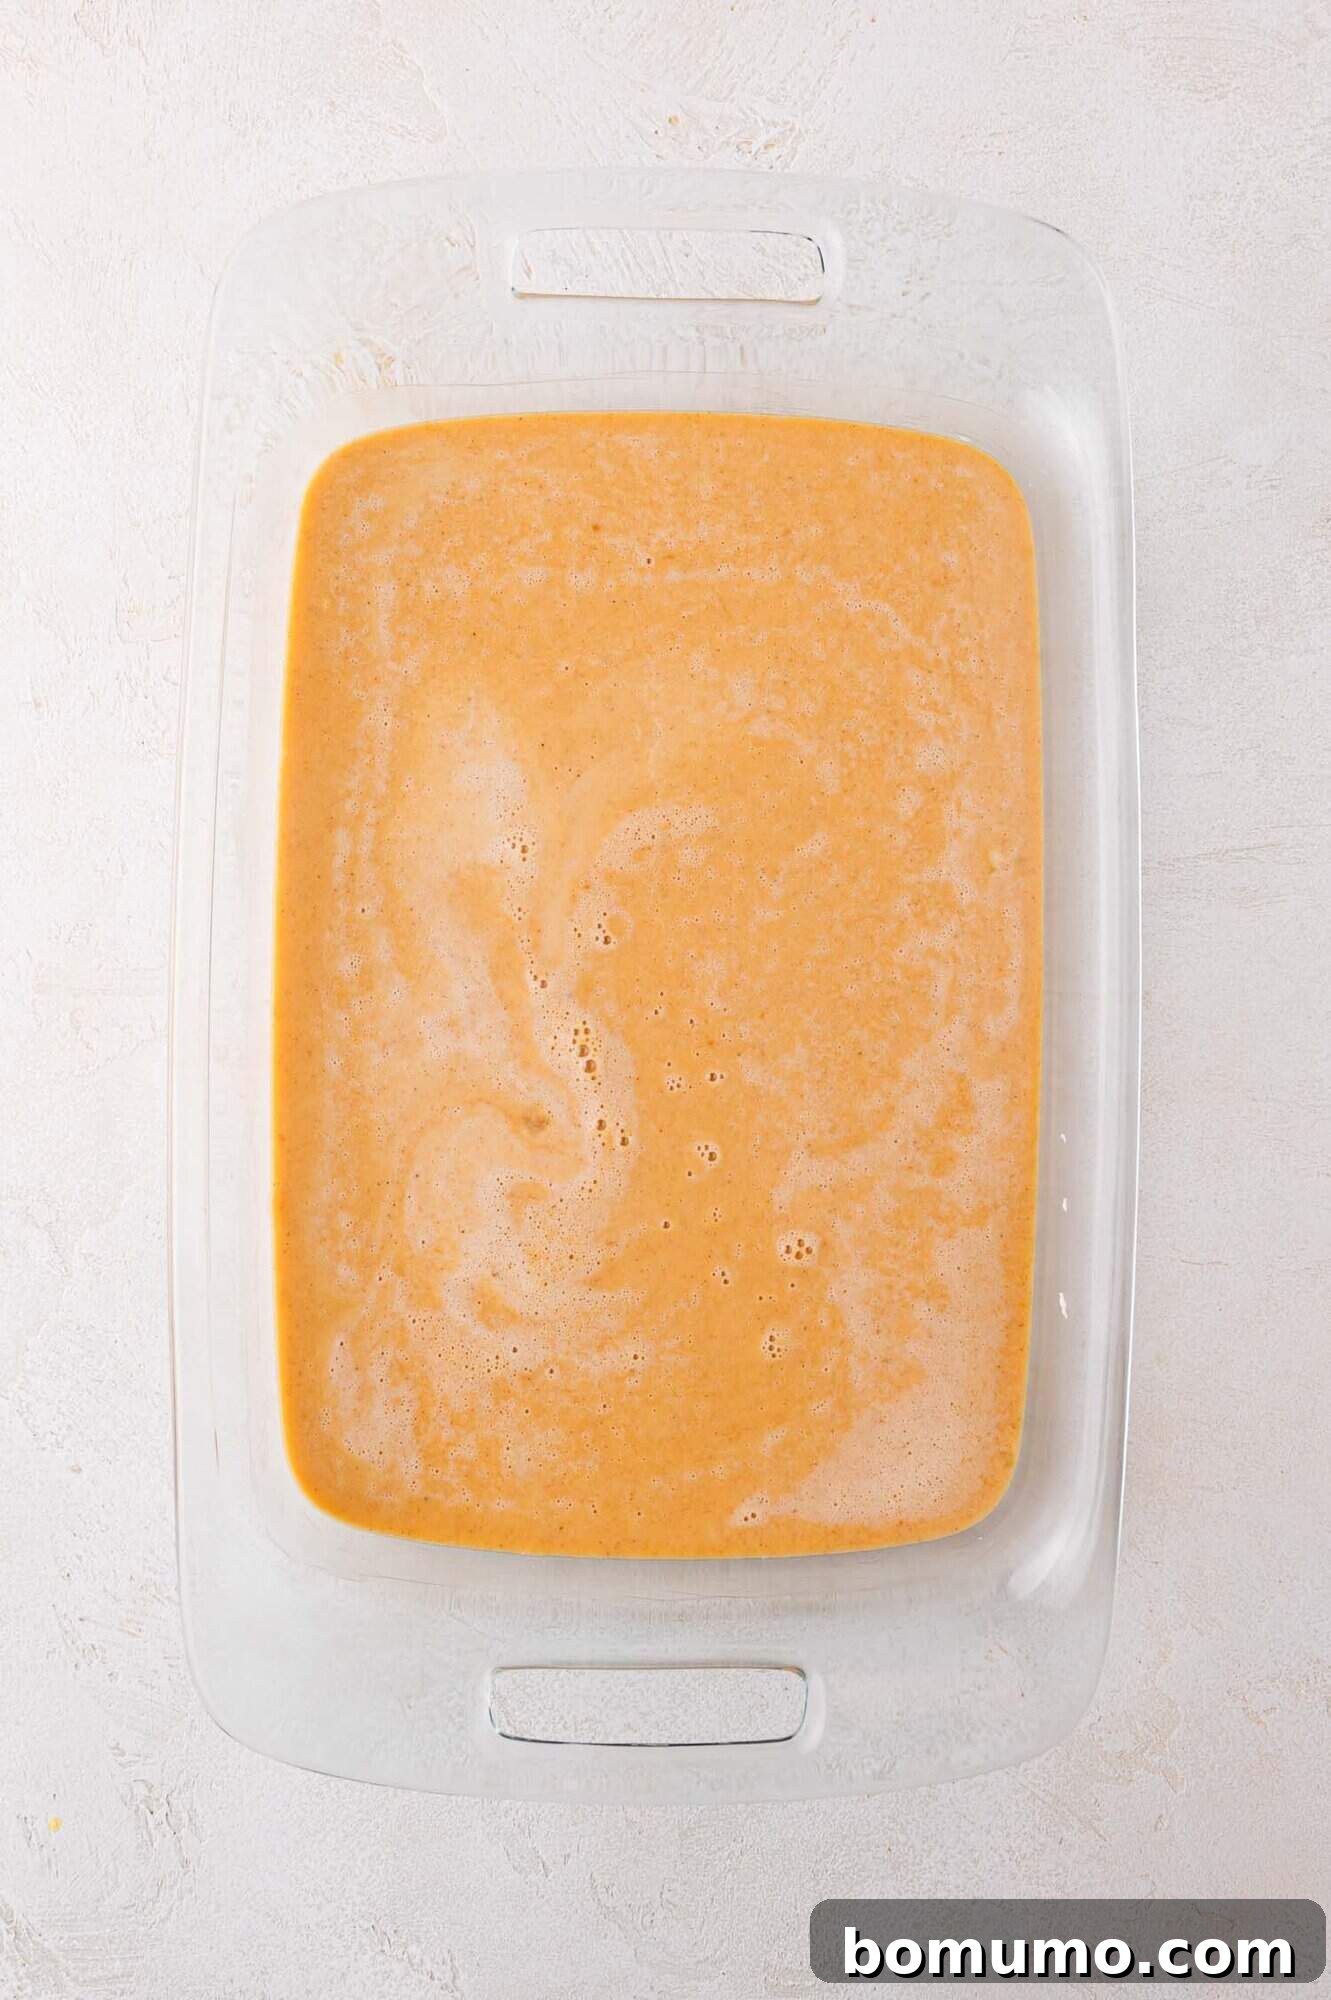
Step 3: Artfully Assemble Your Dump Cake. Pour the prepared pumpkin custard mixture evenly into your greased baking dish. This forms the delightful bottom layer. Next, meticulously sprinkle the dry yellow cake mix over the entire surface of the pumpkin mixture. It’s important to spread it as evenly as possible, ensuring it completely covers the pumpkin layer right up to the edges of the dish. Don’t be afraid to use your fingers to gently distribute it! Following this, sprinkle the chopped pecans evenly over the dry cake mix. This is a critical “dump cake” moment: resist the urge to stir any of the layers! The magic happens as the cake bakes, allowing the butter to seep through and create distinct, delicious textures. Finally, arrange thin, uniform slices of your chilled unsalted butter across the entire top surface of the cake, as beautifully illustrated in the accompanying photos. Aim for good coverage to ensure a golden, crispy topping.
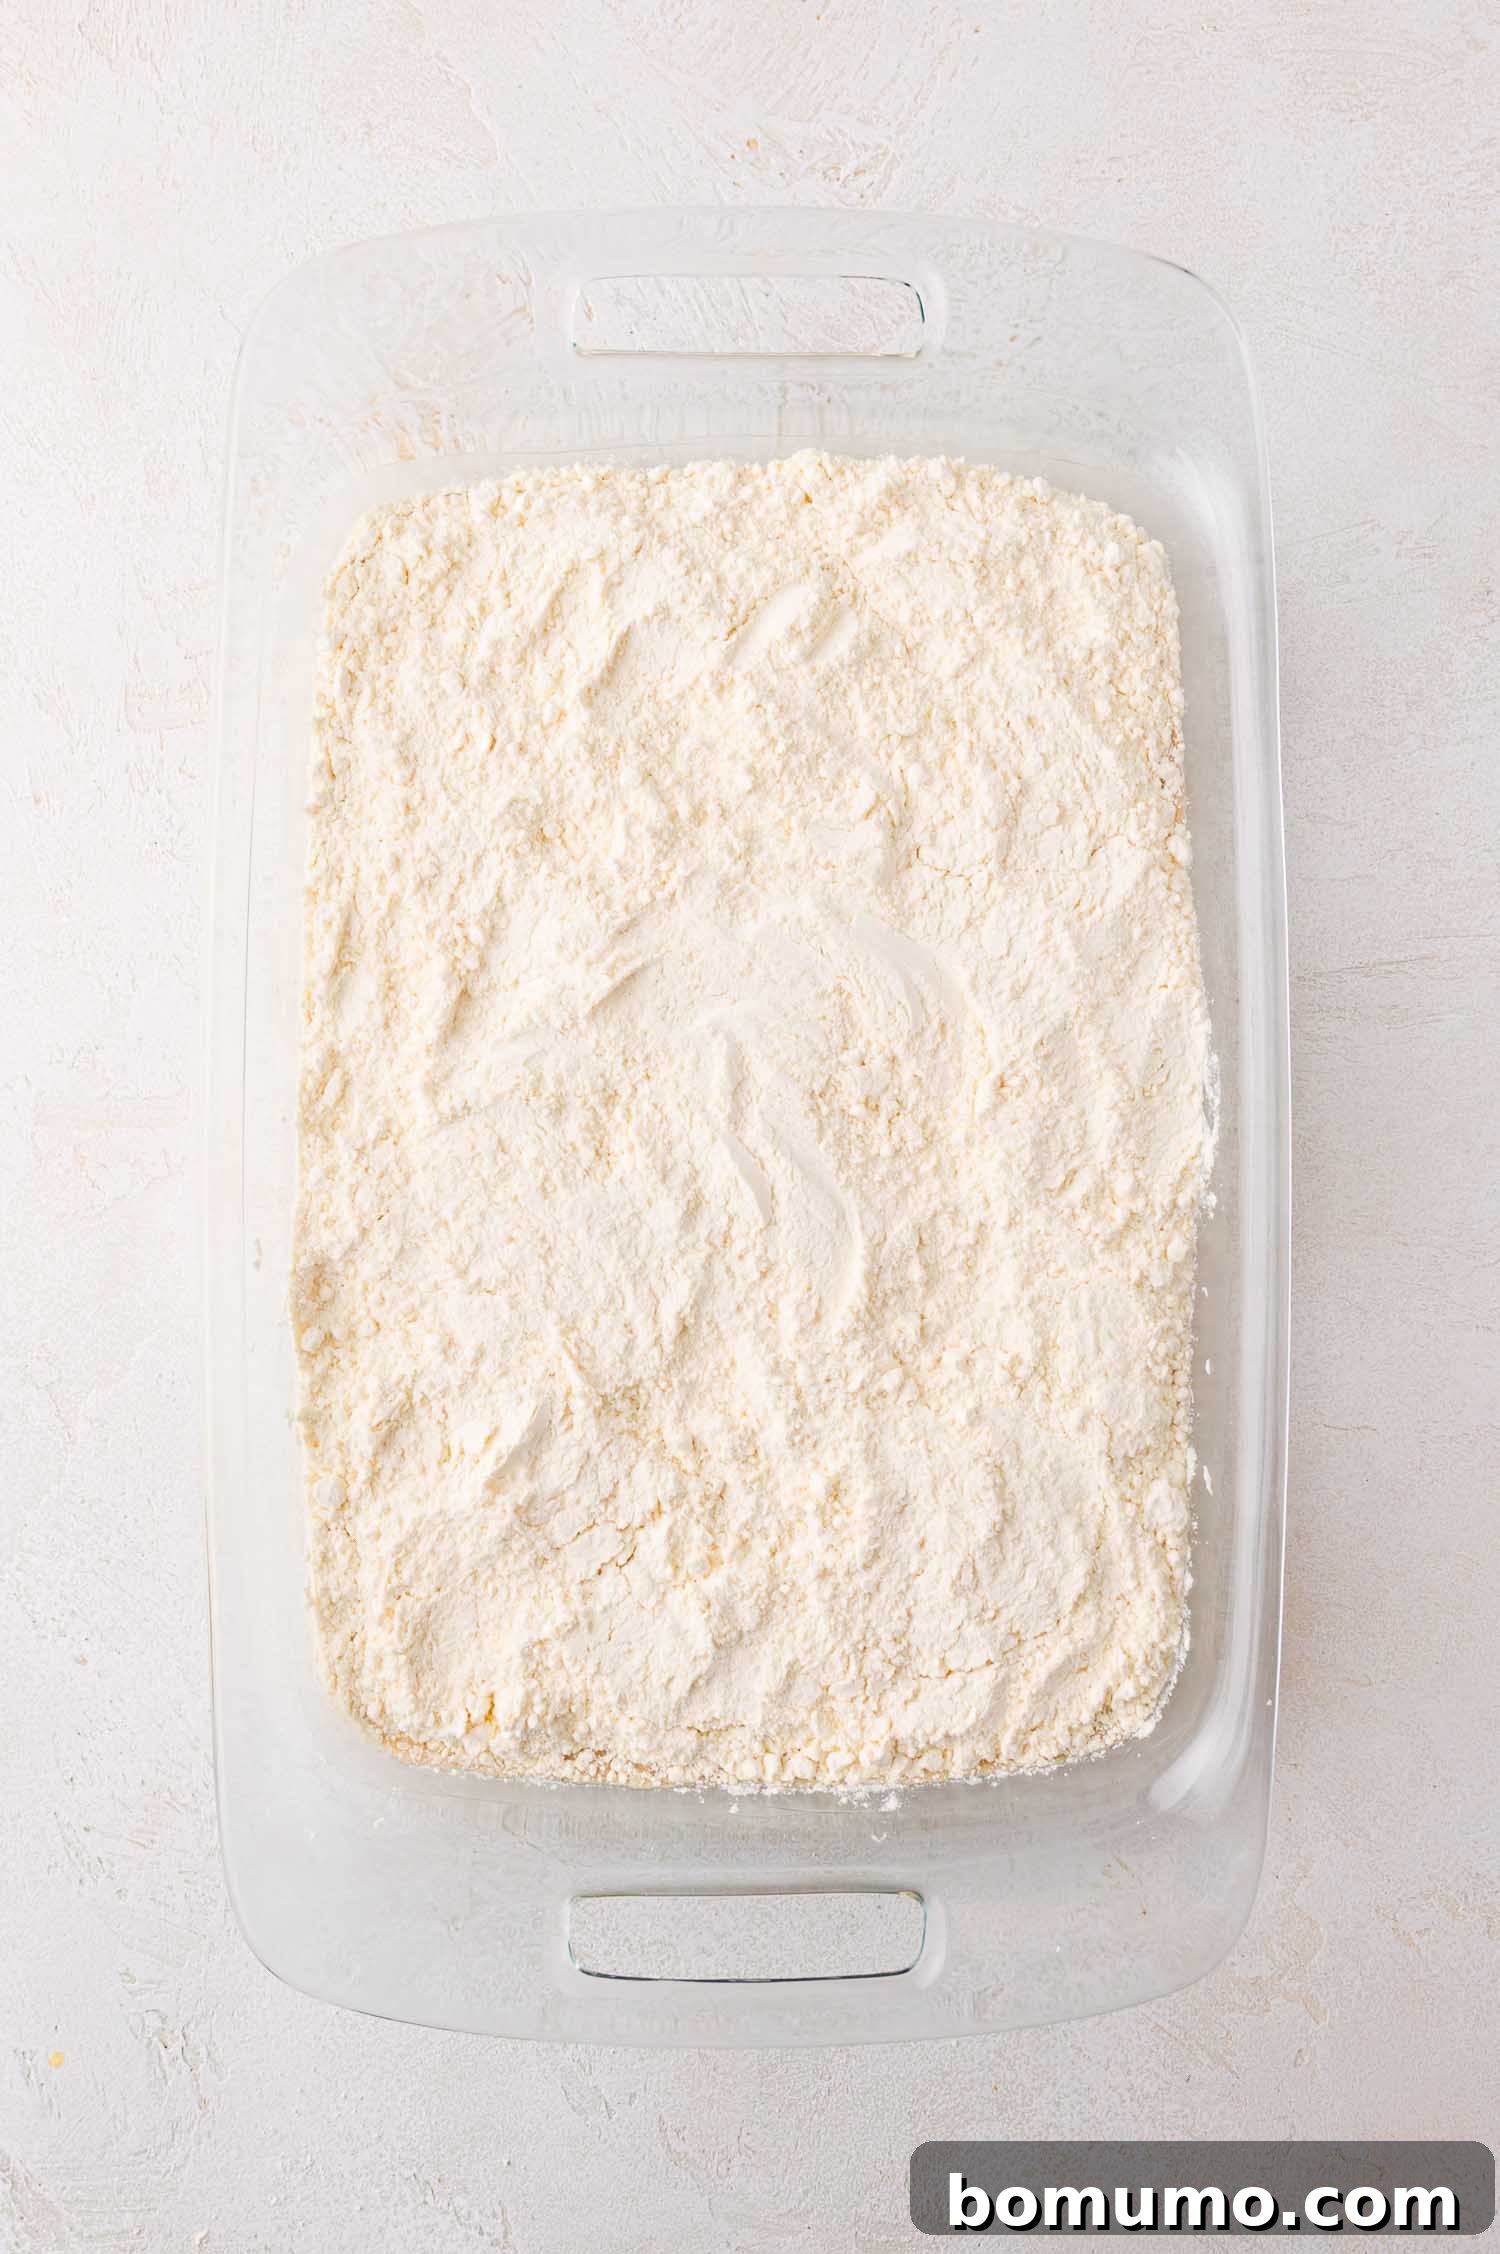
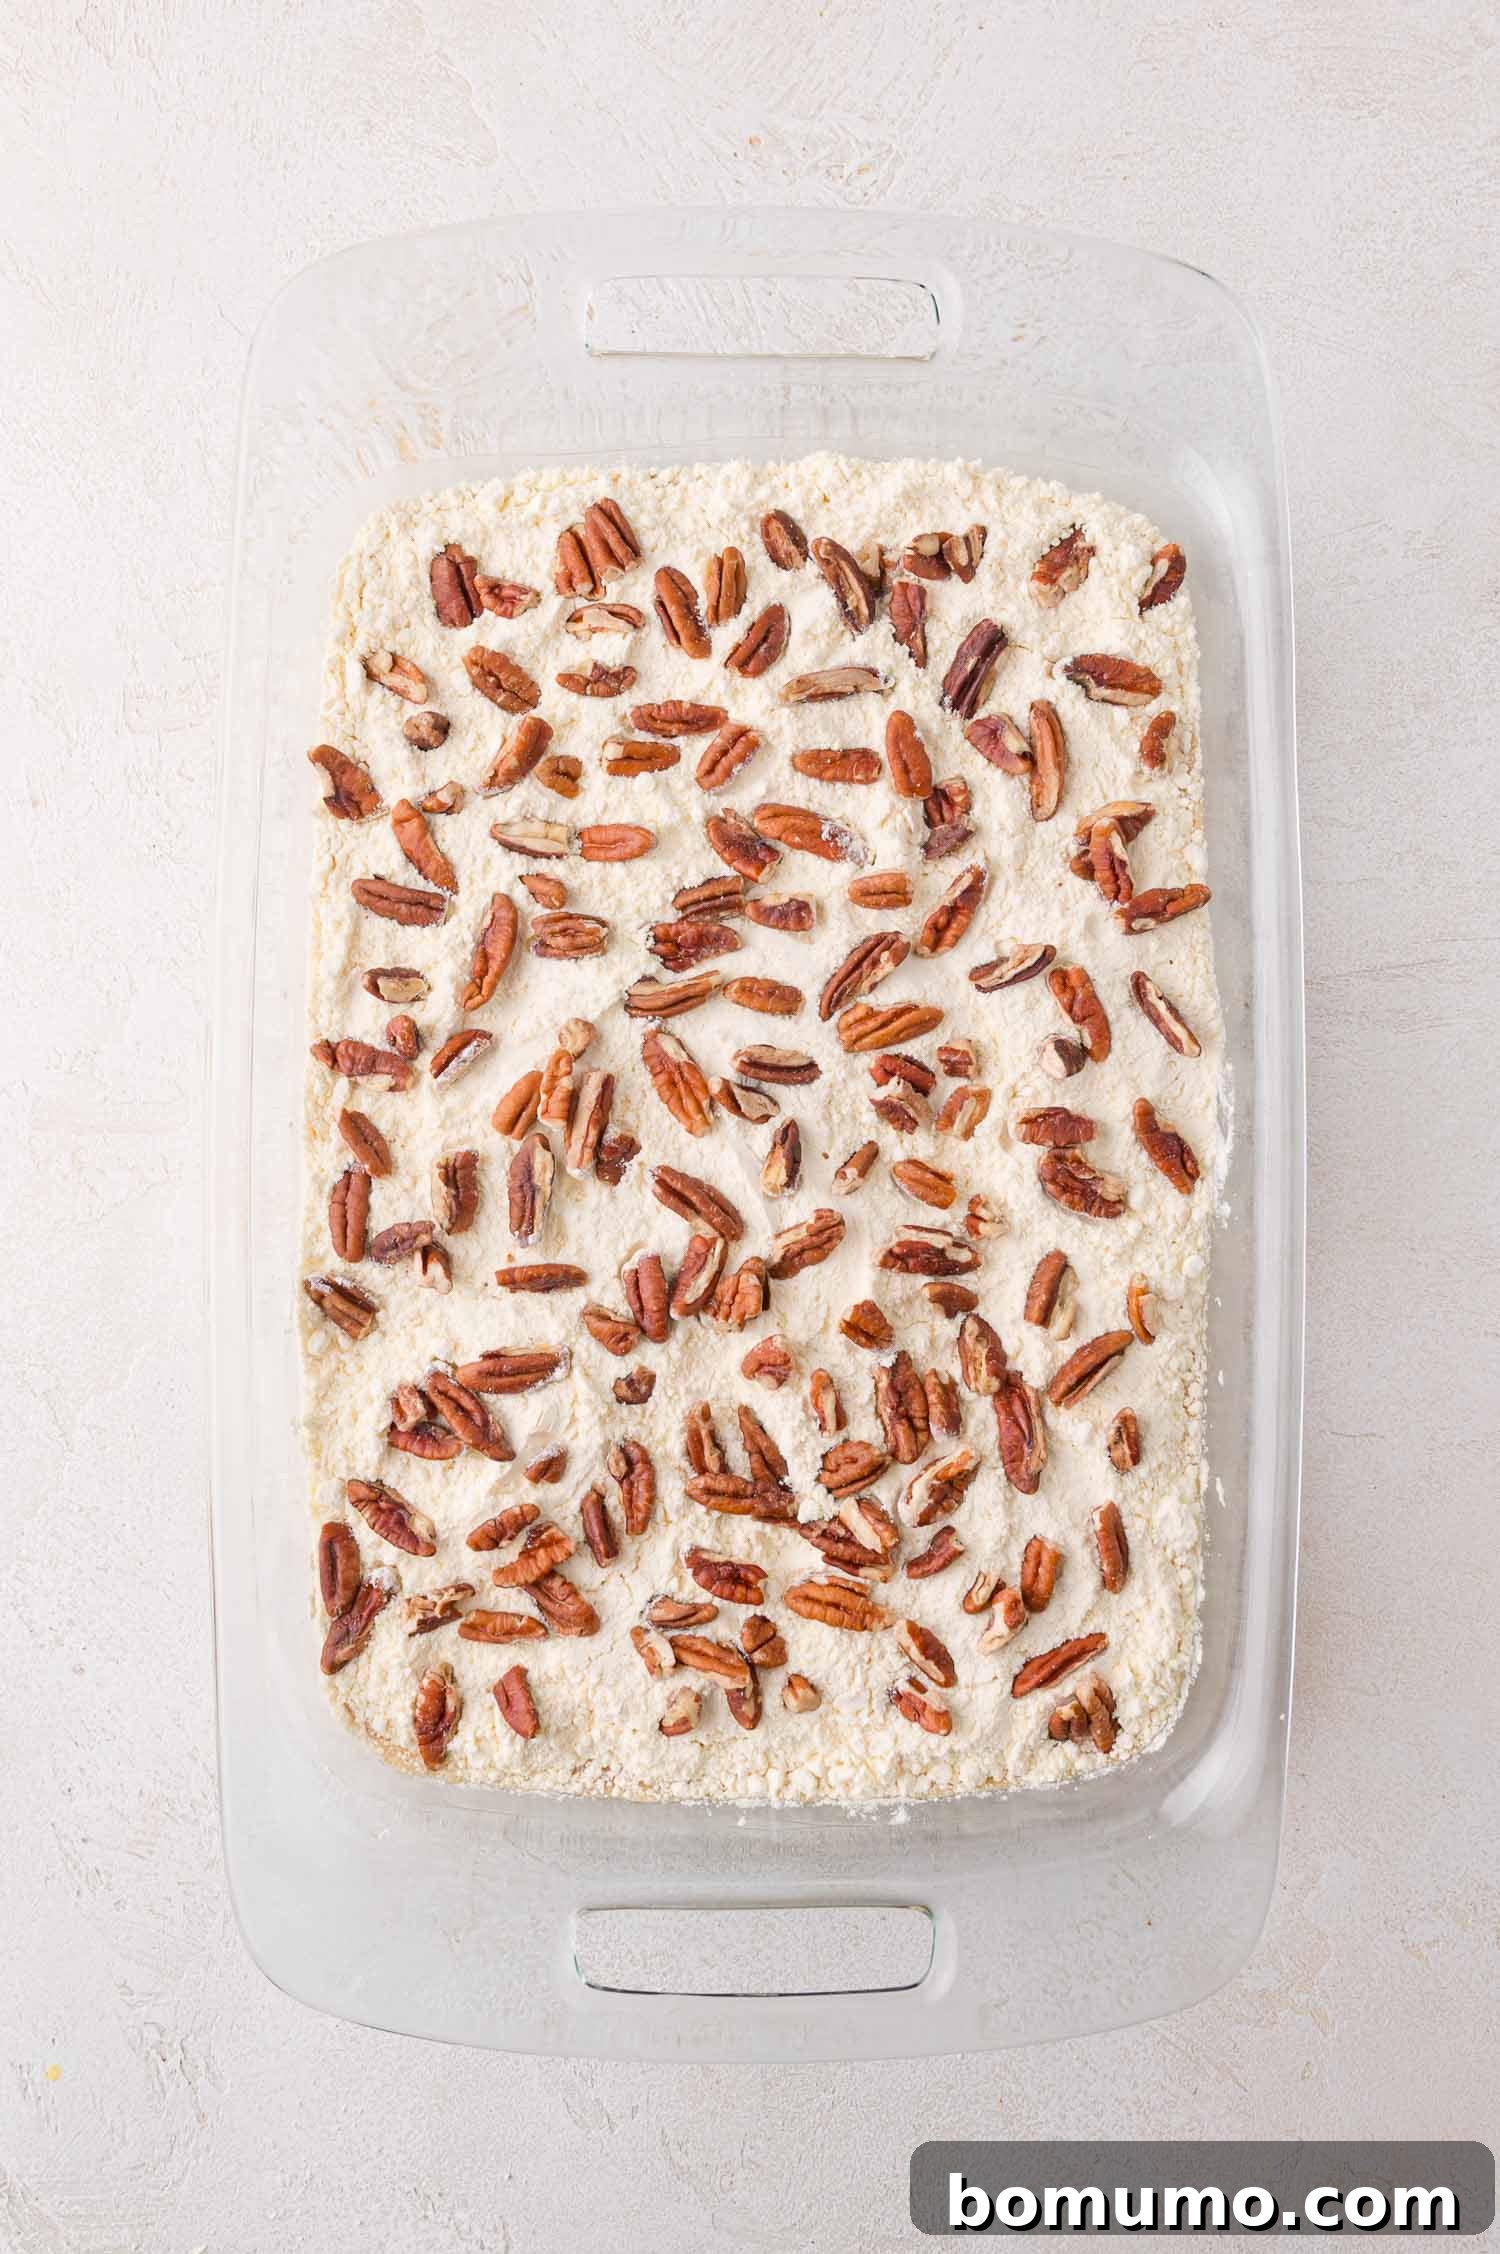
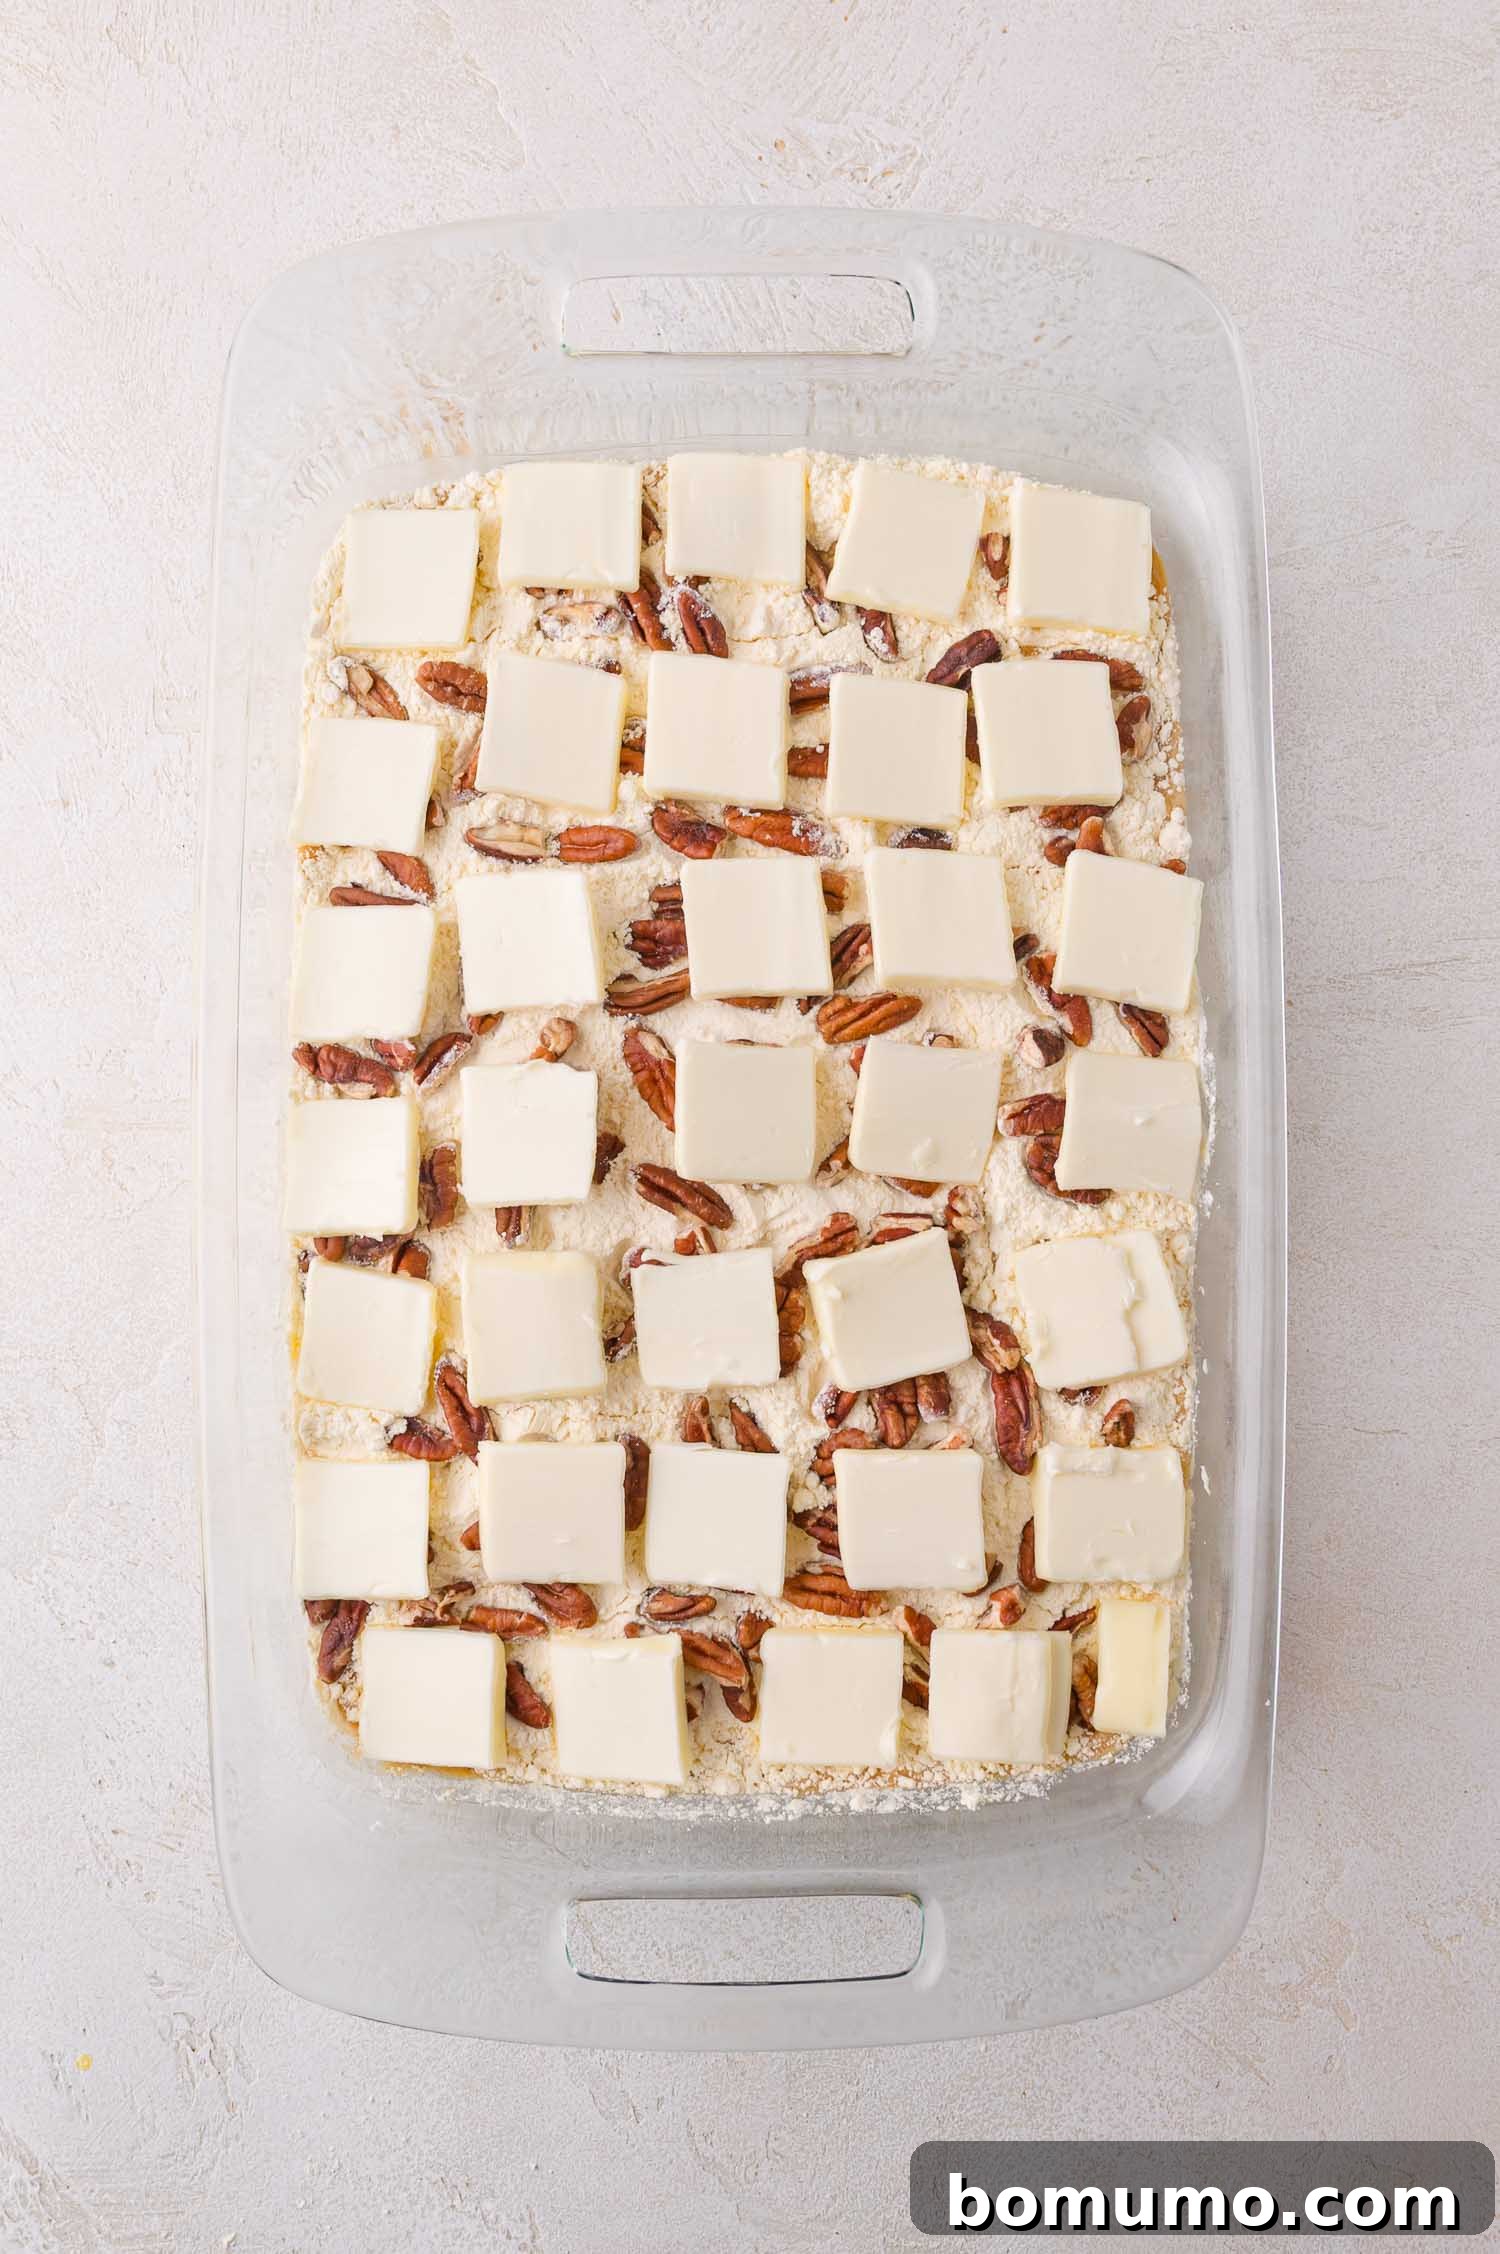
Step 4: Bake to Golden Perfection. Carefully place your assembled pumpkin dump cake into the preheated oven. Bake for approximately 45 minutes. The cake is done when the top has achieved a beautiful golden-brown hue, and a knife inserted into the center of the cake comes out mostly clean, indicating the custard has set. The center should no longer be jiggly.
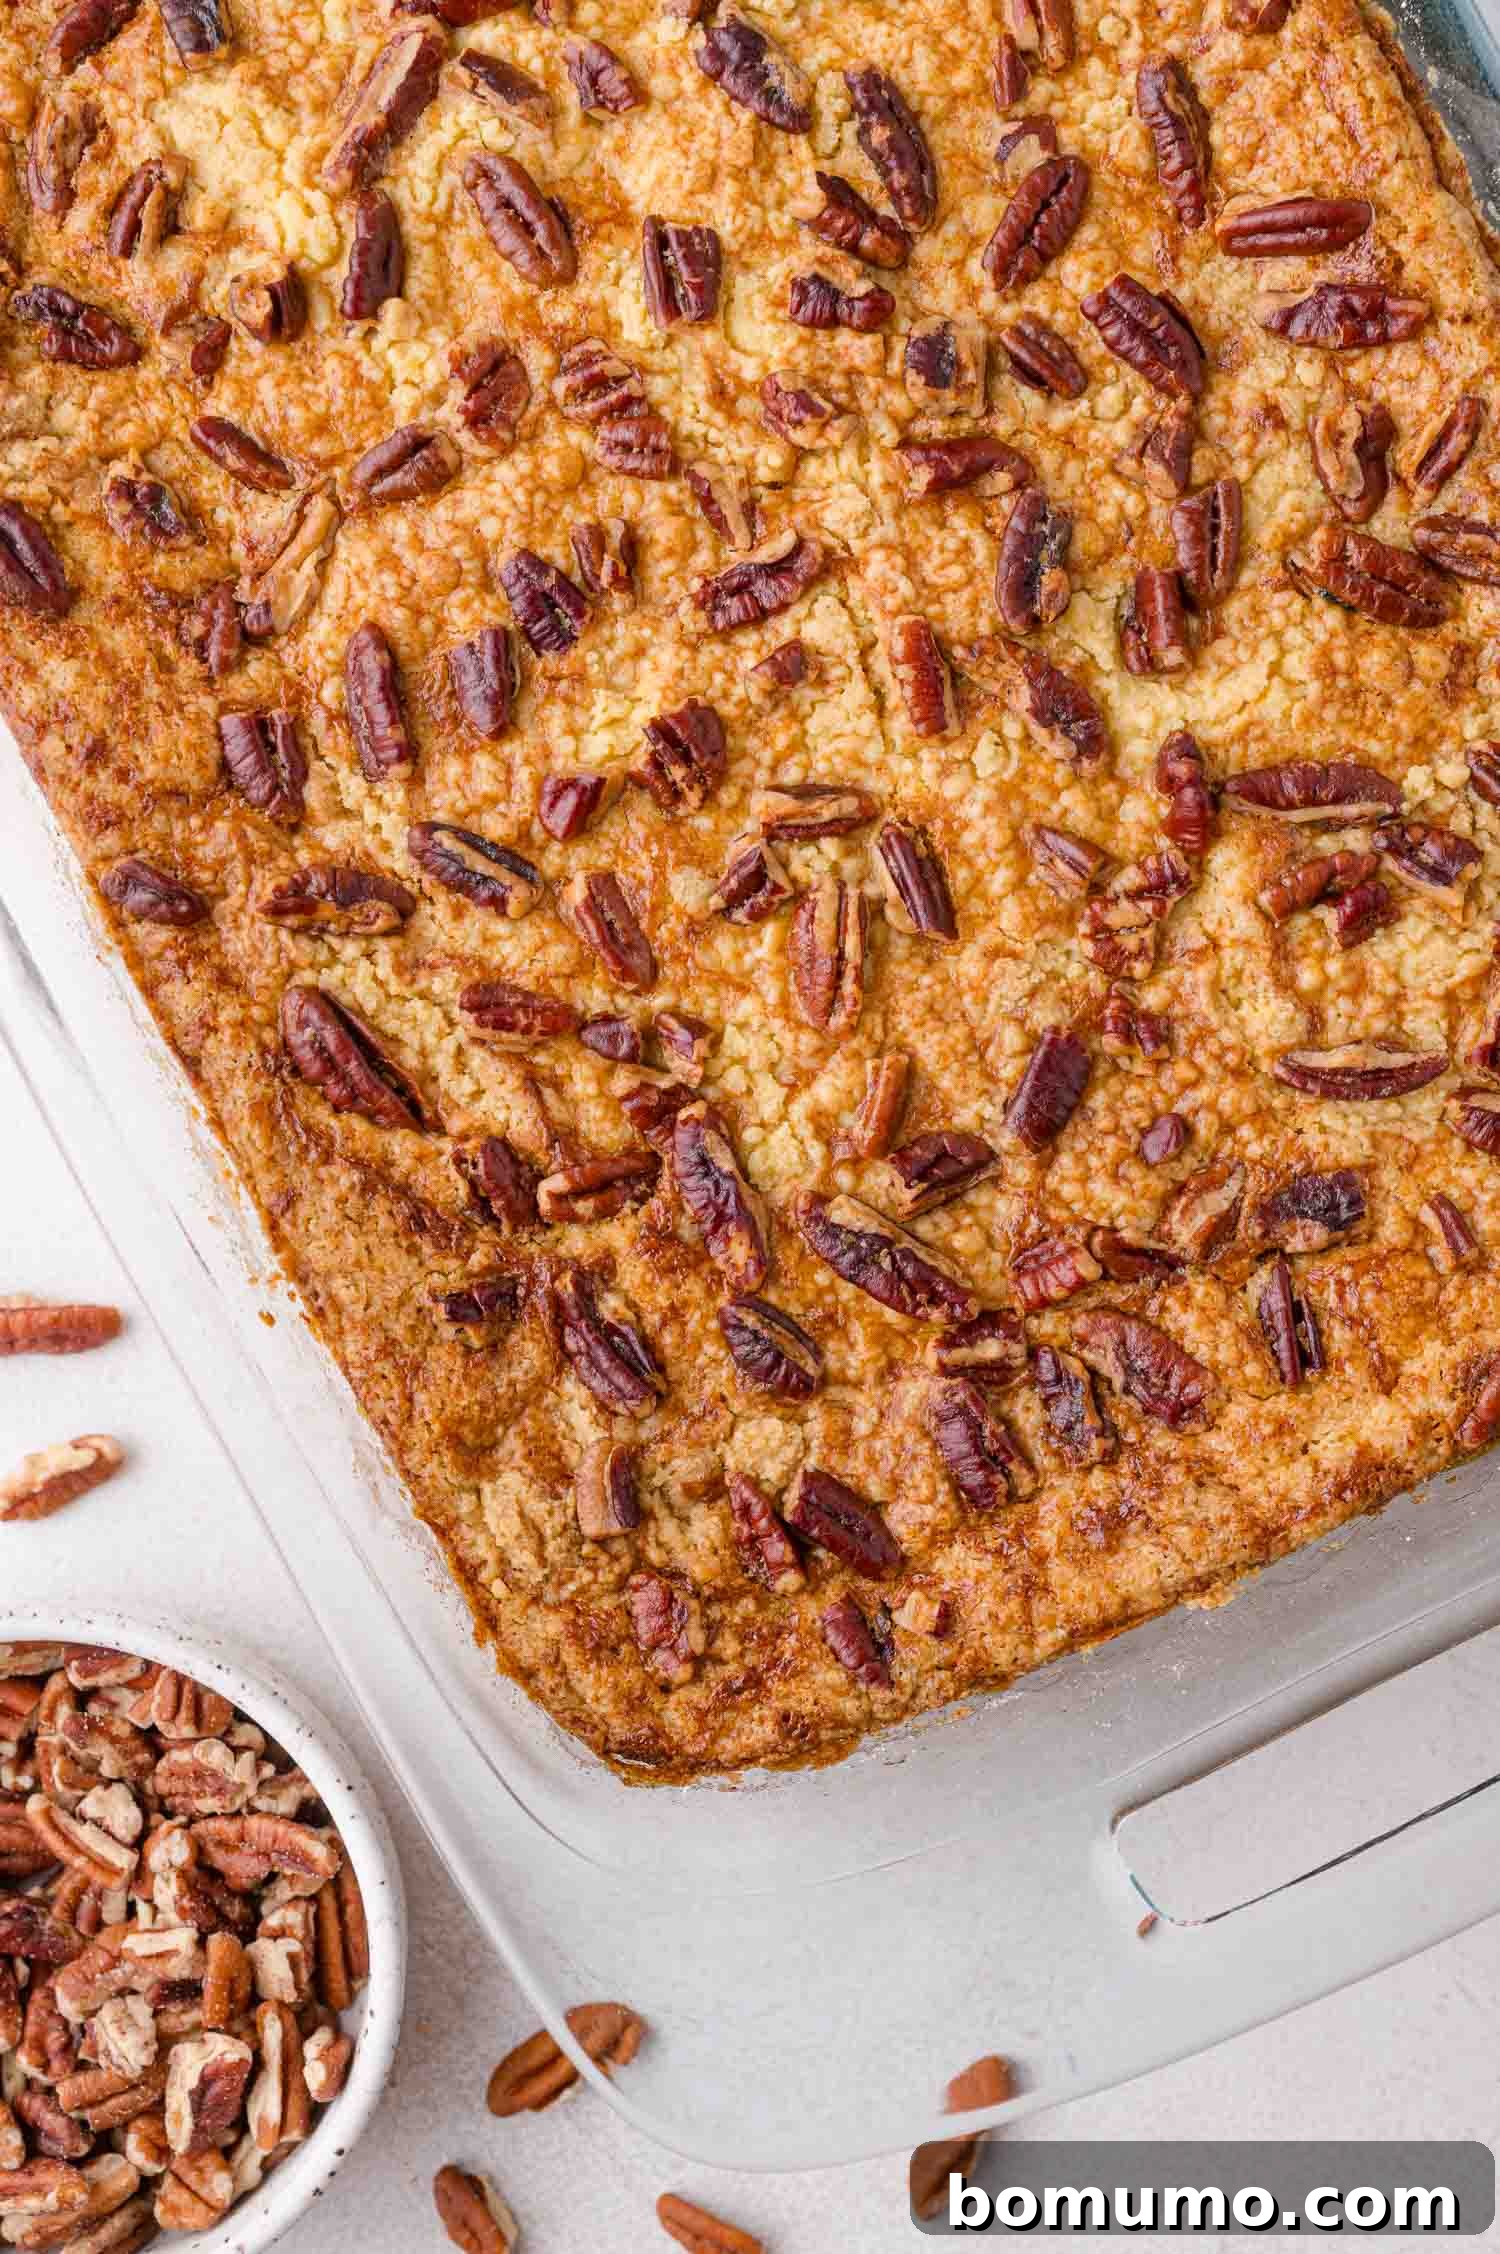
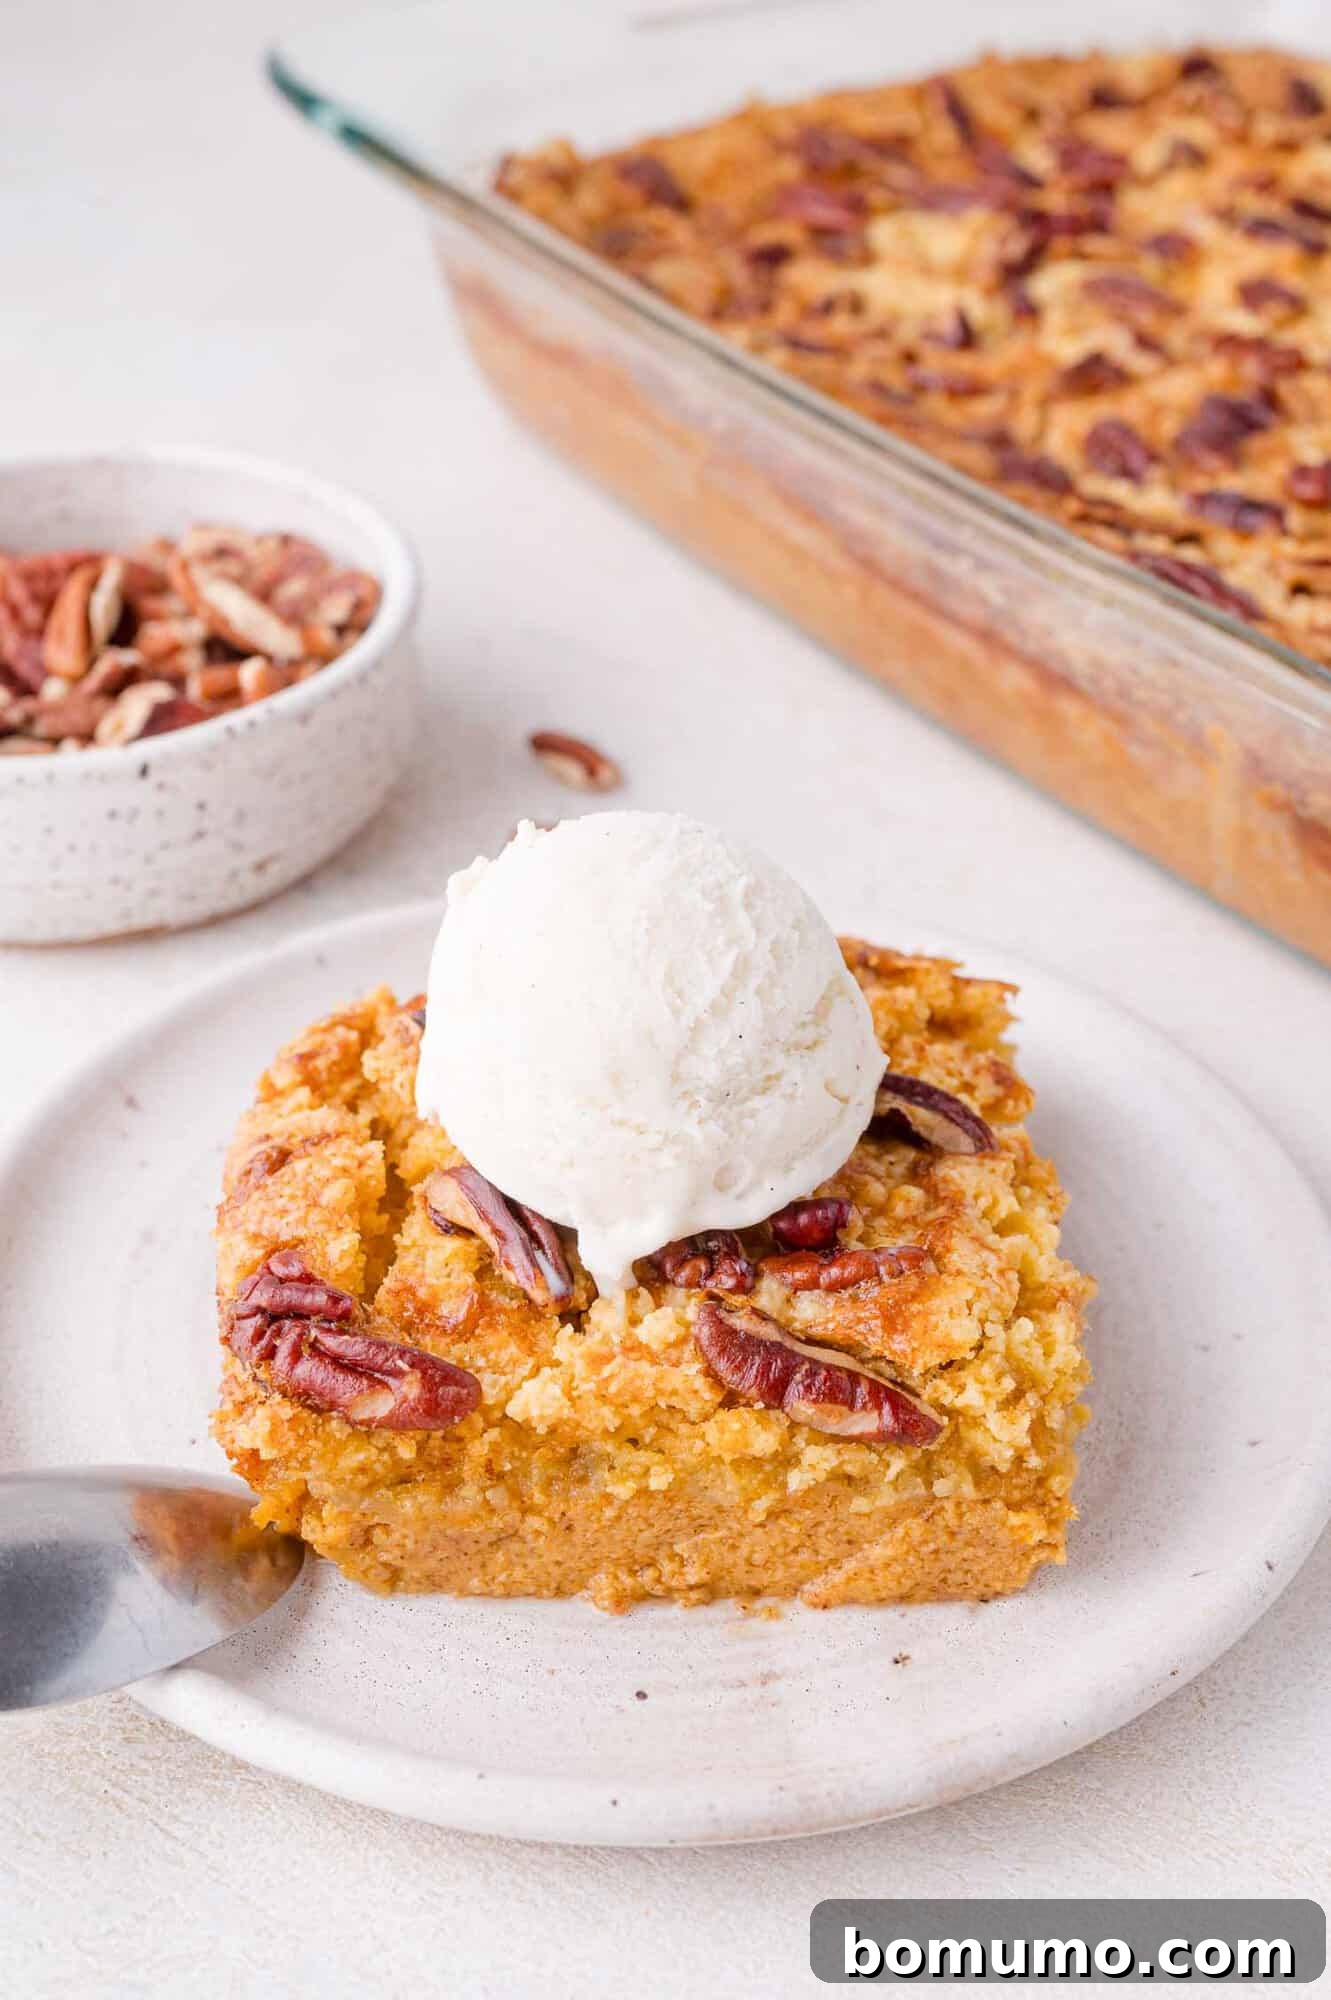
Step 5: Cool and Indulge. This final step requires patience, but it’s crucial for the best eating experience. Allow the cake to cool completely to room temperature before slicing it into squares. Serving it at room temperature ensures the custard layer has properly set and all the flavors have melded beautifully. Pair each square with a dollop of freshly whipped cream or a scoop of creamy vanilla ice cream for an extra touch of indulgence. The contrast between the warm spices of the cake and the cool, creamy topping is absolutely divine.
The Golden Rule: Patience in Cooling
We know how tempting it is to dive into a warm dessert straight from the oven, but for this pumpkin dump cake, resisting that urge is key. Just like a classic pumpkin pie, the custard layer needs ample time to set properly as it cools. Serving it piping hot would result in a runny, unset custard that detracts from its intended creamy texture and overall appeal. Allow the cake to reach room temperature for the best sliceable squares and the most satisfying experience. Think of it as allowing the magic to fully unfold before you enjoy the fruits of your labor!
Exciting Recipe Variations for Your Pumpkin Dump Cake
While the classic pumpkin dump cake is undeniably delicious, there are several ways to customize it to your taste or dietary needs. Get creative with these simple variations:
- Simplify with Pumpkin Pie Spice. If you’re looking to streamline your spice cabinet or simply prefer a pre-blended option, you can easily substitute individual spices with a ready-made pumpkin pie spice blend. Use 2 teaspoons of pumpkin pie spice in place of the ground cinnamon, ginger, nutmeg, and cloves for a perfectly balanced autumnal flavor.
- Go Gluten-Free. Making this delectable dessert accessible to everyone is simple! To cater to those with gluten sensitivities or allergies, merely swap the traditional yellow cake mix for your favorite gluten-free yellow cake mix. The rest of the recipe remains unchanged, ensuring a delicious and inclusive treat.
- Experiment with the Custard Base. While pumpkin purée is traditional, you can venture into other squash options for your custard layer. Butternut squash purée works beautifully as a substitute, and many people won’t even notice the difference! Interestingly, much of what is sold as canned “pumpkin” purée in stores is often a specific variety of squash rather than true pumpkin. If you opt for homemade pumpkin purée or butternut squash purée, I highly recommend straining it first. Place the purée in a cheesecloth-lined colander or a fine-mesh strainer and let it drain for at least 30 minutes. This step removes excess liquid, ensuring your homemade purée achieves the same ideal consistency as canned pumpkin, which is crucial for the perfect custard texture.
Storage
Storage
Given that the base of this delightful pumpkin dump cake is a creamy custard, proper refrigeration is essential for optimal freshness and safety. Once the cake has completely cooled to room temperature, it should be covered tightly in its original baking dish or transferred to an airtight container. When stored correctly in the refrigerator, it will maintain its quality for up to 3 days. It’s worth noting that the delicious top layer tends to firm up slightly after being chilled, which can alter its initial crispiness, but the cake remains wonderfully flavorful and enjoyable.
Explore More Fall Dessert Recipes
Air Fryer Apple Fritters
Effortless Pumpkin Pudding
Ginger Pear Crisp
Mini Pumpkin Pie Tarts
Pin this now to find it later!
Pin It
Best Ever Pumpkin Dump Cake
Rachel Gurk
15
45
1
15
Ingredients
-
3
large eggs -
1
can
(15 ounces) 100% pure pumpkin purée
(ensure it’s not pumpkin pie filling) -
1
cup
granulated sugar -
1
teaspoon
ground cinnamon -
½
teaspoon
ground ginger -
¼
teaspoon
ground nutmeg -
¼
teaspoon
ground cloves
(optional, for deeper flavor) -
¼
teaspoon
salt -
1
can
(12 ounces) evaporated milk, shaken well -
1
box
(15.25 ounces) yellow cake mix
(Duncan Hines recommended for best results) -
1
cup
chopped pecans -
¾
cup
unsalted butter, thoroughly chilled -
whipped cream or vanilla ice cream, for serving
(optional, but highly recommended)
Instructions
-
Preheat your oven to 350°F (175°C). Prepare a 9×13-inch baking dish by greasing it generously with butter or a nonstick cooking spray. A clear glass baking dish works wonderfully for this recipe, allowing you to see the layers.
-
In a large mixing bowl, whisk the eggs until the yolks and whites are fully combined and smooth. Add the pure pumpkin purée, granulated sugar, ground cinnamon, ground ginger, ground nutmeg, optional ground cloves, and salt. Continue whisking until the mixture is uniform and the spices are well incorporated, ensuring no lumps. Then, whisk in the evaporated milk until the mixture is completely smooth and creamy.
-
Pour the creamy pumpkin mixture into your prepared baking dish, spreading it out evenly to form the bottom layer. Next, sprinkle the dry yellow cake mix over the entire pumpkin layer. It’s crucial not to stir! Spread the cake mix out as evenly as possible with your fingers, ensuring it covers the pumpkin completely to all edges of the dish.
-
Evenly sprinkle the chopped pecans over the dry cake mix layer. Again, resist the urge to stir them in.
-
Take your well-chilled unsalted butter and slice it thinly. Arrange these butter slices meticulously over the entire surface of the cake mix and pecans. Ensure maximum coverage as this butter will melt to create your crisp topping (refer to the photos for visual guidance).
-
Place the baking dish in the preheated oven and bake for approximately 45 minutes, or until the top is golden brown, the cake is set, and a knife inserted into the center of the custard layer comes out mostly clean. The center should no longer be jiggly.
-
Allow the cake to cool down completely to room temperature before slicing it into squares and serving. For an ultimate treat, serve it with a generous dollop of whipped cream or a scoop of velvety vanilla ice cream.
Notes
- Baking dish considerations: I find a clear glass Pyrex baking dish (9×13 inches) works exceptionally well for even baking and allows you to monitor the layers. If you’re using a dark metal pan or a ceramic dish, you might need to adjust your baking time slightly as these materials conduct heat differently. Keep an eye on the cake to prevent over-browning.
- Quick spice swap: For a convenient shortcut, you can replace the individual cinnamon, ginger, nutmeg, and cloves with 2 teaspoons of pre-mixed pumpkin pie spice. This will deliver a similar, beloved fall flavor profile with less effort.
- Storage tips: Since this pumpkin dump cake features a luscious custard layer, refrigeration is crucial for leftovers. Once fully cooled, cover the cake tightly in its baking dish or transfer any remaining portions to an airtight container. It will keep well in the refrigerator for up to 3 days. Please note that the top crumbly layer may become a bit firmer when chilled, so for the absolute best texture, try to enjoy this cake on the same day it’s baked.
Video Walkthrough
While this recipe is simple, sometimes seeing the steps makes all the difference! Here’s a quick video demonstration to guide you through making this irresistible Pumpkin Dump Cake, ensuring you achieve perfect results every time.
Nutrition Information
Serving Size:
1
square
,
Calories:
344
kcal
,
Carbohydrates:
43
g
,
Protein:
5
g
,
Fat:
18
g
,
Saturated Fat:
8
g
,
Polyunsaturated Fat:
2
g
,
Monounsaturated Fat:
6
g
,
Trans Fat:
0.4
g
,
Cholesterol:
68
mg
,
Sodium:
251
mg
,
Potassium:
189
mg
,
Fiber:
2
g
,
Sugar:
29
g
,
Vitamin A:
4808
IU
,
Vitamin C:
2
mg
,
Calcium:
143
mg
,
Iron:
1
mg
Please note: Nutrition information is automatically calculated and should be considered an approximation.
Did You Make This Delicious Recipe?
We’d love to hear your thoughts! Share a comment and your rating below – your feedback is invaluable!