
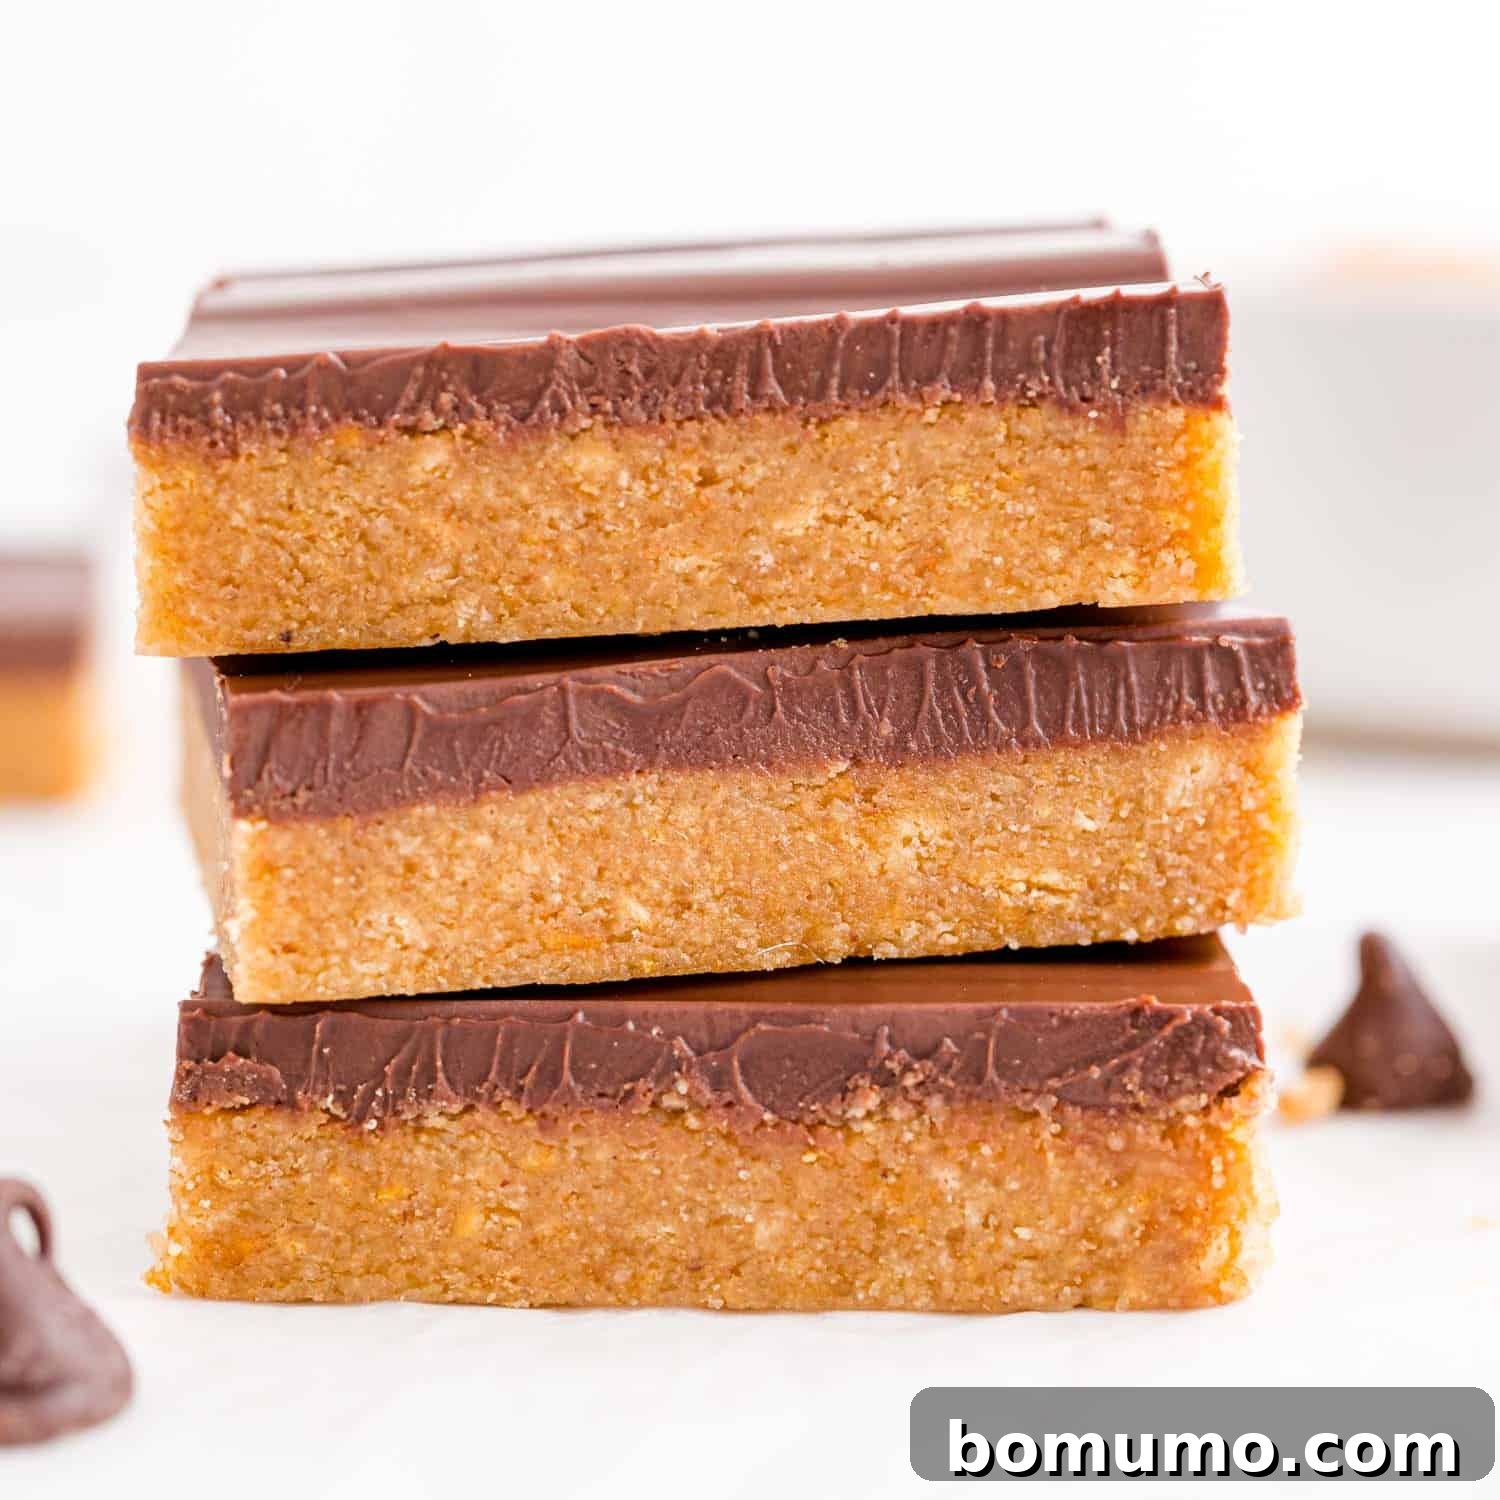
No-Bake Peanut Butter Bars: Recipe Highlights
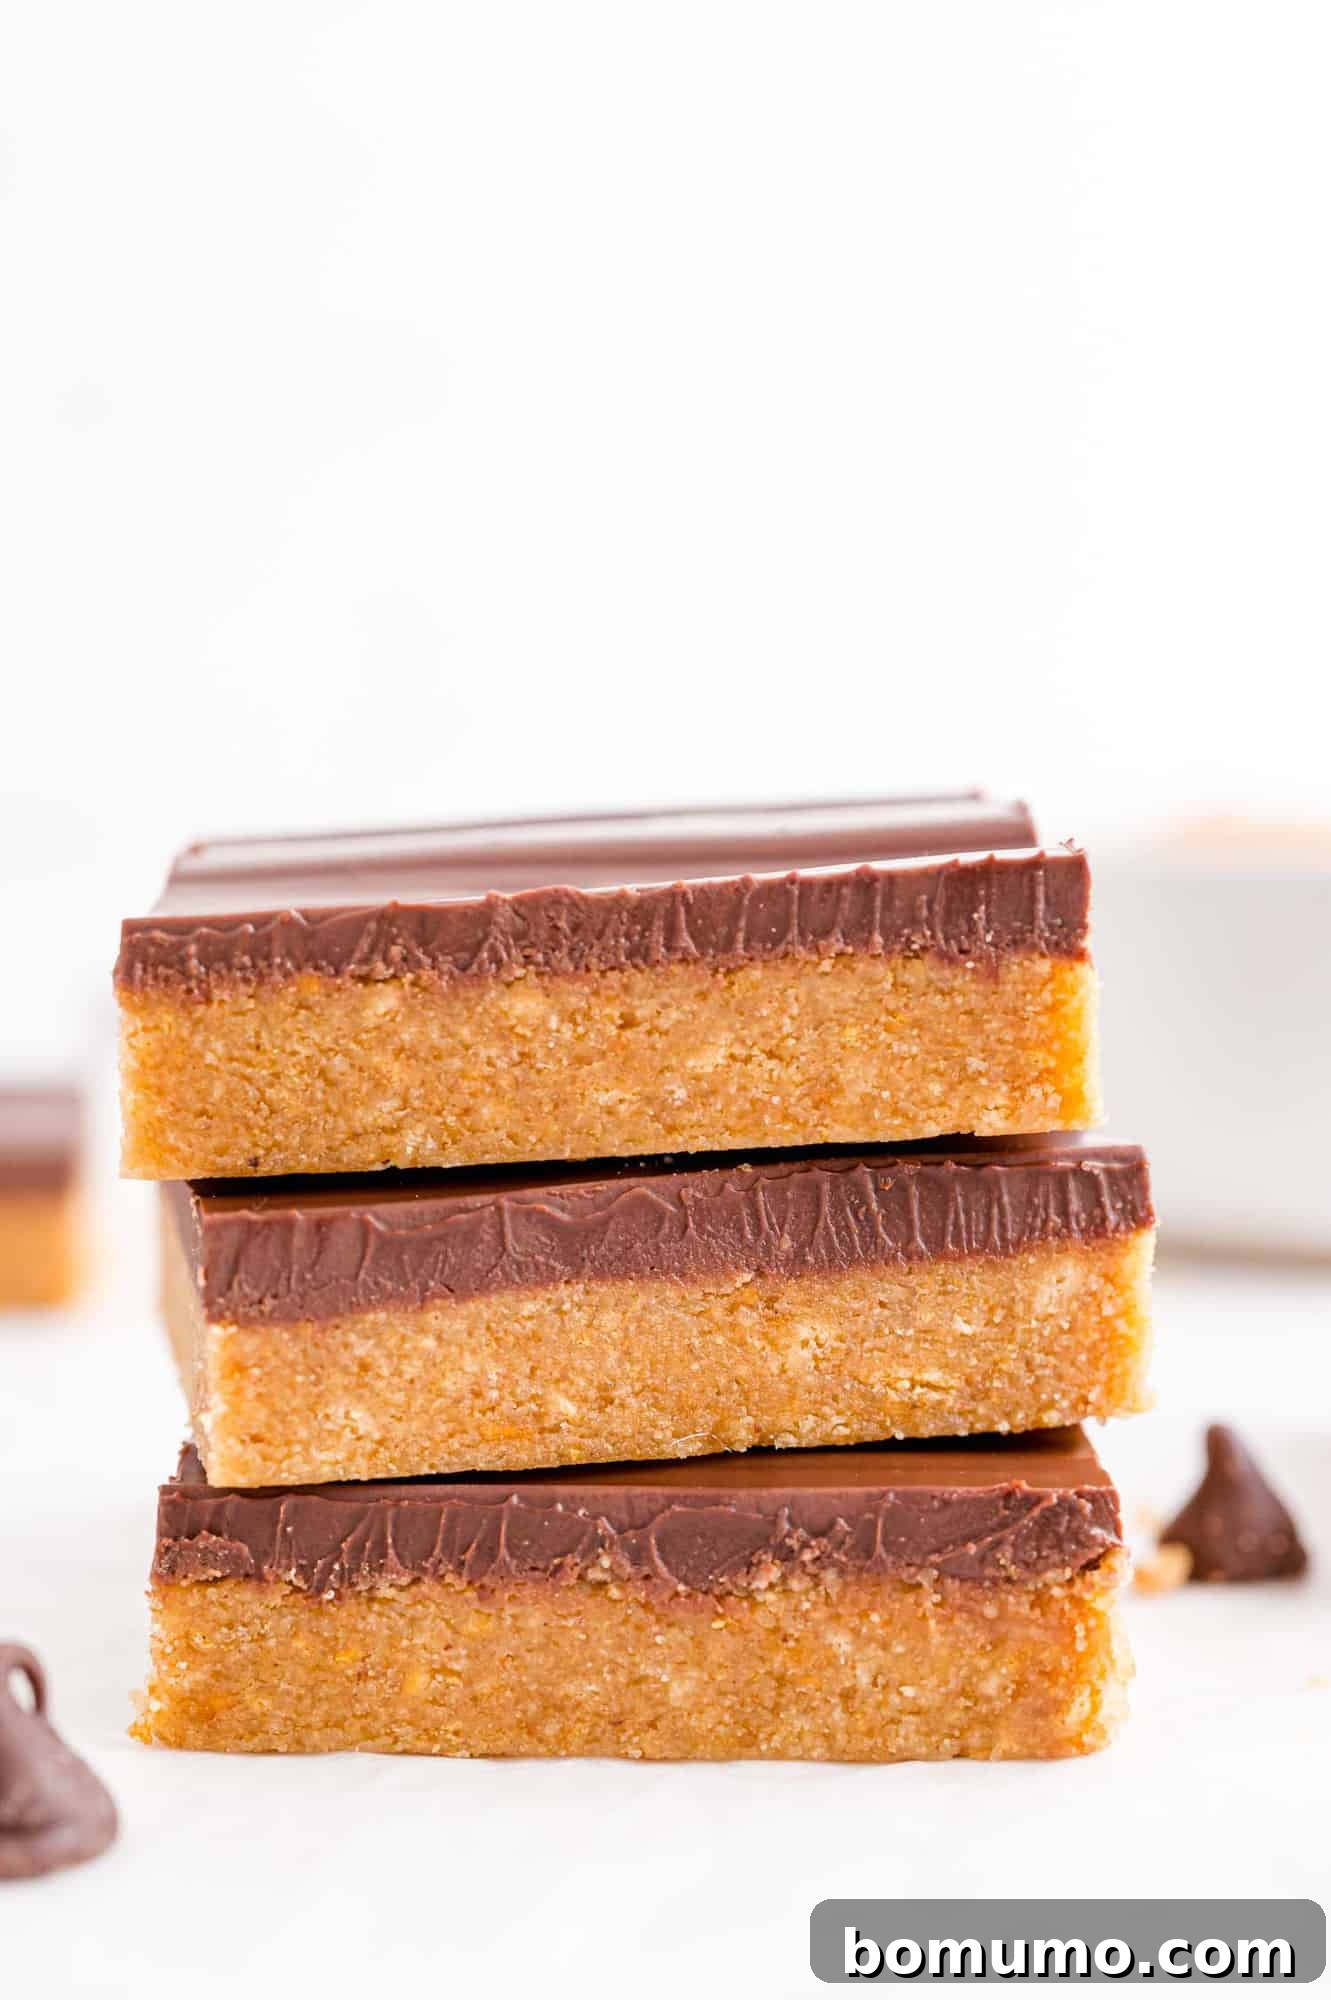
Why You’ll Adore These: These No-Bake Peanut Butter Bars are more than just a dessert; they’re a nostalgic journey back to your favorite candy aisle treat. Imagine the irresistible combination of rich peanut butter and smooth chocolate, all without ever turning on your oven. They’re incredibly simple to prepare, taste remarkably like Reese’s Peanut Butter Cups, and offer that perfect balance of creamy and slightly crumbly texture. Be warned: they are dangerously delicious and will disappear fast!
Time Commitment: You’ll need approximately 15 minutes of active, hands-on preparation time, followed by an additional 1.5 to 2 hours for chilling to ensure perfect setting and easy slicing. Most of the time is hands-off, leaving you free to enjoy your day!
Essential Equipment: A medium saucepan for melting ingredients and a 9 x 13 inch baking pan for chilling are all you need to create these delightful bars.
Yield: This recipe generously yields 24 individual bars, making them ideal for sharing at parties, potlucks, or simply keeping a stash in your fridge for whenever a craving strikes.
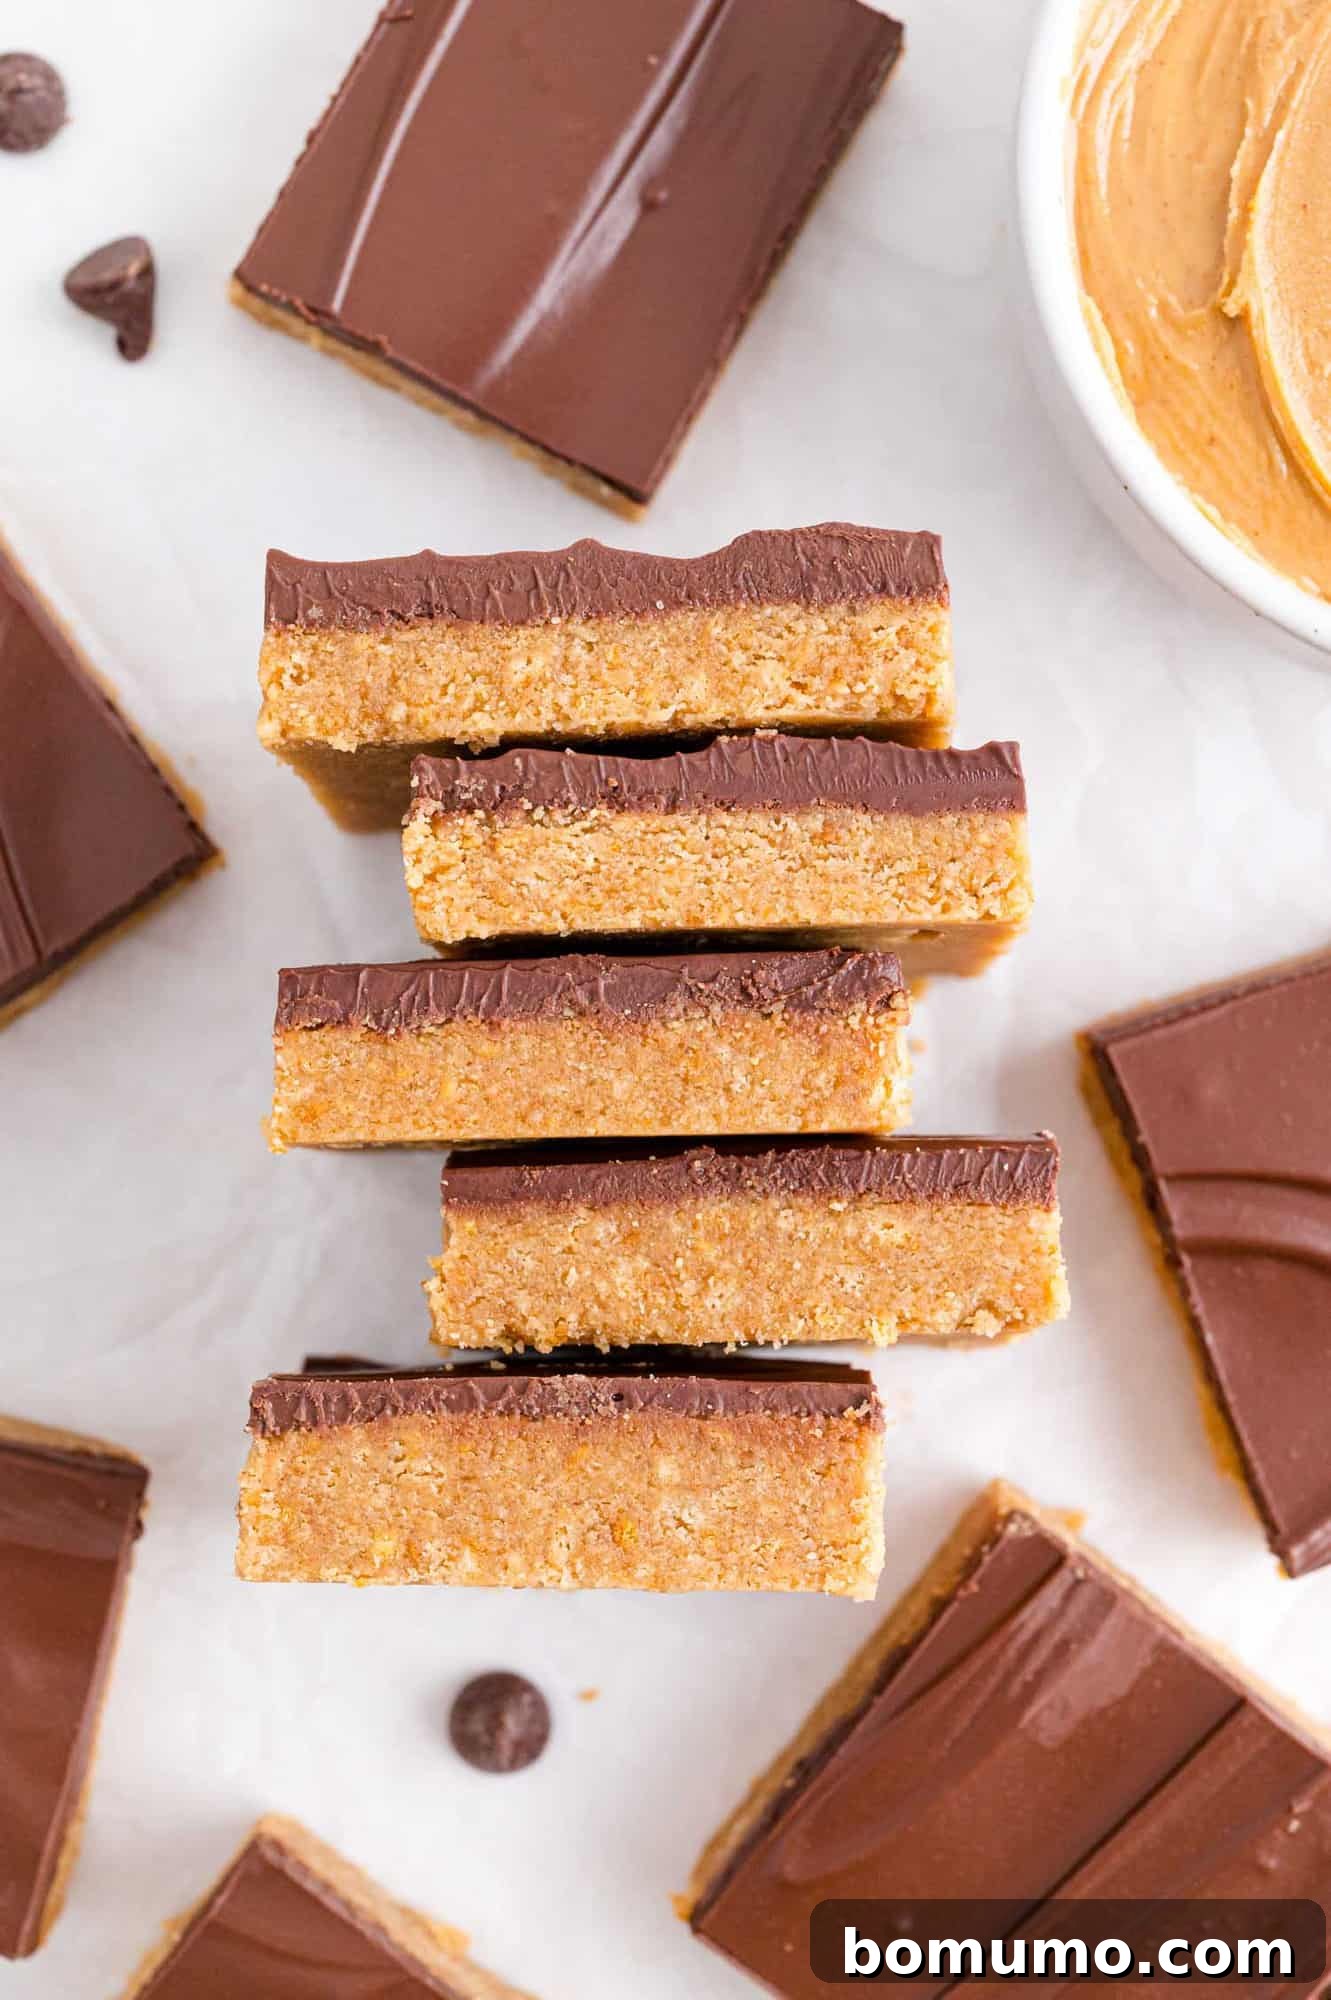
Picture this: rich, creamy peanut butter perfectly paired with decadent chocolate, all crafted without the hassle of baking. If that sounds like a dream come true, then these No-Bake Peanut Butter Bars are about to become your new favorite dessert. They capture the quintessential flavor and texture of Reese’s Peanut Butter Cups, delivering a treat that’s both incredibly satisfying and surprisingly simple to prepare.
These bars are designed for ultimate convenience. The “no-bake” aspect means you won’t need to switch on your oven, keeping your kitchen cool – a definite bonus, especially during warmer months. From start to finish, the active preparation takes mere minutes, making them a fantastic option for impromptu gatherings or when you’re short on time but still want to impress.
Prepare for rave reviews! These bars are consistently a showstopper at any event. Their irresistible combination of sweet and salty, combined with their perfectly balanced texture, makes them universally loved. Friends and family will undoubtedly ask for the recipe, making you the hero of dessert time.
If you’re as passionate about the classic peanut butter and chocolate pairing as we are, you’ll also love exploring other delightful variations. Be sure to try our classic Buckeyes, decadent Buckeye Brownies, hearty Oh Henry Bars, our incredibly simple 5-ingredient Peanut Butter Cookie Bars, or even sip on a indulgent Peanut Butter Chocolate Banana Milkshake. For those who adore Oreo cookies, our Frosted Oreo Cookie Bars are a must-try. And if you crave the triple threat of Oreos, peanut butter, and chocolate, don’t miss our glorious No-Bake Chocolate Peanut Butter Pie.
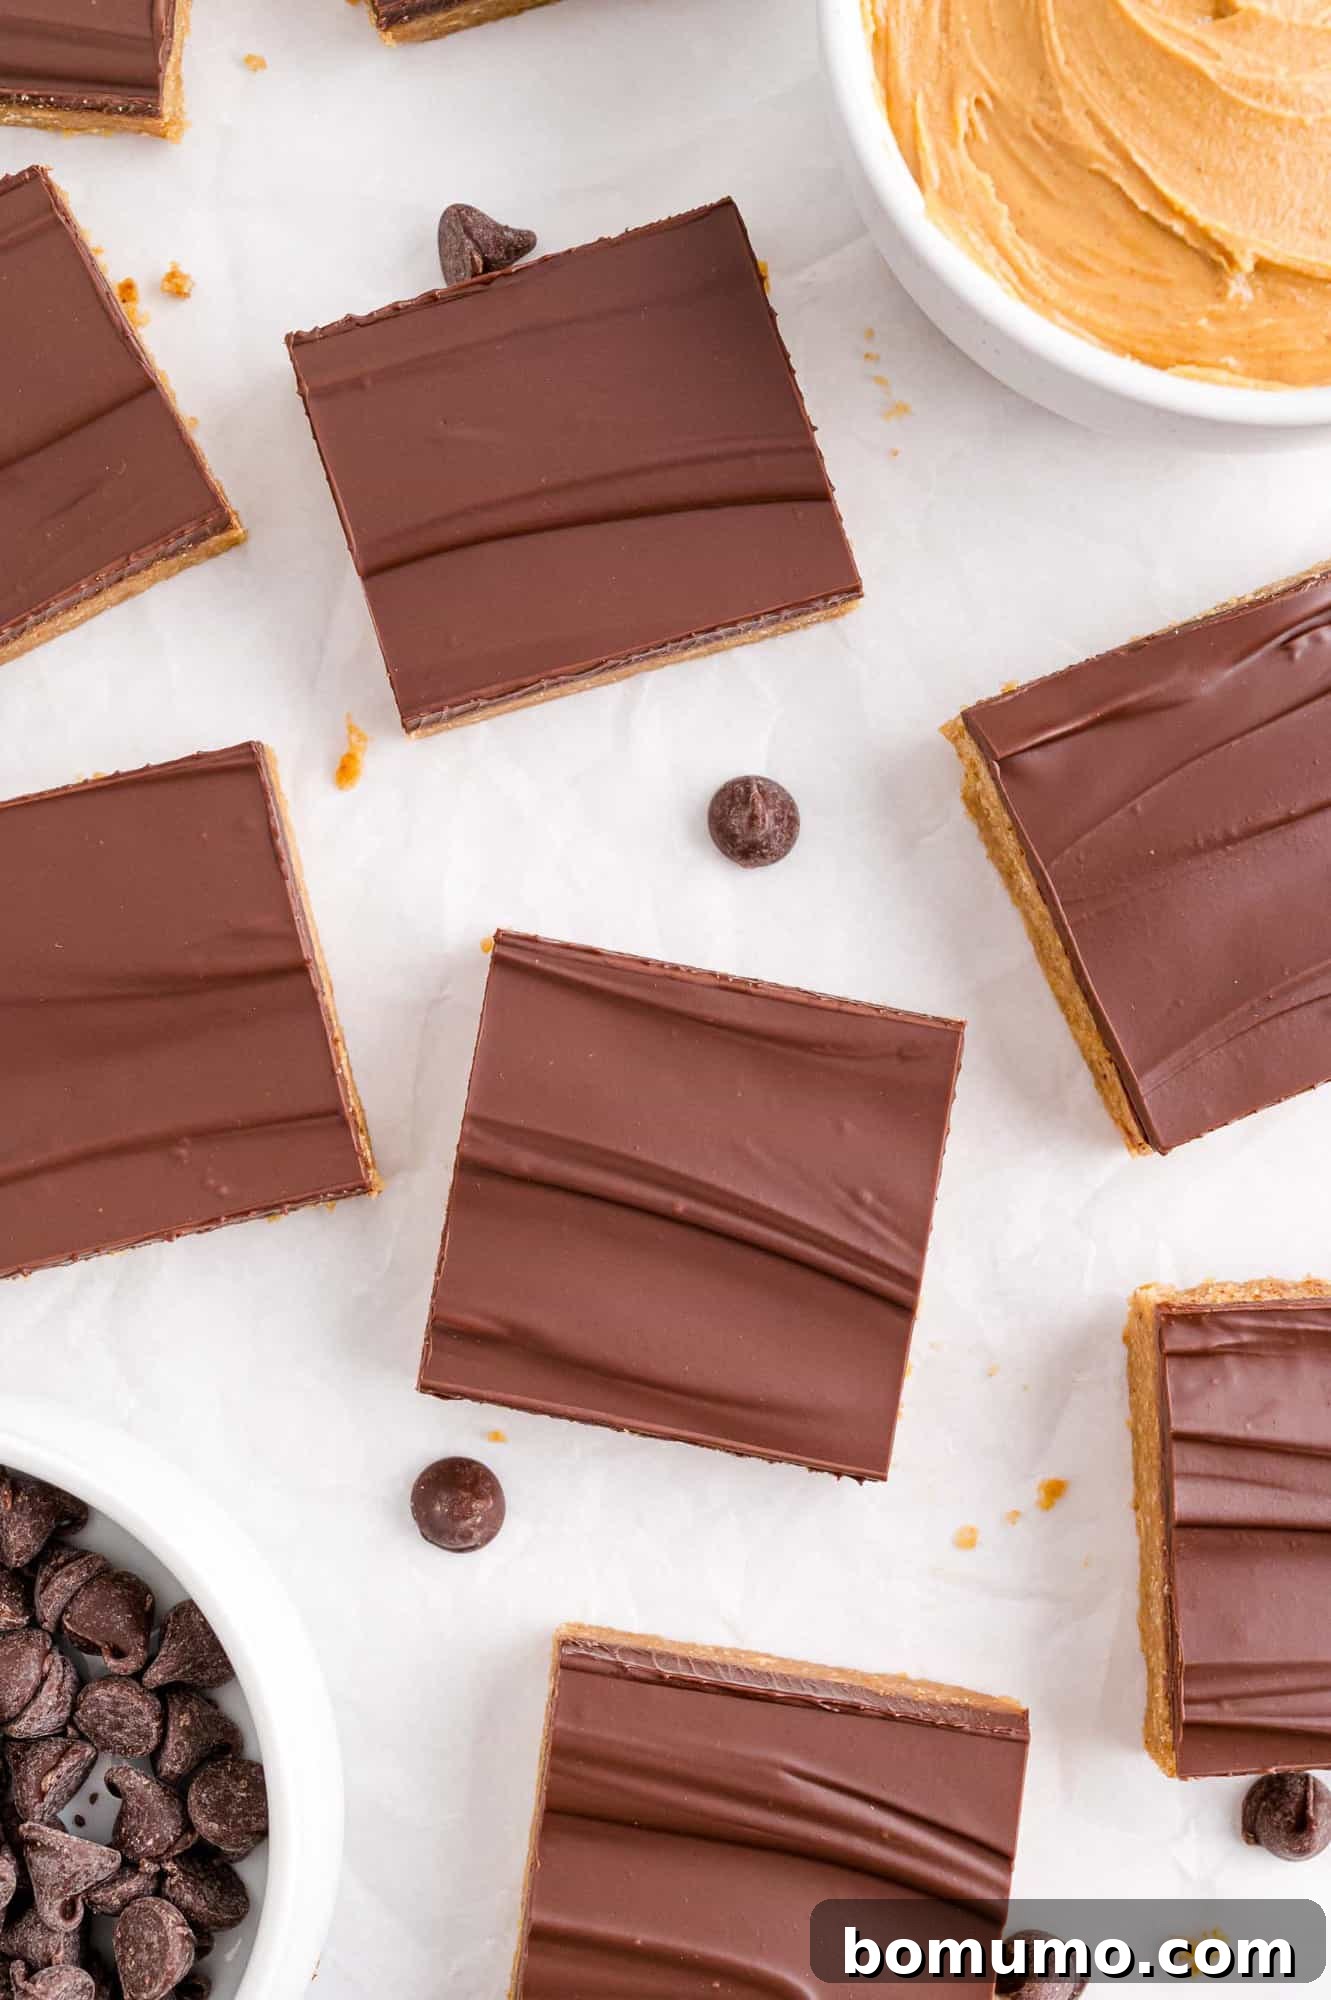
Why You’ll Adore Our No-Bake Peanut Butter Bars
These No-Bake Peanut Butter Bars are celebrated for several key reasons, making them a standout dessert in any repertoire. They offer an ideal solution for satisfying a sweet tooth without extensive effort, and their uncanny resemblance to a beloved candy classic is a major draw.
Perfectly Balanced Texture: One of the hallmarks of these bars is their unique texture. The peanut butter layer strikes a delightful balance between rich creaminess and a subtle, pleasant graininess – much like the filling of a Reese’s Peanut Butter Cup. This signature characteristic is thanks to a special ingredient that we’ll reveal soon, ensuring every bite is both familiar and utterly satisfying.
Effortless Preparation: While the total time includes a generous chilling period, the actual hands-on work for these bars is surprisingly minimal, usually around 15 minutes. This makes them an excellent choice for busy schedules or when you want a homemade treat without spending hours in the kitchen. The recipe involves two simple layers, each requiring a brief stint in the refrigerator to set properly before cutting. So, while patience is a virtue when waiting for them to chill, your active involvement is kept to a minimum.
Throughout this article, we’ll guide you through each step with clear instructions and helpful tips to ensure your No-Bake Peanut Butter Bars turn out perfectly every time. You can also refer to the detailed recipe card below for specific measurements and a quick reference.
Essential Ingredients for Perfect No-Bake Peanut Butter Bars
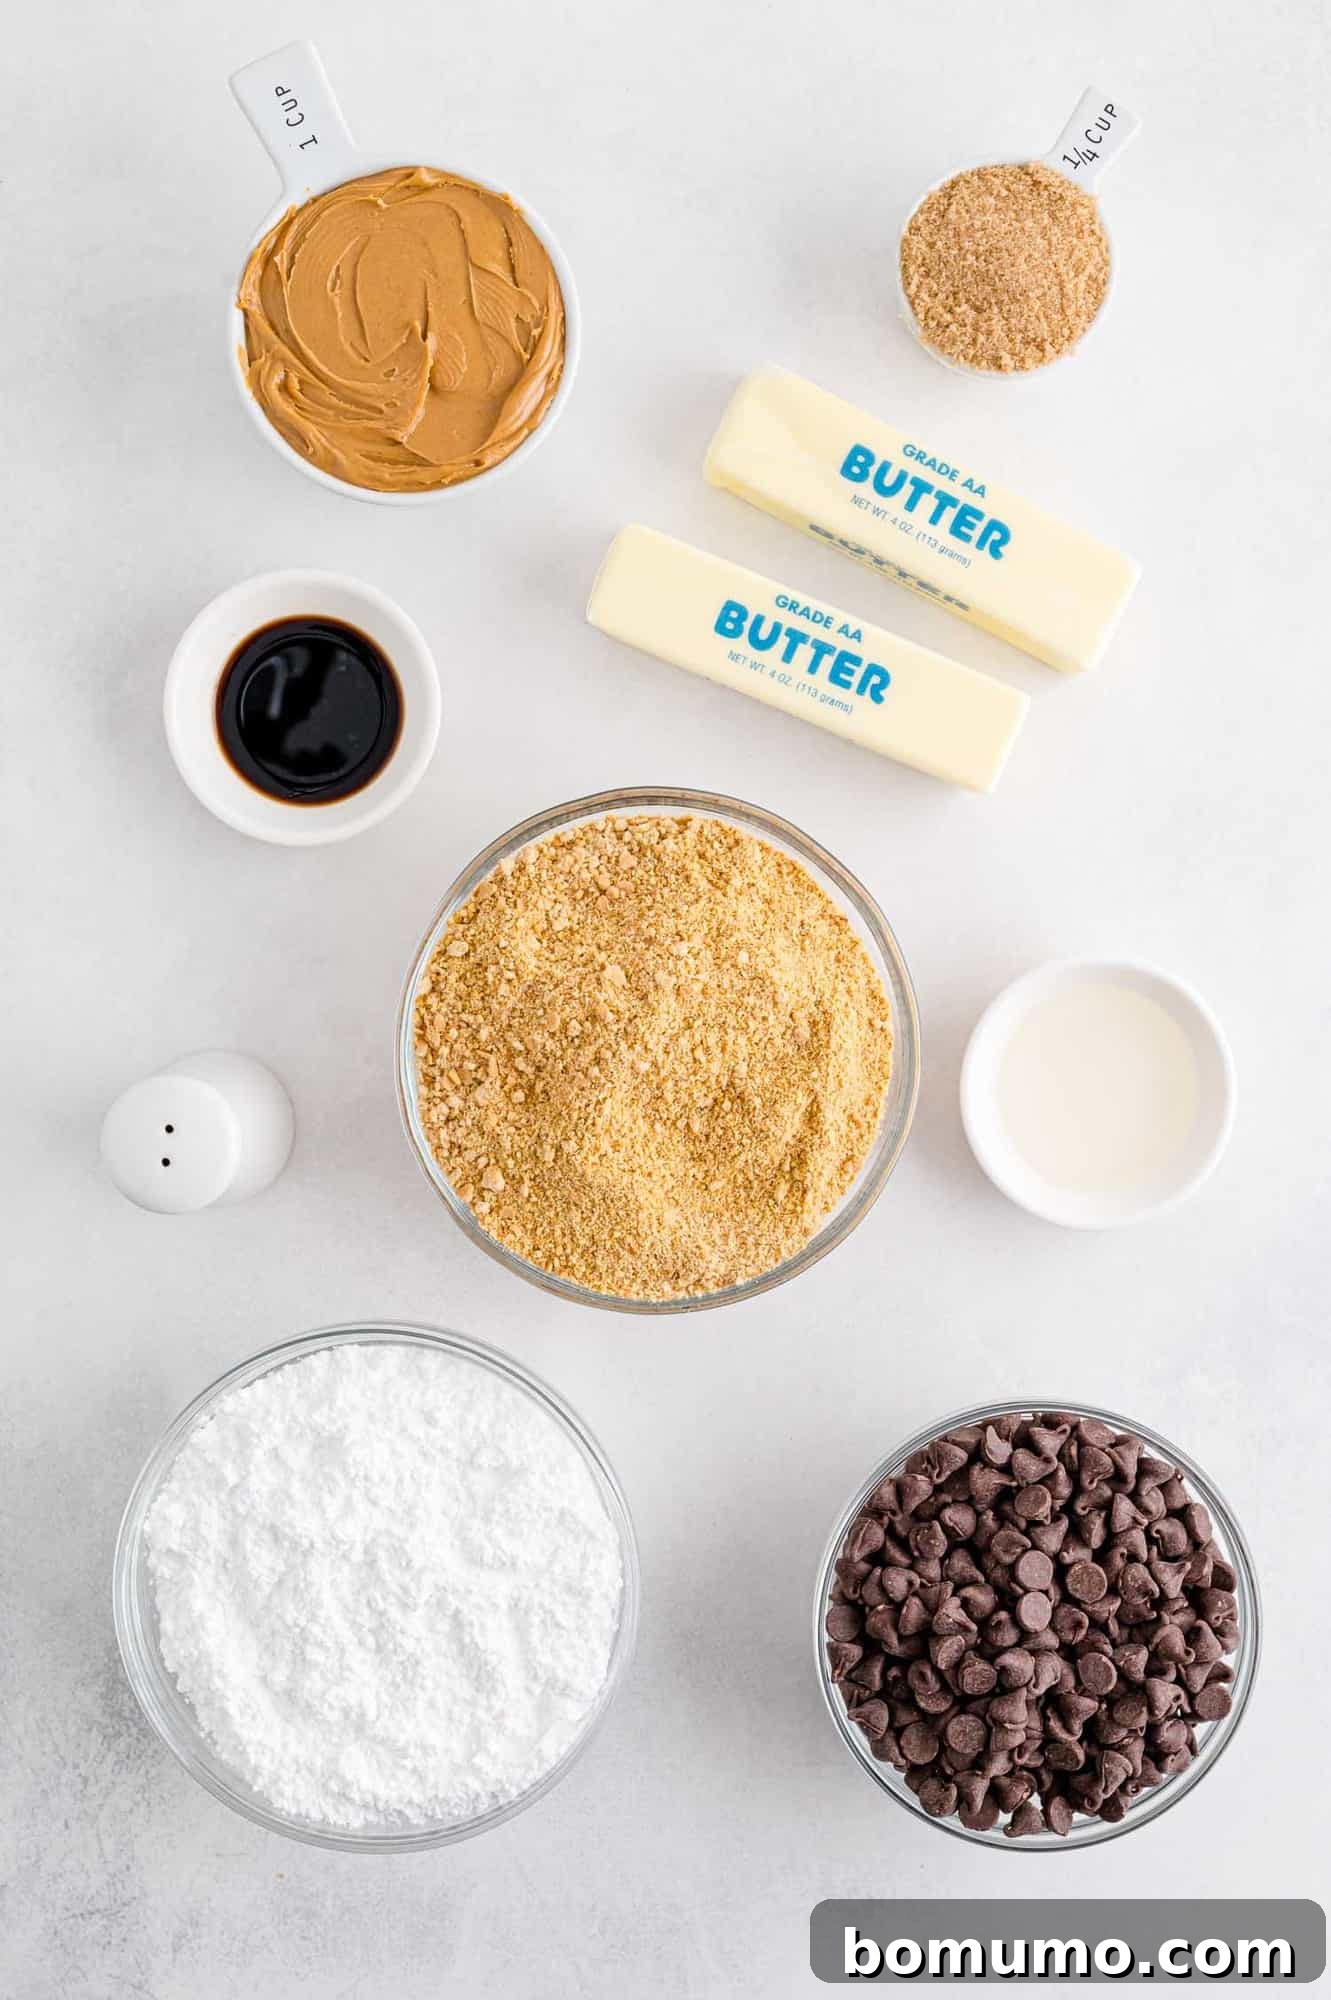
Crafting these irresistible bars begins with selecting the right ingredients. Each component plays a vital role in achieving that signature flavor and texture. Here’s a closer look at what you’ll need and why:
- Butter: For the best flavor and controlled saltiness, we recommend using unsalted butter. You’ll need two full sticks. While it doesn’t need to be perfectly softened to room temperature for this recipe, having it slightly pliable (not rock-hard from the fridge) will make the melting process smoother and faster. Butter forms the rich, binding base of our peanut butter layer.
- Brown Sugar: A small amount of packed light brown sugar is crucial. While powdered sugar provides the primary sweetness and creamy texture, brown sugar contributes a deeper, more complex caramel note, adding an extra layer of flavor that elevates the peanut butter base.
- Powdered Sugar (Confectioner’s Sugar): This finely milled sugar is key to achieving the smooth, melt-in-your-mouth creaminess of the peanut butter filling. Its delicate texture dissolves effortlessly, preventing any grittiness and ensuring that signature Reese’s-like experience.
- Peanut Butter: For optimal results and a consistent texture, opt for a creamy, processed peanut butter brand like Jif or Skippy. Natural, old-fashioned peanut butter tends to separate and can result in a greasier or less stable bar. If you enjoy a bit of texture, crunchy peanut butter works wonderfully as well, adding a pleasant bite.
- Pure Vanilla Extract: Don’t underestimate the power of pure vanilla extract! It enhances and rounds out all the other flavors, adding a warmth and depth that is simply irreplaceable.
- Graham Crackers: Here’s the “secret ingredient” that truly sets these bars apart! Graham cracker crumbs are essential for achieving that slightly grainy, yet perfectly yielding texture that mimics a classic peanut butter cup. You’ll need about 14 whole graham crackers to yield 2 cups of finely crushed crumbs. You can easily crush them by placing them in a resealable bag and rolling over them with a rolling pin or a sturdy bottle. Alternatively, save time by purchasing pre-made graham cracker crumbs. Ensure they are finely crushed for the best texture.
- Chocolate Chips: The chocolate topping is critical. Semi-sweet chocolate chips are a popular choice, offering a balanced sweetness that complements the peanut butter. However, if you prefer a sweeter bar, milk chocolate chips are a fantastic alternative. You’ll typically need a 12 oz. bag.
- Vegetable Oil: Just a single teaspoon of neutral-flavored vegetable oil, like canola or sunflower oil, is added to the chocolate chips when melting. This tiny addition helps the chocolate melt smoothly, creates a glossy finish, and ensures it spreads effortlessly over the peanut butter layer, preventing it from becoming too stiff or seizing.
Step-by-Step Guide: Crafting Your No-Bake Peanut Butter Bars
Making these No-Bake Peanut Butter Bars is a straightforward process, mainly involving melting, mixing, and chilling. Follow these steps for perfect results every time:
1. Prepare Your Pan: Begin by lining a 9×13-inch baking pan with parchment paper. This crucial step prevents the bars from sticking and makes them incredibly easy to lift out for clean cutting. Leave an overhang (or “wings”) of parchment paper on at least two opposite sides of the pan. A light spray of cooking spray on the pan before laying the parchment can help keep the paper in place. You’ll find that bars are much simpler to cut into uniform squares when removed from the pan and placed on a flat surface.
2. Prepare Graham Cracker Crumbs: Before you start on the peanut butter layer, ensure your graham crackers are crushed into fine crumbs. As mentioned, about 14 whole crackers will yield 2 cups of crumbs. A food processor makes quick work of this, or you can place them in a sturdy freezer bag and crush them thoroughly with a rolling pin or the bottom of a heavy glass. Finer crumbs contribute to the signature smooth-yet-grainy texture.
3. Create the Peanut Butter Layer: In a medium to large saucepan, combine the unsalted butter, light brown sugar, powdered sugar, creamy peanut butter, pure vanilla extract, and a pinch of salt. Place the saucepan over medium-low heat. Cook the mixture, stirring frequently, until all the butter and peanut butter have completely melted, and the sugars are fully incorporated. The mixture should be smooth and well-combined. Once melted and smooth, remove the pan from the heat and stir in the prepared graham cracker crumbs until they are evenly distributed throughout the peanut butter mixture.
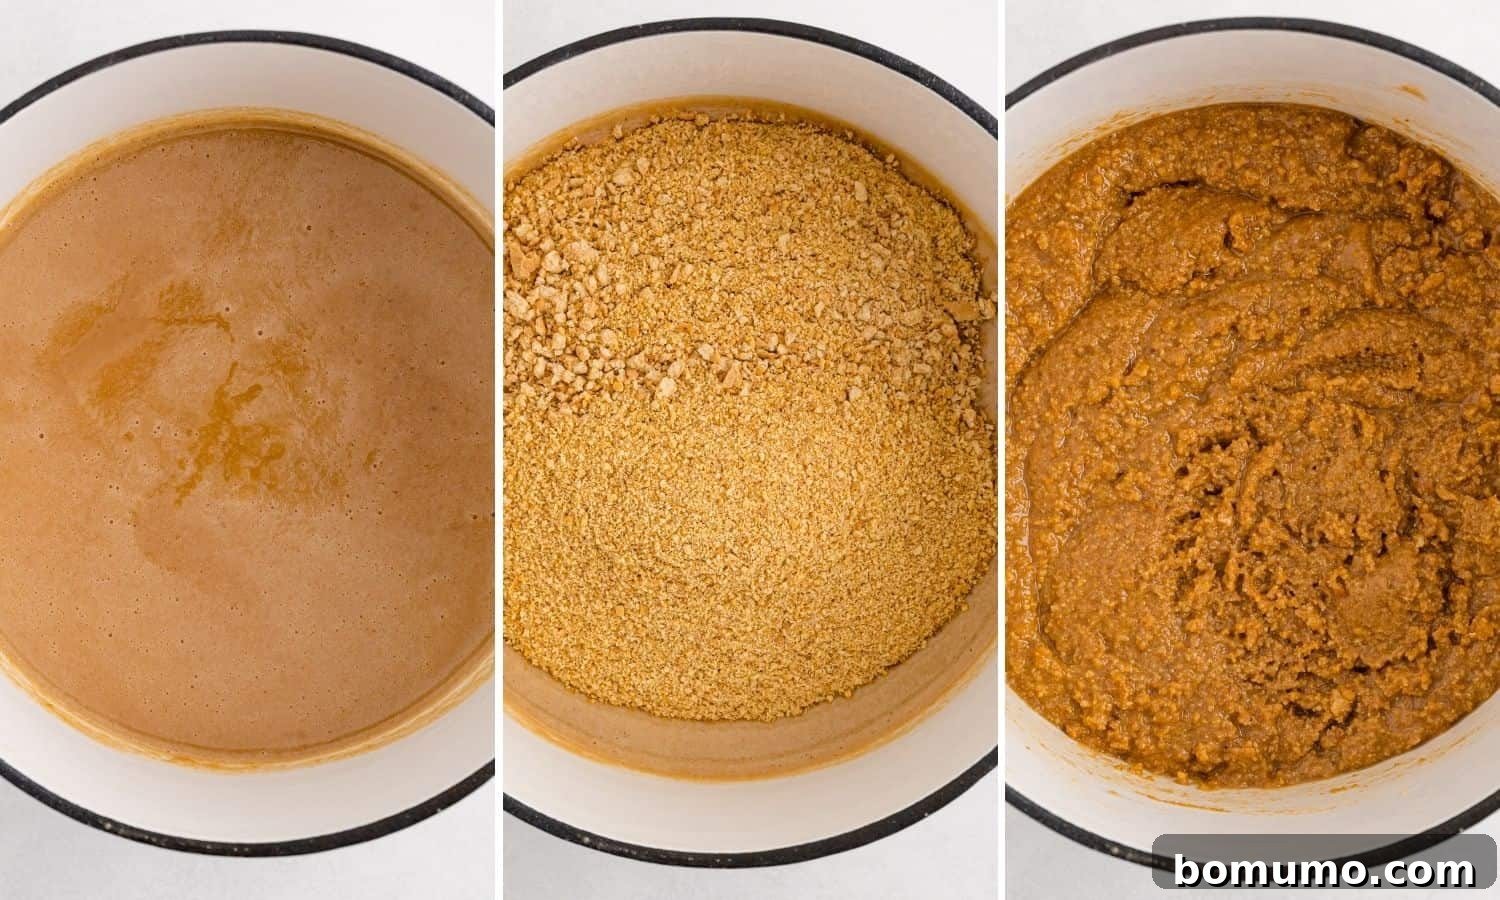
4. Chill the First Layer: Carefully spoon the peanut butter mixture into your prepared 9×13-inch pan. Using an offset spatula or the back of a spoon, spread the mixture evenly across the bottom of the pan, pressing it down gently. Give the pan a few sharp taps on the counter to help settle the mixture and create a smooth, level surface. Transfer the pan to the refrigerator and chill for a minimum of 30 minutes. This allows the layer to firm up, providing a stable base for the chocolate topping.
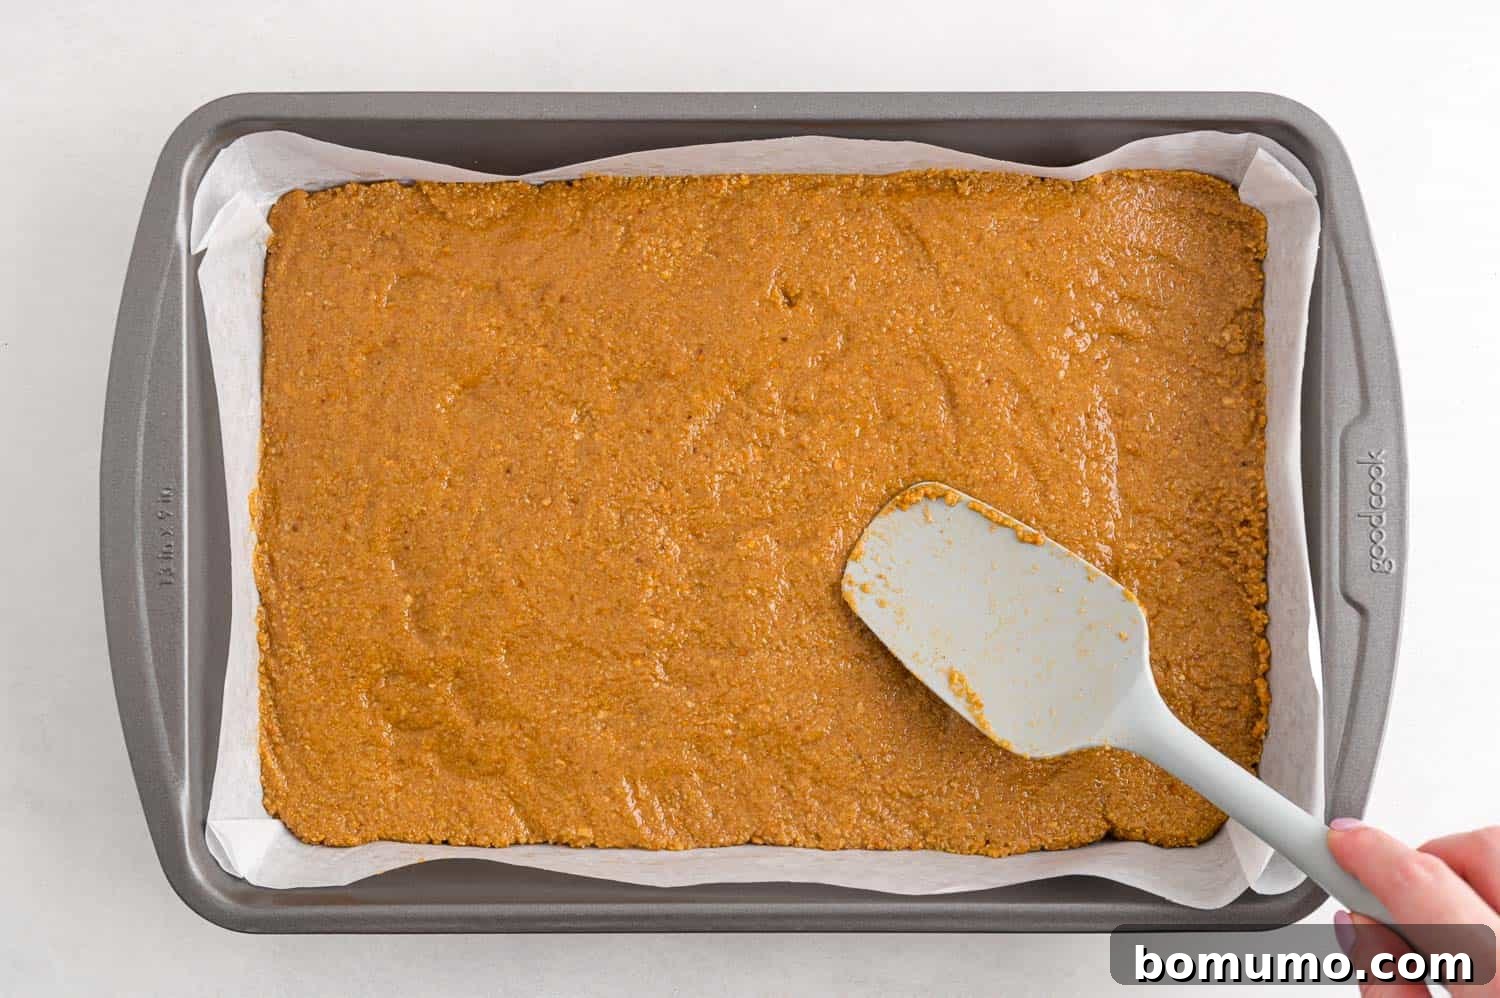
5. Prepare the Chocolate Topping: While the peanut butter layer chills, prepare your chocolate topping. Combine the chocolate chips and vegetable oil in a microwave-safe bowl. Heat in the microwave in short intervals (15 to 30 seconds at a time), stirring thoroughly after each interval. It’s crucial not to overheat the chocolate; often, the residual heat will continue to melt any remaining chunks as you stir. Alternatively, you can melt the chocolate slowly using a double boiler for a more controlled process. The goal is a smooth, glossy, and pourable chocolate mixture.
6. Apply and Chill the Second Layer: Once the chocolate is perfectly melted, retrieve the chilled peanut butter layer from the refrigerator. Pour the melted chocolate evenly over the peanut butter base, spreading it gently to the edges of the pan. Again, lightly tap the pan on the counter a few times to eliminate any air bubbles and create a perfectly smooth chocolate surface. Return the pan to the refrigerator and chill for at least one hour, or until the chocolate is completely set and firm. This chilling time is essential for easy and clean slicing.
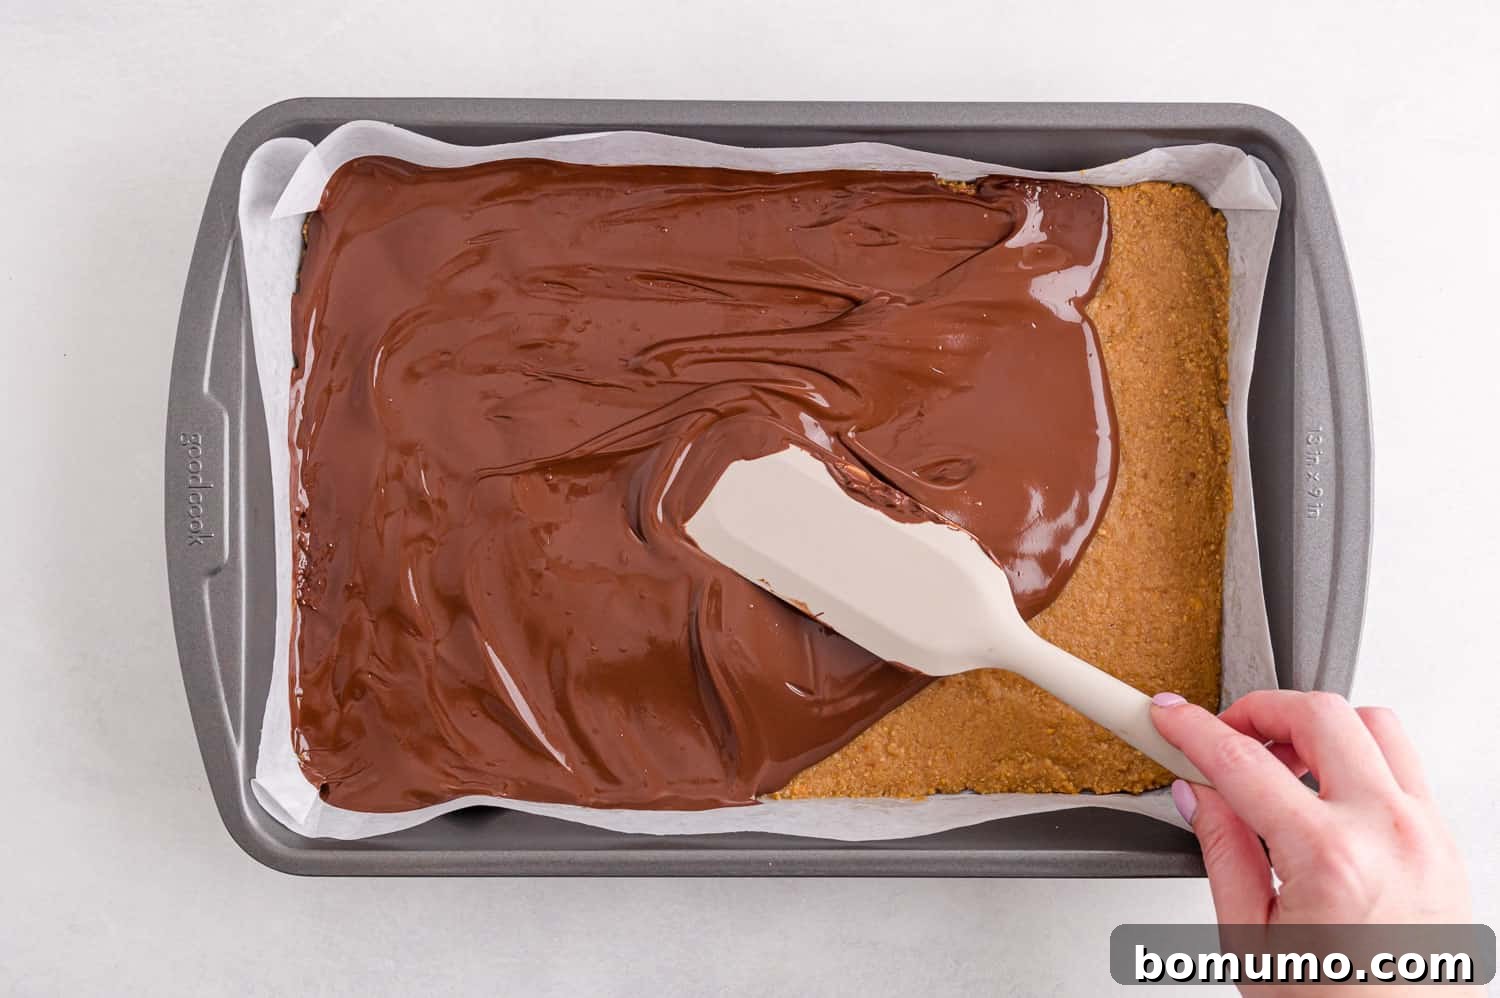
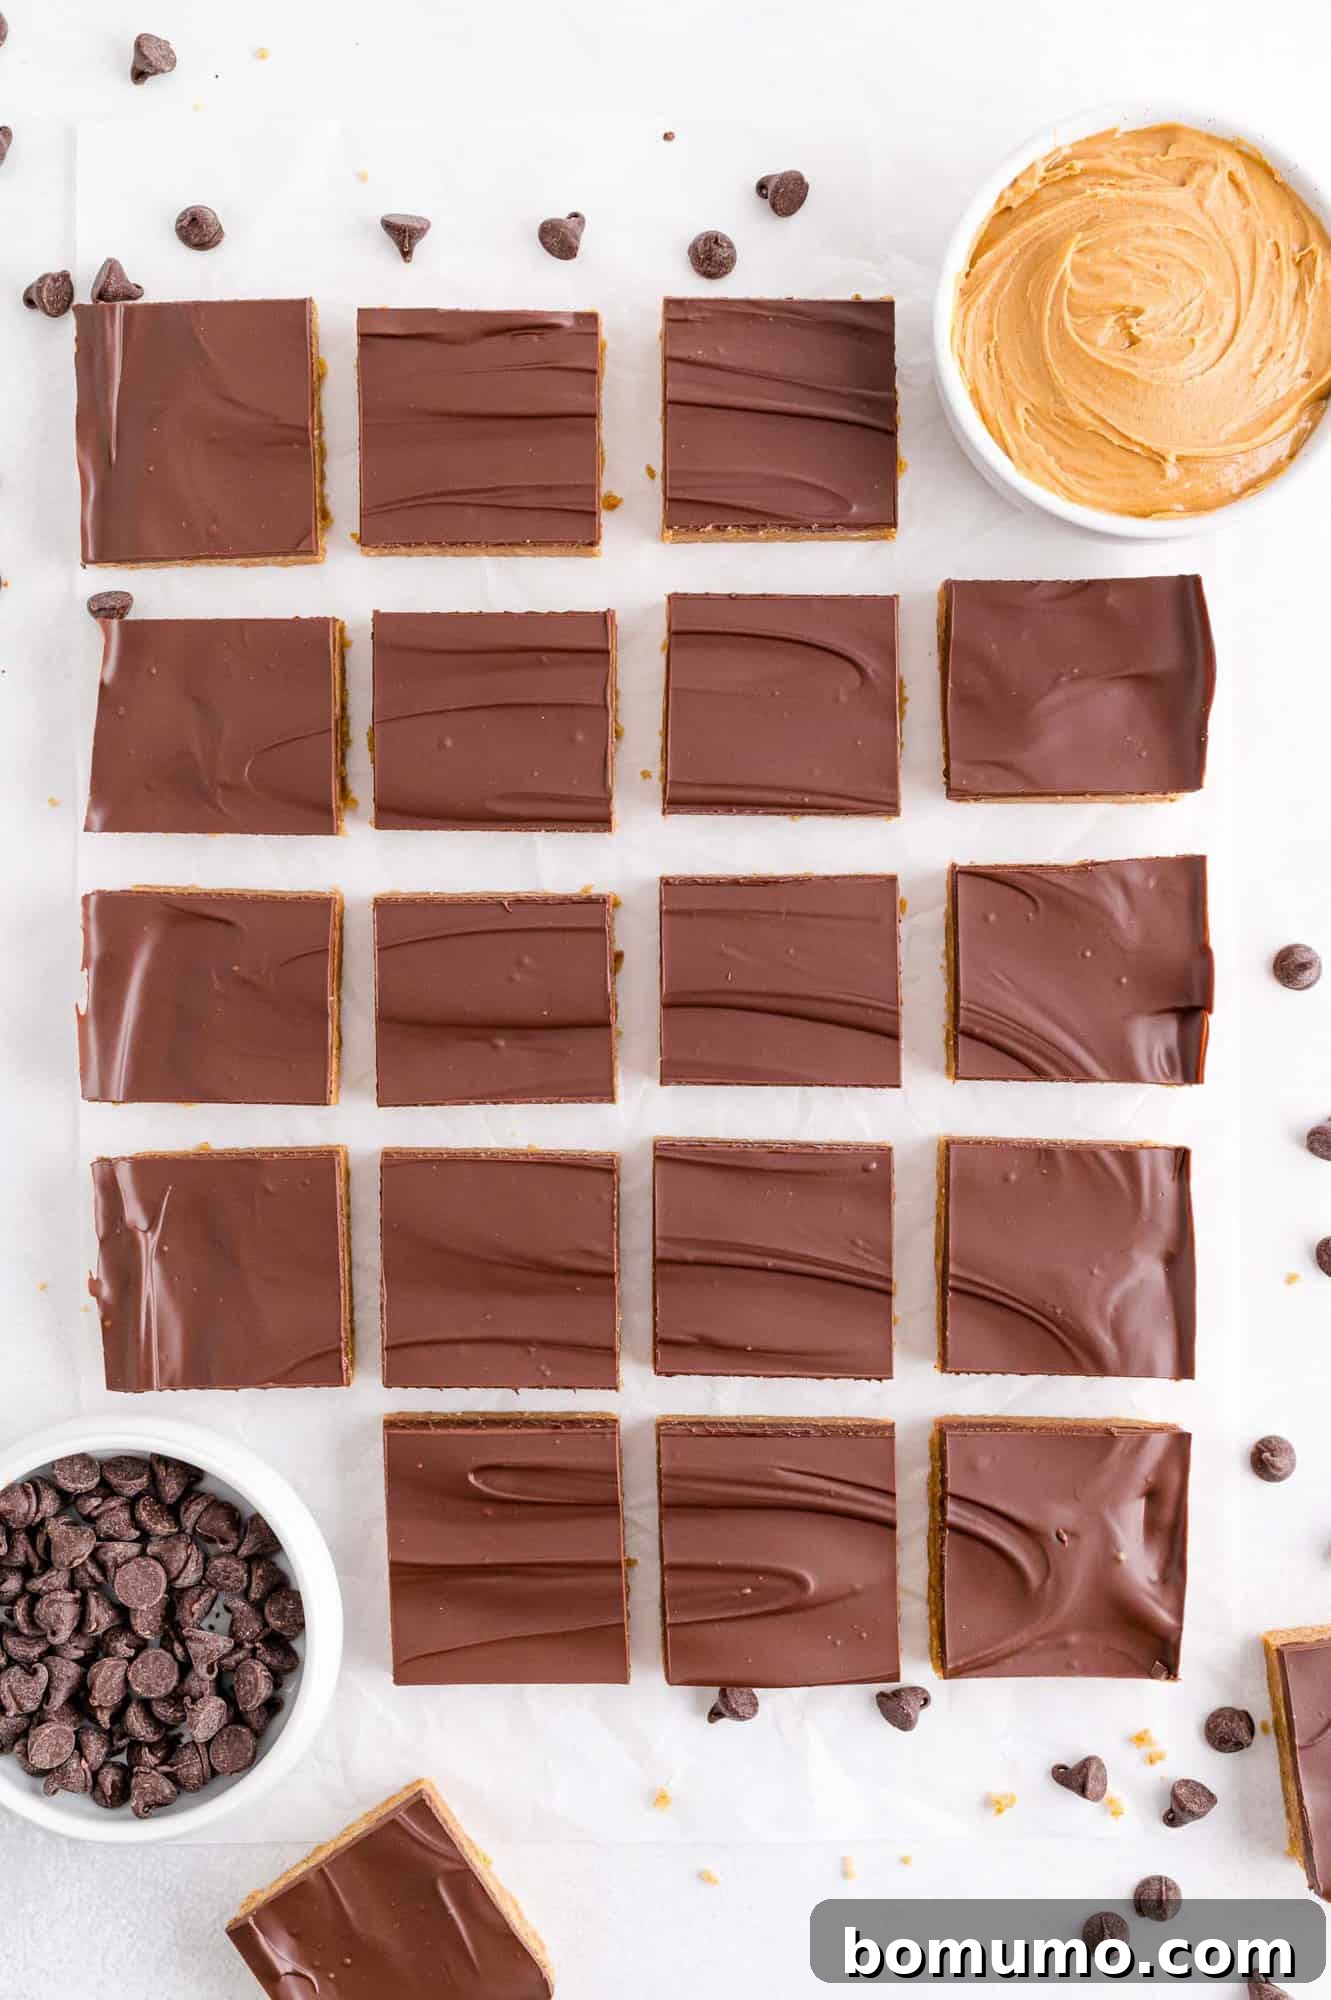
7. Slice and Serve: After the bars are thoroughly chilled and firm, lift them out of the pan using the parchment paper “wings” and place them on a clean, flat cutting board. For clean cuts, use a large, sharp knife, warming it under hot water and wiping it dry between each cut if necessary. The recipe suggests cutting into 24 generously sized squares. If you prefer smaller, more bite-sized portions, you can easily cut them into 32 squares instead. Serve immediately or store them for later enjoyment. These bars are best when enjoyed cold.
Customizing Your No-Bake Peanut Butter Bars
While the classic recipe is undeniably perfect, these No-Bake Peanut Butter Bars are also wonderfully adaptable to suit various preferences or dietary needs. Over the years, I’ve seen countless variations. For instance, my son’s journey with food allergies, particularly peanuts, has broadened my perspective on creating inclusive recipes. While I dearly miss the taste of peanut butter, I’m grateful he can now enjoy delicious alternatives like sunflower seed butter!
- Nut-Free Option: If you or your guests have a peanut allergy, or simply prefer a nut-free dessert, sunflower seed butter (often sold as “SunButter”) is an excellent substitute for peanut butter. It offers a similar creamy texture and rich flavor profile, ensuring everyone can enjoy this delightful treat.
- Chocolate Preference: The recipe calls for semi-sweet chocolate chips, which provide a balanced sweetness. However, feel free to substitute with milk chocolate chips if you prefer a sweeter, creamier chocolate topping. For a bolder, less sweet profile, dark chocolate chips can also be used.
- Add More Crunch: If you love extra texture, consider using crunchy peanut butter in the base layer for added bite. You can also fold a handful of chopped roasted peanuts, pretzels, or even crispy rice cereal into the melted chocolate layer before spreading, or sprinkle them on top for a delightful textural contrast.
- A Hint of Salt: For those who appreciate the sweet and salty combination, a light sprinkle of flaky sea salt over the melted chocolate topping before it sets can truly elevate the flavors.
- Festive Flair: For special occasions, add colorful sprinkles or edible glitter to the top of the chocolate layer while it’s still wet, creating a fun and festive presentation.
Storage and Freezing Tips for Your Peanut Butter Bars
To keep your No-Bake Peanut Butter Bars fresh and firm, proper storage is key. Once you’ve cut them into squares, arrange them in an airtight container. If stacking layers, place a sheet of parchment paper or waxed paper between each layer to prevent sticking. Due to their creamy nature, these bars will soften considerably at room temperature, so they must be stored in the refrigerator. They will maintain their deliciousness for at least a week when refrigerated. For longer storage, these bars freeze beautifully. Simply place them in an airtight, freezer-safe container with parchment between layers, and they’ll keep well for up to 3 months. Thaw in the refrigerator before serving for best results.
Explore More Effortless No-Bake Desserts
If you love the simplicity and deliciousness of no-bake desserts, be sure to explore these other fantastic recipes:
- No-Bake Lemon Berry Cheesecakes — A light, refreshing, and incredibly simple individual dessert.
- Easy Strawberry Trifle Recipe — Layers of cake, cream, and fresh berries for a stunning presentation.
- Pink Lemonade No-Bake Mini Cheesecakes — Sweet and tangy, perfect for summer gatherings.
- Classic Rice Krispie Treats — Our perfected recipe for the ultimate chewy, gooey classic.
- Fruity Pebbles Bars — A colorful and fun treat that kids absolutely adore.
- 4-Ingredient No-Bake Chocolate Tart Recipe – An incredibly easy yet elegant dessert that requires minimal ingredients.
No-Bake Peanut Butter Bars
Ingredients
- 1 cup unsalted butter (2 sticks)
- ¼ cup packed light brown sugar
- 1 ¾ cups powdered sugar (confectioner’s sugar)
- 1 cup smooth peanut butter (such as Jif or Skippy)
- 1 teaspoon pure vanilla extract
- pinch of salt
- 2 cups graham cracker crumbs (see note)
- 2 cups semisweet chocolate chips (12 oz. bag)
- 1 teaspoon vegetable oil
Instructions
-
Line a 9 × 13 inch pan with parchment paper, ensuring excess paper extends over the sides to create “wings” for easy removal. Set aside.
-
In a saucepan over medium-low heat, combine the butter, brown sugar, powdered sugar, peanut butter, vanilla, and salt. Stir continuously until the butter is completely melted, and all ingredients are smoothly combined into a uniform mixture. Remove from heat.
-
Stir in the graham cracker crumbs until well incorporated. Spread this mixture evenly into the prepared pan. Gently tap the pan on the counter a few times to flatten and level the surface. Place the pan in the refrigerator to chill for at least 30 minutes, or until firm.
-
While the first layer chills, gently melt the chocolate chips and vegetable oil in a microwave-safe bowl. Heat in 30-second intervals, stirring thoroughly after each to prevent overheating, until the chocolate is smooth and glossy. Alternatively, melt using a double boiler. Spread the melted chocolate evenly over the chilled peanut butter layer. Tap the pan again to smooth out the chocolate and remove any air bubbles.
-
Return the pan to the refrigerator and chill for at least one hour, or until the chocolate layer is completely set and firm. This extended chilling time makes the bars much easier to cut cleanly. Once chilled, use the parchment paper wings to lift the entire block of bars out of the pan and place it on a flat cutting surface. Using a large, sharp knife, cut into 24 squares for generously sized bars, or 32 squares for smaller portions.
Notes
- Graham cracker crumbs: To achieve 2 cups of crumbs, you’ll need approximately 14 whole graham cracker rectangles. For best results, crush them finely using a food processor or by placing them in a resealable bag and crushing with a rolling pin.
- Possible substitutions: For a nut-free version, sunflower seed butter can be substituted for peanut butter. If you prefer a sweeter chocolate, milk chocolate chips can replace the semi-sweet chips. For added crunch, use crunchy peanut butter in the base or sprinkle chopped peanuts or pretzels on top of the chocolate layer.
- Storage: Store leftover bars in an airtight container in the refrigerator for up to a week. For longer storage, freeze the bars for up to 3 months, separating layers with parchment or waxed paper.
Video
You can find a helpful video tutorial for making these No-Bake Peanut Butter Bars on our website to guide you through each step.
Nutrition
- Serving:
- 1 bar
- Calories:
- 291kcal
- Carbohydrates:
- 26g
- Protein:
- 4g
- Fat:
- 20g
- Saturated Fat:
- 9g
- Polyunsaturated Fat:
- 2g
- Monounsaturated Fat:
- 7g
- Trans Fat:
- 1g
- Cholesterol:
- 21mg
- Sodium:
- 99mg
- Potassium:
- 173mg
- Fiber:
- 2g
- Sugar:
- 19g
- Vitamin A:
- 244IU
- Calcium:
- 24mg
- Iron:
- 1mg
Nutrition information is automatically calculated and should be used as an approximation only.