
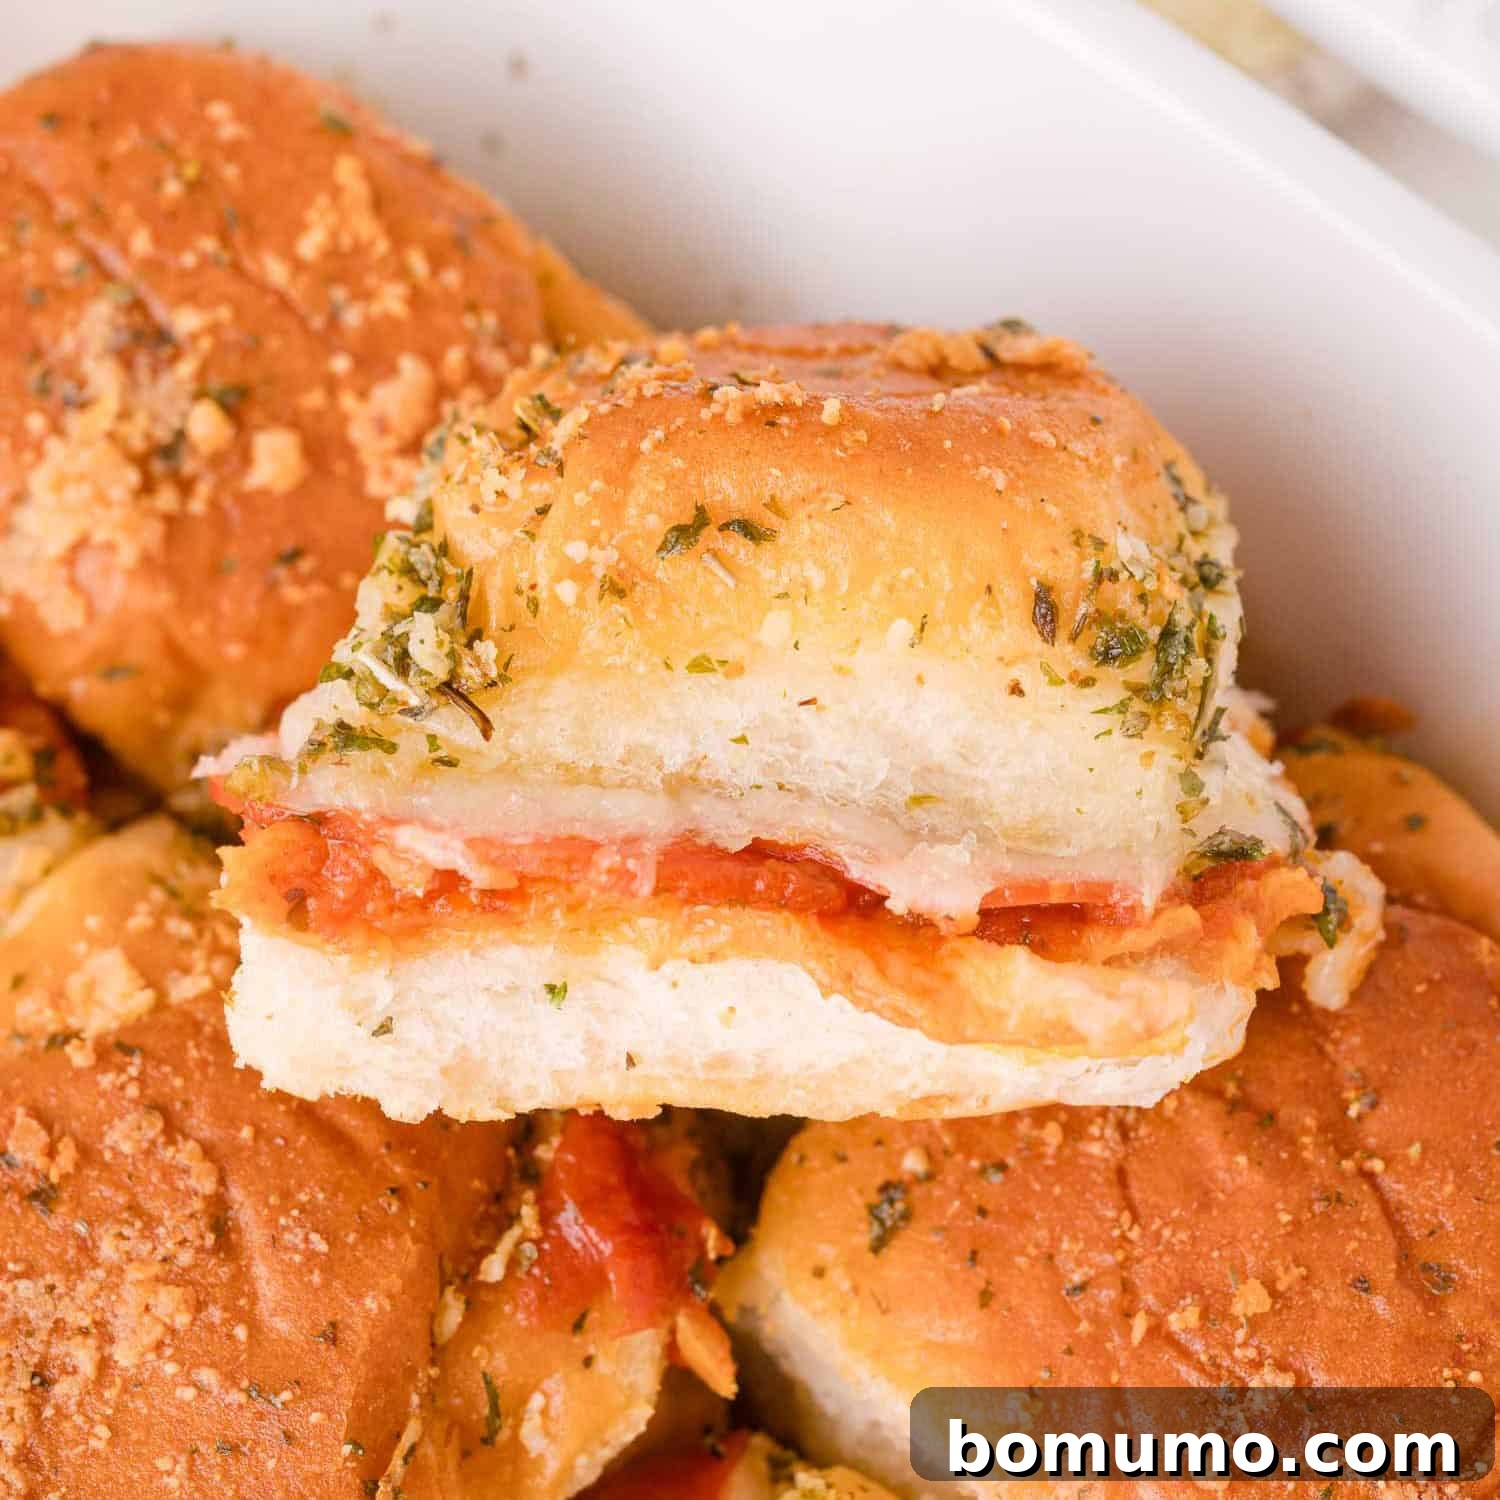
Recipe Highlights: Delicious Pizza Sliders
Why you’ll love these pizza sliders: Imagine soft, fluffy rolls generously filled with savory pepperoni, rich pizza sauce, and gooey melted cheese, all baked to golden perfection. These delightful pizza sliders are guaranteed to be the star of any gathering, offering a universally loved flavor in a convenient, shareable format. Their incredible versatility means you can easily customize them with any of your favorite pizza toppings to perfectly suit every taste.
Total preparation and cooking time: Just 40 minutes from start to finish.
Essential kitchen equipment: A standard baking dish and an oven.
Serves: Generously makes 12 individual sliders.
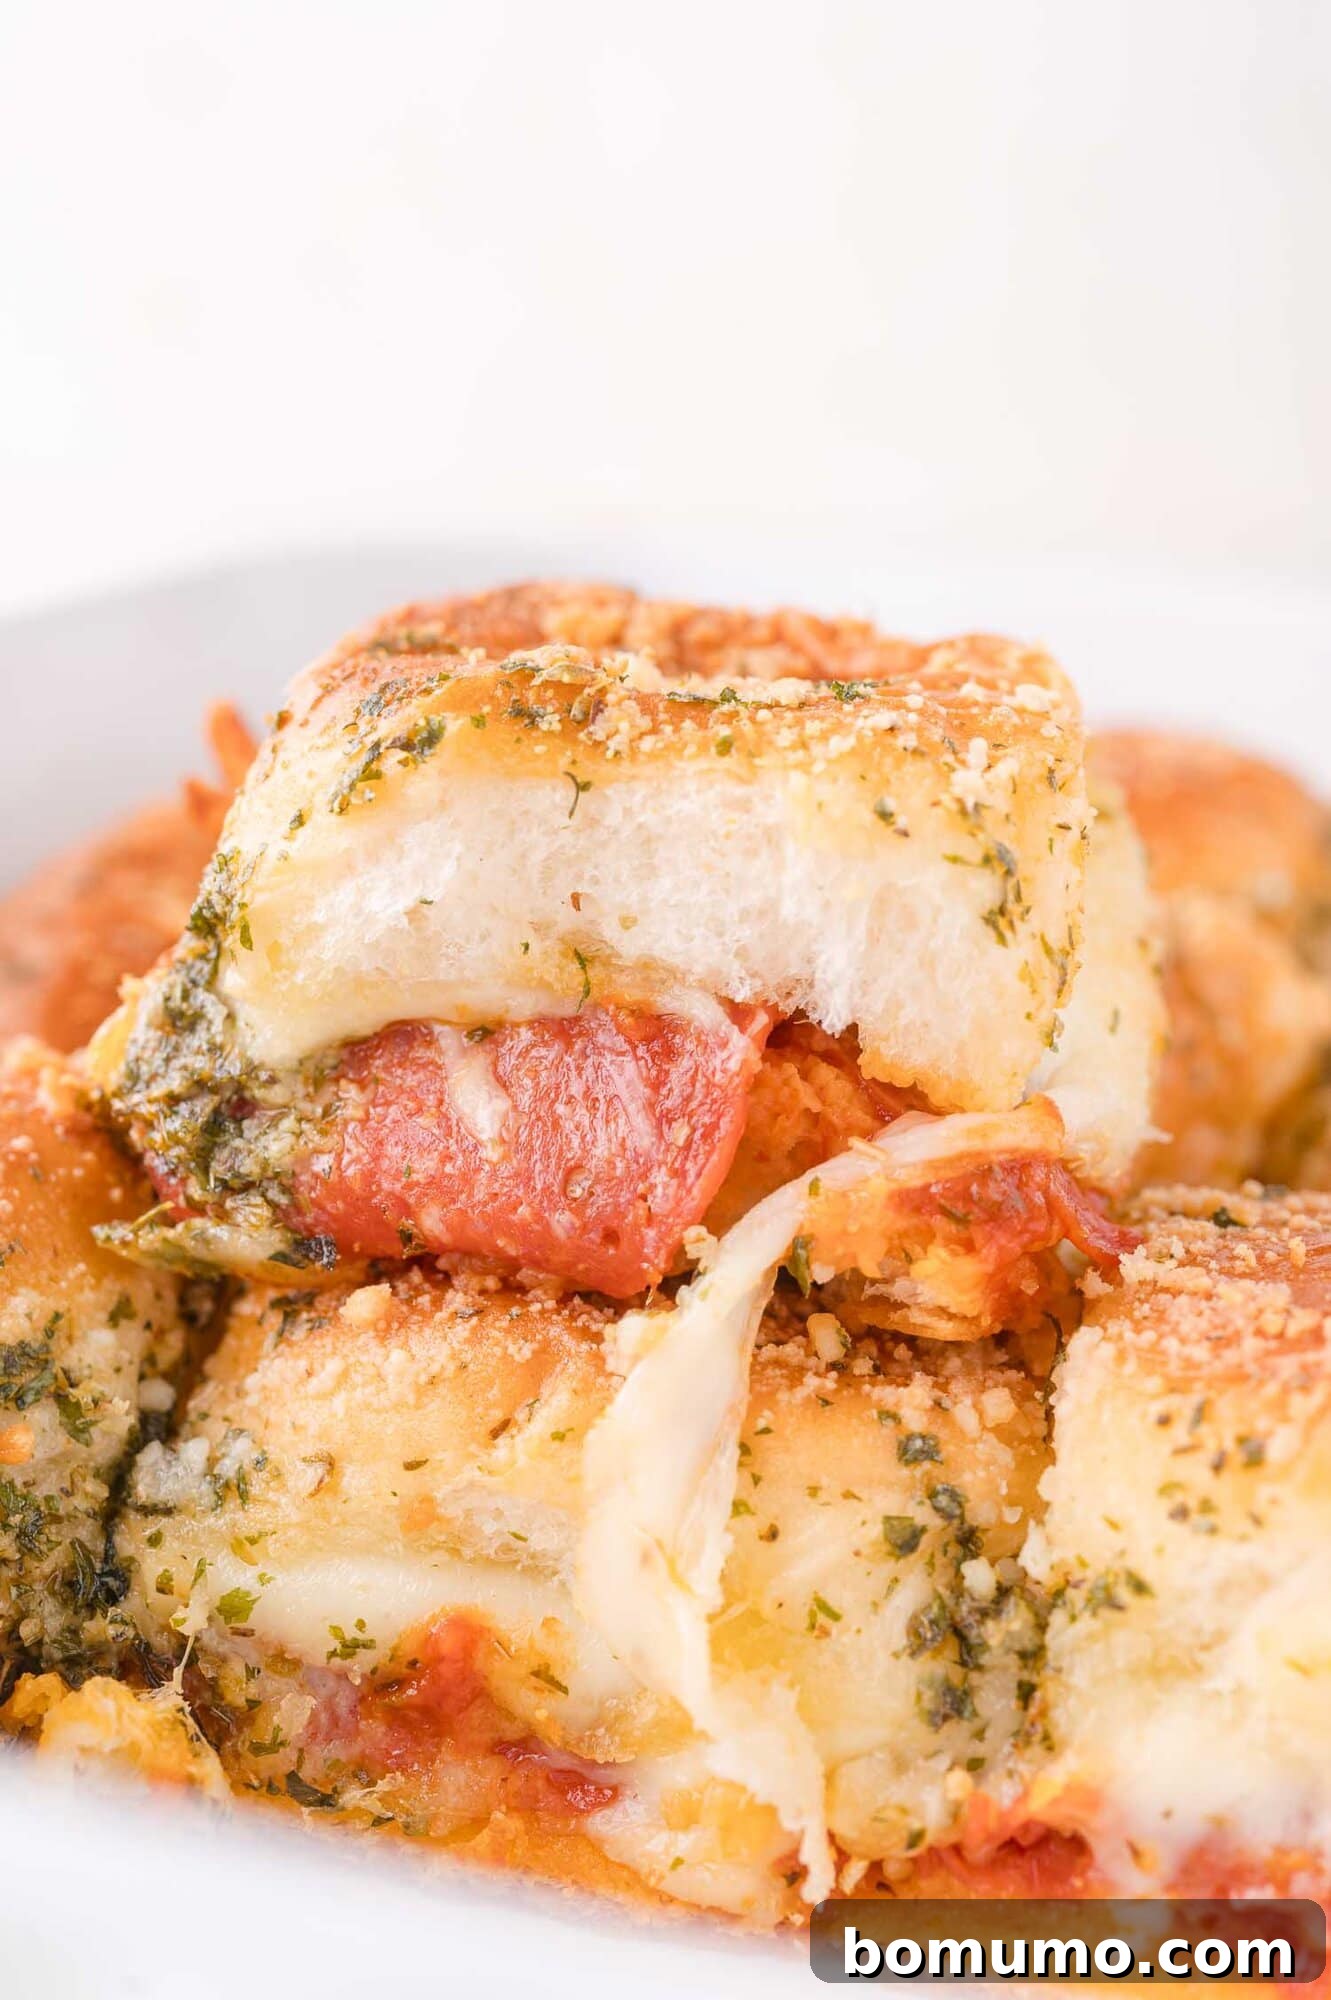
There’s an undeniable magic to pizza—a universal comfort food that effortlessly brings smiles to faces. My personal passion for pizza knows no bounds, inspiring me to infuse its irresistible flavors into a myriad of dishes, from a lightning-fast 20-minute one-pan pizza pasta to creative appetizers that redefine snack time. We’ve explored everything from savory homemade hot pockets and delicious stuffed pizza bites to an incredibly satisfying pepperoni pizza dip. For those seeking lighter alternatives, bite-sized zucchini pizza bites and hearty pizza stuffed peppers with quinoa have proven equally popular.
While my Parmesan-crusted pepperoni pizza grilled cheese remains a cherished favorite, today’s recipe takes the pizza concept into an exciting new dimension: pizza sliders. This ingenious approach allows you to bake a dozen delicious pizza sliders all at once, in a single pan! It’s an absolute game-changer for casual get-togethers, making them the ultimate easy party food for game day celebrations, family gatherings, or any occasion where you want to serve something truly crowd-pleasing without the fuss.
Effortless and Delicious: The Appeal of Easy Pizza Sliders
Perfect for large gatherings. One of the standout features of these pizza sliders is their incredible ease of preparation, especially when you’re hosting a larger group. In fact, if you’re anticipating a big crowd, preparing two pans of these delightful sliders is just as simple as making one. They consistently prove to be a massive hit with everyone because, let’s face it, who doesn’t adore pizza? Instead of grappling with the uncertainties and waiting times of pizza delivery, these homemade pizza sliders are ready to enjoy precisely when you are, fresh from your oven and bursting with flavor. They offer a warm, comforting, and utterly satisfying alternative that’s guaranteed to impress your guests.
Customize with your favorite pizza toppings! The beauty of these sliders lies in their adaptability. While classic pepperoni is always a fantastic choice, the possibilities for customization are truly limitless. If pepperoni isn’t your preferred topping, feel free to fill these with any of your beloved pizza ingredients. Consider savory sautéed mushrooms, crisp bell peppers, sweet caramelized onions, hearty cooked sausage, thinly sliced ham, fresh spinach, or briny black olives. Each variation promises a unique and equally delicious experience, ensuring there’s a pizza slider combination for every palate and preference. Don’t hesitate to get creative and experiment!
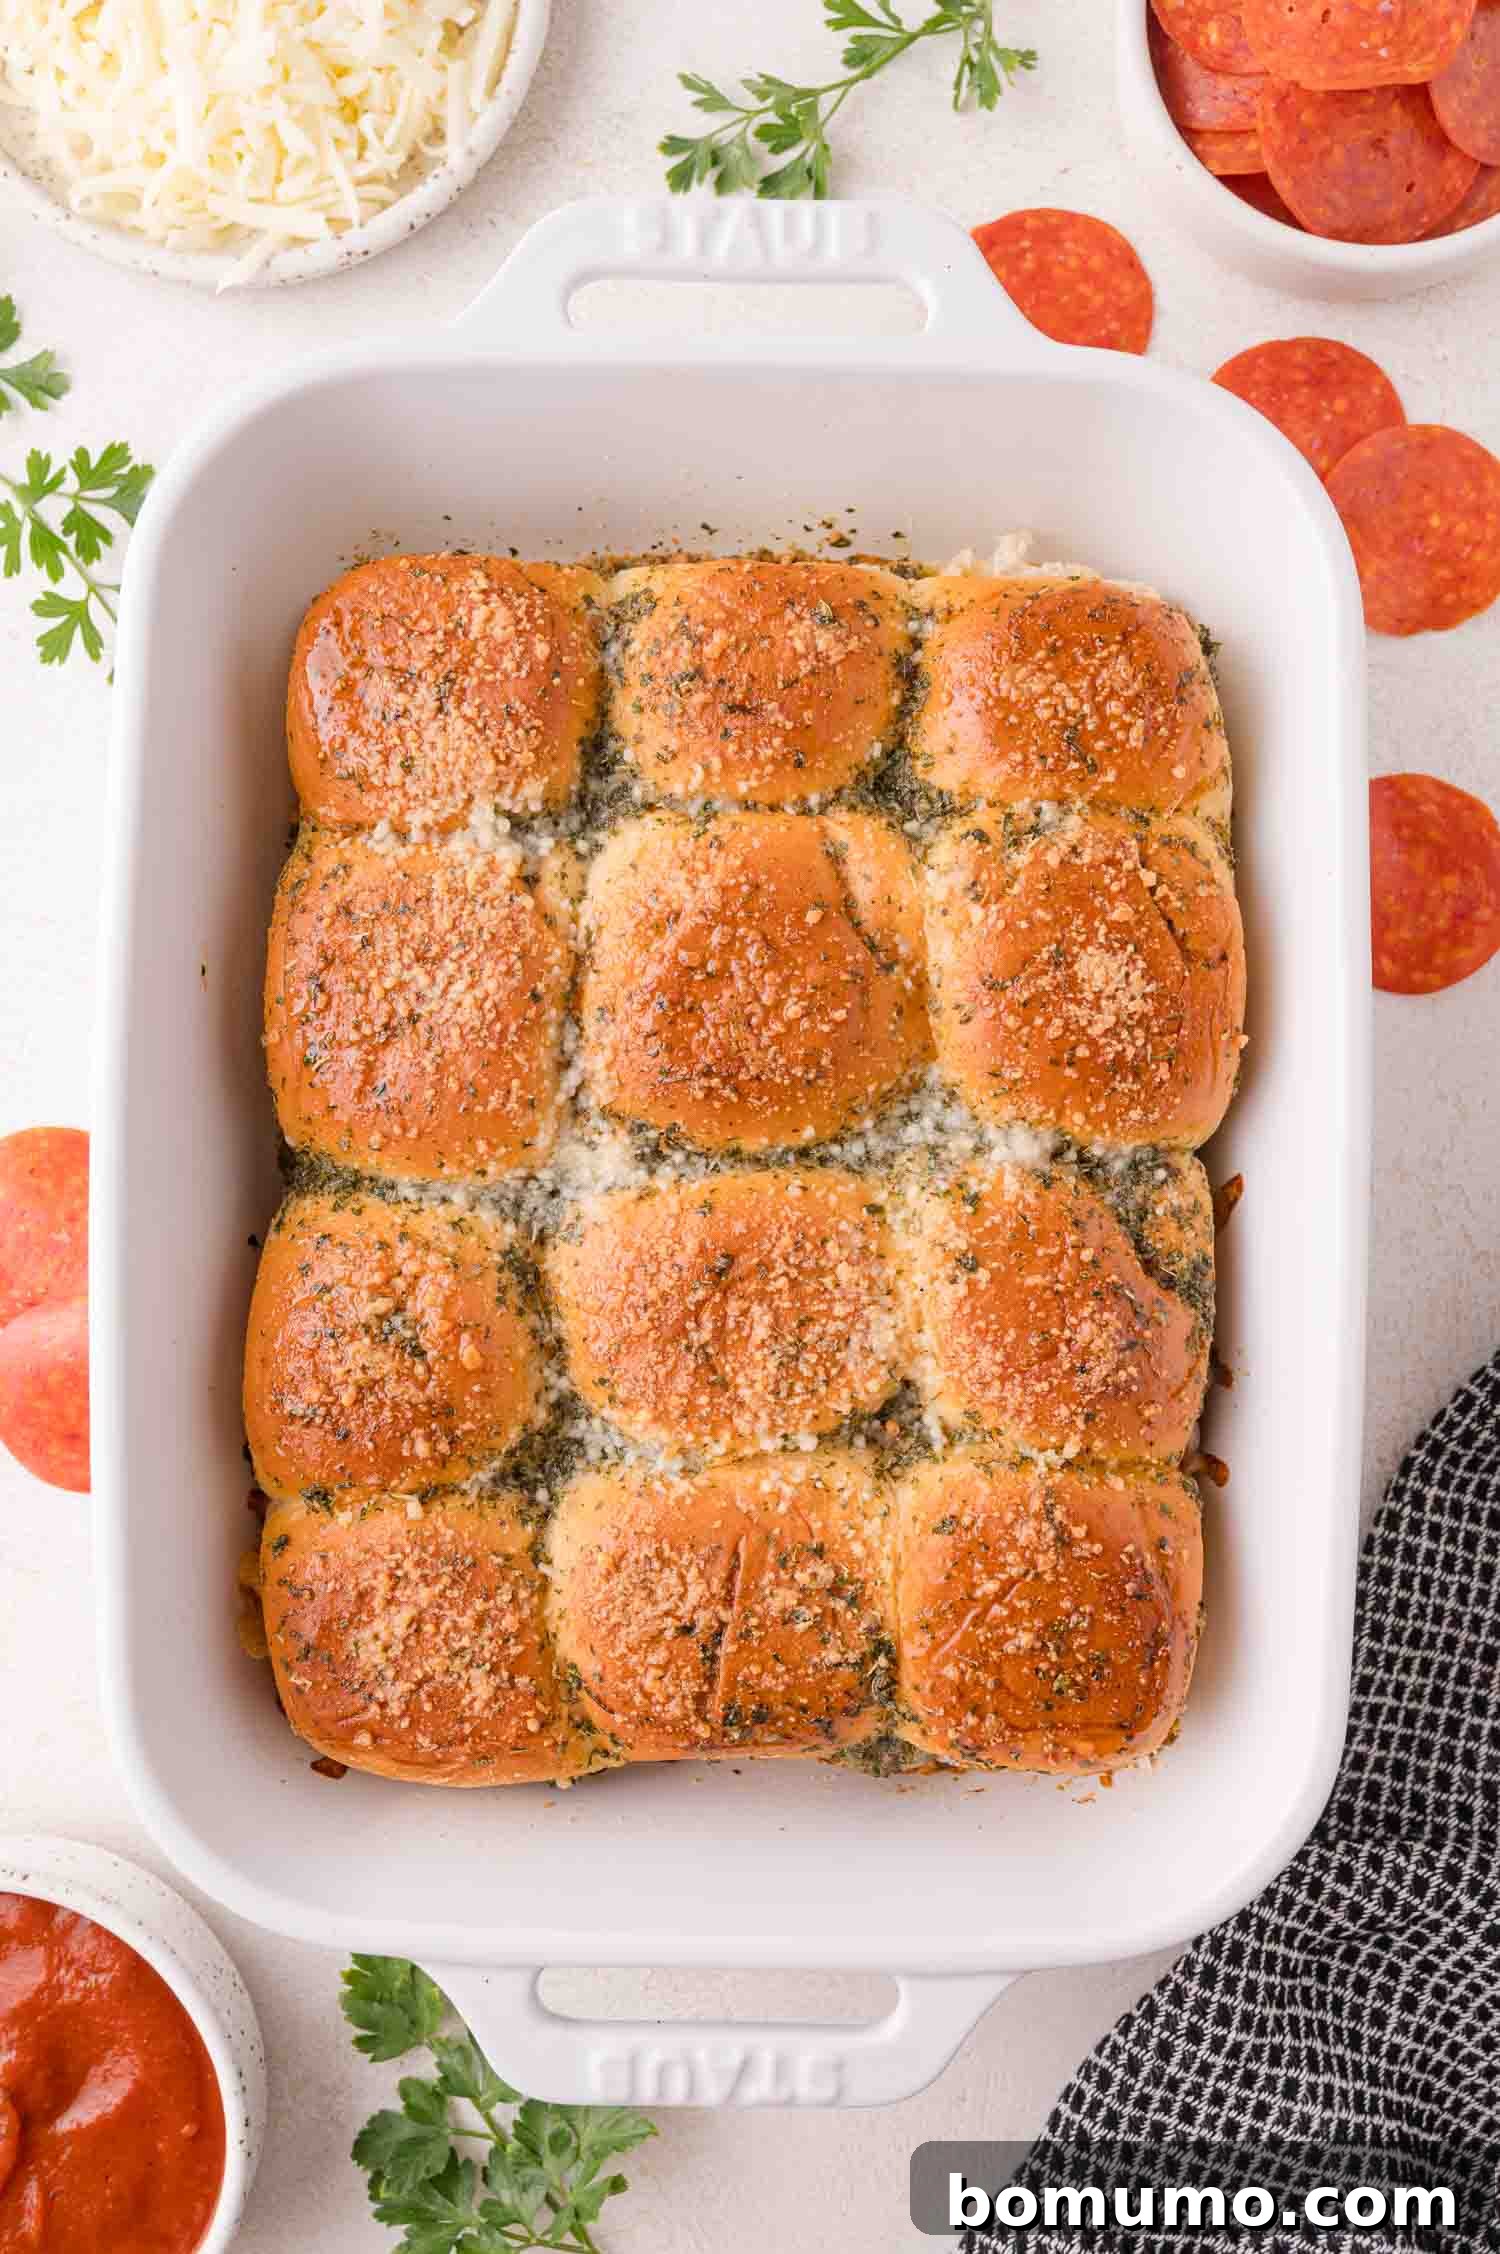
Expert Tip: Portioning for Success
A standard serving is considered one pizza slider, with the recipe yielding 12. However, based on their irresistible nature and universal appeal, most people will enthusiastically reach for at least two (or even more!) of these delectable mini sandwiches. Plan accordingly to ensure you have enough to satisfy everyone’s cravings!
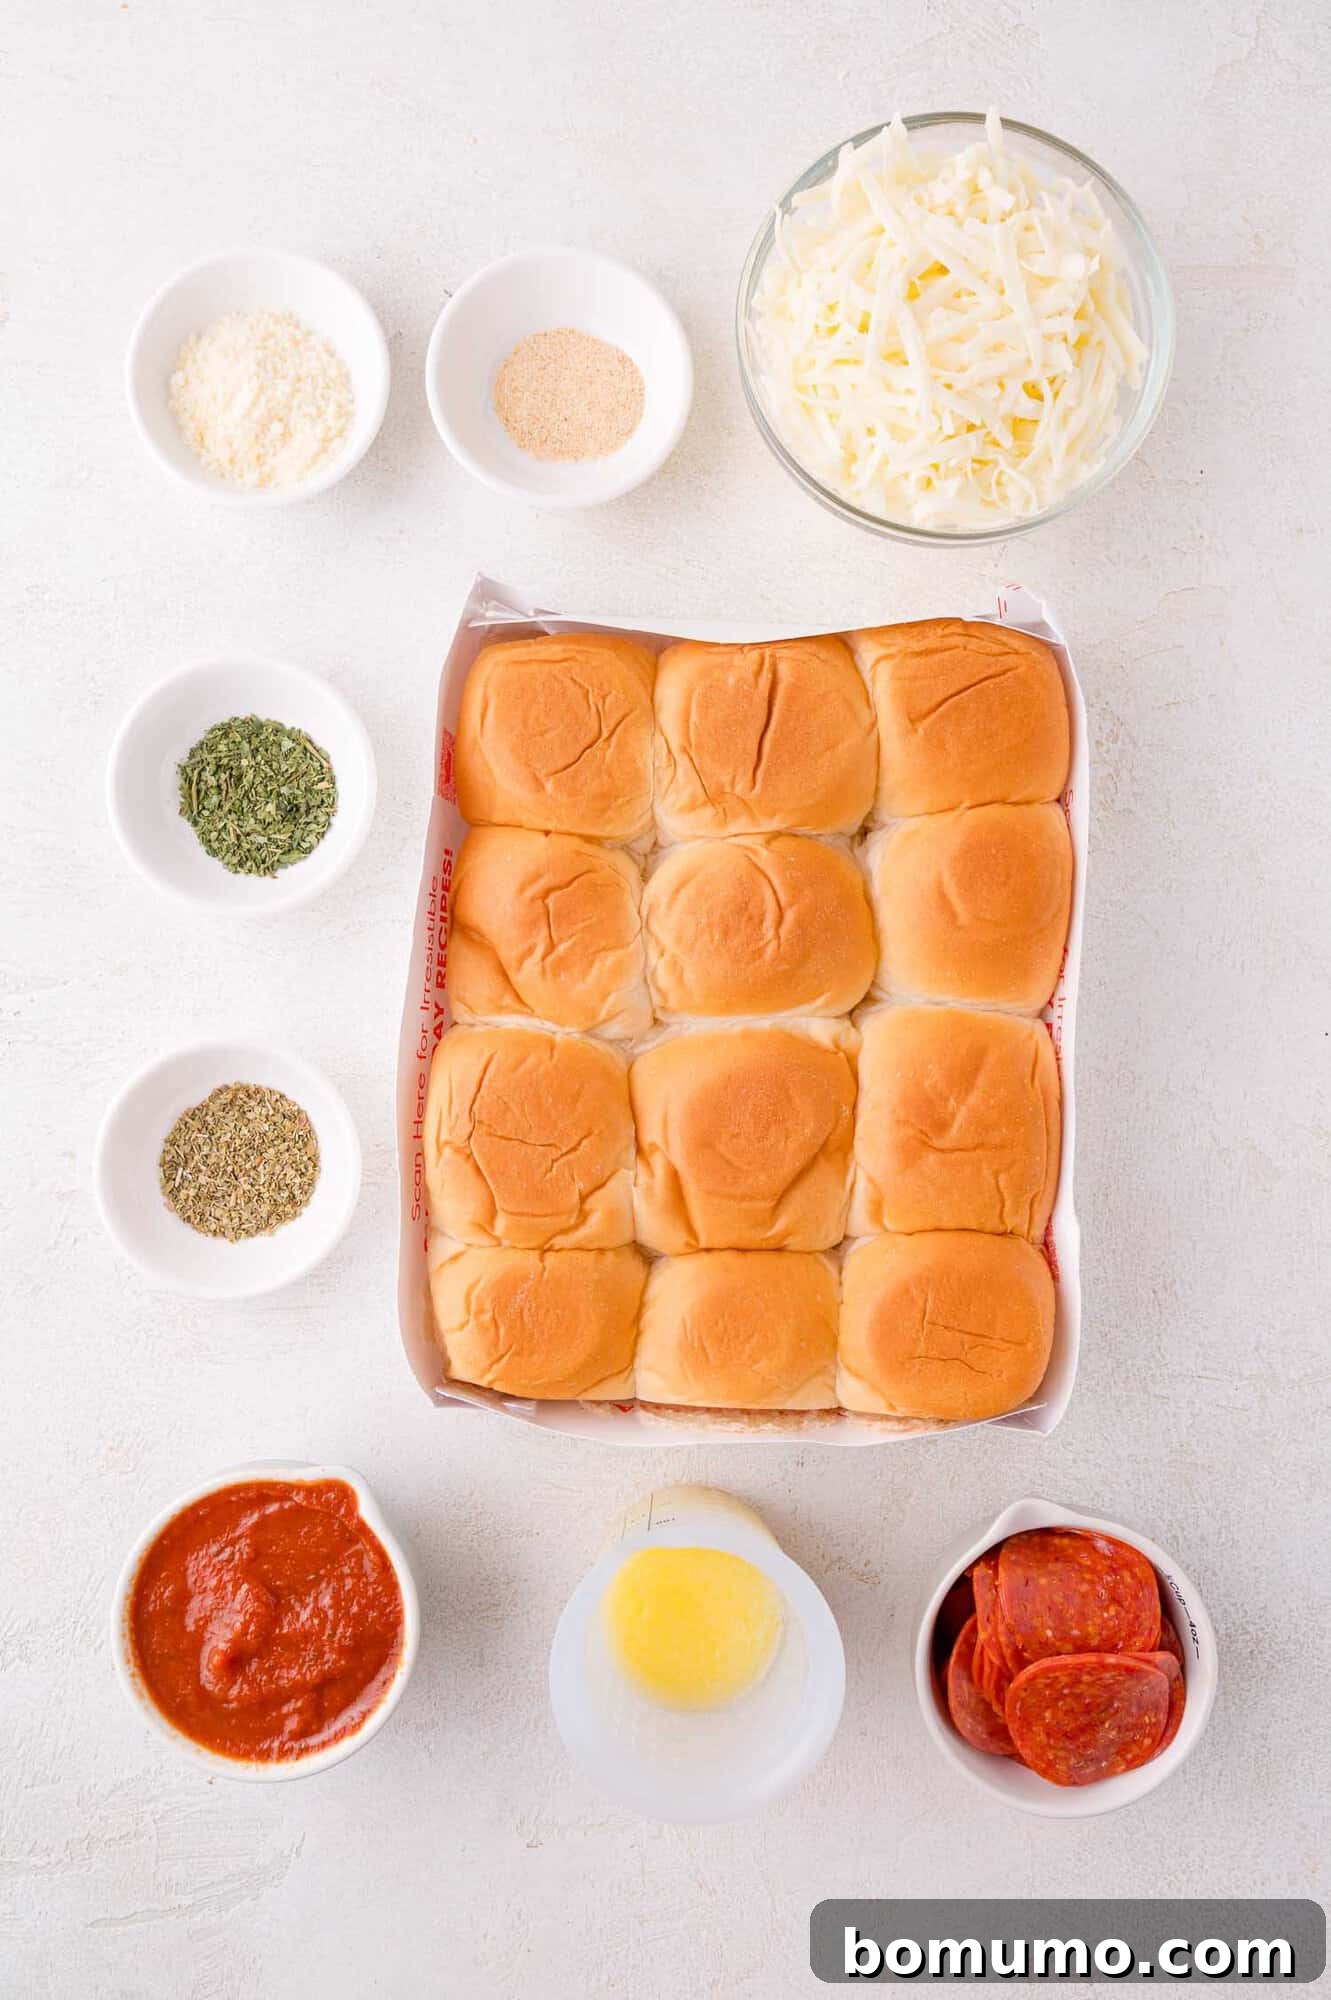
Key Ingredients for Perfect Pizza Sliders
- Hawaiian Sweet Rolls: These delightful dinner rolls are a foundational component of our pizza sliders. Their slightly sweet flavor beautifully complements the savory pizza fillings, creating a harmonious taste profile. Typically sold in connected sheets of 12 rolls, popular brands like King’s Hawaiian are widely available. This connected format is a game-changer for assembly; instead of individually filling each roll, you simply slice through the entire sheet, add your fillings in one generous layer, and then top it with the other half. This method dramatically streamlines the preparation process, making it incredibly efficient.
- Pizza Sauce: The heart of any good pizza! You can opt for your favorite high-quality store-bought pizza sauce for convenience, or for an extra touch of homemade goodness, prepare your own pizza sauce from scratch. If you prefer, a robust marinara sauce can also be used as a delicious alternative. You’ll need approximately ½ cup to adequately coat the rolls and infuse them with that classic pizza taste.
- Shredded Mozzarella Cheese: What’s pizza without an abundance of melty, stretchy mozzarella? The recipe calls for 1 ½ cups, which usually equates to about three-quarters of a standard 8 oz. package. For those who adore extra cheesy goodness, don’t hesitate to use the entire package for an even more decadent experience. Freshly shredded mozzarella often melts more smoothly and offers a superior texture compared to pre-shredded varieties.
- Sliced Pepperoni: For classic pepperoni pizza sliders, you’ll typically need 12 slices of regular-sized pepperoni, one for each roll. While it’s tempting to pile on more pepperoni, be mindful that excessive layers can make it a bit challenging to slice the baked sliders into individual portions later. A clever alternative is to use mini pepperoni, which can be scattered generously without hindering cutting. Alternatively, explore other deli meats like thinly sliced ham, turkey, or even cooked and crumbled Italian sausage for varied flavor profiles.
- Melted Butter: This ingredient is key to elevating these pizza sliders to the next level. Before baking, a savory mixture of melted butter is brushed over the tops of the rolls. As it bakes, the butter seeps down the sides, infusing the buns with richness and creating an irresistible crisp, golden-brown crust on top. This buttery coating is essential for both flavor and texture.
- Aromatic Seasonings: The melted butter mixture is enhanced with a blend of garlic powder, dried parsley flakes, and dried oregano. These herbs and spices contribute a significant boost of classic Italian-inspired flavor, permeating every bite. If you have Italian seasoning blend on hand, it makes an excellent substitute for the individual oregano, offering a similar aromatic complexity.
- Grated Parmesan Cheese: A final, delicate sprinkling of grated Parmesan cheese is added just before baking. This last touch transforms into a light, golden-brown crust that evokes the delicious, savory quality of freshly baked breadsticks, adding another layer of texture and umami to your pizza sliders.
Step-by-Step Guide: Crafting Your Perfect Pizza Sliders
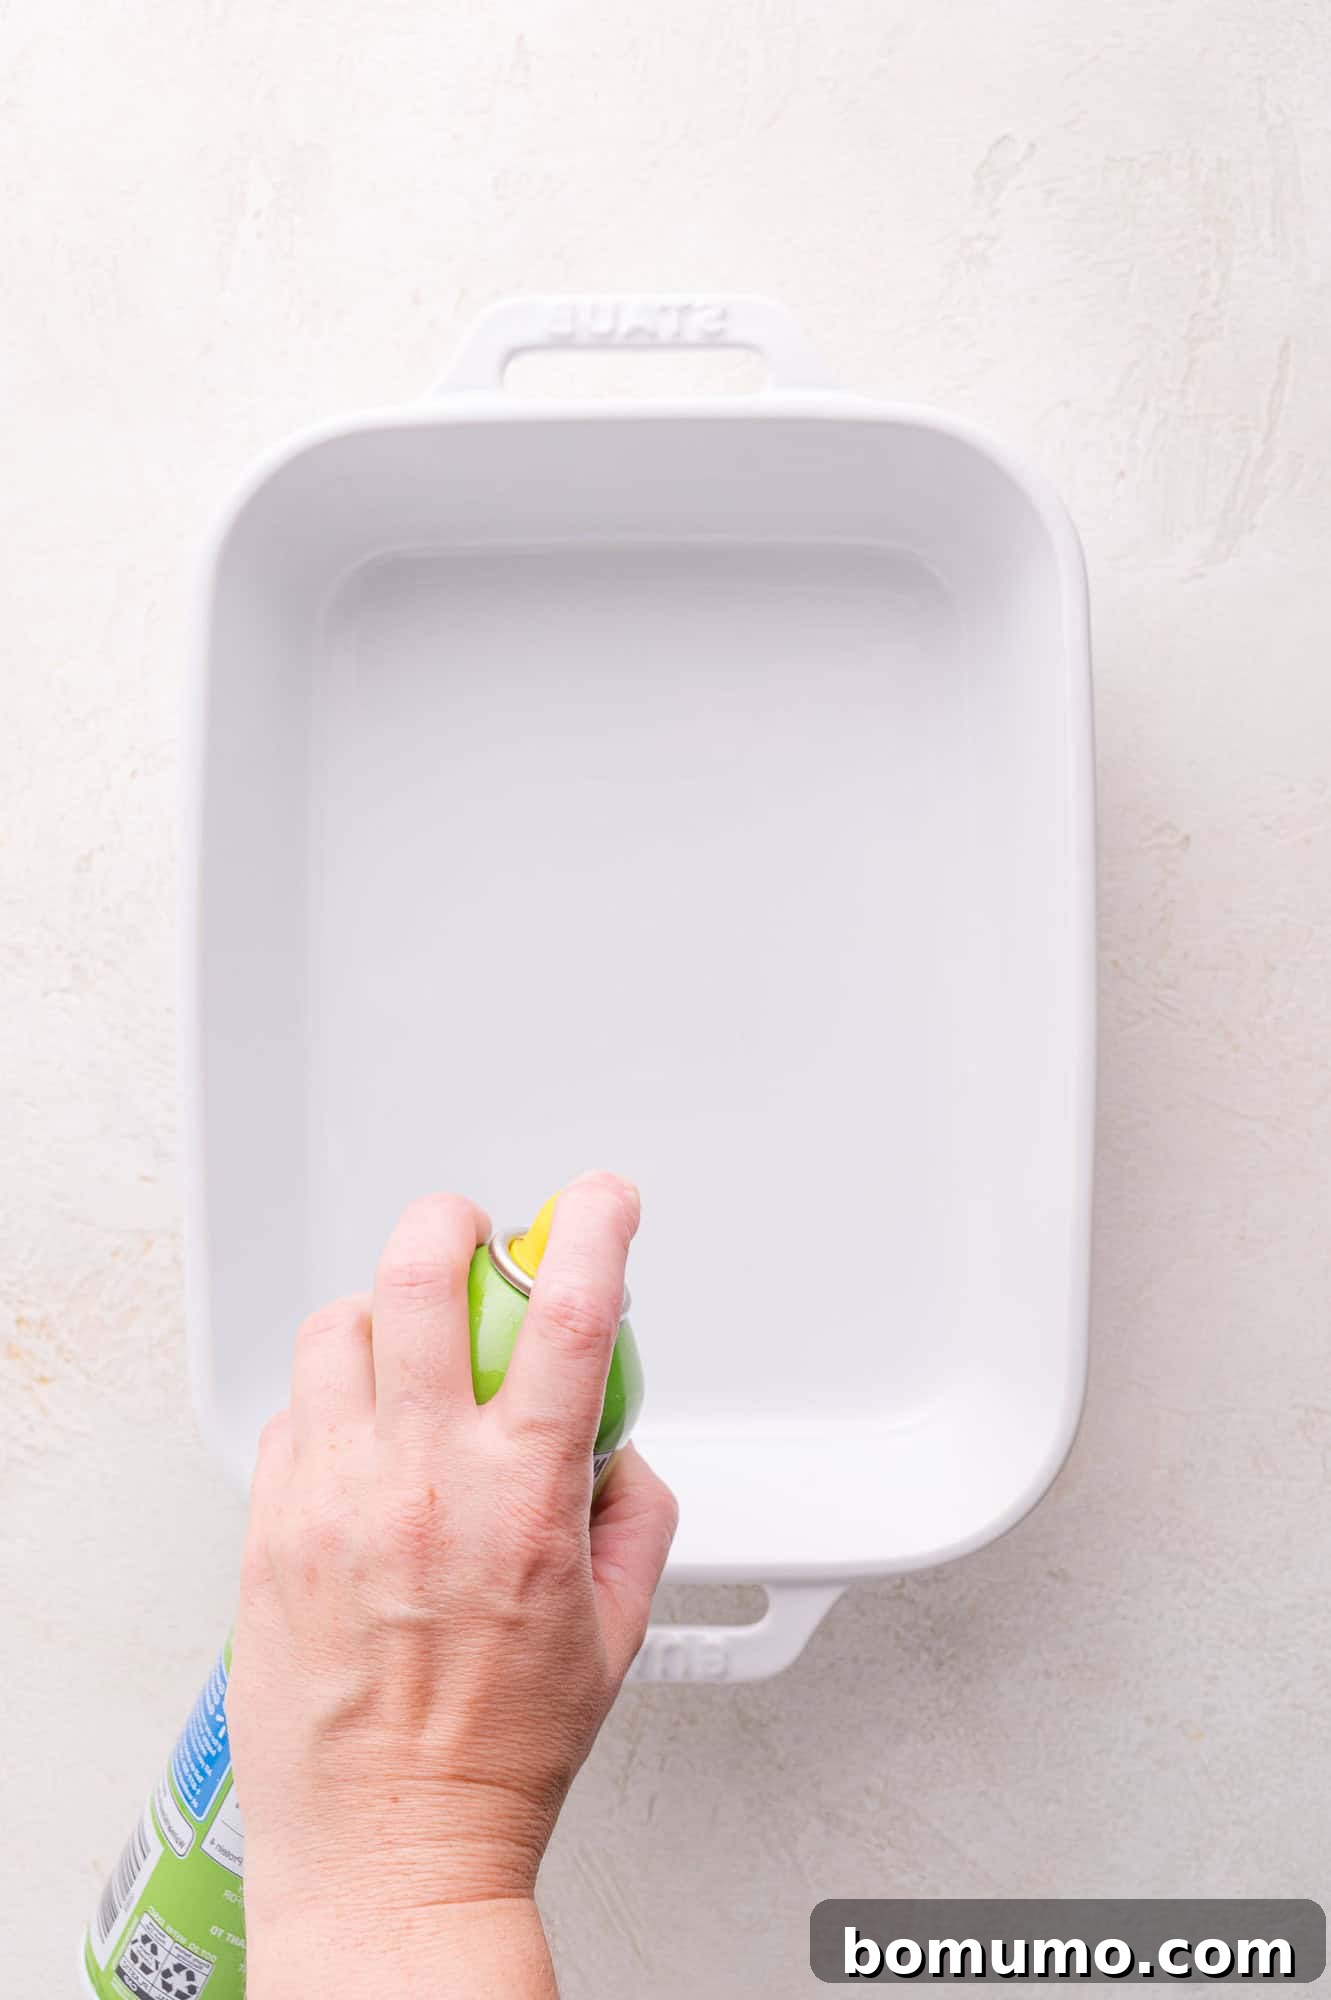
Step 1: Prepare your workspace and oven. Begin by preheating your oven to a steady 350°F (175°C). While the oven heats, prepare your baking dish. A dish approximately 11 x 8 inches is ideal, as it comfortably fits the standard 12-pack of Hawaiian rolls without leaving too much extra space. This snug fit is important because it helps contain the melted cheese, preventing it from excessively running out of the sides of the rolls during baking. Lightly spray the inside of your baking dish with nonstick cooking spray to ensure easy removal.
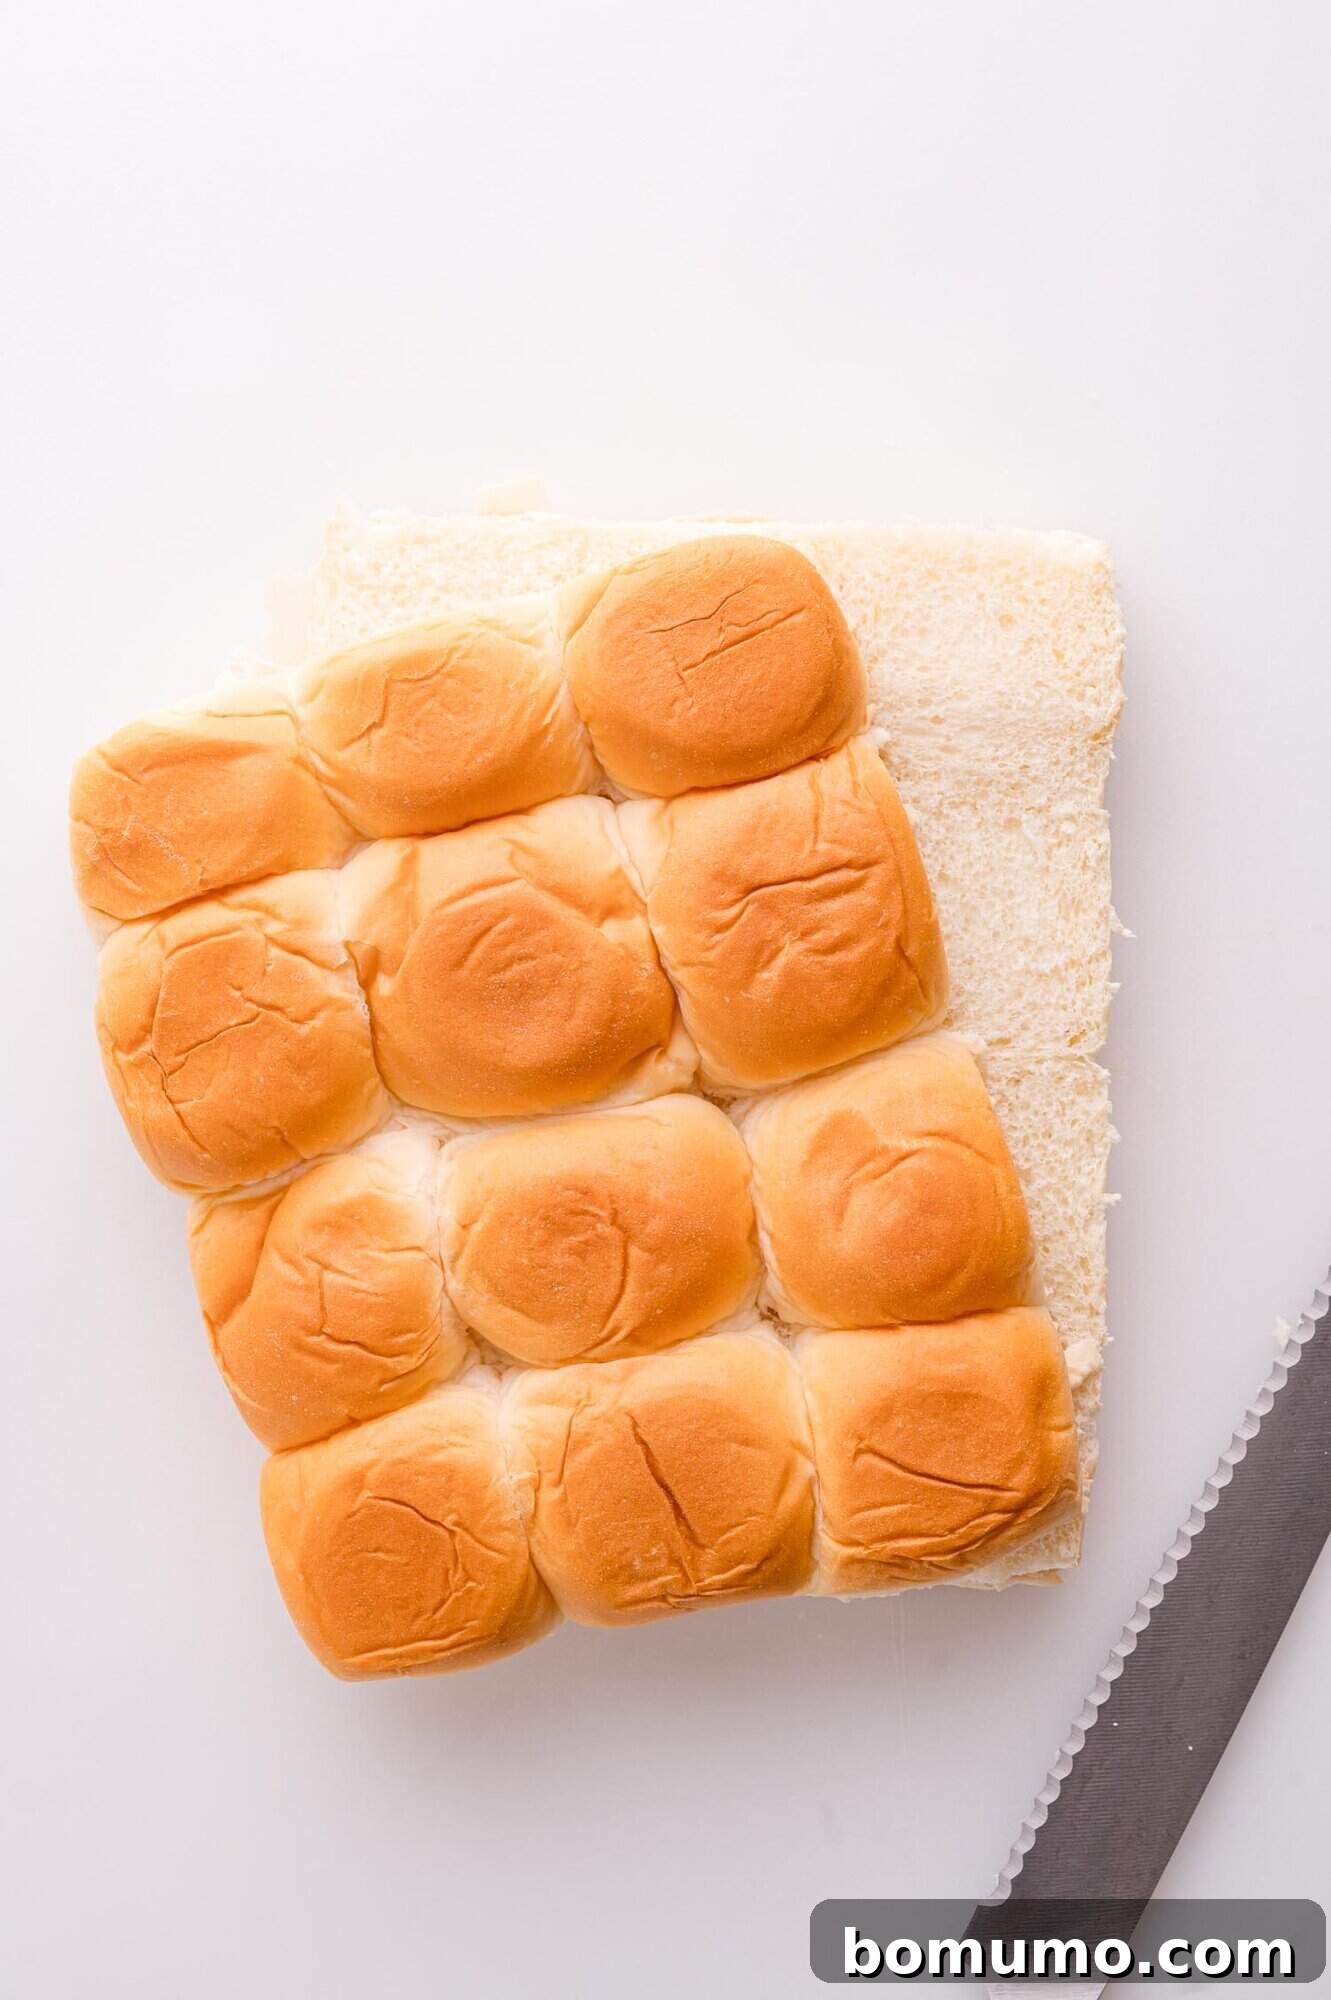
Step 2: Expertly slice the rolls. Carefully take your sheet of connected Hawaiian sweet rolls. Using a long, sharp serrated knife, slice through the entire sheet horizontally, effectively separating the top halves from the bottom halves. The goal is to keep all 12 rolls connected in two distinct sections. Strive for an even cut, but if one side must be slightly thicker, aim for the bottom half to be marginally sturdier. Gently place the bottom half of the rolls into your prepared baking dish, ensuring they form an even base.
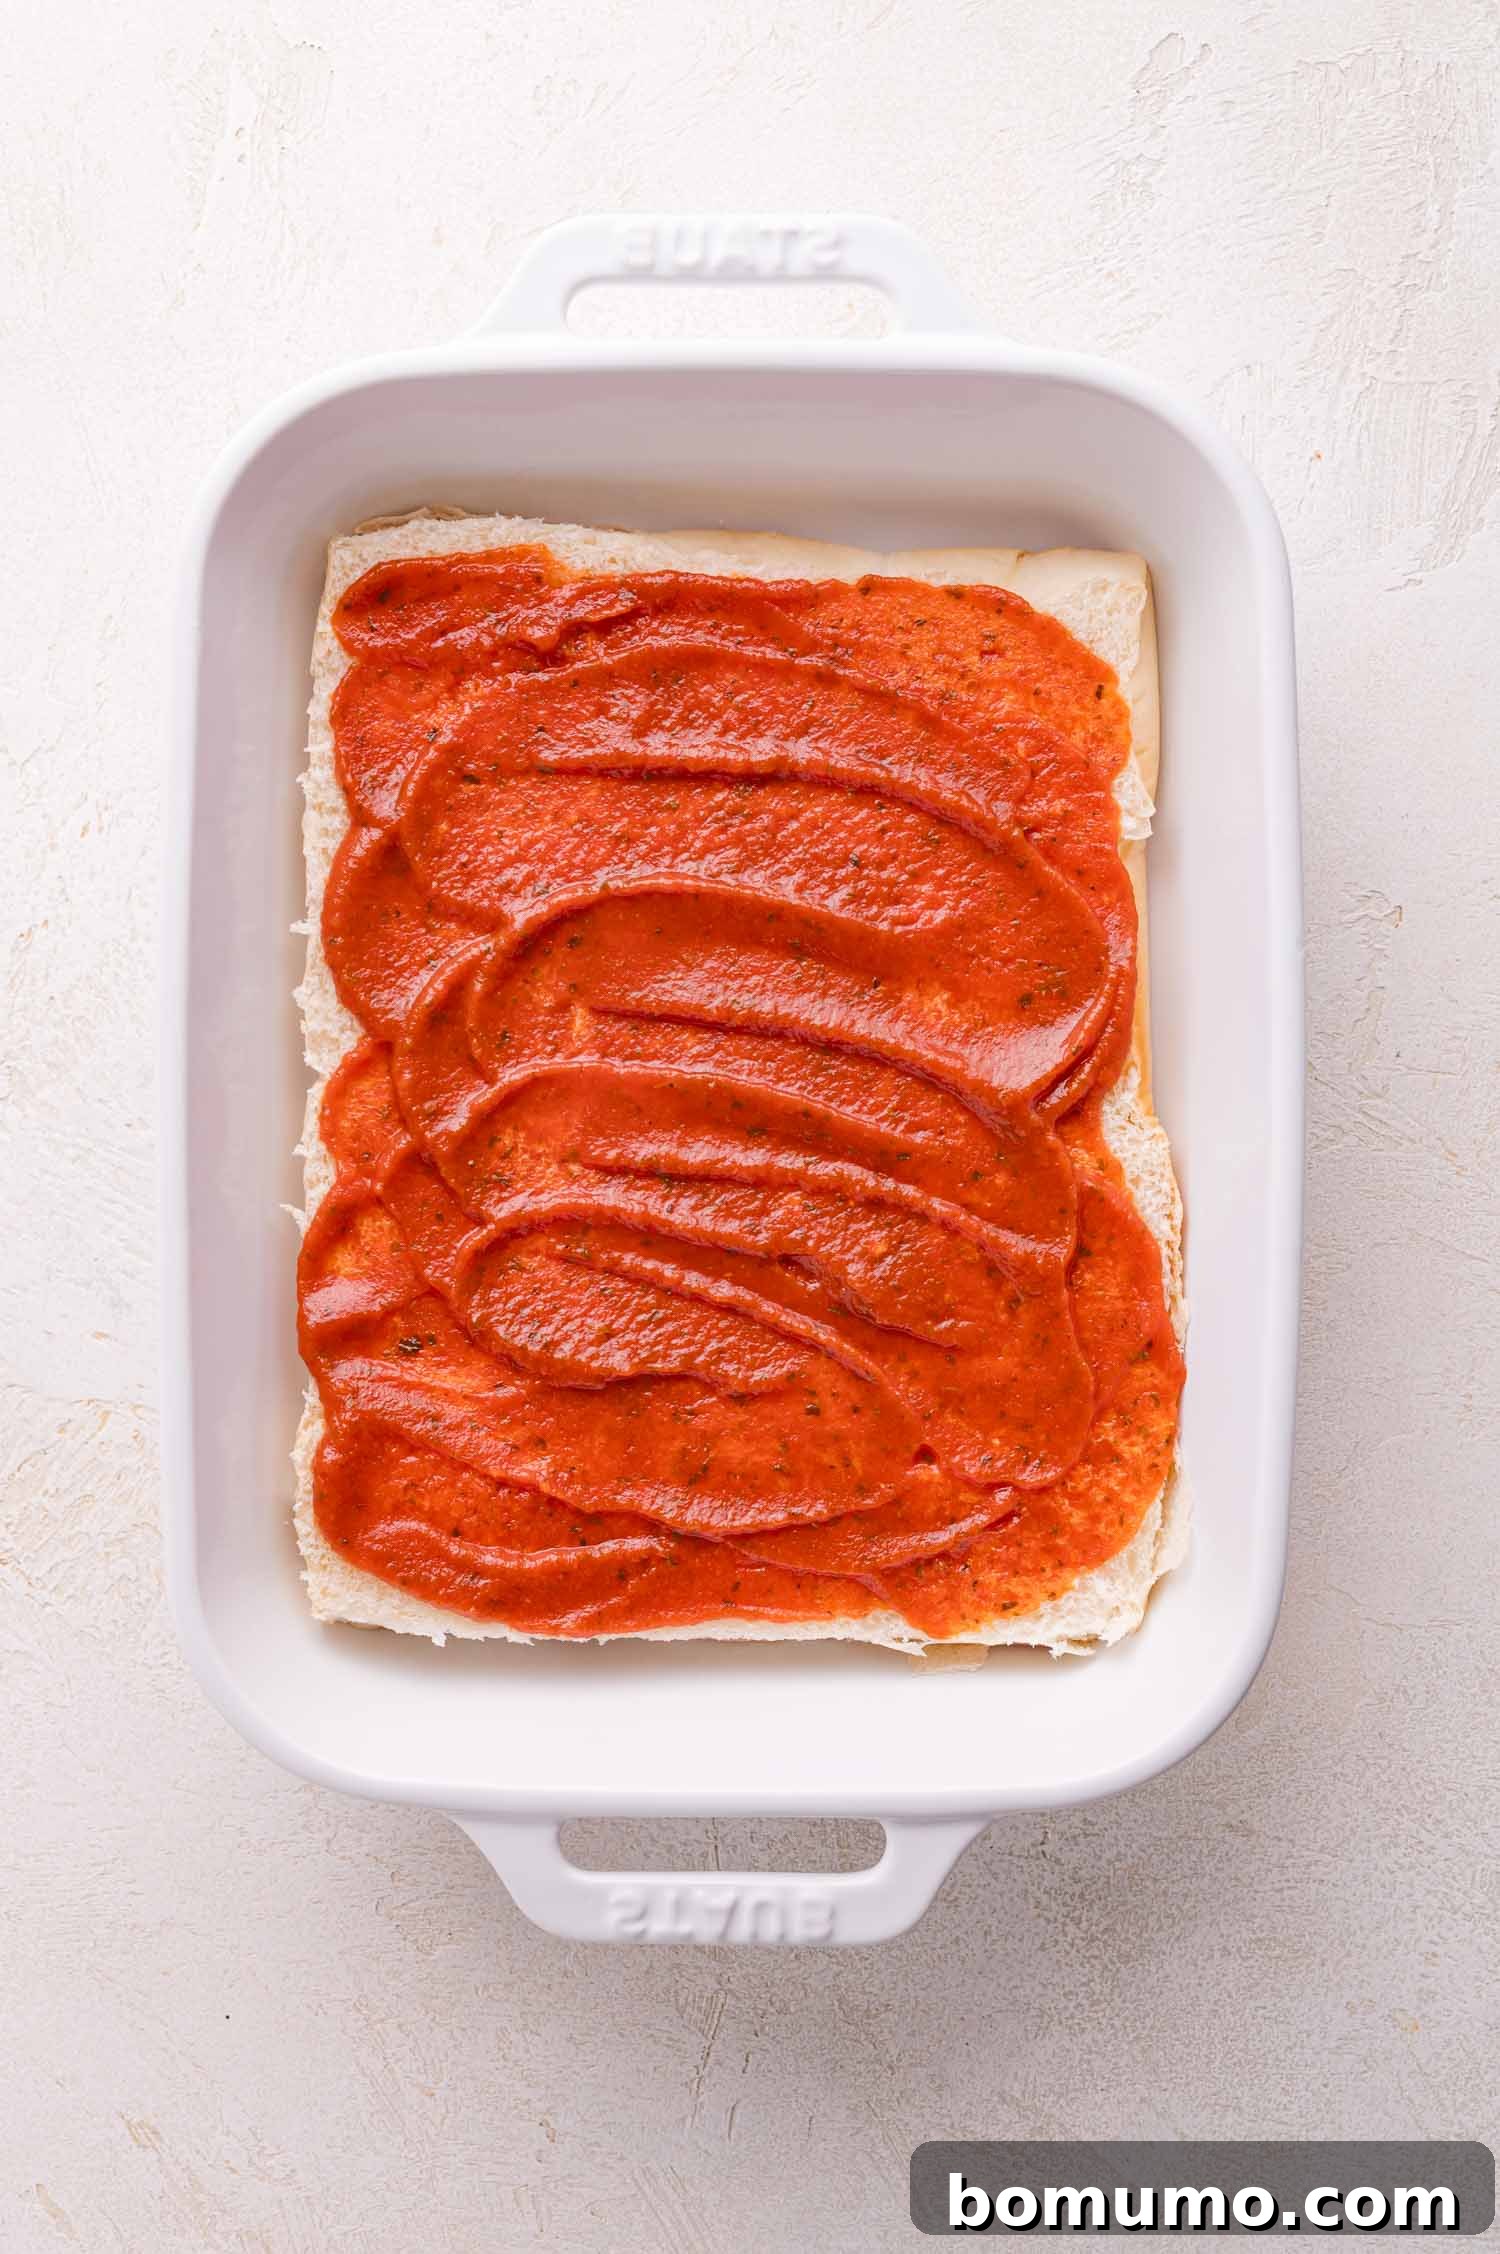
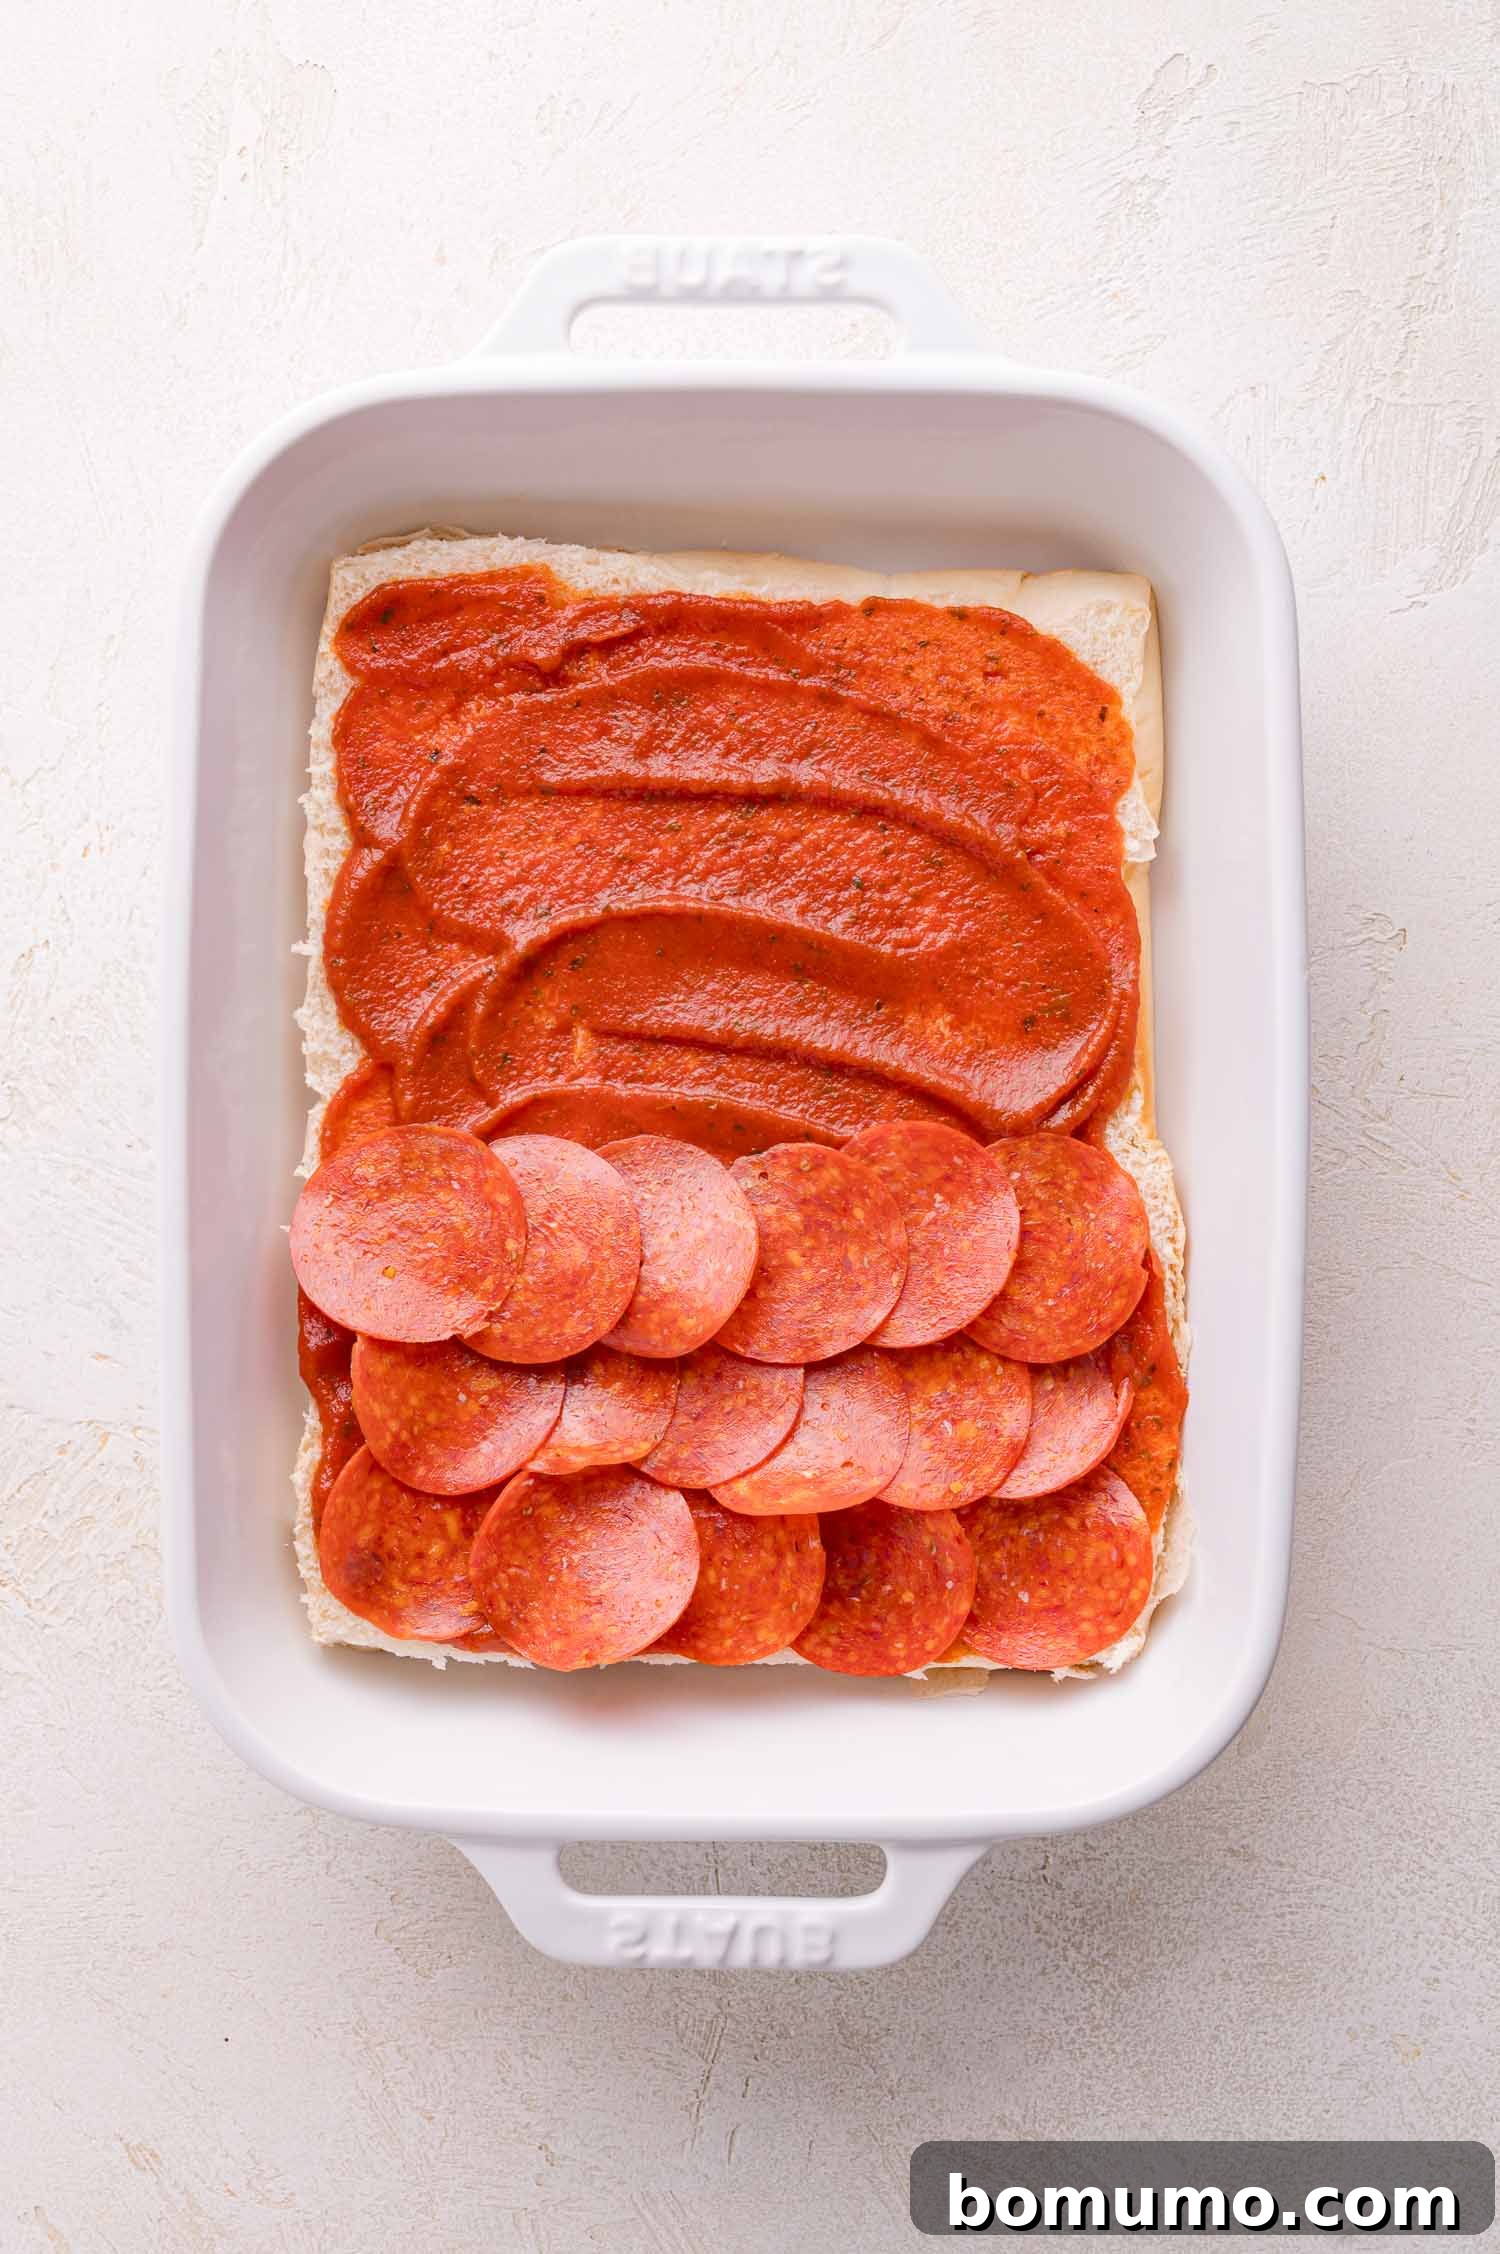
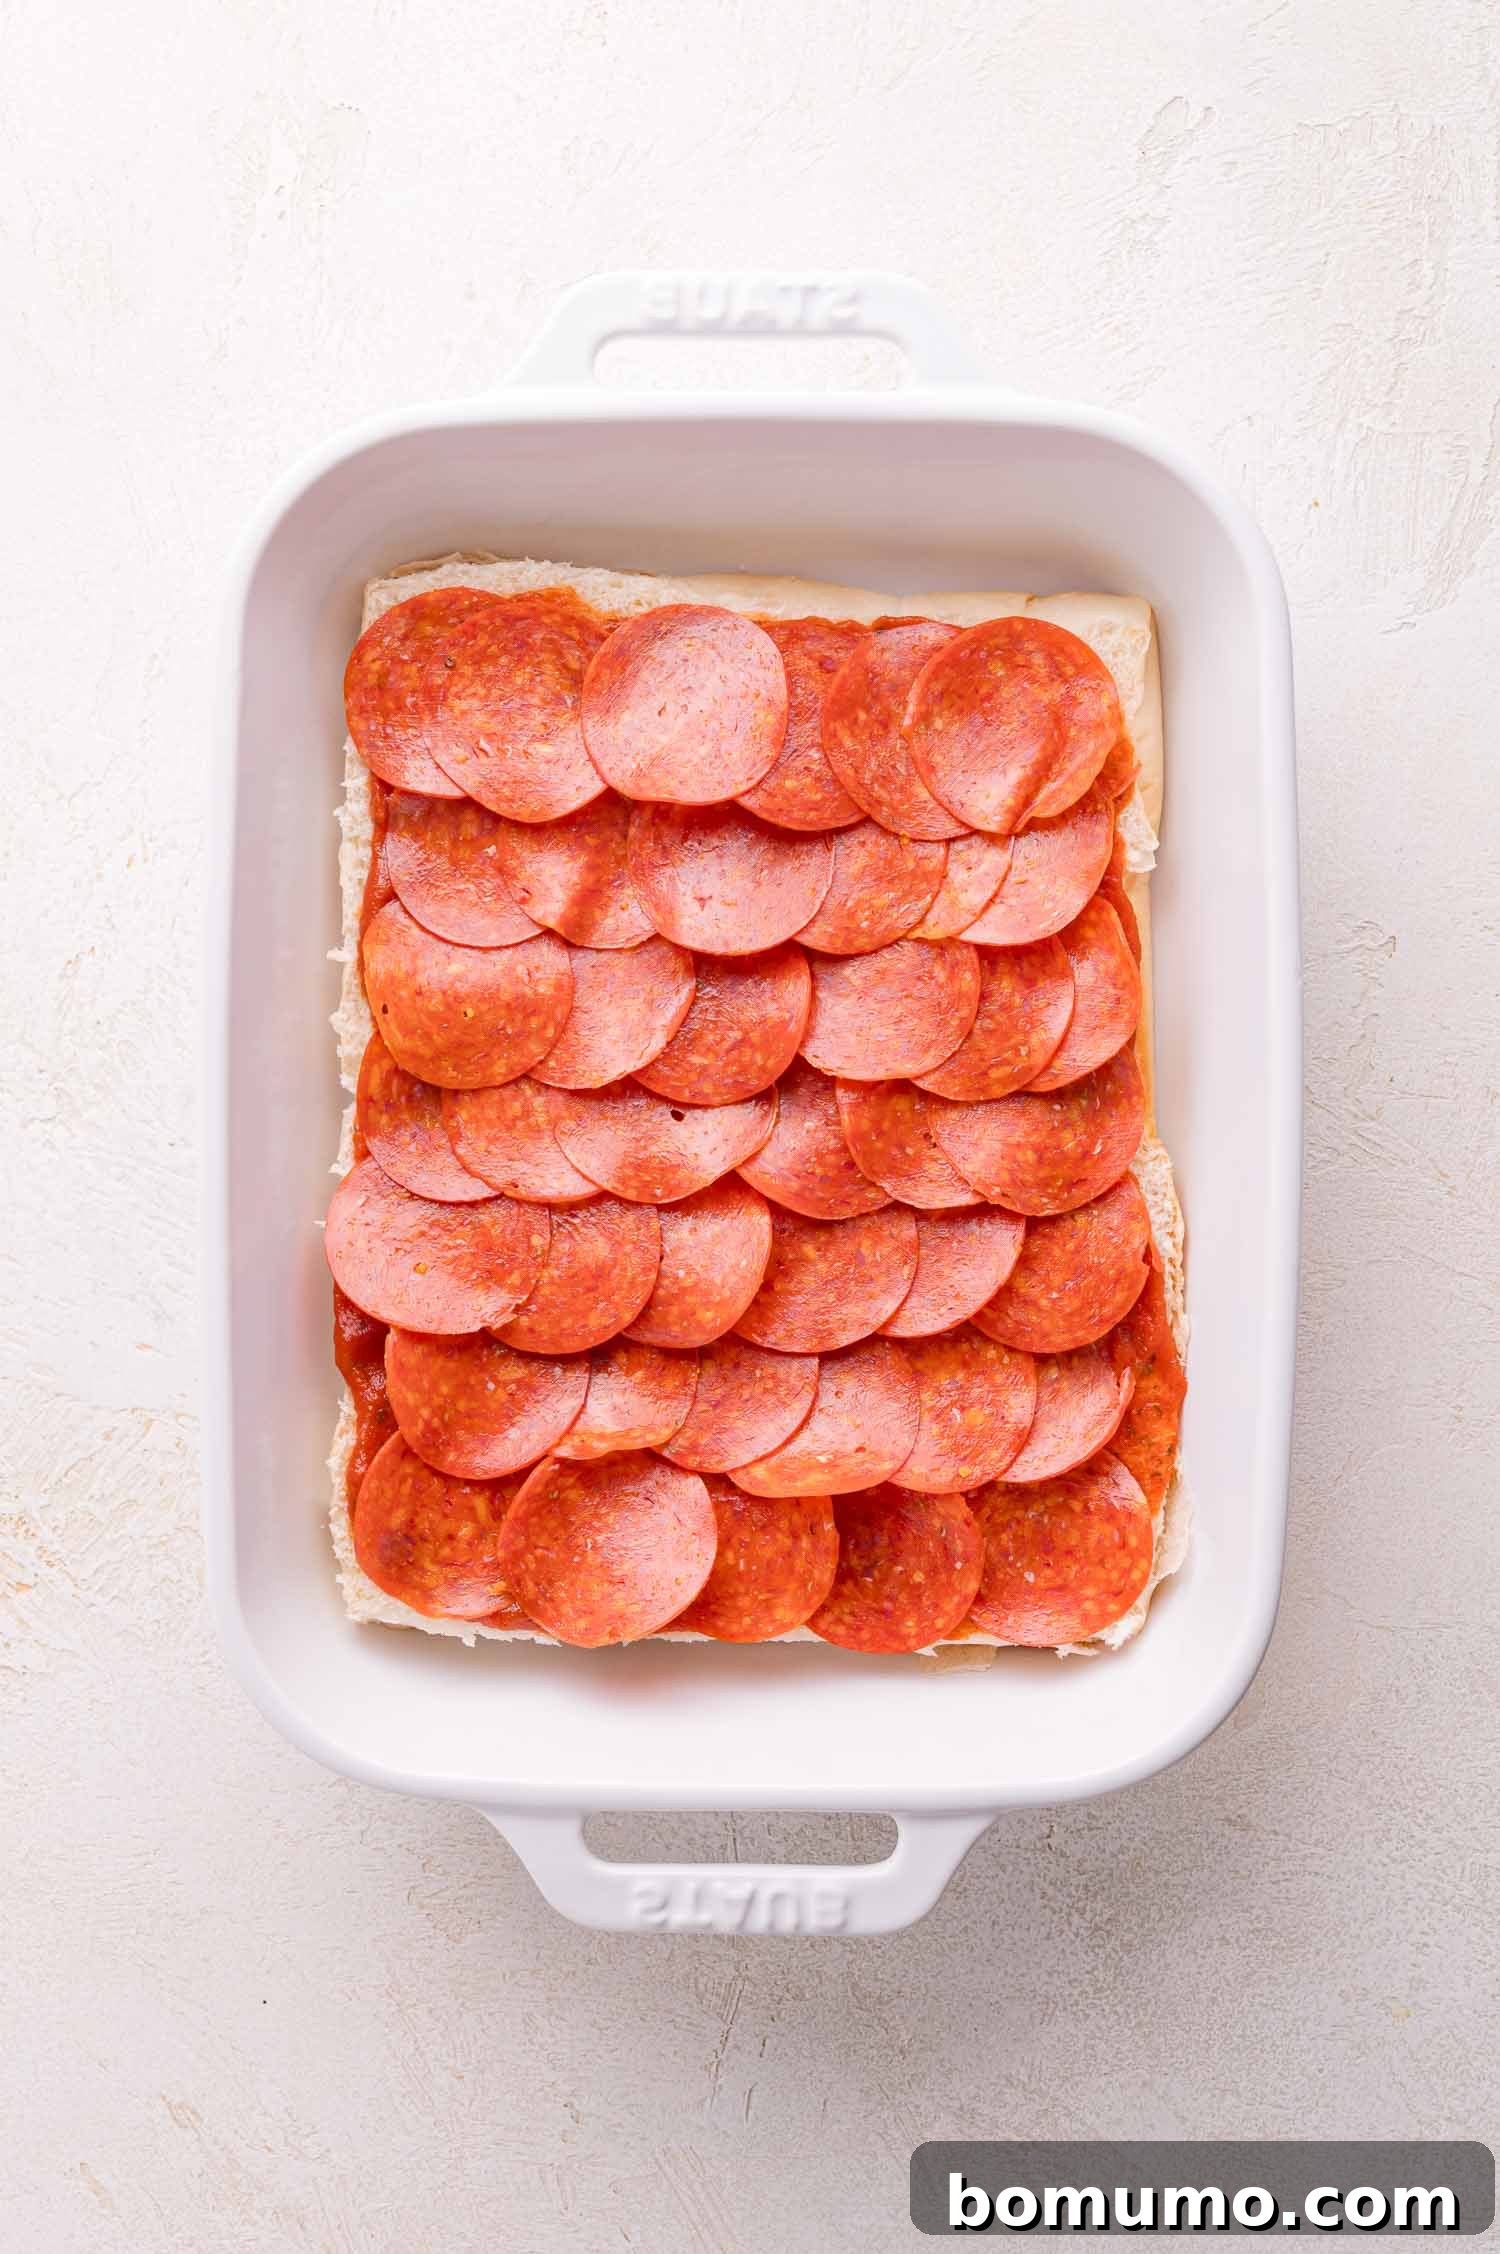
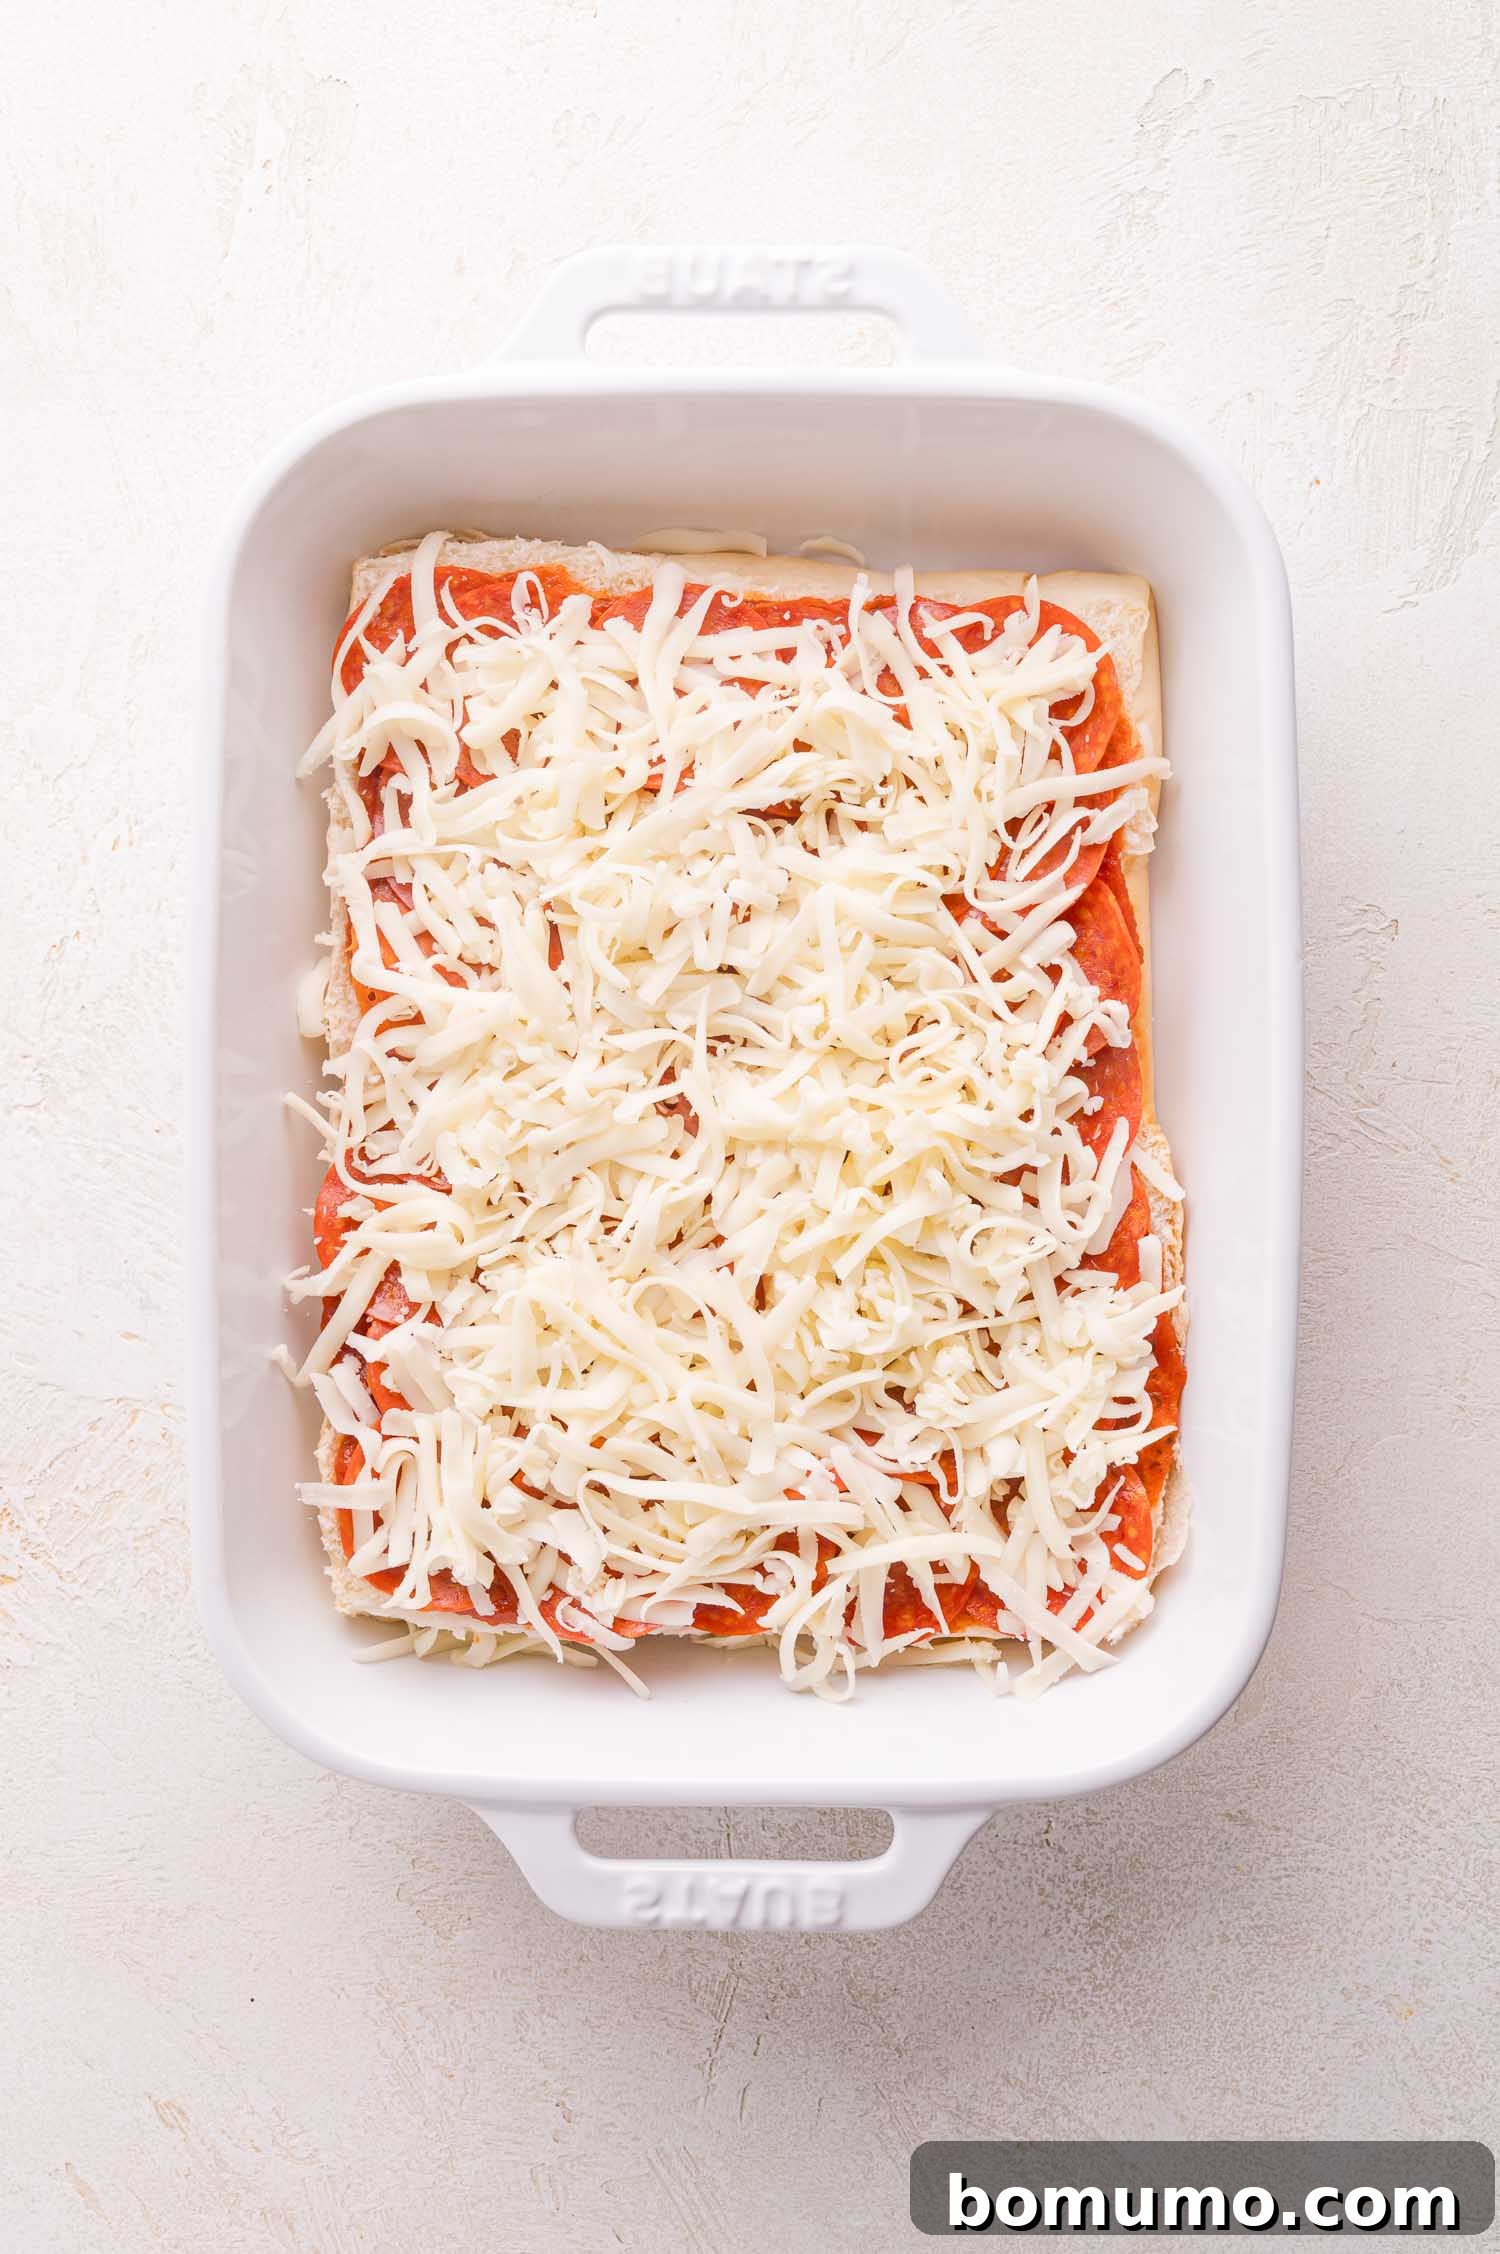
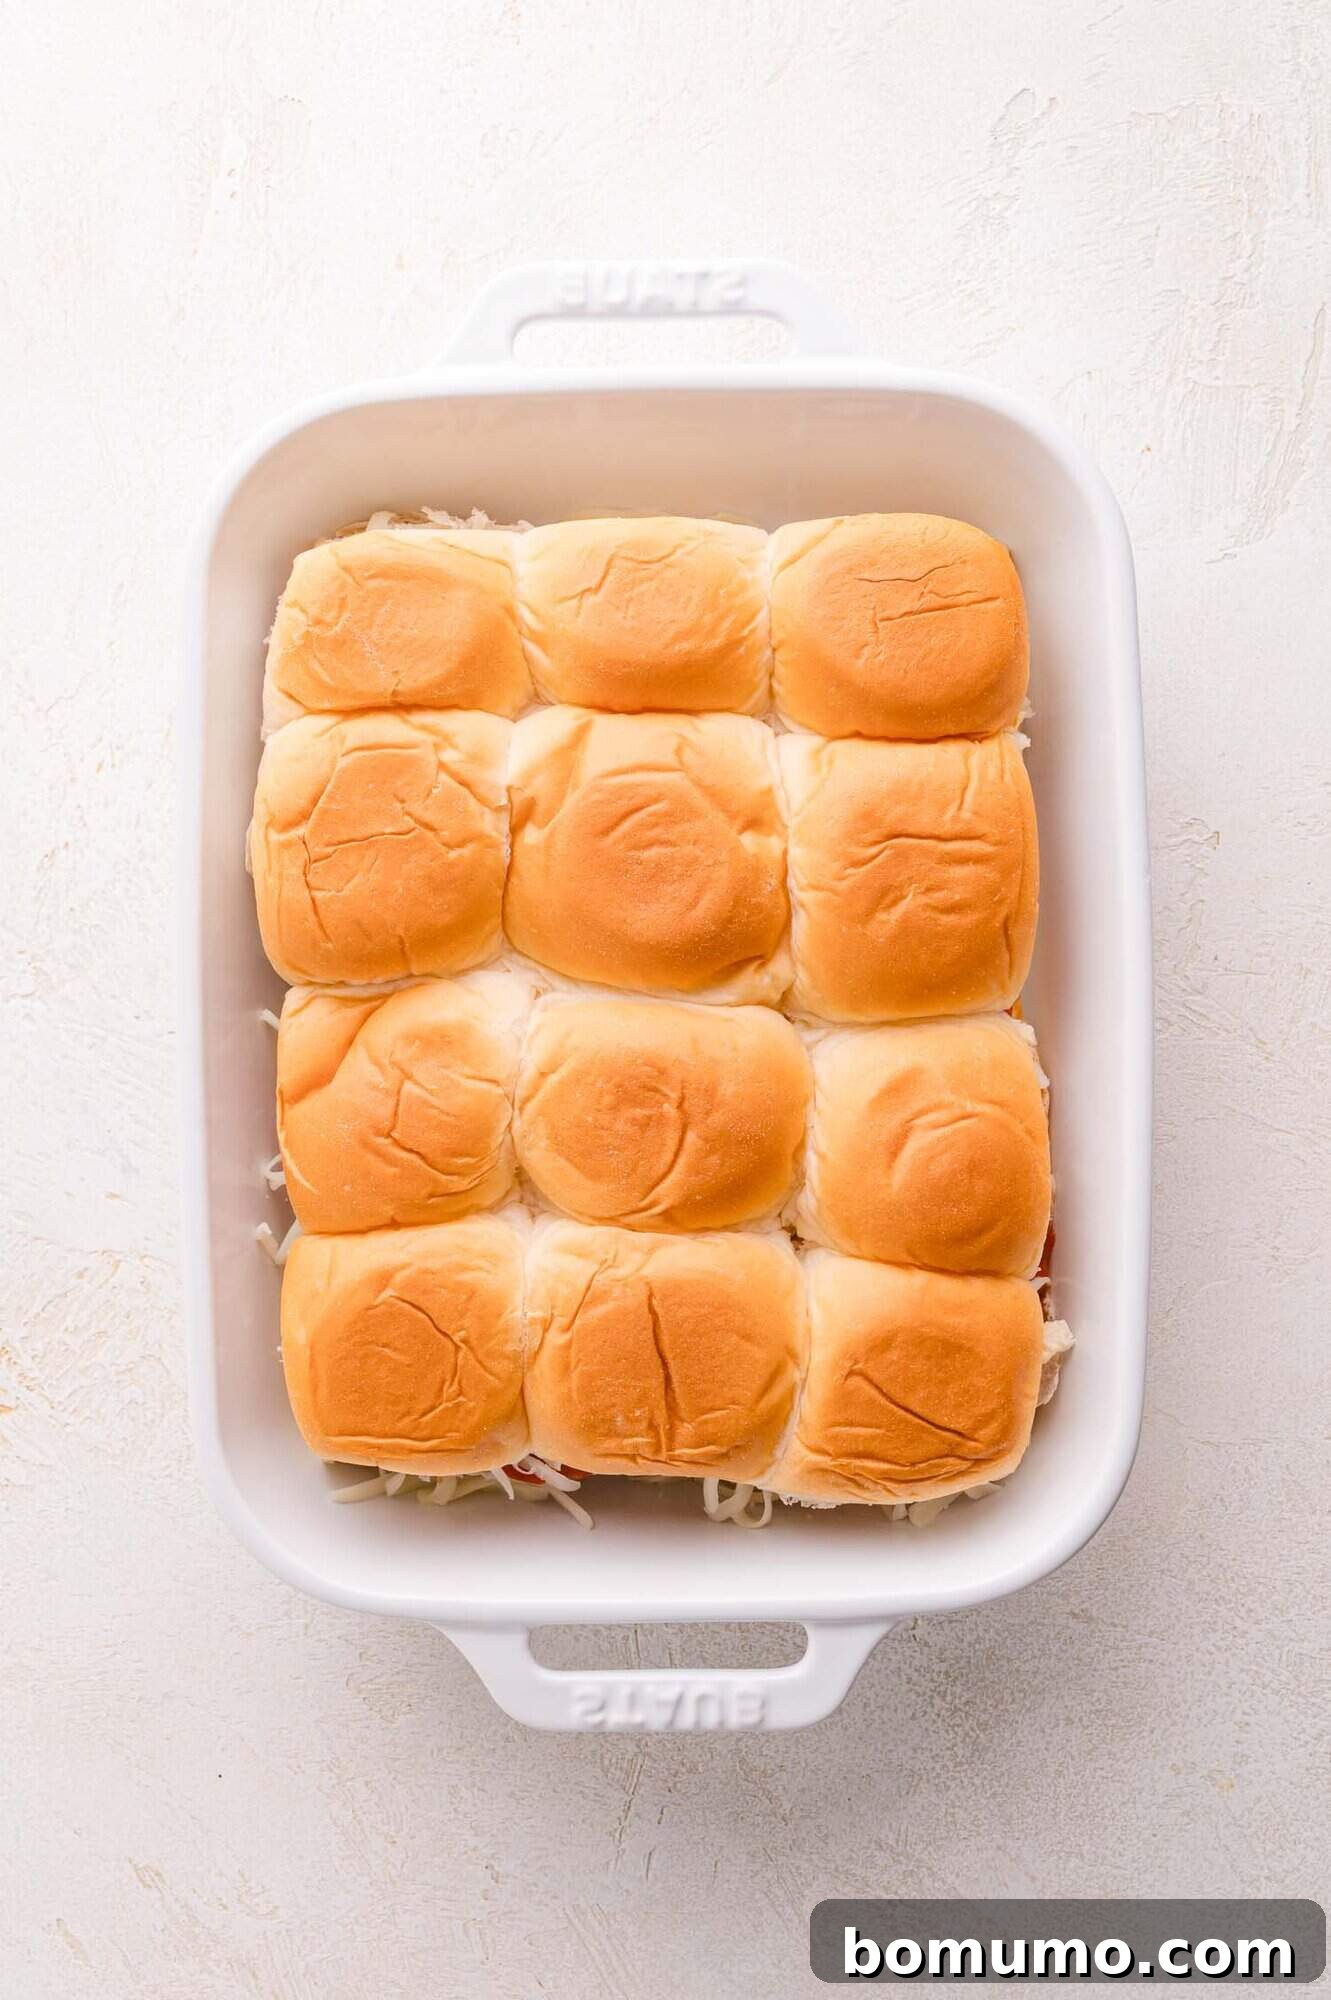
Step 3: Layer the delicious fillings. With the bottom rolls in place, it’s time to build your pizza layers. Evenly spread the pizza sauce over the entire surface of the bottom rolls. Next, arrange the pepperoni slices—one slice per individual roll is recommended for easier cutting later, or scatter mini pepperonis if using. Finally, generously sprinkle the shredded mozzarella cheese over the pepperoni layer. Once all fillings are added, carefully position the top half of the rolls back over the fillings, completing your slider assembly.
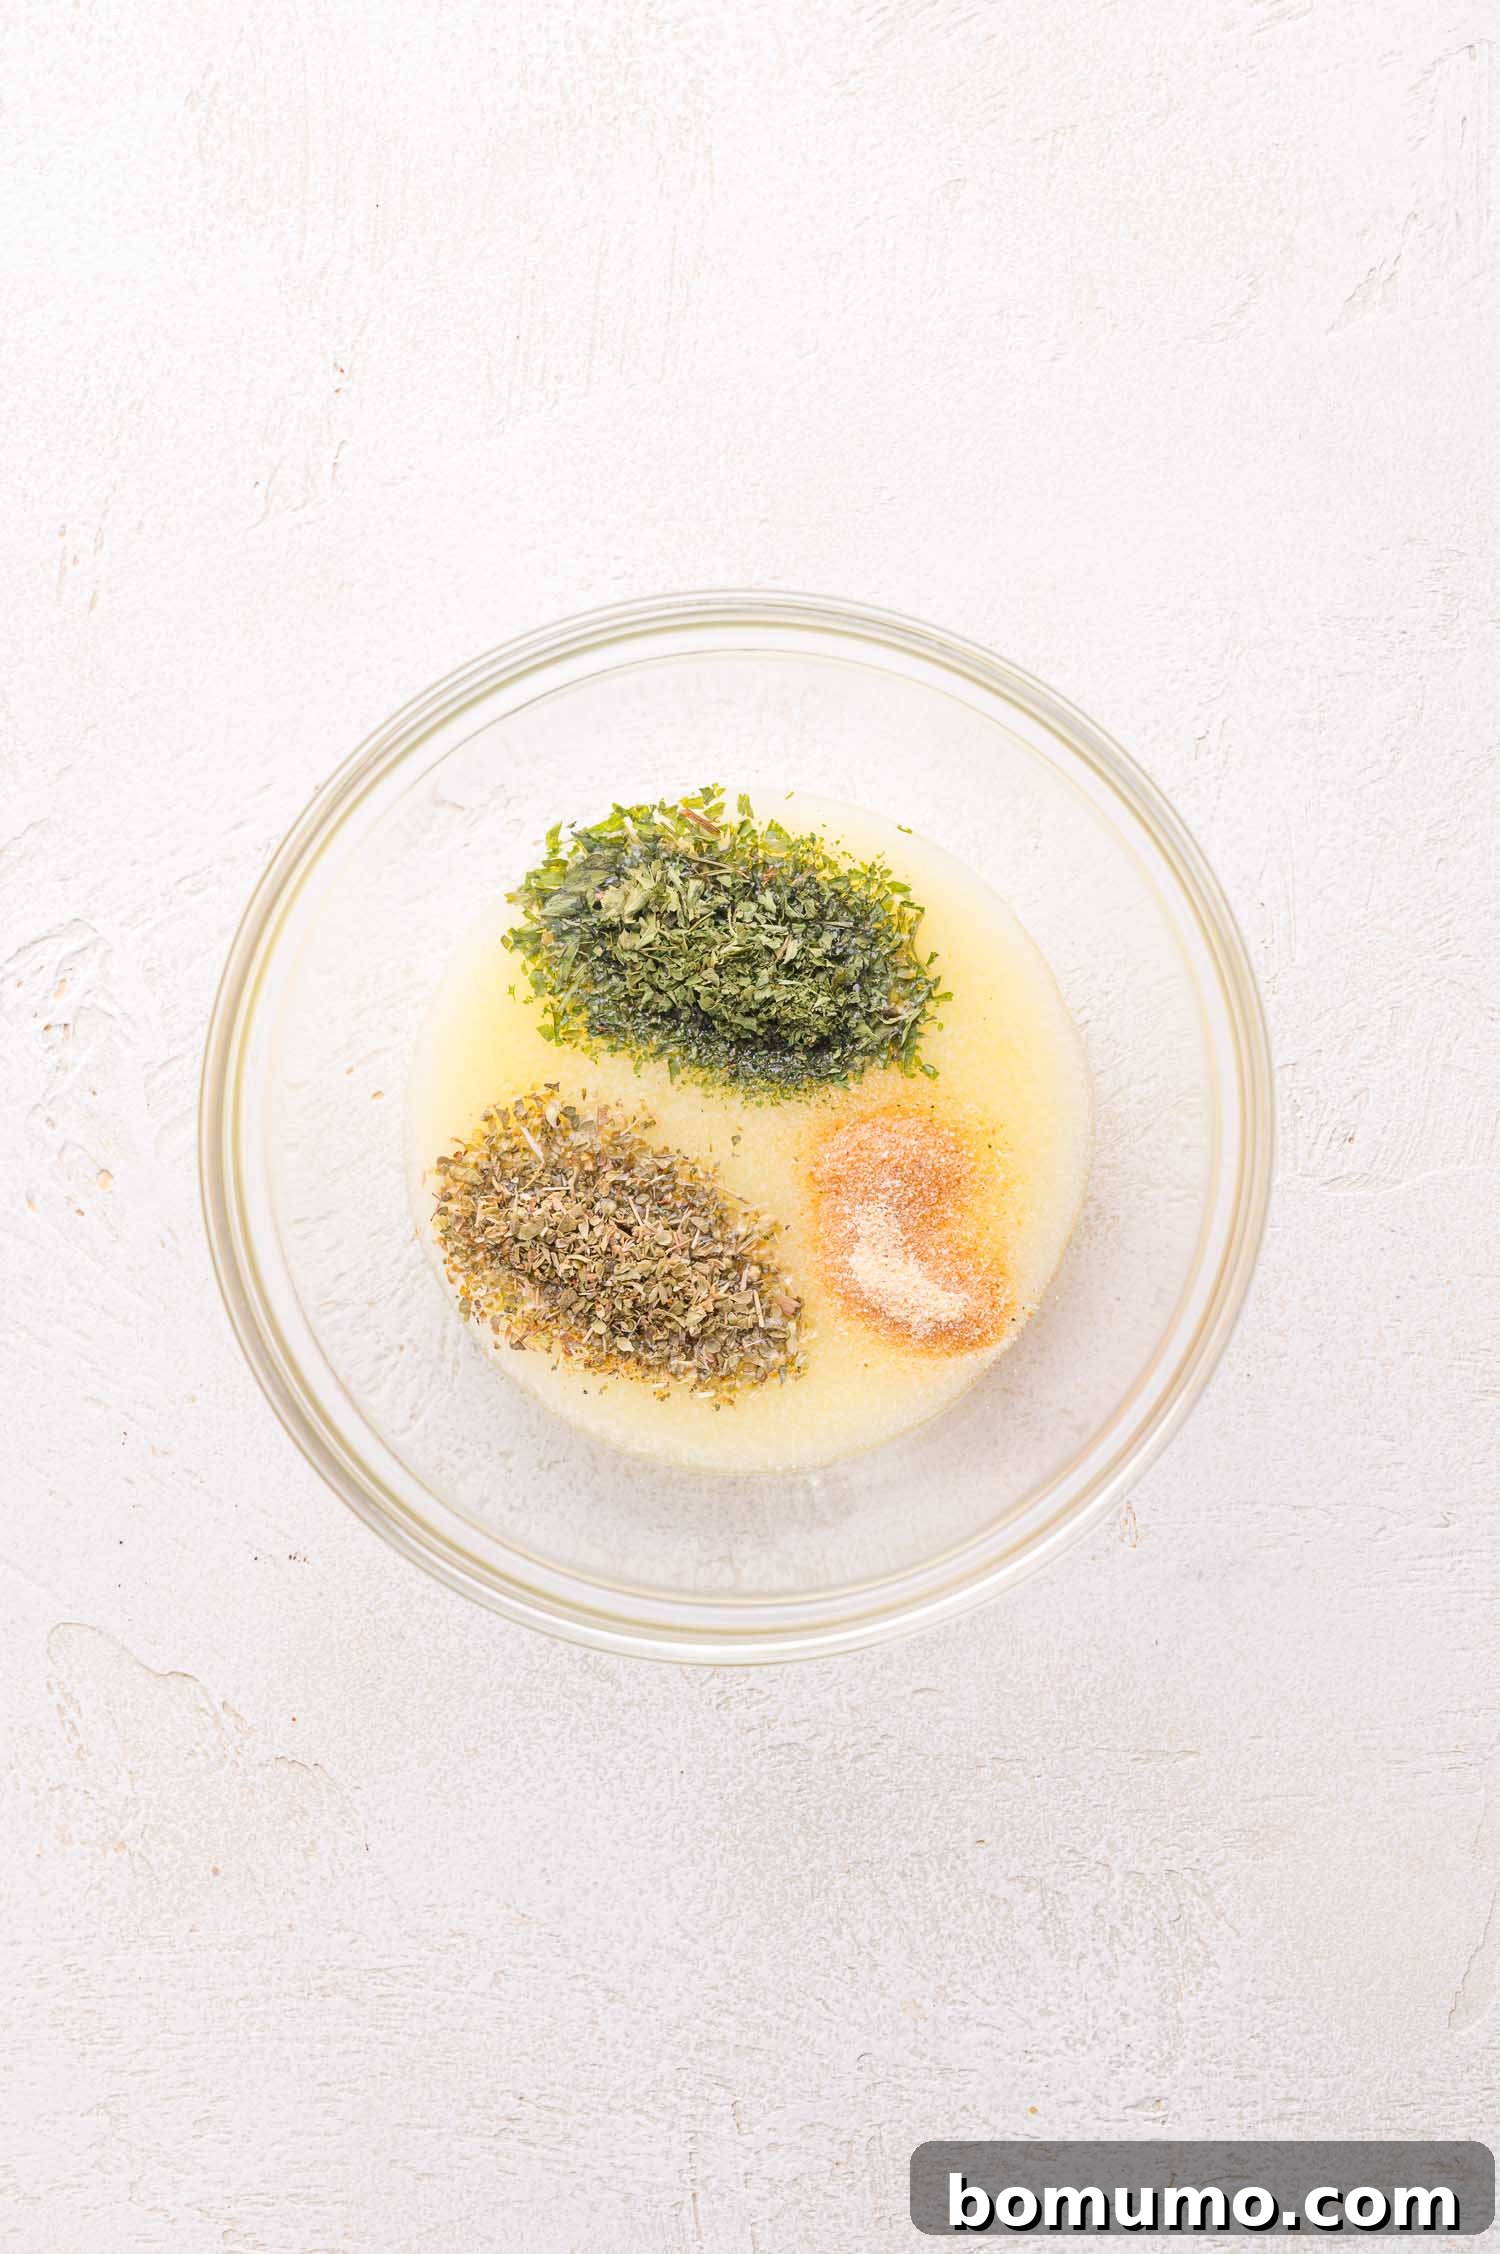
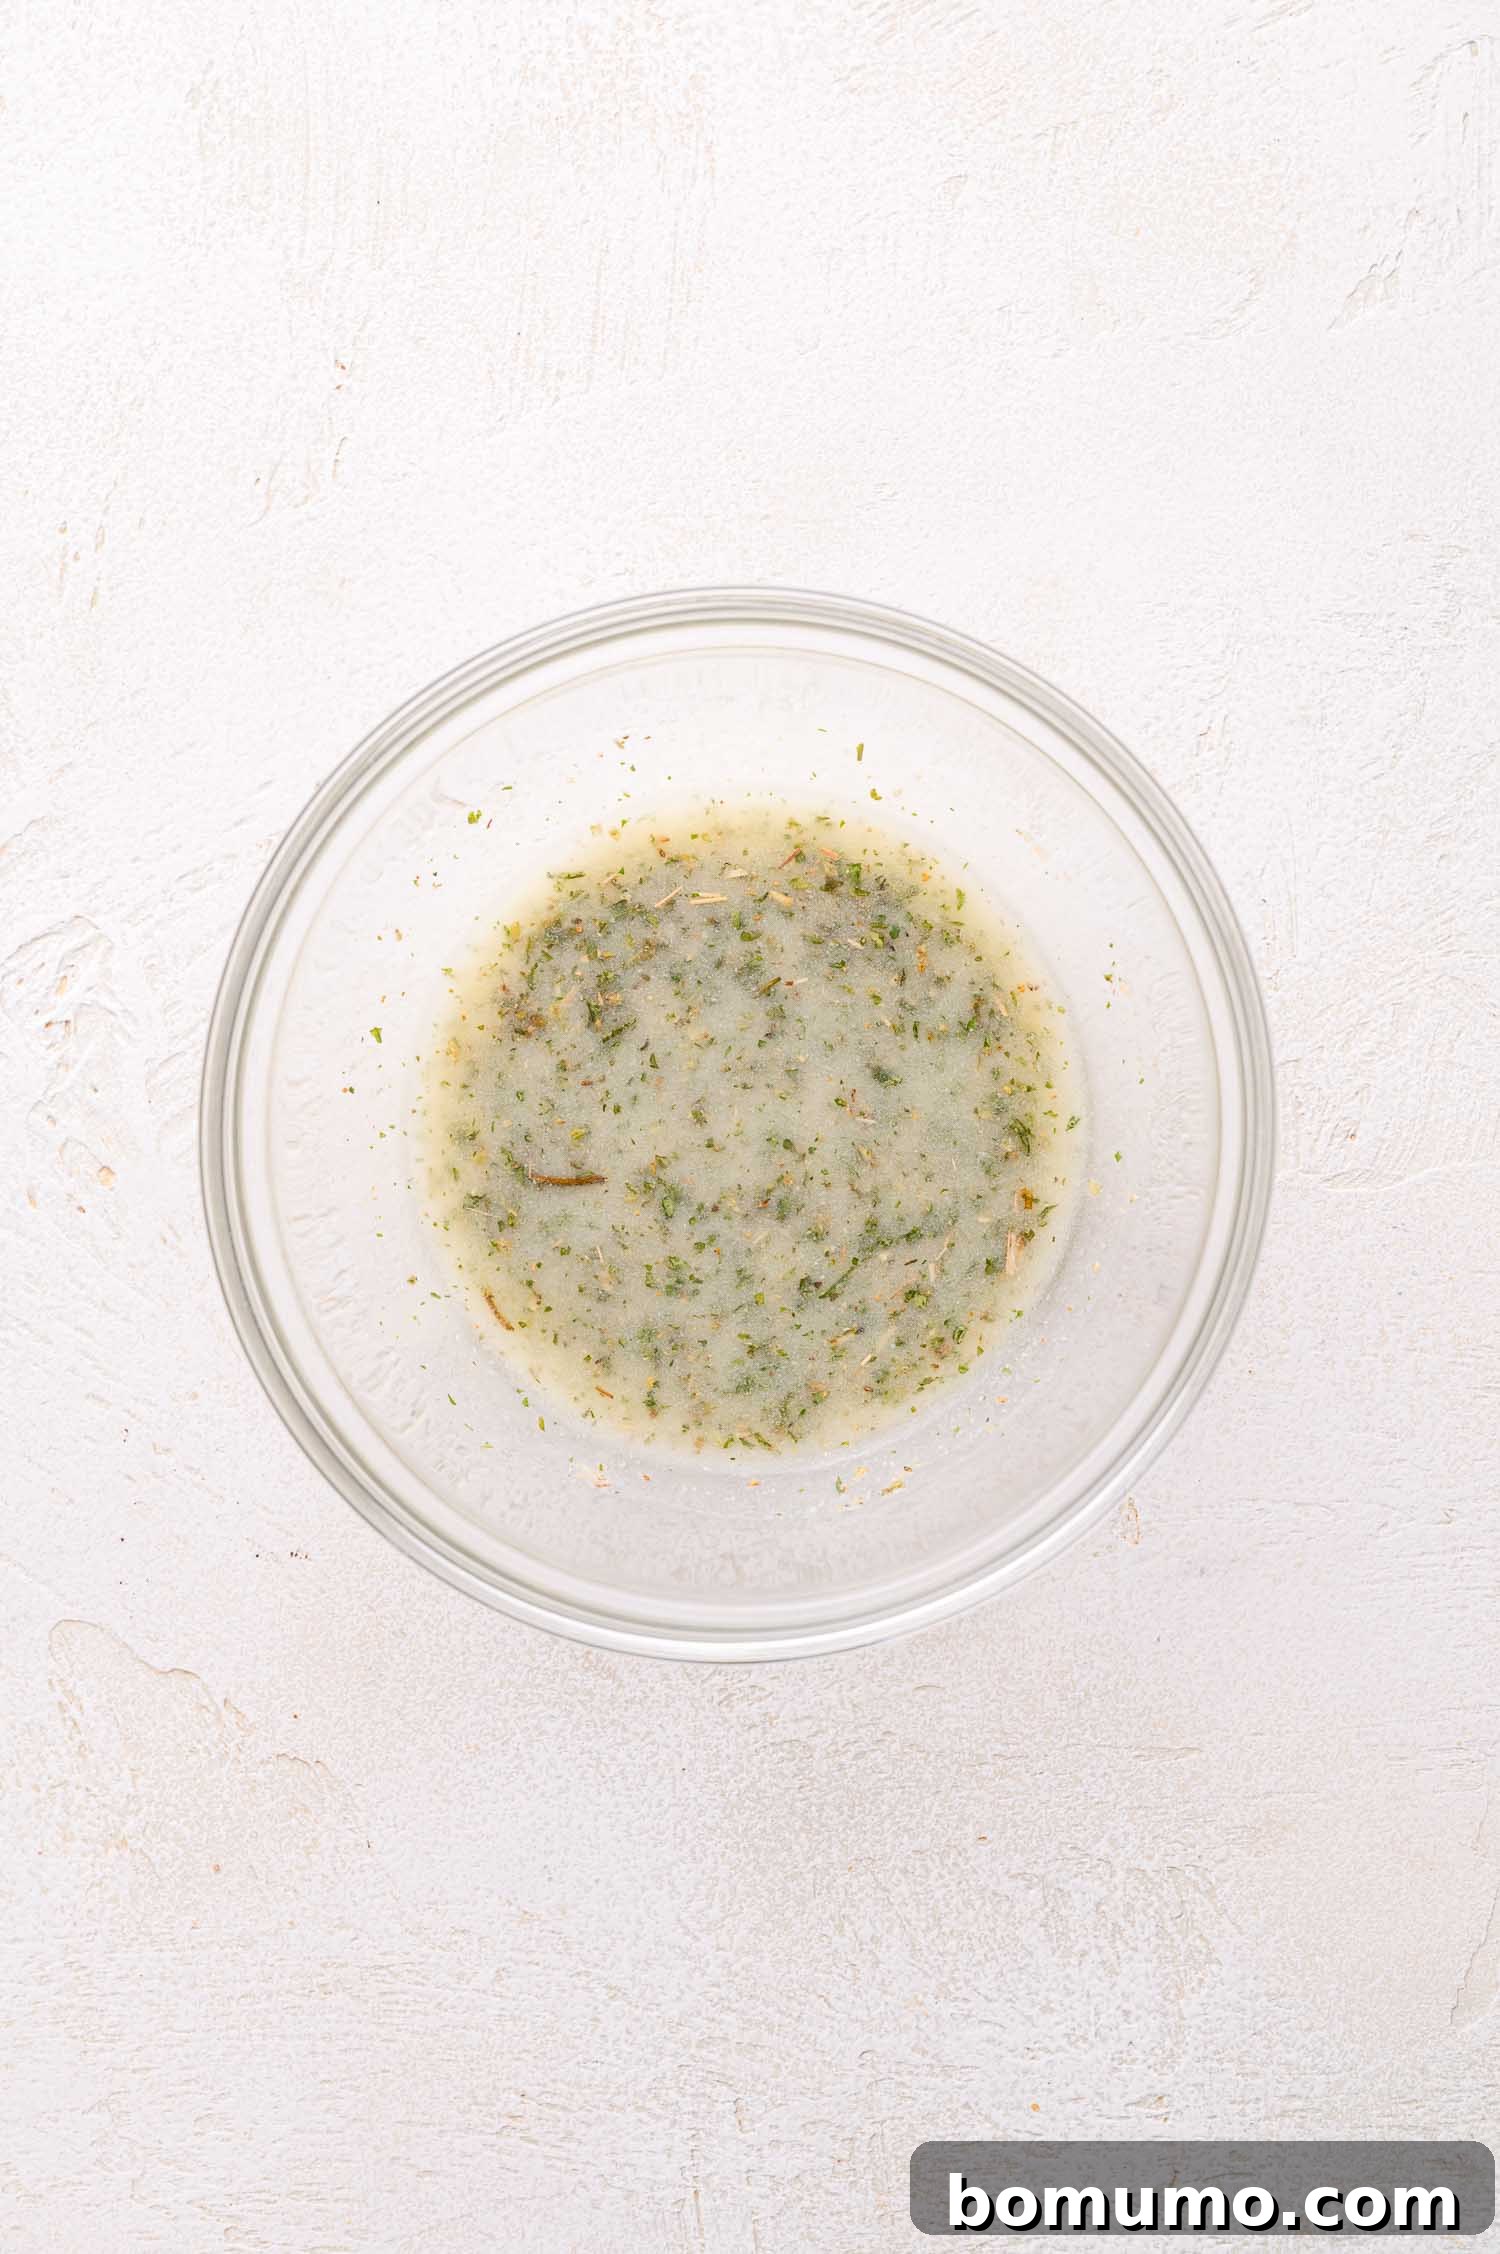
Step 4: Prepare and apply the savory butter topping. In a small bowl, combine the melted butter with the garlic powder, dried parsley flakes, and dried oregano. Stir this mixture well to ensure the seasonings are fully incorporated. This aromatic butter blend is crucial for developing that desirable golden crust and infusing extra flavor. Carefully pour this savory butter mixture as evenly as possible over the entire top surface of the assembled rolls. Don’t worry if some of it drips down the sides into the pan; it will only contribute to the overall flavor of the buns. As an alternative, you can use a small pastry brush to spread the butter for more precise coverage. Finish by sprinkling the grated Parmesan cheese liberally over the buttered tops.
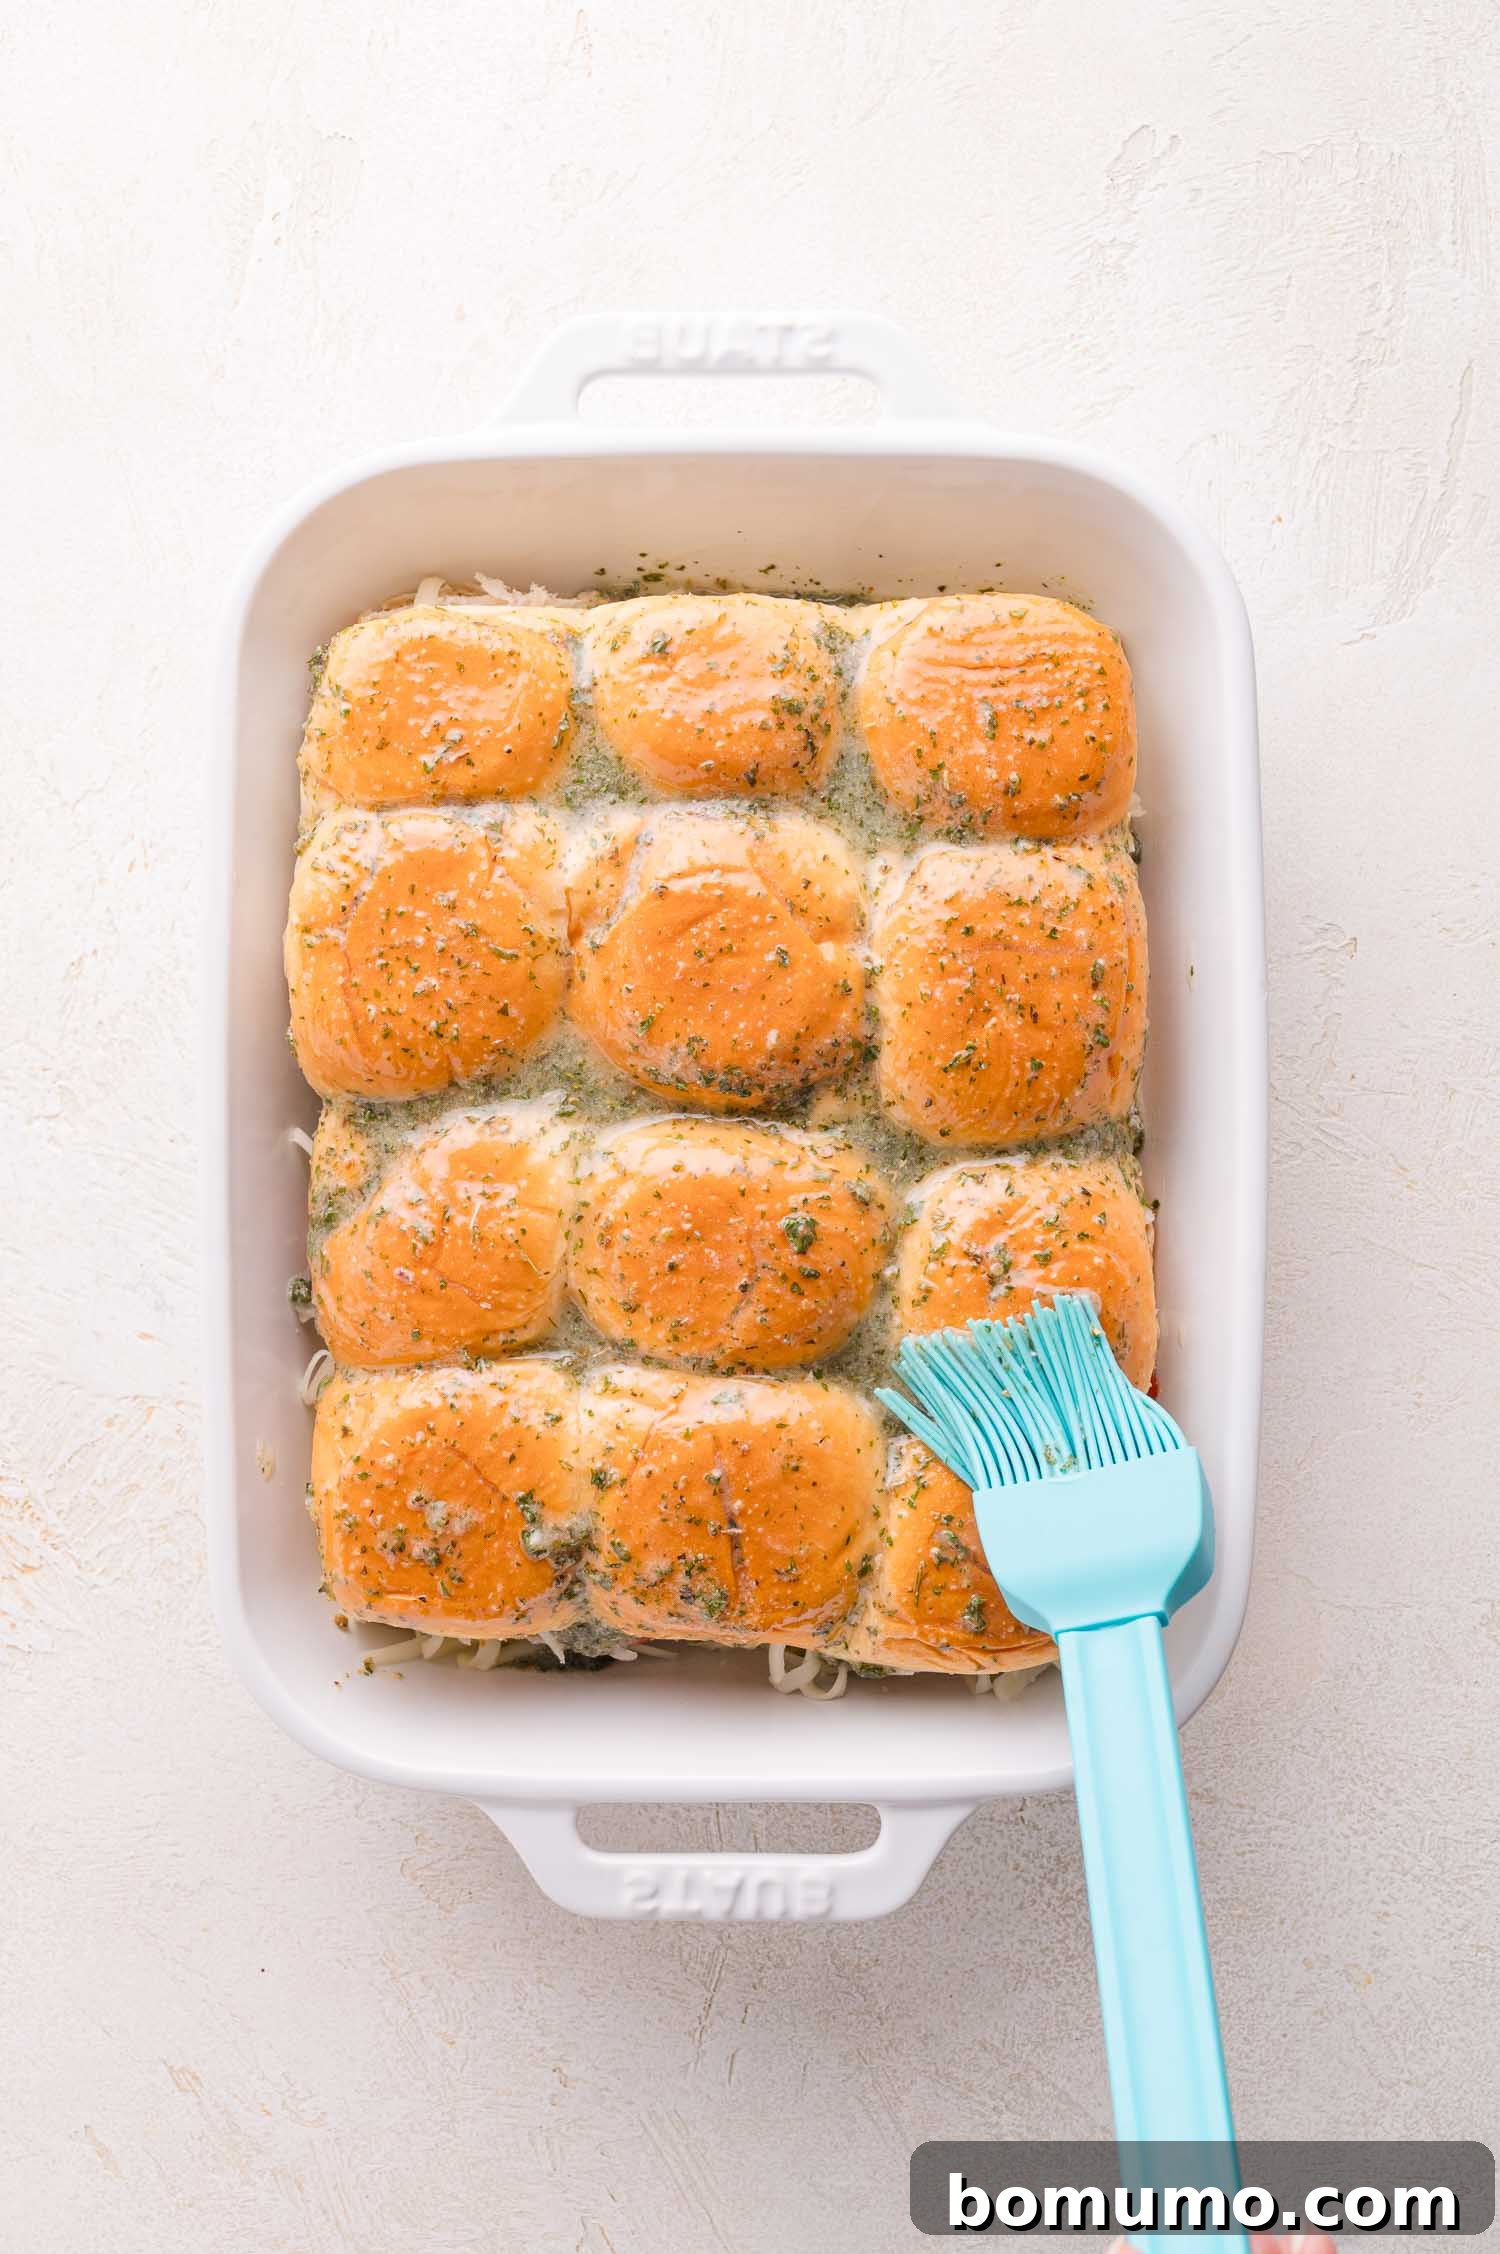
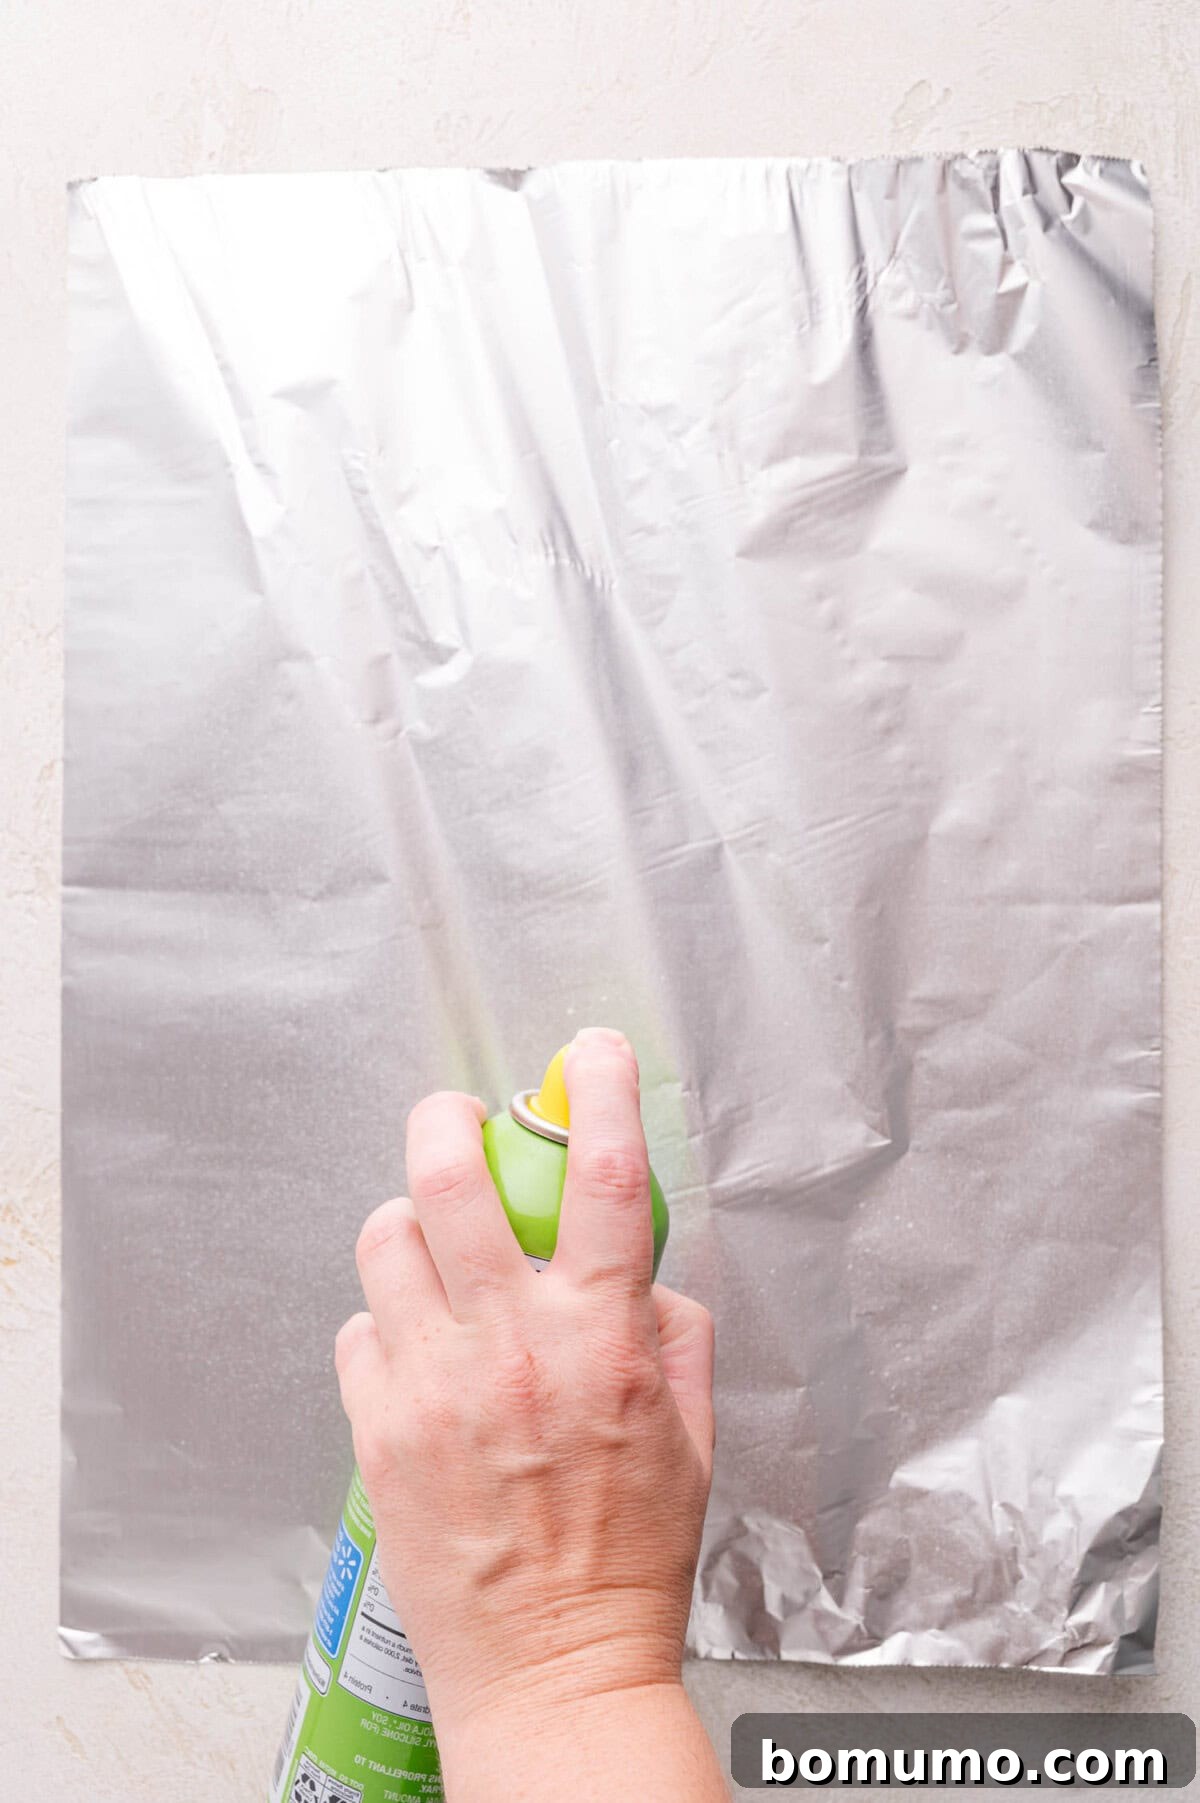
Step 5: Bake to cheesy, golden perfection. To prevent the cheese from sticking to the foil during baking, lightly coat one side of a sheet of aluminum foil with nonstick cooking spray. Tightly cover your baking dish with this prepared foil, ensuring the sprayed side faces down onto the rolls. Place the covered dish with your pizza sliders into the preheated oven and bake for 20 minutes. This initial covered baking period allows the internal cheese to melt thoroughly and the flavors to meld. After 20 minutes, carefully remove the foil and continue baking for another 5 to 10 minutes, or until the cheese inside is gloriously melted and bubbly, and the tops of the rolls are beautifully golden brown and toasted.
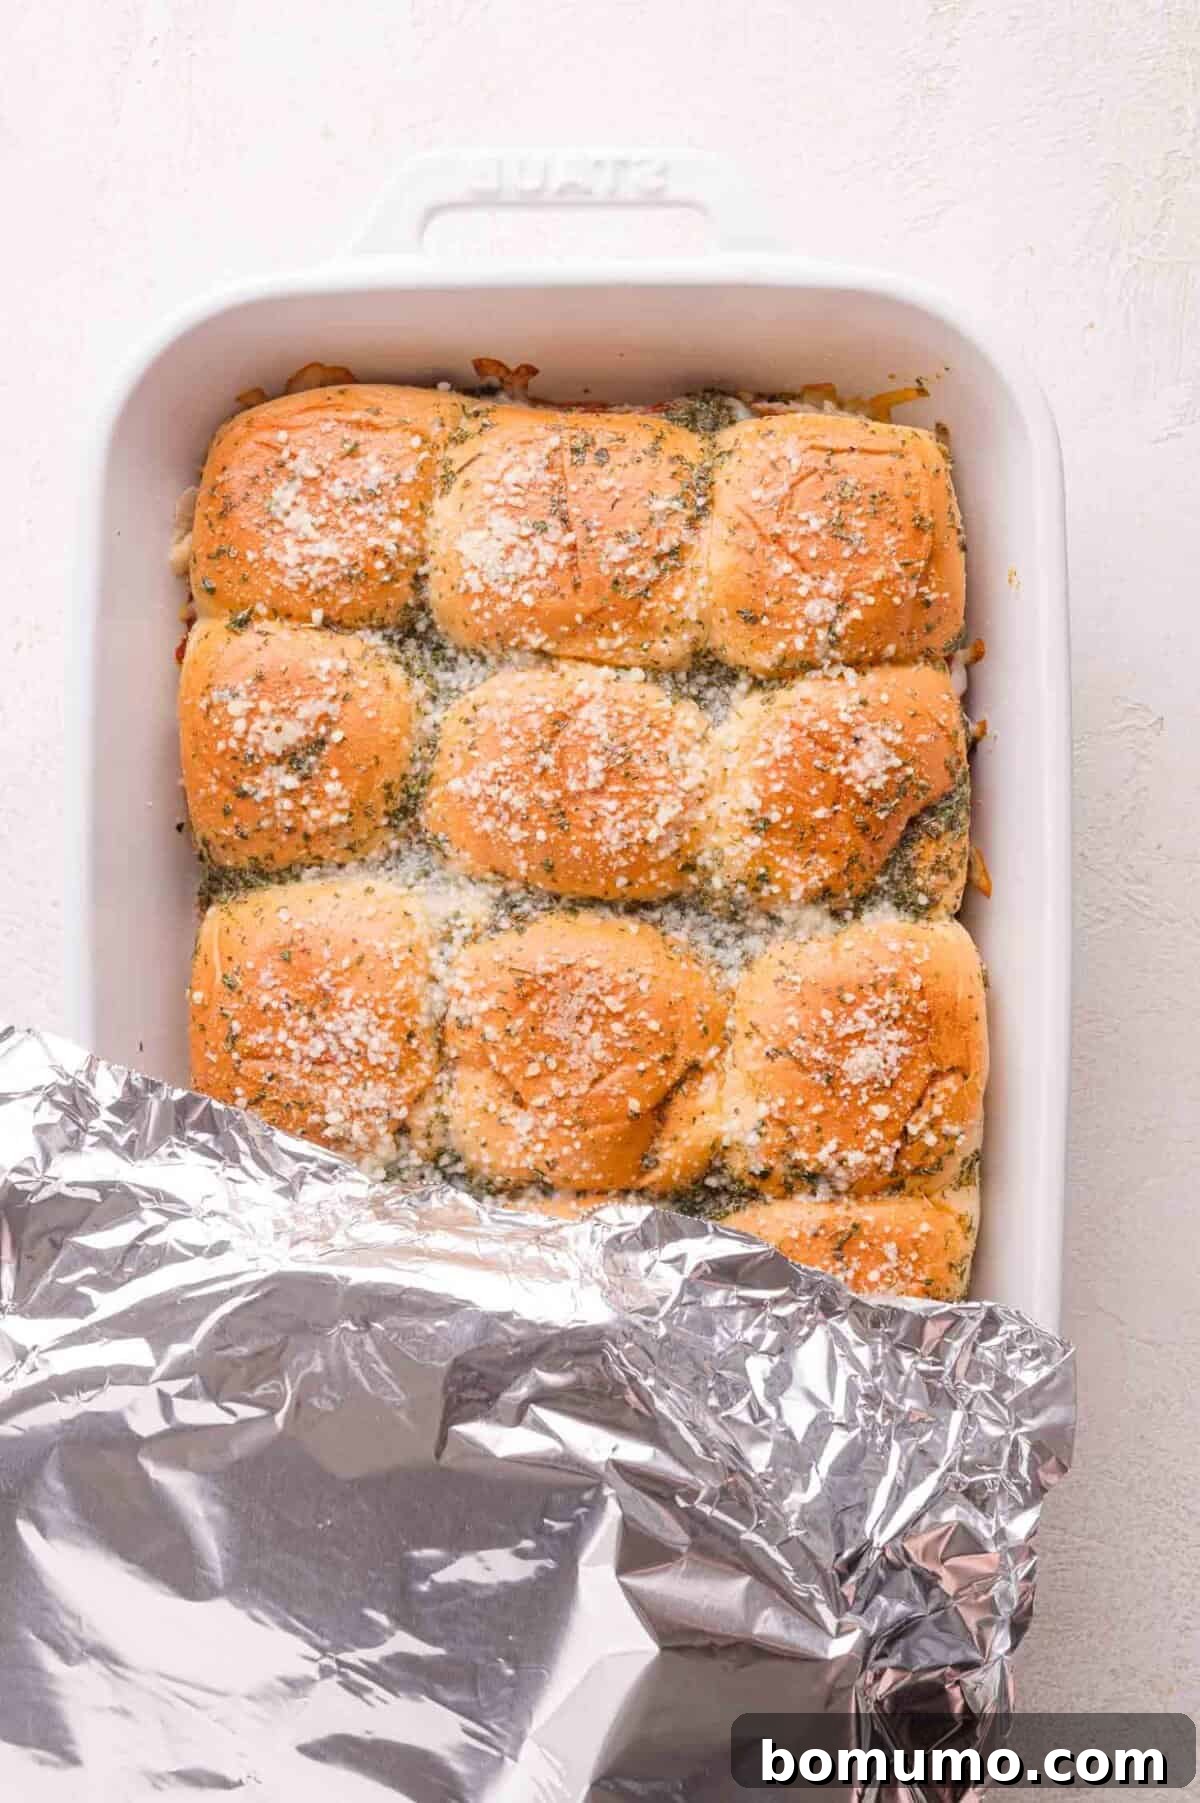
Step 6: Cool, slice, and serve! Once baked to perfection, allow the pizza sliders to cool for about 5 to 10 minutes. This short resting period is essential; it allows the melted cheese to set slightly, making the sliders much easier to slice neatly without the fillings oozing out excessively. Using a sharp knife, carefully slice along the natural divisions of the rolls to separate them into individual pizza sliders. You have the option to elegantly remove the sliders from the baking dish and arrange them on a serving platter for a more formal presentation, or for a more casual and rustic approach, simply serve them directly from the baking dish. Serving them directly from the dish is a fantastic way to keep them warm and gooey for longer, ensuring every guest enjoys them at their absolute best.
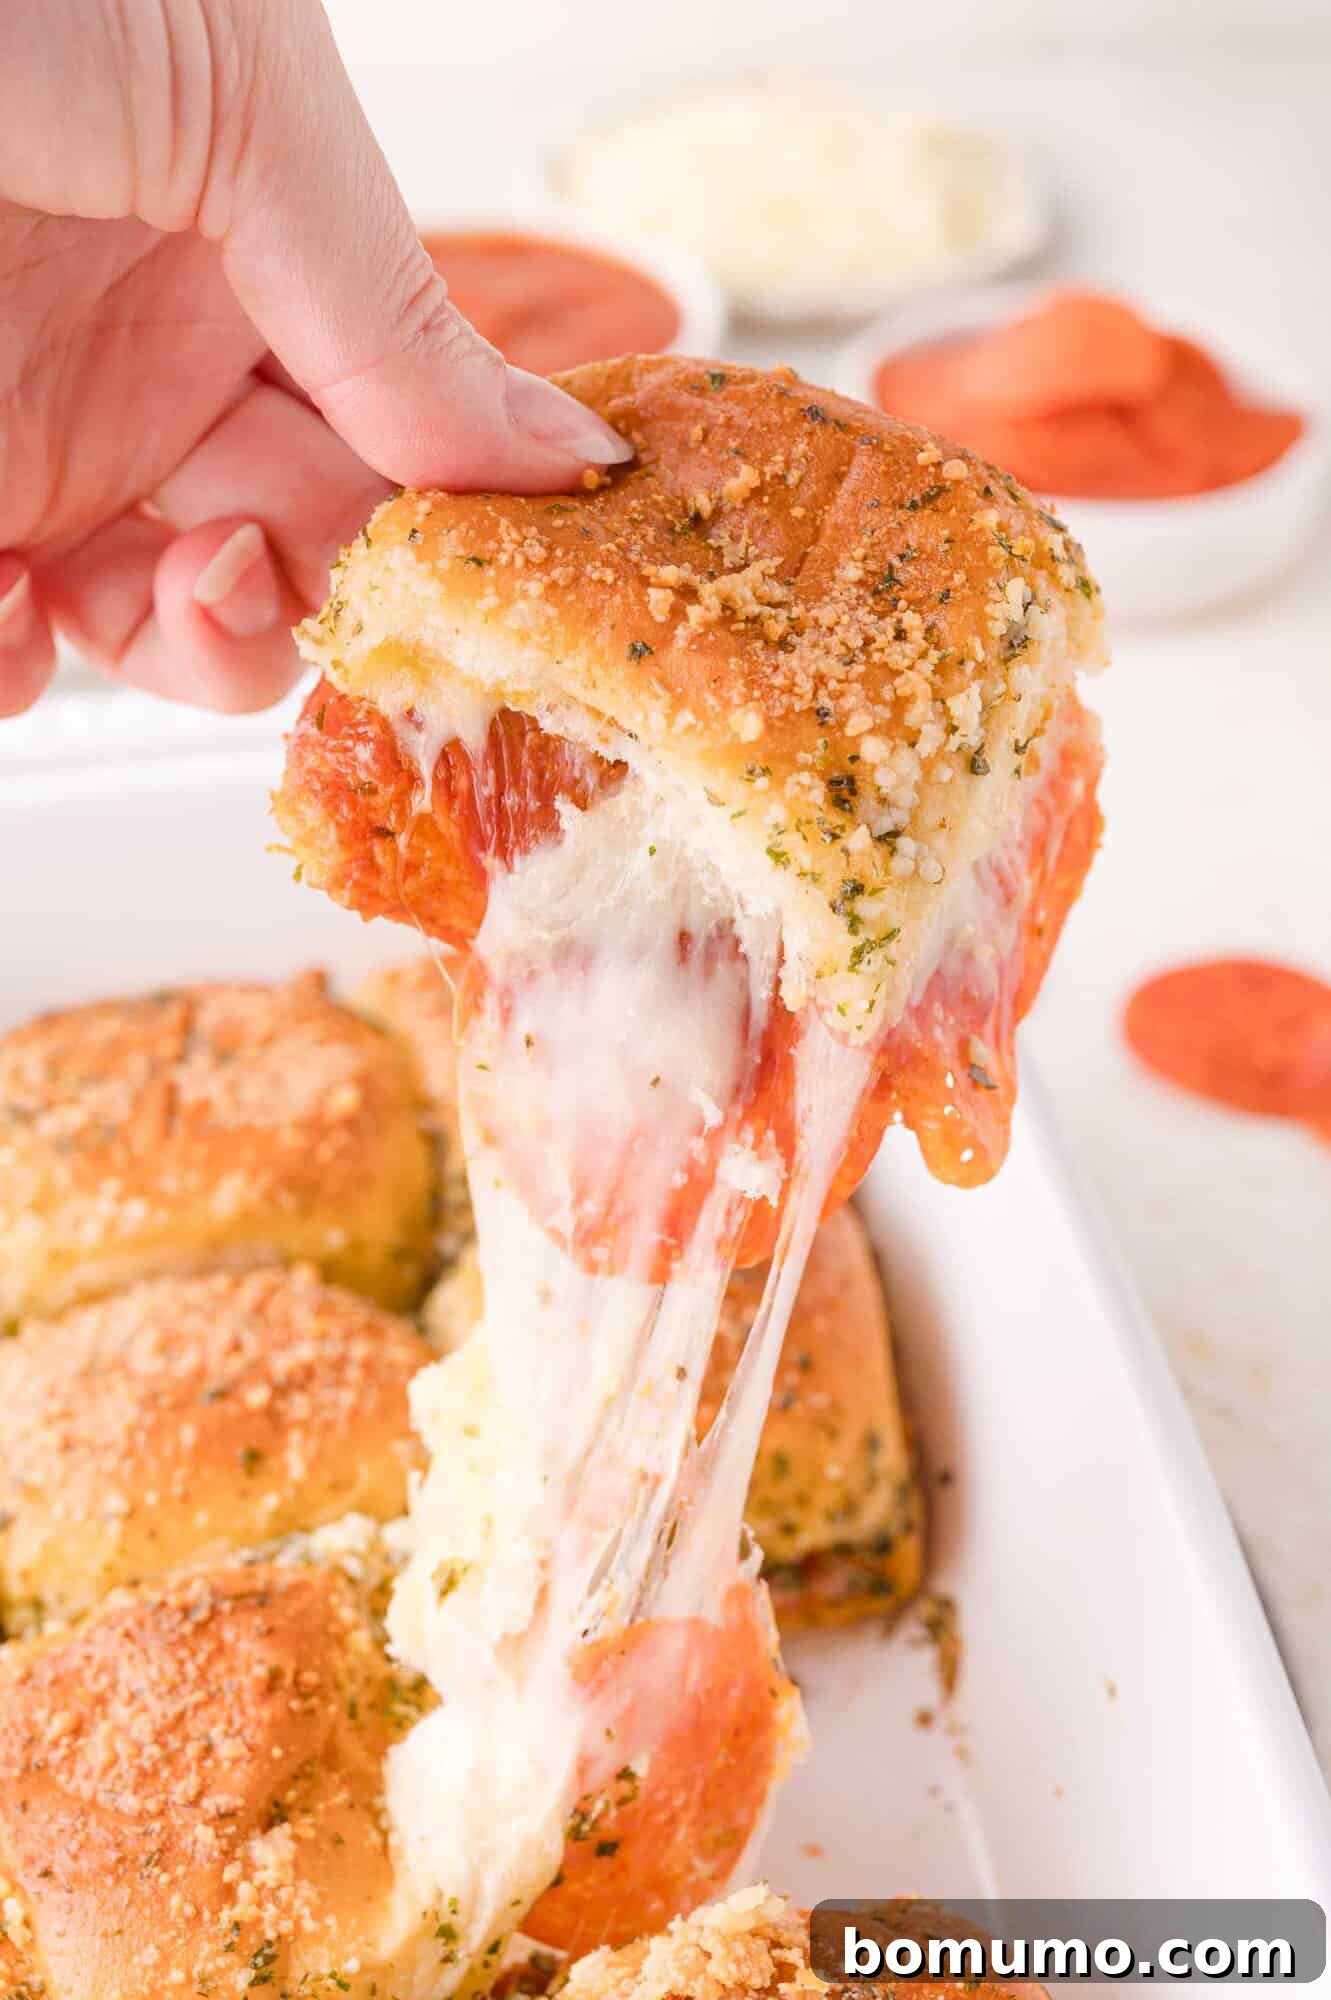
Exciting Pizza Slider Recipe Variations
- Explore diverse pizza meats. While pepperoni is a classic, these sliders are wonderfully adaptable to a variety of meats. Feel free to substitute the pepperoni with thinly sliced deli ham, crispy cooked bacon pieces, or flavorful cooked and crumbled Italian sausage. For a heartier option, cooked ground beef, seasoned with Italian herbs, can also make a delicious filling. Consider combining different meats for a “meat lover’s” slider experience.
- Embrace a garden of veggies. If your preference leans towards a vibrant veggie pizza, you have a wealth of options. Lightly sauté sliced mushrooms, diced onions, or colorful bell peppers until tender-crisp before adding them to your sliders. Briny black olives or finely chopped fresh spinach (squeezed dry to remove excess moisture) also make fantastic additions. A gentle word of caution: while it’s tempting to load up on toppings, avoid overfilling the sliders, as this can make them difficult to hold together and compromise their structural integrity. Balance is key to a perfect bite!
- Experiment with different roll types. If traditional Hawaiian sweet rolls are not readily available in your local grocery store, don’t despair! Look for other types of soft dinner rolls that come in an attached sheet format. Many bakeries offer similar pull-apart rolls that will work beautifully. The key is the connected structure, which simplifies the assembly process significantly. You could even try savory potato rolls for a different flavor profile.
- Cheese blends for gourmet touch. Beyond mozzarella, consider adding a layer of provolone, a sprinkle of sharp cheddar, or a smoky Gouda for a more complex cheese flavor. A blend of cheeses can add depth and an exciting twist to your pizza sliders.
- Spice it up! For those who love a kick, add a pinch of red pepper flakes to your pizza sauce or directly onto the pepperoni layer. A drizzle of hot honey or a dash of your favorite hot sauce after baking can also elevate the heat.
Discover More Baked Slider Recipes
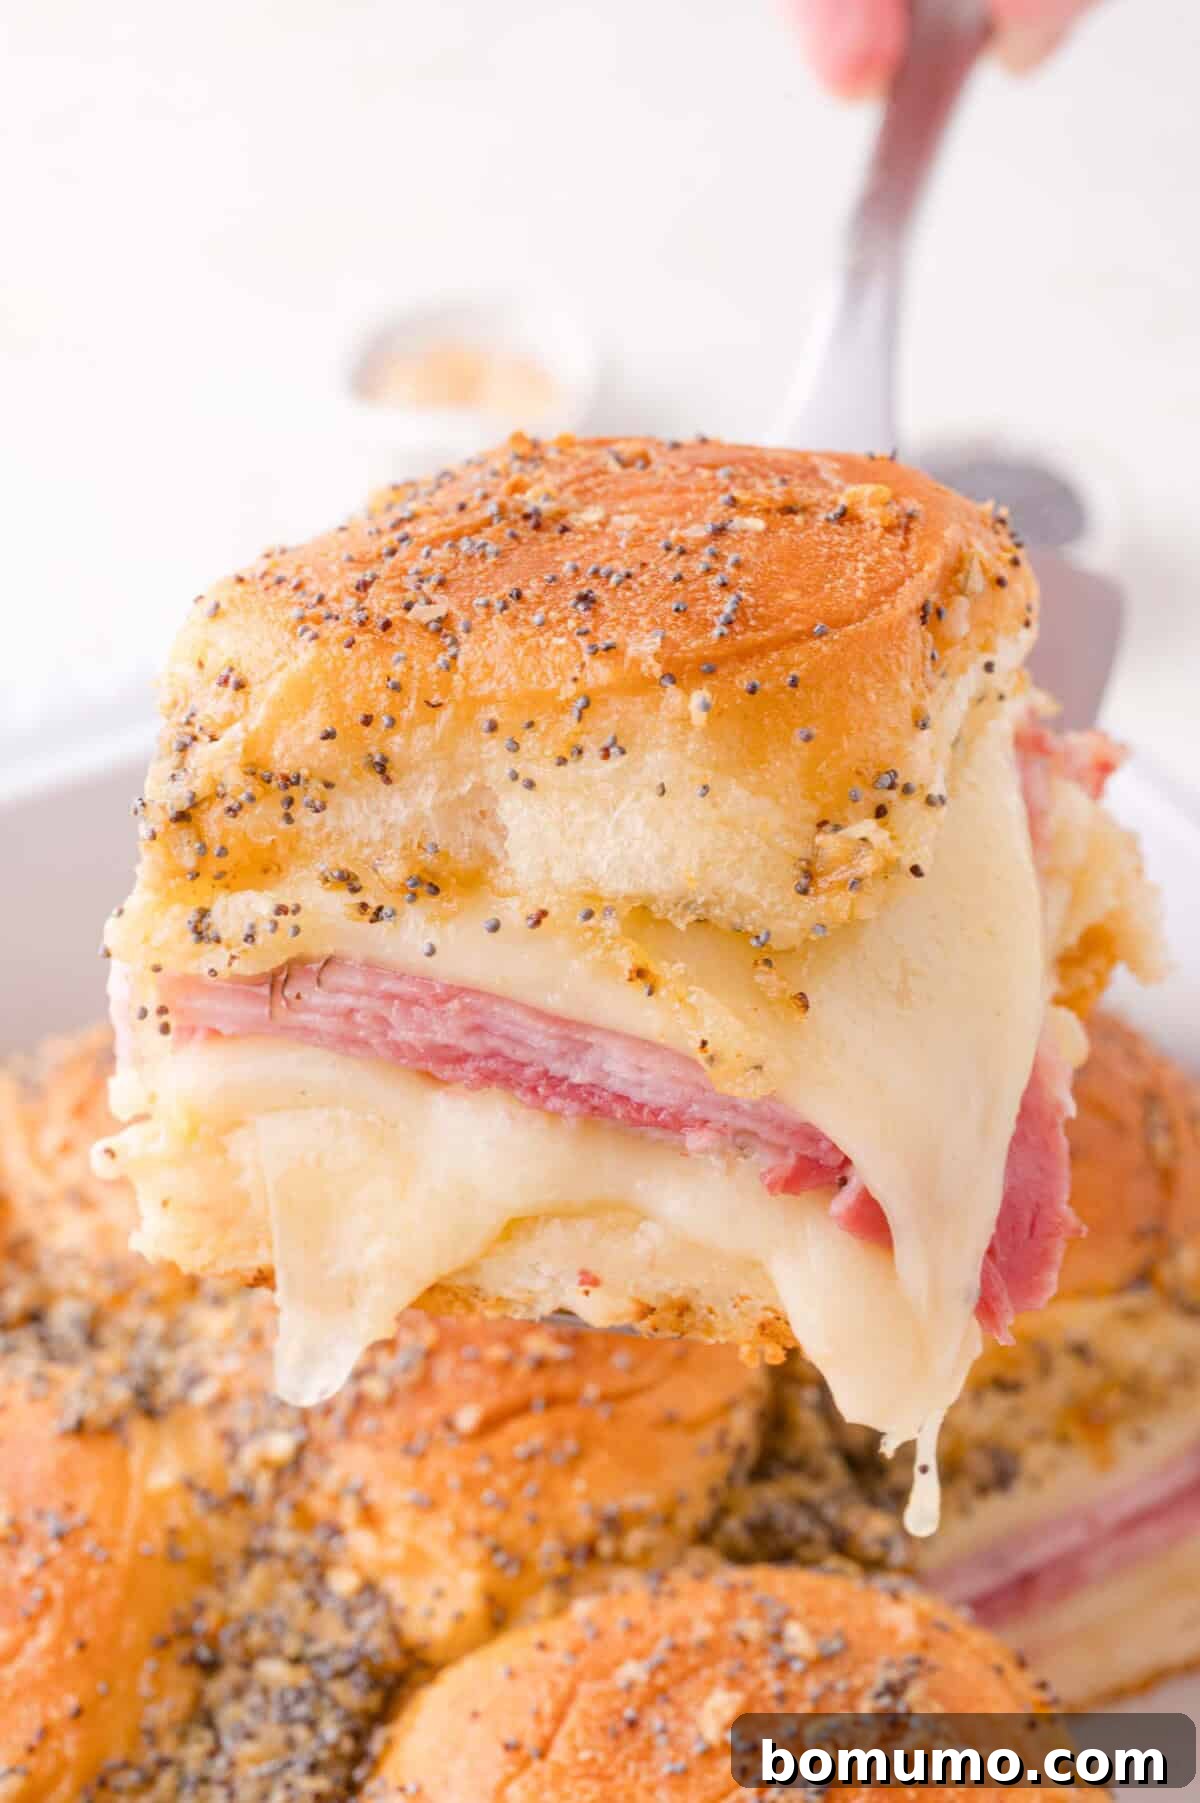
- Irresistible Ham and Cheese Sliders
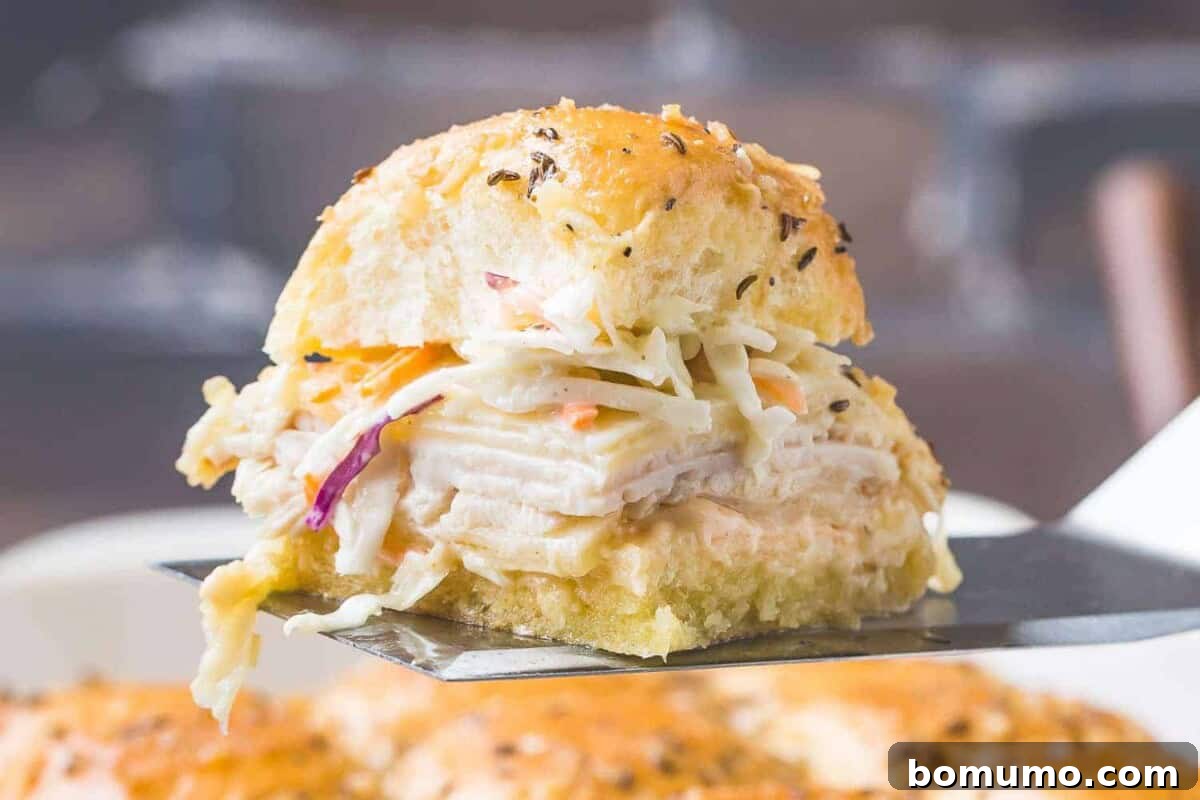
- Savory Turkey Sliders (also known as Rachel sandwich)
Storage & Reheating Guide
Storage & Reheating Guide
Refrigerate: Should you find yourself with the delightful dilemma of leftover pizza sliders, ensure they are stored properly to maintain their freshness. Wrap them tightly in aluminum foil to prevent them from drying out, then place them in the refrigerator. They will remain delicious for up to 2 days. For best quality, consume them within this timeframe.
Do not freeze or prepare far in advance: It is generally not recommended to freeze these pizza sliders or to assemble them too far ahead of when you plan to bake them. The primary reason for this caution is that the pizza sauce tends to soak into the soft rolls over time, which can result in a somewhat soggy texture upon reheating or baking. For the freshest and most satisfying experience, prepare and bake these sliders closer to serving time.
Reheat for best results: The preferred method for reheating leftover pizza sliders is to warm them in the oven. Keep them wrapped in the same foil they were stored in, or re-wrap them, and bake at a moderate temperature (around 300-325°F or 150-160°C) for 10 to 15 minutes, or until they are thoroughly warmed through and the cheese is melted and bubbly once more. While you could unwrap them and microwave them briefly for a quicker option, be aware that this method often leads to a slightly tougher texture in the rolls. The oven method ensures they remain soft on the inside with a pleasant warmth.
Explore More Delectable Sandwich Recipes
Flavorful Crockpot Buffalo Chicken Sandwiches
Authentic Cuban Sandwich Recipe
Fresh Dill Chicken Salad – Healthy and Simple!
Classic Egg Salad Recipe – with a Healthy Option
Irresistible Pizza Sliders
Rachel Gurk
10 minutes
30 minutes
40 minutes
12
Saved
Pin
Ingredients
-
12
Hawaiian sweet rolls
(12 ounce package) -
½
cup
pizza sauce
-
1 ½
cups
shredded mozzarella cheese -
½
cup
sliced pepperoni
(see note) -
4
tablespoons
butter, melted -
½
teaspoon
garlic powder
-
1
teaspoon
dried parsley flakes -
½
teaspoon
dried oregano
-
1
tablespoon
grated Parmesan cheese
Instructions
-
Preheat your oven to 350°F (175°C). Lightly spray an 11 x 8 inch baking dish with nonstick cooking spray, ensuring full coverage to prevent sticking.
-
Using a long serrated knife, carefully slice the entire sheet of Hawaiian sweet rolls horizontally, separating the tops from the bottoms while striving to keep the rolls connected. Place the bottom half of the rolls evenly into the prepared baking dish.12 Hawaiian sweet rolls
-
Evenly spread the pizza sauce over the bottom layer of rolls. Arrange the sliced pepperoni over the sauce (refer to notes for tips on cutting). Generously sprinkle the shredded mozzarella cheese over the pepperoni. Carefully place the top half of the rolls over the fillings.½ cup pizza sauce,
1 ½ cups shredded mozzarella cheese,
½ cup sliced pepperoni -
In a small bowl, whisk together the melted butter, garlic powder, dried parsley flakes, and dried oregano until well combined. Pour this savory mixture evenly over the tops of the sliders. Finish by sprinkling the grated Parmesan cheese over the buttered rolls.4 tablespoons butter, melted,
½ teaspoon garlic powder,
1 teaspoon dried parsley flakes,
½ teaspoon dried oregano,
1 tablespoon grated Parmesan cheese -
Lightly spray one side of a piece of aluminum foil with nonstick cooking spray to prevent cheese from sticking. Tightly cover the baking dish with this foil, ensuring the sprayed side faces the rolls.
-
Bake in the preheated oven for 20 minutes. After 20 minutes, carefully remove the foil and continue to bake for an additional 5 to 10 minutes, or until the mozzarella cheese inside is fully melted and bubbly, and the tops of the rolls are beautifully golden brown.
-
Allow the pizza sliders to cool for 5 to 10 minutes before carefully slicing them into individual portions with a sharp knife. Serve warm for the best experience.
Recipe Notes
- Rolls: If Hawaiian sweet rolls are unavailable, seek out other types of soft dinner rolls that are sold in connected sheets. This connected format significantly simplifies the assembly process.
- Pepperoni: For easier cutting into individual sliders after baking, it’s recommended to use one pepperoni slice per roll (totaling 12 slices). If you prefer more pepperoni, ensure you have a very sharp knife for clean slicing. For mini pepperoni, you can simply scatter them evenly over the sauce and cheese layers.
- Alternative topping ideas: In addition to or as a substitute for pepperoni, feel free to get creative with other pizza toppings such as sautéed mushrooms, bell peppers, onions, cooked Italian sausage, diced ham, fresh spinach (sautéed and squeezed dry), or sliced olives. Remember not to overfill, as this can make the sliders difficult to manage.
Video Tutorial
Nutrition Information
Serving:
1
slider
,
Calories:
193
kcal
,
Carbohydrates:
16
g
,
Protein:
7
g
,
Fat:
11
g
,
Saturated Fat:
6
g
,
Polyunsaturated Fat:
0.5
g
,
Monounsaturated Fat:
3
g
,
Trans Fat:
0.2
g
,
Cholesterol:
36
mg
,
Sodium:
332
mg
,
Potassium:
59
mg
,
Fiber:
0.2
g
,
Sugar:
4
g
,
Vitamin A:
261
IU
,
Vitamin C:
1
mg
,
Calcium:
79
mg
,
Iron:
0.3
mg
Nutrition information is automatically calculated and should be used as an approximation only.
Did You Make This?
Share a comment and rating below! I love hearing what you think!