
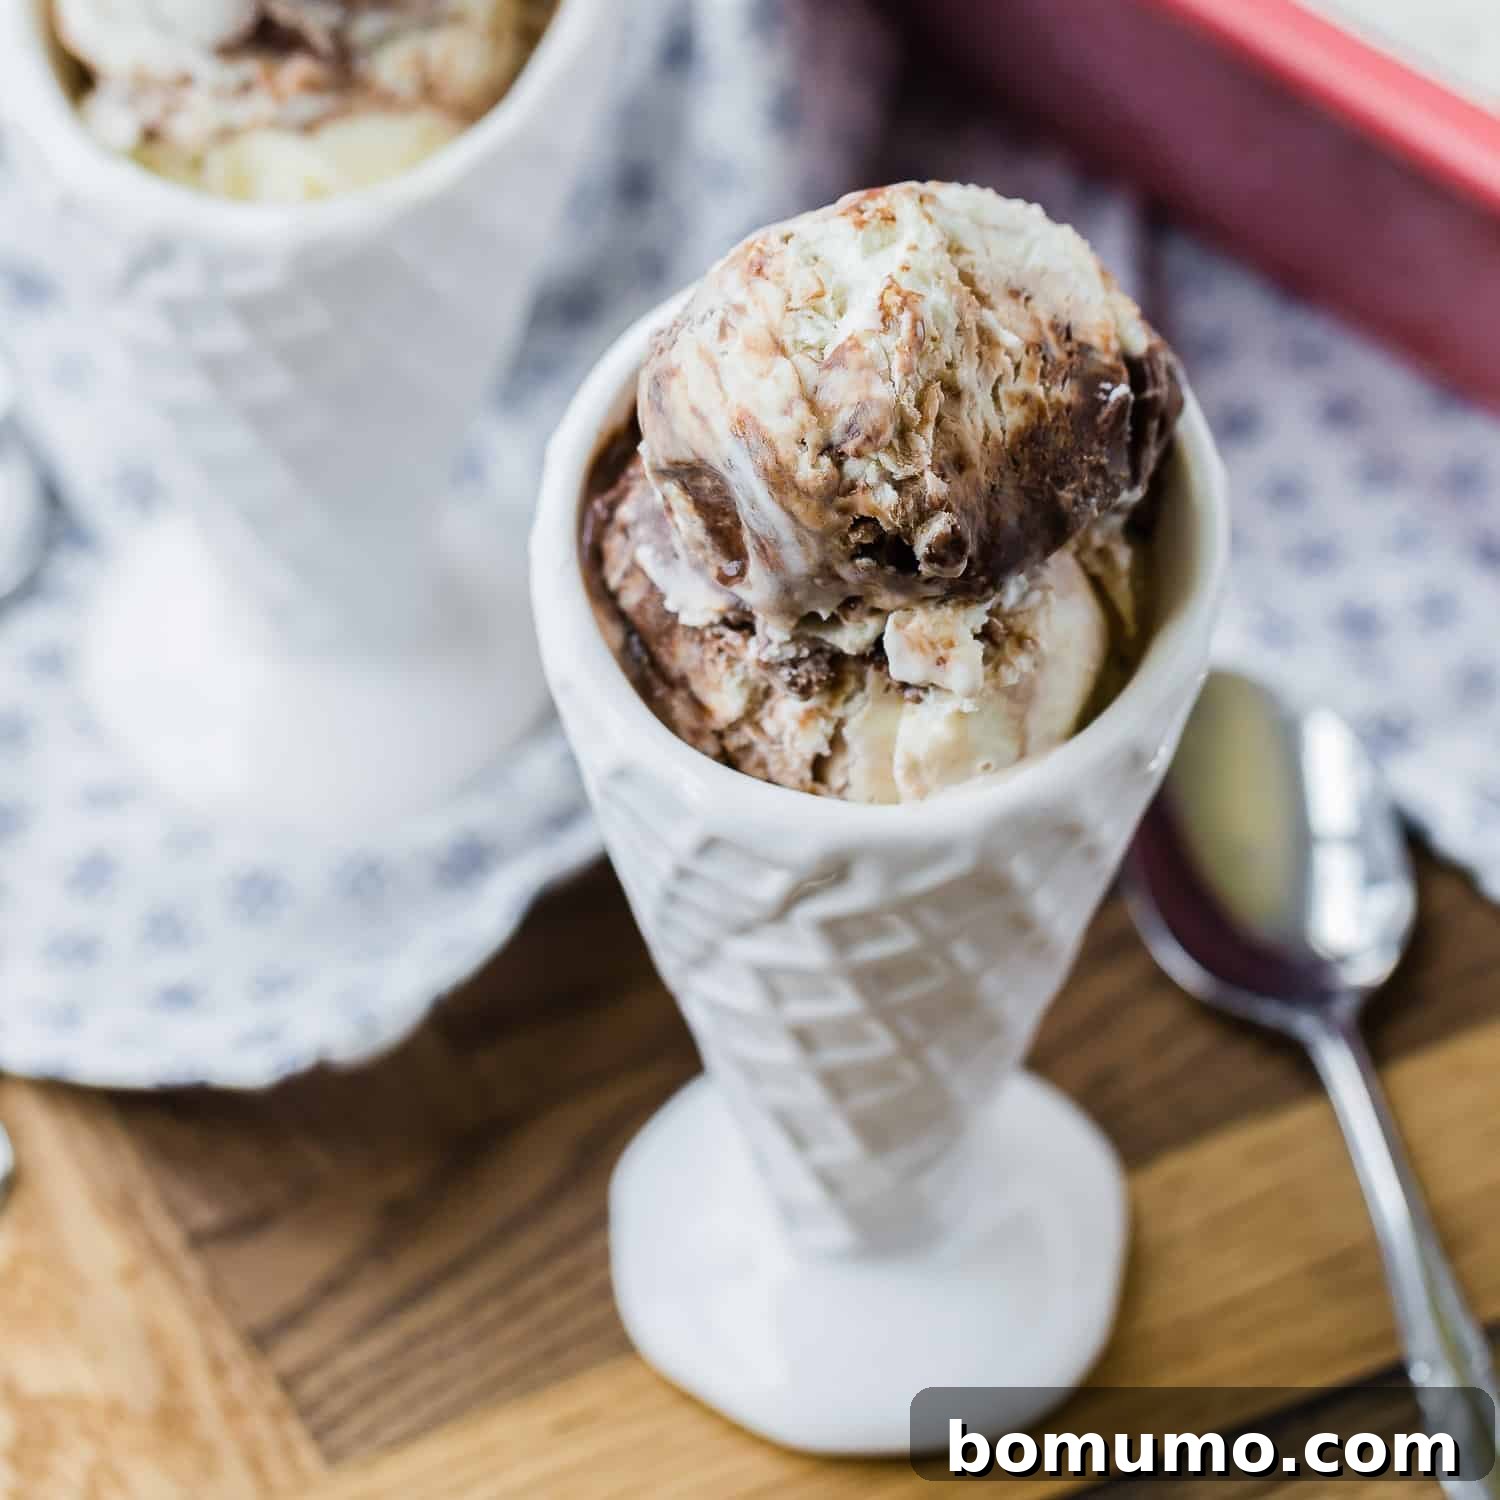
Discover the ultimate guide to crafting irresistible homemade fudge swirl ice cream without any specialized equipment! This incredibly easy, no-churn recipe requires just four simple ingredients and minutes of active preparation, delivering a smooth, creamy dessert that rivals your favorite ice cream parlor. Prepare to delight your taste buds and impress your family with this decadent frozen treat.
Recipe Highlights
Why you’ll adore it: This no-churn fudge-swirled ice cream boasts an incredibly smooth and luxurious texture, generously laced with luscious ribbons of rich chocolate fudge. The ultimate bonus? It’s astonishingly simple to prepare!
Preparation Timeline: A mere 15 minutes of active prep, followed by approximately 7 hours of freezing time to reach perfection.
Essential Tools: You’ll need an electric hand mixer, a couple of spacious mixing bowls, and a loaf pan for freezing.
Yields: This recipe graciously serves 10.
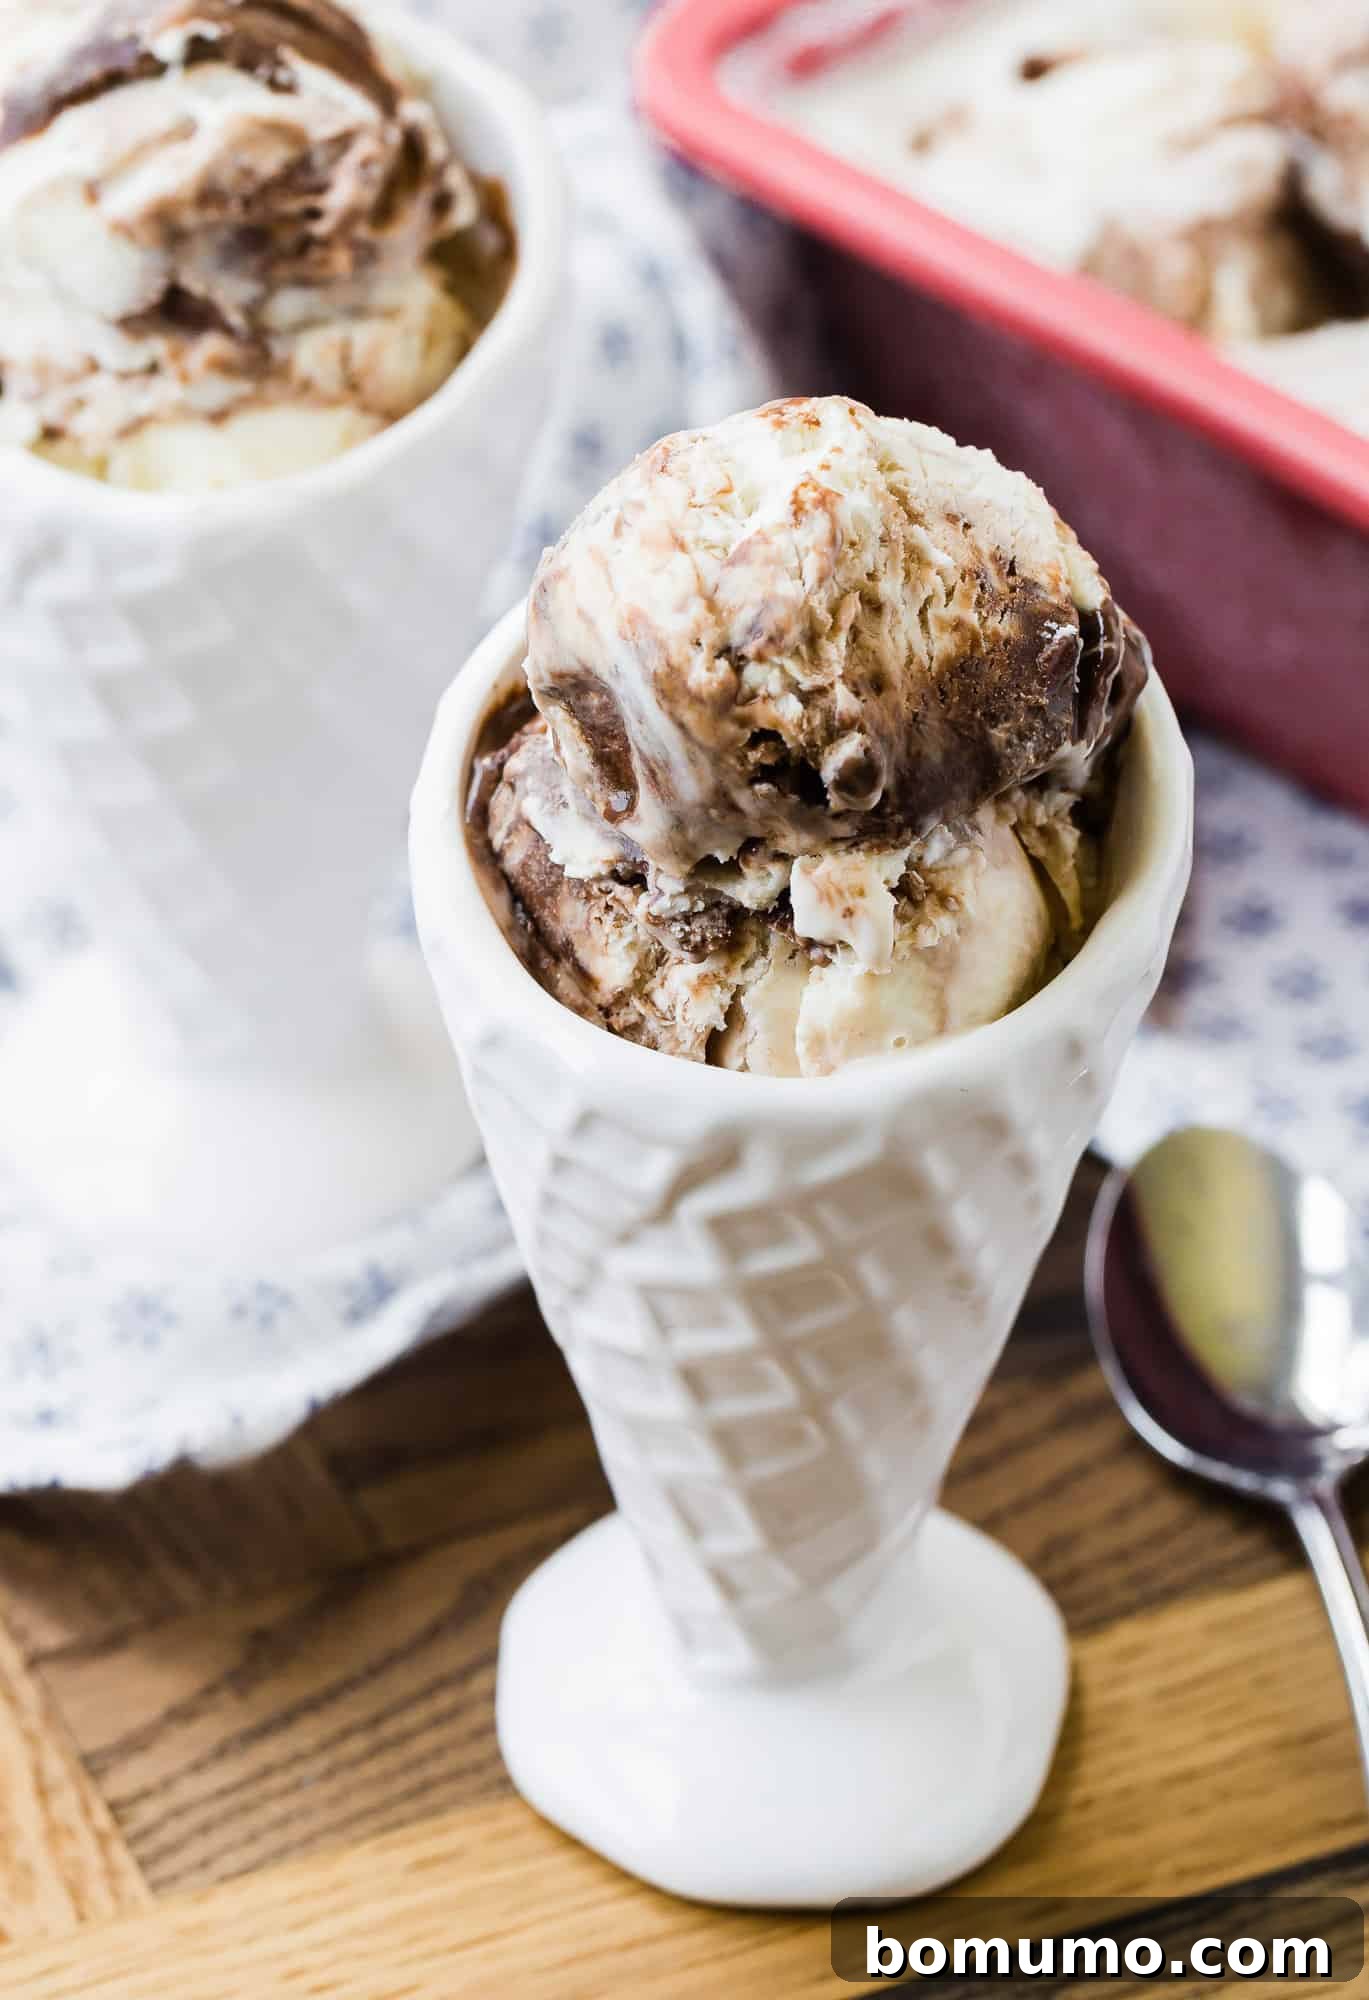
Indulge in Homemade Chocolate Fudge Swirl Ice Cream
There’s something uniquely magical about ice cream that transports us back to simpler times. Growing up, my friends and I would embark on bike adventures to our beloved neighborhood creamery. It was more than just an ice cream shop; it was an experience. With a classic jukebox humming tunes in the corner, a long, gleaming counter, and those iconic, twirly stools, it was the vibrant hub where we’d watch skilled employees craft delightful frozen confections. Each visit was a mini-celebration, a sweet escape from the everyday.
Armed with just enough pocket money for a single cone, I always gravitated towards flavors featuring a rich swirl of fudge. Whether it was the playful complexity of Moose Tracks or the comforting simplicity of a classic fudge swirl, the combination of creamy ice cream and decadent chocolate was, for me, pure bliss. Indeed, ice cream and chocolate have always been synonymous in my culinary lexicon; one simply feels incomplete without the other. This deep appreciation for the perfect chocolate swirl inspired a quest to recreate that nostalgic perfection right in my own kitchen.
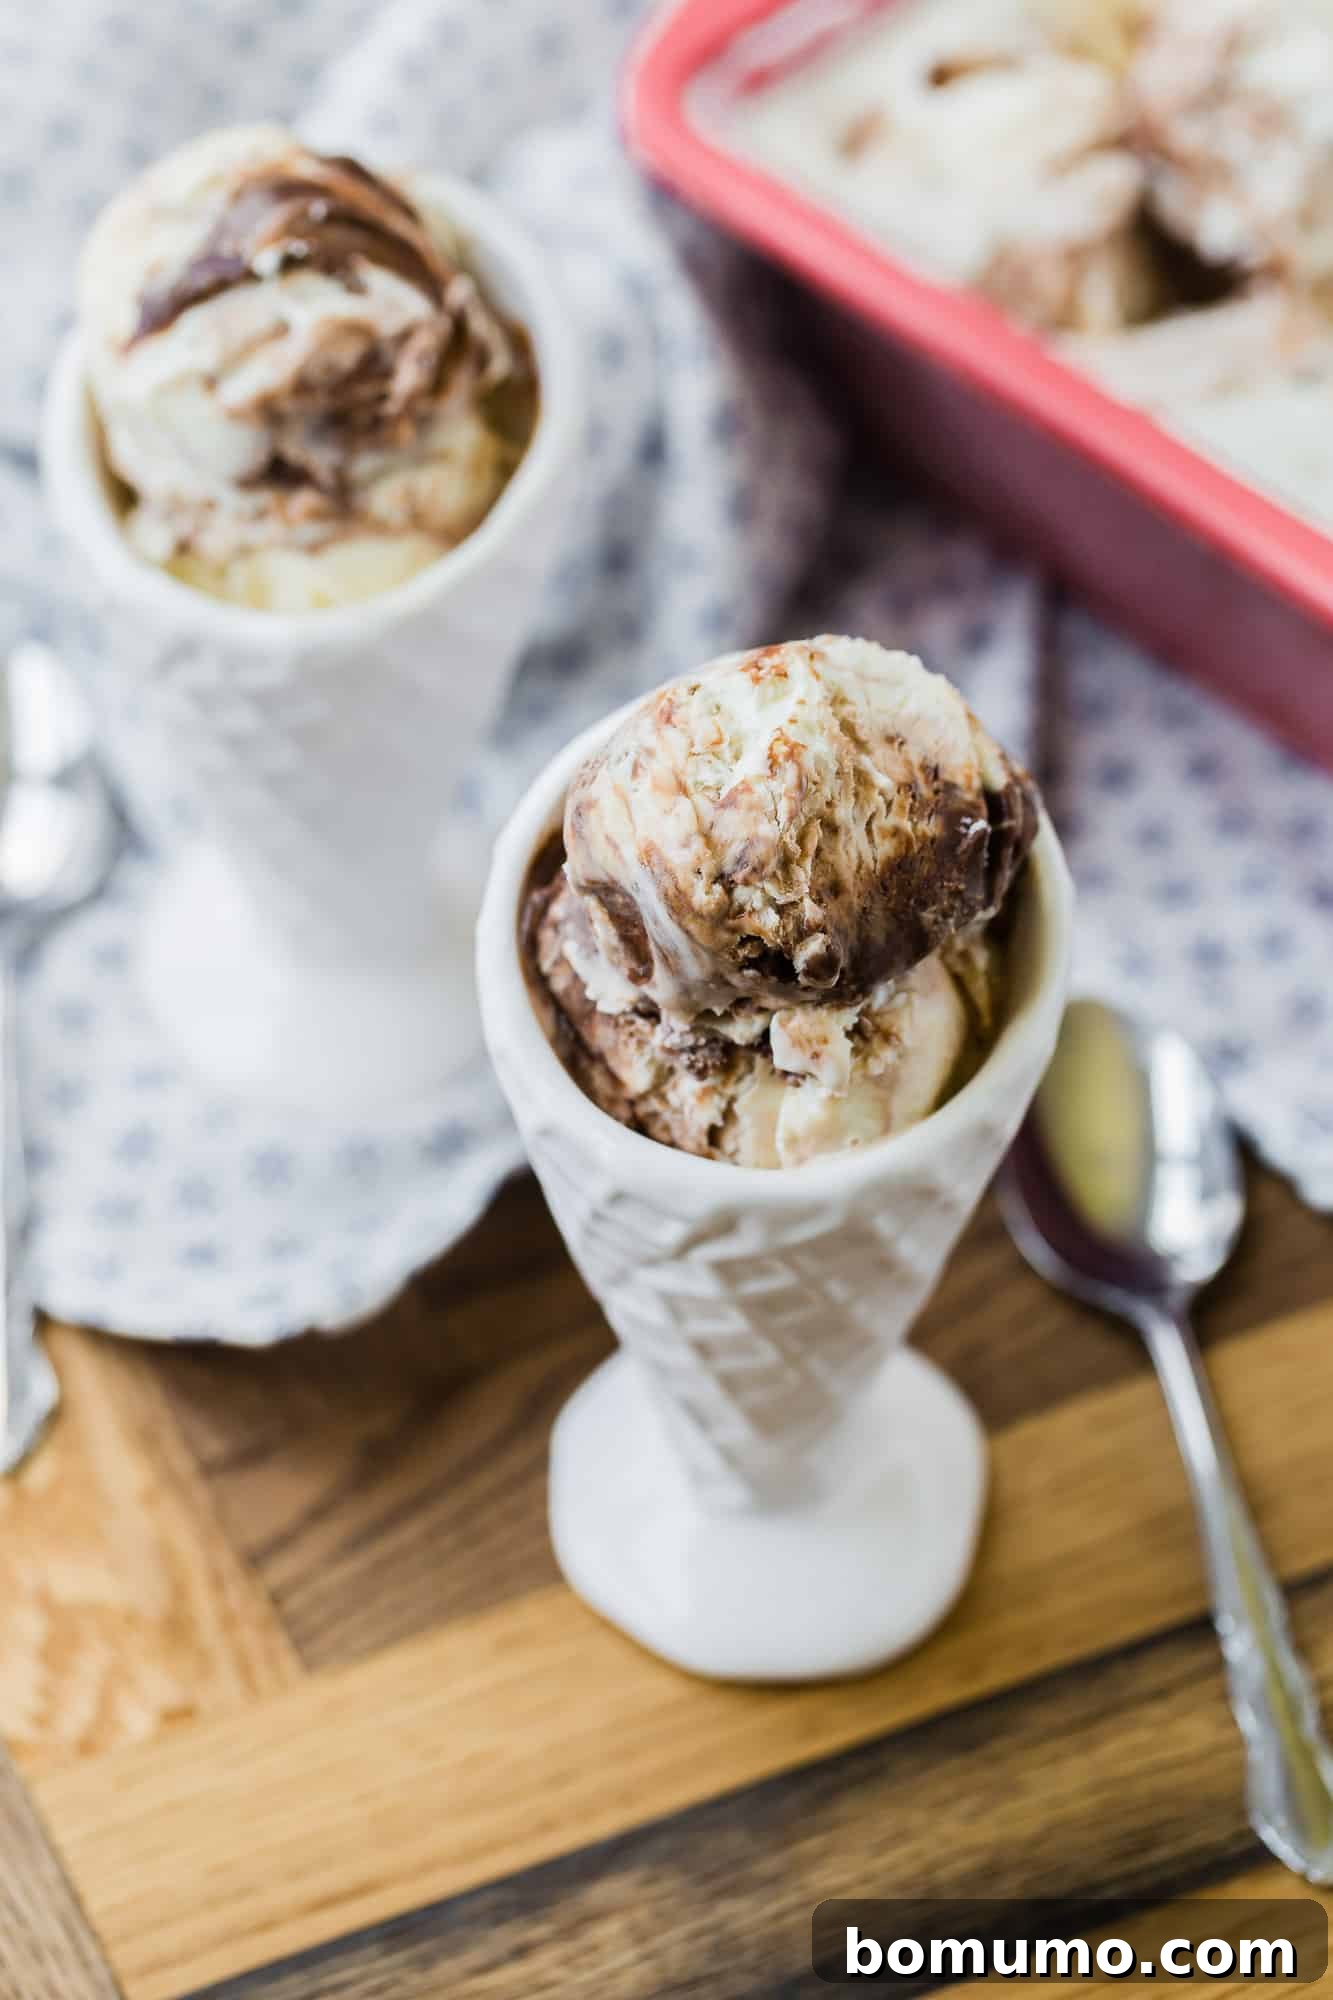
The true beauty of homemade ice cream lies in the freedom to perfectly replicate those cherished flavors and textures. This no-churn vanilla ice cream, generously streaked with luscious chocolate fudge, is a testament to that freedom. From the very first spoonful, its incredibly smooth and creamy consistency, coupled with the rich chocolate ribbons, promises to spoil you for all other ice creams. Prepare to elevate your dessert game and redefine what homemade indulgence truly means.
Unbeatable Reasons to Love This No-Churn Ice Cream Recipe
This isn’t just another ice cream recipe; it’s a revelation, offering a multitude of compelling reasons to make it your go-to frozen dessert:
- No Special Equipment Required: Forget about bulky, expensive ice cream makers or churners! This brilliant recipe liberates you from specialized gadgets. In just minutes, you can whisk together the base ingredients and get it freezer-ready, making delicious homemade ice cream accessible to everyone, regardless of kitchen size or equipment arsenal.
- Decadent Fudge Swirls in Every Bite: What sets this recipe apart is the generous infusion of rich, velvety chocolate fudge. Each spoonful promises a delightful journey through creamy vanilla, punctuated by irresistible, swirling ribbons of deep chocolate. This isn’t just chocolate chips mixed in; it’s a luscious, molten-like swirl that adds both visual appeal and an explosion of flavor.
- Crafted with Only 4 Wholesome Ingredients: Embrace the simplicity and purity of this recipe, featuring only four easily identifiable and wholesome ingredients. This means you can bid farewell to the lengthy lists of preservatives, artificial flavors, and additives commonly found in store-bought ice creams. You’ll know exactly what’s going into your dessert, offering a healthier, more natural alternative that tastes infinitely better. Once you experience the superior taste and texture, you’ll likely never want to purchase commercial ice cream again!
- Effortlessly Creamy Texture: Despite the absence of churning, this no-churn method yields an exceptionally smooth and creamy ice cream. The combination of heavy cream and sweetened condensed milk creates a luxurious, melt-in-your-mouth consistency that perfectly mimics the best traditional ice creams, often surprising those who try it.
- Customizable Flavor Foundation: While the fudge swirl is a classic, the vanilla base provides a perfect canvas for endless customization. This adaptability makes the recipe endlessly exciting and ensures you can always tailor it to your current cravings or seasonal inspirations.
The Simple Essentials: What You’ll Need
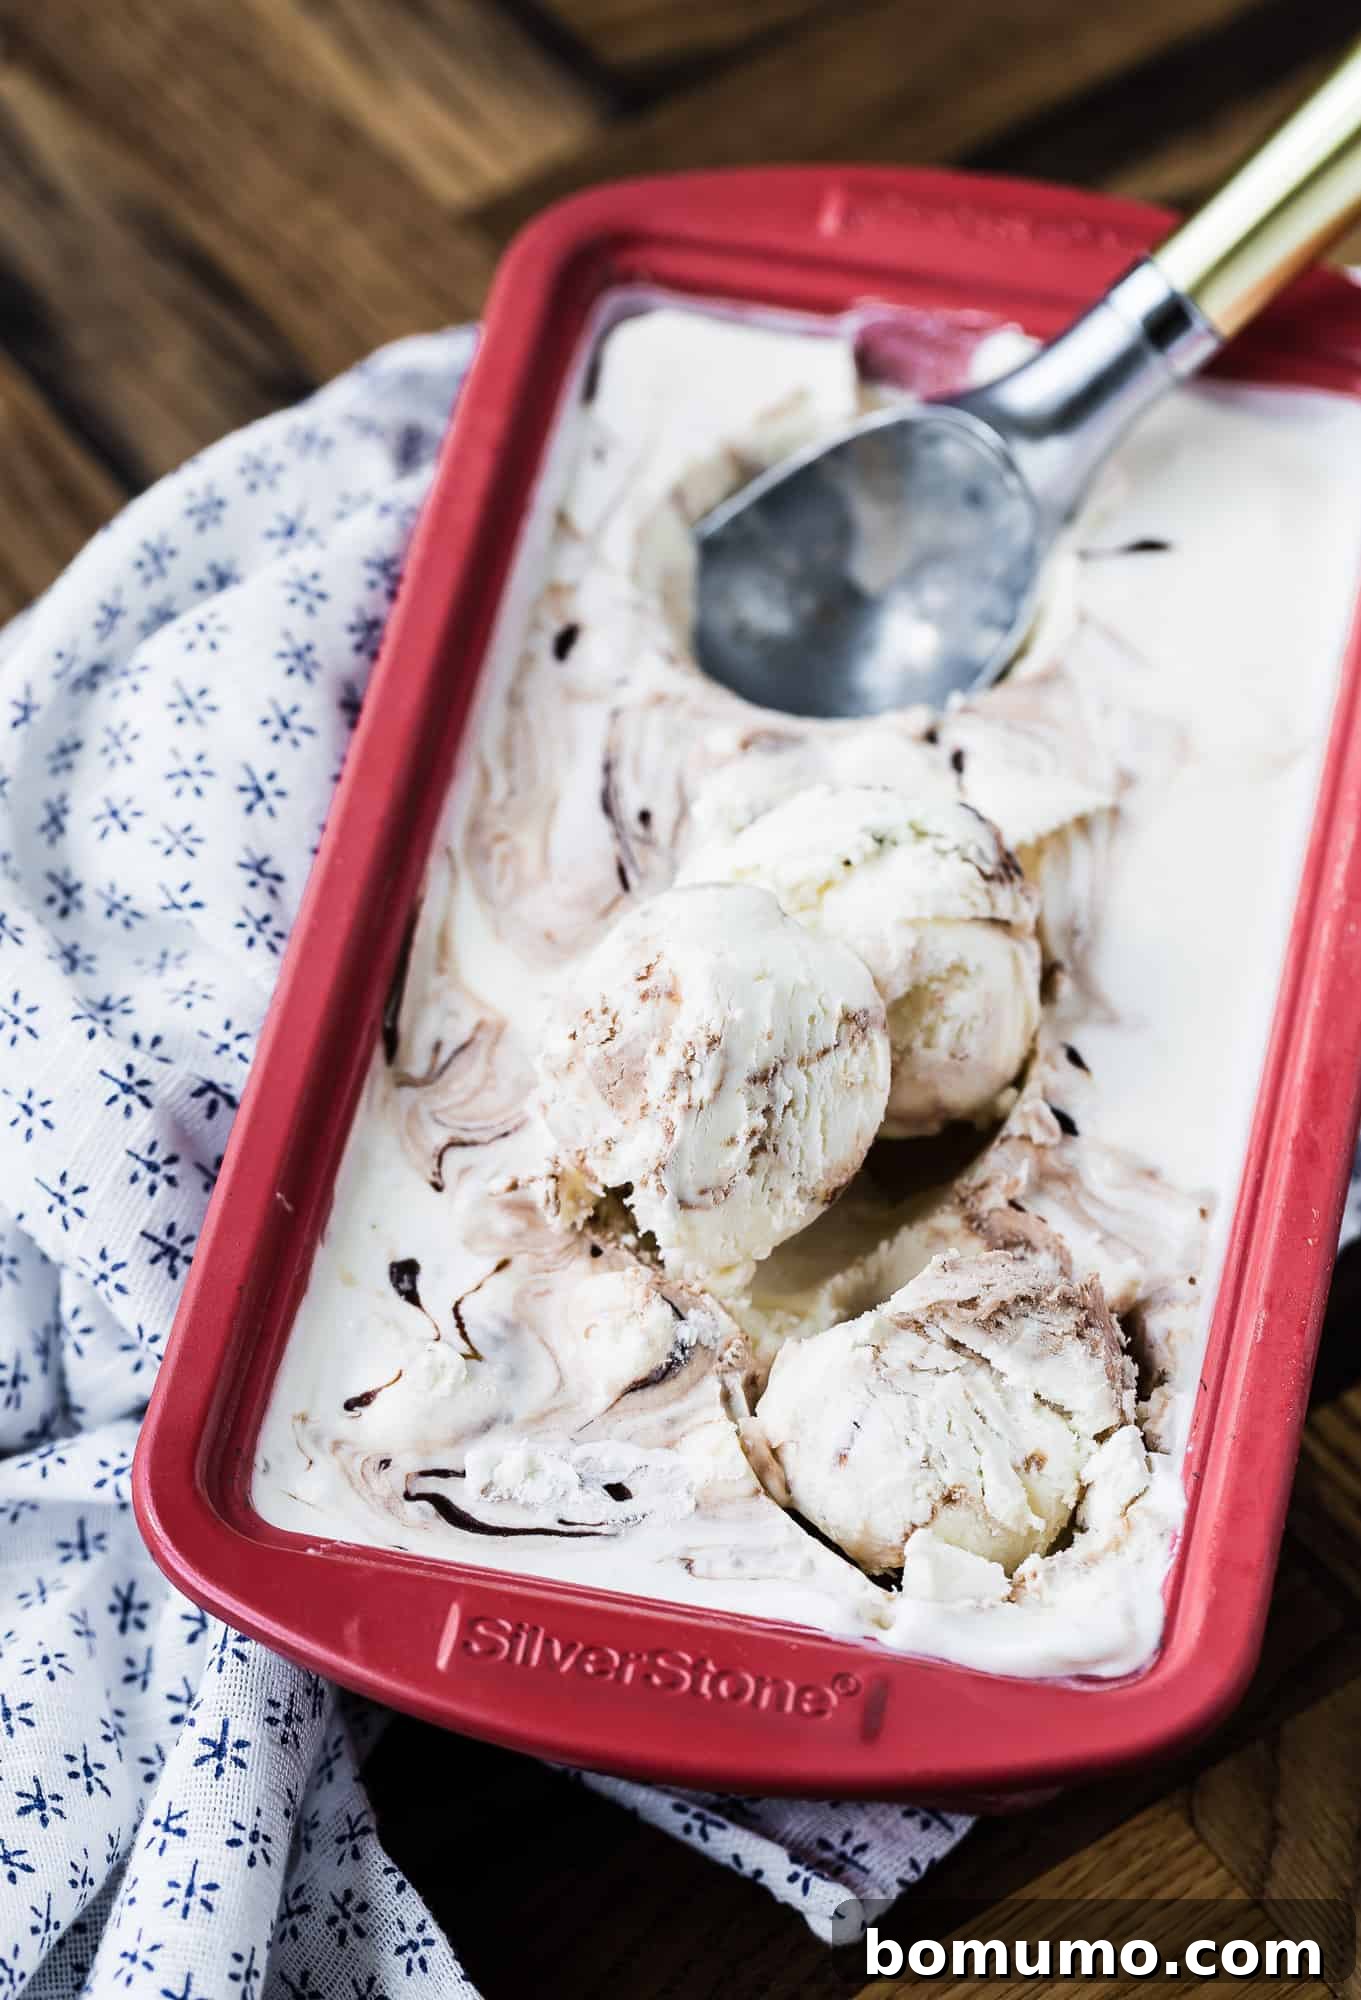
Creating this incredible chocolate fudge swirl ice cream is surprisingly straightforward, thanks to its minimalist ingredient list. Each component plays a crucial role in achieving that perfect creamy texture and rich flavor. Let’s delve into the short list of items you’ll need to gather. For precise measurements and comprehensive instructions, always refer to the full recipe card located towards the end of this article.
- Sweetened Condensed Milk: This isn’t just a sweetener; it’s a key structural ingredient. Available in cans, typically found in the baking aisle alongside familiar brands like Carnation or Eagle Brand, sweetened condensed milk provides both intense sweetness and a thick, syrupy consistency. Its unique composition helps prevent ice crystal formation, contributing to the ice cream’s smooth texture. It is absolutely crucial not to substitute this with evaporated milk, as evaporated milk lacks the high sugar content and viscosity necessary for this no-churn method to work its magic.
- Pure Vanilla Extract: While fudge takes center stage with its swirls, the underlying base flavor is a delicate yet distinct vanilla. For the most authentic and delicious taste, always opt for a high-quality, pure vanilla extract. Artificial vanilla essences simply won’t deliver the nuanced aroma and flavor that elevates this ice cream from good to truly exceptional.
- Heavy Cream: The foundation of our creamy texture, heavy cream is indispensable. Look for products labeled “heavy cream” or “heavy whipping cream” with a milk fat content of 36-40%. This high fat percentage is vital for whipping air into the cream, creating the light, voluminous base that transforms into creamy ice cream upon freezing. While “whipping cream” can be used, it generally has a lower fat content (around 30-35%), which might result in a slightly less rich and creamy final product. For unparalleled smoothness, the higher fat content of heavy cream is highly recommended.
- Hot Fudge Topping: The star of the swirl! You have the flexibility to either whip up your own homemade hot fudge – a process that’s often easier than you’d think and yields superior flavor – or conveniently use a jar of your favorite store-bought hot fudge topping. The key is to ensure it’s a thick, rich fudge, not a thin chocolate syrup. Keep reading, as we’ll explore more creative “swirl” ideas later to personalize your frozen masterpiece.
Crafting Your Dream: How to Make Fudge Swirl Ice Cream
Get ready for a culinary performance, because creating this unbelievably delicious vanilla fudge ice cream is a simple process you can master in your own kitchen. Follow these straightforward steps to achieve a perfectly swirled, creamy delight:
- Pre-Chill Your Equipment: The secret to perfectly whipped cream, and consequently, super creamy ice cream, begins with cold tools. Ensure your heavy cream is thoroughly chilled before you even begin. For optimal results, go a step further and place your large mixing bowl (or the bowl of your stand mixer) and the beaters into the freezer for at least 15-20 minutes. This extra step keeps everything cold, allowing the cream to whip up faster and achieve stiffer, more stable peaks.
- Prepare the Velvety Ice Cream Base: In your chilled large bowl, pour the heavy cream along with the vanilla extract. Using an electric mixer set to medium-high speed, whip the cream until it transforms into a fluffy, voluminous cloud, forming firm, stiff peaks. This usually takes about 3 minutes with a hand mixer, or less if you’re using a powerful stand mixer. Once whipped, gradually and gently fold the sweetened condensed milk into the whipped cream. The goal here is to combine it until just smooth and silky, without deflating the airy cream. A few tiny lumps are perfectly fine and preferable to overmixing. Transfer this delightful mixture into your chosen freezer-safe container—a standard loaf pan, a plastic airtight container, or any suitable vessel works wonderfully. Once transferred, cover the container tightly with aluminum foil. So far, quite effortless, right?
- The Crucial Chill Period: Now, for a moment of patience. Pop your covered ice cream base into the freezer for approximately one hour. You might be thinking, “Didn’t we forget the fudge?” Absolutely not! This partial freezing step is a clever trick to ensure you get beautiful, distinct fudge swirls. If you were to add the fudge too early, it would simply mix throughout the entire base, resulting in chocolate ice cream (which, while delicious, isn’t our goal here for a swirl effect). This initial chill allows the base to firm up just enough to hold the fudge in clear, defined ribbons.
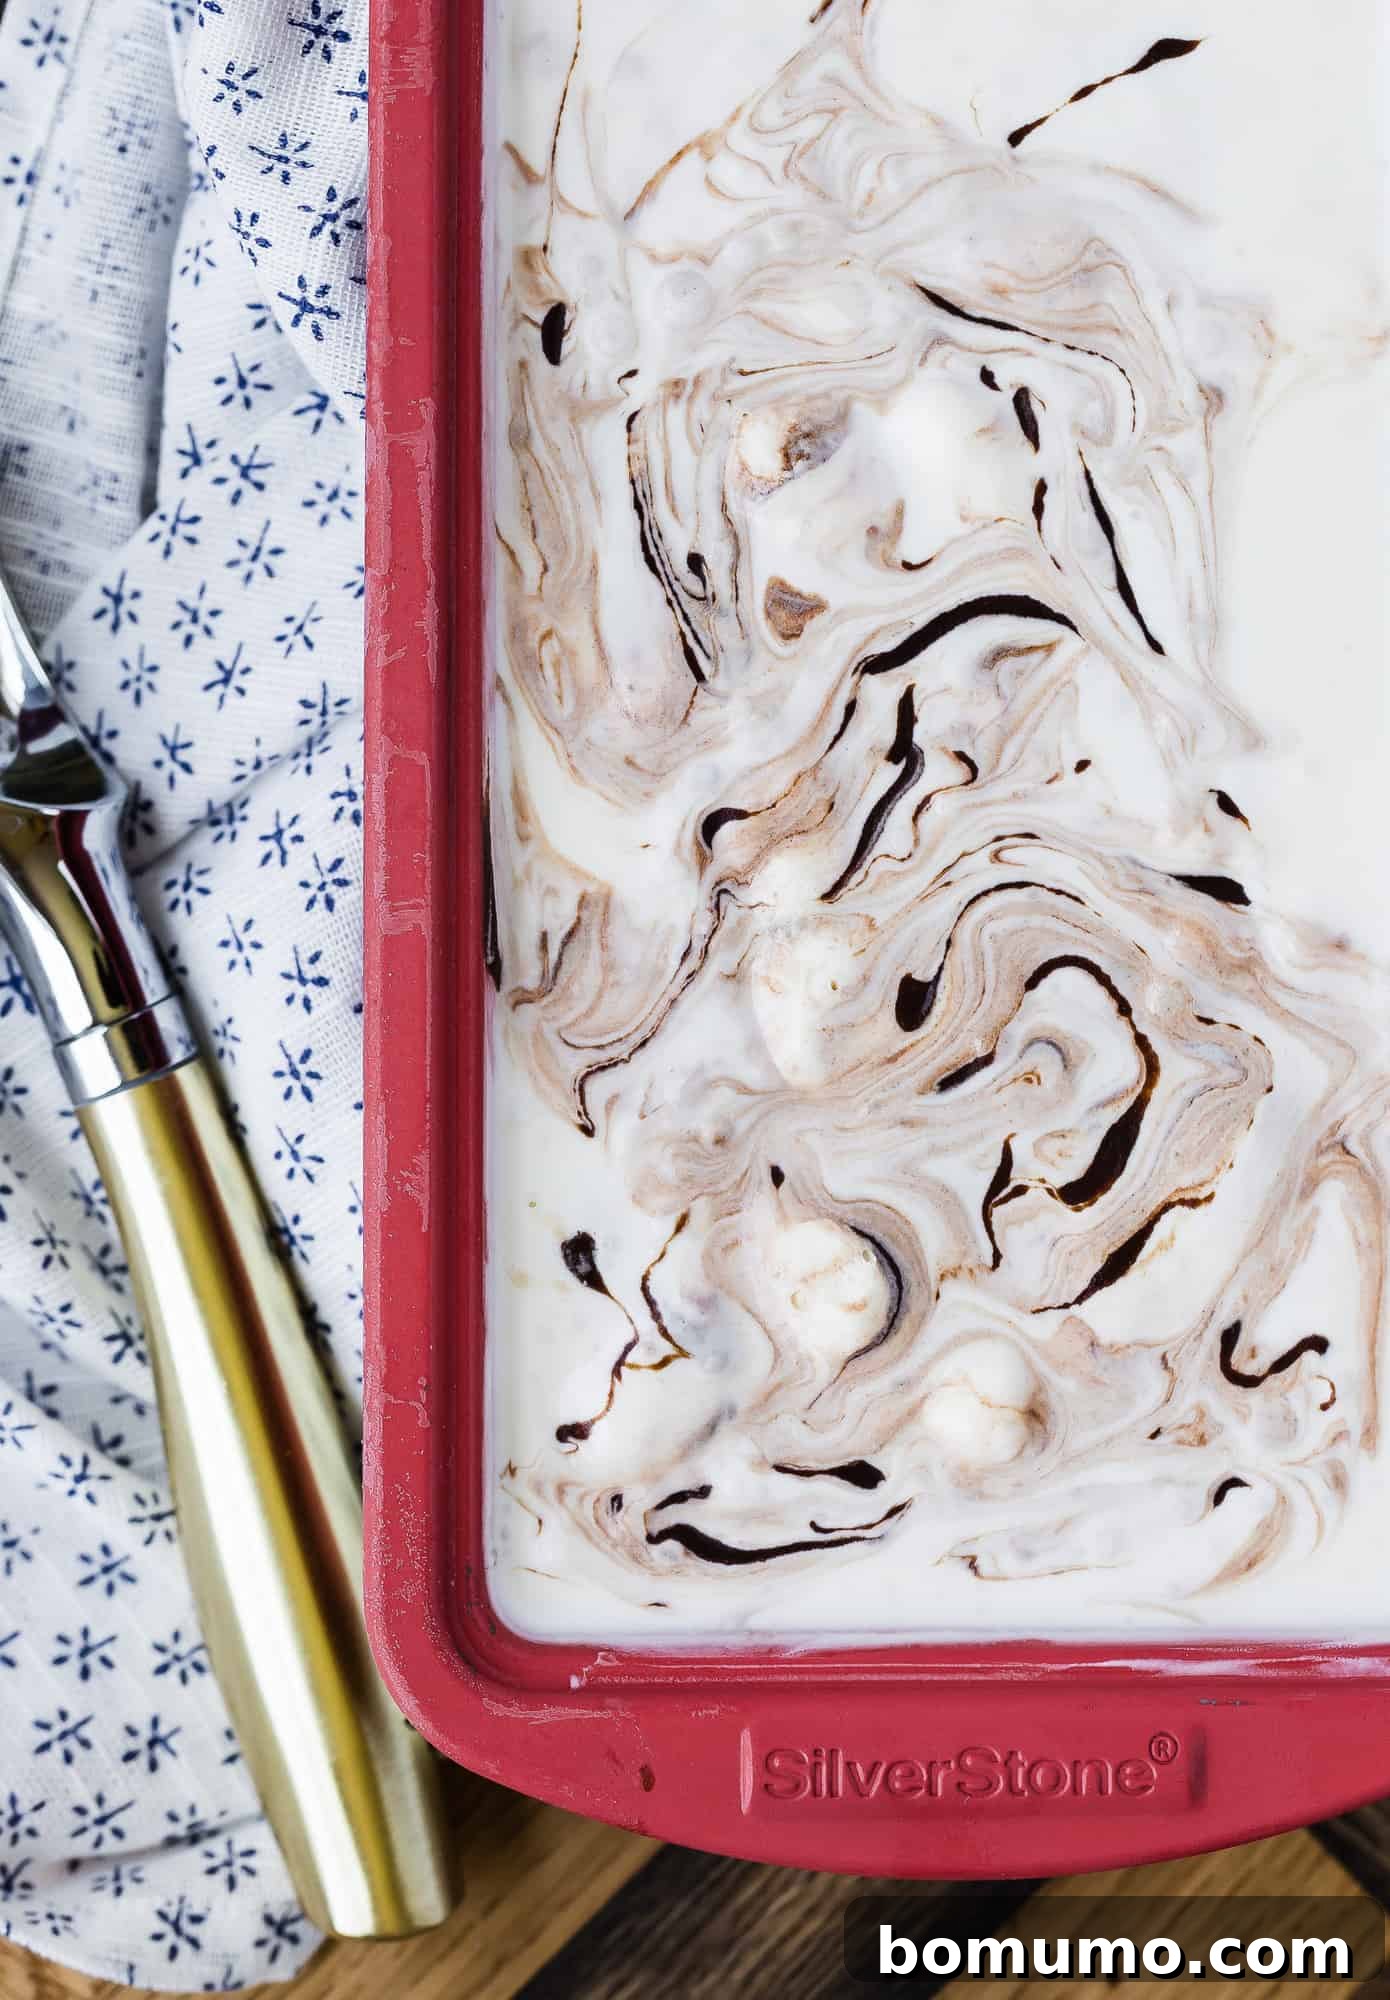
- Mastering the Art of the Swirl: After the initial hour of chilling, retrieve your partially frozen ice cream base from the freezer. Now, it’s time for the artistic touch! Dollop spoonfuls of your room-temperature hot fudge topping evenly across the surface of the semi-frozen ice cream. With a table knife, a small spatula, or even a skewer, gently begin to swirl the fudge into the ice cream. Use a light hand and broad strokes to create elegant ribbons and marble patterns, being careful not to overmix. The aim is to see distinct streaks of dark fudge against the pale vanilla base. Once you’re satisfied with your swirls, return the covered container to the freezer for its final freeze. Allow it to firm up completely for at least 6 hours, or ideally overnight, for the best scoopable consistency.
Waiting is indeed the hardest part, but truly great things, especially homemade desserts, often require a little time. I promise you, this homemade fudge swirl ice cream is unequivocally worth every minute of anticipation! For an extra layer of texture and flavor, I personally love topping mine with this delightful crunchy oat topping.
Mastering Your No-Churn Fudge Swirl: Essential Tips for Success
Achieving the perfect creamy, swirled texture in your no-churn chocolate fudge ice cream is simpler than you might think, especially with a few expert tips. Here’s how to ensure your first attempt, and every one after, is nothing short of spectacular:
- Handle the Whipped Cream with Care: The air incorporated into the heavy cream is what gives no-churn ice cream its signature light and fluffy texture. When you’re folding the sweetened condensed milk into the whipped cream to form the base, the keyword is “gently.” Use a spatula and fold with a light hand, moving from the bottom up. Over-stirring can quickly deflate the whipped cream, leading to a denser, less airy, and potentially icier final product. Embrace a few small lumps in the mixture rather than striving for absolute smoothness at the cost of volume.
- Ensure Your Fudge is at Room Temperature: Whether you’ve lovingly crafted your own hot fudge or opted for a convenient store-bought jar, it is absolutely imperative that the fudge is at room temperature – or even slightly cool – before you attempt to swirl it into your partially frozen ice cream base. Introducing warm or hot fudge would instantly melt the delicate ice cream base, turning your beautifully prepared vanilla canvas into a chocolatey liquid mess. A cool fudge maintains its viscosity and allows for those distinct, beautiful ribbons to form.
- Allow Ample Freezing Time: Patience is truly a virtue when it comes to no-churn ice cream. While the initial prep is quick, the freezing process requires time. No-churn ice cream, by nature, tends to be slightly softer than its traditional churned counterpart, often resembling a luxurious soft-serve consistency initially. For optimal firmness and scoopability, ensure you freeze it for a minimum of 6 hours. For the very best results, especially if you prefer a firmer scoop, an overnight freeze is highly recommended. Don’t rush this final stage; it’s crucial for the texture to set properly.
- Mind the Fat Content of Your Cream: As mentioned in the ingredients, using heavy cream with at least 36% milk fat is key. Lower fat creams (like regular whipping cream or, even worse, half-and-half) contain more water, which is prone to forming ice crystals. Higher fat content contributes to a smoother, richer, and less icy texture.
- Seal Tightly to Prevent Ice Crystals: Proper covering is essential during freezing. Ensure your loaf pan or container is sealed tightly with foil and then, ideally, with an additional layer of plastic wrap pressed directly onto the surface of the ice cream. This creates a barrier against air, which is the primary cause of freezer burn and ice crystal formation on the surface of your delicious dessert.
Common Questions
Common Questions
While technically possible, using half-and-half instead of heavy cream will significantly alter the quality and texture of your no-churn ice cream. Because half-and-half contains a much higher percentage of water and significantly less fat, the final product will unfortunately not be as rich, smooth, or creamy. The increased water content is highly susceptible to forming noticeable ice crystals during freezing, resulting in an unpleasantly grainy and icy texture rather than the desired luxurious creaminess. For truly exceptional no-churn ice cream, heavy cream is non-negotiable.
Sweetened condensed milk is essentially a concentrated form of cow’s milk with a substantial amount of added sugar. On its own, evaporated milk (which is just milk with water removed) contains beneficial vitamins and minerals like calcium, protein, and B vitamins. However, when sugar is added to create sweetened condensed milk, its nutritional profile changes considerably. It typically contains about five times the amount of sugar as plain evaporated milk (Healthline). Therefore, while it offers some nutrients from the milk, its high sugar content means it should be enjoyed in moderation as part of a balanced diet.
Several factors can contribute to an icy texture in no-churn ice cream. The most common culprit is using a lower-fat cream (like half-and-half or a light whipping cream), which contains more water that readily freezes into large, noticeable ice crystals. Another significant reason can be improper freezing or storage. If the ice cream is not covered tightly, air can circulate and promote the formation of ice crystals, leading to freezer burn and a grainy texture. Always ensure your pan is sealed completely with both foil and, ideally, a layer of plastic wrap pressed directly against the ice cream surface.
If your no-churn ice cream is struggling to reach a firm, scoopable consistency, the issue often stems from insufficient chilling during the initial preparation stages. The most critical factor is ensuring that the heavy cream, the mixing bowl, and even the beaters of your electric mixer are all thoroughly chilled (ideally from the freezer) before you begin whipping. Cold equipment helps the heavy cream whip up to its maximum volume and stability, which is essential for the ice cream base to set correctly in the freezer. Warm ingredients or tools can prevent the cream from whipping properly, resulting in a base that is too thin and won’t freeze to the desired firmness.
Unleash Your Creativity: Make This Ice Cream Your Own
The beauty of starting with a simple, yet delicious, vanilla ice cream base for your fudge swirl creation is the boundless opportunity for customization. This recipe provides the perfect foundation upon which you can build your dream dessert. The “swirls” themselves are your canvas, allowing you to infuse any flavor or texture you desire. Don’t be afraid to experiment and create something truly unique!
- If you’re a devoted fan of classic cookies and cream ice cream, simply take a handful of your favorite Oreo cookies (or similar chocolate sandwich cookies), crush them roughly, and gently swirl them into the partially frozen ice cream base alongside or instead of the fudge. The combination of creamy ice cream and crunchy cookie bits is irresistible.
- For a delightful twist on a classic candy bar, swirl in generous amounts of luscious caramel topping. To elevate the experience even further, sprinkle in a handful of finely chopped, roasted peanuts or other nuts for a satisfying crunch and nutty flavor profile.
- Embrace the vibrant flavors of fruit by incorporating delightful jam swirls. Strawberry, blueberry, or cherry jam can be gently warmed to a pourable consistency and then swirled into the ice cream. These fruit swirls offer a refreshing contrast to the rich creaminess, adding a burst of natural sweetness and a beautiful marbled effect.
- Beyond these suggestions, the choices are truly limited only by your culinary imagination. Consider adding a swirl of peanut butter, a ripple of lemon curd, or even a hint of mint extract with crushed chocolate mint candies. You could also mix in small pieces of brownies, cookie dough chunks, or toasted coconut flakes.
- This is your opportunity to craft your own signature ice cream flavor. Play with combinations, explore different textures, and discover new favorites. The vanilla base is incredibly versatile, inviting you to be bold and creative in your dessert endeavors!
Optimal Storage for No-Churn Ice Cream
Optimal Storage for No-Churn Ice Cream
To preserve the exquisite creamy texture and rich flavor of your homemade fudge swirl ice cream, proper storage in the freezer is paramount. While this might seem like stating the obvious, understanding the nuances of good freezer storage will significantly extend its quality and prevent common issues like freezer burn and excessive ice crystal formation.
First and foremost, your ice cream should always be stored in an airtight container. A loaf pan, as suggested for freezing, is ideal if covered extremely well. However, for longer-term storage beyond a few days, transferring the firm ice cream to a dedicated freezer-safe container with a tight-fitting lid is highly recommended. To add an extra layer of protection against freezer burn – which manifests as dry, icy patches and diminished flavor – press a layer of plastic wrap or parchment paper directly onto the surface of the ice cream before sealing the container. This creates a barrier that prevents air from coming into contact with the dessert, thus minimizing ice crystal growth.
While no-churn ice cream can technically be stored for several weeks, it’s best enjoyed within the first two weeks. Over time, even with perfect storage, some ice crystals will naturally begin to form on the surface, subtly altering the texture. However, in our household, this delicious fudge swirl ice cream rarely lasts long enough to even approach that two-week mark! It’s simply too irresistible to sit untouched for extended periods. Enjoy it fresh for the best possible experience.
More Frozen Delights to Explore
Ice Cream Terrine with Roasted Strawberries
Cinnamon Ice Cream (No Churn)
Homemade Chocolate Ice Cream
Homemade Pudding Pops
Fudge Swirl Ice Cream
Rachel Gurk
15
6
6
15
10
servings
Ingredients
-
2
cups
heavy cream, chilled
(at least 36% milk fat) -
1
tablespoon
pure vanilla extract -
1
can
(14 ounces) sweetened condensed milk -
1
cup
hot fudge sauce
(at room temperature — see note)
Instructions
-
Pour the heavy cream and vanilla extract into a large mixing bowl or the bowl of a stand mixer. On medium-high speed, whip the cream until it holds stiff peaks, about 3 minutes (less if you’re using a stand mixer).
-
Add sweetened condensed milk to whipped cream. Fold together until just combined and silky and smooth. A few small lumps may remain, it’s important not to over mix as that will deflate the mixture.
-
Spread into an 8 or 9-inch loaf pan. Cover with foil and freeze for one hour.
-
Take pan out of the freezer and stir to mix in frozen portions. Put spoonfuls of room temperature hot fudge on top, and then gently swirl in hot fudge, using a table knife. Don’t over mix; you want to see distinct swirls of hot fudge.
-
Cover pan tightly with foil. Freeze for at least 6 hours or until firm.
Notes
- The hot fudge sauce should be at room temperature. Make homemade hot fudge or use store-bought hot fudge topping.
- Create your own signature ice cream. Here are some ideas: Crush a handful of Oreo cookies and swirl them into the partially frozen ice cream. Swirl in caramel topping and a handful of peanuts. Try strawberry, blueberry, or cherry jam swirls.
- For longer storage: Line the loaf pan with parchment paper before freezing the ice cream. When it’s frozen, lift the ice cream out of the pan with the parchment paper and transfer it to a resealable container. Put a layer of plastic wrap or parchment directly on top of the ice cream to prevent ice crystals and freezer burn.
Nutrition
Calories:
401
kcal
,
Carbohydrates:
42
g
,
Protein:
6
g
,
Fat:
24
g
,
Saturated Fat:
14
g
,
Polyunsaturated Fat:
1
g
,
Monounsaturated Fat:
7
g
,
Cholesterol:
79
mg
,
Sodium:
174
mg
,
Potassium:
271
mg
,
Fiber:
1
g
,
Sugar:
32
g
,
Vitamin A:
806
IU
,
Vitamin C:
1
mg
,
Calcium:
158
mg
,
Iron:
1
mg
Nutrition information is automatically calculated, so should only be used as an approximation.