
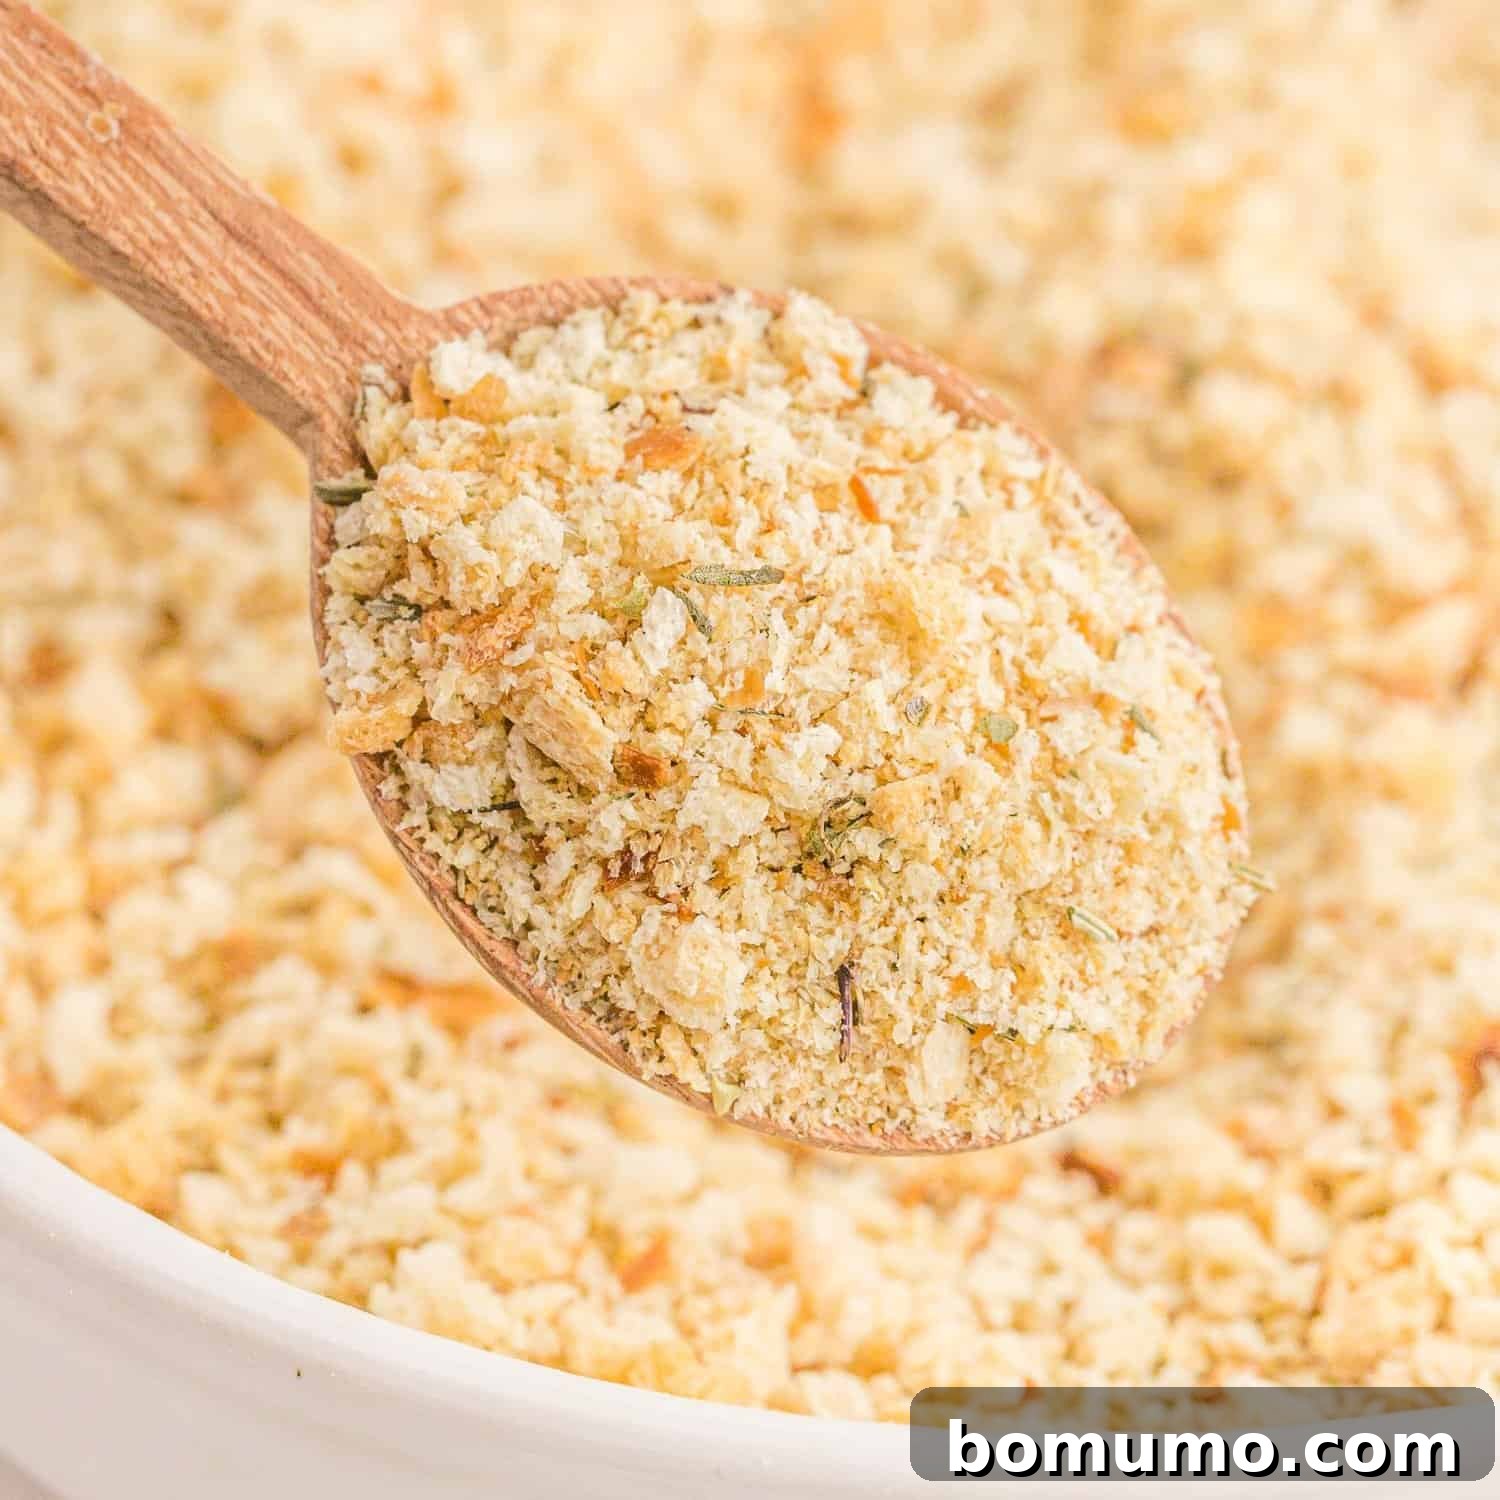
Homemade bread crumbs are an essential kitchen staple, incredibly easy to make, and far more versatile than their store-bought counterparts. Whether you’re looking for the perfect breading for crispy chicken, a flavorful binder for juicy meatballs or meatloaf, or a delightful textural topping for pasta, fresh bread crumbs are your answer. This guide will walk you through making plain, coarse (panko-style), or perfectly seasoned Italian bread crumbs right in your own kitchen!
Recipe Overview
Why you’ll love it: It’s a fantastic way to utilize stale bread, reduces food waste, and homemade bread crumbs are incredibly easy to prepare with superior flavor and freshness.
How long it takes: Approximately 30 minutes from start to finish.
Equipment you’ll need: A food processor, a baking pan, and an oven.
Yields: Makes about 2 ½ cups of bread crumbs.
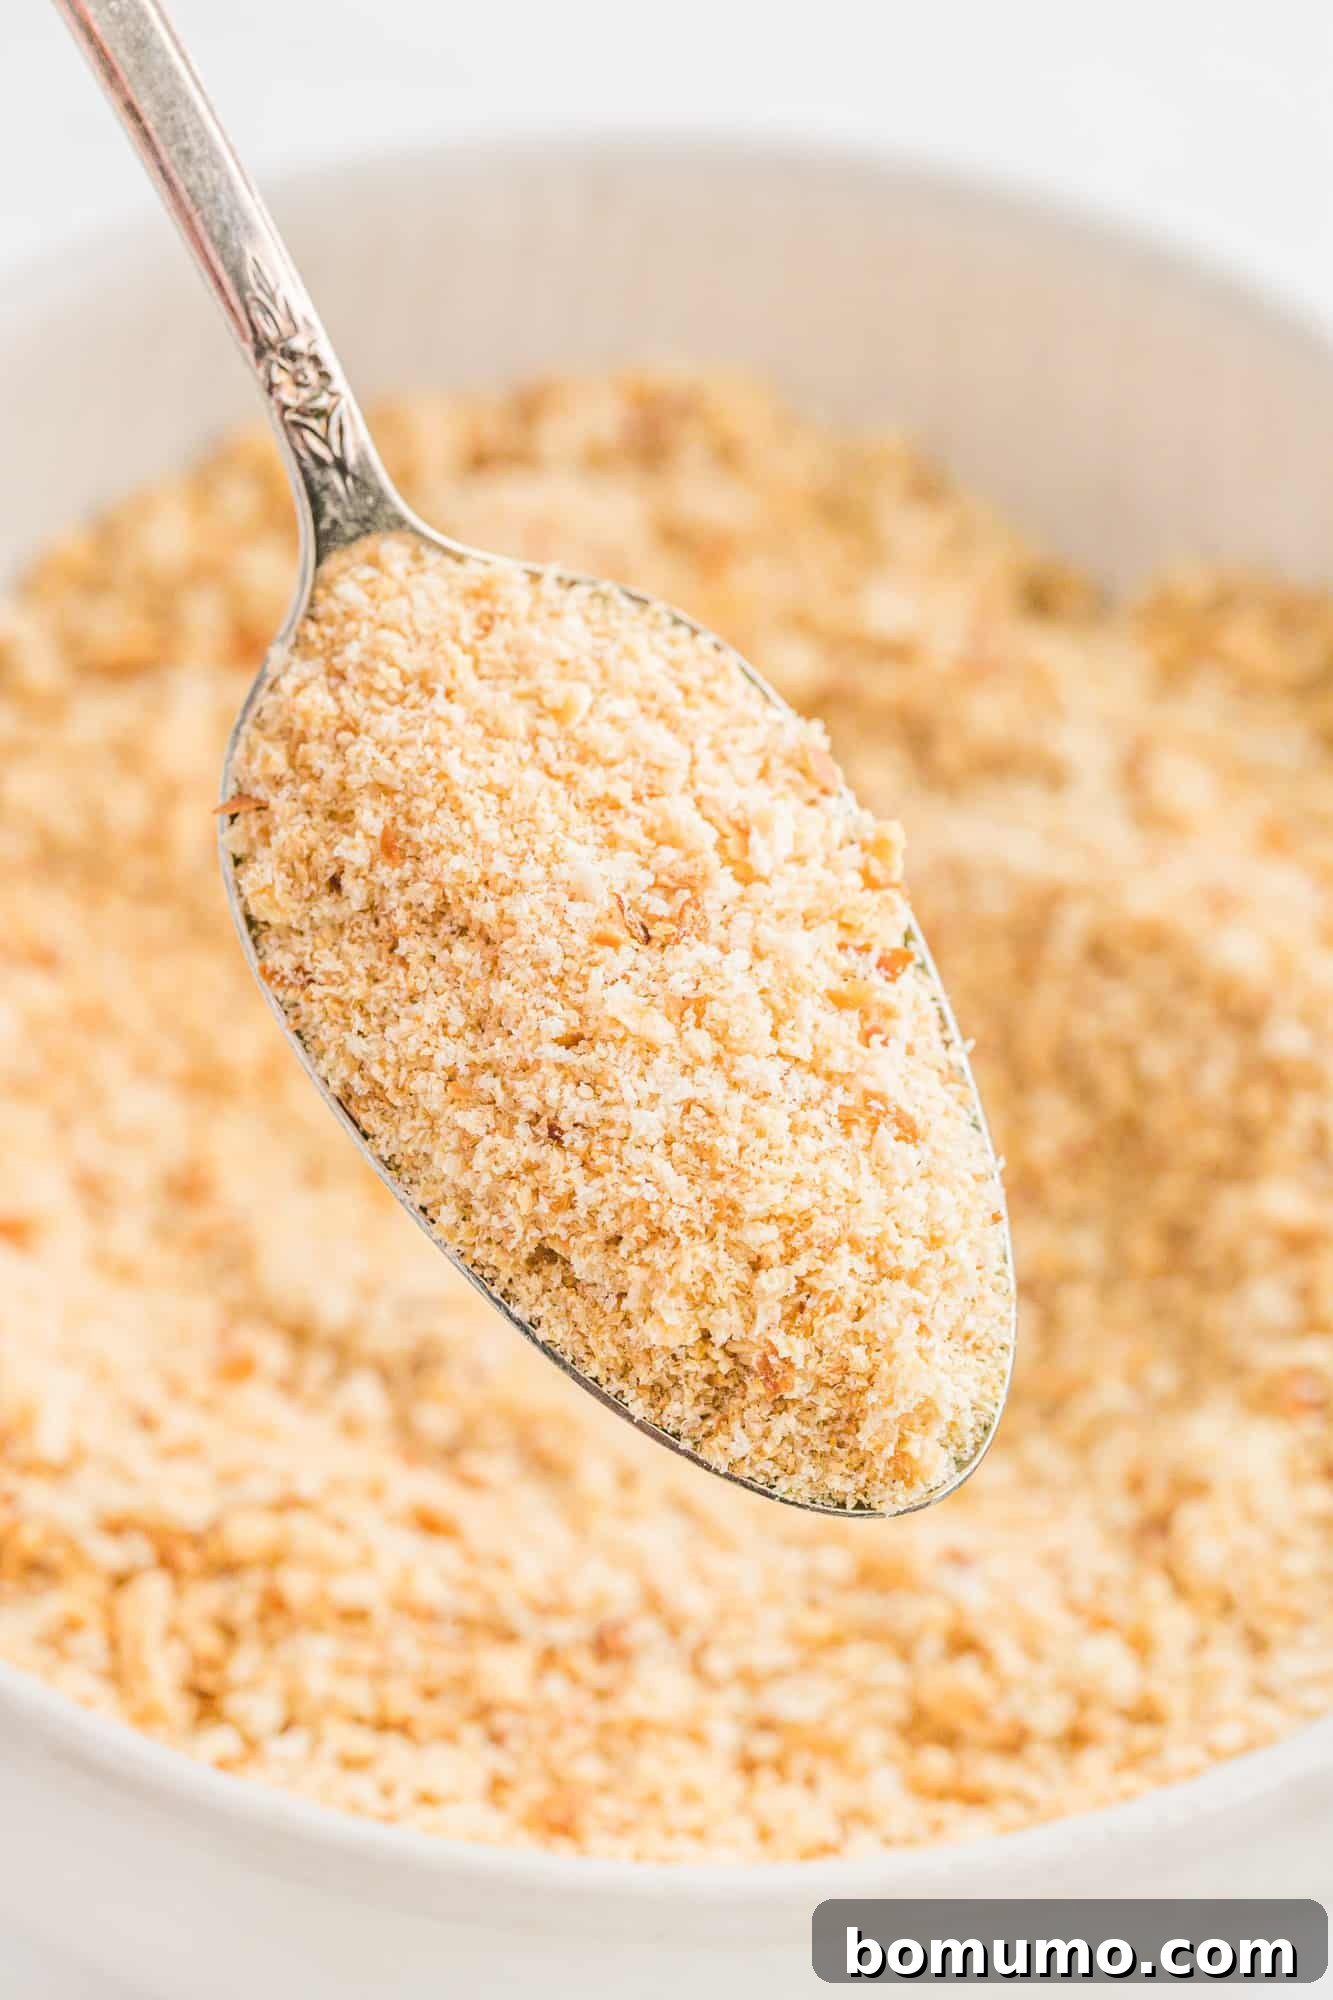
Have you ever considered making your own bread crumbs from scratch? Many home cooks might not think about it until they encounter specific needs, such as managing food allergies within their family. For instance, if you have a child with a severe sesame seed allergy, you quickly learn the importance of scrutinizing every ingredient label.
The revelation often comes as a shock: many commercially produced bread crumbs contain unexpected ingredients, including sesame seeds, high fructose corn syrup, sugar, preservatives, and a lengthy list of additives. With over 40 ingredients often listed, it’s a stark contrast to the simple goodness of homemade. This realization alone can be enough to convince anyone to switch to making their own, ensuring complete control over what goes into their food and their family’s meals.
While you still need to be mindful of the bread you start with – whether baking your own or selecting high-quality bakery bread – the ability to choose your base ingredient is a huge advantage. This flexibility also makes homemade bread crumbs perfect for those with dietary restrictions, like a gluten intolerance, as you can easily use gluten-free bread. The golden rule is simple: great bread makes great bread crumbs! In this guide, we’ll cover how to achieve various textures, including coarse bread crumbs (akin to panko), fine bread crumbs, and delightfully aromatic Italian seasoned bread crumbs.
About Homemade Bread Crumbs: A Kitchen Treasure
One of the most appealing aspects of making your own bread crumbs is the opportunity to combat food waste. Those slightly dry, day-old loaves or forgotten crusts that are no longer ideal for sandwiches or toast are absolutely perfect for transformation into valuable bread crumbs. We’re talking about dry bread here, not moldy bread; always discard anything with mold. Instead of letting usable bread go to waste, collect your crusts and stale slices in a freezer bag and store them until you have enough to make a batch of these versatile crumbs. This practice is not just economical, but it also elevates a simple ingredient into a culinary asset.
Many experienced cooks view dry bread as a true treasure in the kitchen due to its incredible versatility. Beyond bread crumbs, it serves as the foundation for numerous beloved dishes. Think about classic French toast, yielding a delightfully crispy exterior and soft interior. Or, consider crafting homemade croutons, which are undeniably a thousand times superior in flavor and texture to any packaged variety. Stale bread is also the star of the best panzanella salads, soaking up vibrant dressings beautifully. And for dessert, who could forget a comforting bread pudding? Now, add the invaluable application of homemade bread crumbs to this impressive list!
These humble, dry bread crumbs are indispensable in the kitchen. They excel as a breading for frying or baking, creating a crispy, golden crust on anything from chicken cutlets to vegetables. They act as an excellent binder in recipes such as meatballs, meatloaf, and even veggie burgers, helping ingredients hold their shape and adding a pleasant texture. Beyond that, they make a fantastic topping for pasta when toasted with butter, garlic, and a sprinkle of Parmesan, adding a gourmet touch. They’re equally wonderful sprinkled over casseroles, imparting a delightful crunch and extra flavor.
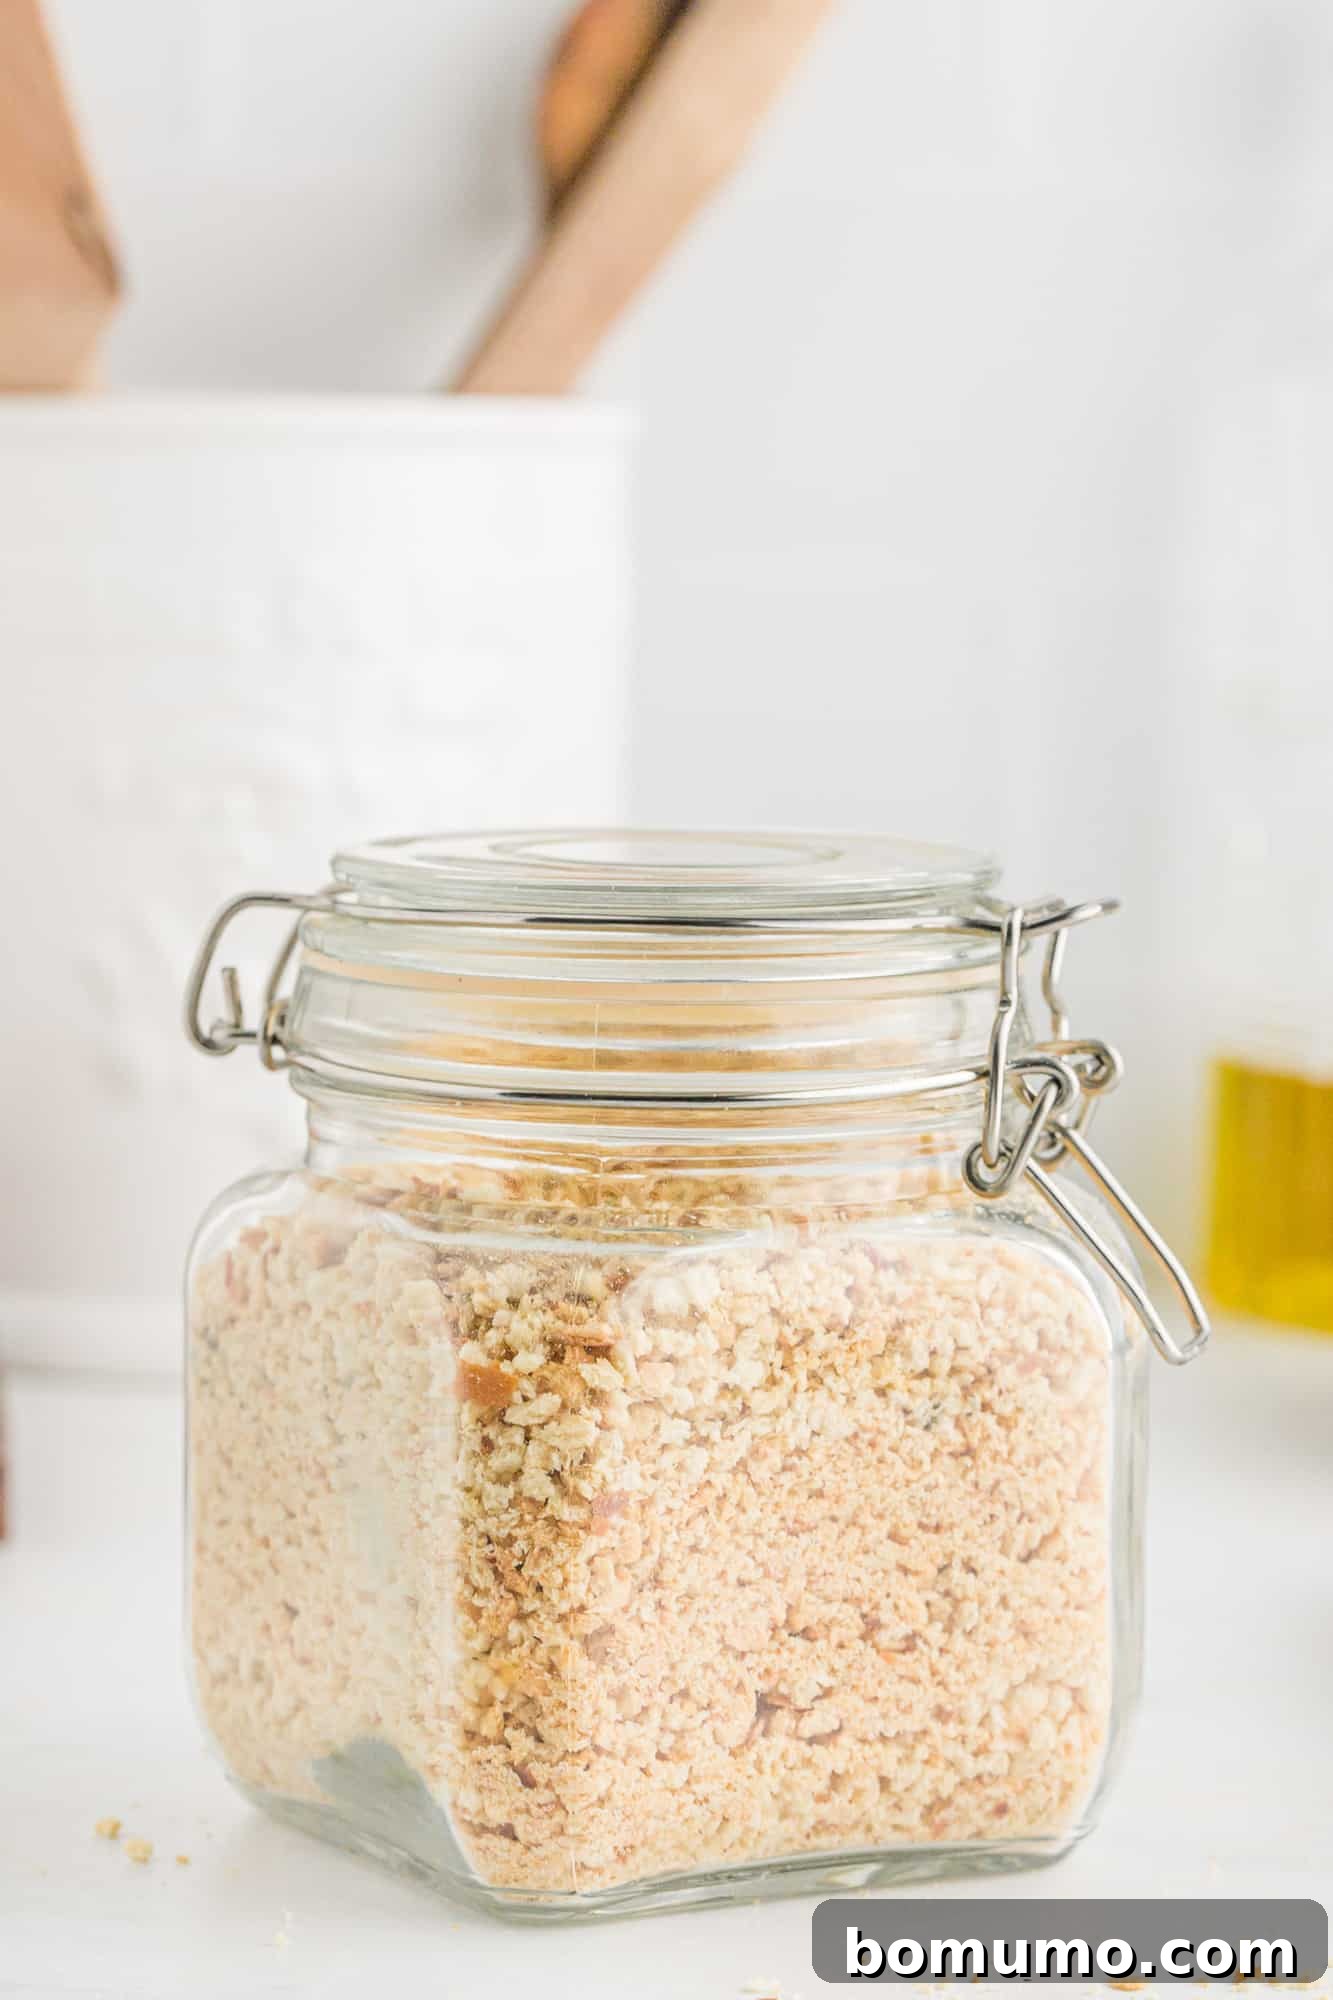
Another significant benefit is their impressive shelf life. Properly prepared and stored, homemade bread crumbs keep exceptionally well. They can be stored for extended periods, especially in the freezer, where they remain loose and easy to scoop out exactly the amount you need without any thawing required. This makes batch preparation not only practical but highly recommended for busy households.
What You’ll Need to Make Bread Crumbs
Gathering a few basic items and ingredients is all it takes to embark on your homemade bread crumb journey. The beauty of this recipe lies in its simplicity and accessibility.
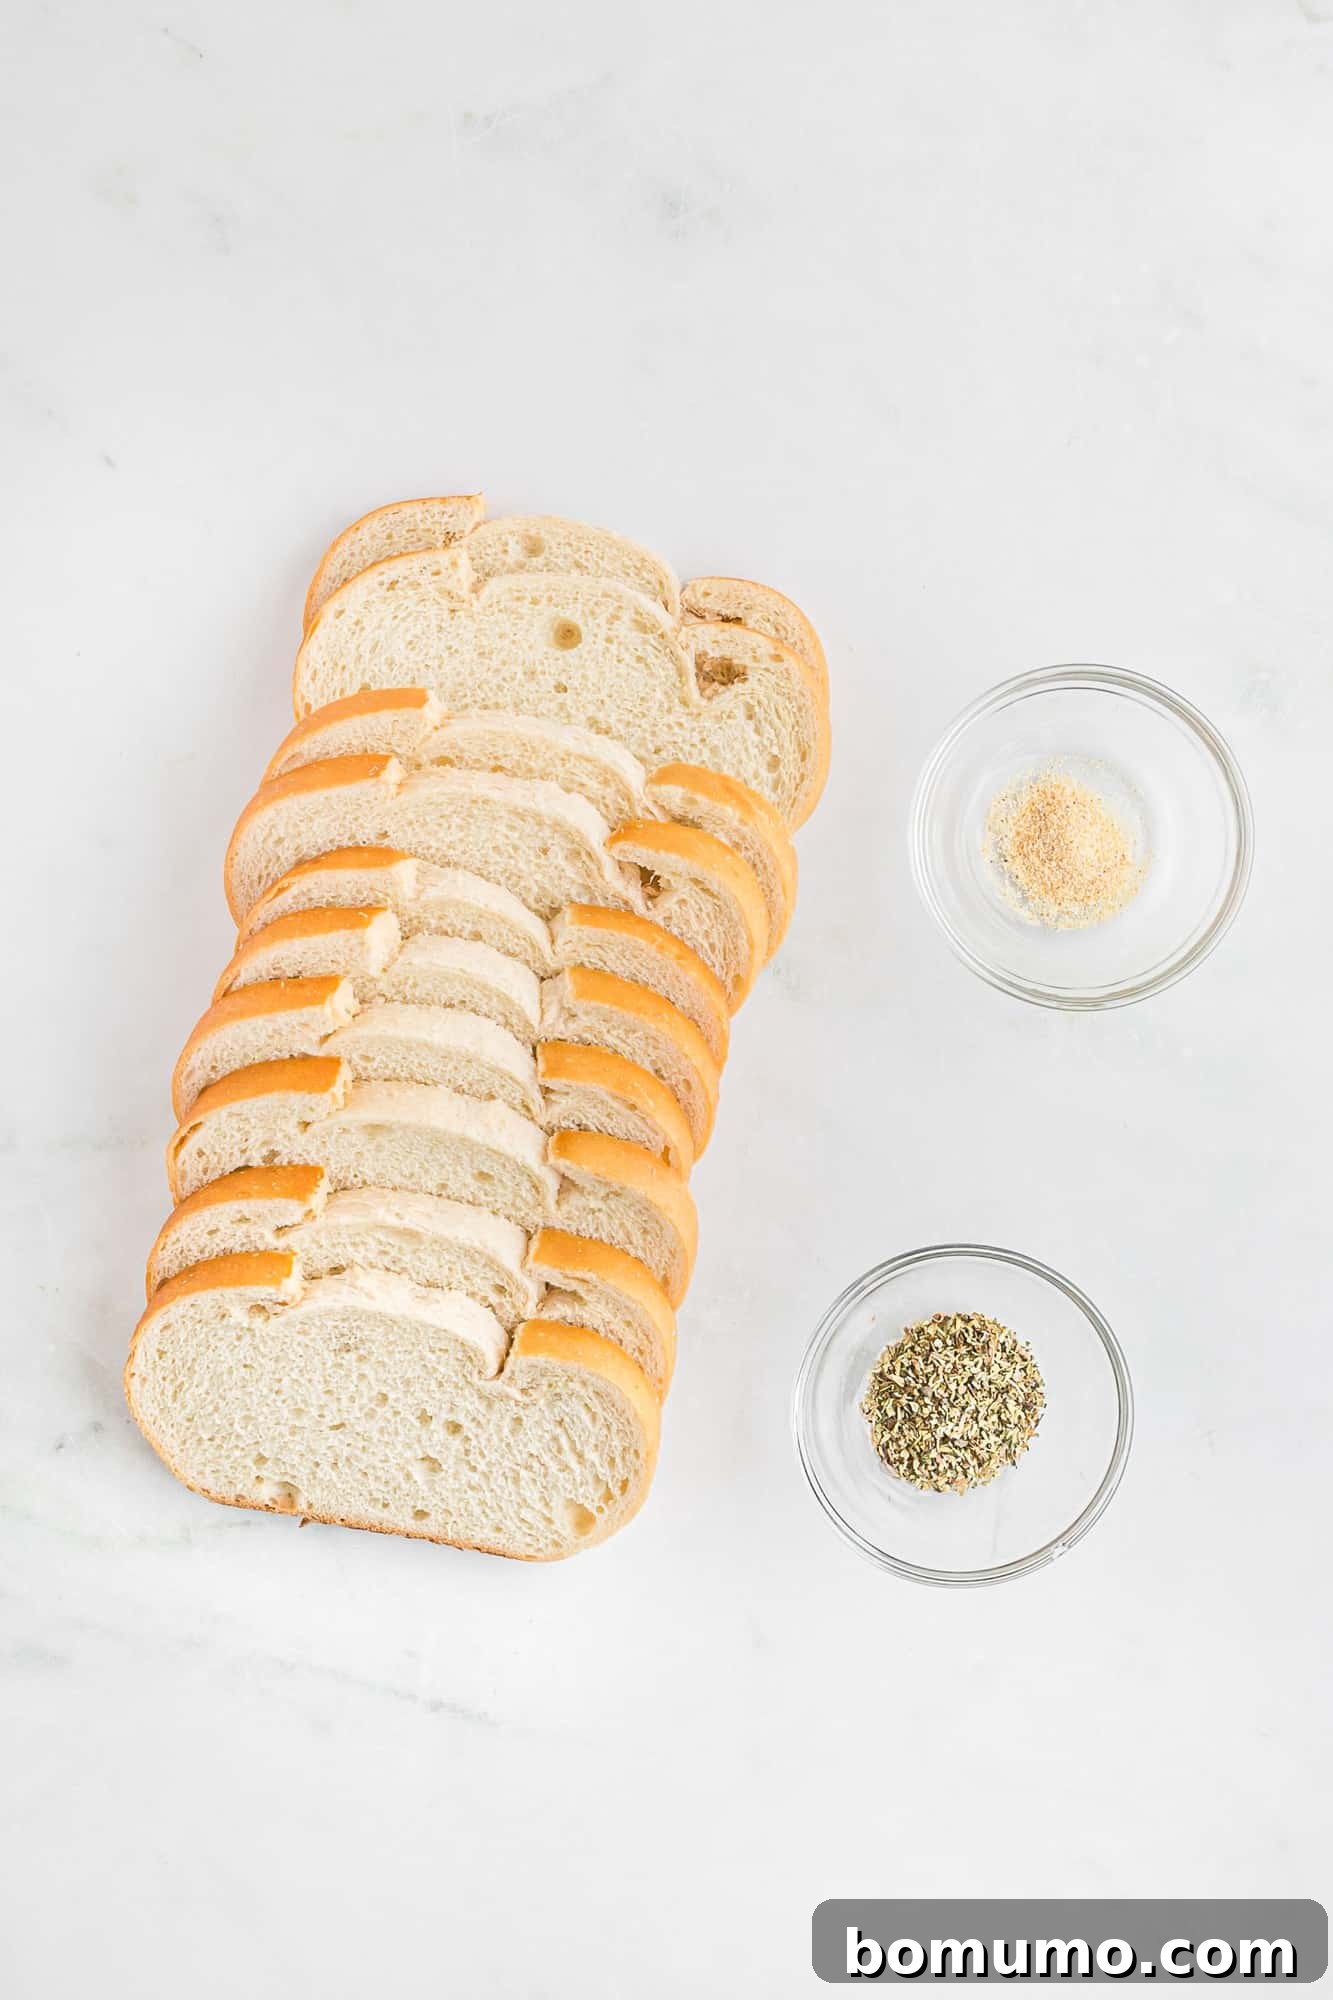
- Bread: The foundation of your bread crumbs. Almost any type of yeast bread will work, from classic white or whole wheat to artisanal sourdough or even gluten-free varieties. The key consideration is that the flavor of your finished bread crumbs will directly reflect the bread you choose, so opt for something you enjoy. Day-old or slightly dry bread is ideal as it requires less initial drying time. However, if you only have fresh, soft bread, don’t worry – we’ll guide you through a quick drying step to prepare it perfectly. Avoid using bread that is moldy or has an off-flavor.
- Food Processor: This is your most efficient tool for transforming bread into crumbs. A food processor equipped with the standard S-blade (also known as a chopping blade) will quickly and uniformly pulverize the bread, making the process incredibly fast and effortless. While it’s possible to make crumbs by hand or with a blender, a food processor provides the best and most consistent results for various textures.
- Rimmed Baking Pan (Sheet Pan): Essential for drying and toasting your bread cubes and later, your crumbs. A shallow pan with a rim or raised edge is crucial to prevent the bread pieces or crumbs from sliding off and ending up scattered across the bottom of your oven during baking. Any standard baking sheet will do, as long as it has a lip.
Step-by-Step Guide to Making Homemade Bread Crumbs
Making homemade bread crumbs is less of a complex recipe and more of a straightforward “how-to” guide. With just a few simple steps, you’ll have a fresh batch of ready-to-use crumbs. Begin by preheating your oven and preparing your baking pan.
- Initial Drying (if necessary): Preheat your oven to 300ºF (150ºC). This initial drying step is crucial, especially if you’re working with fresh, soft bread. If your bread is already quite dry or stale, you might be able to shorten or even skip this step. Why is drying so important? Attempting to process moist, fresh bread in a food processor will result in a sticky, clumpy paste rather than light, airy crumbs. The bread needs to be adequately dry to achieve the desired crumb texture.
- Prepare the Bread: Tear the bread slices into rough, large cubes. There’s no need for precision; using your fingers to tear the bread into uneven chunks works perfectly well. Avoid cutting perfectly square pieces, as varying sizes can actually contribute to a more interesting texture in your final crumbs.
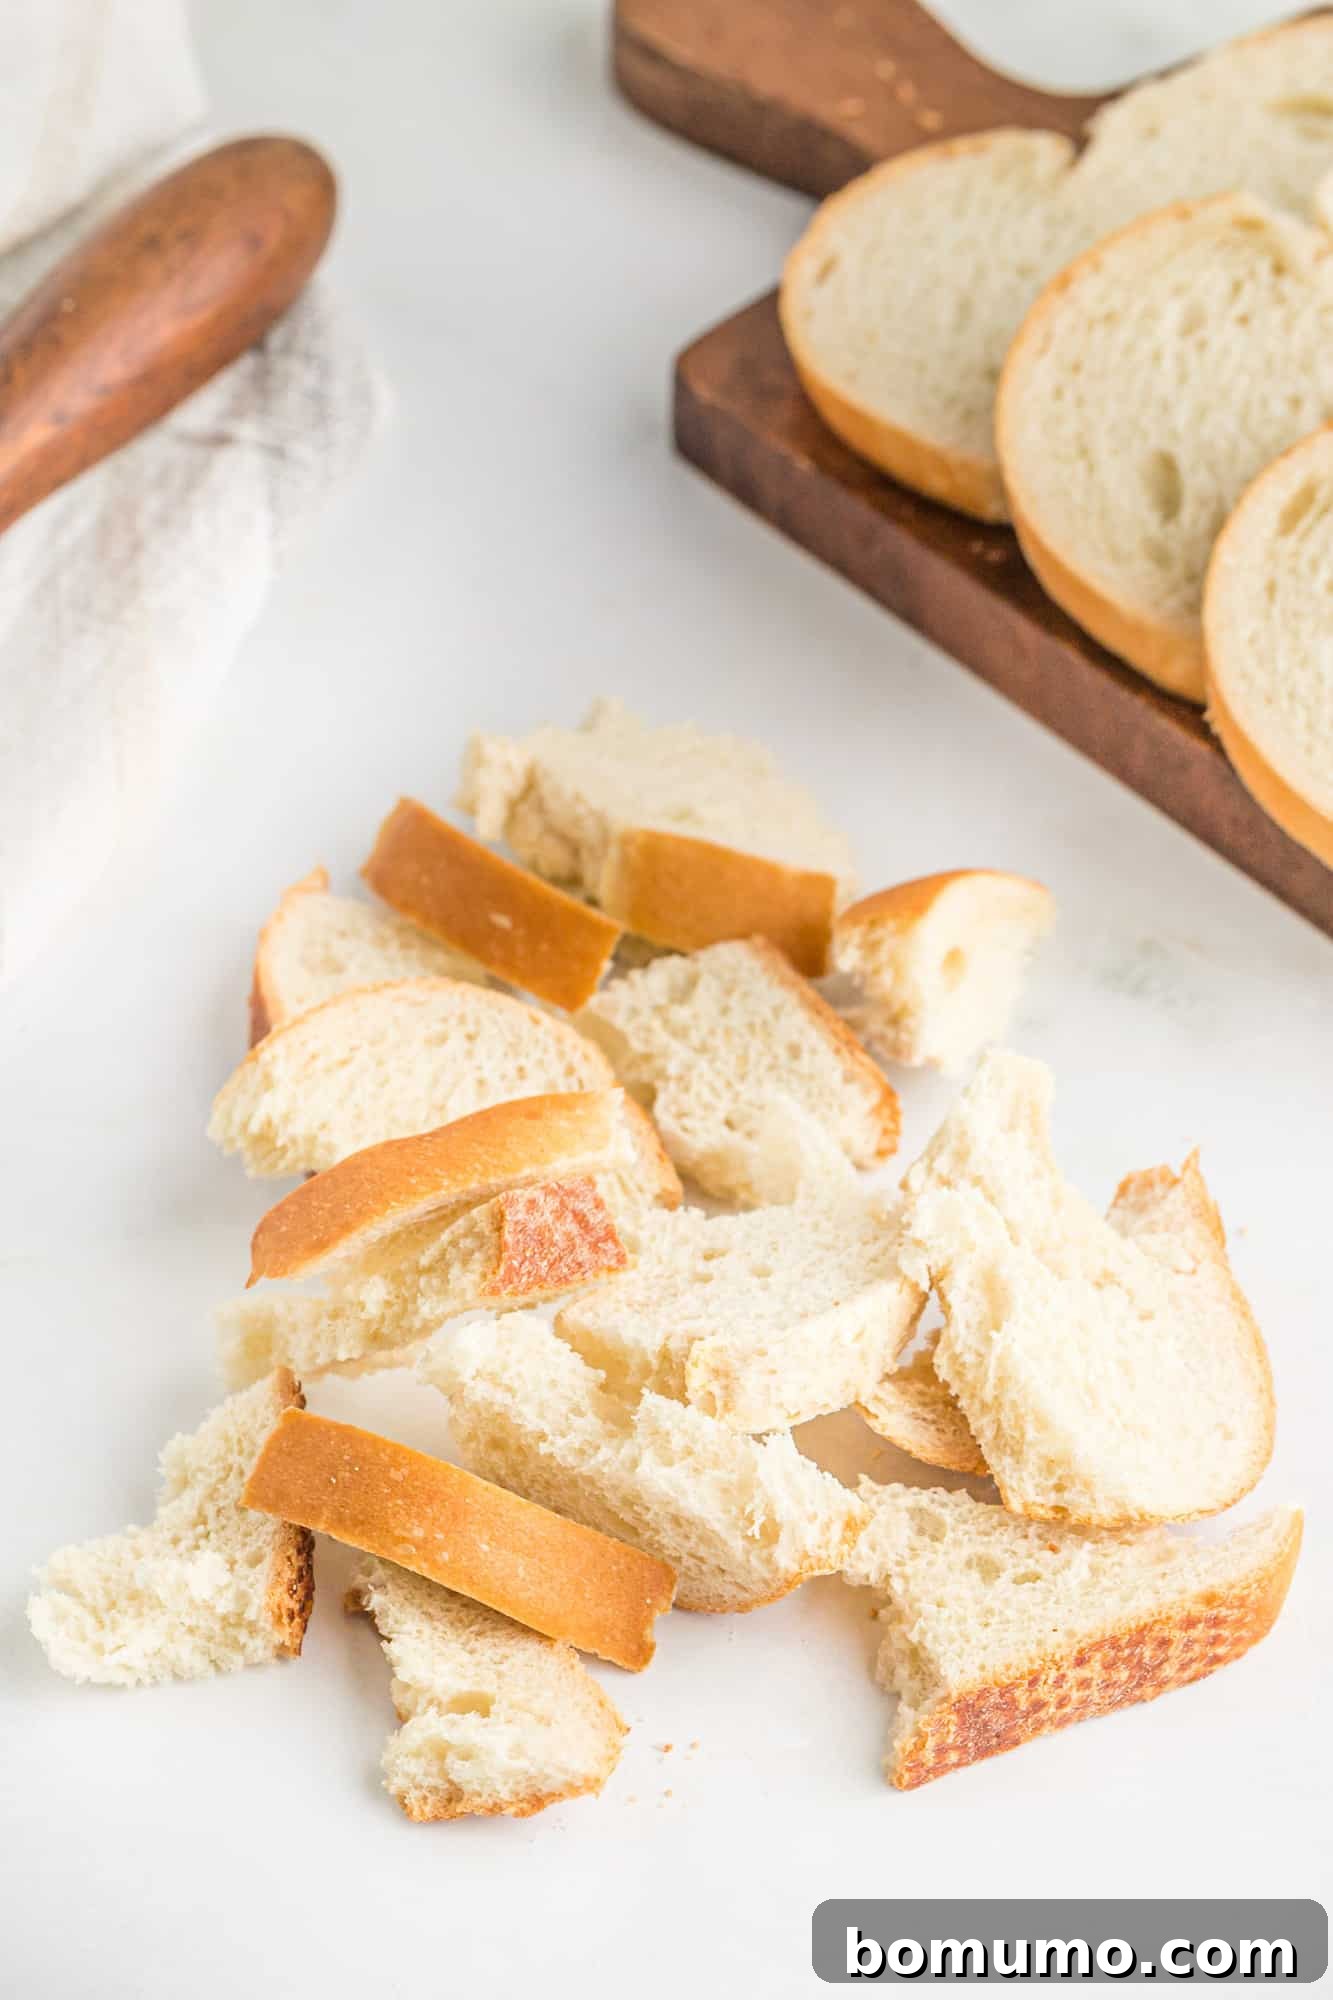
- First Bake: Arrange the torn bread cubes in a single layer on your rimmed baking pan. Place them in the preheated 300ºF (150ºC) oven for approximately 5 minutes. The goal here is not to brown the bread, but merely to dry it out thoroughly. You want the pieces to feel crisp, not soft.
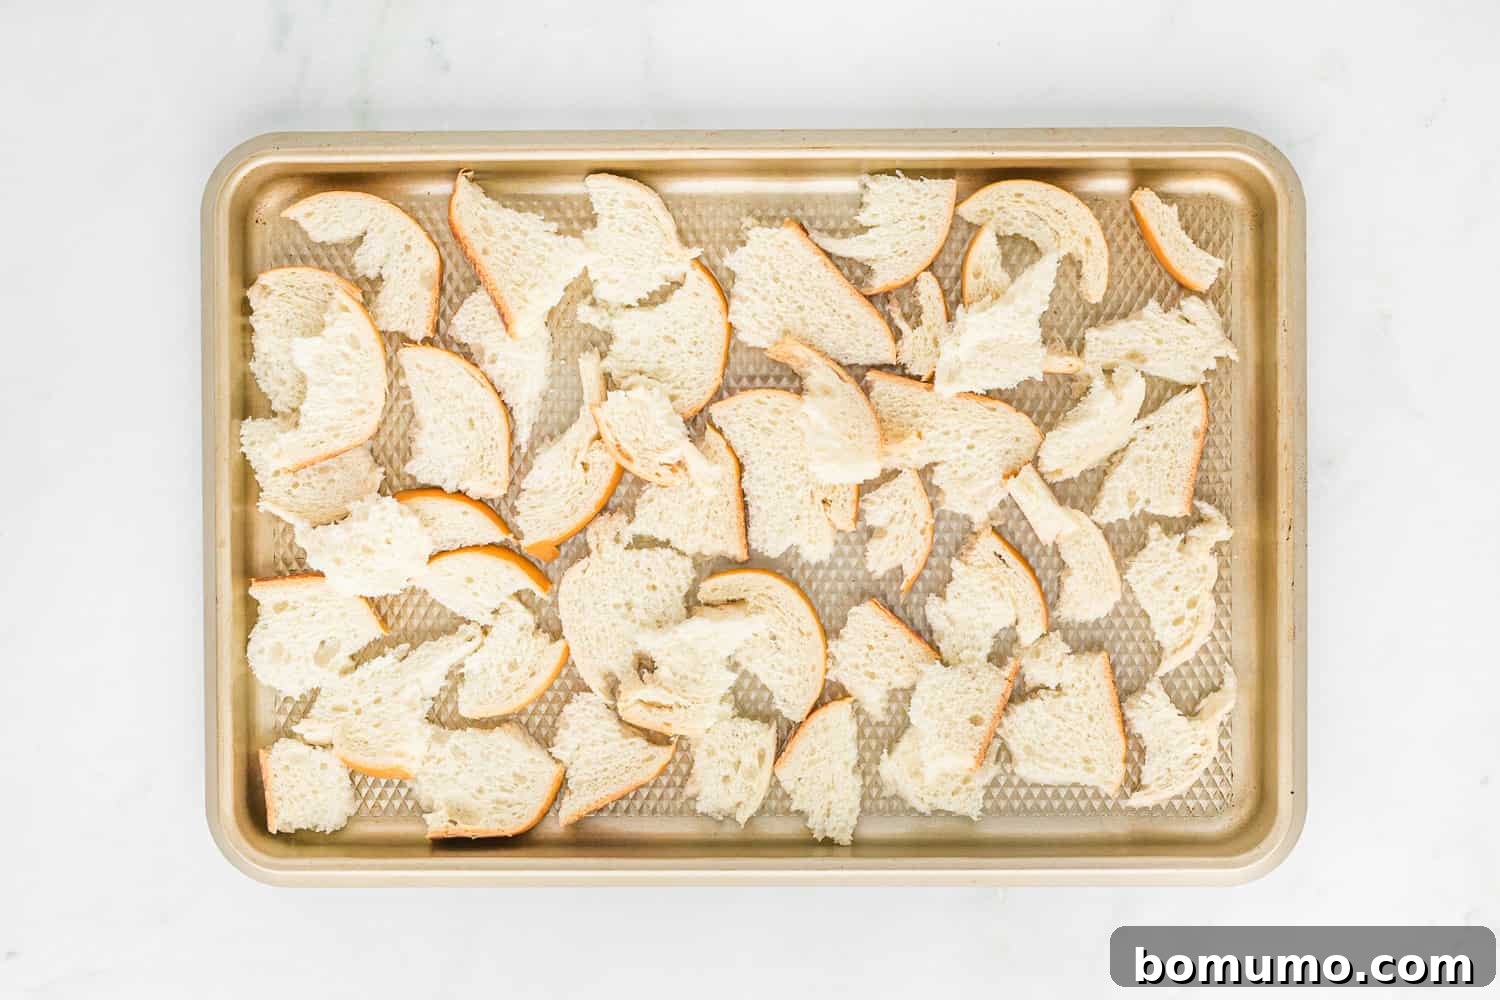
- Cool and Lower Temperature: Remove the pan from the oven and allow the bread cubes to cool completely. This cooling period is important as it helps them firm up further and prevents excess moisture when processing. While the bread cools, reduce your oven temperature to 275ºF (135ºC).
- First Processing (Coarse Crumbs/Panko Style): Once the bread has cooled completely, transfer the dry cubes into your food processor, ensuring the S-blade is properly installed. Pulse the food processor several times in short bursts. Continue pulsing until the bread breaks down into a coarse crumb consistency. At this stage, your crumbs should resemble panko bread crumbs – light, airy, and irregularly shaped. Be careful not to over-process if you prefer this coarser texture.
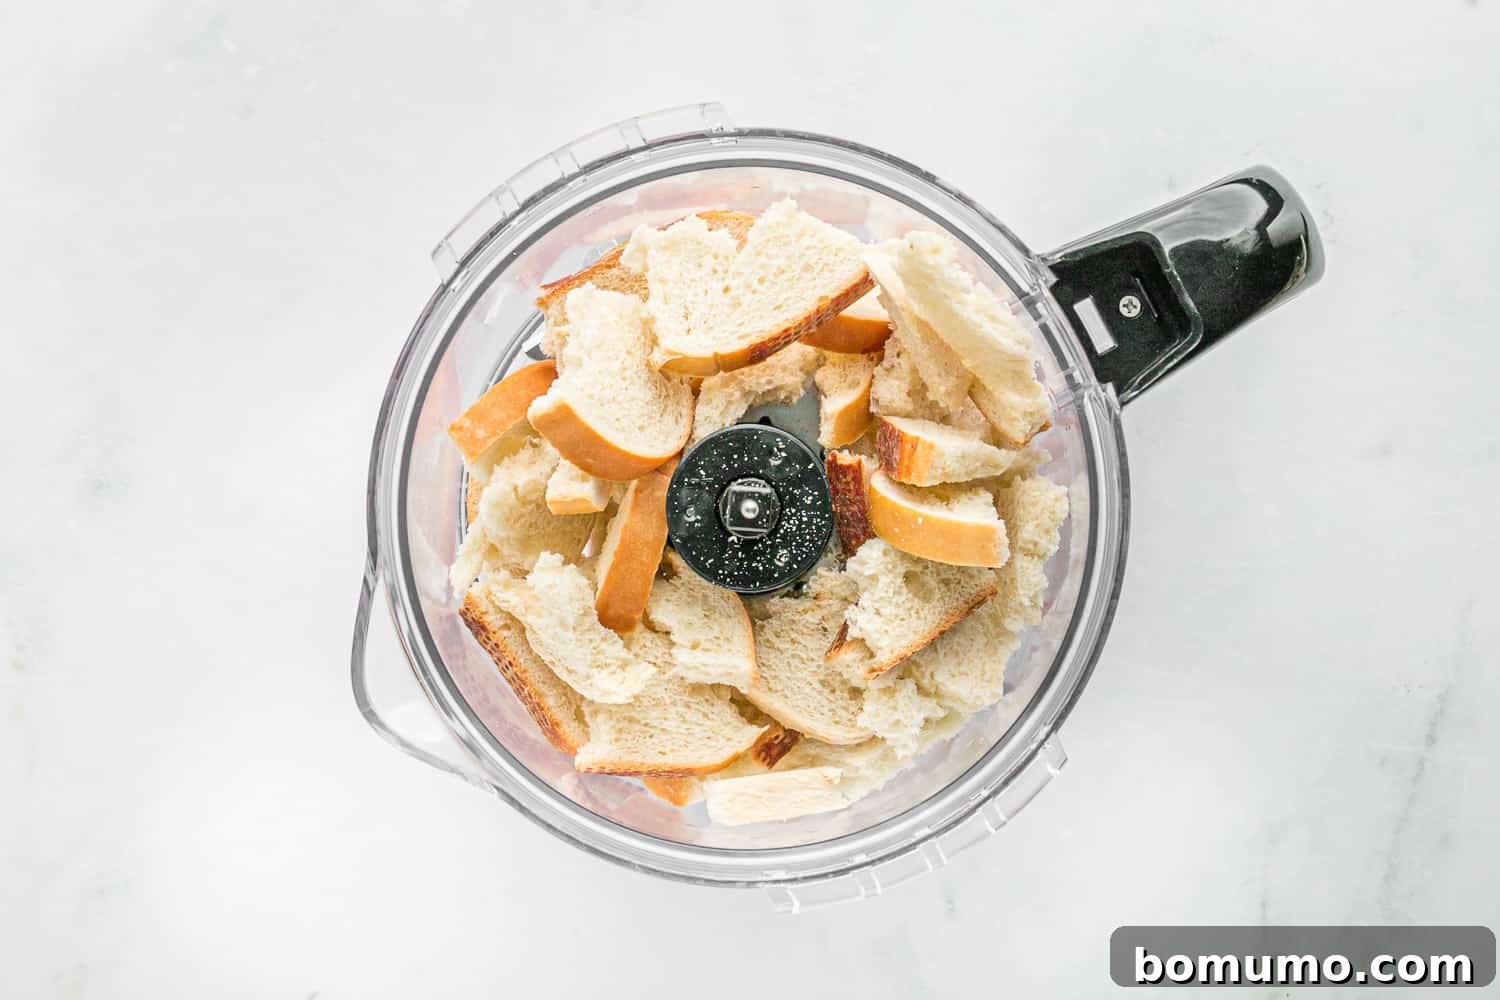
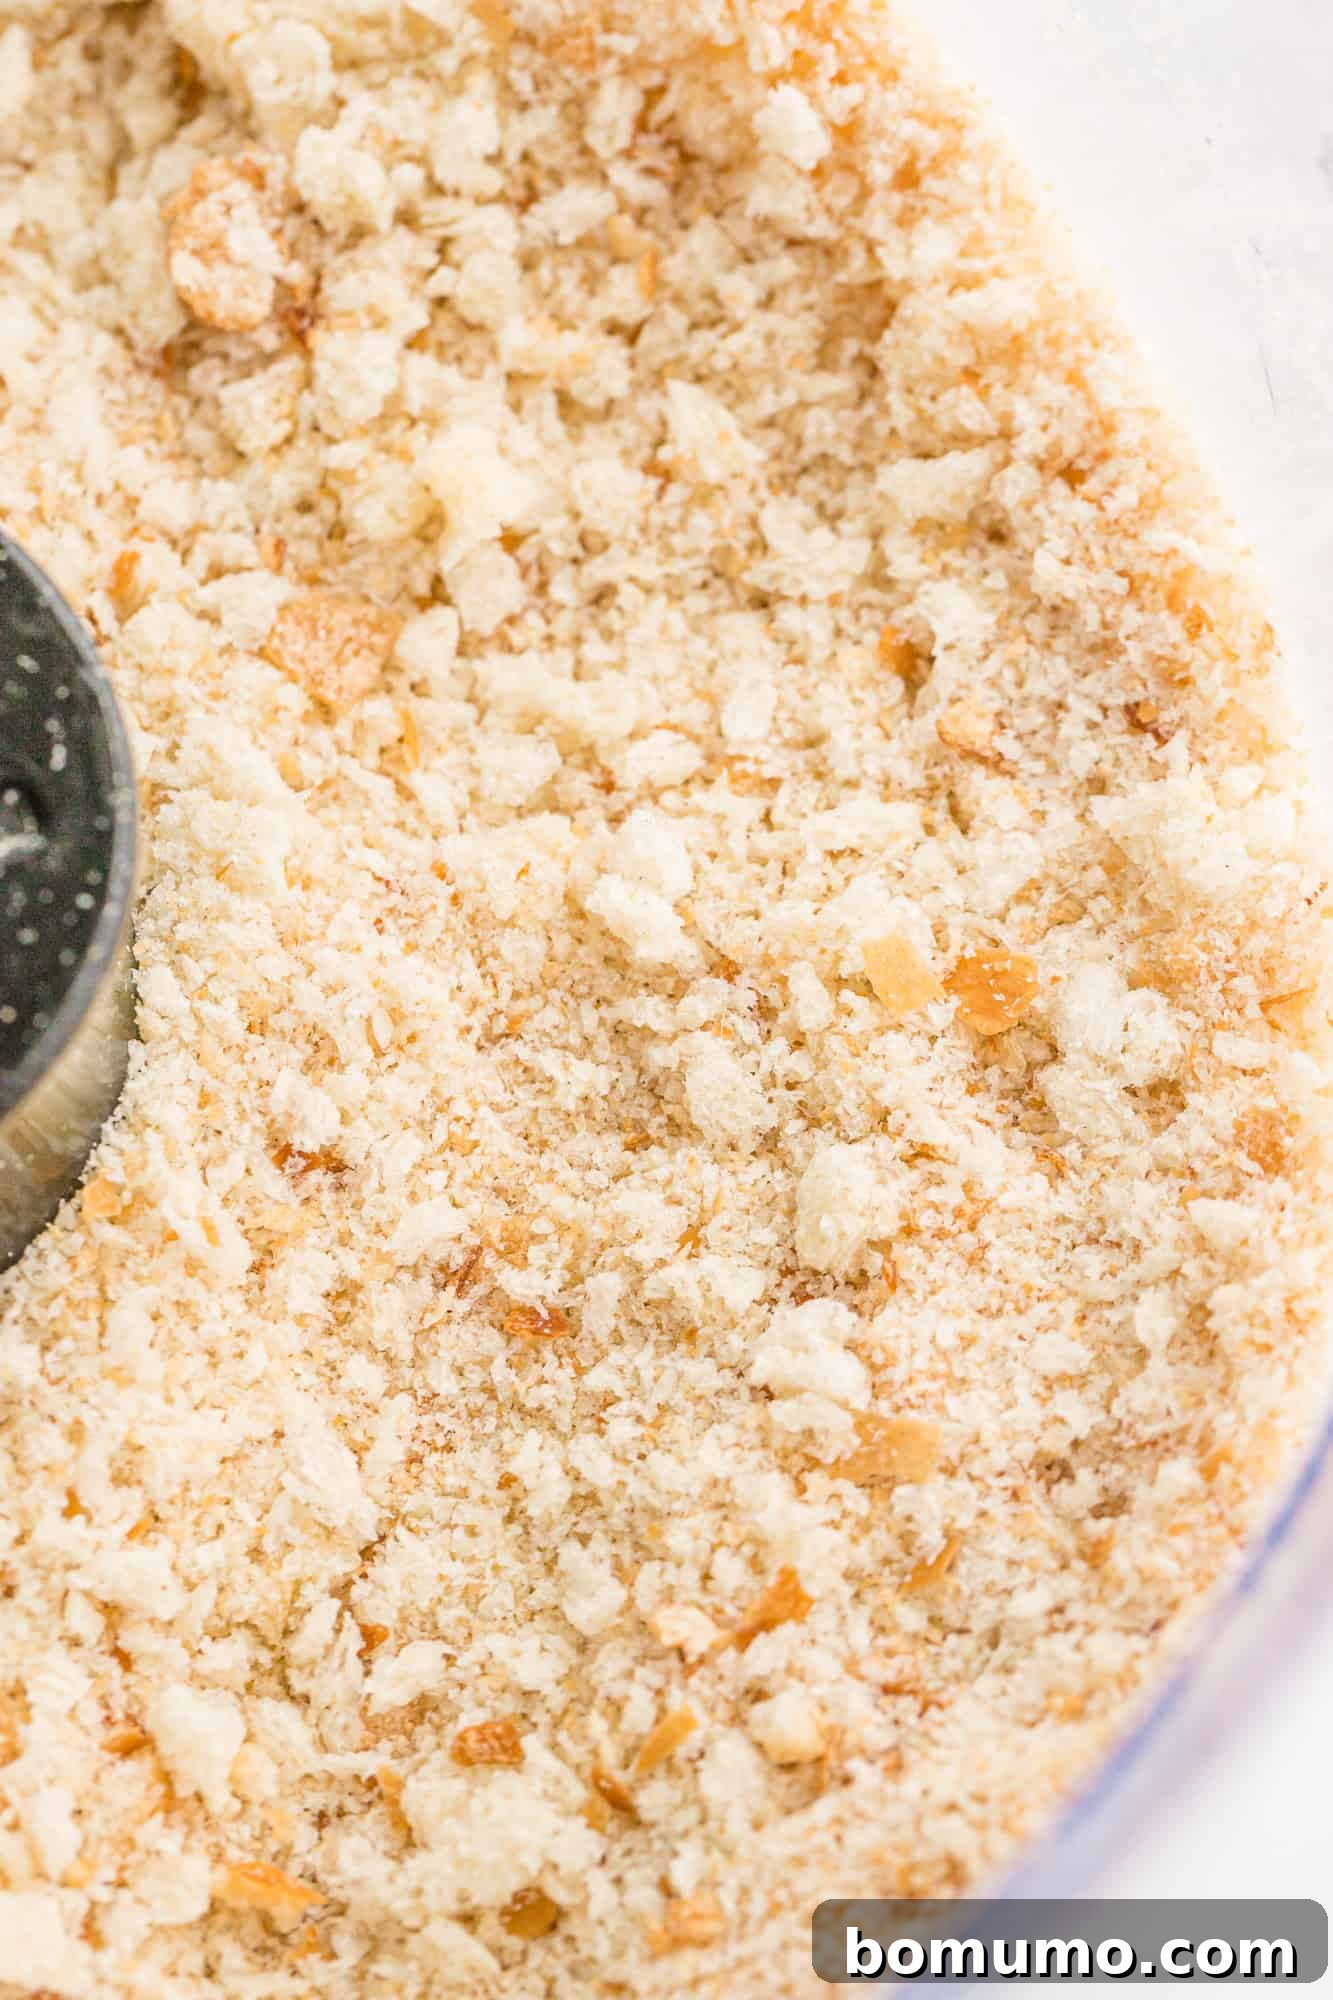
- Second Bake for Dryness: Spread the freshly processed crumbs back onto the same rimmed baking sheet in an even, thin layer. Place the pan back into the oven, now set at 275ºF (135ºC). Bake for an additional 15 to 20 minutes, stirring the crumbs every five minutes. This ensures they dry out uniformly and become perfectly crisp and lightly toasted.
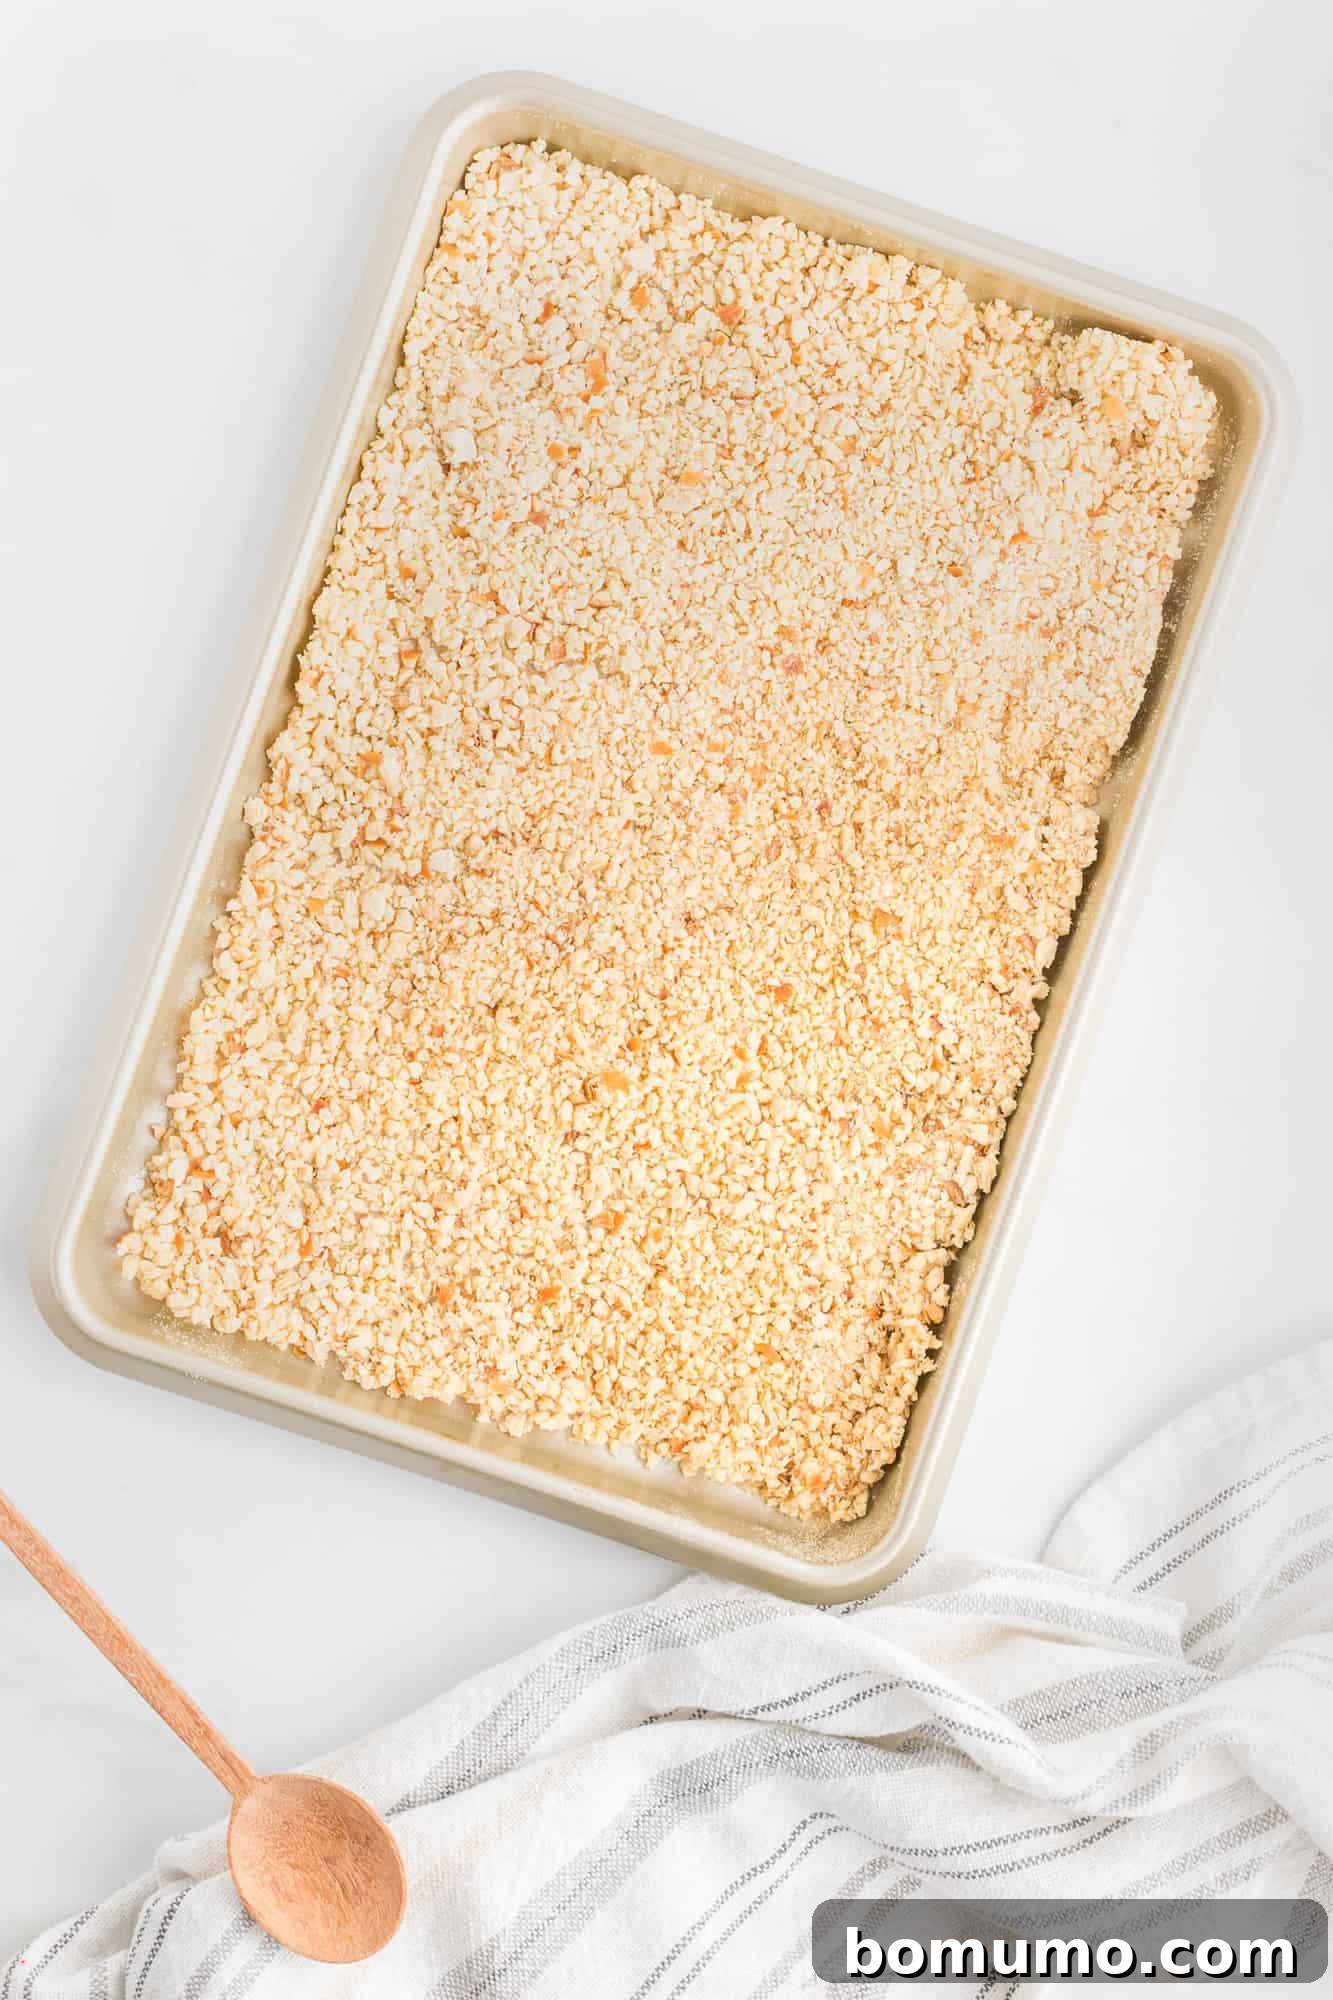
- Final Cooling and Storage: Once baked, remove the bread crumbs from the oven and allow them to cool down completely on the baking sheet. This is a critical step; storing warm crumbs will create condensation and can lead to spoilage. Once thoroughly cooled, you have a choice: either store them as coarse (panko-style) crumbs or return them to the food processor for a second round of pulsing to achieve very fine crumbs. You can also proceed to season them for an Italian variety.
Bread Crumbs Vs. Panko: Understanding the Difference
When incorporating bread crumbs into your recipes, understanding the distinction between different textures is key to culinary success. Coarse bread crumbs, often resembling Panko, are light, airy, and irregular in shape, creating a wonderfully crispy texture when used for breading. Fine bread crumbs, on the other hand, are much denser and provide a more uniform coating or a more binding effect. If a recipe specifically calls for panko, always opt for the coarser, flakier homemade crumbs to achieve that signature crunch. For recipes requesting “bread crumbs” without further specification, finely ground crumbs are usually preferred, particularly for binding in mixtures like meatballs or for a smoother casserole topping. The texture you choose will significantly impact the outcome of your dish, so process accordingly!
How to Make Flavorful Italian Bread Crumbs
Elevating your plain homemade bread crumbs to a vibrant Italian style is incredibly simple and adds a depth of flavor perfect for many savory dishes. It’s all about the right blend of herbs and spices.
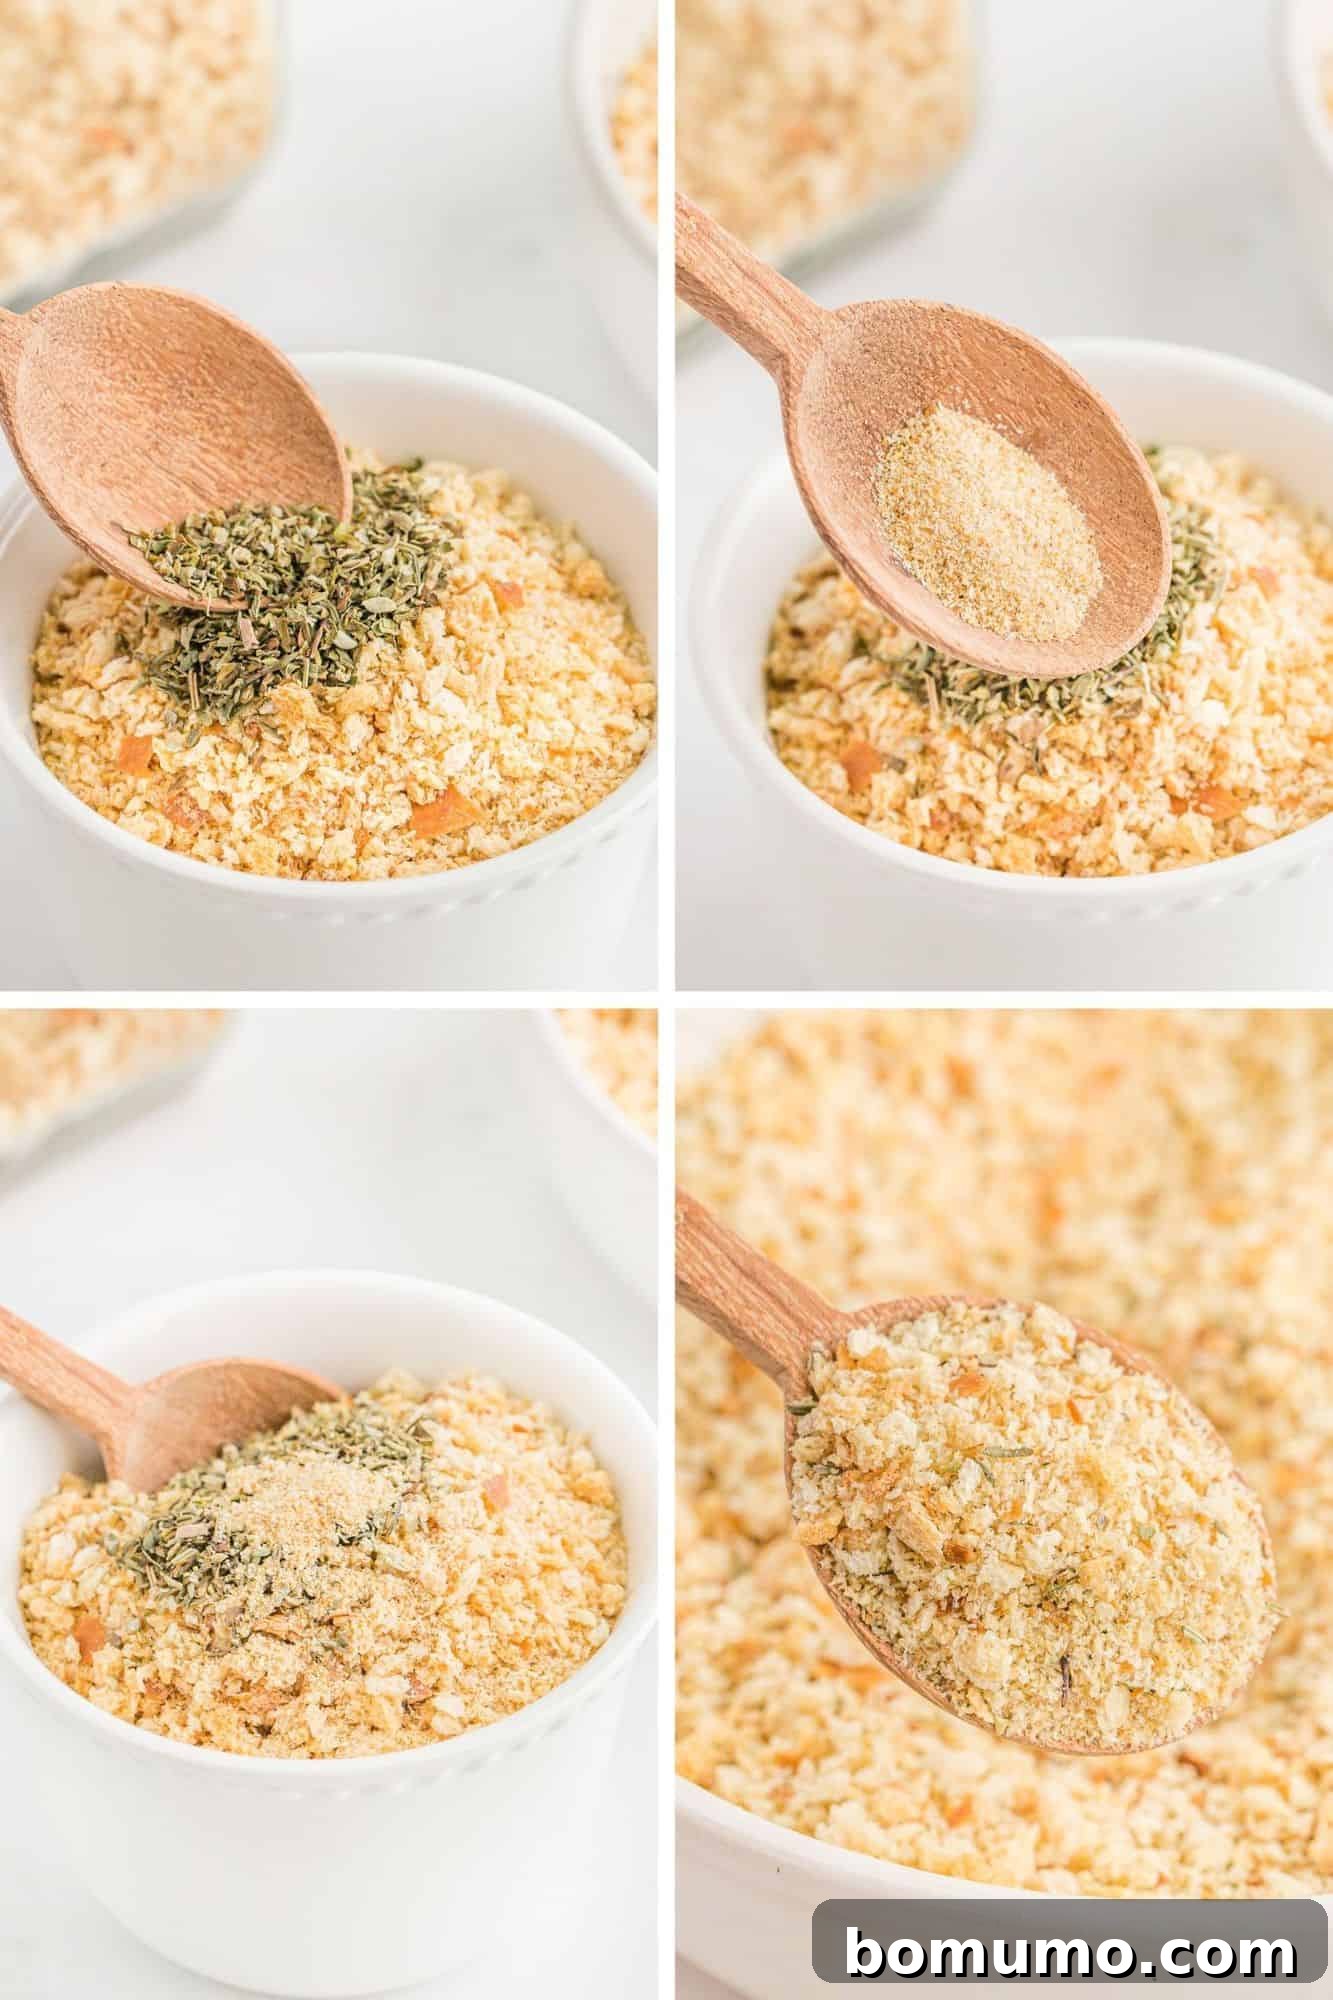
To create classic Italian seasoned bread crumbs, after your plain crumbs have been baked and completely cooled, add the following to each cup of bread crumbs:
- 1 teaspoon Italian seasoning (either a store-bought blend or a fragrant homemade Italian seasoning mix)
- ¼ teaspoon garlic powder
Thoroughly mix these ingredients into the bread crumbs. Taste and adjust the quantities as desired to achieve your preferred intensity of flavor. Some cooks might also add a pinch of onion powder, dried parsley, or even a touch of red pepper flakes for a subtle heat. These instructions are also conveniently outlined in the recipe card below.
FAQs
Bread crumbs are incredibly versatile! They are indispensable for creating a crispy coating in breading, whether you’re preparing savory dishes like chicken Parmesan or breaded pork chops. If you own an air fryer, they’re perfect for making lighter versions of favorites such as breaded zucchini fries, mozzarella sticks, or air fryer breaded shrimp. They’re also key ingredients for delicious homemade chicken nuggets or air fryer chicken tenders. You can even use them to make delightfully crispy fried goat cheese. Beyond breading, crumbs act as a superb binder in recipes like baked turkey meatballs and classic meatloaf, providing structure and moisture. Furthermore, when mixed with melted butter and herbs, they transform into a delectable topping for casseroles such as cheesy potatoes, creamy mac and cheese, or comforting tuna casserole, adding a crave-worthy crunchy finish.
The best substitute for bread crumbs depends on their intended use in your recipe. For binding ingredients in dishes like meatballs or meatloaf, rolled oats can serve as an excellent and often healthier alternative, absorbing moisture effectively. If you’re looking for a crunchy coating for breading, consider crushed tortilla chips for a Tex-Mex twist, crispy rice cereal for a lighter, gluten-free option, or crushed crackers for a savory, buttery crust. Ground nuts or seeds can also provide unique flavors and textures for specific applications.
Panko is a specific type of Japanese bread crumb known for its distinctive flaky, airy, and coarser texture compared to most standard commercial bread crumbs. This unique structure allows Panko to absorb less oil during cooking, resulting in an exceptionally crispier and lighter coating. When you make your own bread crumbs, the distinction between panko-style and fine bread crumbs largely depends on how long you process them in the food processor. Less processing yields larger, more irregular pieces that mimic panko, while continued pulsing creates finer, more uniform crumbs. Many chefs prefer panko or coarse homemade crumbs for breading because they deliver a superior crispness and a more satisfying crunch.
Absolutely! The beauty of homemade bread crumbs is the flexibility in your choice of bread. Almost any yeast-leavened bread can be turned into crumbs. White sandwich bread offers a neutral flavor, while whole wheat or multi-grain breads provide a nuttier taste and added fiber. Sourdough or rye can lend distinct, tangy notes to your crumbs, perfect for specific culinary applications. For those avoiding gluten, gluten-free bread works perfectly. Just remember that the flavor profile of your finished crumbs will directly reflect the bread you start with, so choose a bread you enjoy eating.
While a food processor offers the quickest and most consistent results, you can certainly make bread crumbs without one. For coarse crumbs, you can place dried bread cubes in a sturdy freezer bag and crush them with a rolling pin or the bottom of a heavy pan. This method requires a bit more effort but yields satisfyingly rustic crumbs. For finer crumbs, a blender can work, though you may need to pulse in smaller batches to avoid creating a paste. A cheese grater can also be used for very fine crumbs, especially if the bread is well-dried and firm.
Customize Your Bread Crumbs: Endless Possibilities
The flexibility of homemade bread crumbs extends far beyond just choosing your bread type. You can truly make them your own by incorporating a variety of flavors. Beyond the classic Italian seasoning, consider these ideas:
- Herbal Infusion: Add dried herbs like rosemary, thyme, oregano, or savory during the second bake for an aromatic boost.
- Spicy Kick: A pinch of cayenne pepper, smoked paprika, or chili powder can add a pleasant warmth, great for breading spicy chicken or fish.
- Cheesy Delight: Mix in finely grated Parmesan or Pecorino Romano cheese *after* the crumbs have cooled. This is perfect for topping pasta or casseroles.
- Citrus Zest: For a bright, fresh flavor, add some dried lemon or orange zest to your crumbs, particularly good for seafood dishes.
- Nutty Notes: If allergies aren’t a concern, a small amount of finely ground toasted nuts (like walnuts or pecans) can add depth and richness.
Experiment with different combinations to find your signature blend, transforming basic bread crumbs into a specialty ingredient tailored to your cooking style!
Make-Ahead Magic
Homemade bread crumbs are perfectly suited for make-ahead preparation, saving you valuable time in the kitchen. Preparing a larger batch means you’ll always have this essential ingredient on hand whenever inspiration strikes. A smart and economical habit is to save leftover dry bread in a designated freezer bag or container. Over time, you’ll accumulate enough scraps and crusts to justify making a substantial batch of bread crumbs, turning what might have been discarded into a useful, flavor-packed pantry item. This not only minimizes food waste but also means you’re always ready for breading a schnitzel or topping a casserole without a last-minute scramble.
Storage Tips
Proper storage is essential to maintain the freshness and crispness of your homemade bread crumbs. Always ensure they are completely cool before transferring them to storage containers; even slight warmth can lead to condensation, which encourages mold growth and spoilage.
- Room Temperature: Store cooled bread crumbs in an airtight container at room temperature for up to one week. This is suitable for frequently used crumbs.
- Refrigerator: For slightly longer storage, keep them in an airtight container in the refrigerator for up to three weeks.
- Freezer: For the longest shelf life, the freezer is your best friend. Place cooled bread crumbs in a freezer-safe airtight container or a heavy-duty freezer bag for up to three months. The fantastic thing about freezing bread crumbs is that they won’t clump together, allowing you to easily scoop out precisely the amount you need without any thawing required. This makes them incredibly convenient for spontaneous cooking.
Explore More How-To Guides:
Poached Chicken – How To Poach Chicken
How to Cook Butternut Squash (4 methods)
Baked Bacon Recipe – How to Bake Bacon Two Ways
How to Make Baked Potatoes
Homemade Bread Crumbs Recipe
Rating: 4.80 from 5 votes
Cook Time: 20 mins |
Total Time: 30 mins
Homemade bread crumbs are incredibly easy to make and remarkably versatile for breading, binding in meatballs or meatloaf, or as a delightful topping for pasta. This recipe covers plain, coarse (panko-style), and Italian seasoned crumbs!
Ingredients
- 8 oz. white bread (approx. 4 to 5 slices, easily doubled or tripled)
- Italian seasoning (optional, for Italian bread crumbs)
- Garlic powder (optional, for Italian bread crumbs)
Instructions
- Preheat oven to 300ºF (150ºC). Tear bread into large cubes and place them on a rimmed baking sheet. Bake for about 5 minutes, or until the bread is thoroughly dry but not browned. Let cool completely. (This step can be skipped if you’re using already dry, stale bread.)
- Once cooled, transfer the dry bread to a food processor fitted with the S-blade. Pulse several times until the bread transforms into coarse crumbs, resembling panko bread crumbs.
- Reduce oven temperature to 275ºF (135ºC). Spread the processed crumbs out in an even layer on a clean rimmed baking sheet.
- Bake the crumbs for 15 to 20 minutes, stirring every five minutes to ensure even drying. The goal is for the crumbs to be completely dry and lightly toasted. Cool completely before storing them in an airtight container.
- For Fine Crumbs: If you desire very fine bread crumbs, allow the coarse crumbs to cool completely after the second bake. Then, return them to the food processor and pulse again until they reach your preferred fine consistency.
How To Make Italian Bread Crumbs
- After the second bake and cooling, for each cup of plain bread crumbs, thoroughly mix in 1 teaspoon of Italian seasoning and ¼ teaspoon of garlic powder. Adjust quantities to taste for a more pronounced flavor.
Notes
- Yield: Approximately 2 ½ cups of bread crumbs.
- If using a bread with a particularly tough or thick crust (like sourdough), it’s advisable to remove the crust before processing for a more uniform crumb texture.
- Storage: Ensure bread crumbs are completely cool before storing to prevent condensation. Store in an airtight container at room temperature for up to a week, in the refrigerator for up to 3 weeks, or in the freezer for up to three months. Frozen bread crumbs will not clump, allowing you to easily retrieve the desired amount without thawing.
Nutrition (Approximate per 0.25 cup serving)
Calories: 61kcal, Carbohydrates: 11g, Protein: 2g, Fat: 1g, Saturated Fat: 1g, Polyunsaturated Fat: 1g, Monounsaturated Fat: 1g, Trans Fat: 1g, Sodium: 108mg, Potassium: 27mg, Fiber: 1g, Sugar: 1g, Vitamin A: 1IU, Calcium: 48mg, Iron: 1mg
Nutrition information is automatically calculated and should be used as an approximation.