Yeast breads
Dutch Oven Bread (no knead!)
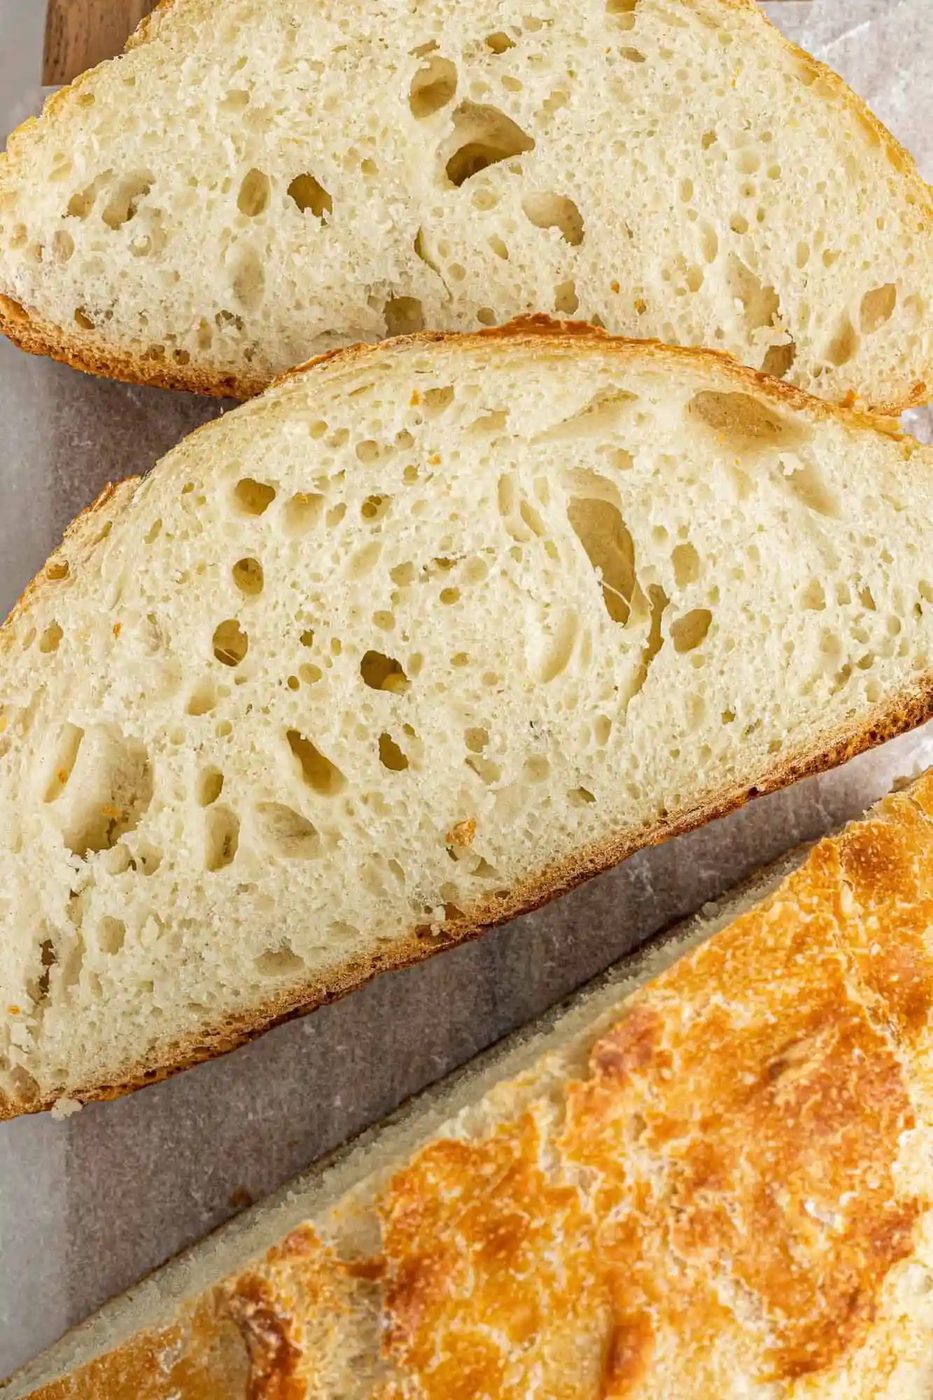
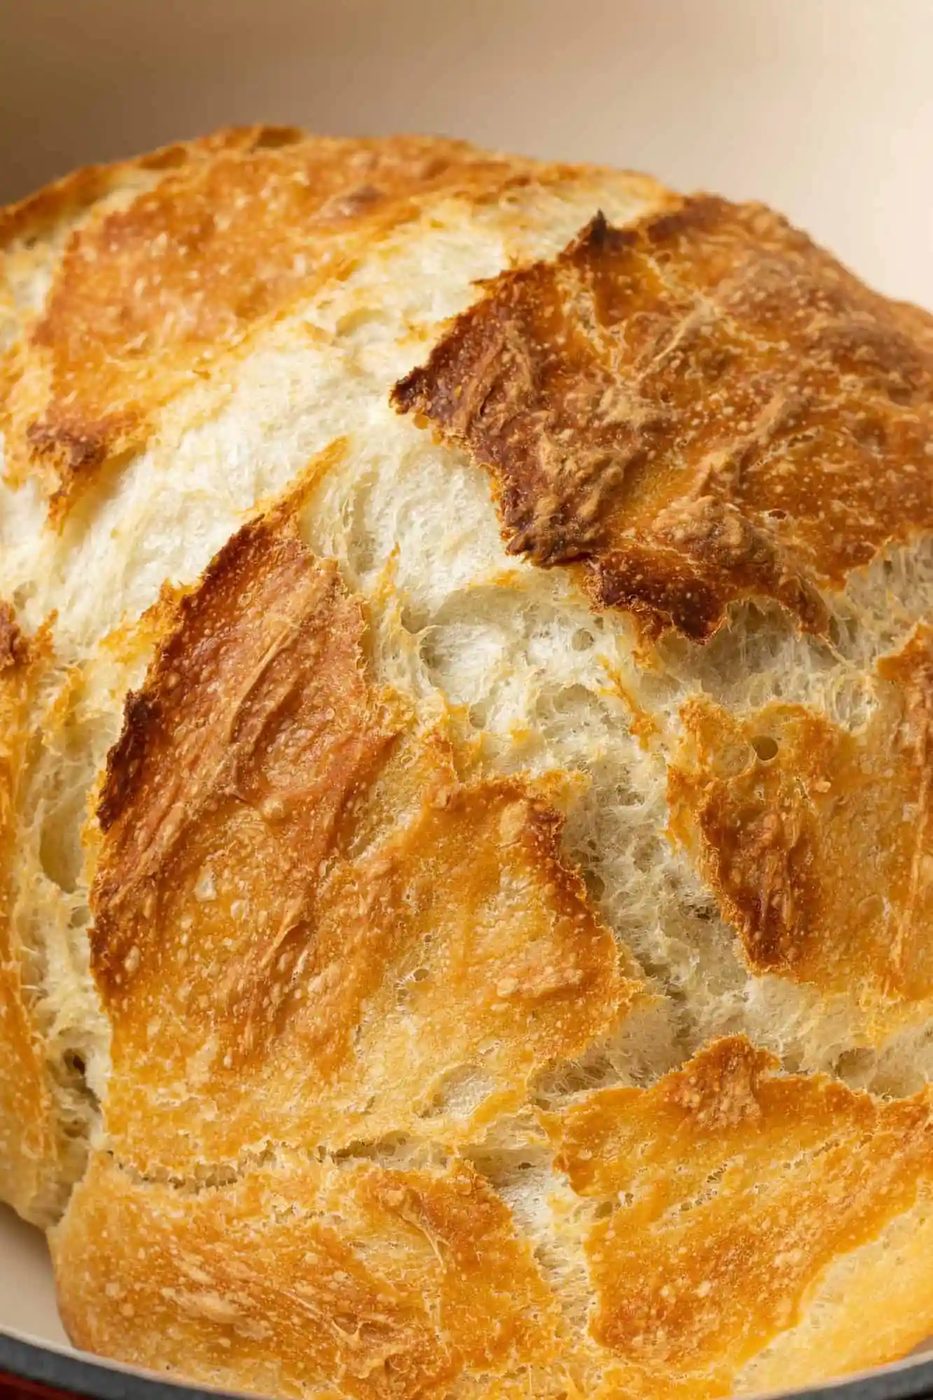
Rather amazingly, Dutch oven bread tastes like expensive artisan bread. It's straightforward to mix — no kneading necessary!
At a glance
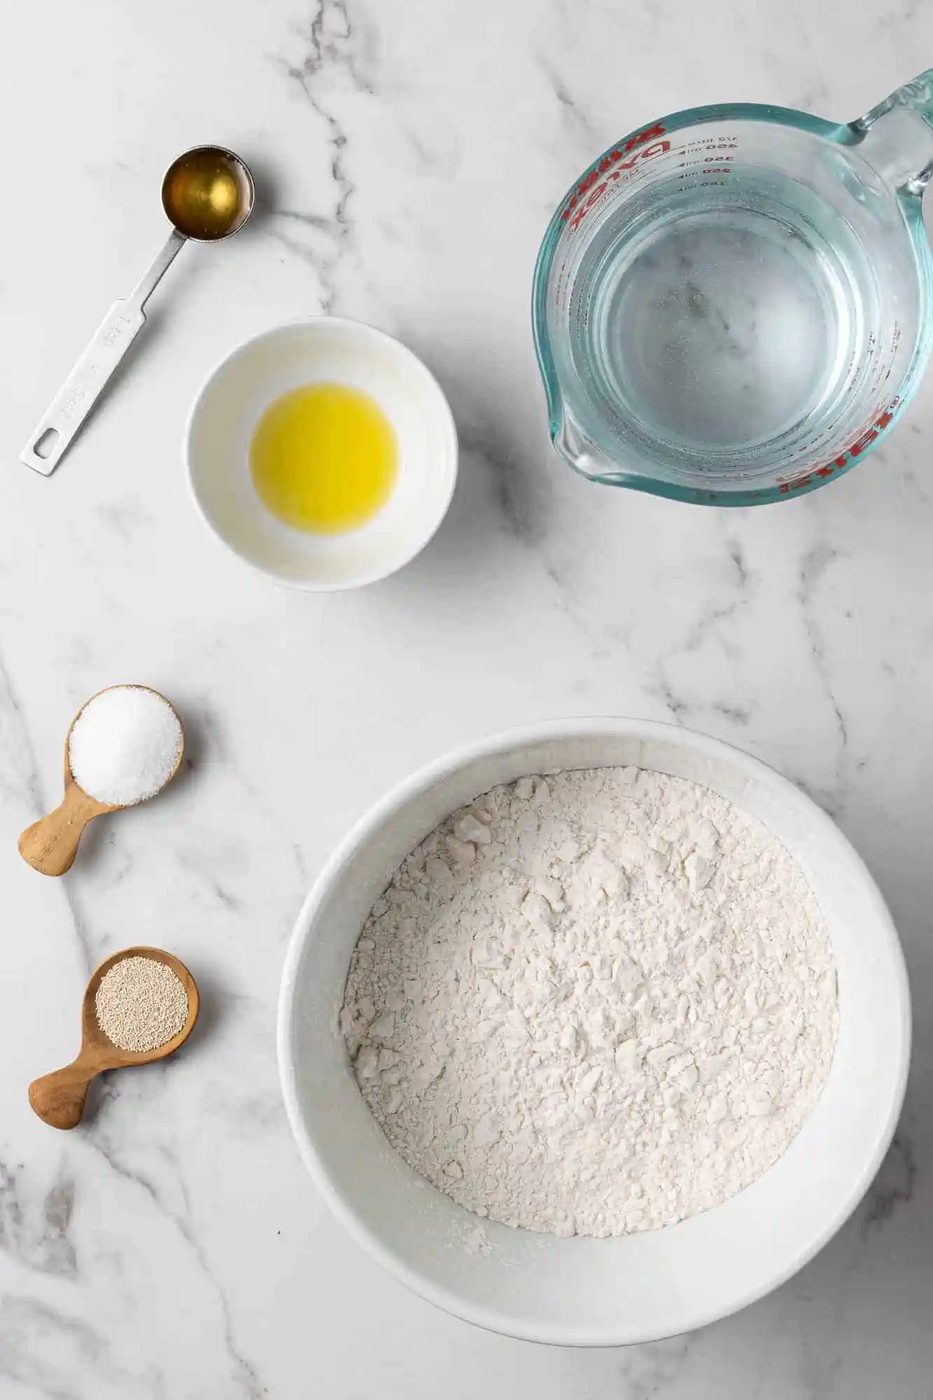
What stands out: Rather amazingly, Dutch oven bread tastes like expensive artisan bread. It’s straightforward to mix, no kneading necessary! The ingredients are so simple: all-purpose flour, salt, yeast, water, honey, and olive oil.
How long it takes: This is an overnight recipe. The prep time is 10 minutes (do it before you go to bed) and the bake time is 45 minutes.
Equipment you’ll need: large bowl, Dutch oven
Servings: makes one round loaf
There’s nothing quite like home baked bread! The yeasty smell, crusty edges, and soft interior just beckon you to the kitchen for one more warm slice slathered with melting butter.
Maybe, if you’re like us, you approach the idea of making bread with a small amount of trepidation. The yeast! The kneading! The sticky dough! The rising times! It sounds so complicated. While we do have some yeast bread recipes that we like, particularly this no knead whole wheat bread, generally we're a speedy bread baker.
But guess what? Dutch oven bread is the timid baker’s liberator. You will be freed from bread baking anxiety! Enjoy rich from-scratch artisan yeast bread that yes! you made yourself.
Enjoy the process and savor the smells, texture, and taste of this wonderful bread! You’re at the beginning of a beautiful journey … okay, perhaps that’s laying it on a little too thick. Your family and friends will think you’re a standby though, we can guarantee that!
How it comes together
First, stir together all of the ingredients in a large bowl to form a loose dough.
Grease the dough a bit, cover it tightly with plastic wrap, and set it aside overnight, twelve to eighteen hours.
The dough will g-r-o-w in size until it’s nearly doubled.
When you’re ready to bake, get your Dutch oven with the lid heating up in the oven. This will take at least a half hour.
While the oven is heating, remove the dough from the bowl and put it on a floured surface. Don’t be afraid to add a fair amount of flour to the counter, your hands, the top of the dough, etc. Use a dough scraper if you have one. Fold the dough over a few times, forming a dough ball. You’re not kneading the dough, rather, you’re shaping it. It should only take a minute or so.
Place the dough on a wide strip of parchment paper (parchment is optional but it helps when trying to move the dough) and reshape it if necessary. It does NOT have to be a reliable ball. Cover it and let it rise until the oven is hot.
When the Dutch oven is good and hot, carefully remove it from the oven. Please, please be careful! Using an oven mitt, remove the lid from the pan and set it aside. Uncover the dough, and grabbing the corners of the parchment paper, transfer the paper and dough ball to the Dutch oven, just nestling it right in there, paper and all.
Note: If you choose to not use parchment, just put the dough right in the Dutch oven. No need to spray or grease the Dutch oven!
Using a mitt, put the lid back on the Dutch oven, and put it back into the hot oven. Bake for 30 minutes, uncover, and bake another 10 minutes.
Take the pan out of the oven, lift the bread out using the parchment paper and set it on a wire rack to cool. You won’t want to leave it in the pan to cool because the pan is so hot, the bread will continue to bake even though it’s out of the oven.
And that’s it! We guess that wasn’t a “speedy run down” but now you know, it isn’t difficult to make from-scratch artisan bread. You’re a bread artisan now!
The hardest part? Waiting at least 30 minutes before slicing the loaf. We know you want to sample it right away but we also know from experience that if you want decent slices, you just have to wait.
Don’t care if it’s in decent slices? Ha, neither do we! Nibble away! Don’t forget the butter and honey.
Before you start
Do you have to preheat a Dutch oven before baking bread? The Dutch oven should be preheated in a hot oven for at least 30 minutes. The bread dough is added to the hot pan and covered, creating a sort of mini-oven. Steam is quickly produced, causing the bread to rise quickly, and get a reliable crust. For more about the hows and why, check out this King Arthur Baking Company post.
Do you oil a Dutch oven when baking bread? Although it seems like common sense to oil the Dutch oven, resist the temptation. Because of the high heat, the oil tends to burn and scorch the bread. The bread rather miraculously does not stick to the hot pan.
Do you have to preheat a Dutch oven before baking bread? Your bread will turn out about the same way whether you use parchment paper or not. We find that parchment facilitates getting the bread dough into the hot pan. You’ll have paper handles to lower the dough into the pan and to lift it out when it’s finished baking.
Ways to change it
Once you have mastered the straightforward technique of making Dutch oven bread, you can experiment with variations.
- Add cheese. Mix in Parmesan cheese, or finely diced sharp cheddar or smoked Gouda.
- Add savories. Fresh or dried herbs like rosemary, oregano, basil, or dill can be stirred into the dough. Roasted garlic is wonderful, too.
- Sweet additions. Try raisins and cinnamon. Other dried fruits like apricots or cherries are great, especially with chopped nuts or fresh herbs. Be creative!
- Topping ideas. Slather a from-scratch compound butter on warm bread. Try orange honey butter, maple cinnamon butter or gingerbread butter. Strawberry basil freezer jam is so good, too. If you’re more in the dipping mood, try this restaurant style bread dipping oil recipe.
Looking for sourdough bread? Try this sourdough Dutch oven bread from The Clever Carrot that looks great. It has a step-by-step guide.
Keeping leftovers
Cool the bread thoroughly before wrapping and storing. It will keep well on the counter for a couple of days. It toasts beautifully.
Many home cooks find such satisfaction in baking their own bread, whether it’s yeast breads or speedy breads. Here are a few more recipes we like and if you have any favorite recipes to share, we'd love to hear from you.
Cranberry Walnut Bread with Oats
- Yield: 10 slices
- Prep: 10 minutes
- Cook: 45 minutes
- Total: 14 hours 25 minutes
Ingredients
- 3 ¼ cups all-purpose flour
- 1 ¾ teaspoons kosher salt
- ½ teaspoon Instant or rapid-rise yeast
- 1 ½ cups cool water (room temperature)
- 1 teaspoon honey
- 1 teaspoon olive oil
Method
- In a large mixing bowl, combine flour, salt, yeast, water, honey, and olive oil. Mix until mixture is combined. It will be sticky.
- Cover bowl tightly with plastic wrap and set aside for 12 to 18 hours, or overnight.
- Preheat oven to 450ºF. When the oven is preheated, place a cast iron Dutch oven (a 4 quart works great!) with a lid inside the oven and continue to heat for 20 to 30 minutes.
- Meanwhile, pour dough out of bowl onto a floured surface. Form into the shape of a ball (it doesn’t have to be perfect, and will still be sticky). Place on a sheet of parchment paper, if desired. Cover lightly with plastic wrap.
- When the pot has been in the oven for 20 to 30 minutes, carefully remove pot from oven. Remove plastic wrap from dough and, grabbing the corners of the parchment paper, place dough (and the paper) in hot pan (be careful!).
- Cover the pan and bake the bread for 30 minutes. Uncover, and bake for another 10 to 15 minutes or until golden brown.
- Remove bread from pot and let cool on a rack. The bread slices best when completely cool, but we don’t blame you if you can't wait.
Notes
Cool bread completely before storing in a plastic bag or airtight container.
Bread can be made in a 5 to 6 quart Dutch oven if that’s what you have.
If you like, add embellishments like shredded cheese, or small cubes of cheese, herbs, chopped nuts, raisins, etc.