Dressings
Chickpeas – How To Make Crispy Chickpeas, roasted
Learn how to make crispy roasted chickpeas, a lighter snack that's packed with protein and fiber. Great on salads and soups too!
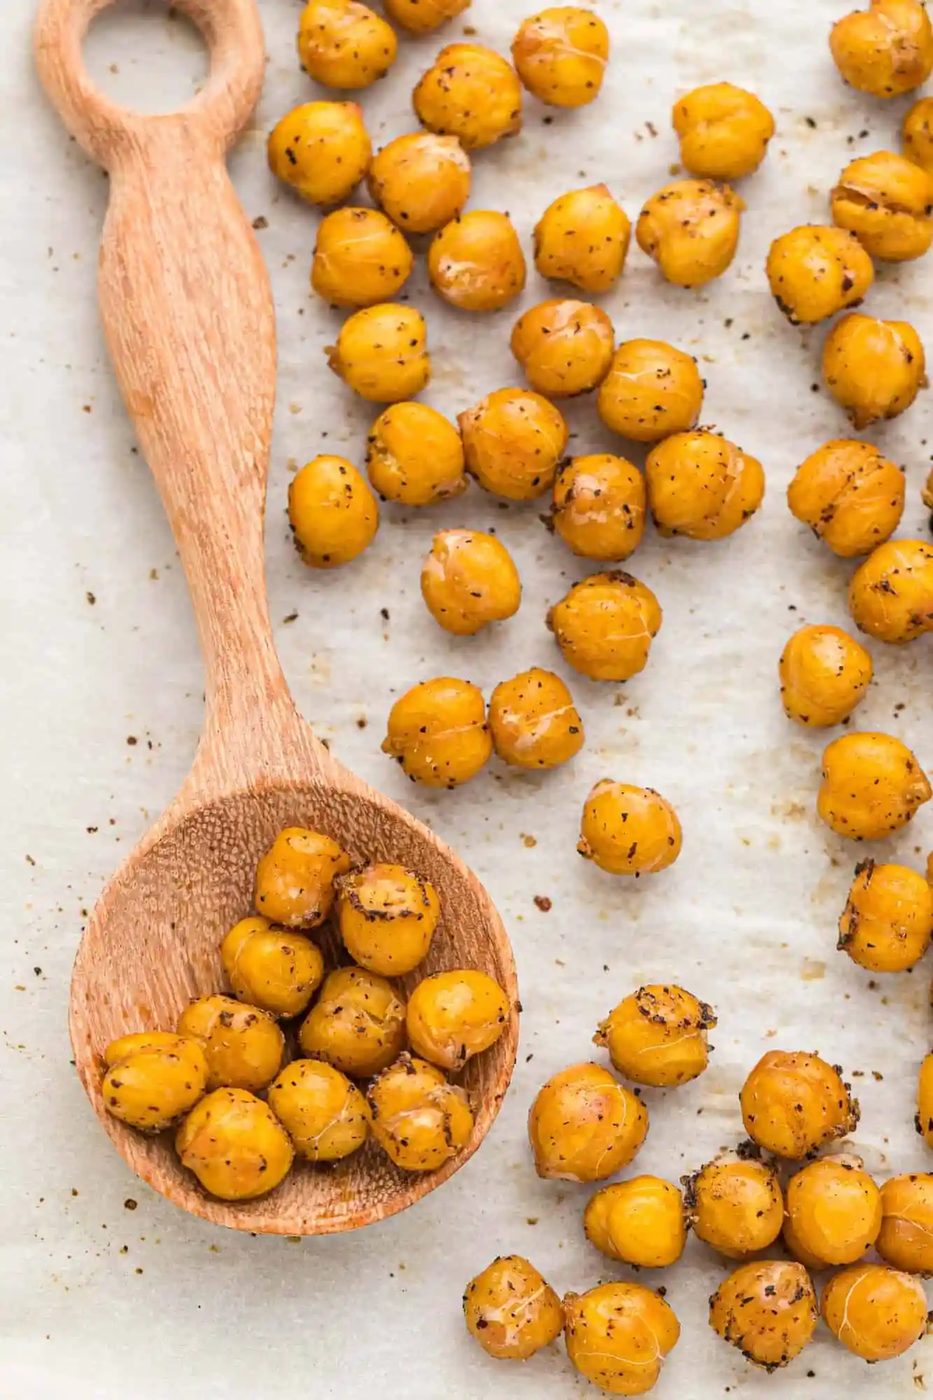
Learn how to make crispy roasted chickpeas, a lighter snack that’s packed with protein and fiber. Great on salads and soups too!
At a glance
What stands out: Crispy chickpeas are straightforward to mix and kind of addicting.
How long it takes: 35 minutes
Equipment you’ll need: small sheet pan, mixing bowl, clean kitchen towel
Servings: 4
Roasted chickpeas, with their nutty texture and satisfying crunch, are a lighter alternative to other snack foods. They provide plant-based protein, fiber, and important vitamins and minerals, all wrapped up in cute little nuggets of flavor.
Wondering what to do with roasted chickpeas beyond snacking? Add them to salads for a flavorful protein boost or to your favorite soups. Kids love them too. Chickpeas are just the right size for little fingers to pick up. Crisp roasted chickpeas are a great addition to an after school snack board.
Roasted chickpeas get delightfully crispy and are a great snack for when you’re craving something crunchy and salty. If you have an air fryer, try crispy air fryer chickpeas.
Here’s a fun story that we just had to share with you.
We were making these crispy chickpeas. It was an afternoon when we were trying to get far too much done. Our parents and our sister and her family were coming over for a belated Christmas celebration. They had been sick, and then we were sick, and we were celebrating Christmas over a week later than we had originally planned.
We were working on our banana chocolate chip cake for dessert and we were also making bacon wrapped dates because they’re so dang good.
And then there was the Brussels sprouts salad We wanted to get prepped. So we thought, why not squeeze in making tasty crispy chickpeas, too? They’d be a great topping for our Brussels sprouts salad. It totally makes sense to do this all, right? Why not? There was a glass of wine waiting for us at the end of the tunnel!
We got the chickpeas peeled and then scooted them into the oven while we began to prep the salad. As you’ll see in this recipe, you need to give the pan of chickpeas a little shake every ten minutes or so while they bake so that they crisp up evenly. So here’s the thing. Make sure you have a good grip on that pan, okay? Don’t be like us.
We were shaking the pan, lost our grip on it, and dropped it. We wasn’t doing this on the countertop which would be the sensible way. Of course not! We were shaking the pan in the oven, with the oven door three-quarters of the way open.
The chickpeas fell into the crack where the oven door meets the oven. So instead of falling into the oven (actually glad about that) or falling onto the floor, they fell right into this crack, and then subsequently into the drawer under our oven. The “warming drawer.” Does anyone use this drawer for its intended job? Or do you all store your grilling tools in it like we do?
So into the drawer go all our chickpeas, the chickpeas that we peeled one-by-one.
That was a long story. Hopefully you gleaned a bit of wisdom from our experience. We do want to say that making crispy roasted chickpeas is quite straightforward and they are good tasting and good for you.
What You’ll Need
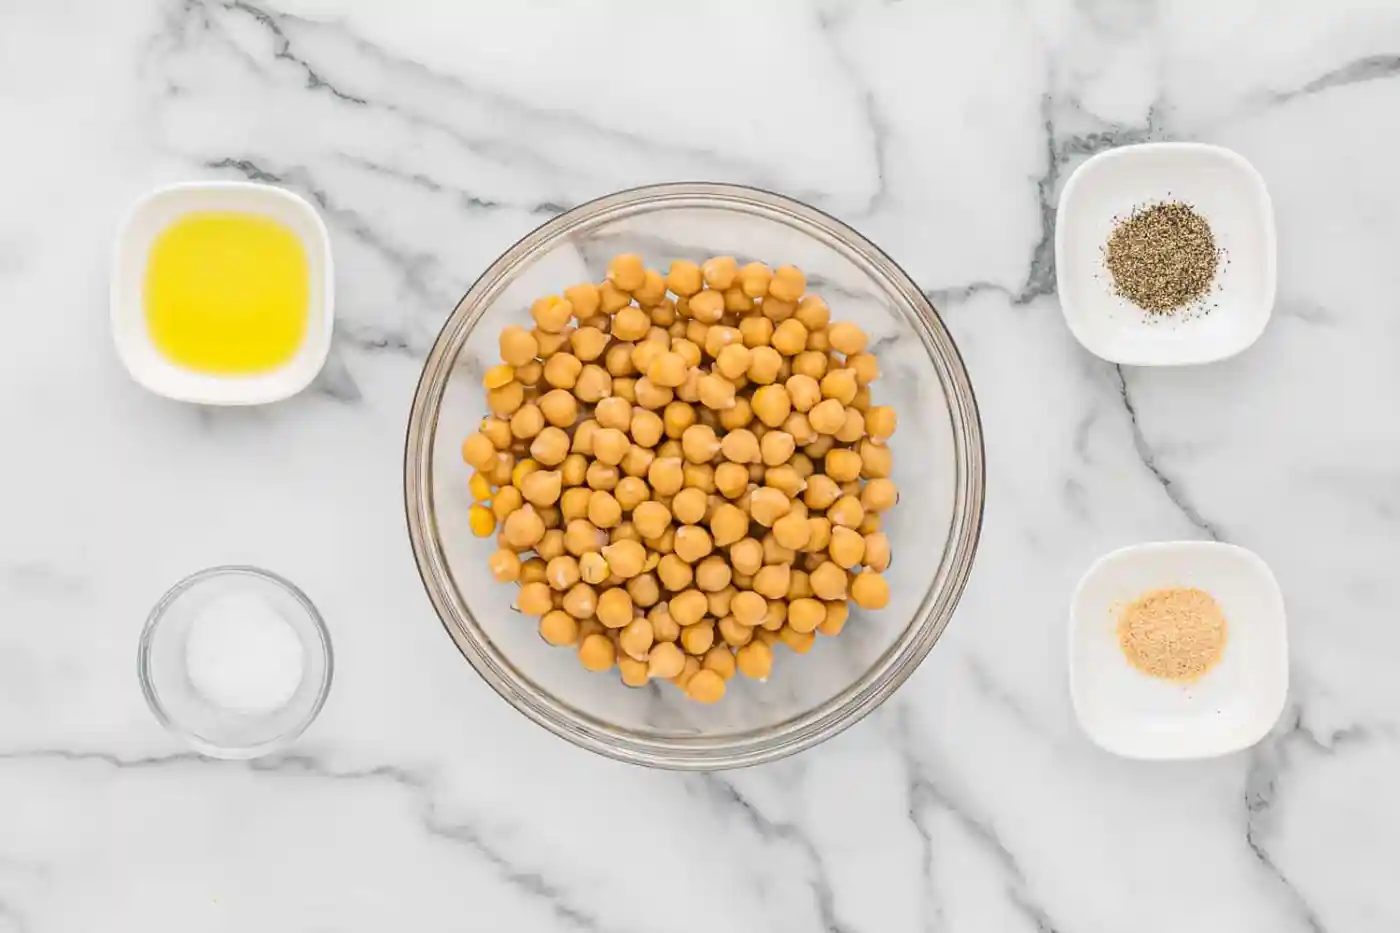
- Canned Chickpeas (Garbanzo Beans): If possible, choose low sodium canned beans. By the way, chickpeas are exactly the same thing as garbanzo beans. Same legume, different name. For more about that, check out the FAQs.
- Olive Oil: Use good quality olive oil which will lend a good flavor to the chickpeas.
- Garlic Powder: This simple seasoning is used in so many recipes. Keep reading for different ways to season your roasted chickpeas.
- Salt and Pepper: Again, simple seasonings that add so much flavor.
How it comes together
This is a pretty basic recipe that uses olive oil, salt, pepper, and garlic powder as seasonings. You can have fun choosing different flavors for your roasted chickpeas and we'll give you a few ideas in the Make It Your Own section.
Here’s how to do it: Begin by preheating your oven and getting out a small rimmed baking pan.
Open the can of chickpeas, dump them into a colander and rinse them under running water. Drain them well, and spread them on a clean lint-free dish towel. Paper towels are fine too. Lightly dry them by rubbing them between a couple of layers of towel.
Some of the skins will have fallen off by this time. Go ahead and slip the skins off the rest of them. If you choose not to do this step, that’s okay but your roasted chickpeas may not be as crisp as they could be. Totally up to you!
Put the chickpeas into a mixing bowl and add the oil and seasonings. Stir well to coat them and then arrange them in a single layer on the baking pan.
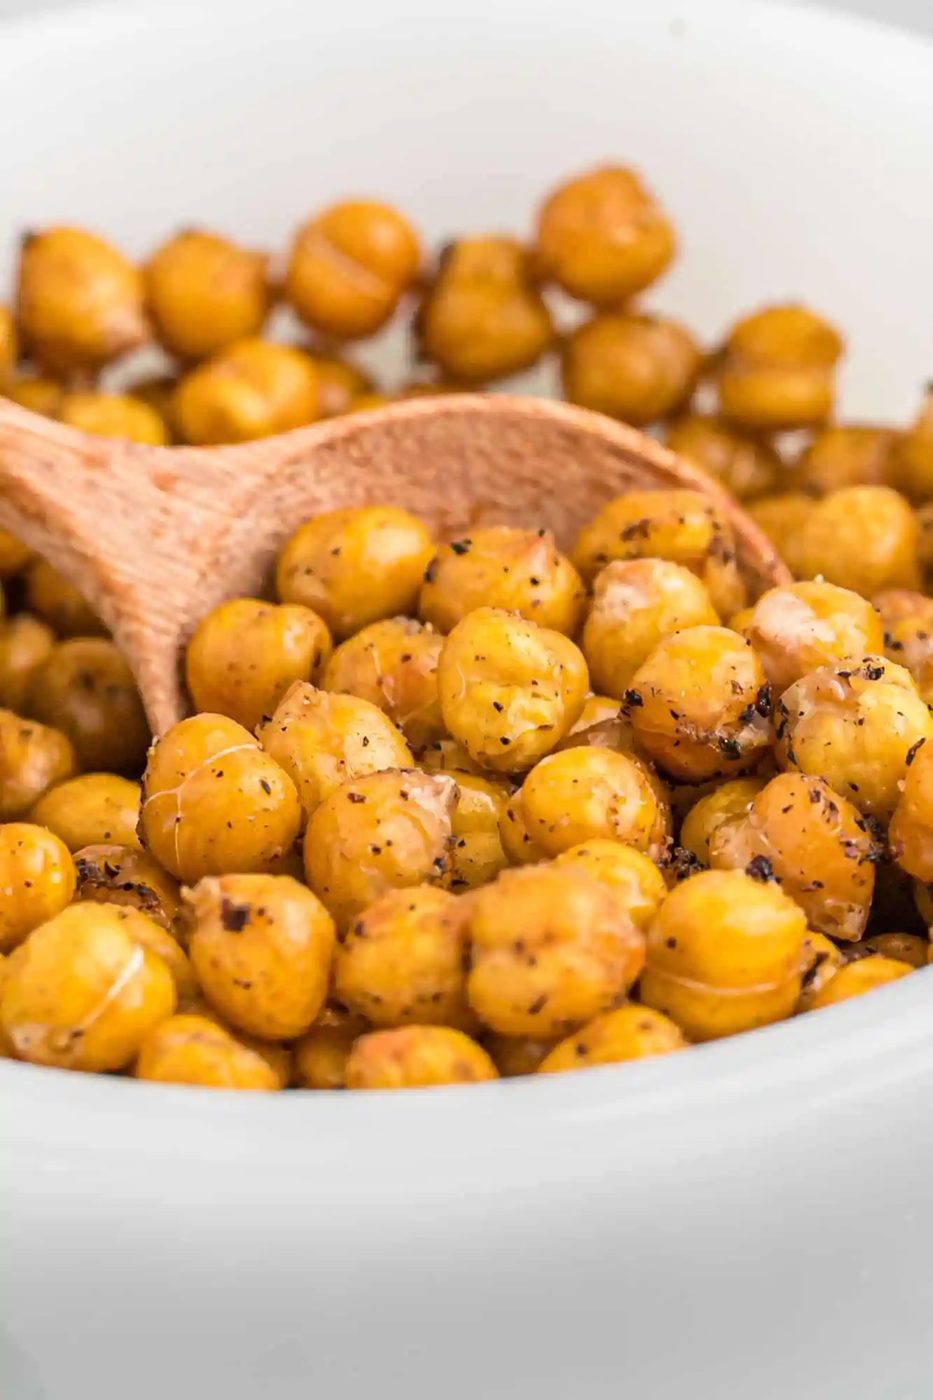
Roast for 25-30 minutes, carefully shaking the pan every ten minutes so that all sides can get toasty brown. Try not to overbake them in an effort to get the most crunchy chickpea ever. They should have a dry crispy exterior but still be nutty inside.
That’s it! Pretty straightforward, right? Roasted chickpeas are best served the same day but keep reading for more storage hints.
Tips for the crispiest chickpeas
After having made these quite a few times, we have a couple of tips for a standby success and highest levels of crispiness.
- Peel them. We know, it’s a bit of a pain. It’s worth it though. Rub them lightly with a clean lint-free dish towel or a couple of paper towels. That will get a lot of the peels off, and then just tackle the rest one by one. It’s monotonous but it’s also oddly satisfying popping those little buggers out of their peels.
- Dry them. Dry them well with a paper towel or a lint-free (and clean) kitchen towel (tea towels work well). You can also spread them on a towel and let them air dry for 30 minutes or an hour.
- Roast, shake, roast, shake, etc. The longer you cook these, the crispier they will get. Carefully shake the pan every 10 minutes to ensure they roast evenly.
Before you start
Make It Your Own
- Add any type of seasoning you like to the chickpeas: spicy, savory or sweet. We love these cinnamon roasted chickpeas! Try chili powder, pumpkin pie spice, curry powder, or our all purpose seasoning which is similar to seasoned salt.
- Dried herbs are great too, like rosemary, thyme, or sage. Add a bit of Italian seasoning and toss a spoonful of grated Parmesan cheese in too.
- Looking for more ways to eat chickpeas? Try from-scratch hummus or this tahini-free hummus with parsley. Chickpeas are so good in stews and chilis. One of our favorites is Moroccan stew with butternut squash and chickpeas. And this quinoa salad with chickpeas, blackberries, and candied pepitas is out of this world good.
- Rather have nuts? Try olive oil roasted almonds or sugar-free cinnamon almonds.
Keeping leftovers
You would think that storing the chickpeas in an airtight container would be a standby way to retain the crispiness. Not so! They are best stored in an open container on the counter with a paper towel laid lightly over the top. They’ll stay crisp for a day or so.
If you’re not ultra-concerned about how crunchy they are, store them in an airtight container in the fridge for up to a week. Make sure they are completely cooled before storing.
- Yield: 4 servings
- Prep: 10 minutes
- Cook: 25 minutes
- Total: 35 minutes
Ingredients
- 1 can (16 oz.) chickpeas, low sodium preferred (garbanzo beans)
- 1 tablespoon olive oil
- ½ teaspoon kosher salt
- ¼ teaspoon black pepper
- ¼ teaspoon garlic powder
Method
- Preheat oven to 400°F.
- Rinse and drain chickpeas. Spread out on a lint-free towel and dry well. Remove any loose skins.
- In a medium bowl, toss chickpeas with olive oil, salt, pepper, and garlic powder until well-coated.
- Spread on small rimmed baking sheet in single layer. Bake for 25 to 30 minutes, carefully shaking pan every 10 minutes to stir chickpeas. Bake until crispy and golden brown.
- Let cool completely before enjoying (see note).
Notes
Crispy roasted chickpeas are best eaten the same day you make them. If you want to store them for later, put them in an uncovered bowl on the counter and cover lightly with a paper towel or loose lid. They’ll be crisp for a day or two. To store longer, put into an airtight container in the refrigerator for up to a week.
Feel free to change up the seasoning. There are lots of ideas listed in the post.
For the most crispy results, remove the skins before roasting and dry well.