Sides
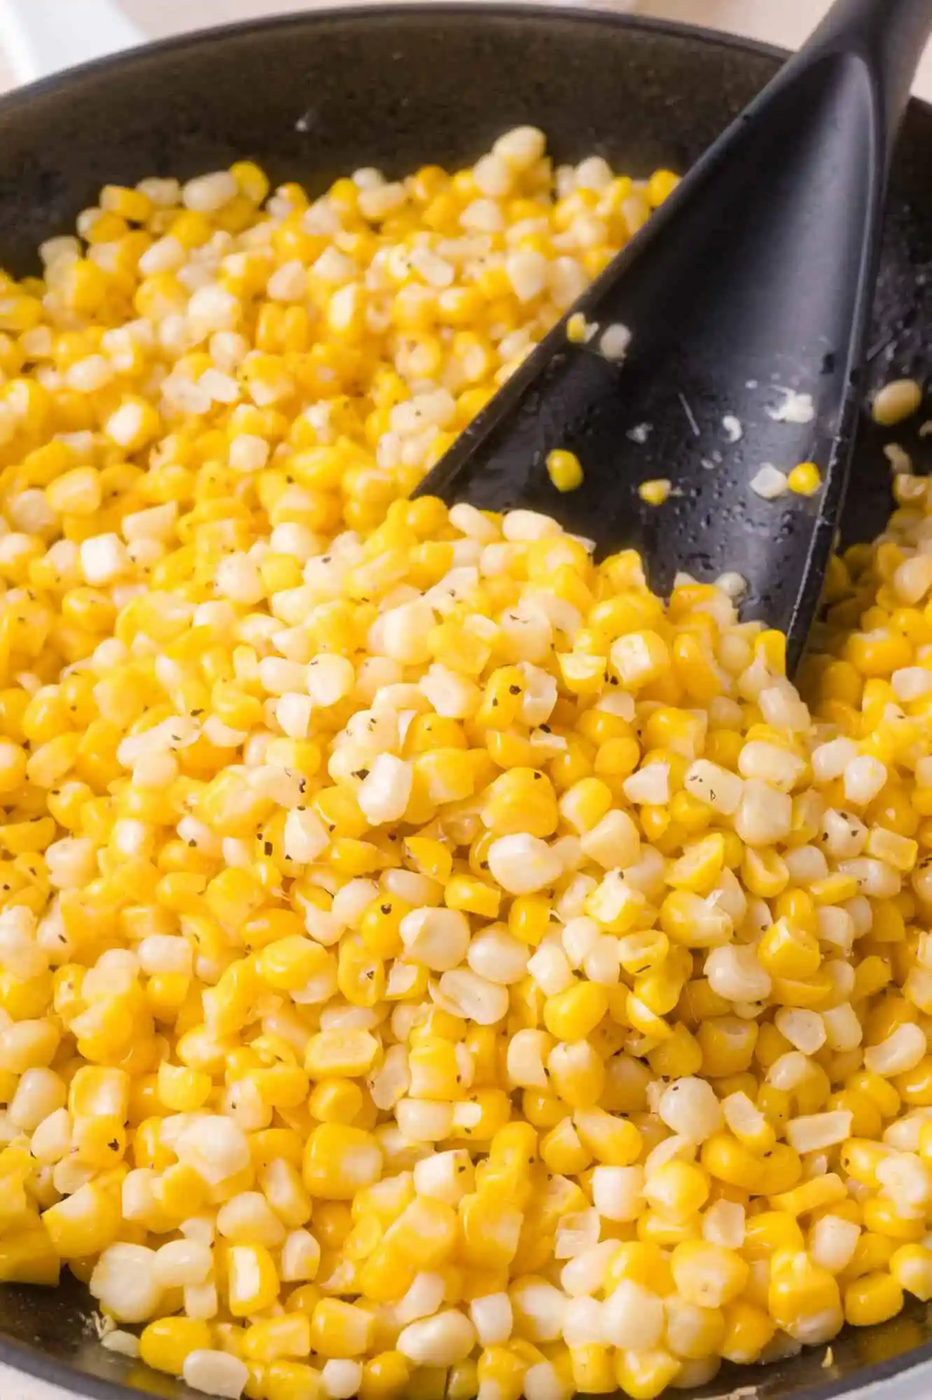
Sautéed Fresh Corn
This sautéed fresh corn recipe actually enhances the flavor of corn just cut from the cob (as if it could get any better!). It's a straightforward cooking method that's reliable for folks who don't enjoy eating corn off…
At a glance
What stands out: This sautéed fresh corn recipe actually enhances the flavor of corn just cut from the cob (as if it could get any better!). It’s a straightforward cooking method that’s reliable for folks who don’t enjoy eating corn off the cob.
How long it takes: 20 minutes
Equipment you’ll need: sharp knife, skillet
Servings: 6 (but you can make as much as you like!)
Fresh corn, butter, done.
Corn on the cob is one of summer’s delights, wouldn’t you agree? It’s so crispy, sweet, and rich!
But boiling a giant pot of water when it’s already 90 degrees outside? Hard pass. And eating it off the cob is rich but also kind of a disaster. Take a bite of your corn and you run the risk of inadvertently getting corn juice in your eye. And then there’s always someone in the crowd with dental issues, or maybe they just don’t care for butter dripping in their laps.
This is our favorite way to prepare sweet corn and the corn is just as tasty without all the mess (and no one will be needing a toothpick!).
What makes it special:
- So tasty! Because this freshly cut sautéed corn is cooked in butter just until the corn kernels are tender, it has the most wonderful flavor and texture. You need to try it! Every kernel of corn is sweet and buttery!
- Easier to cook. Cooking corn on the cob usually involves boiling a great big pot of water and in the meantime, heating up your whole kitchen. We know there are other ways to cook corn like Instant Pot corn on the cob or air fryer corn on the cob, but sautéing corn freshly cut from the cob is absolutely the easiest, quickest, and best-tasting.
What goes in
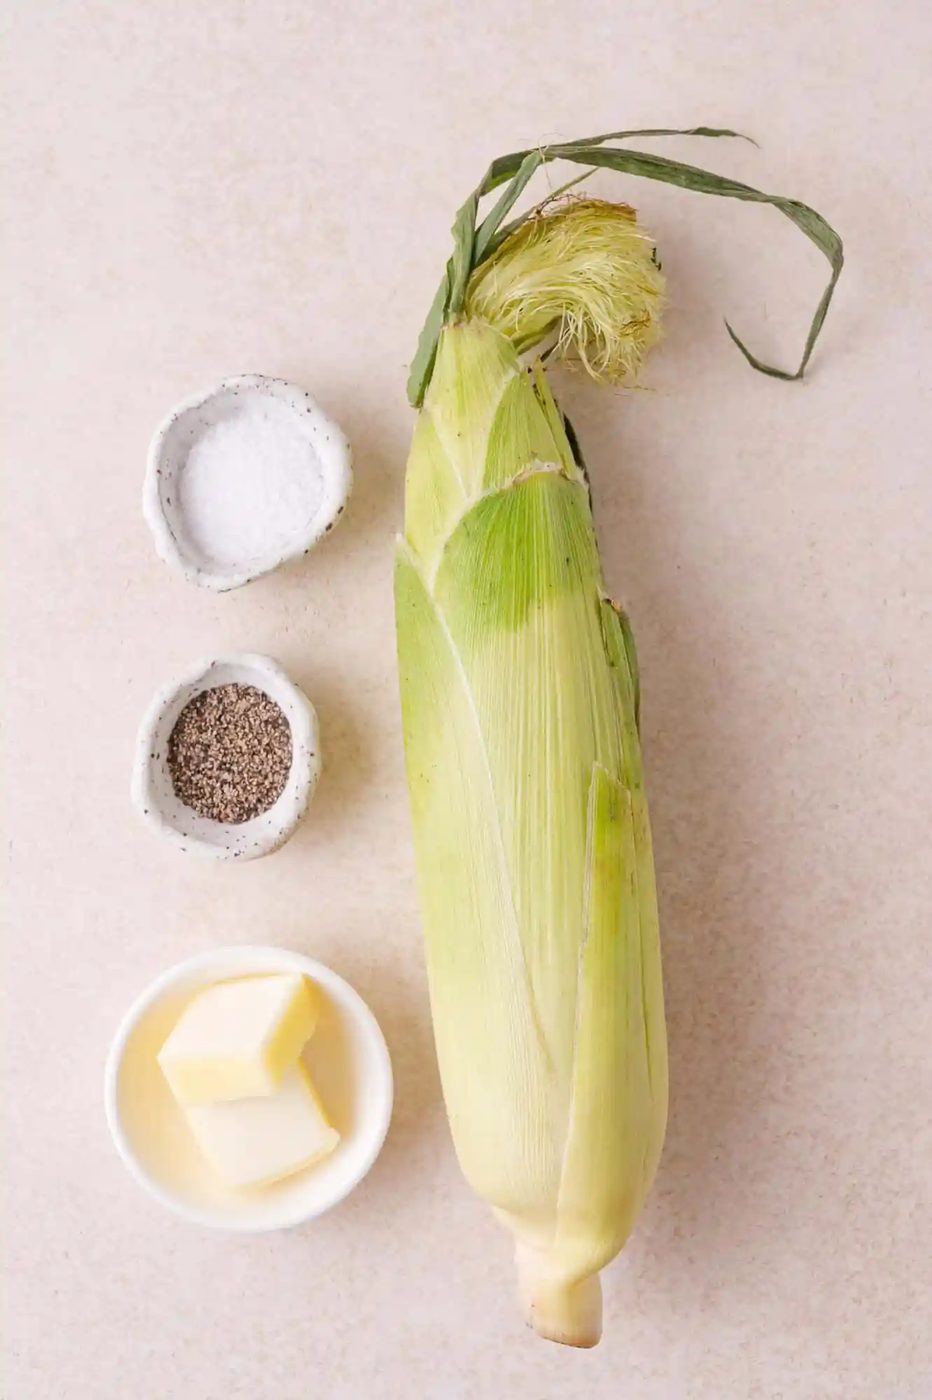
Only a couple of ingredients are required. The sweet corn doesn’t need a lot of gussying up to be rich and you don’t want to mask the wonderful flavor inherent in fresh corn.
Corn on the cob: The recipe is written for 6 ears of corn but you can make any amount you want. To husk the corn, start at the tassel end, peel back the husks, and tear them off. Snap off the stem end of the cob if it extends much past the ear. Remove any silk strands clinging to the cob. Rinse in cool water.
Butter: The corn is cooked in a couple of tablespoons of butter. That’s it! You can season the corn with salt and pepper, to taste.
Buying Fresh Corn
When you buy corn on the cob, look for husks that are fresh, green, and moist. If the husks are dry, brownish or yellowed, the corn is probably too old. The tassels on the end will be brown and slightly dry. The ears should feel firm and heavy, which means that it’s juicy!
If possible, leave the husks on until you’re ready to cook the corn. Store the unhusked corn in the refrigerator.
How To Remove Fresh Corn From The Cob
There are various ways to cut corn off the cob safely. Here are three methods that we've used successfully.
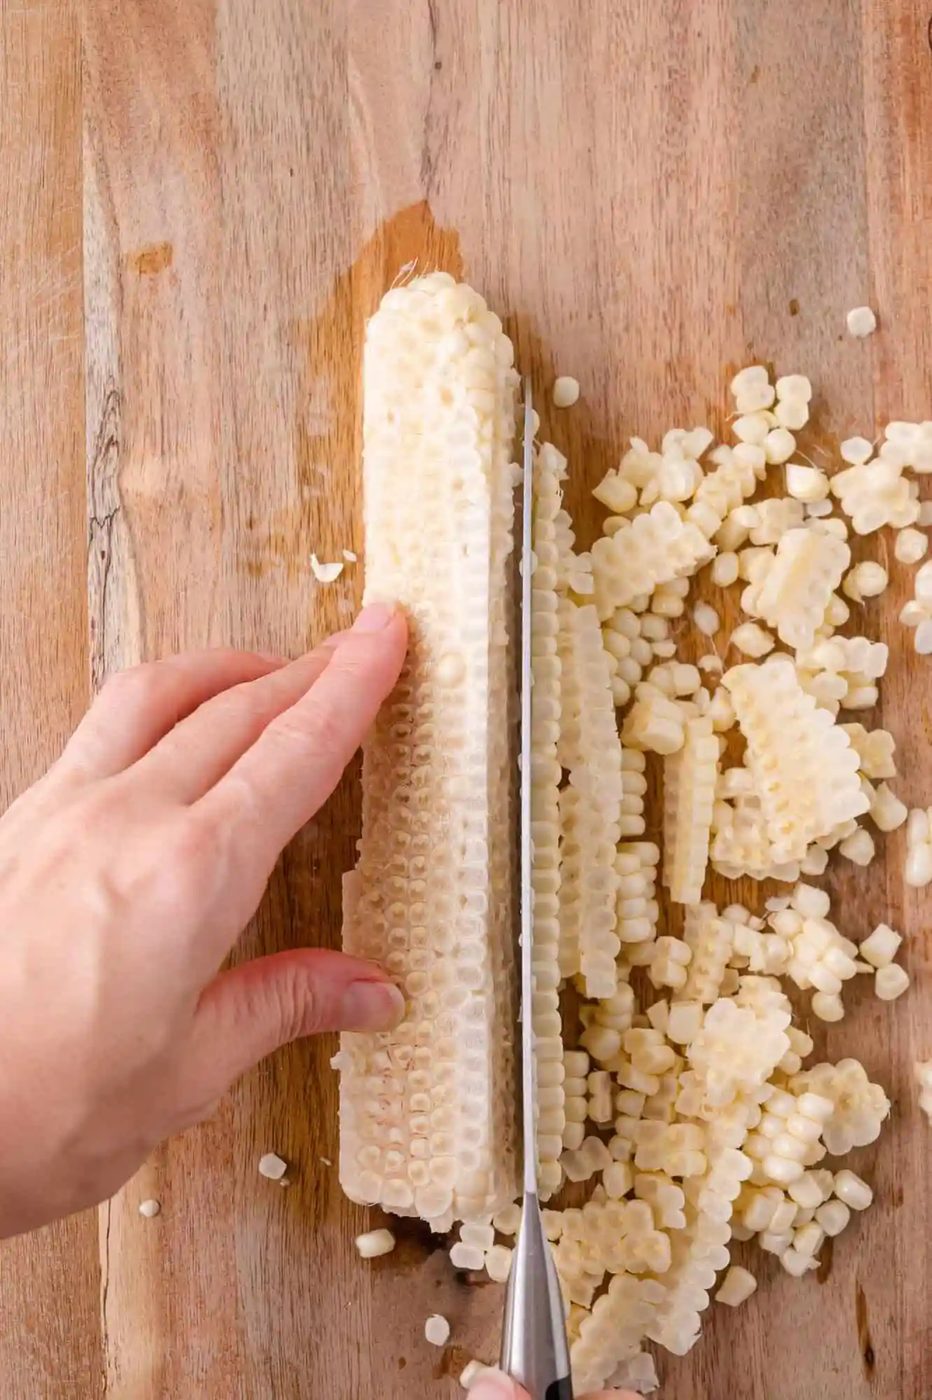
Cutting board: This is the method we prefer. Place the ear of corn on a cutting board, horizontally. Using a long chef’s knife, carefully slice off the kernels on one side, turn the ear over so the flat side rests on the cutting board, and continue cutting and turning until all the kernels are removed.
Two bowls: Choose a large wide bowl, and set a smaller bowl turned upside down inside of it. We usually place the bowls in our sink to reduce splattering. Place the stem end of the ear of corn on top of smaller bowl (vertically) and use a sharp knife to cut off the kernels, turning the cob as you go, until all the kernels are cut off. The kernels fall into the big bowl. You can also use a Bundt pan instead of two bowls if you happen to have one.
Specialized tool: You can buy a handy tool for removing corn from the ear. There are a lot of different kinds, and you can try any that look good to you. We don’t use one so we can’t recommend one, but search for “corn peeler” and you should find lots of options.
How it comes together
Melt butter. In a large skillet, melt a couple tablespoons of butter over medium heat.
Cook corn. Once the butter is melted, add the corn kernels, and a dash of salt and pepper. Cook, stirring occasionally, until the corn turns a beautiful yellow and is tender. Cooking time can vary, depending on how mature the corn is and how well-done you like your corn. Young corn usually has smaller kernels and it cooks more quickly than more mature corn.
Adjust seasonings and serve. Try a spoonful to check if the corn needs more salt. We usually let everyone add freshly ground salt and cracked pepper as desired.
Using Frozen Corn Instead of Fresh
Fresh sweet corn has a pretty short season in the summer but you can enjoy this recipe all year long by using frozen corn. Frozen corn is actually a better choice than corn on the cob that isn’t in season. Corn on the cob that’s been shipped long distances tends to be tough, dry, and flavorless.
Buy a good brand of frozen corn kernels. We like Bird’s Eye baby gold and white corn but choose your favorite. The corn doesn’t need to be thawed out first but you’ll need to add a little extra cooking time. Our honey butter skillet corn recipe works well with frozen corn, too.
Seasoning Variations for Sautéed Corn
- Add fresh herbs. Although this fresh corn recipe doesn’t need anything beyond butter and salt, consider adding fresh chopped herbs, such as dill, parsley, basil, cilantro, or chives. Fresh tarragon would be good, too!
- Enhance with seasoning. You can add seasoning to the sweet corn to match what you’re serving it with. Add a teaspoon of southwest spice blend, Cajun seasoning, or taco seasoning for a Tex-Mex vibe. A dash of pizza seasoning would be tasty, too.
- Make it elote. Add chili powder or Tajin to taste, fresh chopped cilantro, and a squeeze of lime juice. Top with crumbled cotija or queso fresco cheese.
Keeping leftovers
Refrigerate: Cooked corn can be refrigerated for up to 5 days. Reheat larger amounts in a skillet over low heat or individual servings in the microwave. We usually make extra corn in the hope we’ll have some leftover for the next day, but it seems like no matter how much we make, it all disappears quickly because this sweet corn is pretty irresistible.
Freeze: This fresh corn recipe is reliable for freezing. When sweet corn is in season, we like to make a few batches to freeze so we can enjoy the fresh flavor in the winter. To freeze cooked corn, let the corn cool to room temperature, then transfer it to a freezer bag or container. It will keep for up to 6 months. For best results, thaw the corn before reheating it. Place the corn in a skillet over medium heat until it’s steaming hot.
- Yield: 6
- Prep: 10 minutes
- Cook: 15 minutes
- Total: 25 minutes
Ingredients
- 6 ears corn (husks and silk removed)
- 2 tablespoons unsalted butter
- salt and pepper to taste
Method
- To husk the corn, start at the tassel end, peel back the husks, and tear them off. Snap off the stem end of the cob if it extends much past the ear. Remove any silk strands clinging to the cob. Rinse in cool water.
- Cut the kernels from the corn cobs. We like to place the corn on a cutting board horizontally and use a sharp chef's knife to slice off a few rows of kernels, rotating the cob as you go. Once you have one side cut, the corn will lie flat, making it easier to slice. Lightly scrape the cob with your knife to remove any remaining bits of corn and the "corn milk."
- In a large skillet, over medium heat, melt butter. Add corn, salt and pepper. Cook for 12 to 15 minutes, stirring frequently, or until corn is tender (see note). The color will be deeper yellow and the corn will smell very fragrant.
Notes
Cutting corn off the cob: There are alternate ways to remove the corn kernels from the cob. In addition to the method described above, another way is to place a small bowl upside down inside a much larger bowl. Hold the corn upright on the small bowl, stem end down, and carefully slice the kernels off top to bottom, rotating the cob as you go. The cut kernels will fall into the larger bowl. For less mess, place the bowls in your sink. Instead of two bowls, you can also use a Bundt pan to hold the corn. You can also purchase corn stripper tools to use instead of a knife.
Cooking time: The cooking time can vary quite a lot depending on how mature the corn is. Corn that is picked quite young has smaller, more tender kernels and won’t take nearly as long to cook. More mature corn may have tougher kernels and will take a bit longer to cook. A standby way to tell is to try a bite and see if it’s how you like it.
Yield: One medium-sized ear of corn will yield about ½ cup of kernels but it can vary depending on the size of the ear and how mature the corn is. You can easily double or triple this recipe. Leftover sautéed corn is pretty memorable, too!
Storage: Cooked corn can be refrigerated for up to 5 days. To freeze, let the corn cool to room temperature, and transfer it to a freezer bag or container. It will keep for up to 6 months. For best results, thaw before reheating.