

Recipe Overview: Your Guide to Perfect Lemon Bread
Why you’ll love it: This bright, zesty lemon bread is incredibly versatile, making a seamless transition from a delightful breakfast treat to a satisfying snack or a light, refreshing dessert. The secret to its exceptionally moist texture lies in the generous addition of Greek yogurt, complemented by an optional yet highly recommended tangy lemon glaze that enhances its vibrant citrus flavor.
How long it takes: With just 20 minutes for preparation and 45 minutes for baking, this quick bread recipe fits easily into any busy schedule, offering maximum flavor with minimal effort.
Equipment you’ll need: A standard loaf pan and a couple of mixing bowls are all you need to bring this delicious lemon loaf to life. No fancy gadgets or stand mixers required.
Servings: This recipe yields approximately 10 generous slices, perfect for sharing with family and friends or savoring throughout the week.

The Best Moist Lemon Bread Recipe: An Easy Homemade Loaf with Greek Yogurt
Welcome to the world of quick breads, where simplicity meets sensational flavor! While elaborate pastries and elegantly piped cupcakes certainly have their charm, quick breads like classic banana bread, comforting pumpkin bread, and especially this delightful lemon bread offer an unparalleled combination of ease, texture, and pure deliciousness. This homemade lemon loaf might not boast the fanciness of intricate desserts, but it more than compensates with its irresistibly moist crumb, vibrant citrus profile, and incredibly straightforward preparation.
Our lemon yogurt bread stands out with its supremely moist interior, thanks to the secret ingredient: Greek yogurt. This not only adds incredible moisture but also a subtle tang that perfectly complements the lemon. The recipe truly celebrates citrus, utilizing a harmonious blend of fresh lemon zest and lemon juice, all crowned with an optional yet highly recommended bright lemon glaze. The result is an authentic lemon flavor that shines through every single bite, eliminating any need for artificial essences or extracts. Prepare to transform your kitchen into a sunny haven with this easy lemon bread recipe!
Why This Easy Homemade Lemon Bread Recipe Shines
This lemon bread isn’t just a recipe; it’s an experience waiting to unfold in your kitchen. Here’s why this particular lemon loaf is destined to become a beloved staple in your baking repertoire:
Bright, Cheery, and Zesty Flavor: Imagine bottling up the essence of sunshine and baking it into a loaf – that’s precisely what this lemon bread tastes like. Each slice delivers an explosion of fresh, tangy lemon, reminiscent of the premium lemon loaves found in high-end coffee shops, but with the unmatched satisfaction of being homemade. The combination of zest and juice ensures a multi-layered citrus experience that is both invigorating and comforting.
An Everyday Kind of Treat: While we all love an indulgent chocolate dessert, like a rich chocolate lava cake, there’s something uniquely appealing about a lemon dessert. It satisfies your sweet tooth without being overly heavy, making it perfectly acceptable for any time of day. Enjoy a slice of this moist lemon loaf with your morning coffee, as an afternoon pick-me-up, or even as a light after-dinner treat. Its balanced sweetness and tartness make it incredibly versatile.
Remarkably Simple to Make: The charm of quick breads lies in their name – they’re quick! This isn’t just about skipping the fuss of yeast and lengthy proofing times. This recipe requires no specialized equipment; you won’t even need an electric mixer. The process is as simple as whisking the dry ingredients, combining the wet ingredients, gently folding them together, and then letting your oven do the rest. It’s an ideal recipe for beginner bakers and a go-to for experienced ones looking for a reliable, no-stress bake.
Homemade Versus Store-Bought: A Clear Winner: While boxed lemon bread mixes offer convenience, opting for homemade is a game-changer. Not only is crafting your own lemon bread significantly more economical – you likely have most of the ingredients in your pantry already – but it also guarantees the freshest, most natural ingredients without any unwanted additives or preservatives. The taste and texture of a homemade lemon loaf are simply superior, providing a warmth and flavor that no pre-packaged mix can replicate. Plus, the aroma filling your home as it bakes is an experience in itself!
Baking Tip: Adding a Classic Touch
Thinking of adding poppy seeds to your lemon bread for that classic combination? Go for it! Simply stir 1 to 2 tablespoons of poppy seeds in with the dry ingredients before combining them with the wet. For a dedicated poppy seed experience, you might also enjoy exploring our lemon poppy seed bread recipe, which offers a slightly different take on this beloved pairing.
Baking Tip: Adding a Classic Touch
Thinking of adding poppy seeds to your lemon bread for that classic combination? Go for it! Simply stir 1 to 2 tablespoons of poppy seeds in with the dry ingredients before combining them with the wet. For a dedicated poppy seed experience, you might also enjoy exploring our lemon poppy seed bread recipe, which offers a slightly different take on this beloved pairing.
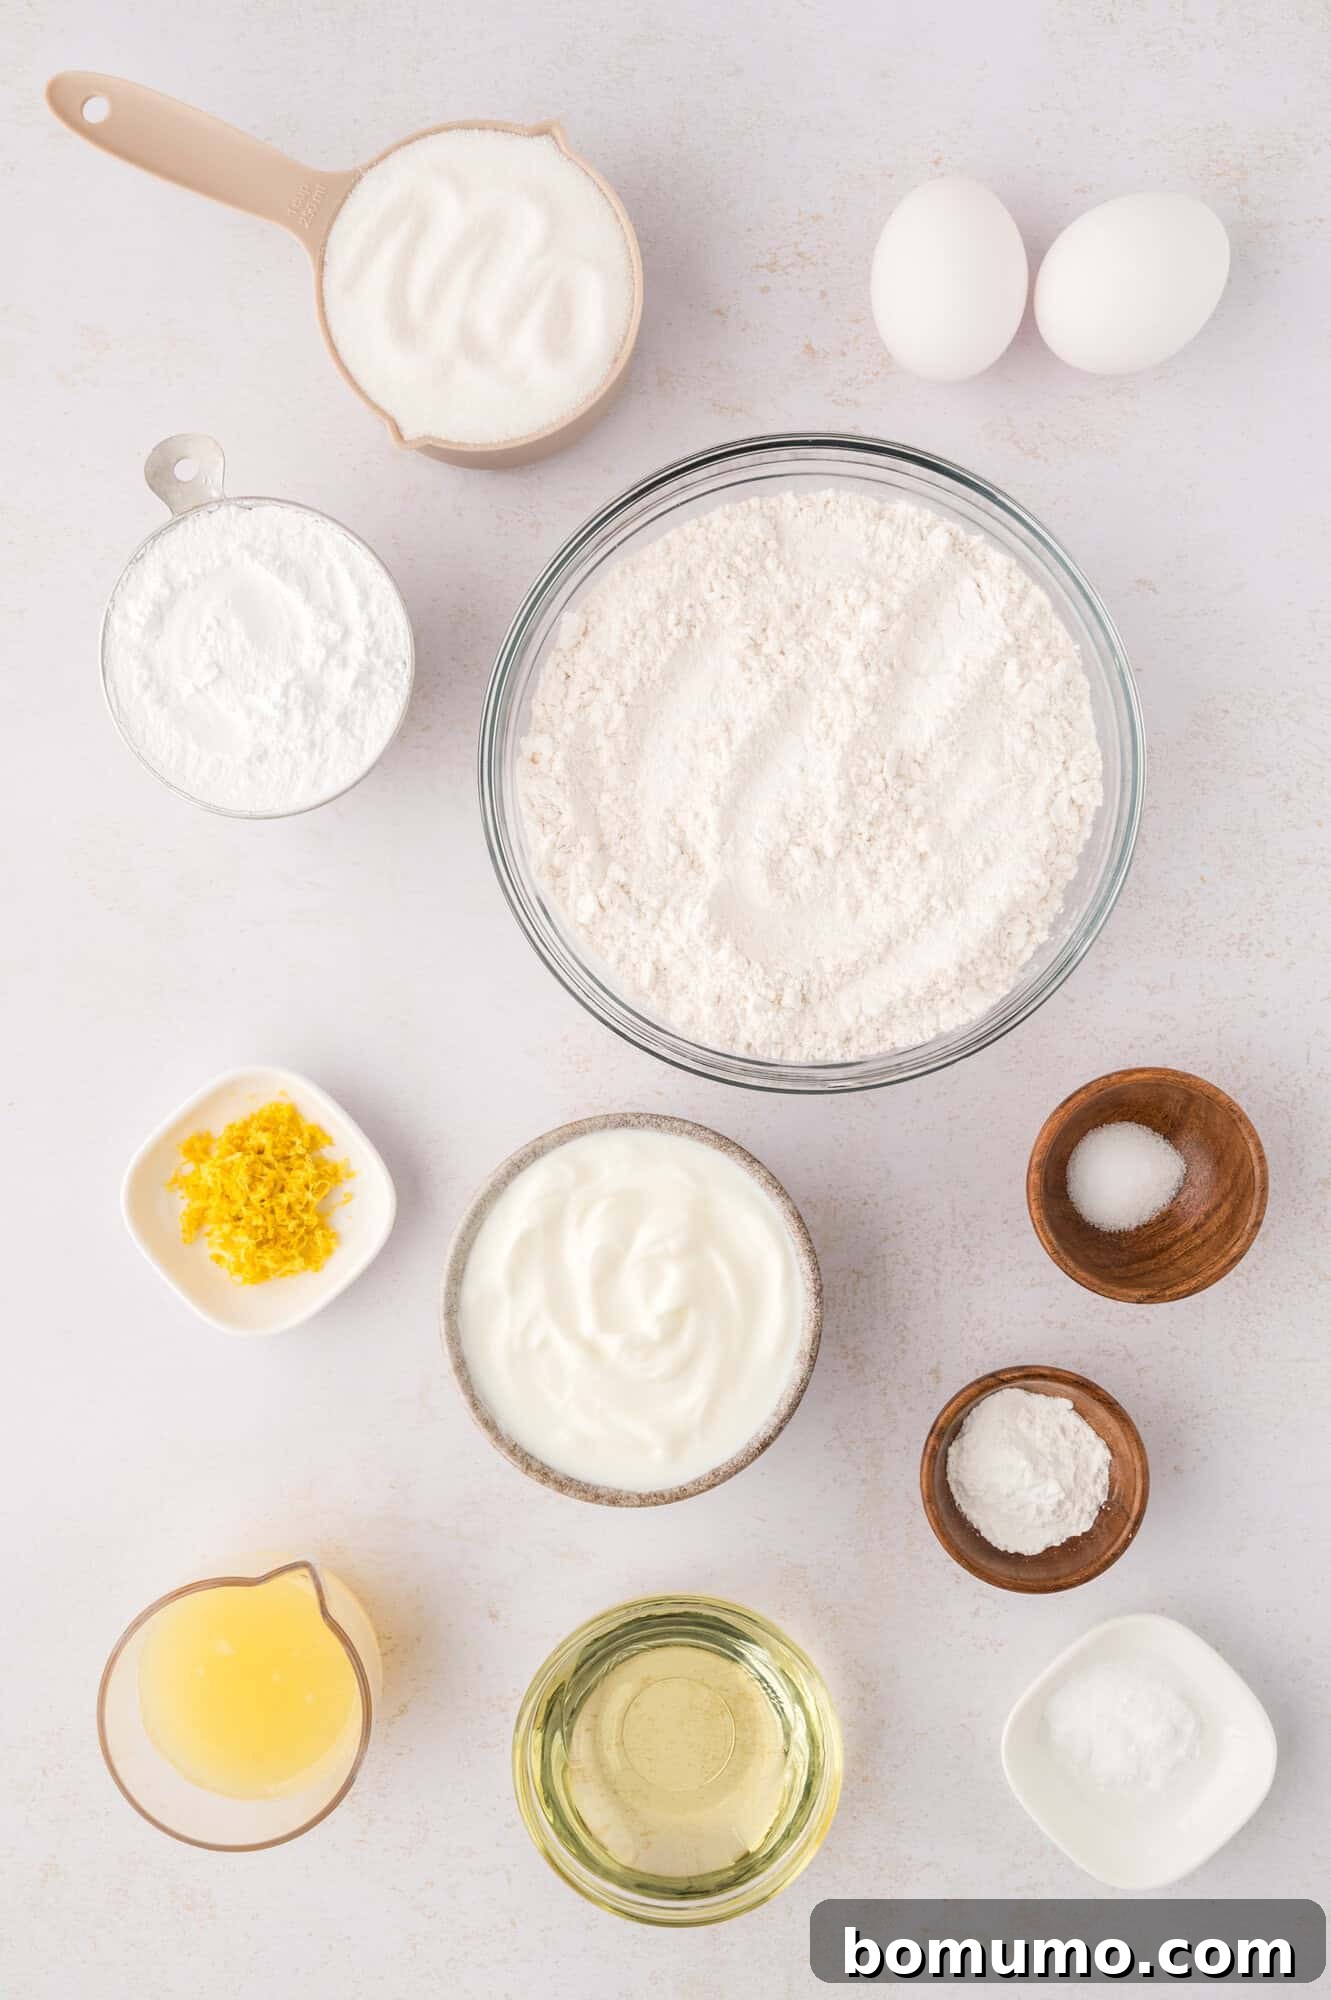
Ingredient Notes: Essential Components for Perfect Lemon Bread
Crafting the perfect lemon bread starts with understanding each ingredient’s role. Here’s a deeper look into what you’ll need:
- All-Purpose Flour: We recommend using regular white all-purpose flour, preferably unbleached, for the best texture in this quick bread. If you’re interested in making a whole wheat lemon bread, a good starting point is to substitute half of the all-purpose flour with white whole wheat flour. For those with gluten sensitivities, a measure-for-measure gluten-free flour blend should work successfully, though results can vary by brand.
- Fresh Lemons: The star of the show! You’ll need both the vibrant zest and the tangy juice from one to two medium-sized lemons, depending on their juiciness. A crucial tip: always zest your lemons *before* you cut and juice them. It’s significantly easier to remove the fragrant outer layer from a whole lemon. Fresh lemon provides an incomparable brightness that bottled juice simply can’t replicate.
- Baking Powder, Baking Soda, and Salt: These are the leavening agents that give quick breads their rise without yeast. Baking powder provides the initial lift, while baking soda reacts with the acidic Greek yogurt and lemon juice to create additional lightness and a tender crumb. A touch of salt is essential to balance the sweetness and enhance all the flavors, making them pop.
- Large Eggs: Eggs contribute to the structure, moisture, and richness of the bread. For optimal results and a slightly better lift, try to bring your eggs to room temperature before mixing. Room temperature eggs emulsify more easily with other ingredients and can hold more air when beaten, leading to a lighter final product.
- Neutral Oil (Canola or Vegetable): Unlike butter, which can make quick breads dense, a neutral oil provides consistent moisture and a tender crumb without imparting additional flavor. Canola or vegetable oil are excellent choices as they let the lemon flavor truly shine. Using oil also contributes to the bread staying moist for longer.
- Plain Greek Yogurt: This is a key ingredient for our incredibly moist lemon bread! Traditional quick bread recipes often call for a lot of oil or butter, but Greek yogurt allows us to reduce the fat content significantly while boosting moisture and adding a pleasant tang. It reacts with the baking soda to create a beautifully tender texture. It’s crucial to use *plain* Greek yogurt – flavored varieties often contain excessive sugar and artificial ingredients that would alter the bread’s intended flavor. Full-fat Greek yogurt is recommended for the richest taste and best texture.
- Granulated Sugar: Also known as white sugar, this provides the primary sweetness to the bread, balancing the tartness of the lemon. It also plays a role in the bread’s overall structure and browning.
- Powdered Sugar (Optional, for Glaze): Also known as confectioners’ sugar, this is solely needed if you choose to make the optional lemon glaze. While the bread is delicious on its own, we highly recommend adding the glaze for an extra layer of lemon flavor, a beautiful sheen, and a touch more sweetness that truly elevates the loaf.

How To Make Lemon Bread: A Simple Step-by-Step Guide
Making this delightful lemon loaf is incredibly straightforward. Follow these steps for a perfectly moist and flavorful bread every time:
Before you begin, preheat your oven to 350°F (175°C). Prepare a 9 x 5-inch (23 x 13 cm) loaf pan by lightly coating it with nonstick cooking spray or greasing and flouring it. This ensures your beautiful lemon bread releases easily after baking.
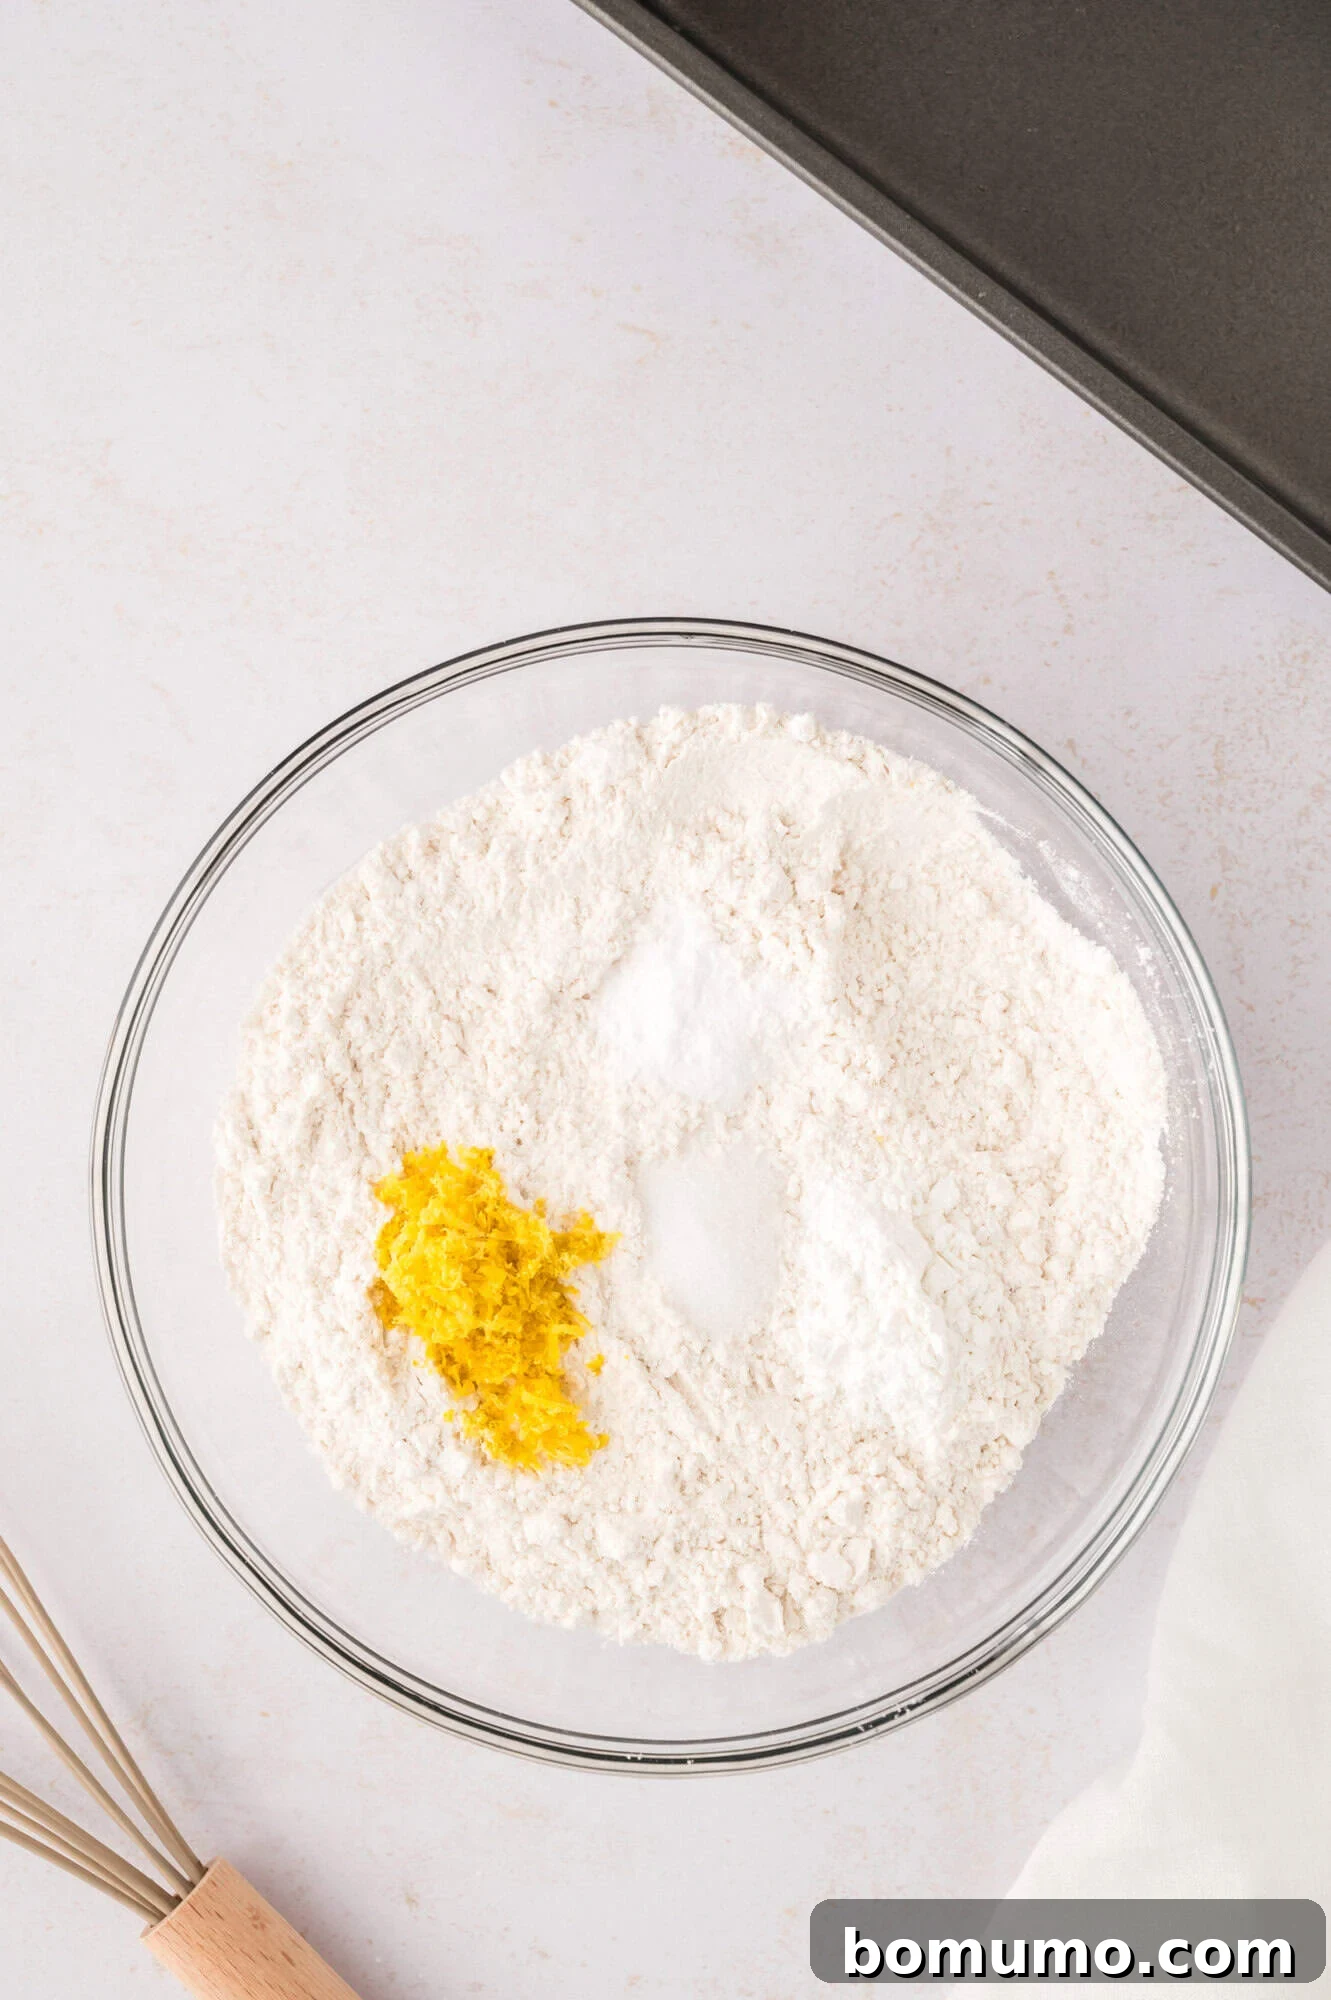
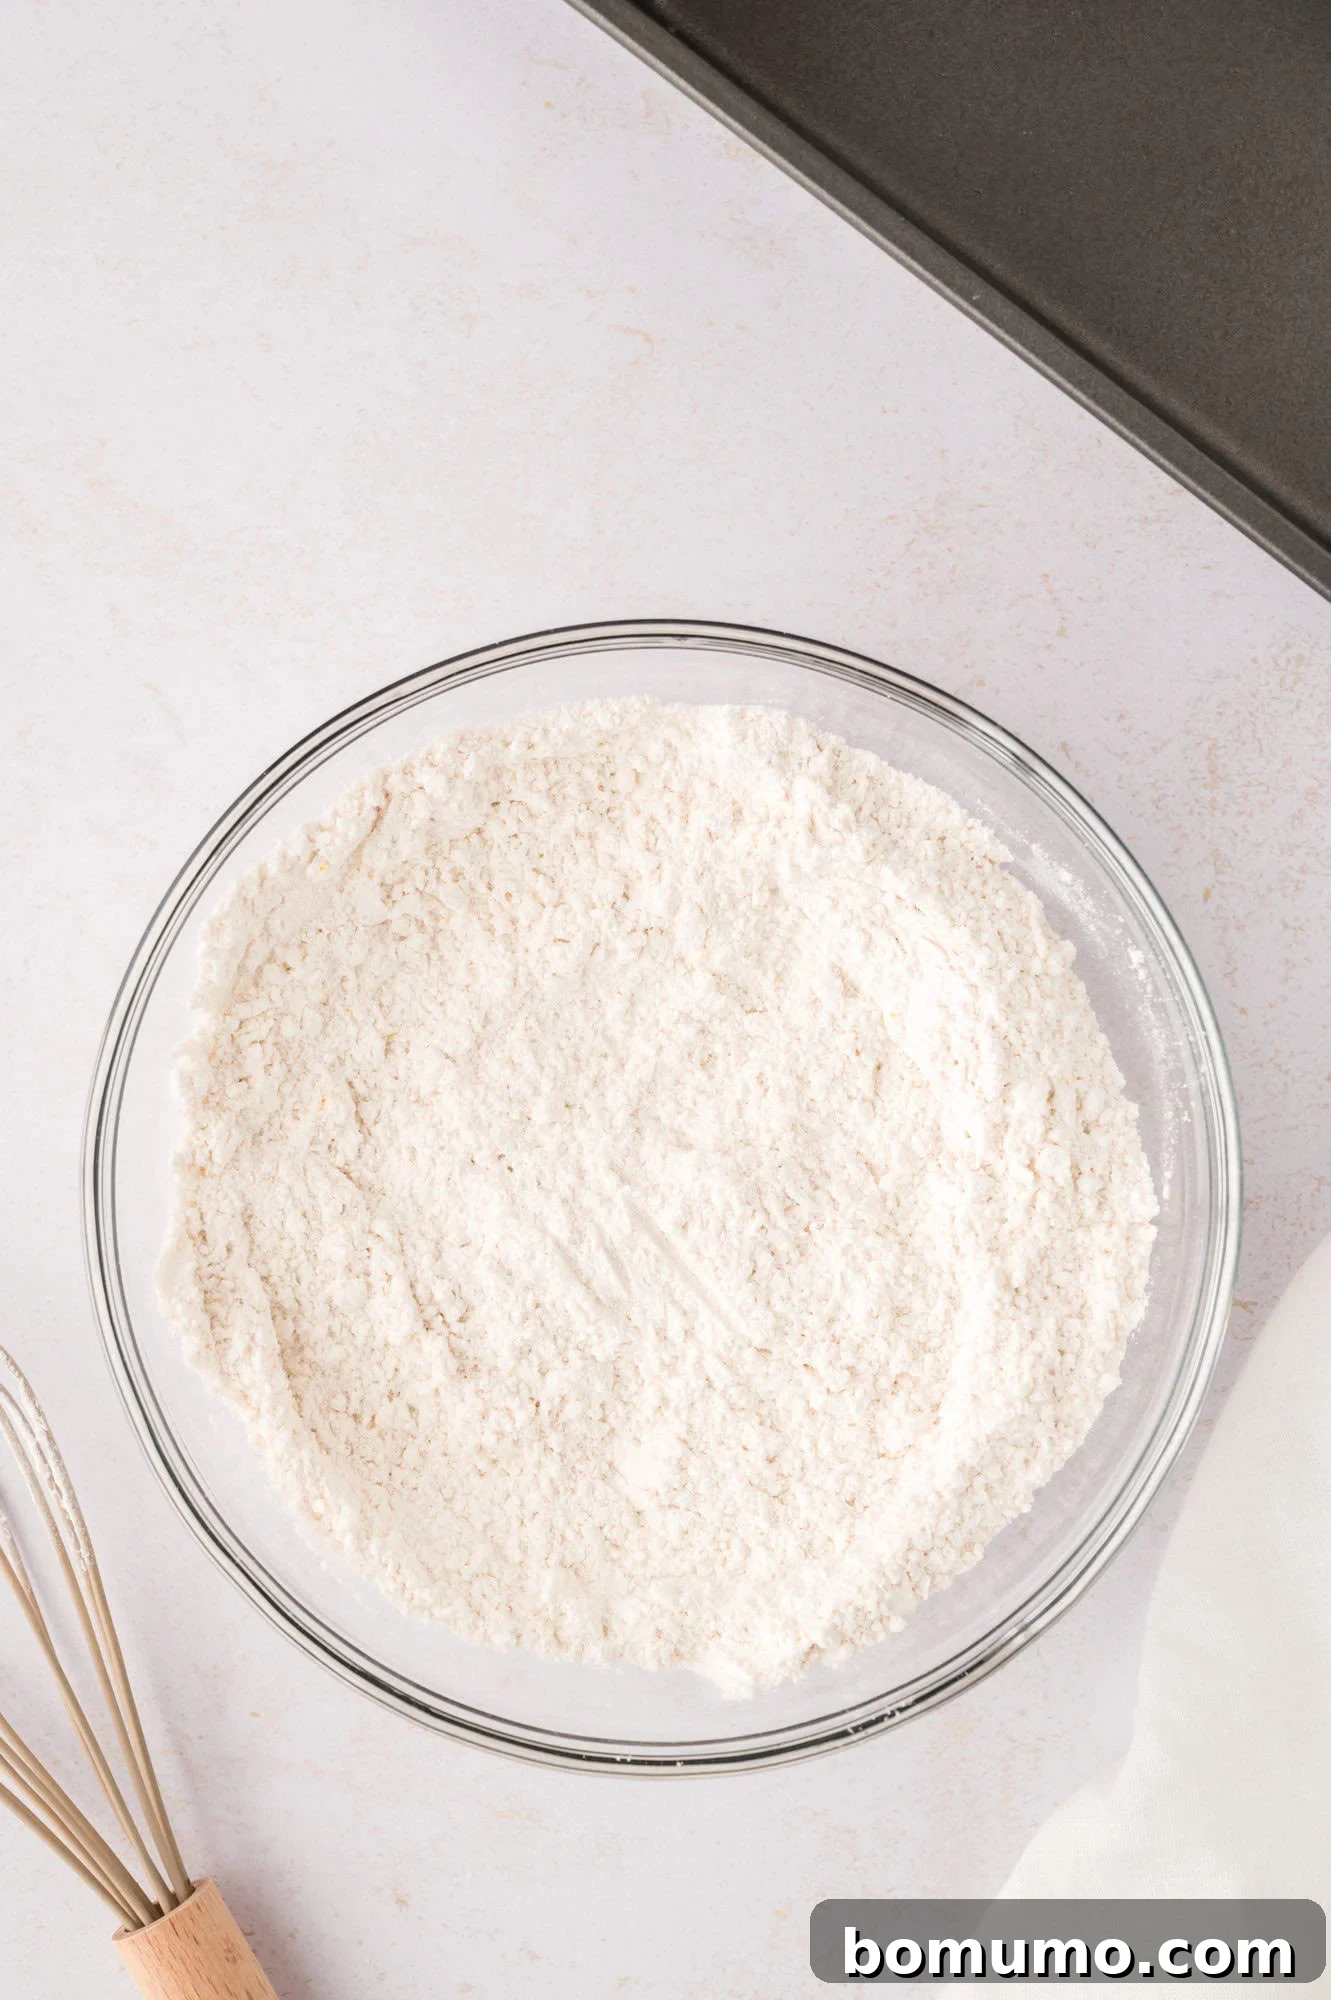
Step 1: Mix Dry Ingredients. In a medium-sized mixing bowl, combine the all-purpose flour, fresh lemon zest, baking powder, baking soda, and salt. Use a whisk to thoroughly blend these ingredients, ensuring the leavening agents are evenly distributed. Set this bowl aside.
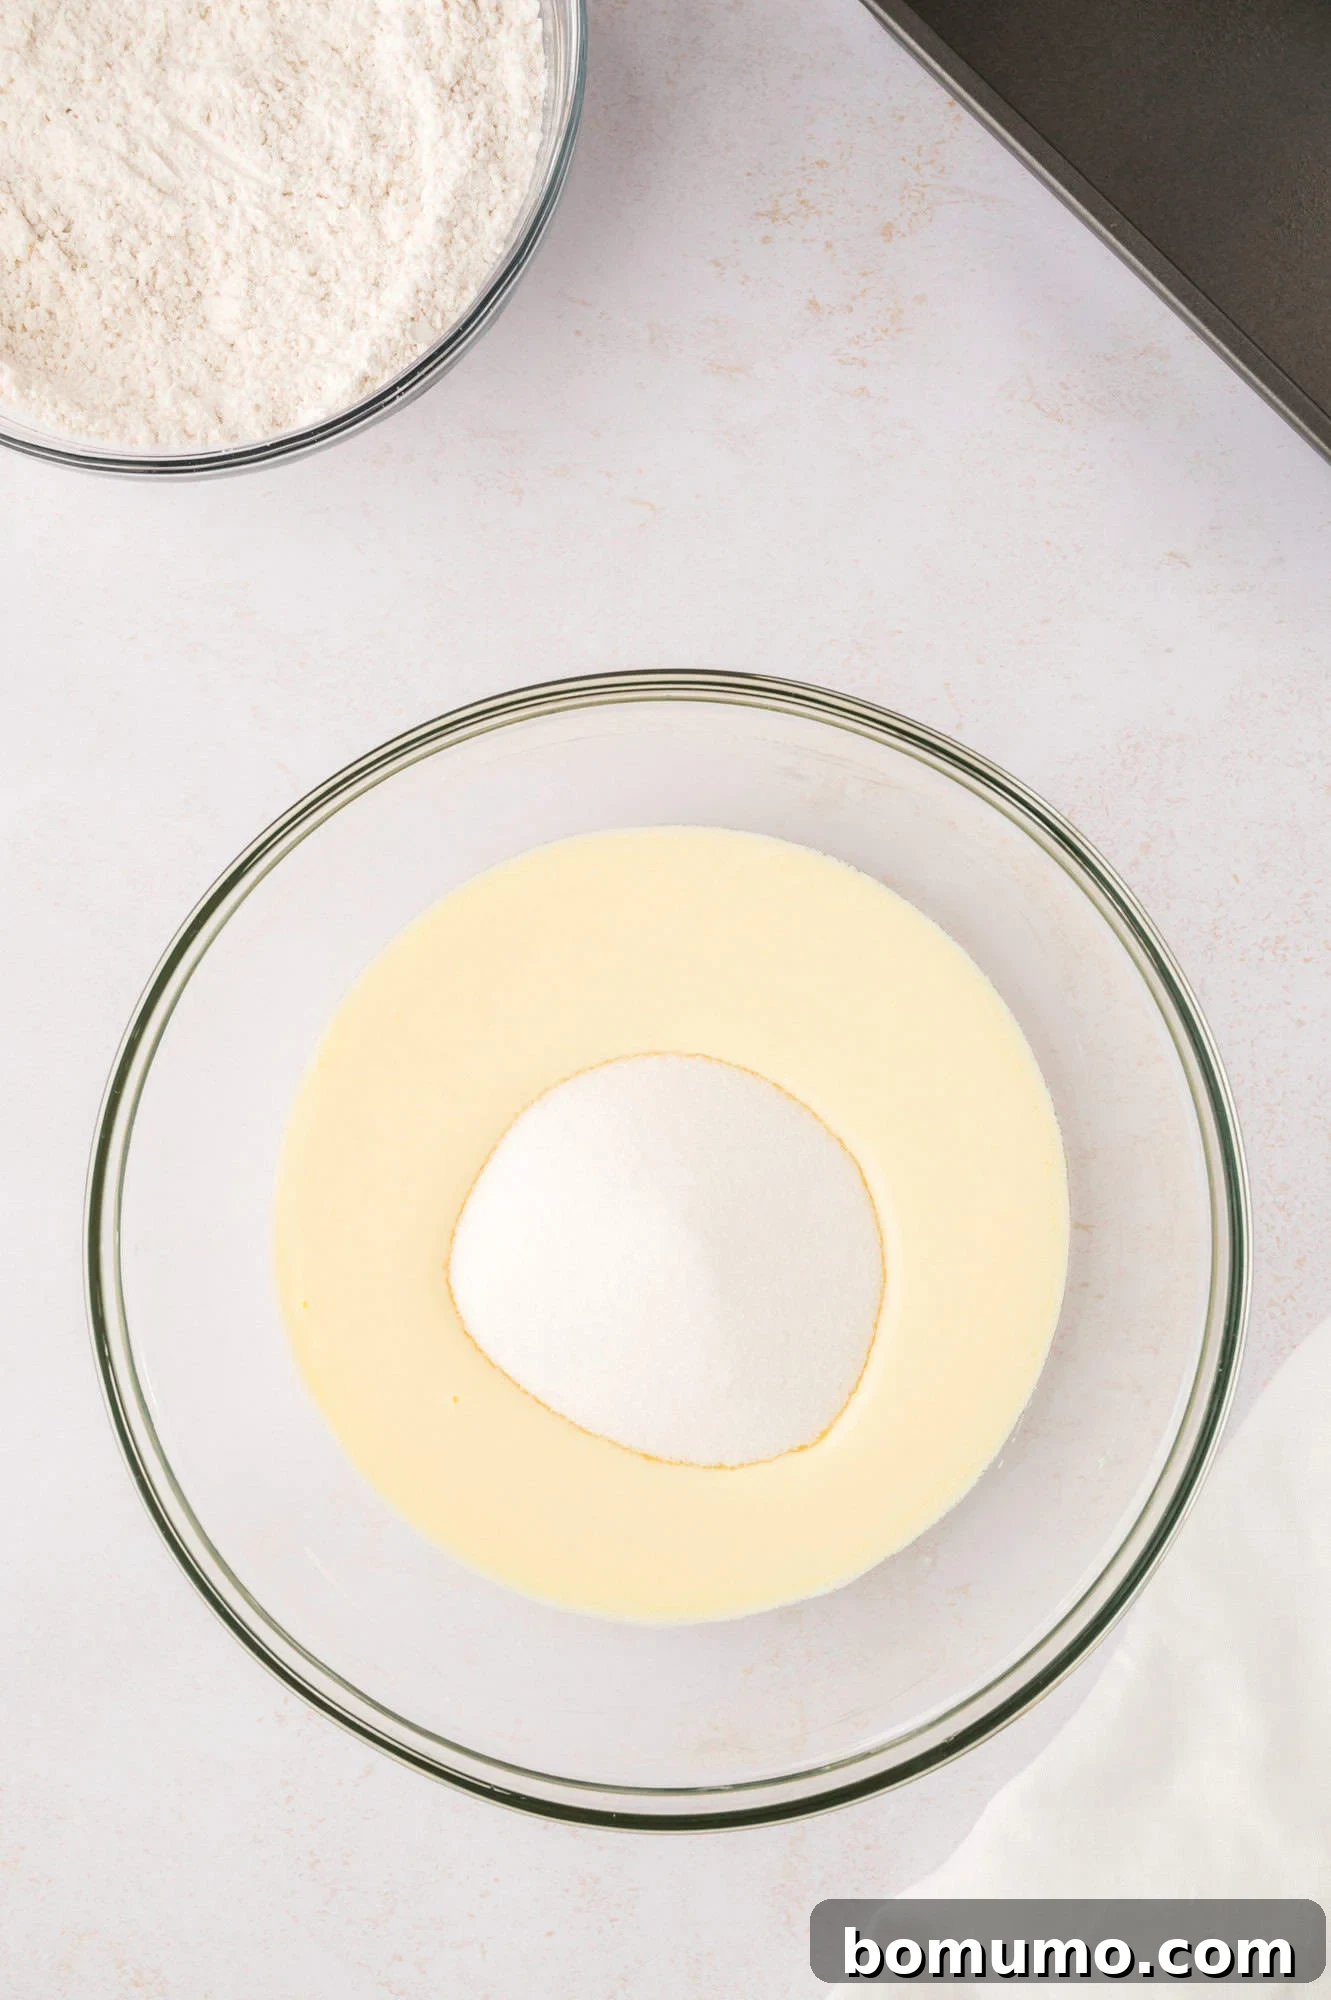
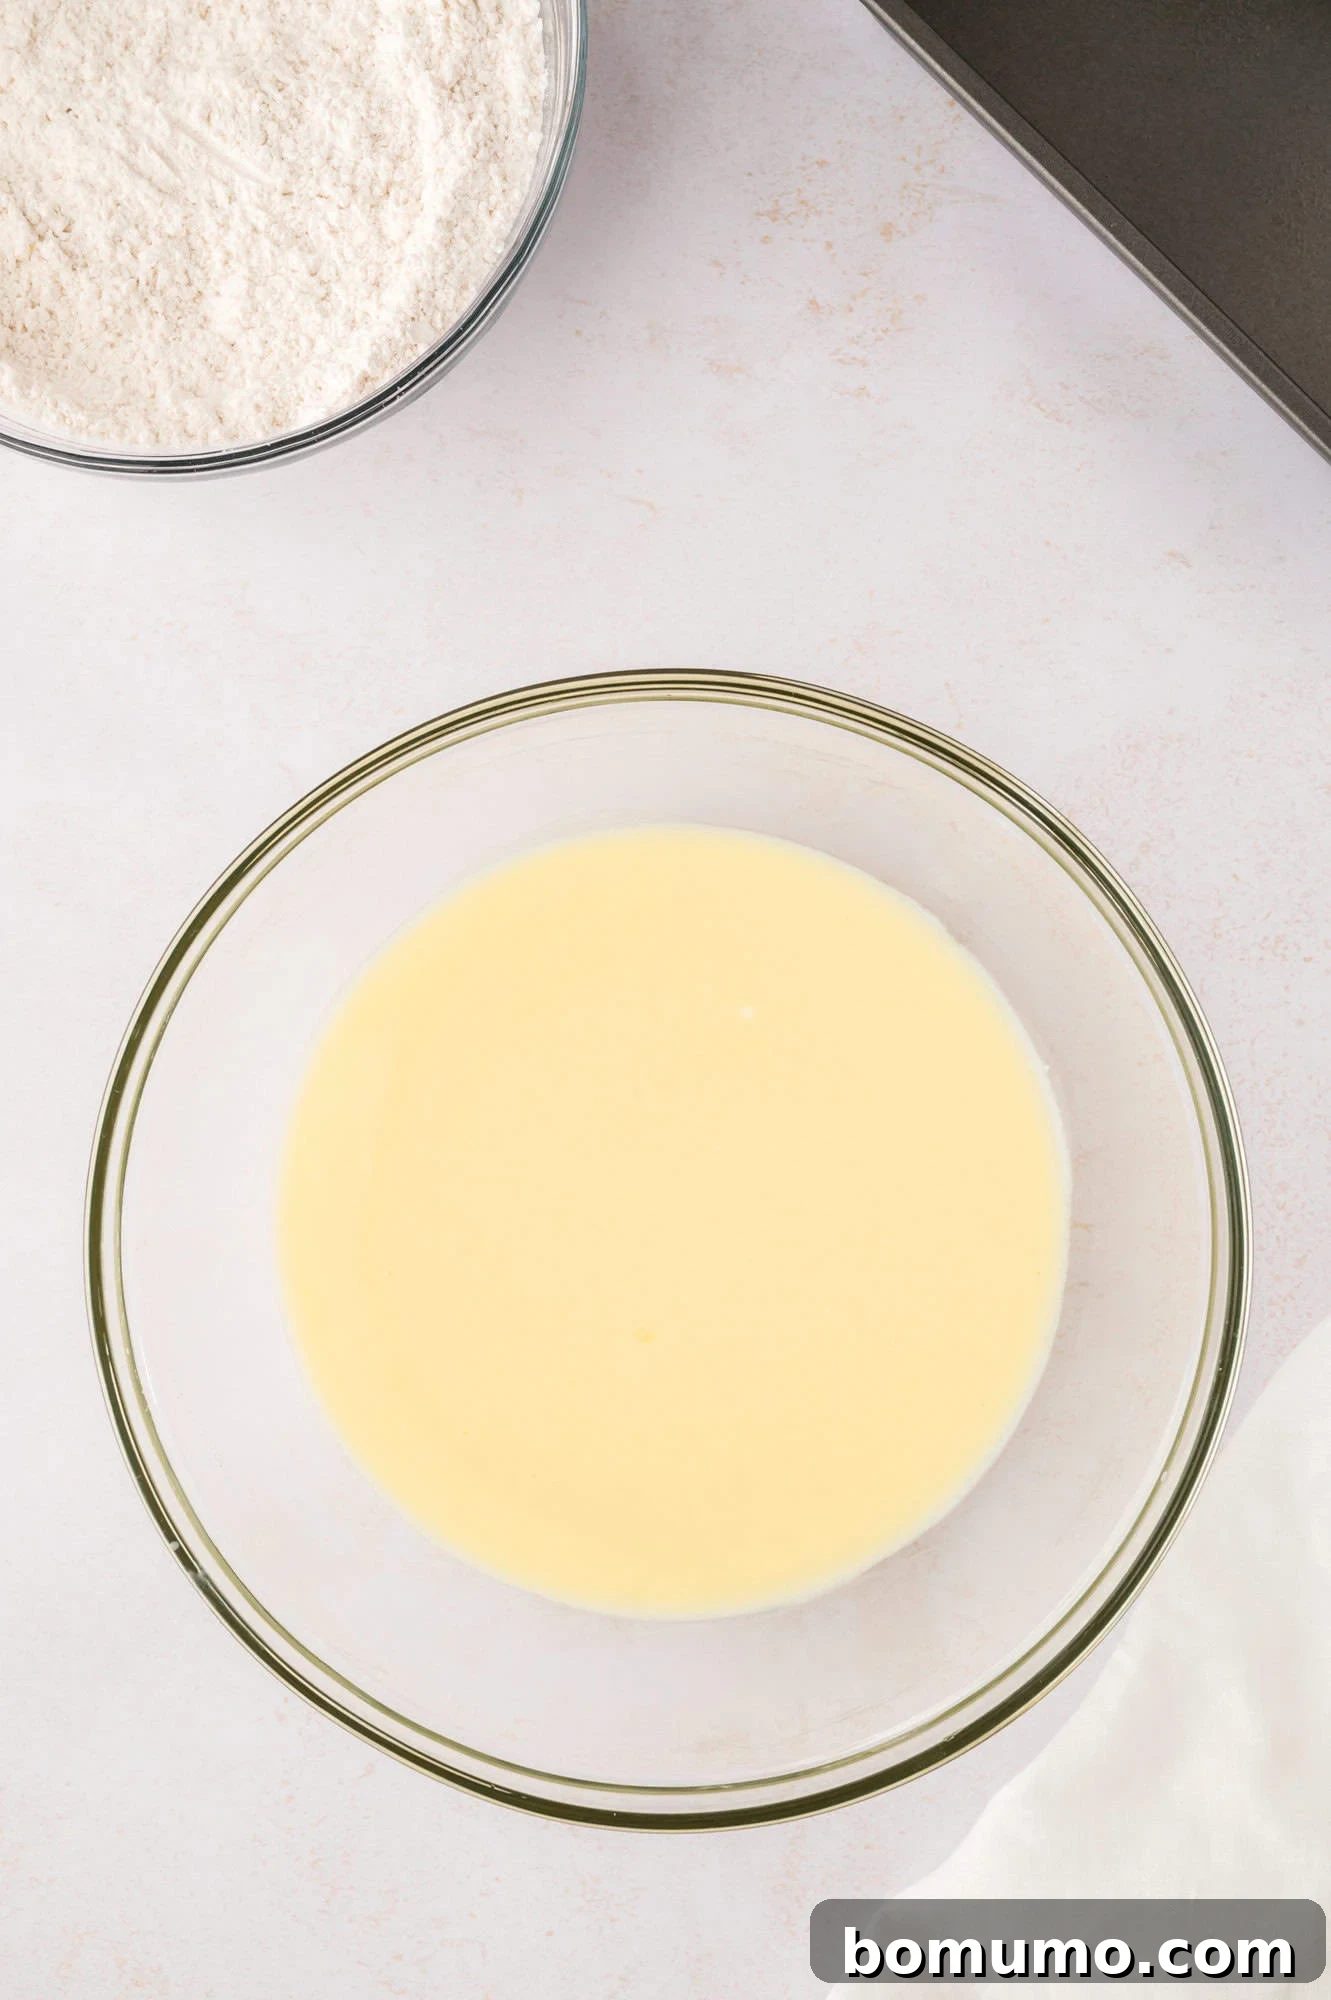
Step 2: Mix Wet Ingredients and Sugar. In a separate, larger mixing bowl, lightly beat the room temperature eggs. Incorporate the canola or vegetable oil, plain Greek yogurt, and fresh lemon juice, mixing well until the mixture is cohesive. Finally, stir in the granulated sugar until it’s fully combined. This mixture should be smooth and creamy.


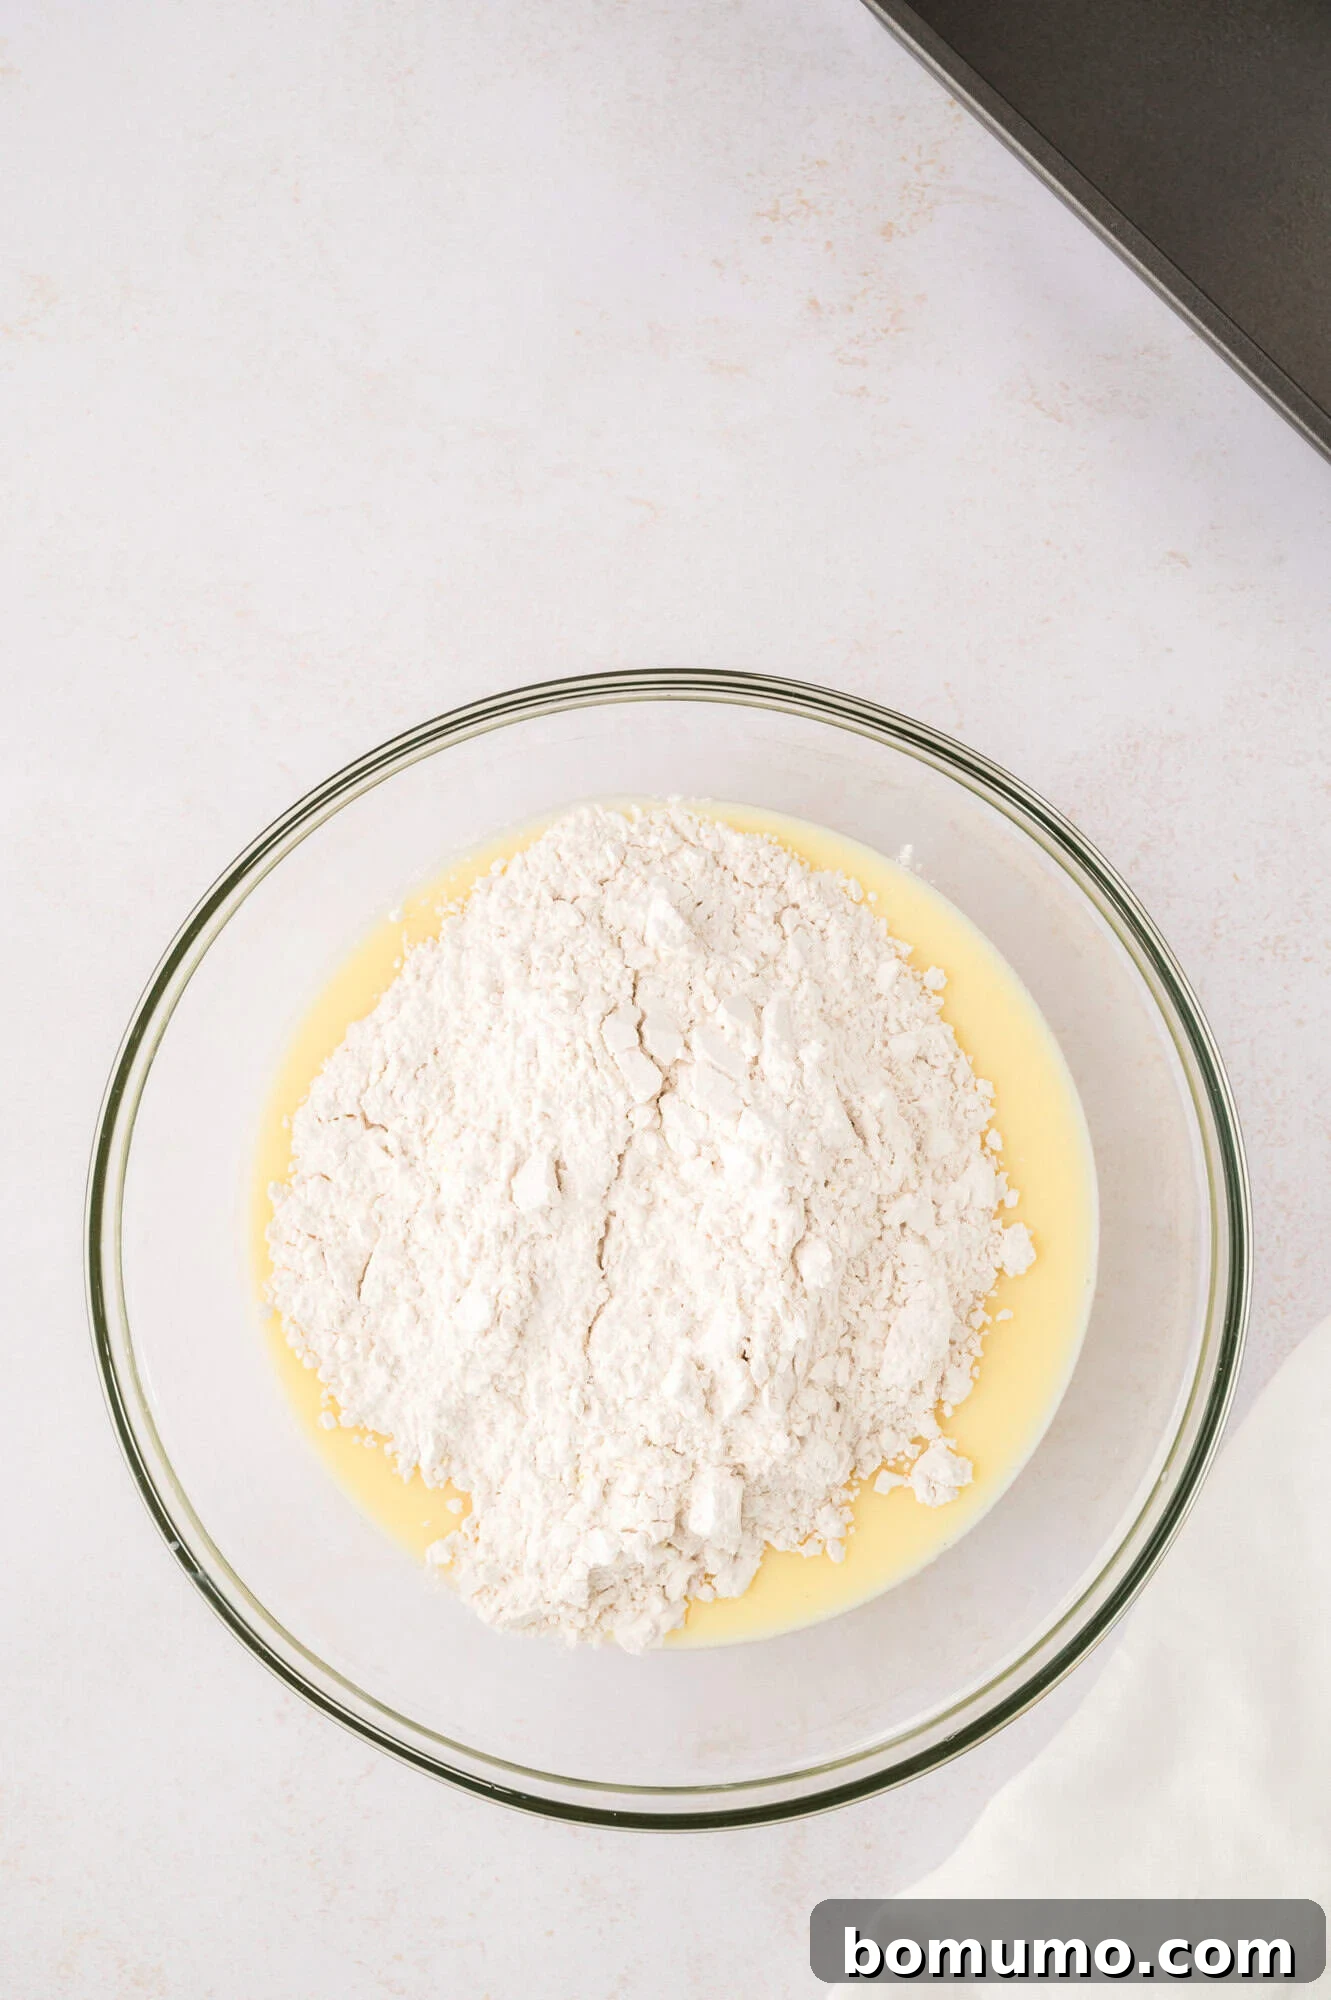
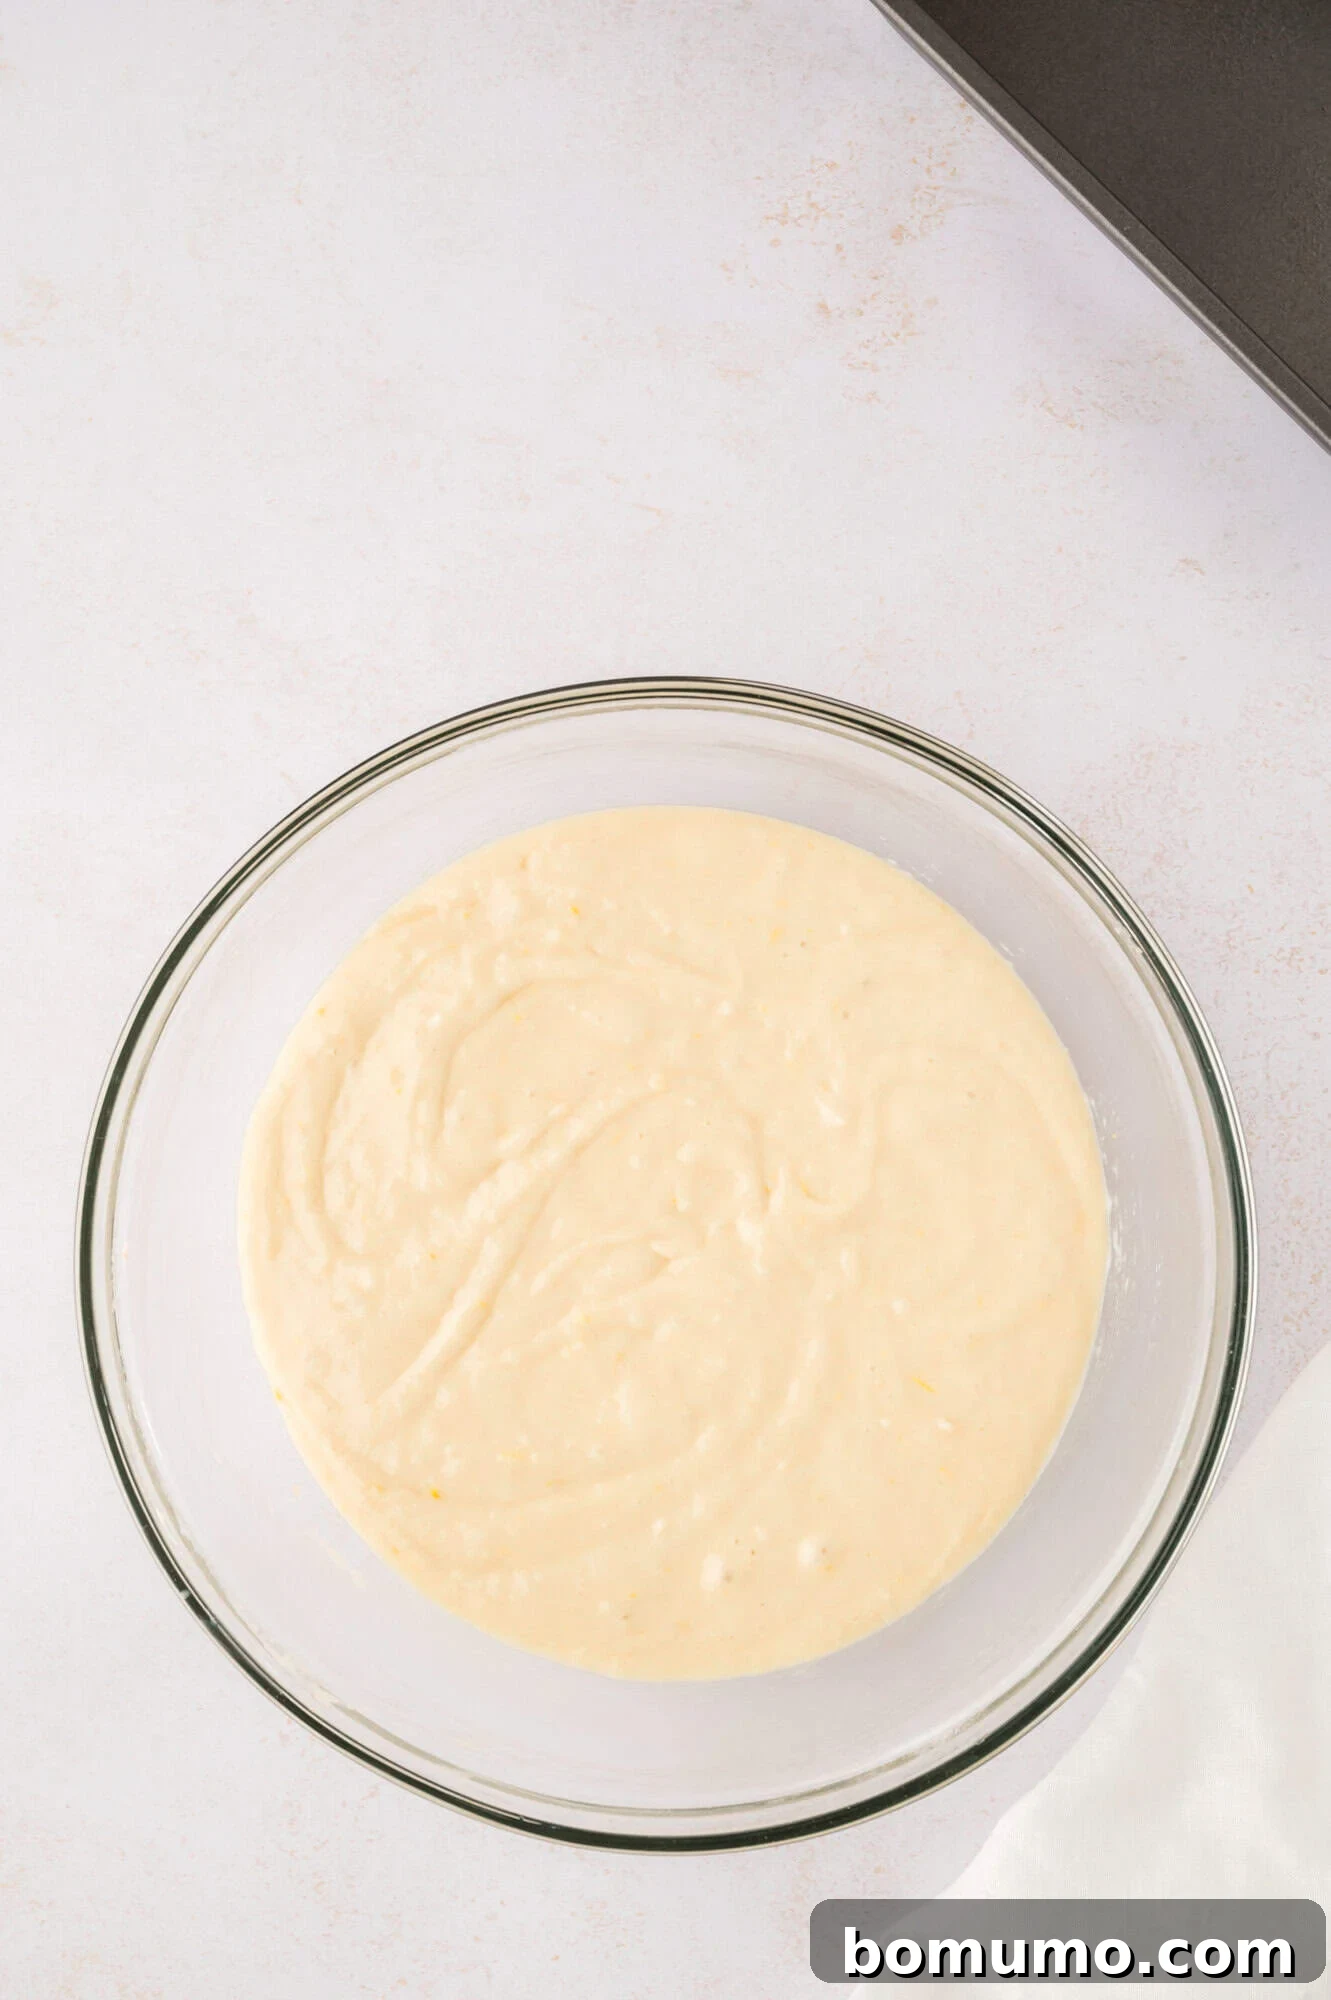
Step 3: Combine Mixtures. Pour the dry ingredients into the wet mixture. Using a spatula or wooden spoon, gently stir until just combined. A few small lumps are perfectly fine and even desirable – the key is not to over-mix. Over-mixing can develop the gluten in the flour too much, leading to a tough and dry bread. Stir just until no pockets of dry flour remain.
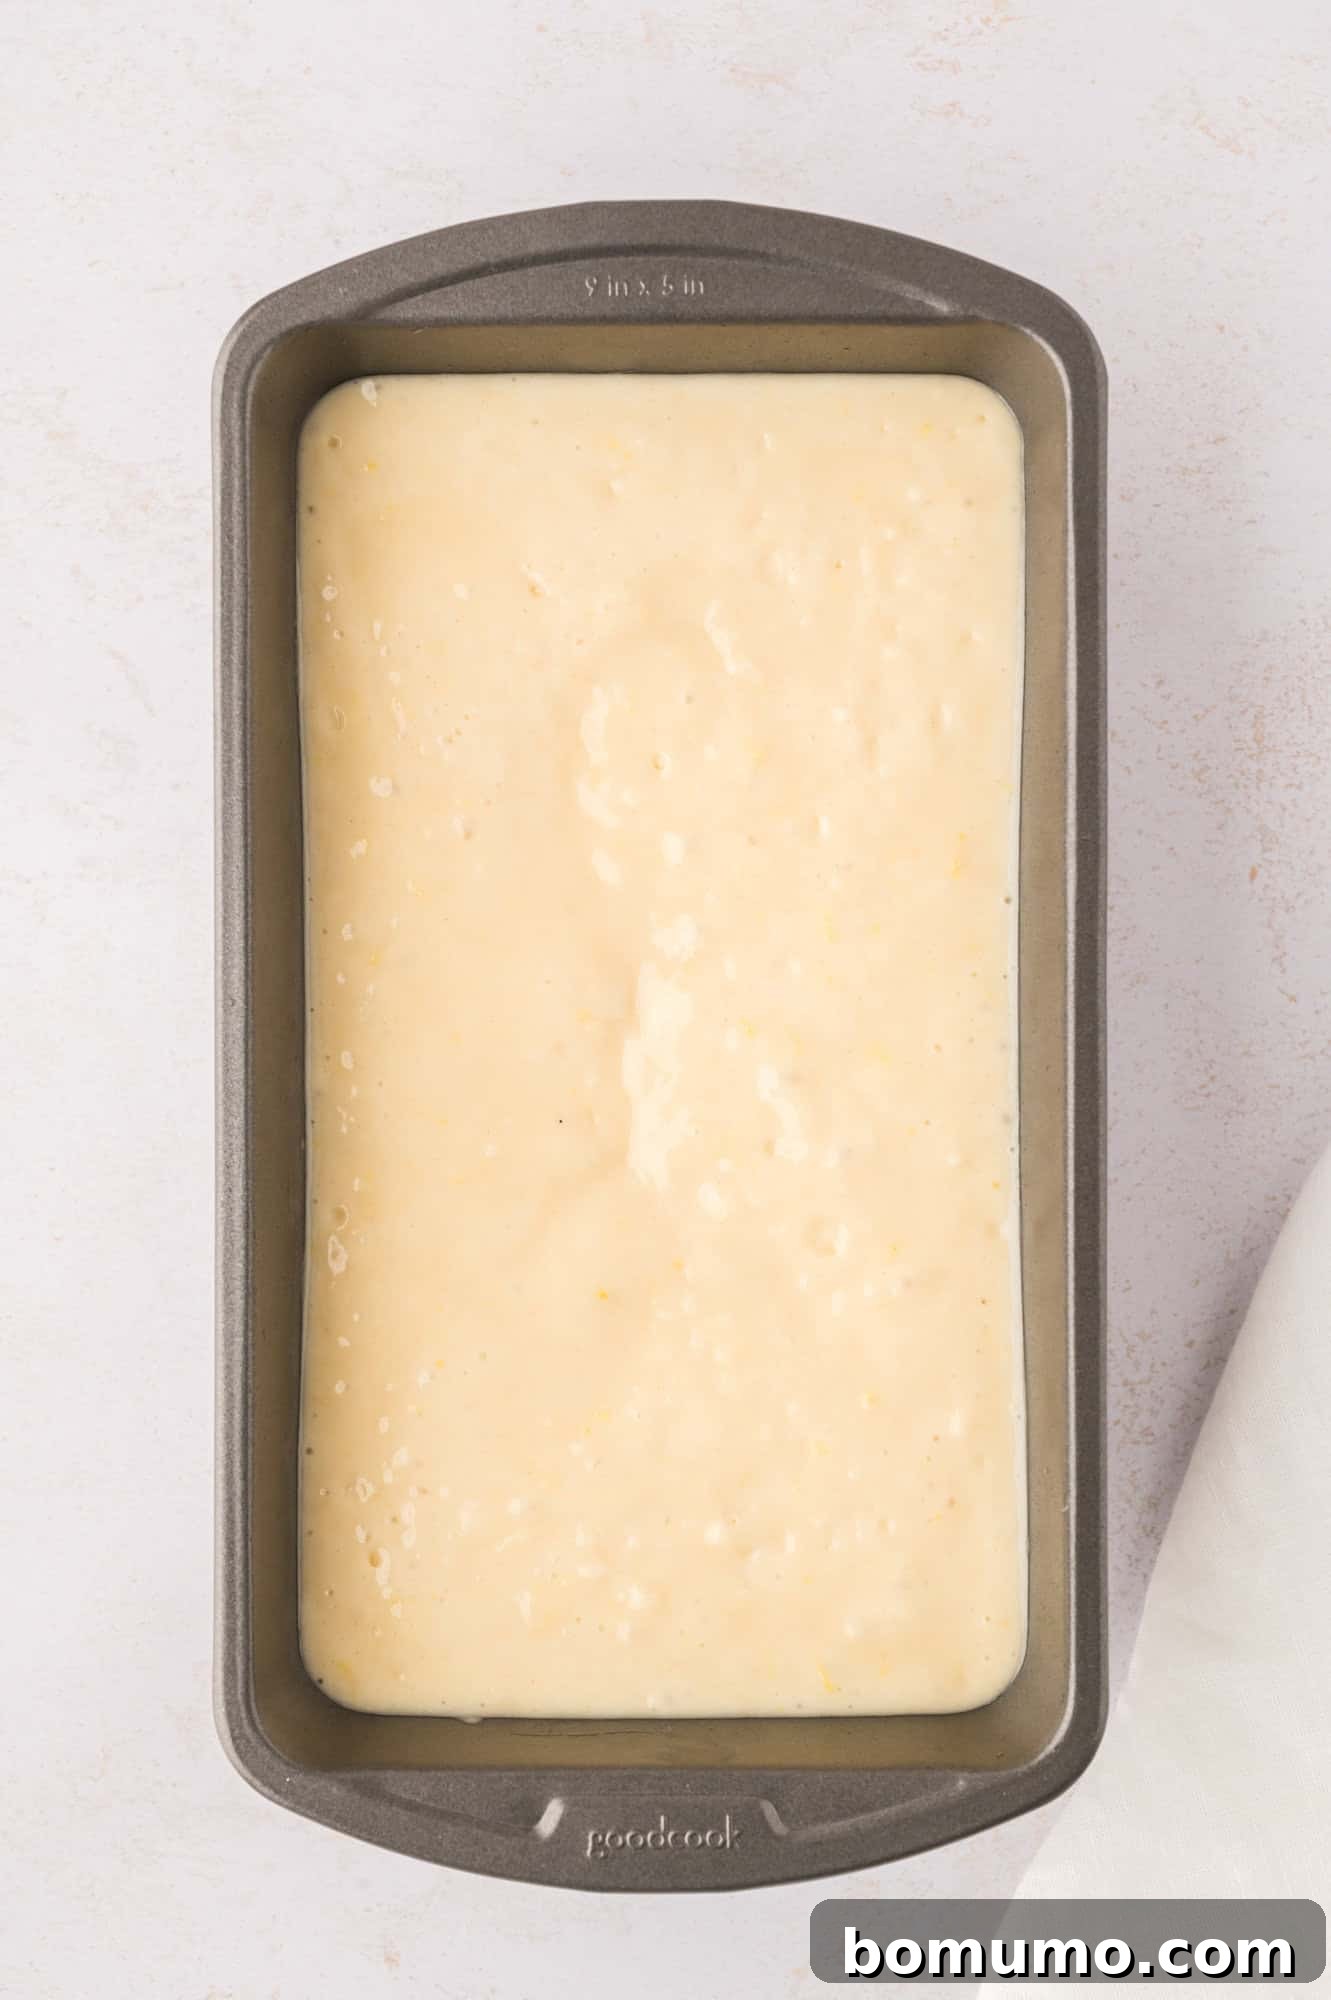
Step 4: Bake. Pour the prepared batter into your greased loaf pan and gently spread the top to create an even layer. Bake for approximately 45 minutes. To test for doneness, insert a wooden skewer or cake tester into the center of the loaf. It should come out mostly clean, with only a few moist crumbs clinging to it. If it’s still wet, bake for a few more minutes and re-test.

Step 5: Cool. Once baked, let the lemon bread cool in its pan for about 10 minutes. This allows the loaf to firm up slightly, making it easier to handle. After 10 minutes, carefully invert the pan to transfer the warm loaf directly onto a wire rack. Let it cool completely on the rack. Cooling completely before slicing is crucial for the best texture and prevents it from crumbling.
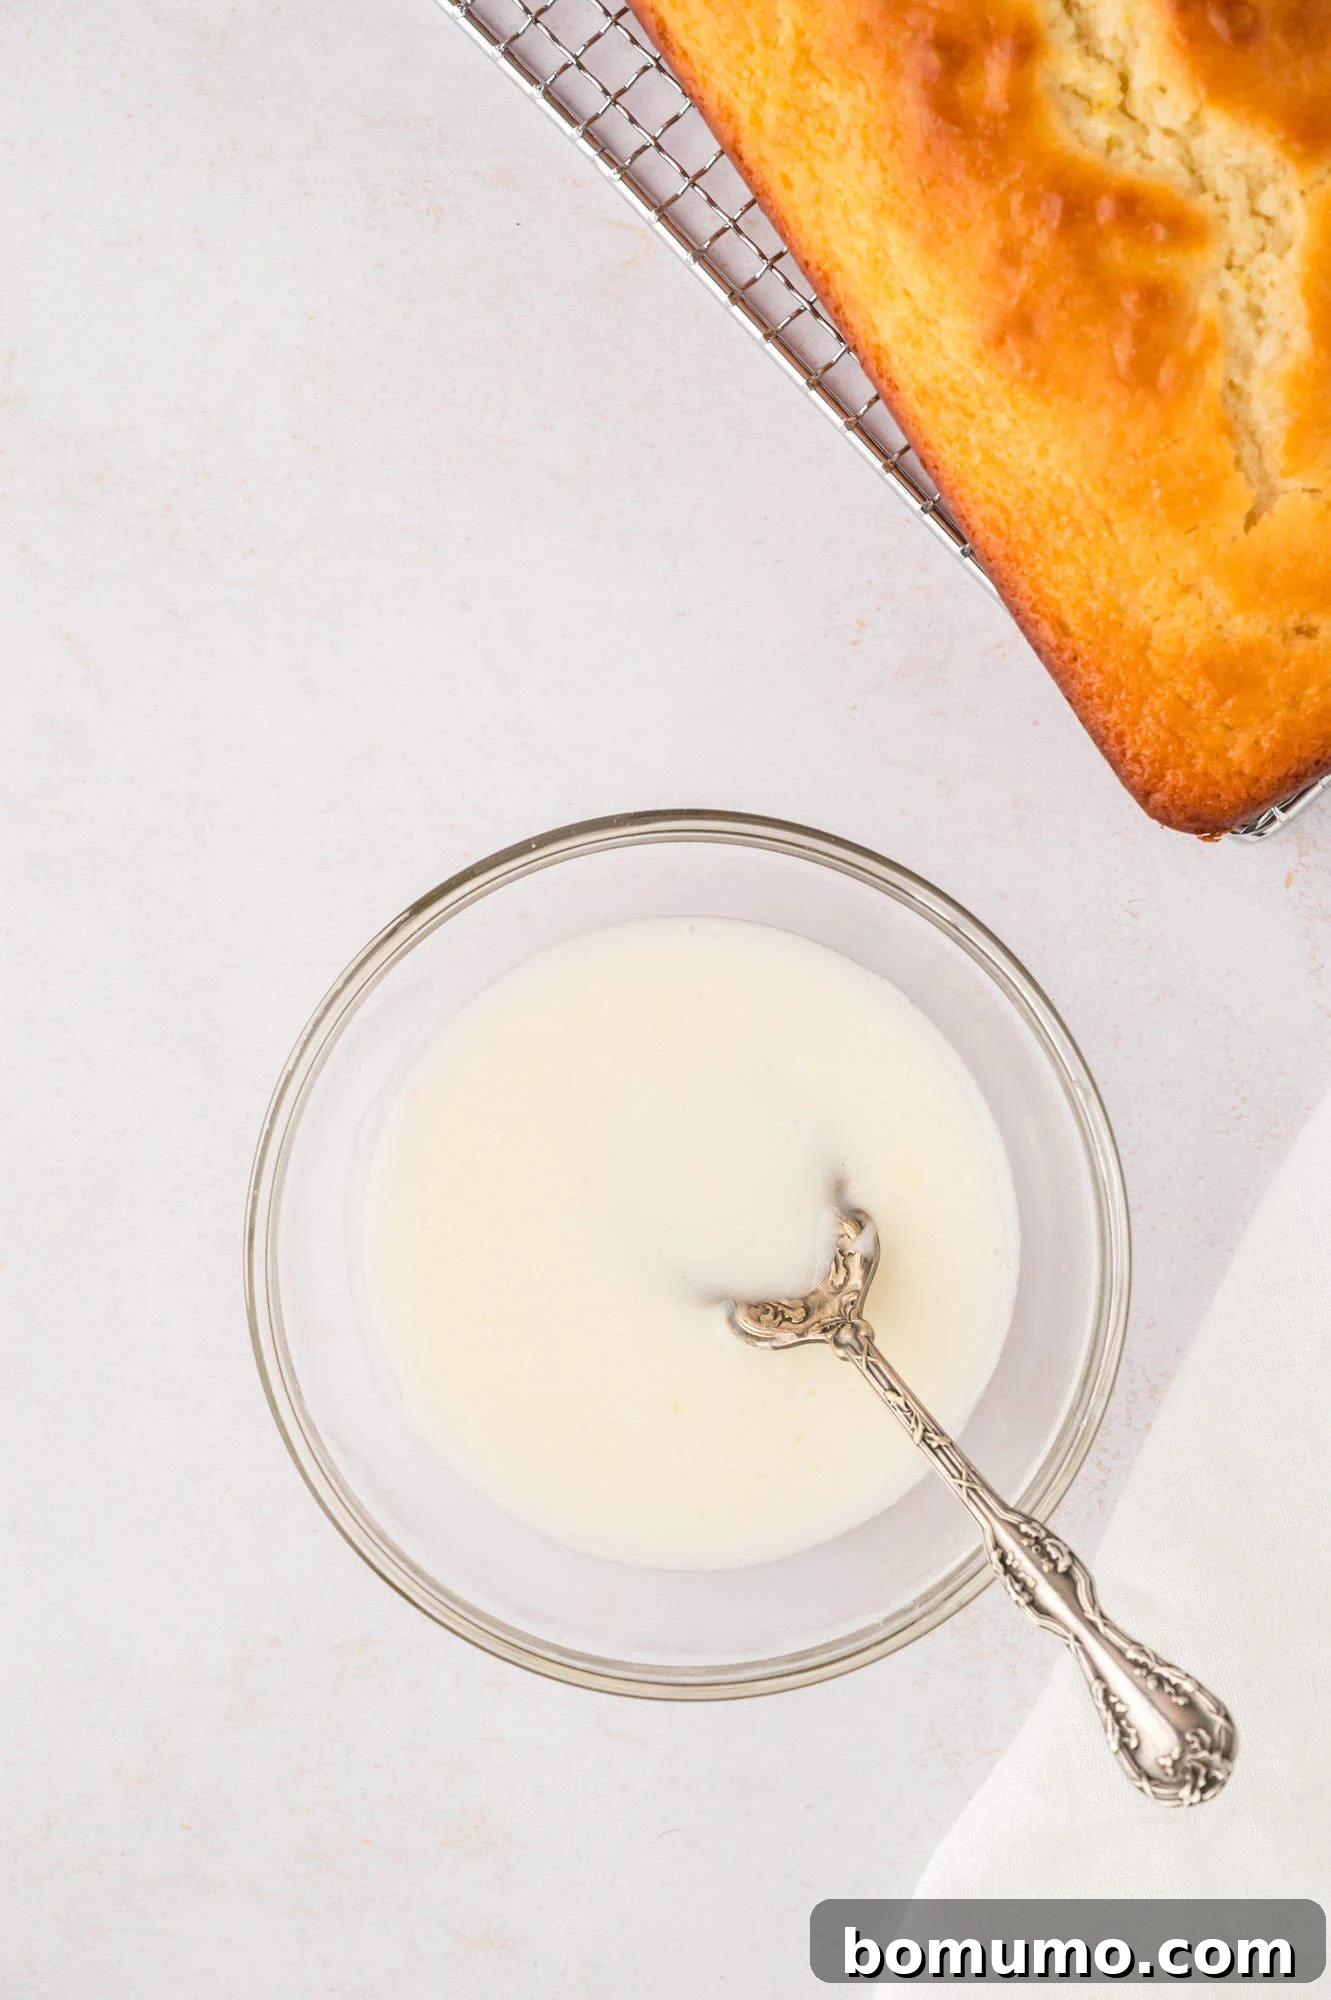
Step 6: Add Glaze (Optional, but Recommended). For the dazzling optional lemon glaze, simply whisk together the powdered sugar and 2 to 3 tablespoons of fresh lemon juice in a small bowl. Adjust the consistency by adding a tiny bit more lemon juice if it’s too thick, or a little more powdered sugar if it’s too thin. If you have any extra lemon zest, you can stir it into the glaze for an extra burst of flavor and visual appeal. Once the bread has completely cooled, generously drizzle the glaze over the top. Allow the glaze to set for a few minutes before slicing and serving.

Recipe Tips for the Best Lemon Loaf Every Time
Recipe Tips for the Best Lemon Loaf Every Time
Achieving a perfect lemon loaf is easy when you keep a few key tips in mind:
Always Zest Lemons Before Juicing: This might seem like a small detail, but it makes a huge difference. Zesting a whole, firm lemon is much simpler and yields more zest than trying to zest a lemon that has already been cut and juiced. The zest holds most of the lemon’s essential oils, providing intense flavor.
No Zester? No Problem! If you don’t have a microplane zester, you can still get that beautiful lemon flavor. Use the small holes of a box grater, carefully grating only the yellow outer layer and avoiding the bitter white pith. Another method is to use a vegetable peeler or a sharp paring knife to remove thin strips of the yellow peel, then scrape off any white pith and finely mince the yellow peel. The finer the mince, the better the flavor distribution.
Avoid Over-mixing the Batter: This is perhaps the most crucial tip for any quick bread. Once you combine the wet and dry ingredients, stir *just* until the flour streaks disappear. Over-mixing develops the gluten in the flour, resulting in a tough, dense, and chewy bread instead of a tender, moist one. A few small lumps in the batter are perfectly acceptable and actually preferred.
Use Room Temperature Eggs and Yogurt: Ingredients at room temperature combine more smoothly and evenly, creating a more uniform batter. This leads to a better texture and a more consistent rise in your lemon bread. If you forget, a quick trick for eggs is to place them in a bowl of warm water for 5-10 minutes.
Don’t Rush the Cooling Process: It’s tempting to slice into a warm loaf, but for the best structural integrity and texture, allow the bread to cool completely on a wire rack. This lets the internal moisture redistribute and prevents the loaf from becoming gummy or crumbling when cut. Plus, the glaze needs a cool surface to set properly.
Recipe Variations: Customizing Your Lemon Bread
While this lemon bread is outstanding as is, it also serves as a fantastic base for creativity. Here are some delicious ways to customize your loaf:
- Add Fresh Fruit: For an extra burst of flavor and texture, fold 1 to 1 ½ cups of fresh or frozen (unthawed) berries into the dry ingredients before combining with the wet. Chopped strawberries, sweet raspberries, or juicy blueberries are all wonderful choices. The berries add pockets of deliciousness and an appealing visual contrast.
- Go Herbal: For an unexpected yet elegant twist, consider adding fresh lavender. If you have culinary-grade fresh lavender from your garden or dried food-grade lavender, stir a teaspoon into the batter. You can even infuse a little lavender into the lemon juice for the glaze for a subtle floral note that pairs beautifully with citrus.
- Try a Different Glaze: Don’t limit yourself to just lemon! A rich cream cheese glaze made with softened cream cheese, powdered sugar, and a touch of vanilla is absolutely fantastic with this lemon yogurt bread. Alternatively, a simple vanilla glaze (powdered sugar, milk, and vanilla extract) provides a sweet complement without overpowering the lemon.
- Skip the Glaze for a Simpler Finish: If you prefer a less sweet or quicker option, you can certainly omit the glaze. Instead, dust the top of the cooled bread with a light layer of powdered sugar for a elegant, simple presentation. For a wonderfully crunchy and sweet crust, sprinkle coarse sanding sugar over the top of the batter before baking.
- Explore Lemon in Other Forms: If you adore the bright flavor of lemon, you might also enjoy these other lemon-infused treats: our fluffy lemon ricotta pancakes or the unique and delightful lemon poppy seed cottage cheese pancakes.

Storage Tips for Optimal Freshness
Storage Tips for Optimal Freshness
To keep your delicious lemon bread fresh and moist for as long as possible, proper storage is key:
Once the lemon glaze has fully set and the bread has cooled completely, you can wrap the entire loaf tightly in plastic wrap or aluminum foil, or place it in an airtight container. Stored at room temperature, this lemon bread will remain wonderfully fresh for approximately 3 days. If you wish to extend its shelf life, you can store it in the refrigerator for up to a week. Be sure it’s well-wrapped to prevent it from drying out.
Freezer: For longer-term storage, freezing is an excellent option. This lemon loaf freezes beautifully and will keep well in the freezer for up to 2 months. To freeze a whole loaf, wrap it tightly in plastic wrap, then an additional layer of aluminum foil, ensuring no air pockets. For ultimate convenience, you can slice the loaf first, then wrap individual slices in plastic wrap before placing them in a freezer-safe bag or container. This allows you to thaw just one slice at a time for a quick, delicious snack or an effortless lunchbox treat. Simply let the bread or individual slices thaw at room temperature before serving; they defrost quite quickly, preserving their moist texture and vibrant flavor.
Frequently Asked Questions About Lemon Bread
Here are some common questions about making and enjoying lemon bread:
Q: Can I use bottled lemon juice instead of fresh?
A: While fresh lemon juice and zest are highly recommended for the best flavor, you can use bottled lemon juice in a pinch. However, the flavor will not be as bright or complex. Do not substitute bottled juice for the zest, as the zest provides concentrated lemon oil flavor.
Q: My lemon bread turned out dry, what went wrong?
A: A dry quick bread is often a result of over-mixing the batter or over-baking. Remember to mix only until the dry and wet ingredients are just combined. Also, check for doneness at the lower end of the baking time with a toothpick, and remove from the oven as soon as it comes out with a few moist crumbs.
Q: Can I make this recipe into muffins?
A: Yes! This recipe can easily be adapted for muffins. Line a 12-cup muffin tin with paper liners or grease it well. Fill muffin cups about two-thirds full and bake for 20-25 minutes, or until a toothpick inserted into the center comes out clean. Adjust the glaze consistency if needed for muffins.
Q: How do I prevent the top of my bread from browning too quickly?
A: If you notice the top browning too much before the inside is fully cooked, you can loosely tent the loaf pan with aluminum foil for the remaining baking time. This protects the top while allowing the inside to finish baking.
More Quick Bread Recipes You’ll Love
Lemon Poppy Seed Bread
Healthy Zucchini Bread – Whole Wheat
Snickerdoodle Bread – Triple Cinnamon Swirl!
Pumpkin Streusel Bread Recipe
Lemon Bread
Rachel Gurk
20 minutes
45 minutes
10 minutes
1 hour
15 minutes
10
slices

Ingredients
-
2 cups all-purpose flour (lightly spooned into measuring cup) -
2 teaspoons lemon zest (from 1 to 2 lemons) -
2 teaspoons baking powder -
½ teaspoon baking soda -
½ teaspoon salt -
2 large eggs -
⅓ cup canola or vegetable oil -
1 cup plain Greek yogurt (I recommend full fat) -
¼ cup fresh lemon juice (zest your lemons before juicing!) from about 1 lemon -
1 cup granulated sugar
Glaze (optional)
-
1 cup powdered sugar -
2 to 3 tablespoons fresh lemon juice
Instructions
-
Preheat oven to 350°F (175°C). Lightly spray a 9 x 5-inch (23 x 13 cm) loaf pan with nonstick cooking spray or grease and flour.
-
In a medium-sized mixing bowl, combine flour, lemon zest, baking powder, baking soda, and salt. Whisk well to ensure everything is evenly distributed. Set aside.2 cups all-purpose flour,
2 teaspoons lemon zest,
2 teaspoons baking powder,
½ teaspoon baking soda,
½ teaspoon salt -
In a large mixing bowl, lightly beat the room temperature eggs. Add the oil, Greek yogurt, and fresh lemon juice. Mix well to combine thoroughly. Stir in the granulated sugar until it is fully incorporated.2 large eggs,
⅓ cup canola or vegetable oil,
1 cup plain Greek yogurt,
¼ cup fresh lemon juice,
1 cup granulated sugar -
Add the dry ingredients mixture to the wet egg mixture. Stir gently with a spatula or wooden spoon until just combined and fairly smooth. Do not over-mix; a few lumps are normal and will ensure a tender loaf.
-
Pour the batter into the prepared loaf pan and use your spatula to spread it into an even layer, ensuring the top is smooth.
-
Bake in the preheated oven for approximately 45 minutes. The bread is ready when a wooden skewer or cake tester inserted into the center comes out mostly clean, with only a few moist crumbs clinging to it.
-
Allow the bread to cool in the pan for about 10 minutes. This helps it firm up. Then, carefully remove the lemon loaf from the pan and transfer it to a wire rack to cool completely before glazing or slicing.
-
Optional Lemon Glaze: Once the bread has completely cooled, prepare the glaze. In a small bowl, combine 1 cup powdered sugar with 2 tablespoons of fresh lemon juice. Whisk until smooth, adding an additional tablespoon of lemon juice if you prefer a thinner glaze. Drizzle this vibrant glaze generously over the top of the cooled bread. Allow the glaze to set for about 15-20 minutes uncovered before proceeding.1 cup powdered sugar,
2 to 3 tablespoons fresh lemon juice -
Once the glaze is set (if using), slice the lemon bread with a serrated knife and serve. Enjoy!
Notes
- Storage: For optimal freshness, once the bread has cooled and the glaze is set, wrap the lemon bread securely in plastic wrap or store it in an airtight container. It will keep well at room temperature for about 3 days, or in the refrigerator for up to a week.
- Freezing: This lemon bread freezes beautifully for up to 2 months. You can freeze it whole, wrapped tightly, or slice it first and wrap individual slices for convenient thawing.
- Add fruit: To add berries, gently fold 1 to 1 ½ cups of chopped strawberries, blueberries, or raspberries (fresh or frozen and unthawed) into the dry ingredients before combining them with the wet. If using frozen berries, an extra couple of minutes of baking time may be needed.
- Glaze options: Feel free to skip the glaze and simply dust the cooled bread with powdered sugar for a simpler finish. A decadent cream cheese glaze also pairs wonderfully with this tangy lemon loaf.
Nutrition
Nutrition information is automatically calculated and should only be used as an approximation. Individual results may vary based on exact ingredients and preparation methods.
Did You Make This?
We’d love to hear from you! Share your experience and a rating below. Your feedback helps us and other home bakers!