
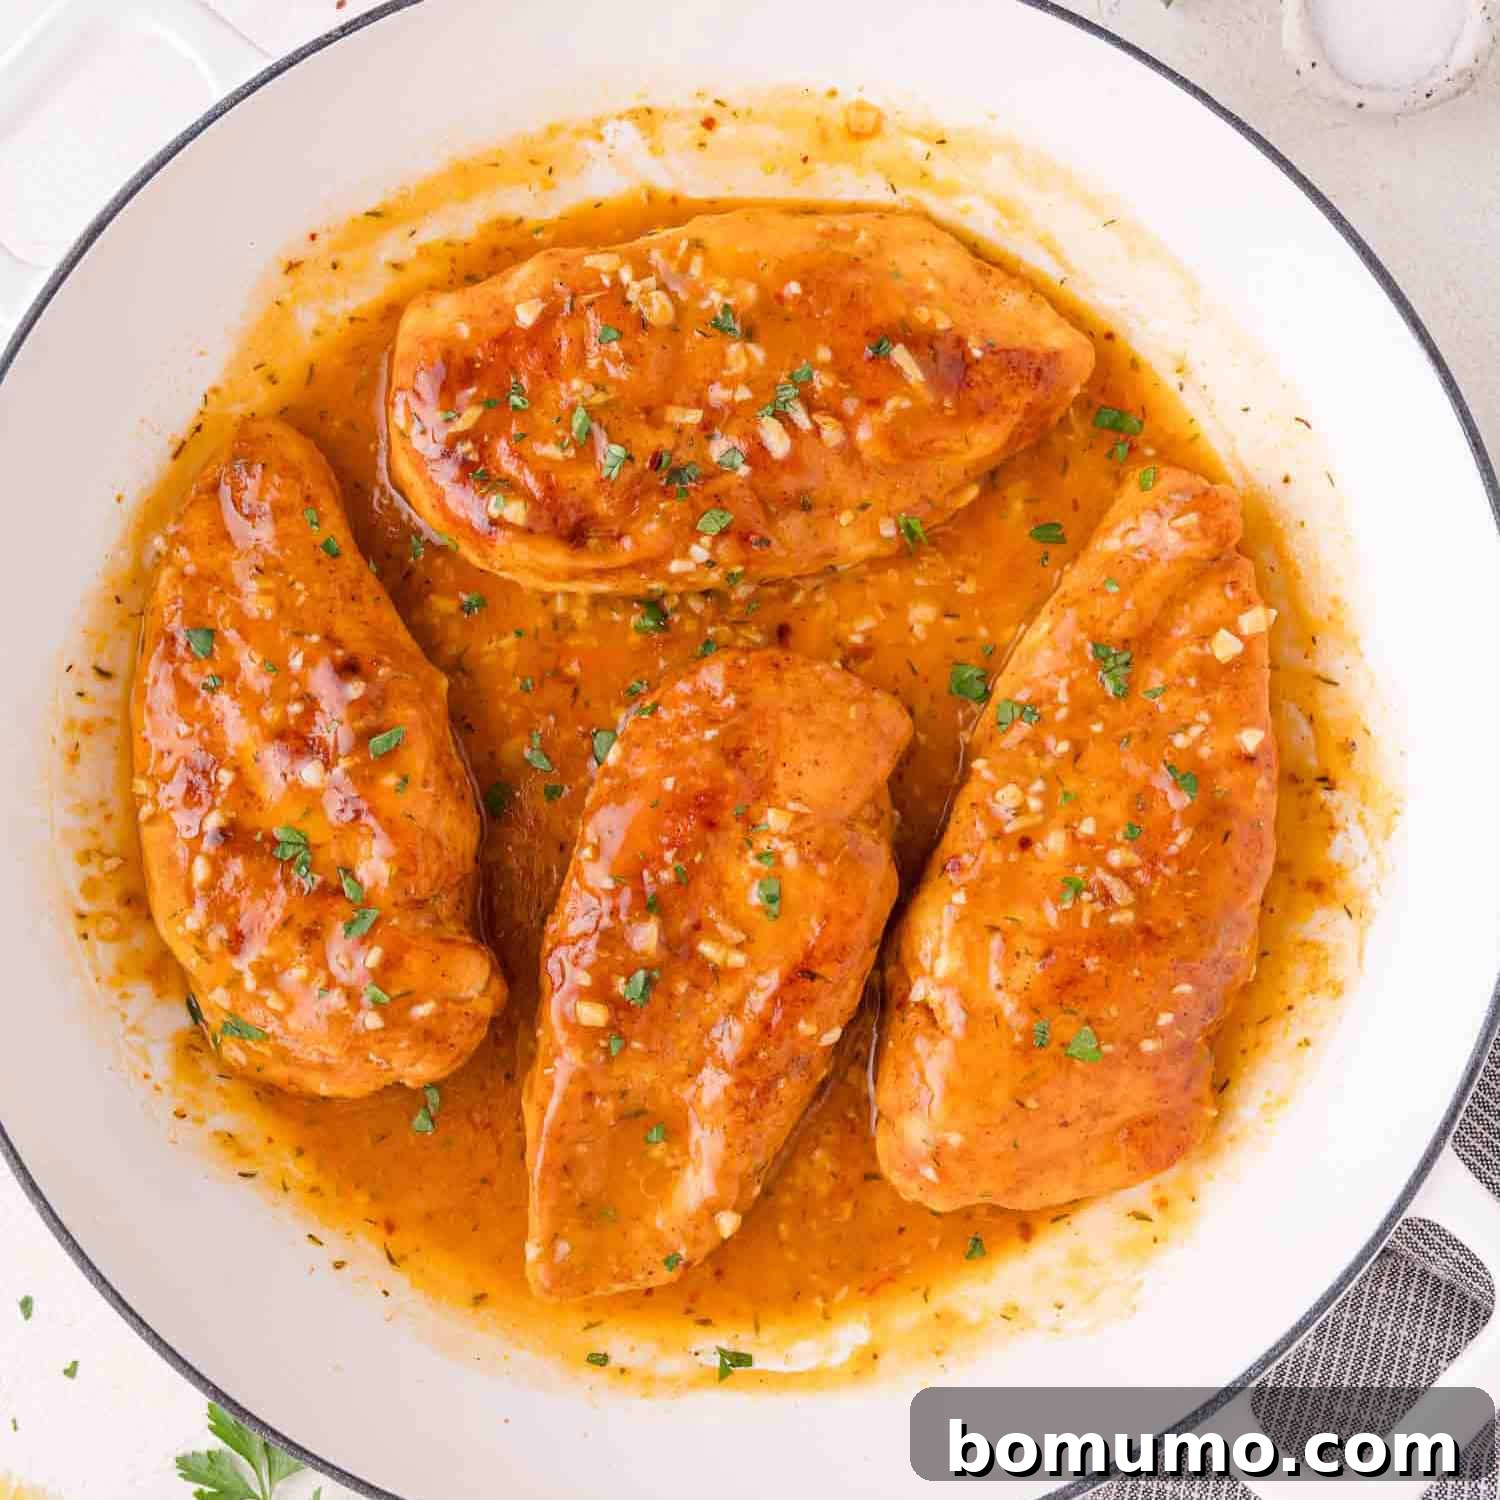
Recipe Overview: Your New Weeknight Favorite
Why you’ll adore this dish: This Lemon Butter Chicken is a culinary masterpiece, pan-cooked to absolute perfection, delivering an incredibly succulent and flavorful chicken experience. Each bite is infused with a sauce that masterfully balances bright, zesty lemon notes with a deep, rich buttery essence. It truly tastes like a high-end restaurant entrée, yet it’s surprisingly simple to prepare in your own kitchen, making it an ideal choice for both special occasions and effortless weeknight dinners. Prepare to impress your family and friends with minimal fuss!
Preparation & Cooking Time: A quick 40 minutes from start to finish, perfect for busy evenings.
Essential Equipment: All you need is one large, sturdy skillet, making cleanup a breeze.
Serves: Generously serves 4 people, making it a wonderful family meal or an excellent option for entertaining.
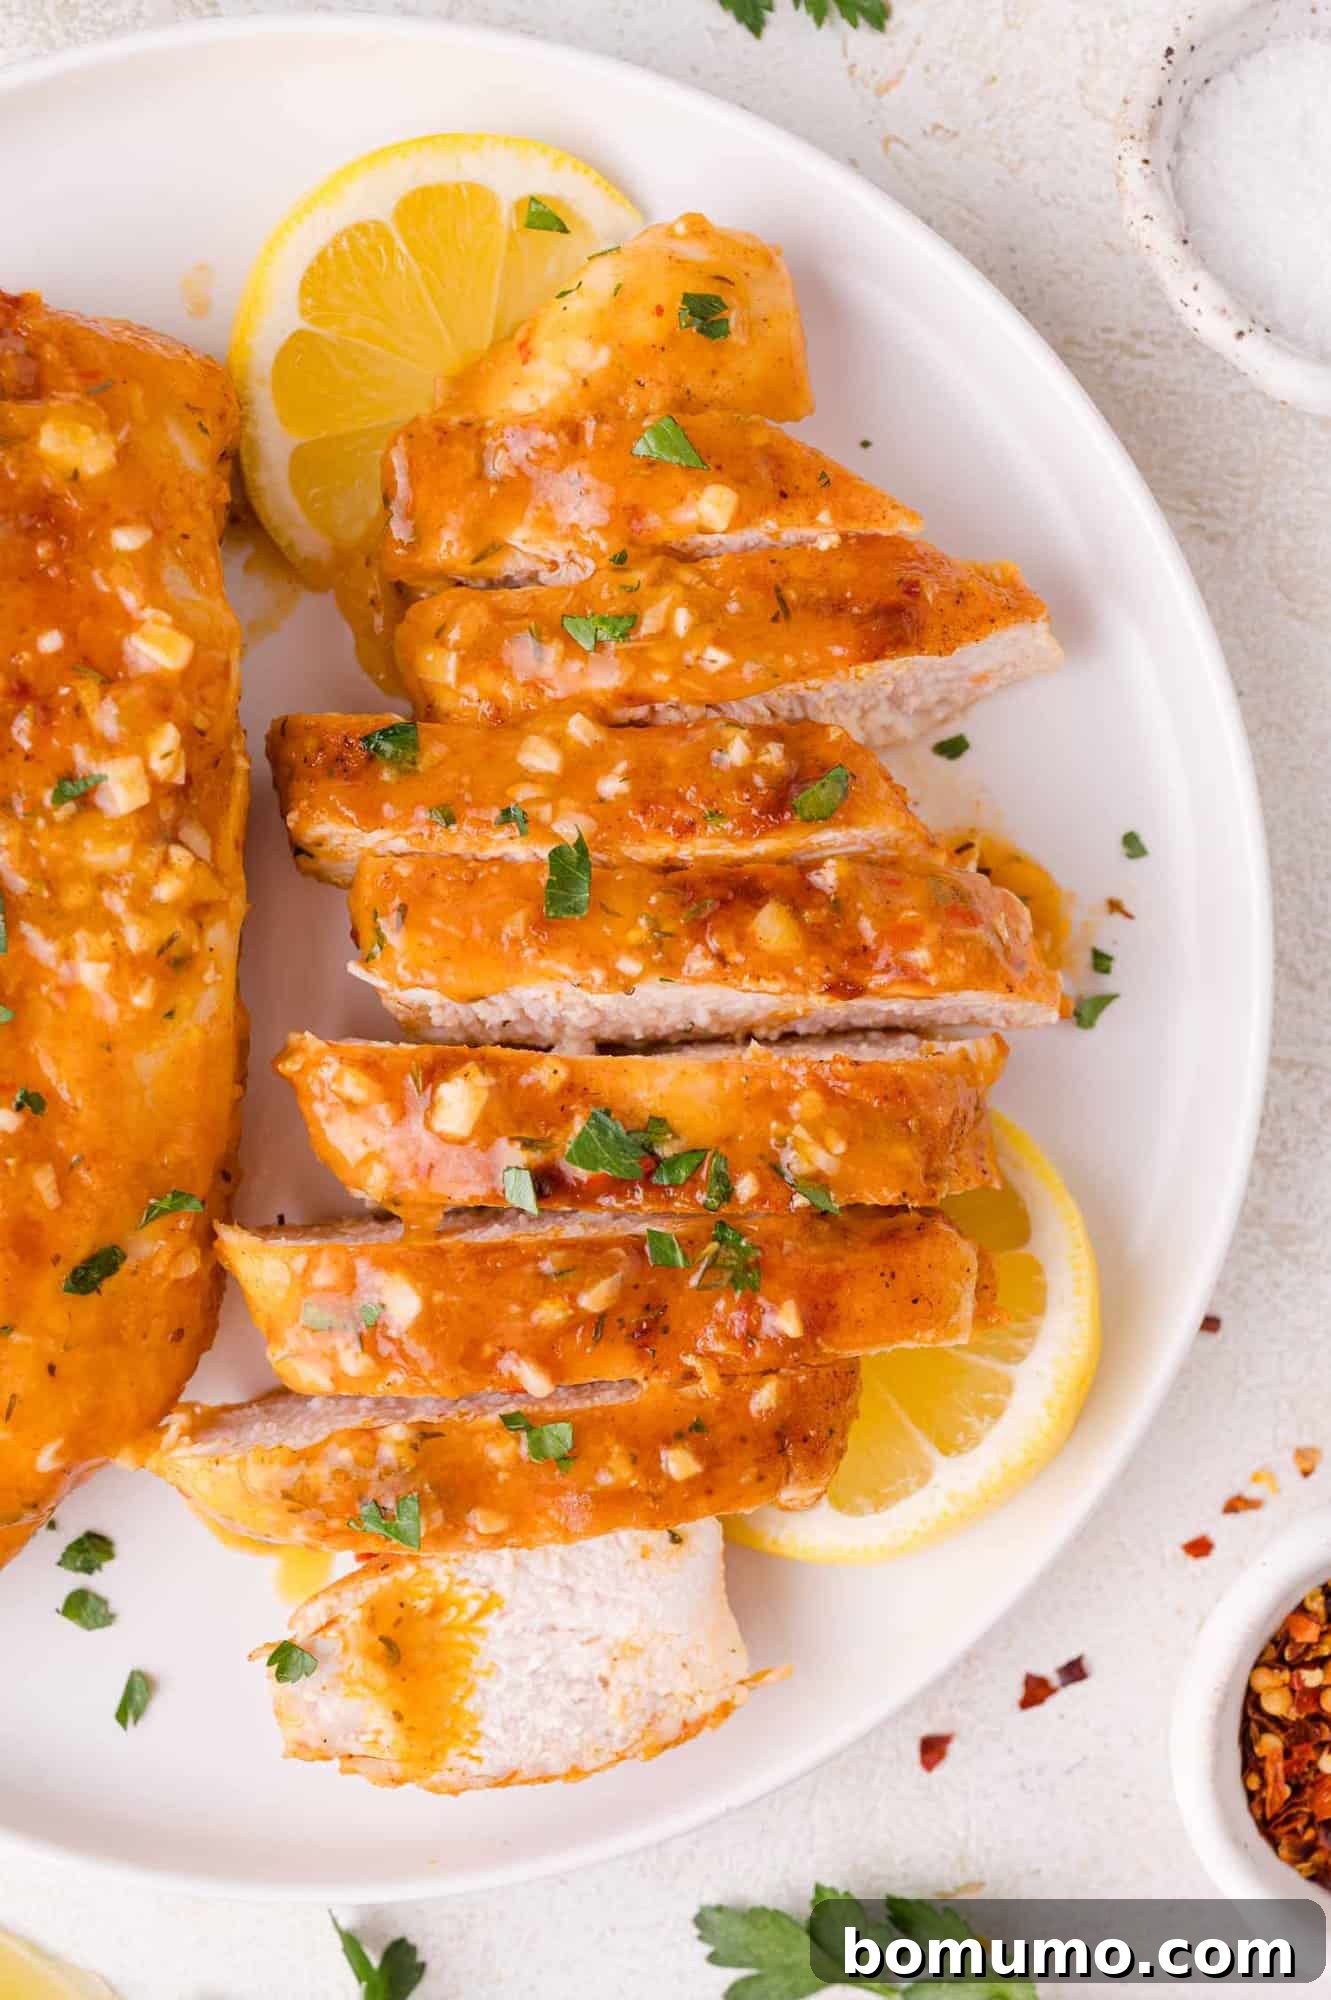
Pin this irresistible recipe now and easily find it later!
Pin It
Do you ever find yourself stuck in the perpetual cycle of cooking the same few chicken breast recipes, despite having a wealth of options at your fingertips? Even as a dedicated food enthusiast and blogger with an extensive collection of boneless, skinless chicken breast recipes, I confess to falling into this familiar routine. There’s comfort in those reliable, easy favorites, like my beloved chicken bites, which often make a frequent appearance on our dinner table.
It’s not that I don’t cherish those recipes; they are truly delicious and convenient. However, there are times when the craving for something new and exciting strikes, a desire to introduce a little culinary unpredictability into the week. Can you relate to this sentiment? If you’re nodding along, then this exquisite Lemon Butter Chicken recipe is precisely what you need to revitalize your cooking repertoire and effortlessly break free from any chicken monotony!
This remarkable dish stands out as a true one-pan chicken recipe, meaning fewer dishes and a streamlined cooking process. It delivers an elevated dining experience that tastes as though it originated from a gourmet restaurant kitchen, boasting a perfect harmony of seasonings and an unbelievably luscious lemon butter sauce. Indeed, “lemon butter sauce” comprises three of the most delightful words in the English language, especially when paired with tender chicken. Despite its sophisticated flavor profile, I am thrilled to confirm that this recipe remains wonderfully easy to execute, making it an ideal candidate for even the busiest of weeknights. It’s a guaranteed crowd-pleaser that brings gourmet taste home with minimal effort.
Indulge in Garlicky Lemon Butter Chicken: A Culinary Delight
This Garlicky Lemon Butter Chicken is not just another chicken dish; it’s an experience designed for convenience, flavor, and versatility. Let’s delve into what makes this recipe an absolute must-try for any home cook seeking to elevate their weeknight meals.
Crafted with Everyday Ingredients. One of the most appealing aspects of this recipe is its reliance on readily available, common kitchen staples. You won’t need to embark on a special grocery store hunt for obscure items. Instead, this dish celebrates the simplicity of ingredients you likely already have stocked in your pantry and refrigerator. Think pantry essentials like a robust selection of spices, all-purpose flour for that perfect sear, cornstarch for thickening, and wholesome chicken broth. This approach not only makes the recipe incredibly budget-friendly but also exceptionally convenient for impromptu meals. It’s comforting to know that a meal of such impressive caliber can be created from humble beginnings.
Remarkably Simple to Prepare. Despite its restaurant-quality taste, this Lemon Butter Chicken is surprisingly straightforward to make, requiring no advanced culinary skills. The entire cooking process unfolds beautifully on your stovetop, utilizing a single large skillet. The journey begins with searing the chicken breasts to achieve a magnificent golden-brown crust, locking in their natural juices and creating a delightful texture. Once the chicken is perfectly seared, it’s temporarily set aside, allowing you to craft the sensational lemon butter sauce directly in the same skillet, harnessing all the flavorful fond left behind. The cooked chicken then returns to the pan to luxuriate in the rich, aromatic sauce, absorbing its vibrant flavors. This streamlined method translates to approximately 20 minutes for preparation and another 20 minutes for cooking, leaving you with ample time to savor the delicious results and enjoy a stress-free meal.
A Harmonious Pairing for Any Occasion. The exquisitely balanced flavor profile of this lemon butter chicken makes it an incredibly versatile main course, capable of complementing a vast array of cuisines, ingredients, and accompanying flavors. Whether you’re aiming for an elegant dinner or a casual family meal, this chicken adapts beautifully. For a more sophisticated presentation, consider serving it alongside a creamy roasted mushroom risotto or a refreshing chopped Greek salad. Alternatively, if you prefer to keep things light and simple, it pairs wonderfully with tender sautéed spinach or crisp fresh salad greens dressed with a bright lemon basil vinaigrette. Its adaptability ensures it will quickly become a cherished favorite in your recipe collection, suitable for every mood and meal plan.
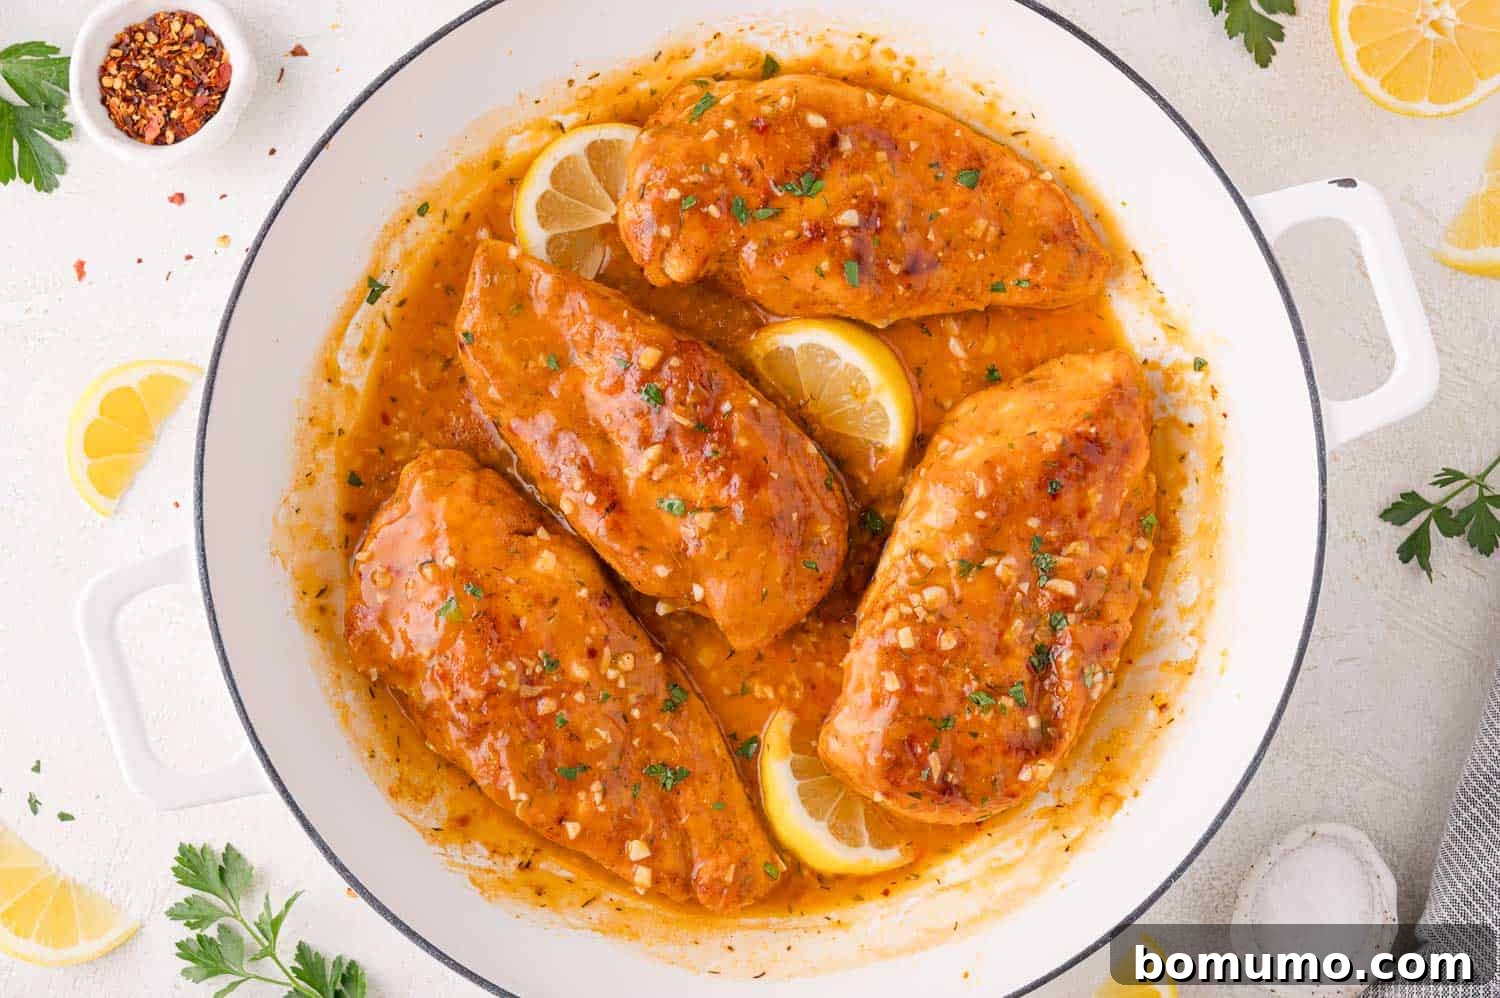
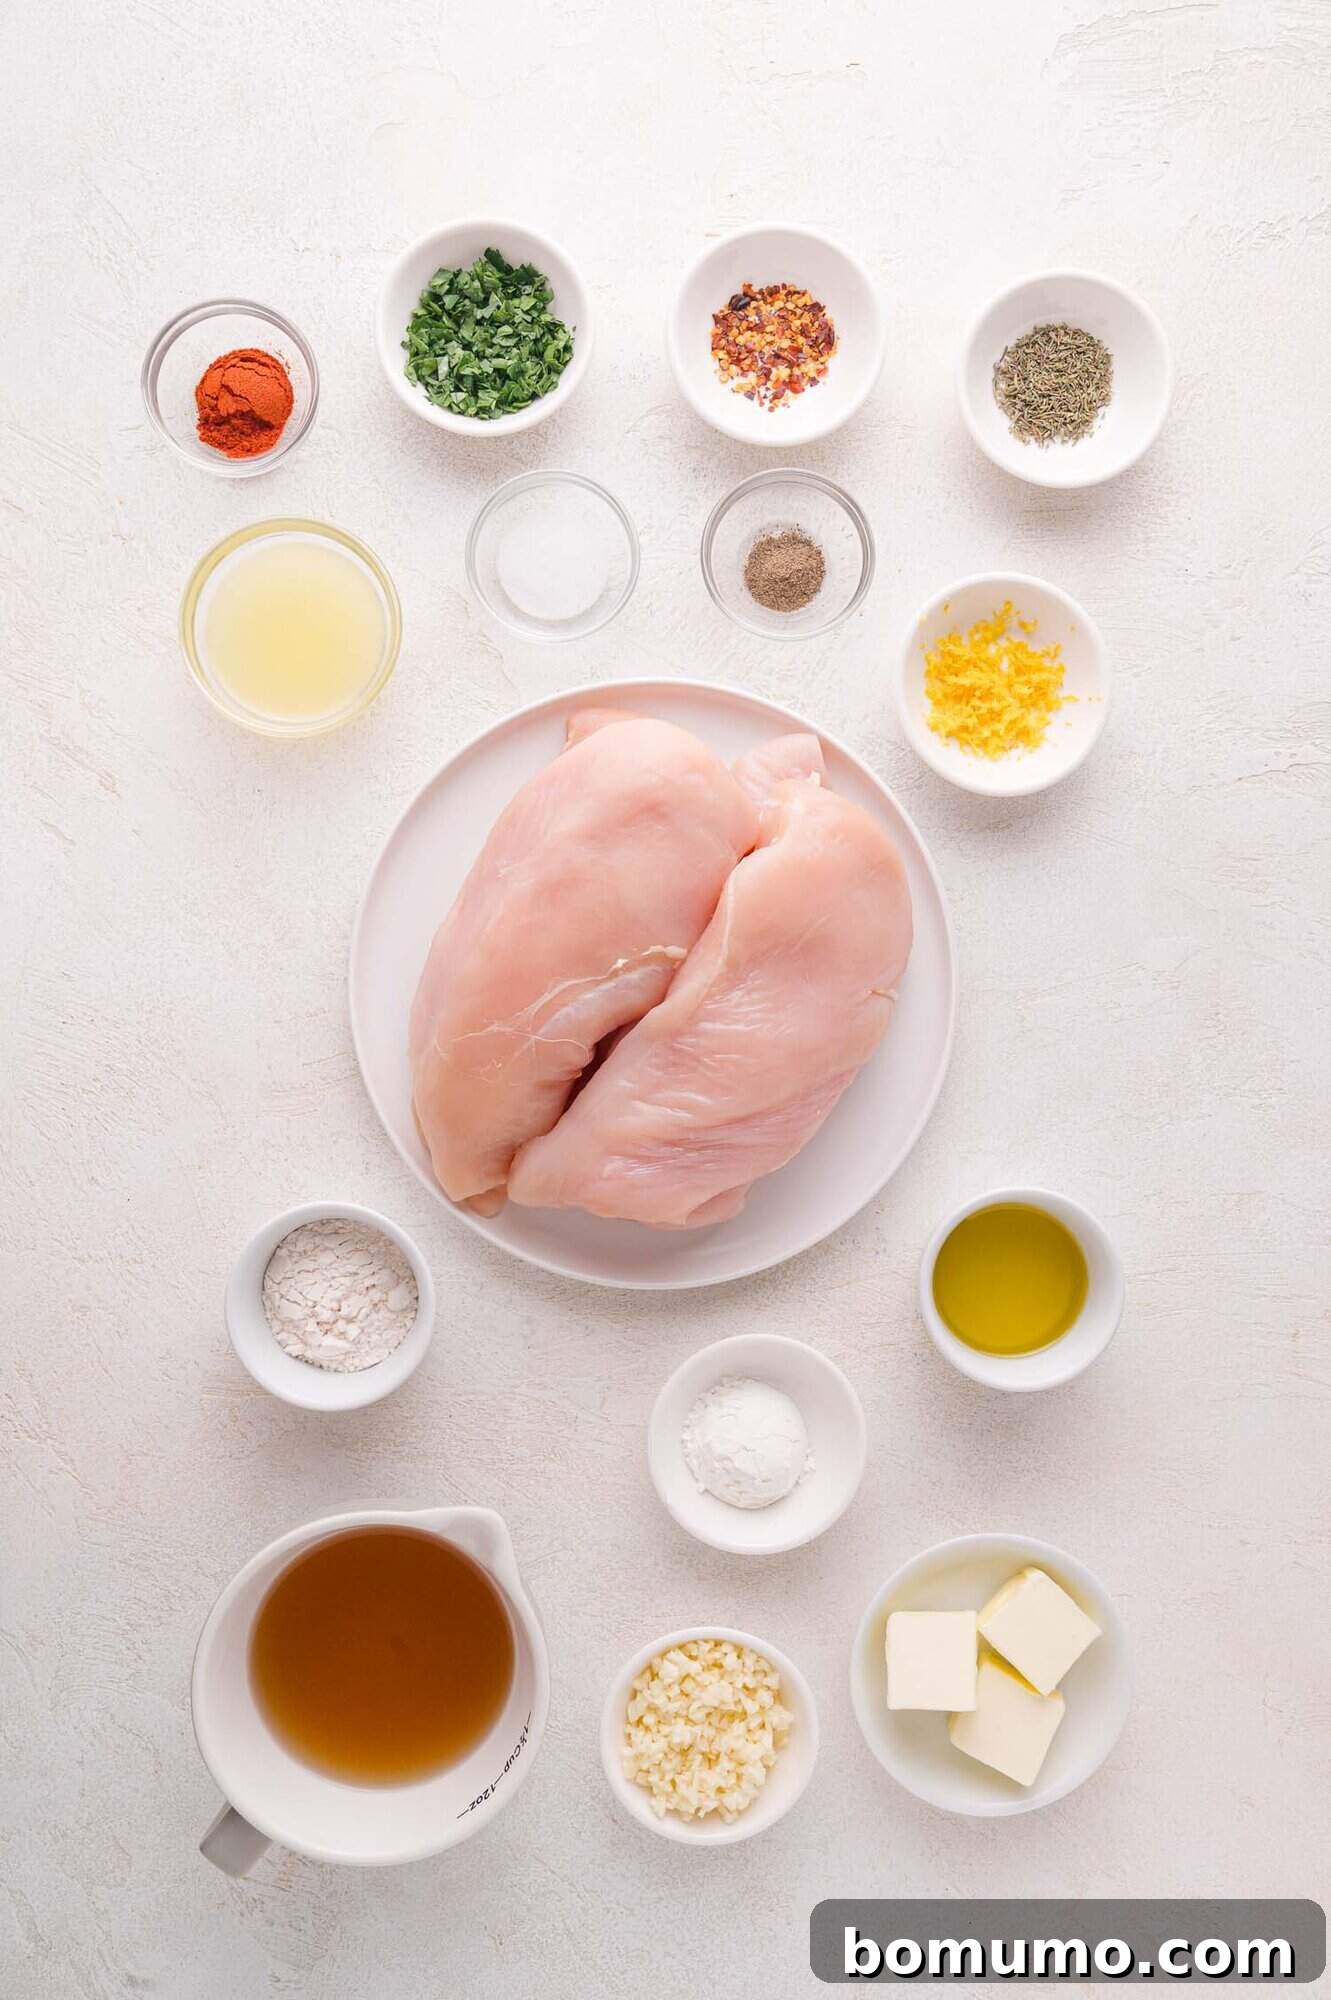
Key Ingredient Notes for Perfect Lemon Butter Chicken
Crafting the perfect Lemon Butter Chicken begins with understanding each ingredient’s role and how to select the best ones. Here’s a detailed look at what you’ll need:
- Chicken Breasts: We recommend using boneless, skinless chicken breasts for maximum convenience and minimal cooking time. Their lean texture and quick cooking nature make them ideal for this skillet-based recipe. If you prefer a richer, darker meat, boneless, skinless chicken thighs can be a delicious alternative, though they will require a slightly longer cooking time to reach desired doneness.
- Dredging Mixture: This essential coating is a simple yet powerful combination of all-purpose flour, fine kosher salt, sweet paprika, and freshly ground black pepper. The flour creates a delicate crust that locks in moisture and helps the chicken achieve a beautiful golden sear, while the spices infuse the chicken with an initial layer of flavor that complements the final sauce.
- Olive Oil and Butter: A thoughtful blend of both olive oil and butter is utilized for searing the chicken. Olive oil has a higher smoke point, preventing the butter from burning too quickly, while butter contributes unparalleled richness and a golden-brown finish to the chicken. Additional unsalted butter is later incorporated to build the luscious foundation of the lemon butter sauce.
- Garlic: A generous six whole cloves of fresh garlic are minced to create the aromatic heart of this delectable sauce. While it might sound like a substantial amount, the garlic mellows beautifully during cooking, resulting in a perfectly balanced sauce that is deeply flavorful without being overwhelmingly garlicky. Remember to remove any green sprouts found in the center of older garlic cloves, as these can impart a slightly bitter taste.
- Chicken Broth: This liquid forms the flavorful base of our sauce. For the best results, opt for a high-quality chicken broth or, if available, homemade broth. Using low-sodium or no-salt-added chicken broth allows you to control the overall seasoning of the dish more precisely.
- Lemon: Both fresh lemon juice and vibrant lemon zest are indispensable for providing that bright, tangy, and aromatic signature flavor. For ease of preparation, always remember to zest the lemon first before you juice it; it’s much more challenging to zest a juiced lemon!
- Cornstarch: Added towards the end of the cooking process, cornstarch acts as a thickening agent, transforming the liquid broth and butter into a beautifully rich, glossy, and perfectly saucy consistency that clings wonderfully to the chicken.
- Dried Thyme: Thyme is an herb that harmonizes exceptionally well with lemon, offering an earthy, slightly floral herbal note that beautifully complements the lemon’s brightness. The recipe specifies dried thyme for convenience, but if you have fresh thyme on hand, feel free to substitute it. As a general rule of thumb, use three times the amount of fresh herbs when substituting for dried.
- Red Pepper Flakes: This ingredient is entirely optional but highly recommended for those who appreciate a subtle warmth and a gentle kick. A small pinch of red pepper flakes adds a delightful tingle of spicy heat that enhances the overall flavor profile without overpowering it. Give it a try – you might find it adds that perfect something extra!
- Fresh Parsley: A final garnish of freshly chopped parsley not only provides a fresh, herbaceous burst of flavor but also adds a beautiful pop of color, making the finished dish even more appealing. It’s the perfect finishing touch.
Crafting Your Lemon Butter Chicken: A Step-by-Step Guide
Creating this restaurant-quality Lemon Butter Chicken at home is a straightforward and enjoyable process. Follow these simple steps to achieve a dish that’s bursting with flavor and perfectly tender.
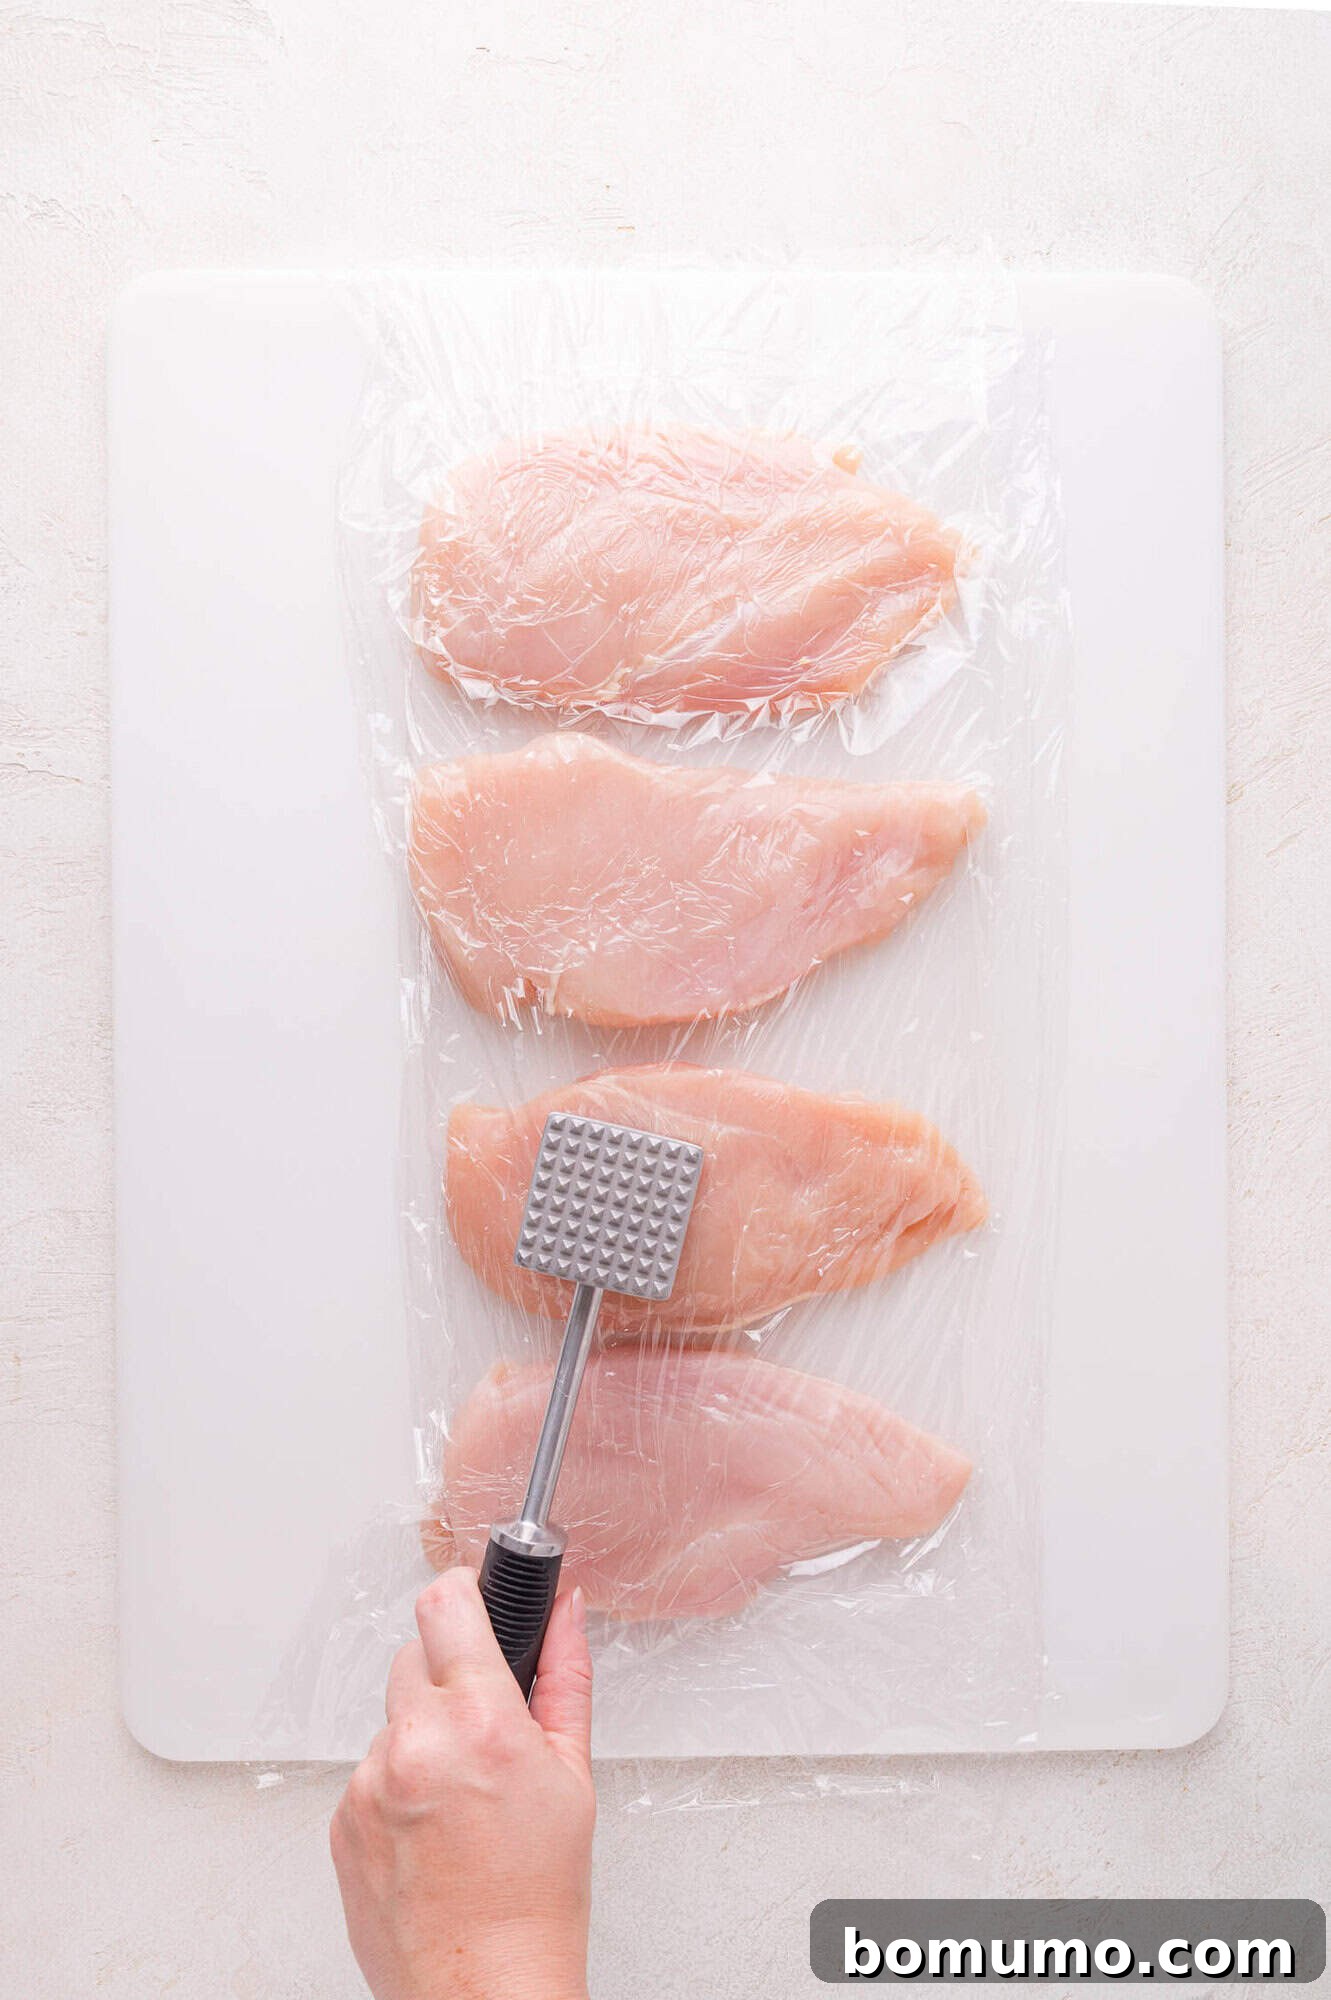
1. Prepare the Chicken for Even Cooking: The first crucial step is to ensure your chicken breasts cook quickly and evenly. Place each boneless, skinless chicken breast between two sheets of plastic wrap or parchment paper. Using a meat mallet, a heavy rolling pin, or even the heel of your hand, gently pound the chicken until it reaches a uniform thickness of approximately half an inch. This ensures consistent cooking and prevents thicker parts from remaining undercooked while thinner edges dry out. If you’re starting with particularly large chicken breasts (around 12 oz each), you might find it beneficial to slice them horizontally first to create two thinner cutlets, and then pound them. Finally, pat the chicken dry thoroughly with paper towels. This step is vital as it helps the flour dredging mixture adhere better, leading to a superior sear.
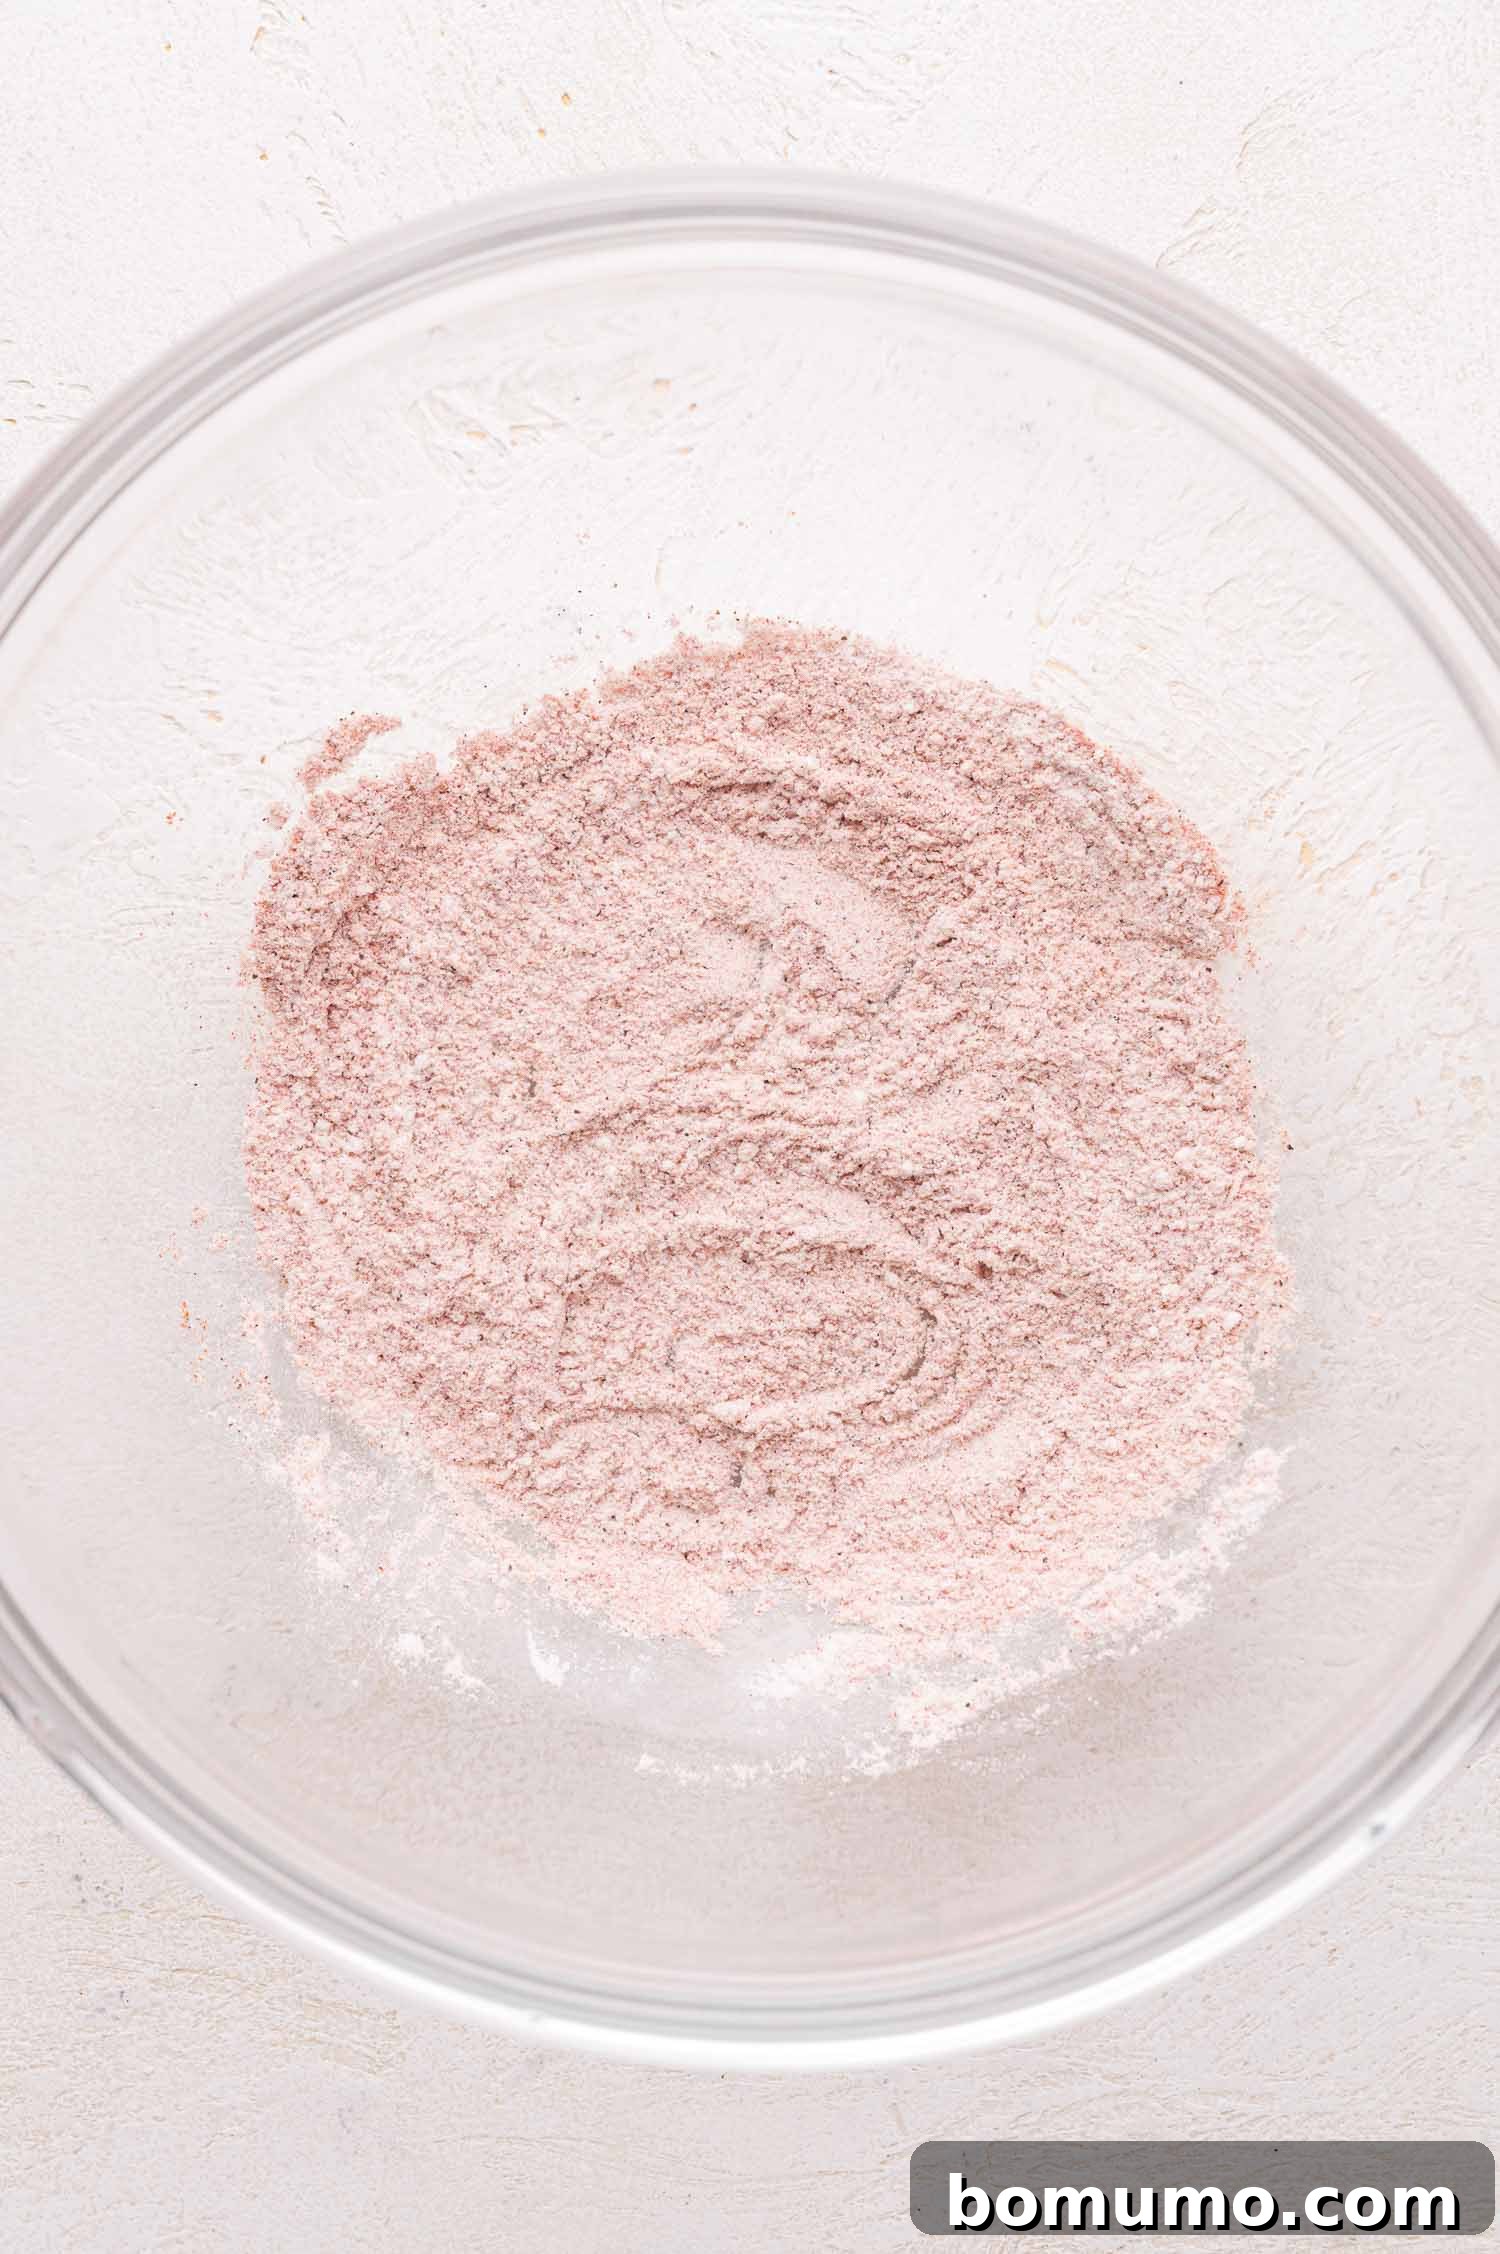
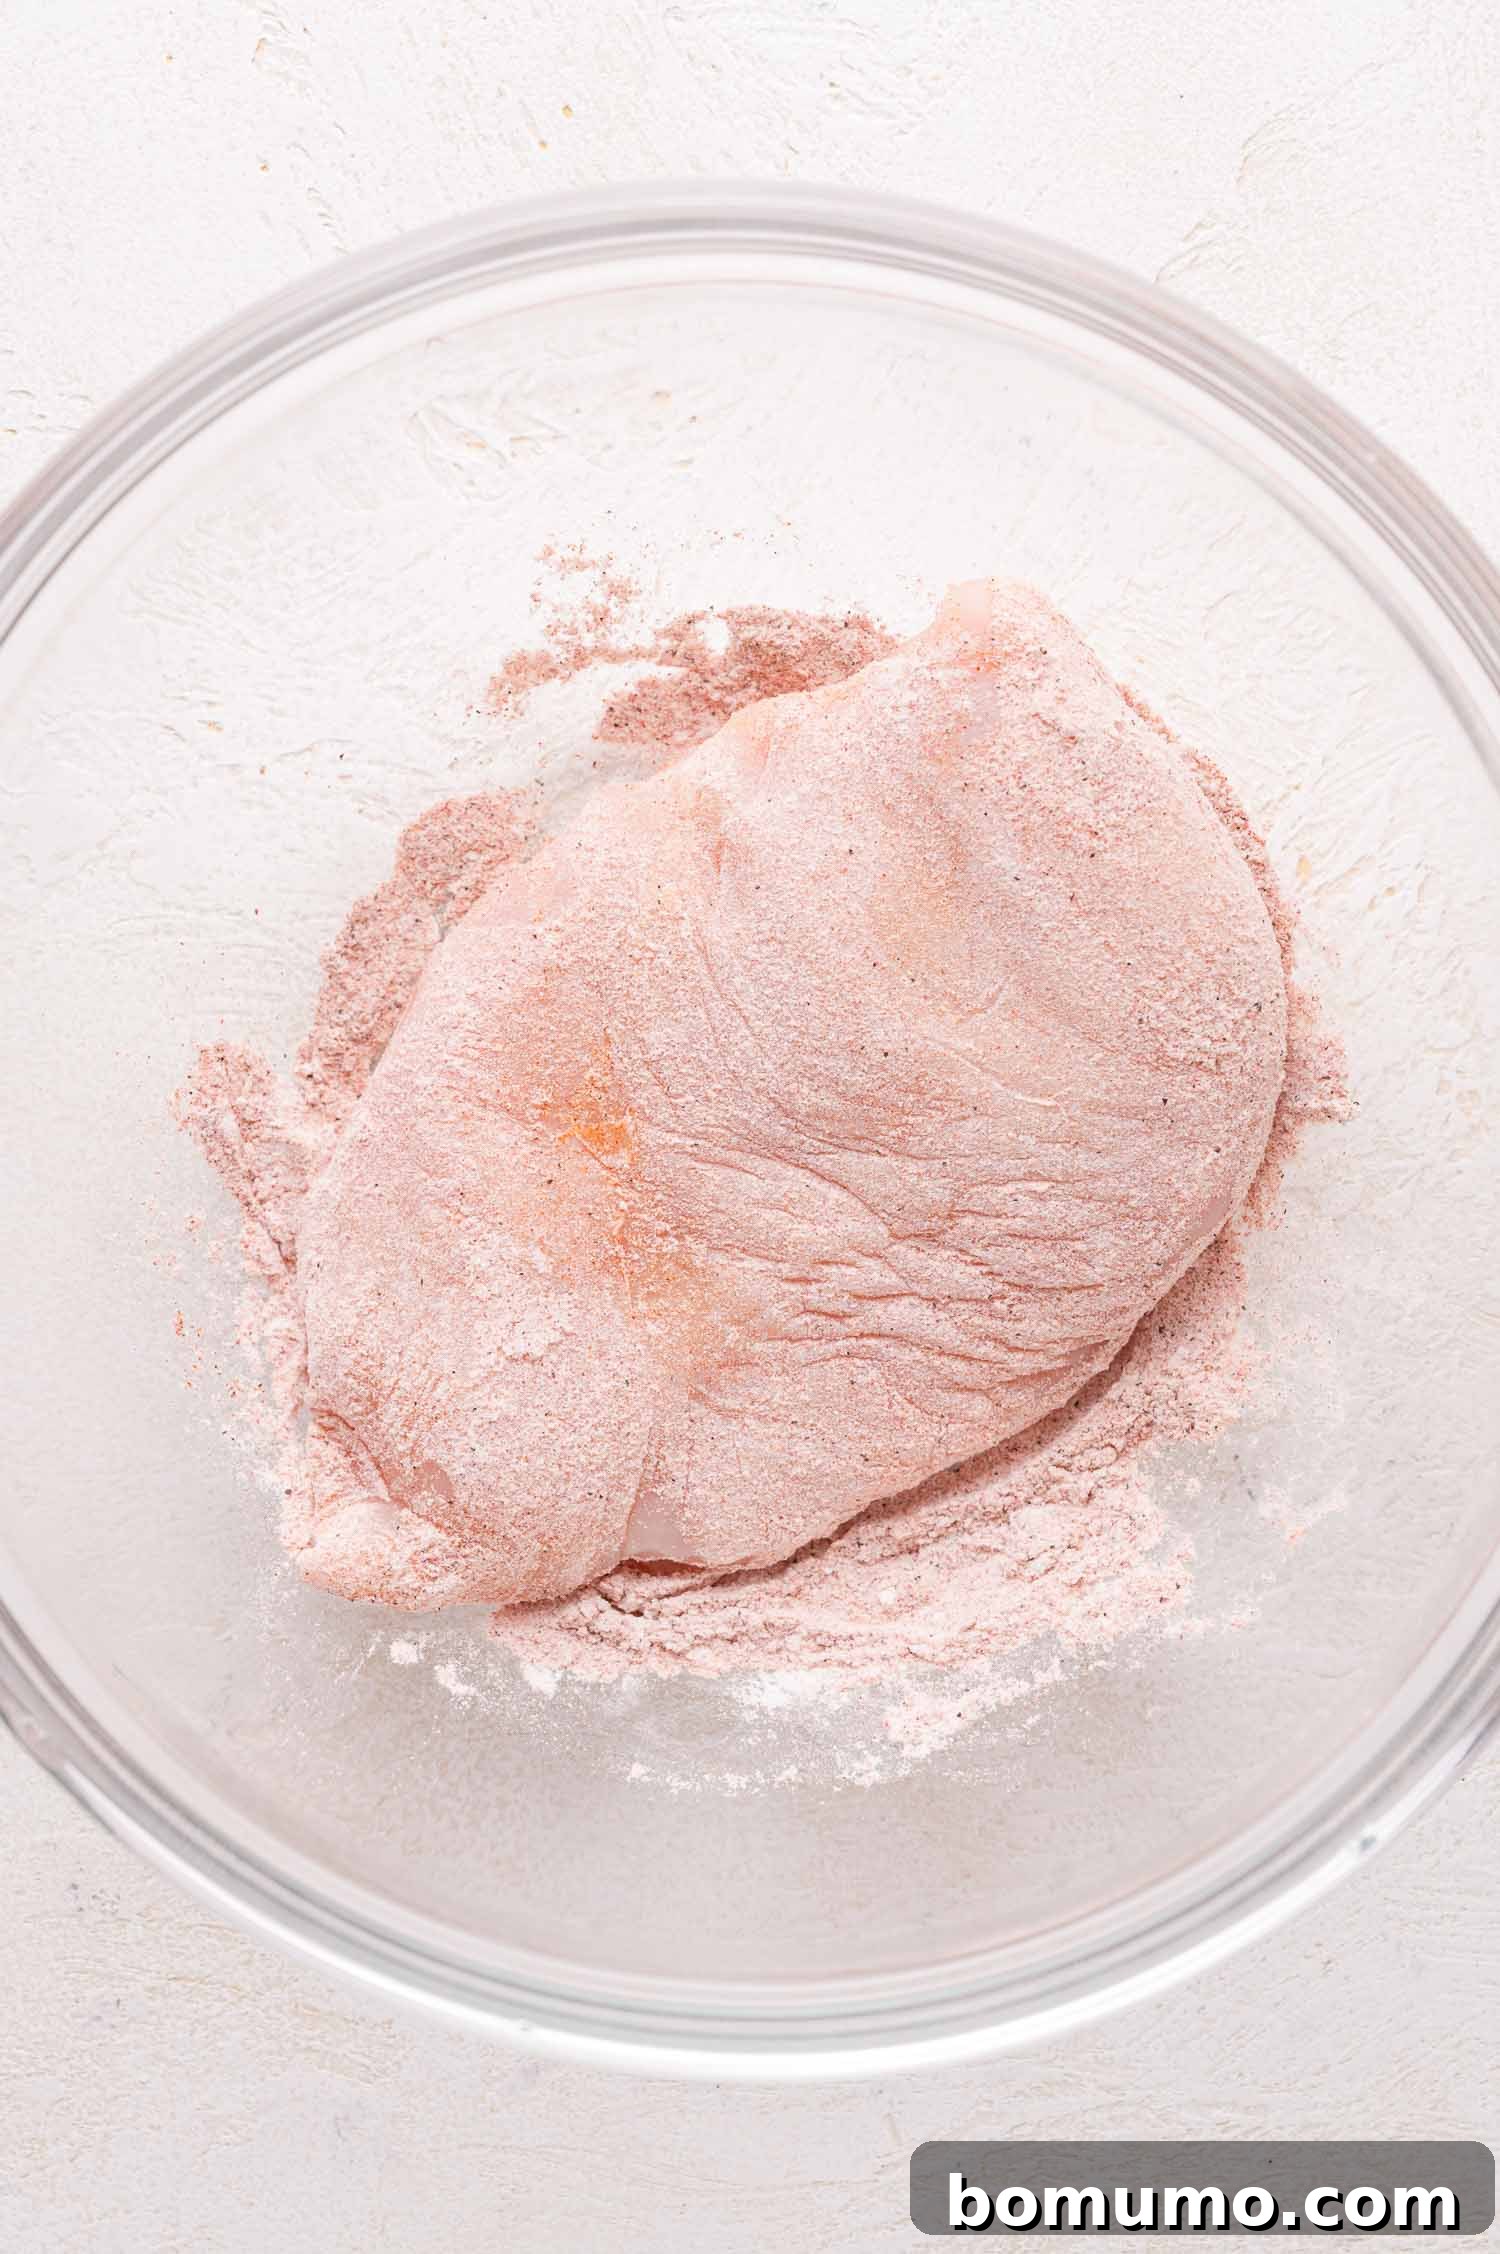
2. Dredge the Chicken for Flavorful Crust: In a wide, shallow bowl, combine the all-purpose flour, kosher salt, paprika, and coarse ground black pepper. Whisk these ingredients together thoroughly to create a uniform seasoning mixture. Take each pounded chicken breast, one at a time, and generously coat both sides in this flour mixture. Gently tap off any excess flour; you want a light, even coating, not a thick batter. This dredging step is key to developing that beautiful golden crust during searing and ensures the seasonings adhere directly to the chicken.
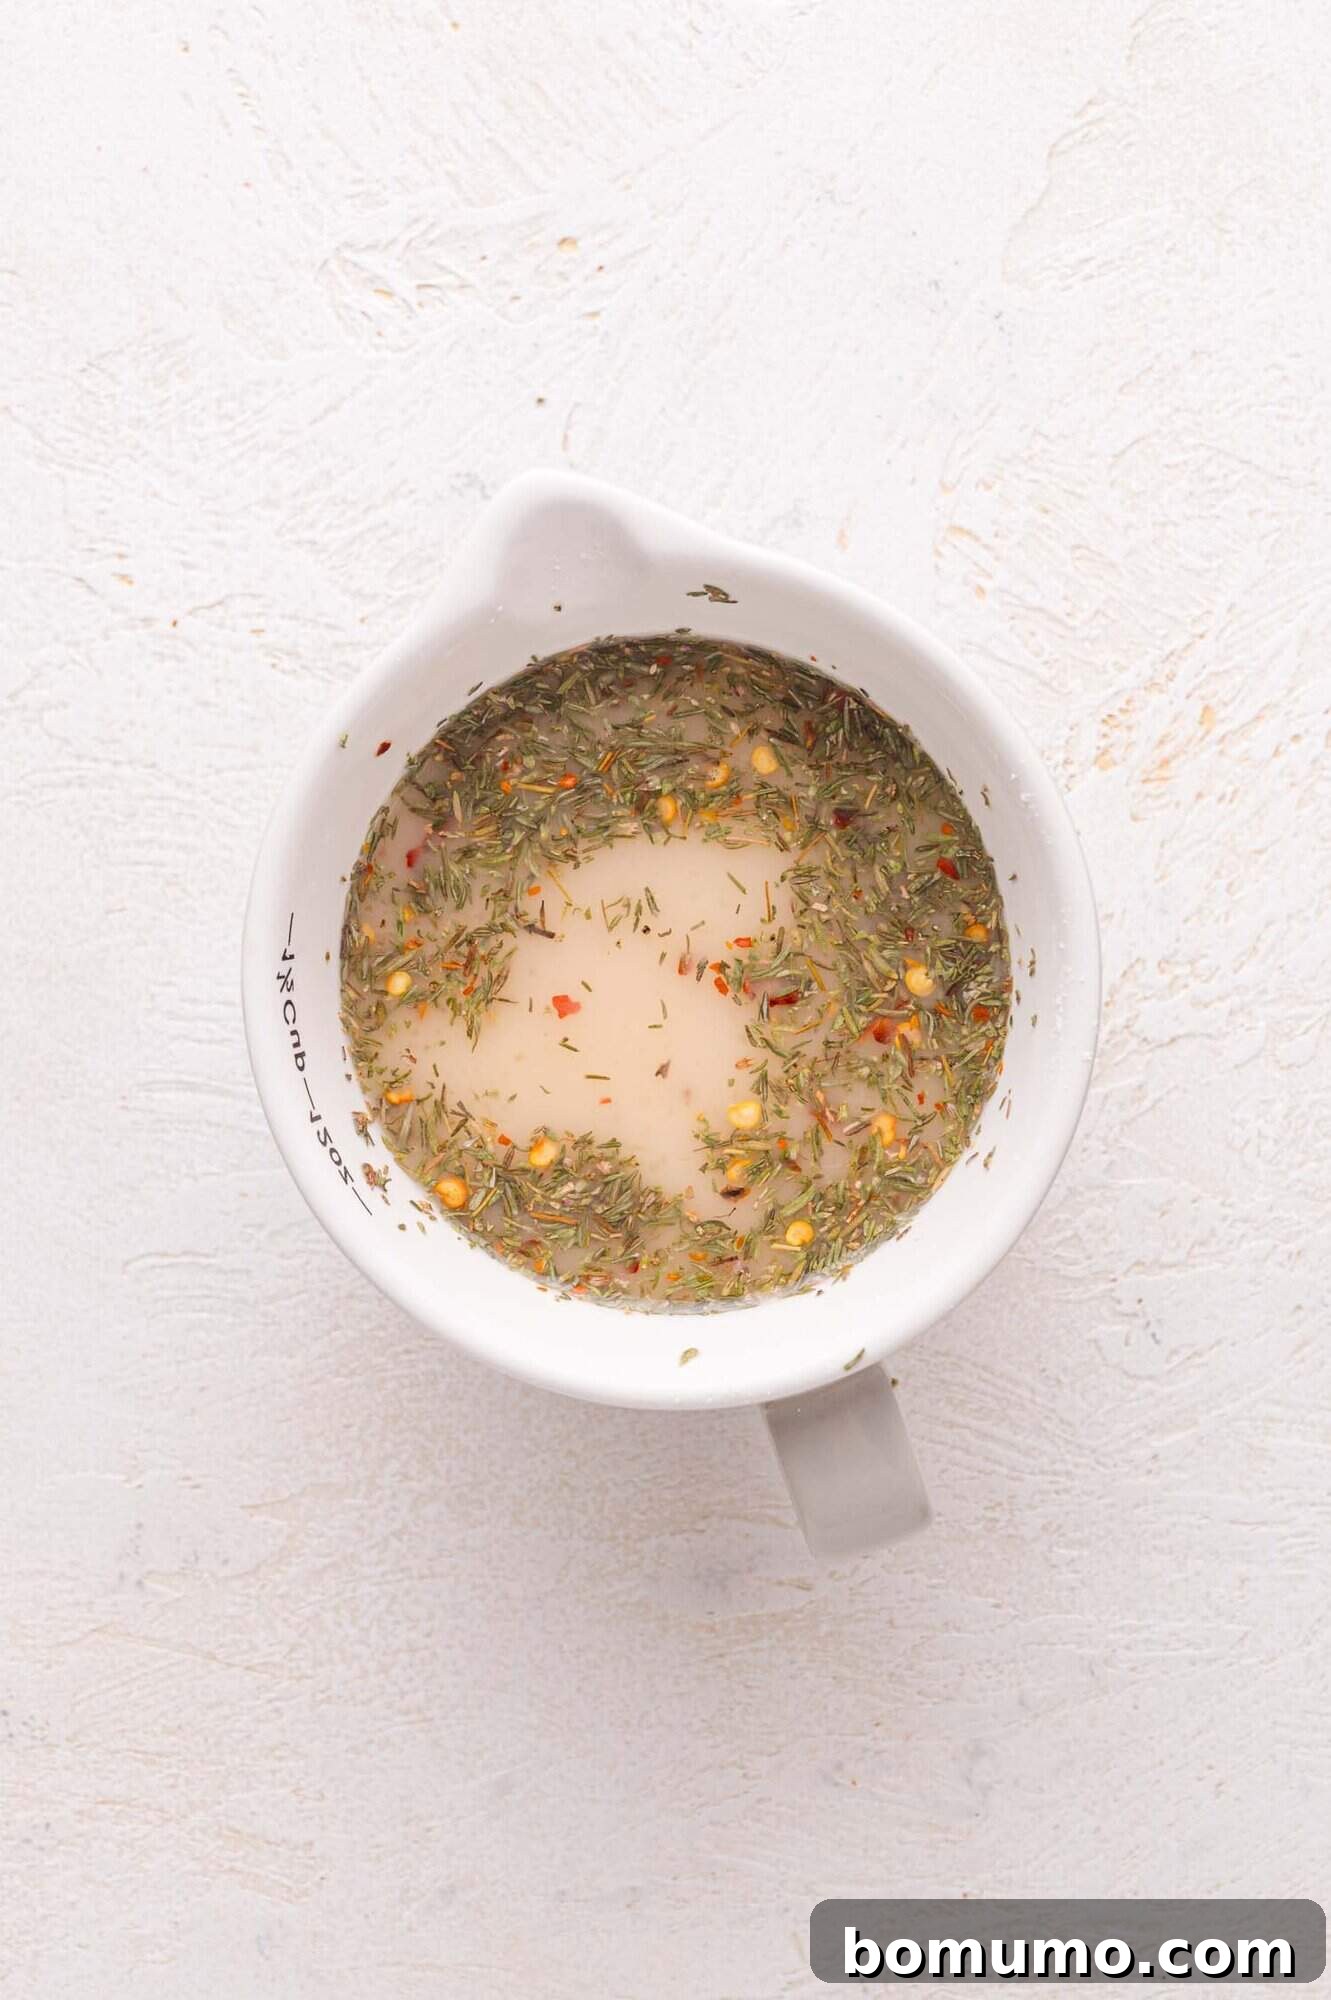
3. Prepare the Aromatic Sauce Mixture: In a liquid measuring cup (ideally a 1-cup capacity), combine the chicken broth, freshly squeezed lemon juice, cornstarch, fragrant lemon zest, dried thyme, and the optional red pepper flakes. Whisk vigorously until the cornstarch is completely dissolved and no lumps remain. Cornstarch tends to settle at the bottom quite quickly, so it’s a good practice to give the mixture another quick stir right before you’re ready to add it to the pan. Having this prepared ahead ensures a smooth and quick transition during the cooking process.
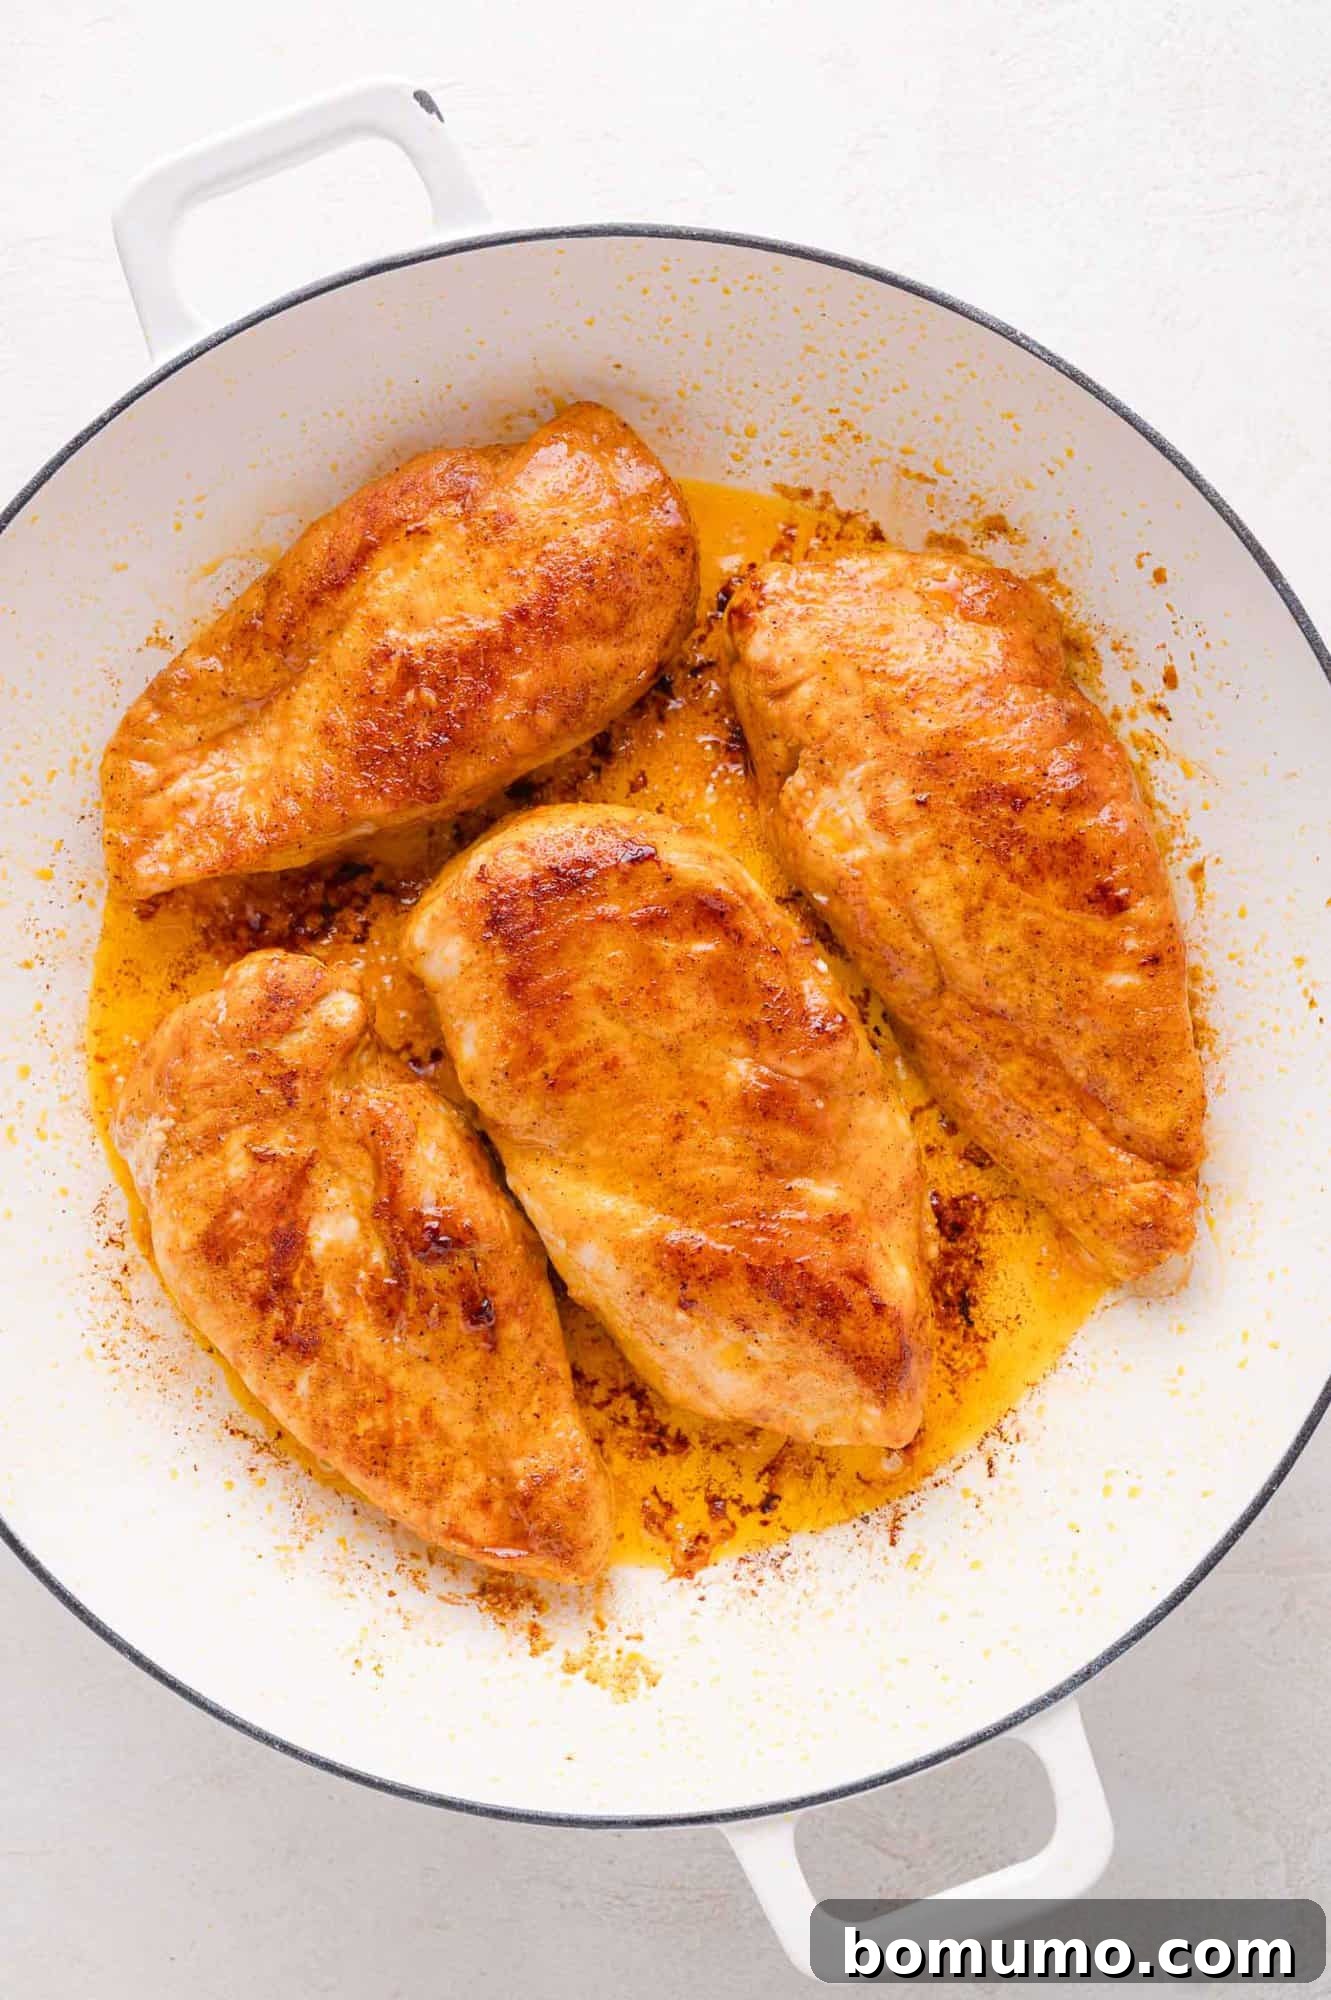
4. Sear the Chicken to Golden Perfection: Place a large skillet over medium heat. Add the olive oil along with one tablespoon of unsalted butter. Allow the butter to melt and swirl together with the oil until shimmering, indicating it’s ready for cooking. Carefully add the dredged chicken breasts to the hot skillet in a single layer, ensuring not to overcrowd the pan (you may need to cook in batches). Cook for approximately 7 to 8 minutes per side, or until each side develops a beautiful golden-brown crust and the chicken is fully cooked through. To be certain, use an instant-read thermometer to check that the internal temperature of the thickest part of the chicken reaches 165ºF (74ºC). Once cooked, transfer the golden-brown chicken to a clean plate and set aside, reserving any drippings in the pan.
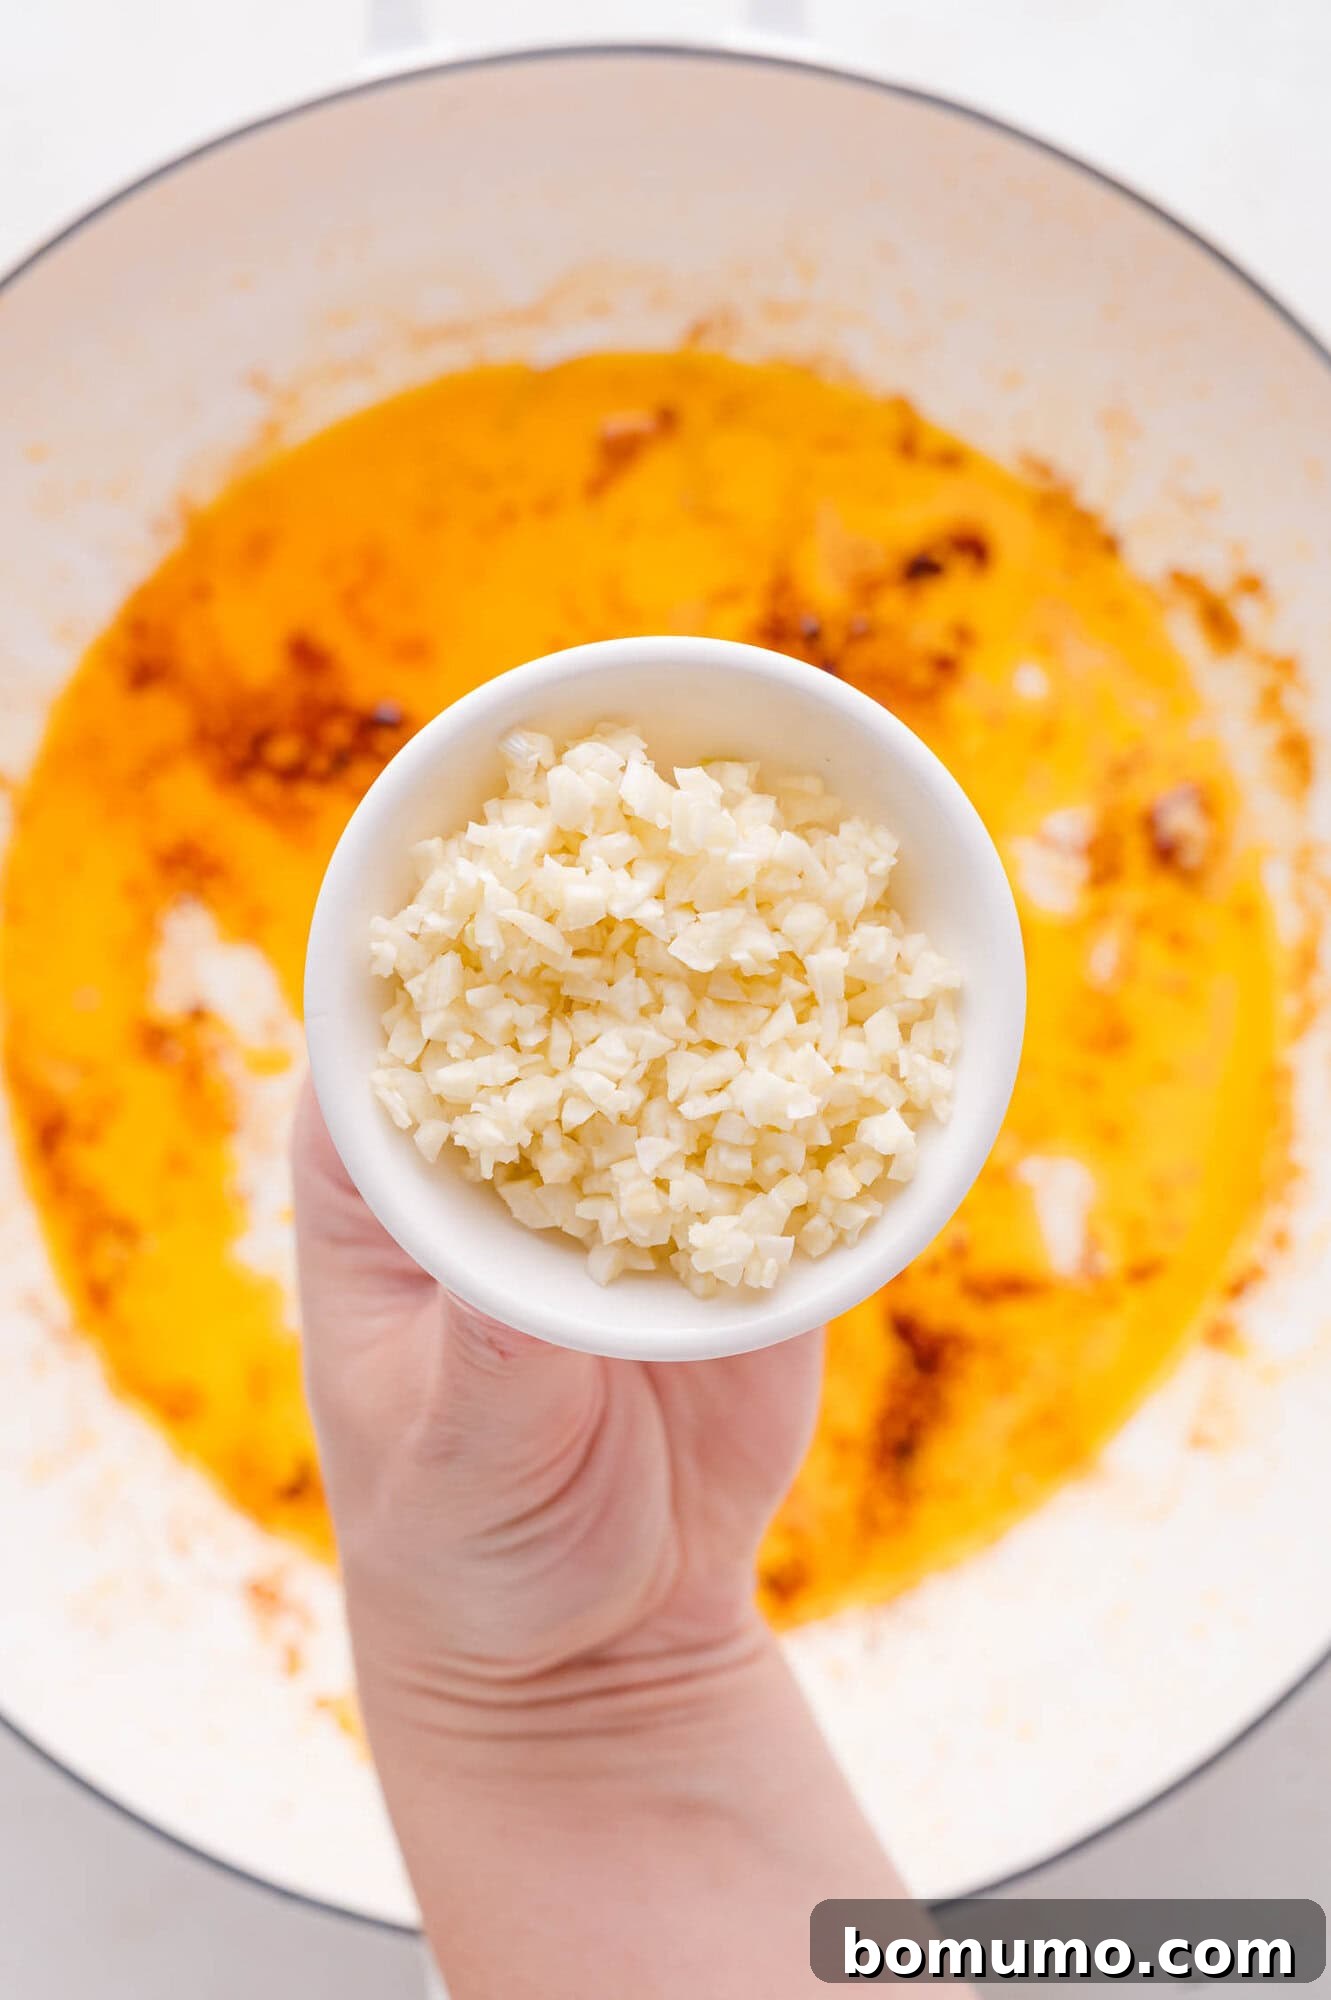
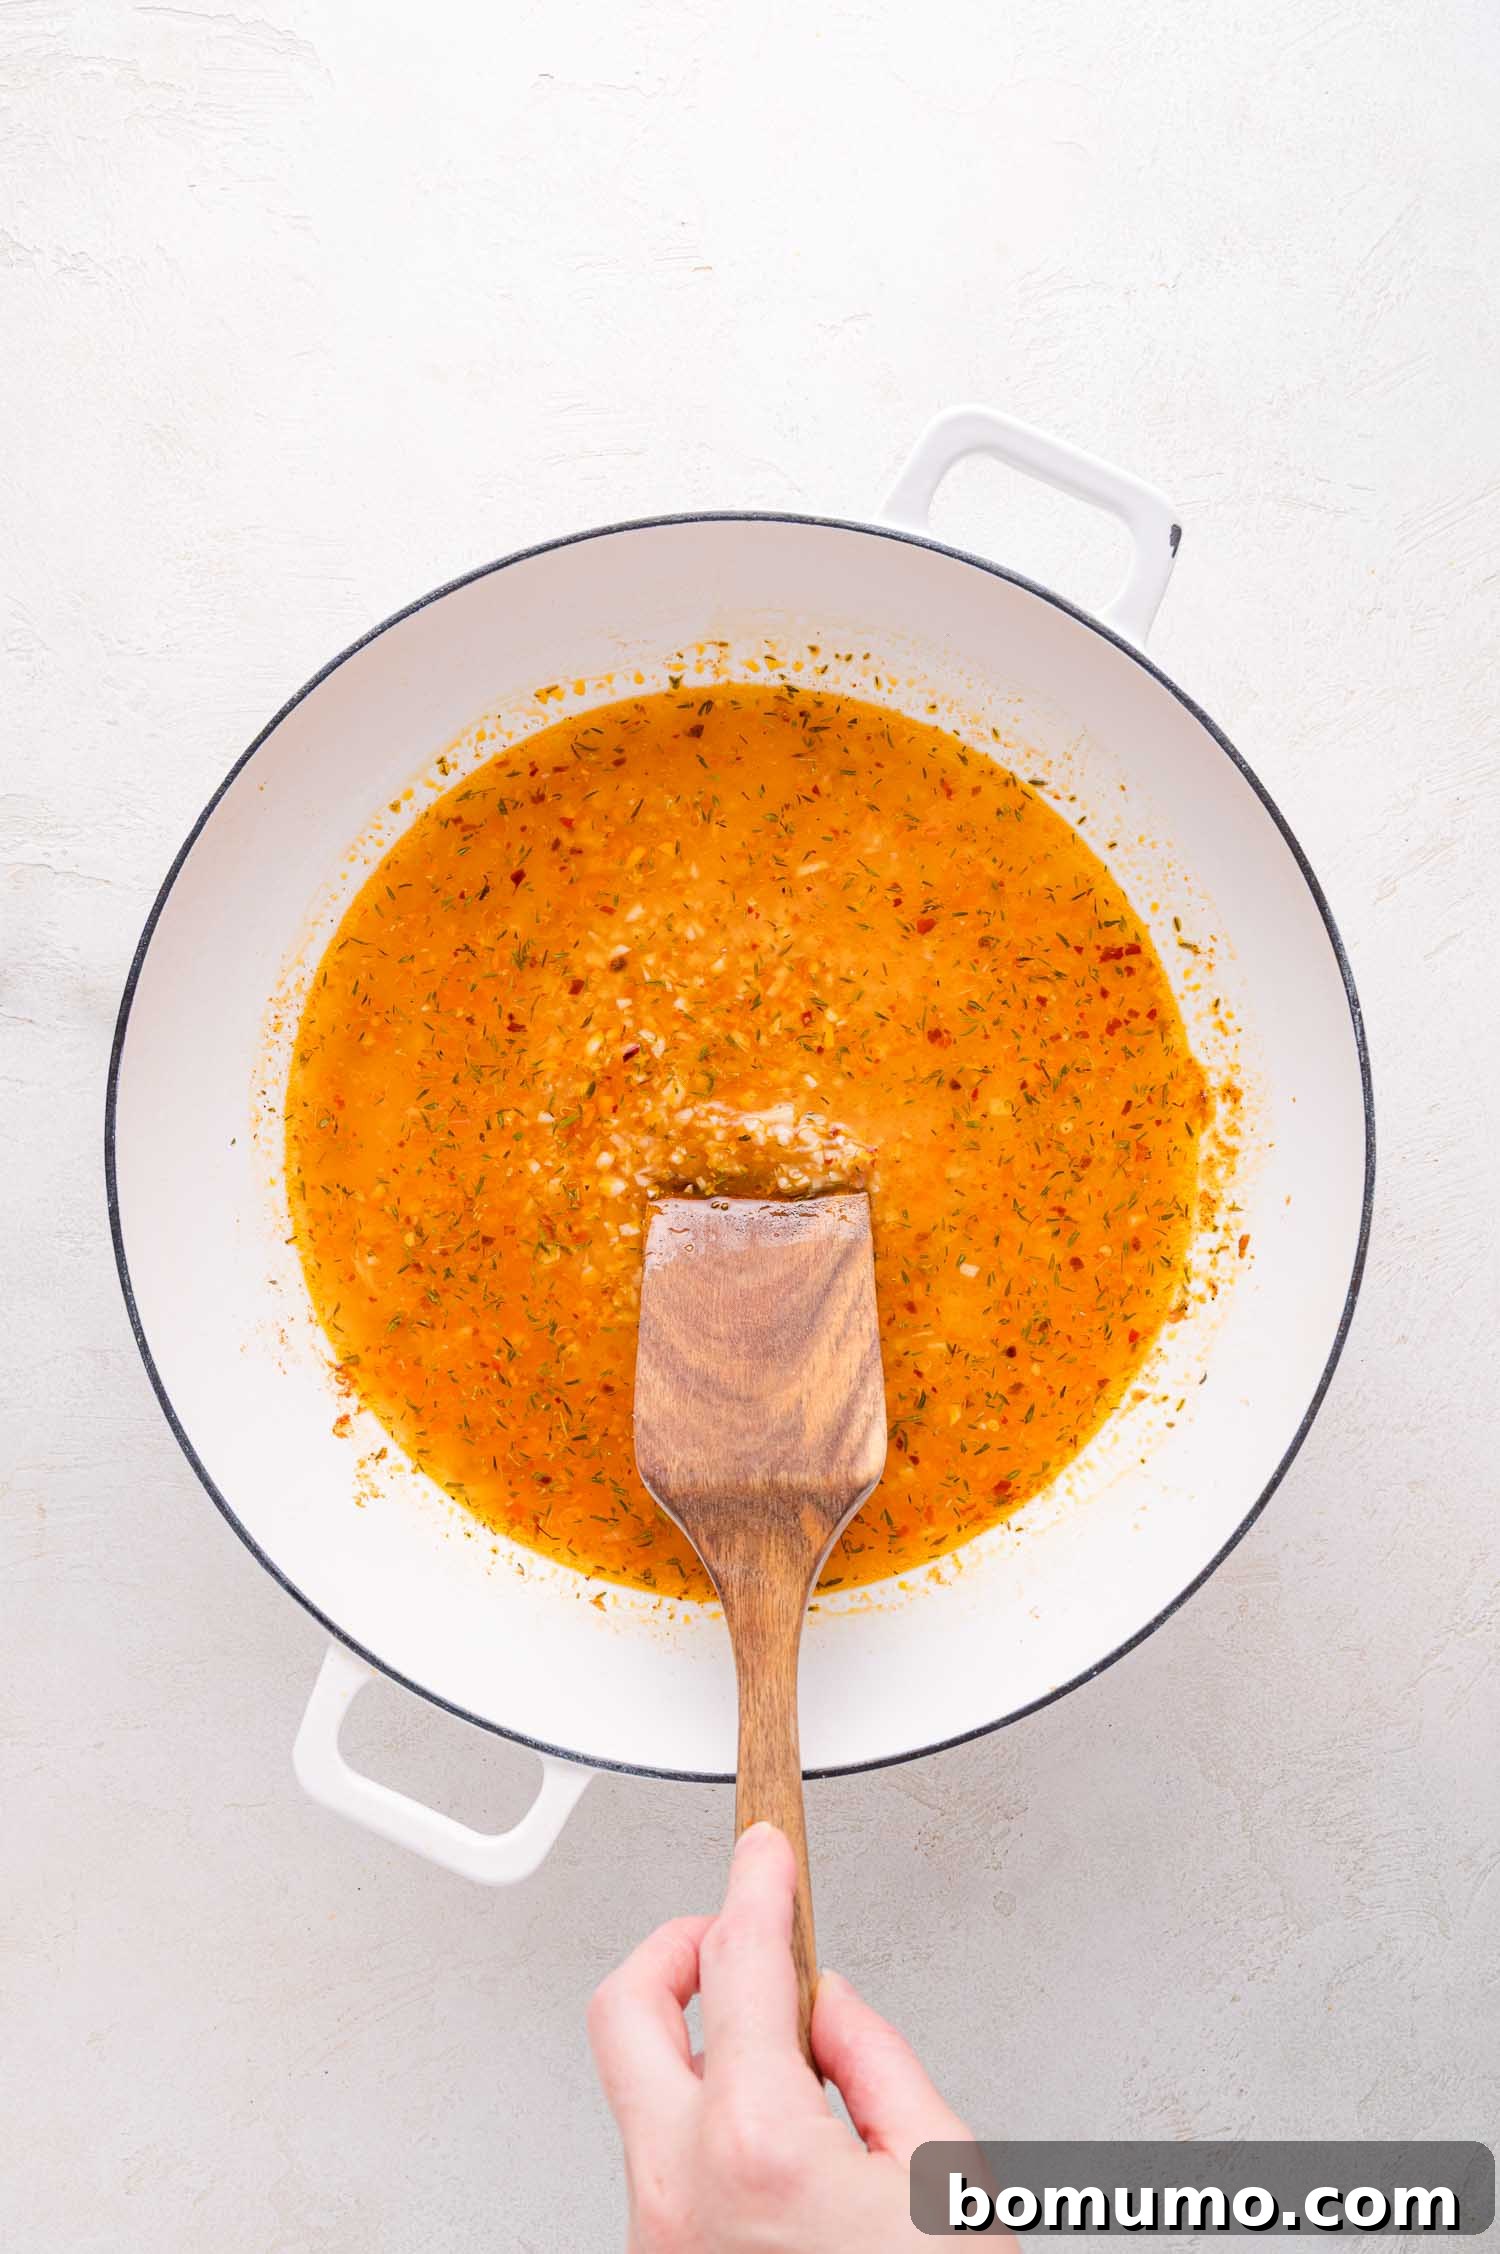
5. Build the Flavorful Sauce: Reduce the heat under the skillet to medium-low. Add the minced garlic to the pan and cook for just 30 seconds, stirring constantly. Be careful not to let the garlic burn, as it can quickly turn bitter. You want it to become fragrant and slightly softened. Immediately after, give your prepared chicken broth mixture another quick stir to reincorporate the cornstarch, then pour it into the skillet. Increase the heat slightly to medium and bring the sauce to a gentle simmer. As it heats, use a wooden spoon or spatula to scrape up all the flavorful browned bits (fond) from the bottom of the pan. This deglazing process is essential, as these bits are packed with concentrated flavor that will enrich your sauce immensely. Continue stirring constantly until the sauce begins to thicken slightly.
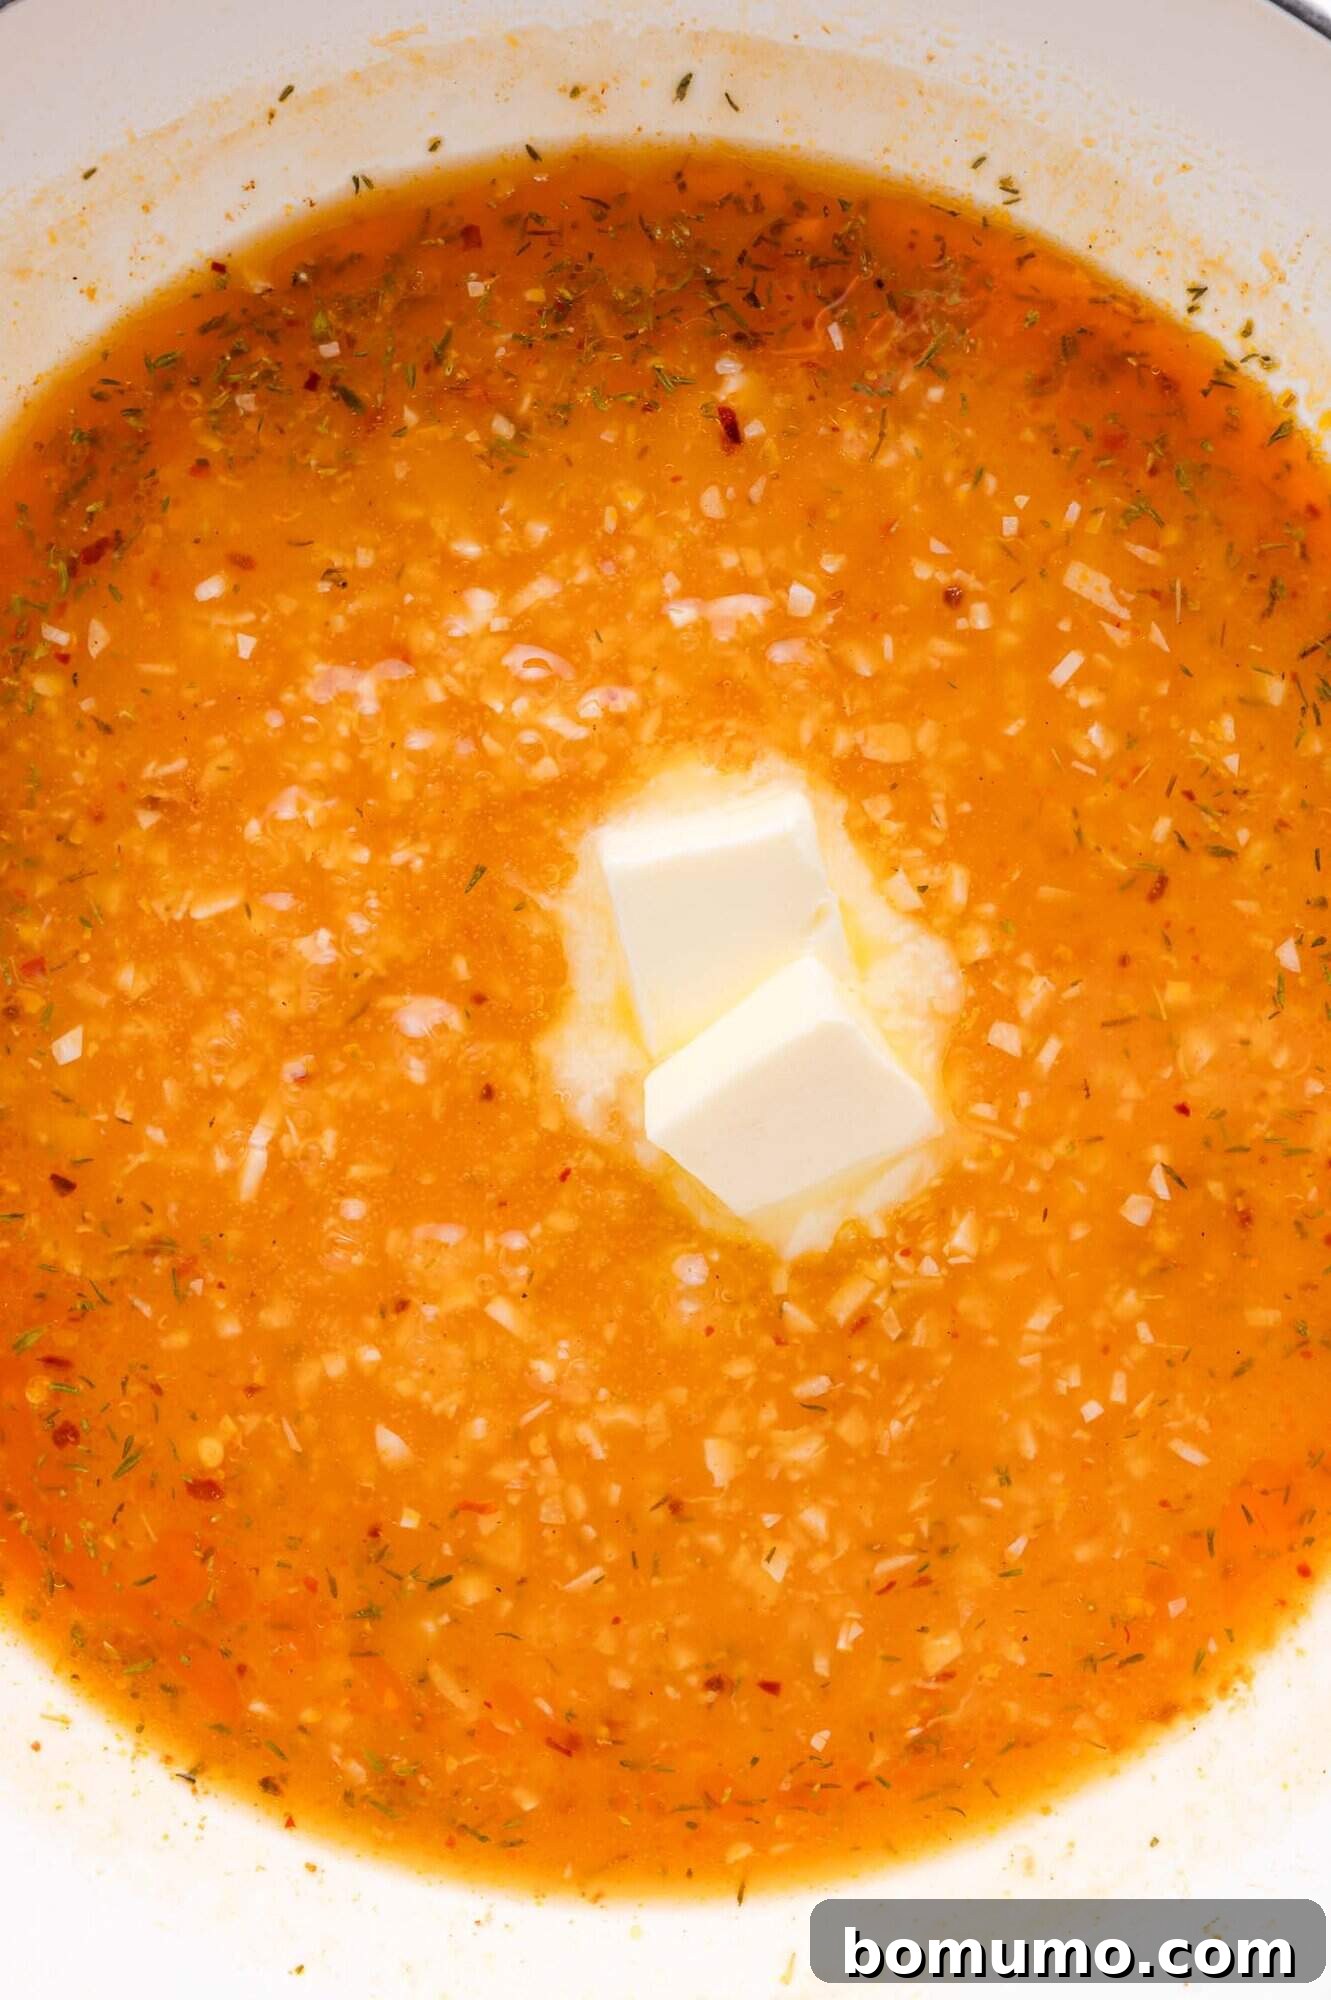
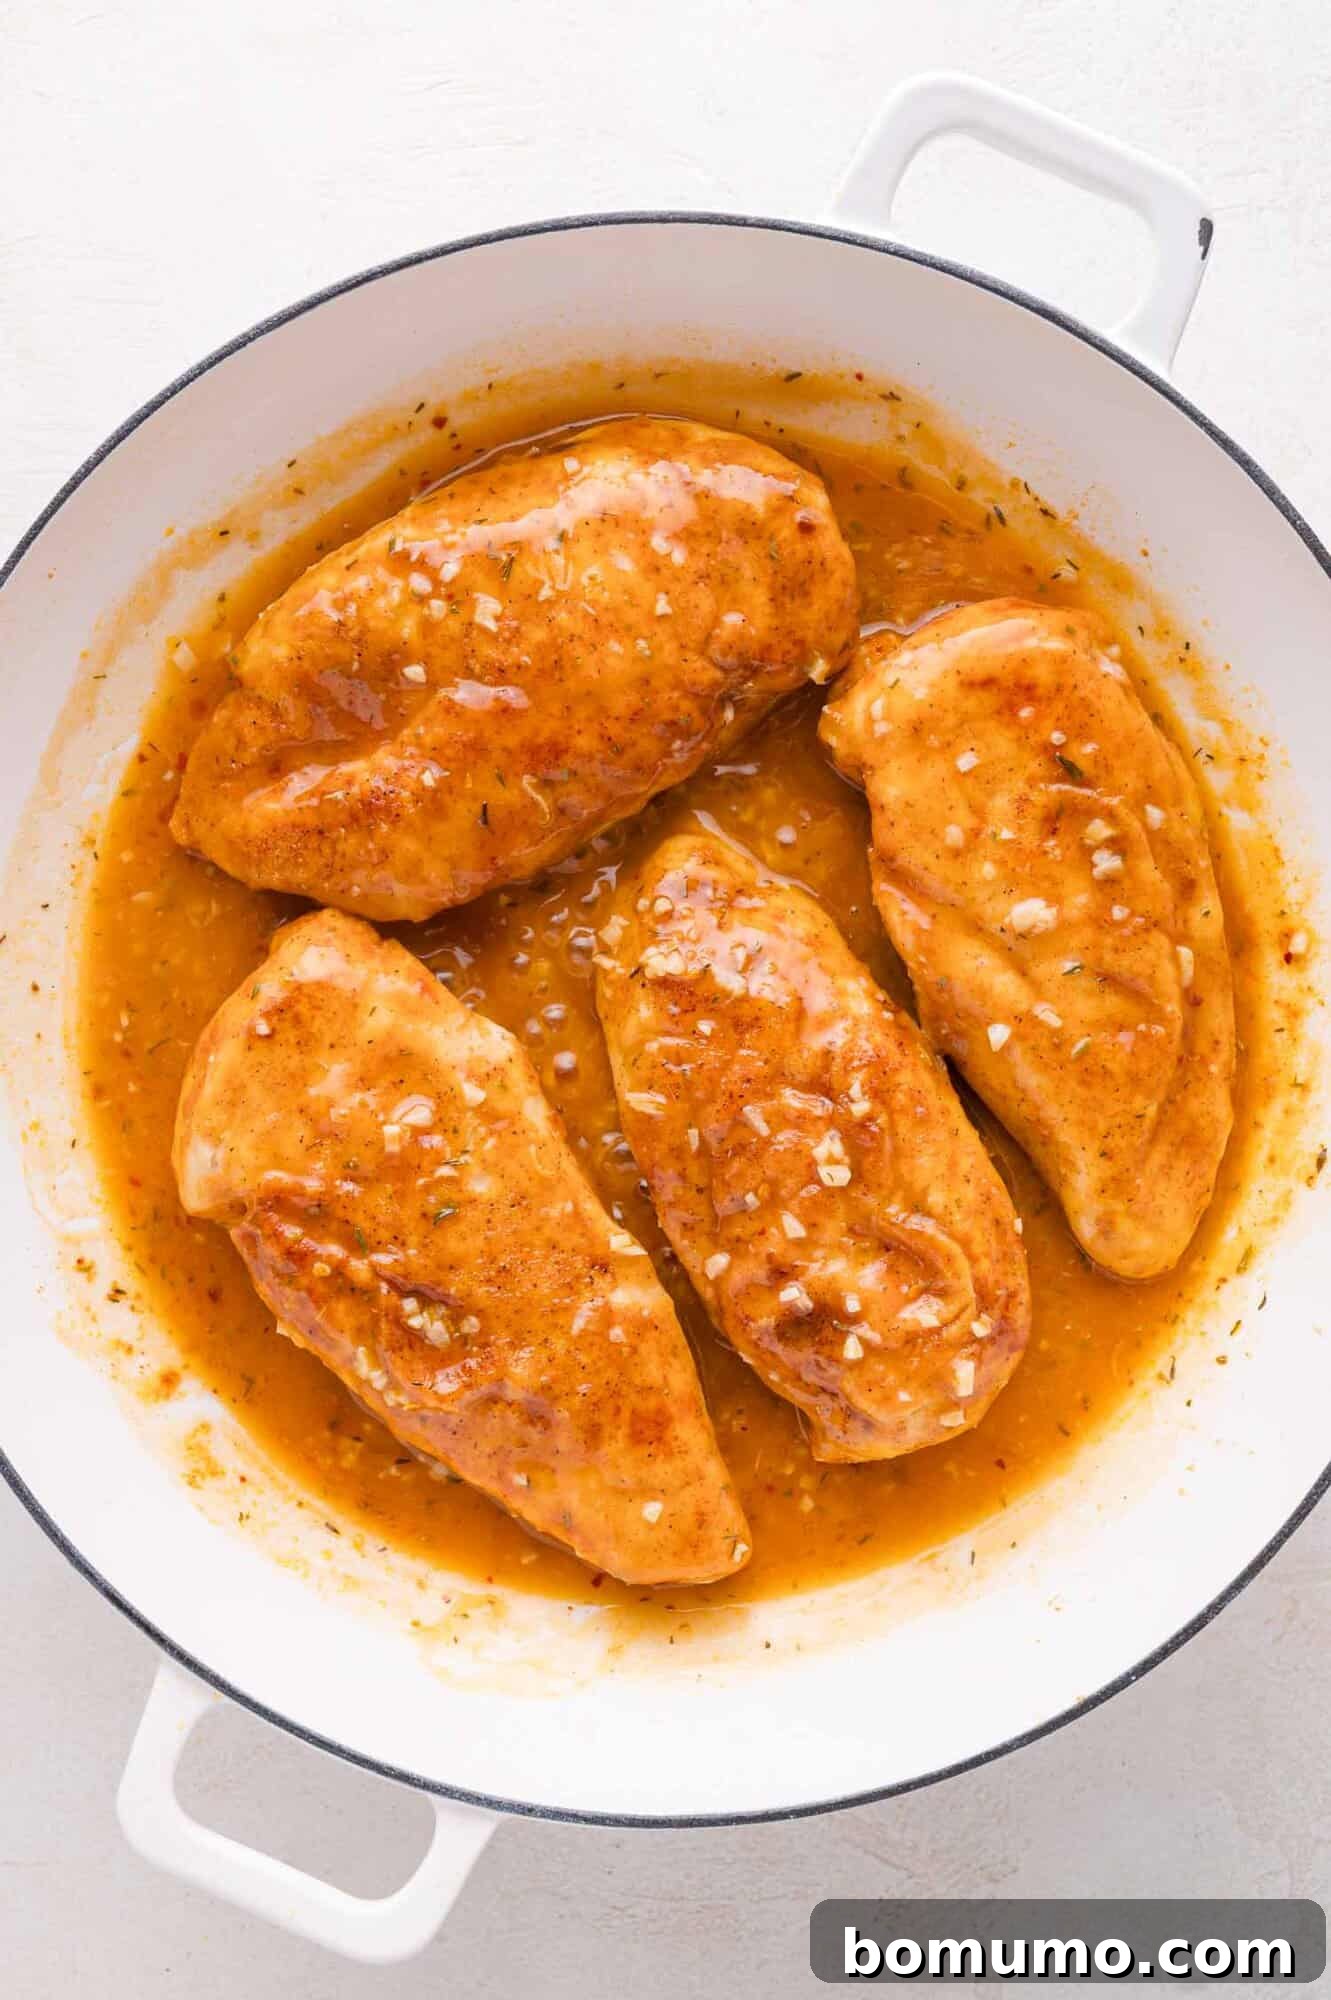
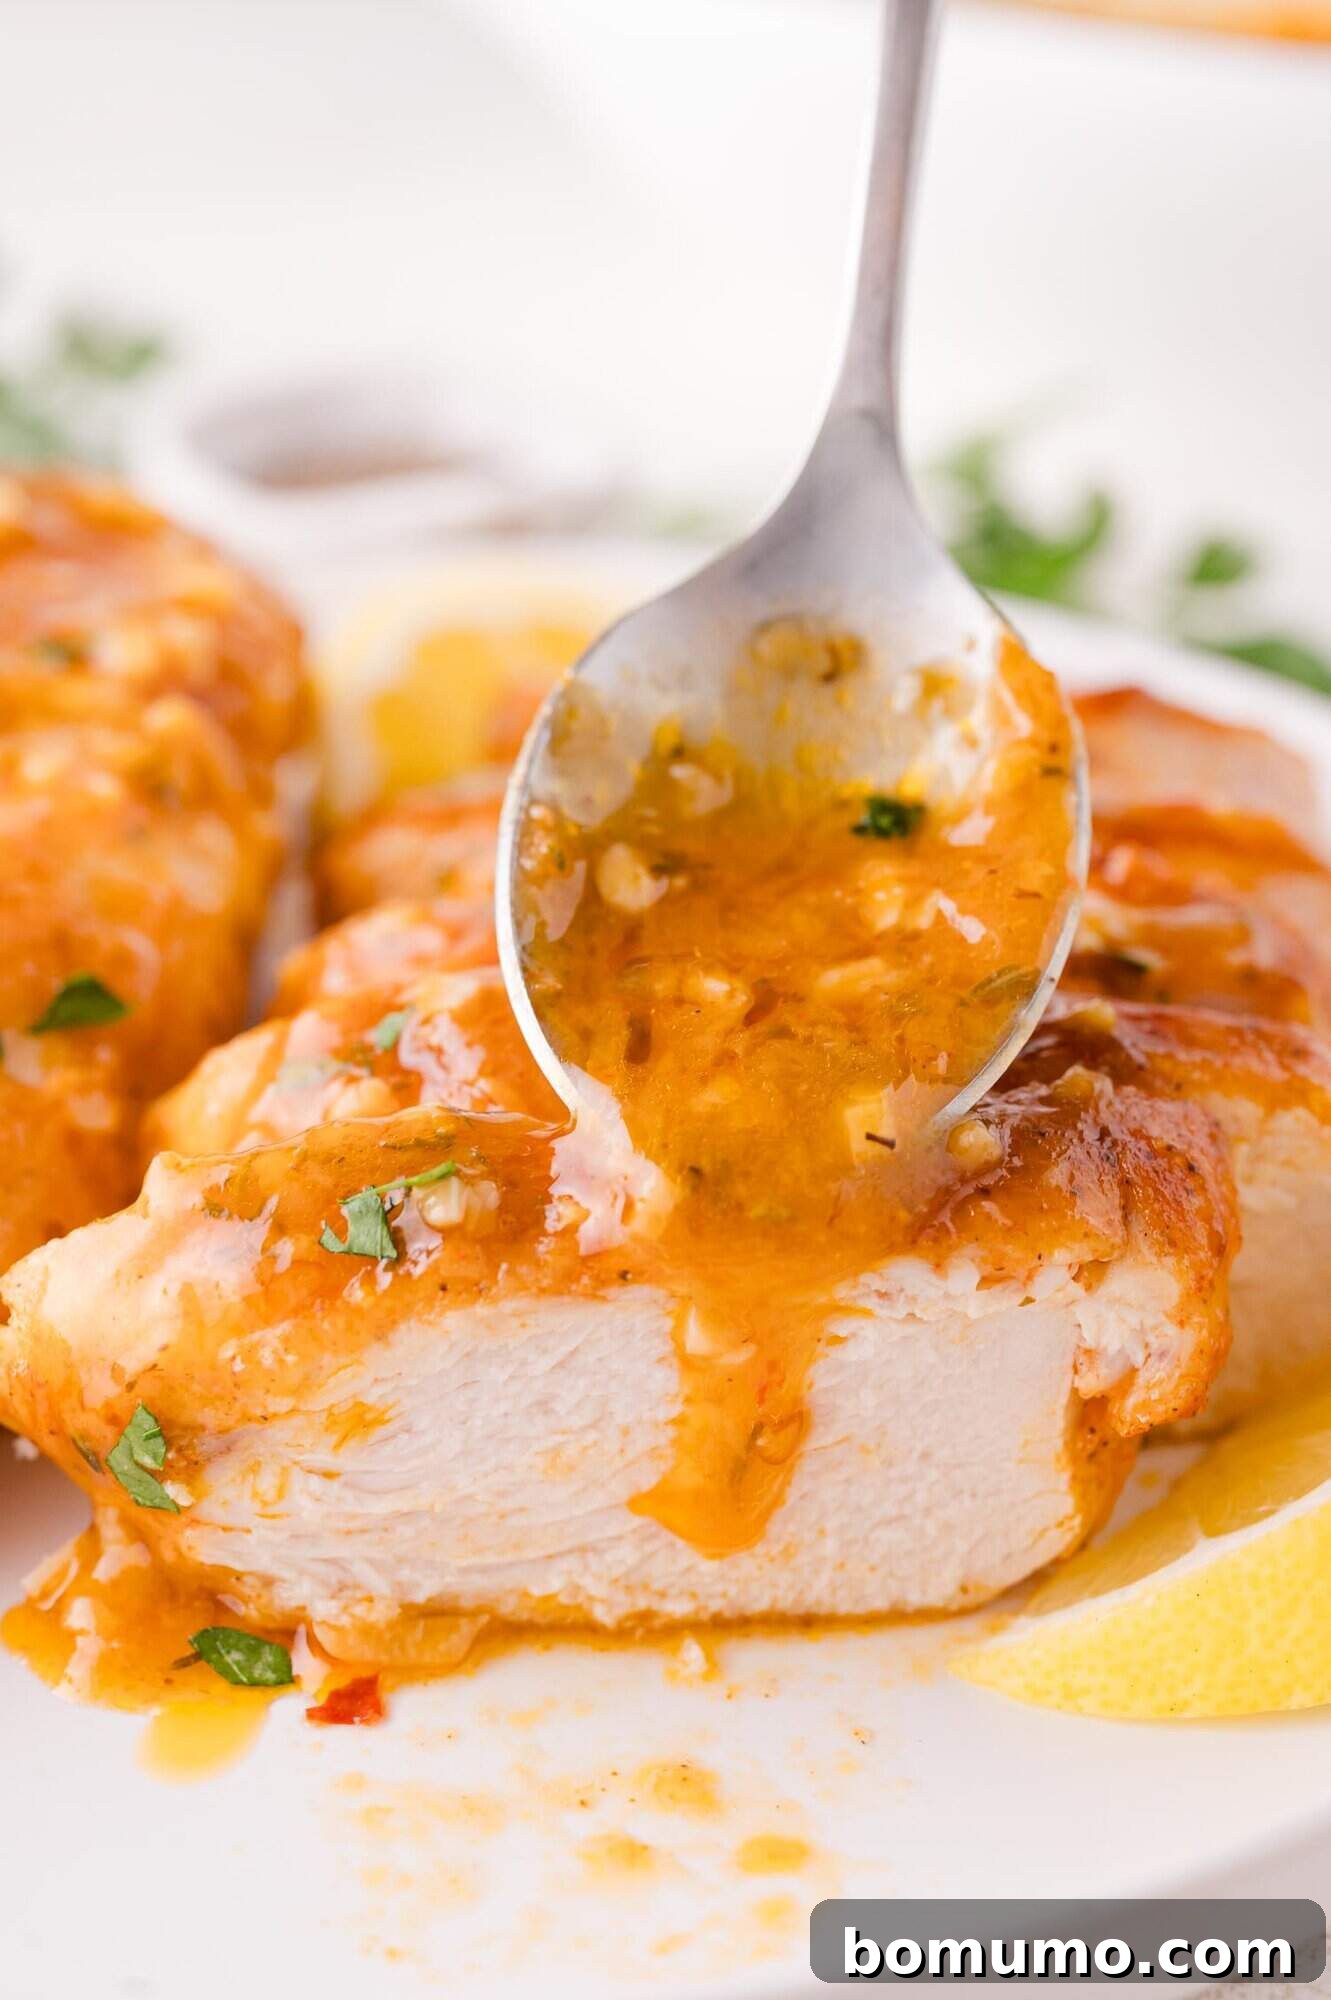
6. Final Touches and Simmer: Add the remaining two tablespoons of unsalted butter to the simmering sauce. Stir gently until the butter has completely melted and is fully incorporated, lending an extra layer of richness and a silky texture. Once the butter has melted, carefully nestle the seared chicken breasts back into the skillet, ensuring they are partially submerged in the luscious sauce. Allow the chicken to simmer for another 2 to 3 minutes, gently flipping the pieces a few times. This ensures every side is thoroughly bathed in the fabulous, thickening sauce and allows the chicken to absorb even more flavor while warming through completely. The sauce should become beautifully glossy and slightly thickened, coating the back of a spoon.
7. Garnish and Serve: Once the sauce has reached its desired consistency and the chicken is piping hot, remove the skillet from the heat. Before serving, generously garnish your Lemon Butter Chicken with a sprinkle of fresh, chopped parsley. The vibrant green of the parsley not only adds a beautiful visual contrast but also a refreshing herbaceous note that perfectly complements the rich lemon butter sauce. Serve immediately with your chosen side dishes and prepare for an unforgettable meal!
Helpful Tips for Mastering Your Lemon Butter Chicken
Achieving culinary success with this Lemon Butter Chicken recipe is easy, especially with a few expert tips to guide you. These insights will help ensure your chicken is perfectly tender, flavorful, and a true delight.
- Protect Your Kitchen While Pounding: When flattening chicken breasts, place them between two sheets of plastic wrap, parchment paper, or inside a large zip-top bag. This simple trick prevents splatters and keeps your countertop and clothes clean from raw chicken juices, making cleanup much easier. You can use a dedicated meat mallet for best results, a heavy-bottomed pan, a sturdy rolling pin, or even the heel of your hand if you don’t have specialized equipment. The goal is even thickness, not brute force.
- Ensure Even Thickness by Trimming Edges: After pounding your chicken breasts, inspect the edges carefully. If you notice any sections that are significantly thinner than the desired half-inch thickness, it’s wise to trim them off. These thinner edges tend to cook much faster and can become tough and rubbery by the time the thicker central part of the chicken is perfectly done. While this step is partly for aesthetic uniformity, it primarily contributes to a more consistent and tender texture throughout the dish. Some people don’t mind the chewier bits, but for optimal tenderness, trimming is recommended.
- Avoid Overcooking for Optimal Tenderness: Boneless, skinless chicken breasts are incredibly quick to cook, which is a major advantage for weeknight meals. However, this also means they can quickly transition from perfectly juicy to dry and rubbery if overcooked. The single most effective tool to prevent this common culinary mishap is an instant-read meat thermometer. Insert the thermometer into the thickest part of the chicken breast (avoiding bone if using bone-in cuts) to verify that it reaches an internal temperature of 165ºF (74ºC). Removing the chicken from the heat as soon as it hits this temperature will guarantee succulent, tender results every time. Trusting the thermometer over visual cues is key to consistently perfect chicken.
- Deglaze for Maximum Flavor: Don’t overlook the importance of deglazing the pan after searing the chicken. Those browned bits stuck to the bottom of your skillet, known as “fond,” are packed with caramelized chicken flavor. When you add the liquid (chicken broth mixture) to the hot pan and scrape these bits up, they dissolve into the sauce, enriching it with incredible depth and complexity. This step is a flavor powerhouse and a cornerstone of building a truly delicious pan sauce.
- Taste and Adjust Seasoning: Always taste your sauce before adding the chicken back for the final simmer. Adjust the seasoning as needed. You might find it needs a pinch more salt, a dash more lemon juice for brightness, or even a tiny bit of sugar to balance the acidity, depending on your preferences and the broth used. Fine-tuning the seasoning ensures the sauce is perfectly tailored to your palate.
Delightful Serving Suggestions for Lemon Butter Chicken
The versatile and vibrant flavors of Lemon Butter Chicken make it an ideal centerpiece for a wide array of side dishes. Here are some inspired suggestions to complement your meal:
- Perfect Vegetable Sides: Since you’re already in the kitchen, consider whipping up some quick and fresh vegetables. Tender sautéed zucchini or green beans offer a light and healthy complement. Alternatively, for a different texture, try crispy smashed Brussels sprouts baked in the oven, providing a delightful crunch and earthy flavor. Roasted asparagus or a simple garden salad with a light vinaigrette would also be excellent choices to add freshness and color.
- Hearty Rice Accompaniments: The rich lemon butter sauce is simply begging to be soaked up by a delicious grain. A creamy, indulgent Instant Pot risotto, perhaps with mushrooms or Parmesan, would create an elegant pairing. For a more classic and comforting option, fluffy jasmine rice or basmati rice is always a good choice. If you’re feeling particularly cheerful, bright yellow rice alongside delicate sautéed summer squash ribbons would make a beautifully sunny plate.
- Comforting Potato Pairings: Potatoes, in their many forms, are a fantastic match for chicken. These irresistibly crispy Parmesan potatoes, with their savory crust, are truly amazing. To echo and amplify the lemon flavor in your main dish, consider serving these zesty dill roasted potatoes with lemon – they are a consistent family favorite for their bright and herbaceous notes. Creamy mashed potatoes or simple roasted new potatoes would also be delightful.
- Wholesome Other Grains: For a nutritious and satisfying alternative to rice, Instant Pot farro offers a chewy texture and nutty flavor that pairs wonderfully with saucy main dishes like this chicken, providing a wholesome whole-grain option. Similarly, quinoa, another complete protein and gluten-free grain, is incredibly versatile and goes with almost anything, making it an excellent and healthy choice for soaking up that delicious lemon butter sauce. Consider couscous for a quick-cooking, light option.
Storage & Reheating for Freshness
Storage & Reheating for Freshness
Ensuring your delicious Lemon Butter Chicken remains fresh and flavorful for future enjoyment is simple with these storage and reheating guidelines:
Refrigerate: Any leftover Lemon Butter Chicken, along with its rich sauce, can be stored in an airtight container in the refrigerator for a period of up to 3 days. Make sure the chicken and sauce are completely cooled before transferring to the container to prevent condensation and bacterial growth. Proper sealing will help maintain its exquisite flavors.
Freeze: This recipe is also highly freezer-friendly, allowing you to prepare it in advance or save portions for later. You can freeze the chicken and sauce for up to 3 months. For best results, place the cooled chicken and sauce in a high-quality freezer bag, pressing out any excess air before sealing. Alternatively, use an airtight, freezer-safe container. When you’re ready to enjoy it, remember to thaw the frozen chicken thoroughly in the refrigerator overnight before proceeding to reheat.
Reheat: For the most optimal reheating experience that preserves the chicken’s tenderness and prevents it from becoming rubbery, we highly recommend using your oven. Transfer the thawed Lemon Butter Chicken and its accompanying sauce to an oven-safe baking dish. Cover the dish securely with aluminum foil to trap moisture and ensure even heating. Reheat in a preheated 350ºF (175ºC) oven until the chicken is warmed through to your satisfaction, typically around 15-20 minutes, depending on the thickness of the chicken. While microwaving is an option for quicker reheating, be aware that it significantly increases the likelihood of the chicken drying out and developing a rubbery texture.
Discover More Irresistible Chicken Recipes
Honey Balsamic Chicken Thighs
Soy and Honey Glazed Chicken Drumsticks
Sweet Hawaiian Crockpot Chicken
Marry Me Chicken Pasta
Lemon Butter Chicken
Ingredients
- 4 boneless skinless chicken breasts, about 6 oz. each (see note)
- 2 tablespoons all-purpose flour
- 1 teaspoon kosher salt
- 1 teaspoon paprika
- ½ teaspoon coarse ground black pepper
- ¾ cup chicken broth
- 2 tablespoons freshly squeezed lemon juice (zest the lemon first)
- 1 tablespoon cornstarch
- 1 teaspoon lemon zest
- ½ teaspoon dried thyme (or 1 ½ teaspoons fresh thyme, chopped)
- ¼ teaspoon red pepper flakes (optional)
- 2 tablespoons olive oil
- 3 tablespoons unsalted butter, divided
- 6 cloves garlic, minced
- ¼ cup chopped fresh parsley (for garnish)
Instructions
-
Place plastic wrap or a sheet of parchment paper over the chicken, and pound each chicken breast to an even thickness of ½ inch with a meat mallet or the heel of your hand. Pat the chicken dry with paper towels.4 boneless skinless chicken breasts, about 6 oz. each
-
In a large bowl, combine flour, salt, paprika, pepper. One at a time, dredge both sides of each chicken cutlet in flour mixture, tapping off any excess.2 tablespoons all-purpose flour, 1 teaspoon kosher salt, 1 teaspoon paprika, ½ teaspoon coarse ground black pepper
-
Mix the chicken broth, lemon juice, cornstarch, lemon zest, thyme, and red pepper flakes (if using) in a 1 cup measuring cup until cornstarch is dissolved. Set aside, remembering to stir again before use as cornstarch settles.¾ cup chicken broth, 2 tablespoons freshly squeezed lemon juice, 1 tablespoon cornstarch, 1 teaspoon lemon zest, ½ teaspoon dried thyme, ¼ teaspoon red pepper flakes
-
Heat olive oil and 1 tablespoon of butter in a large skillet over medium heat until butter is melted and shimmering. Add the chicken and cook for 7 to 8 minutes on each side, or until golden brown and the internal temperature reaches 165ºF (74°C). Remove the cooked chicken from the pan, transferring it to a clean plate, and set aside.2 tablespoons olive oil, 3 tablespoons unsalted butter, divided
-
Reduce the heat to medium-low and add the minced garlic to the skillet. Cook for 30 seconds, stirring constantly, until fragrant, being careful not to burn it.6 cloves garlic, minced
-
Stir the chicken broth mixture vigorously to ensure cornstarch hasn’t settled, and then pour the mixture into the skillet. Over medium heat, bring the mixture to a gentle simmer, constantly stirring and scraping any browned bits (fond) from the bottom of the pan to incorporate them into the sauce.
-
Add the remaining 2 tablespoons of butter to the simmering sauce, and continue to simmer, stirring, until the butter completely melts and combines with the sauce.
-
Carefully nestle the cooked chicken breasts back into the skillet with the sauce. Simmer for another 2 to 3 minutes, flipping the chicken pieces a few times so the sauce thoroughly coats both sides, cooking until the sauce thickens slightly and the chicken is fully heated through.
-
Before serving, generously sprinkle the Lemon Butter Chicken with fresh, chopped parsley for a burst of color and herbaceous flavor.¼ cup chopped fresh parsley
Notes
- Chicken Preparation: If the chicken breasts you purchase are quite large, weighing around 12 oz (340g) each, it’s best to slice each one horizontally to create two thinner cutlets before flattening. This ensures more even cooking. Alternatively, you can use boneless, skinless chicken thighs for a richer flavor; however, they will require slightly longer cooking time and should not be pounded thin.
- Storage and Reheating Best Practices: Leftover Lemon Butter Chicken and its luscious sauce can be safely stored together in an airtight container in the refrigerator for up to 3 days. For longer storage, this dish freezes beautifully for up to 3 months. When freezing, ensure the chicken and sauce are thoroughly cooled before placing them in a freezer-safe bag (pressing out excess air) or container. Always thaw frozen chicken in the refrigerator before reheating. For the best quality and to prevent the chicken from becoming rubbery, reheat in a covered, oven-safe baking dish in a 350ºF (175ºC) oven until warmed through. While microwave reheating is quicker, it may compromise the texture of the chicken.
Video
Nutrition Information
Nutrition information is automatically calculated, so should only be used as an approximation. Individual results may vary based on exact ingredients and preparation.