
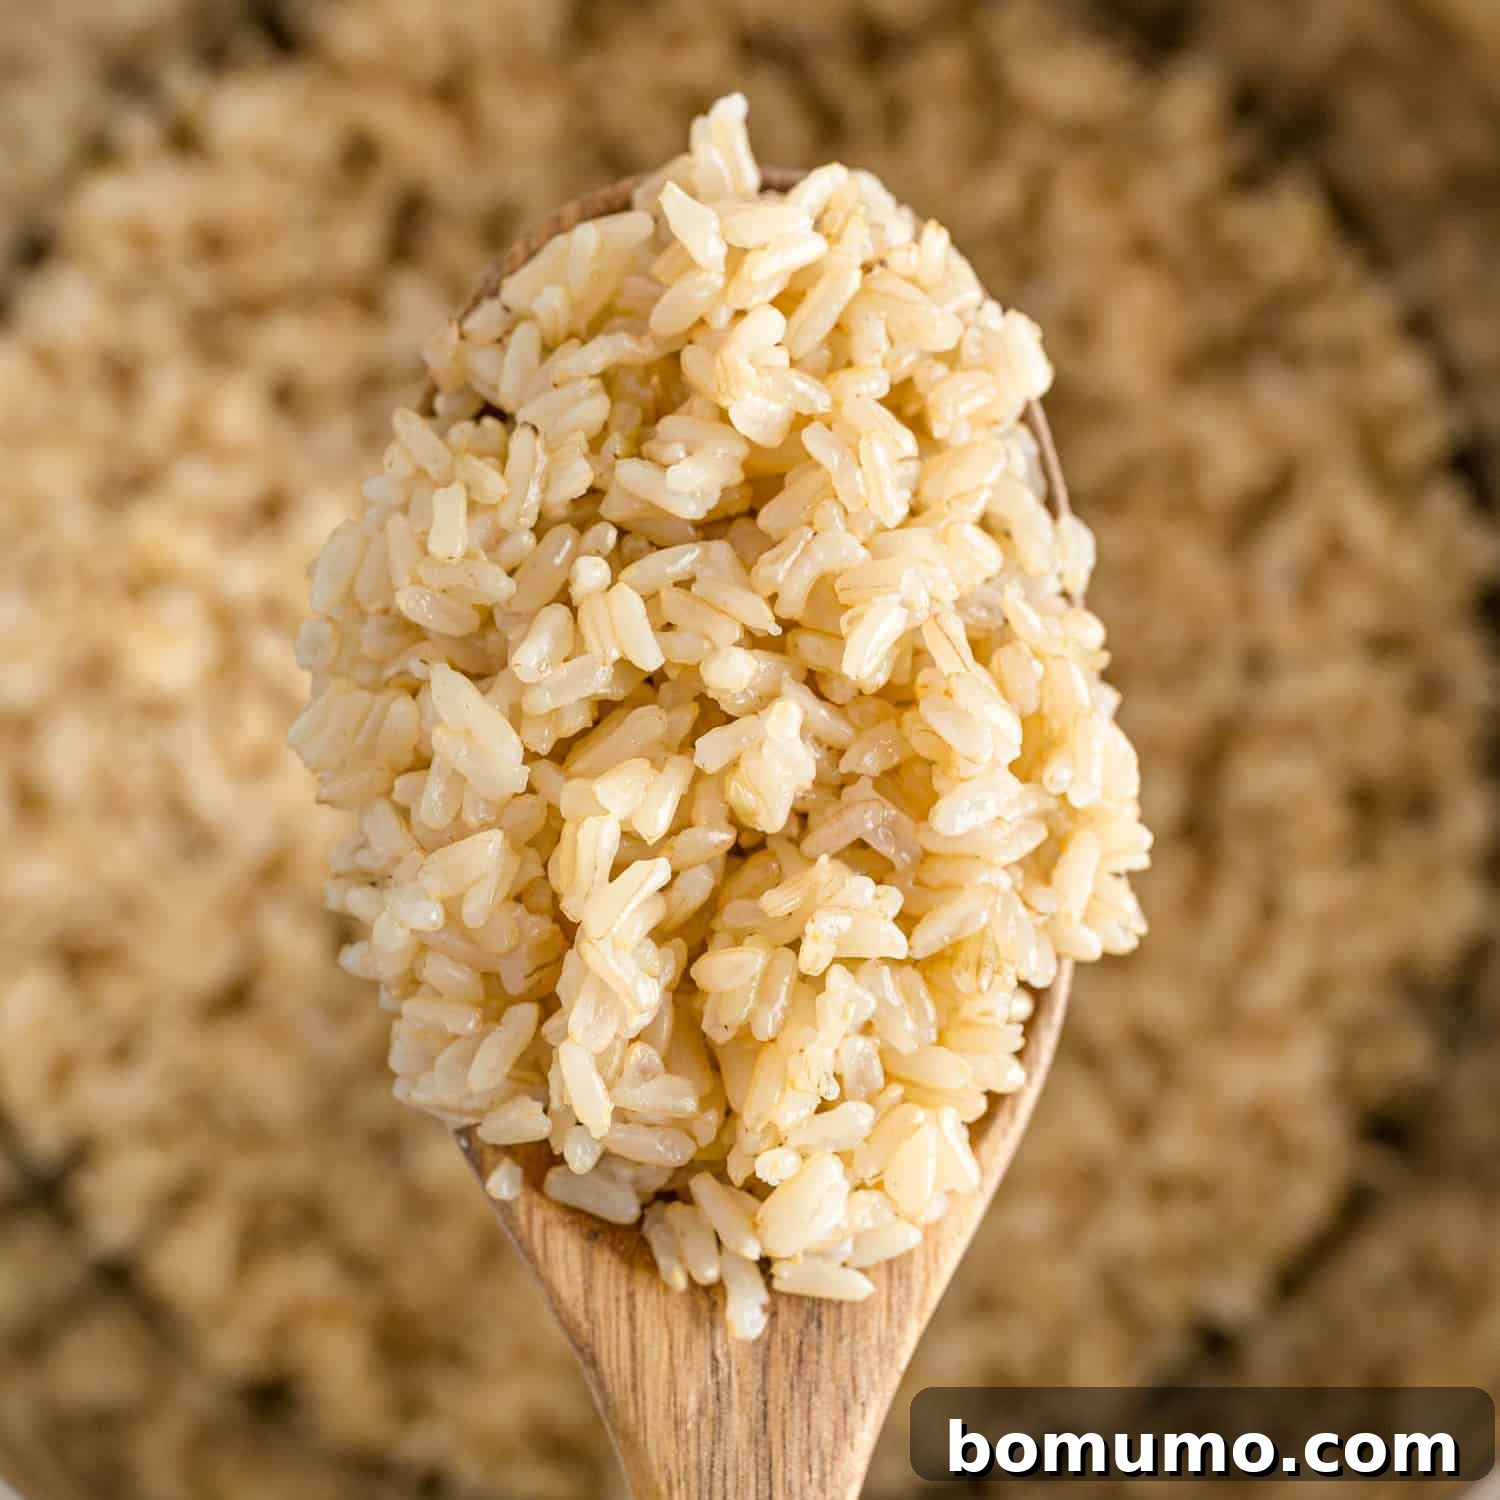
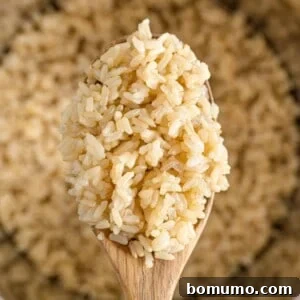
Instant Pot brown rice is the ultimate kitchen hack for busy cooks! Say goodbye to guesswork and inconsistent results – with your Instant Pot, you’ll achieve perfectly cooked, fluffy brown rice every single time. This method ensures your wholesome brown rice is tender, never mushy, and ready to complement any meal.
Recipe Overview
Why you’ll love it: Consistent, perfectly cooked brown rice every time, with minimal effort!
How long it takes: Approximately 49 minutes (including pressure building and release time).
Equipment you’ll need: An Instant Pot or any electric pressure cooker.
Servings: Yields 3-9 cups, depending on your desired quantity.
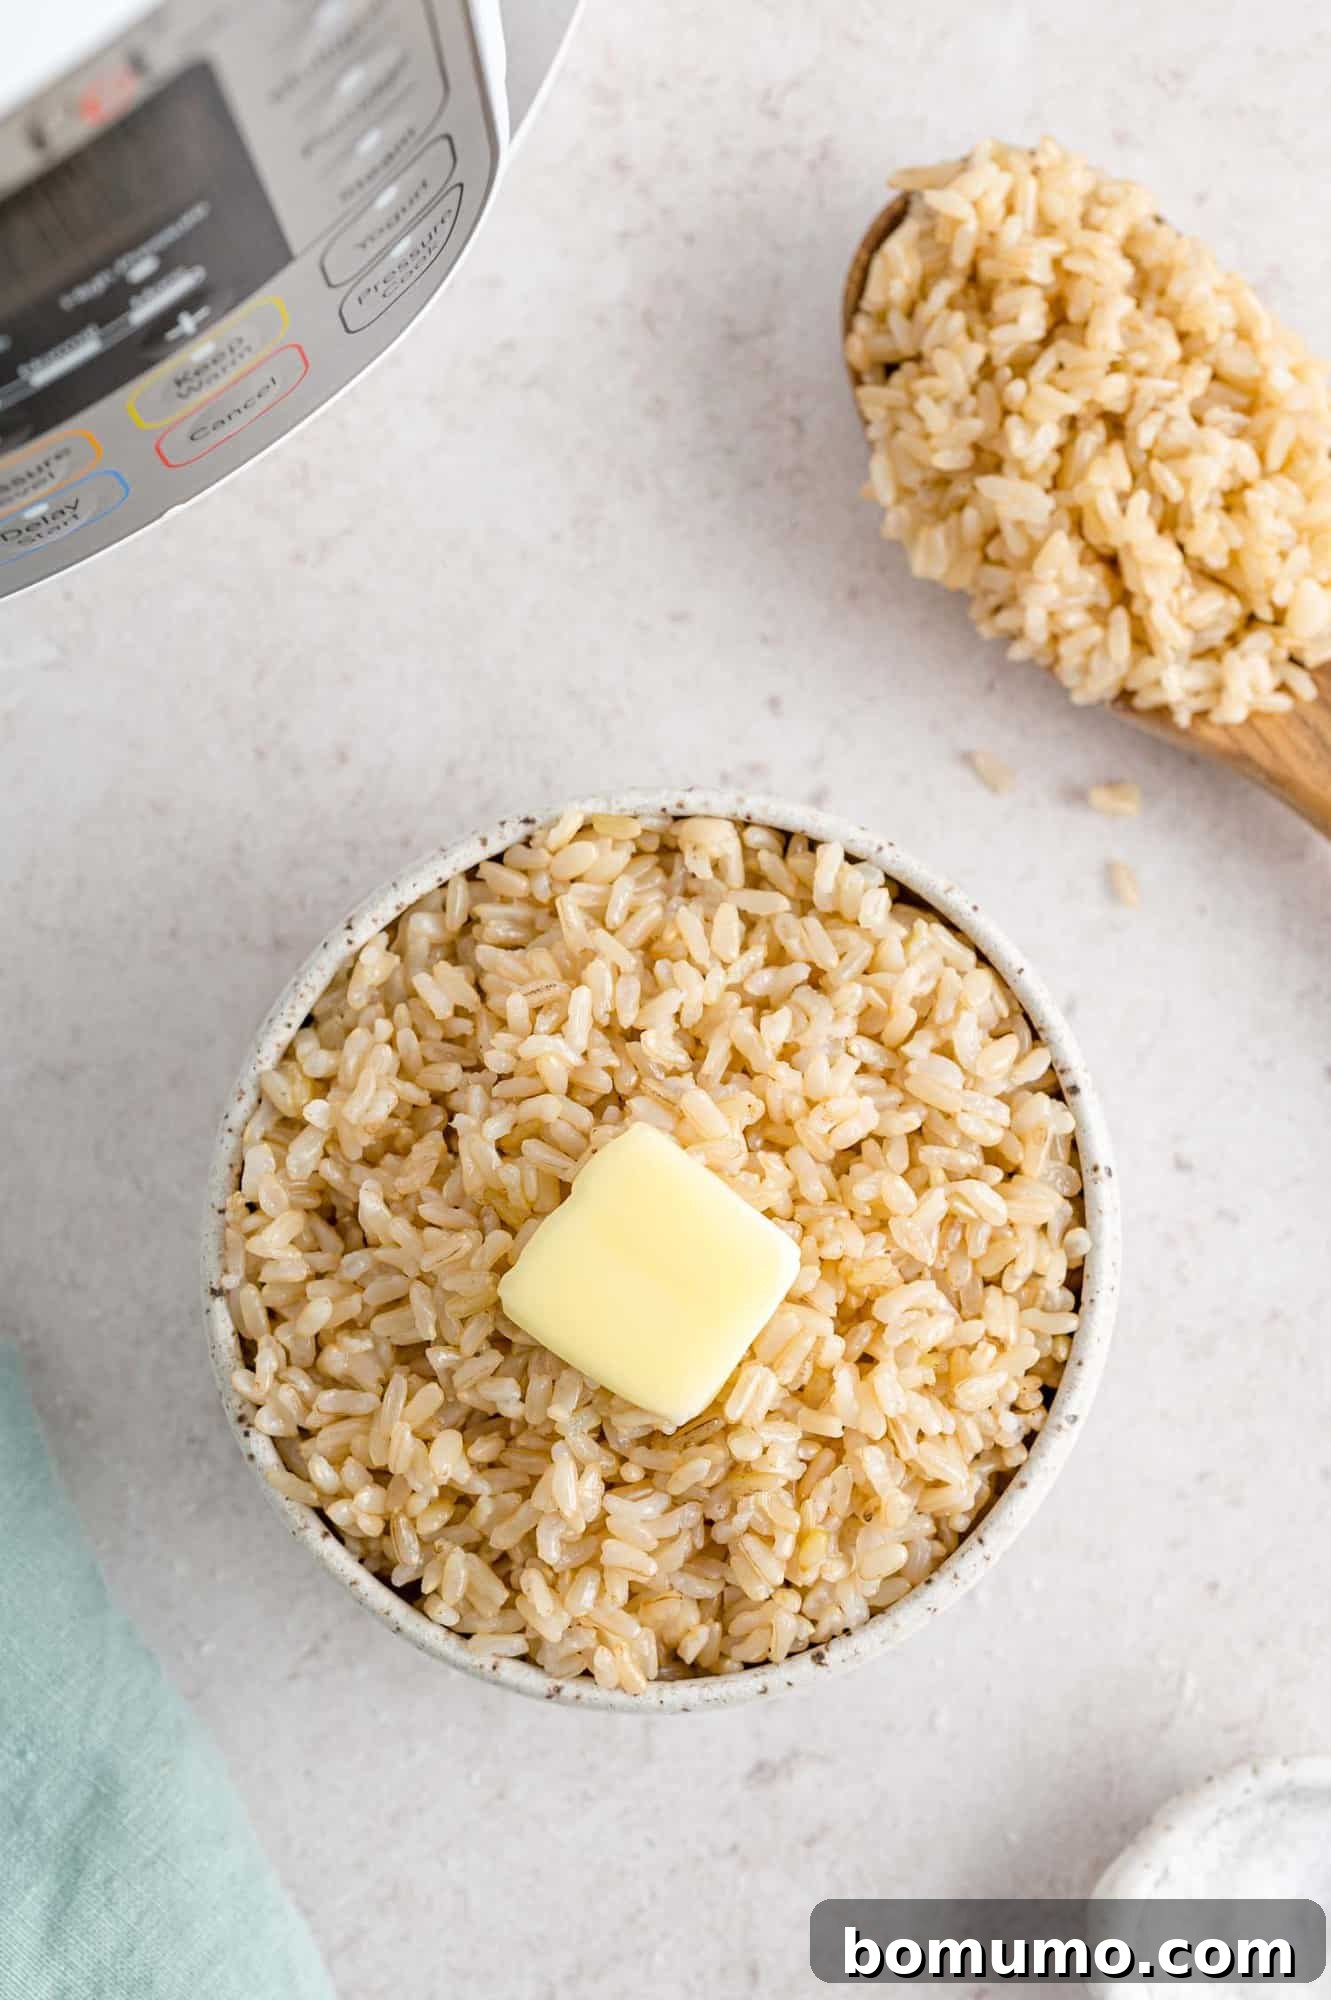
As many of you have enjoyed my guides for Instant Pot jasmine rice and Instant Pot white rice, it’s clear that pressure cooking rice has become a game-changer for countless kitchens. Understanding that not all rice varieties cook alike, I’m excited to share the secret to flawless brown rice in your Instant Pot. This comprehensive guide will equip you with all the knowledge needed to consistently achieve tender, perfectly textured brown rice.
Making rice can often feel like a culinary challenge. Whether it ends up crunchy, sticky, or a mushy mess, achieving that ideal consistency on the stovetop often requires constant monitoring and a bit of luck. The Instant Pot, however, removes the guesswork, transforming rice preparation into an almost entirely hands-off process that yields remarkable results. It’s especially beneficial for brown rice, which typically demands a longer cooking time and precise liquid management.
My own journey with the Instant Pot began with a memorable “Cooking Club” gathering, a group of friends who came together to explore pressure cooking. Our initial attempts were, to put it mildly, a bit chaotic! I’ve shared stories of our “Cooking Club” before – it was how I forged wonderful friendships after moving to a new area. While our first Instant Pot session involved everything from undercooked chicken to a lid firmly stuck on the wrong pot, it was a testament to learning and growing together. These shared mishaps, often the source of the best memories and loudest laughs, taught us valuable lessons about mastering this versatile appliance.
A “do-over” session, larger and much more successful, proved just how powerful and convenient the Instant Pot could be. With each of us armed with a pressure cooker, a new recipe, and fresh ingredients, we whipped up an impressive array of dishes. We made crowd-pleasers like Instant Pot macaroni and cheese, comforting Instant Pot sweet potatoes and Instant Pot baked potatoes, and perfectly hard-boiled eggs. My friend Laura even expertly adapted my slow cooker chicken and wild rice soup for the Instant Pot, with fantastic results.
Our menu also featured delicious Instant Pot rice with cilantro and lime and tender Instant Pot shredded chicken. By the end of the day, everyone left with containers of tasty leftovers, and more than a few newfound Instant Pot enthusiasts. This experience solidified my belief that the Instant Pot is not just a gadget, but an invaluable tool for simplifying healthy cooking, especially for notoriously tricky grains like brown rice.
About Instant Pot Brown Rice: The Secret to Perfection
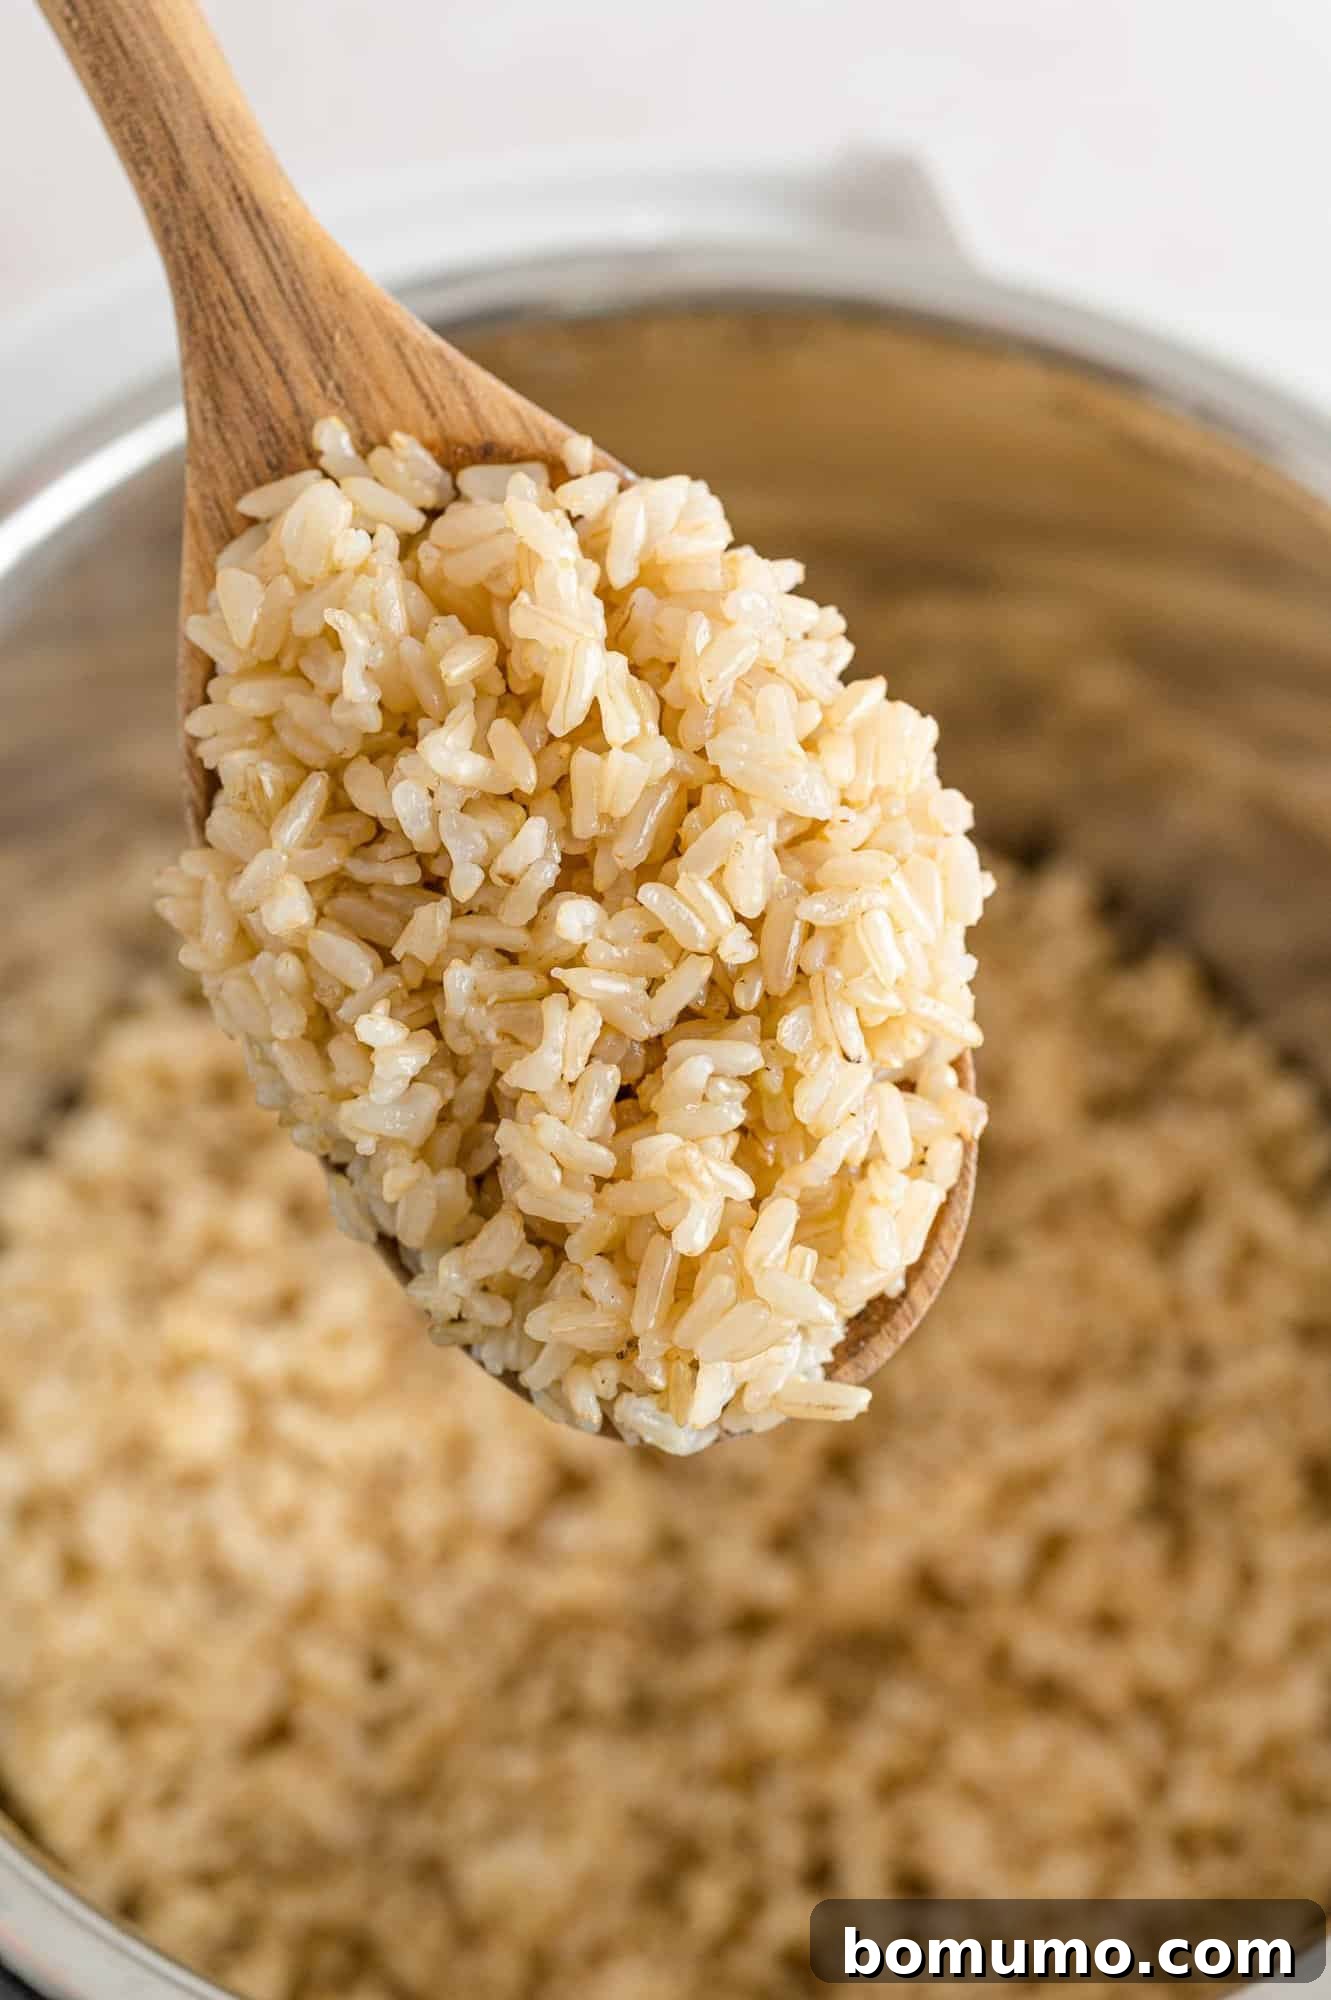
If you’re still on the fence about pressure cooking, perfectly cooked rice might be the factor that wins you over. The Instant Pot consistently delivers faultless brown rice with very little effort from your side. While brown rice requires a bit more cooking time compared to white rice due to its whole grain nature, the process in the Instant Pot remains incredibly simple and consistent.
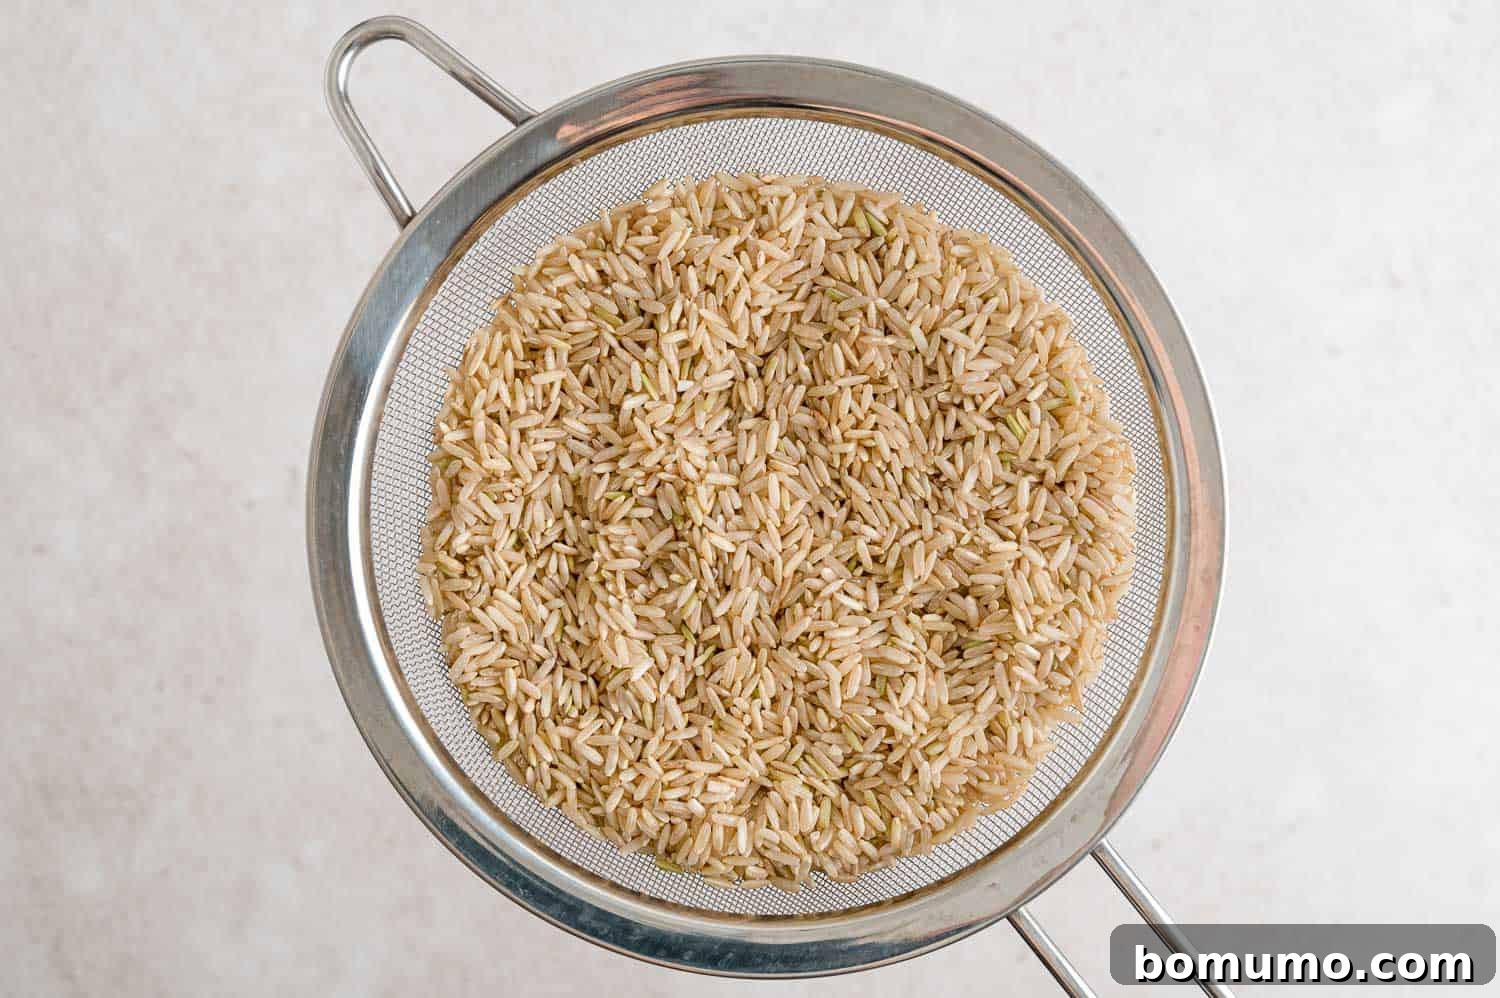
The first crucial step in making brown rice in your Instant Pot is rinsing. This isn’t just about cleanliness; it’s about culinary science. Rinsing thoroughly washes away excess surface starch, which can otherwise cause the rice to clump, foam excessively during cooking, or sputter messily during pressure release. By taking a moment to rinse your rice, you ensure cleaner cooking and a better final texture. Place the rice in a fine-mesh strainer and rinse under cold running water until the water runs clear. This usually takes a couple of minutes.
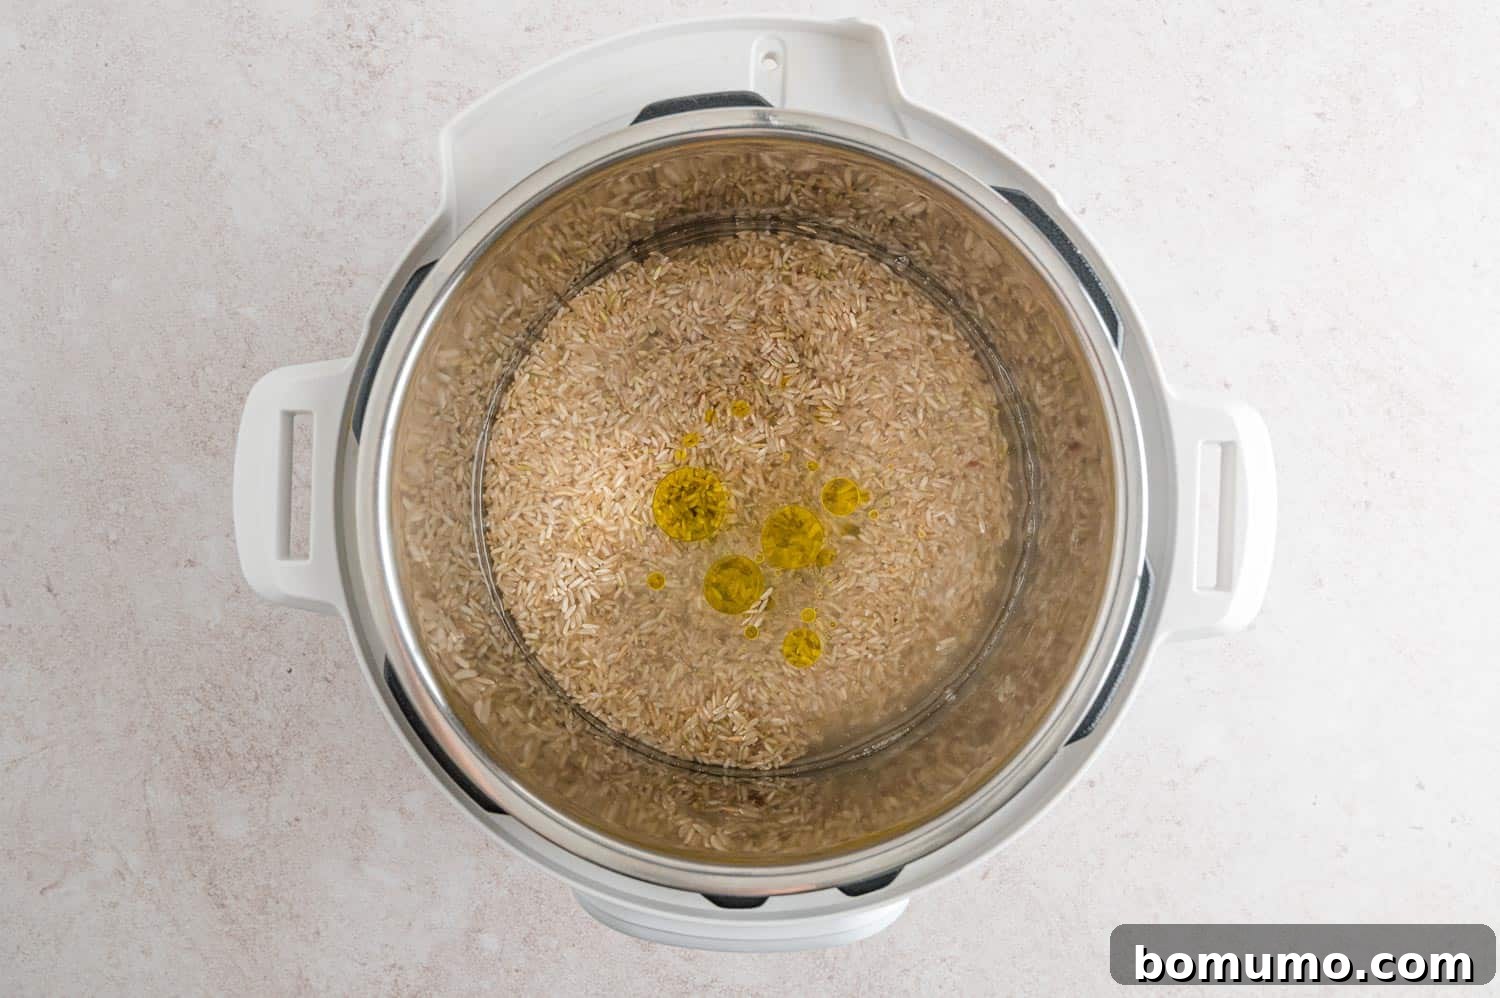
Once rinsed, simply combine the brown rice, water (or broth), a touch of oil, and salt in the inner pot of your electric pressure cooker. Before securing the lid, use a spoon or spatula to gently push down any stray grains of rice clinging to the sides, ensuring they are fully submerged in the liquid. This helps prevent dry spots and ensures even cooking.
After securely sealing the lid and setting the pressure release valve to the sealing position, set your Instant Pot to the manual or pressure cook setting (High Pressure) for the specified time. This is truly the hands-off part – you can walk away and attend to other tasks while your Instant Pot works its magic. Remember to account for the time it takes for the pot to come to pressure, which varies based on the amount of liquid and rice, typically ranging from 5 to 10 minutes.
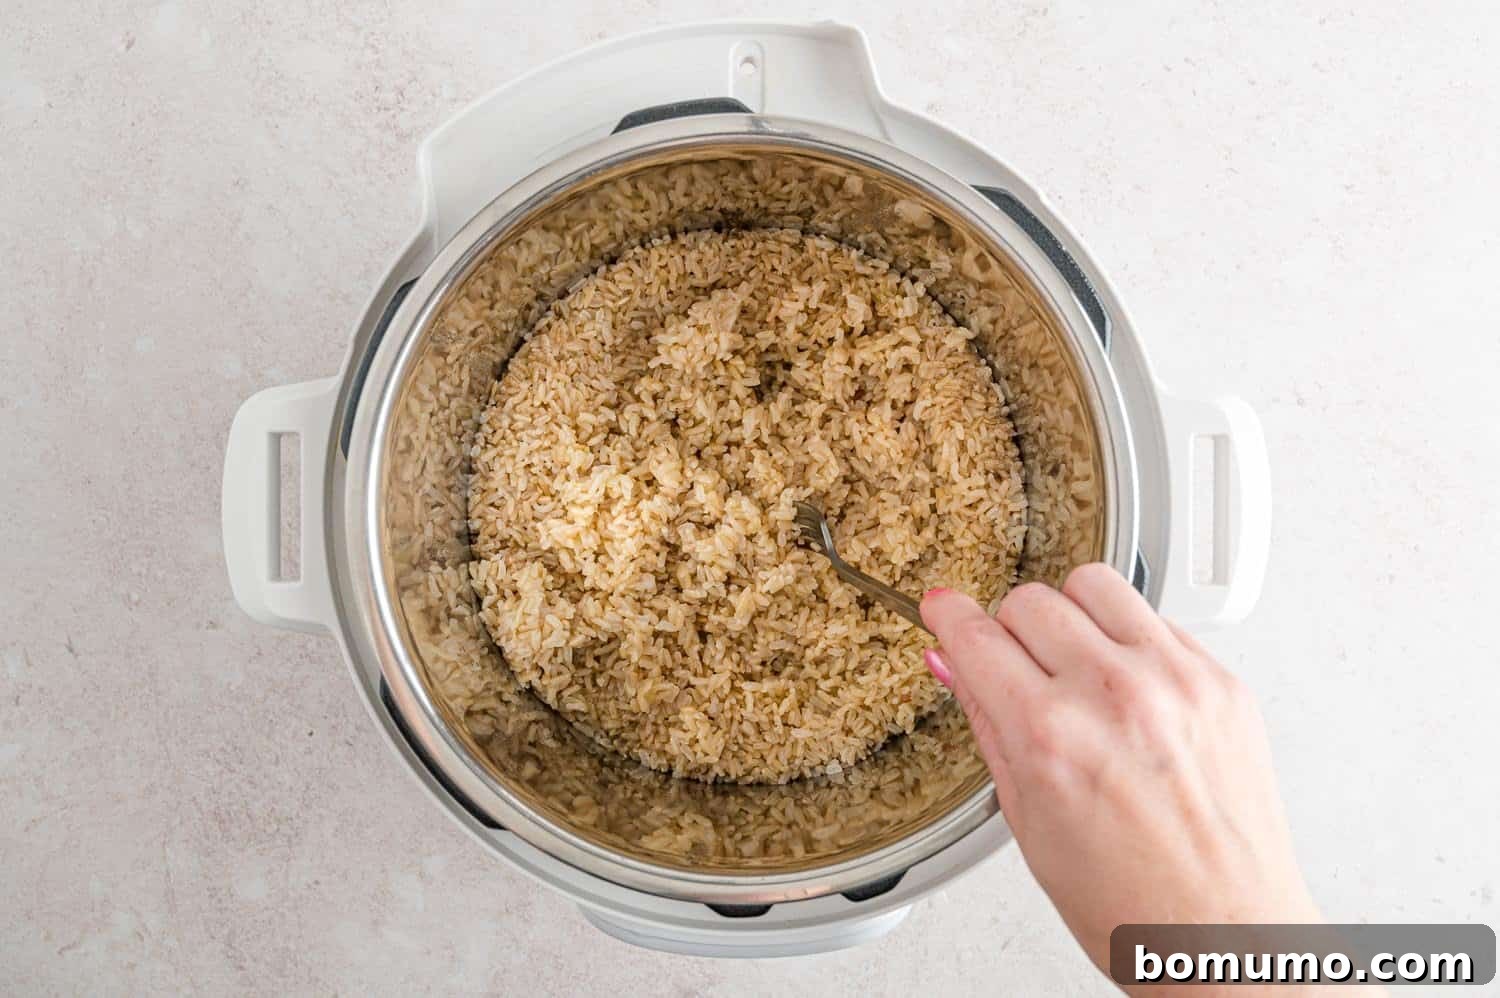
Once the cooking cycle is complete and the timer beeps, it’s crucial to allow a natural pressure release for 10 minutes. This “natural release” period allows the internal temperature and pressure to decrease gradually, which continues to steam the rice gently and results in a more evenly cooked, fluffy texture. Rushing this step can lead to hard or unevenly cooked grains. After 10 minutes, manually release any remaining pressure by carefully turning the valve to the venting position. Once the float valve drops, indicating all pressure has been released, open the lid, fluff the rice with a fork, and serve your perfectly cooked brown rice.
The Golden Ratio: Rice to Liquid for Instant Pot Brown Rice
After extensive testing, we’ve pinpointed the optimal rice to liquid ratio for consistently perfect Instant Pot brown rice: a simple and straightforward 1:1 ratio. This means for every 1 cup of dry long-grain brown rice you use, you’ll need precisely 1 cup of water or broth. This easy-to-remember ratio eliminates all guesswork, making your rice cooking experience truly effortless.
This consistent ratio allows for great flexibility. Whether you’re preparing a small side dish or a larger batch for meal prepping, you can scale the recipe up or down with confidence. For example, you can easily prepare 1 cup, 2 cups, or even 3 cups of dry brown rice using the same 1:1 liquid proportion. Keep in mind that each cup of dry brown rice yields approximately 3 cups of cooked rice, making it easy to plan for your desired serving size.
An important note on cooking time: while the actual high-pressure cooking duration remains constant regardless of the amount of rice (24 minutes for brown rice), the time it takes for your Instant Pot to reach full pressure will naturally increase with larger volumes of ingredients. For a single cup of rice, it might take around 5 minutes to come to pressure. For 2 cups, expect closer to 8 minutes, and for 3 cups, it could be up to 10 minutes. Always factor this additional “pre-cooking” time into your total meal preparation schedule.
Essential Ingredients for Perfect Brown Rice
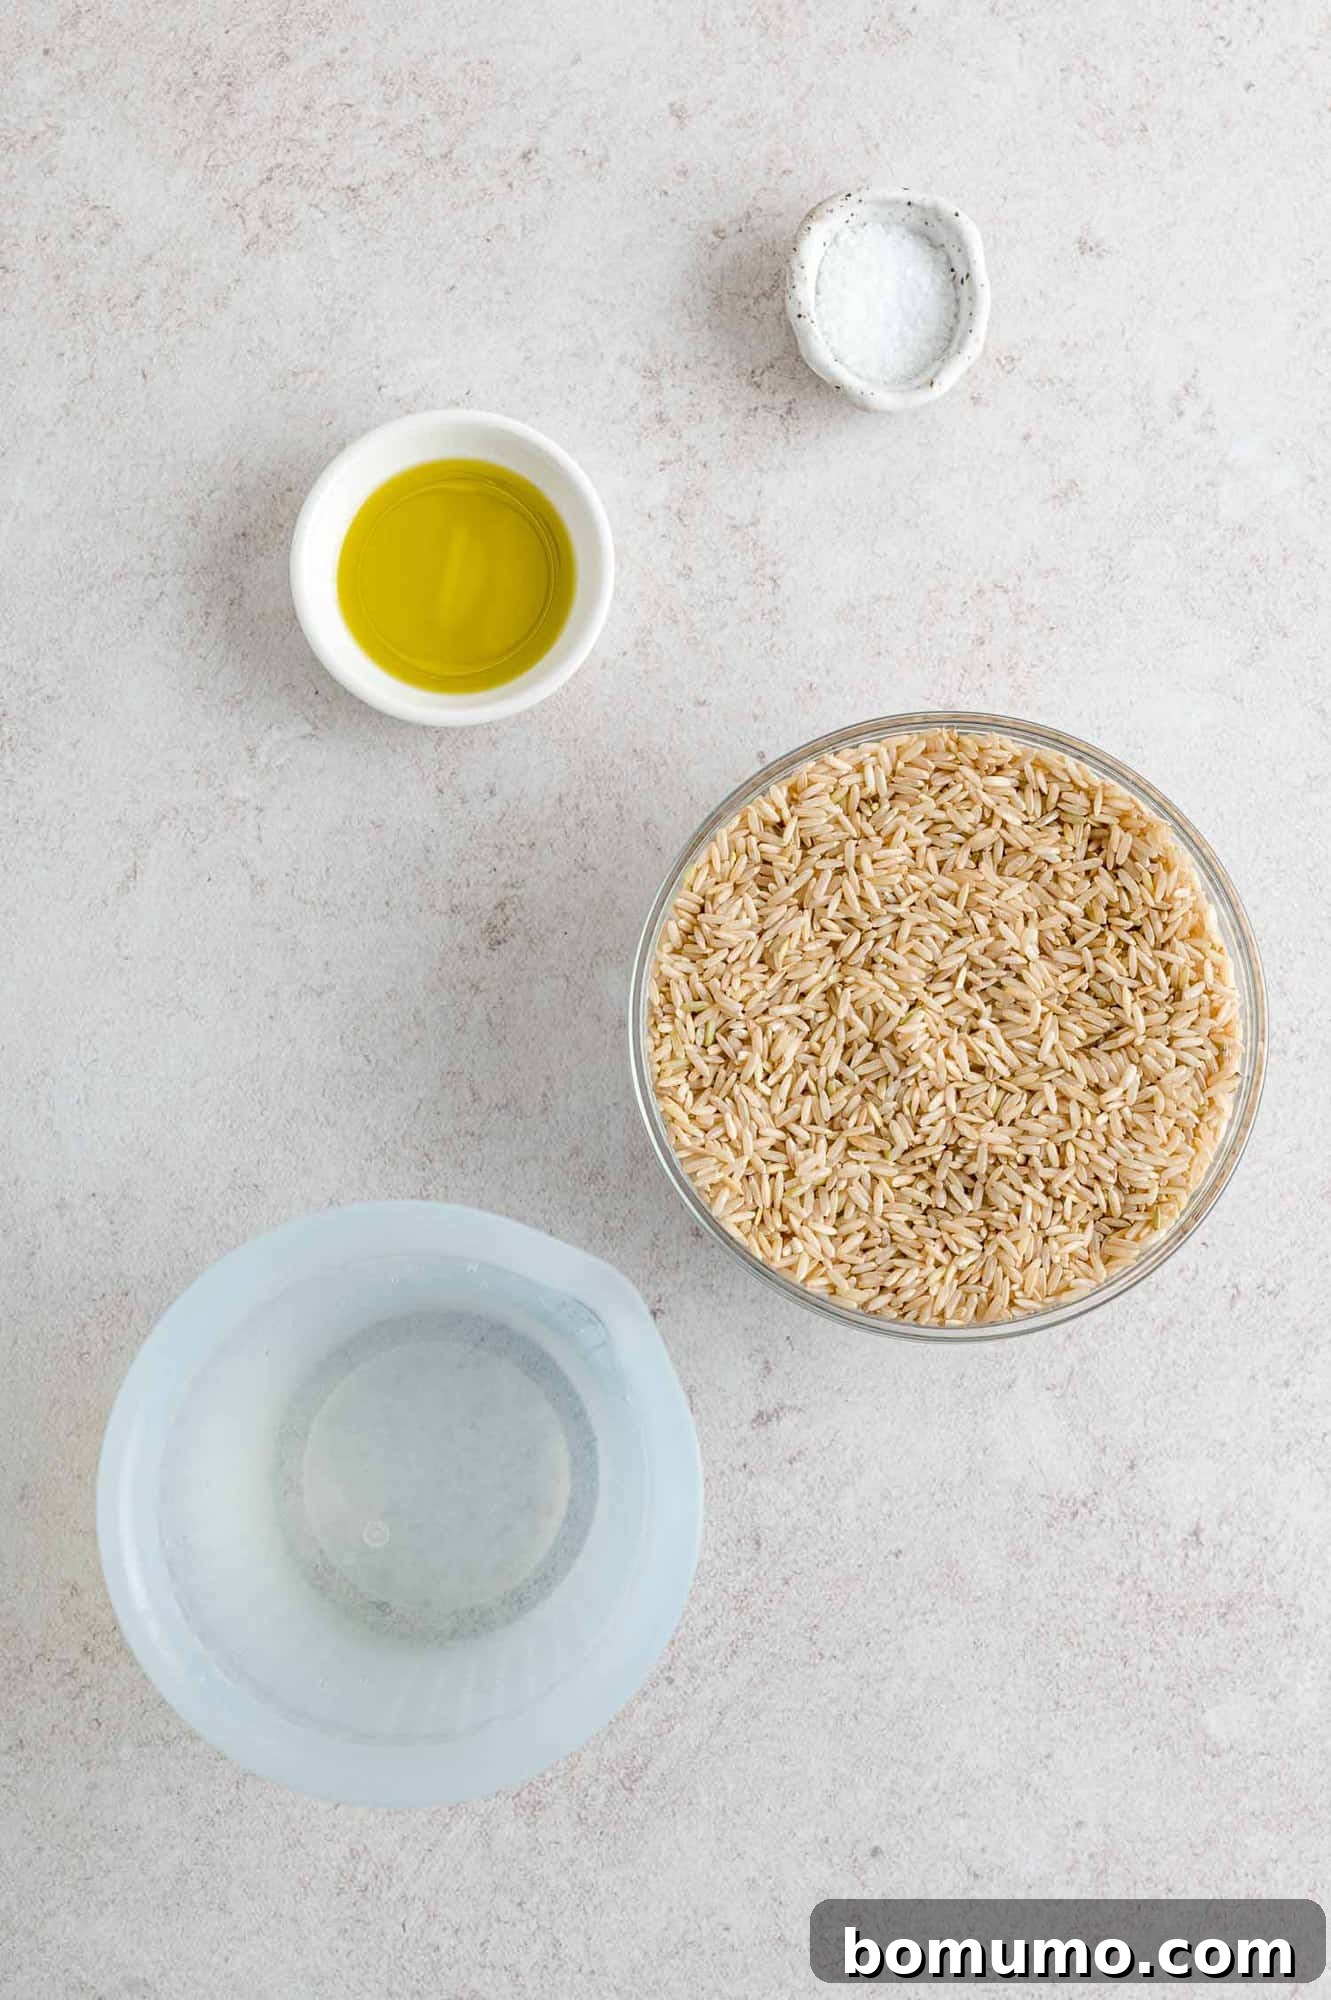
Creating perfect Instant Pot brown rice requires just a few basic ingredients. Each plays a vital role in achieving the desired flavor and texture:
- Long Grain Brown Rice: This recipe is specifically developed for long-grain brown rice varieties. This category includes popular options like brown jasmine rice and brown basmati rice, all of which will yield excellent results with this method. The longer grain helps maintain a fluffy, separate texture.
- Water or Broth: Rice absorbs liquid as it cooks, which is why the 1:1 ratio is so critical. While plain water works perfectly well, substituting chicken broth or vegetable broth can infuse your rice with an extra layer of savory flavor. Choose low-sodium broth if you are conscious about salt intake.
- Oil: A small amount of cooking oil is more than just a flavor enhancer. It contributes significantly to the texture of the cooked rice, helping to prevent stickiness and promoting separate, fluffy grains. Olive oil, avocado oil, or coconut oil are all excellent choices. For a richer flavor, unsalted butter can also be used.
- Salt: Don’t underestimate the power of salt in rice! Proper seasoning elevates the natural taste of the grain and prevents it from being bland. We typically recommend kosher salt due to its coarser texture, which allows for better control during seasoning. If using a fine-textured table salt, remember to reduce the amount by about half, as it is more concentrated.
FAQs
Absolutely, yes! Rinsing brown rice is a crucial step that removes excess starch from the surface of the grains. This is particularly important when using an Instant Pot, as it helps prevent excessive foaming and sputtering during the pressure release, which can be quite messy. Beyond that, rinsing also ensures that any residual debris or dust from processing is washed away, resulting in cleaner, better-tasting rice.
Yes, brown rice definitely requires a longer cooking time compared to white rice. This is because brown rice is a whole grain, meaning it retains its nutritious bran and germ layers, whereas white rice has these removed. The presence of the bran and germ layers makes brown rice tougher and denser, necessitating a longer cooking period (around 45 minutes on the stovetop, and 24 minutes under pressure in the Instant Pot) to become tender.
No, the “rice” preset button on your Instant Pot is typically calibrated for white rice, which has a shorter cooking time. Using this setting for brown rice will not cook it long enough to reach a tender consistency. Always use the manual or “Pressure Cook” setting with the recommended cooking time (24 minutes for brown rice) for best results.
Make-Ahead Magic: Freezing Cooked Brown Rice
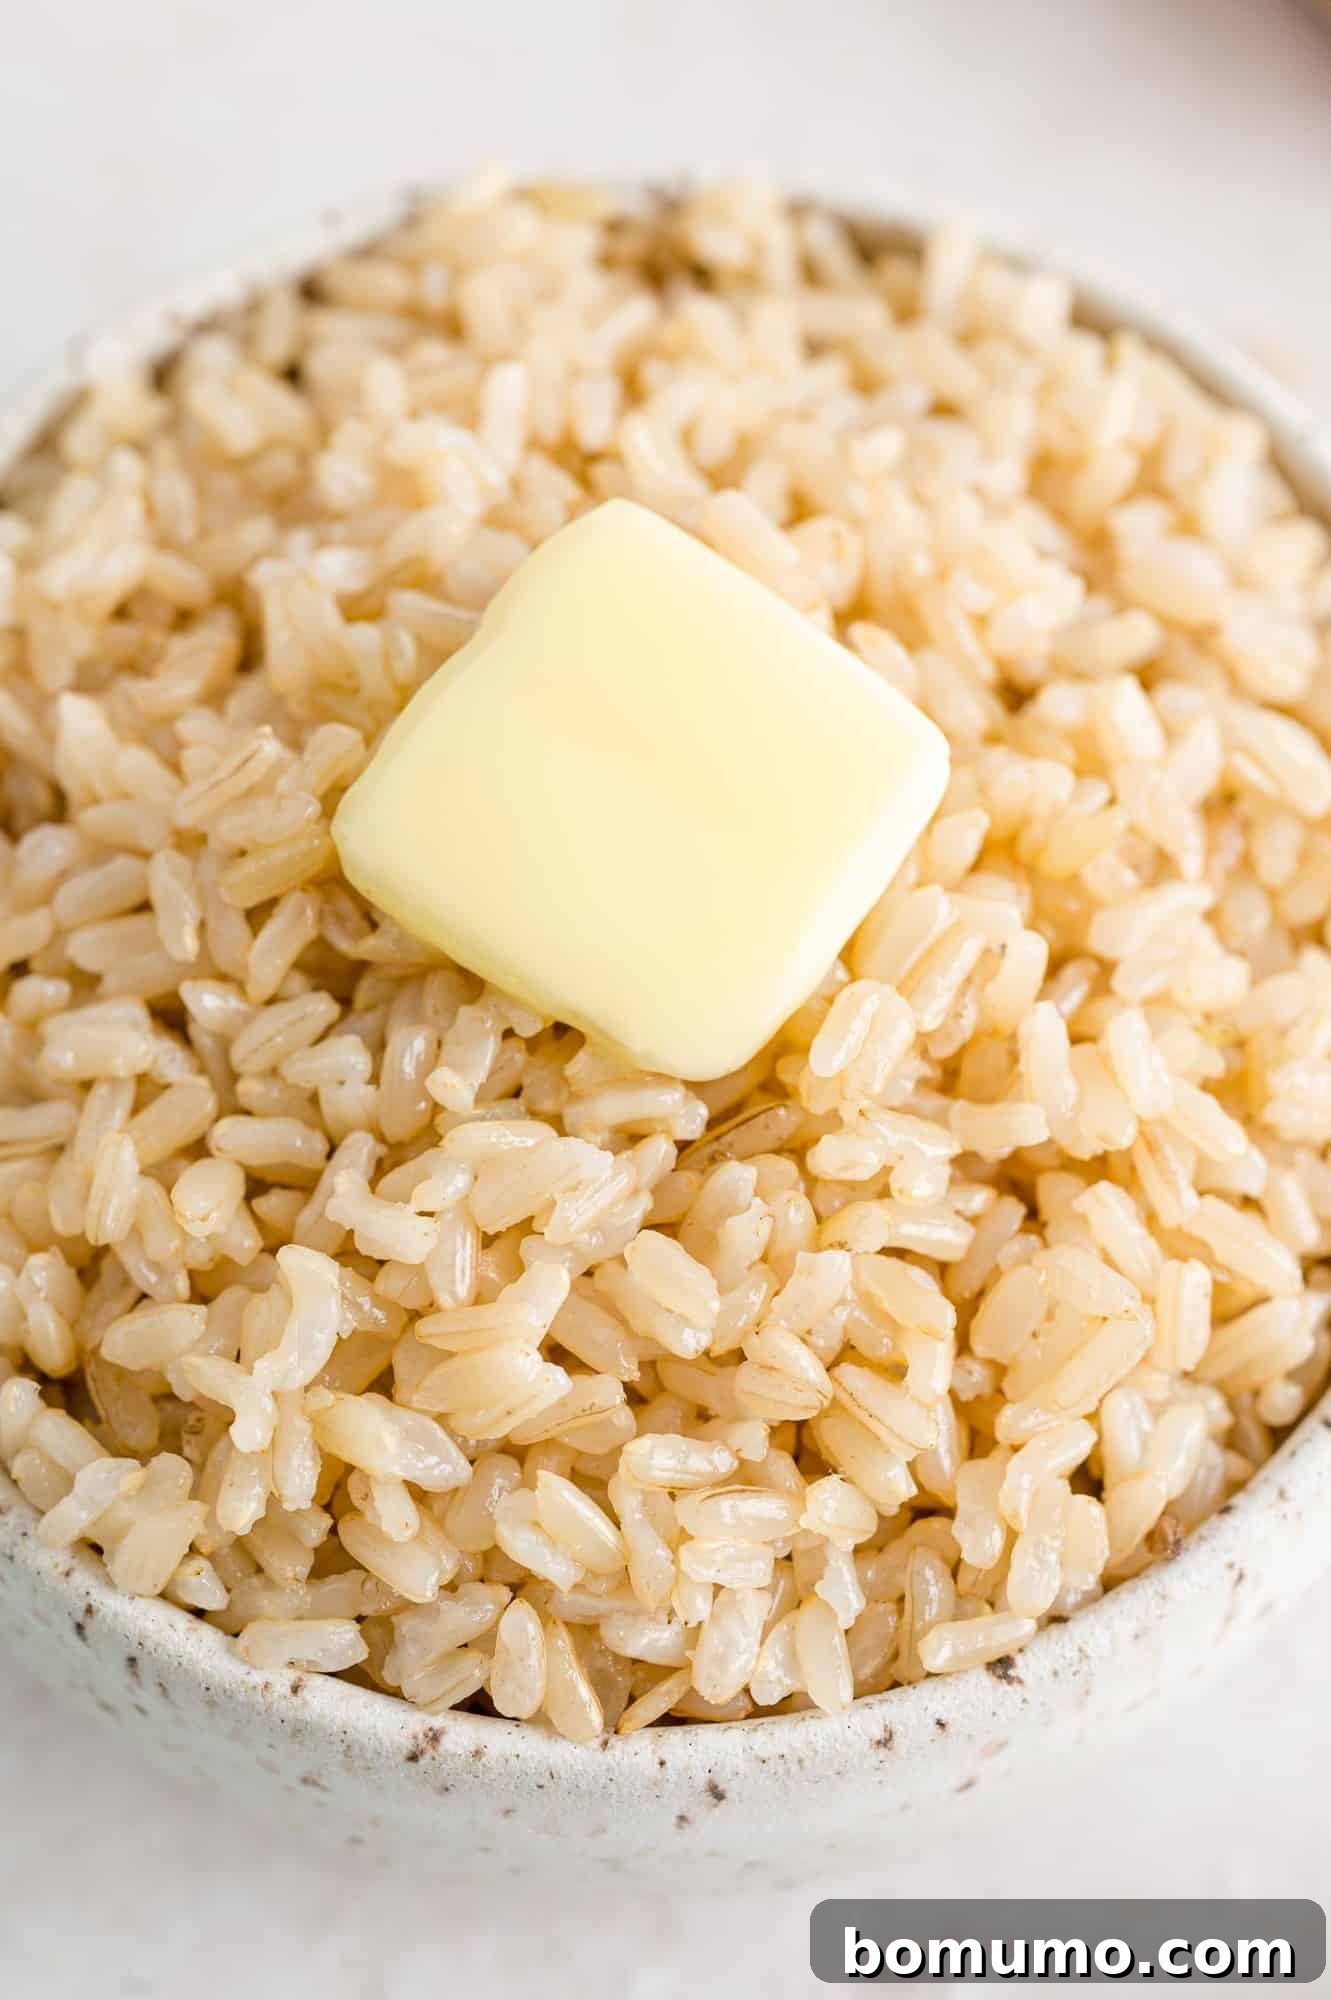
One of the most appealing aspects of cooking brown rice in the Instant Pot is its suitability for meal prep. You can effortlessly make a large batch and freeze the extra portions, making healthy eating convenient throughout the week. Cooked brown rice freezes, thaws, and reheats beautifully, retaining its texture and flavor. This means you’ll always have perfectly cooked rice on hand whenever a craving strikes, or when you need a quick side dish for dinner, a base for a stir-fry, or an addition to a hearty soup or casserole.
Having frozen brown rice at your fingertips opens up a world of culinary possibilities. It’s perfect for whipping up a speedy fried rice, adding bulk and nutrition to a quick weeknight salad, or incorporating into comforting dishes like this easy zucchini casserole. Preparing it in advance saves precious time and helps you stick to your healthy eating goals.
Storage & Reheating Tips
Proper storage is essential to maintain the quality and safety of cooked rice. Allow any leftover rice to cool completely before storing it. Once cooled, transfer it to an airtight container and refrigerate for up to four days. For longer storage, cooked brown rice freezes exceptionally well. Portion it into labeled freezer bags, ensuring to press out as much air as possible before sealing. Flatten the bags slightly to allow for quicker freezing and thawing, then store in the freezer for up to six months. Clearly label each bag with the amount of rice and the date it was frozen for easy tracking.
When you’re ready to use your frozen rice, you have several convenient thawing options. You can transfer it to the refrigerator overnight, allow it to sit on the counter for a couple of hours, or use the microwave for a quicker thaw (start with 45-60 seconds, then stir and continue heating in shorter increments if needed). To reheat, you can use your microwave oven, gently warm it on the stove in a saucepan over low heat, or even reheat it in a conventional oven. To prevent the rice from drying out during reheating, stir in a small amount of extra water or broth – about a tablespoon per cup of rice – before warming. This will help restore its moisture and fluffiness, making it taste freshly cooked.
Perfect Pairings: Brown Rice with Stir-Fry and More!
Instant Pot brown rice is the ideal accompaniment to a wide variety of dishes, especially flavorful stir-fries. Its nutty taste and chewy texture hold up beautifully to rich sauces and hearty ingredients. Consider making a double batch of rice – enjoy half with one of these delicious stir-fry recipes tonight, and use the rest tomorrow for a quick and easy fried rice!
Beyond stir-fries, brown rice serves as an excellent base for nourishing grain bowls, a healthy side for curries, stews, and roasted vegetables, or even as a wholesome addition to breakfast porridges with fruit and nuts. Its versatility makes it a staple in any healthy kitchen.
- Easy Beef and Vegetable Stir-Fry
- Shrimp and Broccoli Stir Fry
- Shrimp and Vegetable Stir Fry with Lemon and Garlic
- Chicken Stir Fry with Ginger and Basil
- Sweet and Sour Chicken Stir Fry
- Honey Balsamic Chicken with Vegetables (an easy sheet pan “stir fry”)
- Sweet Chili Chicken Stir-Fry
- 30 Minute Tempeh Stir-Fry from Minimalist Baker
Discover More Instant Pot Favorites
Instant Pot Mashed Potatoes
Instant Pot Spaghetti and Meat Sauce
Instant Pot Polenta
Instant Pot Chicken Noodle Soup
Instant Pot Brown Rice Recipe
Ingredients
- 1 cup long grain brown rice
- 1 cup water (vegetable or chicken broth can be substituted for added flavor)
- 2 teaspoons oil of choice (e.g., olive oil, avocado oil, or butter)
- ½ teaspoon kosher salt
Instructions
-
Rinse Rice: Place the long grain brown rice in a fine-mesh strainer. Rinse thoroughly under cold running water until the water runs completely clear, indicating that excess starch has been removed.
-
Combine Ingredients: Transfer the rinsed rice to the insert of your Instant Pot or electric pressure cooker. Add 1 cup of water (or broth), 2 teaspoons of your chosen oil, and ½ teaspoon of kosher salt. Gently push down any rice grains that may be stuck to the sides of the pot to ensure they are fully submerged in the liquid.
-
Pressure Cook: Secure the lid on your Instant Pot and turn the steam release valve to the “Sealing” position. Select the “Manual” setting (or “Pressure Cook” depending on your model) and set the cook time to 24 minutes on High pressure. The pot will take approximately 5 minutes to come to pressure before the cooking countdown begins. Once the timer finishes, do NOT open the lid immediately.
-
Natural Release & Serve: Allow a natural pressure release for 10 minutes (this means simply leaving the Instant Pot undisturbed). After 10 minutes, carefully turn the steam release valve to the “Venting” position to quick release any remaining pressure. Once the float valve drops, open the lid, fluff the perfectly cooked brown rice with a fork, and serve warm. This recipe yields 3 cups of cooked rice.
Notes
- For 2 cups dry brown rice (yields 6 cups cooked): Use 2 cups brown rice, 2 cups water (or broth), 4 teaspoons oil, and 1 teaspoon kosher salt. Follow the same cooking instructions. Note that the Instant Pot will take a bit longer to come to pressure (approximately 8 minutes) due to the increased volume.
- For 3 cups dry brown rice (yields 9 cups cooked): Use 3 cups brown rice, 3 cups water (or broth), 2 tablespoons oil, and 1½ teaspoons kosher salt. Cook as directed. Expect the Instant Pot to take about 10 minutes to come to pressure.
- Storage & Freezing Tips: Always cool cooked brown rice completely before storing. Transfer it to an airtight container and refrigerate for up to 4 days. For longer preservation, brown rice can be frozen in a labeled, resealable freezer bag for 6 months or more. Flatten the bags slightly before freezing for efficient storage and faster thawing. To thaw, refrigerate overnight, leave on the counter for a couple of hours, or microwave for 45-60 seconds (adding more time as needed). Reheat in the microwave, on the stove with a splash of water/broth, or in the oven to prevent drying.
Nutrition
Nutrition information is automatically calculated, so should only be used as an approximation.