
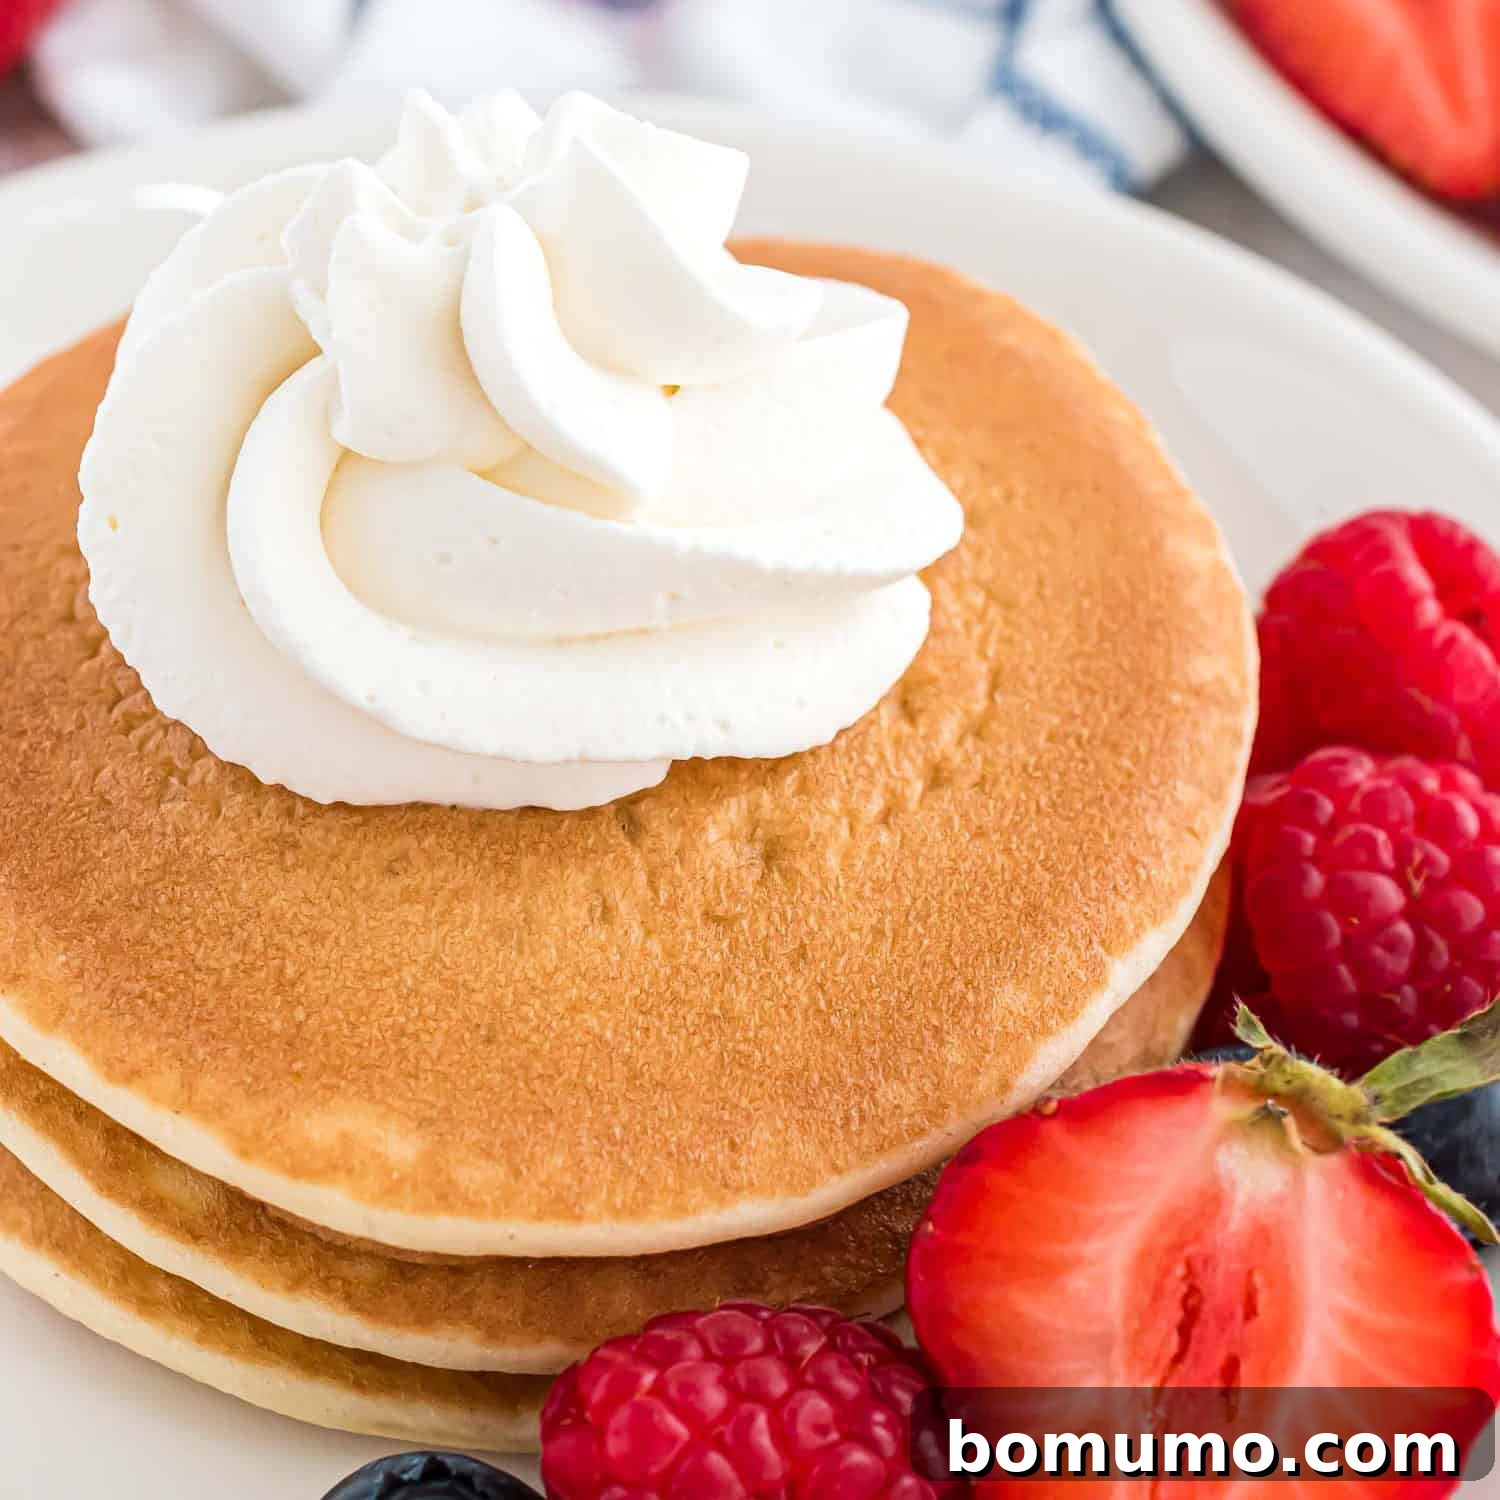
Homemade Whipped Cream: A Dessert Essential
Why You’ll Love This Recipe: Transform any dessert into an extraordinary culinary delight with ethereal clouds of rich, homemade whipped cream. Forget the bland, store-bought substitutes; this simple two-ingredient recipe guarantees a flavor and texture that’s truly unbeatable, making it a staple for every sweet occasion.
Prep Time: 5 minutes
Equipment Needed: Electric mixer (handheld or stand mixer), a spacious mixing bowl
Yields: Approximately 2 cups
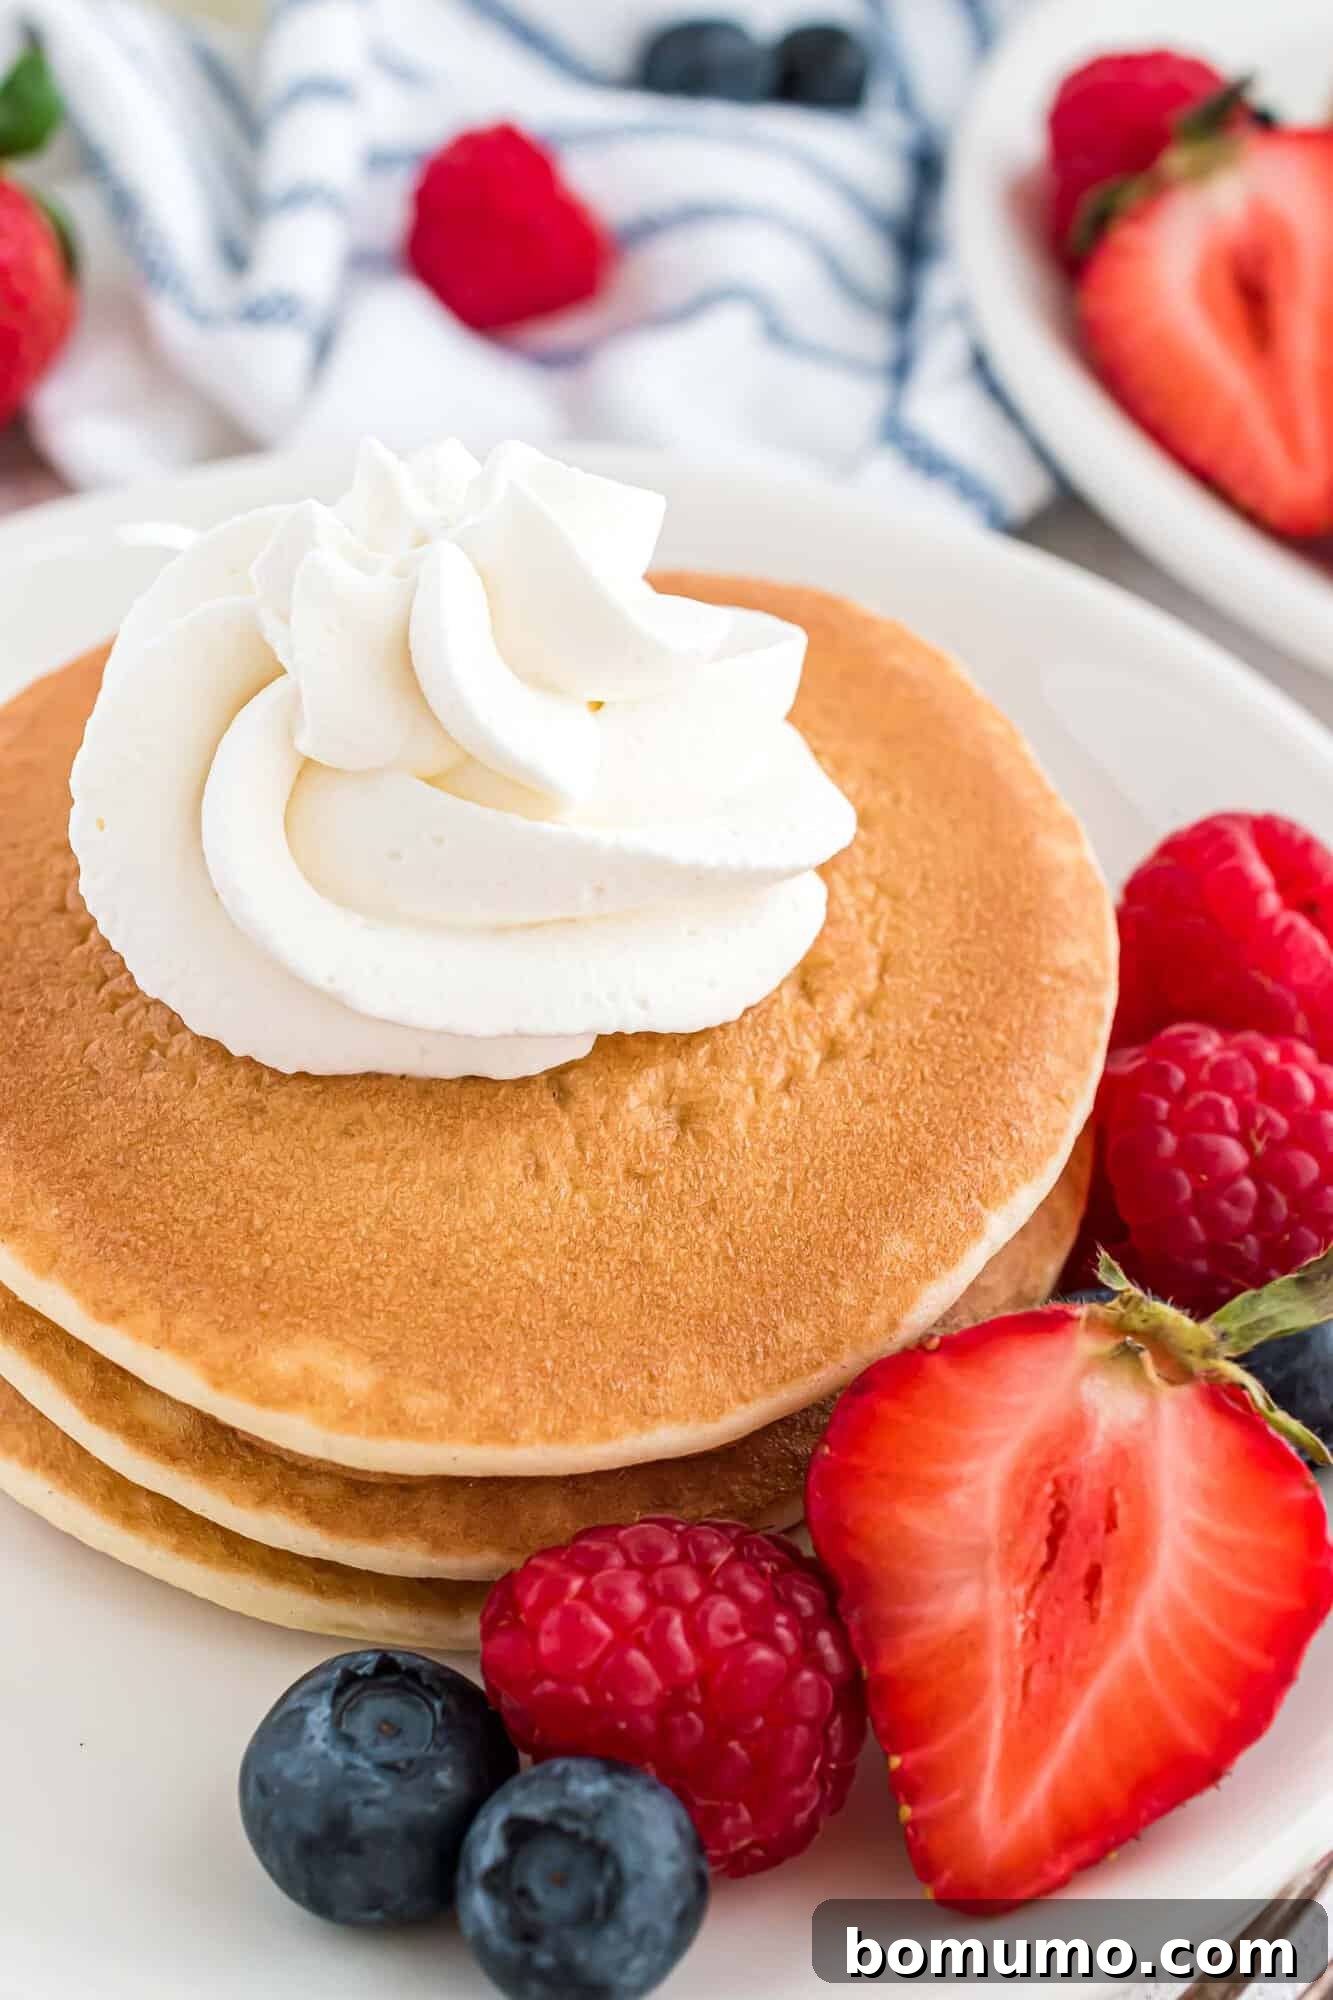
If your dessert routine typically involves reaching for a can of aerosol whipped topping or a tub of frozen imitation cream, prepare to have your culinary world revolutionized. This incredibly simple, two-ingredient homemade whipped cream recipe will redefine your perception of delicious desserts. The stark contrast between real, freshly whipped cream and its store-bought counterparts is so profound, you’ll likely never return to the artificial stuff again.
Imagine your favorite autumn pumpkin pie without generous dollops of light, fluffy whipped cream. Picture a decadent chocolate pudding pie lacking that creamy crown. Or consider classic strawberry shortcakes without their signature topping. These beloved treats would feel incomplete, much like peanut butter without jelly or hot dogs without their essential condiments. Simply put, homemade whipped cream transforms ordinary desserts into extraordinary experiences.
The Unmatched Excellence of Homemade Whipped Cream
- Unrivaled Taste and Texture: While convenient, canned or frozen whipped toppings simply can’t compare to the rich, creamy, and airy texture of fresh, homemade whipped cream. The real thing boasts a delicate flavor and melts beautifully in your mouth, offering a superior sensory experience that artificial substitutes can only dream of mimicking.
- Pure Ingredients, Superior Quality: A significant advantage of making whipped cream from scratch is knowing exactly what goes into it. Unlike many commercial products laden with strange-sounding artificial ingredients, stabilizers, and flavorings, homemade whipped cream relies on just two (or three, if you add vanilla) wholesome ingredients: heavy cream and powdered sugar. It’s a pure, unadulterated delight.
- Surprisingly Effortless to Prepare: Don’t be intimidated by the idea of making whipped cream from scratch. It’s astoundingly easy! With an electric hand mixer and a chilled bowl, you can achieve perfect, fluffy whipped cream in under five minutes. This quick preparation time means you’re always just moments away from elevating any dessert.
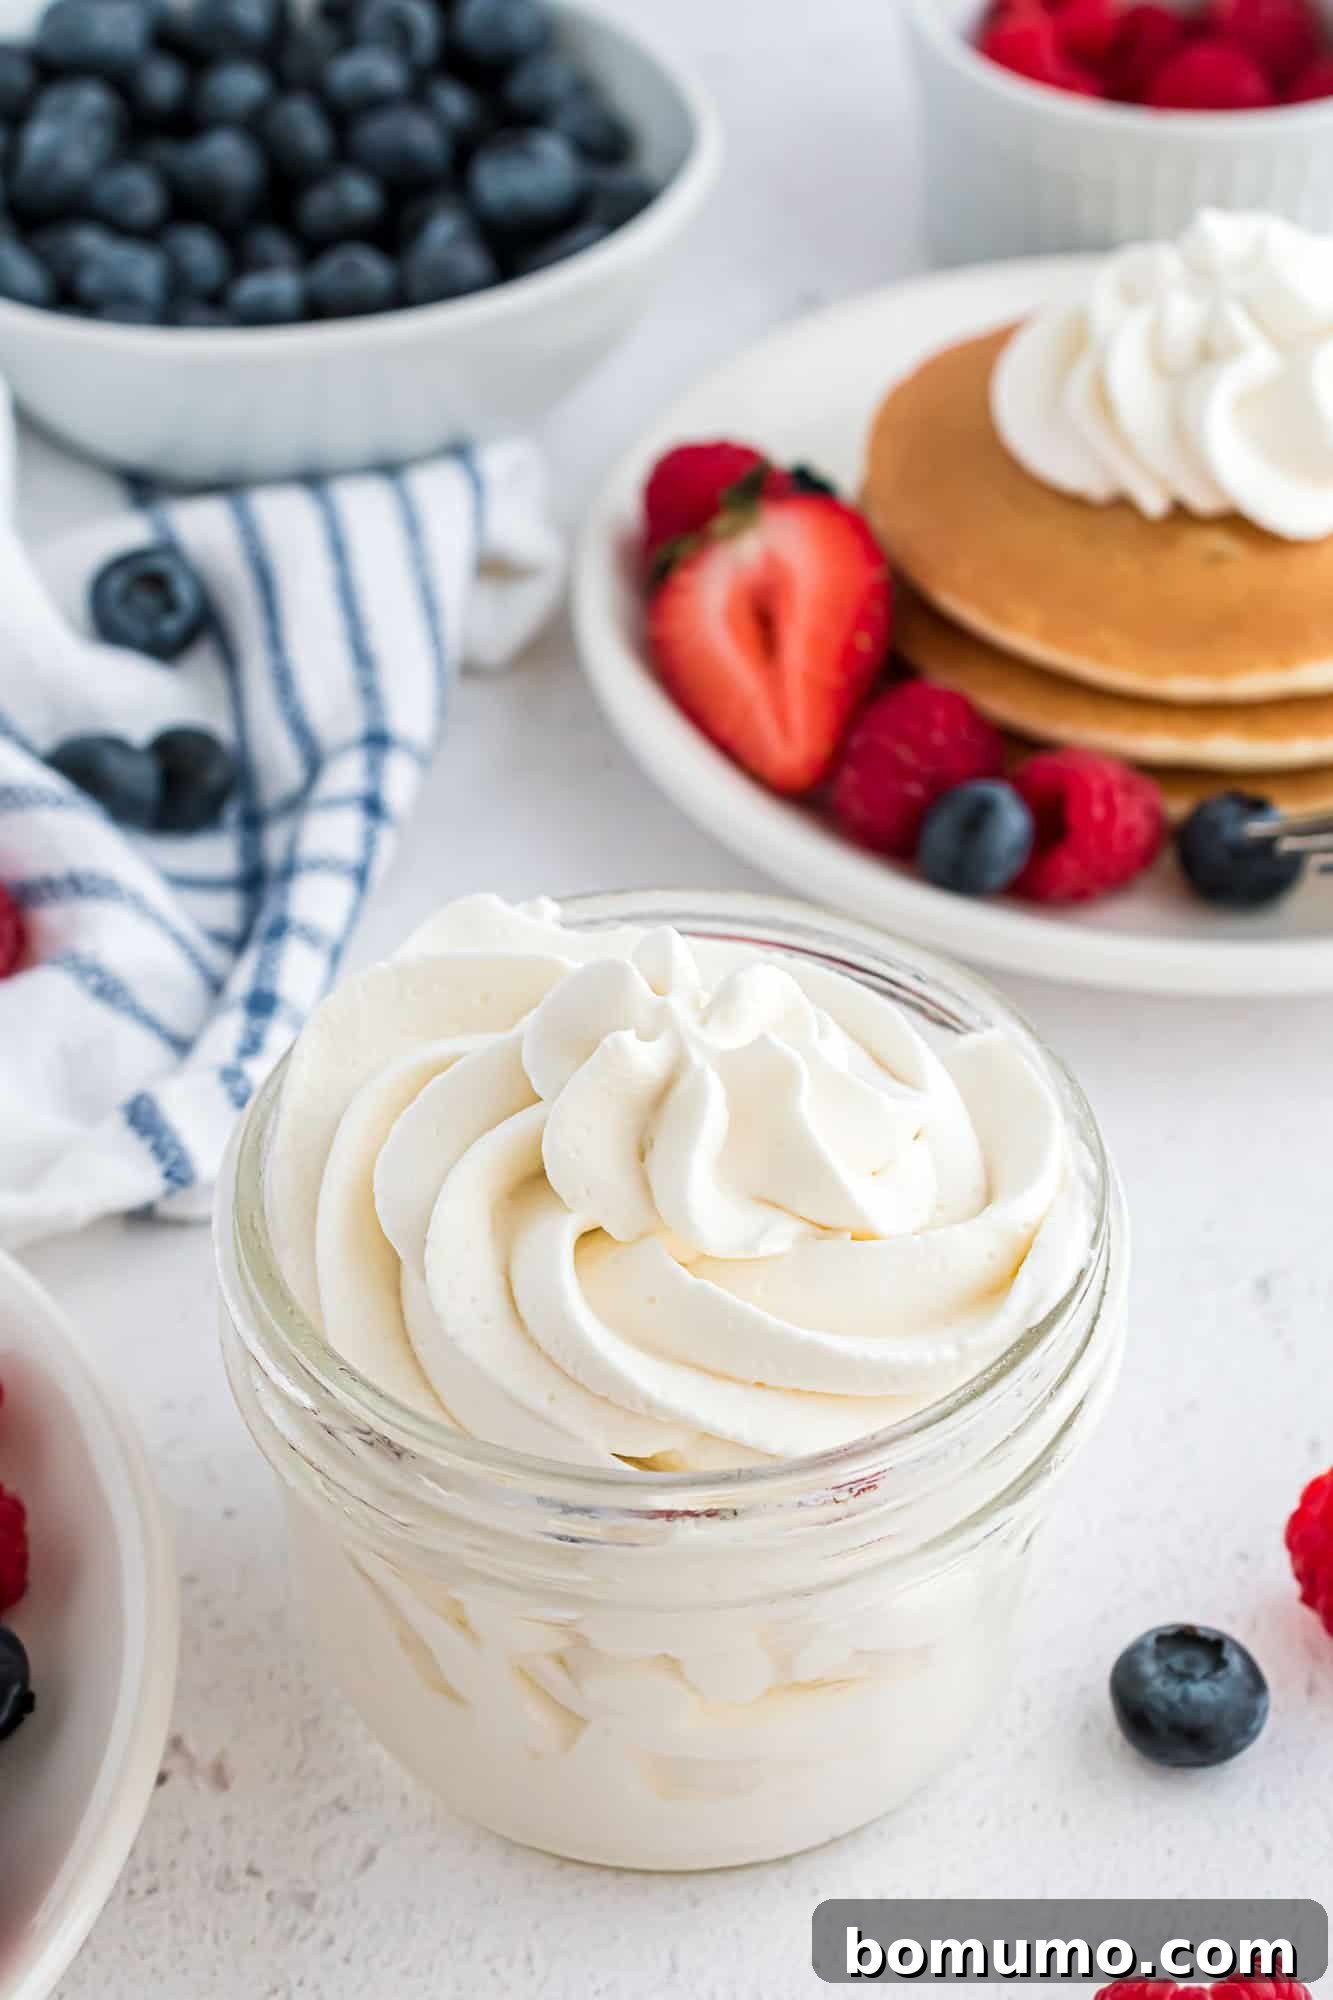
- Versatility for Every Occasion: From simple fruit bowls to elaborate cakes, pies, and hot beverages, homemade whipped cream is the ultimate versatile topping. Its delicate sweetness and rich texture complement a vast array of desserts, making it an indispensable part of your kitchen repertoire.
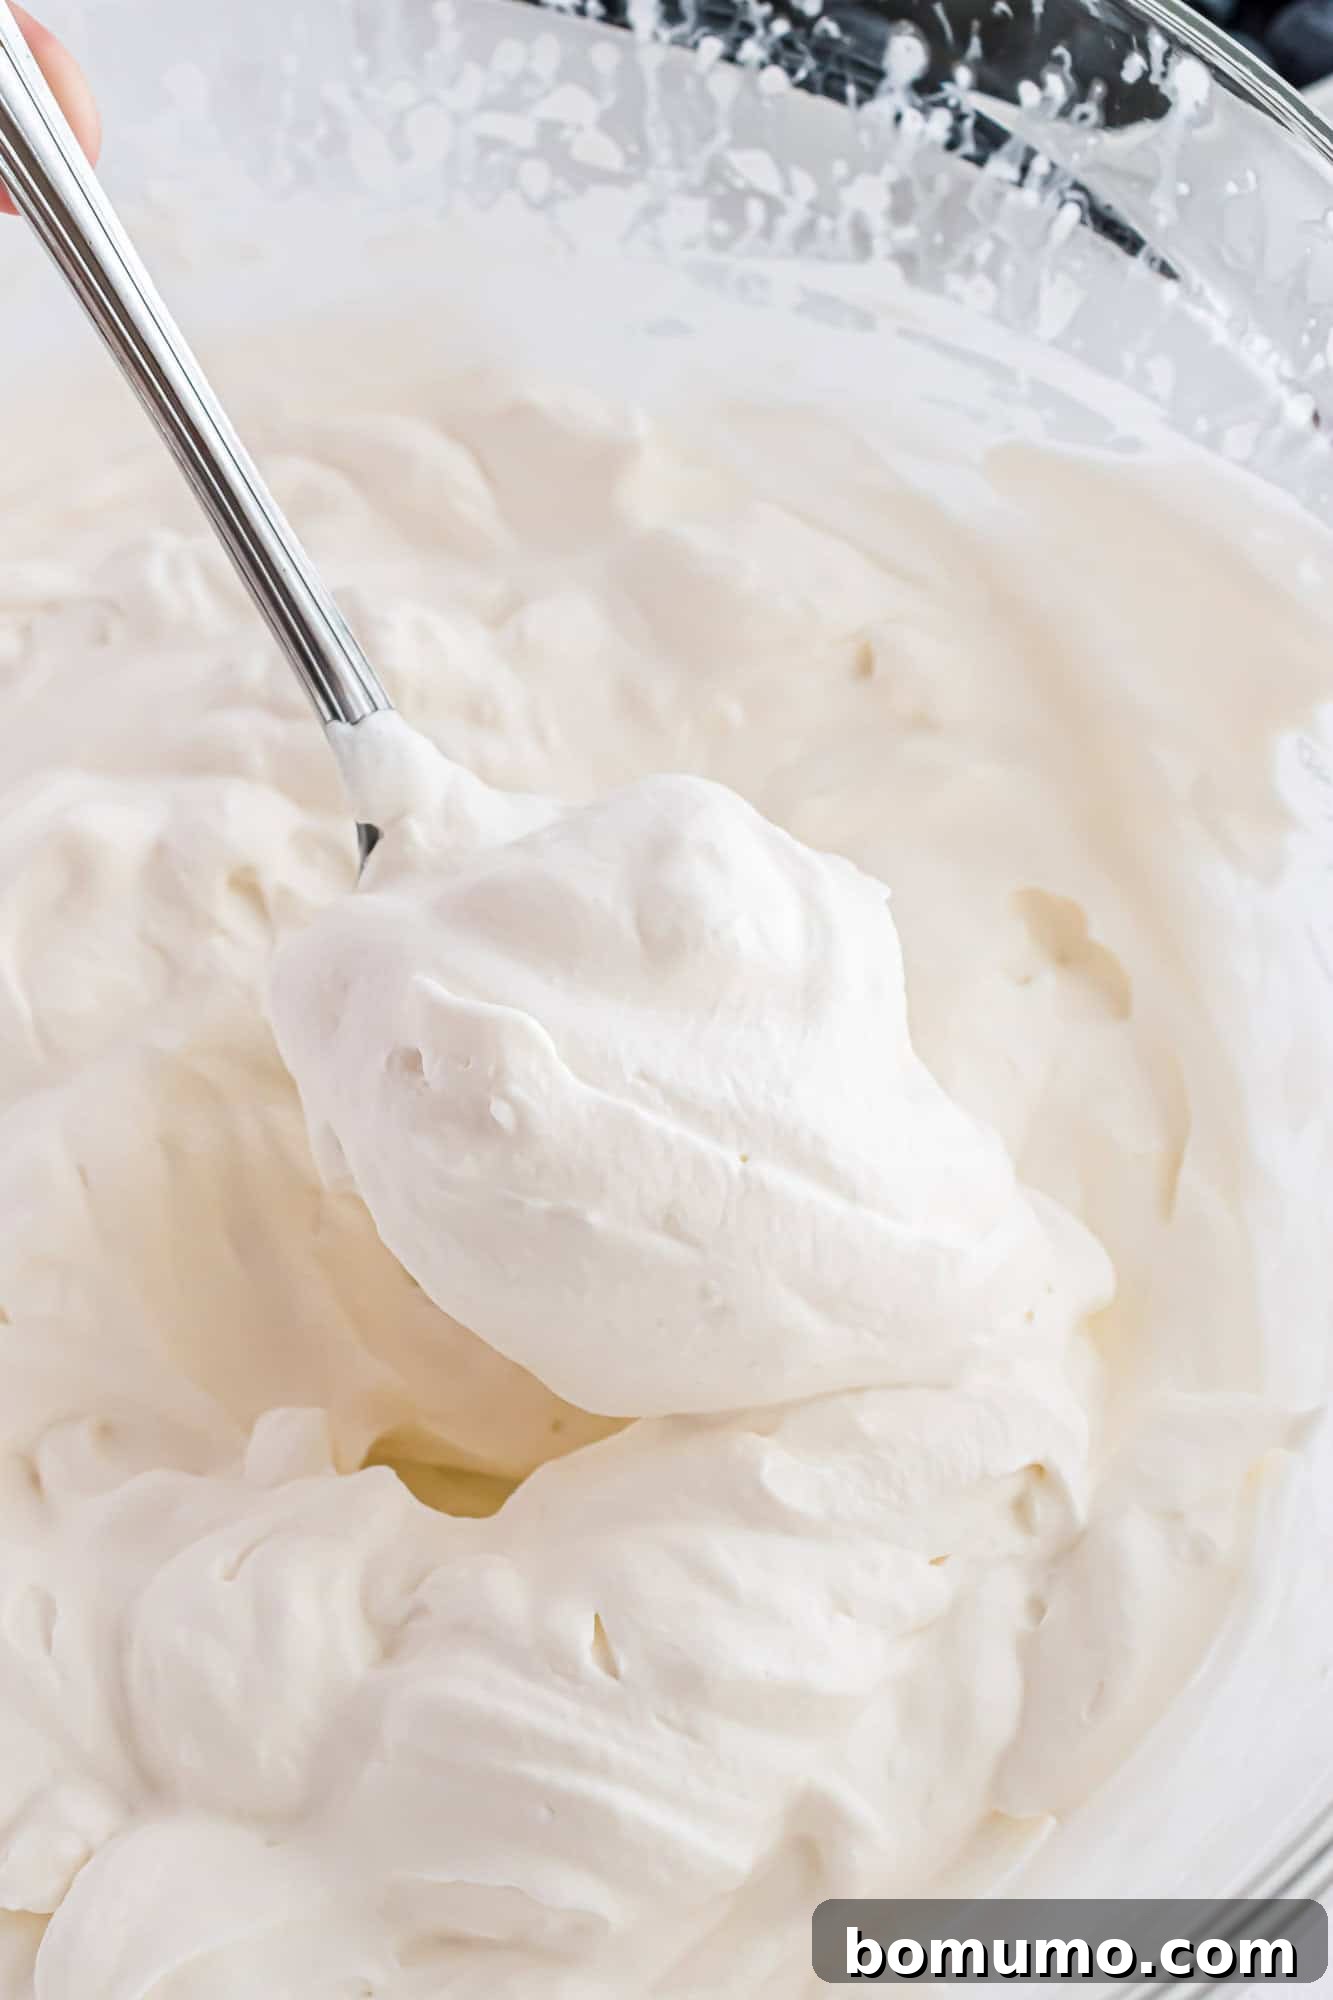
Essential Ingredients for Perfect Whipped Cream
Crafting flawless whipped cream requires only a few key ingredients, but their quality and preparation are crucial:
Heavy Cream: This is the star of our recipe. Opt for heavy cream with a minimum fat content of 36% (often labeled “heavy whipping cream” or “heavy cream”). Higher fat content ensures the cream whips up more easily, holds its shape longer, and resists deflating. Crucially, your heavy cream must be thoroughly chilled. The colder the cream, the faster it will whip and the more stable the final product will be. A warm cream will struggle to emulsify and create the desired fluffy texture.
Confectioner’s Sugar: Also known as powdered sugar or icing sugar, this finely ground sugar is ideal for whipped cream. Its delicate texture dissolves instantly into the cream, preventing any grainy mouthfeel that granulated sugar might leave behind. Confectioner’s sugar often contains a small amount of cornstarch, which acts as a natural stabilizer, helping your whipped cream maintain its structure for longer. You can easily adjust the amount of sugar to achieve your preferred level of sweetness, from subtly sweet to delightfully rich.
Pure Vanilla Extract (Optional, but Recommended): While technically a two-ingredient recipe, a touch of pure vanilla extract elevates the flavor profile immensely. It adds a warm, aromatic depth that complements the richness of the cream without overpowering it. For an extra gourmet touch and a lovely visual appeal, consider using vanilla bean paste or scraping the seeds from a fresh vanilla bean pod; these options introduce tiny flecks of vanilla throughout your cream, signaling its homemade quality.
Pro Tip: The Power of an Electric Mixer
While it is possible to make whipped cream by hand with a whisk, it’s a rigorous workout that can quickly lead to arm fatigue and uneven results. An electric hand mixer or a stand mixer with a whisk attachment is highly recommended. It makes the process incredibly fast, effortless, and ensures consistent, perfectly whipped cream every time.
Step-by-Step Guide to Perfect Homemade Whipped Cream
Follow these simple steps for consistently delightful results:
Step 1: Chill Your Equipment for Optimal Results. Before you begin, place a medium to large mixing bowl (preferably metal, as it retains cold better) and your electric mixer beaters in the refrigerator or freezer for at least 15-30 minutes. This chilling step is paramount; cold equipment helps the cream whip faster and achieve a more stable consistency. Choose a bowl that is generously sized, as the cream will double, or even triple, in volume as it whips, preventing overflow and splatter.
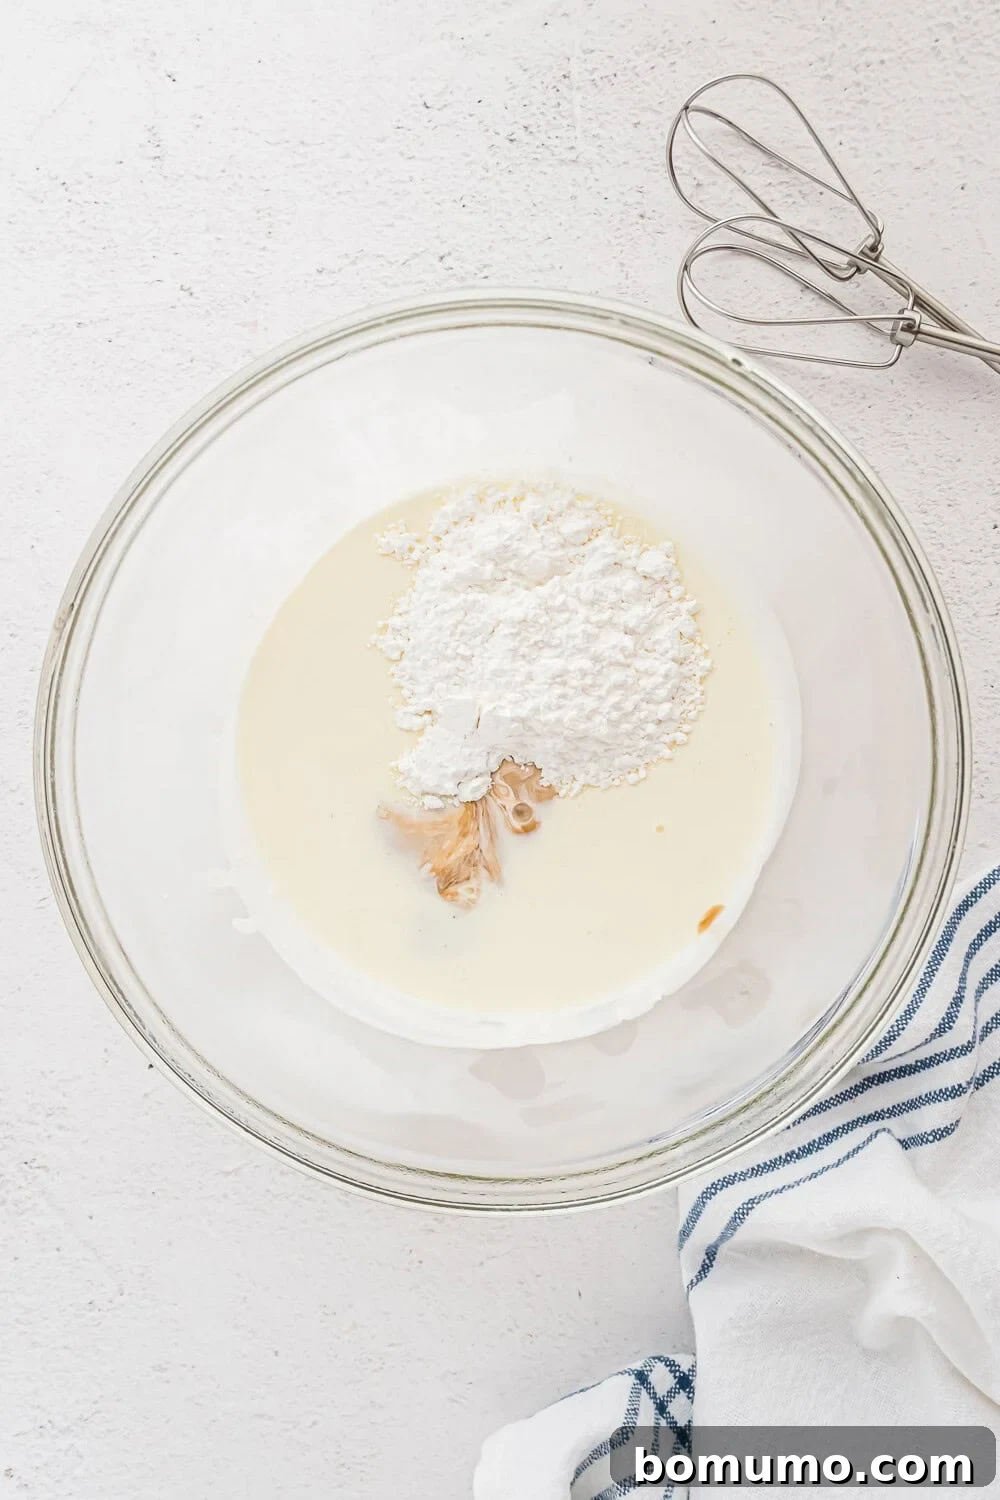
Step 2: Begin Whipping the Chilled Cream. Pour the well-chilled heavy cream into your pre-chilled mixing bowl. Start whipping the cream on medium-low speed for about 30 seconds to incorporate some air, then increase the speed to medium-high. At first, the cream will appear frothy and bubbly, gradually transitioning to a thicker, slightly opaque liquid.
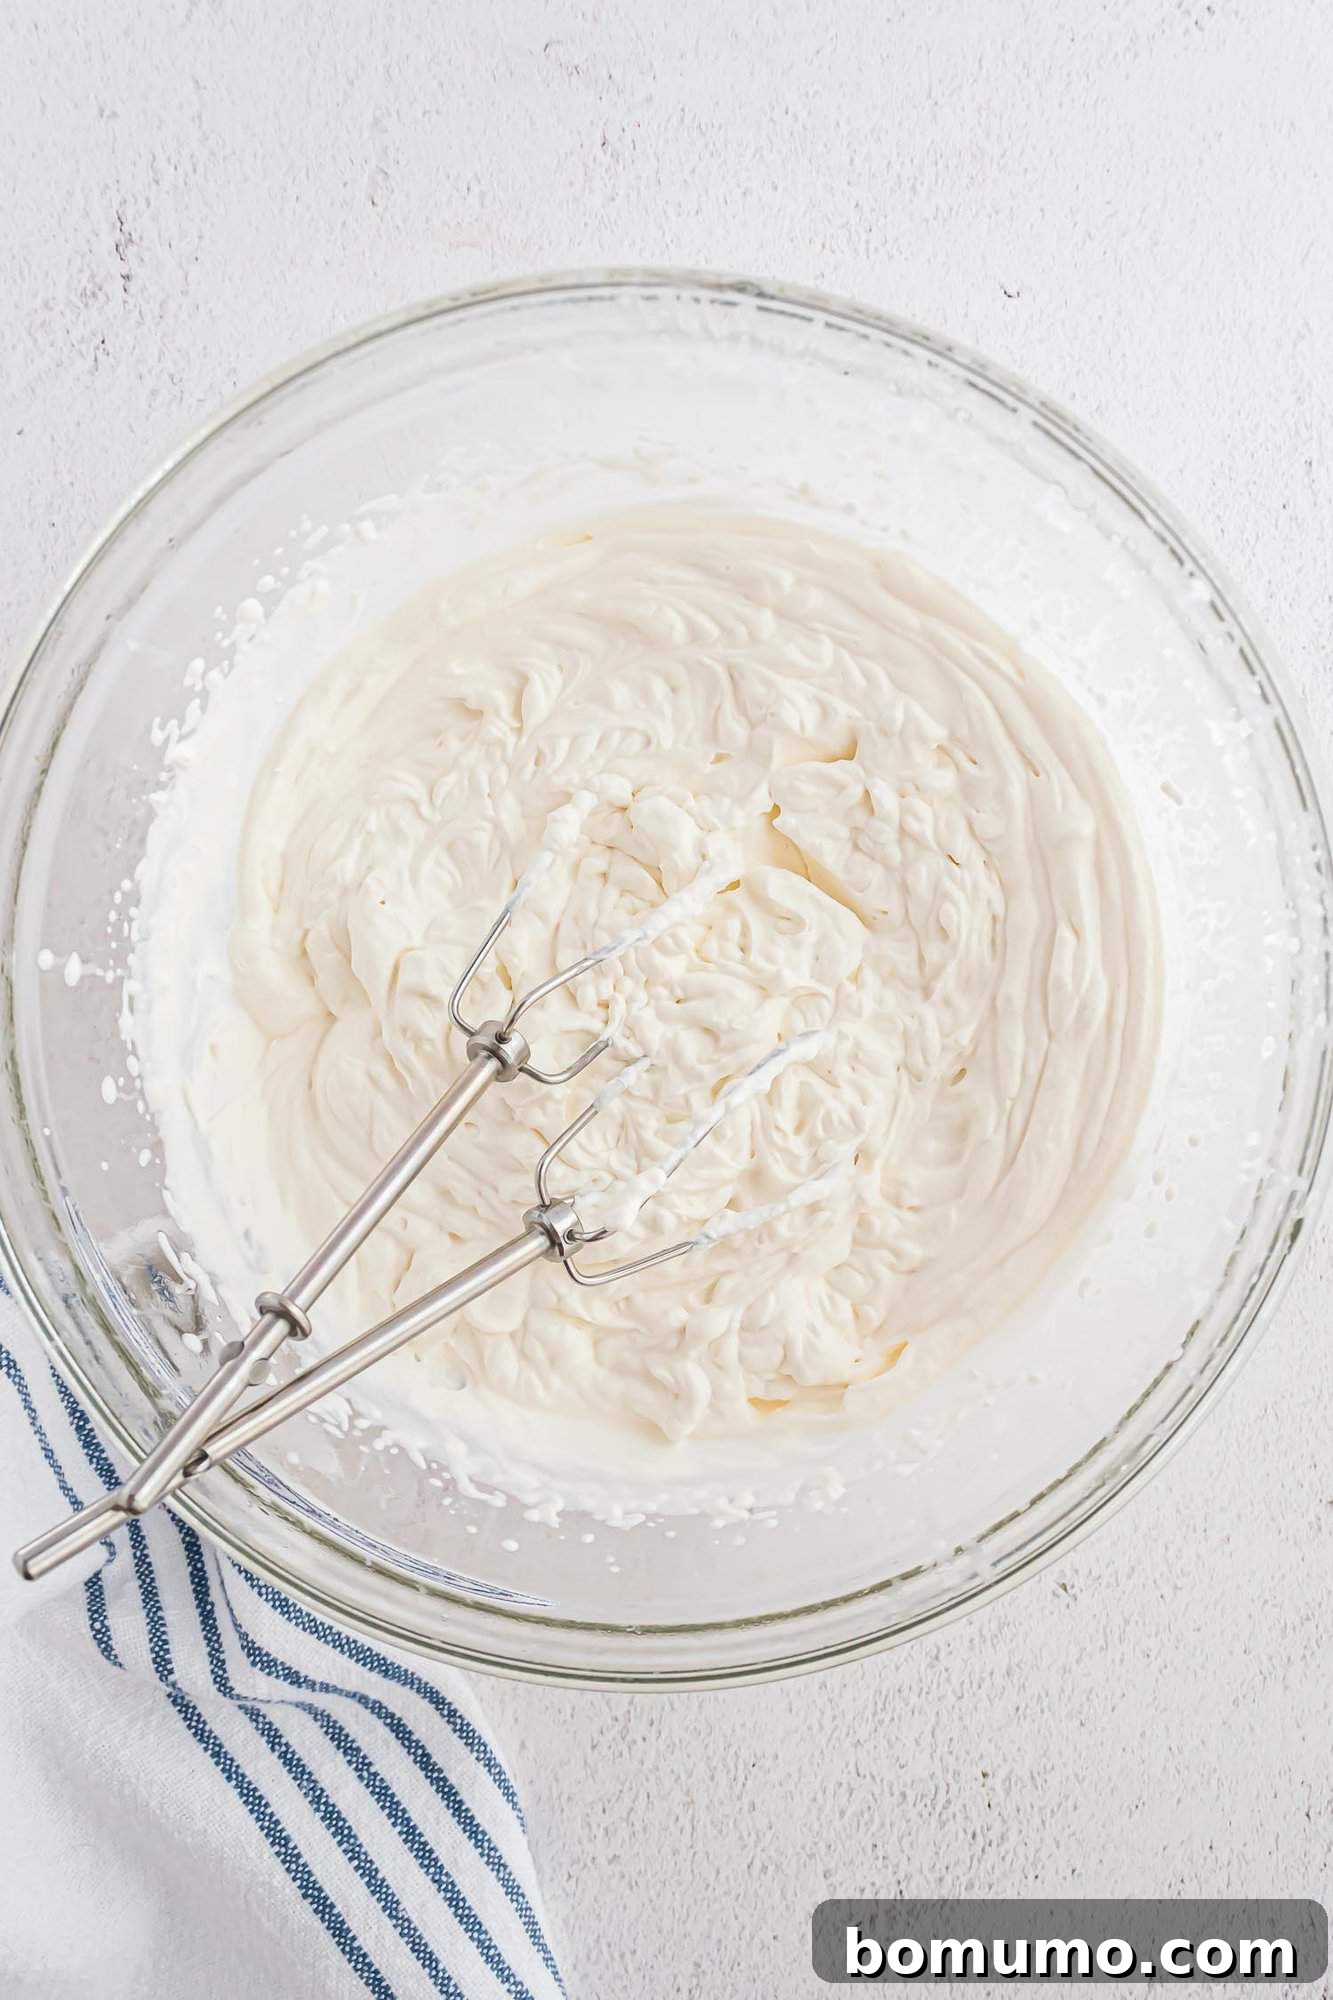
Step 3: Gradually Add Powdered Sugar and Flavorings. As the cream begins to thicken and small mounds or “hills” start to form on the surface, it’s time to introduce your sweetener and flavorings. Gradually sprinkle in the confectioner’s sugar and, if using, the vanilla extract (or other flavorings). Continue beating on medium-high speed.
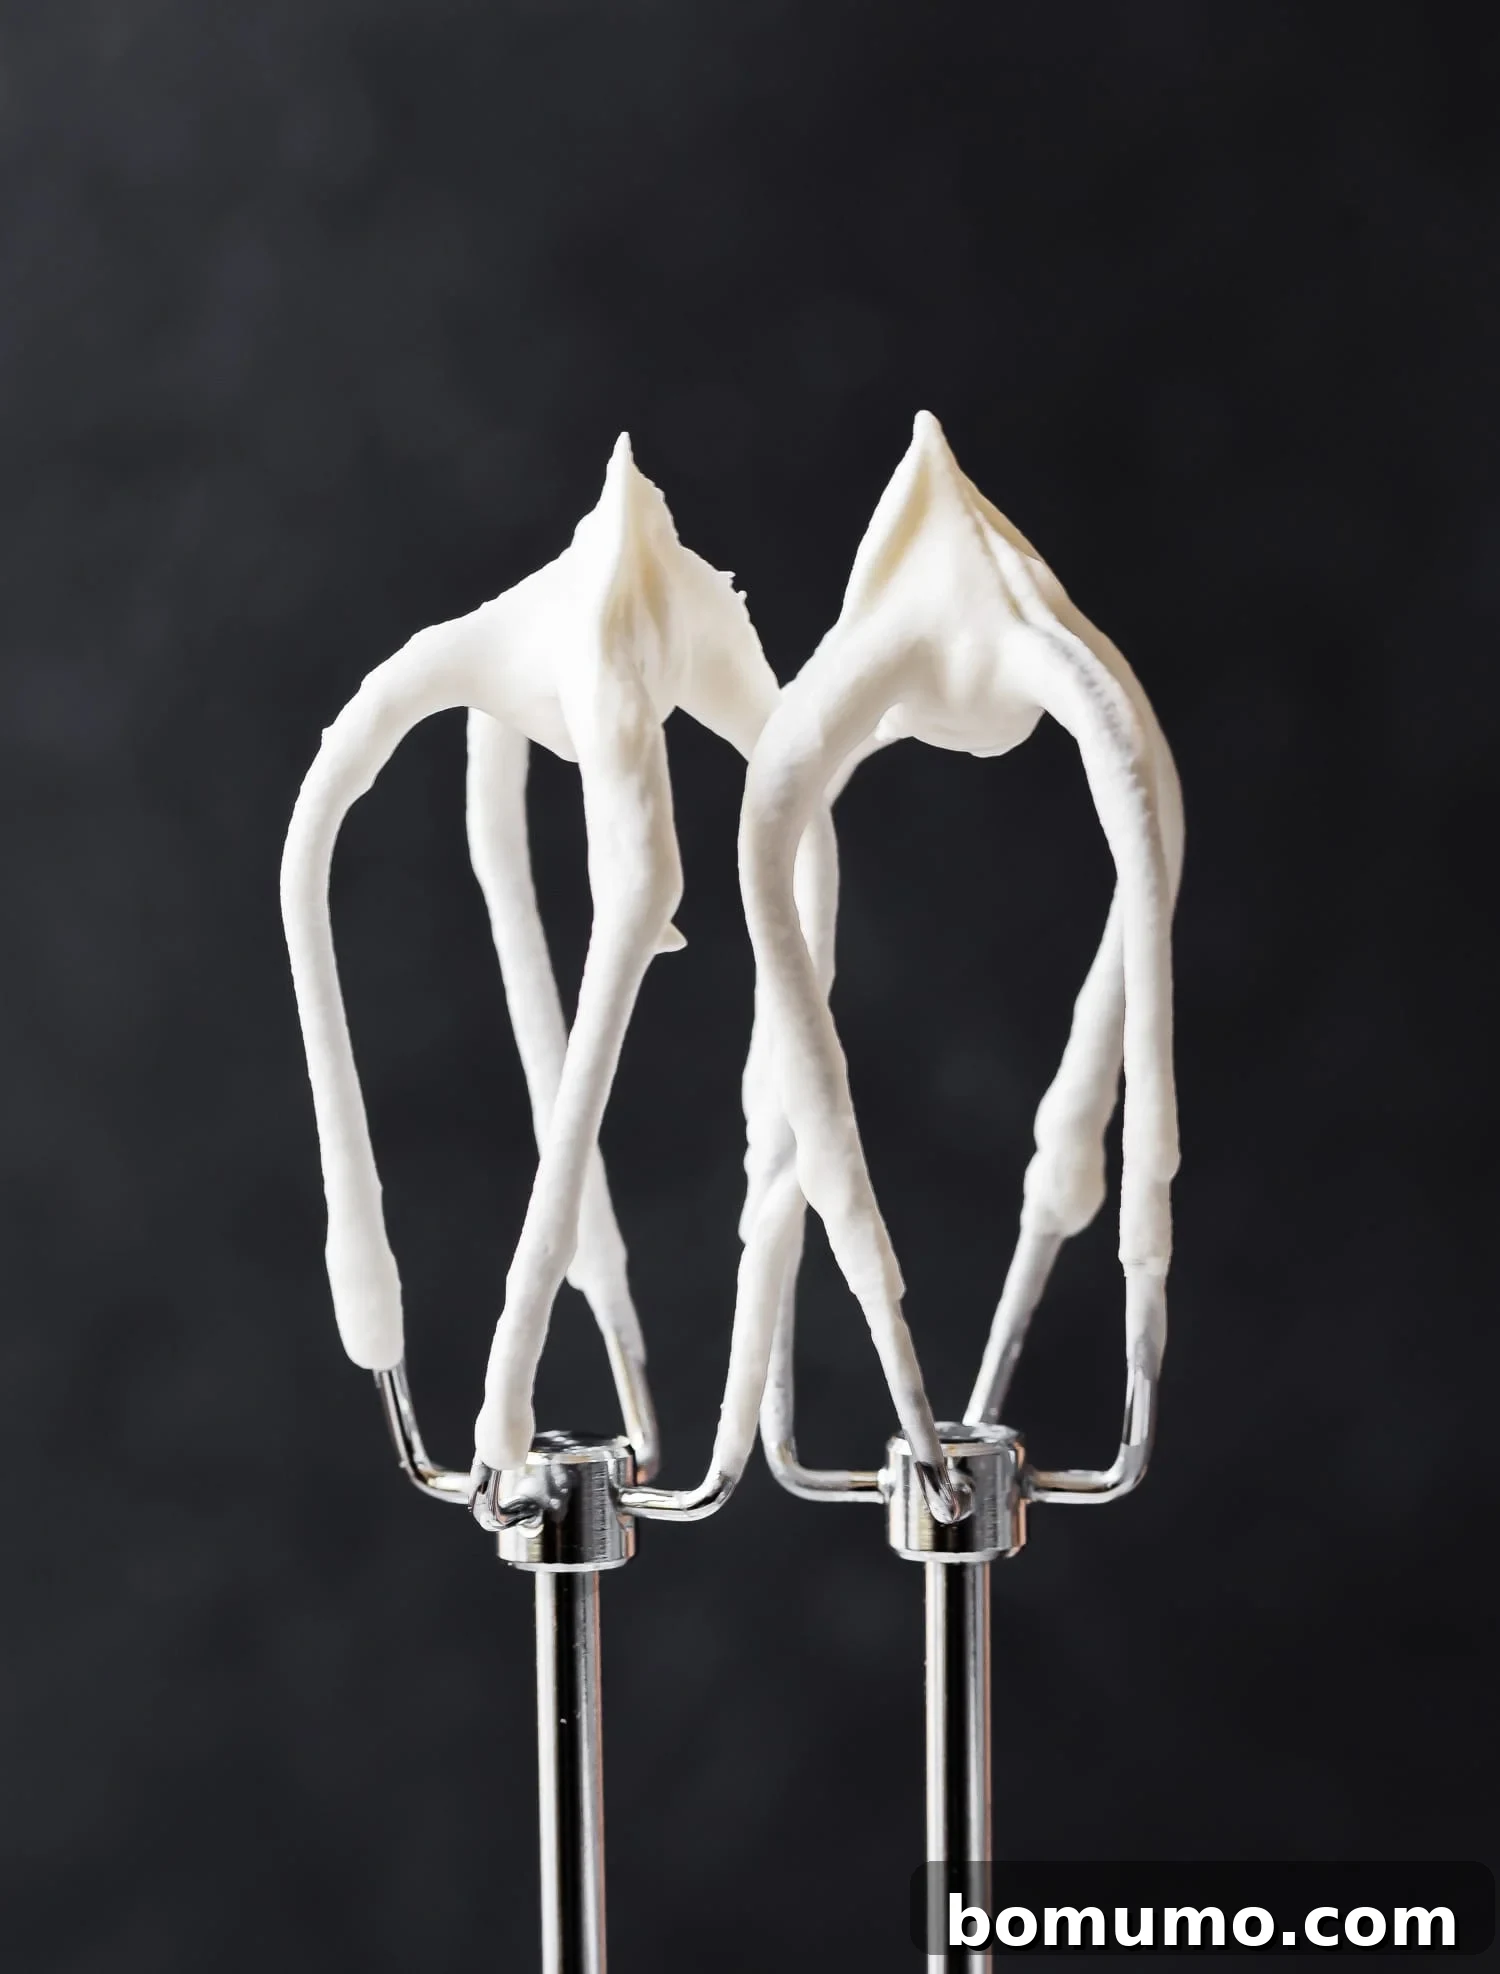
Step 4: Achieve Soft Peaks. Keep a close eye on the cream. You’re looking for “soft peaks.” To check, turn off your mixer and lift the beaters from the bowl. The whipped cream should form soft, gentle peaks that hold their shape but still have a slight curl or droop at the tip. This indicates a light, airy texture that’s perfect for most desserts. Be careful not to overbeat!
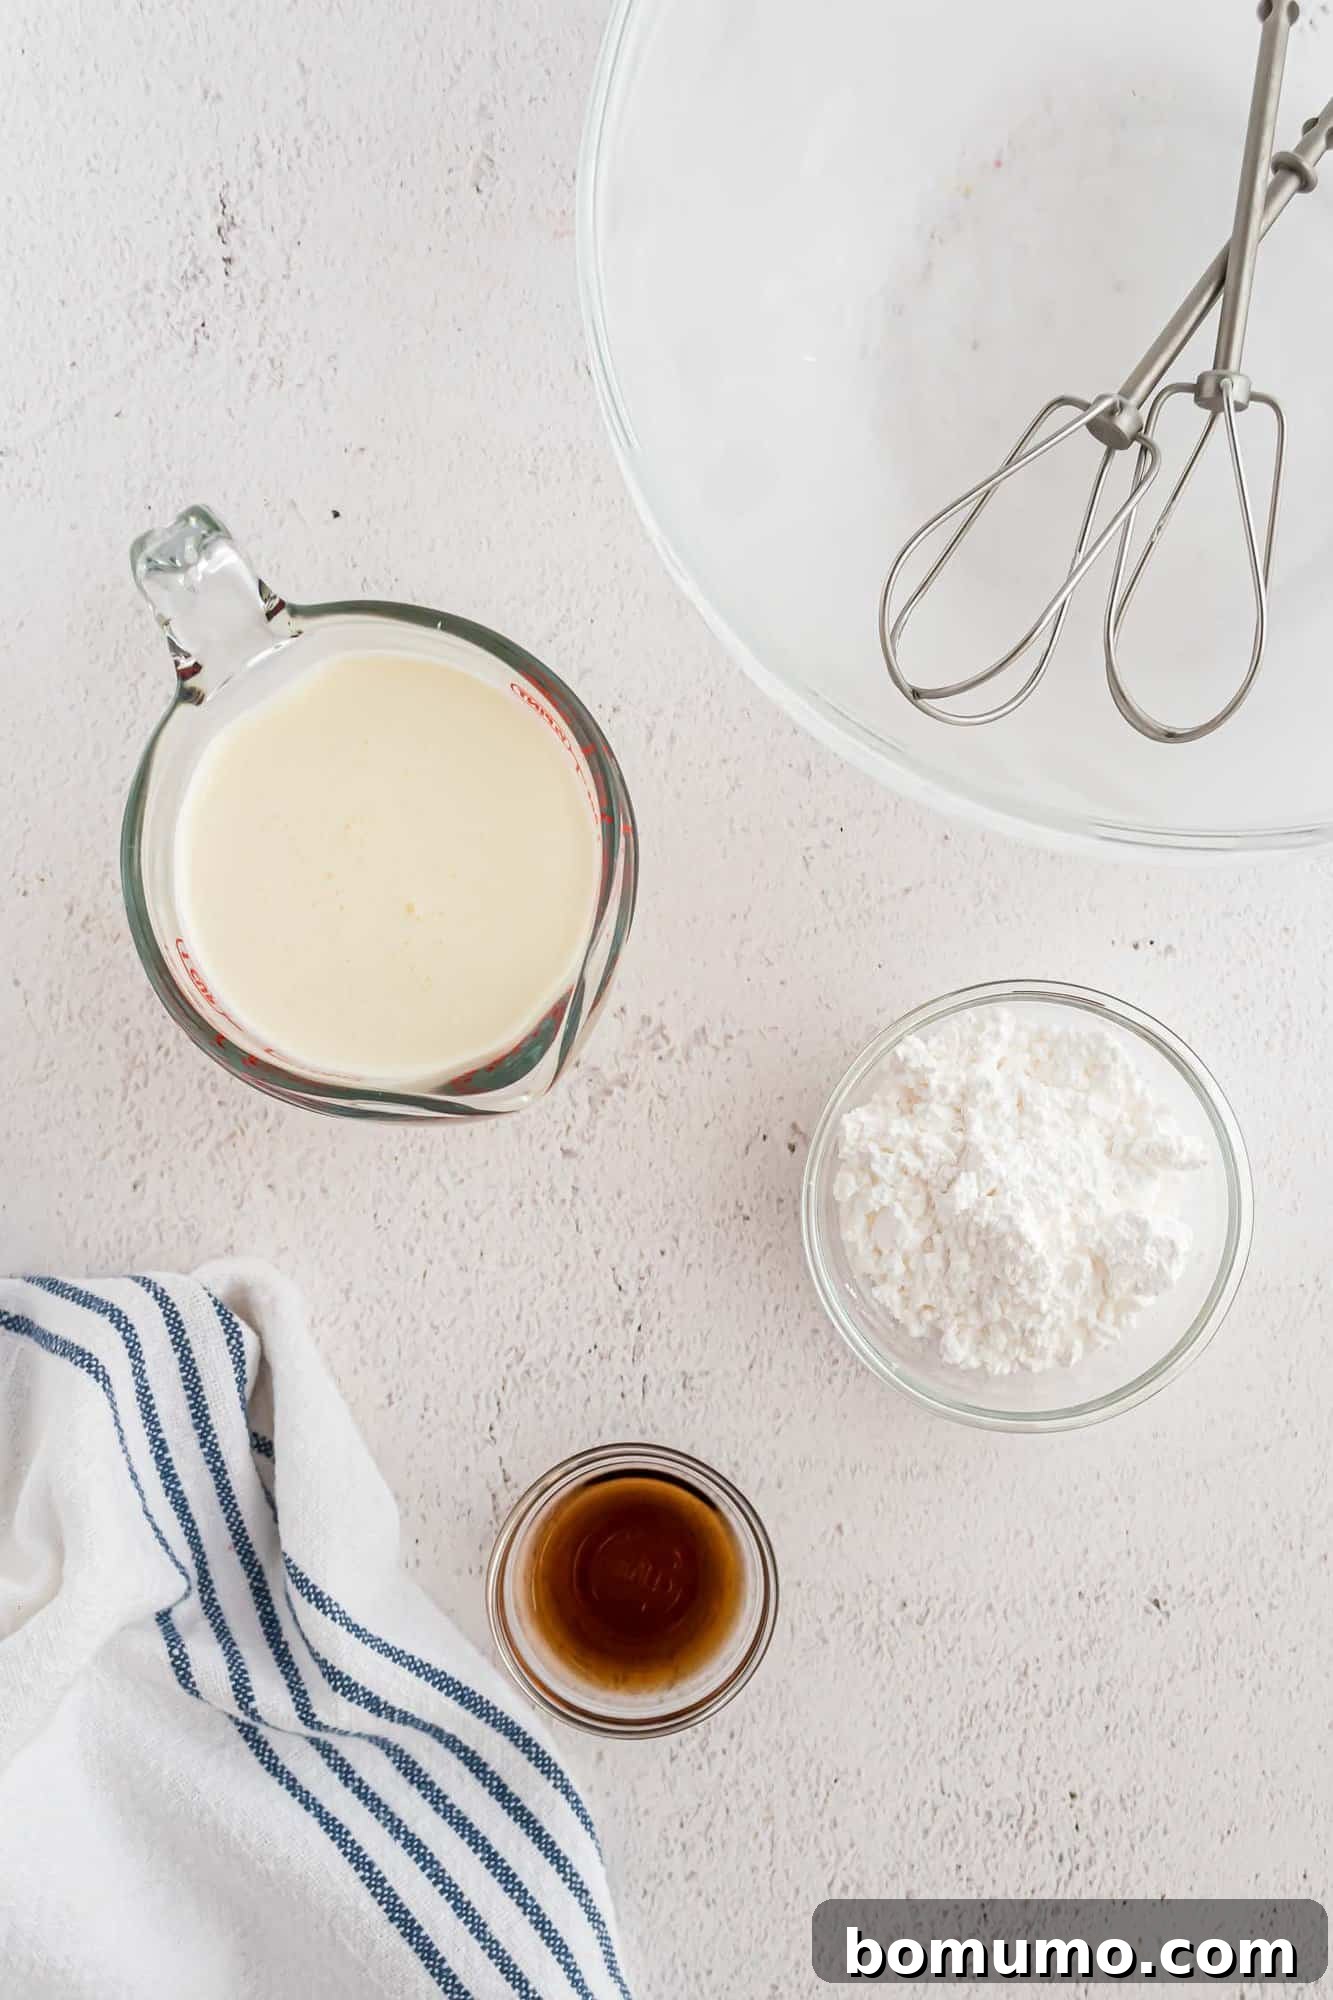
Understanding Whipped Cream Peaks
The duration of whipping directly impacts the consistency of your whipped cream. Shorter whipping times yield softer, more delicate peaks, ideal for a subtle topping. Longer whipping times result in firmer, stiff peaks, perfect for piping or holding shape on denser desserts. Experiment to find your preferred consistency. However, exercise caution: whipped cream can rapidly progress from stiff peaks to an overwhipped, grainy texture that eventually separates into butter. Monitor closely and stop the moment you achieve your desired consistency.
Advanced Tips for Flawless Whipped Cream
- The Power of Powdered Sugar: While granulated sugar can be used in a pinch, confectioner’s sugar is superior for whipped cream. Its fine texture ensures smooth incorporation and prevents grittiness. The cornstarch often found in powdered sugar also acts as a natural stabilizer, helping the whipped cream hold its shape longer, especially if you need it to sit out for a short period.
- Embrace the Chill: Remember, cold is your best friend when making whipped cream. Not only should your heavy cream be thoroughly chilled, but also extend this chilling practice to your mixing bowl and beaters. A metal bowl, in particular, gets very cold and stays cold longer, providing an optimal environment for the cream to whip quickly and efficiently. Consider placing your carton of heavy cream in the freezer for 15-20 minutes before whipping (but don’t let it freeze solid!).
- Managing Splatters: Whipping cream can be a bit messy, especially at the initial stages. To contain potential splatters, consider placing your chilled mixing bowl directly into an empty kitchen sink while you whip. Any splashes will be confined to the sink, making cleanup a breeze. For extra stability, place a damp dishcloth under the bowl to prevent it from rattling around.
- Don’t Overfill: While a large bowl is recommended, avoid filling it to the brim with cream. Give the beaters ample space to incorporate air and allow the cream to expand without spilling over. About halfway full is usually ideal for preventing mess and achieving the best volume.
- Know Your Mixer Speed: Starting on a lower speed helps to prevent initial splatters and gradually incorporates air. Once the cream begins to thicken slightly, increasing to medium-high speed will achieve volume more quickly. Avoid using the highest speed right from the start, as this can make it harder to control and monitor the peaks.
Creative Ways to Elevate Your Whipped Cream
- Spiced Whipped Cream: Introduce warm, inviting flavors. Add ½ teaspoon of ground cinnamon, nutmeg, or a blend like apple pie spice or pumpkin pie spice along with the powdered sugar. This is perfect for fall desserts or coffee beverages.
- Decadent Chocolate Whipped Cream: For chocolate lovers, whisk in 1 tablespoon of unsweetened cocoa powder with the confectioner’s sugar. Adjust to taste for a richer chocolate flavor. It’s an irresistible topping for anything from hot chocolate to chocolate cakes.
- Elegant Vanilla Bean Whipped Cream: For a sophisticated touch, scrape the seeds from half a vanilla bean pod or use a teaspoon of high-quality vanilla bean paste. Add it to the heavy cream before whipping. The tiny black specks provide visual interest and an intensified vanilla aroma.
- Energizing Espresso Whipped Cream: Dissolve 1 teaspoon of instant espresso powder (or instant coffee powder) into a tablespoon of the heavy cream before adding it to the rest of the cream and whipping. This creates a coffee-infused cream that pairs wonderfully with chocolate desserts or tiramisu.
- Bright Citrus Flavored Whipped Cream: After the cream has reached soft peaks, gently fold in a teaspoon of finely grated lemon, lime, orange, tangerine, or grapefruit zest. Avoid using the electric mixer for this step, as the zest might get tangled in the blades and the mixer can overwork the cream. The zest adds a vibrant, fresh counterpoint to the richness.
- Fun Add-ins: Get creative by folding in other small ingredients after whipping. Think mini chocolate chips, finely shredded coconut, a drizzle of caramel sauce, or a hint of almond extract for an extra dimension of flavor.
Understanding Whipped Cream: FAQs & Essential Knowledge
Whipping Cream vs. Heavy Cream: What’s the Difference?
The terminology around cream can be a bit confusing. In many regions, products labeled “whipping cream” typically contain between 30% to 35% milk fat. “Heavy cream” or “heavy whipping cream,” on the other hand, boasts a higher milk fat content, usually at least 36%. For the most stable, richest, and easiest-to-whip results, always opt for heavy cream. Its higher fat content creates stronger air pockets, resulting in a more voluminous and long-lasting whipped cream that holds its shape significantly better than lighter whipping cream. Despite the name, heavy cream is indeed the champion for whipping!
Can Flat Whipped Cream Be Saved?
Unfortunately, once whipped cream has deflated or gone flat, it’s generally not possible to restore its original volume and texture by rewhipping. The delicate air pockets that give whipped cream its fluffiness have collapsed, and trying to reintroduce air will often result in a grainy, separated mess. Similarly, if you’ve overwhipped your cream to the point where it looks curdled and separated, you’ve started the process of turning it into butter. At this stage, it’s beyond saving as whipped cream, but you can actually continue to beat it until it fully separates into butter and buttermilk!
Make Ahead & Storage Tips
Make Ahead & Storage Tips
For the freshest taste and best texture, whipped cream is ideally made and served immediately. However, if you need to prepare it in advance, you can easily stabilize it to extend its lifespan. After your whipped cream has reached soft peaks, gently fold in about ¼ cup of full-fat sour cream, whole milk Greek yogurt, or crème fraîche per cup of heavy cream. These additions introduce extra fat and thickness, significantly helping the whipped cream hold its structure for up to two to three days when stored in an airtight container in the refrigerator.
Freezing Leftover Whipped Cream for Future Use
Don’t let any leftover homemade whipped cream go to waste! Freezing is a fantastic way to preserve it for later enjoyment. Line a baking sheet with parchment paper. Using a spoon or a pastry bag, drop dollops of whipped cream onto the prepared sheet. You can create various sizes – smaller dollops are perfect for hot chocolate or coffee, while larger ones are ideal for topping individual dessert servings. For a more decorative touch, pipe the whipped cream into attractive shapes.
Place the baking sheet in the freezer and allow the whipped cream dollops to freeze solid, typically for a few hours. Once firm, transfer the frozen dollops into a freezer-safe bag or airtight container. They will keep well for up to 1-2 months.
To use, simply add a frozen dollop directly to hot beverages – it will melt into a creamy topping. For desserts, place the frozen whipped cream on top a few minutes before serving; it thaws surprisingly quickly, usually within 10-15 minutes, regaining much of its original texture and flavor.
Freezing Unwhipped Heavy Cream
If you have a partial carton of unwhipped heavy cream that you won’t use before its expiration date, you can also freeze it. Heavy cream can be frozen directly in its original carton, provided you remove a small amount first to allow for expansion during freezing. For best results, thaw it in the refrigerator overnight. It’s perfectly fine if it’s still slightly frozen when you’re ready to whip it; in fact, heavy cream whips even better when it’s exceptionally cold, so a partially frozen state can be an advantage. Once thawed, give it a good shake before whipping, as some separation might occur.
Explore More Delicious Dessert Recipes
More Dessert Inspiration
Easy & Delicious Apple Crisp With Ginger!
Classic Fresh Blueberry Pie
Classic Pound Cake Recipe (Loaf or Bundt!)
Rich Chocolate Lava Cake Recipe
Classic Homemade Whipped Cream Recipe
★
★
★
★
Rachel Gurk
4 minutes
4 minutes
8 servings
Saved
Pin
Ingredients
- 1 cup heavy cream, chilled
- 1 teaspoon pure vanilla extract
- ¼ cup confectioners’ sugar
Instructions
-
Chill a medium-sized mixing bowl and your electric mixer beaters in the refrigerator or freezer for at least one hour. This step is crucial for achieving stable whipped cream.
-
Remove the chilled bowl and beaters from the refrigerator. Pour the heavy cream into the chilled bowl.1 cup heavy cream, chilled
-
Using an electric hand mixer on medium speed, beat the cream for approximately 2 minutes, or until soft peaks just begin to form. The cream will appear bubbly, then gradually thicken.
-
Gradually add the vanilla extract and confectioners’ sugar while continuing to beat on medium-high speed. Continue beating until stable soft peaks form when the beaters are lifted. Be careful not to overbeat, as the cream can quickly turn into butter.1 teaspoon pure vanilla extract, ¼ cup confectioners’ sugar
-
Serve your freshly made whipped cream immediately for the best taste and texture.
Notes
- Yield: Remember that heavy cream will significantly increase in volume when whipped. This recipe, using 1 cup of heavy cream, yields approximately 2 cups of light and fluffy whipped cream, making it ideal for topping several servings of dessert.
- Make Ahead Tip: For whipped cream that holds its shape longer in the refrigerator, especially if preparing ahead of time, gently fold in about ¼ cup of full-fat sour cream or whole milk Greek yogurt after achieving soft peaks. This acts as a natural stabilizer.
- Scaling the Recipe: Easily double the recipe by using 2 cups of heavy cream and ½ cup of powdered sugar. Ensure you use a larger mixing bowl to accommodate the increased volume. You can also adjust the vanilla and other flavorings proportionally.
- Flavor Customization: The beauty of homemade whipped cream lies in its adaptability. Feel free to adjust the sweetness by increasing or decreasing the confectioners’ sugar. For diverse flavor profiles, substitute the vanilla with different extracts (e.g., almond, mint), add warming spices like cinnamon or ginger, incorporate cocoa powder for a chocolate version, or stir in fresh lemon or lime zest for a bright, tangy note. Refer to the “Ways to Enhance Your Whipped Cream” section above for more inspiring ideas.
Video Tutorial
Nutrition Information
Calories: 103kcal,
Carbohydrates: 5g,
Protein: 1g,
Fat: 11g,
Saturated Fat: 7g,
Polyunsaturated Fat: 0.5g,
Monounsaturated Fat: 3g,
Cholesterol: 34mg,
Sodium: 8mg,
Potassium: 29mg,
Sugar: 1g,
Vitamin A: 437IU,
Vitamin C: 0.2mg,
Calcium: 20mg,
Iron: 0.03mg
Nutrition information is automatically calculated and should be used as an approximation only.
Did You Make This?
Share a comment and rating below! I love hearing what you think!