Appetizers
Chocolate Covered Marshmallows
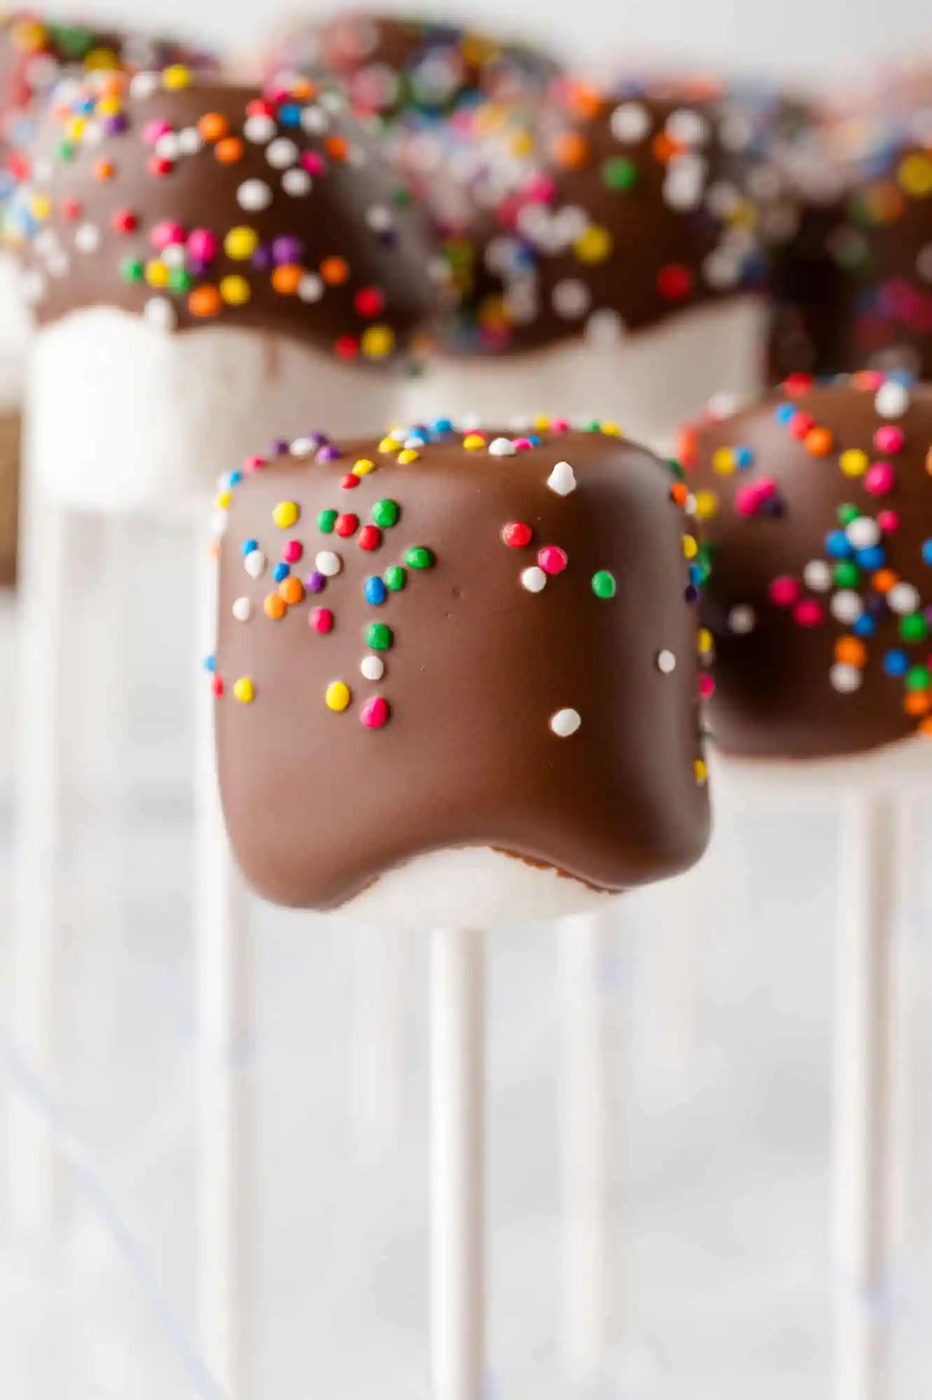
Looking for a straightforward, last minute treat for birthdays or holidays? Chocolate covered marshmallows to the rescue! Kids (and grownups) love them and they're a cinch to put together.
At a glance
What stands out: Chocolate covered marshmallows are a straightforward, last minute treat for birthdays or holidays. Kids (and grownups) love them and they’re a cinch to put together. Chocolate covered marshmallows are endlessly customizable with tons of nostalgic appeal.
How long it takes: about 15 minutes of hands-on work
Equipment you’ll need: lollipop sticks (styrofoam or a cake pop stand to keep the pops upright is optional but helpful)
Servings: makes 5 dozen
If you’re in desperate need of a last-minute party favor or holiday treat, this recipe is for you! It doesn’t get much simpler than chocolate covered marshmallows. And we for one ADORE a simple dessert.
These chocolate covered marshmallow pops are way, way, way easier and faster to make than cake pops. And kids will love them just as much!
In case you haven’t caught on to this yet, these marshmallow pops are basically large marshmallows skewered on lollipop sticks, dipped into chocolate, and decorated. There are endless options for creativity here, and as a bonus, your kids will love to help make them. (we can’t promise they won’t get messy, though!)
Reasons To Love Chocolate Covered Marshmallows
- A fun family project. It’s also a great DIY party favor idea. Let kids decorate their own chocolate covered marshmallow pops to bring home after a birthday party! Kids will love customizing their marshmallows with their favorite toppings.
- Gourmet appeal, without the hefty price tag. We have seen marshmallows like this for sale in candy stores and now that we know how straightforward it is to make them, we will never buy them again!
- No baking or decorating skills needed. If baking cakes and piping rosettes eludes you, you’re going to love making chocolate covered marshmallows whenever you need a treat. They are straightforward and they’re always rich.
Speedy Tip
If you don’t have lollipop sticks, you can use toothpicks to dip the marshmallows, then carefully lay them on parchment paper to solidify.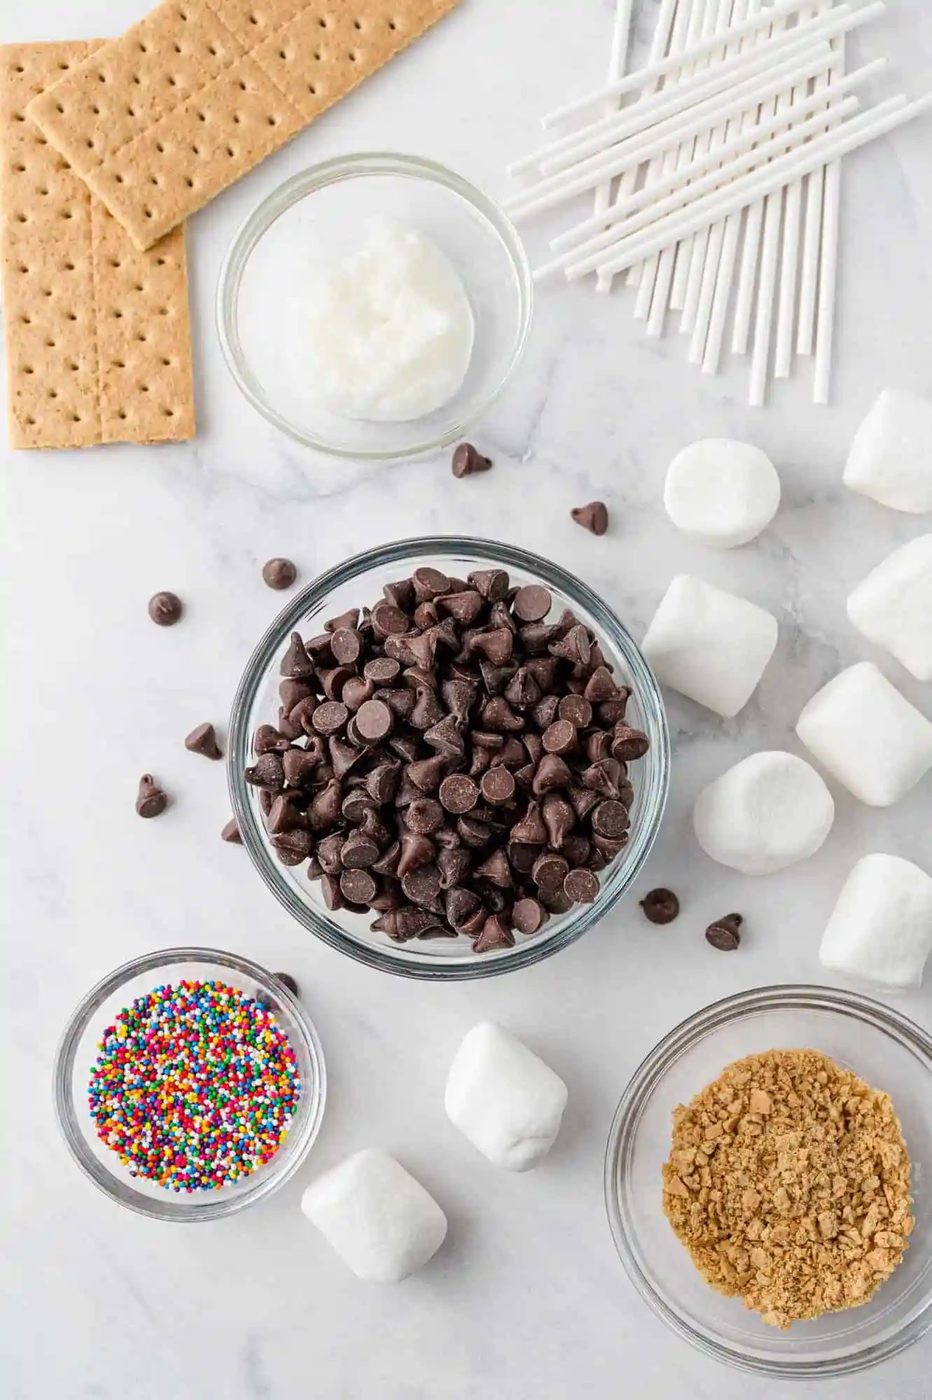
What goes in
You’ll find measurements, instructions, and nutrition information on the recipe card below in a printable format.
- Chocolate Chips or Candy Melts: You can use milk chocolate, dark chocolate, or white chocolate.
- Shortening or Coconut Oil: This helps give the chocolate the reliable consistency for dipping. A favorite ice cream topping, chocolate magic shell, is a similar concoction with just two ingredients, chocolate and coconut oil.
- Large Marshmallows: While a gourmet flavored marshmallow would be fantastic, you just need a bag of everyday marshmallows from the grocery store, the kind you use for s’mores!
- Lollipop Sticks: The sticks are inserted to make chocolate covered marshmallow pops (and for a handle).
- Decorations: This is up to you! We love sprinkles, crushed graham crackers, and/or chopped nuts.
Cake Pop Stand
Even if you’re not making cake pops, cake pop stands are handy for treats like this one. We also use ours to make these adorable snowman Oreo pops!
Buy on Amazon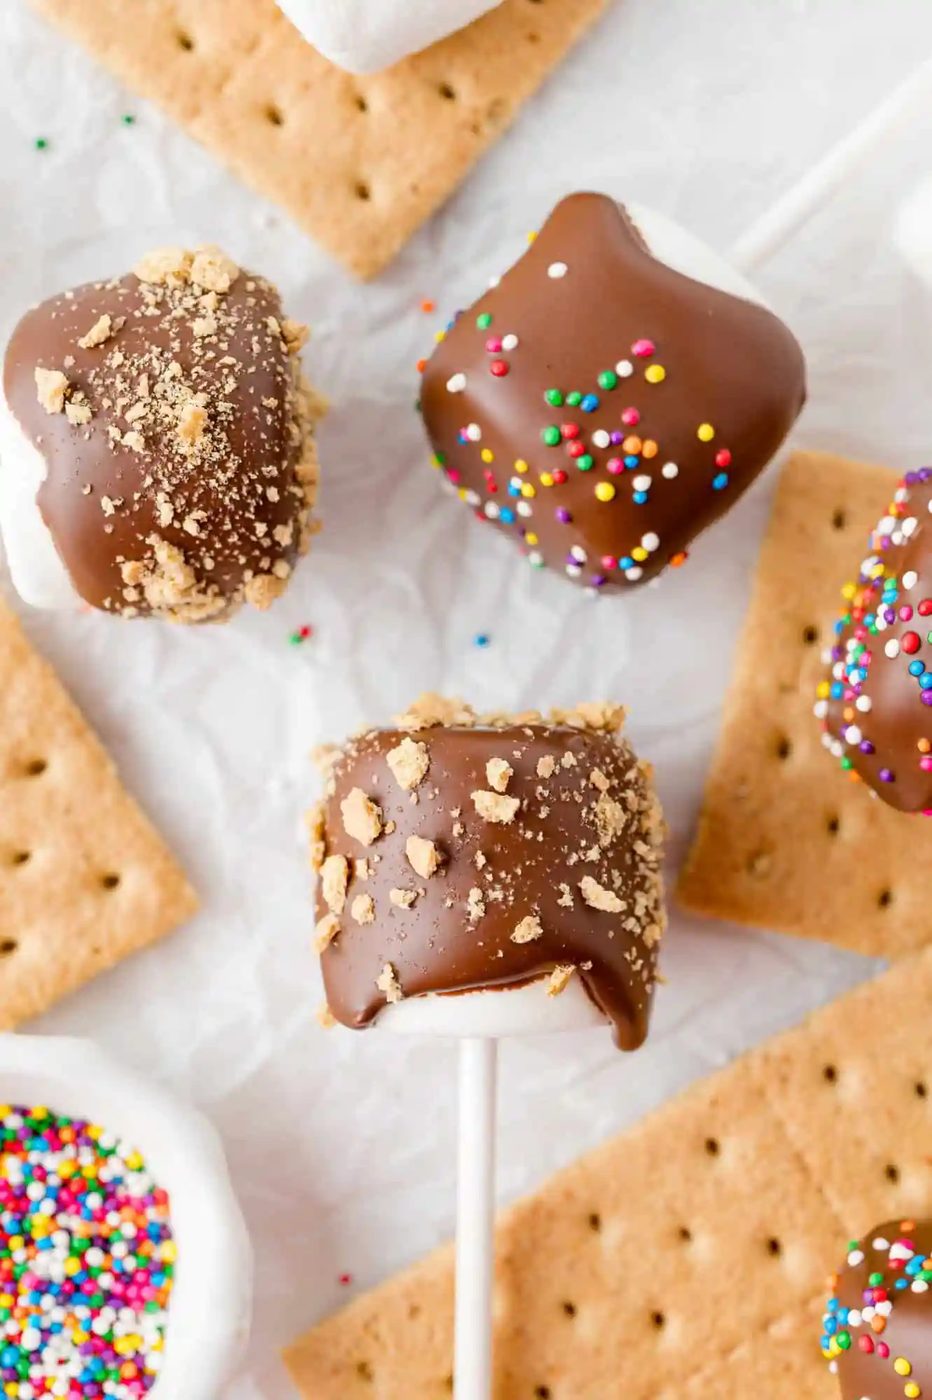
How it comes together
Get ready. We like to have everything ready to go before we melt the chocolate. Insert the lollipop sticks into the marshmallows. Put the decorations you plan to use into shallow dishes so they’re ready for dipping. Make sure you have something ready to hold the dipped marshmallows, such as a thick piece of styrofoam or a cake pop stand.
Melt chocolate. Choose a microwave-safe bowl or measuring cup that is fairly deep so the chocolate doesn’t spread out too much. Microwave the chocolate and shortening in 20-second intervals, stirring well after each interval, until the chocolate melts. Try not to overheat the chocolate.
Dip. Holding the end of the lollipop stick, gently dip each marshmallow in the melted chocolate. You can dip it partially or fully, depending on the look you want.
Decorate. While the chocolate is still wet, sprinkle generously with your chosen decorations. You can also lightly dip the chocolate-coated marshmallow into the sprinkles or crumbs.
Dry. Stick the chocolate covered marshmallow pops in styrofoam or a cake pop stand to dry. Let the chocolate set for at least 1 hour or until firm before serving or storing.
Recipe Tips
- Don’t overheat the chocolate. Melting chocolate in the microwave can be a little tricky. Always be sure to stir the chocolate well in the intervals because the residual heat continues to melt the chocolate. You could also use a double boiler to heat the chocolate, which is less likely to scorch it.
- Tap off the excess. To prevent waste and mess, gently tap off excess chocolate before transferring the chocolate covered marshmallows to the styrofoam or cake pop stand.
- No styrofoam? No problem! You can lie the chocolate covered marshmallows flat or stand them upright on wax paper or parchment if you’re okay with one flat side. If you do this, it’s even more important to let the excess chocolate drip off.
- Use from-scratch marshmallows: As long as your from-scratch marshmallows are fairly solid, you can use them to make chocolate covered marshmallows. If they’re soft, they might melt a bit into the warm chocolate.
- Make a smaller batch: To make a half-batch, use 1 ½ cups chocolate chips and ½ tablespoon shortening to make approximately 30 marshmallows.
Make Ahead & Storage Tips
Chocolate covered marshmallows don’t store well, so don’t make them days ahead of time. We think a day or two is about as long as we'd be willing to store them. Keep your chocolate covered marshmallow pops in an airtight container and store at room temperature. Clear cellophane bags tied with ribbon are reliable if you’re making these pops for gifting or party favors.
- Yield: 60 pops
- Prep: 15 minutes
- Cook: 1 minute
- Total: 1 hour 16 minutes
Ingredients
- 3 cups chocolate chips or candy melts (see note)
- 1 tablespoon shortening or coconut oil
- 1 bag (12-ounce) large marshmallows ( 58 to 60 marshmallows)
- 60 lollipop sticks (see note)
- Sprinkles, crushed graham crackers, and/or chopped nuts
Method
- Place chocolate and shortening in a small microwave-safe bowl. Microwave in 20-second intervals, stirring well each time until chocolate is melted and smooth. Don’t overheat the chocolate. You could also use a double boiler to heat the chocolate.
- Meanwhile, place each marshmallow on a lollipop stick.
- When the chocolate is melted, dip each marshmallow in the chocolate, coating it about ¾ of the way down to the stick (fully coating it, if desired); tap off extra chocolate.
- While the chocolate is still wet, sprinkle generously with sprinkles or desired garnish (see notes for ideas).
- Stick in styrofoam or a cake pop stand to dry. If you prefer, lie the marshmallows flat or stand upright on wax paper or parchment.
- Let chocolate harden for at least 1 hour or until firm before storing.
Notes
Use semi-sweet, milk chocolate, or white chocolate chips, whatever you like best.
Lollipop sticks can usually be found by cake decorating supplies in grocery stores or craft stores, or buy them on Amazon. Toothpicks can be substituted for the lollipop sticks to dip marshmallows. Place on parchment paper to harden, removing toothpicks.
Garnishes: Try finely chopped nuts, jimmies or color sprinkles to go with your decorating theme. Graham cracker crumbs tend to get soggy, so enjoy them soon after the chocolate hardens.
Half batch: You can make a half batch if you like. Use 1 ½ cups chocolate chips, ½ tablespoon shortening, to make approx. 30 marshmallows.