
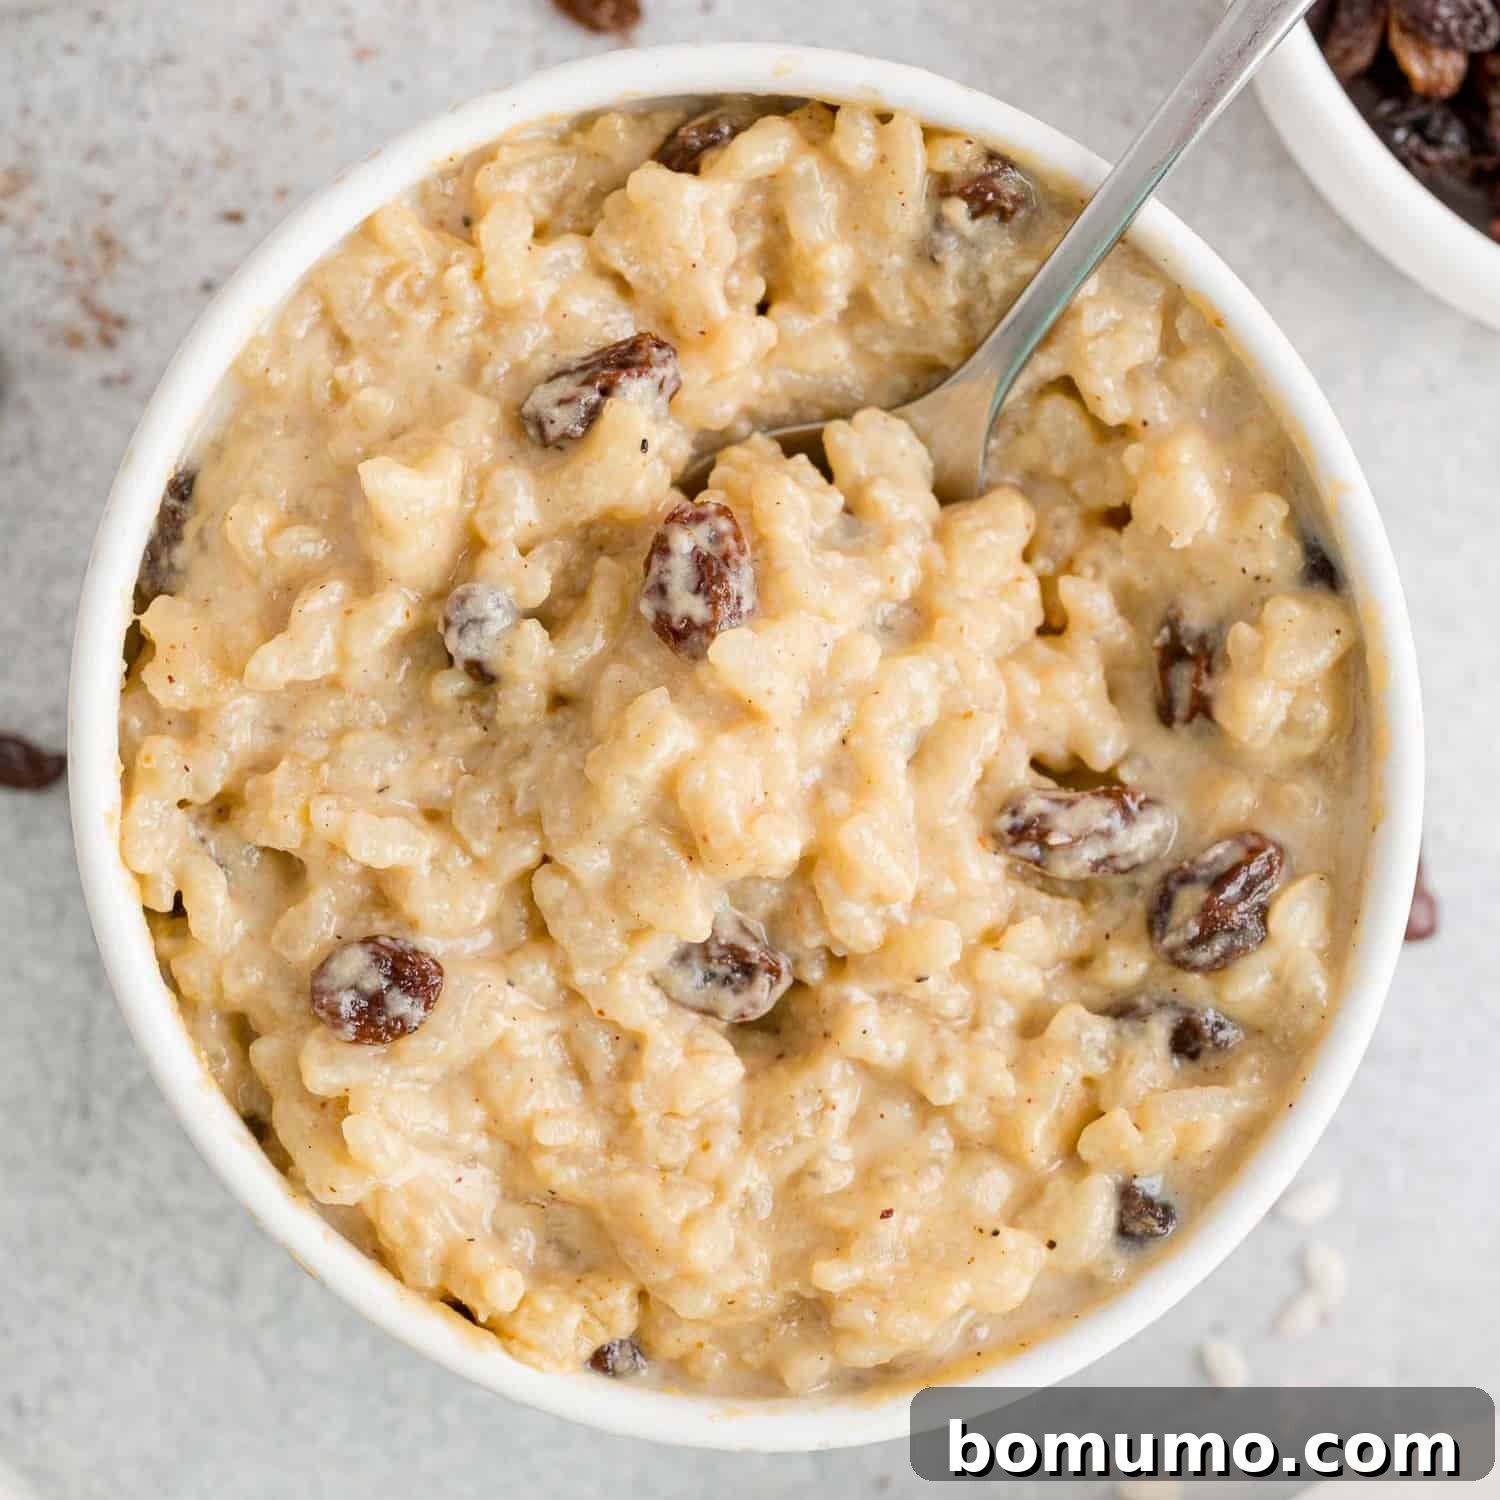
Instant Pot rice pudding is the ultimate comfort dessert, offering a warm, creamy, and lightly sweetened experience that satisfies the soul. It’s truly the perfect treat for any occasion, especially cherished on a chilly evening. This delightful dish combines wholesome ingredients with the incredible convenience of your Instant Pot, transforming a traditional, time-consuming recipe into a simple, hands-off affair. Say goodbye to constant stirring and hello to effortless indulgence.
Recipe Overview
Why you’ll love it: This Instant Pot rice pudding is a comforting, hearty dessert made from simple, wholesome ingredients. It’s wonderfully filling, gentle on the stomach, and perfectly sweetened without being overpowering. Its creamy texture and delicate flavor make it a family favorite.
How long it takes: Approximately 35 minutes of active and passive cooking, plus additional cooling time.
Equipment you’ll need: An Instant Pot pressure cooker.
Servings: 8 generous servings.
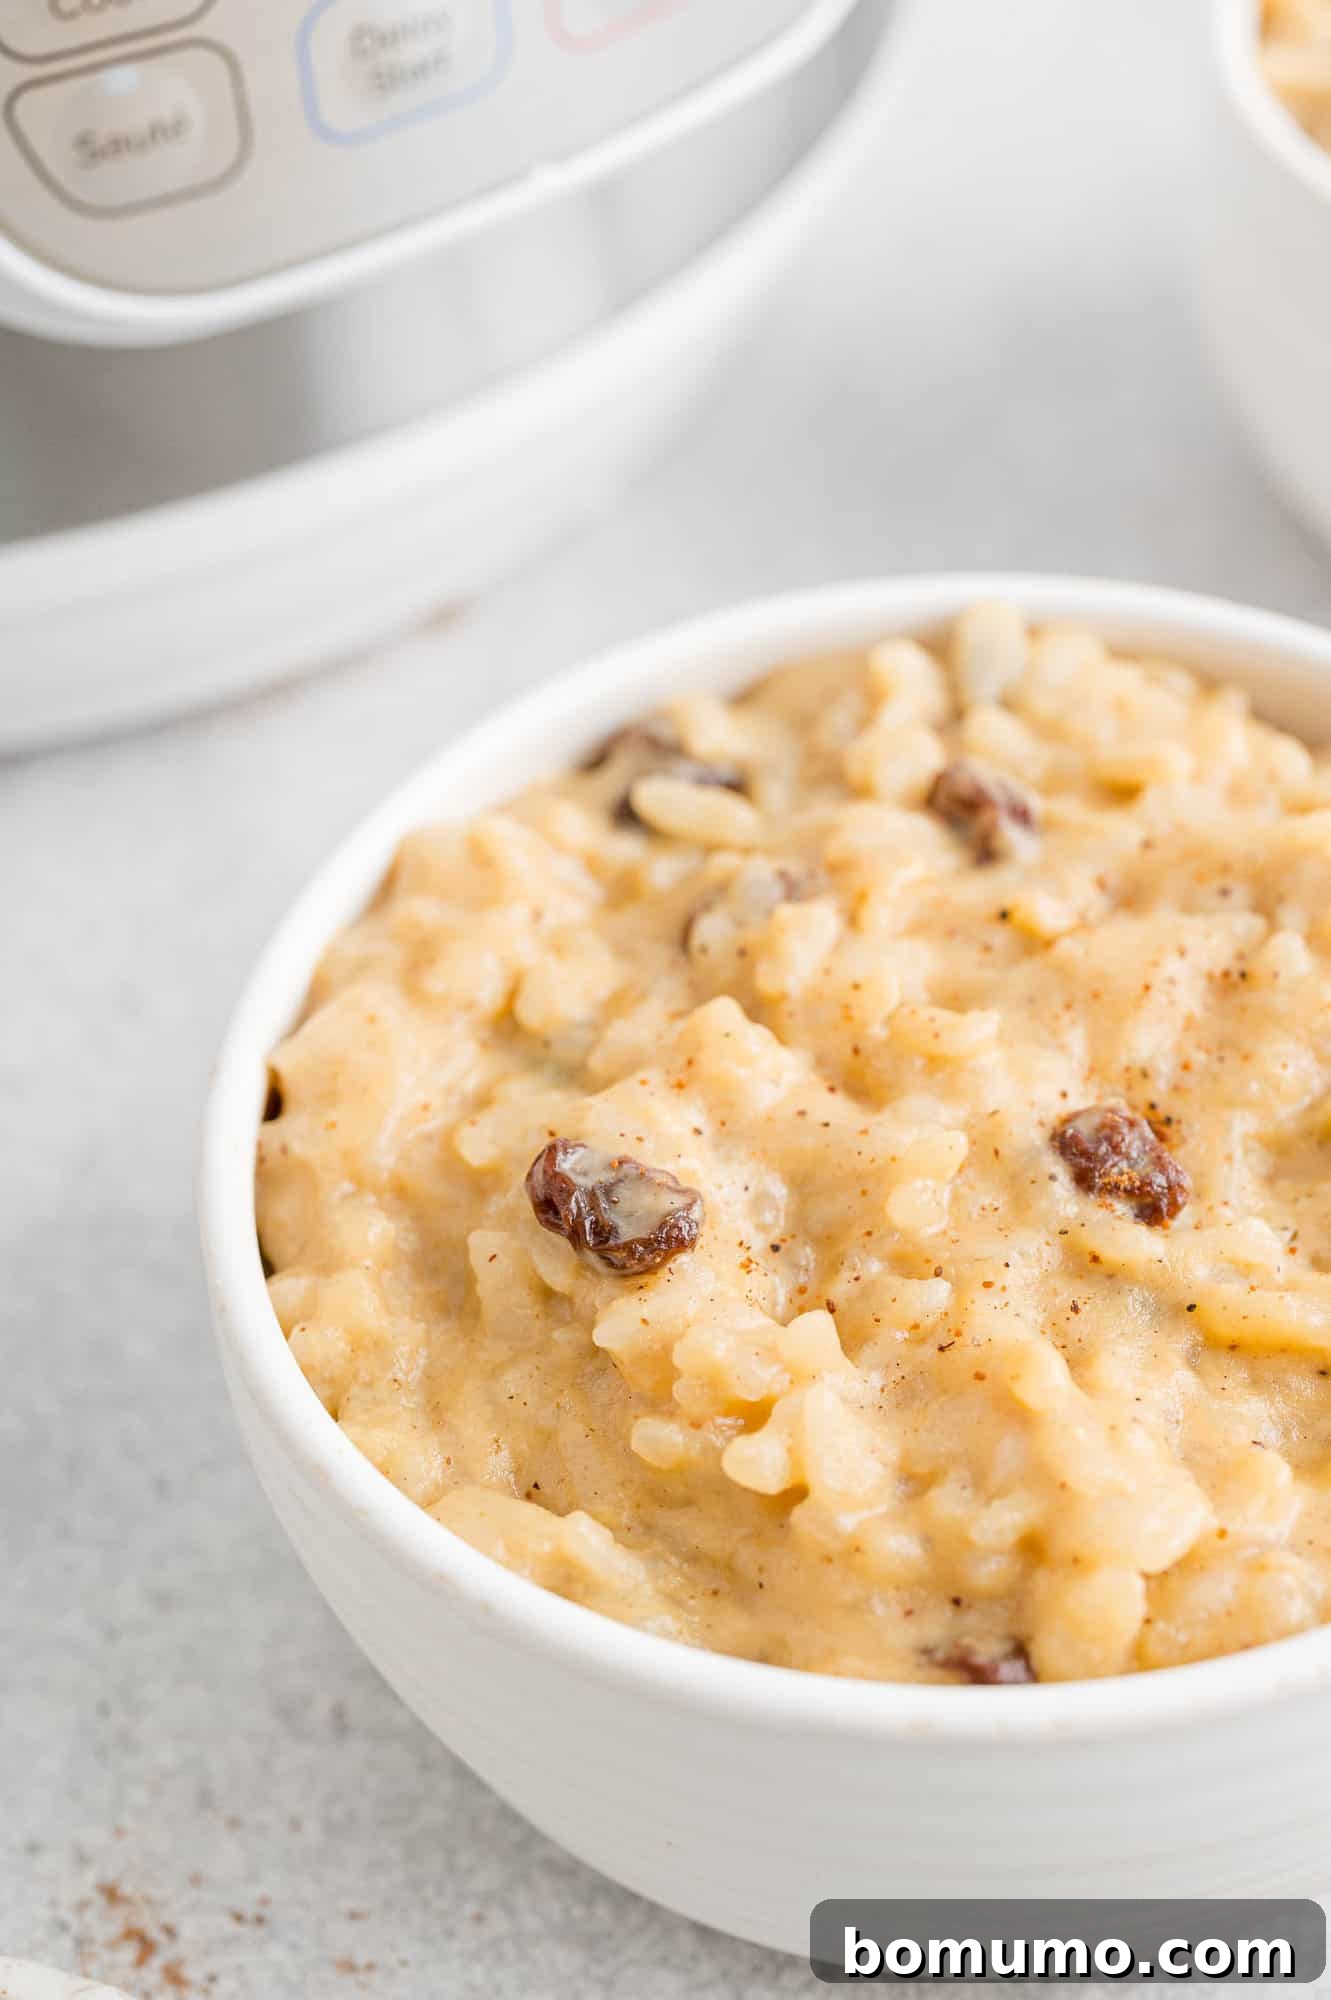
There’s something uniquely comforting about pudding, wouldn’t you agree? Whether it’s the rich simplicity of homemade vanilla pudding or the deep indulgence of chocolate pudding, these creamy concoctions evoke a sense of warmth and happiness. They’re like a gentle hug in a bowl – sweet, smooth, and deeply satisfying without being overly sugary. Pudding is a timeless dessert that never fails to bring a smile.
For me, rice pudding holds a special place, conjuring fond memories of my grandpa. His version was delightfully simple: white rice simmered with milk instead of water, generously studded with raisins – because he truly loved them. We’d spread this warm rice on a plate, melt butter over it, and then sprinkle it with a hearty dusting of brown sugar and cinnamon. It was a cherished “grandpa treat” that always felt special. Thinking about it now, a modern twist using coconut rice might just elevate that nostalgic flavor even further!
Effortless Elegance: Introducing Instant Pot Rice Pudding
Let’s turn our attention back to this incredible Instant Pot rice pudding. Traditionally, preparing rice pudding on the stovetop demands constant attention. Recipes often call for continuous stirring as the rice slowly cooks and gradually absorbs the milk, a process much like making a creamy risotto. While undeniably delicious, it requires a significant amount of patience and active cooking time, often leaving you tied to the stove.
This is where your Instant Pot becomes an absolute game-changer. It dramatically simplifies the entire process, transforming it into a mostly hands-off experience. The pressure cooker handles the bulk of the cooking, freeing you from endless stirring. You’ll only need to stir for a few minutes towards the very end to achieve that perfect, velvety consistency. If you’ve ever felt intimidated by recipes that require extensive stirring, the Instant Pot is your secret weapon. Its ability to create rich, perfectly cooked dishes with minimal effort is truly remarkable. Once you try Instant Pot risotto or Instant Pot polenta, you’ll understand just how invaluable this appliance can be for a variety of traditionally high-maintenance dishes.
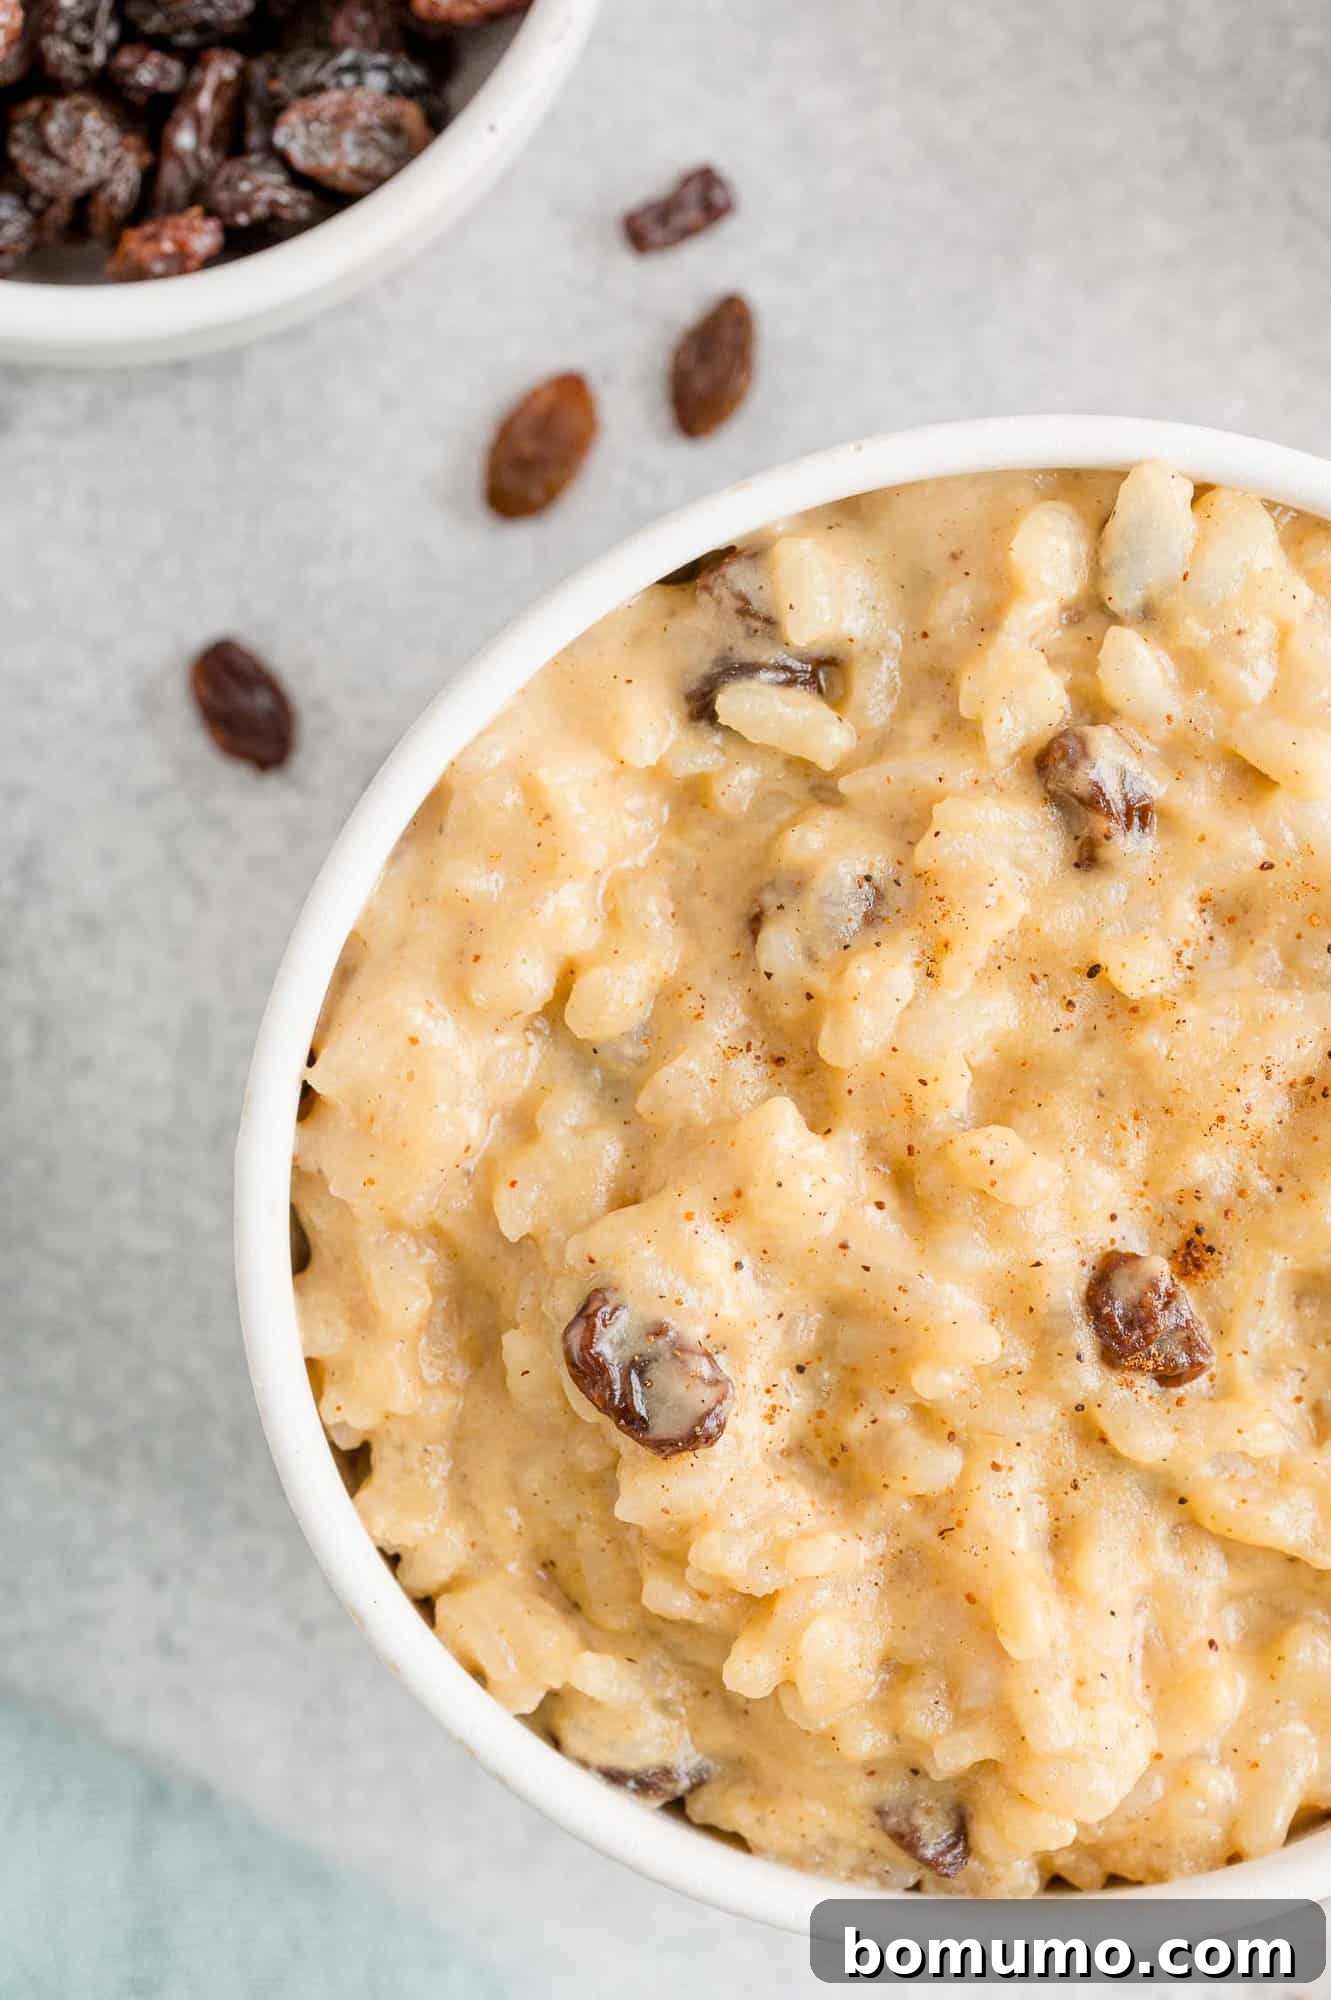
Essential Ingredients for Perfect Instant Pot Rice Pudding
Crafting the perfect rice pudding begins with selecting the right ingredients. Each component plays a vital role in achieving that rich, creamy, and subtly sweet flavor profile.
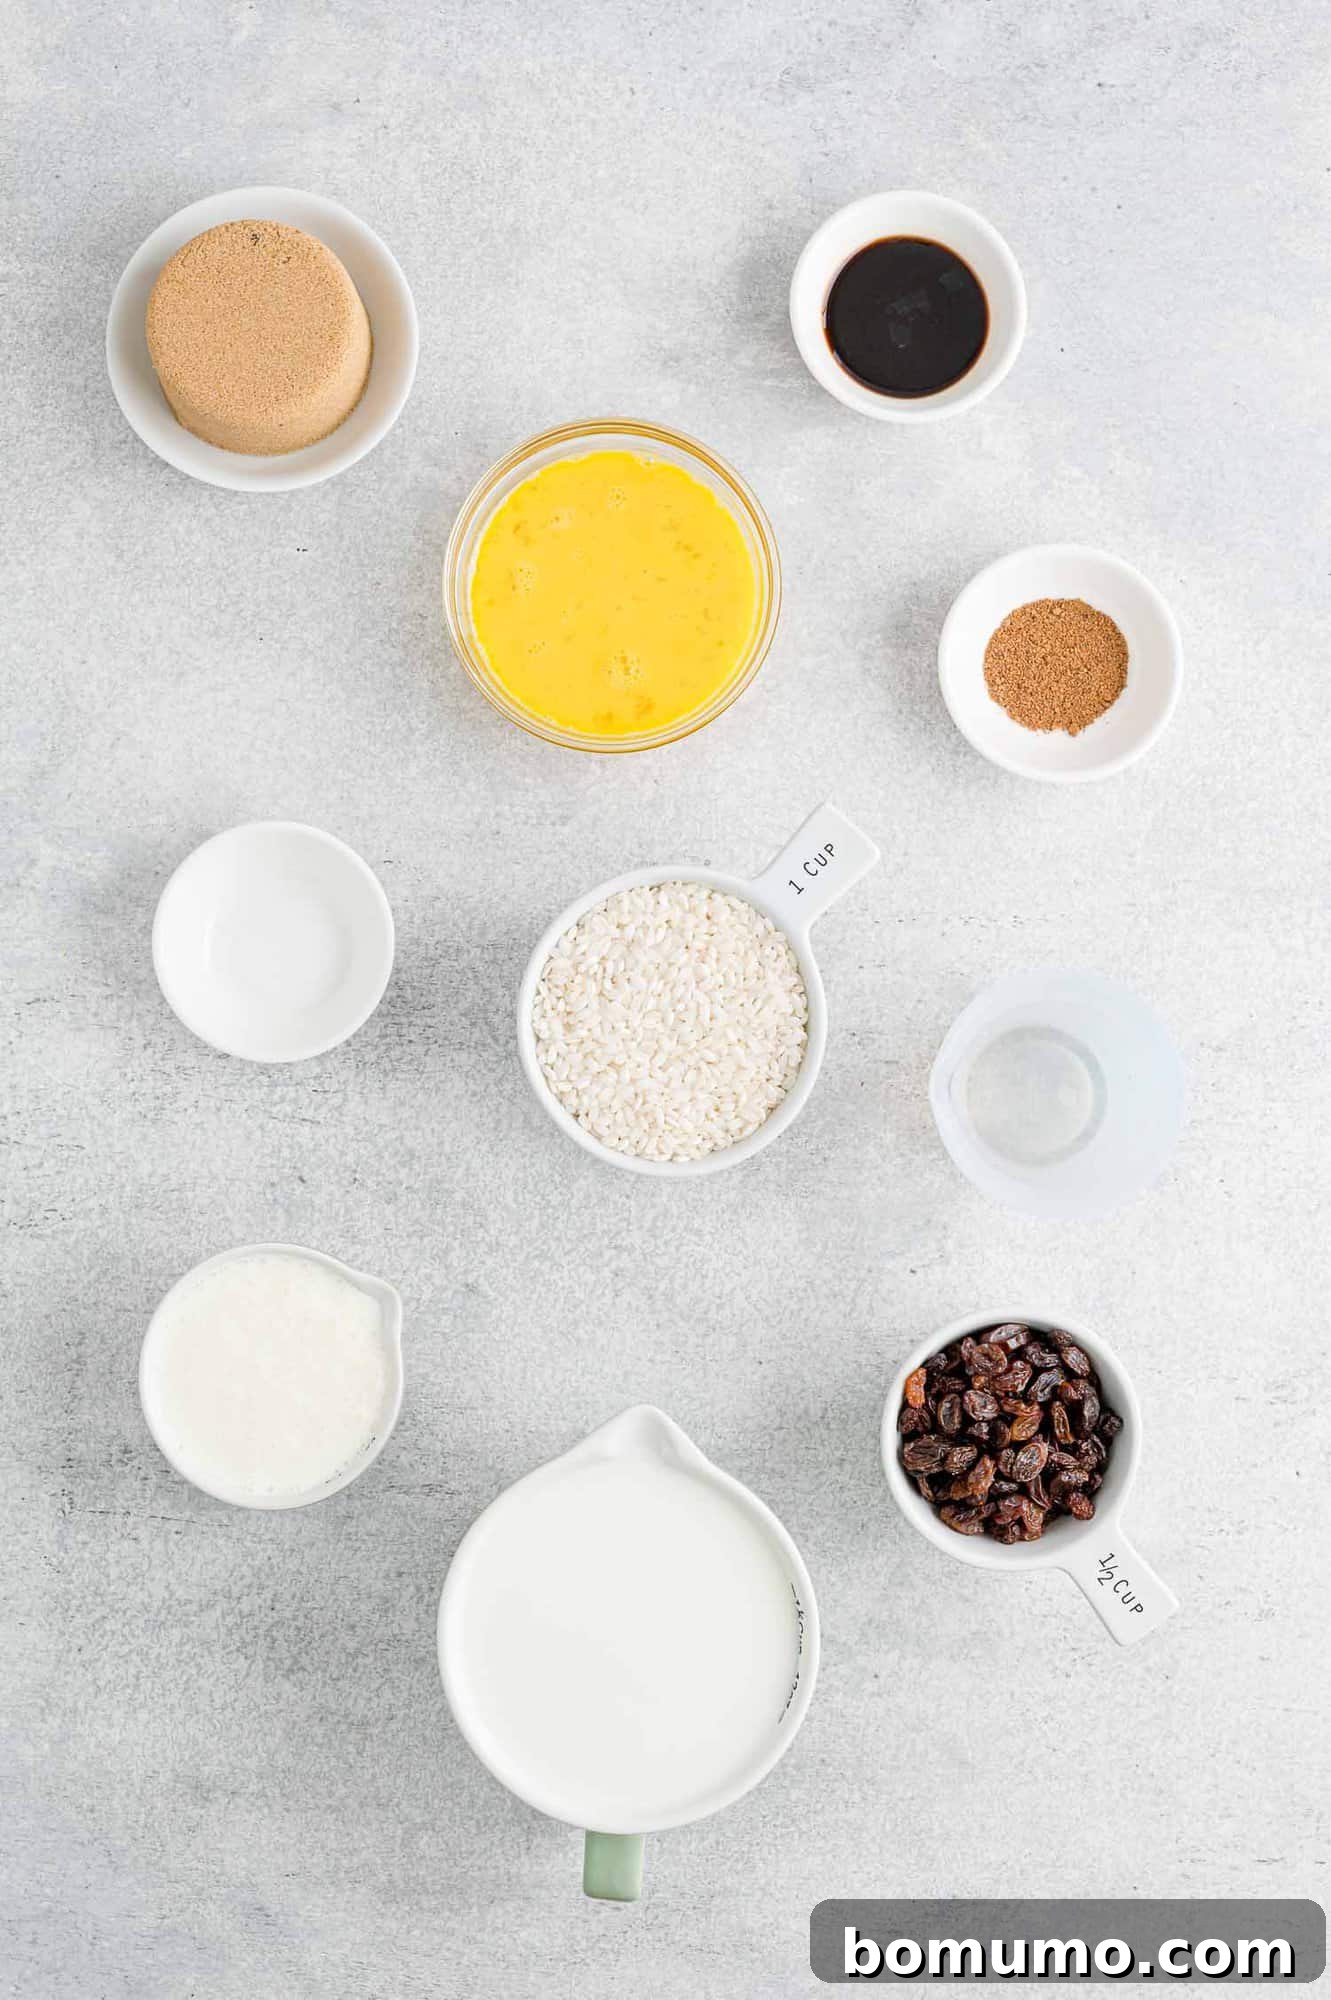
- Basmati Rice: This long-grain white rice is truly the star of our pudding. Basmati grains maintain their shape beautifully during cooking, resulting in a distinct texture that isn’t overly mushy or sticky. Its delicate aroma also subtly enhances the overall flavor. While other long-grain white rice varieties can work, basmati consistently delivers superior results for rice pudding. For more insights on rice selection, refer to our FAQ section below.
- Milk: For an incredibly rich and luxuriously creamy pudding, whole milk is highly recommended. Its higher fat content contributes significantly to the desired velvety texture and prevents separation during the cooking process. Lower-fat milk options tend to separate and can result in a less satisfying, thinner pudding. Since rice and milk form the foundation of this dish, choosing the right milk is paramount.
- Brown Sugar: Our recipe embraces a balanced sweetness, calling for just half a cup of brown sugar. This ensures the pudding is delightfully sweet without being cloying, allowing the natural flavors of the rice and milk to shine through. Brown sugar also adds a subtle caramel note that complements the other ingredients beautifully. Unlike some recipes that rely on sweetened condensed milk for intense sweetness, this version offers a more nuanced flavor.
- Heavy Cream or Half-and-Half: To further enhance the pudding’s luxurious texture, either heavy cream or half-and-half can be used. Heavy cream will naturally yield a richer, more decadent pudding, but we’ve found that half-and-half performs remarkably well, creating a wonderfully creamy result without being excessively heavy. For those unfamiliar, half-and-half is a simple 1:1 blend of heavy cream and whole milk, providing a perfect balance.
- Eggs: You’ll need two large eggs for this recipe. Eggs are crucial for thickening the pudding and adding to its rich, custard-like consistency. For best results and to prevent the eggs from scrambling when added to the hot rice mixture, it’s advisable to bring them to room temperature beforehand. Simply take them out of the refrigerator when you start cooking the rice, and they’ll be ready by the time you need them.
- Vanilla: Pure vanilla extract or vanilla bean paste are both excellent choices. Pure vanilla extract provides a classic, aromatic depth. Vanilla bean paste, while slightly sweeter, offers a more intense vanilla flavor and introduces those charming tiny brown flecks of vanilla bean, which are visually appealing and add to the gourmet feel of the rice pudding. Both can typically be found in the baking aisle, often near spices.
- Nutmeg: Freshly grated nutmeg offers the most vibrant and aromatic flavor, lending a delightful warmth to the pudding. However, pre-ground nutmeg is a perfectly acceptable and convenient alternative if you don’t have fresh nutmeg on hand. A little goes a long way in adding that quintessential spice note.
- Raisins (Optional): Raisins are a traditional addition to rice pudding, providing bursts of sweet, chewy texture. Any type of raisin will work well. If your raisins have become particularly dry and hard, a quick soak in hot water for ten to fifteen minutes will plump them up beautifully before adding them to the pudding. If you’re not a fan of raisins, feel free to omit them entirely; the pudding is delicious either way.
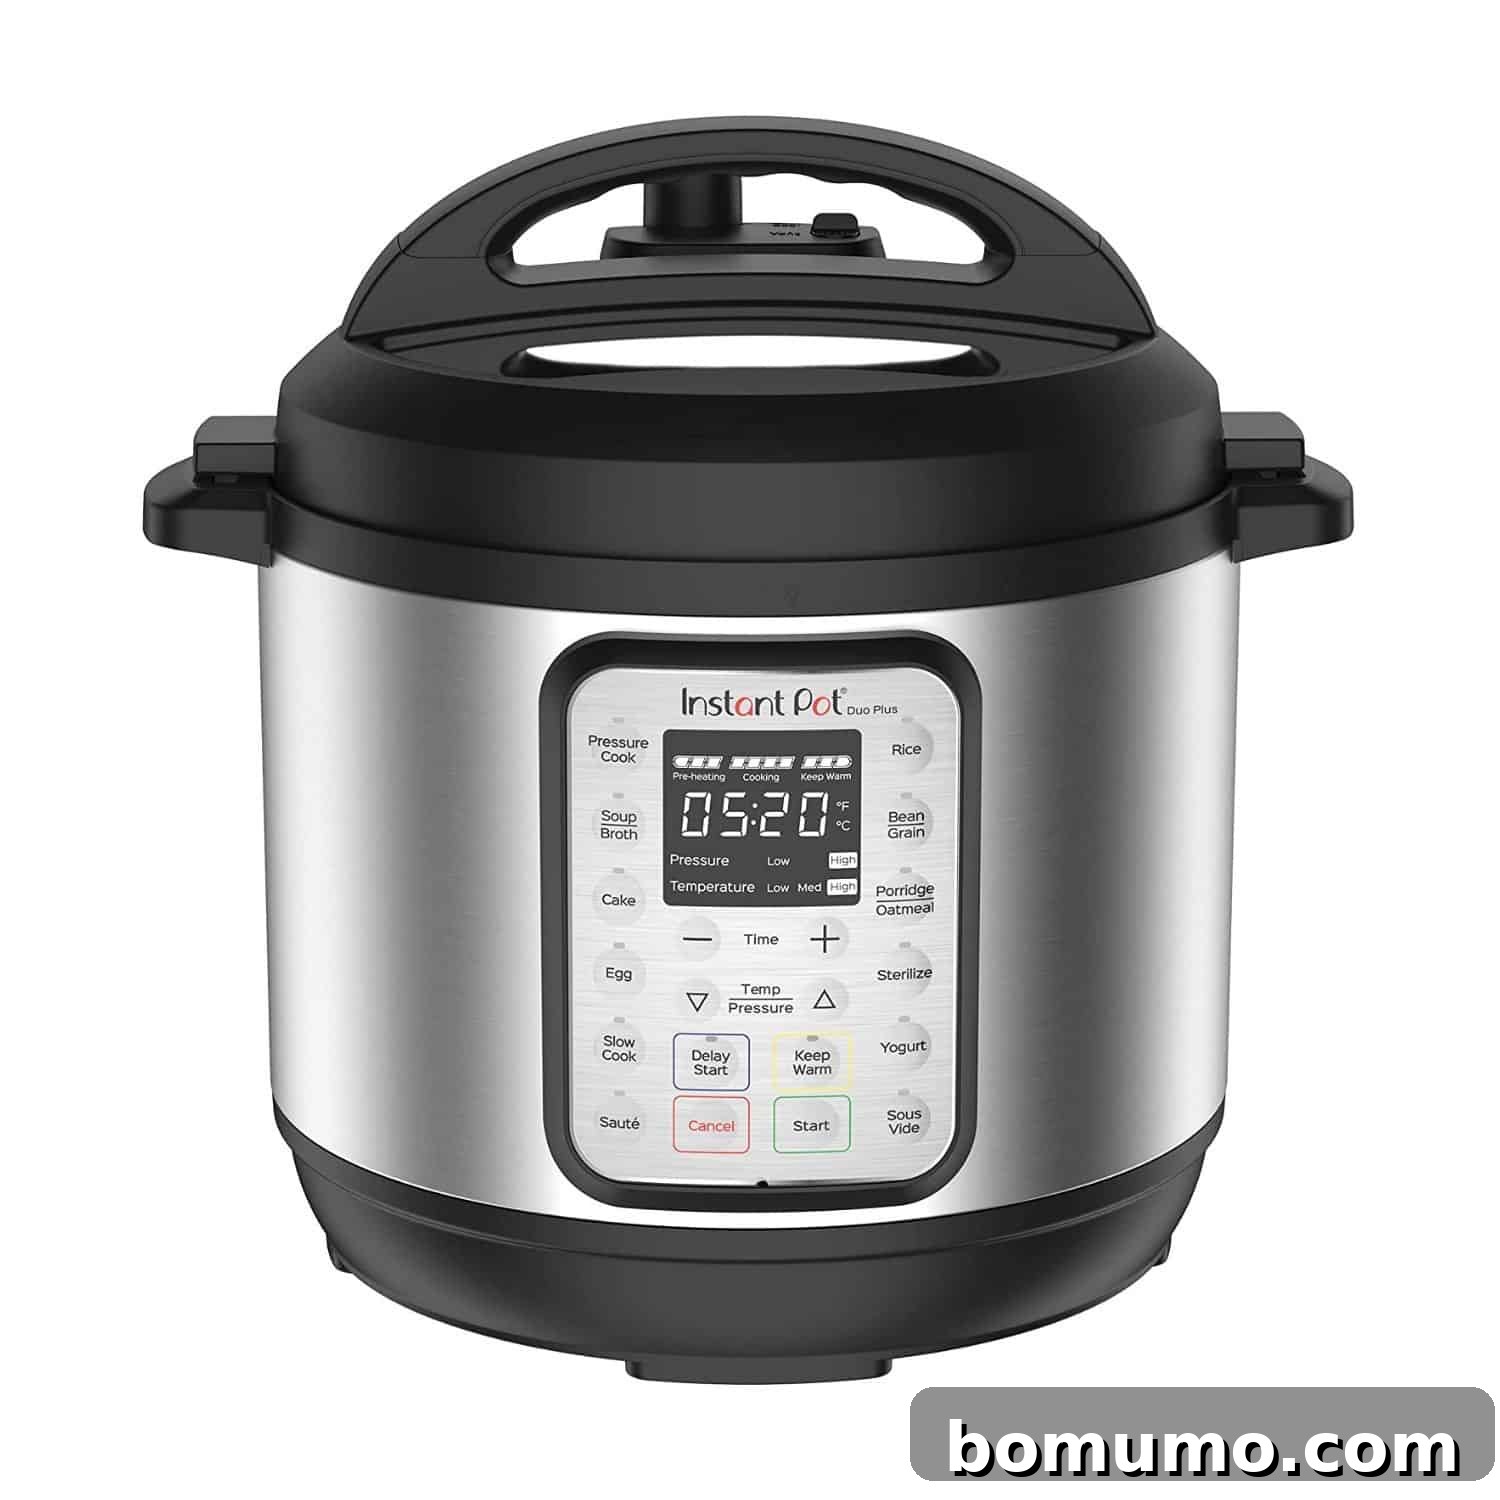
Considering an Instant Pot?
This small kitchen appliance has revolutionized the way many people cook, making everything from complex main dishes to quick meal prep incredibly simple. If you’re pondering whether an Instant Pot is a worthwhile investment, I encourage you to explore my extensive collection of over sixty Instant Pot recipes. You’ll quickly see the immense versatility and convenience it offers, and I believe you’ll be convinced of its value for any modern kitchen.
Step-by-Step Guide: Crafting Your Instant Pot Rice Pudding
Let’s get your Instant Pot ready and dive into making this wonderfully creamy rice pudding! To ensure all your dairy and eggs are at the optimal temperature for mixing, begin by taking out the milk, eggs, and half-and-half from the refrigerator at the start of your cooking process. Although you won’t use them immediately, allowing them to reach room temperature while the rice cooks is crucial for a smooth, lump-free pudding.
If your raisins appear a bit dry and resemble small pebbles rather than plump fruit, don’t worry. Simply place them in a heat-proof bowl and pour about a cup of very hot water over them. Let them soak for ten to fifteen minutes while the rice is cooking; this will help them rehydrate and plump up beautifully. Remember to drain them thoroughly before adding them to your rice pudding.
For easier cleanup, I highly recommend lightly spraying the inside of your Instant Pot’s inner pot with a nonstick cooking spray. This small step makes a big difference when it comes to washing up later.
Now, measure out one cup of basmati rice and add it to the Instant Pot. Pour in one cup of water, one cup of milk (from your total amount), and a quarter teaspoon of salt. Secure the lid, ensuring it’s properly locked. Set your Instant Pot to “Pressure Cook” for five minutes. Depending on your model, this setting might be labeled “Manual” or “High Pressure.”
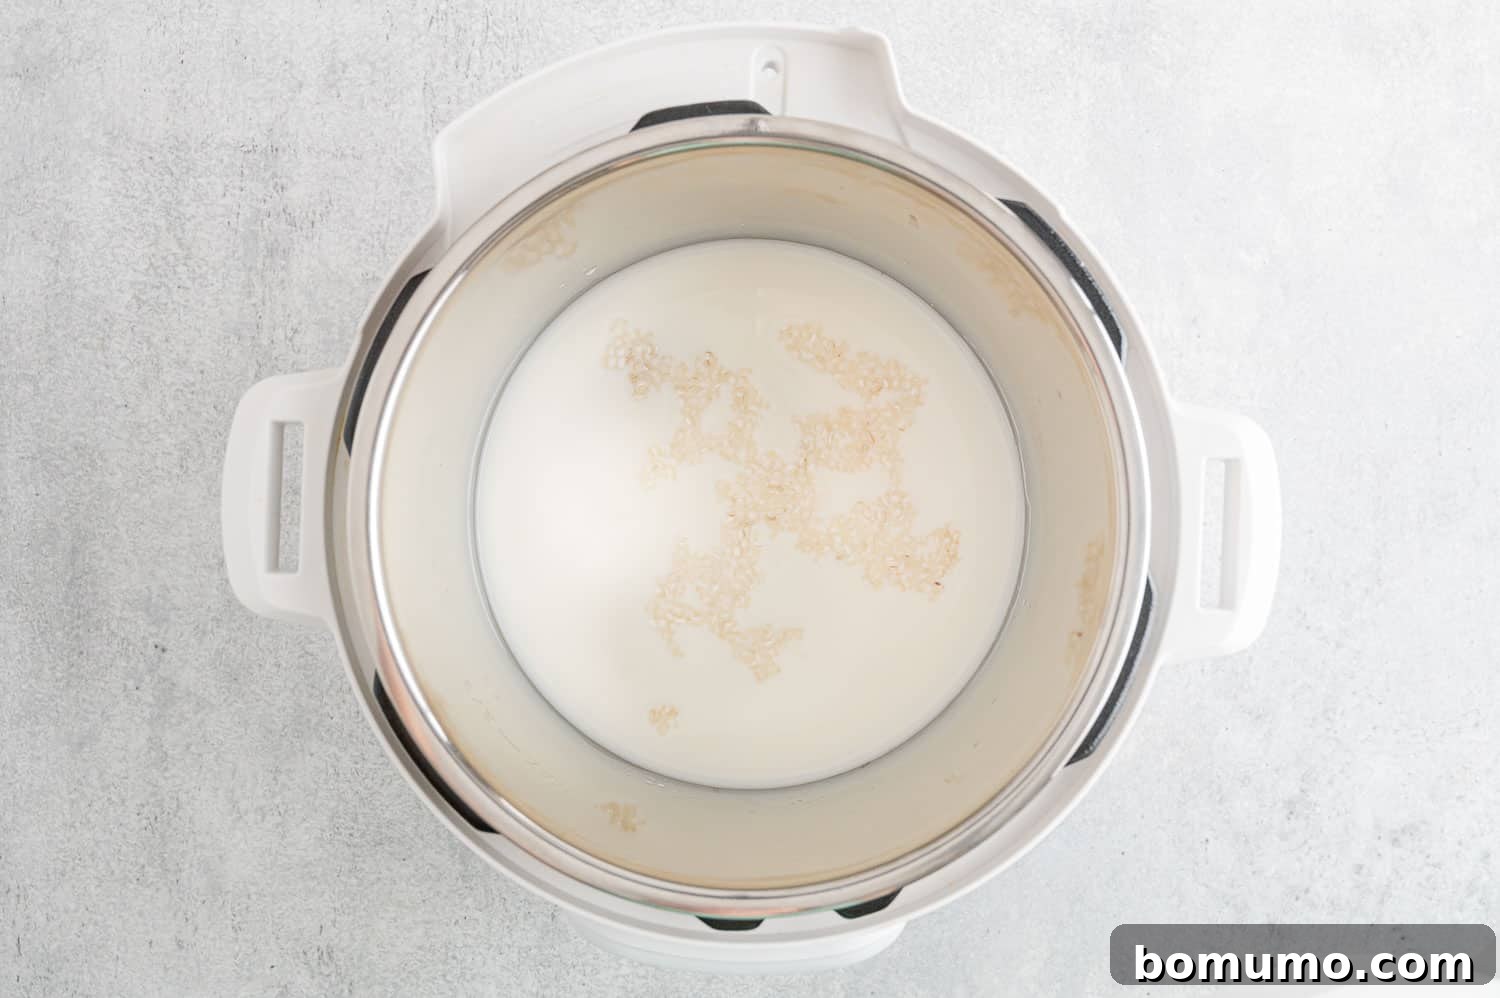
Allow approximately 10 to 11 minutes for the Instant Pot to come to full pressure. Once it reaches pressure, the float valve will rise.
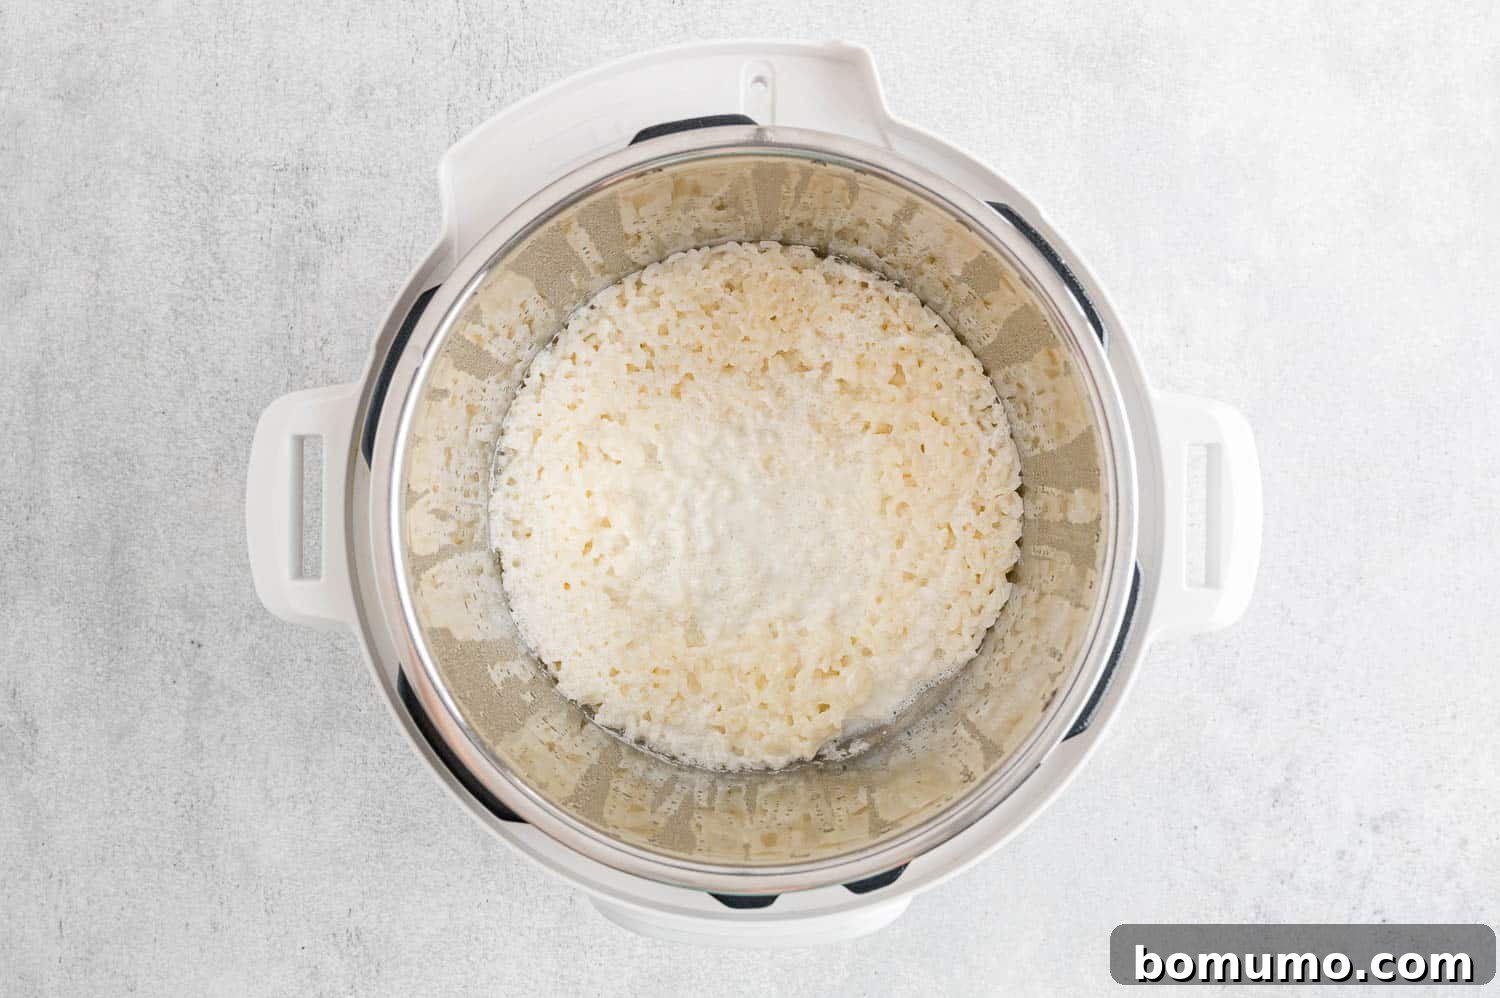
When the timer for the cooking cycle goes off, do not immediately release the pressure. Instead, leave the cover on and allow the pressure to release naturally for ten minutes. This “Natural Release” (NR) means you simply let the pot sit undisturbed, perhaps setting a separate timer to keep track of the ten minutes. This method helps the rice finish cooking gently and absorb the liquids effectively.
After the ten minutes of natural release, carefully release any remaining pressure by turning the steam release valve to the “Venting” position. Once the float valve drops, it’s safe to remove the lid. Stir in the brown sugar. At this stage, the mixture might not yet resemble the thick, creamy pudding you expect, but rest assured, this is perfectly normal and part of the process.
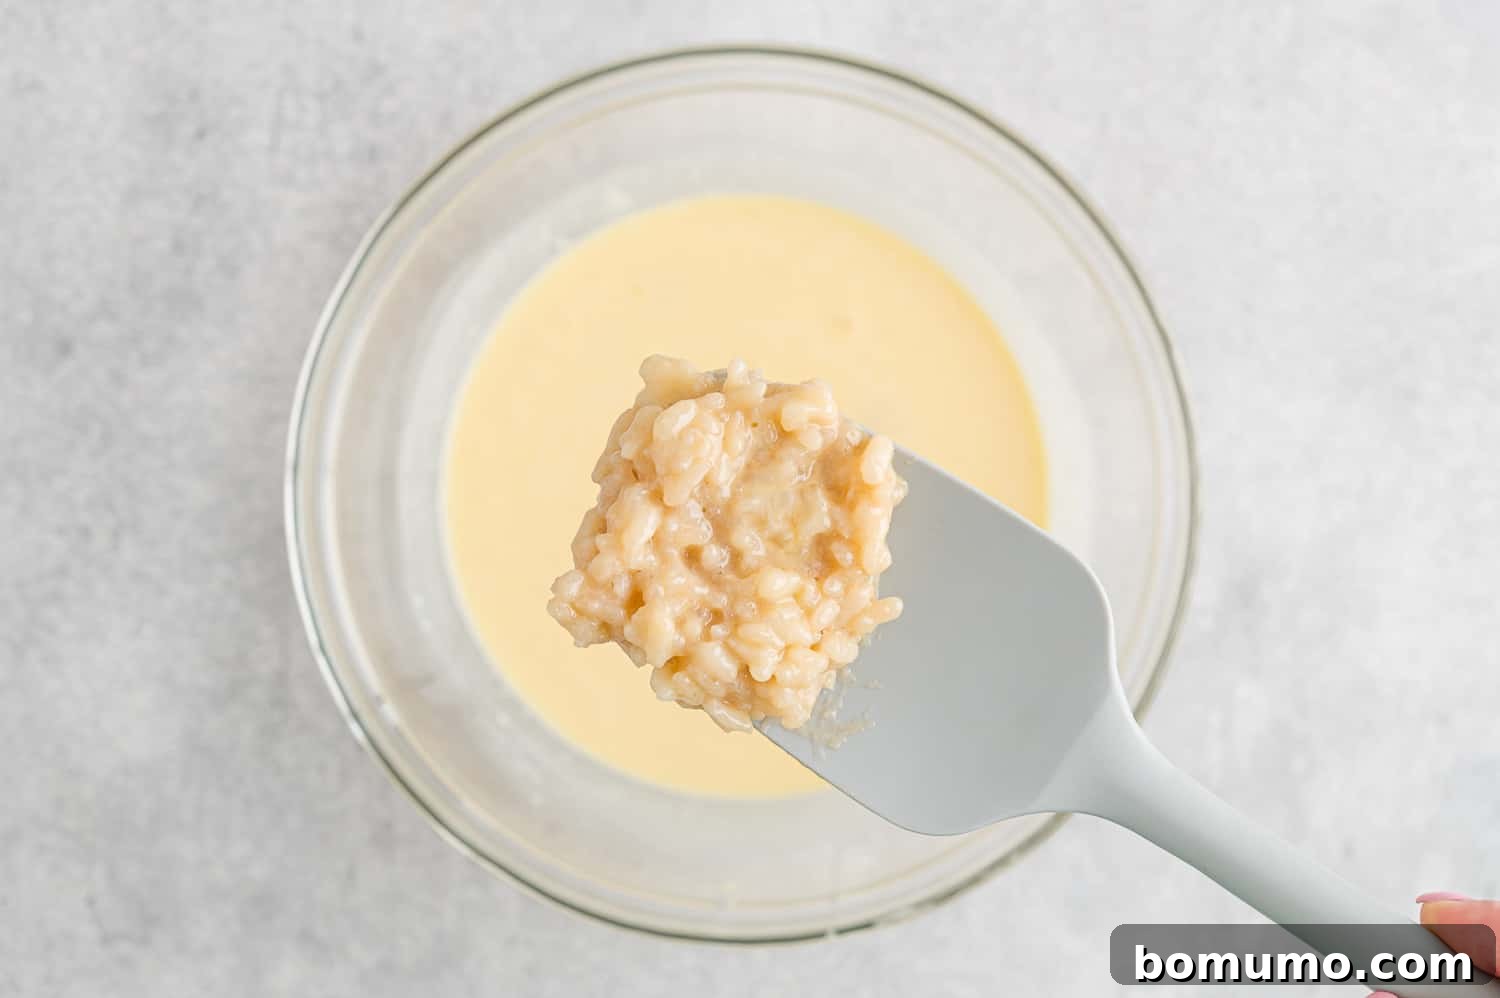
In a separate medium-sized mixing bowl, whisk together the remaining milk, cream (or half-and-half), and the beaten eggs until well combined. Choose a bowl that offers a little extra room for whisking. Now, it’s time for a crucial step known as tempering the eggs. Carefully scoop out about half a cup of the hot rice mixture from the Instant Pot and slowly drizzle it into the egg mixture while continuously whisking. This gradual warming of the eggs prevents them from cooking too quickly and scrambling when they are eventually added back to the hot pudding. Tempering ensures a smooth, creamy texture without any unwanted lumps of cooked egg.
With the eggs tempered, it’s time to combine everything. Slowly pour the warmed milky egg and rice mixture back into the Instant Pot, which still contains the cooked rice. Turn the Instant Pot to the “Sauté” mode on a low setting. Stirring constantly to prevent sticking and ensure even cooking, bring the mixture to a gentle simmer. Allow the pudding to cook for a few minutes, continuing to stir, until you notice it beginning to thicken slightly. The constant stirring during this stage is important for achieving a smooth consistency.
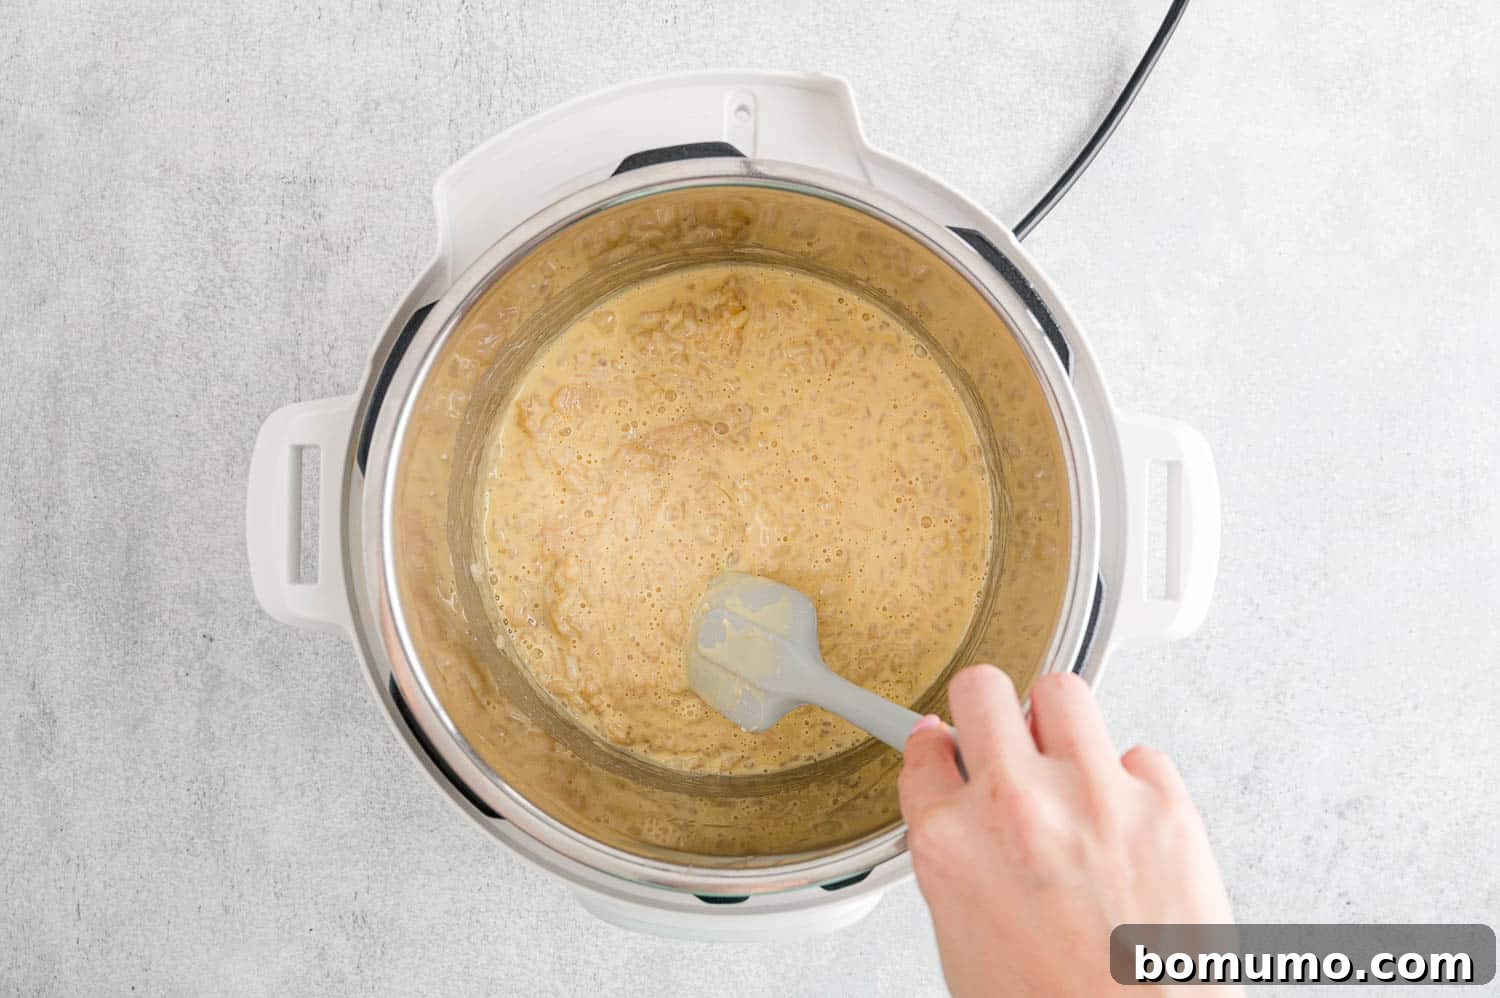
Once the pudding has thickened to your liking, turn off the Instant Pot. Stir in the vanilla extract (or paste), freshly grated nutmeg, and the plumped raisins (if you’re using them). At this point, the rice pudding will still appear somewhat thin. Do not be alarmed or discouraged; it’s supposed to be this way! Rice pudding thickens considerably as it cools. Immediately and carefully transfer the extremely hot pudding into a large serving bowl or individual dishes. Be very cautious while handling, as the pudding is steaming hot.
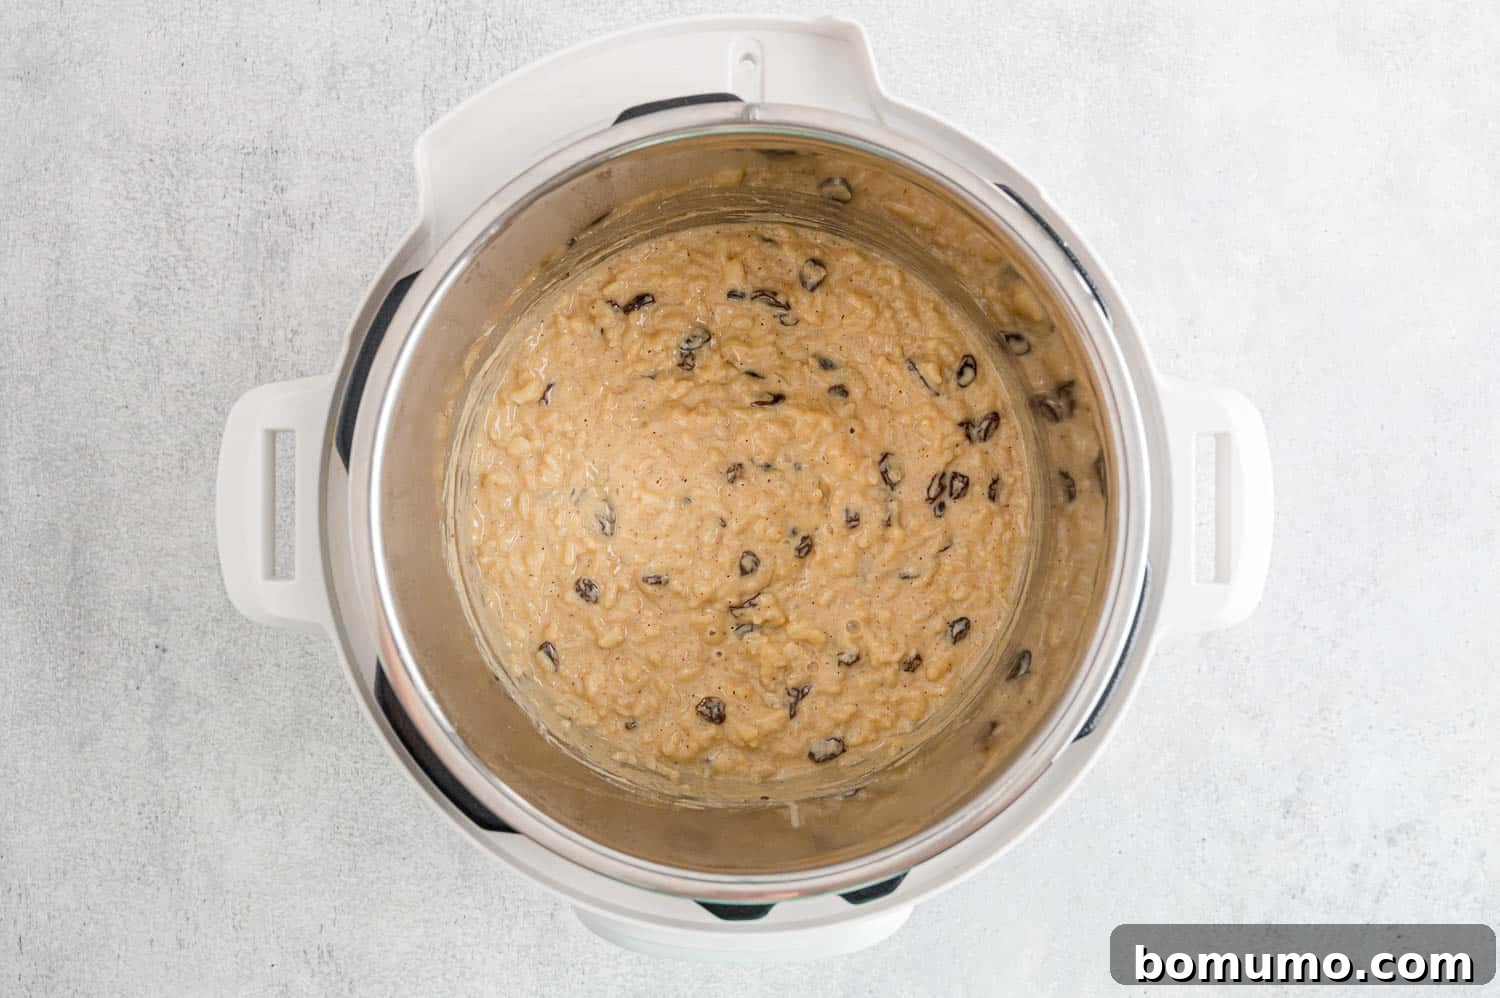
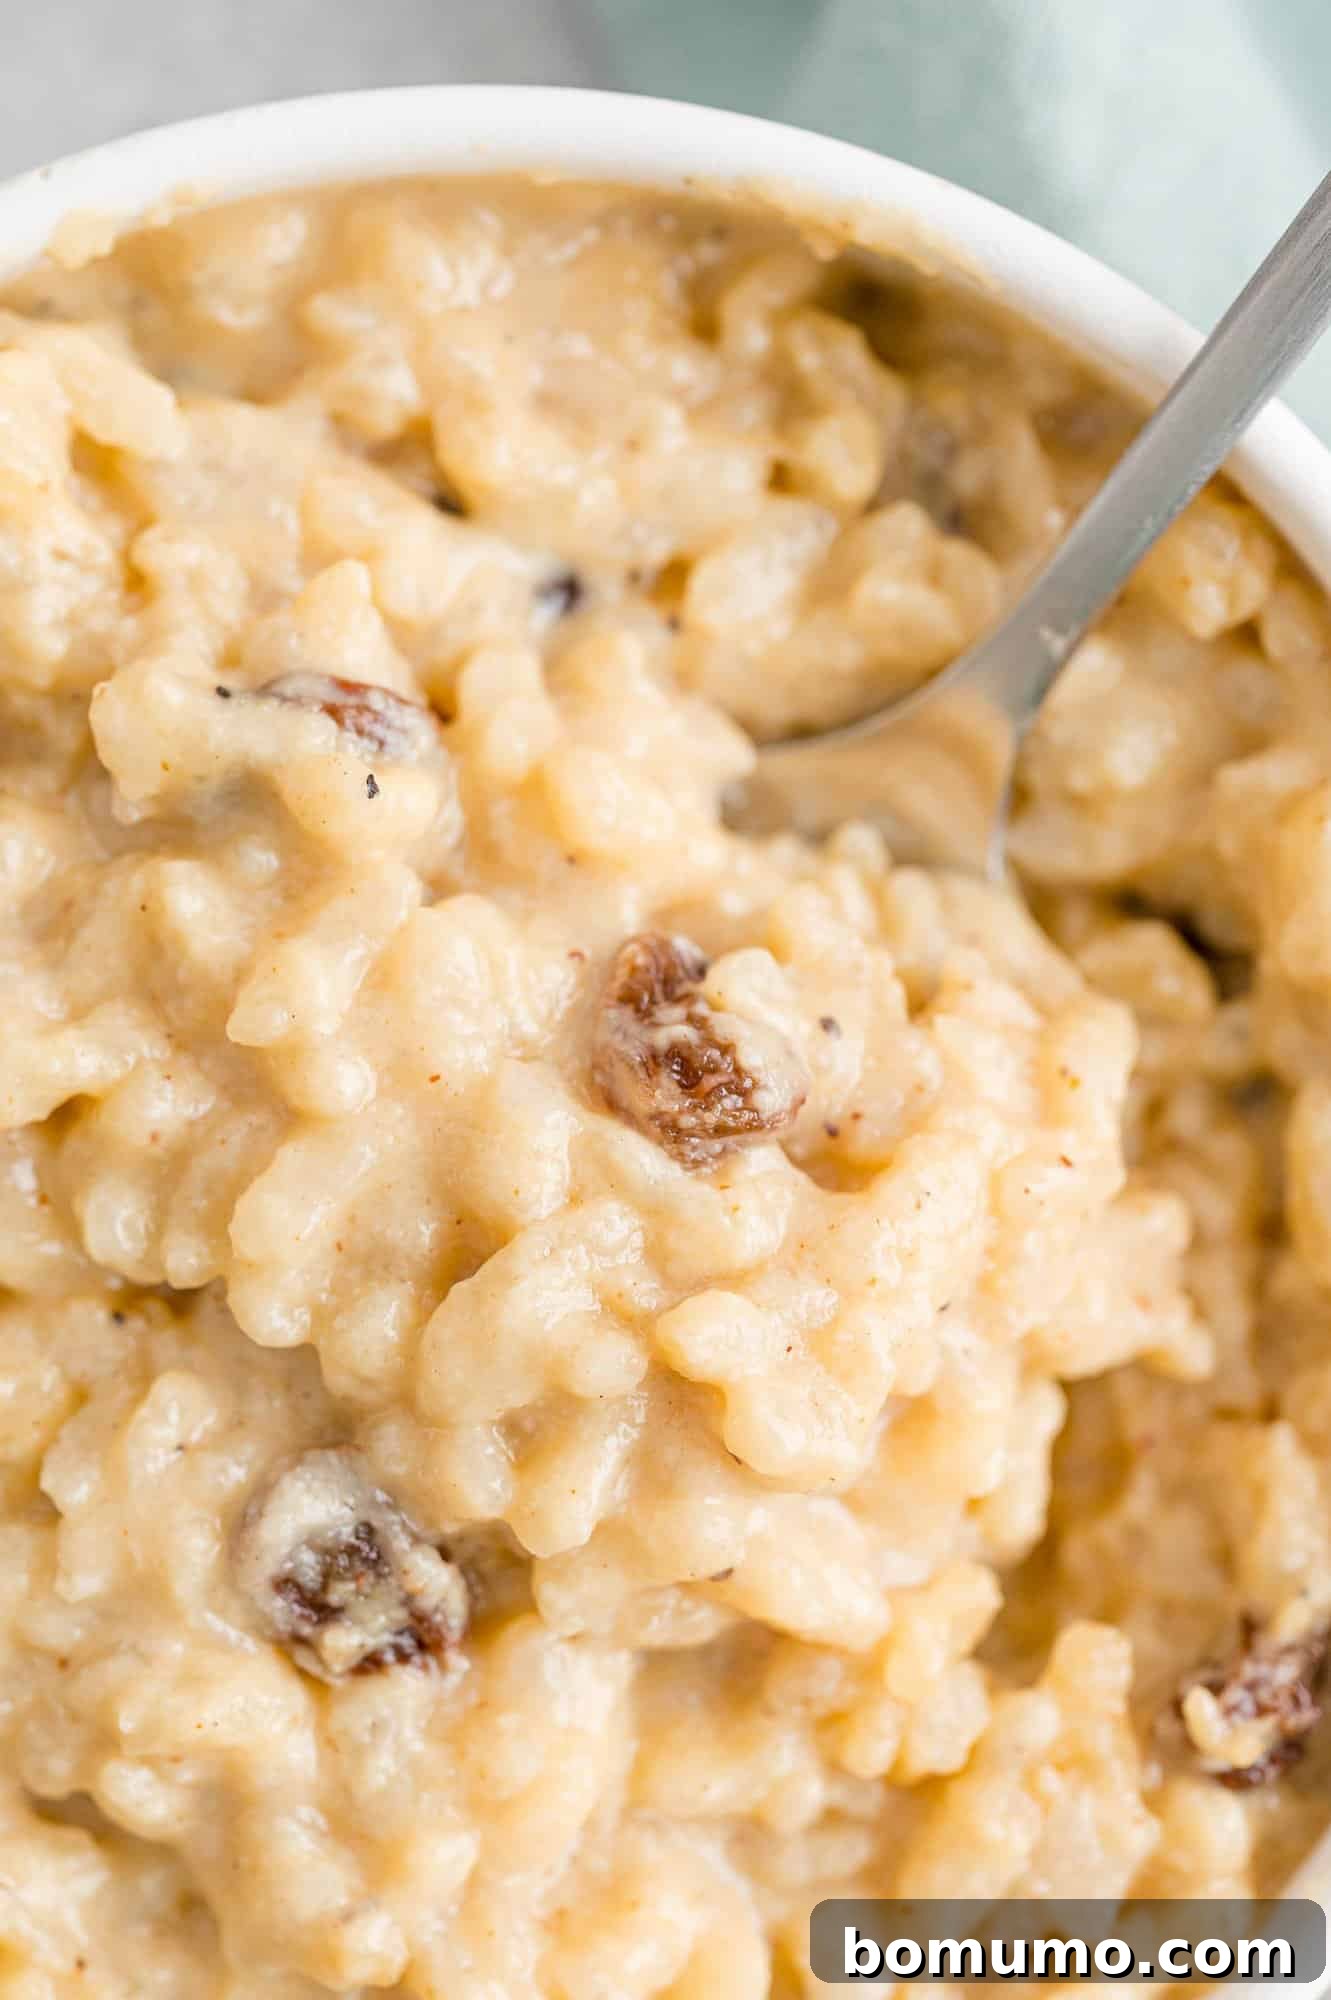
Allow the pudding to cool for at least fifteen minutes before serving. While it can be enjoyed either warm or chilled, many find its rich, creamy texture and subtle warmth most delightful when served warm. For an extra touch of flavor, a light sprinkle of cinnamon on top is always a wonderful addition. Enjoy your homemade Instant Pot rice pudding!
FAQs
FAQs
For the ideal rice pudding texture and flavor, we strongly recommend using a long-grain white rice. Through extensive testing, basmati rice has emerged as our top choice. Its distinct grains cook up beautifully, retaining their individual shape and preventing the pudding from becoming overly mushy or sticky. Basmati also imparts a lovely, subtle fragrance. Jasmine rice is another excellent second choice, offering a similar desirable texture. Short-grained rice varieties, such as arborio, are generally not suitable for this type of rice pudding as they tend to become too soft and glutinous, resulting in a very different consistency than what we aim for in this recipe.
It’s a common concern! Rest assured, rice pudding thickens considerably as it cools. If your freshly made Instant Pot rice pudding appears a bit runny or liquidy, don’t be alarmed or think you’ve made a mistake. Simply give it time – allow it to cool for ten to fifteen minutes, or even longer if serving chilled. You’ll be pleasantly surprised by how much it firms up and achieves that desirable creamy consistency. Traditional stovetop rice pudding recipes often require constant stirring to prevent a watery outcome, but the Instant Pot largely eliminates this challenge by cooking the rice perfectly from the start. Sticking to the precise measurements in the recipe will ensure the best possible thickening results as it cools.
While this recipe is optimized for whole milk and cream for maximum richness, you can experiment with dairy-free alternatives. Full-fat coconut milk or a high-quality, unsweetened oat milk could work, but be aware that the final texture and flavor will be different. Coconut milk will impart a distinct coconut flavor. The pudding might also be slightly less thick. For best results with dairy-free options, choose those with a higher fat content to mimic the creaminess.
The “healthiness” largely depends on the ingredients used. This Instant Pot recipe uses simple, wholesome components similar to traditional recipes, but with less added sugar than many overly sweet versions. The Instant Pot method primarily offers convenience and consistency rather than a drastic change in nutritional profile. It’s a satisfying dessert that can be enjoyed in moderation as part of a balanced diet. You can adjust sugar levels or choose lower-fat milk options for a lighter version, keeping in mind potential changes in texture.
Customize Your Comfort: Make It Your Own
One of the joys of cooking is the ability to personalize recipes to your taste. Here are some ideas to make this Instant Pot rice pudding uniquely yours:
- Rice Alternatives: While basmati rice is our top recommendation, you can certainly experiment with other long-grain white rice varieties or jasmine rice. Each will yield a slightly different texture, but all will be delicious. Avoid short-grain varieties for this particular recipe’s intended consistency.
- Dairy-Free & Gluten-Free Options: For those with dietary restrictions, creating a vegan, dairy-free, or gluten-free rice pudding is entirely possible. Explore dedicated recipes like this delicious vegan rice pudding from One Lovely Life, which often utilize plant-based milks and alternative thickeners to achieve a similar comforting experience.
- Spice Variations: Beyond nutmeg, consider adding a pinch of ground cinnamon, a touch of cardamom, or even a tiny amount of star anise for an exotic twist. These spices pair beautifully with rice and milk.
- Fruit & Nut Additions: If you enjoy raisins, try other dried fruits like chopped apricots, cranberries, or dates. Toasted chopped nuts such as pecans, walnuts, or almonds can add a delightful crunch and nutty flavor. Fresh berries or sliced bananas can also be a fantastic topping when serving.
- Flavor Boosts: A swirl of caramel sauce, a drizzle of honey, or a spoonful of orange zest can introduce new layers of flavor. For a more intense vanilla experience, you could steep a whole vanilla bean in the milk during the initial cooking phase.
- Beyond Rice Pudding: If you’re keen on exploring other pudding types, especially for a lighter or different textural experience, consider delving into chia puddings. My maple cinnamon chia pudding or rich chocolate chia pudding offer satisfying alternatives that are equally easy to prepare.
Storage Tips
Storage Tips
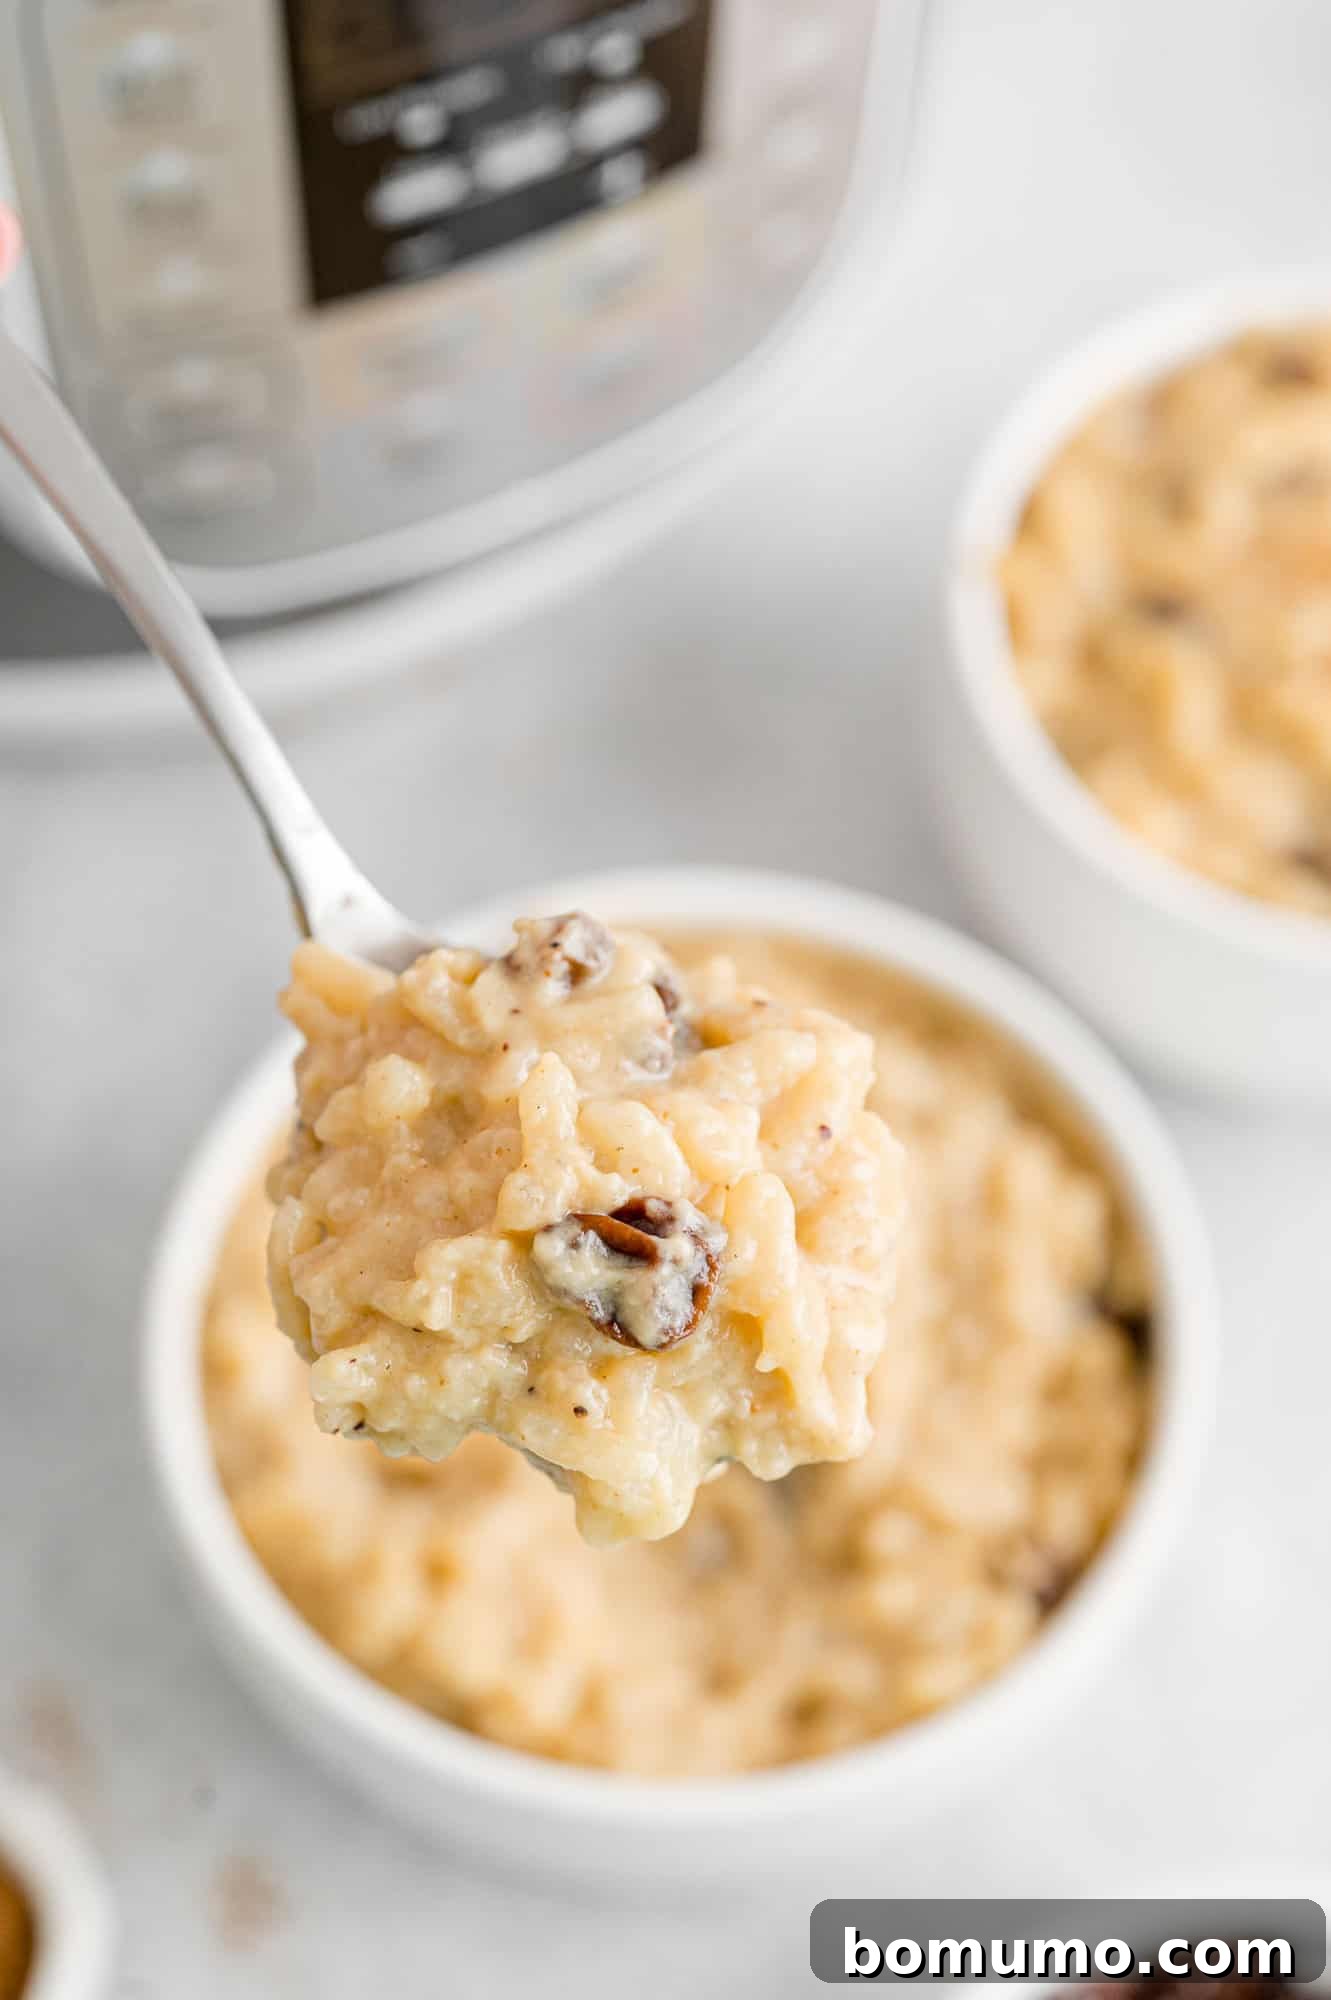
To properly store your Instant Pot rice pudding, first allow it to cool down at room temperature for about an hour. For quicker cooling, spread it out in a shallow dish. Once cooled, transfer the pudding to an airtight container and refrigerate for up to three days. Unfortunately, rice pudding does not freeze well; its texture can become grainy and unappealing upon thawing.
Rice pudding is typically best enjoyed warm. As it chills, it naturally thickens quite a bit. When reheating, you might find that you need to stir in a splash of milk or half-and-half to restore its creamy consistency. For individual portions, reheat in the microwave at medium power in 30-second increments, stirring after each interval, until warmed through to your preference.
Leftover Love
Leftover Love
Don’t let any of this delicious rice pudding go to waste! Leftovers make for an incredibly comforting breakfast or a delightful afternoon snack. Warm up individual portions and get creative with your toppings. Consider sliced fresh bananas and a sprinkle of cinnamon for a classic pairing, or a generous dollop of warm homemade apple compote. Fresh berries, such as strawberries, blueberries, or raspberries, also add a lovely burst of freshness and color. A touch of maple syrup or honey can further enhance the breakfast experience.
More Cozy Desserts
Apple Blueberry Crisp
The Best Banana Cake – seriously!
Cranberry Clafoutis
Easy Shortcakes Recipe – for Strawberry Shortcake
Instant Pot Rice Pudding Recipe
Rachel Gurk
10 minutes
15 minutes
10 minutes
35 minutes
8
servings

Ingredients
- 1 cup basmati rice
- 2 ½ cups whole milk, divided
- 1 cup water
- ¼ teaspoon salt
- ½ cup brown sugar
- ½ cup half-and-half or heavy cream, room temperature
- 2 large eggs, beaten, room temperature
- 1 teaspoon pure vanilla extract
- ½ teaspoon freshly grated nutmeg
- ½ cup raisins, optional
Instructions
-
If desired, lightly spray the inside of your Instant Pot with nonstick spray for easier cleanup. Combine the measured rice, 1 cup of milk, water, and salt directly in the Instant Pot. Securely close and lock the lid. Select the “Pressure Cook” function (or “Manual” on High Pressure, depending on your specific model) and set the cooking time for 5 minutes. The Instant Pot will then take approximately 10 minutes to build up to full pressure before the cooking cycle begins. Once the 5-minute cooking timer finishes, allow the pressure to naturally release for 10 minutes. This means you do nothing for these 10 minutes, letting the pot sit undisturbed. After the 10-minute natural release, carefully release any remaining pressure by turning the steam release valve, then remove the lid.
-
Stir the brown sugar into the cooked rice mixture until well combined.
-
In a medium-sized mixing bowl, whisk together the half-and-half (or heavy cream), the remaining 1 ½ cups of milk, and the beaten eggs until homogenous. To temper the egg mixture and prevent scrambling, gradually scoop about half a cup of the hot rice mixture from the Instant Pot and slowly add it to the egg mixture, whisking continuously. Now, turn your Instant Pot to the “Sauté” function (on a low setting). Gradually pour the tempered egg mixture into the rice in the Instant Pot, stirring constantly.
-
Continue to stir constantly while the mixture heats up on Sauté mode. Bring it to a gentle simmer and cook for 2 to 3 minutes, or until you observe the pudding beginning to thicken. Remember, the pudding will continue to thicken significantly as it cools, so don’t overcook it at this stage.
-
Turn off the Instant Pot. Stir in the vanilla extract, freshly grated nutmeg, and the plumped raisins (if you are including them). Immediately transfer the pudding out of the hot Instant Pot into a large serving bowl or individual dishes to prevent it from burning on the bottom and to allow it to cool. Be extremely careful, as the pudding will be very hot.
-
Serve warm or cold, garnished with a sprinkle of cinnamon if desired.
Notes
- The provided nutrition information is an approximation calculated for a half-cup serving, assuming the use of half-and-half and the inclusion of raisins.
- If your raisins are hard or very dry, we recommend soaking them in about a cup of very hot water while the rice cooks. This will plump them up, making them tender and juicy. Ensure they are thoroughly drained before adding them to the pudding.
- Leftover Instant Pot rice pudding stores well. Place it in an airtight container and keep it refrigerated for up to three days. It can be enjoyed cold directly from the fridge, or you can gently reheat single portions in the microwave. If the pudding appears too thick or dry after refrigeration, simply stir in a splash of milk or cream to restore its creamy consistency before serving.
Video
Watch the video below to see how easy it is to make this delicious Instant Pot Rice Pudding!
Nutrition
Nutrition information is automatically calculated, so should only be used as an approximation.
Did You Make This?
Share a comment and rating below! I love hearing what you think!