
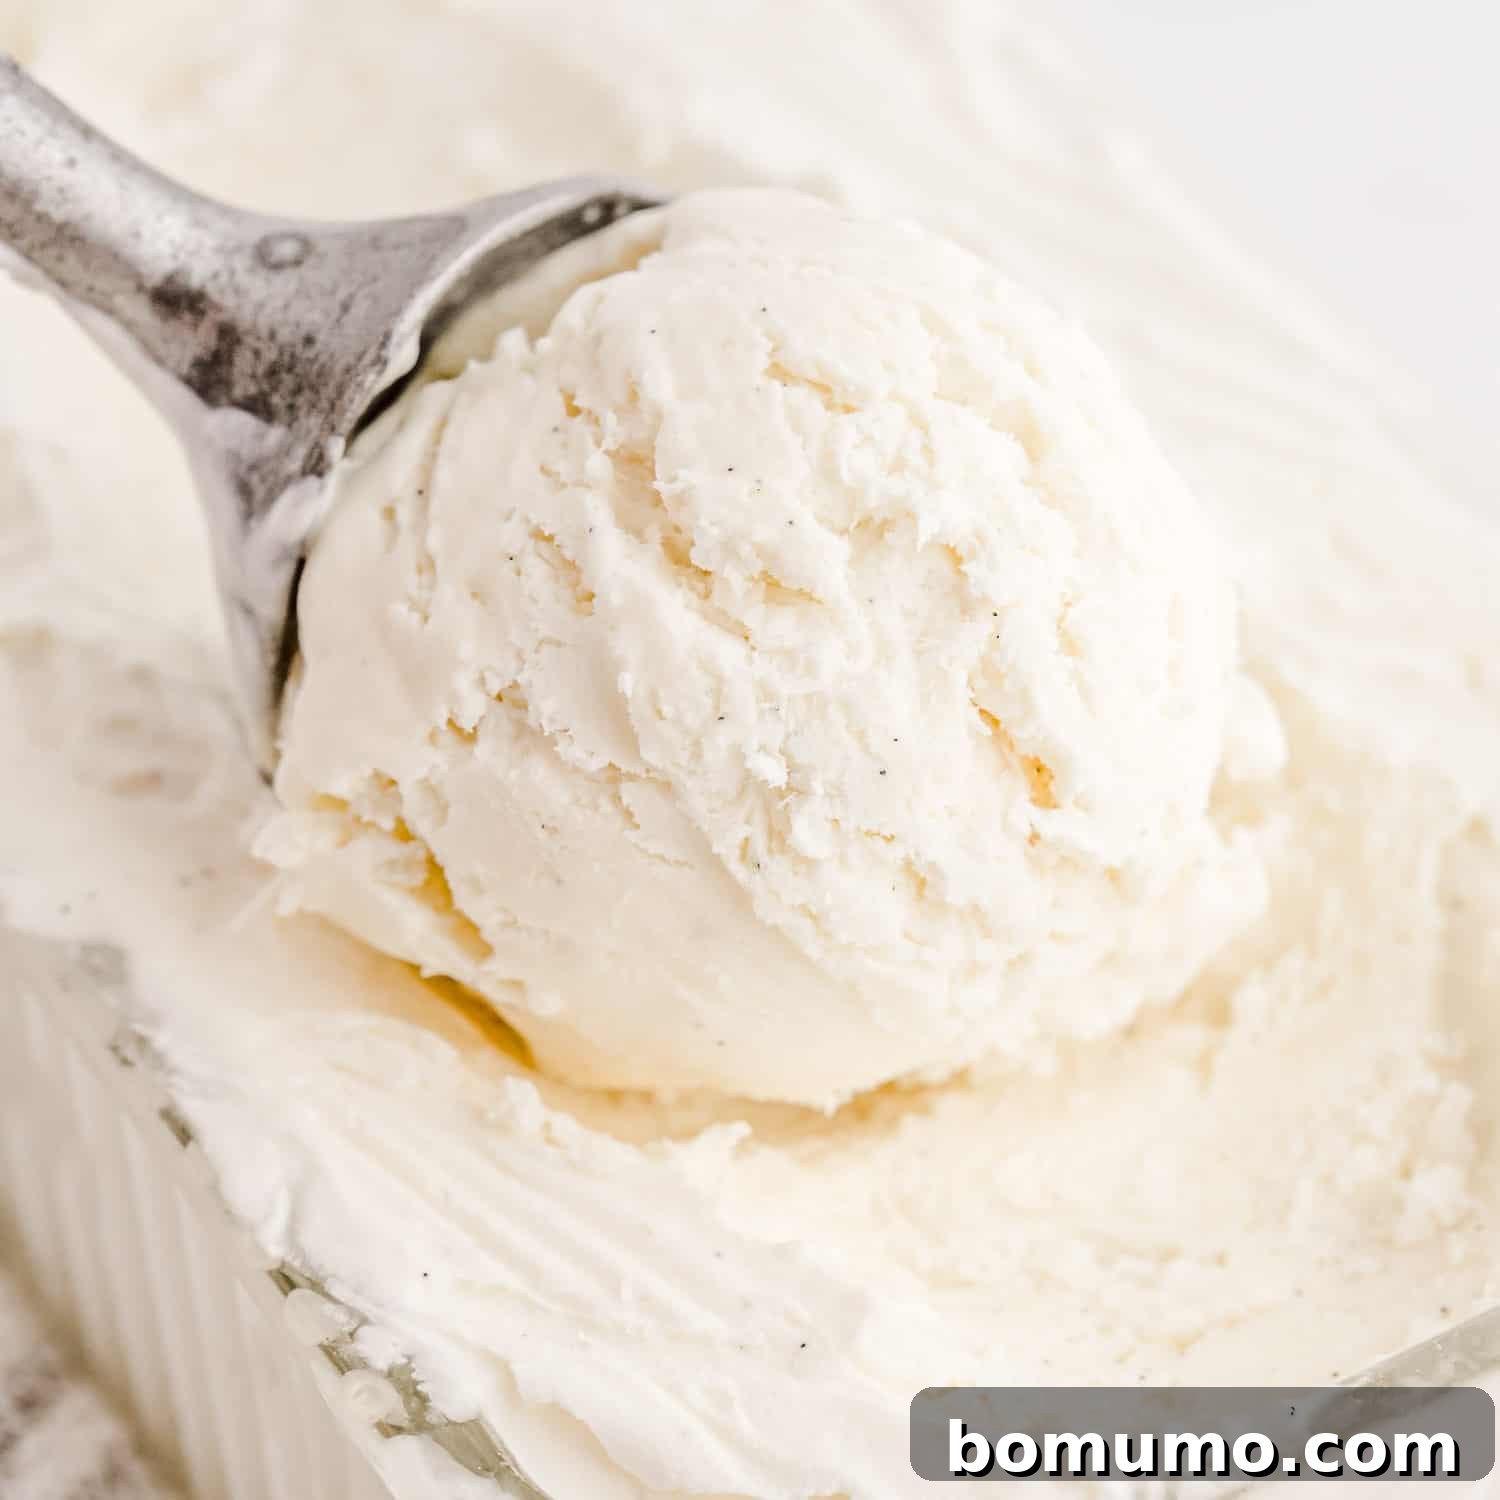
Recipe Highlights
Why you’ll adore this recipe: Discover the ultimate simplicity of homemade vanilla ice cream with this incredible no-churn recipe! Requiring just 3 staple ingredients and a mere 15 minutes of active preparation, this method lets you create a rich, exceptionally creamy, and intensely flavorful vanilla ice cream right in your kitchen. Infused with real vanilla bean, it’s the perfect indulgent treat for any time of year, especially summer. Best of all? No specialized ice cream maker is needed – just a simple electric mixer!
Time commitment: Only 15 minutes for prep, followed by approximately 6 hours of freezing time.
Essential tools: An electric mixer (handheld or stand mixer works great), and a refrigerator/freezer.
Yields: This recipe generously serves 10 people, making it ideal for sharing with family and friends.
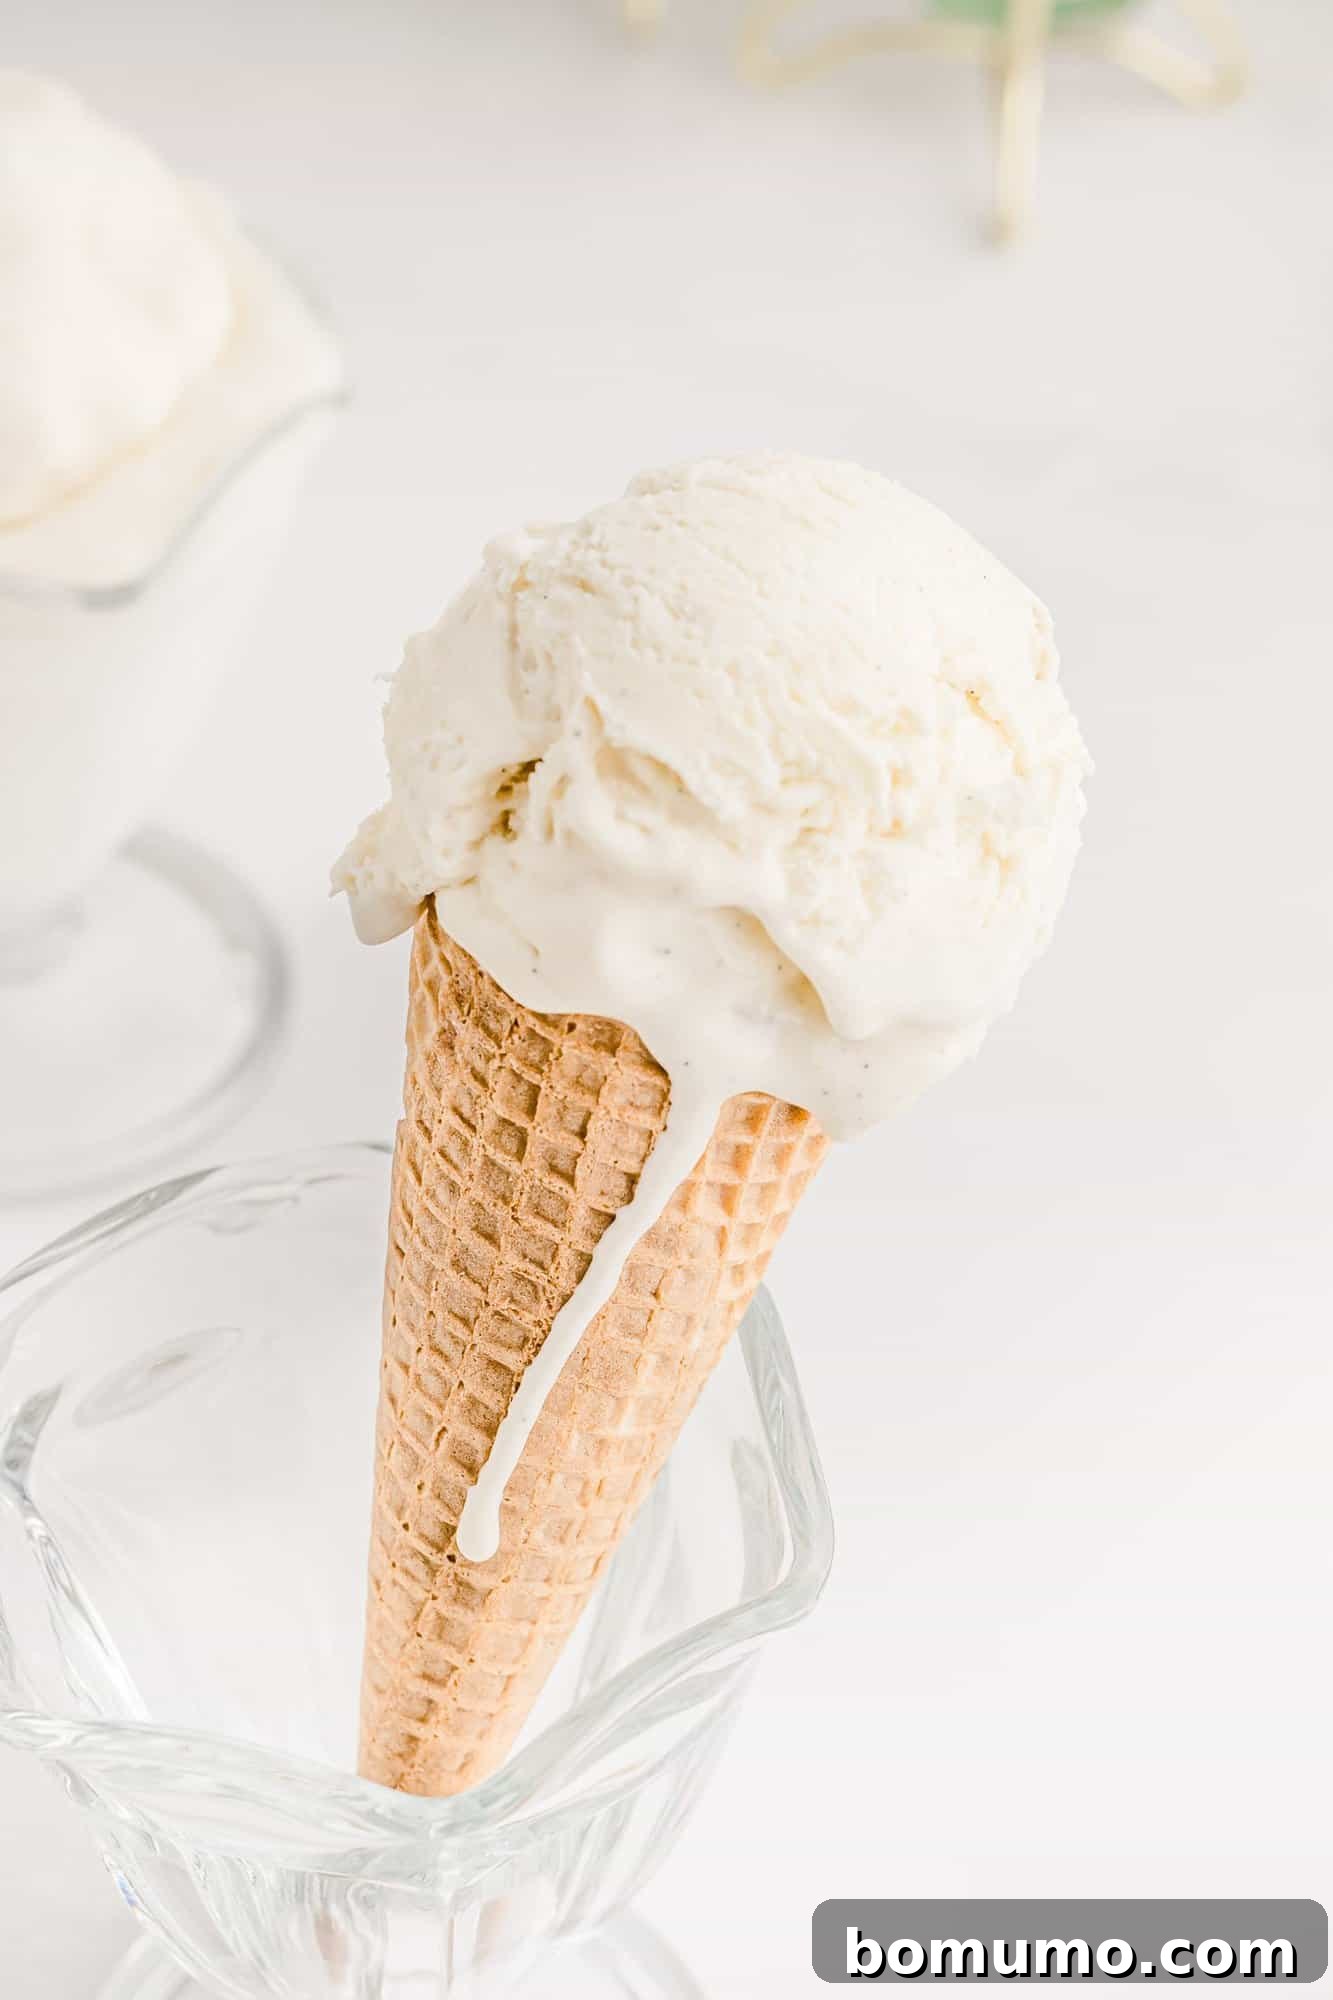
Crafting the Ultimate No-Churn Vanilla Ice Cream
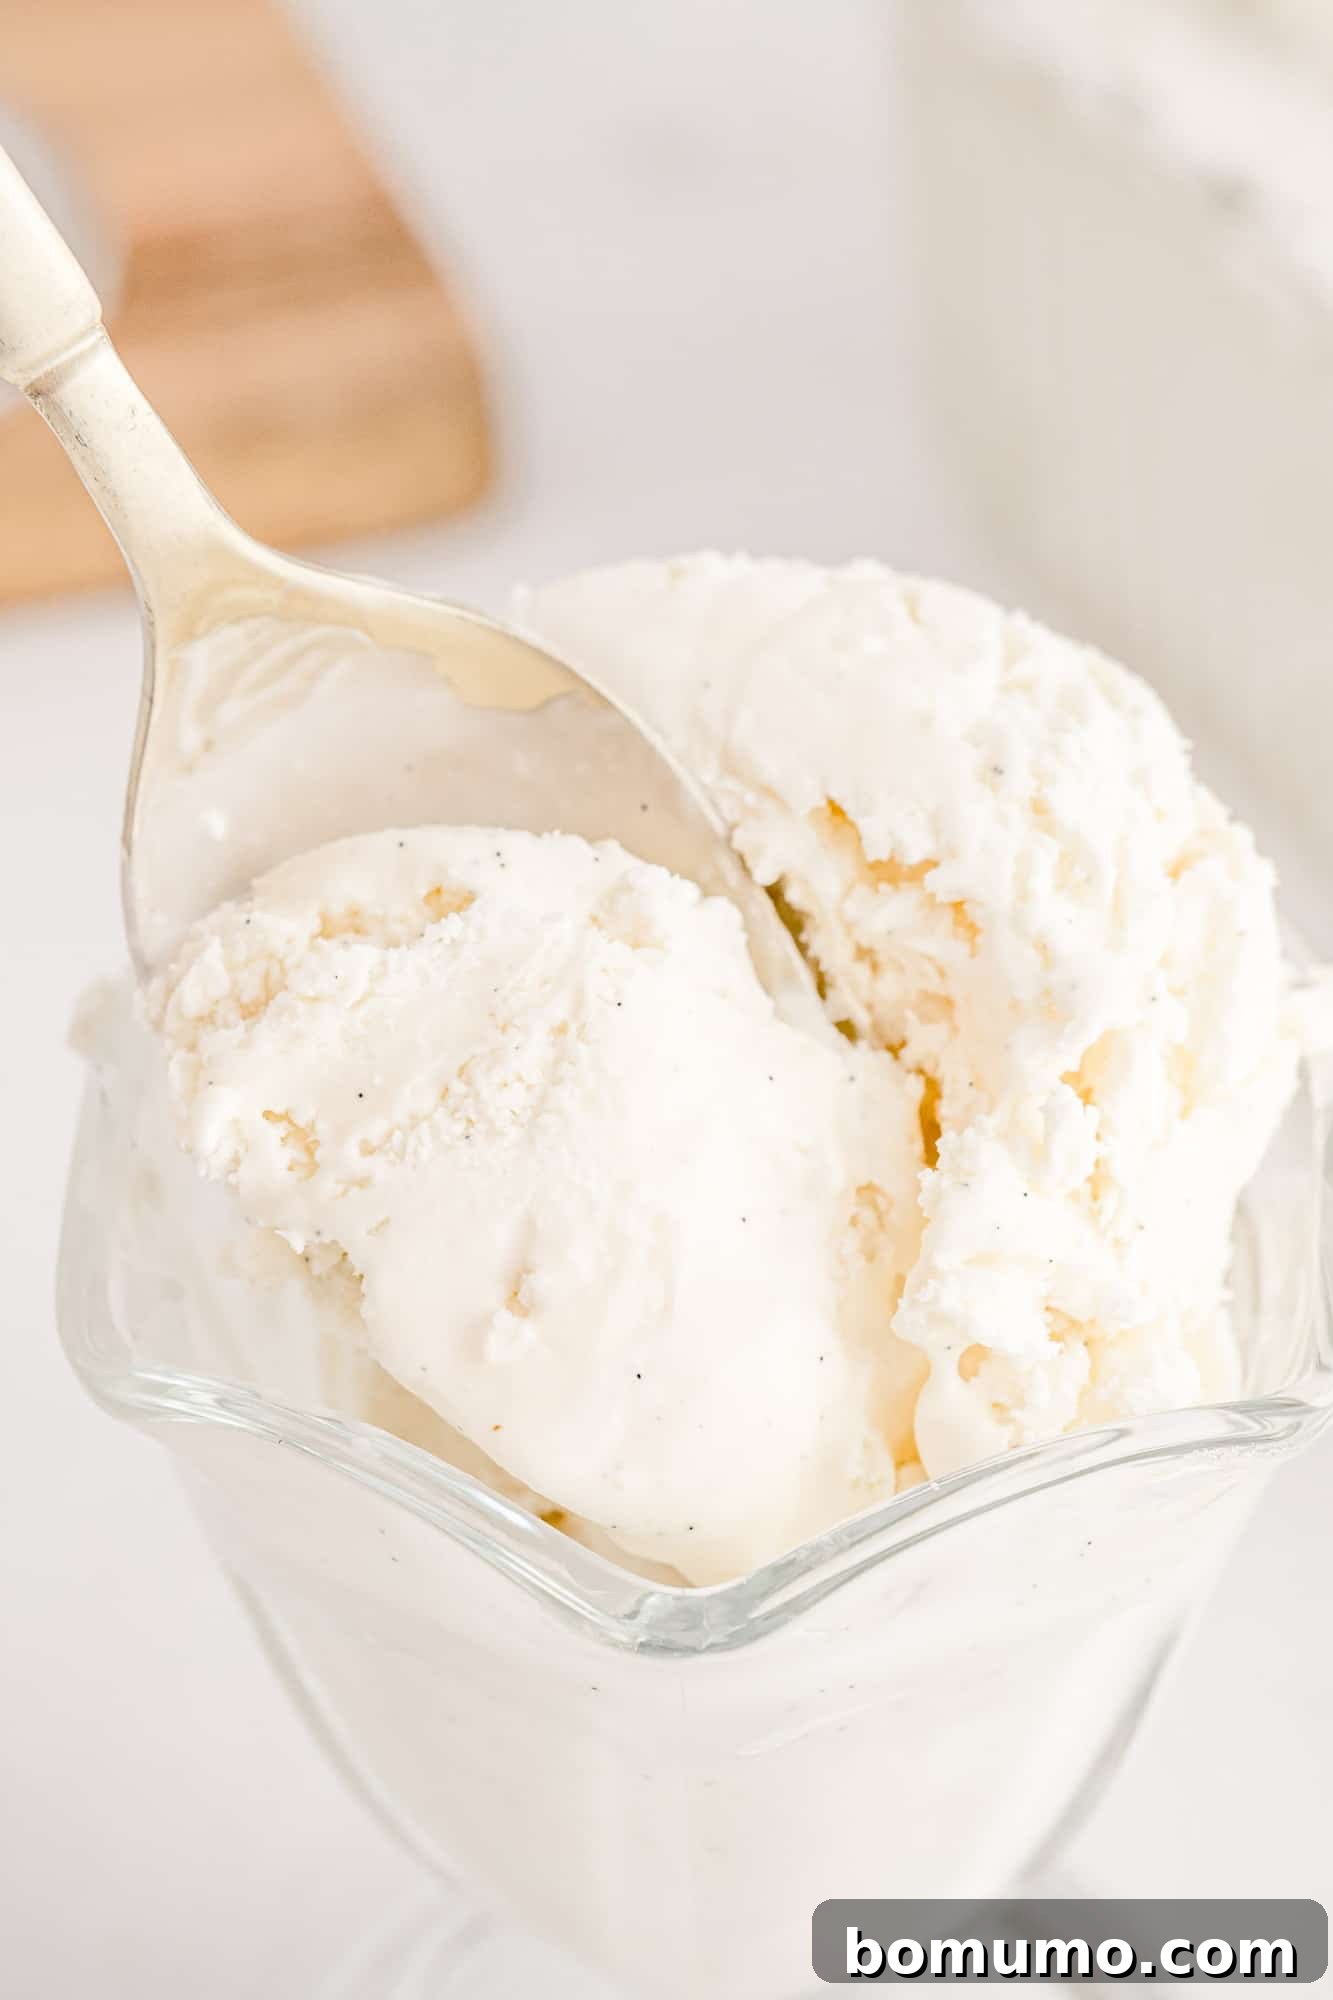
Imagine a scoop of perfectly creamy, exquisitely sweet vanilla ice cream, speckled throughout with delicate flecks of real vanilla bean. This isn’t just a dream – it’s an effortless reality with our best no-churn vanilla ice cream recipe. It takes mere minutes to assemble, delivering a homemade frozen delight that rivals any store-bought alternative, and we’re confident you’ll agree.
This recipe is a true game-changer, offering a delightful shortcut to luxurious ice cream. The magic happens when heavy cream is whipped to airy peaks and then gently folded into rich, sweetened condensed milk. The result is a texture that is impeccably smooth, wonderfully creamy, and utterly satisfying. Each spoonful melts in your mouth, leaving behind the pure, aromatic essence of vanilla.
While this vanilla bean ice cream is a sublime treat on its own, its versatile flavor profile makes it an ideal accompaniment to a myriad of desserts. Whether you serve it alongside a warm, comforting homemade apple crisp, a gooey brownie, or simply enjoy it straight from the container, you’re in for a truly special experience. If you’re seeking inspiration for toppings or serving suggestions, rest assured, we have plenty of delectable ideas to share!
Effortless Ice Cream Making: The No-Churn Advantage
Embrace the simplicity of homemade ice cream with a recipe that redefines ease and accessibility. Our no-churn method eliminates the need for any specialized or expensive equipment, making gourmet ice cream achievable for everyone.
- No Churning, No Hassle: Forget about bulky ice cream makers, rock salt, or bags of ice. The only equipment you’ll need is an electric mixer to achieve the rich, creamy texture typically associated with churned ice cream. This innovative technique incorporates air into the cream before freezing, yielding a perfectly smooth result without any churning.
- Quick Preparation, Instant Gratification: From start to freezer, this recipe demands minimal active time. You’ll spend approximately 15 minutes preparing the mixture, leaving you ample time during the 6-hour freezing period to anticipate the delicious outcome and perhaps brainstorm some exciting toppings. It’s the perfect solution for busy schedules or spontaneous dessert cravings.
- Endless Versatility: While this vanilla ice cream is a star on its own, it also serves as an exceptional base for an endless array of flavor creations. Its neutral yet rich vanilla profile readily adapts to various additions, allowing you to customize your frozen treat with your favorite mix-ins and flavorings. Stay tuned for easy and inspiring variations later in this guide!
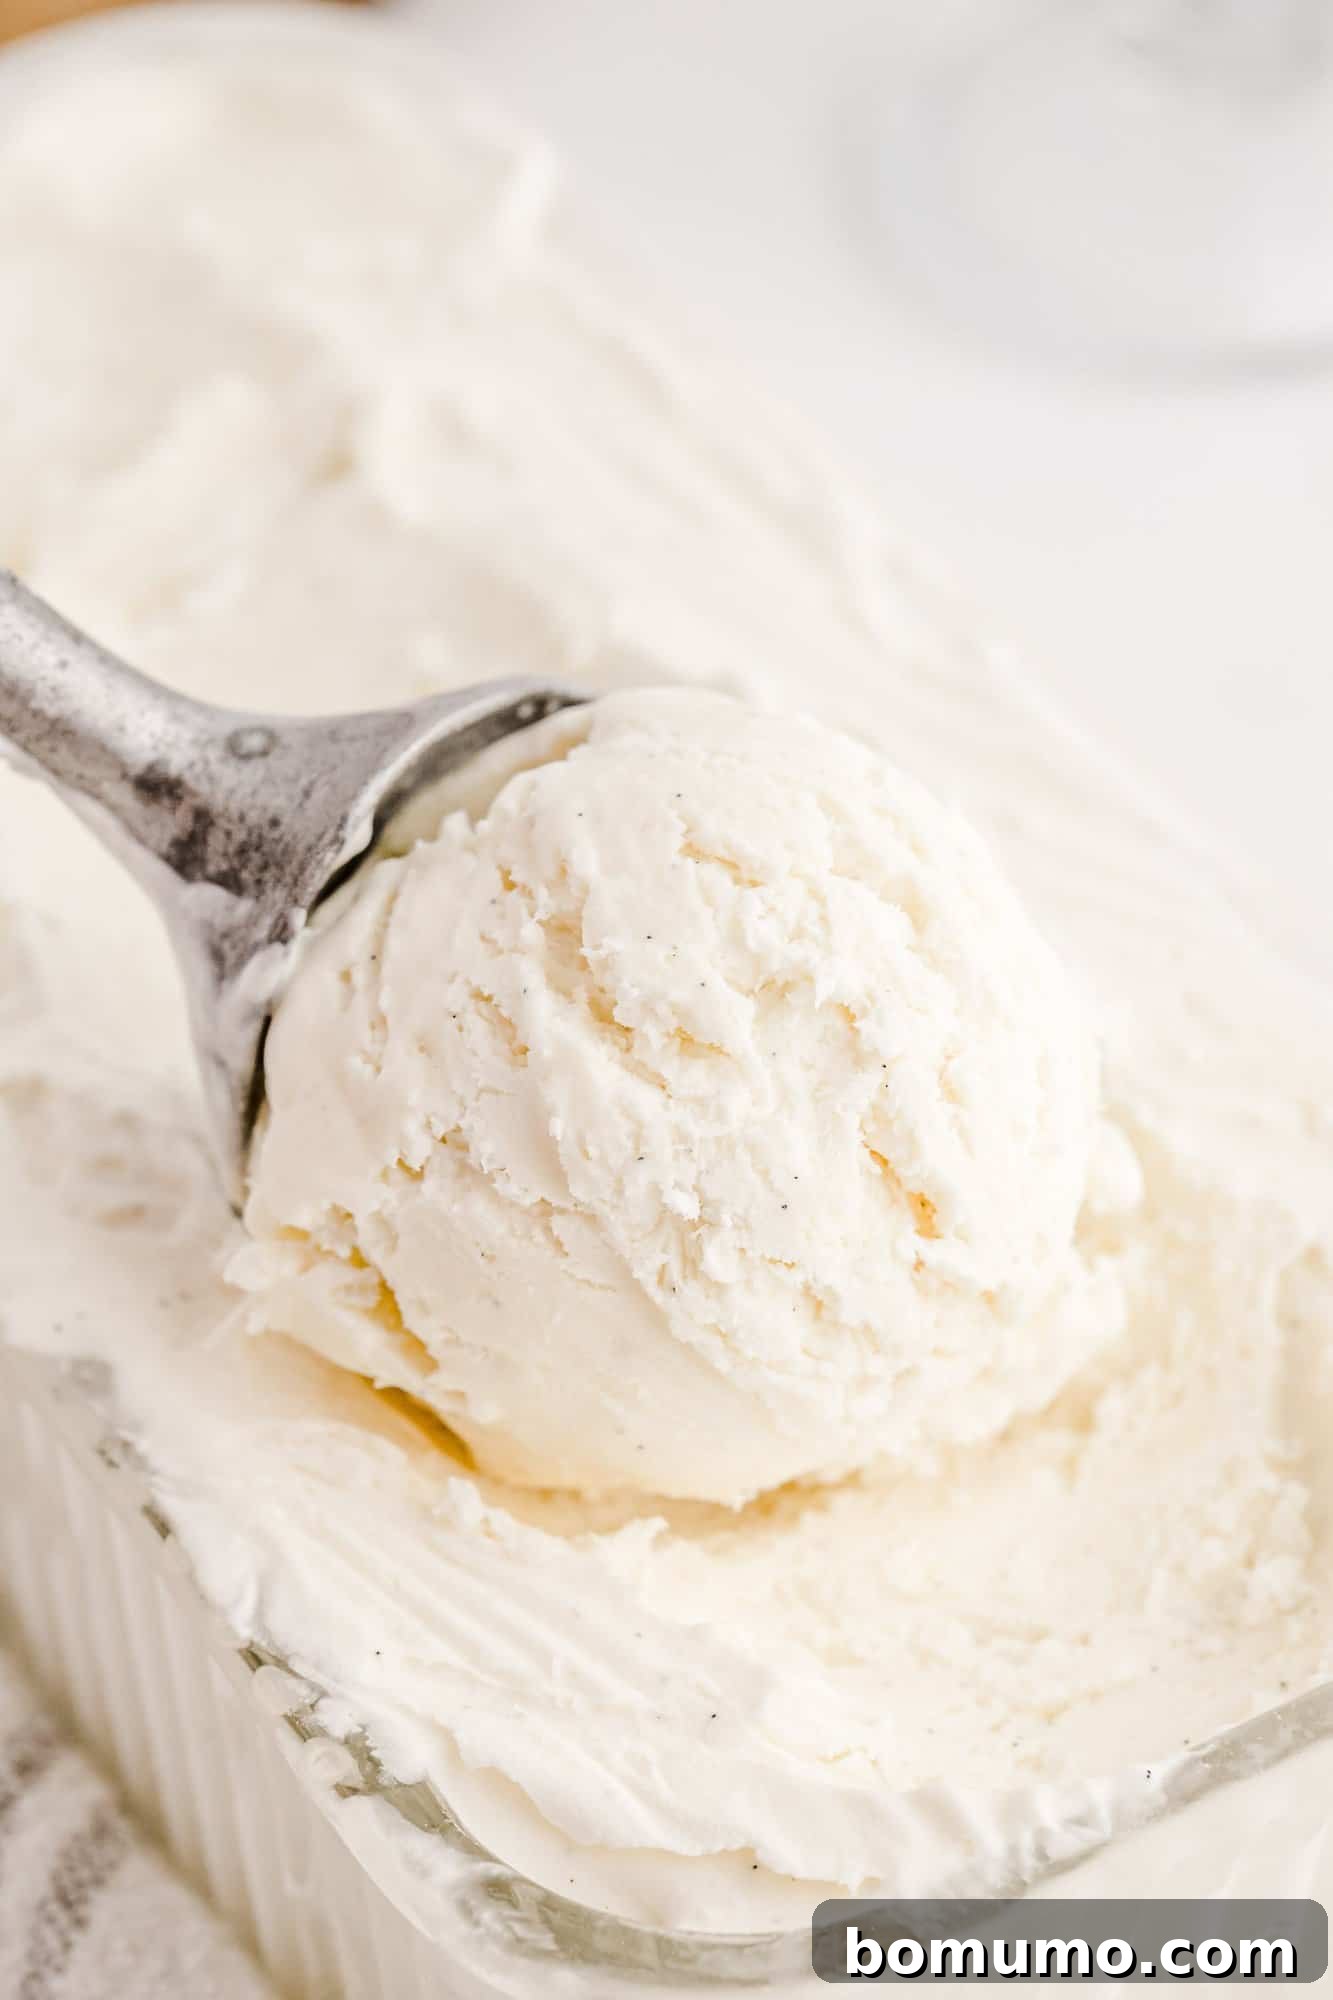
Understanding No-Churn Ice Cream
The term “no-churn” refers to a method of making ice cream that bypasses the traditional churning process used in most electric ice cream makers. Traditionally, ice cream relies on continuous churning to incorporate air and break up ice crystals, resulting in a smooth, creamy texture. No-churn recipes achieve a similar outcome by first whipping heavy cream until it’s light and airy, effectively incorporating the necessary air. This aerated cream is then folded with sweetened condensed milk and other flavorings before being frozen solid. The high fat content of the cream combined with the sugar in the condensed milk helps prevent the formation of large ice crystals, ensuring a consistently creamy and scoopable texture without any special machinery.
The Luxurious Texture of No-Churn Ice Cream
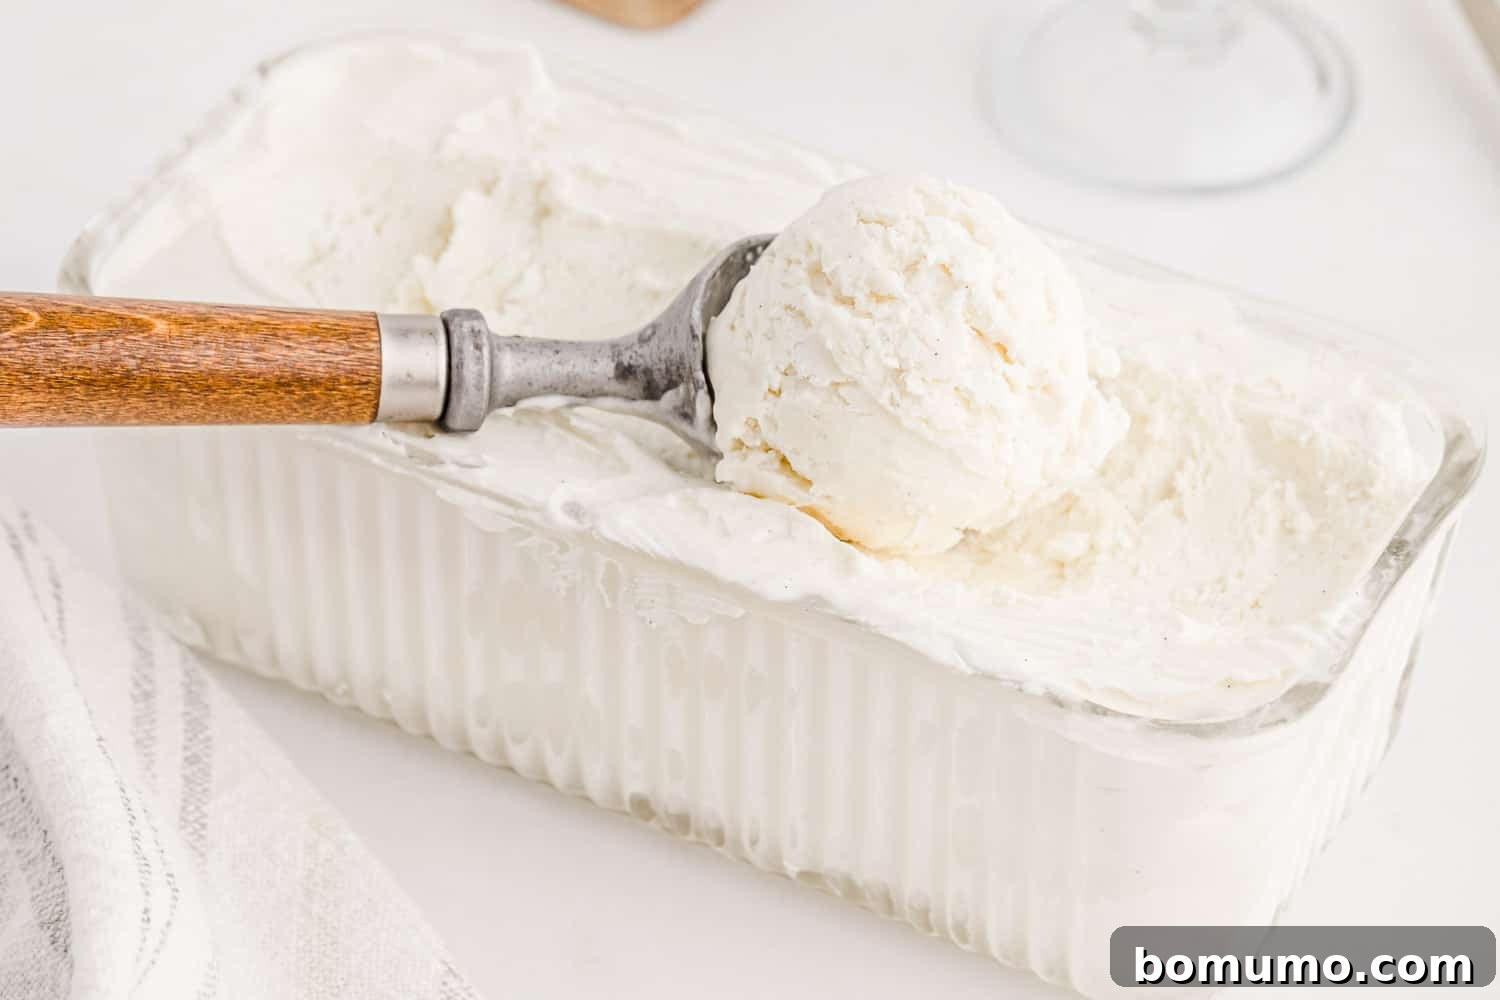
No-churn ice cream offers a distinctly delightful texture that sets it apart. It’s wonderfully creamy and surprisingly soft, often described as having a consistency akin to frozen whipped cream. Unlike some traditional homemade ice creams that can freeze solid like a brick, no-churn varieties remain incredibly scoopable directly from the freezer, making serving a breeze. Its rich, velvety mouthfeel provides a truly indulgent experience. This soft, adaptable base also makes it exceptionally well-suited for incorporating various stir-ins like crushed cookies, candy bar pieces, or swirls of decadent chocolate fudge, absorbing flavors beautifully and adding delightful textural contrasts.
Key Ingredients for No-Churn Vanilla Ice Cream
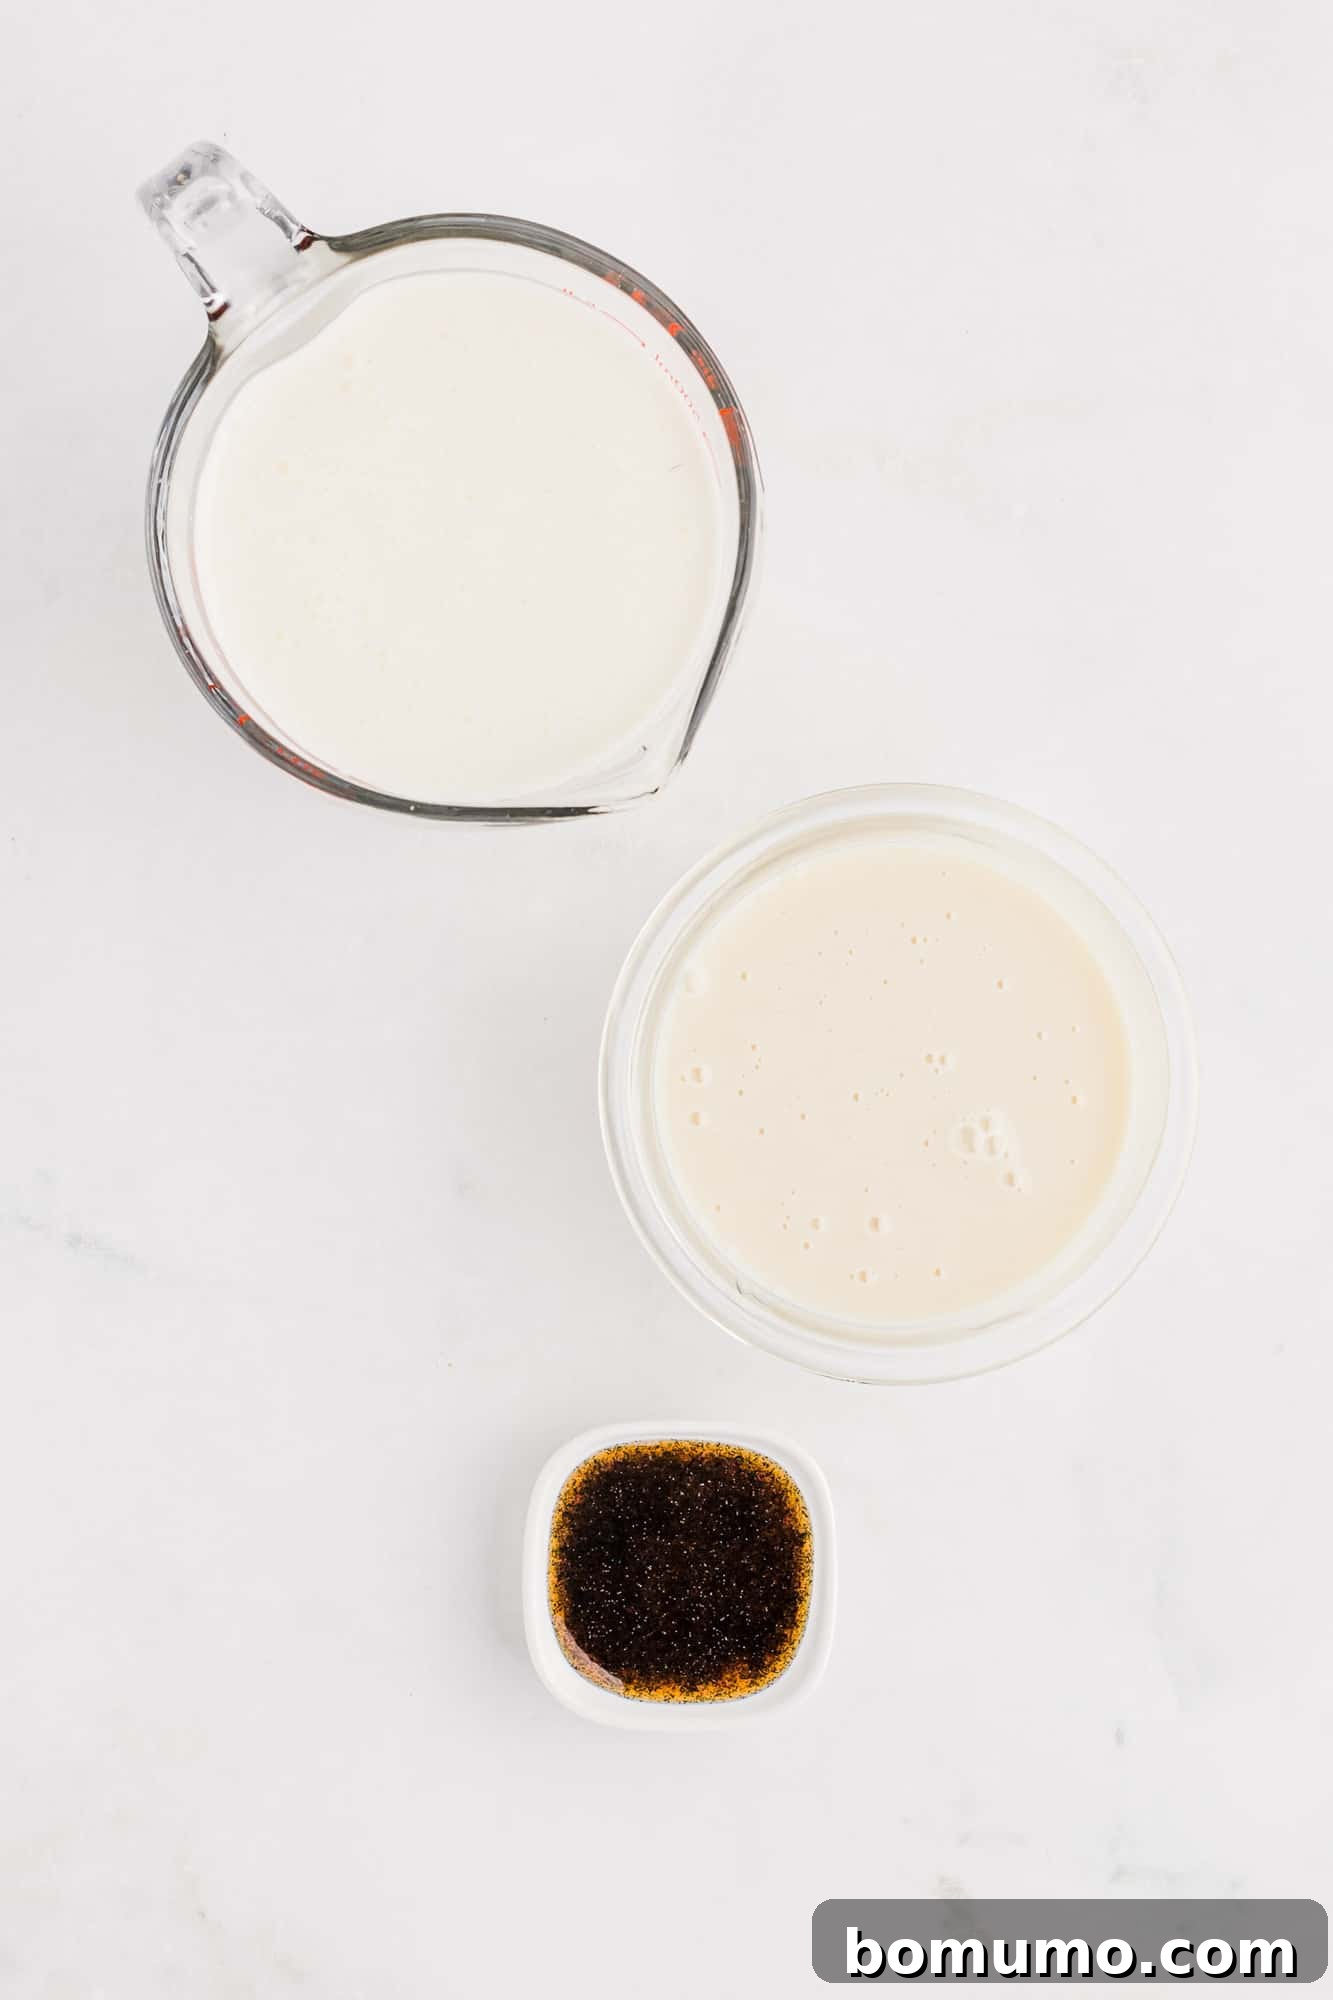
Creating this remarkably creamy no-churn vanilla ice cream requires a surprisingly short list of just three essential ingredients. High-quality ingredients are key to maximizing flavor and achieving the perfect texture.
- Sweetened Condensed Milk: This is the foundation of our no-churn magic. It provides both the sweetness and the crucial thickness needed for a smooth ice cream base. It’s absolutely vital to select sweetened condensed milk, not evaporated milk. While both are canned milk products, their compositions and roles in recipes are entirely different. Sweetened condensed milk is thick and sugary, whereas evaporated milk is unsweetened and much thinner. Look for popular brands like Carnation or Eagle Brand, typically found in the baking aisle of your grocery store. Store brands are also perfectly acceptable and often just as good.
- Heavy Cream (or Heavy Whipping Cream): This ingredient is responsible for the luscious body and airiness of your ice cream. For the best results, choose heavy cream with a minimum of 36% milk fat. Some whipping creams have a lower fat content, which can result in a less stable whipped cream and potentially icier ice cream. Ensure your heavy cream is thoroughly chilled before you begin whipping. Cold cream whips up much more easily and maintains its volume, contributing to a lighter, more stable final product.
- Vanilla Bean Paste: This extraordinary ingredient is where the profound vanilla flavor and beautiful visual flecks come from. If you’re new to vanilla bean paste, it’s essentially a concentrated vanilla extract that has been thickened and infused with tiny, visible specks of real ground vanilla beans. It delivers a more intense and complex vanilla flavor than extract alone, along with an appealing aesthetic. You can typically find it in the baking section of most well-stocked grocery stores or easily order it online. For many passionate bakers and dessert enthusiasts, vanilla bean paste quickly becomes an indispensable pantry staple due to its superior flavor and versatility.
Step-by-Step Guide to Making No-Churn Ice Cream
Creating your own rich and creamy no-churn vanilla ice cream is a straightforward process that yields impressive results. Gather your simple tools and ingredients, and let’s get started:
Equipment You’ll Need:
- A large mixing bowl
- An electric mixer (either a stand mixer with a whisk attachment or a handheld electric mixer)
- A 9×5-inch loaf pan (metal or glass works well for freezing)
- Aluminum foil or plastic wrap for covering
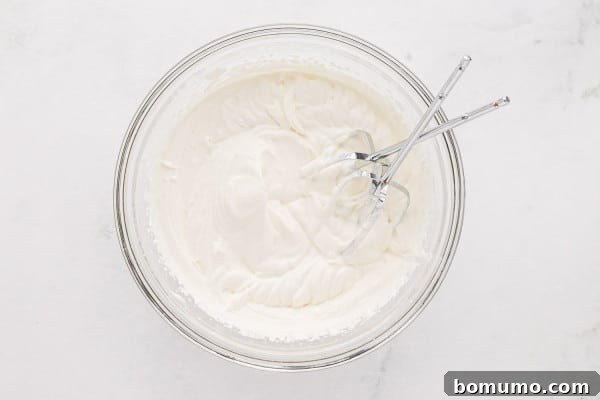
Step 1: Whip the Heavy Cream. Pour the well-chilled heavy cream into your large mixing bowl. Using your electric mixer on medium-high speed, beat the cream until it transforms into stiff, voluminous peaks. This process typically takes about three minutes with a hand mixer, or slightly less if you’re using a powerful stand mixer. The cream should hold its shape firmly when you lift the beaters, indicating that sufficient air has been incorporated.
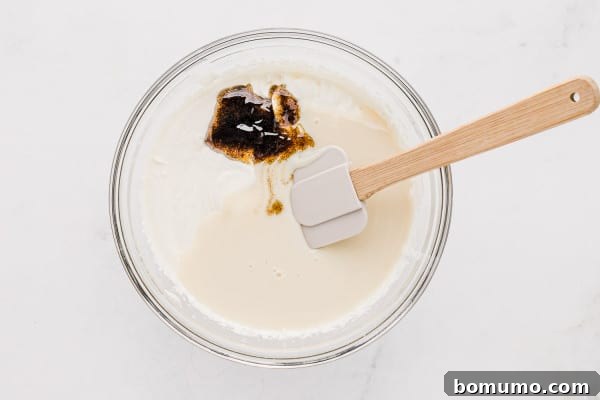
Step 2: Gently Combine Ingredients. To the whipped cream, carefully add the sweetened condensed milk and the vanilla bean paste. The key here is to be exceedingly gentle. Using a spatula, fold the ingredients together just until they are combined and the mixture appears silky and smooth. It’s perfectly normal if a few tiny lumps of cream remain; the critical part is to avoid over-mixing, which can cause the beautifully aerated whipped cream to deflate. If you plan to add any additional flavors or mix-ins (refer to the suggestions below), now is the ideal time to gently incorporate them.
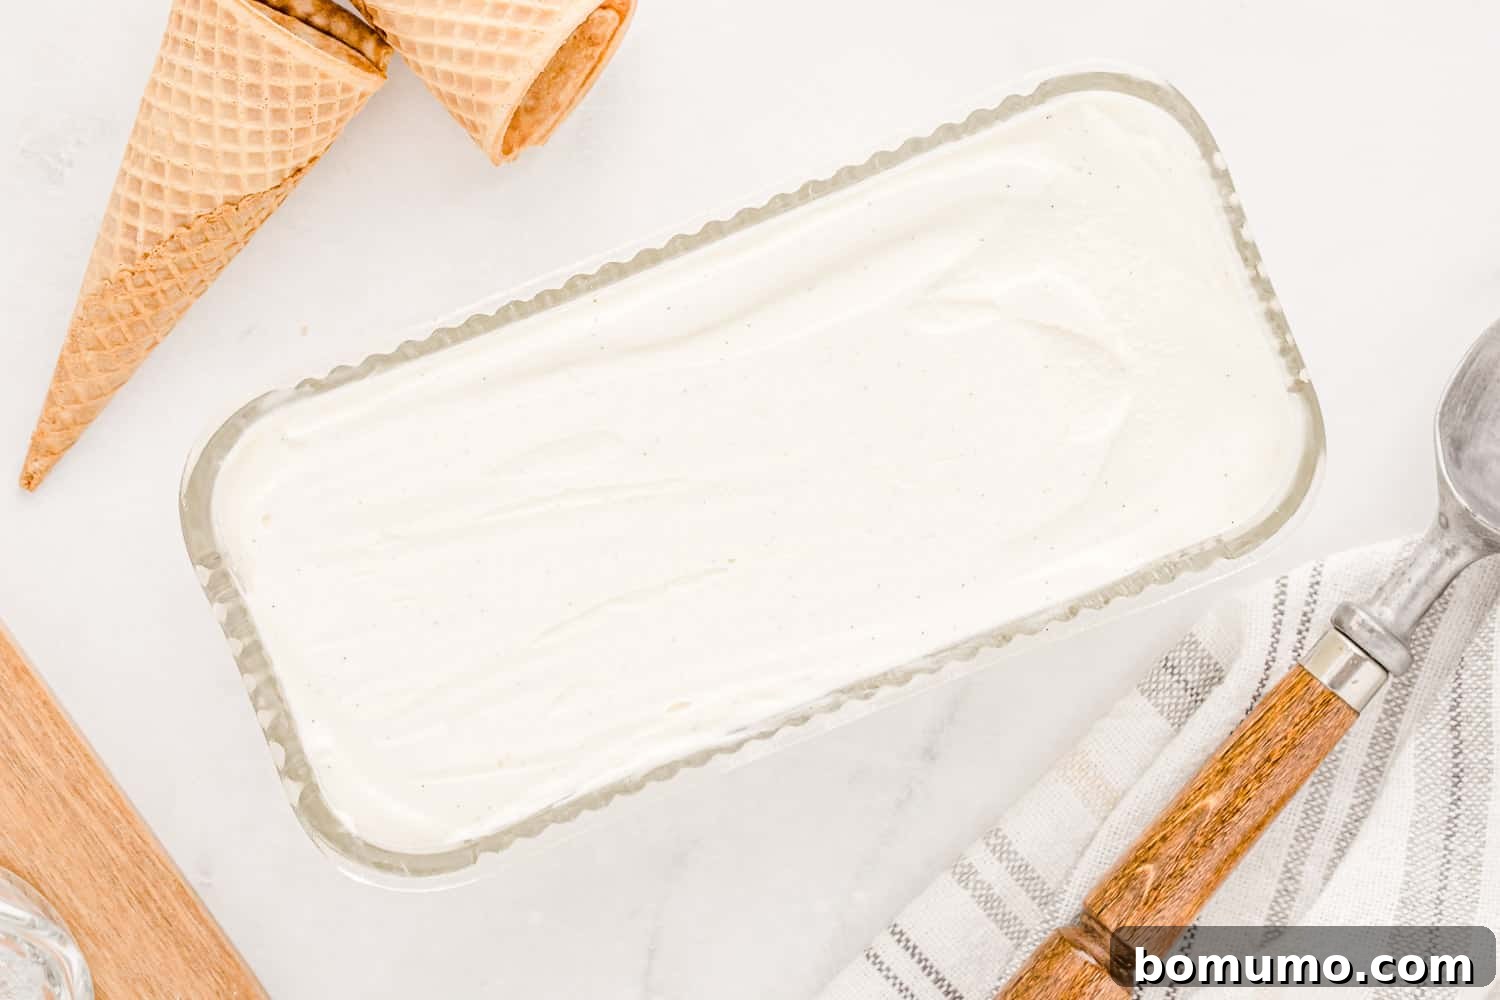
Step 3: Freeze to Perfection. Once combined, pour the creamy mixture evenly into your prepared loaf pan. Cover the pan tightly with aluminum foil or plastic wrap to prevent ice crystals from forming on the surface (freezer burn). Carefully place the covered pan into your freezer. Allow it to freeze for a minimum of six hours, or preferably overnight, to ensure it becomes firm and perfectly scoopable.
Essential Tips for Perfect No-Churn Ice Cream
Achieving outstanding no-churn vanilla ice cream is simple when you follow a few key guidelines. These tips will help you create the creamiest, most flavorful frozen treat every time.
- Prioritize Full-Fat Ingredients: For the most luxurious texture and to prevent the formation of icy crystals, always opt for heavy whipping cream with at least 36% milk fat and full-fat sweetened condensed milk. Lower-fat creams contain a higher water content, which is more prone to freezing into undesirable ice crystals, compromising the smooth consistency of your ice cream.
- Avoid Over-mixing: Once you’ve whipped the heavy cream to stiff peaks, exercise caution when folding in the sweetened condensed milk and vanilla bean paste. The mixture should be perfectly silky and smoothly combined, but resist the urge to vigorously mix it. Over-mixing can deflate the beautifully aerated whipped cream, leading to a less light and creamy final product. Gentle folding is key to maintaining that airy volume.
- Allow Ample Freezing Time: Patience is a virtue, especially when it comes to no-churn ice cream. While it’s tempting to dig in sooner, ensure you allow sufficient time for the ice cream to freeze completely. It’s often recommended, and even encouraged, to prepare your no-churn vanilla ice cream a full day before you intend to serve it. Freezing for 6 to 8 hours (or even overnight) ensures it achieves the ideal firm yet scoopable consistency, rather than being too soft.
- Cover Thoroughly to Prevent Freezer Burn: To protect your ice cream from developing an icy, grainy texture caused by freezer burn, always cover the loaf pan tightly. A layer of aluminum foil pressed directly onto the surface of the ice cream, followed by an additional layer to seal the pan, works wonders. Alternatively, use plastic wrap for the first layer, ensuring no air pockets remain.
- Chill Your Bowl and Beaters: For even faster and more stable whipped cream, place your mixing bowl and electric mixer beaters in the freezer for about 15-20 minutes before whipping the heavy cream. This extra chill helps the cream whip up quicker and hold its stiff peaks longer.
Creative Toppings and Serving Ideas
While our homemade vanilla bean ice cream is a star on its own, it also provides the perfect canvas for an endless array of toppings and serving styles. Get inspired with these delicious ideas:
- Chocolate Indulgence: For the ultimate chocolate lover, mini chocolate chips are always a hit. Elevate your dessert with a drizzle of classic chocolate syrup or, for a truly decadent experience, a generous dollop of homemade hot fudge – it’s simply unbeatable! For a fun, retro touch, try a hard-setting chocolate magic shell.
- Caramel Dreams: A warm, gooey caramel sauce is a close second to chocolate, especially when it boasts a hint of bourbon for added depth. Top it off with a sprinkle of crunchy, spiced pecans, and you’ll find yourself in pure ice cream heaven.
- Unexpected Crunch with Granola: Don’t knock it ’til you try it! Though some might raise an eyebrow, a sprinkle of crunchy granola or this easy 3-ingredient crunchy oat topping adds a fantastic textural contrast to the smooth ice cream. It’s surprisingly delicious and creates an interesting flavor dynamic.
- A Perfect Accompaniment: A generous scoop of homemade vanilla bean ice cream is the ideal partner for a variety of warm desserts. Try it on a slice of warm coffee cakewith a buttery streusel, alongside rich Kahlua brownies, or as a cooling counterpoint to a bubbly strawberry rhubarb crisp. Its creamy texture and classic flavor enhance nearly any sweet treat.
- Fresh Fruits & Syrups: For a lighter, brighter option, top with fresh berries (strawberries, raspberries, blueberries) or a simple fruit compote. A drizzle of raspberry or cherry syrup also adds a burst of fruity flavor and vibrant color.
Exciting Flavor Variations and Add-ins
The beauty of this vanilla ice cream recipe lies in its adaptability. It’s incredibly easy to transform into your own unique ice cream creation by stirring in extra ingredients. Here are a plethora of ideas to spark your culinary imagination:
- Chocolate Lover’s Dream: Easily convert this into rich homemade chocolate ice cream by simply folding in a few tablespoons of unsweetened cocoa powder along with the sweetened condensed milk. Adjust to your desired intensity.
- Warm Spice Notes: For a cozy and comforting twist, add a pinch or two of ground cinnamon to the mixture. This subtle addition infuses the vanilla ice cream with a lovely warm flavor. For a more pronounced spice, try our dedicated recipe for no-churn cinnamon ice cream.
- Explore Flavoring Extracts: Expand your flavor horizons using various baking extracts. Experiment with mint extract for a refreshing mint chip ice cream, maple extract for a taste of autumn, bright lemon extract, or nutty almond extract. A splash of coffee extract can create a delightful coffee-flavored treat.
- Crunchy & Chewy Add-ins: The possibilities here are endless! Fold in mini chocolate chips, colorful M&Ms, toasted coconut flakes for a tropical note, crushed toffee bits for a buttery crunch, chopped-up Andes mints for a minty chocolate explosion, or even chopped nuts like walnuts, pecans, or almonds for added texture and richness.
- Cereal-Inspired Delights: Bring a playful, nostalgic element to your ice cream by stirring in crushed breakfast cereals. Imagine the delightful crunch and flavor of crushed Cinnamon Toast Crunch, fruity notes from Fruit Loops, or the chocolatey goodness of Cocoa Krispies. These cereals add a fantastic textural surprise.
- Cookie & Cracker Combinations: Cookies and ice cream are a classic pairing for a reason! Crush up graham crackers for a s’mores-like experience, crumble chocolate chip cookies for a familiar favorite, or go all out and make your very own Oreo ice cream with plenty of chopped-up Oreo cookies. Gingersnaps or butter cookies also make wonderful additions.
- Fruity Swirls: For a vibrant and fresh flavor, gently swirl in fruit purees or preserves after folding in the condensed milk. Raspberry, strawberry, or blueberry purees are excellent choices, offering a beautiful color and tangy contrast to the sweet vanilla.
How to Store Homemade Ice Cream
How to Store Homemade Ice Cream
To ensure your homemade vanilla ice cream stays fresh and delicious for as long as possible, proper storage is crucial. This ice cream will generally keep well in the freezer for up to two months, though its peak freshness and creamy texture are best enjoyed within the first week or two after making it. To store, carefully transfer the ice cream from the loaf pan into a dedicated freezer-safe container. Choose a container with an airtight, resealable lid. For an extra layer of protection against freezer burn and the formation of ice crystals, gently press a piece of plastic cling wrap directly onto the surface of the ice cream before securing the lid. This creates a barrier against air, maintaining its smooth, creamy consistency.
More Homemade Ice Cream Creations
Cinnamon Ice Cream (No Churn)
Easy Fudge Swirl Ice Cream
Homemade Chocolate Ice Cream
Oreo Ice Cream
Homemade Vanilla Ice Cream (No Churn)
Rachel Gurk
15
6
6
15
10
Ingredients
-
2
cups
heavy cream, cold
(36% milkfat is best) -
1
can
(14 ounces) sweetened condensed milk
(full fat is best) -
1
tablespoon
vanilla bean paste
(see note)
Instructions
-
Pour heavy cream into a large mixing bowl or the bowl of a stand mixer. Use a hand mixer or stand mixer on medium-high speed to whip the cream until it holds stiff peaks (about 3 minutes, less if you’re using a stand mixer).2 cups heavy cream, cold
-
Add sweetened condensed milk and vanilla bean paste to whipped cream. Fold together until just combined and silky and smooth. A few small lumps may remain; it’s important not to over mix as that will deflate the mixture.1 can (14 ounces) sweetened condensed milk,
1 tablespoon vanilla bean paste -
Spread into an 8 or 9-inch loaf pan. Freeze for at least 6 hours or until firm (cover with foil to prevent freezer burn).
Notes
- Vanilla bean paste: If you can’t find vanilla bean paste, substitute 1 tablespoon vanilla extract, or 1 tablespoon vanilla powder. You could also substitute the seeds scraped from 1 vanilla bean pod into the ice cream mixture.
- Add-ins: If desired, lightly fold in flavor add-ins before freezing. Some ideas: mini chocolate chips or M&Ms, toasted coconut, lightly crushed cereal or graham crackers, crushed Oreos, chocolate chip cookies, gingersnaps, or butter cookies.
- Storage: To store, transfer ice cream to a freezer-safe container that has a good resealable lid. It will keep for up to 3 months; however, it is best eaten within a few days for optimal freshness and texture.
Video
A video showcasing the preparation of this No-Churn Vanilla Ice Cream would be displayed here.
Nutrition
Serving:
0.5
cup
Calories:
295
kcal
Carbohydrates:
24
g
Protein:
4
g
Fat:
21
g
Saturated Fat:
13
g
Polyunsaturated Fat:
1
g
Monounsaturated Fat:
5
g
Cholesterol:
67
mg
Sodium:
63
mg
Potassium:
192
mg
Sugar:
24
g
Vitamin A:
806
IU
Vitamin C:
1
mg
Calcium:
144
mg
Iron:
0.1
mg
Nutrition information is automatically calculated, so should only be used as an approximation.
Did You Make This?
Share a comment and rating below! We love hearing what you think!
In conclusion, crafting your own batch of no-churn vanilla ice cream is a rewarding experience that combines simplicity with gourmet results. This recipe proves that you don’t need fancy equipment or extensive culinary skills to enjoy truly exceptional homemade ice cream. With just three basic ingredients, a few minutes of active prep, and some patience for freezing, you can create a rich, creamy, and deeply satisfying dessert that will impress everyone. Whether enjoyed plain, topped with your favorite sauces, or transformed with exciting mix-ins, this no-churn vanilla ice cream is destined to become a go-to treat in your household. So, gather your ingredients and get ready to indulge in the effortless delight of homemade frozen perfection!