
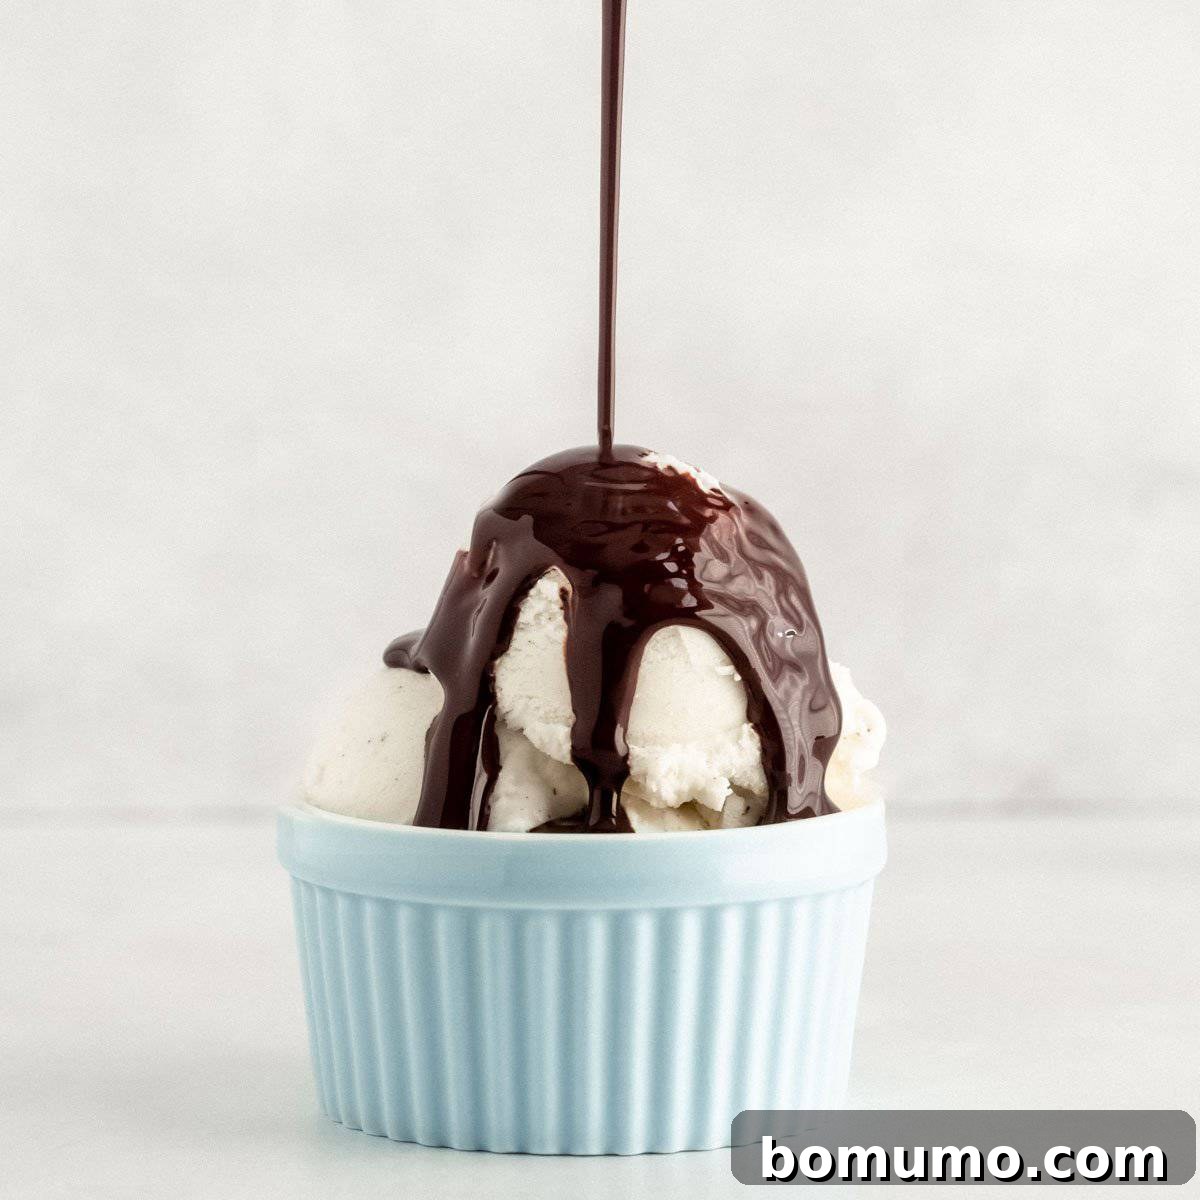
Homemade Chocolate Syrup: A Sweet & Simple Guide
Why you’ll love it: Prepare to fall in love with homemade chocolate syrup! This incredibly easy recipe creates a rich, authentic chocolate flavor that far surpasses anything you can find in a store. Once you taste the difference, you’ll never settle for commercial brands again.
How long it takes: Less than 15 minutes of active preparation, perfect for a quick sweet fix.
Equipment you’ll need: Just a single small saucepan and a whisk.
Servings: This recipe yields approximately 2 cups of luscious chocolate syrup, with the flexibility to easily double for larger batches.
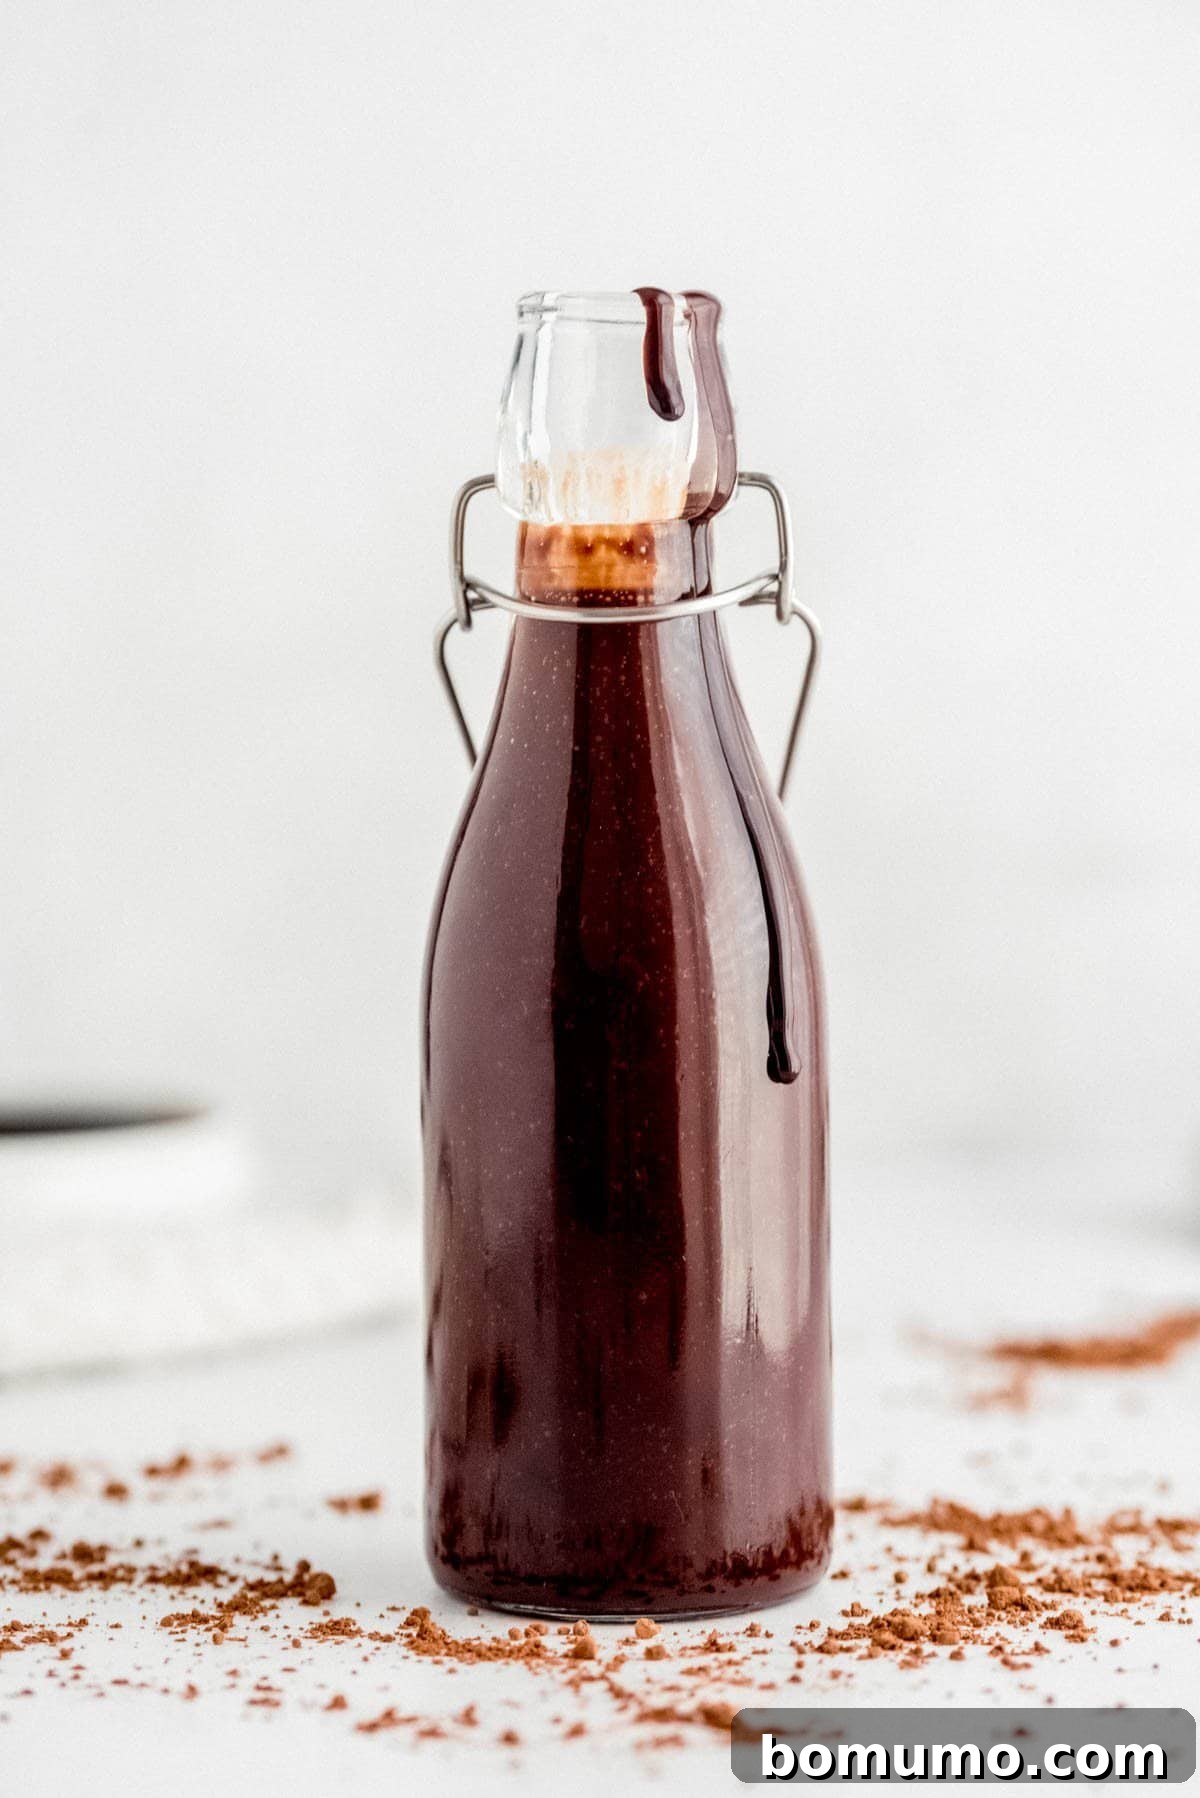

Save this delicious recipe for later!
Pin It
Have you ever paused to examine the ingredient list on a typical bottle of store-bought chocolate syrup? Often, you’ll find it dominated by high-fructose corn syrup, water, and cocoa, often accompanied by a host of artificial ingredients acting as preservatives and flavor enhancers. While convenient, these commercial syrups frequently lack the depth of flavor and wholesome goodness that a truly exceptional chocolate syrup should offer. The good news is, creating your own rich, delectable chocolate syrup from scratch is surprisingly simple and immensely rewarding.
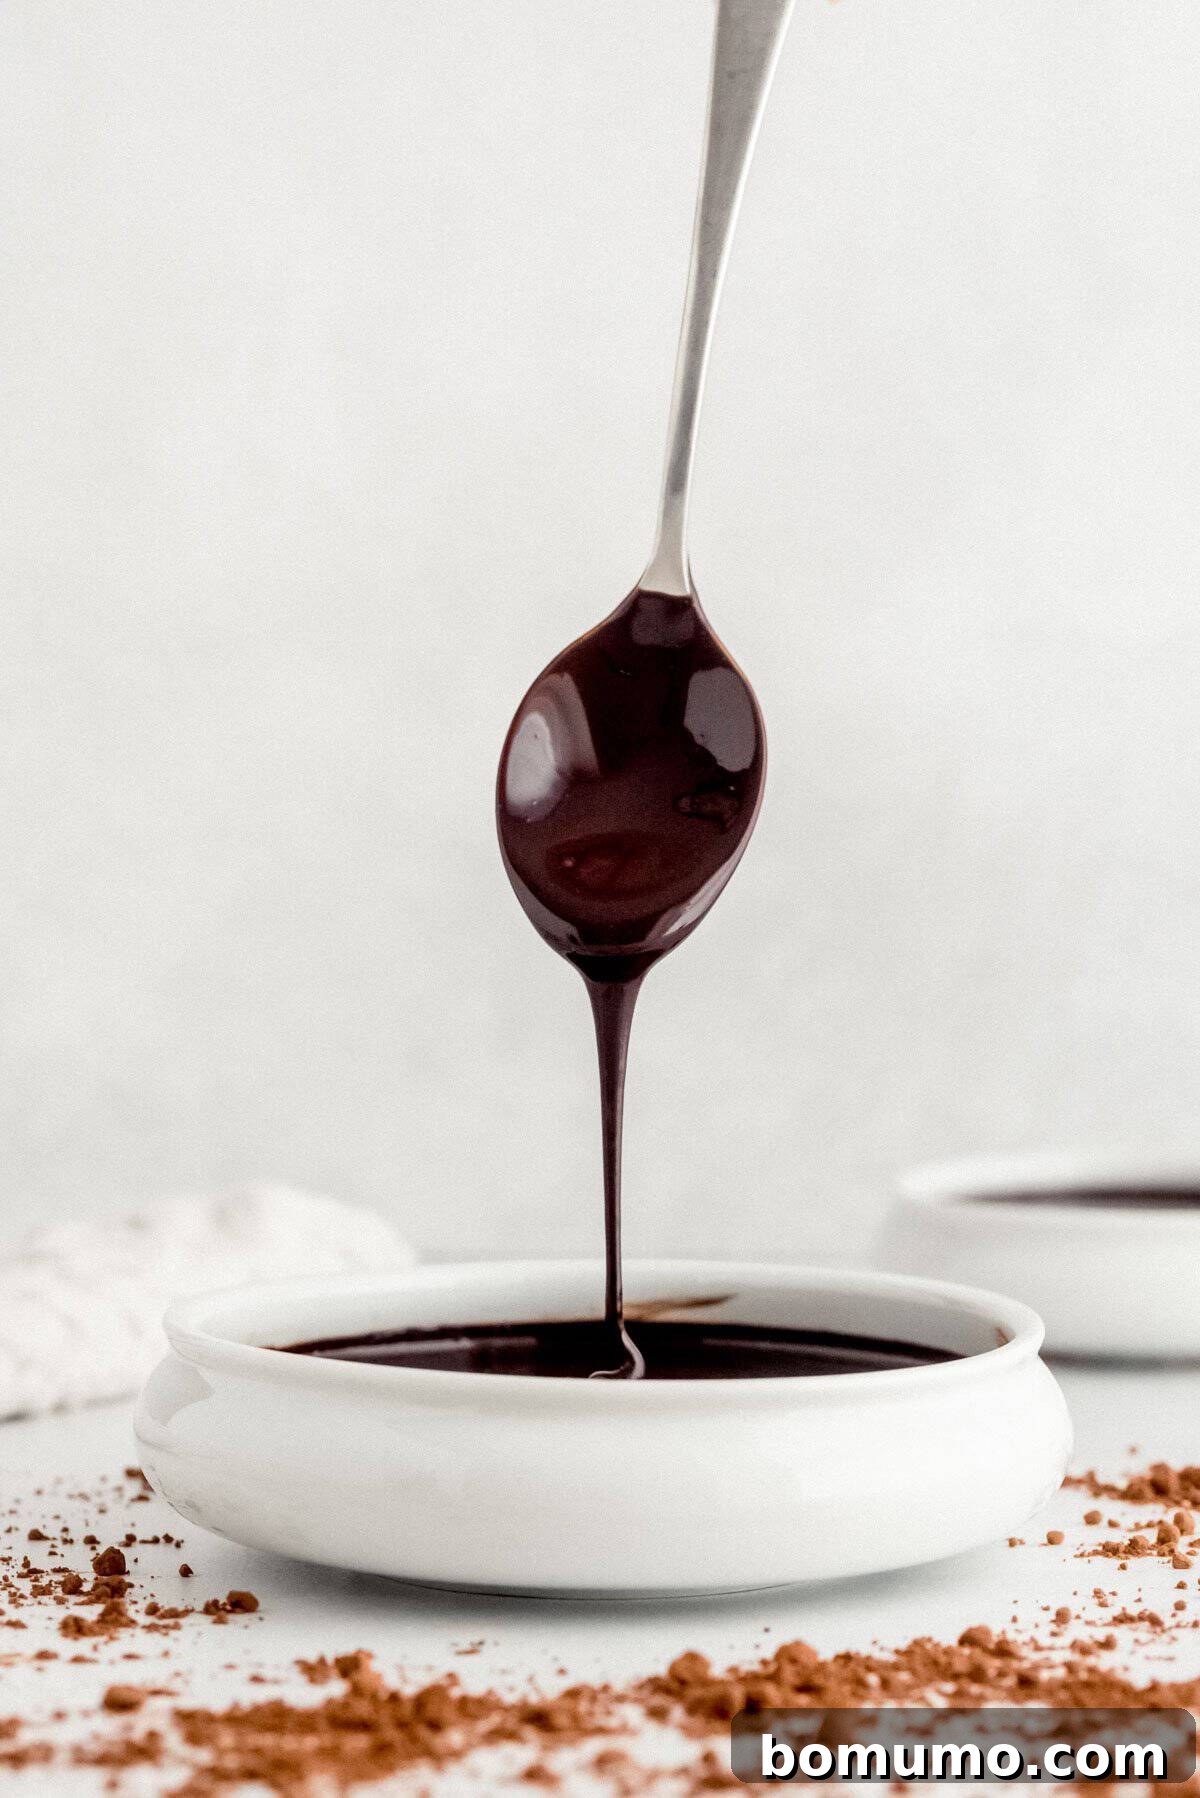
This recipe guides you through making a classic chocolate syrup, akin to the beloved brown bottle of Hershey’s, but with a far superior taste and natural ingredient profile. It boasts a thinner consistency than a luxurious hot fudge, making it ideal for drizzling straight from the bottle without needing to be heated. Its versatility makes it a perfect companion for countless sweet treats, from a simple scoop of ice cream to a gourmet breakfast stack. Embark on this culinary journey and discover the unparalleled taste of homemade chocolate syrup.
The Irresistible Benefits of Homemade Chocolate Syrup
Making your own chocolate syrup isn’t just a fun kitchen project; it’s a choice for superior taste, healthier ingredients, and incredible versatility. Here’s why this DIY approach will become your new favorite:
Pure, Natural Ingredients for Uncompromised Flavor. Ditch the artificial additives and embrace purity. This homemade chocolate syrup is crafted using only five fundamental ingredients: cocoa powder, granulated sugar, a touch of salt, pure vanilla extract, and water. That’s it! No high-fructose corn syrup, no artificial flavors, no preservatives, and absolutely no dairy or gluten. With approximately 62 calories per serving and minimal fat, it’s a guilt-free indulgence that aligns with a healthier lifestyle.
A Flavor Profile That Stands Apart. The magic of homemade syrup lies in its superior taste. By eliminating highly processed components found in commercial products, you unlock the true, robust essence of chocolate. While you can certainly elevate the experience with a premium cocoa powder like Ghirardelli, even standard cocoa brands yield an incredibly delicious result. This is liquid chocolate in its finest, simplest form, guaranteeing a rich, satisfying sweetness that commercial syrups simply cannot replicate.
Effortless Preparation for Busy Lives. Don’t let the idea of “homemade” intimidate you. This recipe is designed for ease and speed. All you need is a single small saucepan and a container for storage. You can whip up a fresh batch of this gourmet chocolate syrup in under fifteen minutes! Its excellent shelf life means you can prepare it in advance and keep it on hand, just like store-bought varieties, ensuring you always have a delightful topping ready when cravings strike.
Key Ingredients for the Perfect Chocolate Syrup
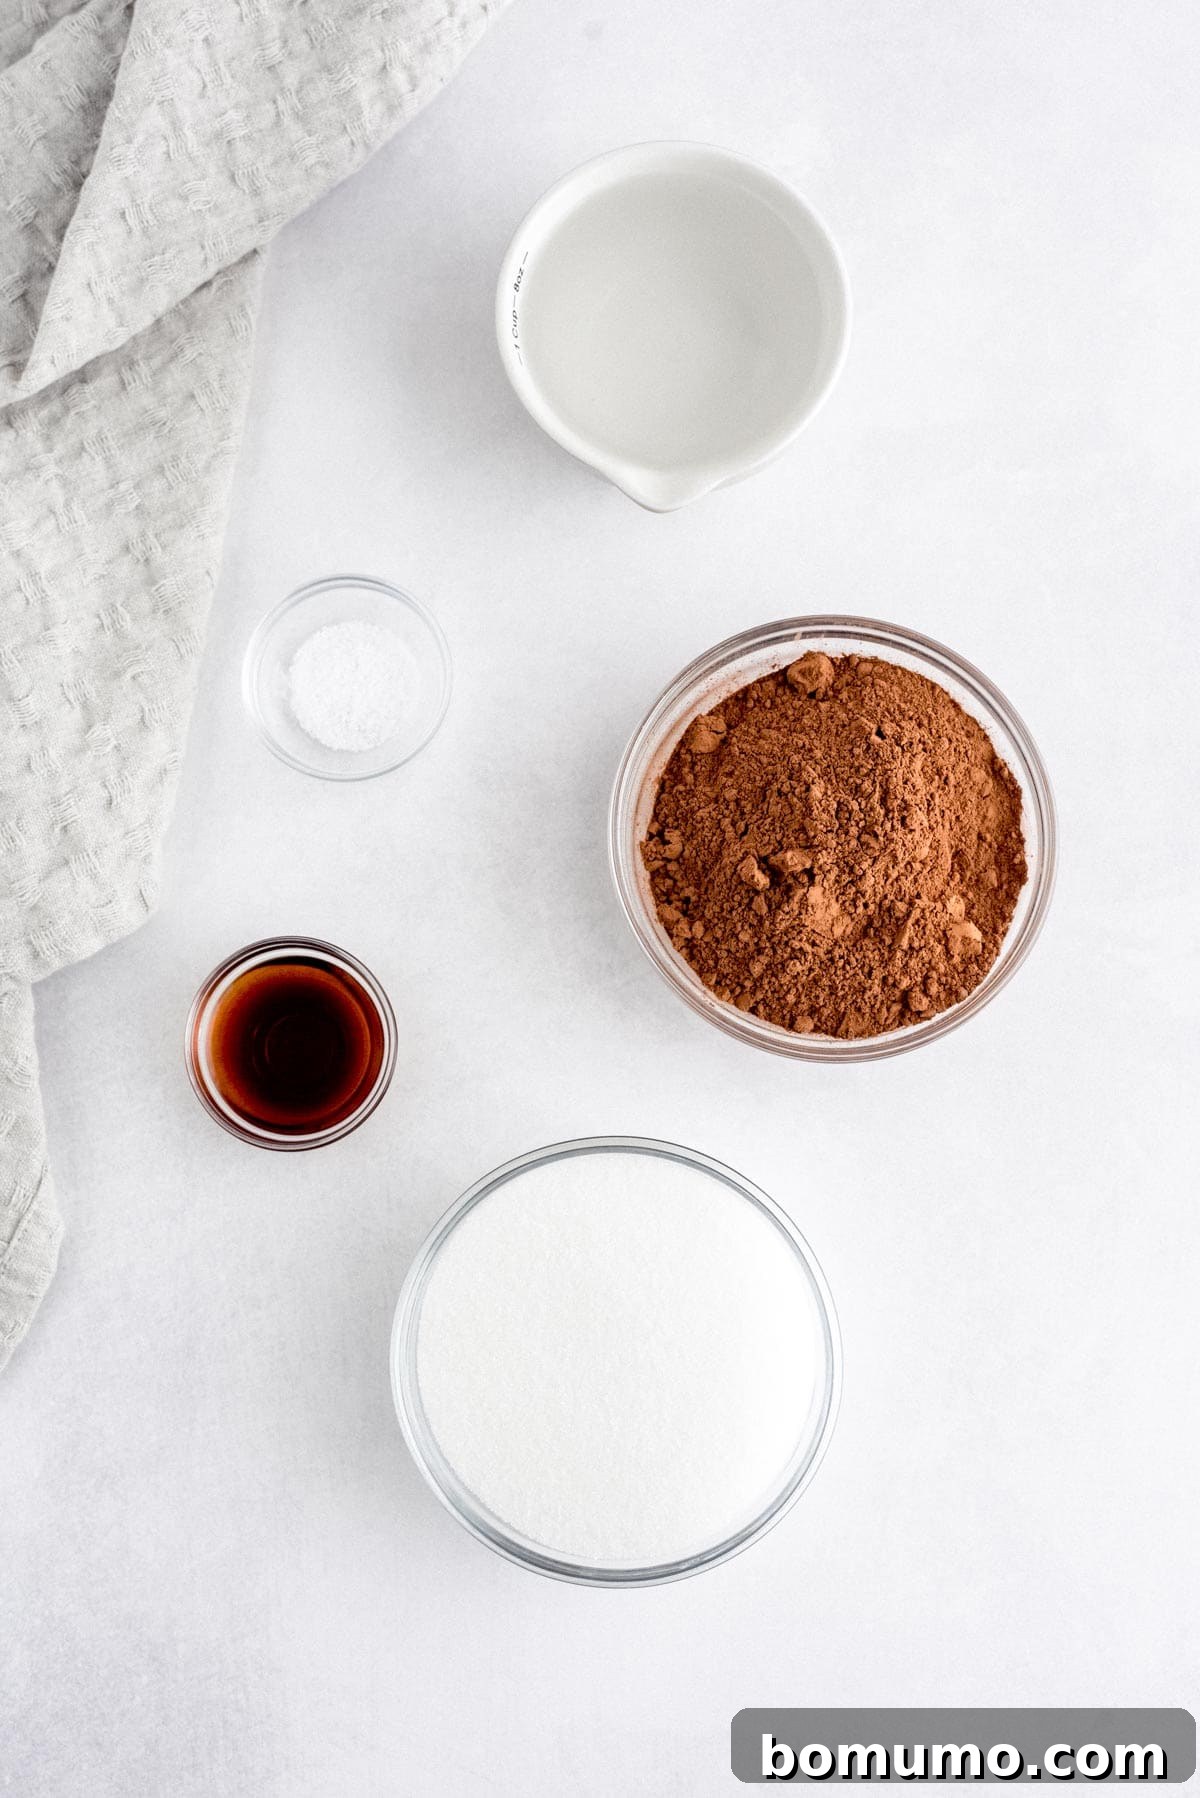
The beauty of this chocolate syrup lies in its simplicity, but understanding each ingredient’s role can help you achieve the best results.
- Unsweetened Cocoa Powder: This is the heart of our chocolate syrup. Opt for high-quality unsweetened cocoa powder, readily available in the baking aisle. While brands like Ghirardelli offer a darker, more intense chocolate flavor, a standard Hershey’s cocoa powder works perfectly well and still yields a fantastic result. Natural cocoa powder is generally preferred for its brighter, more acidic chocolate notes, which balance the sweetness.
- Granulated Sugar: Standard white granulated sugar provides the essential sweetness and contributes to the syrup’s desired consistency. While other sweeteners could be explored, granulated sugar delivers the classic texture and flavor profile for this recipe.
- Kosher Salt: A small pinch of salt is crucial. It doesn’t make the syrup taste salty; instead, it acts as a flavor enhancer, intensifying the chocolate notes and preventing the syrup from tasting bland or one-dimensional. Never skip the salt!
- Pure Vanilla Extract: For an authentic and aromatic finish, always choose pure vanilla extract. Its complex floral and sweet notes complement the chocolate beautifully, adding depth that imitation vanilla simply cannot match. Add it off the heat to preserve its delicate flavor.
- Water: Plain tap water or filtered drinking water is perfectly suitable. It serves as the liquid base, dissolving the sugar and cocoa into a smooth, pourable syrup.
Crafting Your Own Delicious Chocolate Syrup: Step-by-Step
Follow these simple steps to create a luscious, homemade chocolate syrup that will quickly become a pantry staple.
Step 1: Combine the Dry Ingredients. Begin by whisking together the unsweetened cocoa powder, granulated sugar, and kosher salt in a small saucepan. Ensure they are thoroughly combined to prevent any lumps. If your cocoa powder tends to be clumpy, a quick pass through a fine-mesh strainer before whisking will guarantee a silky-smooth syrup.
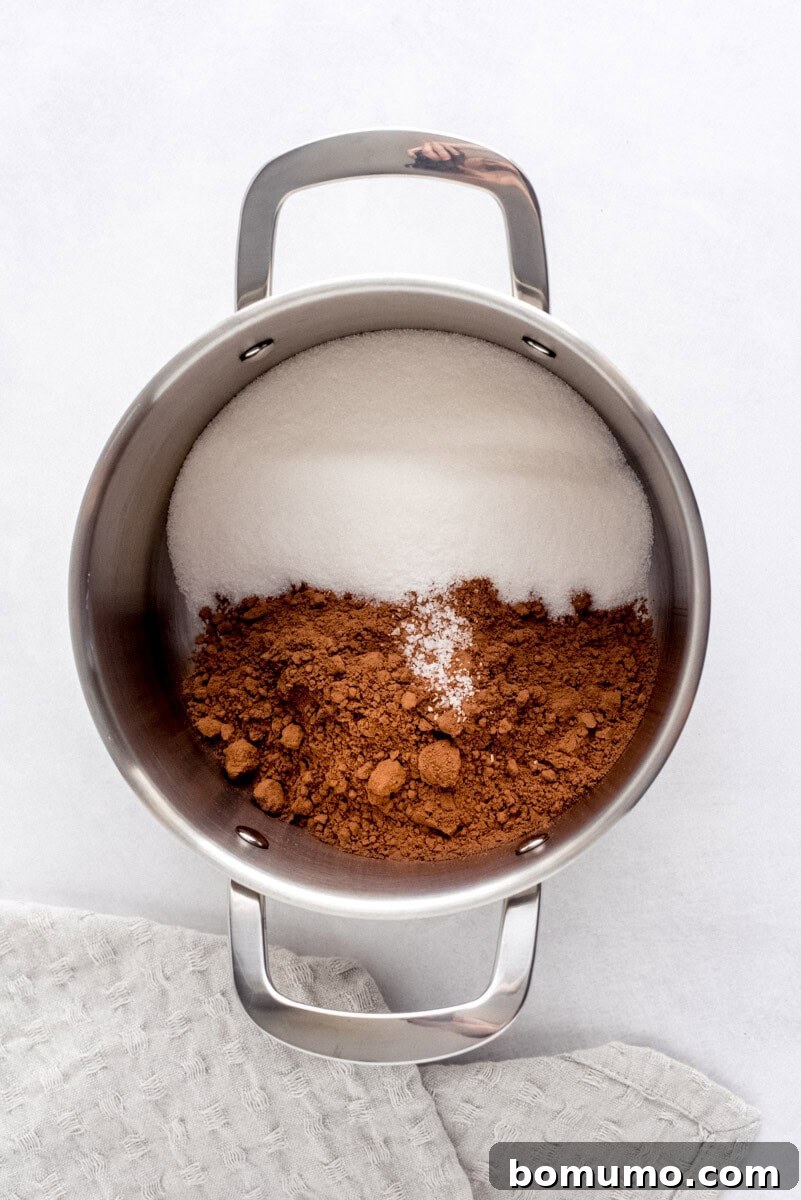
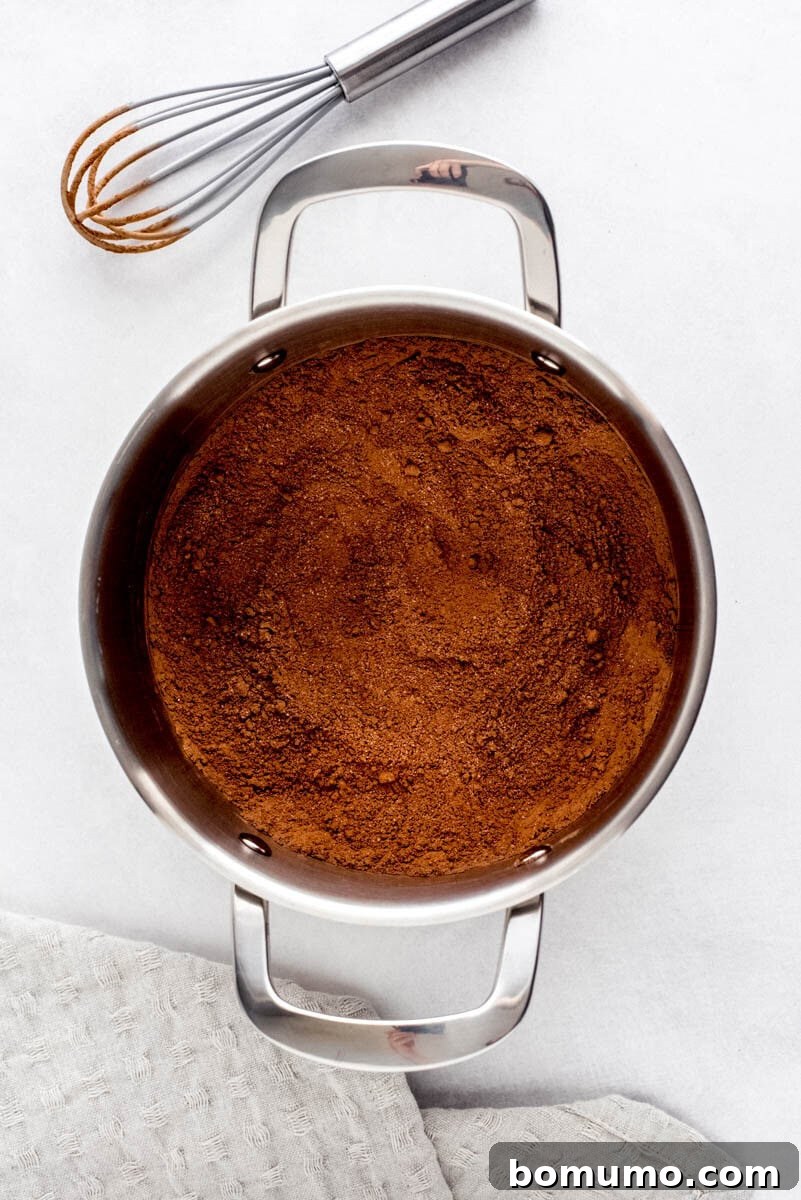
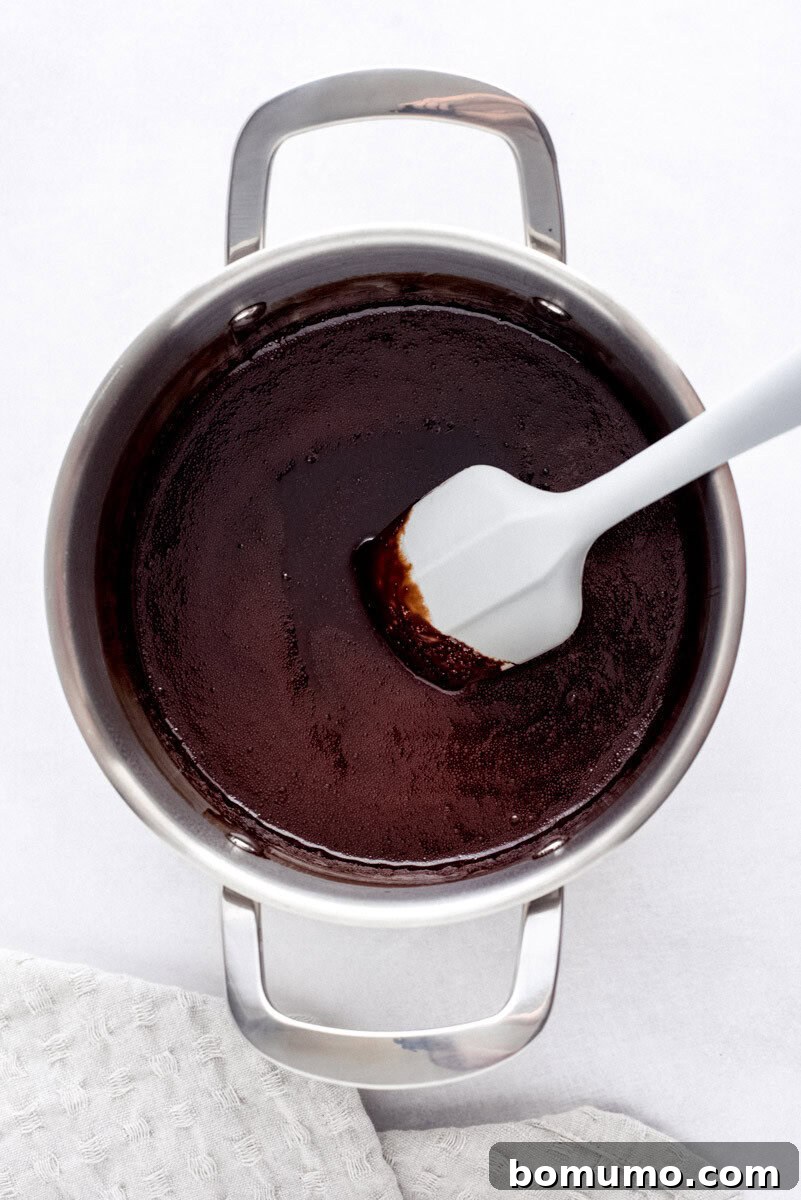
Step 2: Simmer to Perfection. Pour the water into the saucepan with the dry ingredients, stirring continuously with your whisk until a smooth, uniform mixture forms. Place the saucepan over medium heat, continuing to stir frequently. This constant agitation helps the sugar dissolve evenly and prevents the chocolate from scorching at the bottom. Bring the mixture to a gentle boil, then immediately reduce the heat to a low simmer. Continue simmering for a few minutes, stirring regularly, until the sugar is completely dissolved and the syrup begins to visibly thicken. Remember, the syrup will continue to thicken significantly as it cools, and even further once refrigerated, so don’t expect a thick consistency right off the stove.
Pro Tip: Avoid Scorching for Best Flavor
It’s crucial not to vigorously boil your chocolate syrup, as excessive heat can lead to a burnt or scorched taste, compromising its delicate chocolate flavor. The moment it begins to boil, reduce the heat to maintain a gentle, consistent simmer. This ensures the sugar dissolves properly without overheating the cocoa.
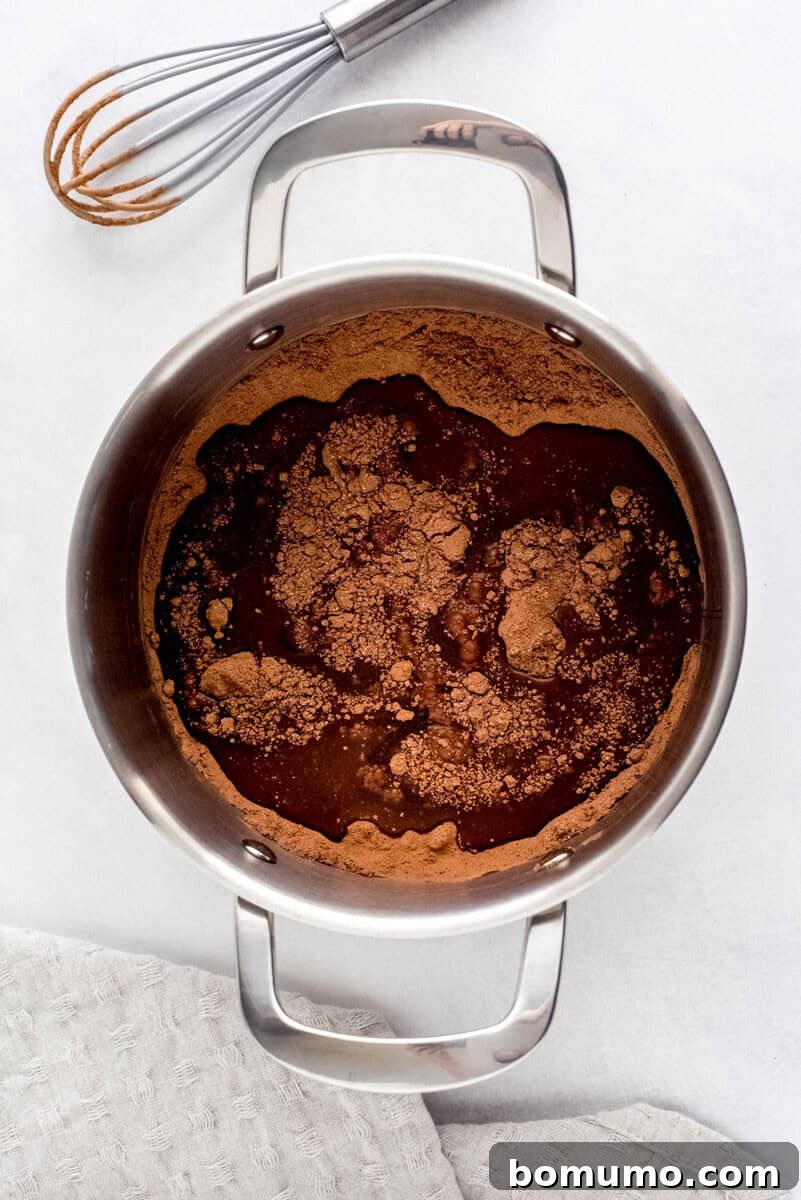
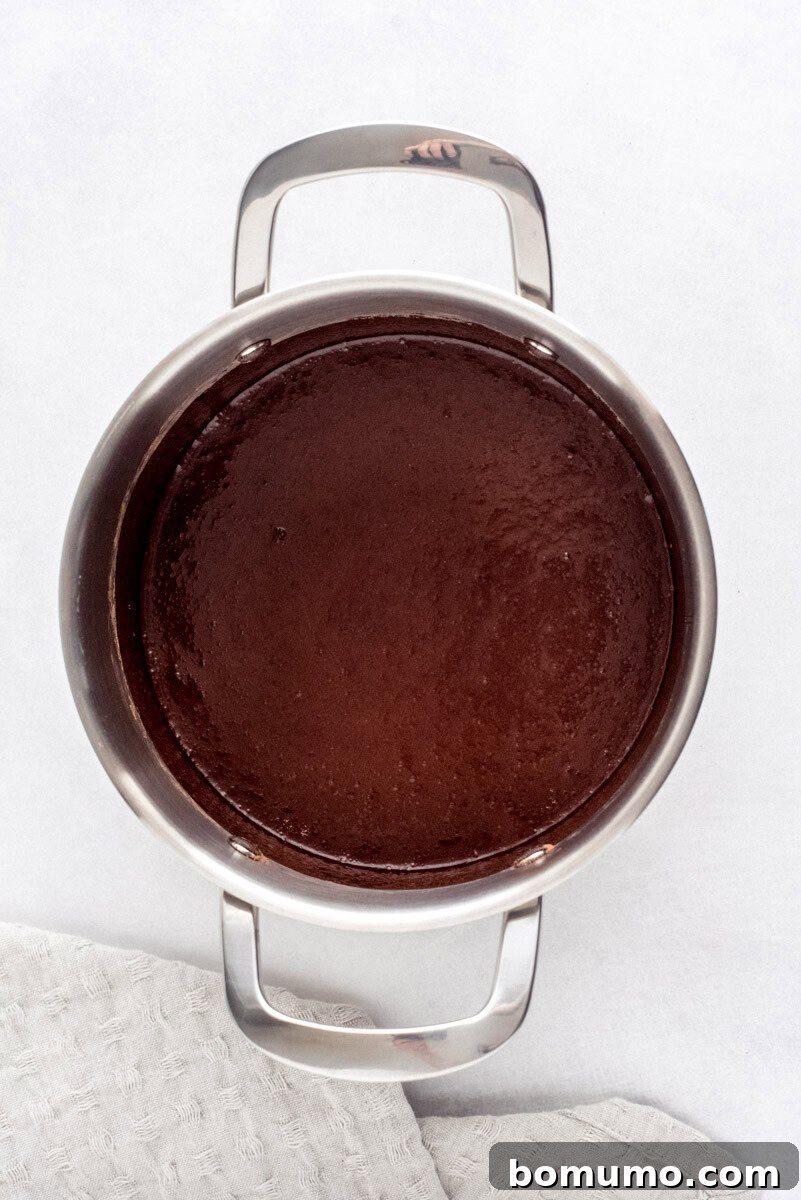
Step 3: Finish and Store. Once the syrup has simmered and thickened slightly, remove it from the heat. Stir in the pure vanilla extract. Allow the chocolate syrup to cool down slightly in the saucepan before carefully transferring it to your chosen storage container. Once it reaches room temperature, transfer it to the refrigerator. The cooling process, especially refrigeration, will help it achieve its final, perfect drizzling consistency.
Delightful Ways to Enjoy Your Homemade Chocolate Syrup
The versatility of homemade chocolate syrup knows no bounds. Here are some delectable ideas to inspire you:
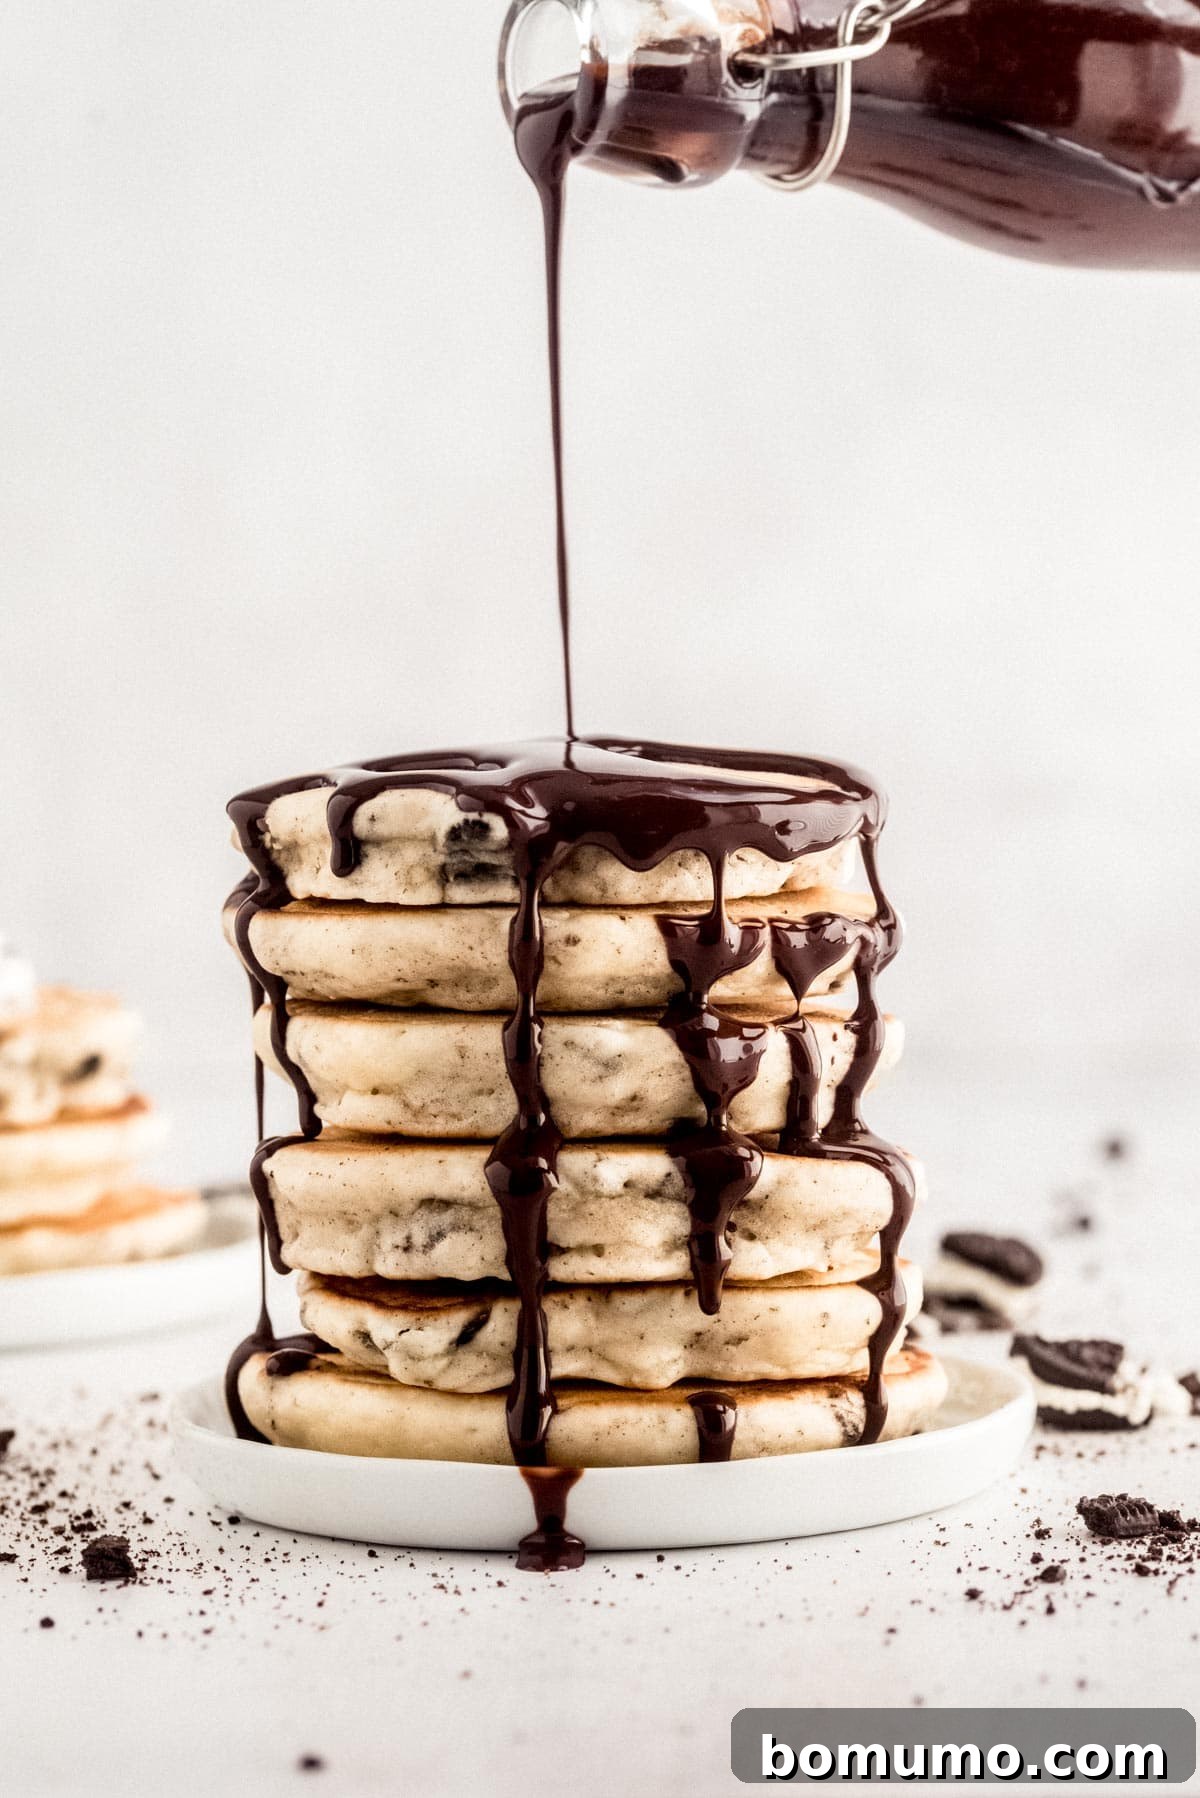
For a Sweet Start to Your Day (Breakfast & Brunch): Transform ordinary breakfasts into extraordinary experiences. Drizzle generous amounts of this rich chocolate syrup over fluffy buttermilk pancakes, or take it a step further with indulgent chocolate pancakes. It’s also incredibly delicious on banana pancakes and peanut butter pancakes, adding a gourmet touch. Elevate your homemade French toast by swapping maple syrup for this chocolatey delight. Even your morning oatmeal can get a delicious upgrade with a swirl of chocolate syrup, especially when paired with sliced bananas or a spoonful of creamy peanut butter for an extra layer of richness.
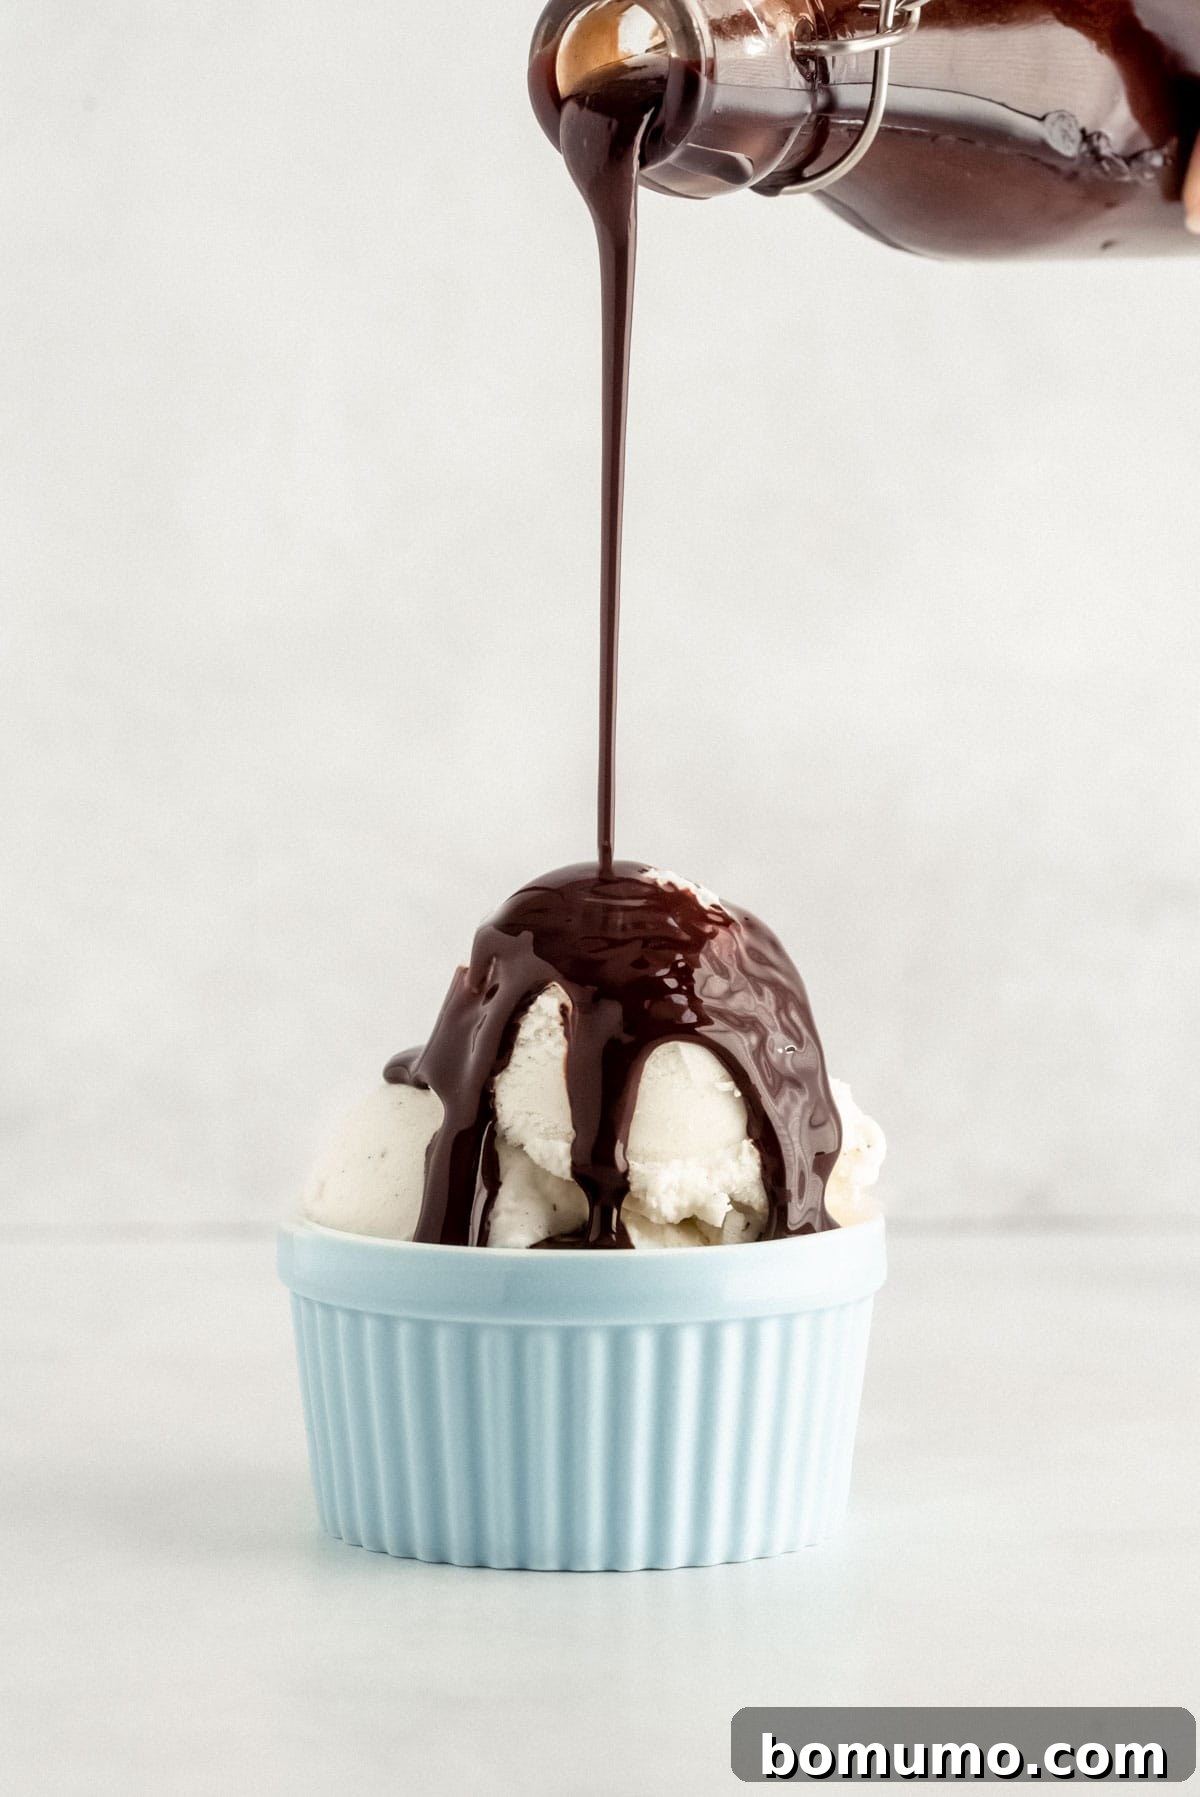
Irresistible Dessert Enhancements: Homemade chocolate syrup is the ultimate dessert accomplice. One of life’s simplest pleasures is a scoop of creamy vanilla ice cream generously topped with this homemade goodness. For an even more decadent treat, add other fun toppings like crushed Oreo cookies, fresh sliced bananas, or extra chocolate chips. It’s also an incredibly easy way to dress up classic desserts like tender pound cake or fudgy brownies, turning them into instant showstoppers.
Crafting Decadent Beverages: Unleash your inner barista! Stirring homemade chocolate syrup into a glass of cold milk creates the most incredible chocolate milk you’ve ever tasted – far superior to any powdered mix. Use it to craft a comforting mug of hot chocolate on a chilly evening. For a refreshing indulgence, blend it with ice cream to make your own creamy chocolate milkshake. It also adds a gourmet touch to iced coffee, lattes, and can even be incorporated into sophisticated cocktails like mudslides or chocolate martinis for a truly grown-up treat.
Exciting Recipe Variations to Explore
While the classic chocolate syrup is fantastic on its own, don’t hesitate to experiment with these creative variations to customize your sweet creation:
- Warm Spice Infusion (Cinnamon): For a delightful twist, add a teaspoon of ground cinnamon to your dry ingredients. The warm, earthy notes of cinnamon perfectly complement the richness of chocolate, creating a cozy and exotic flavor profile. Feel free to experiment with other ground spices like a tiny pinch of cayenne for a Mexican hot chocolate flair, or a touch of cardamom for an aromatic surprise.
- Elevate with Mocha: Transform your chocolate syrup into a sophisticated mocha syrup. Simply stir in about a teaspoon of espresso powder (found in the coffee aisle) with your dry ingredients. This adds a subtle coffee undertone that enhances the chocolate’s depth, making it perfect for coffee-based beverages and desserts.
- Flavorful Extracts for Unique Notes: A few drops of various extracts can dramatically alter the syrup’s character. Add a few drops of peppermint extract for a refreshing chocolate mint syrup (use sparingly, as mint is potent). Almond extract can create an amaretto-like chocolate experience, while hazelnut extract offers a delightful nutty dimension. The possibilities are endless!
- Craving Hot Fudge? If you prefer a thicker, richer, and more indulgent topping, then our dedicated hot fudge recipe is exactly what you need. It includes three delicious variations to satisfy every craving for a warm, gooey chocolate sauce.
Storage
Storage
While homemade chocolate syrup doesn’t contain the same extensive preservatives as commercial products, it boasts an impressive shelf life when stored correctly. Once completely cooled to room temperature, transfer your syrup to an airtight container, a glass jar with a tight-fitting lid, or a convenient squeeze bottle. Stored in the refrigerator, it will remain fresh and delicious for up to three months. Always ensure your storage container is clean and sealed to maintain optimal freshness and prevent contamination.
More Delicious Sweet Toppings
Homemade Peach Sauce
Easy Apple Compote
Fresh Blueberry Sauce
Homemade Caramel Sauce (So Easy!)
Homemade Chocolate Syrup
Rachel Gurk
5 mins
8 mins
13 mins
16 servings (approx. 2 cups)

Print Recipe
This effortless homemade chocolate syrup recipe delivers an incredibly rich and satisfying flavor, ensuring you’ll never opt for store-bought versions again. Perfect for drizzling over desserts, pancakes, or mixing into beverages.
Ingredients
- 1 cup unsweetened cocoa powder
- 1 cup granulated sugar
- ¼ teaspoon kosher salt
- 1 cup water
- 2 teaspoons pure vanilla extract
Instructions
-
In a small saucepan, whisk together the cocoa powder, sugar, and salt until thoroughly combined. For an extra smooth syrup, consider sifting the cocoa powder first to remove any lumps.
-
Gradually whisk in the water until smooth. Place the saucepan over medium heat, stirring frequently, until the mixture comes to a gentle boil. Immediately reduce the heat to a low simmer and continue to cook for 3 minutes, stirring constantly, until the sugar is fully dissolved and the syrup begins to thicken slightly. Remember, it will thicken considerably more as it cools.
-
Remove the saucepan from the heat and stir in the pure vanilla extract.
-
Allow the chocolate syrup to cool completely to room temperature before transferring it to your desired storage container. Refrigerate until ready to use. The syrup will achieve its ideal consistency once chilled.
Notes
- How to use: This recipe yields a classic chocolate syrup, similar in consistency and flavor to well-known brands like Hershey’s. It’s incredibly versatile and perfect for topping ice cream, drizzling over pancakes or waffles, creating delicious chocolate milk, and much more.
- Storage: This recipe makes approximately two cups of syrup. Store it in a clean, covered container, a squeeze bottle, or a glass jar with a tight lid. When properly stored in the refrigerator, it will maintain its freshness and quality for up to 3 months.
Nutrition Information
Serving Size: 2tablespoons,
Calories: 62kcal,
Carbohydrates: 16g,
Protein: 1g,
Fat: 1g,
Saturated Fat: 0.4g,
Polyunsaturated Fat: 0.02g,
Monounsaturated Fat: 0.2g,
Sodium: 38mg,
Potassium: 83mg,
Fiber: 2g,
Sugar: 13g,
Calcium: 8mg,
Iron: 1mg
Nutrition information is an approximation calculated automatically and should be used as a general guide.
We’d love to hear from you! Share your thoughts and experience by leaving a comment below. Your feedback helps us grow and inspires others!