
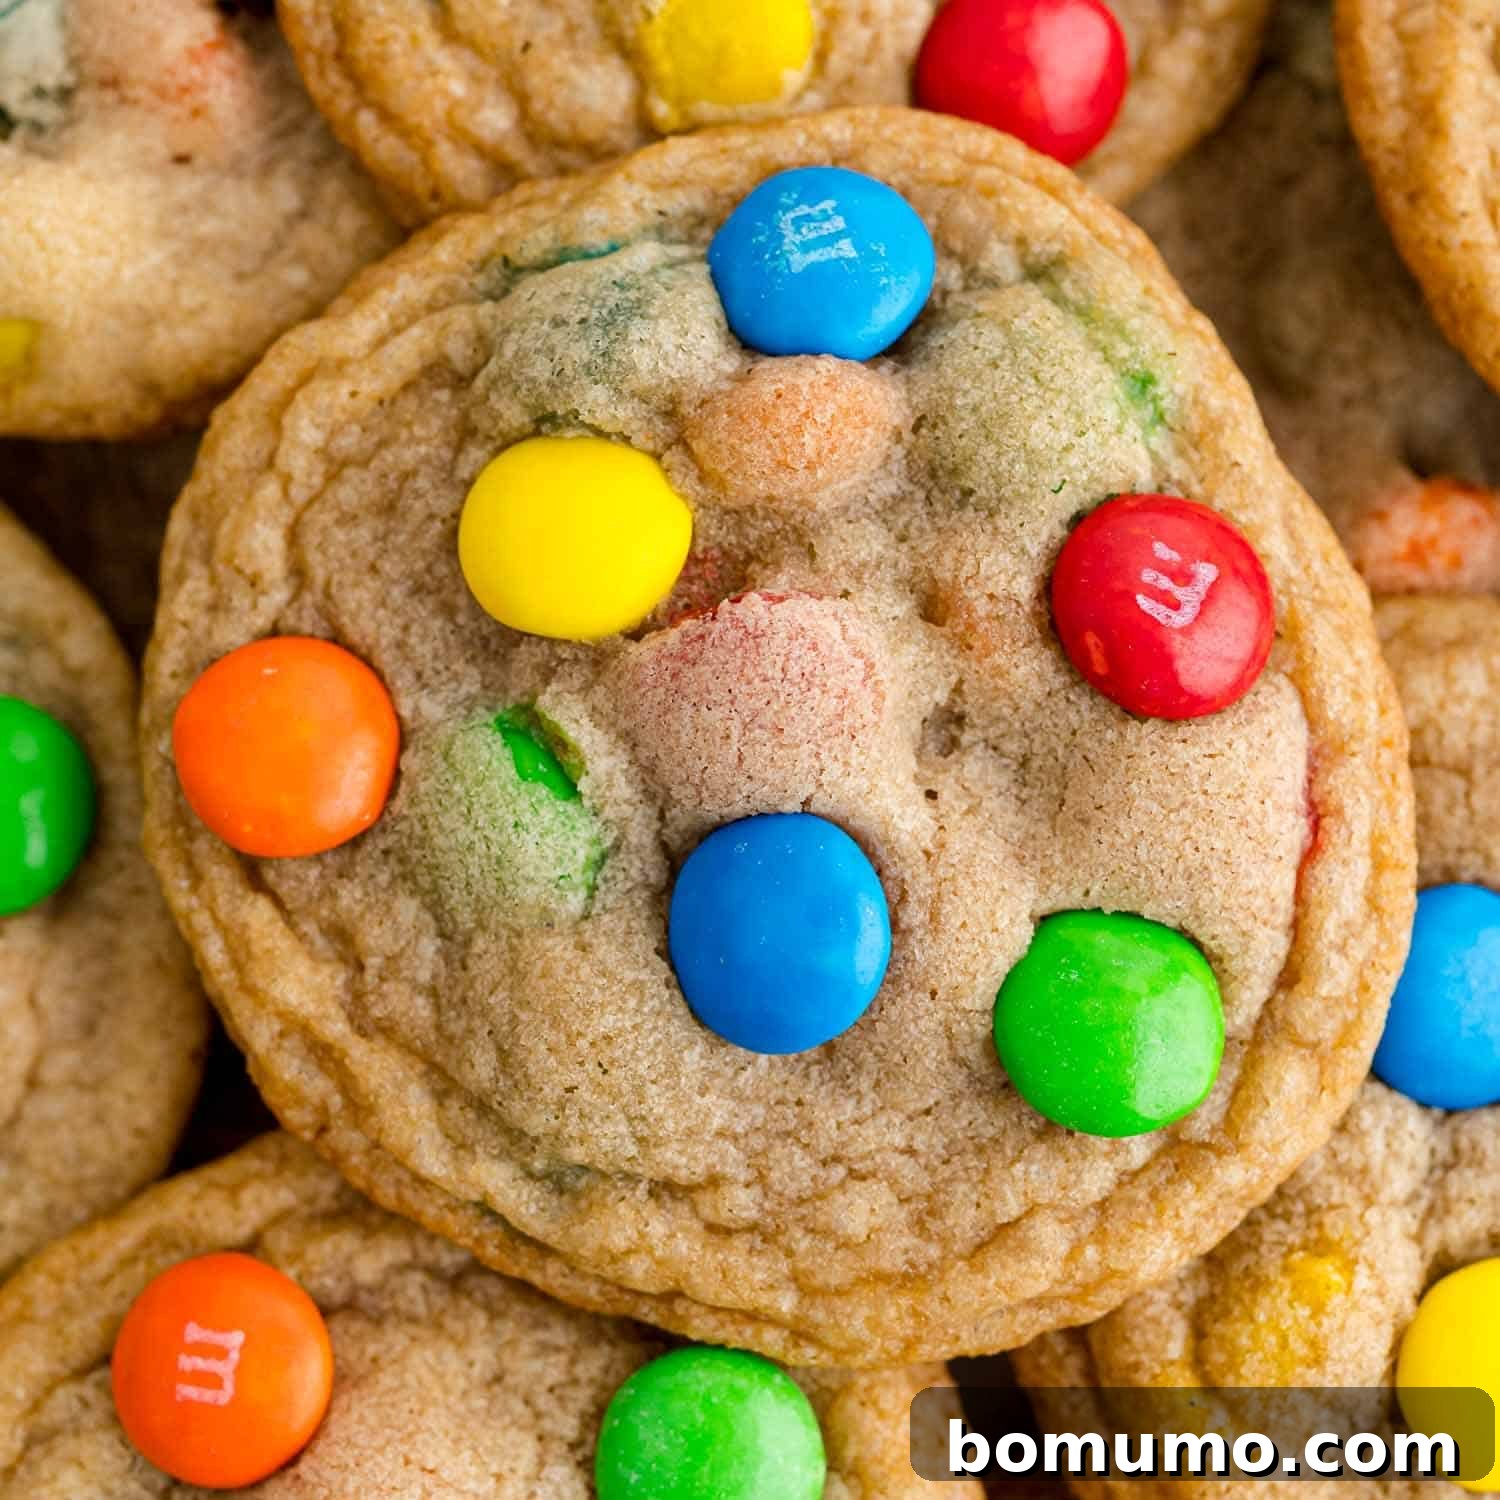
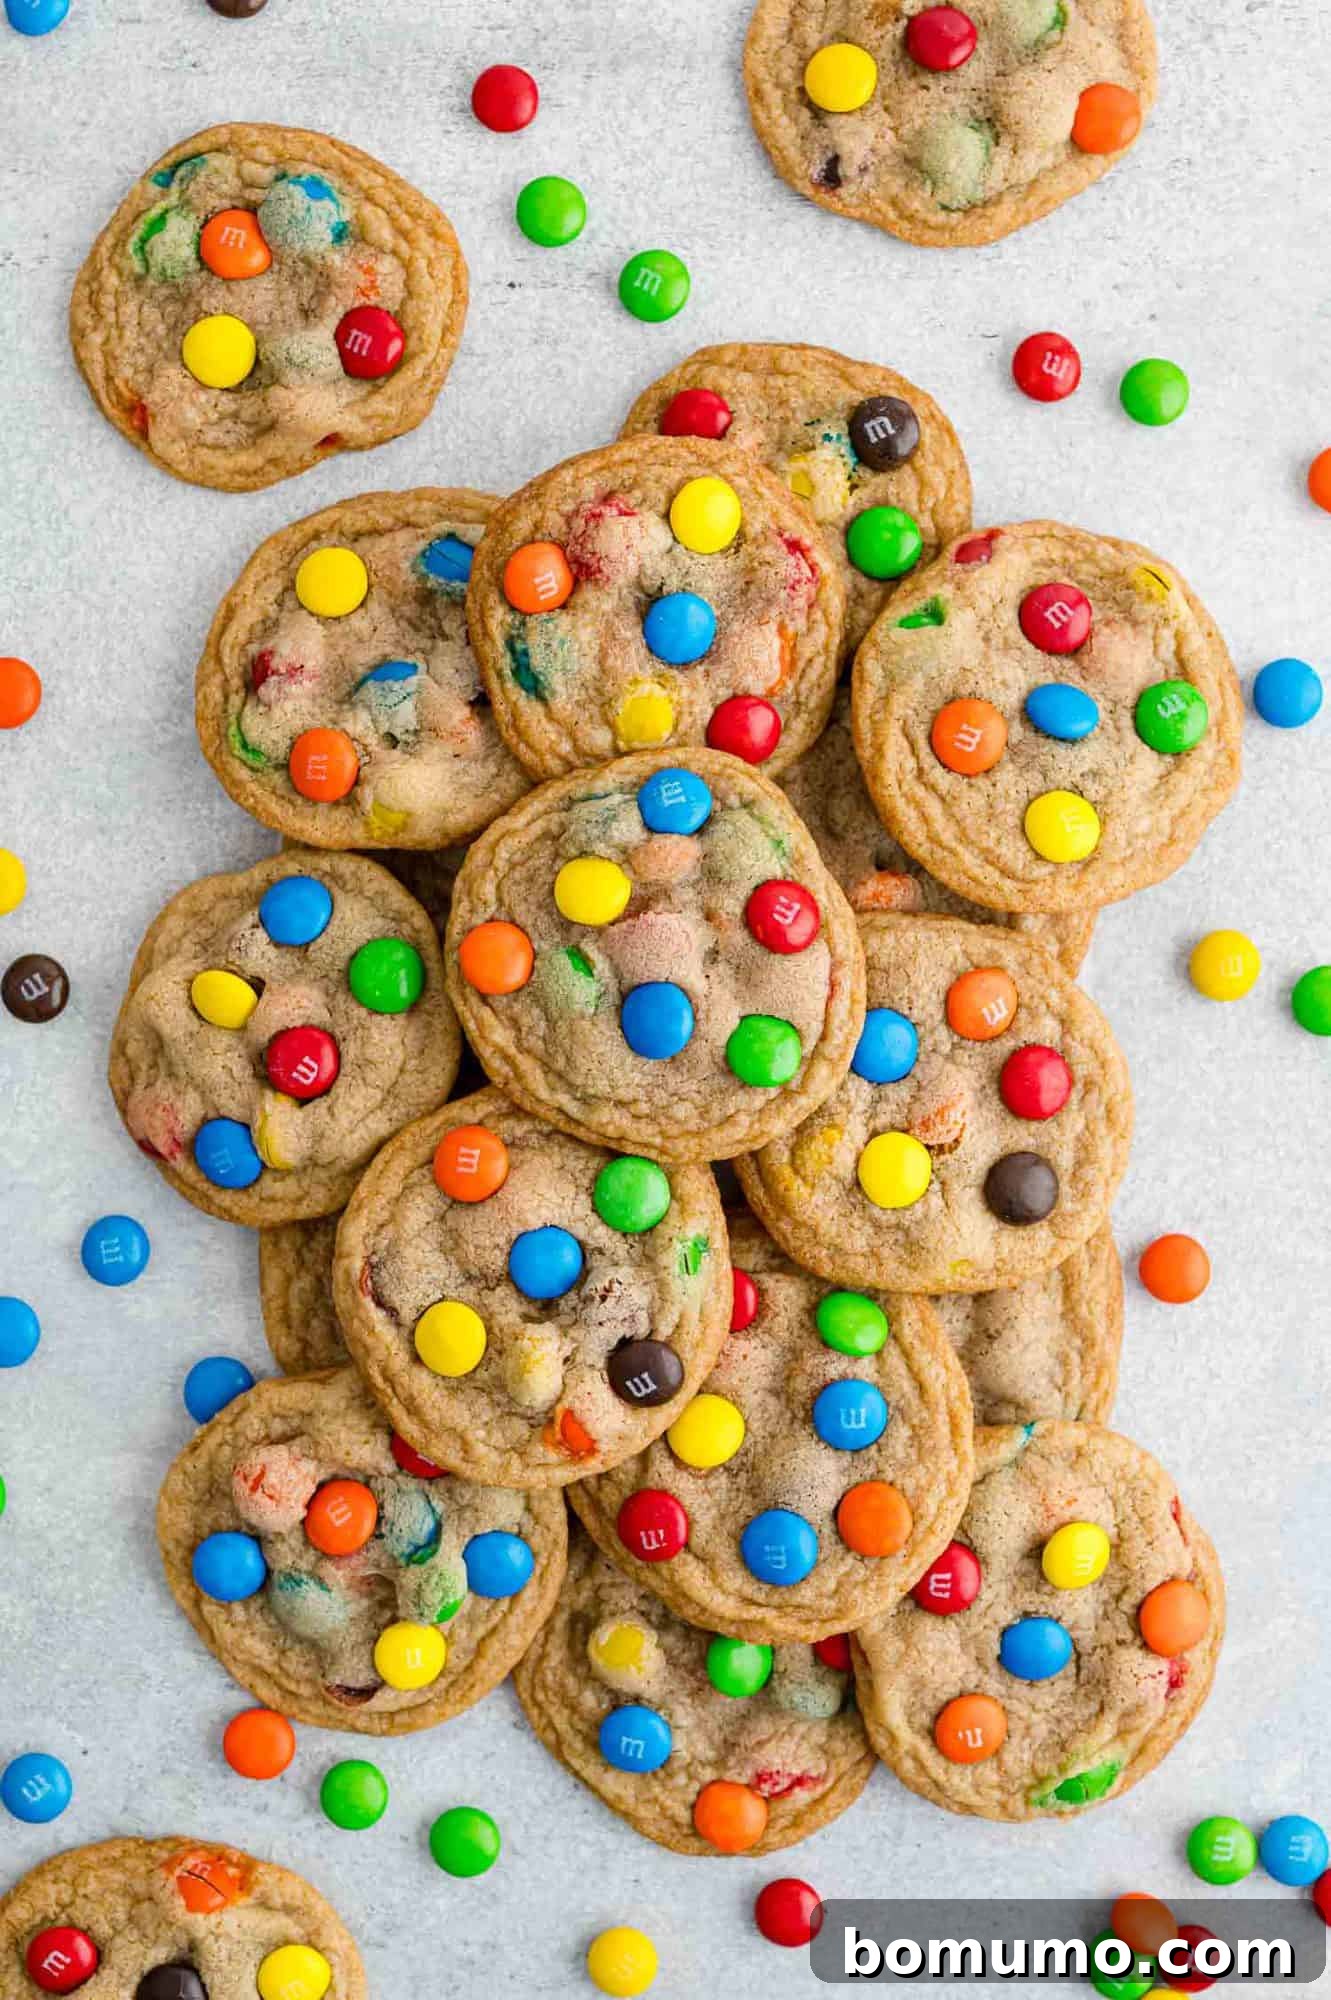
Welcome to the ultimate guide for creating the Perfect M&M Cookies! Forget about endless searching for that elusive ideal cookie recipe; your quest ends here. This isn’t just a recipe; it’s a promise of pure cookie bliss. Imagine biting into a cookie with a gloriously chewy center, perfectly complemented by delightfully crispy edges, bursting with colorful, candy-coated chocolate M&Ms. This recipe delivers exactly that—consistently, effortlessly, and deliciously. Get ready to bake a batch that will disappear as quickly as you make them!
Recipe Overview
Why you’ll love it: This fail-proof recipe consistently yields perfect M&M cookies with minimal effort. It’s designed for delicious results every time.
How long it takes: A quick 15 minutes for prep, 30 minutes for dough chilling (essential!), and just 10 minutes per batch for baking, making it a relatively quick treat overall.
Equipment you’ll need: Standard kitchen tools like a reliable cookie sheet, an oven, a spacious mixing bowl, and a mixer (stand or hand-held) will do the trick.
Servings: This recipe is generous, producing approximately 4 to 5 dozen cookies, depending on your preferred size. Perfect for sharing or stocking up!
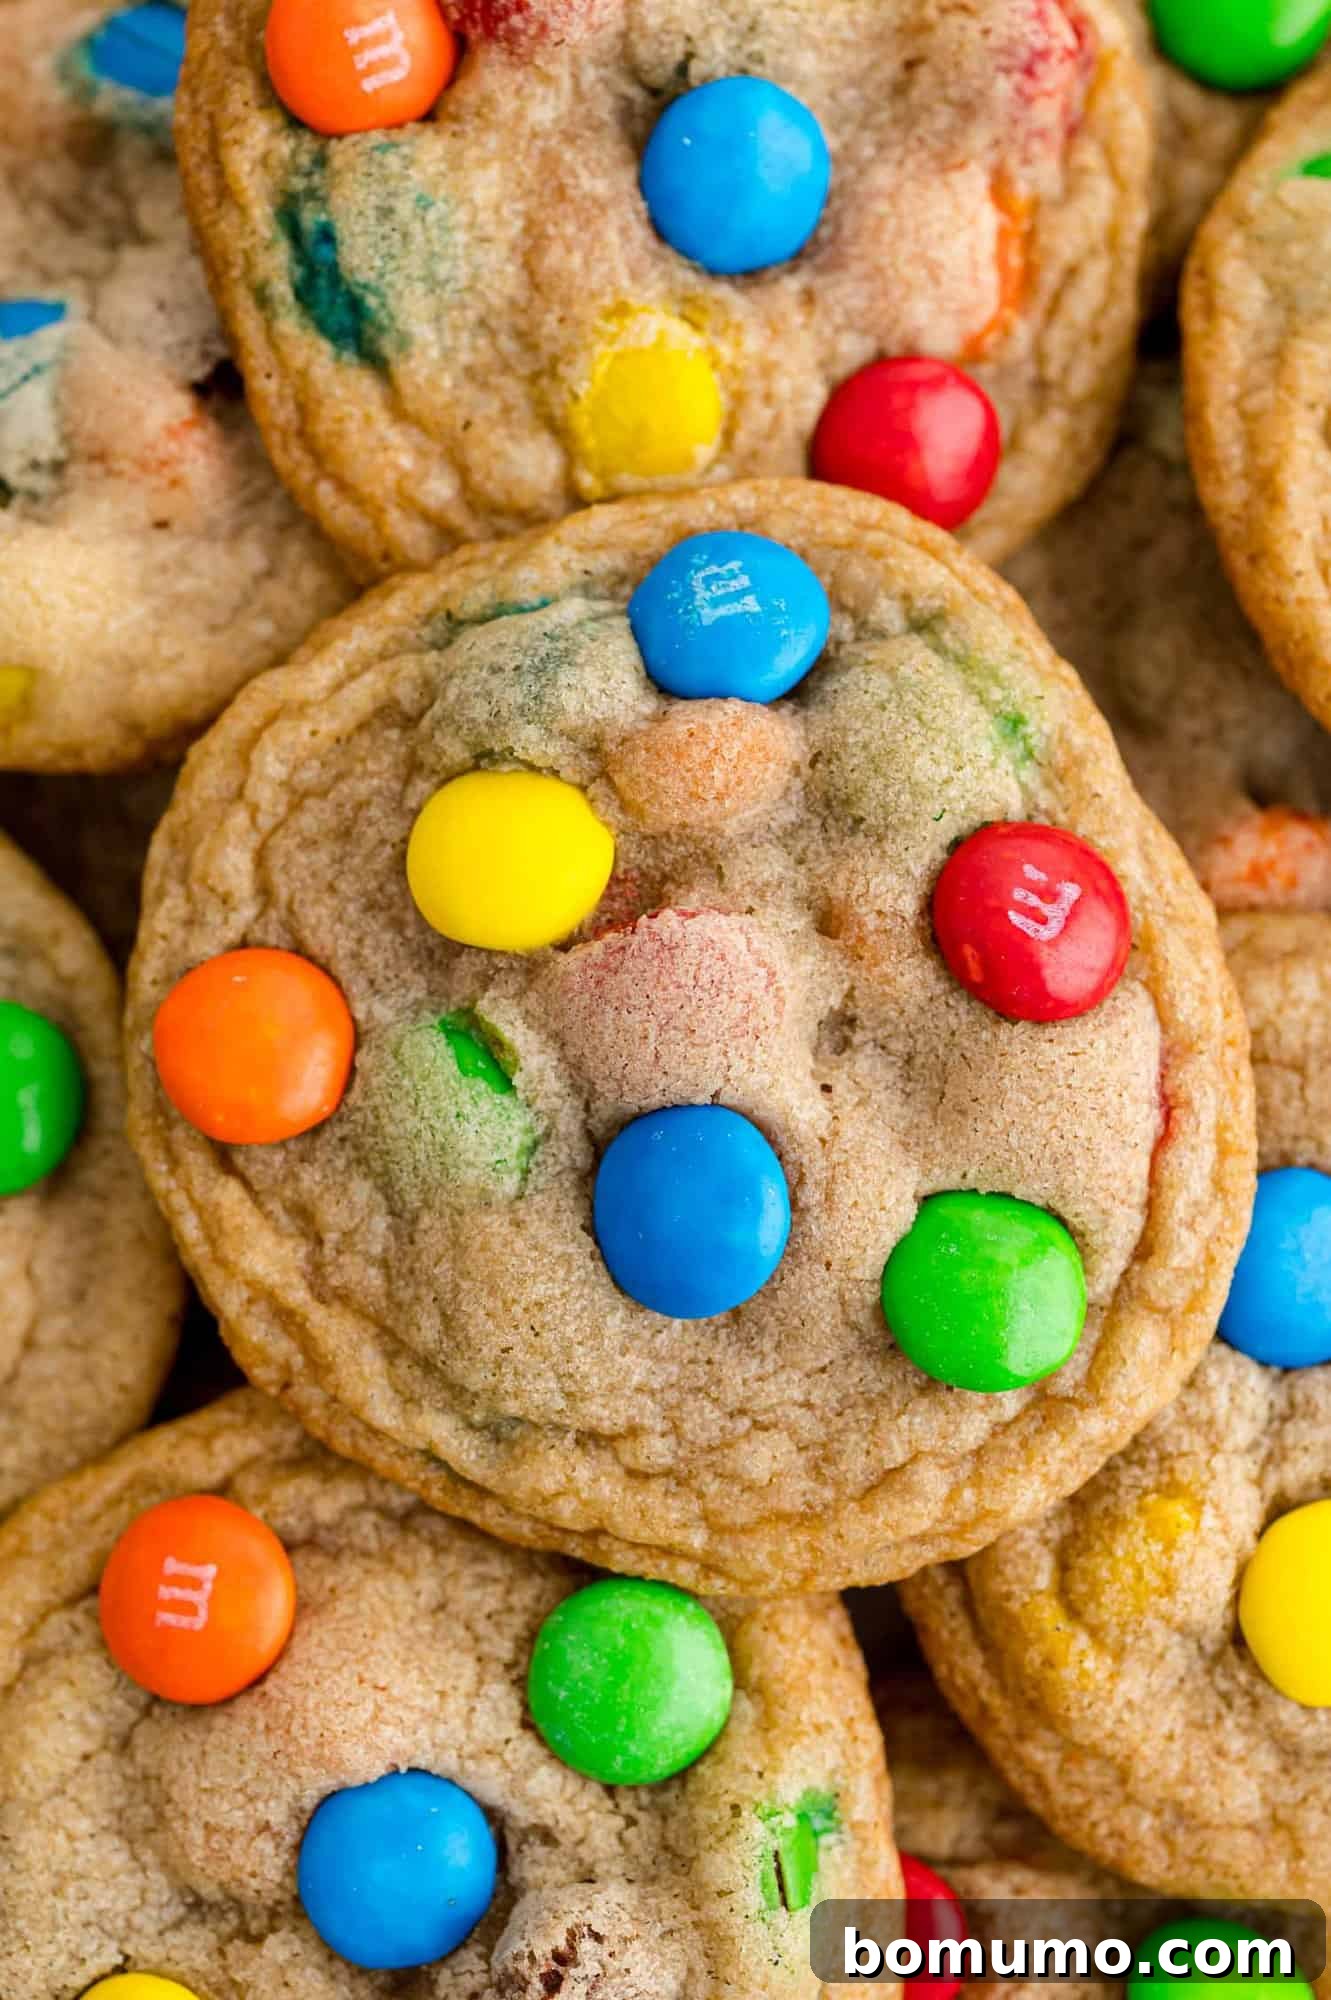
Discovering the truly perfect cookie is like unearthing a culinary treasure – something you’ll want to cherish and revisit often. These classic M&M cookies undeniably fit that description, embodying everything you could wish for in a homemade treat. Each cookie boasts a delightful duality: a wonderfully soft and incredibly chewy interior, giving way to subtly crisp, golden-brown edges. The sweetness is perfectly balanced, never overwhelming, and the addition of mini chocolate M&M’s provides those satisfying bursts of crunch and vibrant color without overpowering the delicate cookie base. Whether you’re a seasoned baker or a beginner, this easy M&M cookie recipe is destined to become a staple in your kitchen.
For the ultimate indulgence, I wholeheartedly recommend pairing one (or two!) of these warm, freshly baked M&M cookies with a tall, frosty glass of ice-cold milk. The contrast is simply heavenly. Alternatively, for a more comforting experience, a steaming mug of hot coffee or tea makes a wonderful companion. With a recipe this easy and delicious, you’ll find yourself baking these homemade M&M cookies frequently, providing ample opportunities to savor them in your preferred way.
Should your pantry be temporarily out of M&Ms, don’t fret! You can still whip up a fantastic batch of cookies. My kitchen sink cookies recipe is a brilliant alternative, allowing you to use whatever delightful odds and ends you happen to have on hand – from chocolate chips and nuts to pretzels and sprinkles. It’s another simple, fun, and utterly delicious way to satisfy your cookie cravings!
About These Irresistible M&M Cookies
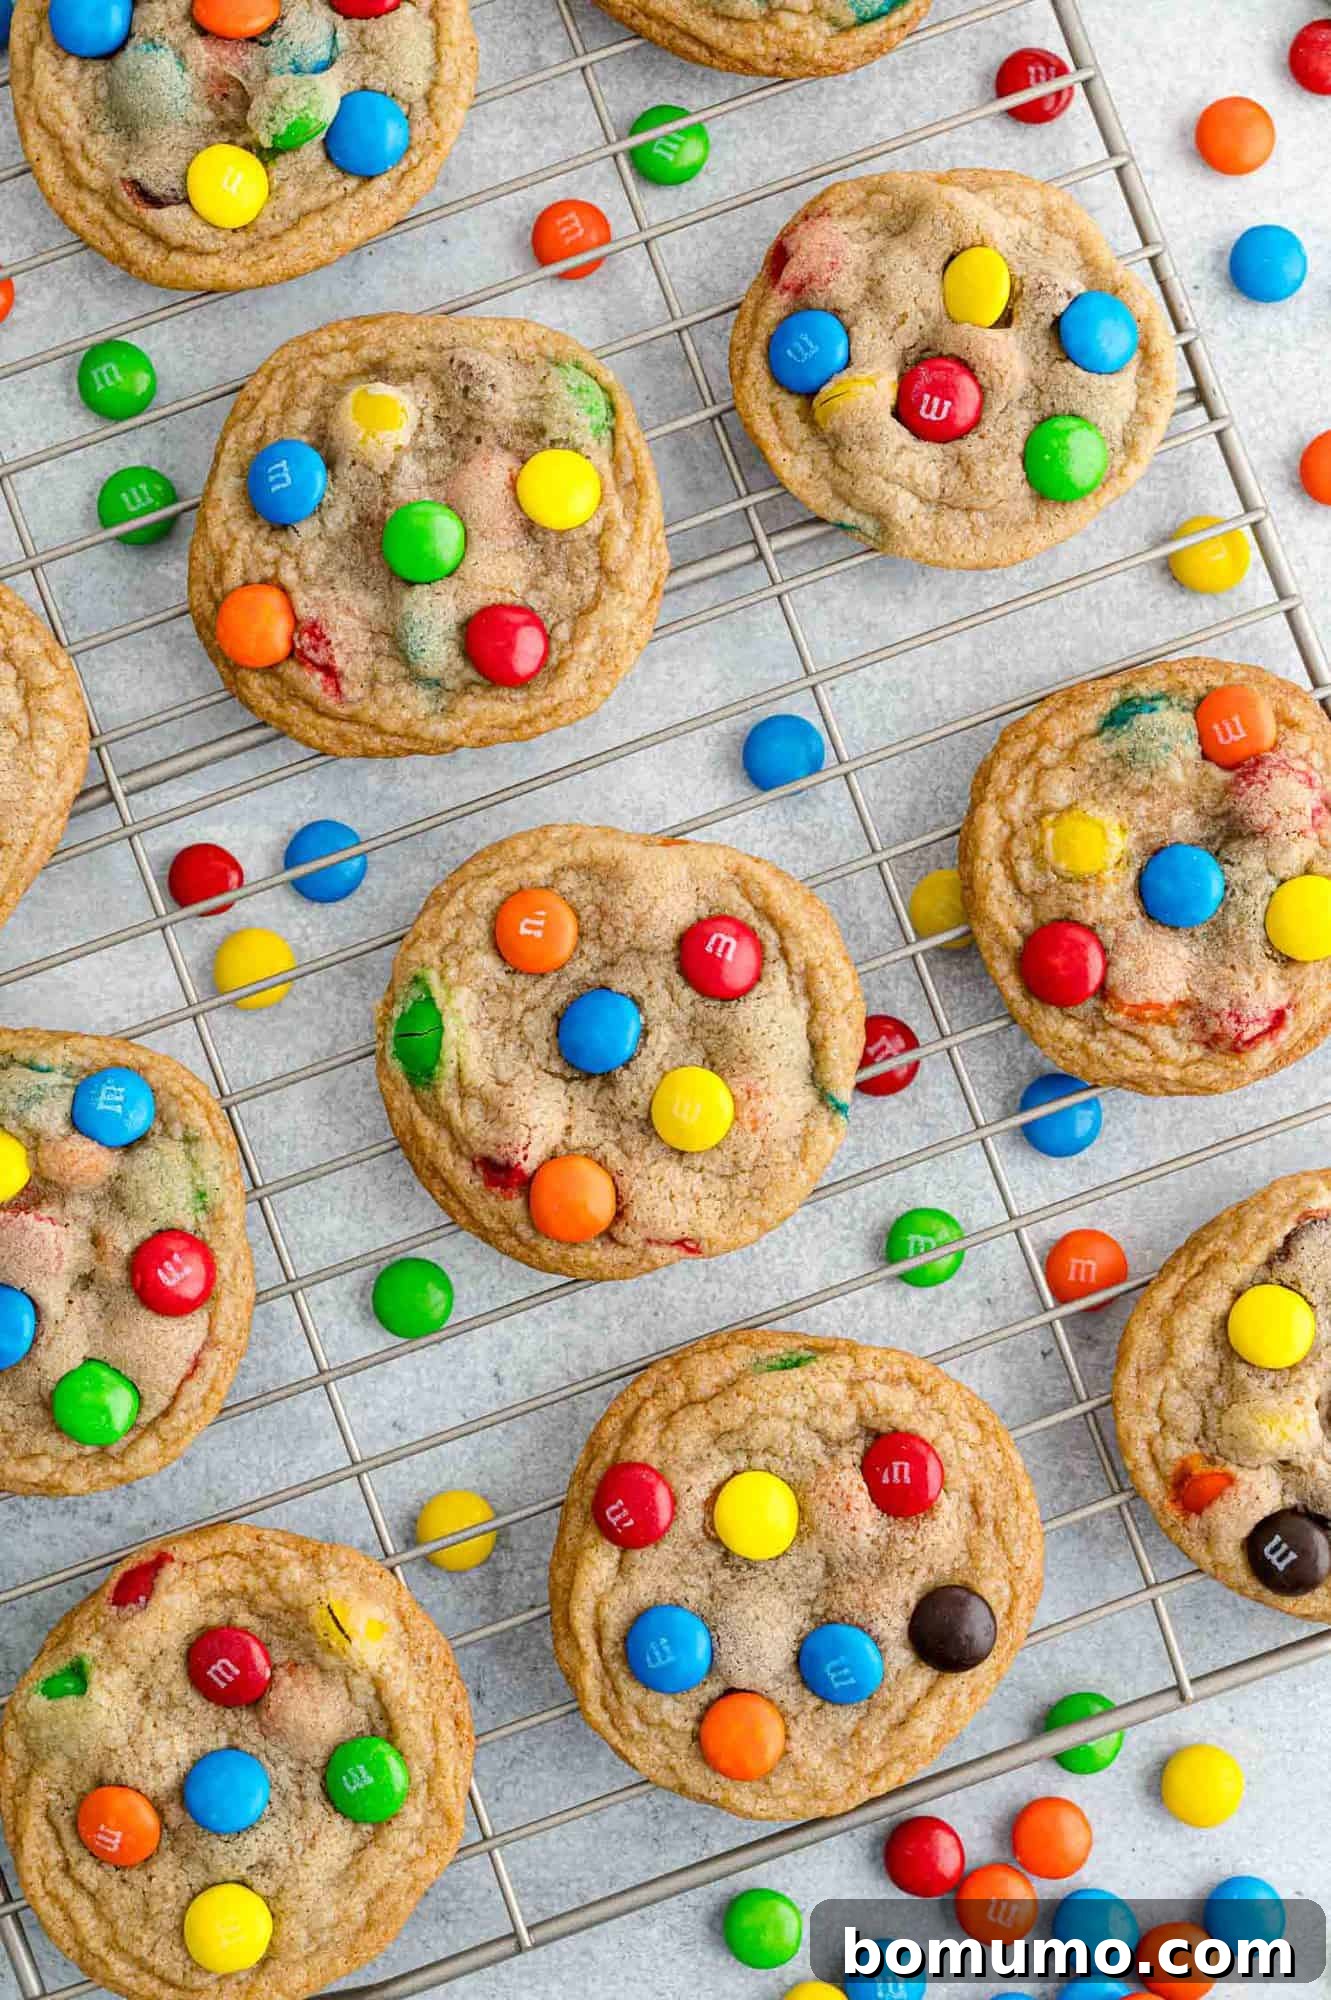
Perfectly Chewy, Every Single Time! When it comes to cookies, there’s a passionate debate: are you team chewy or team crunchy? While I’ll happily enjoy any cookie placed before me (after all, who can truly say no to a cookie?), my heart truly belongs to the chewy variety, especially when they come with those satisfyingly crisp edges. And that’s precisely why this M&M cookie recipe is my absolute favorite!
These M&M cookies belong firmly in the chewy camp, much like our beloved snickerdoodles. And there’s a special, not-so-secret ingredient responsible for their incredible chewiness. Are you ready to uncover it? Of course, you are!
The secret to ultimate chewiness is cornstarch! It might sound unconventional, but a small amount of cornstarch added directly to your dry ingredients works like magic. Typically used as a thickening agent in sauces or to achieve extra crispiness in fried foods, cornstarch also works wonders in cookie dough. It creates an incredibly tender crumb and prevents the cookies from spreading too thin, resulting in that coveted thick, soft, and chewy texture you crave. Give it a try, and you’ll become a believer!
Essential Ingredients for Your M&M Cookies
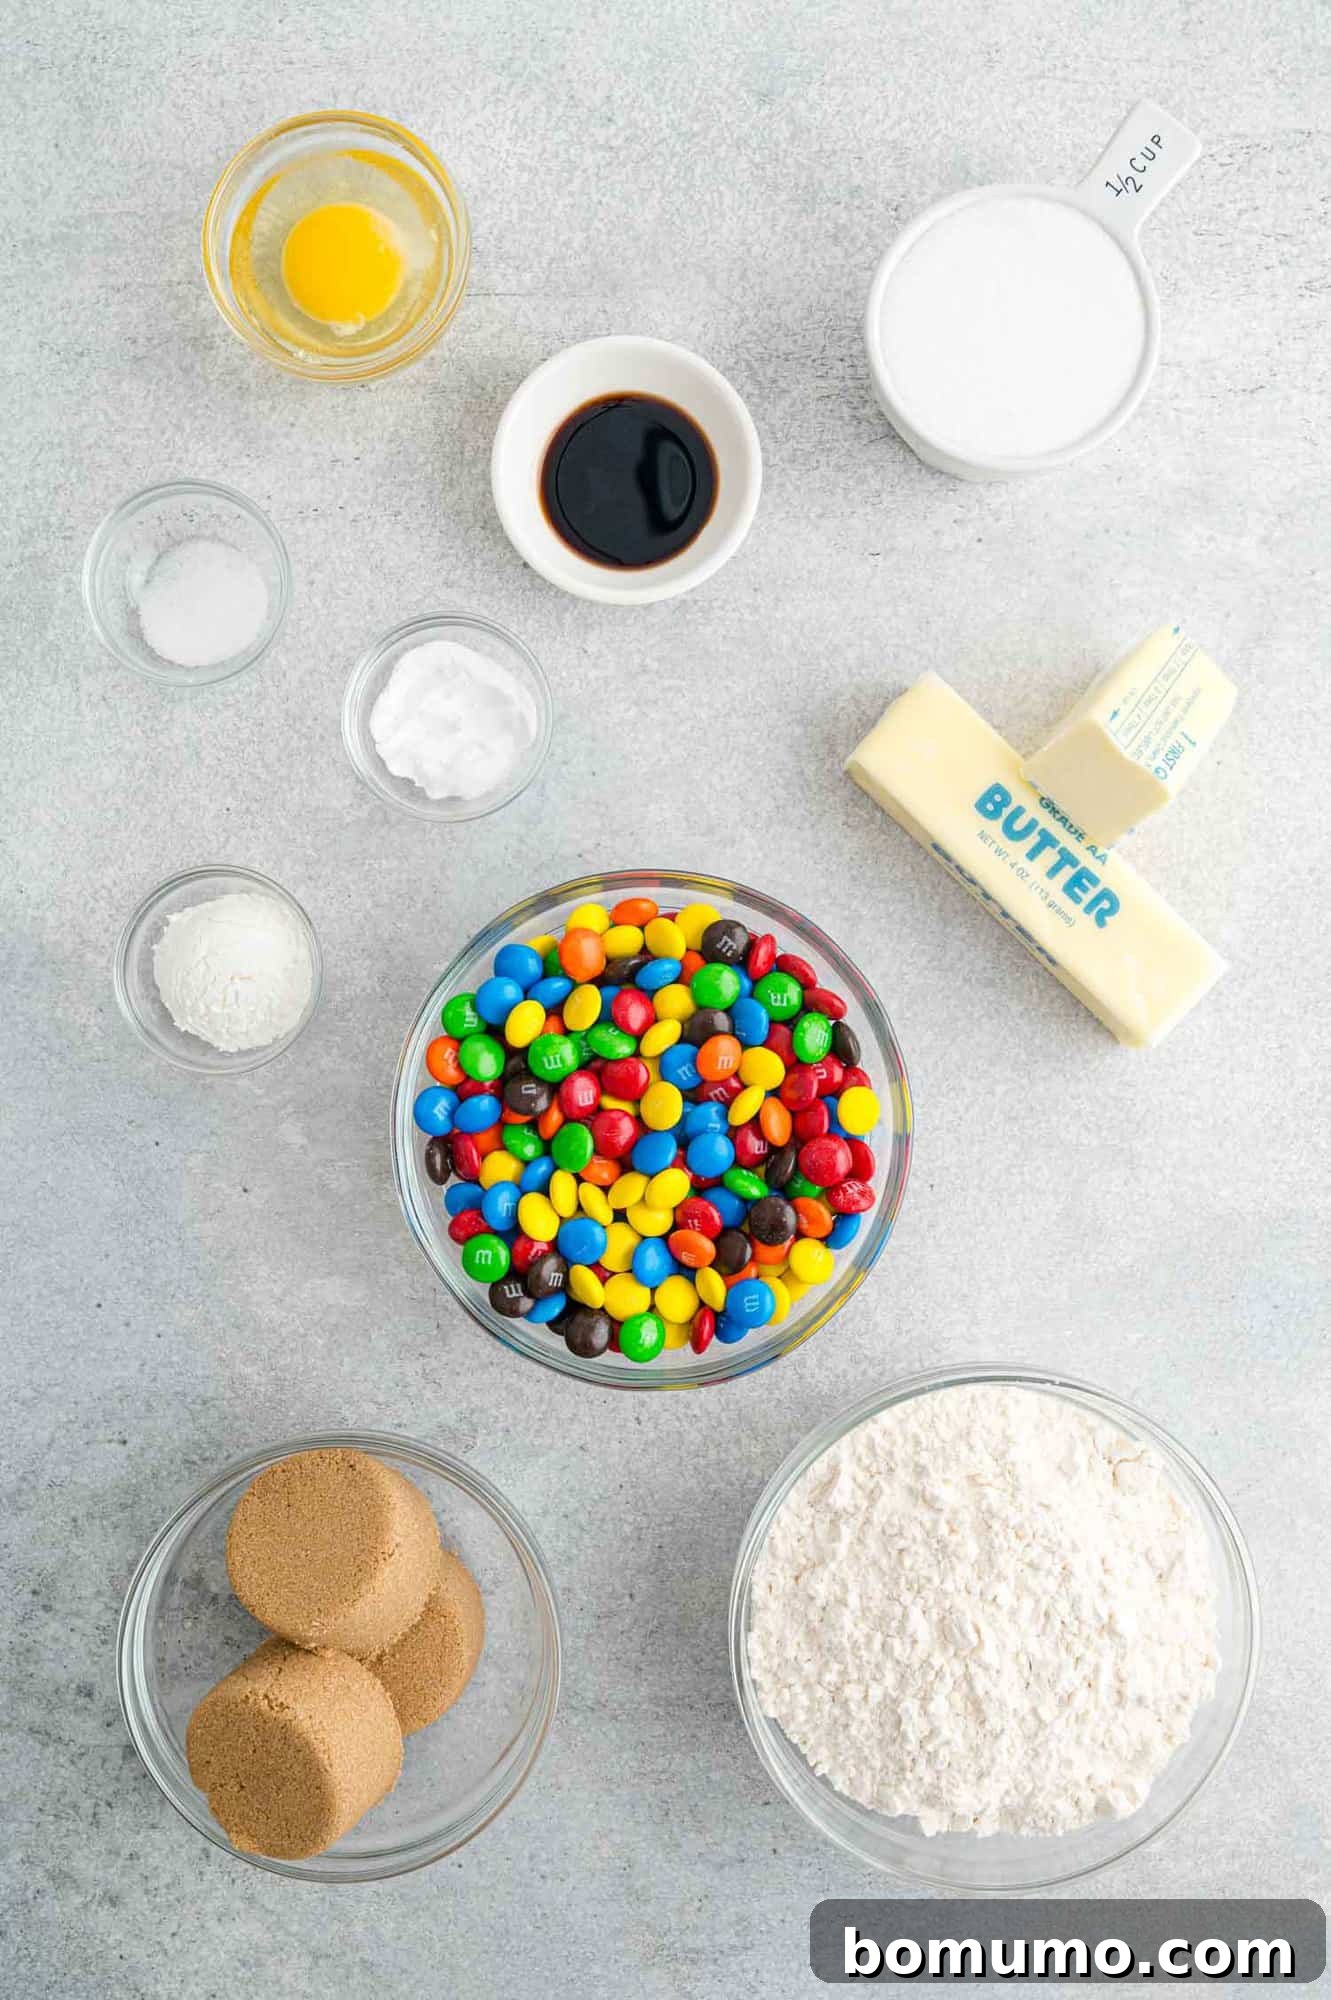
Crafting the perfect M&M cookies starts with understanding the role each ingredient plays. Here’s a detailed look at what you’ll need and why:
- All-Purpose Flour: The foundational structure of our cookies. For a slightly healthier twist without compromising texture, feel free to use a 50/50 blend of all-purpose flour and white whole wheat flour.
- Cornstarch: As our secret weapon, cornstarch is crucial for achieving that wonderfully soft, tender, and chewy texture while also preventing excessive spreading. Look for it in the baking aisle of your grocery store. It truly transforms these into the best M&M cookies you’ll ever make!
- Baking Soda and Salt: These aren’t just minor additions; they’re essential. Baking soda provides the necessary lift and rise, ensuring your cookies are light and airy, while salt perfectly balances the sweetness and enhances all the other flavors, making them pop. Don’t skip these!
- Brown Sugar and Granulated Sugar: The combination of these two sugars is key to the cookie’s texture and flavor. Brown sugar, with its molasses content, contributes to the moistness and chewiness, adding a rich, caramelized depth. Granulated sugar, on the other hand, ensures those beautifully crisp edges. Remember to pack the brown sugar firmly into your measuring cup for accurate results.
- Butter: Always opt for unsalted butter for baking, as it gives you control over the overall saltiness of your recipe. The most crucial tip here is to ensure your butter is at room temperature. Softened butter creams beautifully with sugar, creating air pockets that result in light and fluffy cookies. Rock-hard cold butter won’t incorporate properly, leading to a denser, less desirable texture.
- Eggs: Large eggs bind all the ingredients together, adding structure, moisture, and richness to the dough. They also contribute to the cookie’s tender crumb. Store-bought eggs are perfectly fine!
- Pure Vanilla Extract: A touch of pure vanilla extract elevates the flavor profile, adding warmth and depth that complements the chocolate and sweetness perfectly. Don’t skimp on quality here!
- M&Ms! The star of the show! You can use traditional M&Ms for that classic look and crunch, or go for mini M&Ms for a more even distribution of chocolatey goodness. Feel free to experiment with different varieties like peanut butter, dark chocolate, or mint M&Ms to customize your cookies. (The vibrant cookies in our photos feature traditional M&Ms for that iconic appeal.)
How To Make the Best Chewy M&M Cookies
Making these delicious M&M cookies is a straightforward process, but a crucial step for optimal chewiness is chilling the dough. Plan for at least 30 minutes of refrigeration; this allows the flavors to meld and prevents the cookies from spreading too much during baking.
While I typically rely on my trusty stand mixer equipped with the flat beater (paddle) attachment for cookie dough, a good quality hand mixer will also yield excellent results. If you prefer to embrace the traditional method and use a little arm power, go for it! My mom has always made her cookies by hand, and they turn out perfectly every time, proving that fancy equipment isn’t always necessary.
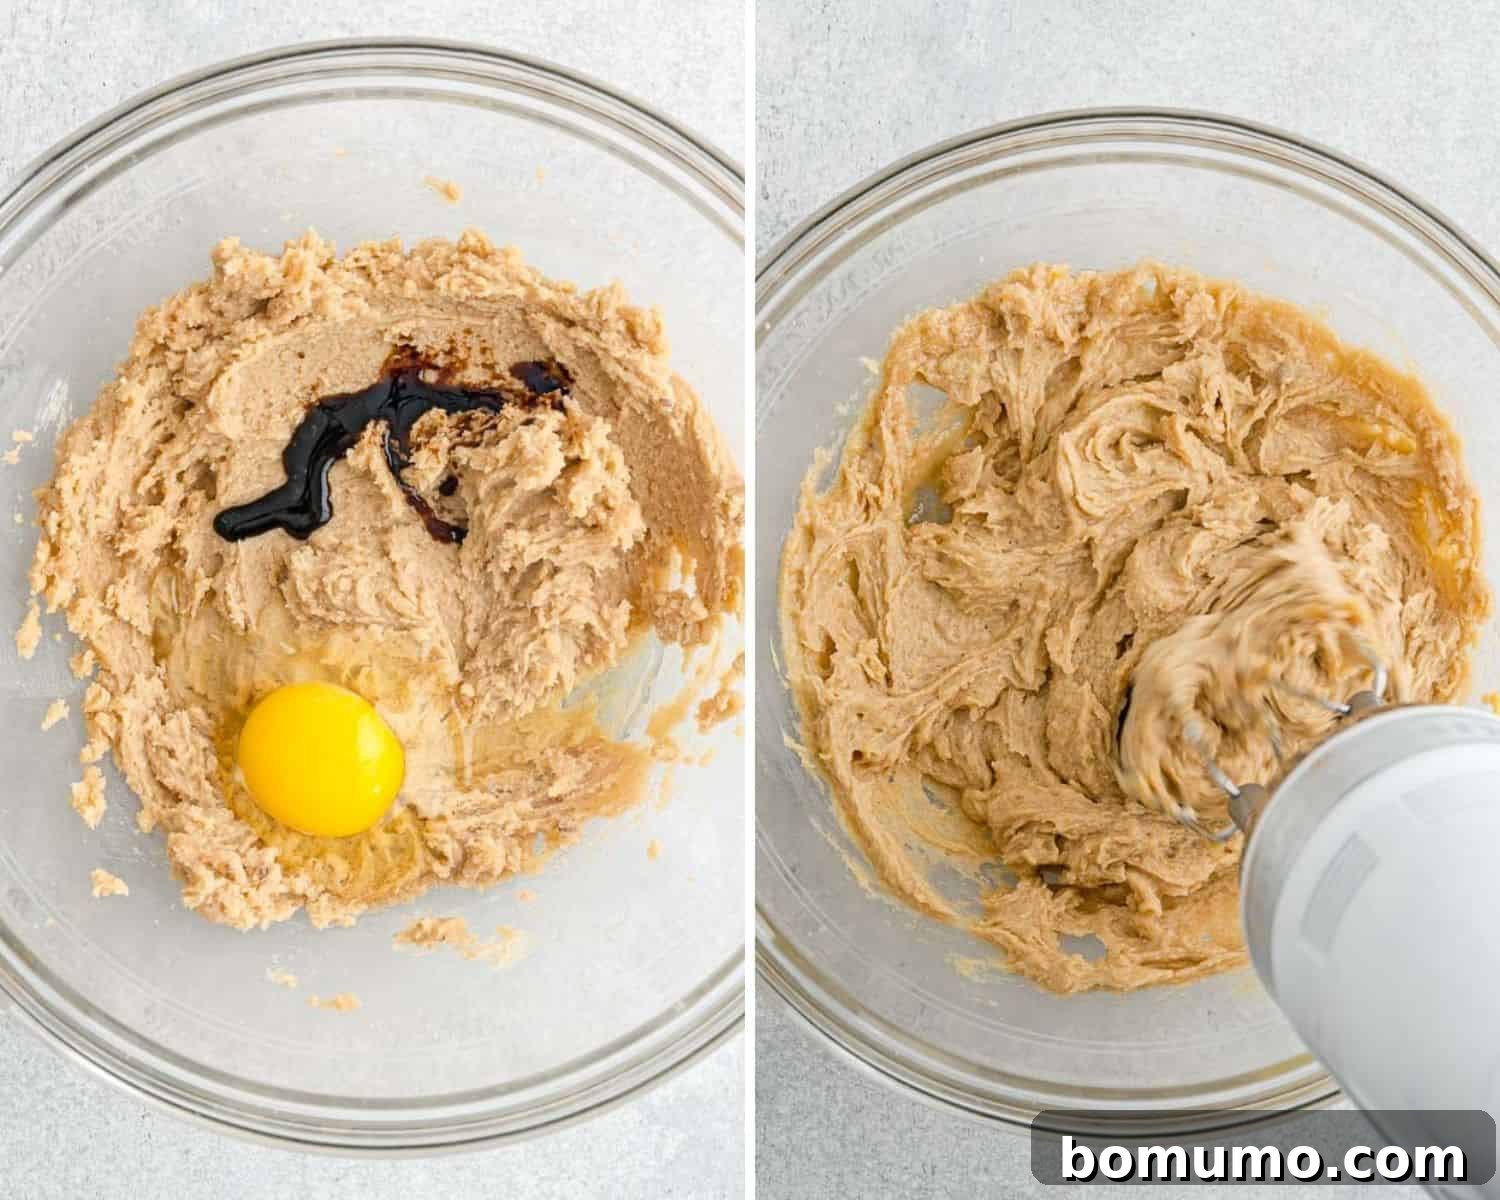
Step 1: Cream the Wet Ingredients. Begin your cookie-making journey by creaming together the softened unsalted butter, packed brown sugar, and granulated sugar in your mixing bowl. Beat this mixture on medium speed for 2-3 minutes, or until it transforms into a light, fluffy, and visibly pale consistency. This process incorporates air, which is vital for a tender cookie. Next, with the mixer on low speed, add the large egg and pure vanilla extract. Continue to beat until these wet ingredients are fully incorporated and the mixture is smooth. Remember to scrape down the sides of the bowl with a spatula to ensure everything is evenly mixed.
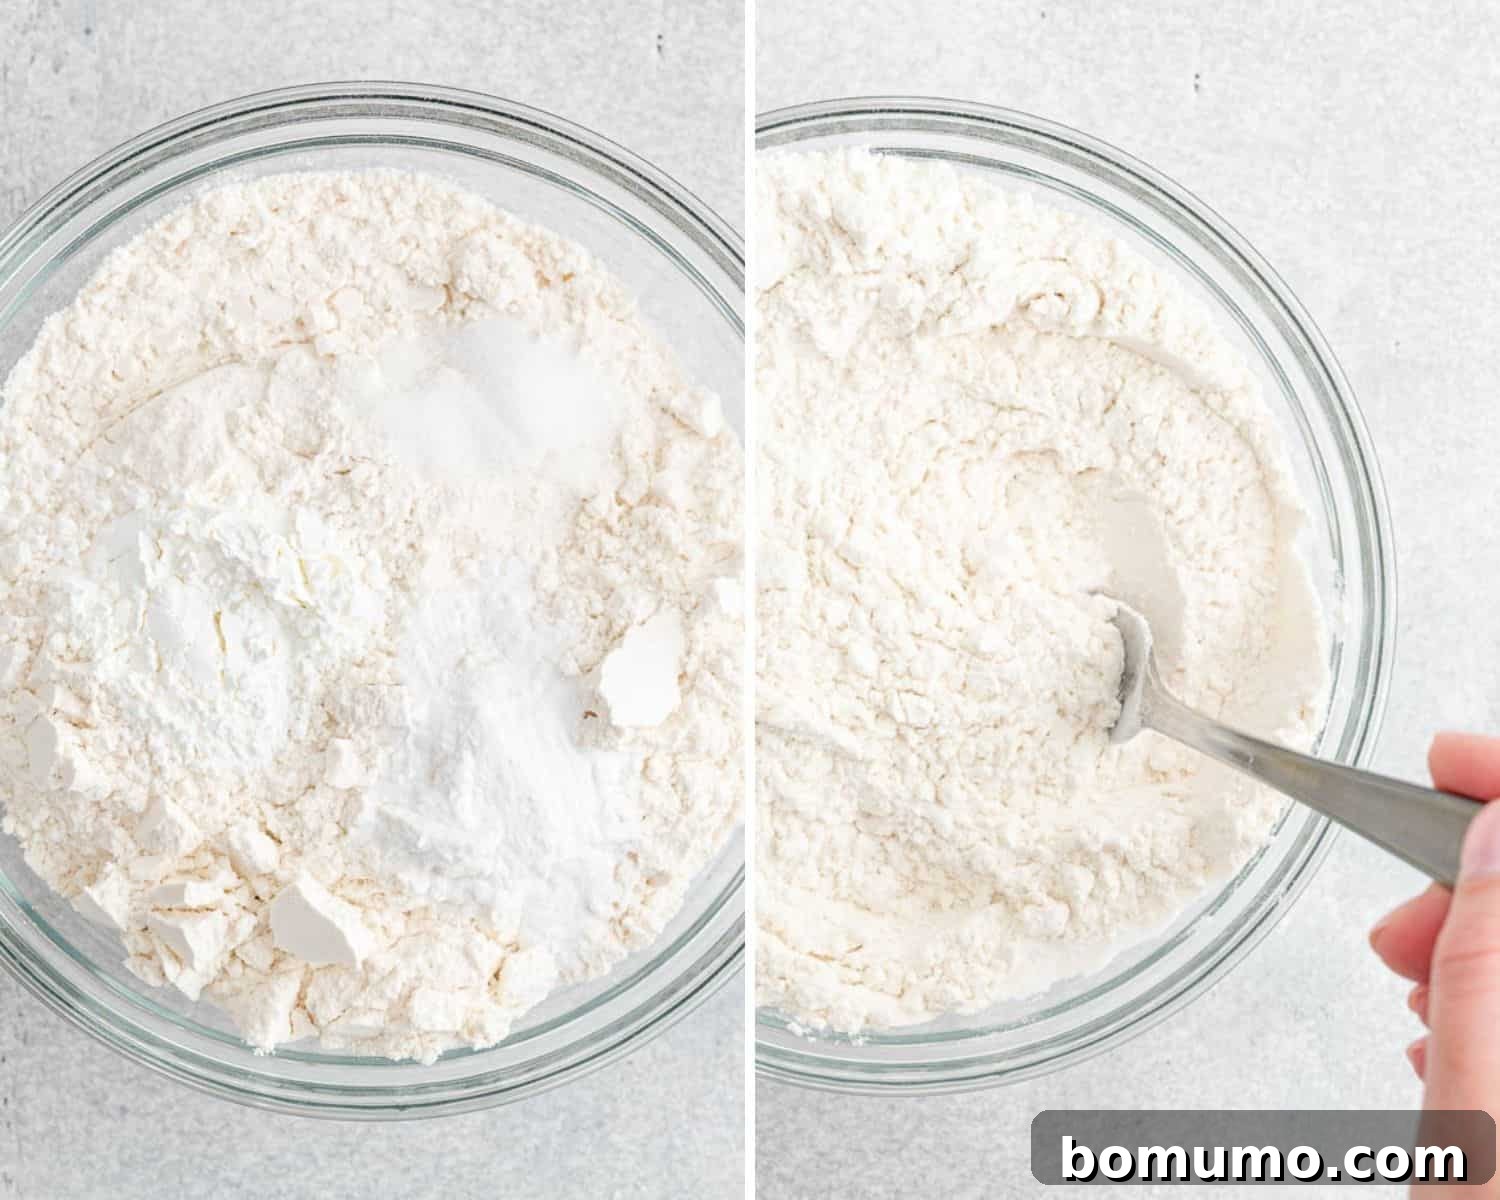
Step 2: Combine the Dry Ingredients. In a separate medium-sized bowl, whisk together the all-purpose flour, cornstarch (our secret ingredient!), baking soda, and salt. Whisking ensures these ingredients are thoroughly combined and evenly distributed, preventing pockets of leavening or salt in your finished cookies.
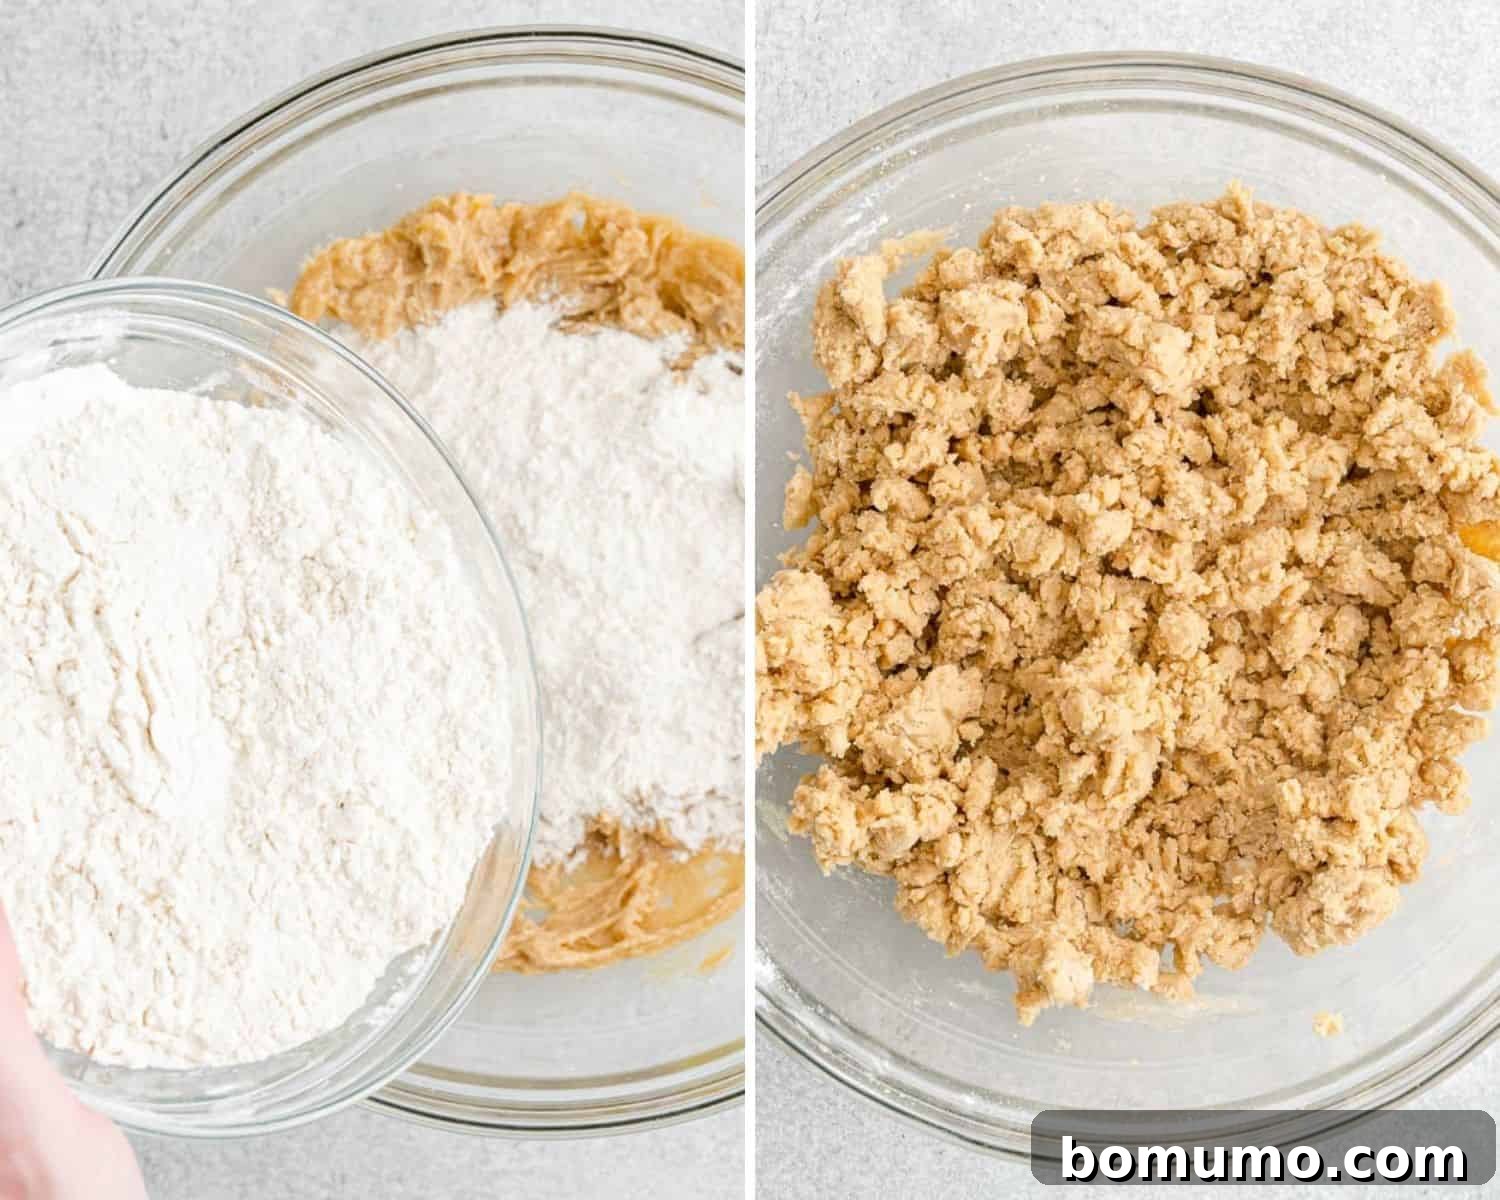
Step 3: Gradually Add Dry to Wet. With your mixer set to low speed, gradually add the dry ingredient mixture into the butter and sugar mixture. Do this in increments, mixing only until just combined. Overmixing flour can develop the gluten too much, resulting in tougher cookies. The dough will come together as a soft, cohesive mass.
Step 4: Fold in the M&Ms. Remove the bowl from the mixer and, using a sturdy spatula or wooden spoon, gently fold in your mini or traditional M&Ms by hand. This ensures they are evenly distributed throughout the dough without being crushed by the mixer. Avoid overmixing once the M&Ms are added.
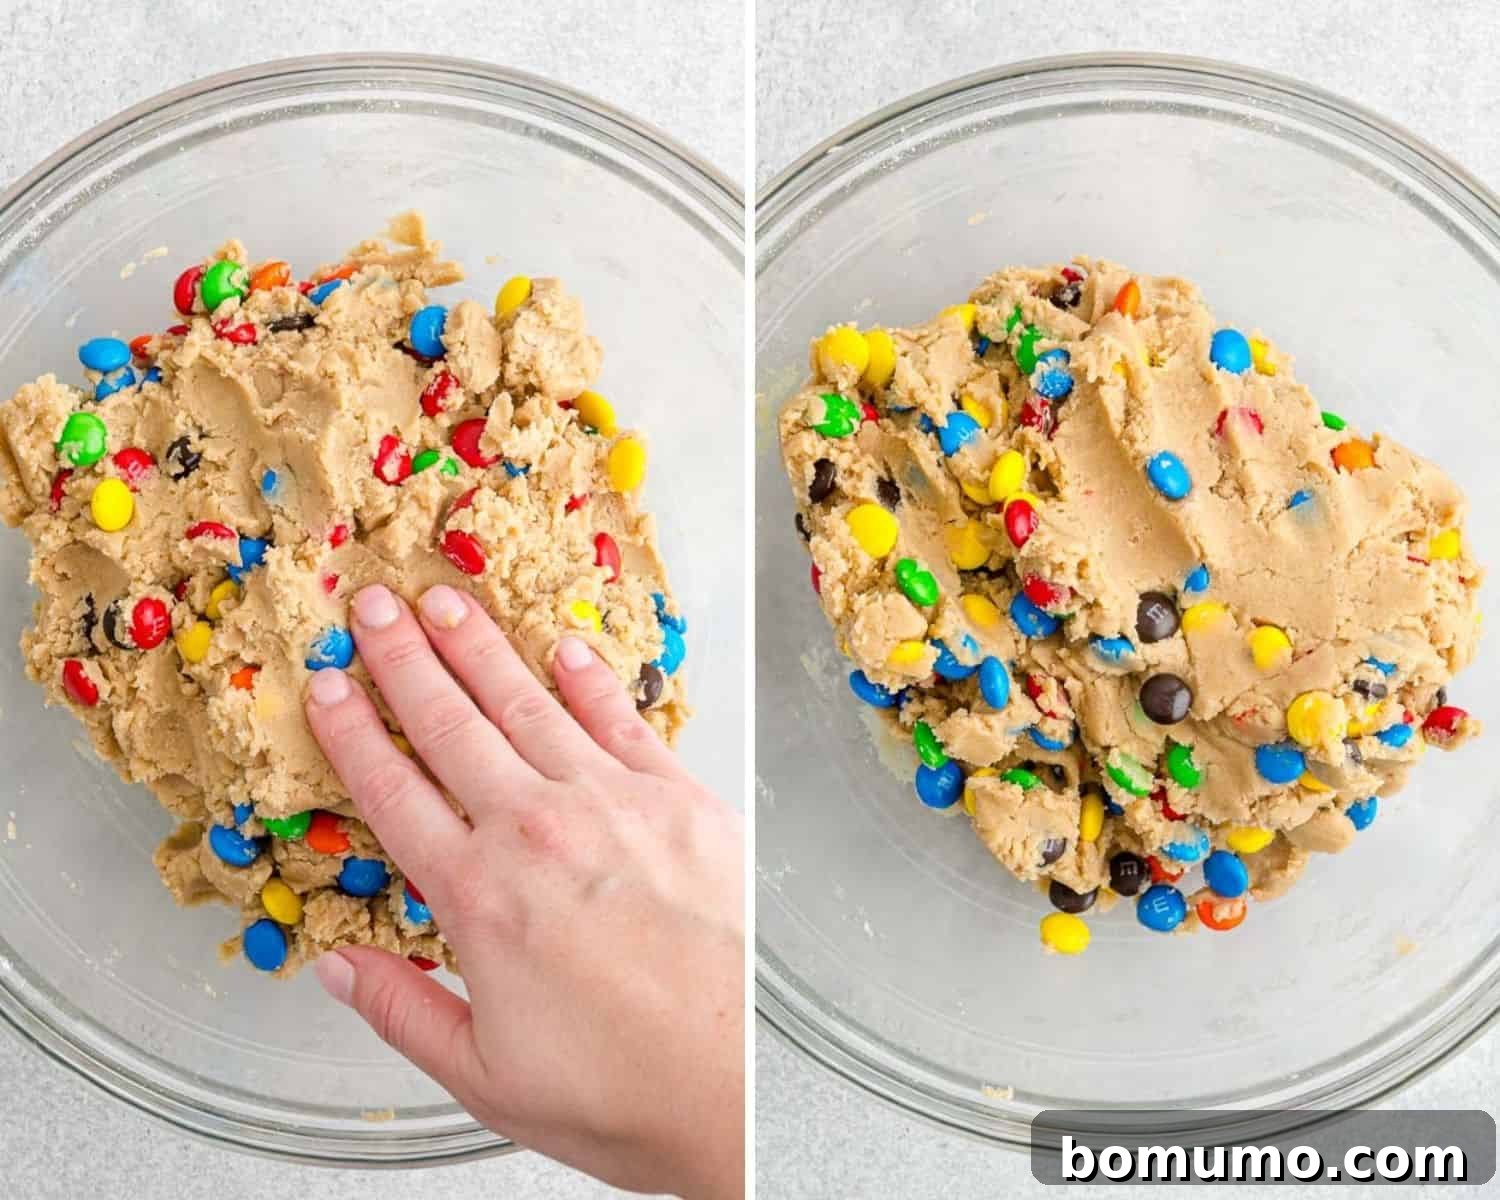
Step 5: Chill the Dough. Cover the cookie dough tightly with plastic wrap and transfer it to the refrigerator. Allow it to chill for a minimum of 30 minutes. This chilling period is crucial for flavor development and for preventing the cookies from spreading too thinly in the oven. You can even chill it longer, up to a couple of days, if preparing ahead.
Step 6: Prepare for Baking. When you’re ready to bake your delicious M&M cookies, preheat your oven to 350°F (175°C). Line your baking sheets with parchment paper or a silicone baking mat (like a Silpat). This step is highly recommended as it prevents sticking and ensures even baking and easy cleanup. If you have a well-seasoned or truly nonstick baking sheet, you might be able to skip this, but for consistent results, parchment or silicone is best.
Step 7: Form the Cookie Balls. Scoop out approximately one tablespoon of chilled dough for each cookie. Gently roll the dough between your palms to form round balls. Don’t worry about perfection; vaguely round dough balls are perfectly acceptable. The main goal is consistent size for even baking.
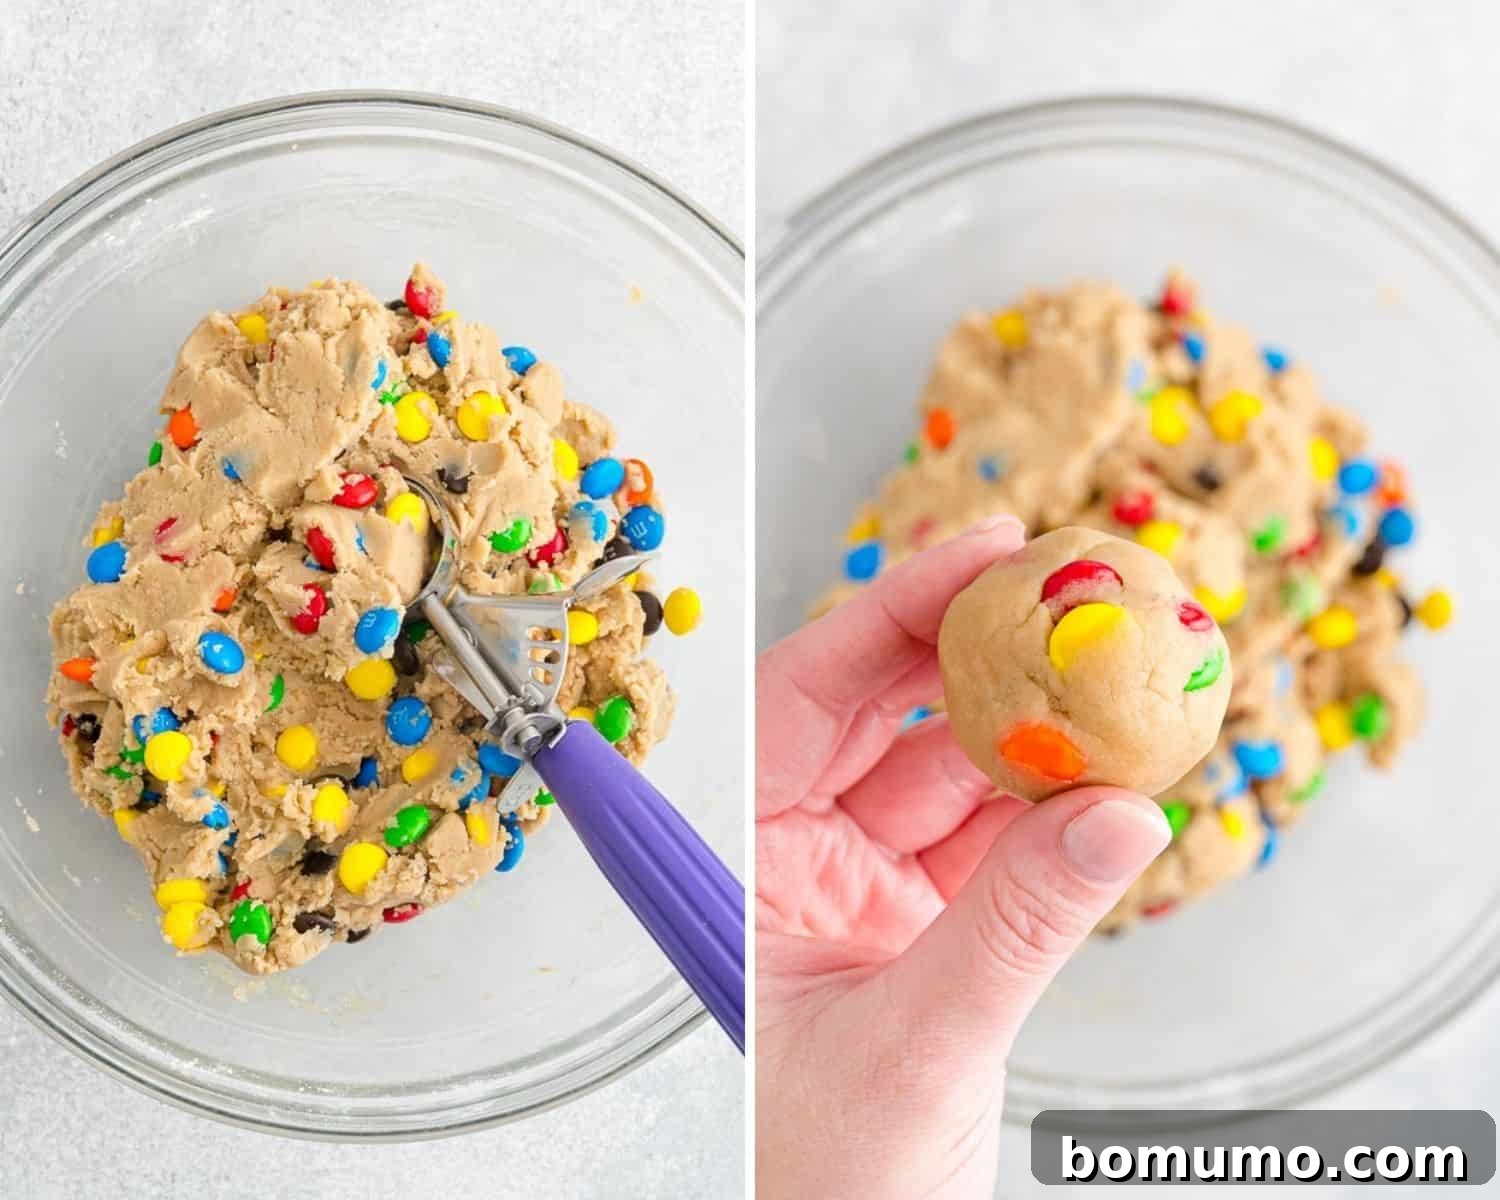
Step 8: Bake to Perfection. Place the dough balls on your prepared baking sheet, ensuring they are spaced sufficiently apart to allow for spreading during baking. A general rule is about 2 inches between each cookie. Bake for 9 to 11 minutes. The key is to remove them from the oven just as the edges are beginning to turn a light, barely golden brown. The centers might still look a little soft, but they will continue to set as they cool. Remember, the longer you bake them, the crispier they will become, so pull them out when they still look slightly underdone for maximum chewiness!
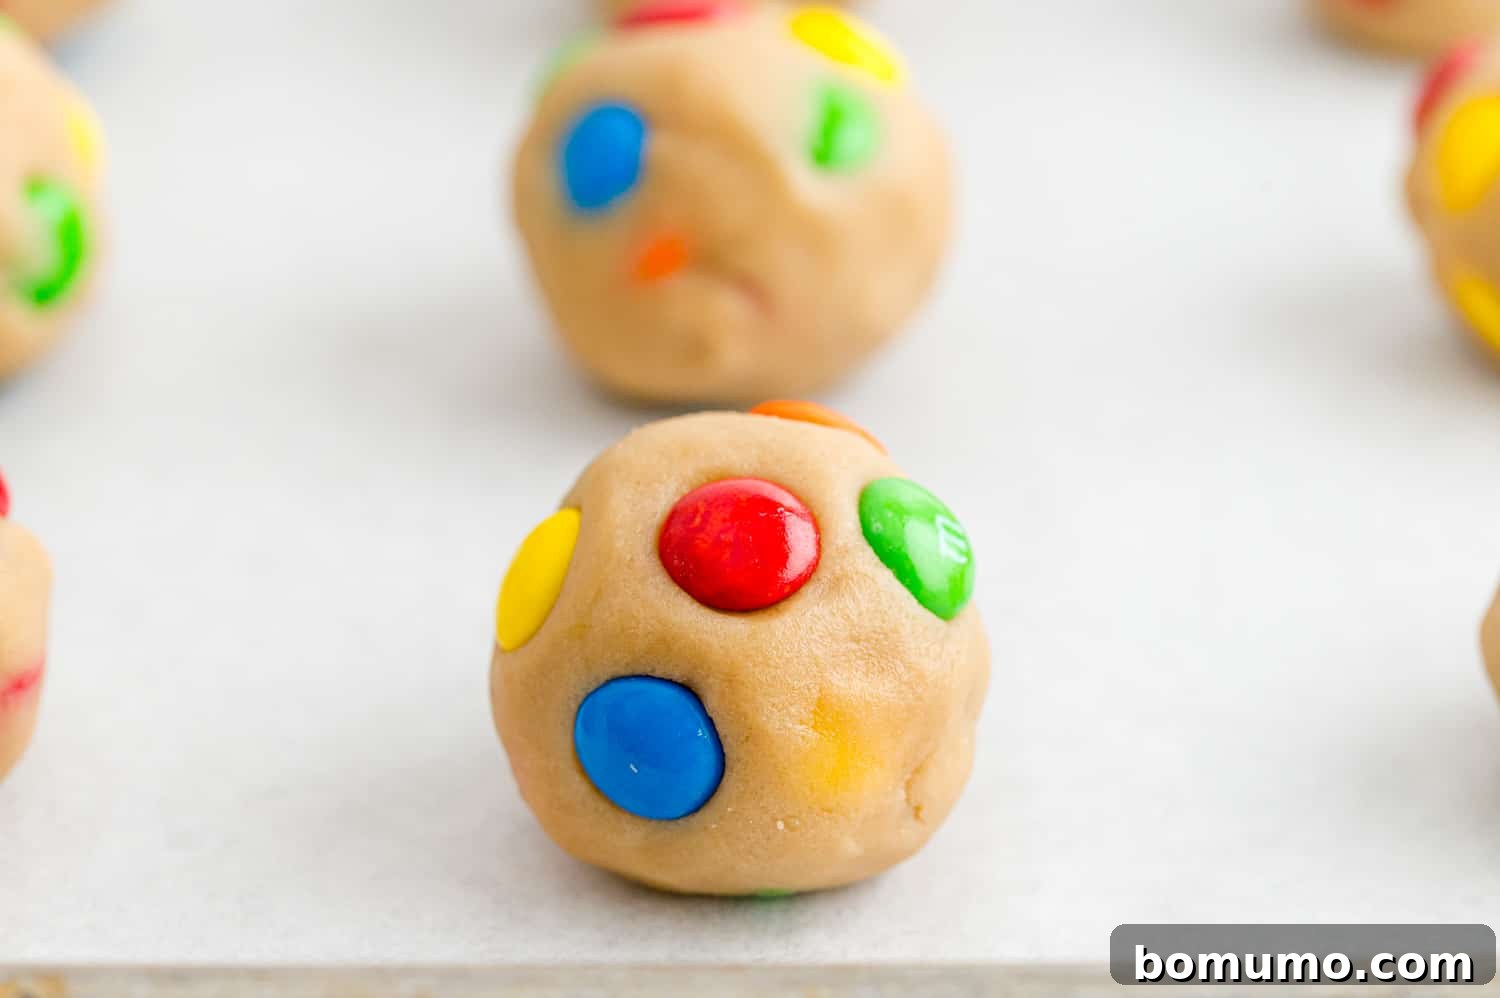
Step 9: Cool and Enjoy. Let the freshly baked M&M cookies cool on the baking sheet for a few minutes. This allows them to firm up slightly before you attempt to move them. Then, carefully transfer them to a wire rack to cool completely. The wire rack ensures air circulation, preventing soggy bottoms and maintaining those desirable crisp edges.
Pro Tip: For Bakery-Style M&M Cookies!
To give your cookies that irresistible, professional bakery look, press a few extra M&Ms into the tops of the warm cookies immediately after they come out of the oven. This showcases their bright, vibrant colors beautifully, making each cookie look incredibly appealing. I use this same simple trick when I make my beloved white chocolate macadamia nut cookies to highlight those delightful nuts!
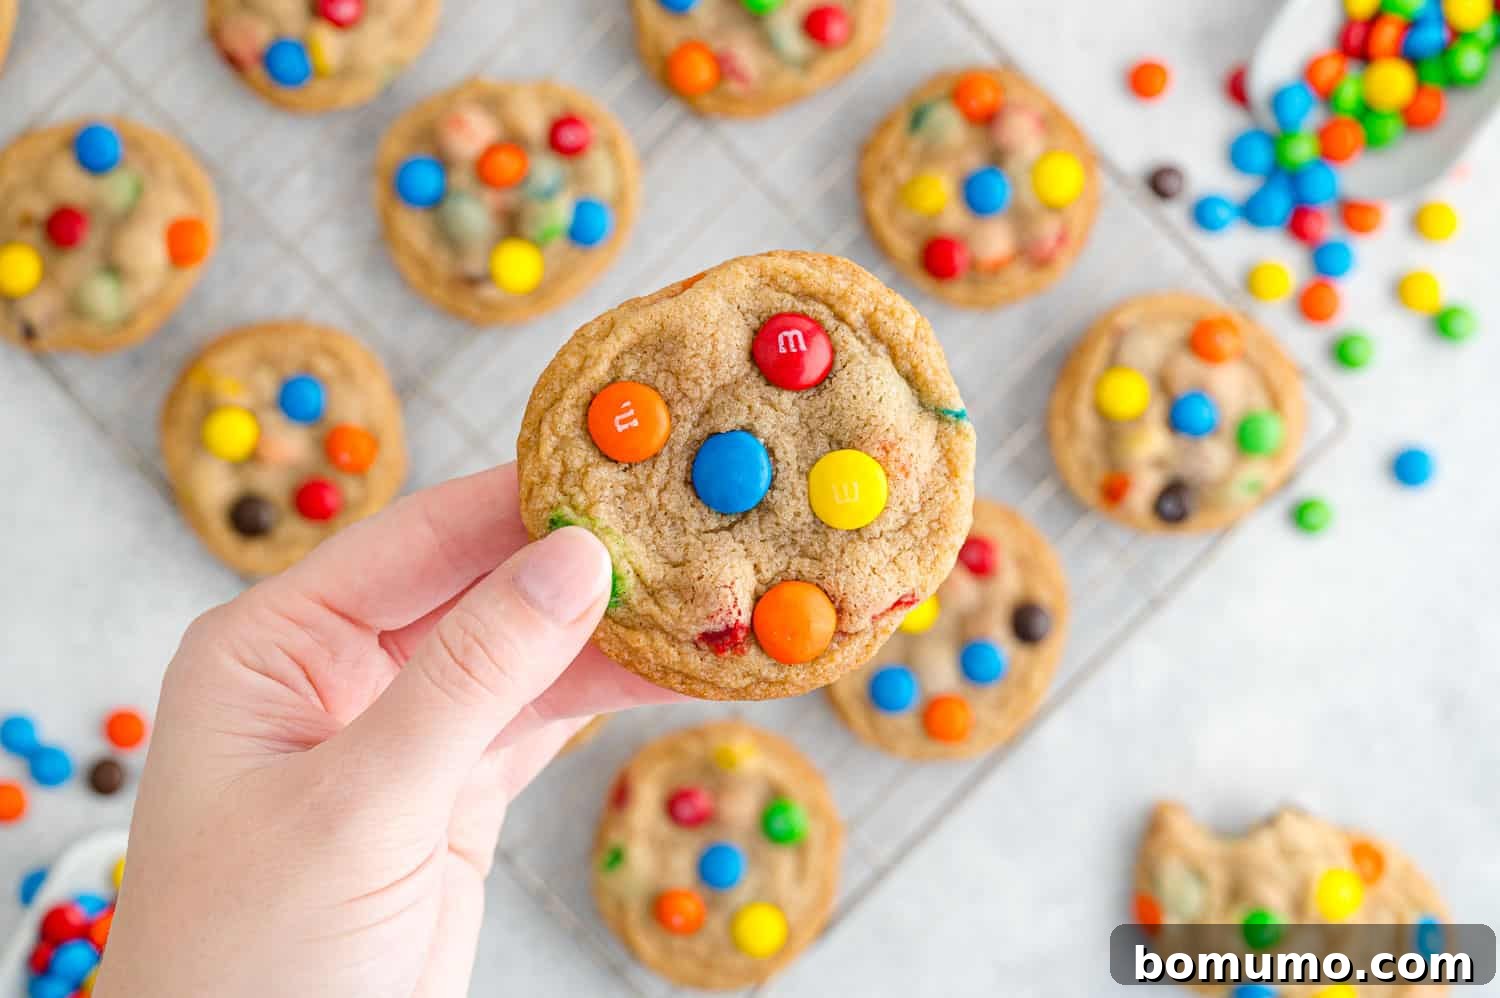
Oh, but wait a minute, I almost forgot the most important step! As the baker, it is your absolute duty (and pleasure!) to try one of these glorious M&M cookies while they are still wonderfully warm. The melt-in-your-mouth chocolate, the soft, gooey center, the slightly crisp edges—it’s an experience not to be missed. Mmmmm, aren’t they just incredibly good? Enjoy every single bite of your homemade perfection!
FAQs
FAQs
Absolutely! This is fantastic news for all M&M lovers! Whether you prefer classic milk chocolate M&Ms, the mini versions, or adventurous flavors like peanut butter, dark chocolate, or even mint M&Ms, they all bake beautifully into these cookies. You can even get creative by using a single M&M color to celebrate specific holidays or show support for your favorite sports team on game day. For more M&M-inspired delights, explore these other delicious recipes: try our super easy Trail Mix Cookies (starting with refrigerated dough!), whip up some kid-friendly, no-bake Monster Cookie Energy Balls, or indulge in our incredibly simple 5-ingredient M&M Peanut Butter Bars.
Flat cookies are a common baking dilemma, often stemming from a few key issues. Your recipe might have an imbalance of ingredients, such as too much butter or sugar, or not enough flour. Using butter that is too warm or not chilling your dough sufficiently can also contribute to spreading. Overmixing the dough can overdevelop gluten, leading to a flatter cookie. Rest assured, this M&M cookie recipe is meticulously developed and tested to ensure a thick, chewy outcome every time. Give it a try, and you’ll experience perfectly plump cookies!
The name “M&M” is a tribute to the last names of the two innovative men who collaborated to bring these iconic candies to life: Forrest Mars Sr. and Bruce Murrie. Back in the 1940s, Mr. Mars conceived the brilliant idea of candy-coated chocolate to prevent melting. He partnered with Mr. Murrie, who was a partial owner of Hershey’s chocolate at the time, to secure the chocolate needed for production. Their collaboration made history, leading to the creation of the beloved M&M’s, which are now enjoyed in over 100 countries worldwide (Source: Wikipedia).
While this recipe uses all-purpose flour, you can often adapt it to be gluten-free. Substitute the all-purpose flour with a high-quality 1:1 gluten-free baking flour blend that contains xanthan gum. Ensure all other ingredients, like M&Ms, are certified gluten-free. Results may vary slightly in texture, but many bakers have success with this substitution.
To ensure your M&M cookies stay wonderfully soft and chewy, pay close attention to baking time. Overbaking is the most common culprit for hard cookies. Remove them from the oven when the edges are just barely golden and the centers still look slightly underdone. They will continue to bake on the hot baking sheet for a few minutes before being transferred to a wire rack. Additionally, proper storage in an airtight container is crucial to maintain their soft texture.
Make This M&M Cookie Recipe Your Own
This recipe provides a fantastic foundation, but don’t hesitate to get creative and personalize your M&M cookies!
- Experiment with Different M&M Varieties: The possibilities are endless! Beyond traditional and mini M&Ms, try substituting with peanut butter M&Ms for a nutty twist, dark chocolate M&Ms for richer flavor, or mint M&Ms for a refreshing kick. If M&Ms aren’t your preference, classic chocolate chips make an equally delicious substitute for a timeless chocolate chip cookie.
- Enhance Visual Appeal: For cookies that look like they came straight from a gourmet bakery, don’t mix all the M&Ms into the dough. Set aside about ¼ to ½ cup of M&Ms to press gently into the surface of each cookie immediately after you take them out of the oven. This ensures a beautiful display of color on top.
- Incorporate Whole Grains: For a subtle nutritional boost, you can substitute up to half of the all-purpose flour with whole wheat flour or white whole wheat flour. This adds a delightful nuttiness and fiber without significantly altering the beloved chewy texture.
- Add Nuts or Other Mix-ins: Fold in a half cup of chopped walnuts, pecans, or almonds along with the M&Ms for added crunch and flavor. White chocolate chips, butterscotch chips, or even chopped pretzels can also be fantastic additions.
- Spice it Up: A pinch of cinnamon or a tiny dash of nutmeg can add an unexpected warmth and depth to your M&M cookies, especially during the fall and winter months.
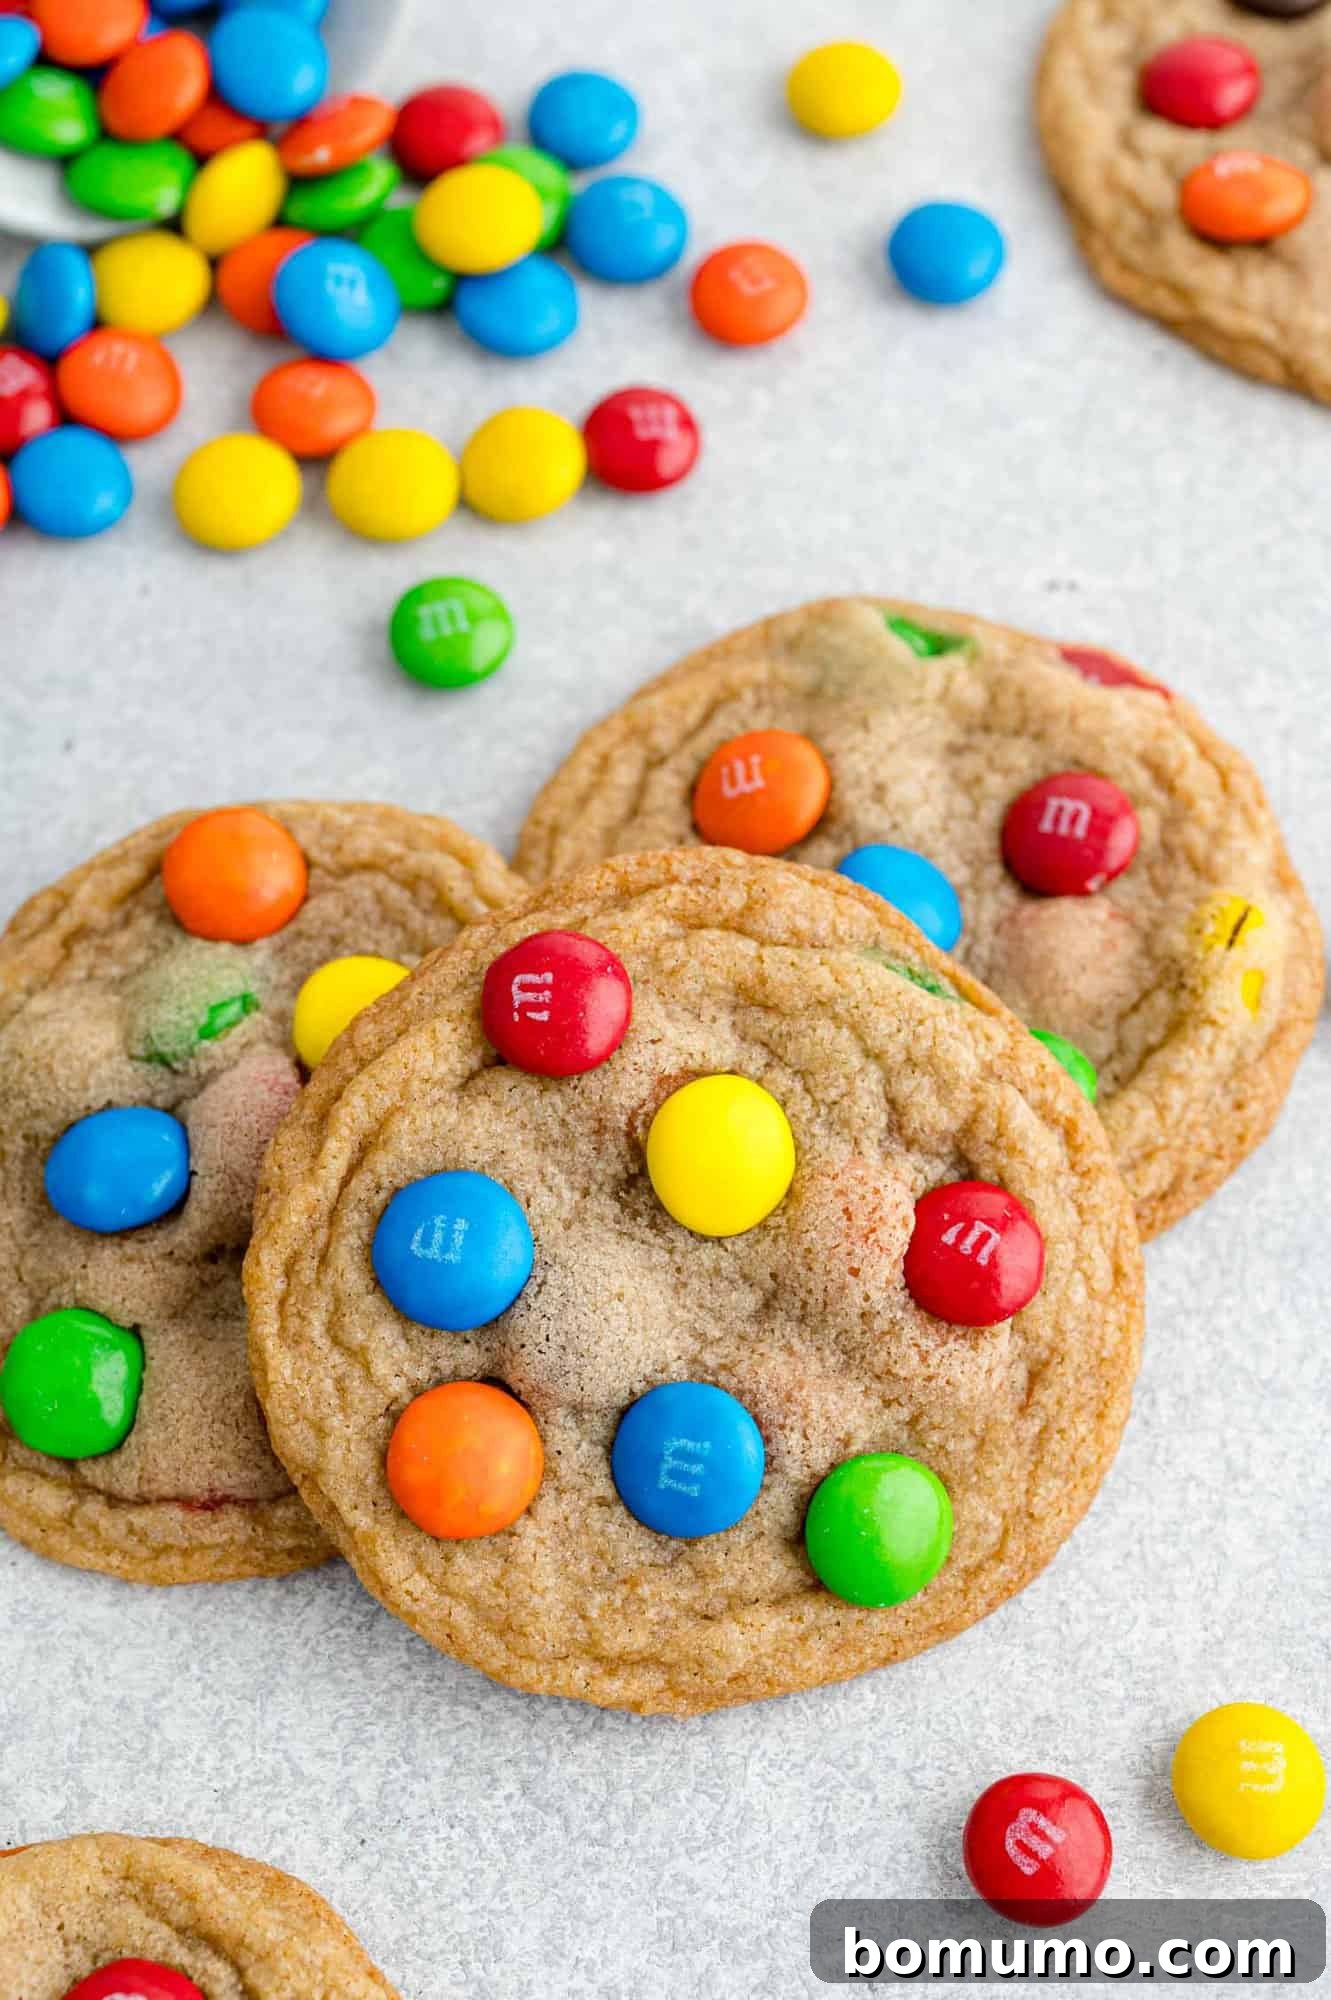
Make-Ahead Magic for Your M&M Cookies
Make-Ahead Magic for Your M&M Cookies
One of the best things about this M&M cookie recipe is its flexibility for make-ahead preparation, allowing you to enjoy warm, fresh cookies with minimal effort whenever the craving strikes.
Refrigerate or Freeze the Dough: You can prepare the cookie dough up to four days in advance and store it, tightly covered, in the refrigerator. The longer chill time can even deepen the flavors! For longer storage, freeze the dough. You can freeze it in one large lump (well-wrapped) for up to 3 months, or even longer. If freezing a large lump, it’s best to thaw it overnight in the refrigerator before shaping and baking as usual.
Alternatively, for ultimate convenience, form the dough into tablespoon-sized balls as instructed in the recipe. Place these dough balls in a single layer on a parchment-lined baking sheet and freeze them until solid. Once frozen, transfer the individual cookie dough balls to a freezer-safe zip-top bag or airtight container. They can be stored in the freezer for up to three months. When you’re ready for freshly baked cookies, simply remove the desired number of frozen dough balls from the freezer and bake them immediately (no thawing required!). You may need to add an extra minute or two to the baking time to achieve that perfect golden edge.
Storage Tips for Freshness
Storage Tips for Freshness
To keep your M&M cookies as fresh and delicious as the day they were baked, proper storage is key. Once the baked cookies have completely cooled to room temperature (this is important to prevent condensation and sogginess), store them in an airtight container. They will maintain their delightful chewy texture and flavor on the counter for up to a week. For longer enjoyment, these cookies also freeze exceptionally well. Simply place the cooled cookies in a freezer-safe airtight container or bag, and they can be stored in the freezer for up to three months. Thaw them at room temperature for a quick and satisfying treat!
What Readers Have To Say About These Amazing M&M Cookies
Nothing brings me more joy than hearing your wonderful feedback and seeing how much you love my recipes. I’m absolutely thrilled that these M&M cookies have become such a huge hit with so many of you! Your comments truly make all the effort worthwhile.
- “I whipped up a batch of these M&M cookies tonight, and oh my goodness—they are absolutely delicious! So nice, soft, and utterly yummy. Thank you so much for sharing this incredible recipe!!”
- “I’ve now made these amazing cookies twice, and they are truly phenomenal. Seriously, don’t change a thing in the recipe – it is perfectly perfect just the way it is.”
- “Wow… I finally tried them, and they are, indeed, perfect! I adore them. I’m even planning on using this exact recipe as a base for other varieties of cookies because it’s so reliable. Thanks for this truly amazing recipe.”
Explore More Delicious Cookie Recipes
Classic Chewy Snickerdoodle Recipe
Spicy & Sweet Gingersnaps
The Best Gooey Rice Krispies Treats
Zesty Lemon Sugar Cookies
Perfect M&M Cookies
Rachel Gurk
15 minutes
10 minutes
30 minutes
55 minutes
54
servings
Saved
Pin
Ingredients
-
2
cups
all-purpose flour -
1
tablespoon
cornstarch -
½
teaspoon
salt -
1
teaspoon
baking soda -
¾
cup
brown sugar, packed -
¾
cup
unsalted butter, softened
(1 ½ sticks) -
½
cup
granulated sugar -
1
large egg -
1
teaspoon
vanilla paste
(or 1 tablespoon vanilla extract) -
1
package
(10.7 oz.) M&Ms
(about 1 ½ cups)
Instructions
-
In a medium bowl, thoroughly whisk together the flour, cornstarch, salt, and baking soda. Set this dry ingredient mixture aside for later.
-
In the bowl of a stand mixer (or using a hand mixer), cream together the softened butter, brown sugar, and granulated sugar on medium speed. Beat for 2-3 minutes until the mixture is light, fluffy, and noticeably pale. With the mixer on low, add the egg and vanilla extract. Continue mixing until they are fully incorporated, scraping down the sides of the bowl as needed to ensure everything combines evenly.
-
Return the mixer to low speed and gradually add the dry ingredient mixture to the wet ingredients. Mix until the dough just comes together and no dry streaks of flour remain. Be careful not to overmix. Once the dough forms, gently stir in the M&Ms by hand (refer to the notes for a pro tip on M&M placement). Cover the dough with plastic wrap and refrigerate for at least 30 minutes. This chilling step is essential for the best texture and to prevent excessive spreading.
-
When ready to bake, preheat your oven to 350°F (175°C). Line your baking sheets with parchment paper or a silicone baking mat; this prevents sticking and ensures even baking.
-
Scoop approximately 1 tablespoon of the chilled dough and roll it into a ball. Place the dough balls evenly spaced on the prepared baking sheet, allowing enough room for them to spread during baking (about 2 inches apart).
-
Bake for 9-11 minutes, or until the edges are just barely golden brown and the centers still appear slightly soft. For chewier cookies, avoid overbaking. Remove the baking sheet from the oven and let the cookies cool on the sheet for a couple of minutes to set. Then, transfer them to a wire rack to cool completely.
-
Once the M&M cookies are completely cooled, store them in an airtight container to maintain their freshness and soft texture.
Notes
- To truly showcase the vibrant colors of the M&Ms, don’t mix all of them into the dough. Reserve a handful to gently press into the surface of each warm cookie immediately after they emerge from the oven. This creates that desirable bakery-style finish.
- This recipe yields approximately 4 to 5 dozen cookies, depending on the size you make them.
- Feel free to customize your cookies by using mini M&Ms or other varieties like peanut butter M&Ms, dark chocolate M&Ms, or mint M&Ms. Classic chocolate chips are also a fantastic alternative if you prefer a traditional chocolate chip cookie.
- For a slightly healthier option or a different flavor profile, you can substitute up to half of the all-purpose flour with whole wheat flour or white whole wheat flour.
- Storage: Baked M&M cookies will stay fresh and soft in an airtight container at room temperature for up to one week. For longer preservation, they can be frozen in an airtight container for up to three months.
Video
Nutrition
Serving:
1
cookie
,
Calories:
136
kcal
,
Carbohydrates:
19
g
,
Protein:
1
g
,
Fat:
6
g
,
Saturated Fat:
4
g
,
Polyunsaturated Fat:
1
g
,
Monounsaturated Fat:
2
g
,
Trans Fat:
1
g
,
Cholesterol:
22
mg
,
Sodium:
124
mg
,
Potassium:
25
mg
,
Fiber:
1
g
,
Sugar:
11
g
,
Vitamin A:
187
IU
,
Vitamin C:
1
mg
,
Calcium:
10
mg
,
Iron:
1
mg
Nutrition information is automatically calculated, so should only be used as an approximation.
Did You Make This?
Share a comment and rating below! I love hearing what you think!