

Recipe Overview: The Ultimate Guide to Perfectly Baked Bacon
Why you’ll love it: If you’re tired of the greasy mess and unevenly cooked strips that often come with pan-frying, baked bacon is your culinary savior. This method promises consistently perfect, crispy bacon with minimal cleanup, transforming your cooking experience. It’s truly a time-saving and mess-reducing marvel!
How long it takes: Approximately 30 minutes from start to finish.
Equipment you’ll need: A sturdy sheet pan, and a wire rack if you prefer extra crispness and less fat.
Servings: 4 generous servings per pound of bacon.

Let’s be honest, bacon holds a special place in many hearts. Whether it’s the star of a hearty Saturday morning breakfast alongside fluffy buttermilk pancakes and perfectly cooked eggs, or a savory addition to vibrant salads, comforting pizzas, or classic BLT sandwiches – bacon simply makes everything better. My kitchen, in particular, celebrates bacon, and you’ll find it featured in countless recipes for good reason.
However, my enthusiasm for eating bacon often clashes with the reality of cooking it. The traditional stovetop frying method, while yielding delicious results, inevitably leaves behind a greasy mess that requires considerable effort to clean up. Not to mention the risk of painful hot grease splatters! These inconveniences can sometimes make me hesitate, almost, to embark on a bacon-cooking adventure. Almost.
But what if I told you there’s a far superior, simpler, and cleaner way to achieve perfectly crispy bacon? Forget the frying pan. The secret lies in your oven. Baking bacon is not just an alternative; it’s a revolutionary method that will change the way you prepare this beloved treat forever.
Why Baking Bacon is a Game-Changer: Easy & Mess-Free
Embracing the oven for your bacon cooking needs brings a multitude of benefits that truly make it a game-changer:
1. Consistently Perfect Strips, No Flipping Required
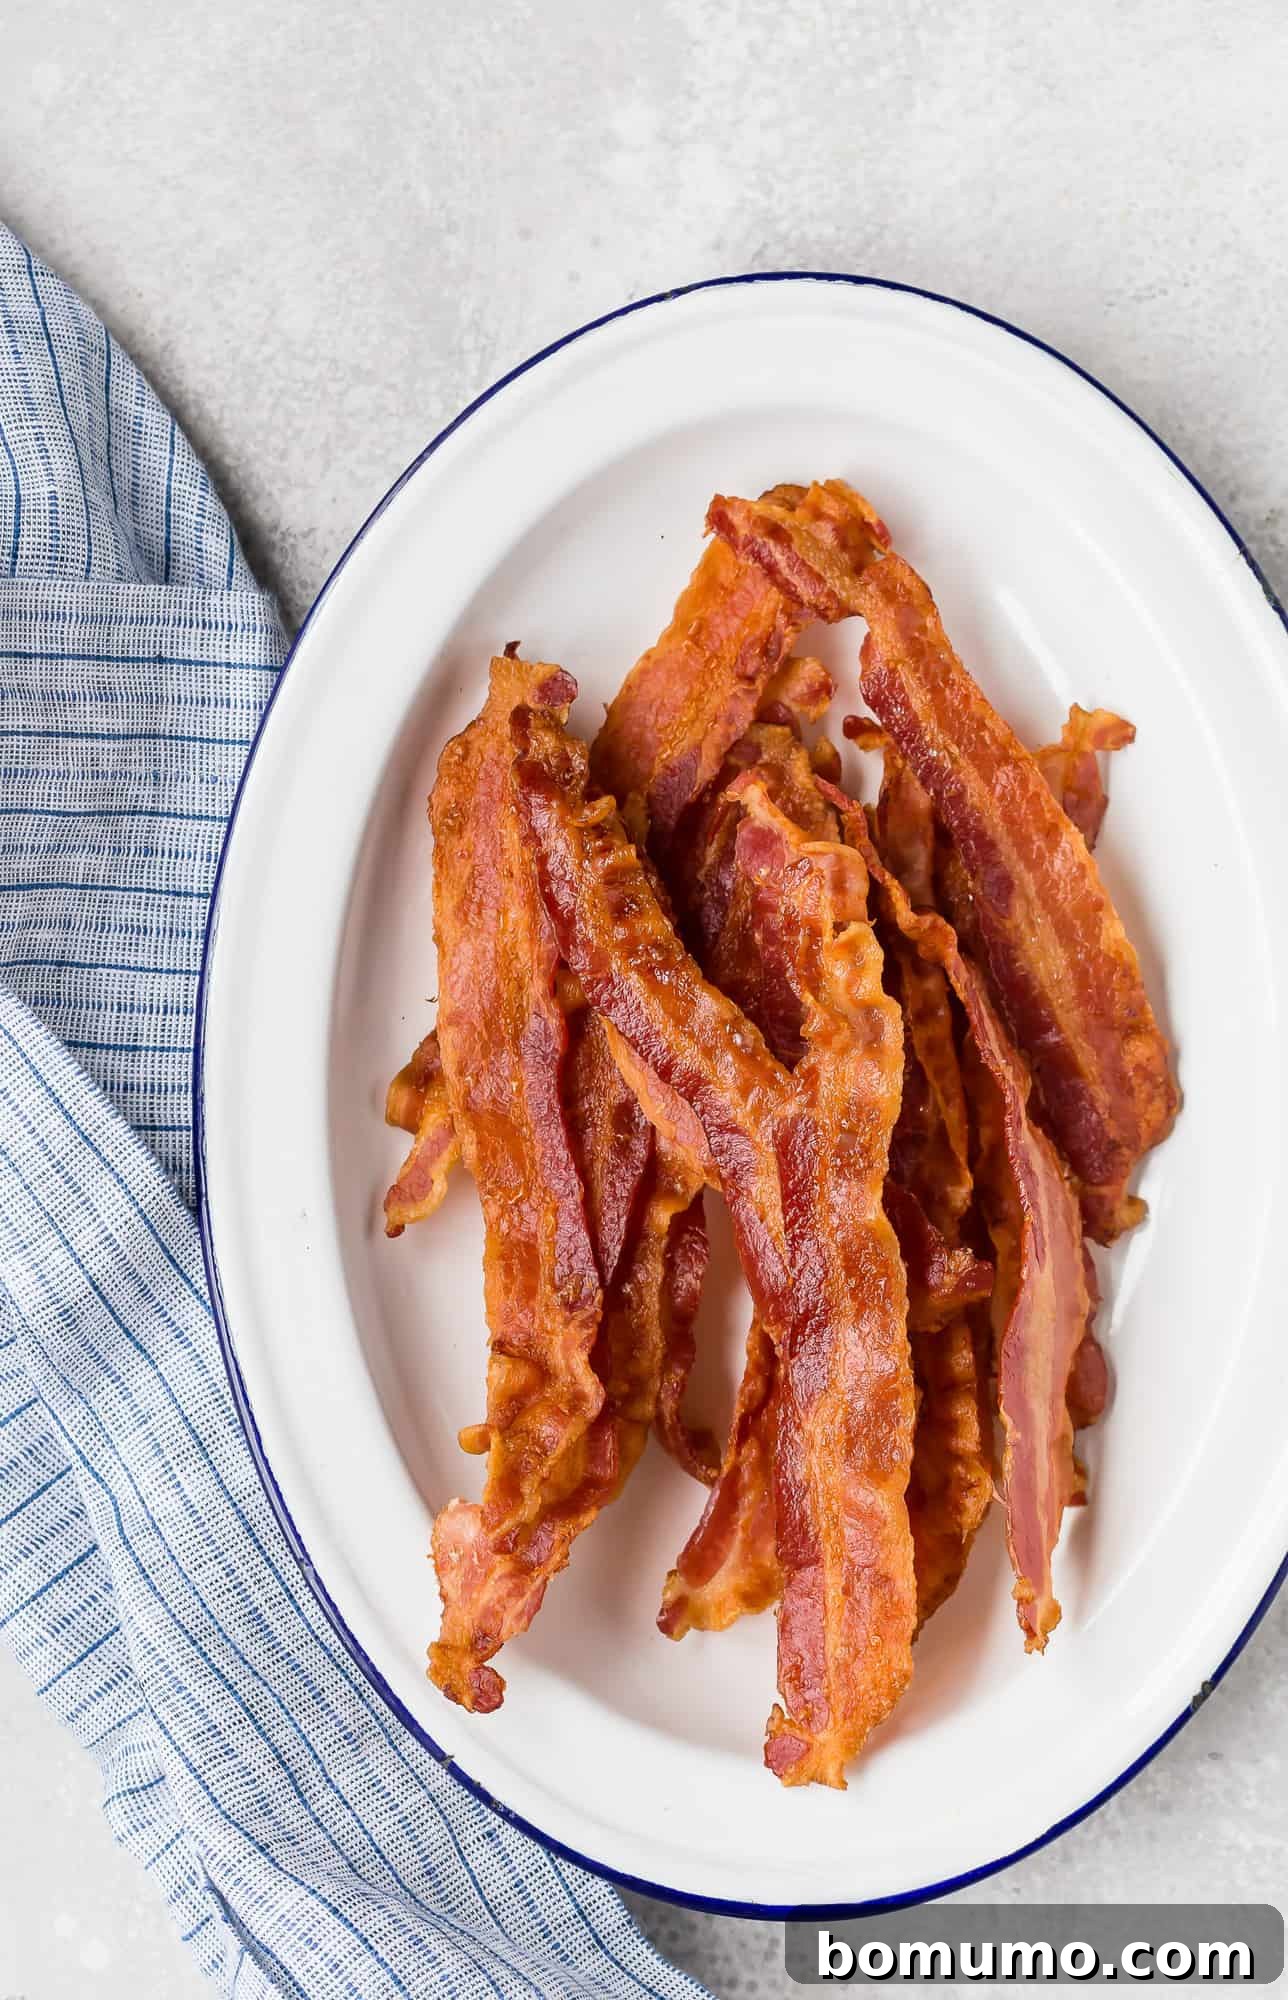
One of the greatest advantages of baking bacon is the unparalleled consistency it offers. When you bake bacon, each strip lies flat on the baking sheet, allowing for even heat distribution. This results in beautifully flat, uniformly cooked, and perfectly crispy slices every single time. There’s no need to stand over the stove, constantly flipping strips to ensure they cook evenly. Simply set it and forget it (well, almost!). The oven handles all the work, delivering a superior texture and appearance that pan-fried bacon often struggles to match.
2. Effortless Clean-Up
The dreaded post-bacon cleanup becomes a thing of the past with this method. By lining a rimmed baking pan with heavy-duty aluminum foil or parchment paper, you create a barrier that collects all the rendered bacon grease. Once the bacon is cooked and cooled, you can simply crumple up the foil (and the grease!) and discard it. This means no greasy stovetop, no splattered countertops, and often, no need to wash the baking pan itself. It’s an incredibly efficient way to enjoy delicious bacon without the usual kitchen chaos.
3. Two Simple Approaches: Rack or No Rack
This versatile method offers two slightly different approaches, both yielding fantastic results. You can bake the bacon directly on the foil-lined baking sheet, or you can elevate it on a wire rack placed over the foil. While both methods produce excellent crispy bacon, using a wire rack allows the rendered fat to drip away from the bacon as it cooks, resulting in slightly crispier strips with potentially less grease. If you prefer a more substantial chew and slightly richer flavor, baking directly on the foil is ideal. Experiment to find your personal preference!
Once you experience the ease and perfection of oven-baked bacon, you might find it hard to go back to any other method. It truly simplifies the process, making it accessible even on busy mornings. And for those times when you need a smaller batch of bacon, don’t forget the incredible convenience of air fryer bacon.
Selecting Your Bacon for Optimal Results
The quality and type of bacon you choose will subtly influence your baked bacon experience. I personally favor center-cut bacon because it generally contains less fat, leading to a leaner, yet still flavorful, crispy strip. However, the beauty of bacon is its variety, so feel free to choose what you like best – whether it’s applewood smoked, hickory smoked, or uncured.
It’s important to note that the thickness of your bacon slices will directly impact the baking time. Thin-cut bacon will cook more quickly and crisp up faster, while thick-cut bacon requires a bit more time in the oven to achieve that desired level of crispness. Always adjust your baking time accordingly and keep a close eye on the bacon, especially towards the end of the cooking process.
Step-by-Step Guide: How to Bake Bacon Perfectly
Achieving perfect baked bacon is incredibly simple by following these straightforward steps:
1. Prepare Your Baking Pan
Start by lining a large, rimmed baking pan (a half-sheet pan works perfectly) with heavy-duty aluminum foil. If you don’t have heavy-duty foil, use two layers of regular foil for extra protection. Ensure the foil extends up the sides of the pan to prevent any bacon grease from seeping underneath, which would defeat the purpose of easy cleanup. Alternatively, parchment paper is an excellent non-stick option and also aids in quick disposal.
2. Incorporate a Wire Rack (Optional)
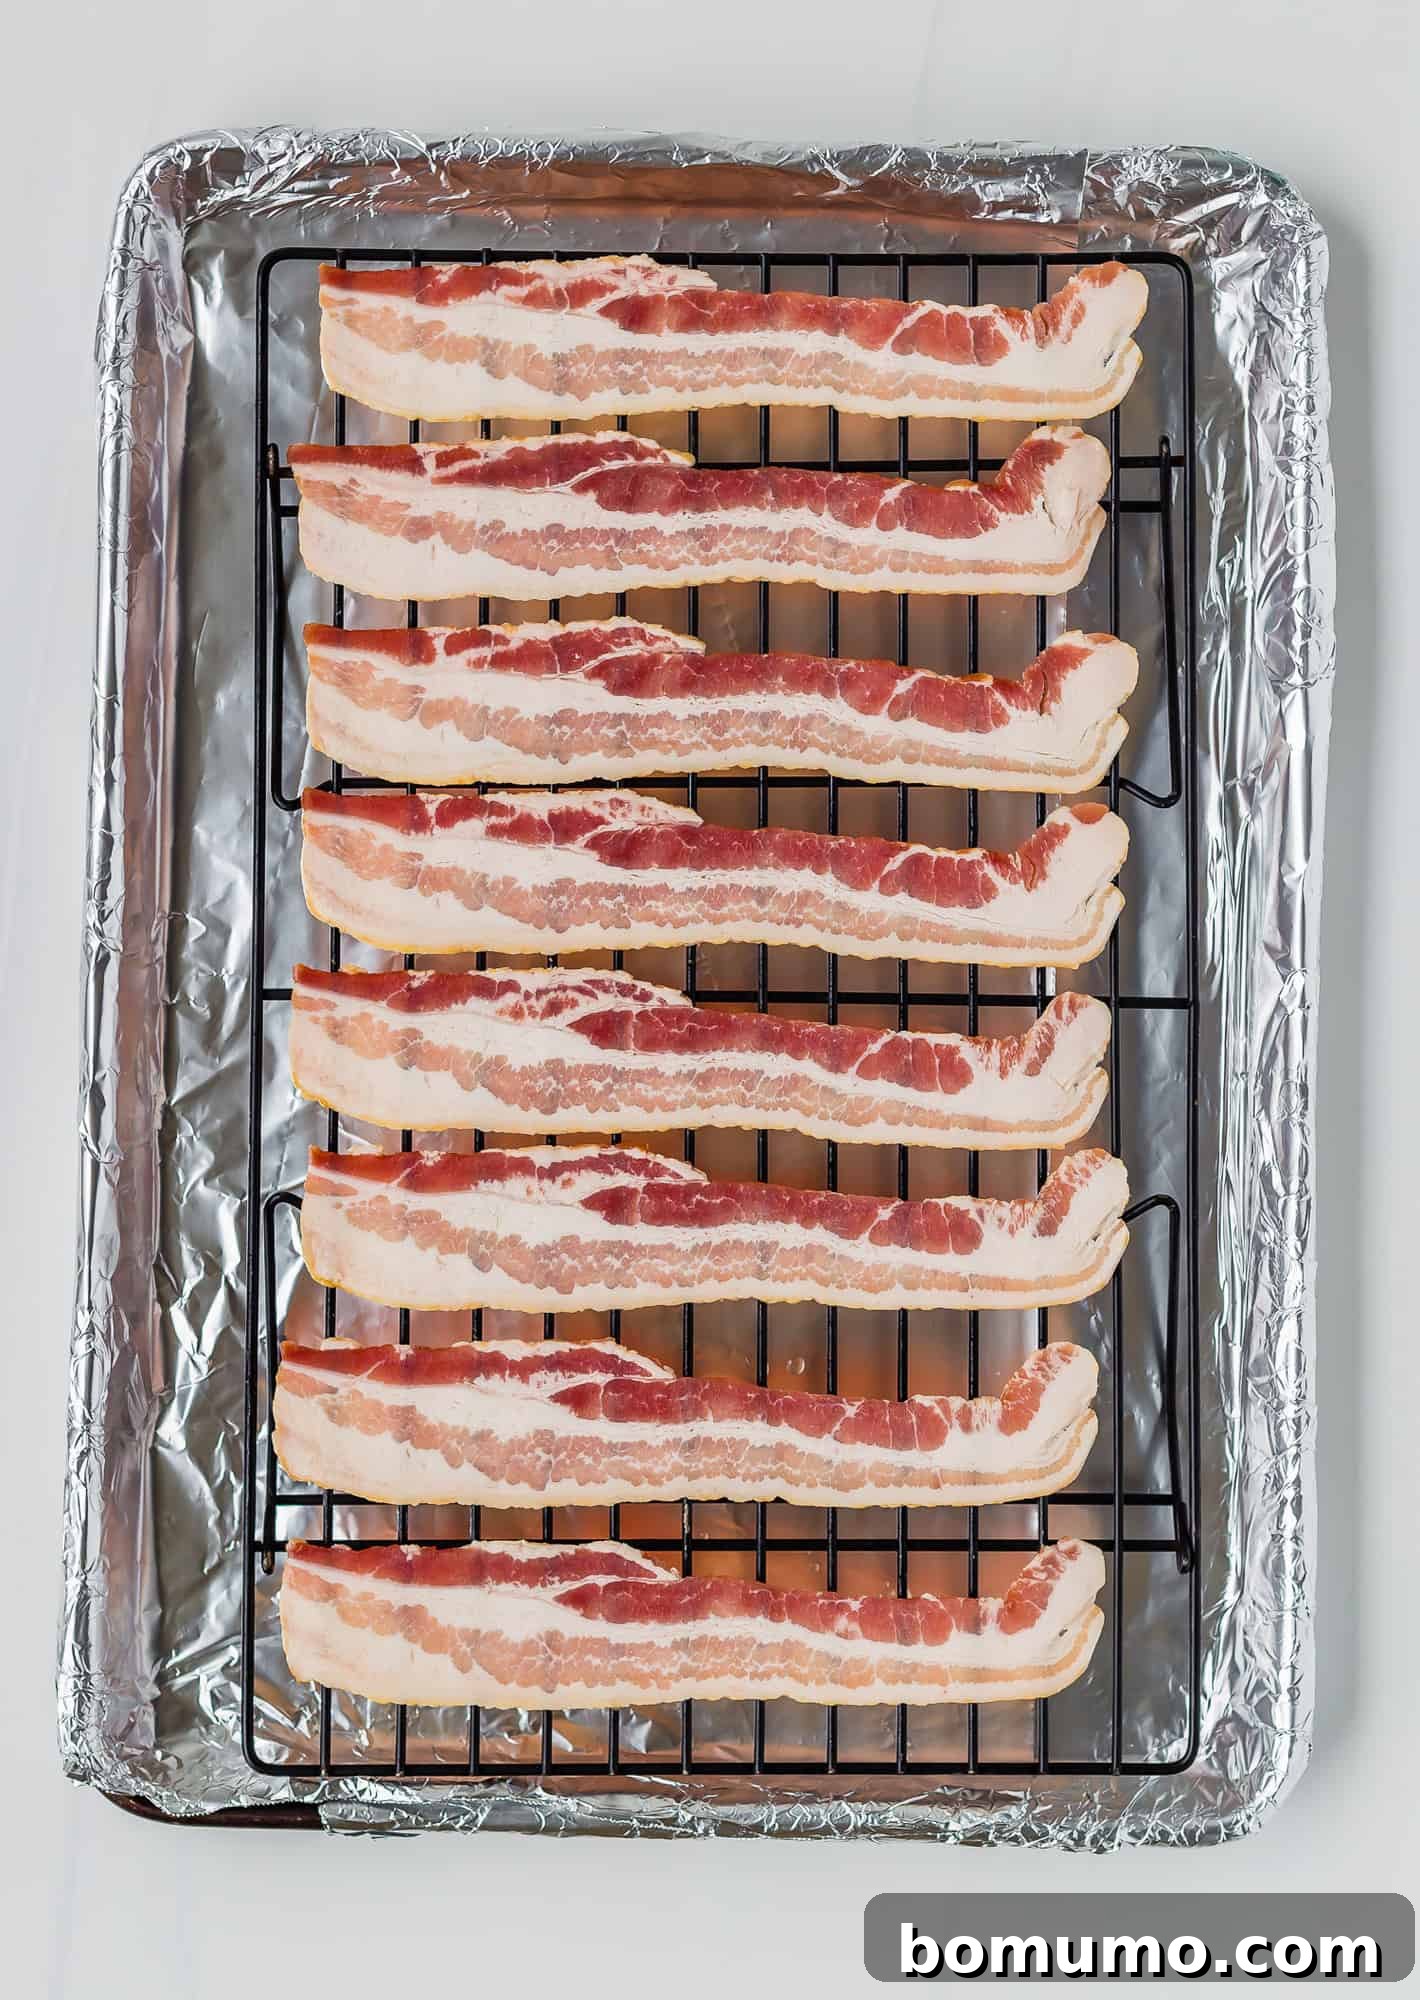
For those who prefer their bacon extra crispy and with less rendered fat clinging to the strips, a wire rack is a fantastic addition. Place an oven-safe wire rack inside your foil-lined baking pan. Lightly spray the rack with a non-stick cooking spray to prevent the bacon from sticking. The main advantage here is that the fat drips through the rack into the foil below, allowing air to circulate all around the bacon for maximum crispness and a slightly healthier result due to reduced grease. This also tends to yield straighter, flatter bacon slices.
3. Arrange the Bacon Strips
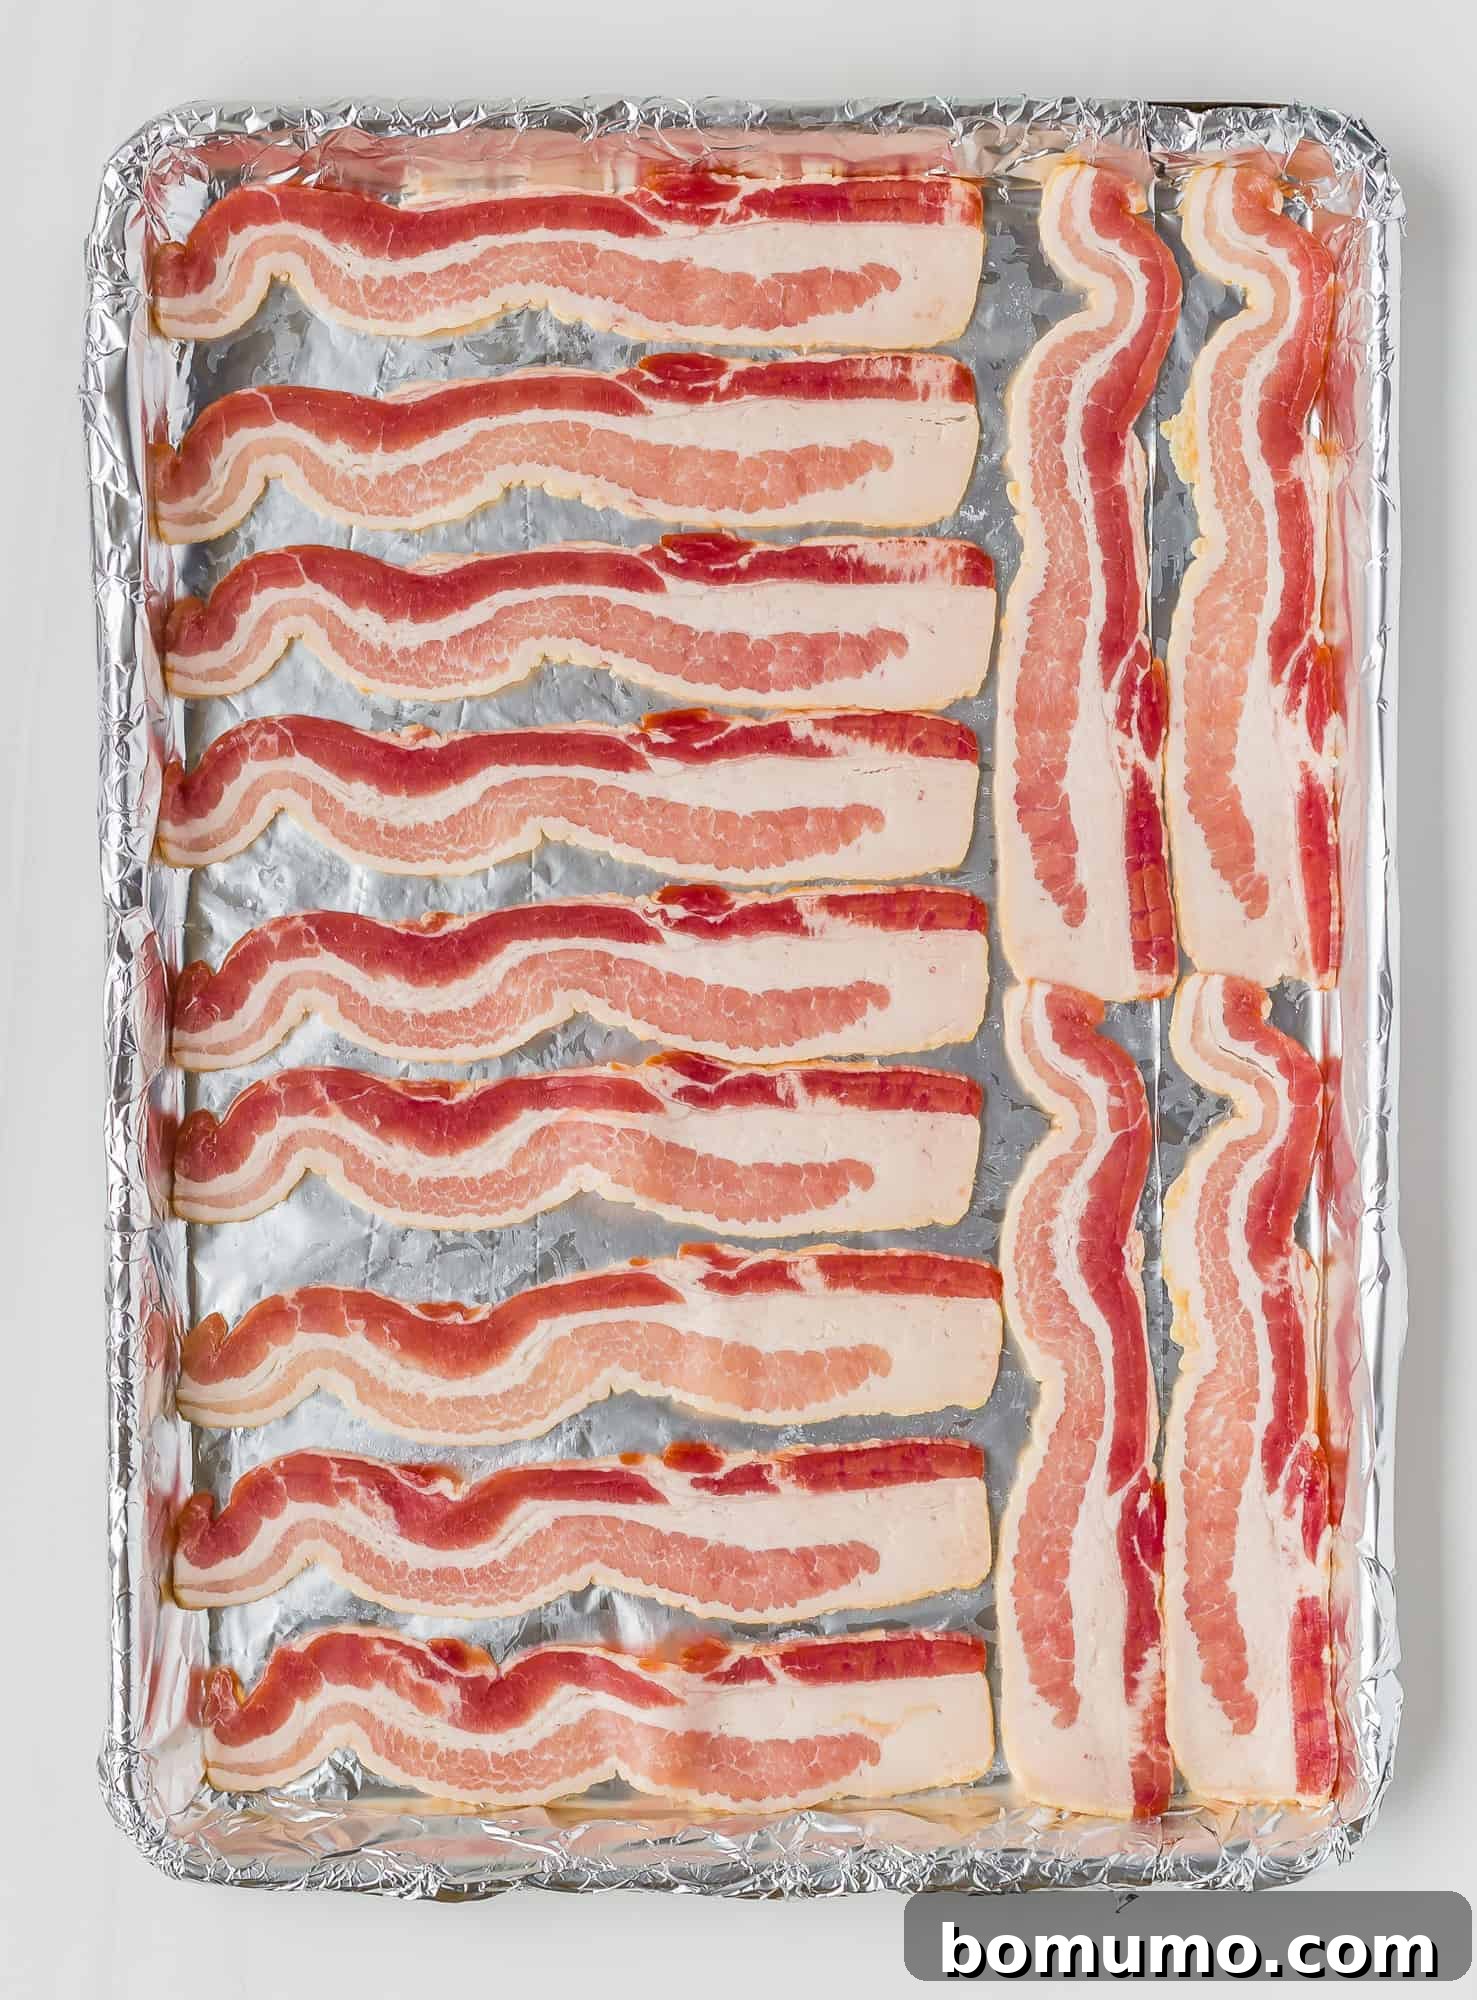
Carefully separate your bacon slices and lay them out in a single layer, either directly on the foil or on the prepared wire rack. The key is to avoid overlapping the strips. Giving each slice its own space allows for even cooking and optimal crisping. Think of it as each strip needing its personal bubble for the best results!
4. Bake to Perfection
Place your baking pan into a preheated 400°F (200°C) oven. While some prefer to start bacon in a cold oven and then turn it on (which also works, just increases total cooking time slightly), a preheated oven ensures a more predictable cooking duration. Bake for approximately 15 to 25 minutes, depending on the thickness of your bacon and your desired level of crispness. There’s no need to flip the bacon; the circulating heat in the oven will cook both sides beautifully. For even cooking, you may rotate the pan halfway through. Keep a vigilant eye on it, especially during the final minutes, as bacon can quickly go from perfectly done to overdone.
Essential Cooking Tip: Mind the Thickness!
Baking times are highly dependent on the thickness of your bacon. Thin-cut bacon will crisp up much faster than its thick-cut counterpart. It’s crucial to monitor the bacon closely towards the end of the baking cycle. The transition from perfectly cooked to overly crisp (or even burnt) can happen surprisingly quickly. A good rule of thumb is to start checking around the 15-minute mark for thin bacon and adjust upwards for thicker cuts.
5. Drain and Enjoy
Once your bacon reaches its desired crispness, use a pair of tongs to carefully transfer the strips from the baking pan to a plate lined with several layers of paper towels. This step allows any excess grease to drain off, enhancing the bacon’s texture and making it less oily. For an even lighter touch, you can gently blot the tops of the bacon with additional paper towels.
6. The Easiest Clean-Up Ever
Now comes the satisfying part: cleanup. Simply allow the rendered bacon fat in the foil-lined pan to cool and solidify slightly. Then, carefully remove the foil, trapping all the grease, and toss it directly into the trash. In most cases, your baking pan will remain pristine, requiring no washing at all! If you opted to use a wire rack, it will need a good wash, but hopefully, it’s dishwasher-safe for added convenience.
Option 1: Baking Without a Wire Rack
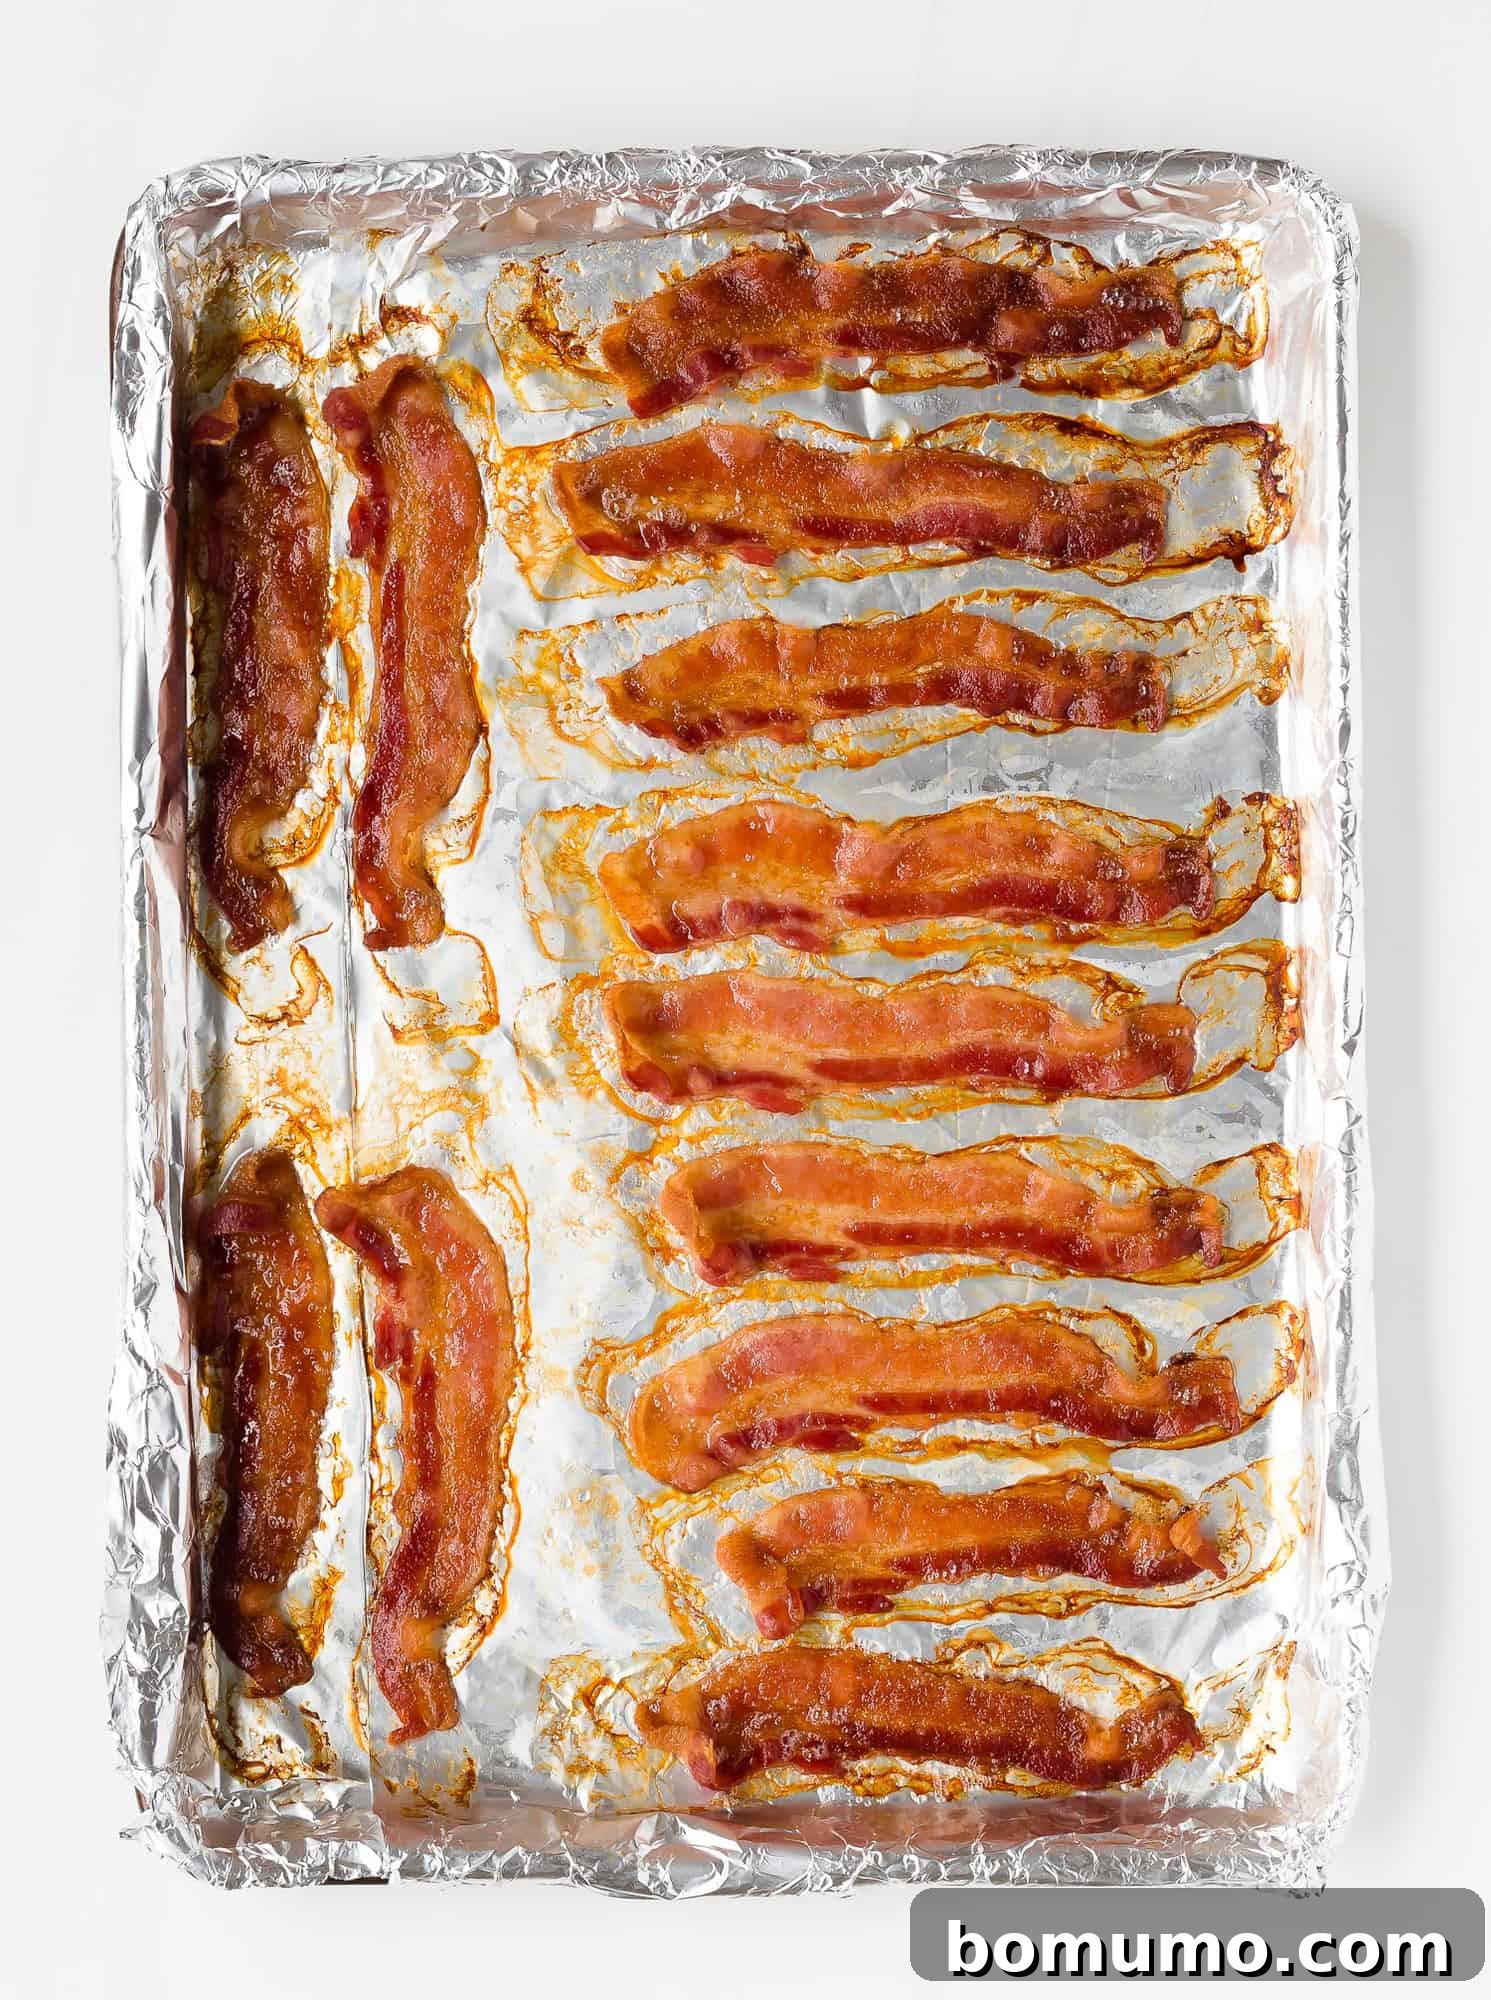
Baking bacon directly on the foil-lined pan is the simplest approach. It results in wonderfully crispy bacon with a slightly chewier interior, as the strips cook directly in their rendered fat. The edges get beautifully caramelized, and the entire strip takes on a rich, deep flavor. This method is incredibly easy, requires minimal equipment, and the cleanup is virtually non-existent.
Option 2: Baking With a Wire Rack
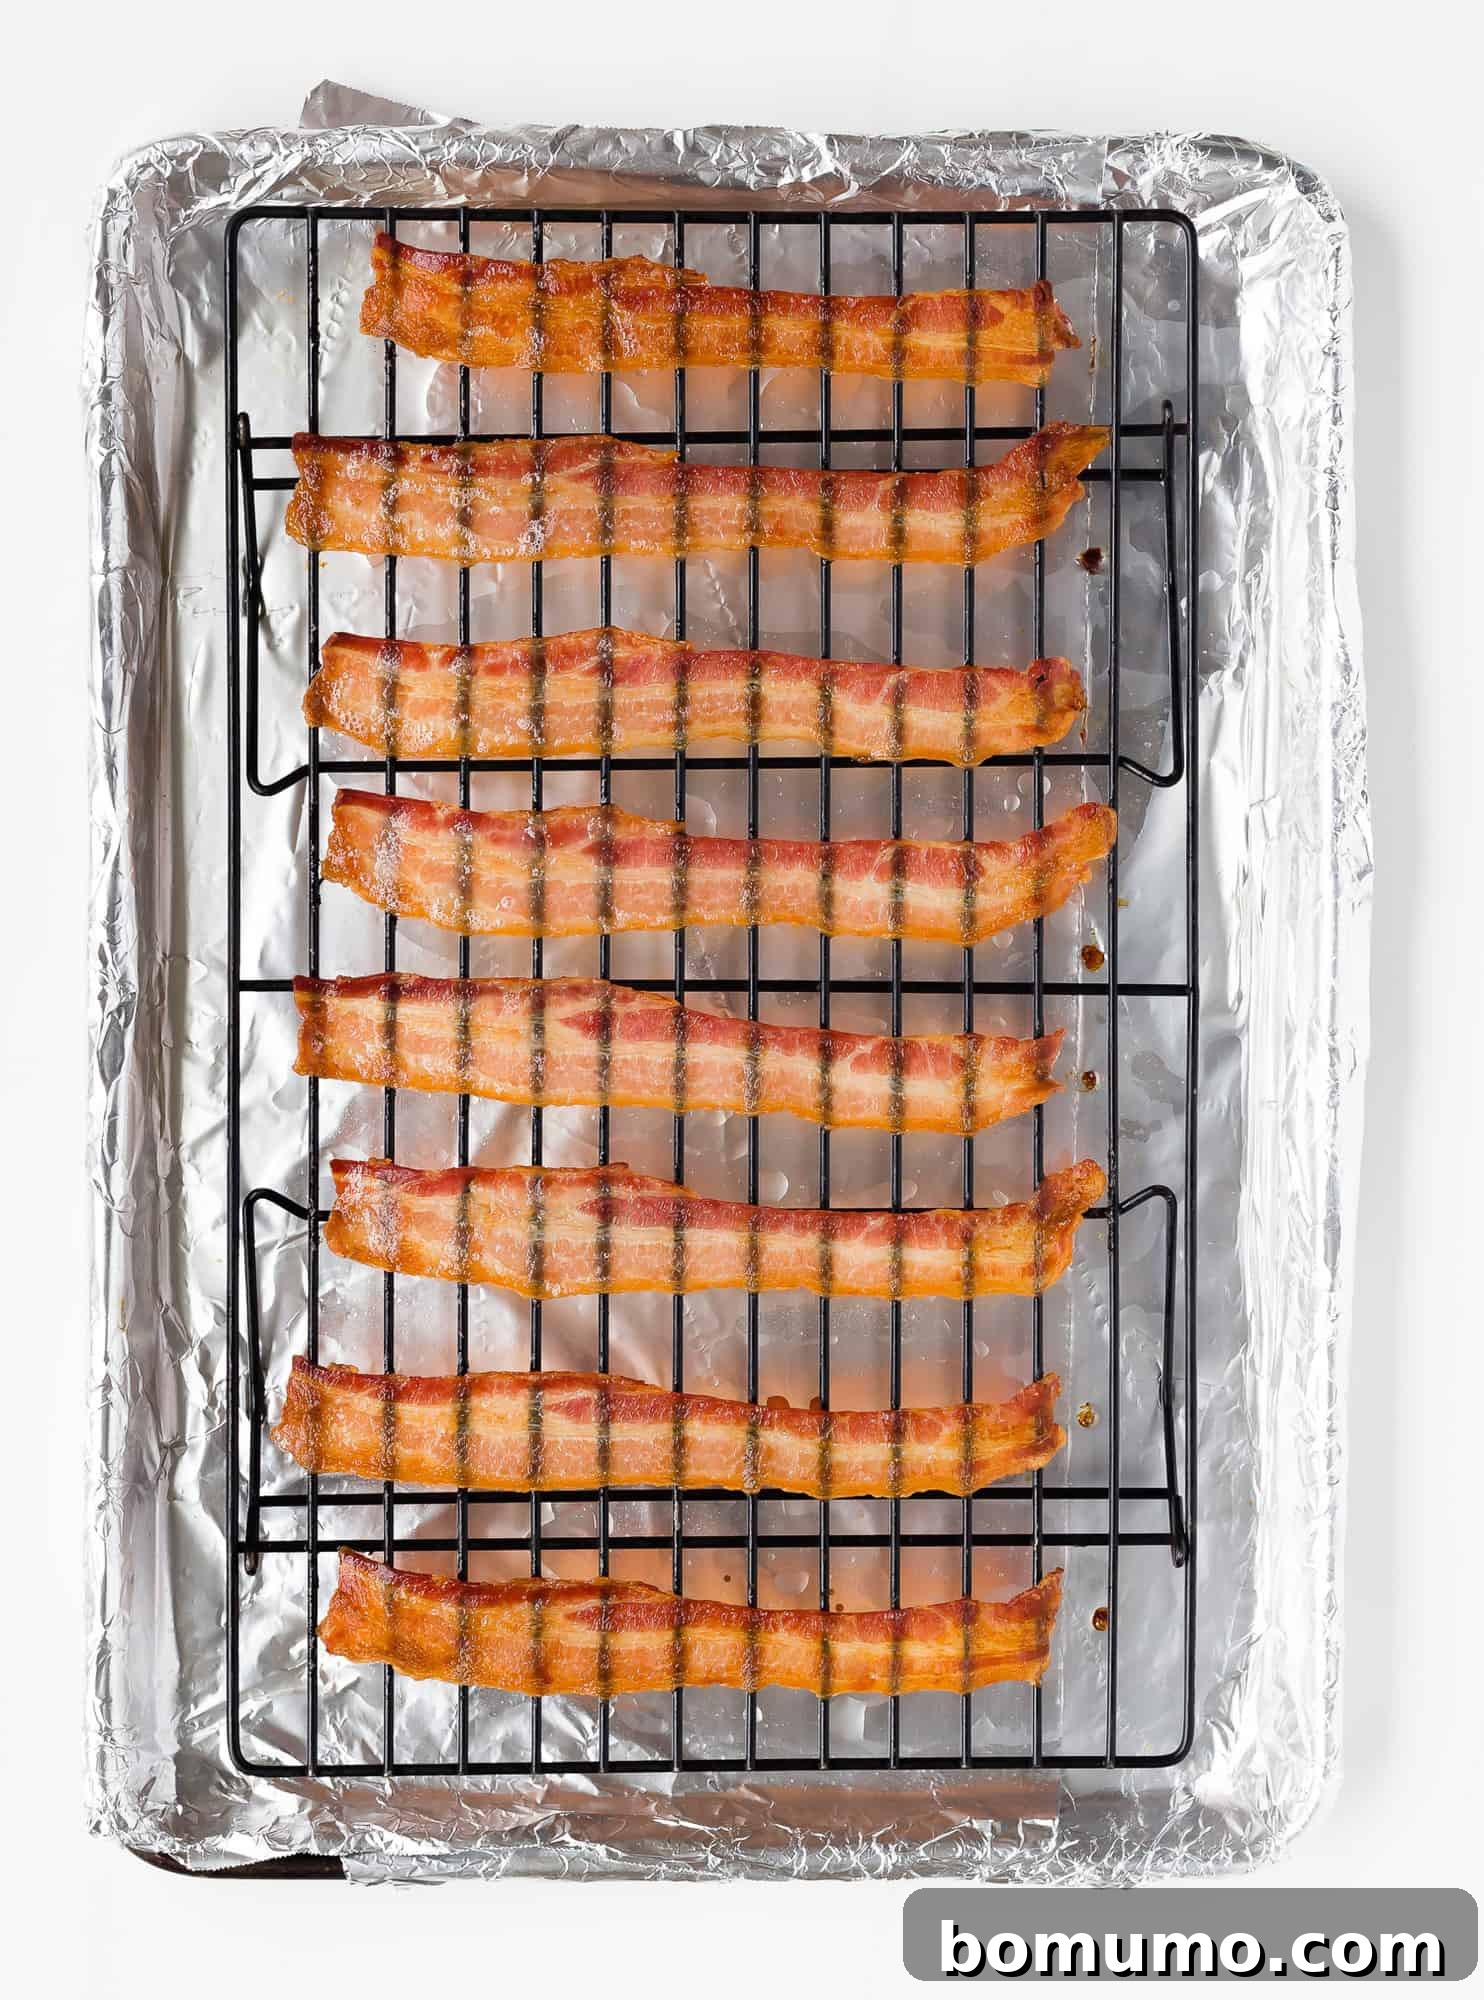
Using a wire rack offers an elevated baking experience (literally!). The rack lifts the bacon out of its rendered fat, allowing for hot air to circulate freely around all sides of each strip. This results in bacon that is exceptionally crispy, often straighter, and contains slightly less grease. If you’re looking for that restaurant-quality, extra-crisp texture, or are mindful of reducing fat content, the wire rack method is your go-to.
Make-Ahead Magic: Meal Prepping with Bacon
Make-Ahead Magic: Meal Prepping with Bacon
One of the brilliant aspects of baked bacon is its suitability for meal prepping. Instead of cooking just what you need for a single meal, consider baking an entire pound of bacon at once. This bulk cooking strategy saves significant time later in the week. Once cooled, store the extra bacon in the refrigerator or freezer. It thaws quickly and is ready to be incorporated into various recipes, making weekday meals a breeze. This foresight ensures you always have that irresistible bacon crunch readily available to elevate any dish. Discover inspiring ways to utilize your pre-cooked bacon in the recipe section below.
Storage & Reheating Strategies
Storage & Reheating Strategies
Proper storage and reheating are key to enjoying your baked bacon long after it’s cooked:
- Refrigerate: Once your baked bacon has cooled completely after draining, transfer it to an airtight zip-top bag or container. It will stay fresh and delicious in the refrigerator for up to 4 to 5 days.
- Freeze: For longer storage, tightly wrap individual portions of cooled bacon in plastic wrap, then place them in a freezer-safe bag or container. Baked bacon can be frozen for an impressive 3 to 4 months without losing its quality.
- Thawing: Frozen bacon thaws remarkably quickly, usually within 10 minutes at room temperature, making it ideal for impromptu additions to meals.
- Reheating in the Oven/Toaster Oven: For best results and to regain that crisp texture, reheat cold or thawed bacon in a preheated oven or toaster oven at 350°F (175°C) for about 5 minutes, or until heated through and crisp again.
- Reheating in the Microwave: While not ideal for crispness, the microwave is a quick option for heating bacon. Place strips on a paper towel-lined plate and microwave for 10-15 seconds per slice, checking frequently to prevent overcooking.
- Using Directly in Recipes: If you’re incorporating baked bacon into a cooked dish (like a casserole or soup), you can often use it directly from the refrigerator or freezer, as it will heat up as part of the recipe.
Delightful Recipes Featuring Baked Bacon
Once you master the art of baking bacon, a world of culinary possibilities opens up. While it’s incredibly tempting to eat every crispy strip straight from the oven, consider using your perfectly baked bacon to elevate these delicious dishes:
- Ricotta Flatbread with Bacon, Squash, Apples, and Maple Pepitas: A true celebration of autumn flavors, this flatbread combines creamy ricotta, savory bacon, sweet roasted squash and apples, all topped with crunchy maple pepitas. The baked bacon adds a crucial salty, crispy contrast.
- BBQ Chicken Pizza: Take your homemade pizza night to the next level by crumbling baked bacon over a smoky BBQ chicken base. The bacon’s crispness and salty notes perfectly complement the sweet and tangy BBQ sauce.
- Creamy Loaded Potato Salad: Transform a classic side dish into a main event with generous amounts of crumbled baked bacon. Alongside hard-boiled eggs and a rich, creamy dressing, bacon adds an irresistible depth of flavor and texture.
- Green Beans with Bacon, Garlic, and Onion: Forget bland green beans! This recipe elevates simple green beans by sautéing them with savory baked bacon pieces, aromatic garlic, and sweet onion. It’s a side dish that steals the show.
- Bacon Cheddar Quiche with Sweet Potato Crust: A delightful twist on traditional quiche, featuring a wholesome sweet potato crust filled with sharp cheddar and hearty baked bacon. Perfect for breakfast, brunch, or a light dinner.
- Broccoli Salad with Bacon: This vibrant and healthy salad gets a boost from crunchy, salty baked bacon. Paired with crisp broccoli florets, dried cranberries, and a creamy dressing, bacon provides a fantastic textural and flavor contrast.
The Easiest Baked Bacon: Crispy, Mess-Free, Two Ways
Rachel Gurk
5
25
30
4 servings
Equipment
-
Heavy Duty Aluminum Foil
-
Bakeable Nonstick Cooling Rack
-
Baker’s Sheet Pans, 2-Pack
Ingredients
- 1 pound regular or center cut bacon
Instructions
-
Preheat Oven & Prepare Pan: Preheat your oven to 400ºF (200°C). Line a large, rimmed baking pan (a half sheet pan is ideal) with heavy-duty aluminum foil. For added protection, use two layers of regular foil. Ensure the foil goes up the sides of the pan to prevent grease from seeping underneath. As an alternative, parchment paper can be used.
-
Add Wire Rack (Optional): If you prefer to bake your bacon on a wire rack for increased crispness and reduced grease, place a wire rack directly onto the foil-lined baking sheet. Lightly spray the rack with a non-stick cooking spray to prevent sticking.
-
Lay each bacon slice in a single layer, ensuring they do not overlap. This allows for even cooking and crisping of every strip.
-
Bake to Desired Crispness: Place the pan in the preheated oven. Bake for approximately 15 to 25 minutes. Baking time will vary based on the thickness of your bacon and your desired level of crispness. Rotate the pan once during cooking to ensure even browning. Keep a close watch on the bacon, especially in the last few minutes, as it can quickly go from perfectly cooked to overdone.
-
Drain Excess Grease: Once cooked, use tongs to carefully remove the bacon from the baking sheet and transfer it to a plate lined with paper towels to drain any excess grease.
Notes
- Forgot to preheat? No problem! You can place the bacon in a cold oven and then turn it on. Just expect the baking time to be slightly longer than directed.
- For flatter, less greasy bacon: Utilizing a wire rack significantly helps to drain off excess fat, resulting in straighter, crispier strips.
- Convection Oven Baking: If you’re using a convection oven, you can bake two pans of bacon simultaneously. The cooking time will be roughly 20 minutes, but still, keep an eye on it!
Nutrition
Calories: 473kcal
,
Carbohydrates: 1g
,
Protein: 14g
,
Fat: 45g
,
Saturated Fat: 15g
,
Polyunsaturated Fat: 7g
,
Monounsaturated Fat: 20g
,
Trans Fat: 1g
,
Cholesterol: 75mg
,
Sodium: 751mg
,
Potassium: 225mg
,
Vitamin A: 42IU
,
Calcium: 6mg
,
Iron: 1mg
Nutrition information is automatically calculated, so should only be used as an approximation.
Did You Make This?
Share a comment and rating below! I love hearing what you think!