
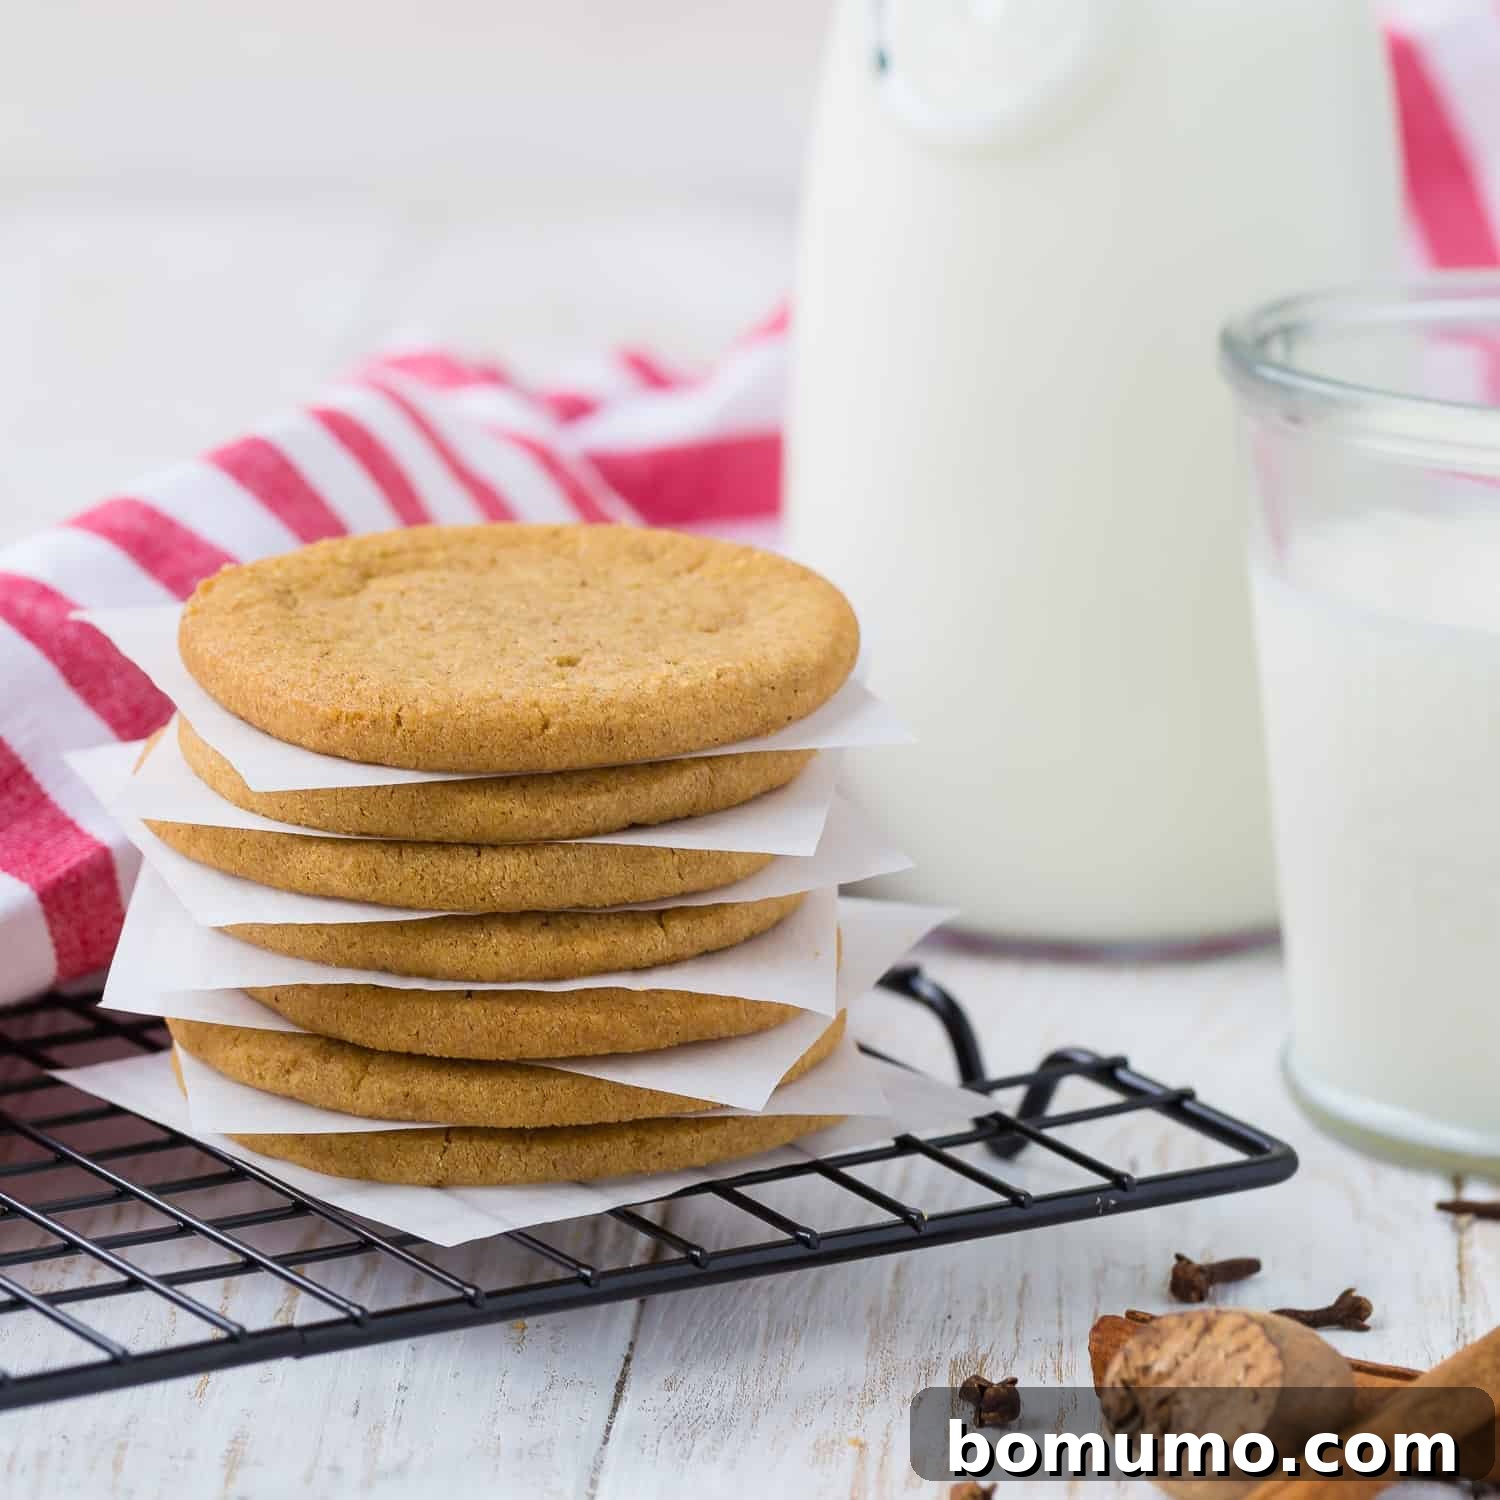
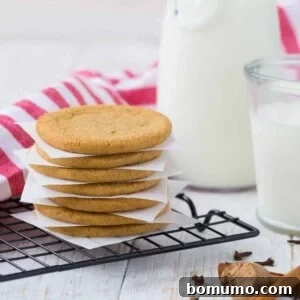
Full of delightfully warm spices, these easy slice and bake Windmill Cookies are crafted without the need for a mold or stamp. This simplified approach makes them accessible for every home baker, allowing you to enjoy their rich flavors with minimal effort. Plus, they’re wonderfully nut-free!
Recipe Overview: Effortless Spiced Cookies for All Seasons
Why you’ll adore them: These slice-and-bake Windmill Cookies are not only incredibly simple to make but also burst with a symphony of warm, complex spices. Their inviting aroma and delicate, buttery crunch make them a perfect accompaniment to your morning coffee, afternoon tea, or any special gathering throughout the year.
Time commitment: You’ll need approximately 20 minutes for hands-on dough preparation. A crucial overnight chilling period (around 12 hours) is essential for flavor development and texture. Each batch of cookies bakes quickly in just about 10 minutes.
Essential equipment: Gather a large mixing bowl, parchment paper or waxed paper for ease of handling, and standard baking sheets.
Yields: This generous recipe produces roughly 4 dozen delightful cookies, making them ideal for sharing with loved ones or enjoying over an extended period.
A Culinary Journey: The Enduring Charm of Windmill Cookies
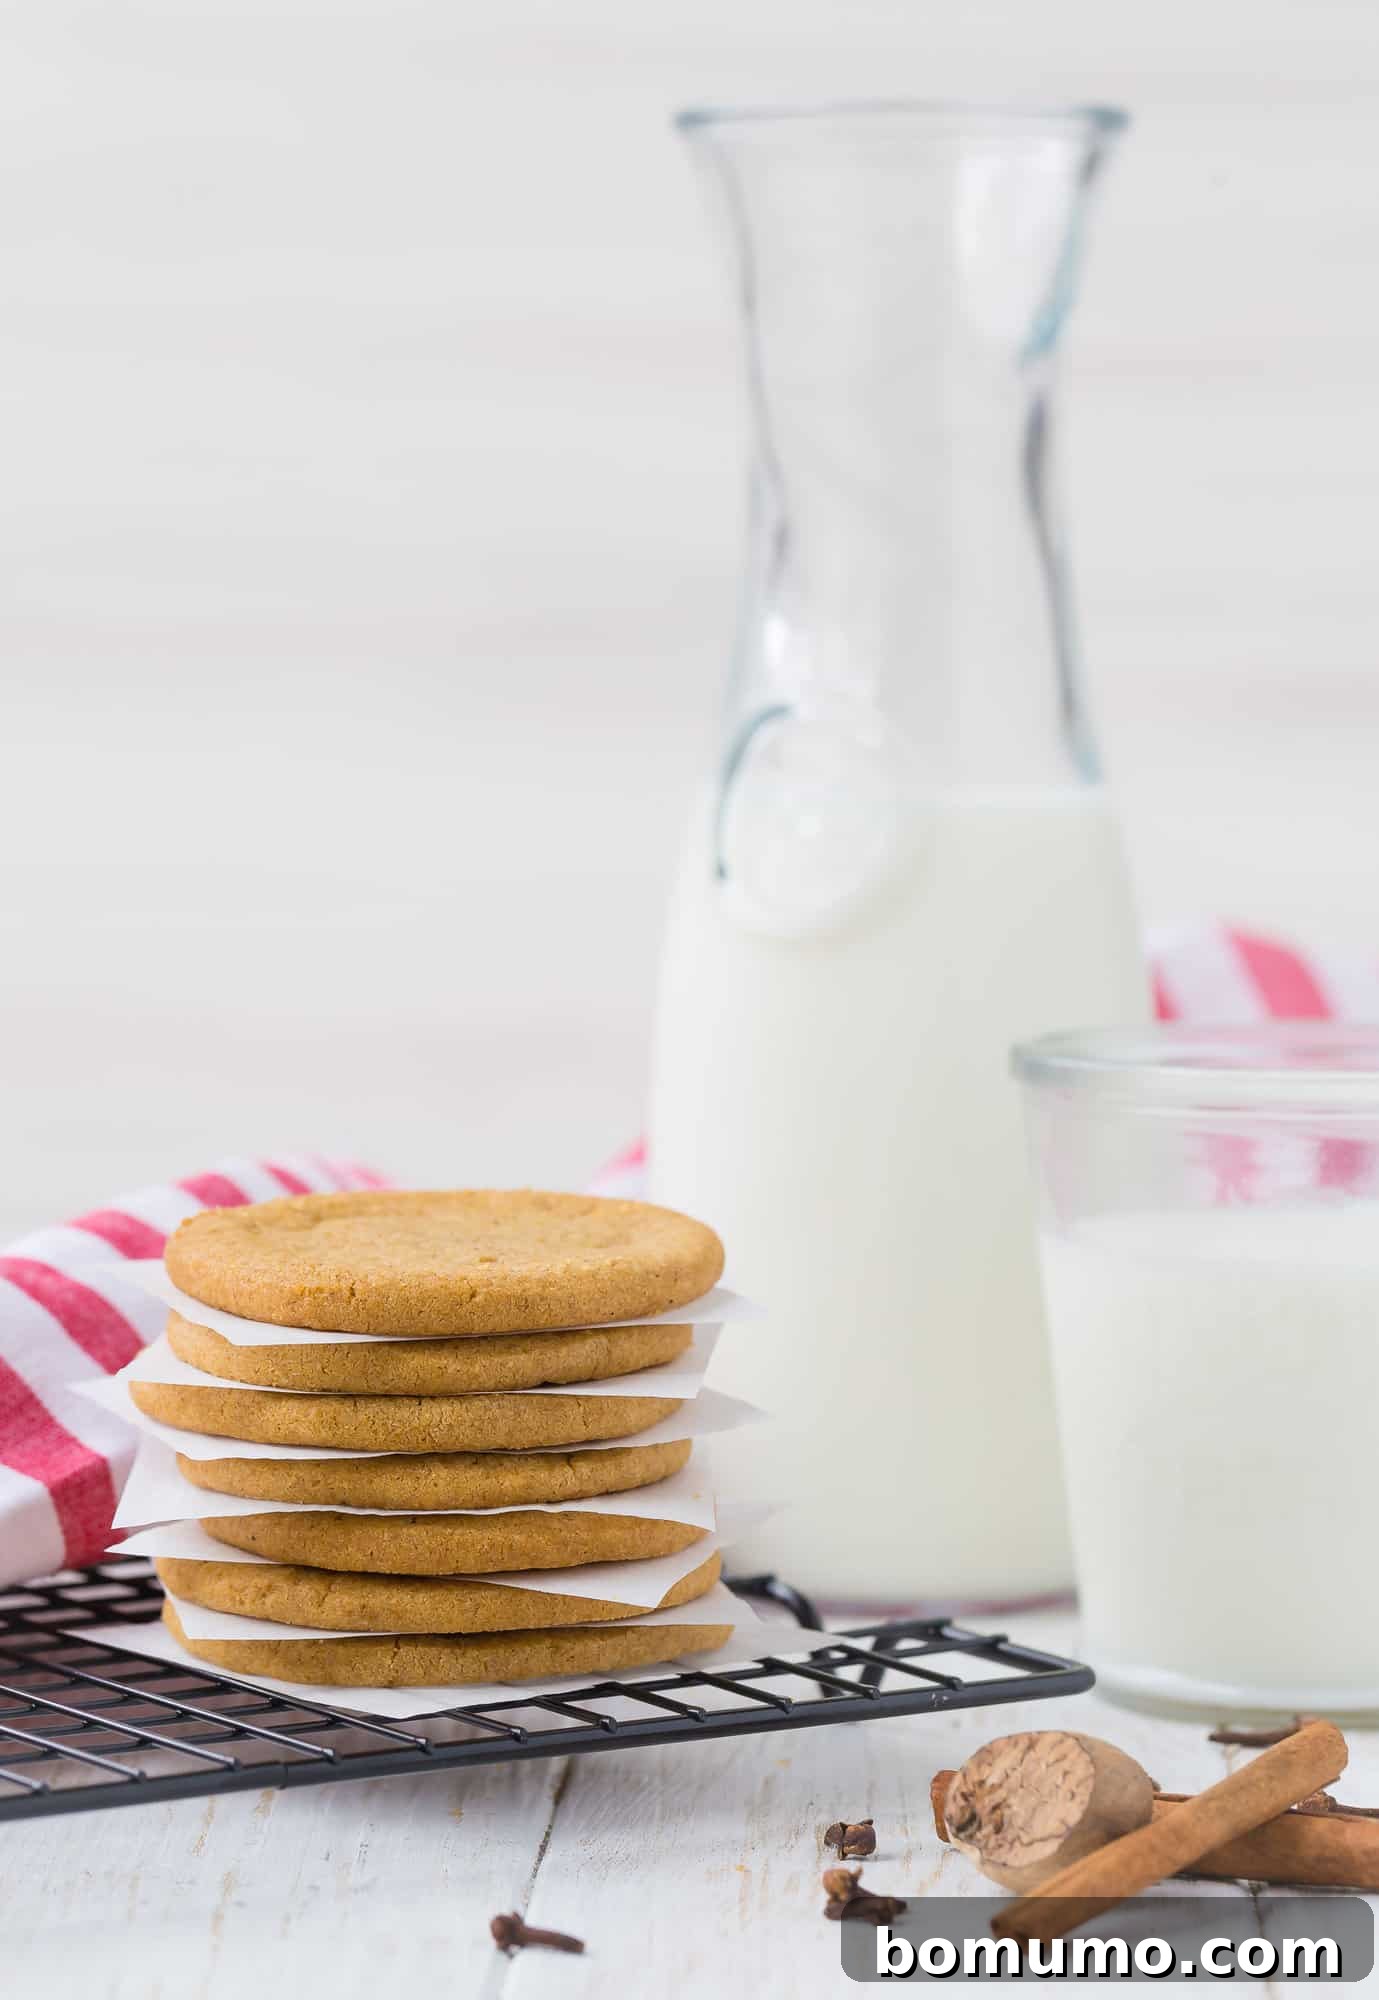
These spiced cookies transport me back to cherished memories, especially those magical Christmas celebrations at my parents’ home. Every holiday season, our family would transform the kitchen into a bustling bakery, meticulously crafting dozens of cookies to share with our friends and relatives. This wasn’t merely about baking; it was a treasured tradition, a way to connect and spread joy through the simple act of sharing homemade goodness.
Our holiday cookie selection was a beloved repertoire, rarely deviating from the classics. Each person on our delivery route eagerly anticipated their specific favorites, and a missing cookie was met with good-natured disappointment! Among these indispensable treats, Windmill Cookies always held a place of honor. Their sweet, rich flavor, perfectly complemented by a comforting blend of cinnamon, nutmeg, cloves, and allspice, made them an absolute must-have in every festive tin. The crisp, buttery texture combined with that exquisite spice profile creates an utterly irresistible experience.
While Windmill Cookies, also widely known as Speculaas or Speculoos, traditionally mark St. Nicholas Day (December 6th) in the Netherlands and Belgium, their warm and inviting flavor is truly delightful any time of the year. I often find myself serving them far beyond the holiday season. For instance, they were a huge hit at our annual Harvest Party this year. Imagine pairing one of these crispy, spiced beauties with a steaming mug of apple cider – it’s a match made in heaven! For those seeking a more adult beverage, they also perfectly complement a refreshing apple cider mule or a festive apple cider mocktail.
Demystifying Windmill Cookies: Speculaas, Speculoos, and Our Simplified Approach
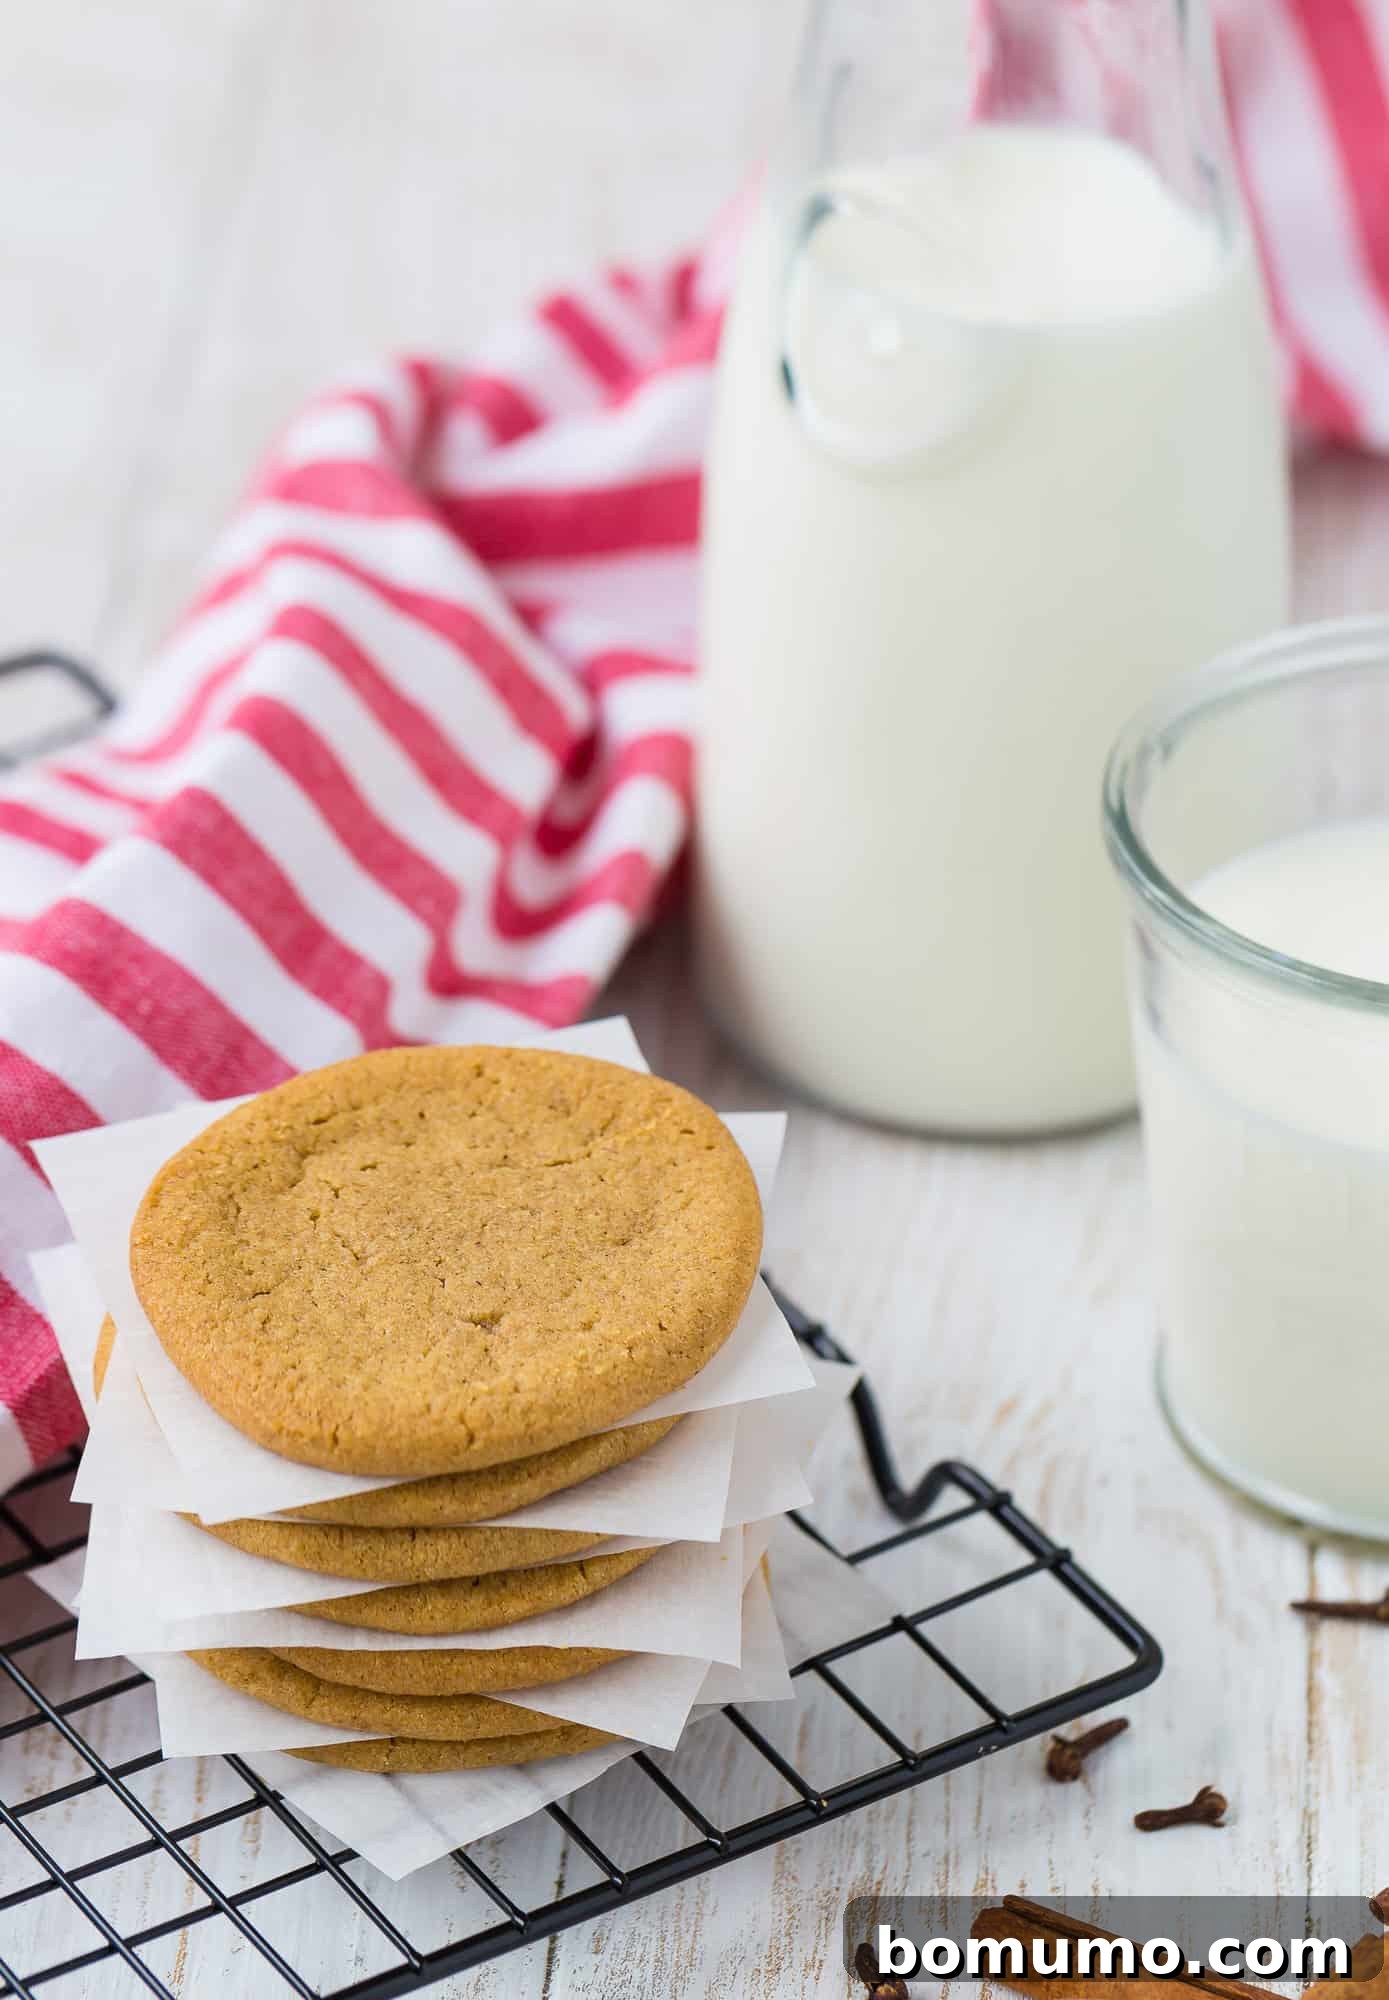
Understanding Windmill Cookies: These distinctively spiced shortcrust biscuits are known by several names across Europe. In the Netherlands, they are called Speculaas, while in Belgium and Flanders, they are referred to as Speculoos. You might also encounter them as “St. Nicholas cookies” or by popular commercial brand names like Steenstra’s, Voortman’s, or Biscoff. Traditionally, authentic Windmill Cookies are quite a work of art, made by pressing dough into beautifully carved wooden molds or stamps. These molds often depict intricate scenes like windmills, charming Dutch children, or figures of St. Nicholas. Classic recipes frequently include finely sliced almonds, which contribute to their unique texture and nutty flavor profile.
The Beauty of the Easy Slice-and-Bake Method: Our recipe for Windmill Cookies takes this traditional favorite and adapts it into a much simpler, yet equally satisfying, slice-and-bake format. This means you can achieve all the wonderful flavors and crisp texture without the need for specialized equipment like elaborate molds or stamps. The process is remarkably straightforward: you’ll prepare the dough, divide it into two manageable logs, and then refrigerate them overnight. Once thoroughly chilled, simply slice off quarter-inch thick rounds and bake! It’s an ideal method for busy home bakers who desire delicious, homemade cookies without the traditional fuss.
While our simplified method doesn’t produce the elaborate embossed designs seen on traditional molded Windmill Cookies, we guarantee the taste and texture are every bit as authentic and delicious. The rich, aromatic spices and delightful buttery crunch are so captivating that your family and friends will be reaching for seconds and thirds, quickly forgetting any absence of fancy imagery.
A Thoughtful Nut-Free Option for Everyone: As many followers of my culinary journey know, our household navigates nut allergies, making allergen-friendly recipes a priority. For this reason, my Windmill Cookies recipe intentionally omits almonds. However, if you adore the subtle nutty undertones that almonds impart, I wholeheartedly encourage you to incorporate a half-cup of finely sliced almonds into the dough during the mixing stage. Even without them, these cookies are so generously infused with warm, inviting spices that the almonds are truly not missed, ensuring that everyone can safely enjoy a taste of this timeless treat.
Frequently Asked Questions About Windmill Cookies
Frequently Asked Questions About Windmill Cookies
While the names are often used in similar contexts, “Biscoff” is the registered brand name for Speculaas cookies produced by Lotus Bakeries and sold primarily in the U.S. market. The company states they’ve used the same original recipe since 1932. So, Biscoff is essentially a specific, commercially successful version of a Speculoos cookie.
The terms “Speculaas” and “Speculoos” refer to very similar spiced shortcrust cookies from the Low Countries, but with a nuanced difference. “Speculaas” is the traditional Dutch name, and these cookies are typically characterized by a more pronounced and complex blend of warming spices. “Speculoos,” the Flemish or Belgian name, often implies a slightly milder spice profile, sometimes with a greater emphasis on brown sugar and caramelization. Our recipe aims for a balanced, rich spice blend that captures the essence of both traditions.
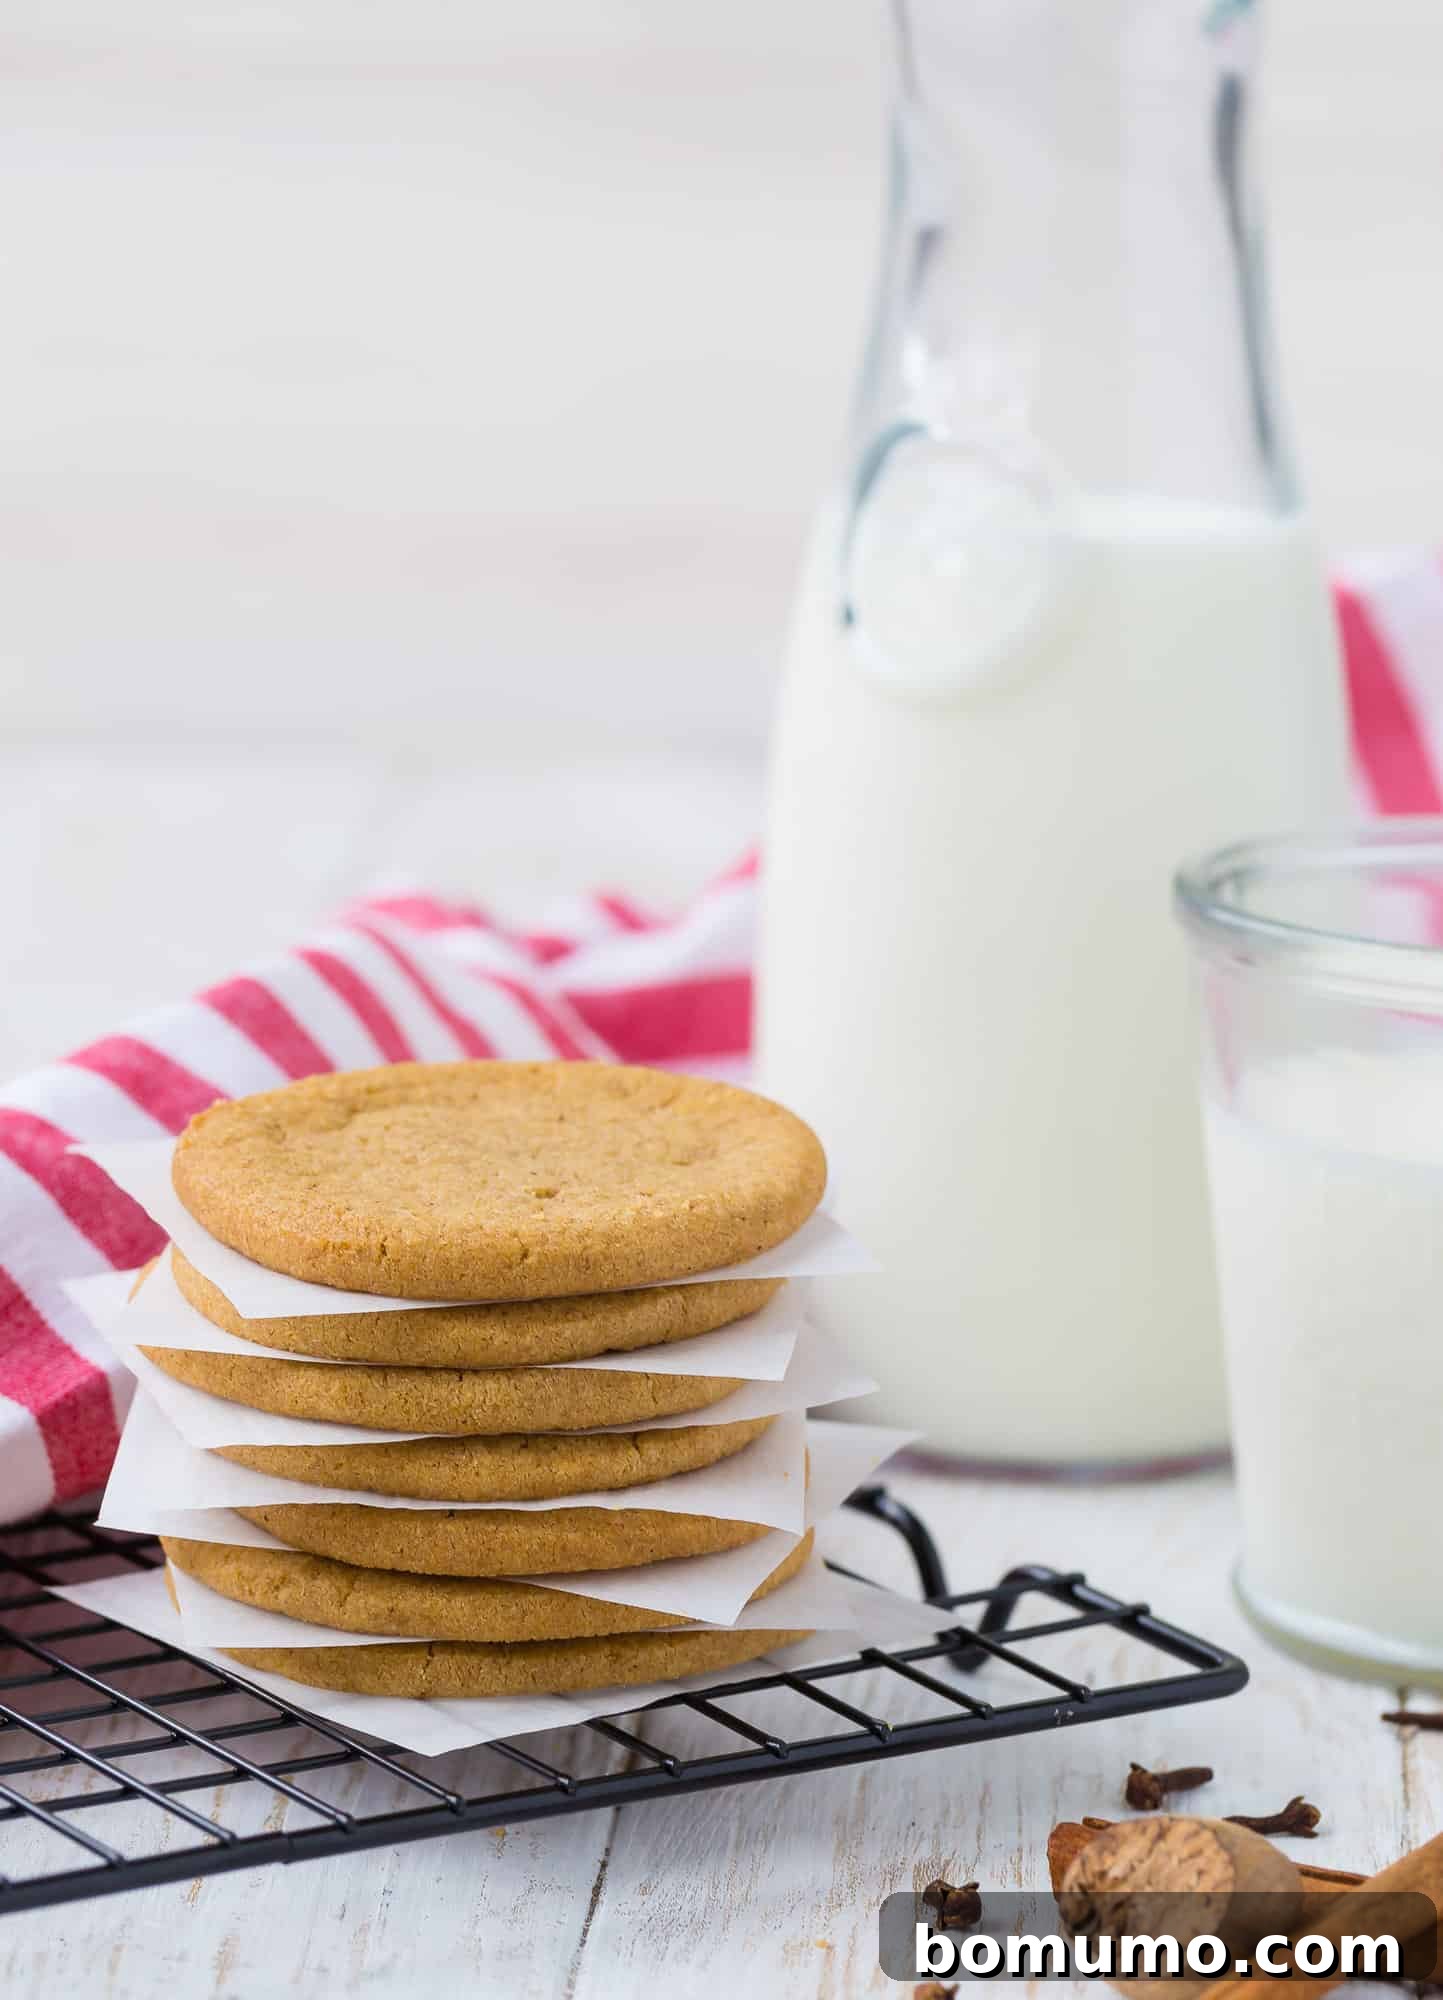
The quintessential flavor of Windmill Cookies comes from a harmonious blend of warm spices. The most common spices include cinnamon, nutmeg, cloves, and allspice. Some traditional recipes might also incorporate a hint of ginger for extra zest, cardamom for an aromatic touch, or even a tiny amount of white pepper for a subtle warming kick.
Chilling the dough overnight is a critical step for perfect Windmill Cookies. Firstly, it allows the fats (butter and shortening) to solidify, which significantly reduces cookie spread during baking, ensuring your cookies maintain their desired shape. Secondly, and perhaps more importantly, the extended chill time gives the flour a chance to fully hydrate and the various spices ample time to meld and deepen their flavors. This results in cookies with a superior crisp texture and a far more complex, richer taste that you simply can’t achieve with a shorter chill.
Unleash Your Creativity: Customizing Your Windmill Cookies
One of the greatest joys of home baking is the freedom to personalize recipes and infuse them with your unique culinary touch. Our versatile slice-and-bake Windmill Cookies recipe serves as an excellent foundation for your creative endeavors. Here are several fantastic ways to adapt and enhance these already delightful cookies:
- Add the Nutty Crunch: If nut allergies are not a concern in your household and you appreciate a classic flavor element, feel free to stir in a half cup of finely sliced or chopped almonds with the dry ingredients. For an additional decorative flourish, you can gently press extra sliced almonds onto the tops of the cookie slices just before they go into the oven. This adds both appealing texture and a lovely visual element.
- Sparkle and Drizzle for Dazzle: Elevate the aesthetic appeal of your cookies with simple yet effective decorations. A light sprinkle of sparkling sanding sugar on top of each cookie before baking will add a festive shimmer and a delicate crunch. Alternatively, for an all-over sugary coating, you can roll the entire dough logs in granulated or sanding sugar before you slice them. Once your cookies are baked and fully cooled, consider drizzling them with melted dark or white chocolate, or a simple vanilla icing, for an extra layer of sweetness and elegance.
- Experiment with Diverse Spice Blends: The hallmark of Windmill Cookies is their exquisite blend of aromatic spices. While our combination of cinnamon, nutmeg, cloves, and allspice is traditional and deeply satisfying, don’t hesitate to venture into new spice territories! You might add a touch of ground ginger for a zesty, warm kick, a pinch of cardamom for an exotic floral note, a hint of white pepper for subtle warmth, or a dash of mace for a more intense, musky spice profile. Adjust quantities gradually to discover your perfect personalized blend.
- Explore Flour Options: Our recipe utilizes a blend of all-purpose and whole wheat flour, which contributes to a slightly heartier texture and a nuanced flavor. However, this is a flexible component. For a lighter, crisper cookie, you can opt for all all-purpose white flour. If you prefer a more robust and wholesome cookie, using all whole wheat flour is also an option, though you might need to add a tiny splash more liquid (like milk or water) if the dough appears too dry.
- Transform into Cut-Out Cookies: If you’re feeling a bit more traditional or simply wish to create charming shapes, this versatile dough can easily be transformed into cut-out cookies. After the essential chilling period, roll the dough out evenly on a lightly floured surface to about 1/4-inch thickness. Use your favorite cookie cutters – stars, hearts, festive figures, or even classic windmill shapes – to create delightful designs. Remember to place your cut-out shapes on parchment-lined baking sheets and adjust the baking time slightly as needed.
Explore More Irresistible Cookie Delights from Our Kitchen
If you have a soft spot for classic bakery-style cookies, particularly those reminiscent of beloved brands like Archway, you’re sure to fall in love with these other carefully tested and treasured recipes from my kitchen:
- Old-Fashioned Iced Oatmeal Cookies
- Chewy Oatmeal Raisin Cookies
- Spicy Ginger Sparkles (Classic Gingersnaps)
Storage Tips: Keeping Your Windmill Cookies Fresh and Flavorful
Storage Tips: Keeping Your Windmill Cookies Fresh and Flavorful
Proper storage is essential to preserving the delightful flavor and crisp texture of your homemade Windmill Cookies. Here’s how to keep them at their very best:
For Baked Cookies: It is crucial to ensure your Windmill Cookies are completely cooled before storing them. Storing warm cookies will create condensation, leading to an undesirable soggy texture. Once fully cooled, transfer them to an airtight container. At room temperature, they will maintain their delightful crispness and rich flavor for at least a week. If you’ve baked a generous batch or wish to prepare them well in advance, these cookies freeze exceptionally well. Simply arrange them in a single layer within an airtight, freezer-safe container or bag, using layers of parchment paper between cookies to prevent them from sticking together. They can be frozen for a month or even longer without a significant compromise in quality. To enjoy, simply thaw them at room temperature for a quick, delicious treat.
For Unbaked Cookie Dough Logs: One of the many advantages of slice-and-bake cookies is the convenience of preparing the dough ahead of time. After shaping your dough into logs and wrapping them securely in parchment paper, followed by an additional layer of plastic wrap to prevent drying, they can be stored in the refrigerator for up to 3-4 days. For extended storage, you can easily freeze the dough logs for up to one month. When you’re ready to bake, transfer the frozen dough logs to the refrigerator and allow them to thaw completely overnight. Once thawed, you can proceed to slice and bake them as usual. This method ensures that freshly baked cookies are always just minutes away whenever a craving strikes!
Pro Tip for Perfectly Round Cookies: To ensure your dough logs remain perfectly cylindrical during the chilling process and prevent them from flattening on one side, try this clever trick: gently place each wrapped dough log into an empty glass (on its side, if space allows) or slide them into repurposed paper towel tubes before refrigerating. This provides gentle, consistent support as the dough firms up, resulting in beautifully uniform and round cookies when sliced.
More Irresistible Cookie Recipes to Satisfy Your Sweet Cravings
Classic Snickerdoodle Recipe
Perfect M&M Cookies
Spicy Ginger Sparkles (Gingersnaps)
Delicious Poppy Seed Cookies with Orange
Windmill Cookies (Speculaas / Speculoos) – Nut-Free Option
Average Rating: 4.67 from 3 votes
Rachel Gurk
20 mins
10 mins per batch
12 hrs (overnight)
12 hrs 30 mins
48 cookies
Save (Functionality Coming Soon!)
Pin Recipe
Print Recipe
These delightful slice and bake Windmill Cookies are infused with an array of warm, inviting spices. Our simplified recipe allows you to create these traditional treats with ease, requiring no special molds, and includes a delicious nut-free option.
Ingredients
- ½ cup shortening (at room temperature)
- ½ cup unsalted butter (1 stick, at room temperature)
- ½ cup granulated sugar
- 1 cup packed light brown sugar
- 1 large egg (at room temperature)
- 1 ¼ cups all-purpose flour (recommended for baking)
- 1 cup whole wheat flour
- 1 ¼ teaspoon ground cinnamon
- ½ teaspoon ground cloves
- ¼ teaspoon ground nutmeg
- ¼ teaspoon allspice
- 1 teaspoon baking soda
- ½ teaspoon salt
- Optional: ½ cup sliced almonds (if not making nut-free)
Instructions
-
In a large mixing bowl, using an electric mixer or stand mixer, cream together the shortening, softened unsalted butter, granulated sugar, and packed brown sugar. Beat on medium speed until the mixture is light, fluffy, and thoroughly combined (this usually takes about 2-3 minutes). Remember to scrape down the sides of the bowl periodically to ensure even mixing. Add the large egg and continue to beat until it is fully incorporated into the mixture, resulting in a smooth and cohesive base.
-
In a separate, medium-sized bowl, whisk together all the dry ingredients: the all-purpose flour, whole wheat flour, ground cinnamon, ground cloves, ground nutmeg, allspice, baking soda, and salt. Once well combined, gradually add this dry mixture to the wet ingredients in the large mixing bowl. Mix on low speed until the ingredients are just combined and a soft, uniform dough forms. It’s important not to overmix, as this can lead to tougher cookies. If you are including the optional sliced almonds, gently fold them into the dough at this stage.
-
Divide the prepared cookie dough evenly into two halves. Take one half of the dough and place it onto a sheet of parchment paper or waxed paper. Using your hands, or by rolling the dough within the parchment paper, shape it into a uniform log approximately 2 inches in diameter. Strive for consistent thickness along the entire length of the log to ensure even baking later.
-
Repeat the shaping process with the remaining half of the dough to form a second identical log. Once both rolls are shaped, wrap them tightly in their parchment paper, then add an additional layer of plastic wrap for extra protection against drying out in the refrigerator. Transfer the wrapped dough logs to the refrigerator and chill them overnight, or for a minimum of 8 hours. This crucial step allows the flavors to deepen and the fats to firm up, essential for the cookies’ final texture and shape. For longer-term planning, the dough can be frozen at this point for up to 1 month. If freezing, remember to thaw the logs overnight in the refrigerator before proceeding to the next step.
-
When you are ready to bake your delicious Windmill Cookies, preheat your oven to 350ºF (175ºC). Prepare your baking sheets by lining them with fresh parchment paper. Remove one chilled dough log from the refrigerator and carefully unwrap it. Using a sharp, non-serrated knife, slice the dough roll into uniform ¼-inch thick rounds. Arrange the cookie slices on the prepared baking sheets, ensuring they are spaced approximately 2 inches apart to allow for proper air circulation and slight spreading.
-
Bake the cookies for 10-12 minutes, or until their edges are just golden brown and the centers appear set. The exact baking time may vary slightly depending on the calibration of your oven and the precise thickness of your cookie slices. It’s always a good idea to keep a close eye on them during the last few minutes to prevent over-baking, which can lead to a dry cookie.
-
Once baked, carefully remove the baking sheets from the oven and allow the cookies to cool on the sheets for 2 to 3 minutes. This brief cooling period helps them to firm up, making them less prone to breaking when handled. After this initial cooling, gently transfer the cookies to a wire rack to cool completely. Once entirely cool, store the Windmill Cookies in an airtight container to maintain their freshness and crisp, buttery texture.
Recipe Notes & Expert Tips for Perfect Windmill Cookies
- Maintain a Perfectly Round Shape: To prevent your dough logs from flattening on one side during the crucial chilling process, try this simple trick: place your wrapped dough logs into empty glasses (on their sides, if you have enough space) or slide them into empty paper towel tubes before refrigerating. This provides gentle, continuous support, ensuring your cookies slice into perfectly round shapes.
- Adjust Cookie Size to Your Preference: If you prefer smaller, more delicate, bite-sized cookies, simply make your dough logs longer and thinner (for example, about 1.5 inches in diameter instead of 2 inches). Remember that thinner cookies may require a slightly shorter baking time, so adjust accordingly and keep a watchful eye on them.
- Nut-Free Assurance: This recipe has been specifically developed to be nut-free, making it safe for those with nut allergies. The absence of sliced almonds, often found in traditional Windmill Cookies, does not detract from the rich, complex spice flavors, ensuring a delicious experience for all.
- Importance of Room Temperature Ingredients: For optimal results in creaming and achieving a smooth, well-incorporated dough, ensure that your butter, shortening, and egg are all at room temperature before you begin mixing. This promotes better emulsion and a finer cookie texture.
- Avoid Overmixing: When combining the dry ingredients with the wet, mix only until the dough just comes together. Overmixing can overdevelop the gluten in the flour, which can lead to a tougher, less tender cookie texture.
Nutrition Information (Approximate Values)
Serving: 1 cookie,
Calories: 83 kcal,
Carbohydrates: 11 g,
Protein: 1 g,
Fat: 4 g,
Saturated Fat: 2 g,
Polyunsaturated Fat: 1 g,
Monounsaturated Fat: 1 g,
Trans Fat: 0.4 g,
Cholesterol: 8 mg,
Sodium: 50 mg,
Potassium: 21 mg,
Fiber: 0.4 g,
Sugar: 7 g,
Vitamin A: 65 IU,
Vitamin C: 0.01 mg,
Calcium: 7 mg,
Iron: 0.3 mg
Nutrition information provided is an estimate and may vary based on specific ingredients, portion sizes, and preparation methods. It should be used for informational purposes only and is not a substitute for professional nutritional advice.
Did You Bake These Delicious Windmill Cookies?
We’d absolutely love to hear about your experience! Please share your comments and a rating below. Your feedback and insights are invaluable to us and help our community grow!