
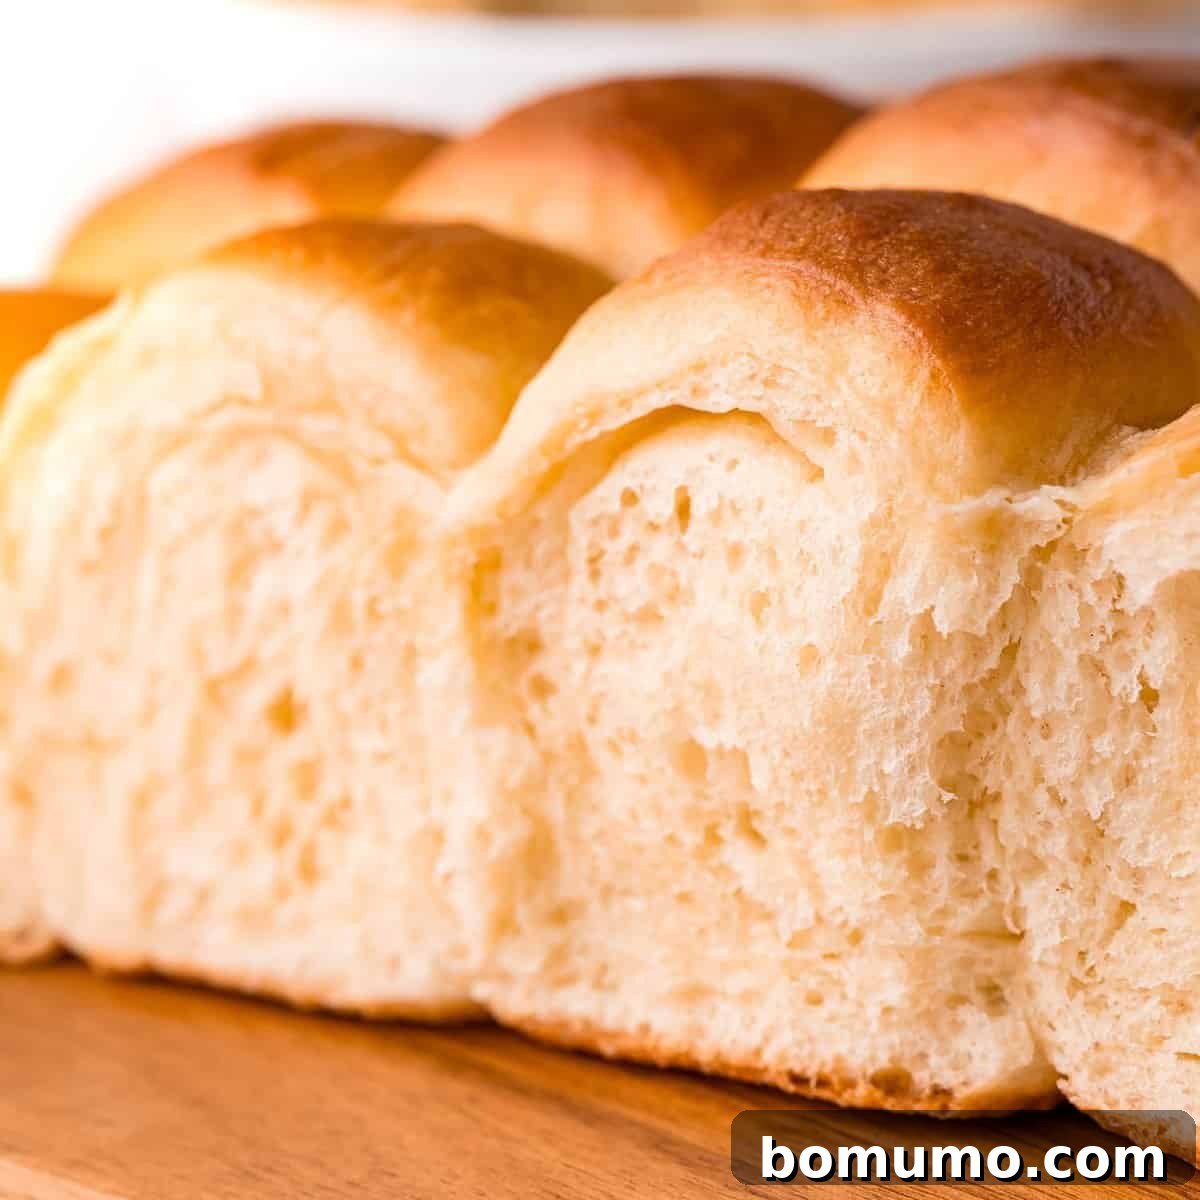
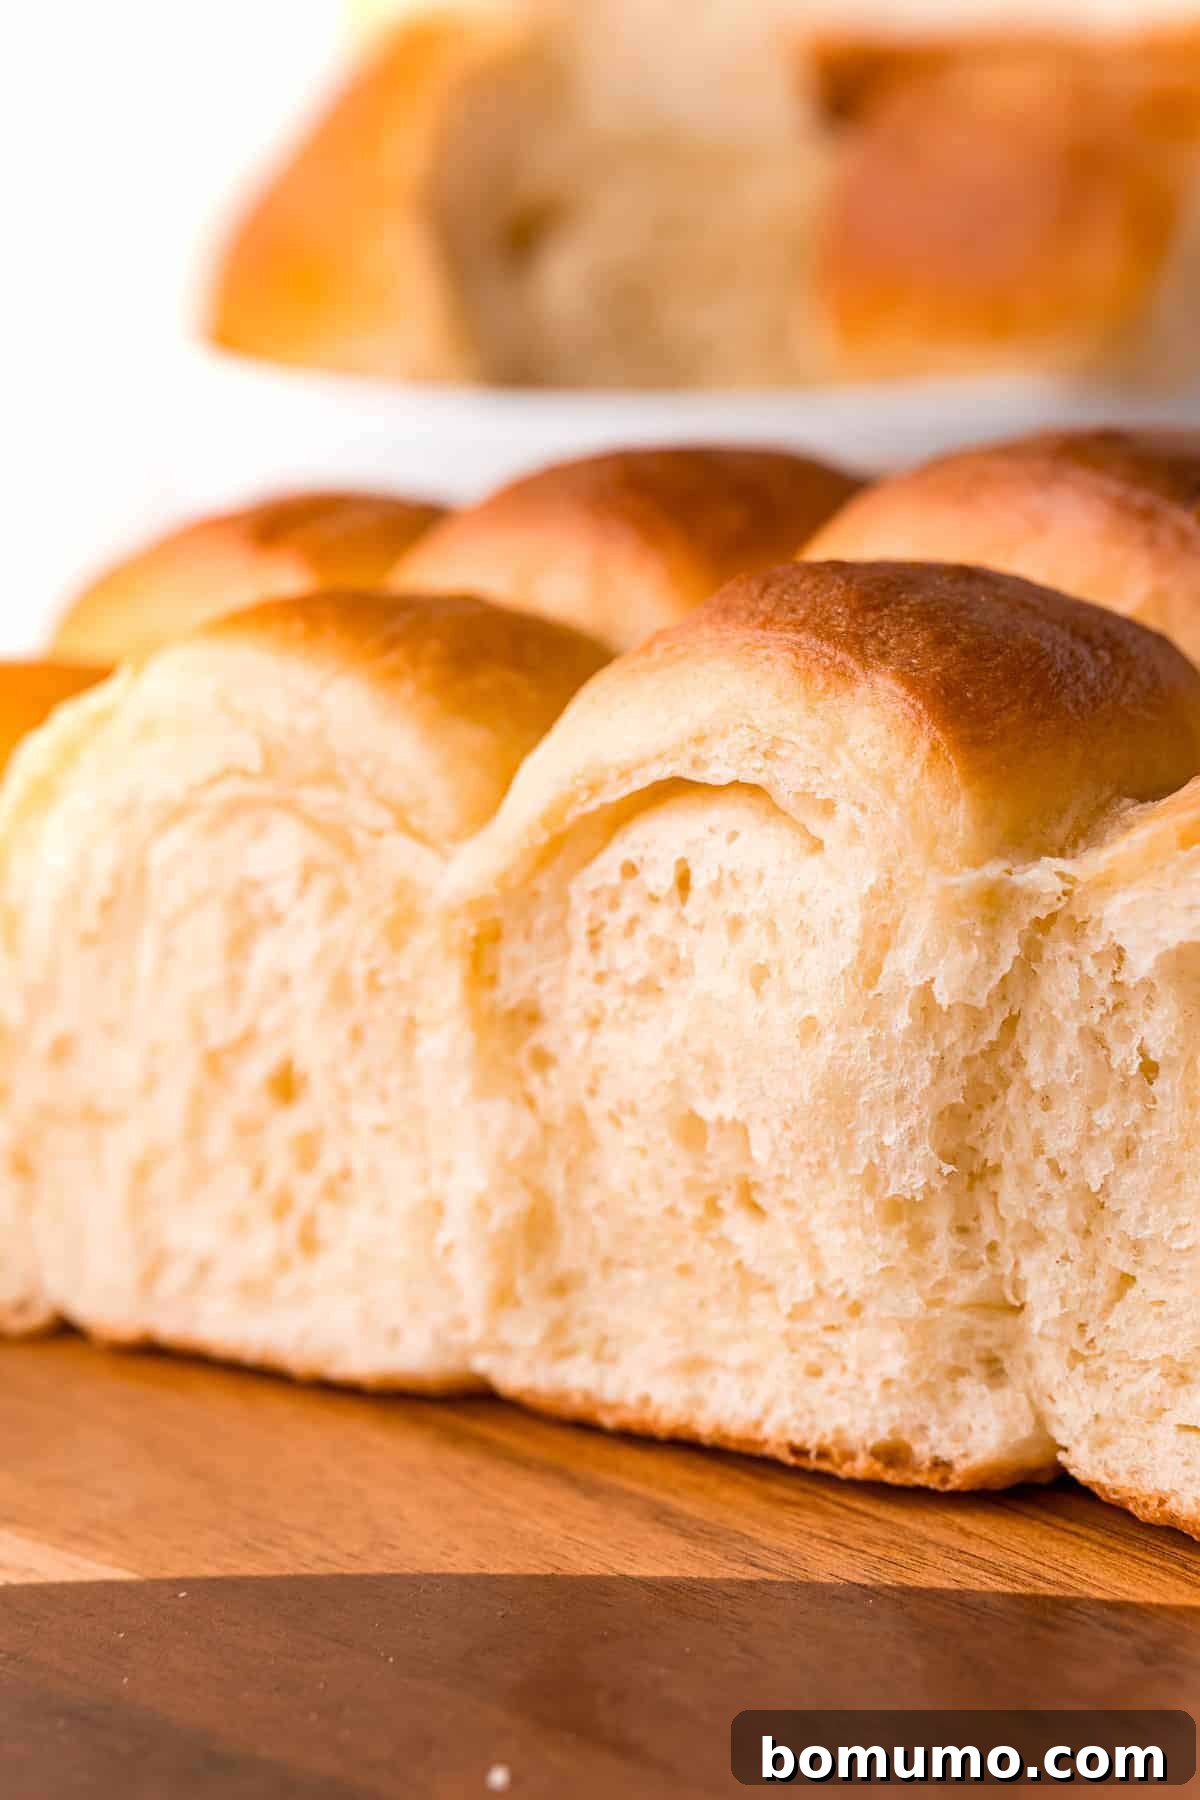
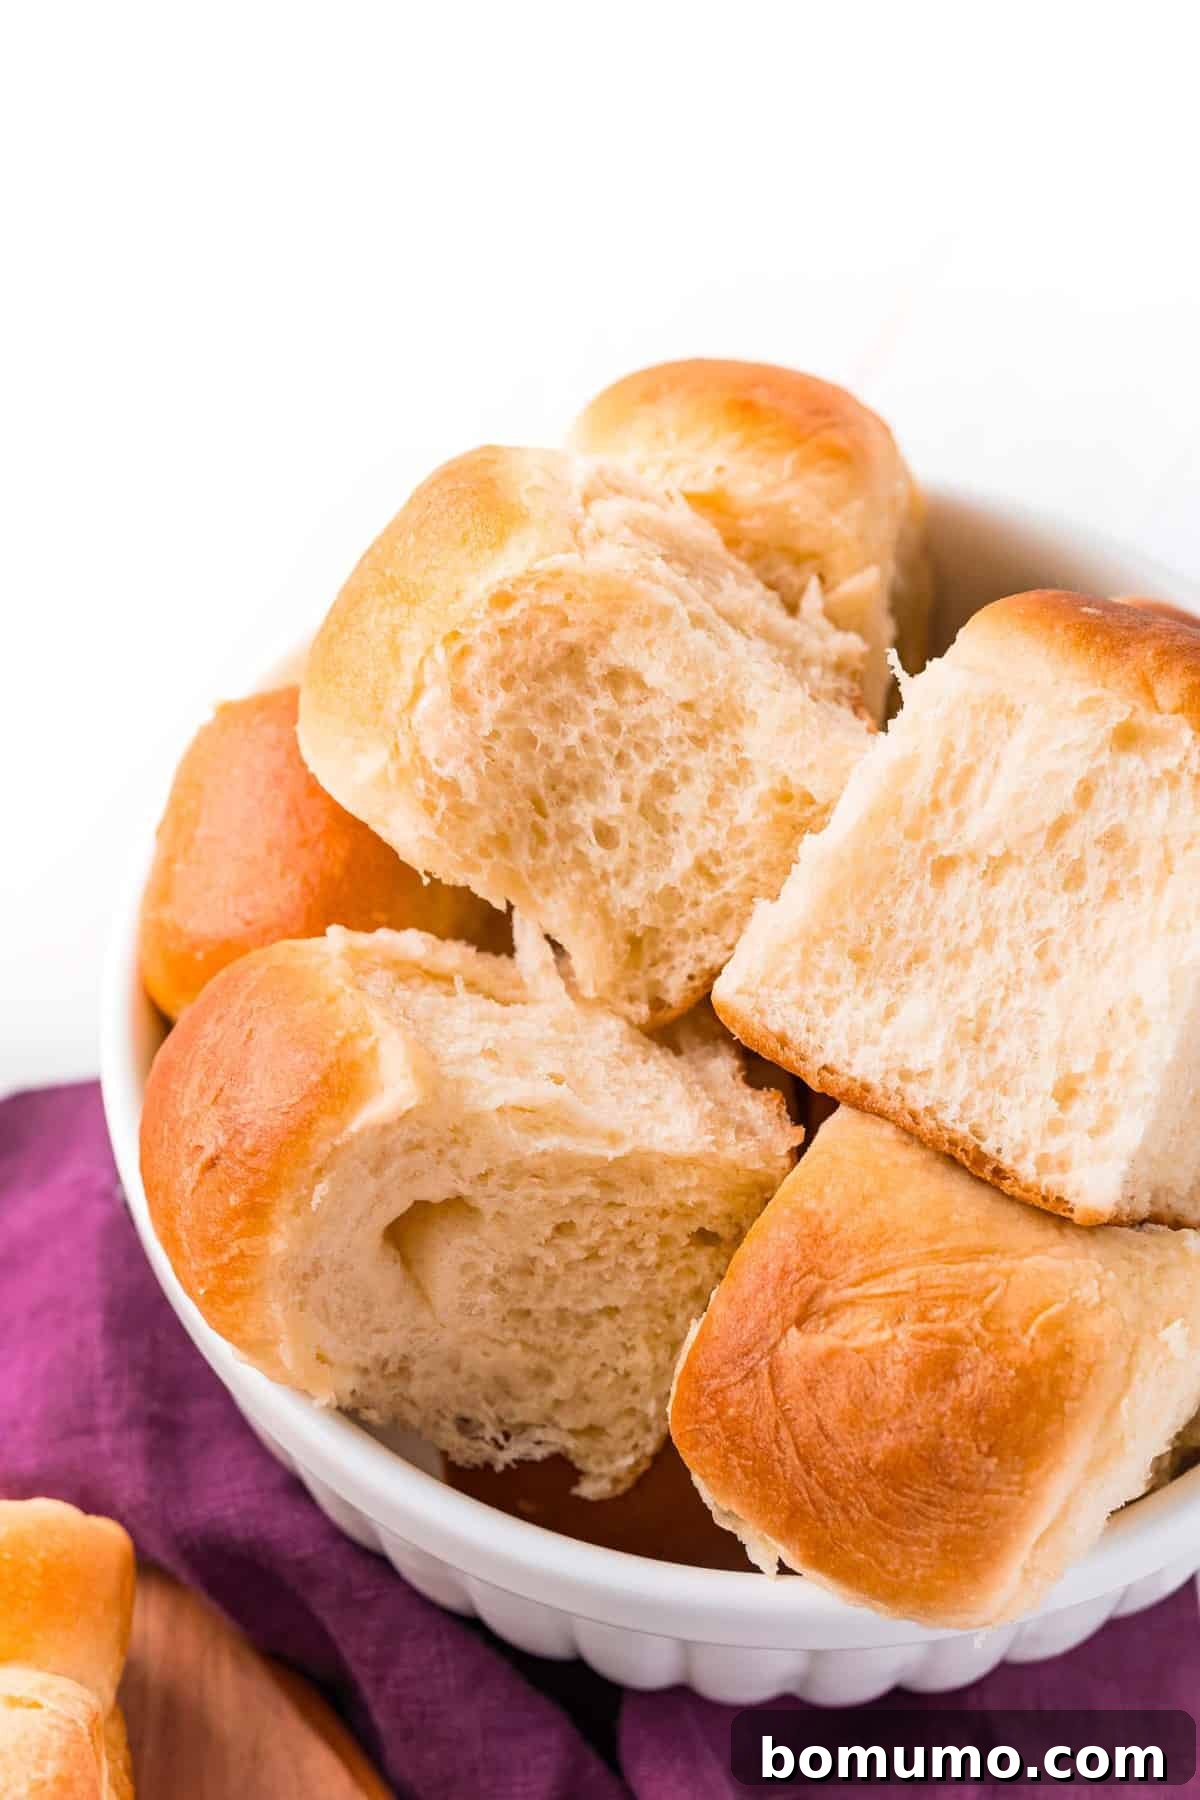
Imagine the irresistible aroma of yeast and rich butter gently wafting through your kitchen, signaling that something truly special is baking. That’s the magic of classic Parker House rolls! These iconic dinner rolls are renowned for their unbelievably soft, pillowy texture, delicate golden crust, and decadent buttery flavor. So satisfying and utterly delicious, they’re surprisingly approachable even for novice bakers. Prepare to fill your home with the tantalizing fragrance of homemade goodness and impress everyone with your newfound baking prowess.
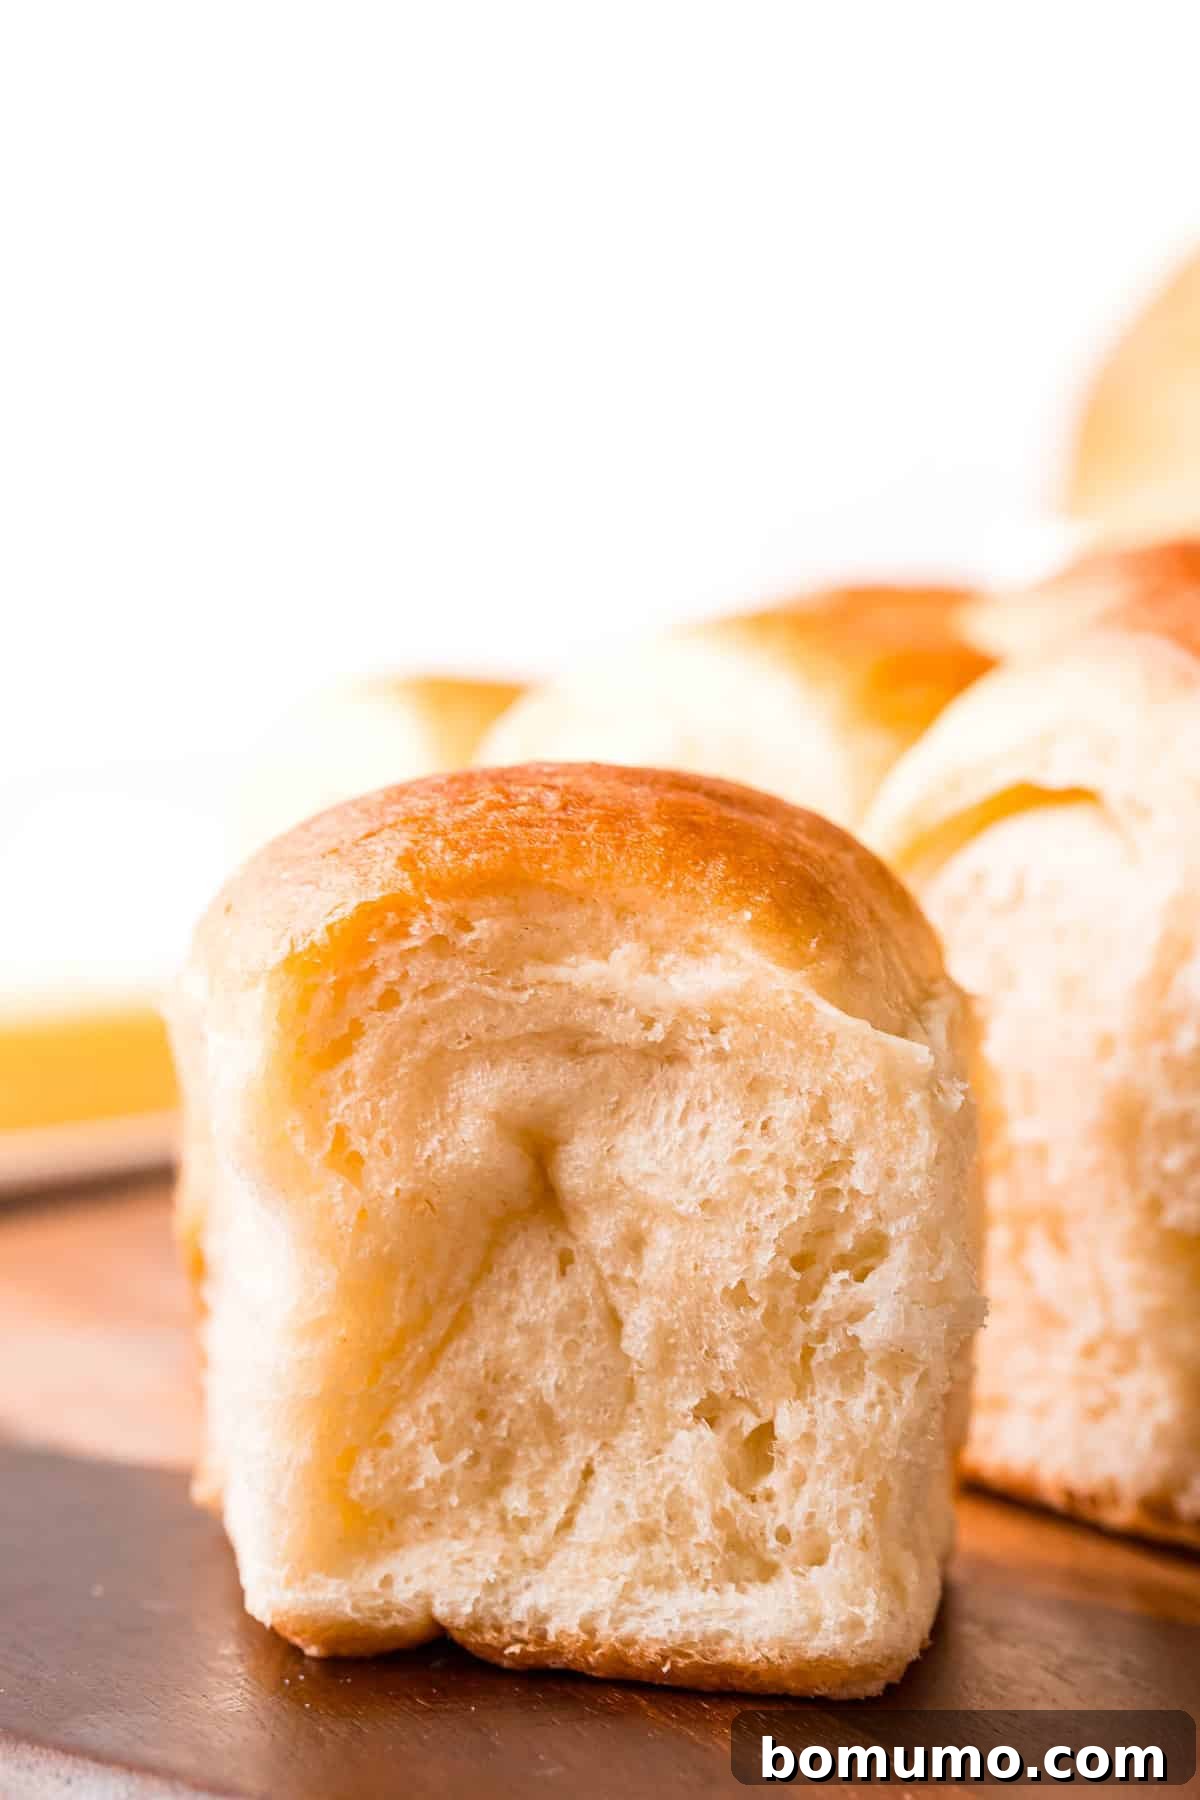
There’s a unique comfort that comes with warm, homemade yeast rolls, pulled fresh from the oven. Each roll, with its subtly crisp exterior and impossibly tender interior, simply calls out for a generous pat of melting butter or a sweet drizzle of honey. Beyond the taste and texture, the scent alone is enough to transport you to a place of pure culinary bliss – it’s arguably one of the best smells imaginable! The anticipation built as these golden spheres bake is a joyful experience in itself, promising a delightful reward.
You might be thinking that baking rolls from scratch is a complicated endeavor, far beyond your current skill level. While it’s true that making homemade yeast breads requires a little time and patience, the process for these Parker House rolls is remarkably straightforward and not nearly as tricky as you might imagine. The effort invested is profoundly rewarding, yielding a product that far surpasses any store-bought equivalent. Trust me when I say, if I can guide you through each step, you can certainly achieve perfect results! There’s an immense satisfaction in baking from scratch, and you’ll be incredibly glad you dedicated the time to create these wonderful rolls.
While these versatile Parker House rolls are a traditional highlight at dinner, their appeal extends far beyond the evening meal. They are absolutely perfect for a weekend breakfast or brunch spread, elevating a simple lunch, or even as a wholesome and satisfying snack. My own children eagerly devour them the moment they walk in the door from school, making them a consistently requested treat. Indeed, any time is a good time for a batch of these glorious, freshly baked rolls, whether for a special occasion or simply to bring a touch of comfort to an ordinary day.
The Legacy of Parker House Rolls: A Taste of History
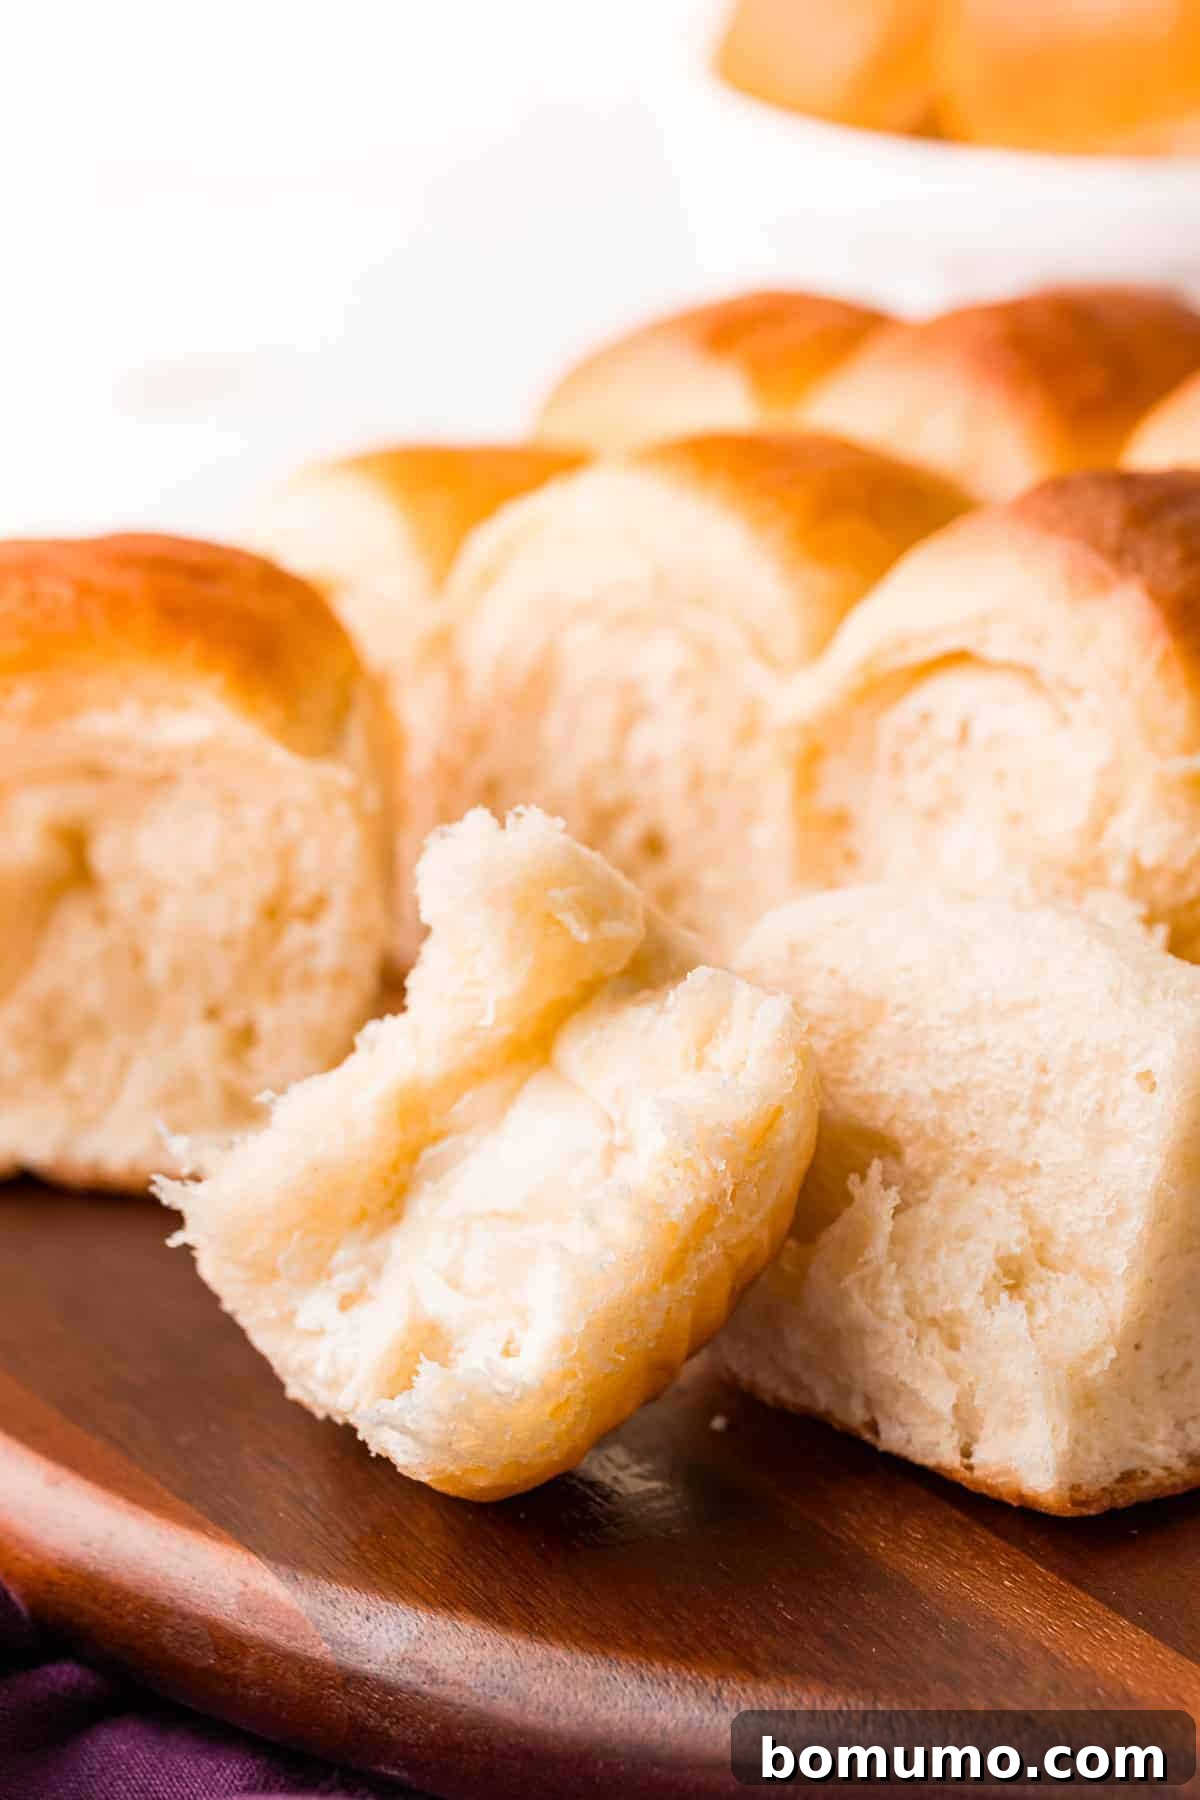
The story of Parker House rolls dates back to the 1870s, originating from the esteemed Boston Parker House Hotel. Legend suggests their distinctive shape was born from either an ingenious baker’s creativity or a happy accident involving a frustrated cook. Regardless of their exact origin, these rolls quickly became a signature item for the hotel, cherished for their unique characteristics. The classic Parker House roll is typically shaped in an oval and folded over before baking, which ingeniously creates a delightful pocket once baked. This design was perfect for holding a dollop of butter, jam, or any spread, adding to their practical elegance. What truly defines these rolls, however, is their rich buttery flavor, the exquisite tenderness achieved through white flour, and a subtle sweetness that makes them truly irresistible. It’s this specific combination of history, shape, and taste that has cemented their place as a beloved culinary classic, enduring through generations.
Mastering the Dough: A Stand Mixer Approach
One of the most appealing aspects of this Parker House roll recipe is its “no-fuss” nature. While it’s technically a yeast dough that requires kneading, it’s designed to be effortlessly handled. For perfect results with minimal manual effort, you will need a stand mixer fitted with a dough hook attachment. This powerful tool acts as your personal baker, taking care of all the intensive kneading required to develop the dough’s gluten structure, ensuring a beautifully smooth and elastic consistency.
The preparation begins simply: combine your dry ingredients – the all-purpose flour, instant yeast, and salt – directly in your stand mixer’s bowl. In a separate bowl, lightly beat the eggs and set them aside. The critical liquid component involves gently heating whole milk, 9 tablespoons of unsalted butter, and granulated sugar in a medium saucepan over medium-low heat. The goal is to melt the butter, dissolve the sugar, and bring the mixture to an optimal temperature of 125-130°F (52-54°C). This temperature is crucial for activating the yeast without scalding it, ensuring a vigorous rise.
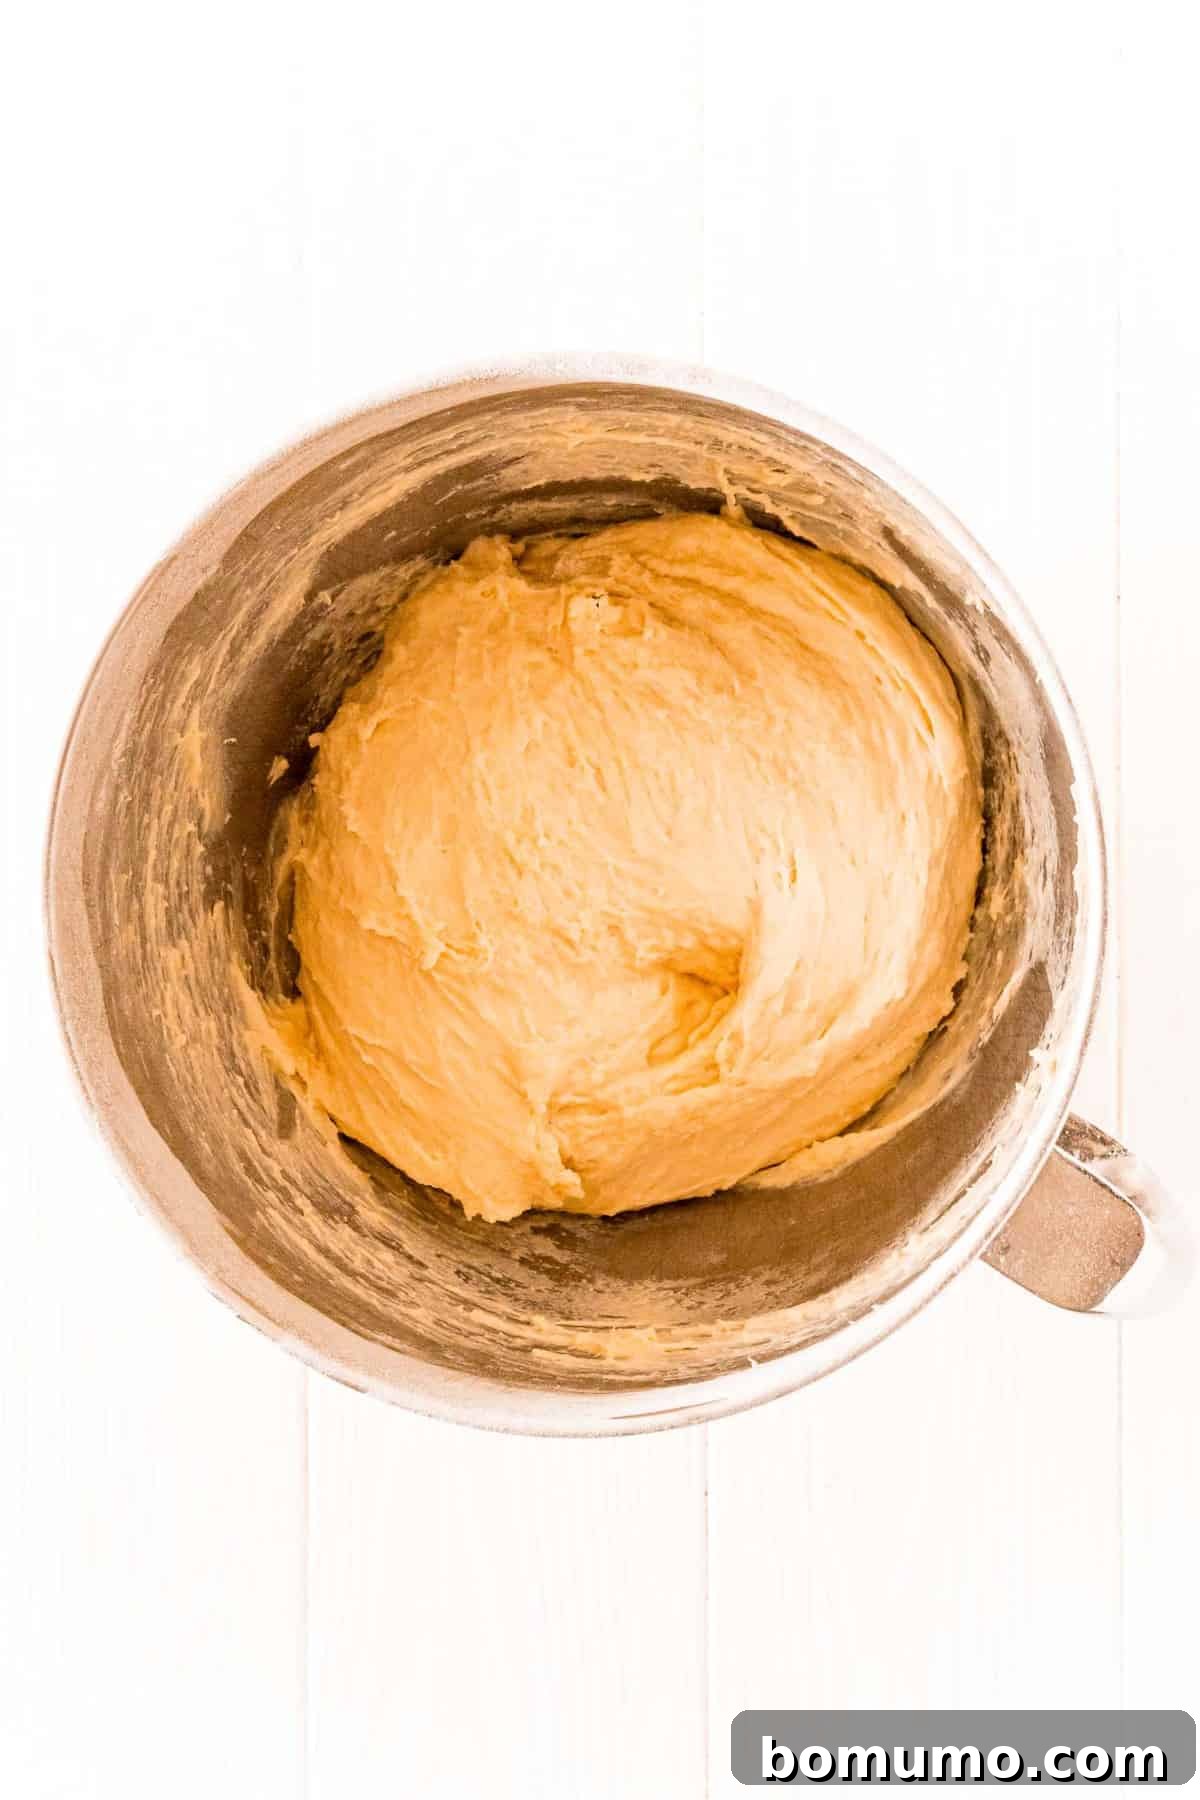
With the mixer running on low speed, slowly pour the warm milk mixture into the dry ingredients, followed by the beaten eggs. Continue mixing until all dry flour has been fully incorporated, which typically takes just one to two minutes. Increase the mixer speed to medium and allow the dough hook to work the dough for six to eight minutes. During this time, the dough will transform, becoming smooth, elastic, and mostly pulling away from the sides of the bowl. Don’t worry if it retains a slight stickiness at the very bottom – that’s perfectly normal for a rich dough like this. This hands-off kneading process ensures consistency and frees you up for other kitchen tasks, making the entire baking experience enjoyable and stress-free.
The All-Important First Rise: Creating the Perfect Proofing Environment
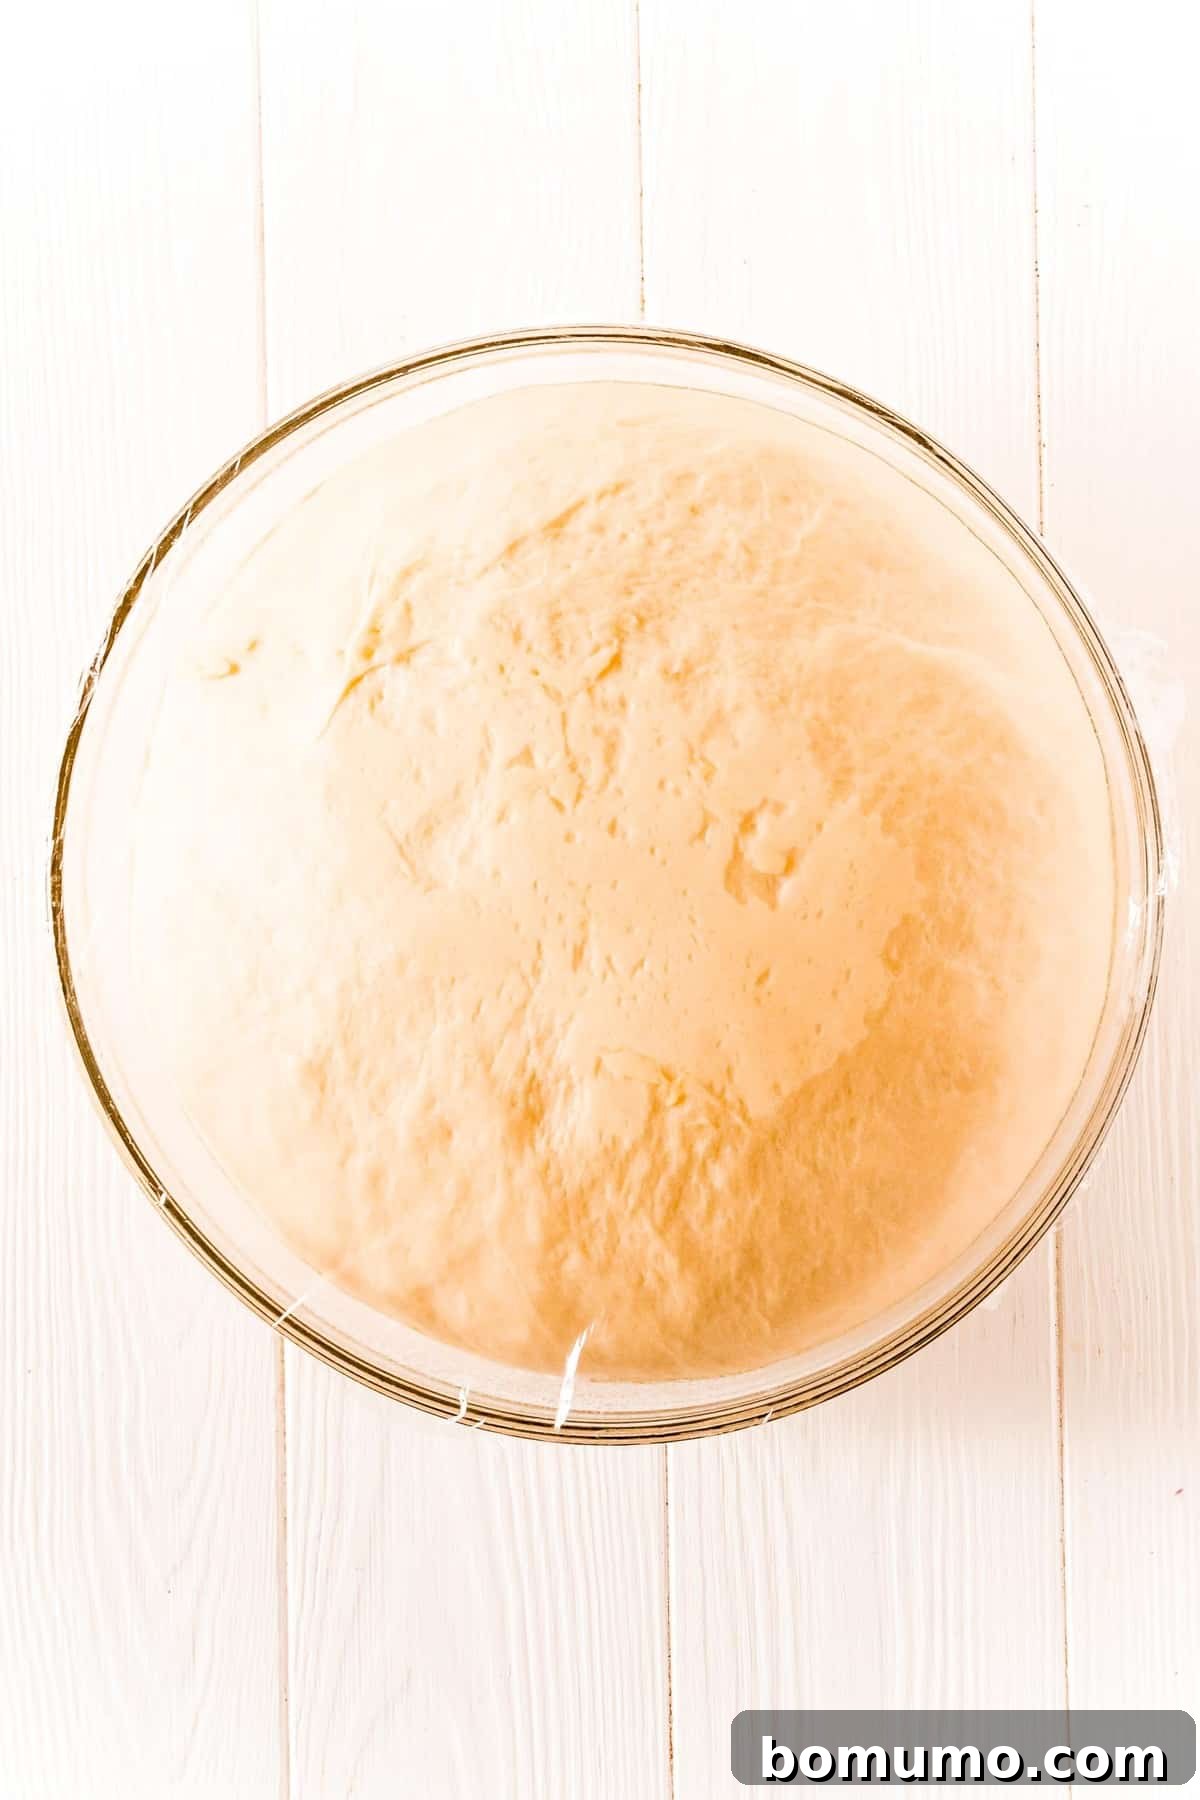
Once your dough has been thoroughly kneaded by the stand mixer, turn it out onto a lightly floured surface. A quick 30-second hand-kneading session will help form it into a smooth, tight ball. Transfer this beautiful dough into a large, clean bowl that has been generously greased, ensuring the dough won’t stick during its expansion. Lightly mist the top of the dough with nonstick cooking spray, then cover the bowl tightly with plastic wrap or a cozy, clean kitchen towel. Now, the dough needs a warm, draft-free spot to undergo its first rise, also known as proofing, until it has gracefully doubled in volume. This typically takes between 60 to 90 minutes, though timings can vary based on your kitchen’s temperature.
Creating an ideal environment for yeast activity is paramount for achieving light and airy rolls. If your oven features a “Proofing” function, that’s your best bet. Otherwise, here are several effective ways to create the perfect warm, humid spot:
- Warm Oven, Off: Preheat your oven to its lowest setting (around 150-200°F / 65-93°C) for just 5-10 minutes. Turn it OFF completely before placing your covered dough bowl inside. The residual warmth provides a gentle, consistent environment.
- Oven with Hot Water: Place a large pan of very hot, steaming water on the bottom rack of your turned-off oven. Then, place your covered dough bowl on a middle rack. The steam and warmth will create a humid, cozy space.
- Microwave with Hot Water: Heat a cup of water in your microwave until it’s steaming hot. Carefully remove the cup, then immediately place your covered dough bowl into the microwave (do NOT turn the microwave on). The contained warmth and humidity will encourage a good rise.
No matter your chosen method, providing consistent warmth and avoiding sudden temperature drops are key to a successful first rise, setting the stage for truly exceptional rolls.
The Art of Shaping: Iconic Parker House Rolls
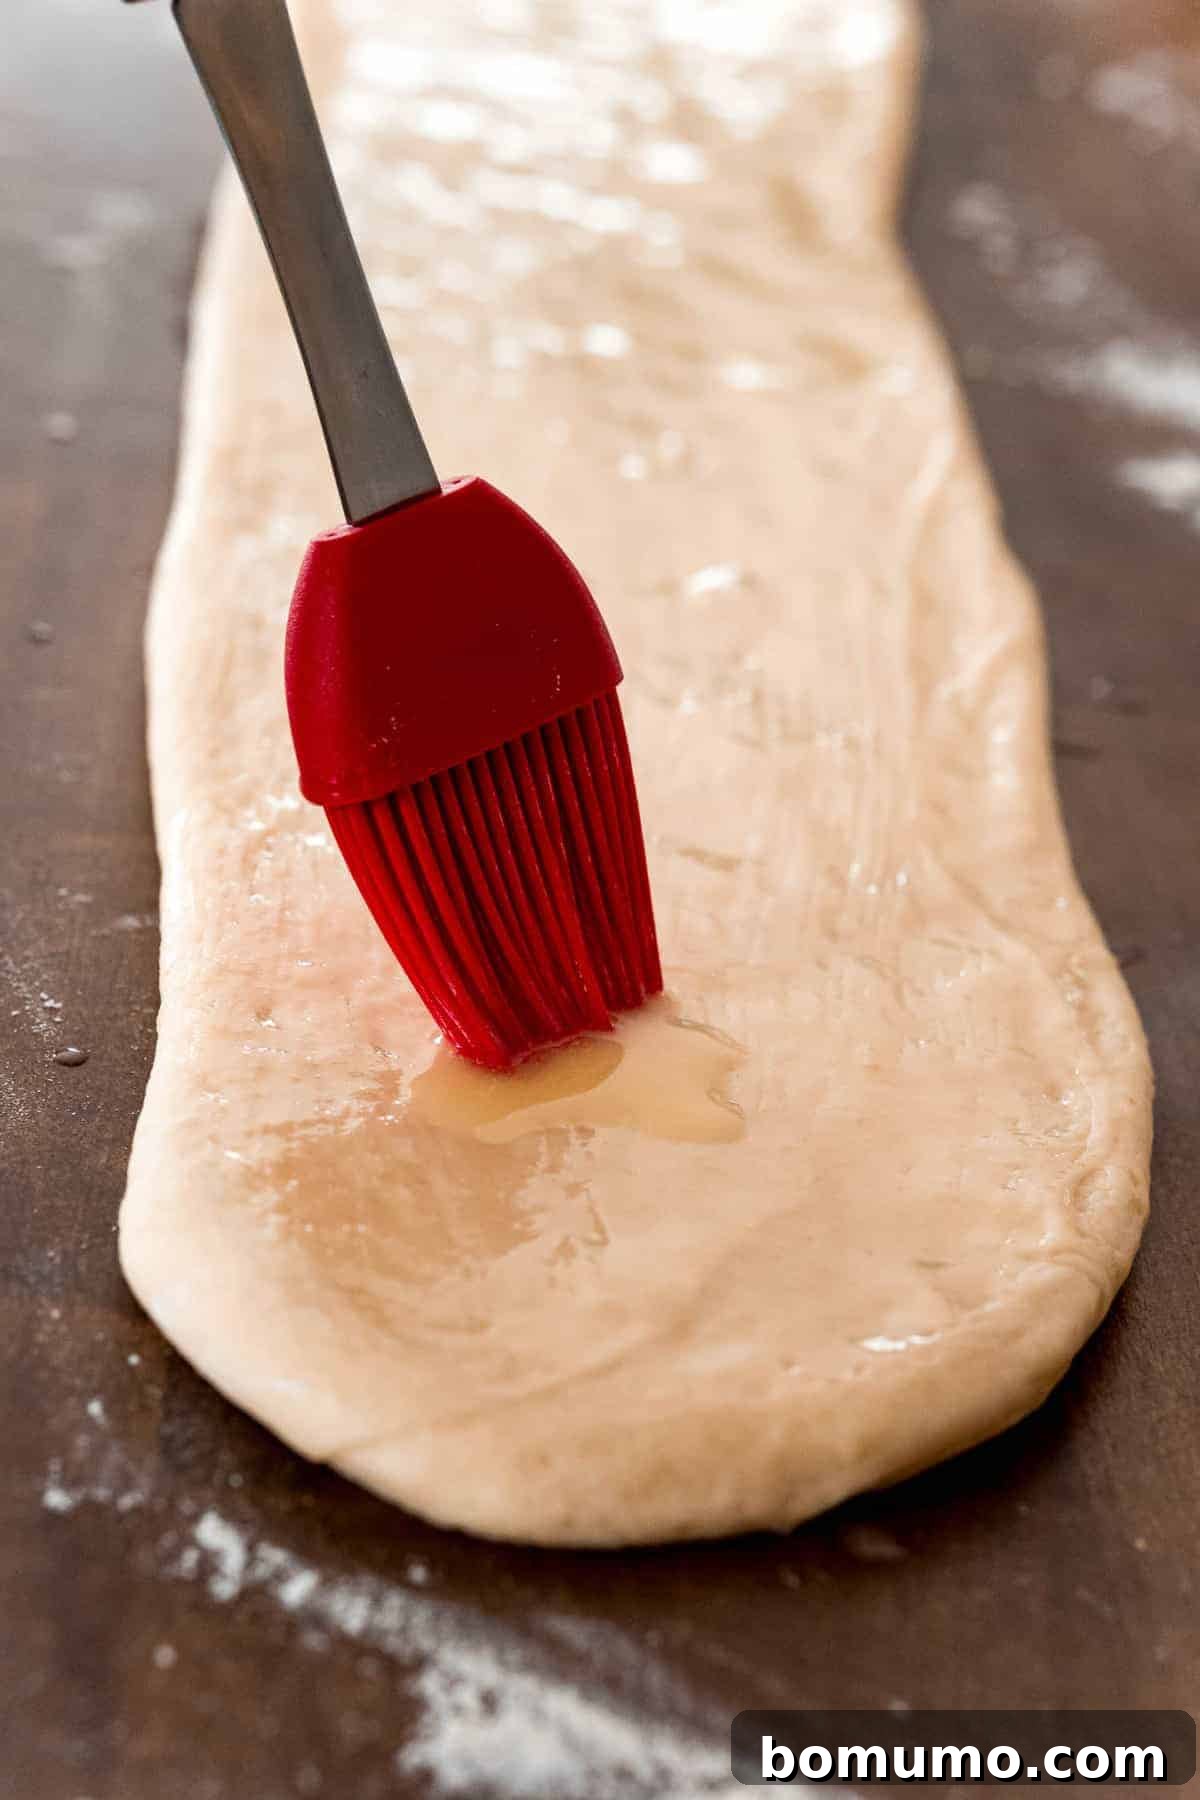
Once your dough has beautifully doubled in size, the most enjoyable part begins: shaping the rolls! Turn the proofed dough out onto a lightly floured surface. You’ll be delighted by its incredibly soft, squishy, and pliable texture; it’s genuinely a pleasure to work with and won’t stick to your hands. Divide the dough evenly into two halves. Take one half and gently stretch or roll it into a long, uniform log, approximately 24 inches in length. Using a rolling pin, flatten this log into a strip about 5 inches wide. This is where the magic starts: generously brush the entire surface of this flattened dough with 1 tablespoon of melted butter. This butter layer is essential for the rolls’ characteristic richness and contributes to their tender, flaky interior.
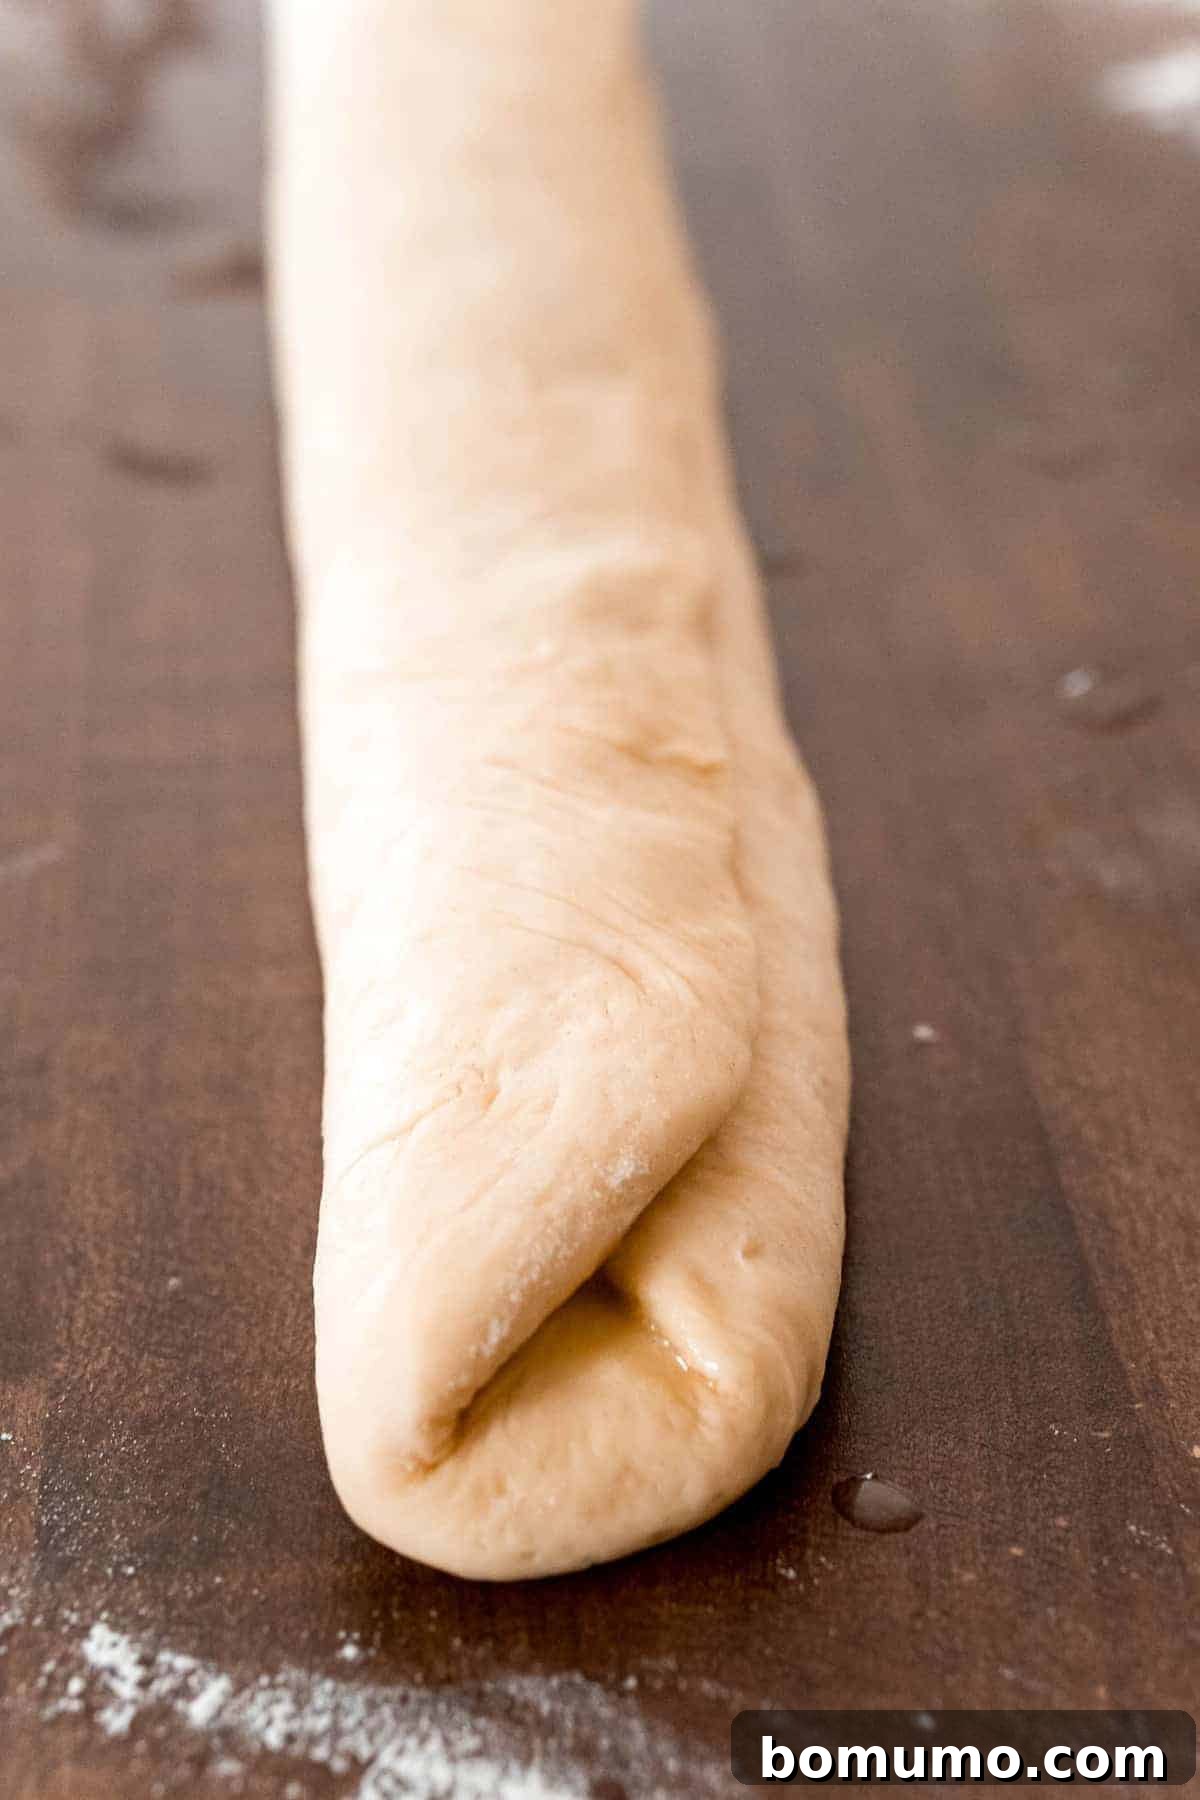
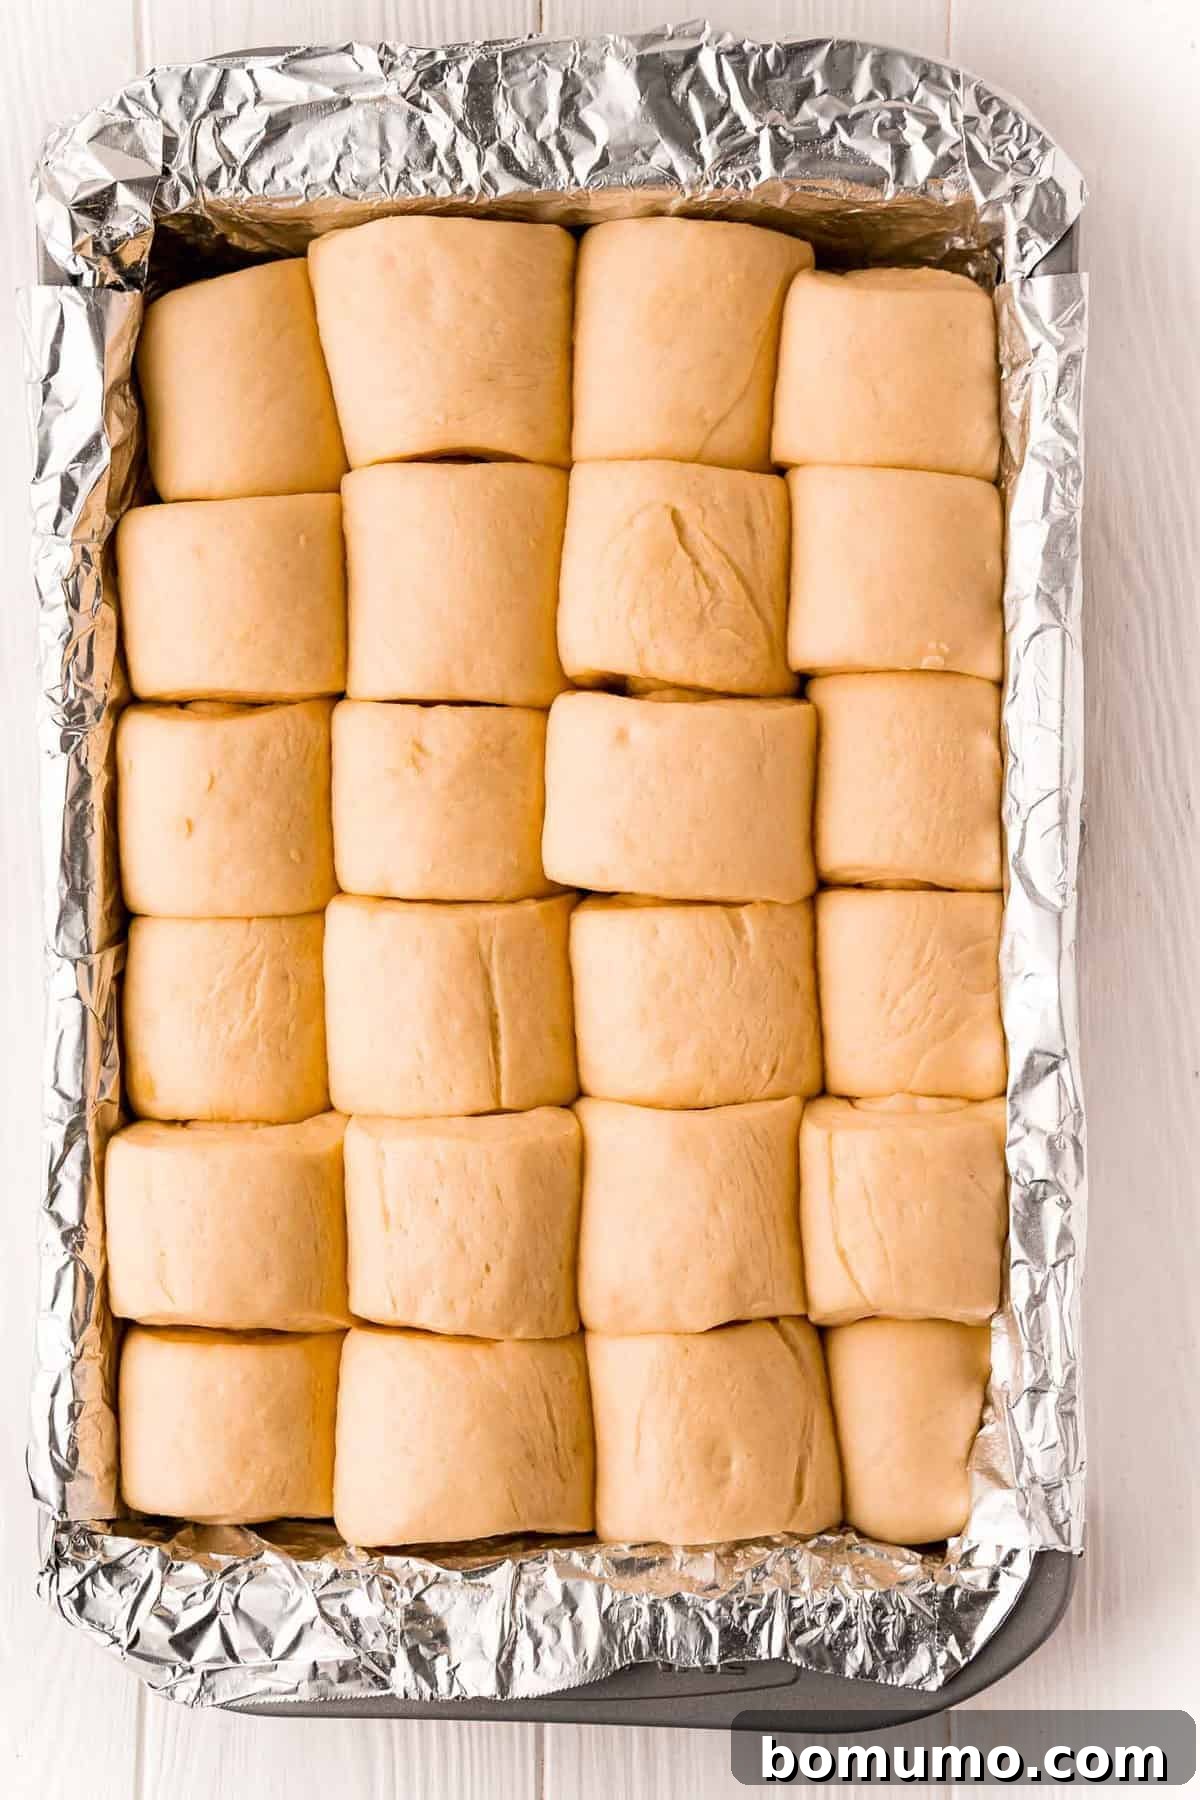
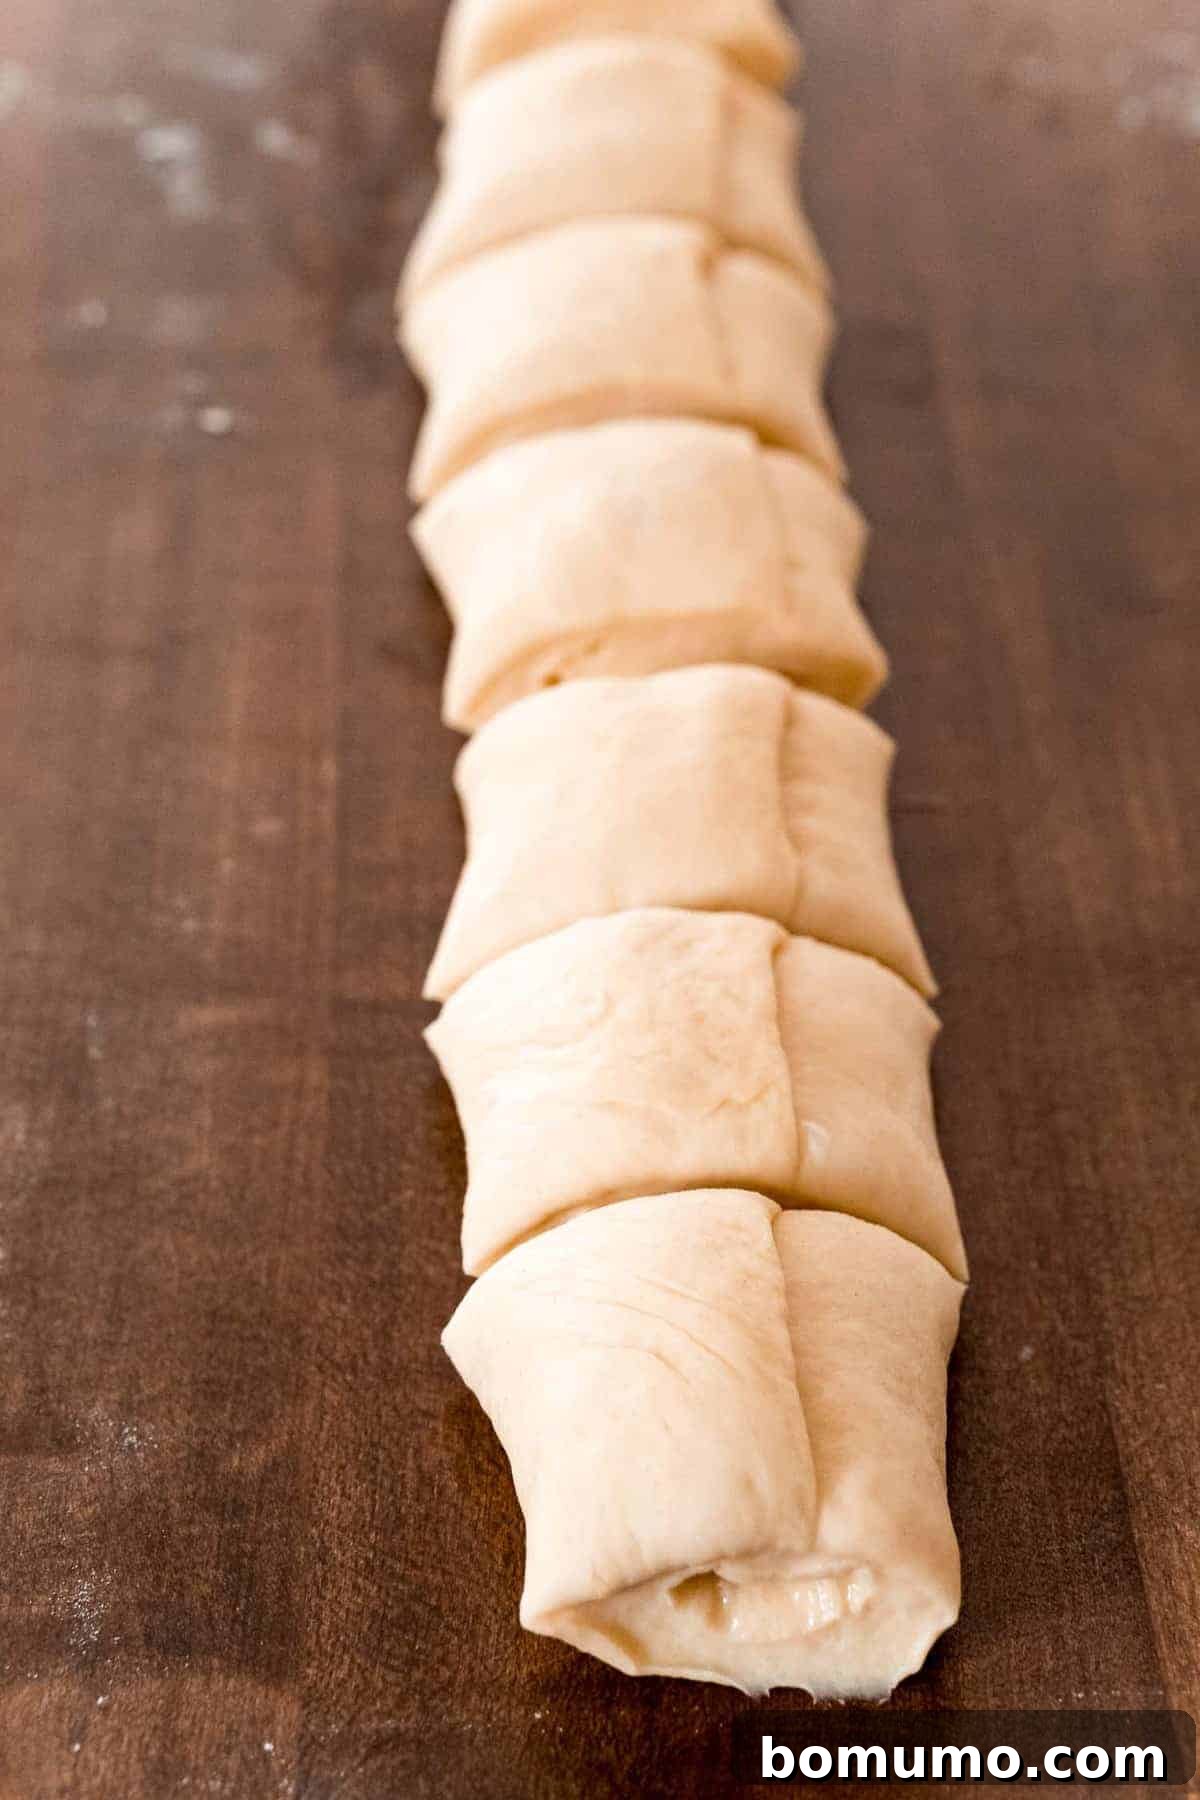
To create the iconic Parker House shape, carefully fold the top third of the dough down towards you. Then, fold the bottom third of the dough up to meet the folded edge, creating a neat tri-fold. Gently roll the dough a couple of times to seal the edges and reshape it into an even log. This distinctive fold creates the signature “pocket” that these rolls are famous for, perfect for cradling butter or jam once baked. Using a sharp knife or a bench scraper, trim about an inch off each end of the log (you can bake these small pieces as a baker’s snack!). Then, cut the remaining log into 12 equal pieces. Arrange these individual rolls, seam-side down, into your prepared 9×13-inch baking pan, typically forming three rows of four. Repeat this entire shaping process with the second half of your dough. This recipe yields 24 beautifully formed rolls that will snuggle together in the pan, ensuring they bake up incredibly soft and moist with delightful pull-apart edges.
The Second Rise and Baking to Golden Perfection
With all 24 beautifully shaped rolls nestled snugly in your baking pan, it’s time for their final transformation. Cover the pan loosely with plastic wrap or a clean kitchen towel and allow the rolls to undergo a second proofing in a warm, draft-free place. This rise is just as important as the first, as it helps the rolls develop their final light and airy texture. Let them rise until they are visibly puffy and have almost doubled in size, which usually takes around 60 minutes. They will expand and touch each other, creating that appealing pull-apart quality.
Towards the end of the second rise, preheat your oven to 375°F (190°C). Once hot, place the pan of rolls into the oven and bake for 30 to 35 minutes. They are done when their tops are a beautiful golden brown and an instant-read thermometer inserted into the center of a roll registers 200°F (93°C). For even baking and a consistent golden hue, it’s a good idea to rotate the pan halfway through the baking time. The aroma filling your kitchen at this stage will be utterly intoxicating – a sure sign of success!
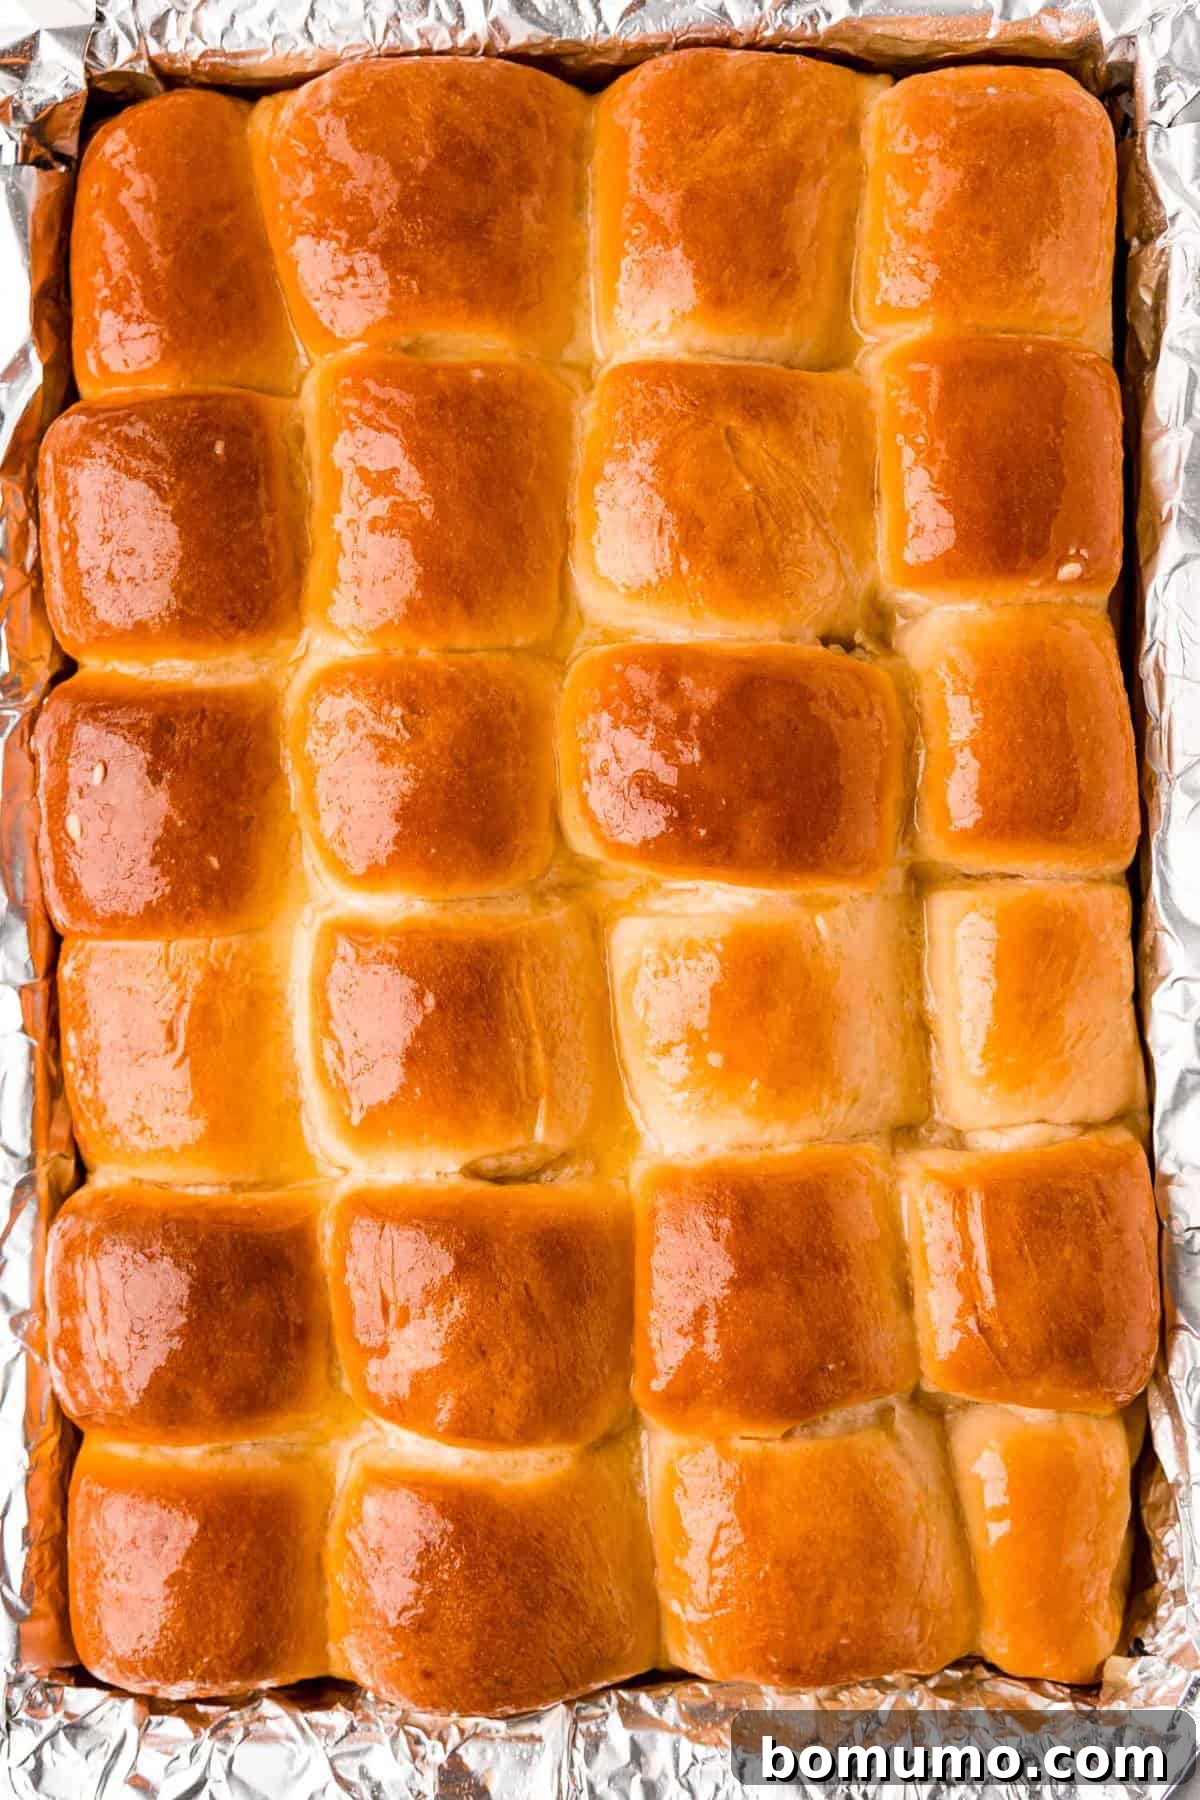
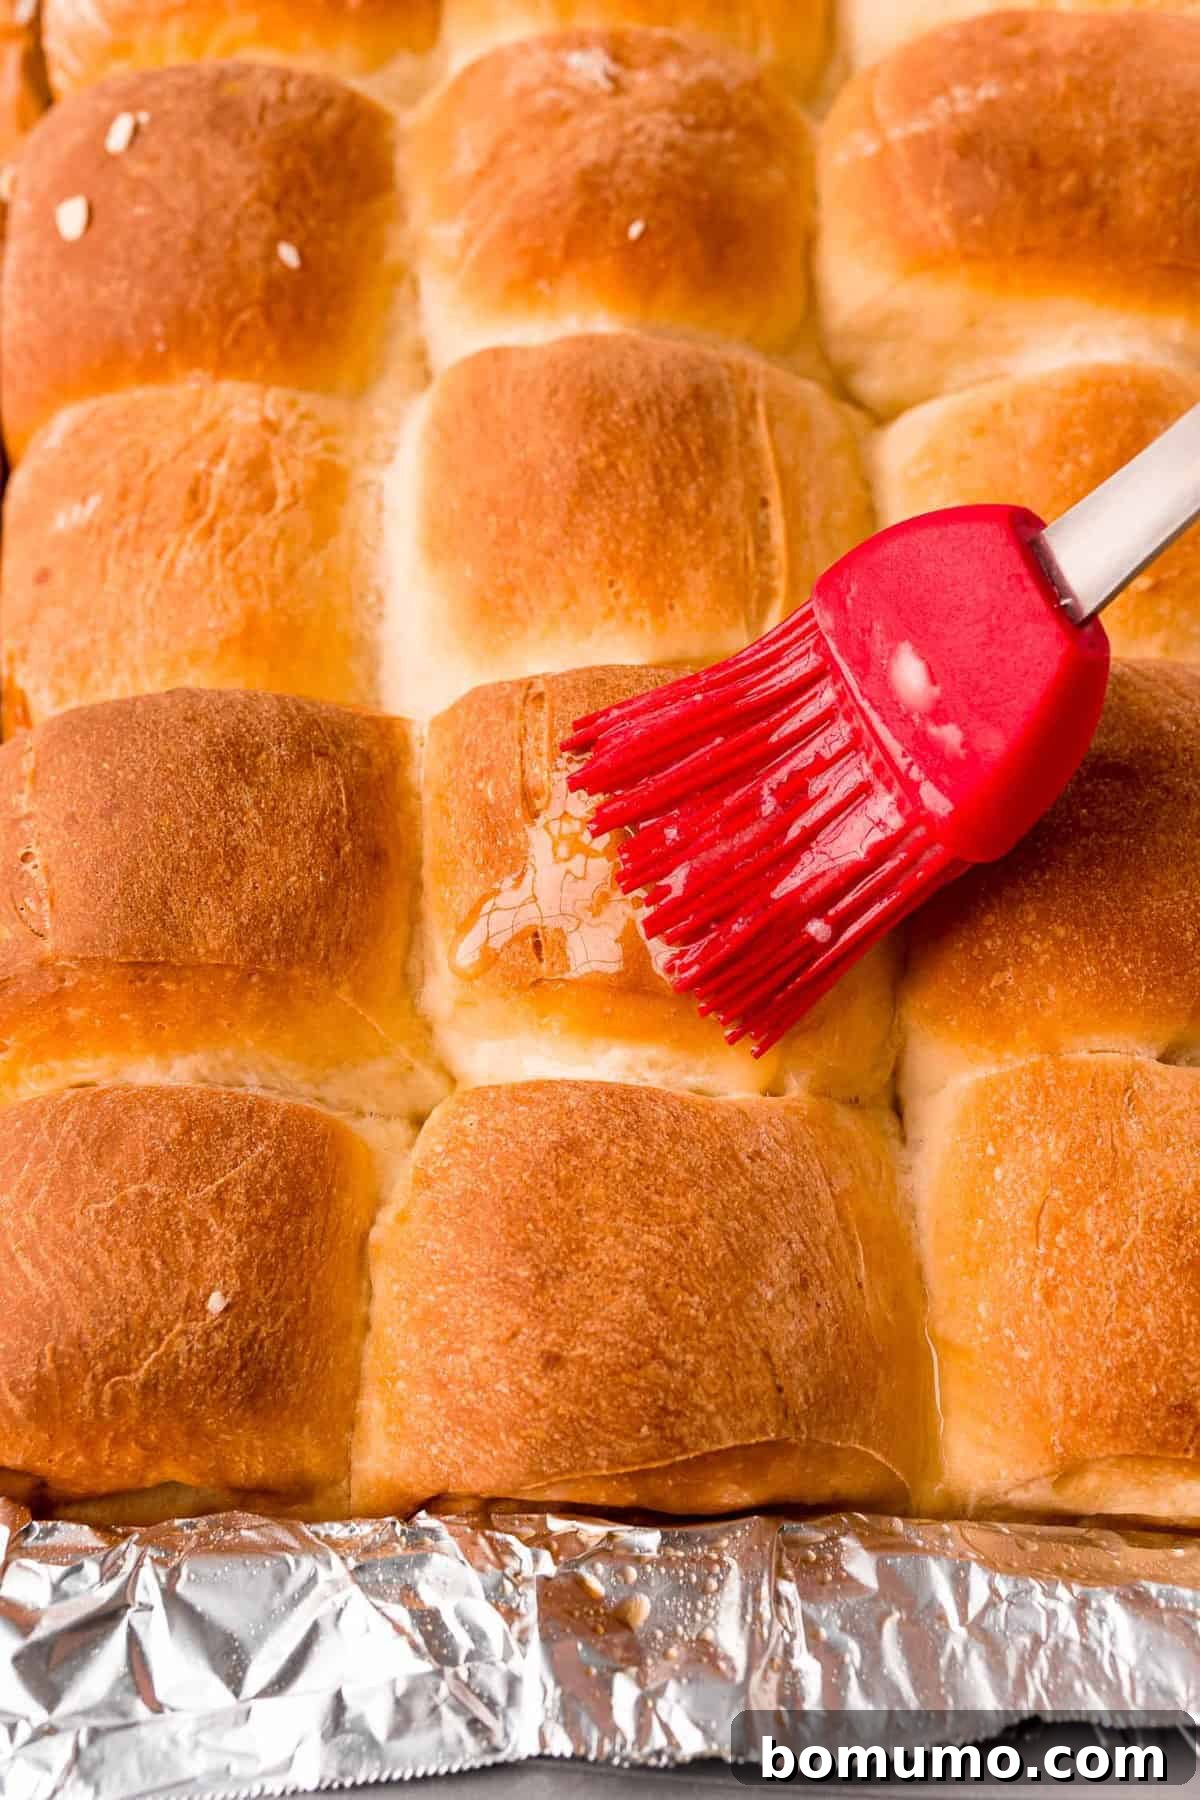
Once baked to perfection, carefully transfer the entire batch of rolls to a wire rack, using the overhanging foil or parchment paper as convenient handles. While they are still delightfully warm, generously brush them with the remaining tablespoon of melted butter. This final luxurious touch enhances their rich flavor, adds a beautiful sheen to their crust, and further contributes to their irresistible softness. Get ready to enjoy the fruits of your labor – these rolls are sure to be a crowd-pleaser!
Key Ingredients for Superior Parker House Rolls
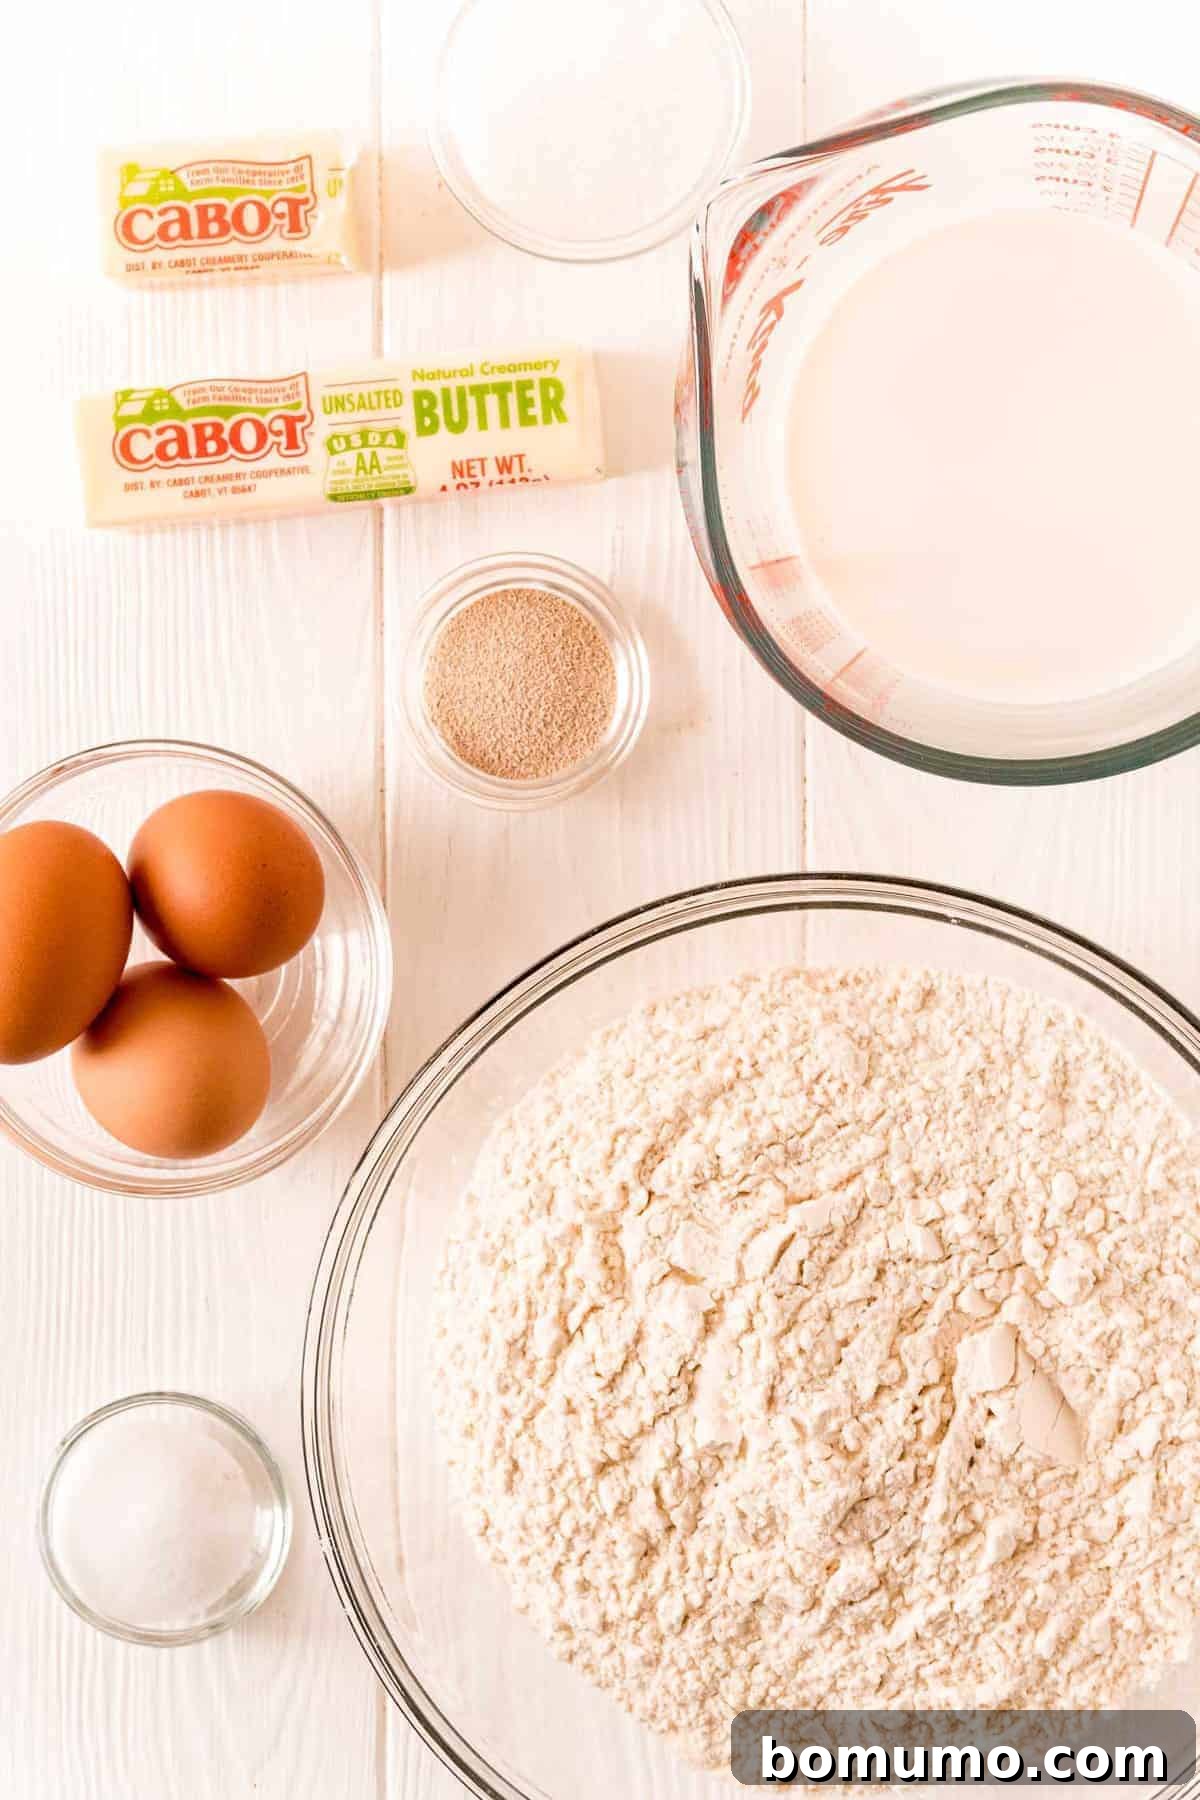
The secret to these incredibly soft and buttery Parker House rolls lies in a simple yet effective combination of kitchen staples. Each ingredient plays a crucial role in achieving the desired flavor and texture:
- All-Purpose Flour: This forms the essential structure of the rolls, providing the right balance for a tender crumb that is characteristic of classic dinner rolls.
- Instant Yeast Granules: The active agent that makes the dough rise, contributing to the rolls’ light, airy, and fluffy interior. Instant yeast is convenient as it can be mixed directly with dry ingredients without prior activation.
- Granulated Sugar: Not only does sugar feed the yeast, promoting proper fermentation, but it also adds a delicate sweetness that perfectly complements the rich butter.
- Warm Whole Milk: Crucial for activating the yeast and adding significant moisture and richness to the dough. Using whole milk ensures a superior texture and flavor compared to lower-fat alternatives.
- Unsalted Butter, Divided: The cornerstone of Parker House rolls! Butter imparts incredible richness, tenderness, and that unmistakable buttery taste. By dividing the butter, it’s incorporated into the dough for depth and brushed on top for a luxurious finish.
- Large Eggs: Eggs contribute to the dough’s richness, color, and structure, resulting in a softer, more flavorful roll with a beautiful golden hue.
- Salt: Essential for balancing all the flavors, enhancing the overall taste, and also regulating the yeast’s activity for a controlled rise.
Personalize Your Parker House Rolls: Simple Customizations
While this recipe celebrates the “classic” Parker House roll with its cherished traditional attributes, there’s certainly room to inject a bit of your own personality into the baking process. Keep in mind that significant changes might alter the classic profile, but these subtle variations can make your rolls uniquely yours, without compromising on their fundamental deliciousness:
- Shape for Any Occasion: As noted earlier, the pliability of homemade dough invites creative shaping. While the iconic folded oval is a hallmark of Parker House rolls, don’t hesitate to explore other forms. Simple round balls make excellent pull-apart dinner rolls, elegant cloverleaf shapes are perfect for a fancy gathering, or even crescent shapes can add a rustic charm. The soft dough is incredibly forgiving and fun for bakers of all skill levels to manipulate.
- Elevate with Toppings: The traditional finish involves a simple brush of melted butter post-baking, which is undeniably delicious. However, for an extra layer of flavor and visual appeal, consider an egg wash (a beaten egg mixed with a splash of milk or water) applied just before baking. This will give the rolls a beautiful, glossy golden-brown crust. You can then sprinkle the tops with a variety of additions: freshly grated Parmesan cheese for a savory bite, a fragrant mix of dried herbs (like rosemary, thyme, or oregano), flaky sea salt for a delightful textural crunch, or sesame seeds for an added nutty depth.
For those interested in exploring healthier options, I haven’t personally tested this specific recipe with a full whole wheat flour substitution. However, you could experiment by replacing a portion of the all-purpose flour with whole wheat flour. It’s generally advisable to start by substituting a quarter to a third of the all-purpose flour. Keep in mind that increasing the amount of whole wheat flour will typically result in a denser, heavier roll with a slightly different texture and a more robust, nutty flavor profile. Always observe the dough’s consistency and adjust liquid if necessary, as whole wheat flour absorbs more moisture.
Storage and Make-Ahead Strategies for Ultimate Convenience
These delightful Parker House rolls are undeniably best when enjoyed fresh from the oven. However, with a few clever storage and make-ahead tips, you can ensure you always have access to these homemade wonders, making your life a little easier without sacrificing quality. Planning allows you to enjoy warm, fresh rolls with minimal last-minute effort.
Storing Baked Rolls:
Once your freshly baked rolls have completely cooled to room temperature, store them in an airtight bag or container on your kitchen counter. They will remain wonderfully soft and delicious for about two to three days. For longer preservation, freezing is an excellent option. To freeze baked rolls, individually wrap each roll tightly in plastic wrap, then place them in a larger freezer-safe bag or an airtight container. They will maintain their quality in the freezer for up to three months. To thaw, simply unwrap the frozen rolls and let them sit at room temperature for several hours. If you need them warmed quickly, preheat your oven to 200°F (93°C), unwrap the rolls, place them on a baking sheet, and bake for approximately 10-15 minutes until they are heated through and regain their soft texture.
Make-Ahead Dough Options for Flexible Baking:
Preparing the dough in advance is a fantastic way to streamline your baking process, allowing you to fit homemade rolls into even the busiest schedules. There are two primary make-ahead strategies for this dough:
- Overnight Cold Proofing (First Rise): Follow the recipe instructions for preparing and kneading the dough (through Step 4). Instead of letting it rise in a warm spot, transfer the dough to a generously greased bowl, cover it tightly with plastic wrap, and refrigerate overnight, or for up to 24 hours. This slow, cold fermentation process not only postpones baking but also develops a deeper, more nuanced flavor in the dough. The next day, remove the dough from the refrigerator, allow it to sit at room temperature for 30-60 minutes to take off some of the chill, and then proceed with shaping (Step 6) and the second rise (Step 10). Be aware that the second rise will take slightly longer due to the colder dough.
- Shaped and Refrigerated (Delayed Second Rise): Alternatively, you can complete the first rise as usual. Then, shape the dough into individual rolls and arrange them in your prepared baking pan (Steps 6-9). Cover the pan tightly with plastic wrap and refrigerate. When you’re ready to bake, remove the pan from the fridge and let the rolls come to room temperature and complete their second rise. This can take anywhere from 1.5 to 2 hours or even longer, depending on how cold the dough is and the ambient temperature. The rolls should appear visibly puffed up before they go into the oven.
For additional expert advice and comprehensive techniques on postponing your baking projects, resources like Red Star Yeast offer excellent insights and practical tips.
On a Roll? Explore More Homemade Bread Adventures!
Congratulations on mastering these classic Parker House rolls! Now that you’ve experienced the unparalleled joy and satisfaction of baking from scratch, we’re confident you’re eager to continue your journey into the wonderful world of homemade bread. The possibilities are endless, and there are many more delicious recipes waiting for you to discover. Here are some fantastic suggestions to inspire your next baking adventure, expanding your repertoire of homemade delights:
- No-Knead Whole Wheat Bread: An incredibly simple yet satisfying recipe for wholesome whole wheat bread, perfect for sandwiches or toast.
- Easy Make-Ahead Naan Recipe: Create soft, chewy naan bread at home, ideal for scooping up curries, using as a flatbread, or serving with dips.
- Cranberry Walnut Bread with Oats: A hearty and flavorful loaf, bursting with the sweetness of cranberries and the crunch of walnuts, making it perfect for breakfast or a hearty snack.
- Healthy Whole Wheat Cornbread Recipe: A delicious and rustic quick bread that pairs wonderfully with chili, stews, or any comfort food meal.
- Almond Flour Bread: A fantastic gluten-free quick bread option from our friend Erin at Well Plated, catering to those with specific dietary needs without sacrificing flavor.
Parker House Rolls
5 from 4 votes
Pin Recipe
Print Recipe
45 minutes
35 minutes
2 hours
30 minutes
3 hours
50 minutes
24
rolls
Ingredients
- 5 cups all-purpose flour
- 2¾ teaspoons instant yeast (see note)
- 2 teaspoons salt
- 3 large eggs
- 1¼ cups whole milk
- 12 tablespoons unsalted butter, divided
- 3 tablespoons granulated sugar
Instructions
-
In the bowl of a stand mixer fitted with a dough hook, mix together the flour, yeast, and salt.
-
In a medium bowl, lightly beat the eggs; set aside.
-
In a medium saucepan, combine the milk, 9 tablespoons of butter, and the sugar and cook over medium-low heat until the butter melts, the sugar dissolves, and the mixture reaches a temperature between 125 and 130°F (52-54°C).
-
With the mixer running on low speed, slowly add milk mixture to bowl followed by the eggs and mix until no dry flour remains, about 1 to 2 minutes. Increase speed to medium and knead until dough is smooth, elastic, and mostly pulls away from the sides of the bowl, about 6 to 8 minutes. The dough will still stick slightly to the bottom of the bowl.
-
Turn the dough out onto a lightly floured surface and knead by hand for 30 seconds to form a tight ball. Transfer to a large, greased bowl. Spray the top of the dough lightly with nonstick spray, then cover the bowl with plastic wrap and let proof in a warm place until doubled in size, 60 to 90 minutes.
-
Line a 13×9-inch baking pan with two pieces of foil or parchment paper, overlapping foil and letting the ends hang over the long edges of the pan. Spray the foil/paper with nonstick spray; set aside.
-
Melt remaining 3 tablespoons of butter. Turn the ball of dough out onto a clean lightly floured surface and divide in half. Stretch each half into a 24-inch long roll and use a rolling pin to flatten it so it’s about 5 inches wide. Then brush the surface of the dough with 1 tablespoon of melted butter.
-
Starting at the top long edge, fold a third of the dough down toward you. Then fold the bottom third of the dough over to meet the folded edge.
-
Roll dough a couple of times to seal the edges and reshape as necessary to form an even log.
-
Using a sharp knife, trim 1 inch of dough off each end and discard. Then, cut the dough into 12 equal pieces. Arrange rolls seam side down in the prepared pan in three rows of four. Repeat with the remaining half of the dough.
-
Cover the pan with plastic wrap and let the rolls proof in a warm place until they are about double in size, about 60 minutes.
-
Preheat the oven to 375°F (190°C). Bake the rolls until browned and centers register 200°F (93°C) with an instant-read thermometer, 30 to 35 minutes, rotating the pan halfway through for even baking.
-
Transfer the rolls to a wire rack using the foil for handles. Brush generously with the remaining tablespoon of melted butter for an extra touch of richness and shine.
Notes
- It’s VERY important that your milk mixture is between 125 and 130°F (52-54°C) because it needs to be hot enough to activate the yeast properly without killing it. Using an accurate cooking thermometer is highly recommended for this step.
- To make classic round dinner rolls: If you prefer standard round dinner rolls, you can skip the folding method. After the first rise, simply divide the dough into 24 even portions and shape each into a smooth, tight ball. Arrange them in the prepared pan and proceed with the second rise and baking.
- Using Active Dry Yeast: This recipe calls for instant yeast, which can be mixed directly with dry ingredients. If you wish to use active dry yeast (use 3½ teaspoons), you will need to activate it first. Combine the active dry yeast with ⅓ cup of the milk heated to 110°F (43°C) and a teaspoon of sugar. Let this mixture sit for 10 to 20 minutes until it becomes foamy. The milk and sugar amounts used for activation will be reduced from the total amounts in the ingredients list, ensuring you still use the full quantities called for, just divided. In this scenario, the milk and butter mixture (from Instruction Step 2) doesn’t need to reach 125-130°F (52-54°C); it merely needs to be melted and warm, not hot, as the yeast is already activated. Using active dry yeast will typically require up to an additional 30 minutes of proofing time for each rise, adding approximately 1½ hours to the total prep time.
Nutrition
Serving:
1
roll
,
Calories:
170
kcal
,
Carbohydrates:
22
g
,
Protein:
4
g
,
Fat:
7
g
,
Saturated Fat:
4
g
,
Polyunsaturated Fat:
3
g
,
Cholesterol:
40
mg
,
Sodium:
192
mg
,
Fiber:
1
g
,
Sugar:
2
g
Nutrition information is automatically calculated, so should only be used as an approximation.