

Recipe Highlights
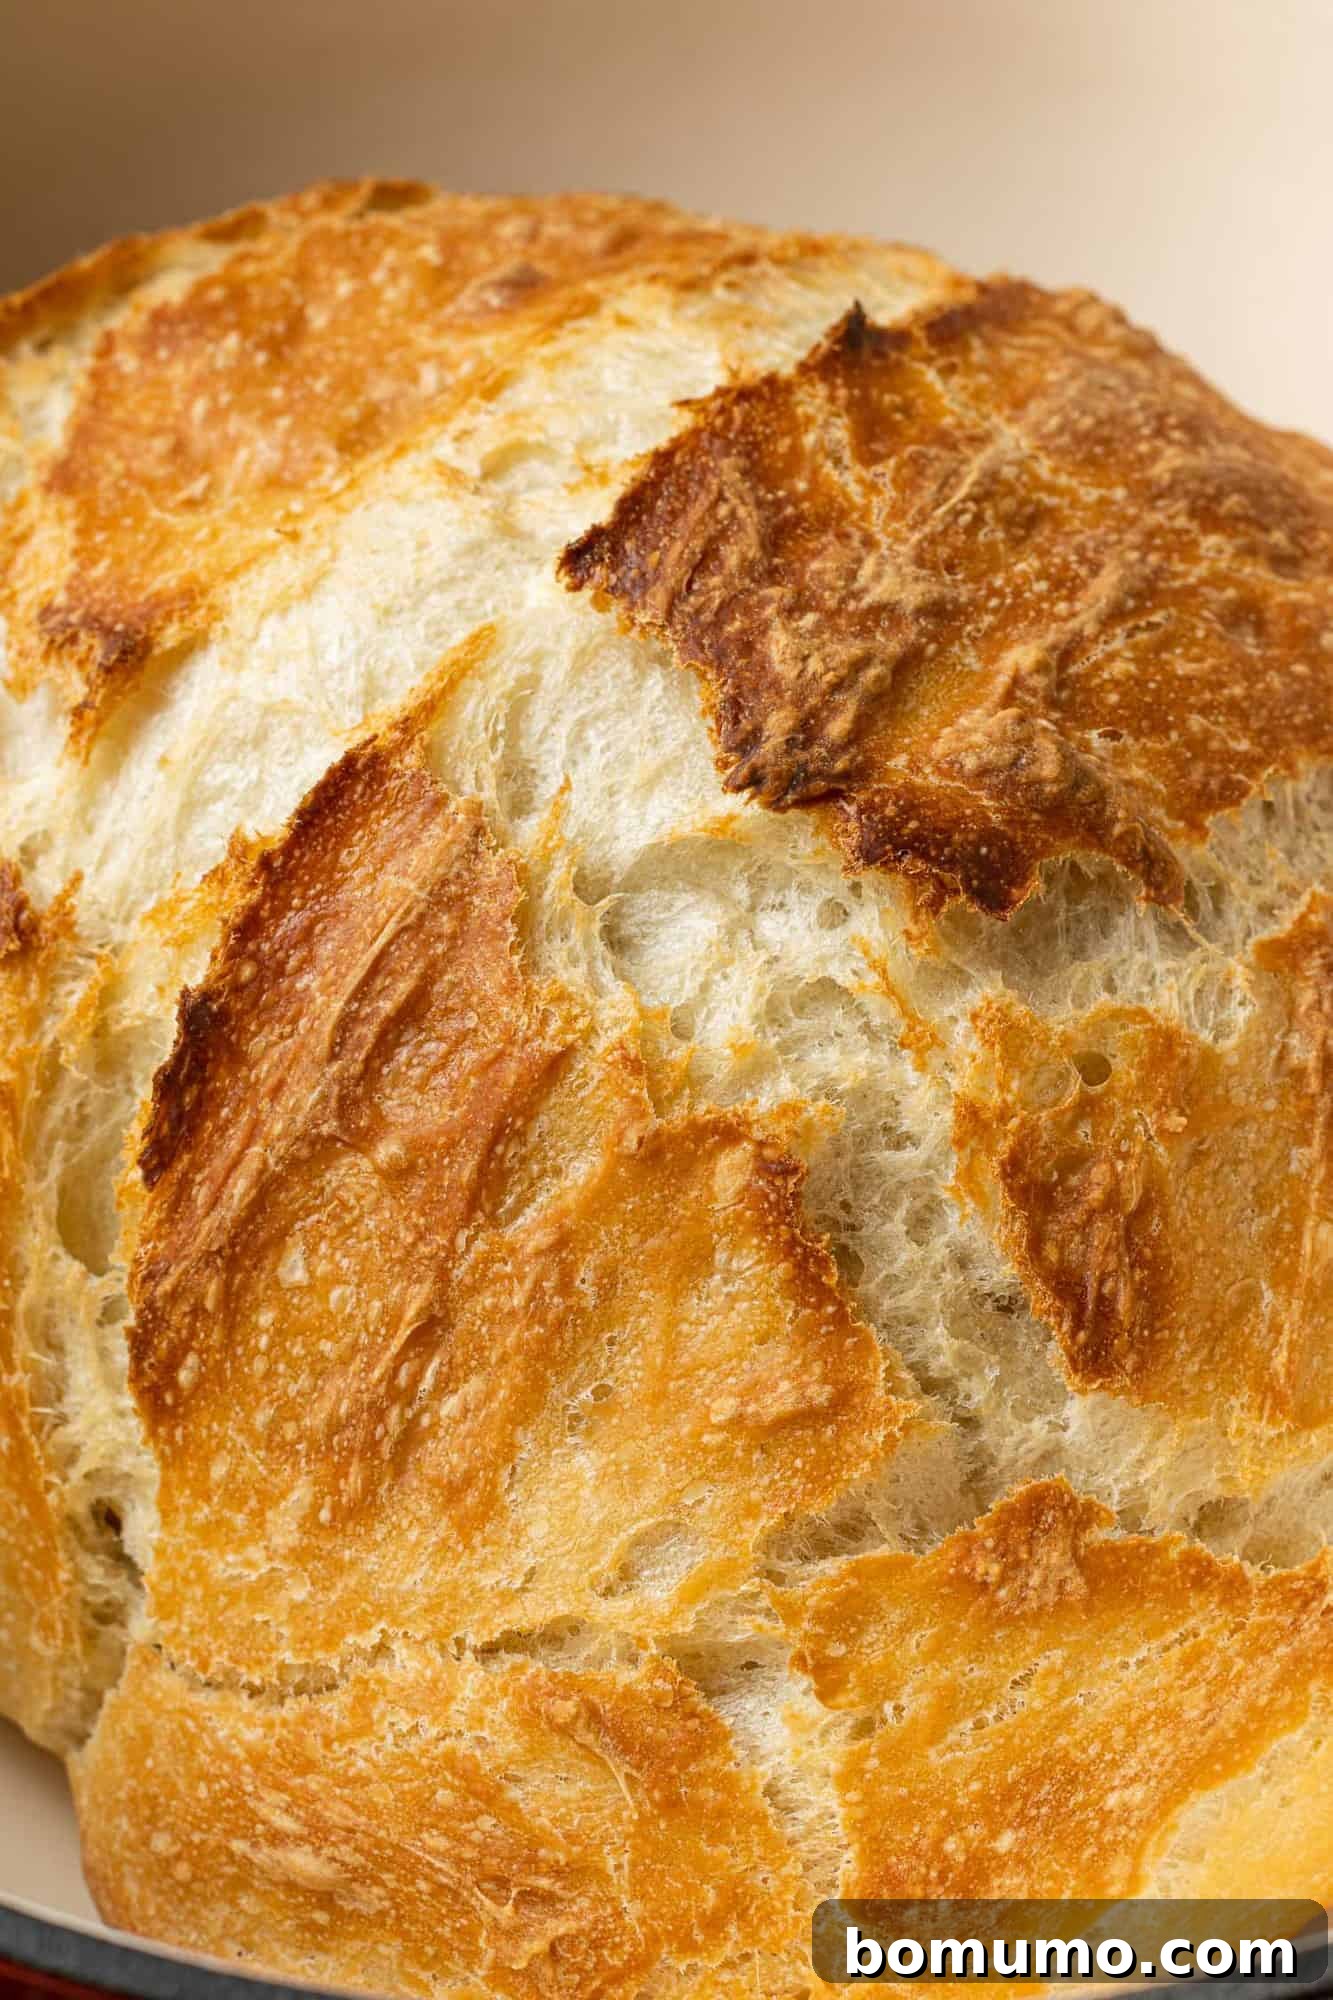
Why you’ll love it: This no-knead Dutch oven bread delivers the incredible taste and texture of expensive artisan bread with surprisingly minimal effort. It’s incredibly simple to make, requiring no intensive kneading! The ingredient list is refreshingly short and consists of common pantry staples: all-purpose flour, salt, instant yeast, water, a touch of honey, and olive oil.
Time commitment: This recipe is designed for an overnight rise, allowing for deep flavor development. The active preparation time is just 10 minutes (ideally done the evening before). The baking process takes 45 minutes.
Essential equipment: You’ll need a large mixing bowl for the dough and a reliable Dutch oven for baking.
Yield: Produces one beautifully rustic round loaf, perfect for sharing or enjoying throughout the week.

Effortless Artisan Dutch Oven Bread: A No-Knead Masterpiece
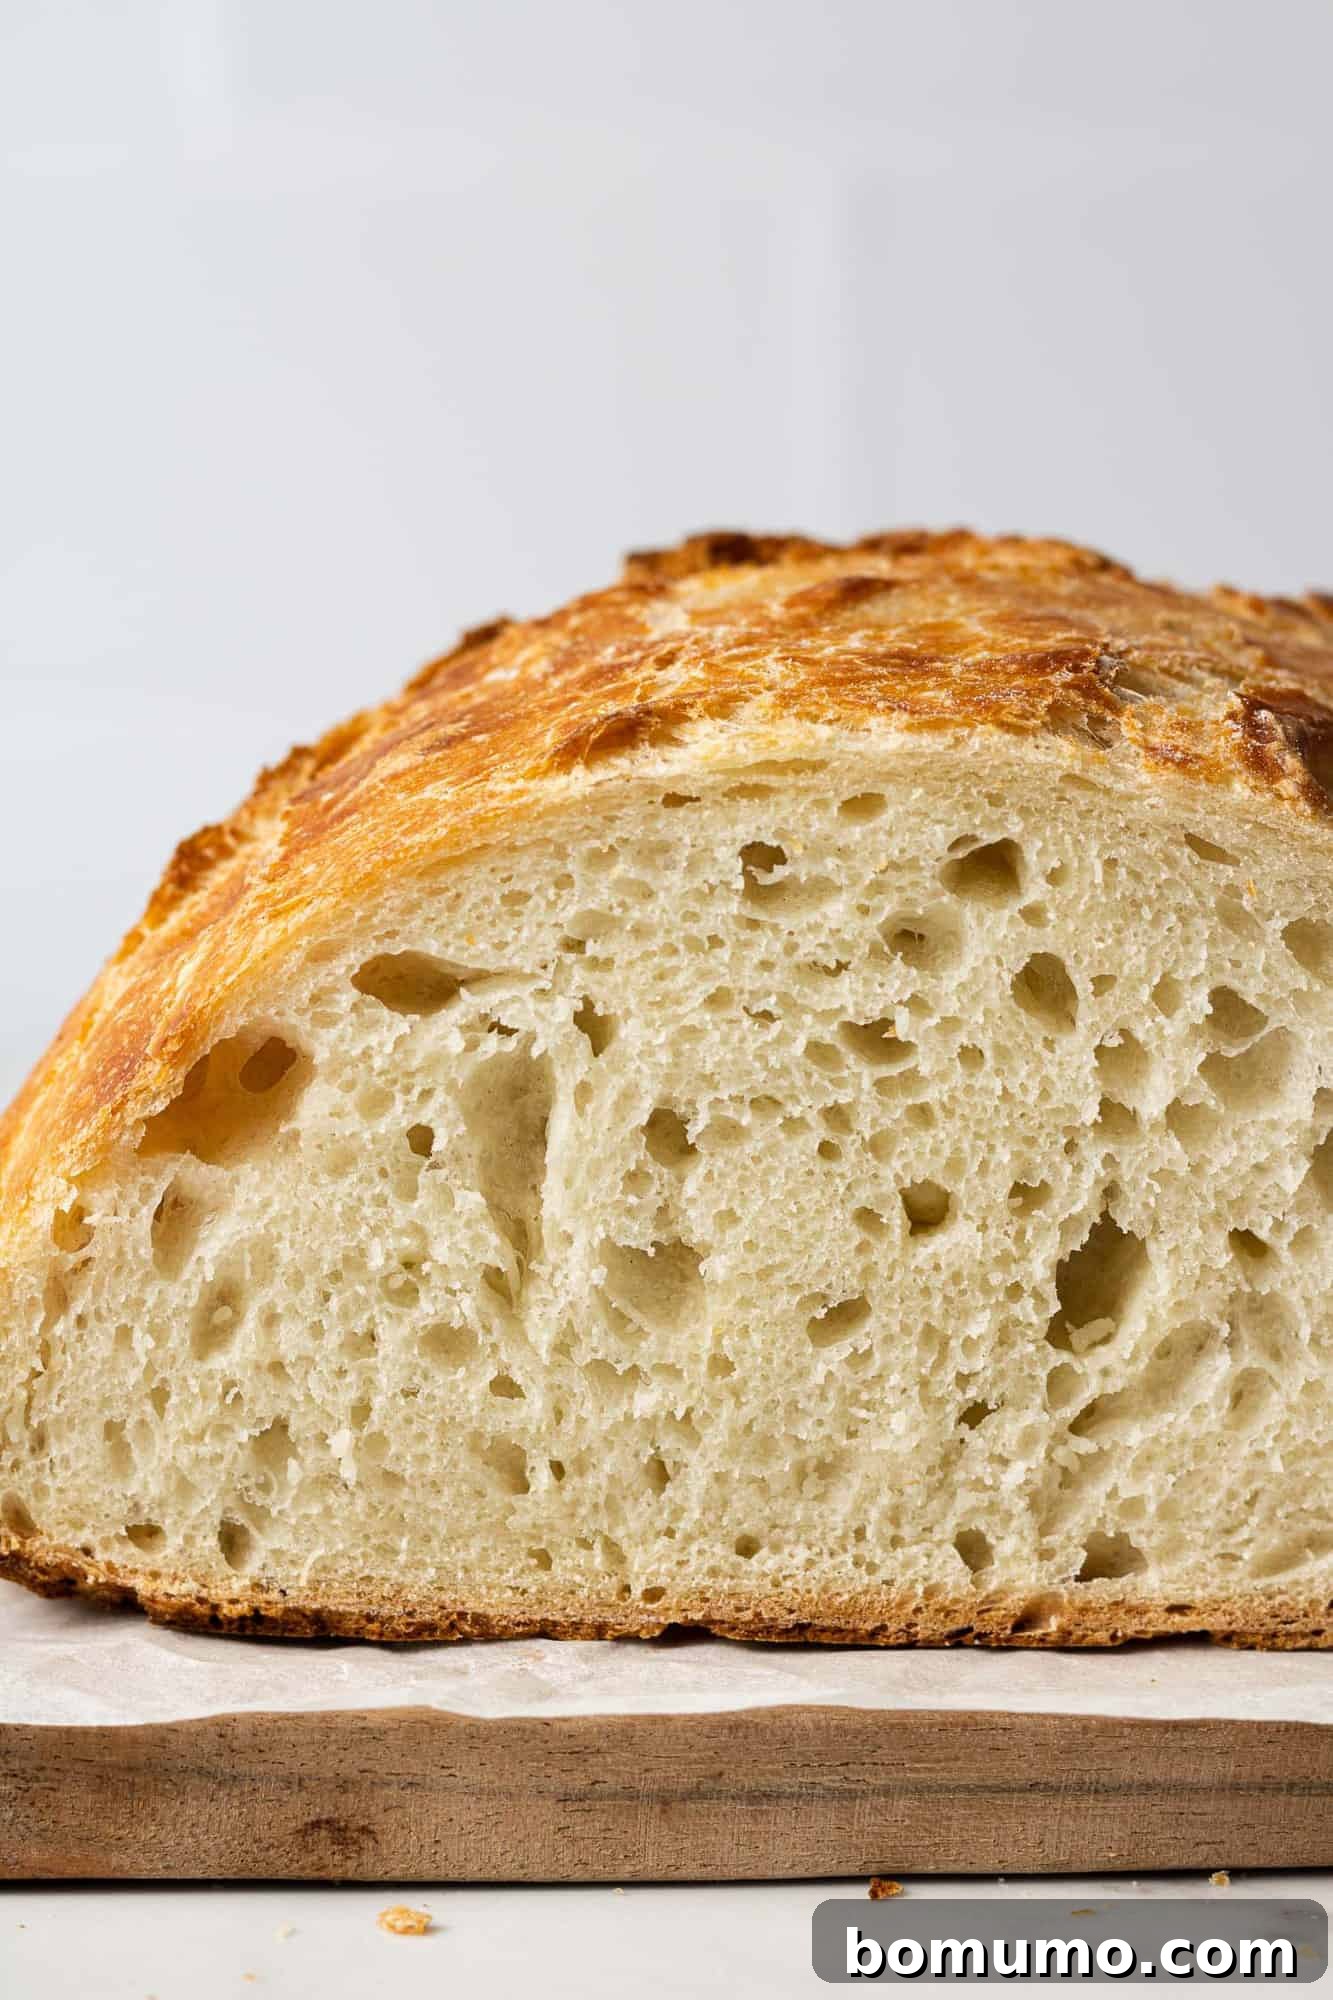
There’s an undeniable magic that fills the home when bread is baking. The rich, yeasty aroma, the promise of a golden, crackly crust, and a wonderfully soft interior create an irresistible pull towards the kitchen. For many, the thought of baking homemade bread comes with a hint of intimidation – visions of complex kneading, precise yeast activation, sticky dough, and long, unpredictable rising times often deter even enthusiastic home cooks. If you’ve felt this trepidation, you’re not alone.
While many yeast bread recipes demand significant hands-on time and technique, the world of no-knead Dutch oven bread offers a liberating solution. This method simplifies the traditional bread-making process, removing the need for extensive kneading while still delivering a loaf that rivals professional artisan bakeries. Imagine enjoying a delicious, crusty, homemade yeast bread that you, yes, you, made yourself! This recipe isn’t just about baking bread; it’s about discovering the joy of baking without the stress, transforming timid bakers into confident bread artisans.
Embrace the process, savor the intoxicating smells, and delight in the incredible texture and taste of this truly remarkable bread. This journey into no-knead baking is the beginning of something beautiful – and we can guarantee your family and friends will be utterly impressed by your culinary prowess!
The Secret Weapon: Your Dutch Oven
The Dutch oven is an unsung hero in many kitchens, and for bread baking, it’s absolutely essential. According to Wikipedia, a Dutch oven is a thick-walled cooking pot with a tightly fitting lid, traditionally made from cast iron, and often featuring an enamel coating. While commonly used for slow-cooking stews, braising meats, or baking casseroles, its unique properties make it an exceptional vessel for creating perfect loaves of bread.
Brands like Le Creuset are highly popular for their quality and aesthetic, but there are numerous other fantastic and more budget-friendly options available that perform just as admirably for bread. The key lies in the material and design, not necessarily the brand name.
Why a Dutch Oven is Indispensable for Artisan Bread
The success of this artisan bread recipe largely hinges on the capabilities of the Dutch oven. Here’s why it’s the ideal tool:
- Extreme Heat Endurance: Before the dough even touches the pot, the empty Dutch oven is preheated to an incredibly high temperature, typically 450°F (232°C), for at least thirty minutes. This scorching heat is crucial for achieving an excellent crust and oven spring. Most conventional pans or baking dishes simply cannot withstand such high, prolonged temperatures without risk of warping or damage. Cast iron, however, is designed to absorb and retain this intense heat with ease.
- Steam Creation and Retention: The heavy, tight-fitting lid of a Dutch oven traps moisture released from the dough as it bakes. This creates a steamy environment around the loaf, mimicking the conditions of a professional steam-injected oven. This steam keeps the crust soft and pliable during the initial stages of baking, allowing the bread to expand rapidly (known as “oven spring”) before the crust sets. Without this steam, the crust would harden too quickly, restricting expansion and resulting in a denser, less airy loaf.
- Even Heat Distribution: Cast iron is renowned for its ability to distribute heat evenly across its surface. This ensures that your bread bakes consistently from all sides, preventing burnt spots or undercooked areas.
Choosing the Right Size Dutch Oven
For this particular recipe, a 4-quart Dutch oven is perfect, providing ample space for the dough to rise and form a beautiful round loaf. However, a more commonly found 5- or 6-quart Dutch oven will also work exceptionally well. The slightly larger size won’t negatively impact the bread; it might just result in a slightly flatter loaf depending on how much it spreads. If you’re considering an investment, a 5-6 quart size offers greater versatility for other cooking tasks as well.
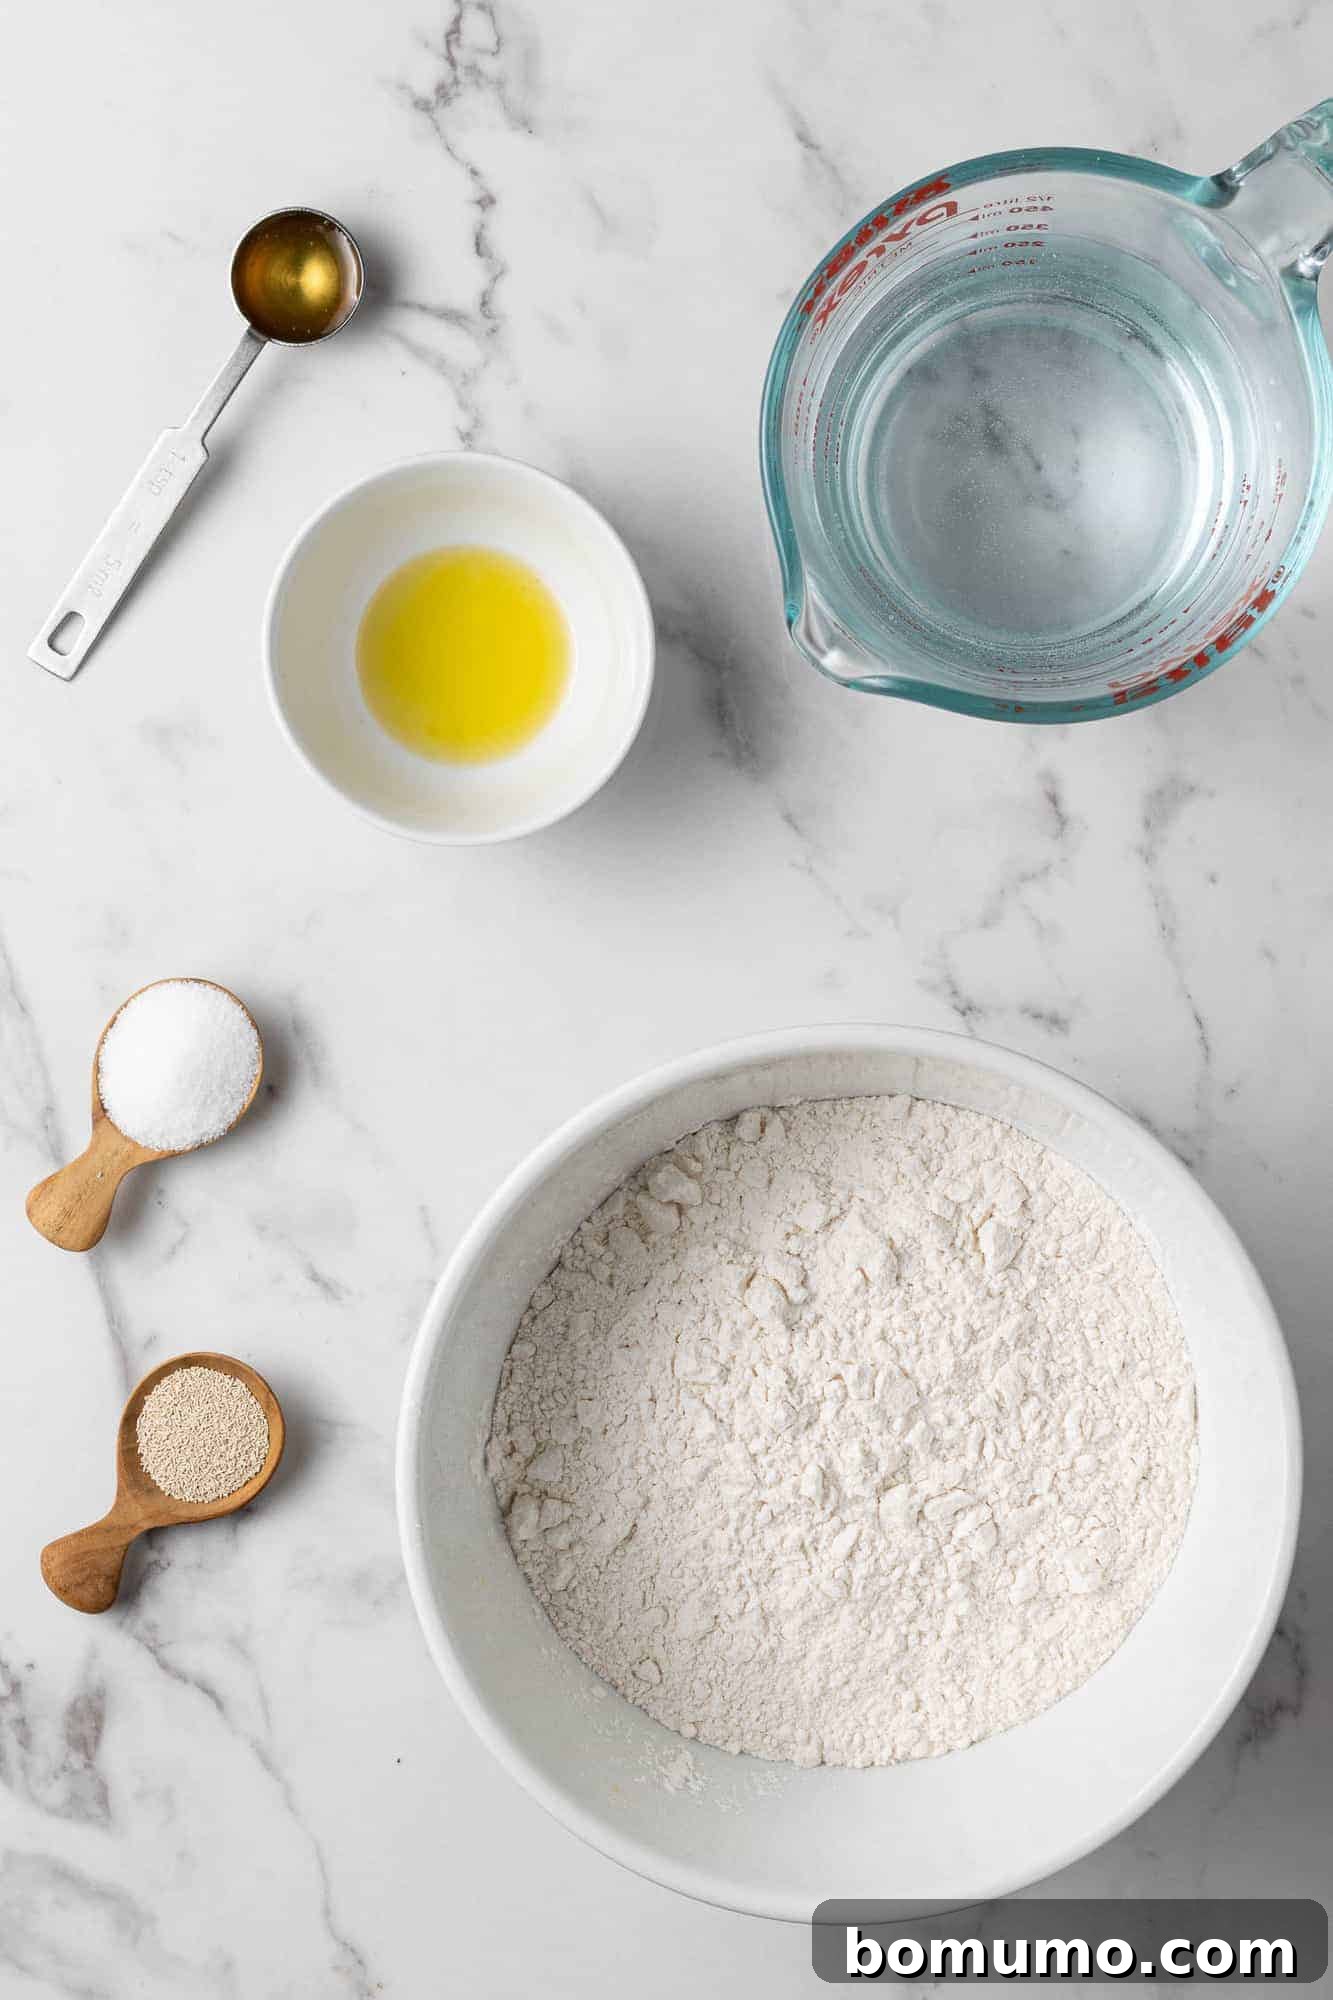
Ingredient Notes: The Simple Foundation of Great Bread
The beauty of this recipe lies in its incredibly simple ingredient list. Each component plays a vital role in creating the perfect no-knead Dutch oven bread. (A full, printable recipe card with exact measurements is provided below.)
- All-Purpose Flour: This is the backbone of our loaf. All-purpose flour yields a wonderfully soft, fluffy crumb that many associate with classic artisan bread. While you can experiment with other flours, all-purpose provides the most consistent and desirable texture for this recipe.
- Instant Yeast: Make sure to use instant yeast, often labeled as “rapid-rise” yeast. Unlike active dry yeast, instant yeast does not require prior activation in warm water; it can be mixed directly with your dry ingredients. This simplifies the process even further, making it truly “no-fuss.” Instant yeast also tends to be more vigorous, contributing to the impressive rise of this bread.
- Honey: While not strictly mandatory, a touch of honey adds a subtle sweetness and richness to the flavor profile, enhancing the overall taste of the bread. It also contributes to a slightly better browning of the crust. We highly recommend including it for that extra layer of deliciousness.
- Olive Oil: Similar to honey, olive oil isn’t absolutely essential but is highly recommended. It adds a lovely depth of flavor to the dough and significantly contributes to the tender, soft interior crumb and a wonderfully crisp, golden crust. A good quality extra virgin olive oil can make a noticeable difference.
- Salt: Far more than just a flavor enhancer, salt plays a critical role in controlling yeast activity. Without it, yeast would ferment too rapidly, causing the dough to rise too quickly and then collapse, resulting in an inferior texture and flavor. Salt acts as a natural inhibitor, slowing down fermentation, which allows for better flavor development and a stronger gluten structure. For an in-depth explanation, refer to resources like King Arthur Baking Company’s article on the importance of salt in yeast bread.
- Cool Water: There’s no need for a thermometer or specific water temperature here. Water straight from the tap, at room temperature, is perfectly suitable. The cool temperature helps to slow down the initial yeast activity, which is ideal for the long, slow overnight rise that develops such incredible flavor in this no-knead method.
How to Craft Your Perfect No-Knead Dutch Oven Bread
This recipe breaks down into two main phases: an effortless overnight preparation and a straightforward baking session. The beauty is in its simplicity, making it accessible for bakers of all skill levels.
-
Step 1: Mix the Dough (10 Minutes Prep)
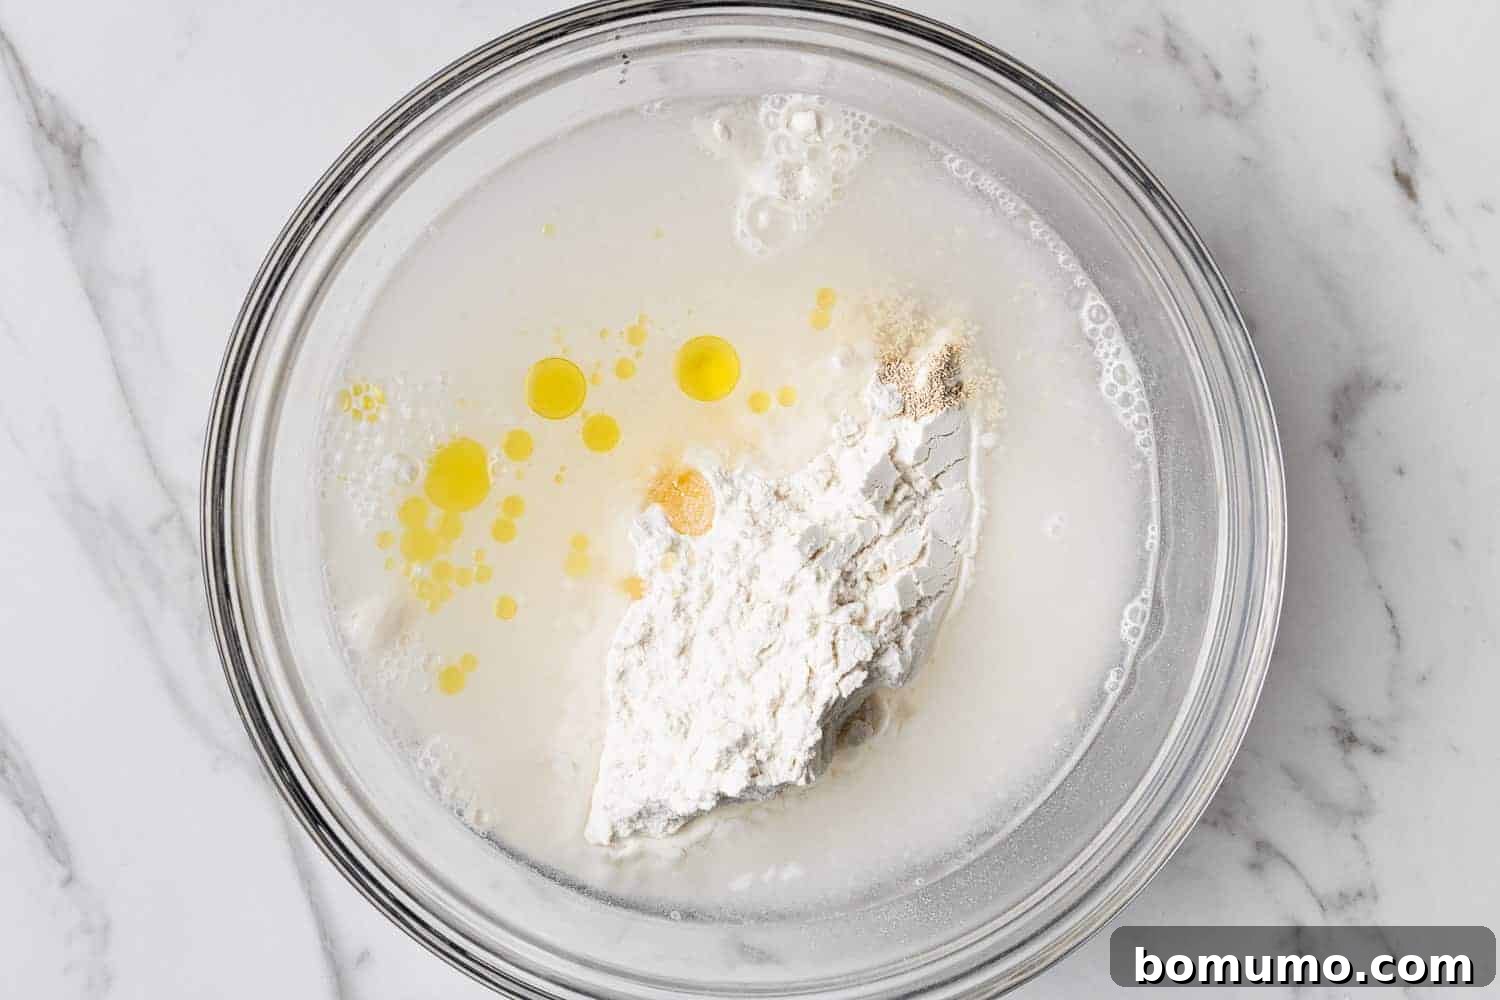
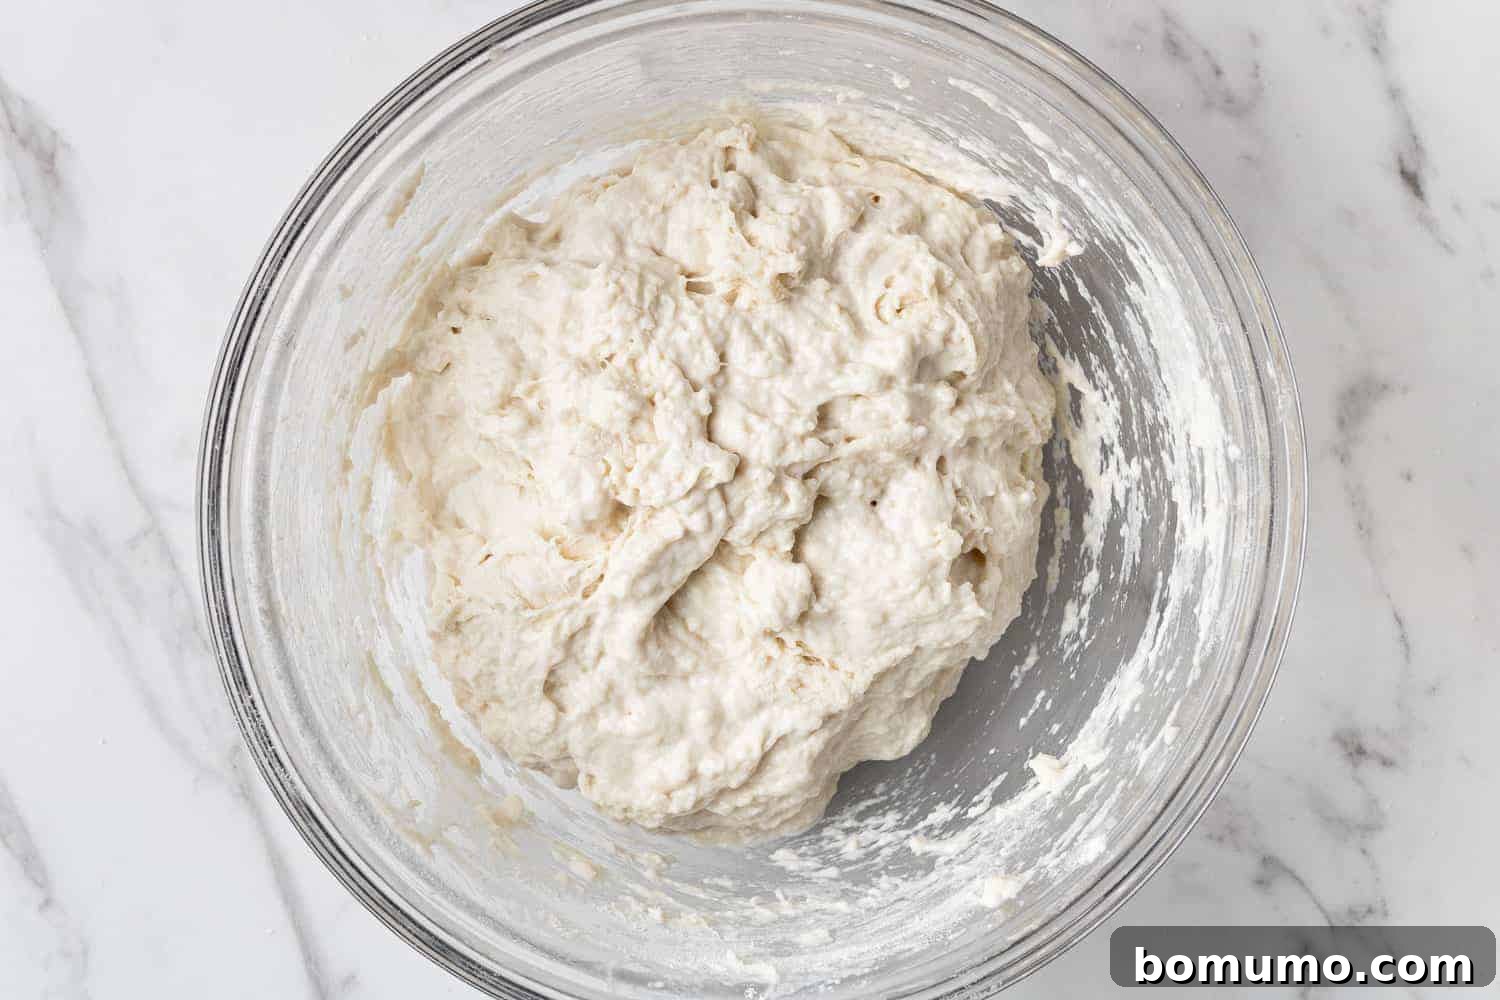
In a large mixing bowl, combine all-purpose flour, salt, instant yeast, cool water, honey, and olive oil. Stir these ingredients together until they are just combined and a shaggy, loose dough forms. There’s no need for extensive mixing; simply ensure all the dry bits of flour are hydrated. The dough will be quite sticky, and that’s exactly what you want.

-
Step 2: The Overnight Rise (12-18 Hours)
Lightly grease the surface of the dough with a little olive oil to prevent it from sticking to the plastic wrap. Cover the bowl tightly with plastic wrap, ensuring an airtight seal. This is crucial for maintaining moisture and facilitating the long, slow fermentation. Set the bowl aside at room temperature for an extended period, anywhere from 12 to 18 hours, or simply let it rest overnight. This long fermentation is where the magic happens, developing deep, complex flavors and a beautiful airy texture without any kneading.
During this period, the dough will visibly grow in size, often nearly doubling, and will become bubbly and alive. This indicates the yeast is actively working and developing the structure and flavor of your bread.
-
Step 3: Preheat and Prepare for Baking
When you’re ready to bake (after the overnight rise), preheat your oven to 450°F (232°C). Once the oven reaches temperature, place your empty Dutch oven with its lid inside the hot oven and allow it to preheat for at least 30 minutes. This step is vital; a searing hot Dutch oven is key to achieving that signature crispy crust and excellent oven spring.
-
Step 4: Shape the Dough (No Kneading Required!)
While the Dutch oven is heating, gently remove the risen dough from its bowl onto a generously floured surface. Don’t be shy with the flour; ensure your counter, hands, and the top of the dough are well-dusted to prevent sticking. If you have a dough scraper, it will be a helpful tool here. Gently fold the edges of the dough towards the center a few times, forming a loose dough ball. You are not kneading in the traditional sense, but rather shaping the dough to create some surface tension. This process should only take about a minute or two. Place the shaped dough on a wide strip of parchment paper. While optional, parchment paper makes transferring the dough into the scorching hot Dutch oven much safer and easier. Reshape if necessary; it does not need to be a perfectly smooth ball. Cover the dough loosely with plastic wrap or a clean kitchen towel and let it rest while the oven and Dutch oven finish preheating.
-
Step 5: Bake to Perfection
Once the Dutch oven is thoroughly heated, carefully remove it from the oven using sturdy oven mitts. **Extreme caution is essential at this stage!** Remove the lid and set it aside. Uncover your dough, and using the corners of the parchment paper as handles, gently lower the dough ball (along with the parchment) into the hot Dutch oven. The parchment prevents sticking and provides a safe way to handle the dough. If you opted not to use parchment paper, simply place the dough directly into the hot Dutch oven; no need to spray or grease the pot.
With mitts still on, replace the lid onto the Dutch oven and carefully return it to the hot oven. Bake for 30 minutes. The lid traps steam, allowing the bread to achieve maximum oven spring. After 30 minutes, carefully remove the lid and continue baking for another 10 to 15 minutes, or until the crust is a beautiful golden brown and sounds hollow when tapped.
-
Step 6: Cool and Enjoy
Once baked, carefully remove the Dutch oven from the oven. Using the parchment paper handles, lift the bread out of the pot and immediately transfer it to a wire rack to cool completely. It’s crucial not to leave the bread in the hot Dutch oven, as the residual heat would continue to bake it, potentially leading to an overbaked bottom crust. Cooling on a rack allows air to circulate, preventing sogginess and ensuring a perfectly crisp crust.
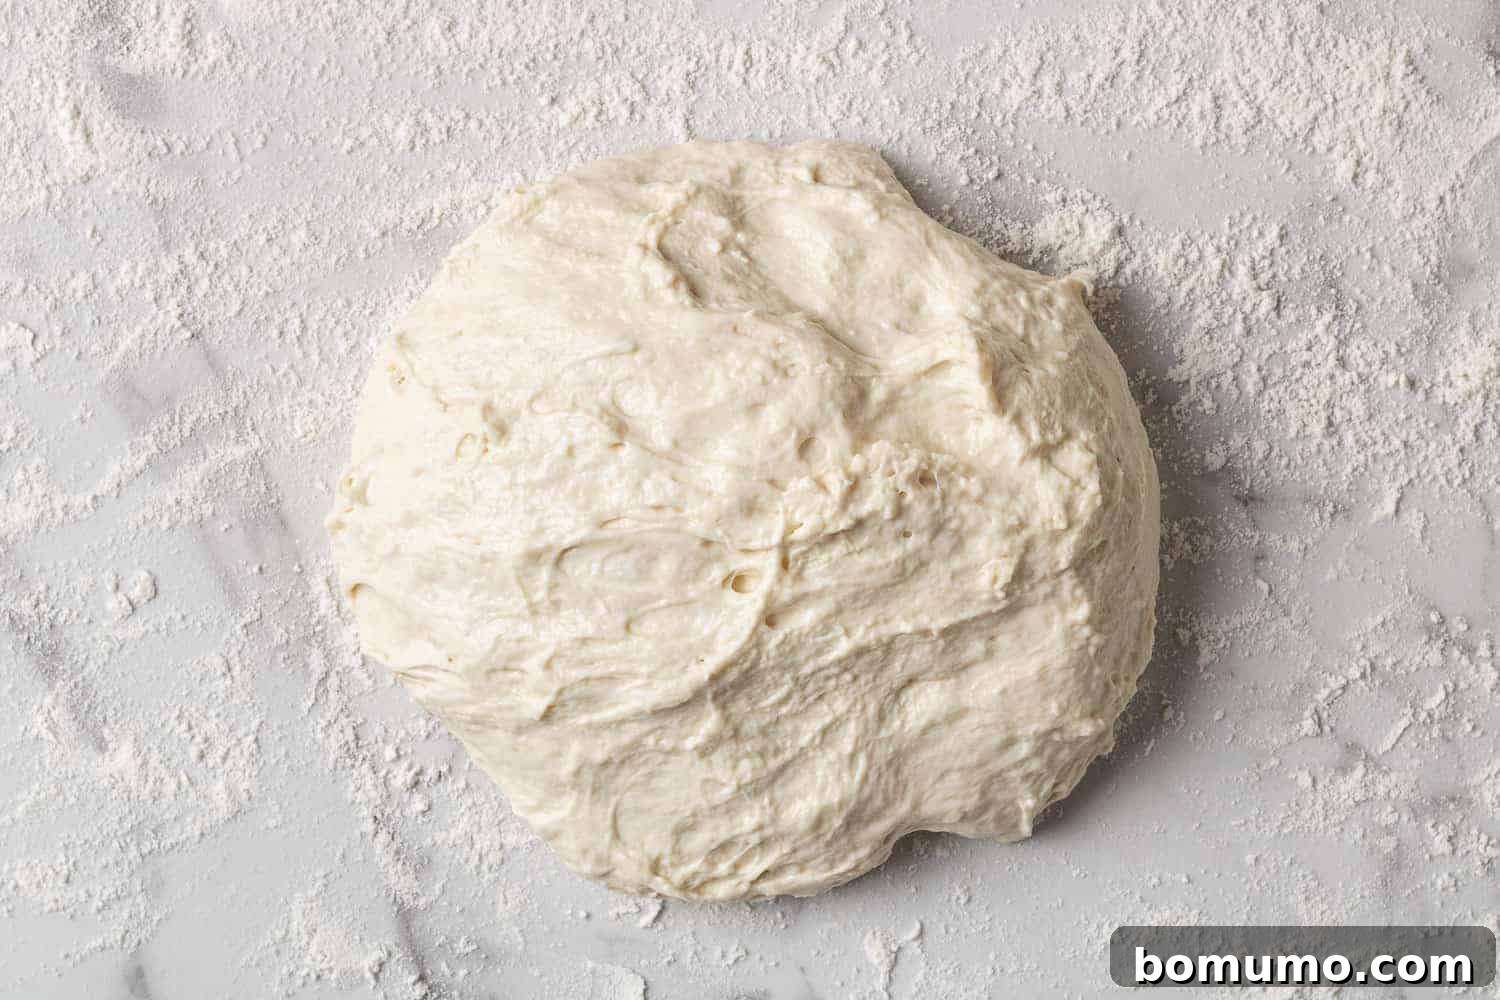
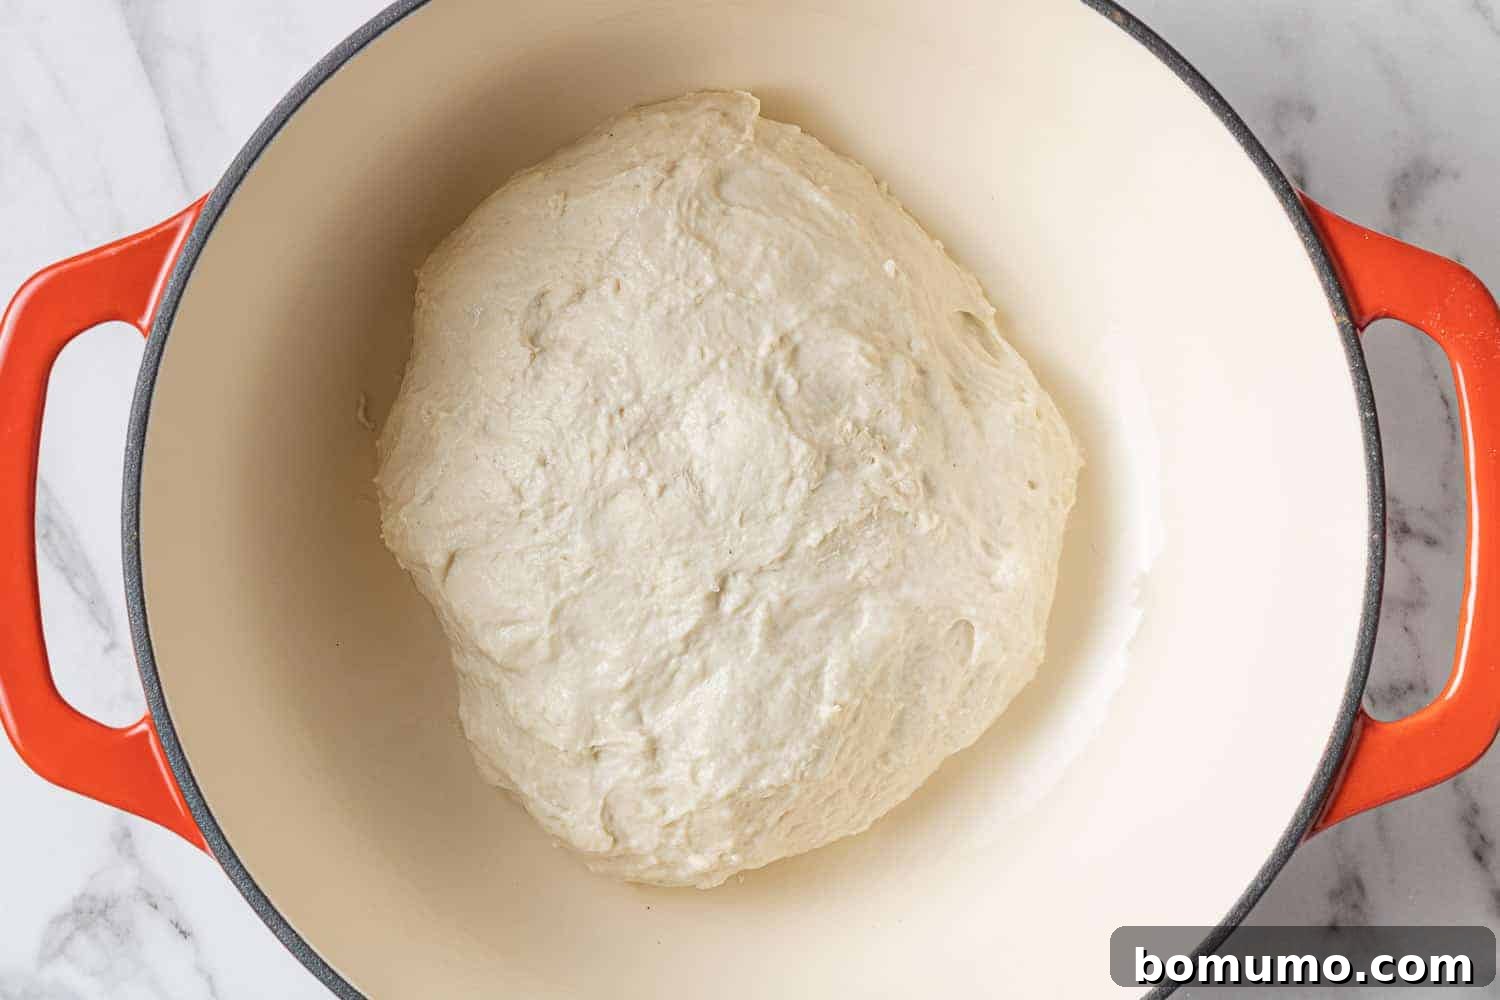
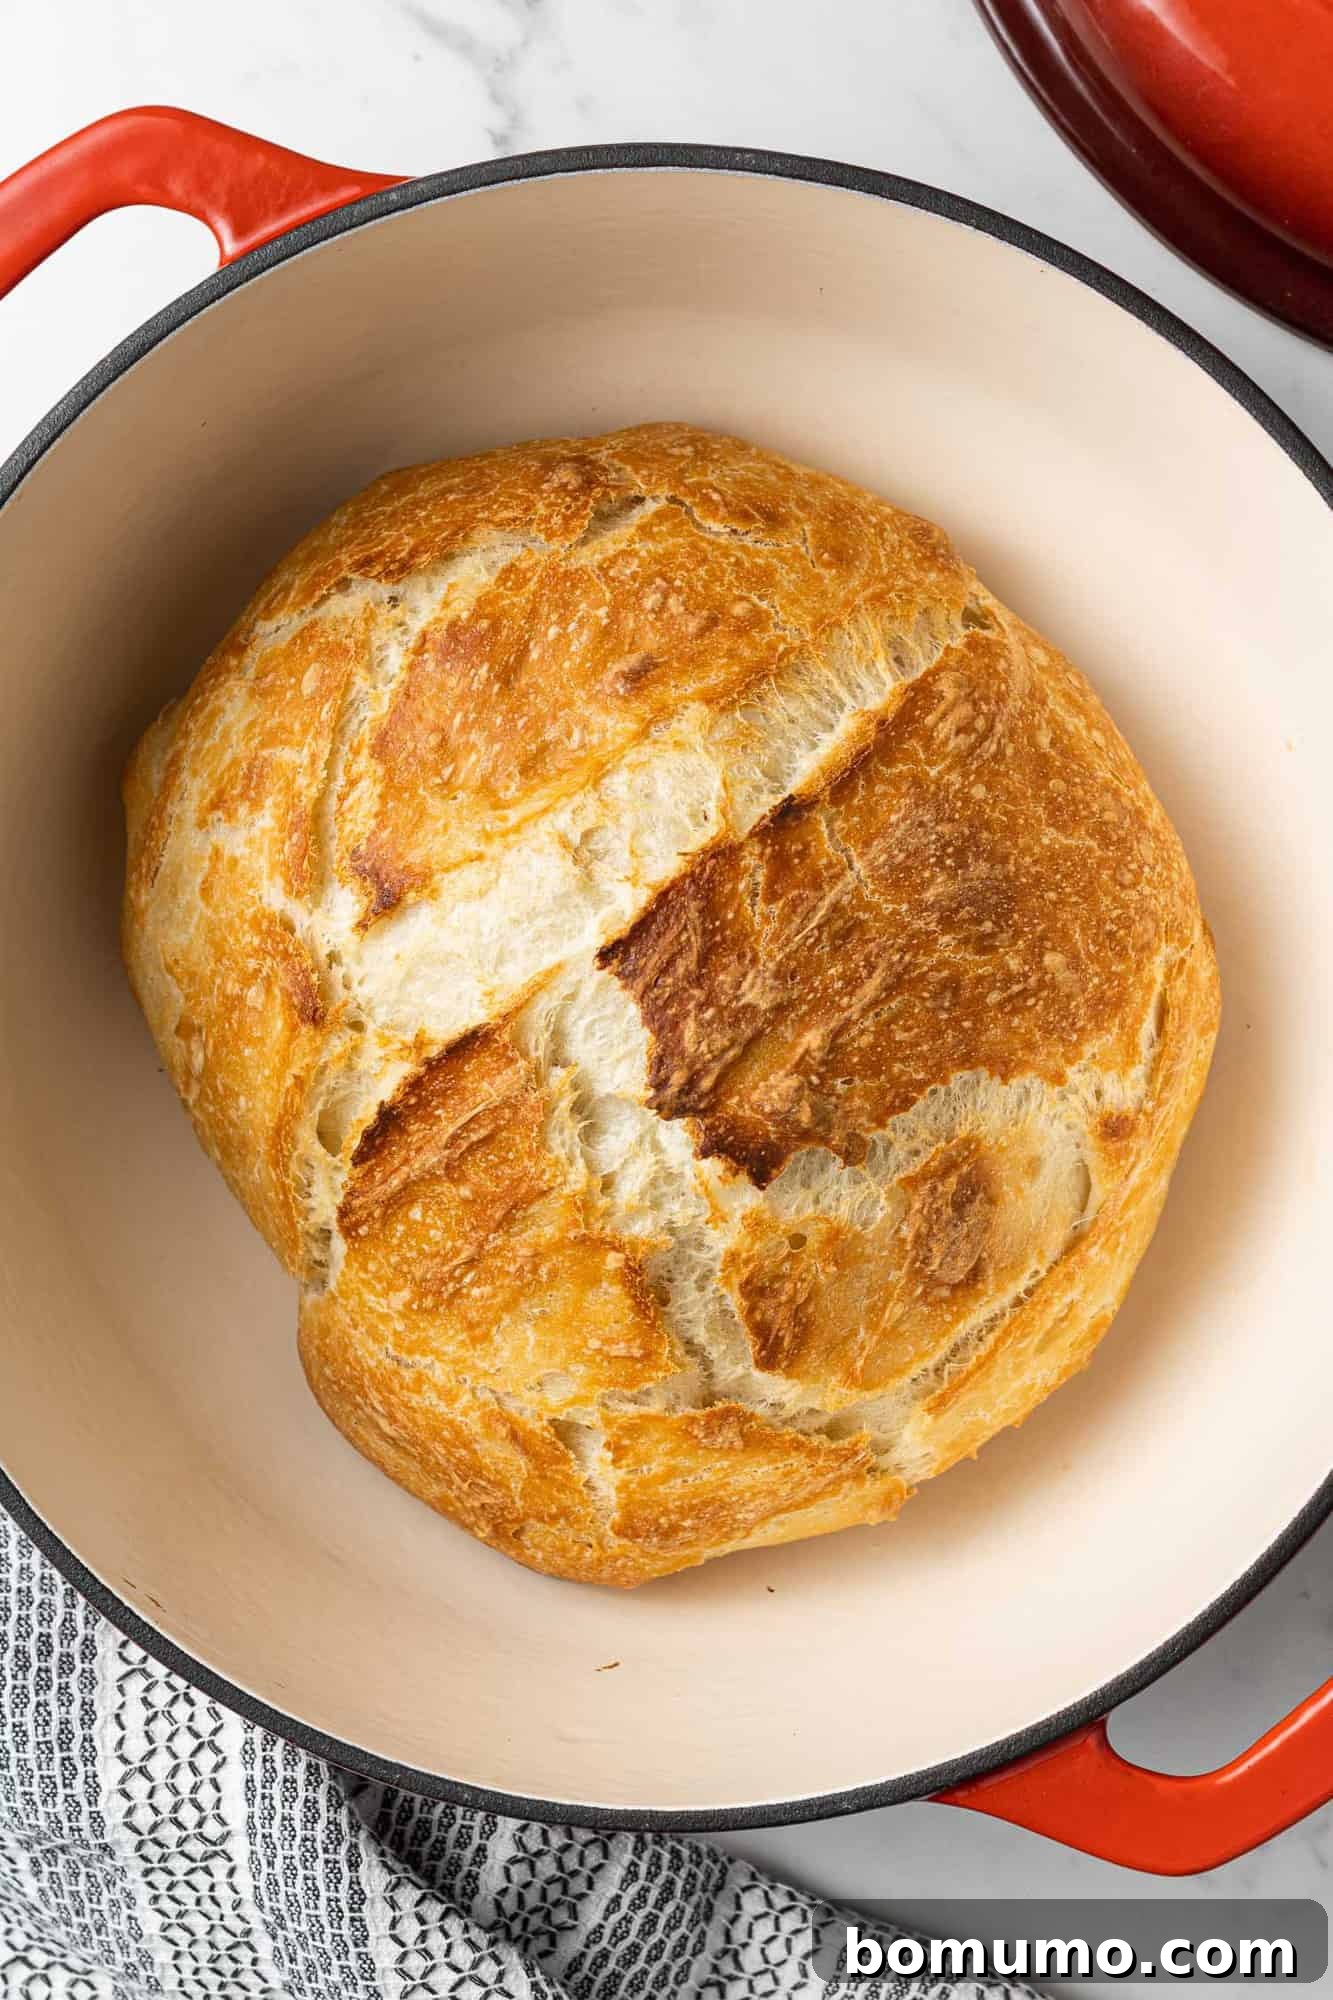
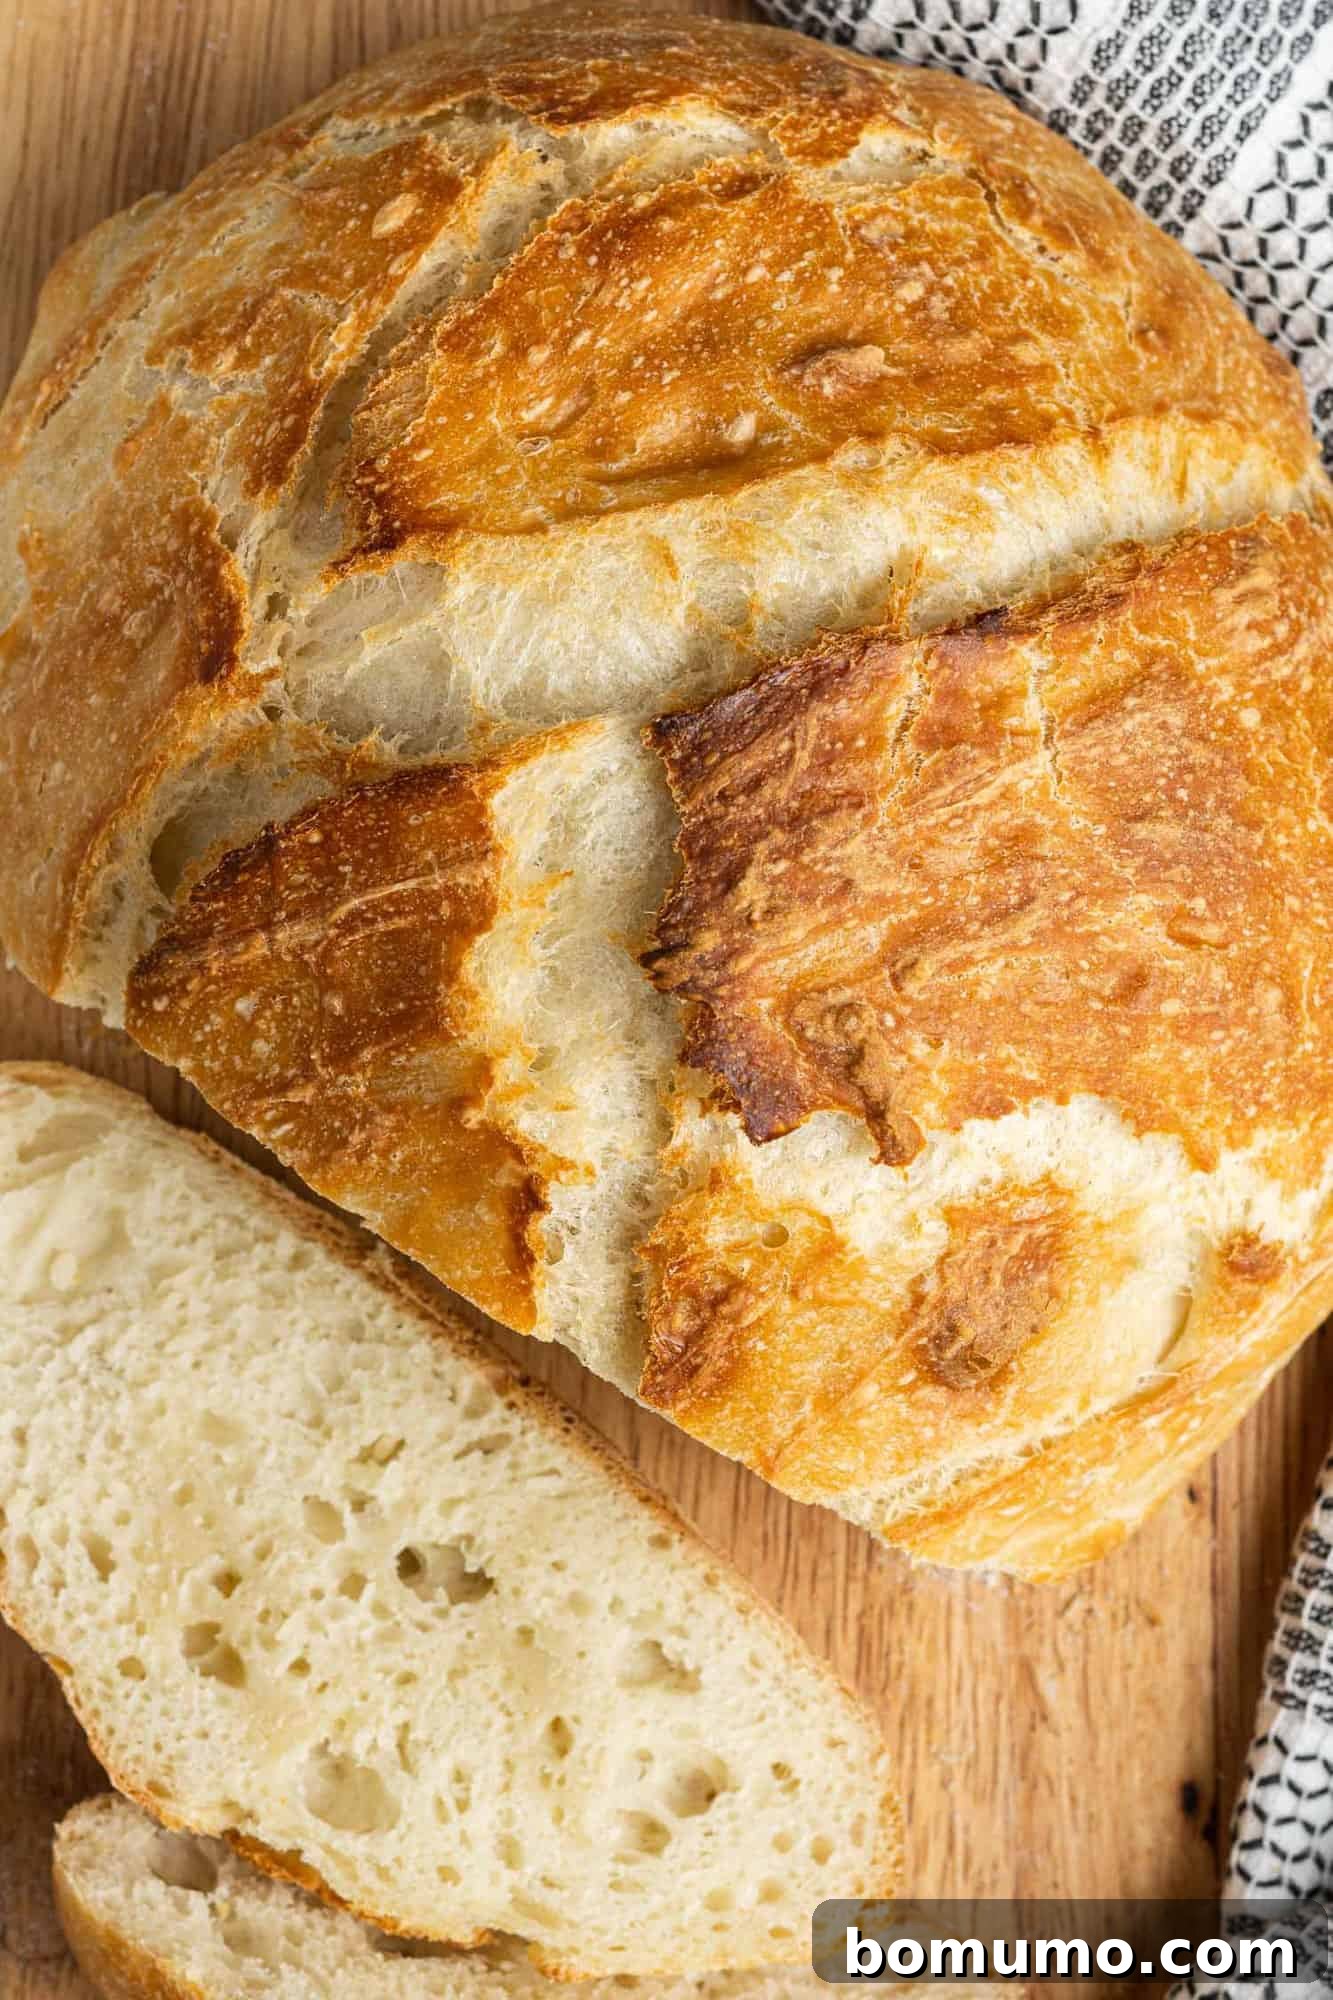
And just like that, you’ve mastered the art of homemade artisan bread! While the full explanation might not be a “quick run down,” the hands-on process is incredibly simple. The hardest part? Exercising patience! We know the aroma will be captivating, but waiting at least 30 minutes before slicing allows the internal structure of the bread to set, resulting in clean, satisfying slices. If you’re too eager to wait for perfect slices, we don’t blame you – grab a chunk and enjoy! Just don’t forget the butter and a drizzle of honey.
Frequently Asked Questions
Frequently Asked Questions
Here are answers to some common questions about baking Dutch oven bread:
- Do I have to preheat a Dutch oven before baking bread?
Yes, absolutely! The Dutch oven must be preheated in a hot oven for at least 30 minutes. Adding the dough to a searing hot pot instantly creates a burst of steam as the dough’s moisture hits the hot surface. This trapped steam is vital for encouraging rapid oven spring (the quick rise of the bread) and developing that signature crisp, crackly crust. For more on the science behind this, King Arthur Baking Company offers an excellent explanation. - Should I oil or grease a Dutch oven when baking bread?
Surprisingly, no. While it might seem counterintuitive, resisting the urge to oil or grease the Dutch oven is crucial. Due to the very high baking temperatures (450°F), any oil or butter would likely burn and scorch the bottom of your bread, imparting an unpleasant flavor and potentially making the loaf stick. The good news is that the bread, almost miraculously, does not stick to the hot, ungreased cast iron. - Is parchment paper necessary for Dutch oven bread?
Parchment paper is optional, but highly recommended, especially for beginners. It doesn’t significantly alter the final outcome of the bread, but it immensely facilitates the process of transferring the delicate dough into the searing hot Dutch oven and lifting the baked loaf out. Using parchment creates convenient “handles” that minimize direct contact with the hot pot, making the whole process much safer and less stressful. - Can I use active dry yeast instead of instant yeast?
While instant yeast is preferred for its convenience in this no-knead recipe, you can use active dry yeast. If using active dry yeast, you will need to “proof” it first. Dissolve the yeast and honey (if using) in the cool water and let it sit for about 5-10 minutes until foamy, then proceed with the recipe as directed. However, instant yeast is truly the easiest option for this method. - Why didn’t my dough rise overnight?
Several factors can affect dough rise. The most common reasons include expired yeast (always check the date!), water that was too hot or too cold (cool, room temperature water is best for slow fermentation), or a room temperature that was too cold. Ensure your yeast is fresh and your kitchen isn’t excessively chilly for the overnight rise.
Elevate Your Loaf: Creative Recipe Variations
Once you’ve mastered the simple technique of our classic no-knead Dutch oven bread, a world of delicious variations awaits. Experiment with these ideas to customize your loaves and impress your taste buds:
- Savory Cheese Infusions: Elevate the richness by mixing in cheeses. Consider grated Parmesan for a subtle salty tang, finely diced sharp cheddar for a robust flavor, or smoked Gouda for a deeply aromatic and savory loaf. Add about ¾ to 1 cup of cheese to the dough during the initial mixing stage.
- Aromatic Herb & Garlic Additions: Infuse your bread with fragrant herbs and savory elements. Fresh or dried herbs like rosemary, oregano, basil, or dill can be stirred directly into the dough (1-2 tablespoons fresh, 1-2 teaspoons dried). For an irresistible twist, incorporate a head of sweet, mellow roasted garlic – simply mash the roasted cloves and fold them into the dough.
- Sweet & Fruity Loaves: Transform your artisan bread into a delightful treat with sweet additions. Try adding a generous ½ cup of raisins and a teaspoon of cinnamon for a classic sweet bread. Other dried fruits like chopped apricots or cranberries work wonderfully, especially when combined with crunchy chopped nuts (walnuts or pecans are excellent choices).
- Inspired Topping & Serving Ideas: The freshly baked bread is just the beginning!
- Compound Butters: Slather warm slices with homemade compound butter. Our orange honey butter, maple cinnamon butter, or even a festive gingerbread butter offer incredible flavor pairings.
- Jams & Spreads: A spoonful of vibrant strawberry basil freezer jam or any homemade preserve makes for a delightful breakfast or snack.
- Dipping Oils: For an appetizer, serve slices with a restaurant-style bread dipping oil – a blend of olive oil, herbs, and spices.
- Accompaniments: This versatile bread is also perfect alongside hearty soups and stews, as a base for open-faced sandwiches, or as part of an elegant cheese board.
If you’re interested in exploring the world of sourdough, The Clever Carrot offers a fantastic step-by-step guide for sourdough Dutch oven bread.
Storage Tips
Storage Tips
Proper storage ensures your homemade bread stays fresh and delicious. Always allow the bread to cool completely on a wire rack before wrapping and storing it. This prevents condensation from forming and making the crust soggy.
- Countertop Storage: Once cooled, store the entire loaf in a plastic bag, a bread box, or an airtight container at room temperature. It will retain its quality for two to three days. For best results, slice it as needed.
- Freezing for Longer Shelf Life: For longer storage, slice the cooled loaf and place the slices in a freezer-safe bag. You can also freeze the whole loaf, tightly wrapped in plastic wrap and then foil. Frozen bread will keep well for up to 3 months. Thaw slices at room temperature or toast them directly from frozen. It toasts beautifully!
There is immense satisfaction in baking your own bread, whether it’s the slow magic of yeast breads or the quick gratification of quick breads. We hope this Dutch oven bread recipe brings you much joy and deliciousness. We’d love to hear about your favorite bread recipes!
More Delightful Bread Recipes
Classic Irish Soda Bread
Easy Beer Bread Recipe
Irresistible Cinnamon Swirl Bread
Hearty Cranberry Walnut Bread with Oats
No-Knead Dutch Oven Bread Recipe
Rachel Gurk
10 minutes
45 minutes
13 hours 30 minutes
14 hours 25 minutes
10 slices
Ingredients
- 3 ¼ cups all-purpose flour
- 1 ¾ teaspoons kosher salt
- ½ teaspoon Instant or rapid-rise yeast
- 1 ½ cups cool water (room temperature)
- 1 teaspoon honey
- 1 teaspoon olive oil
Instructions
-
In a large mixing bowl, combine flour, salt, yeast, water, honey, and olive oil. Stir until the mixture is just combined and forms a loose, sticky dough.3 ¼ cups all-purpose flour,
1 ¾ teaspoons kosher salt,
½ teaspoon Instant or rapid-rise yeast,
1 ½ cups cool water,
1 teaspoon honey,
1 teaspoon olive oil -
Cover the bowl tightly with plastic wrap and set aside at room temperature for 12 to 18 hours, or overnight.
-
Preheat oven to 450ºF (232°C). Once preheated, place a cast iron Dutch oven (a 4-quart size works great!) with its lid inside the oven and continue heating for 20 to 30 minutes.
-
Meanwhile, gently pour the risen dough out of the bowl onto a generously floured surface. Form it into the shape of a ball (it doesn’t have to be perfect, and will still be sticky). Place the dough on a sheet of parchment paper, if desired. Cover lightly with plastic wrap or a kitchen towel.
-
When the Dutch oven has been in the oven for 20 to 30 minutes, carefully remove it from the oven using oven mitts. Remove the plastic wrap from the dough and, grabbing the corners of the parchment paper, carefully place the dough (and the paper) into the hot pot.
-
Using oven mitts, replace the lid on the Dutch oven and return it to the hot oven. Bake for 30 minutes. Then, remove the lid and bake for another 10 to 15 minutes or until the crust is golden brown and crisp.
-
Carefully remove the bread from the pot using the parchment paper and let it cool completely on a wire rack. The bread slices best when fully cooled, but we understand if you can’t wait to sample a warm piece!
Notes
- Cool bread completely before storing it in a plastic bag or airtight container to prevent sogginess.
- This bread can be made in a 5 to 6 quart Dutch oven if that’s the size you have available.
- Feel free to add embellishments like shredded cheese, small cubes of cheese, fresh or dried herbs (rosemary, thyme), chopped nuts, or dried fruits (raisins, cranberries) to the dough during the initial mixing for a customized loaf.
Nutrition
Nutrition information is automatically calculated and should only be used as an approximation.
Did You Make This?
Share a comment and rating below! We love hearing what you think!
Conclusion: Your Journey to Perfect Homemade Bread Begins Now
Embarking on the journey of homemade bread can feel daunting, but with this no-knead Dutch oven bread recipe, those fears can be cast aside. You now possess the knowledge to create a truly spectacular artisan loaf with minimal effort. The incredible aroma, the satisfying crunch of the crust, and the tender, airy interior are all within your reach, transforming your kitchen into a haven of comforting flavors. This recipe is a testament to the fact that exceptional bread doesn’t require complex techniques or specialized equipment—just a few simple ingredients, a little patience, and the magic of a Dutch oven. So go ahead, unleash your inner baker, and enjoy the profound satisfaction of slicing into your very own, perfect homemade loaf. Happy baking!