
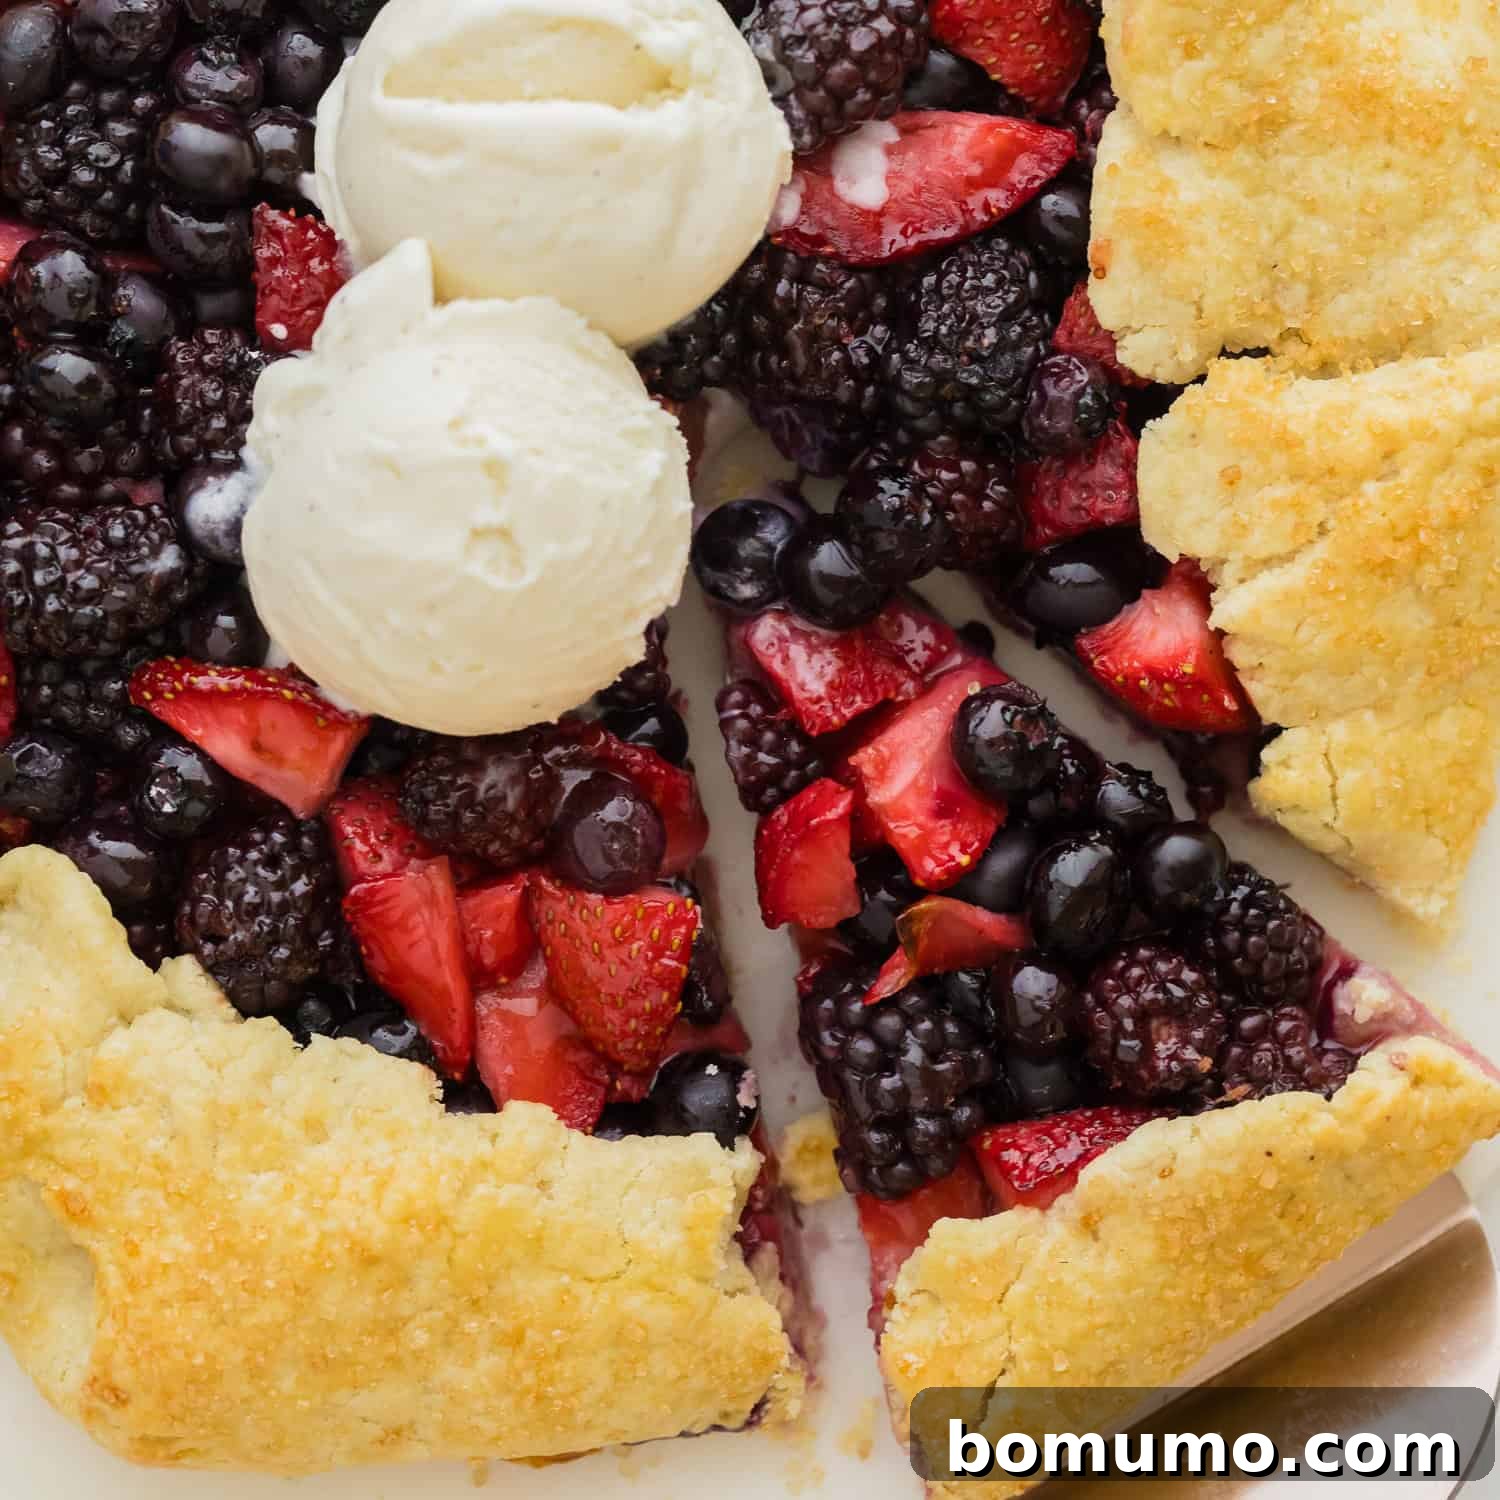
Recipe Highlights
Why you’ll love this recipe: This berry galette is a celebration of summer on a plate, brimming with fresh, vibrant seasonal berries. Its delightfully rustic charm showcases the natural beauty of the fruit and offers a surprisingly easy alternative to traditional pies.
Preparation & Cook Time: Approximately 1 hour
Essential Equipment: Food processor (or pastry cutter), large mixing bowl, baking sheet, parchment paper
Yields: 6 generous servings
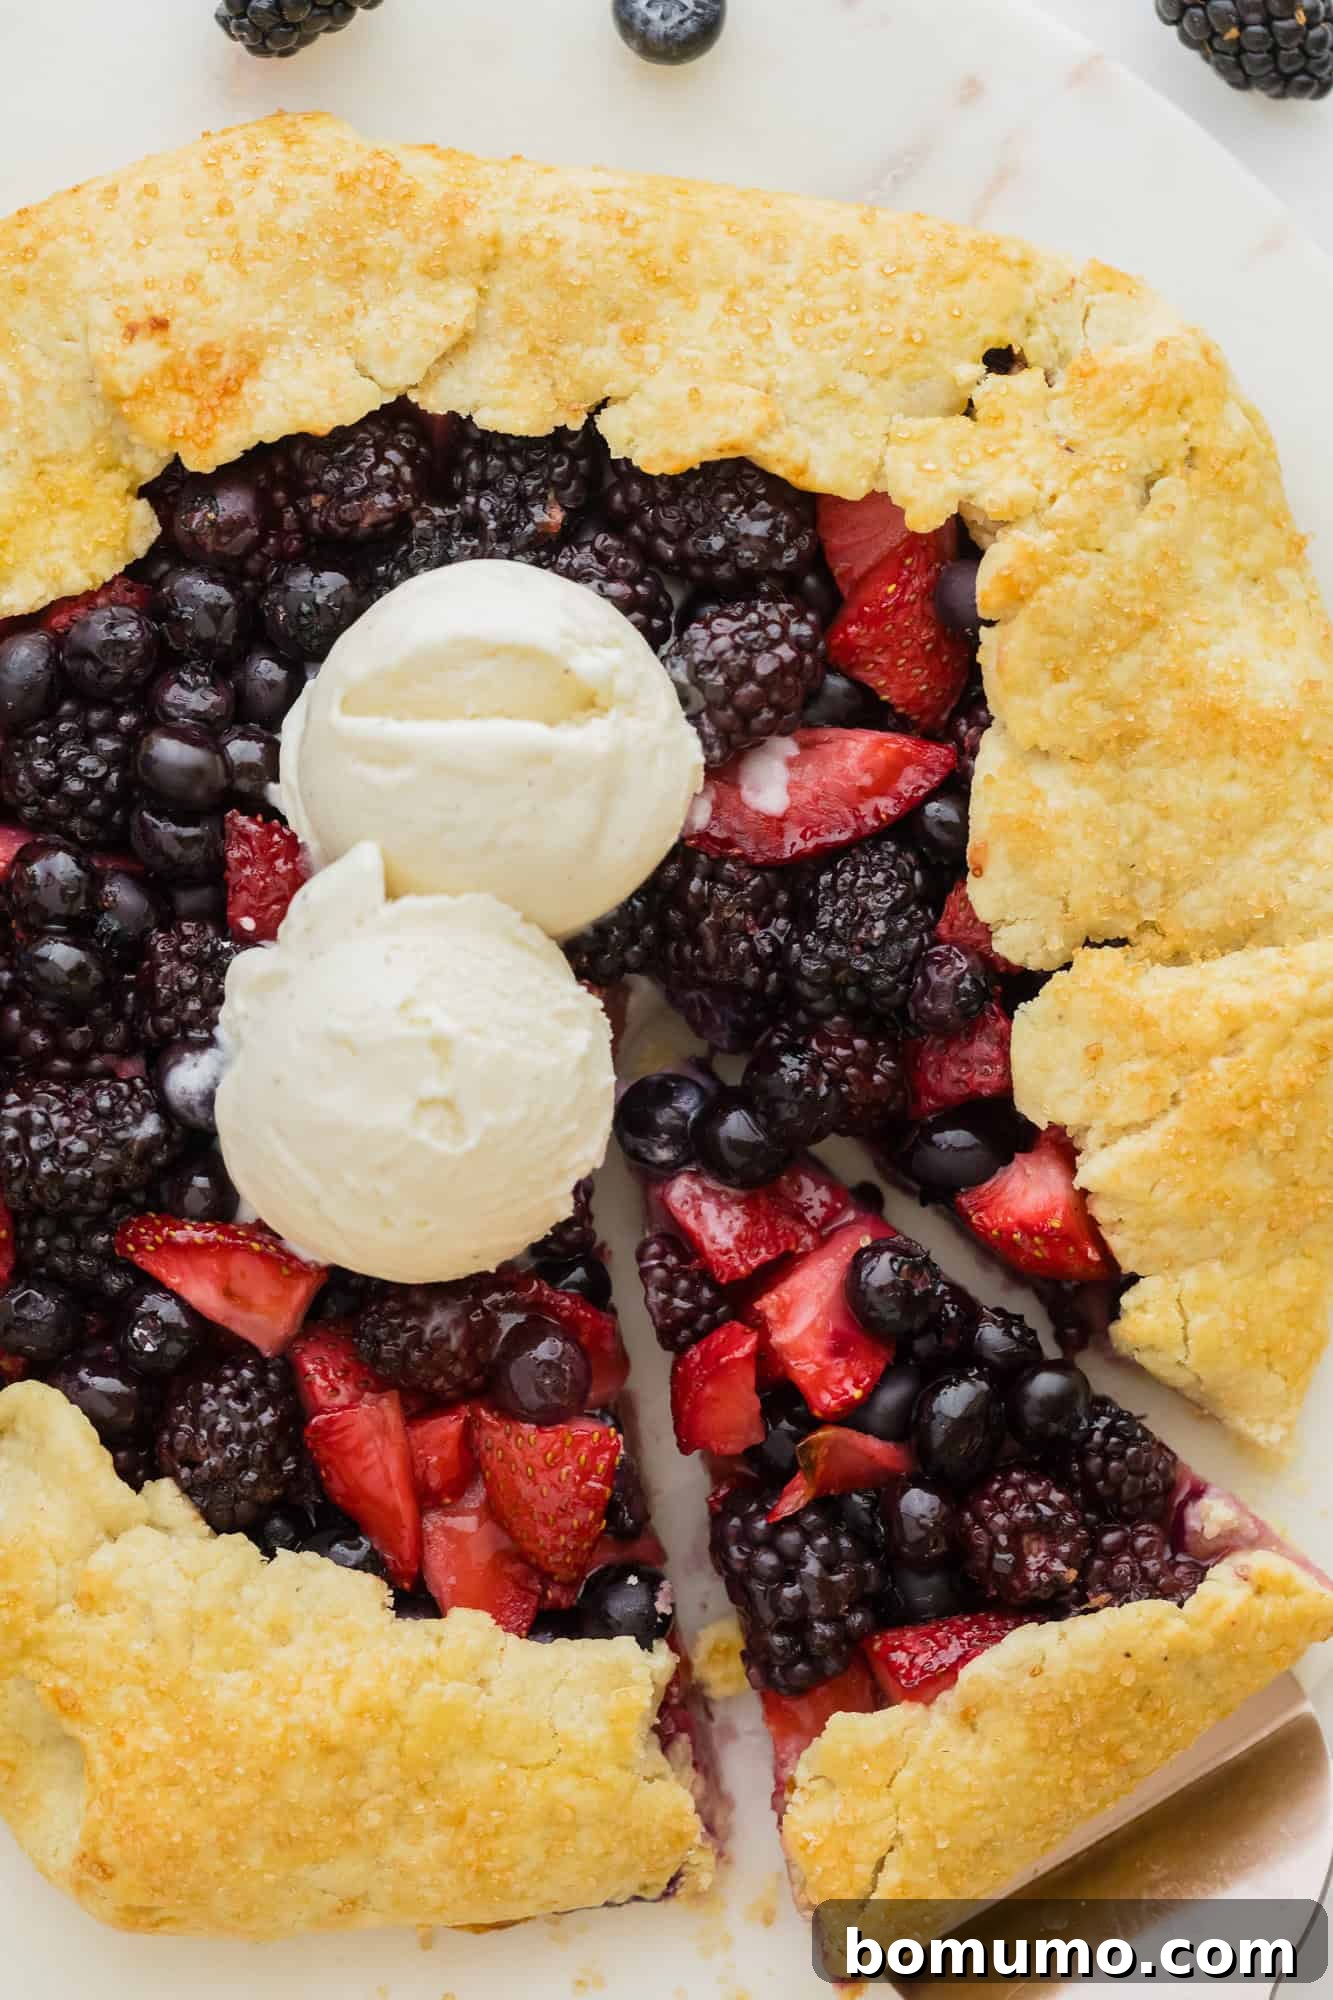
The Art of the Berry Galette: A Rustic Summer Delight
There’s something truly magical about a summer pie, especially when it embraces simplicity without sacrificing flavor. My affection for this particular berry galette stems from its effortless elegance – I’m not one for excessive fuss in the kitchen during the warmer months. As my Grandpa used to say, this “rustic” pie doesn’t require “a lot of monkey business.” It’s an open-faced wonder, generously filled with an abundance of juicy, sun-ripened berries, making it the quintessential treat. Best enjoyed warm, perhaps with a dollop of your favorite vanilla ice cream or a cloud of freshly whipped cream, this dessert promises to be a memorable addition to your summer repertoire. Its irresistible taste and charming presentation will undoubtedly make it a new favorite!
Unveiling the Galette: A Pie’s Free-Spirited Cousin
Often considered the carefree, more approachable cousin of the traditional pie, a galette is a delightful French dessert that literally translates to “flat pastry cake.” What sets it apart is its charmingly informal construction. Instead of being confined to a pie dish, a galette’s crust is simply folded over the edges of its vibrant fruit filling, creating beautiful, free-form pleats. This rustic technique eliminates the need for intricate crimping or elaborate lattice work, making it incredibly forgiving and fun to create. Baked directly on a flat baking sheet, the pastry achieves an irresistibly crisp texture all the way around, a distinct advantage over many conventional pies. Furthermore, a galette typically only requires a single crust, leaving the colorful array of fruit inside openly displayed, making for a truly stunning and inviting presentation.
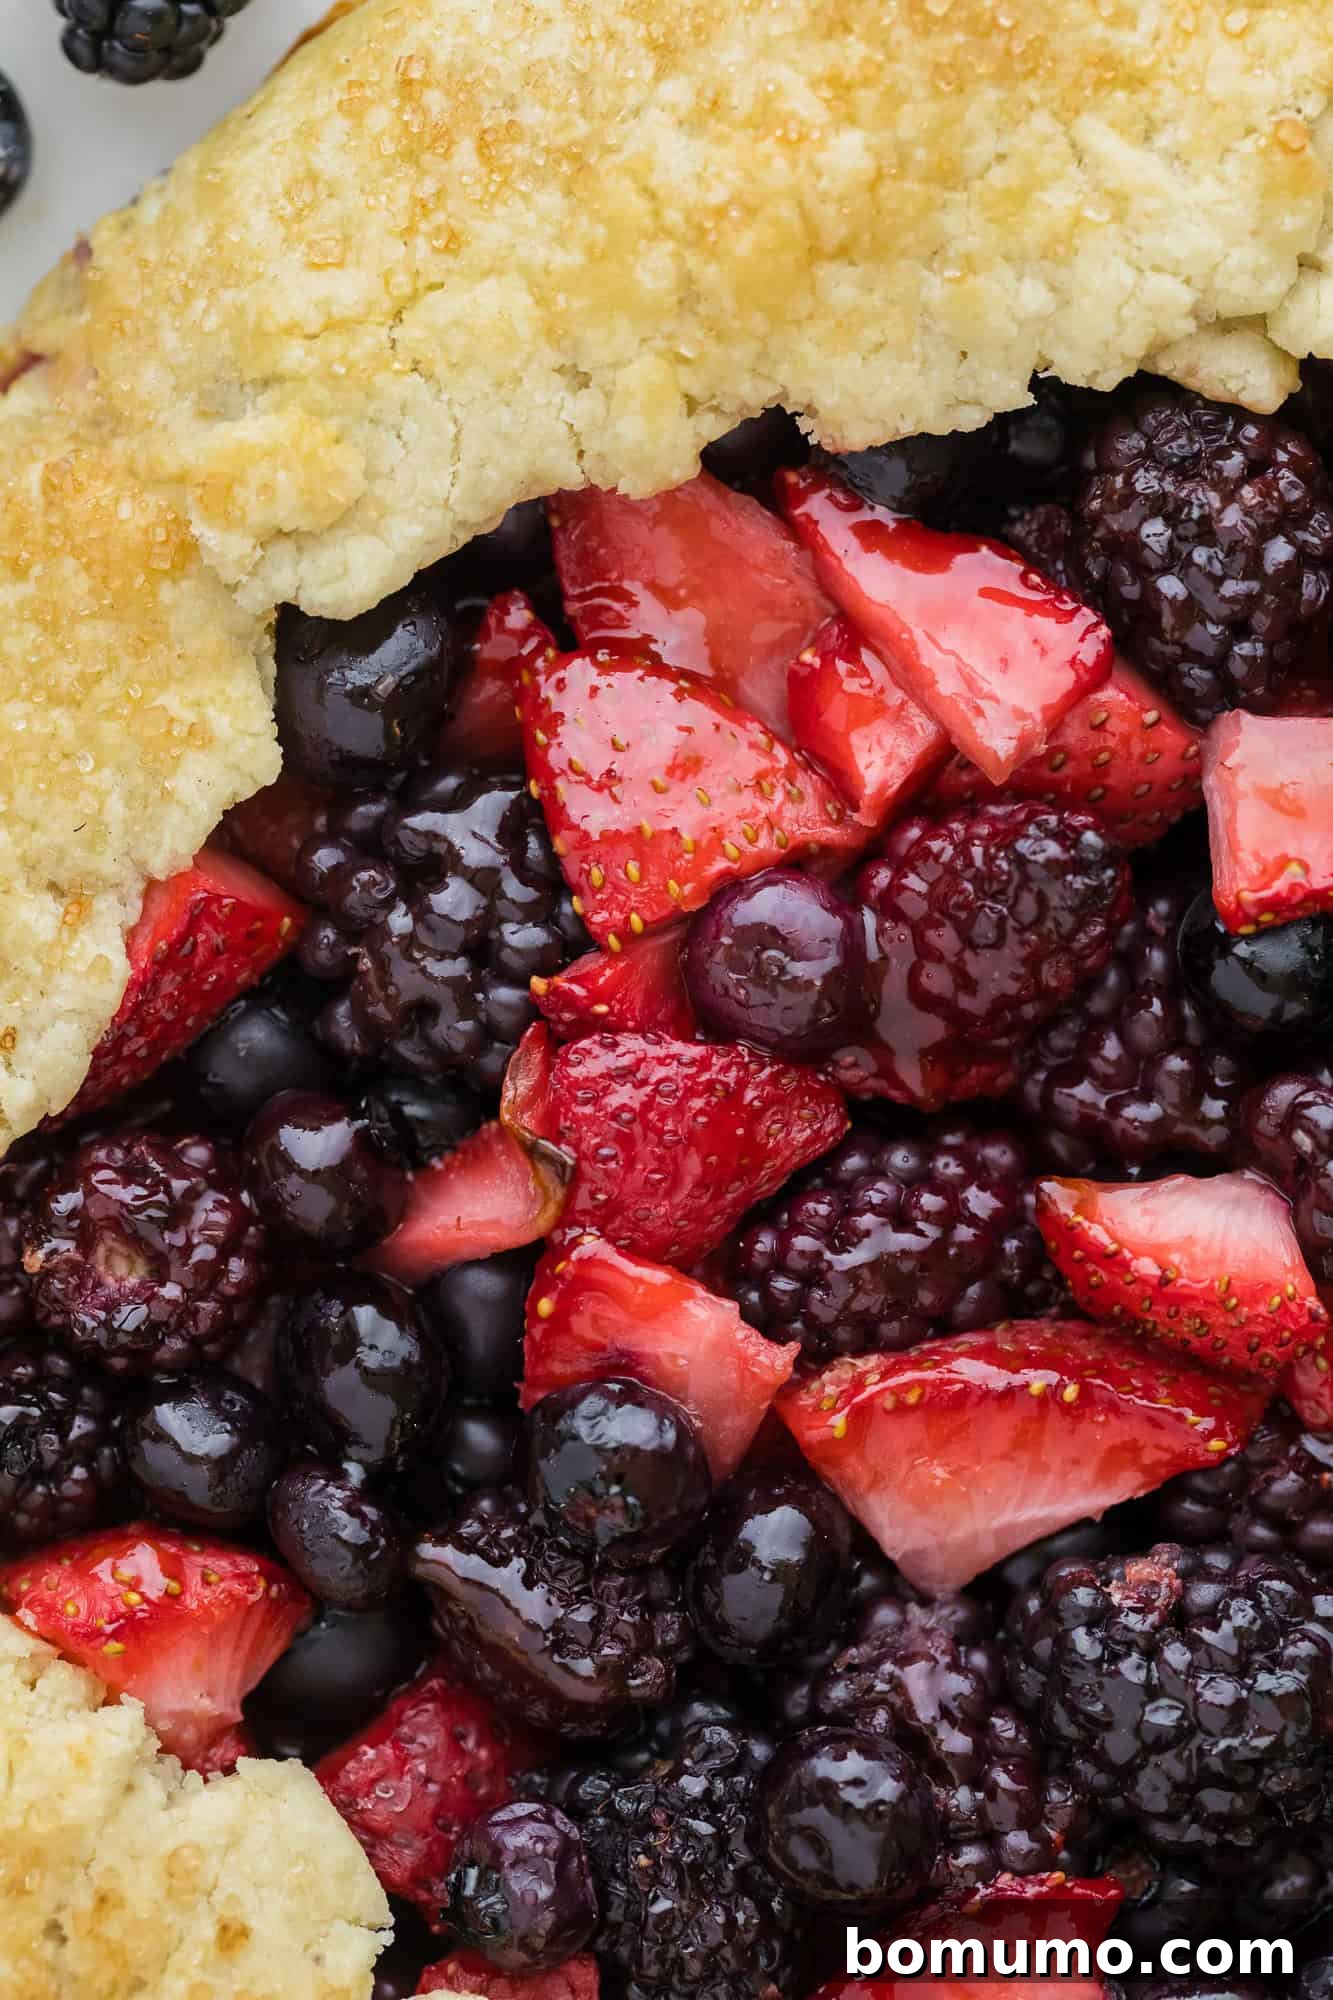
Why This Berry Galette Will Become Your Go-To Dessert
Simplicity Redefined: Easier Than Traditional Pie
I can’t emphasize enough how unfussy this galette is compared to a classic pie. Gone are the worries about perfectly crimped edges, precise lattice tops, or the daunting task of transferring delicate dough. This is a dessert that embraces a casual, yet elegant, aesthetic. My personal pastry recipe is designed for ease, yielding a tender, flaky crust that can be effortlessly prepared in a food processor. However, for those days when you crave an even quicker route to dessert bliss, a store-bought refrigerated pie crust works wonderfully, making this galette almost unbelievably simple to achieve.
Unmatched Versatility: Your Canvas for Seasonal Fruit
This berry galette is incredibly adaptable to whatever fresh fruit the season offers. While a harmonious blend of strawberries, blueberries, and blackberries creates a visually stunning and flavor-packed experience, feel free to customize it to your heart’s content. You can opt for just two types of berries, or even feature a single variety if that’s what’s most abundant and appealing. The beauty of the galette technique lies in its flexibility; once you master the basic method, you’ll discover endless possibilities for using various fruits, from stone fruits to apples, making it a reliable dessert choice year-round.
Pro Tip: Achieving Perfect Flour Measurements
Accurate flour measurement is crucial for a tender pastry crust. To avoid compacting the flour and inadvertently adding too much, use a spoon or scoop to lightly fill your measuring cup. Then, use a straight edge or the back of a knife to level off the excess, ensuring a precise cupful. A common mistake is to scoop the flour directly with the measuring cup and shake it down, which compresses the flour and results in an overabundance for your recipe.
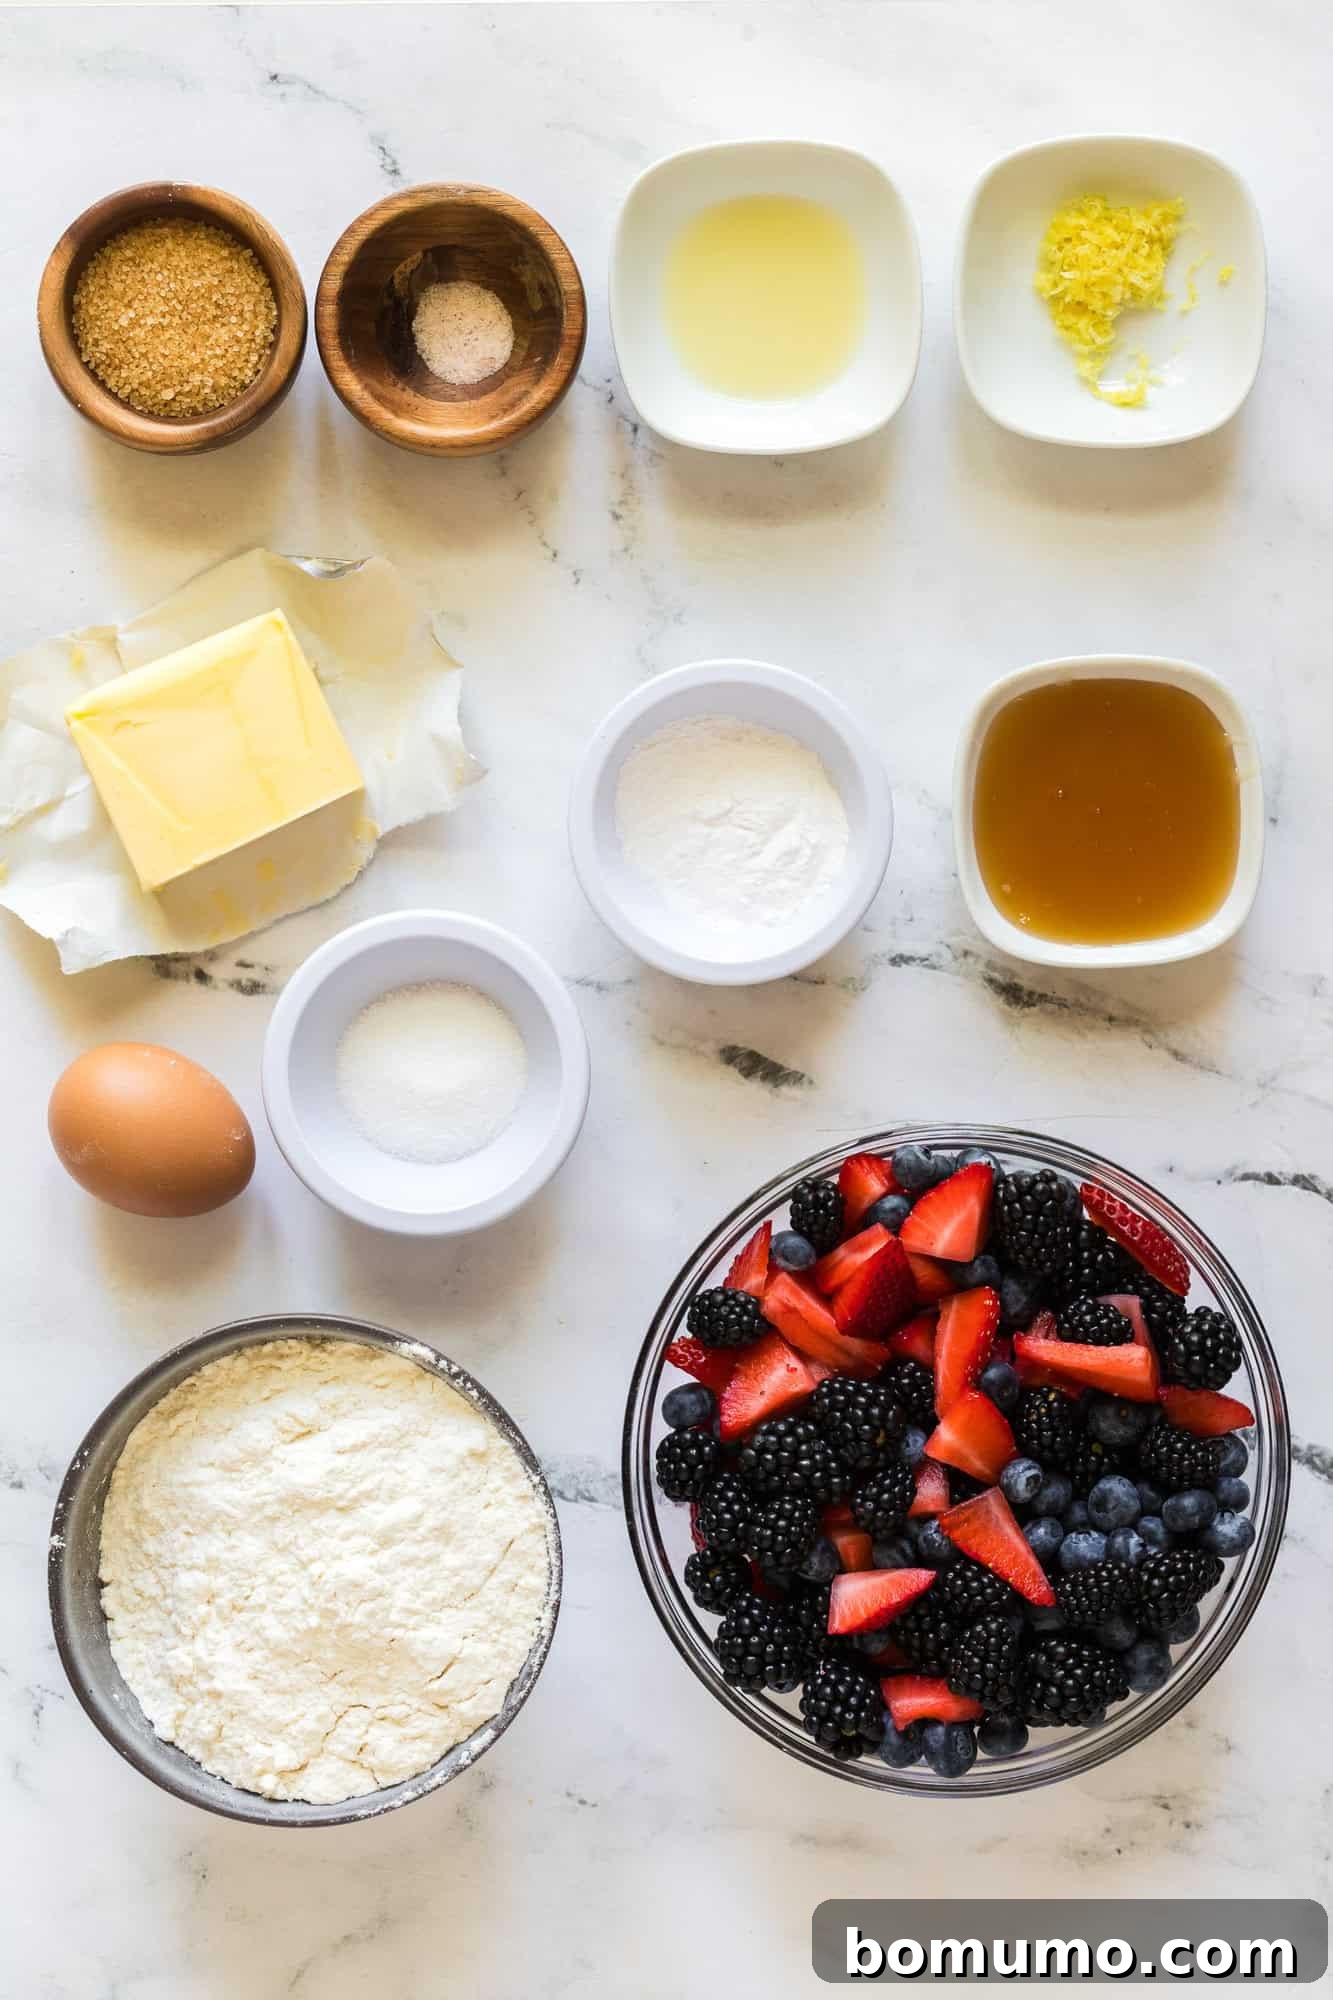
Key Ingredients for Your Perfect Berry Galette
Each ingredient in this recipe plays a vital role in creating the ultimate berry galette. Here’s a closer look at what you’ll need and why:
- All-Purpose Flour: There’s no need for specialized pastry flour here; standard all-purpose flour works perfectly to create a tender and flaky crust.
- Unsalted Butter: The secret to a truly flaky pastry lies in using very cold butter. Keep your butter in the refrigerator until the last possible moment before you begin, as this prevents it from melting too quickly and allows it to create pockets of steam during baking, resulting in a light, crisp texture.
- Granulated Sugar: A small amount of granulated sugar is added to the crust mixture to provide a subtle hint of sweetness that complements the tart berries beautifully. Regular white sugar is all you need.
- Salt: Just a dash of salt is essential to balance the flavors in the crust, preventing it from tasting bland and enhancing the overall depth of the pastry.
- Mixed Fresh Berries: This is where the magic happens! Any combination of berries will shine. For the galette pictured, a vibrant mix of fresh strawberries, blueberries, and blackberries was used. Aim for berries that are in season and ripe for the best flavor. Don’t worry if fresh isn’t available; frozen berries also work wonderfully without needing to be thawed first.
- Honey: Honey is my sweetener of choice for the berry filling. Beyond its delightful sweetness, it imparts a distinctive floral note that beautifully enhances the natural flavors of the berries, creating a more complex and rich taste profile.
- Lemon Juice and Lemon Zest: A touch of both lemon juice and zest provides a crucial acidic counterpoint to the sweetness of the fruit and honey. This brightness prevents the filling from tasting flat, making the berry flavors truly pop.
- Tapioca Starch: This ingredient, sometimes called tapioca flour and derived from dried cassava, is a fantastic thickener. It helps to bind the juices released by the fruit during baking, ensuring your galette filling remains luscious and prevents the crust from becoming soggy. If tapioca starch isn’t readily available, cornstarch makes an excellent substitute.
- Egg Wash & Coarse Sugar: A simple egg wash, made by whisking a large egg with a tablespoon of water, is brushed onto the folded-over crust. This creates a beautiful golden-brown, shiny surface. A generous sprinkle of coarse sugar, such as sanding sugar or turbinado sugar, not only adds an appealing sparkle but also provides a delightful crunchy texture to the crust.
Step-by-Step Guide to Crafting Your Perfect Berry Galette
Creating a beautiful berry galette is simpler than you might imagine. Follow these detailed steps for a perfectly rustic and delicious dessert.
1. Prepare the Flaky Pie Crust Dough
Achieving a tender, flaky crust is the foundation of a great galette. While a food processor makes quick work of this, you can certainly use a pastry cutter or even a fork for a more traditional approach.
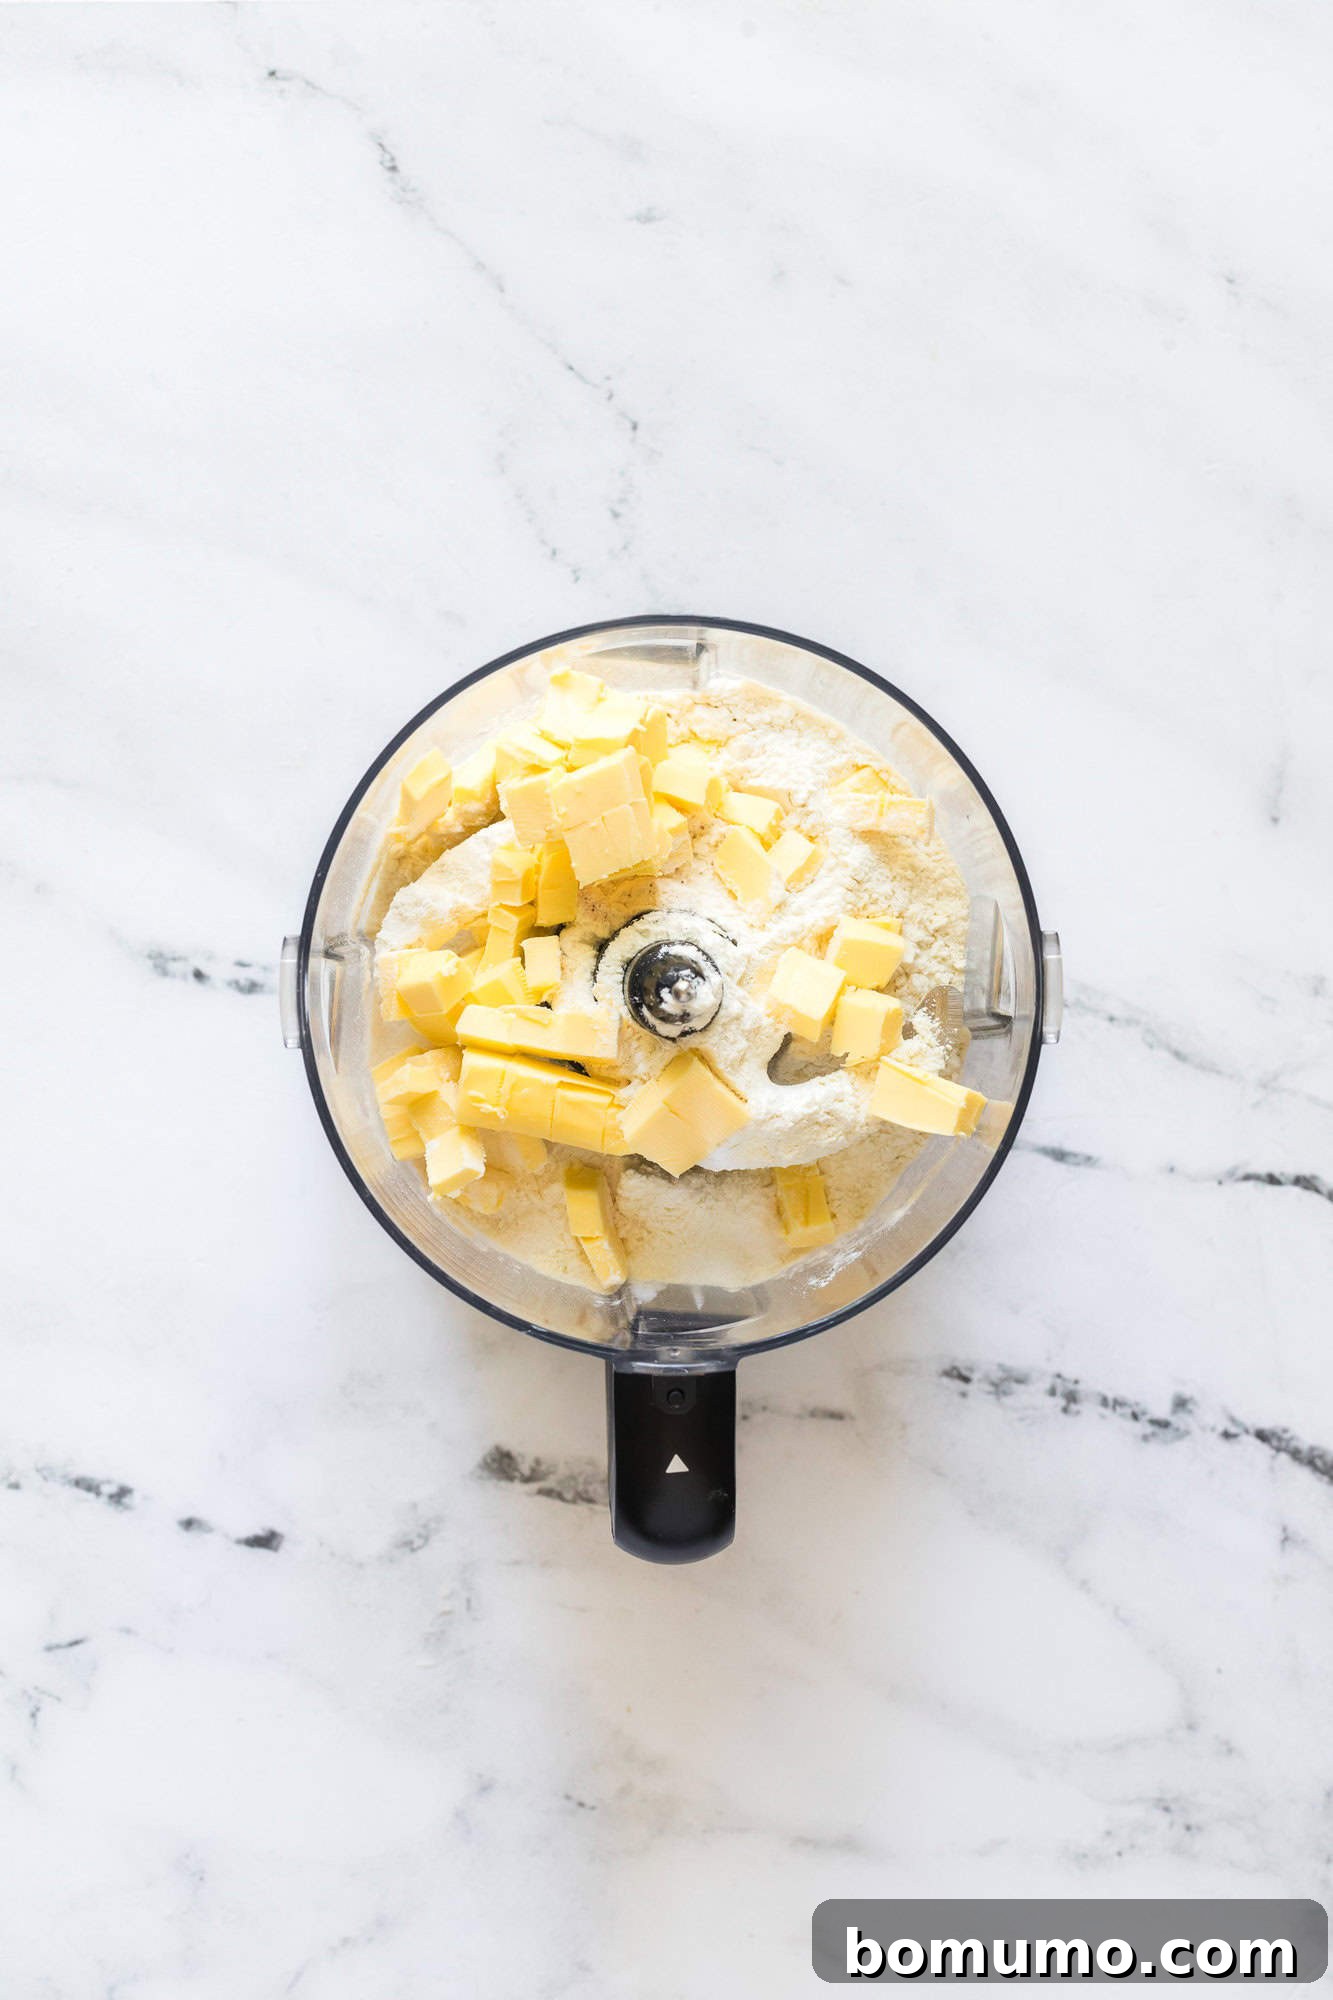
- In the bowl of your food processor, combine the all-purpose flour, a tablespoon of granulated sugar, and a quarter teaspoon of salt.
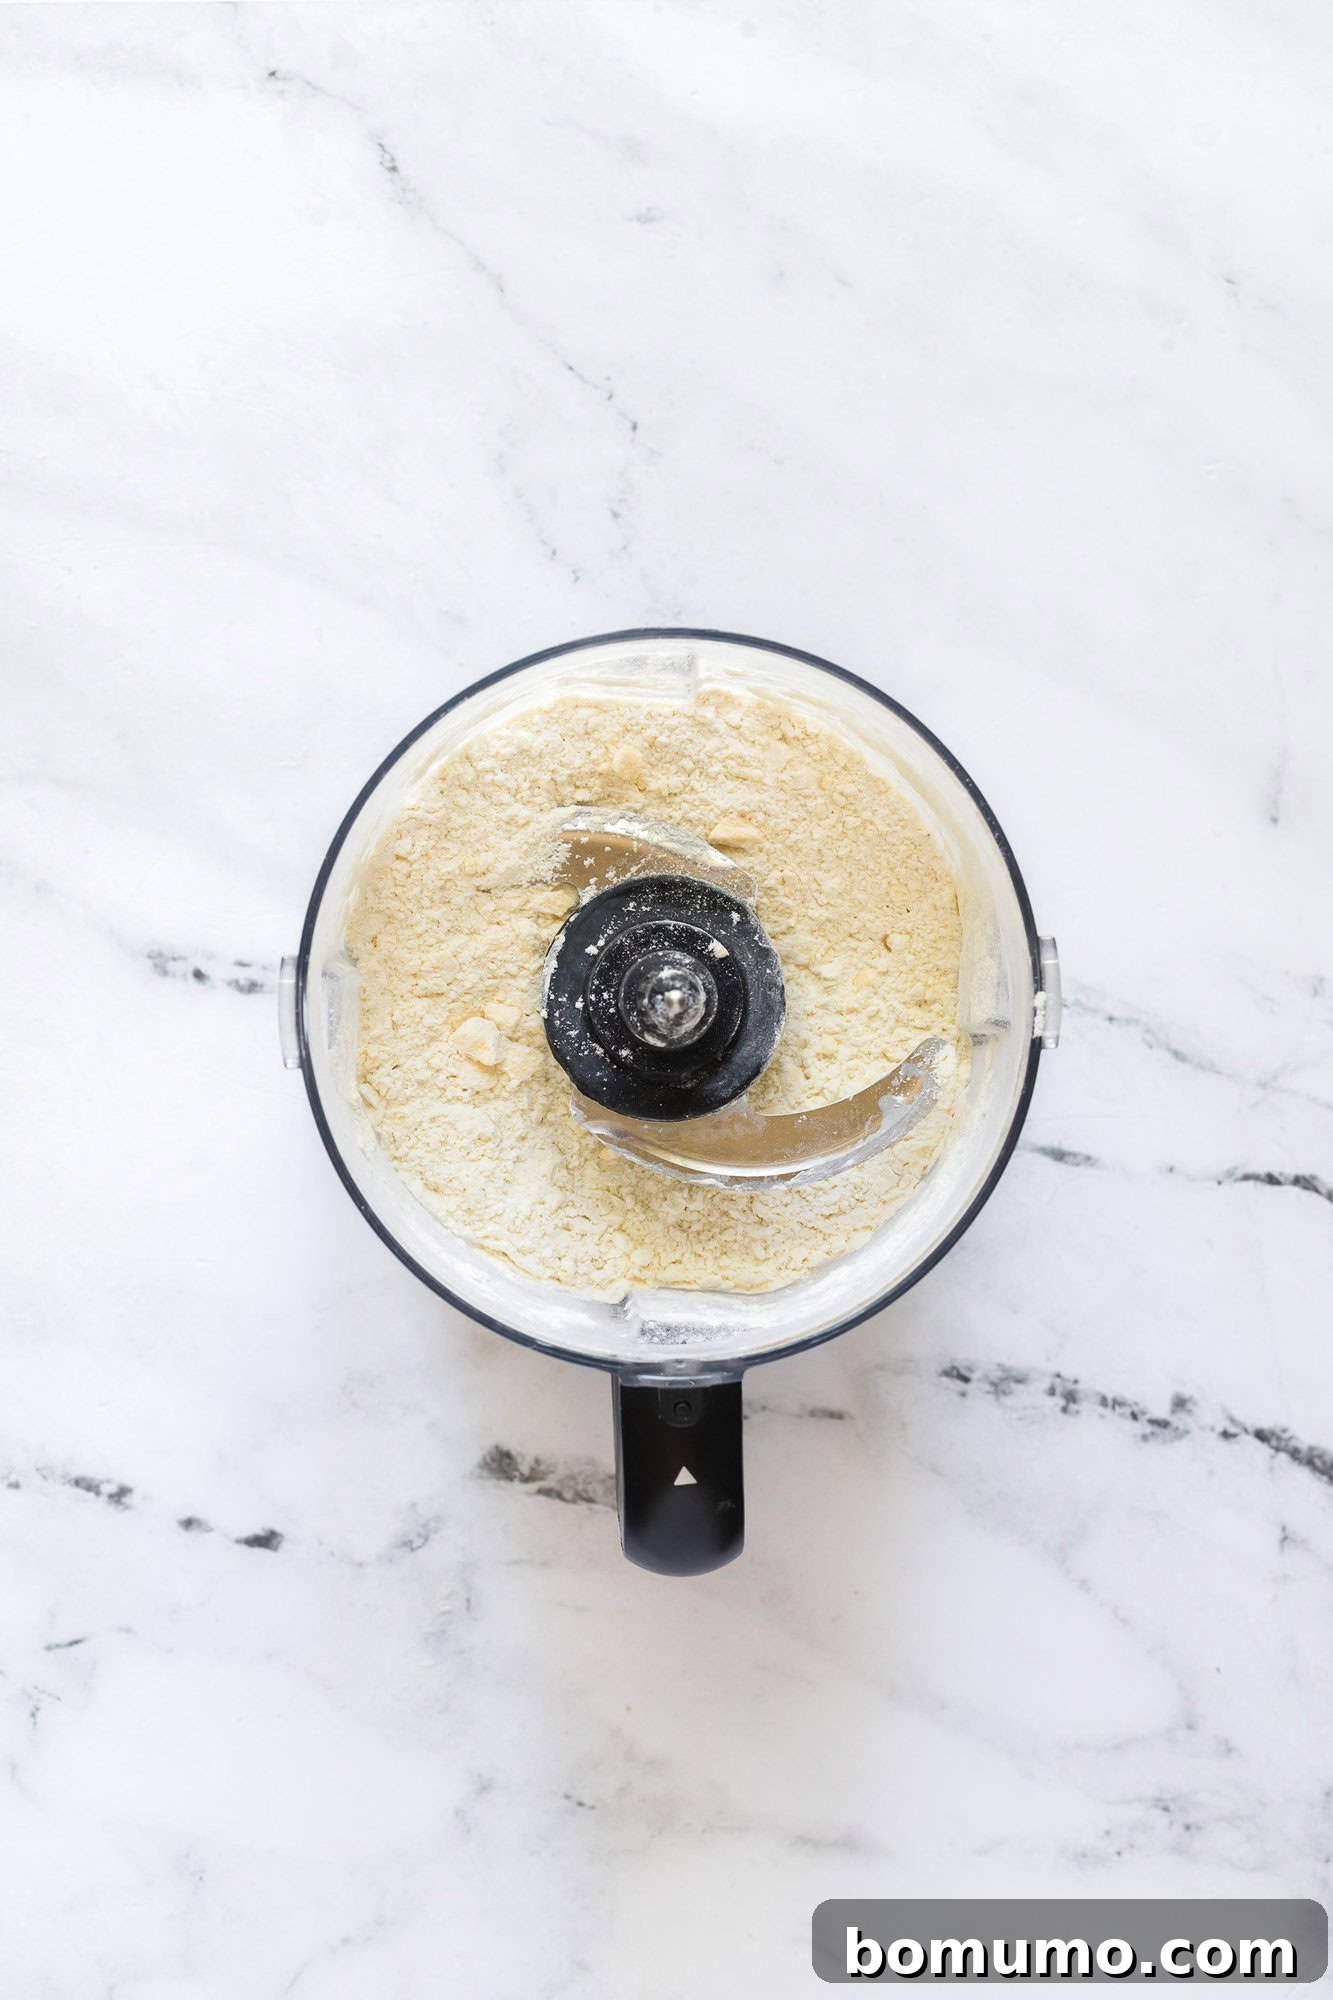
- Cut your very cold unsalted butter into small cubes and add them to the dry mixture. Pulse the food processor a few times until the butter is broken down into small, pea-sized pieces and is somewhat incorporated into the flour. The mixture should have a crumbly, sandy texture.
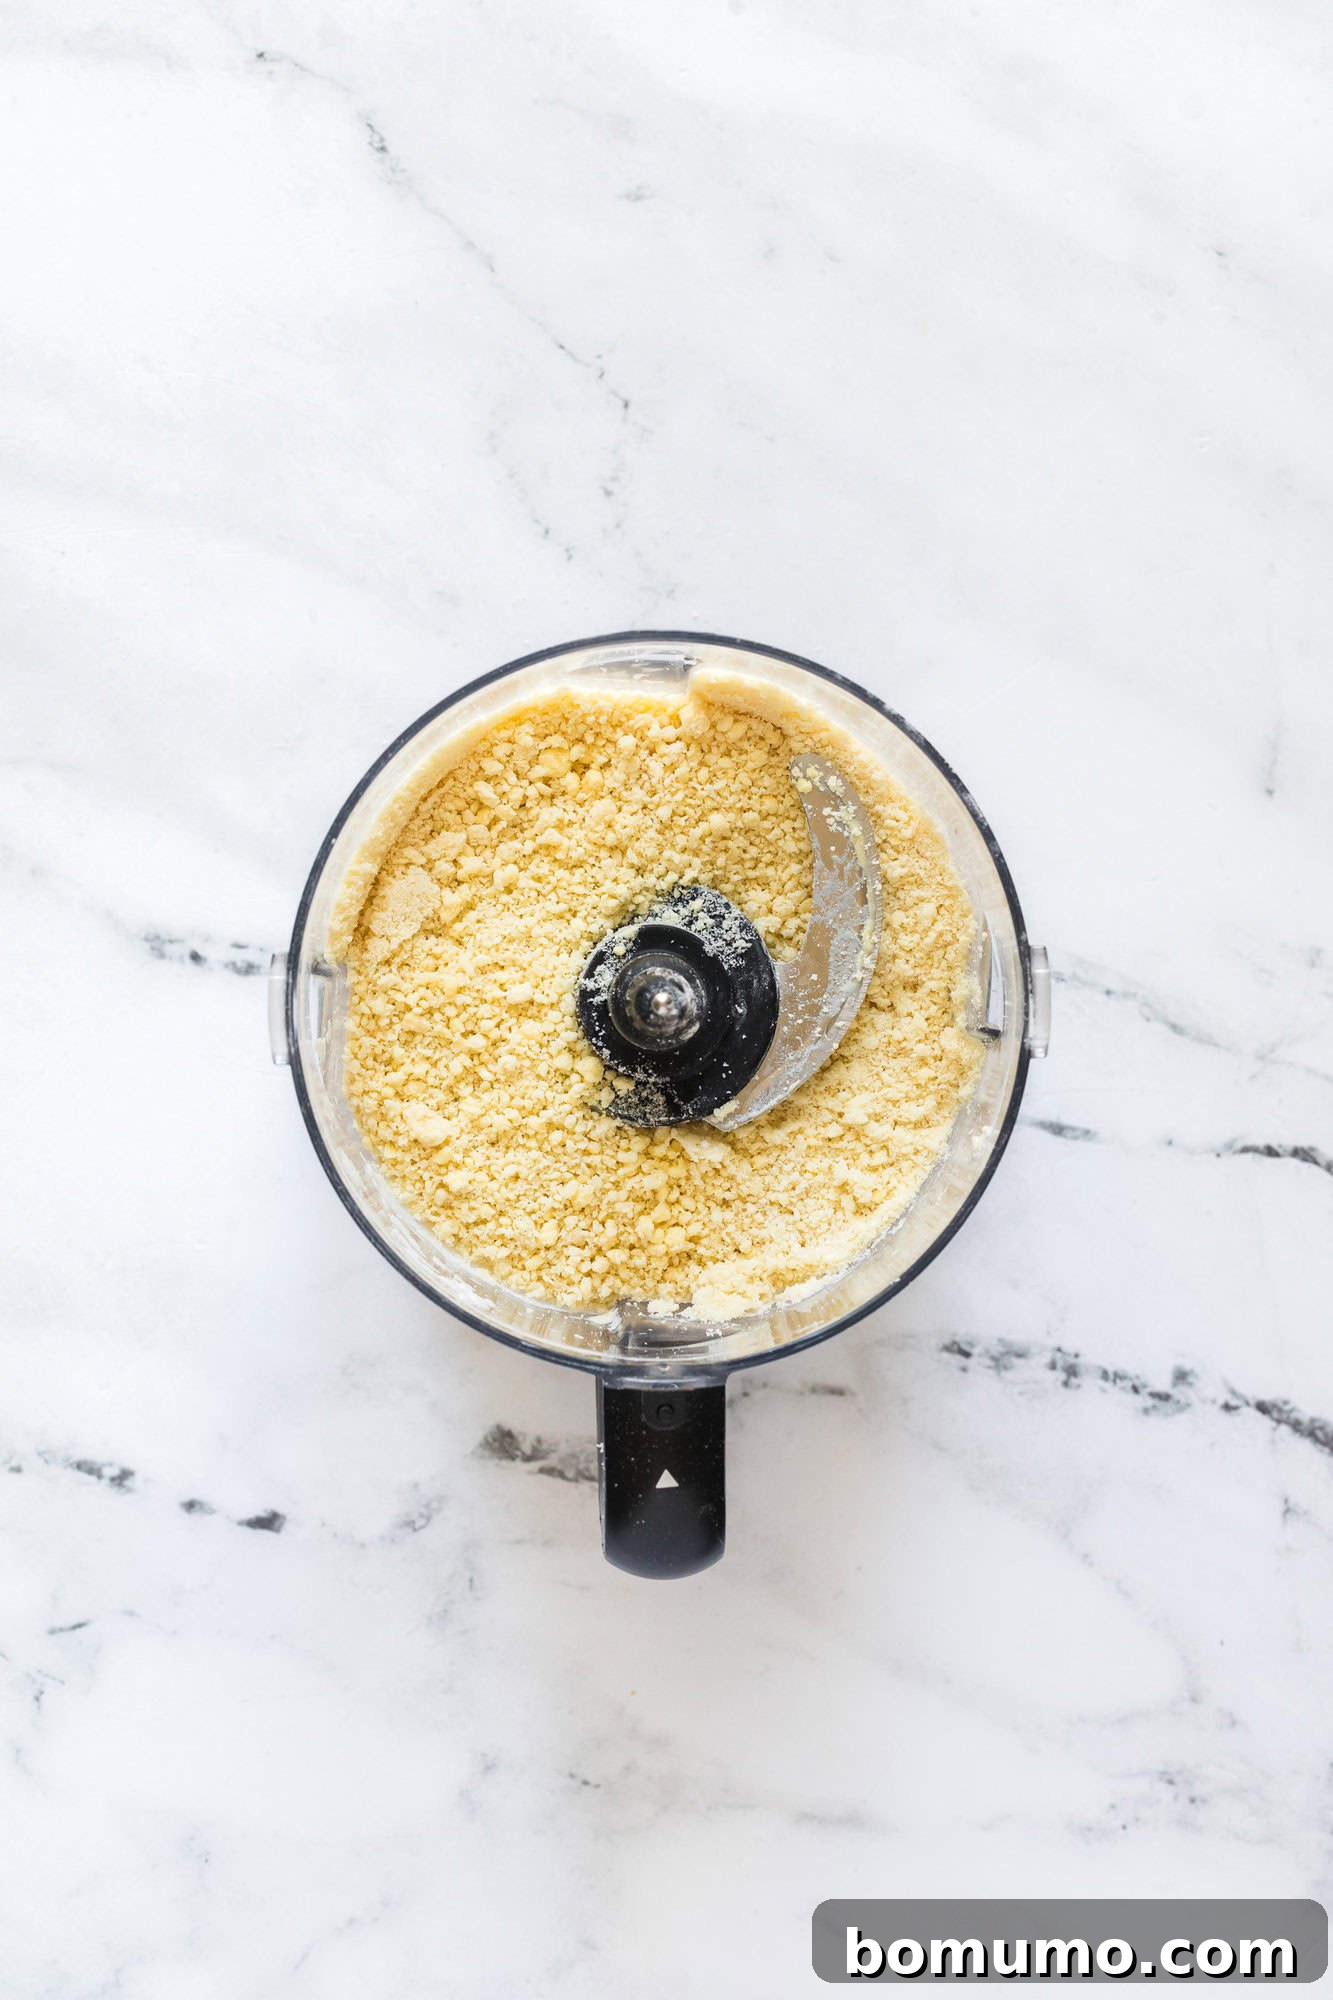
- Begin adding ice water, one tablespoon at a time, pulsing briefly after each addition. Continue until the dough just starts to come together. Test its consistency by pressing a small amount between your fingertips; if it holds its shape, it’s ready. You’ll typically need between three to five tablespoons of ice water.
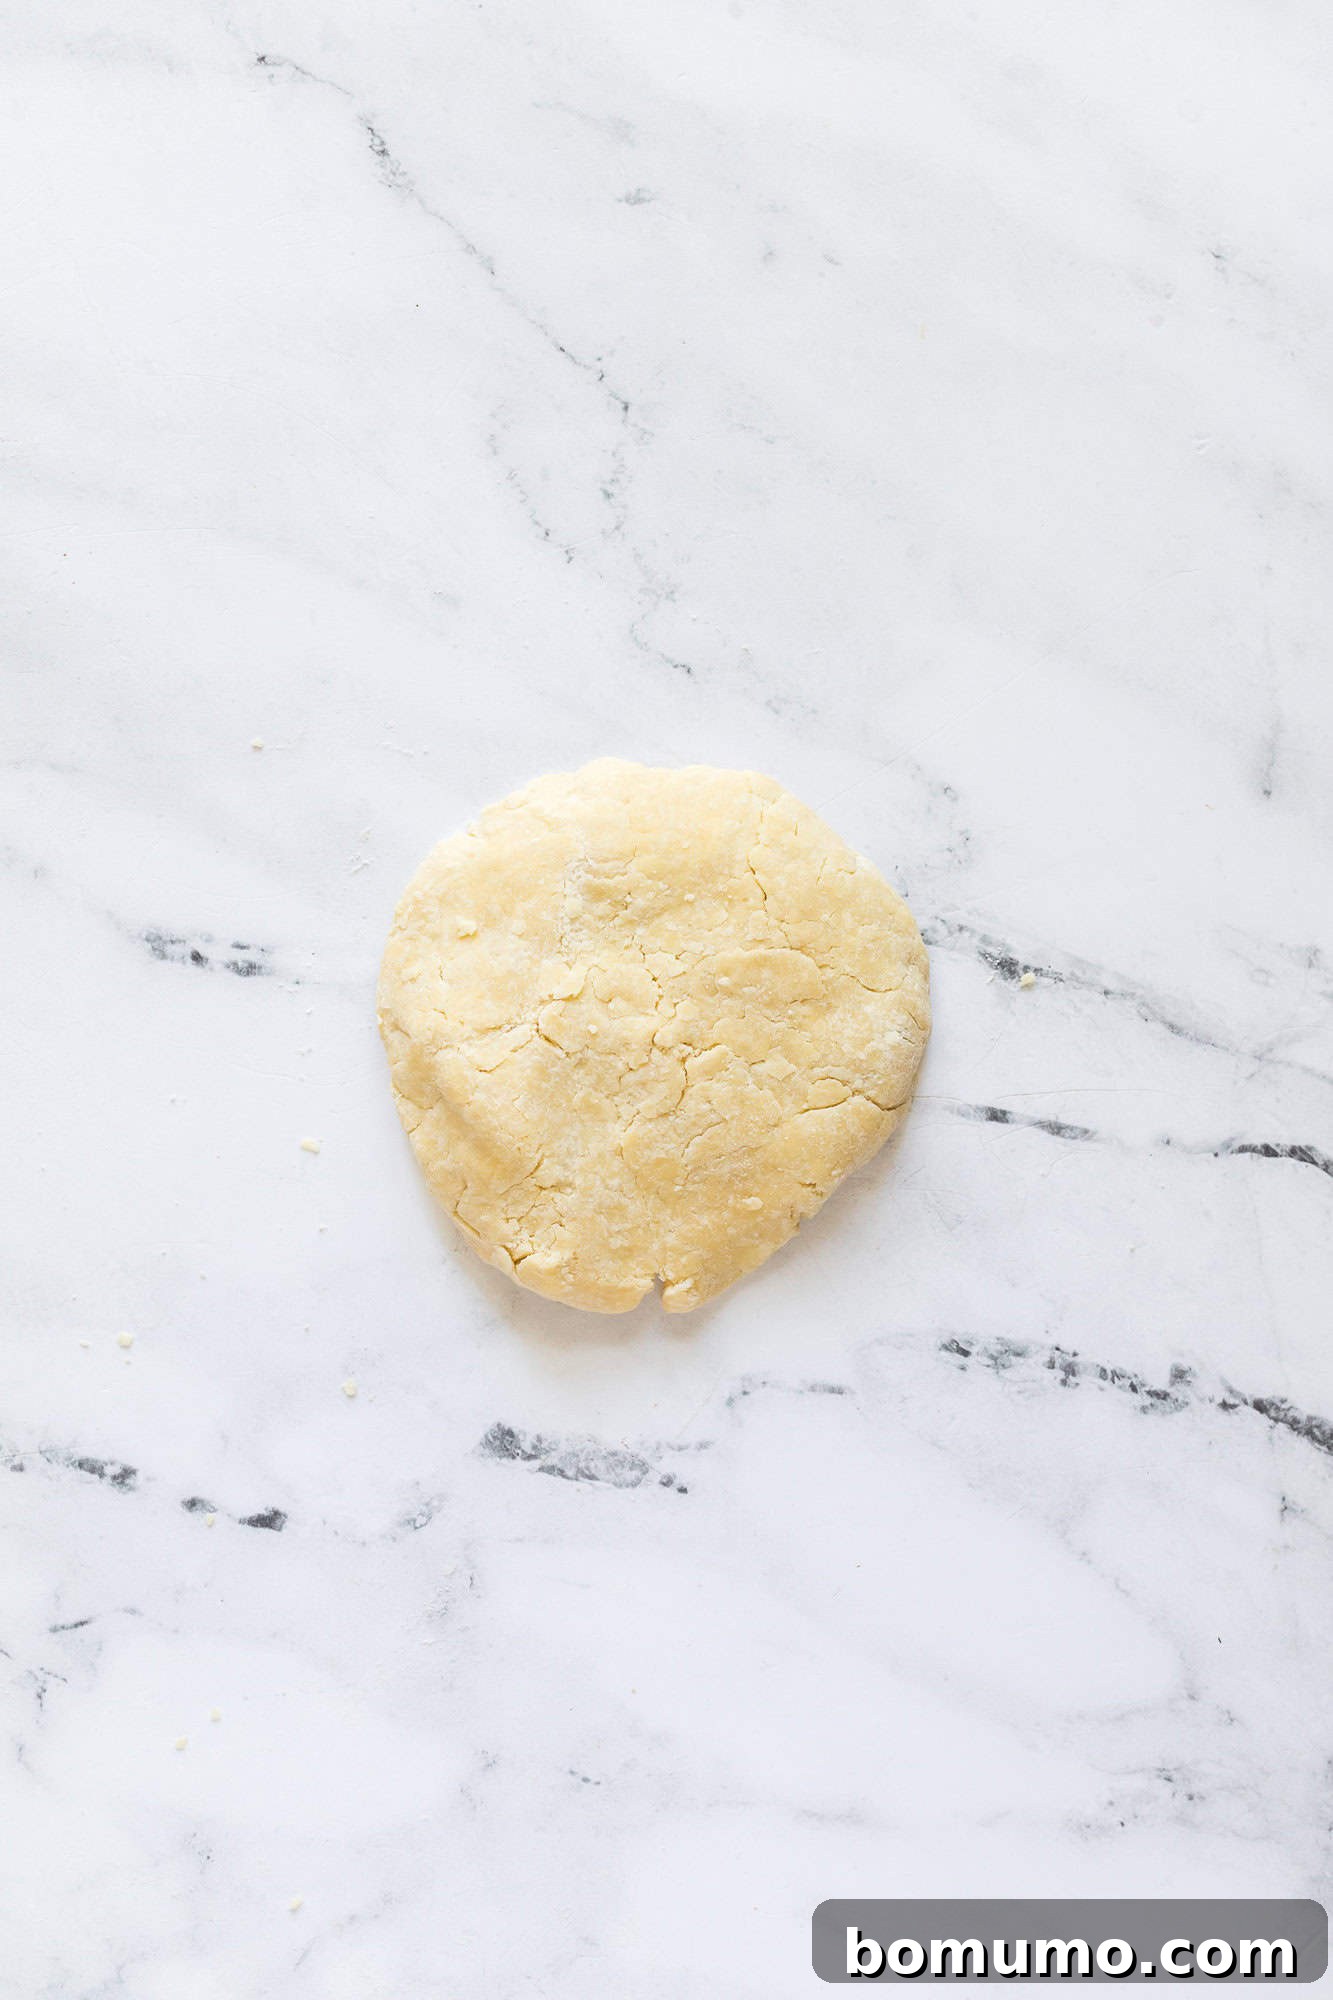
- Carefully transfer the dough onto a lightly floured surface. Gently gather it and form it into a flattened ball or a disk shape.
- Wrap the dough tightly, preferably in plastic wrap, and refrigerate it for at least 20 to 30 minutes. This crucial chilling period allows the gluten to relax and the butter to firm up, resulting in a more tender and manageable crust. While the dough chills, you can prepare your berry filling.
2. Prepare the Luscious Berry Filling
While your dough is chilling, it’s time to create the vibrant heart of your galette.
- Begin by gently rinsing all your mixed berries under cold water. Carefully remove any stems, hulls, or debris. It’s crucial to dry them as thoroughly as possible to prevent an overly watery filling. For larger berries, particularly strawberries, slice them into smaller, bite-sized pieces for even distribution.
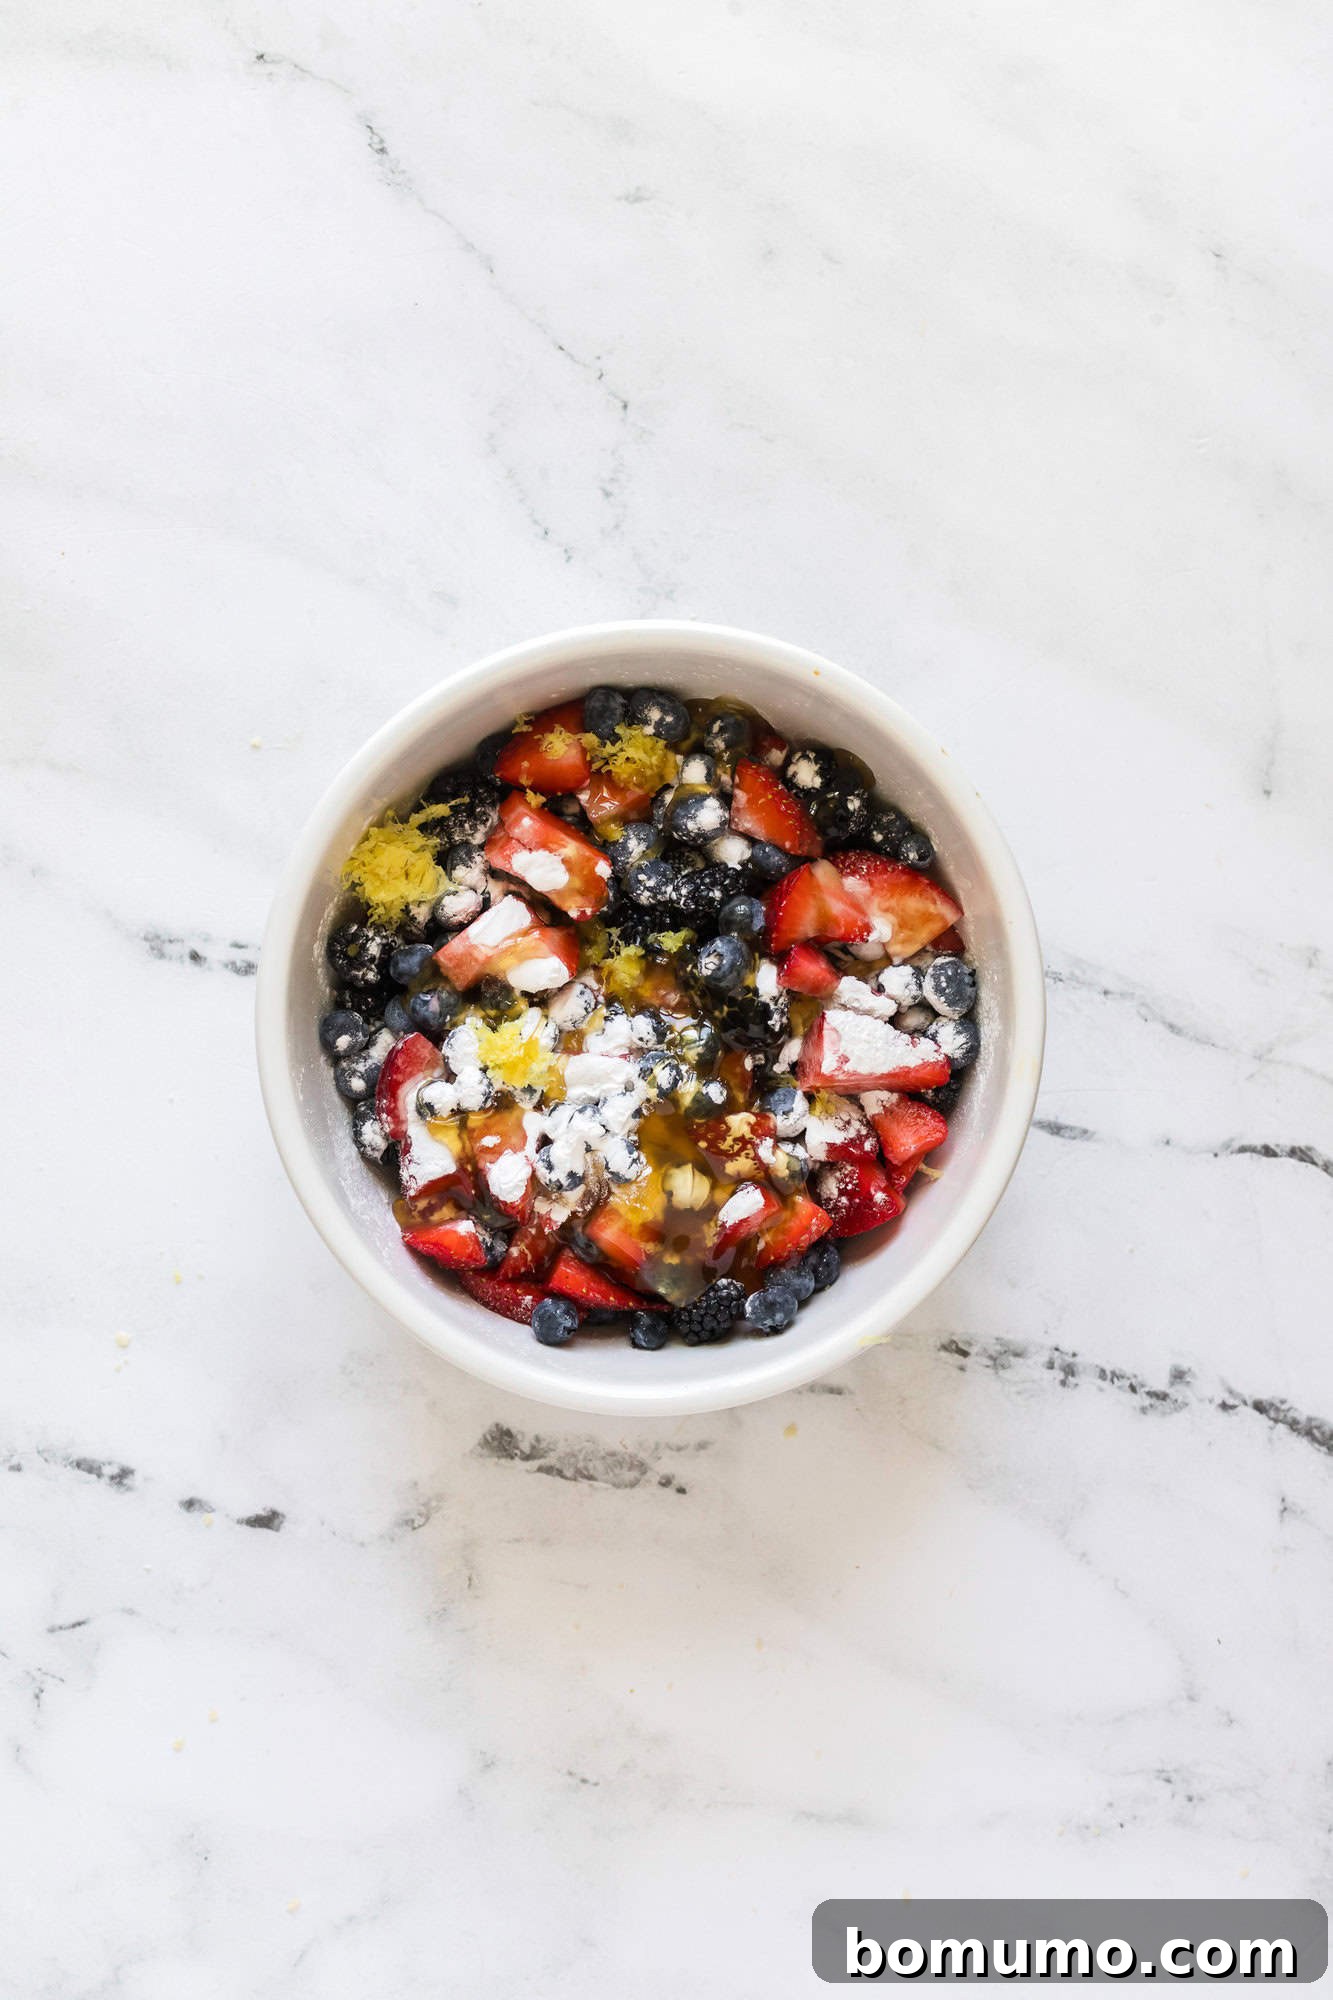
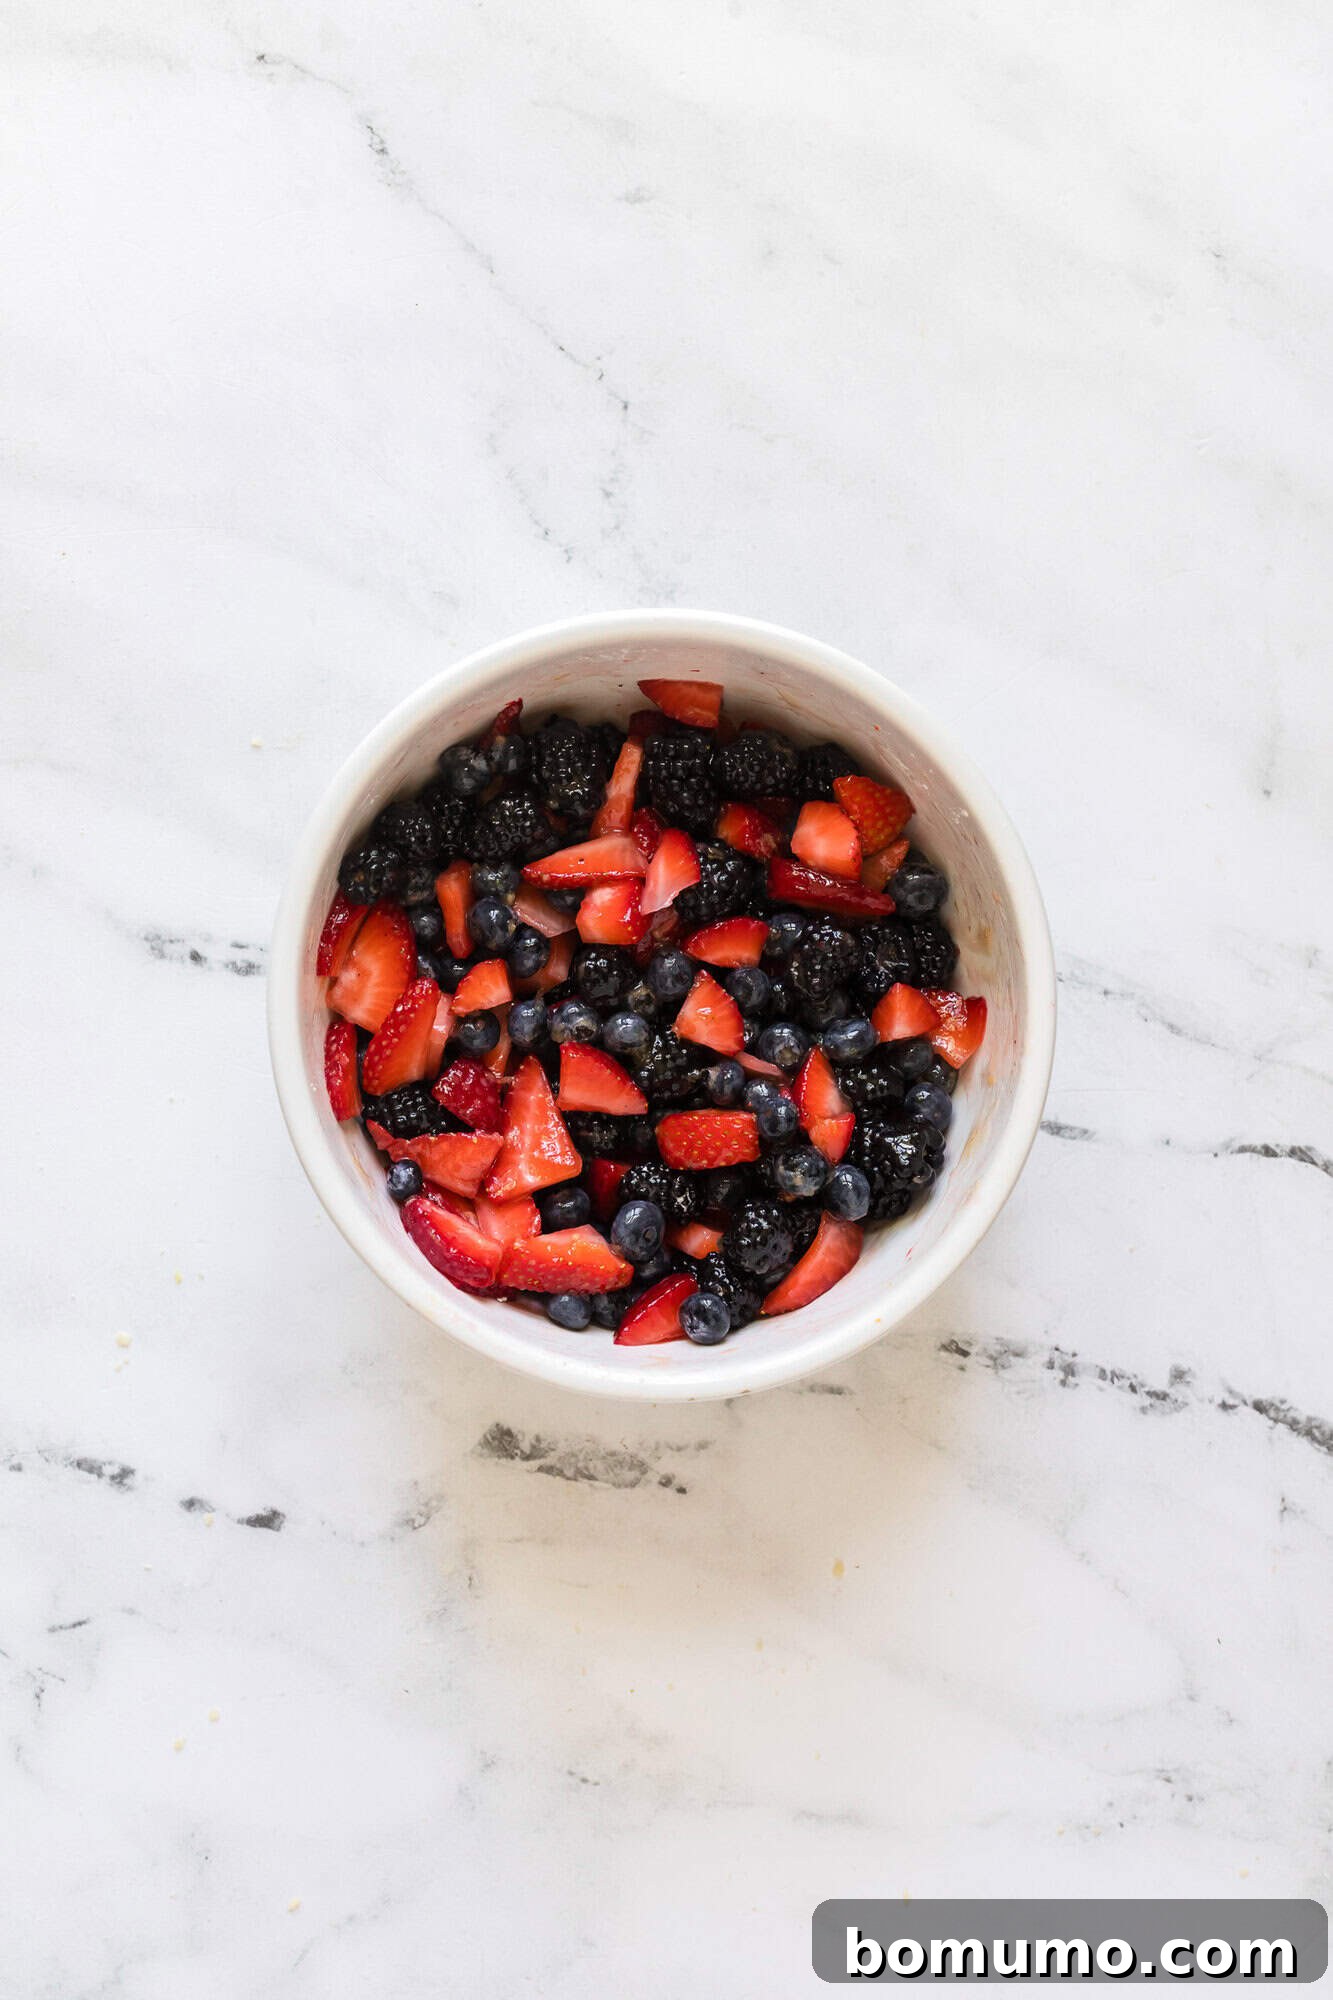
- In a medium-sized mixing bowl, gently combine the cleaned berries with the honey, lemon zest, lemon juice, and tapioca starch (or cornstarch). Use a light touch to avoid crushing the delicate berries.
- Set the berry mixture aside for approximately 15 minutes. This allows the berries to macerate, a process where the honey draws out their natural juices and intensifies their inherent sweetness and flavor.
- During this time, preheat your oven to 400ºF (200ºC). Line a large, rimmed baking sheet (or a baking stone) with parchment paper. Using a rimmed pan is highly recommended, as occasionally, some berry juices might bubble over during baking, and you definitely want to contain them!
3. Assemble Your Rustic Galette
Now comes the fun part – bringing your galette to life!
- Remove the chilled dough from the refrigerator and place it on a lightly floured surface. Using a rolling pin, roll the dough into a large circle, aiming for a diameter of about 12 to 14 inches and a thickness of approximately a quarter-inch.
- Carefully transfer the rolled-out crust to the center of your prepared baking sheet. Don’t fret if you encounter a small hole or tear; simply pinch the edges together to mend it seamlessly.
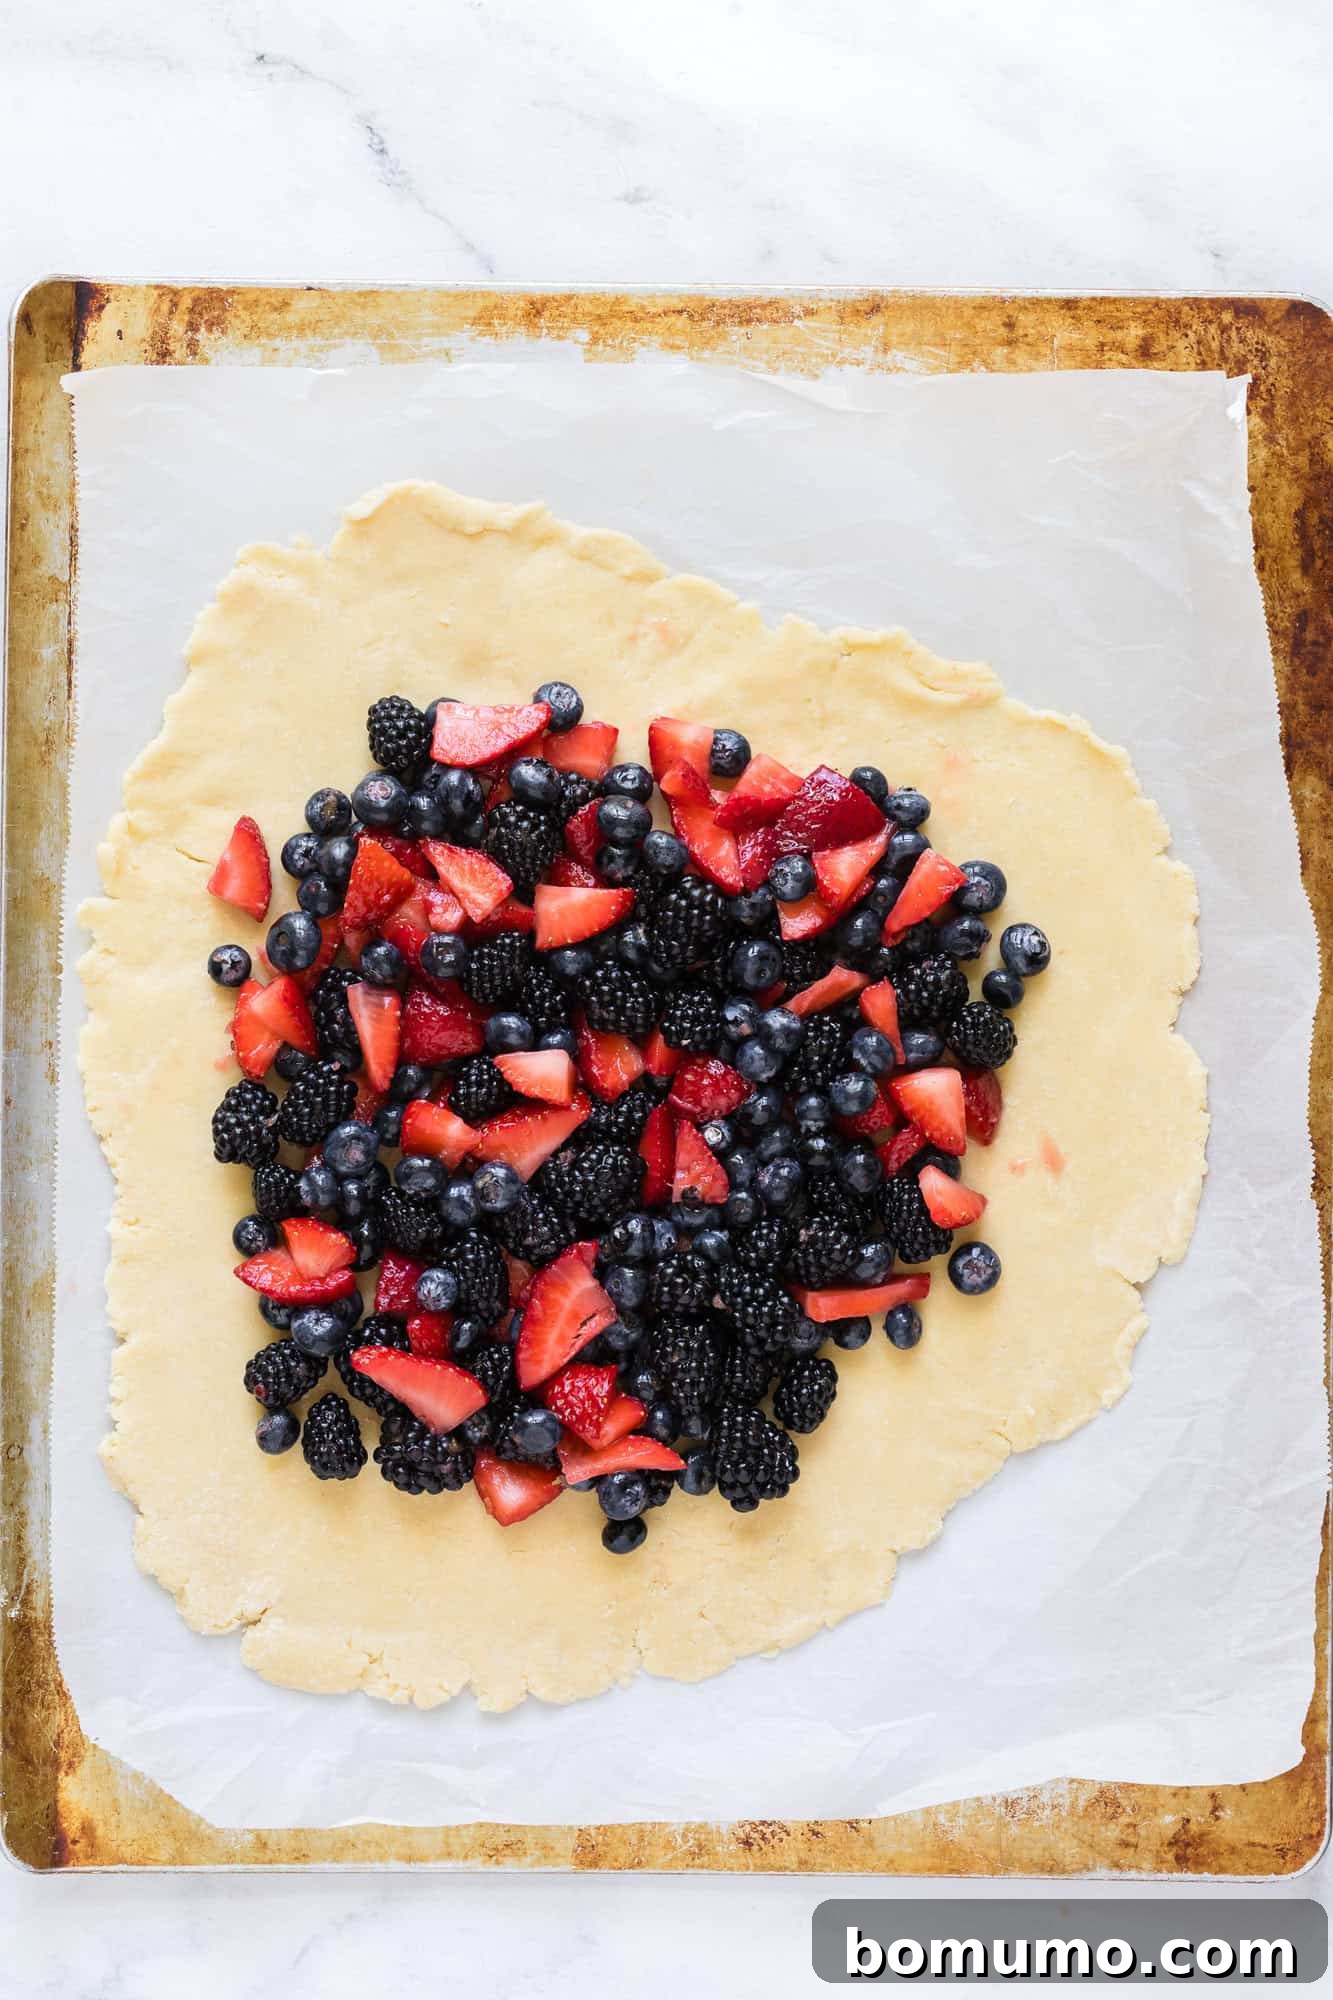
- Using a slotted spoon, scoop the macerated berries from the mixing bowl, leaving any excess accumulated juice behind. Evenly arrange the berry filling over the center of the dough, ensuring you leave an approximate two-inch border all around the perimeter of the crust. This border will form your rustic edge.
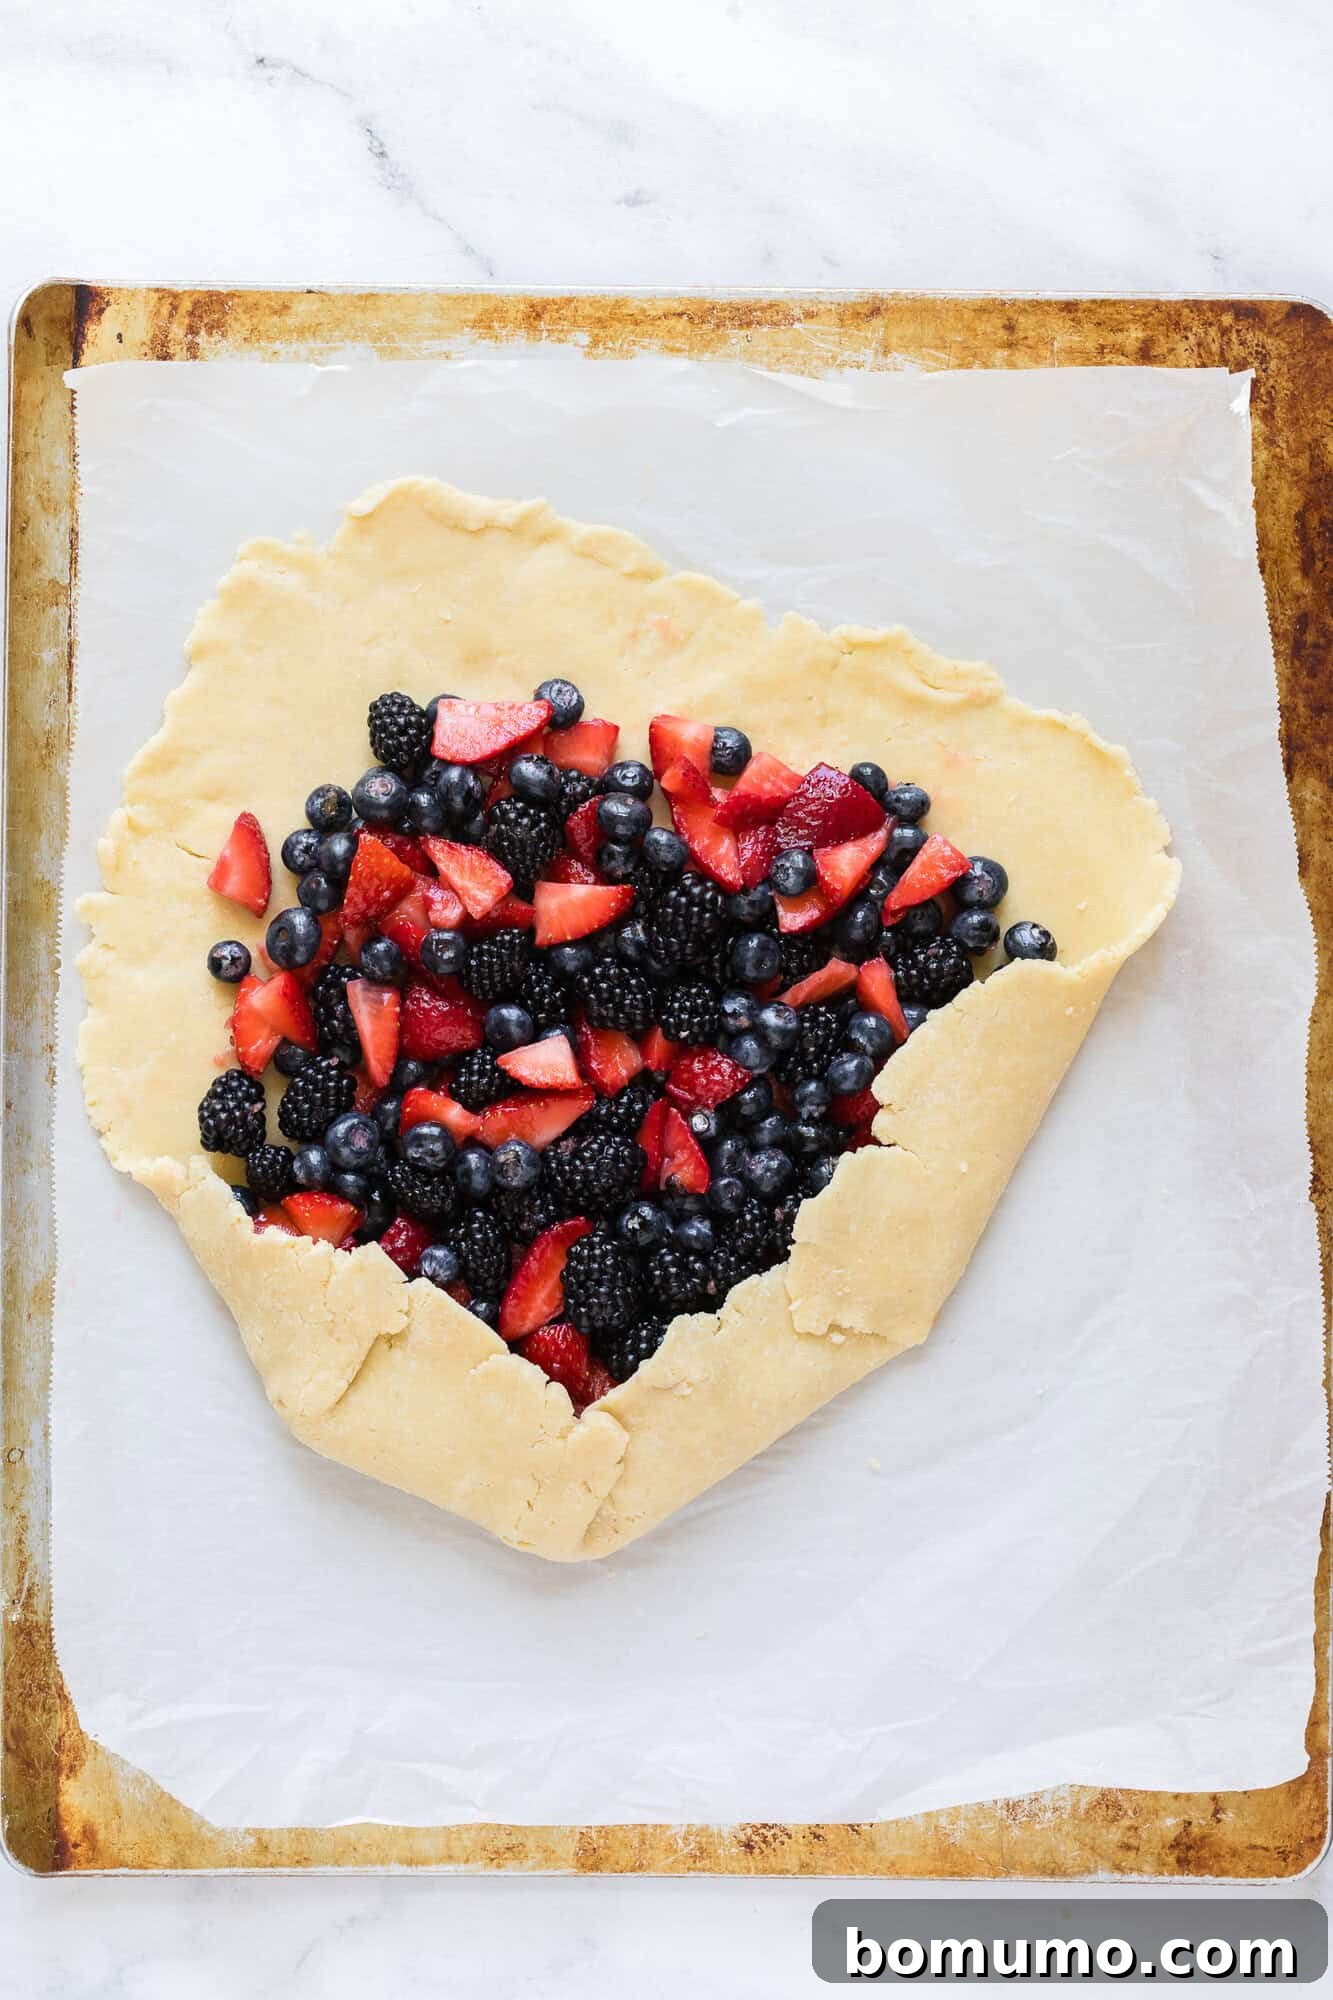
- Gently fold the dough border over the edges of the berries. As you go, create pleats and pinch the dough edges together to form a beautiful, free-form crust. Remember, the charm of a galette lies in its rustic, imperfect look, so don’t strive for absolute symmetry. Refer to the accompanying photos if you’d like a visual guide to this process.
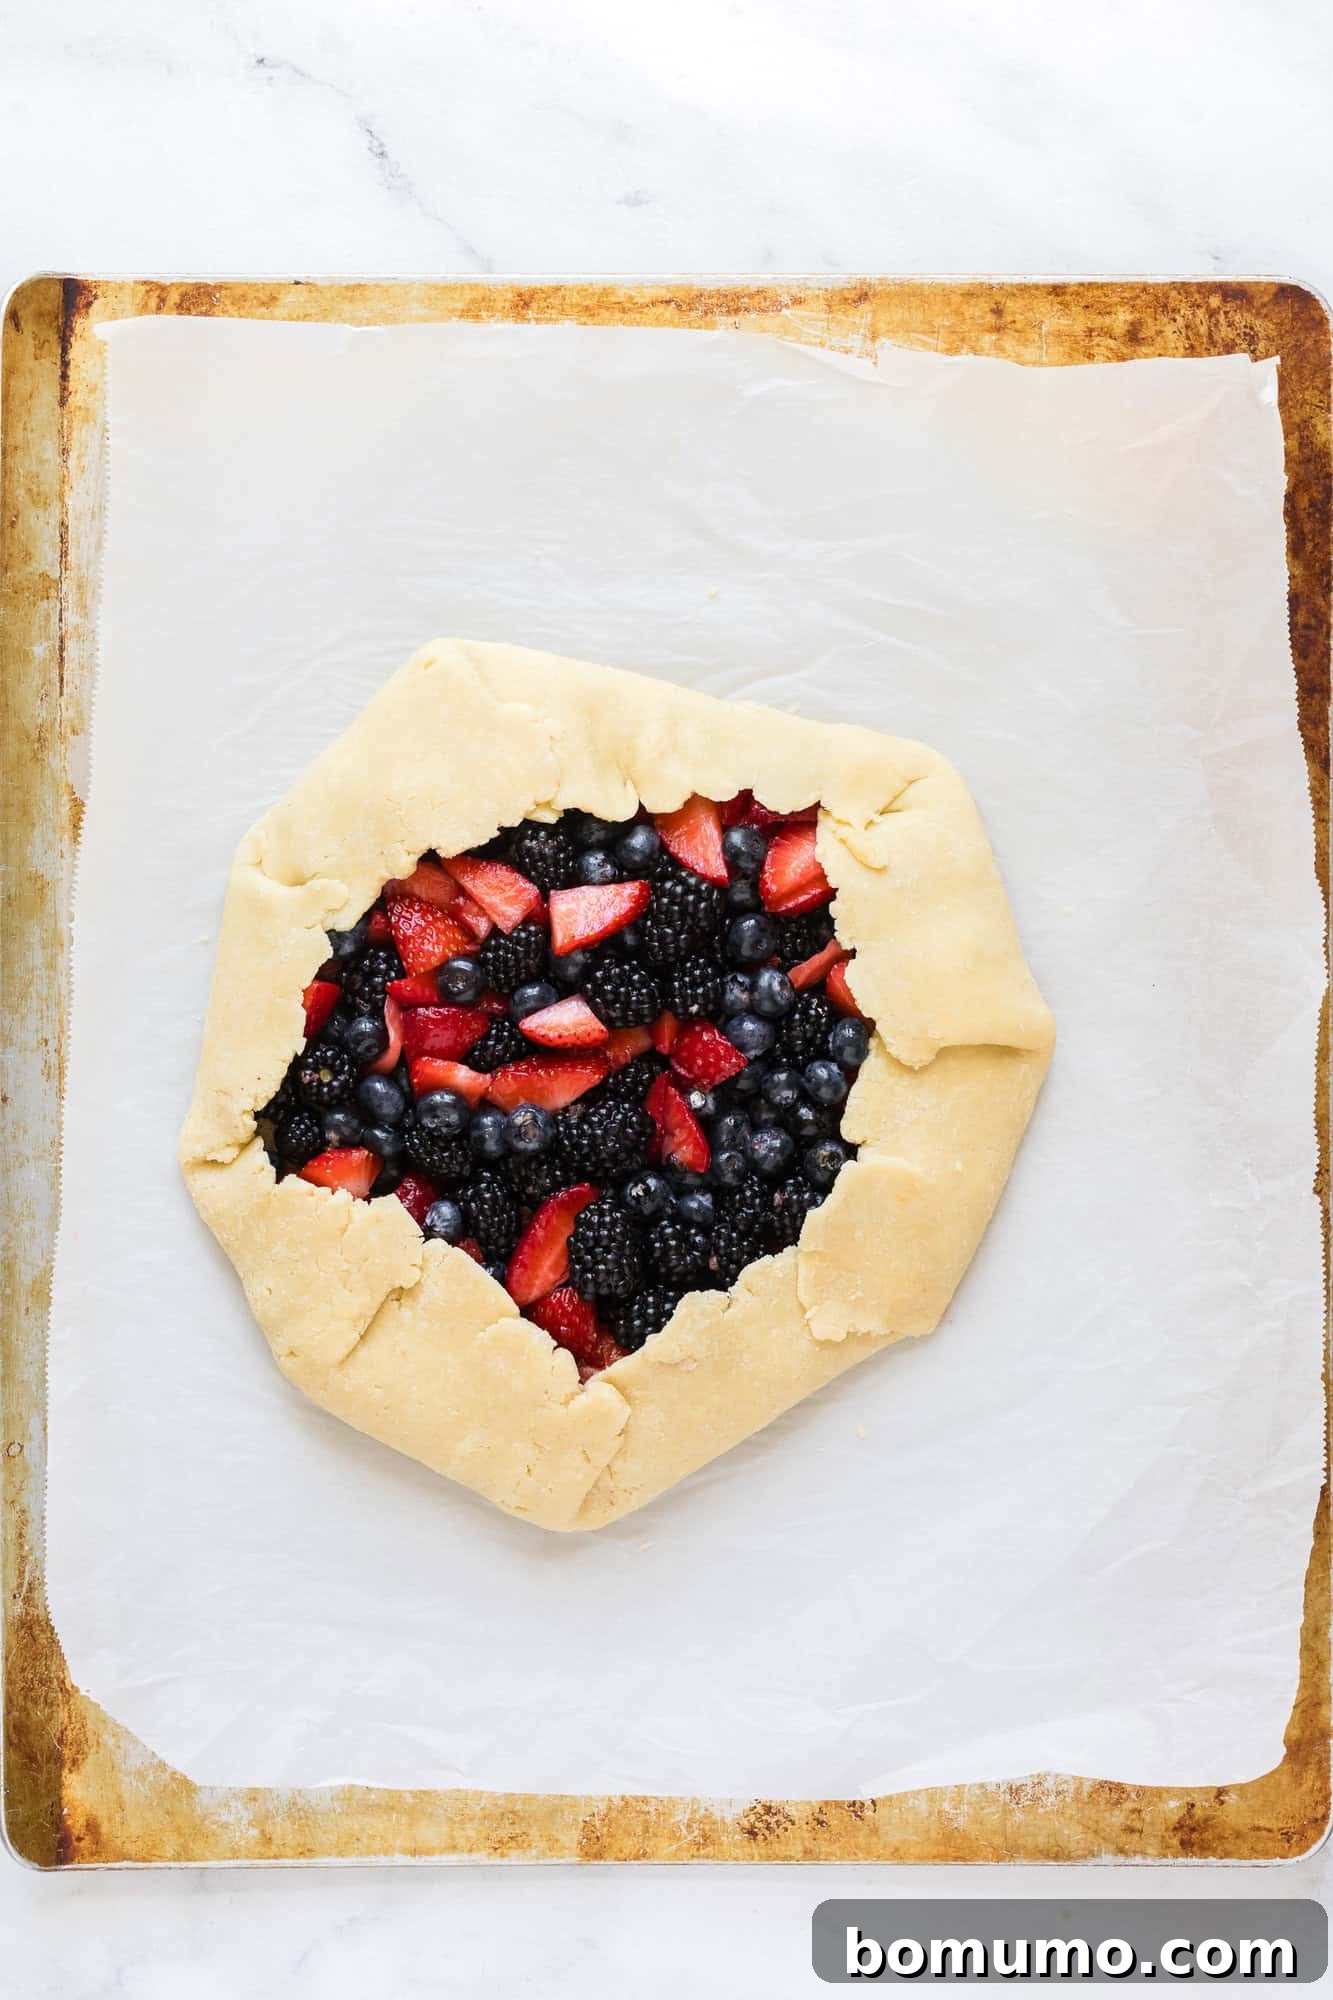
4. Apply Egg Wash & Bake to Golden Perfection
- In a small bowl, whisk together one large egg with a tablespoon of water until thoroughly combined. This is your egg wash.
- Brush this egg mixture generously over the visible, folded-over edges of your galette crust. This step contributes to a beautifully golden, shiny, and crisp finish.
- Immediately sprinkle a generous amount of coarse sugar, such as sanding sugar or turbinado sugar, over the egg-washed crust. This adds a delightful textural crunch and a glistening appearance.
- Carefully place the assembled galette into your preheated oven. Bake for approximately 25 to 30 minutes, or until the crust is a rich golden brown and the berry filling is bubbly and softened.
- Once baked, remove the galette from the oven and allow it to cool on the baking sheet for at least 10 minutes before attempting to slice it. This cooling period helps the filling set and prevents it from being too runny.
5. Serve and Savor
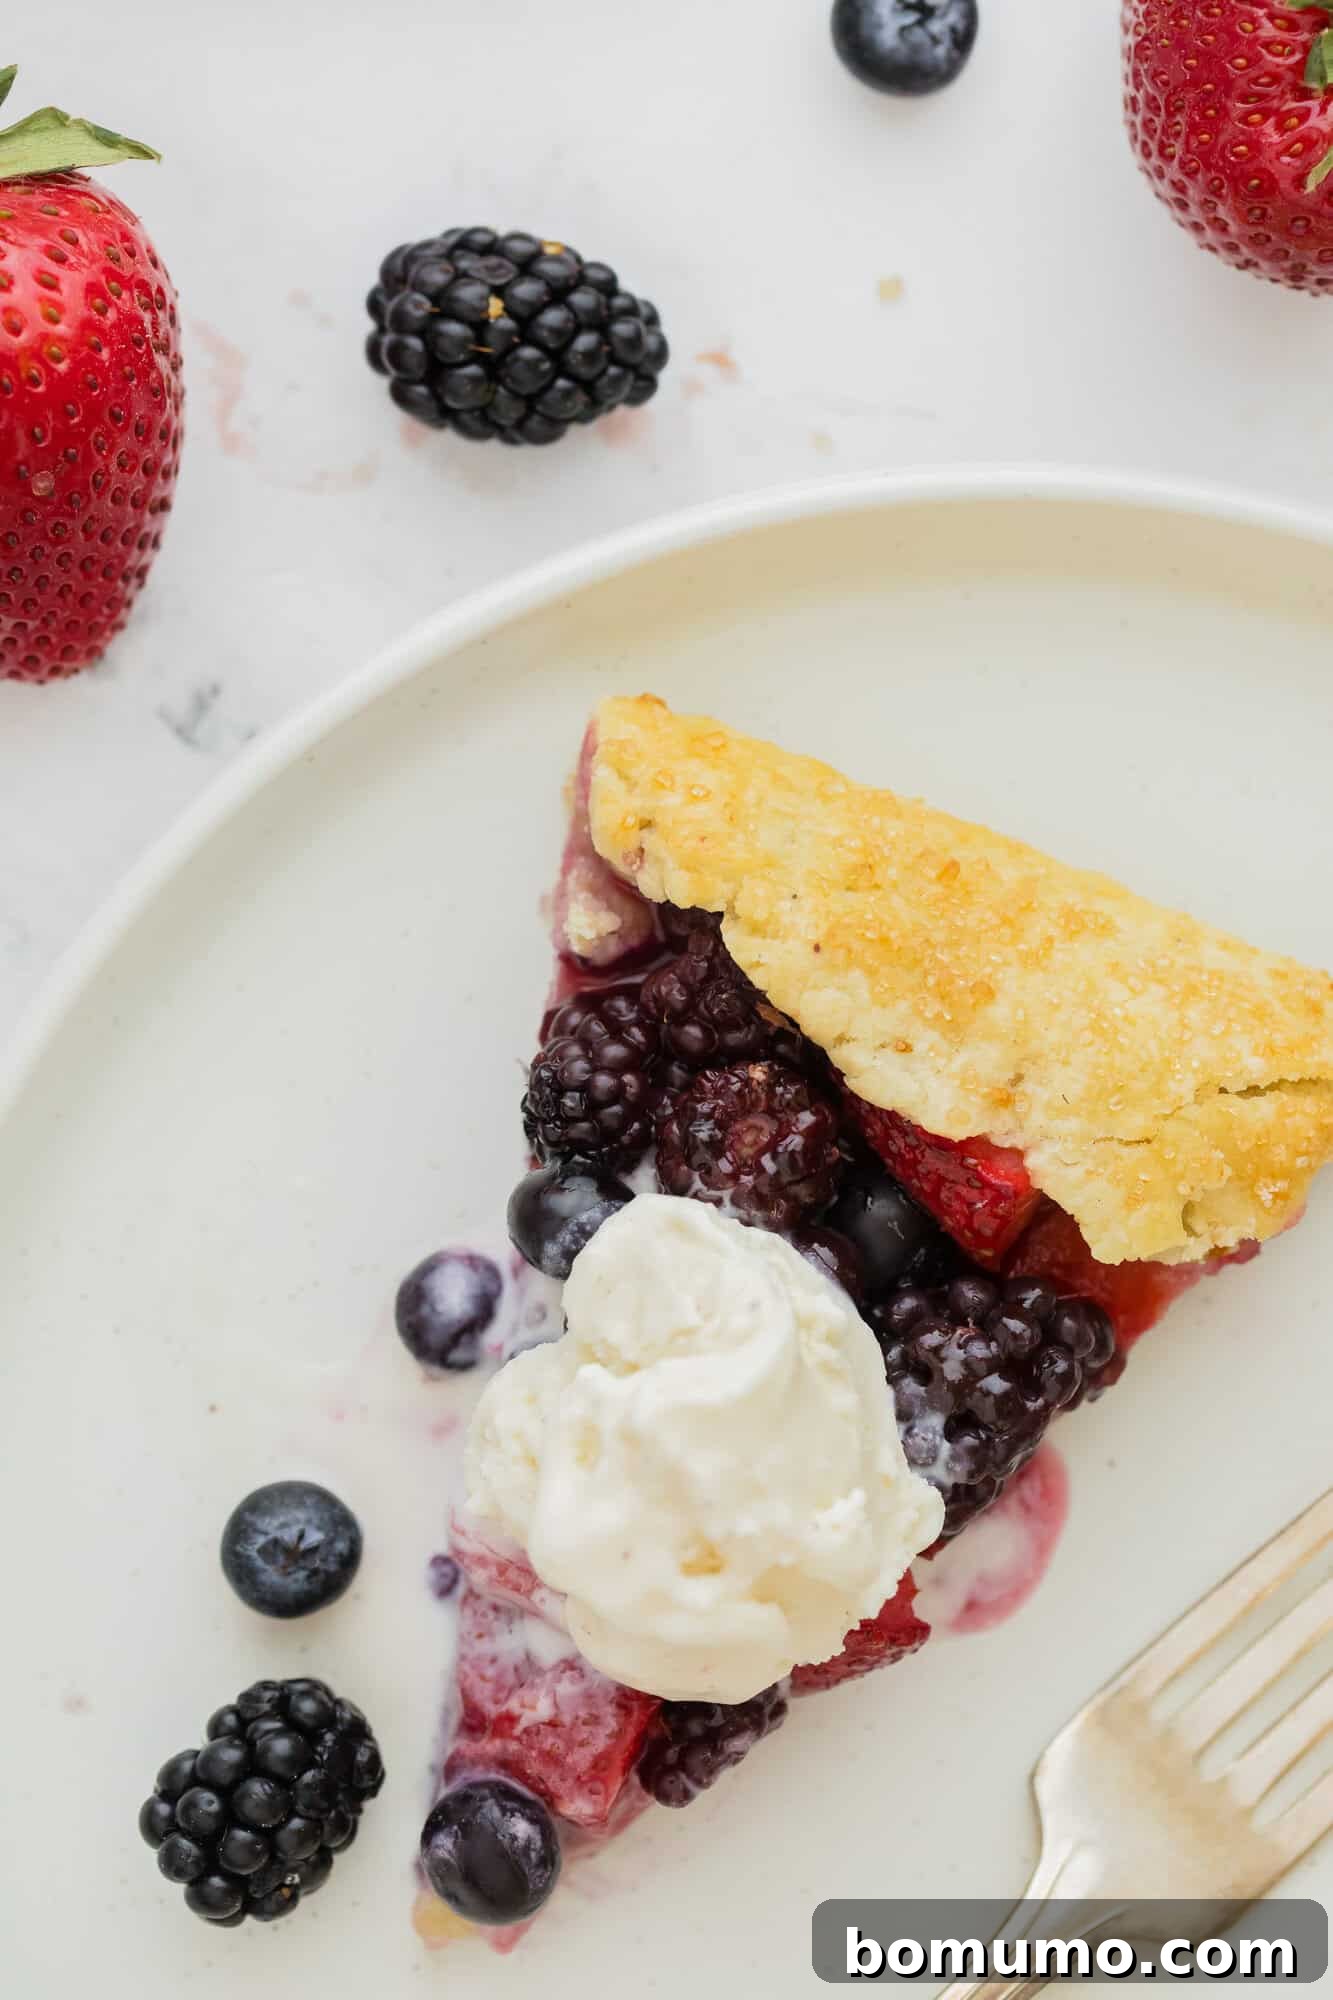
To truly experience the magic of this dessert, serve your berry galette slightly warm. A perfect pairing is a generous scoop of homemade vanilla bean ice cream, allowing it to gently melt into each slice. Vanilla frozen yogurt or a swirl of freshly made whipped cream are also excellent choices. For an extra touch of elegance, garnish with a few fresh berries if you have any remaining.
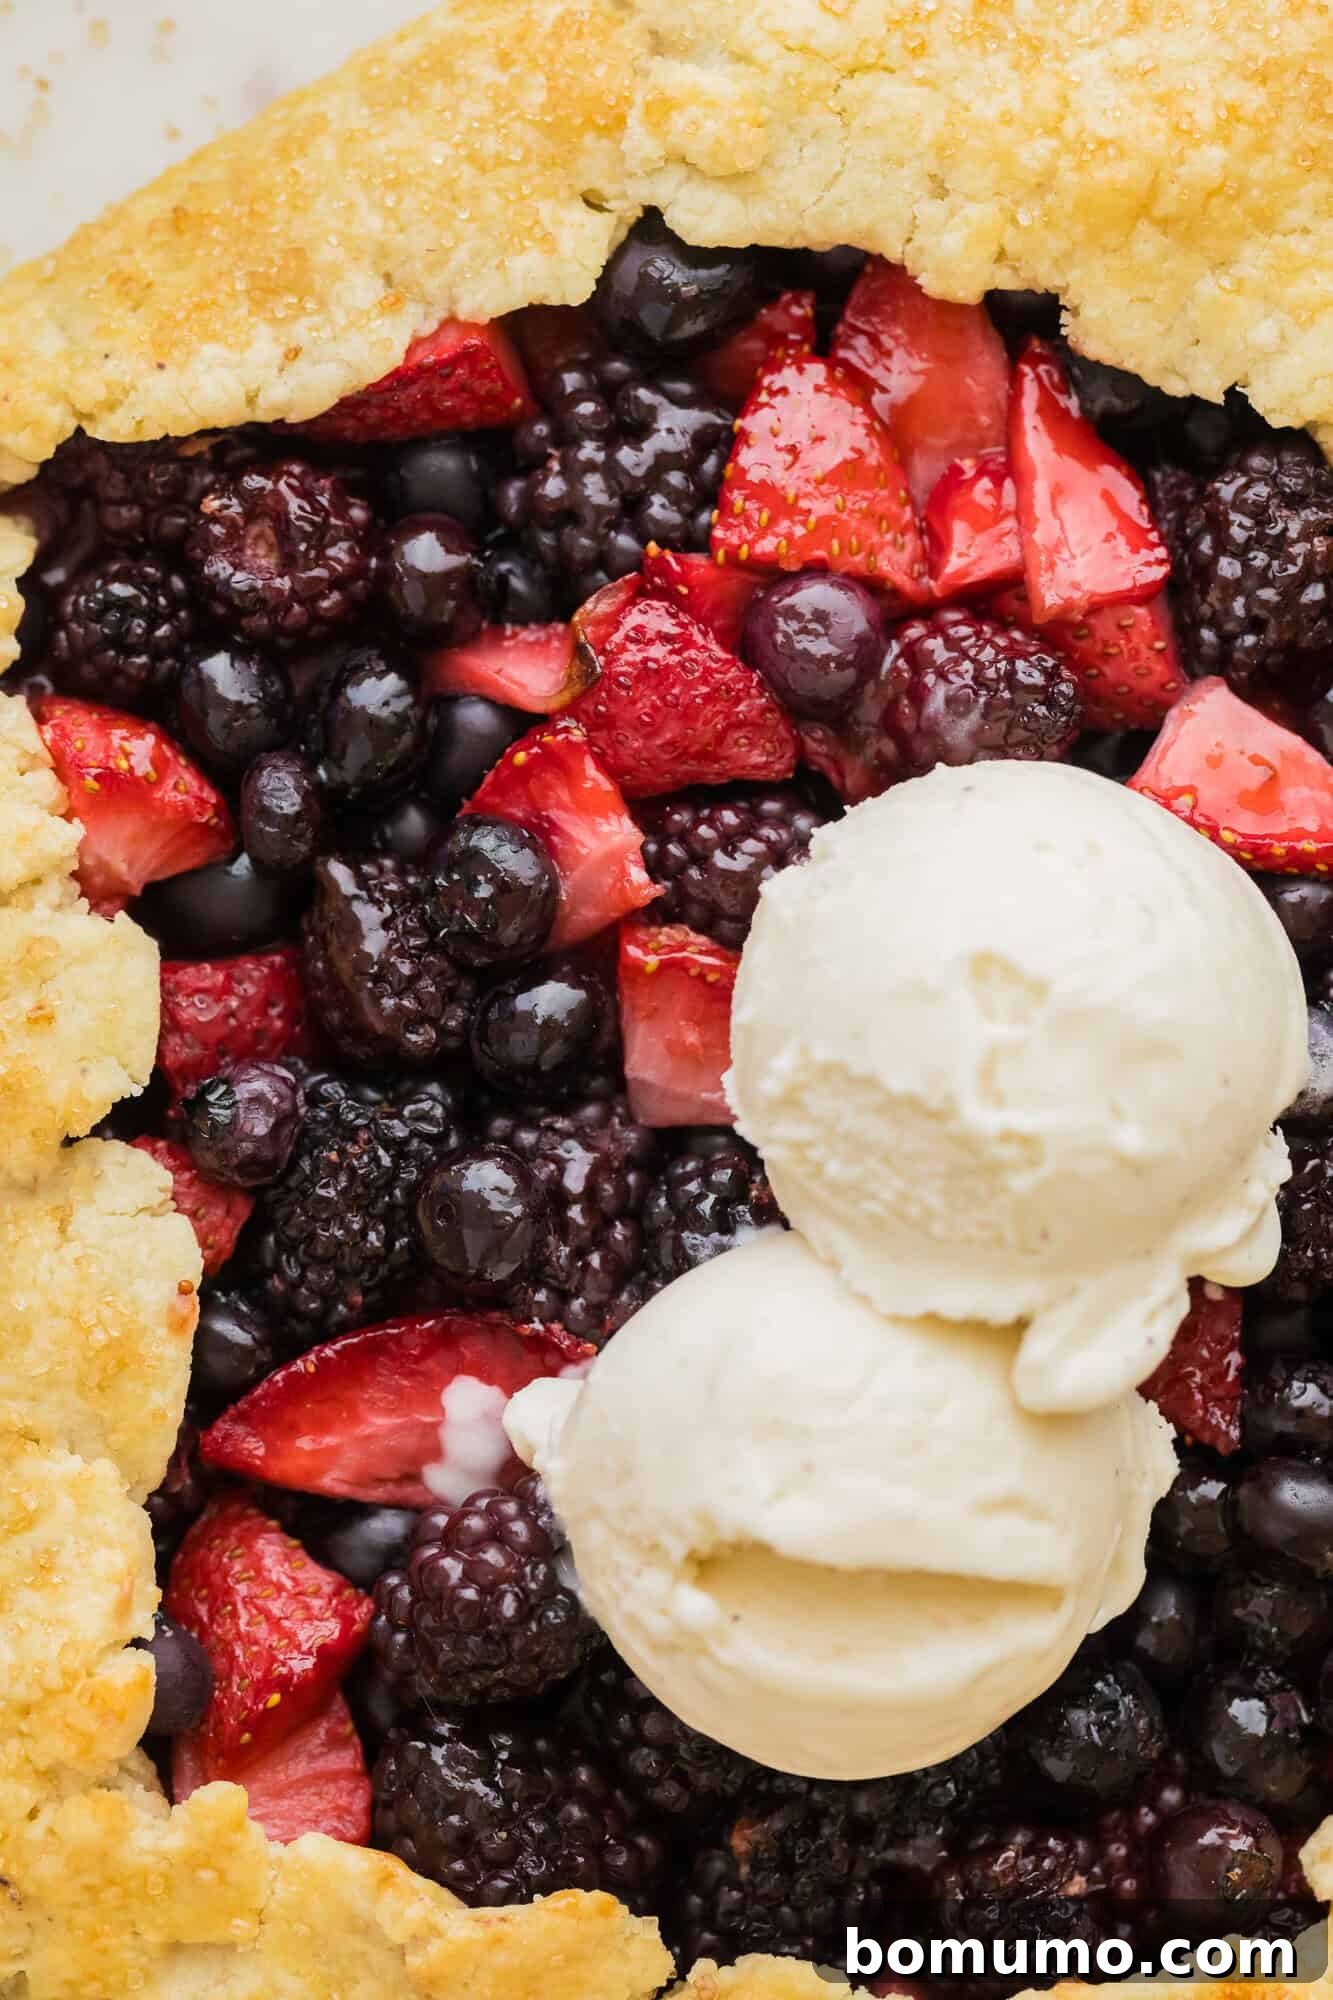
Exciting Recipe Variations for Your Galette
The beauty of a galette lies in its adaptability. Once you master the basic technique, you can easily customize it with different fruits and flavorings.
- Explore Different Fruits: While berries are fantastic, a galette is truly a blank canvas for almost any fruit. Experiment with stone fruits like ripe cherries, peaches, nectarines, plums, or apricots. For a fall-inspired treat, thinly sliced apples (ensure they are very thin to soften properly during baking) or pears work wonderfully. You can even combine different types of fruits for a complex flavor profile.
- Utilize Frozen Fruit: Don’t let the season limit you. If fresh fruit isn’t readily available, frozen fruit is a fantastic substitute. There’s no need to thaw it beforehand; simply proceed with the recipe as directed, adding the frozen fruit directly to the filling mixture. You might need to add a minute or two to the baking time.
- Infuse Aromatic Flavorings: Elevate your galette with additional spices or herbs. Warm spices like ground cinnamon, nutmeg, a hint of cardamom, or fresh grated ginger pair beautifully with most fruits. For a more adventurous twist, consider finely minced fresh herbs such as basil (especially with strawberries), mint, rosemary, or a touch of culinary lavender. Choose flavorings that complement your chosen fruit for a truly gourmet experience.
- Embrace the Shortcut: For ultimate convenience, don’t hesitate to use a store-bought refrigerated pie crust. Simply unroll it, roll it out to your desired size (typically 12-14 inches), and continue with the recipe from the filling preparation step. This significantly cuts down on prep time, making a weeknight galette entirely possible.
Storage & Reheating Guide
Storage & Reheating Guide
Storage: Should you find yourself with any delightful leftover galette, allow it to cool completely to room temperature before covering it securely. Store the covered galette in the refrigerator, where it will remain fresh and delicious for up to 3 days. This galette is equally enjoyable cold, at room temperature, or warmed.
Reheating: If you prefer to enjoy your galette warm again, preheat your oven to 350ºF (175ºC). Place the galette on a baking sheet and bake for about 10 minutes, or until it is heated through to your desired warmth. This gentle reheating method helps to restore some of the crust’s crispness.
Explore More Delicious Dessert Recipes
Classic Fresh Blueberry Pie
Warm Apple Blueberry Crisp
Effortless Strawberry Trifle Recipe
Festive Cranberry Clafoutis
Berry Galette
Rated 5 out of 5 stars by 1 voter.
Rachel Gurk
40 mins
20 mins
1 hr
6 servings

Bursting with fresh seasonal berries, this berry galette is a taste of summer on a plate! This charmingly rustic pie beautifully showcases colorful berries and is remarkably easy to prepare.
Ingredients
FOR THE DOUGH:
- 1 ½ cups all-purpose flour
- ½ cup unsalted cold butter, diced
- 1 tablespoon granulated sugar
- ¼ teaspoon salt
- 3 to 5 tablespoons ice water
FOR THE FILLING:
- 3 ½ cups mixed fresh berries (such as blueberries, strawberries, blackberries, raspberries)
- 3 tablespoons honey
- 1 teaspoon lemon zest
- 1 teaspoon lemon juice
- 1 tablespoon tapioca starch (or cornstarch)
FOR THE EGG WASH:
- 1 large egg
- 1 tablespoon water
- 1 to 2 tablespoons coarse sugar (or turbinado sugar)
Instructions
- Add flour, diced butter, sugar, and salt to a food processor. Pulse a few times until the mixture becomes crumbly with butter broken into small lumps.
- Add ice water, 1 tablespoon at a time, pulsing a few times after each addition. Add only enough water so that the dough sticks together when pressed between your fingers (typically 3-5 tablespoons).
- Place dough onto a lightly floured surface and press into a ball or disc. Wrap with plastic wrap and chill in the refrigerator for 20 to 30 minutes while you prepare the filling.
- Preheat oven to 400ºF (200ºC). Line a large rimmed baking sheet with parchment paper.
- Gently rinse the berries with cold water. Drain and remove as much excess water as possible. If berries are large, cut them into bite-sized pieces.
- In a medium-sized mixing bowl, combine berries, honey, lemon zest, lemon juice, and tapioca starch. Cover the bowl and allow the berry mixture to sit for about 15 minutes to macerate.
- Meanwhile, prepare the egg wash by whisking together the egg and water in a small bowl.
- Remove the dough from the fridge. On a lightly floured surface, use a rolling pin to roll the dough out into a 12 to 14-inch circle, about ¼-inch thick. Carefully transfer the rolled dough to the prepared baking sheet.
- With a slotted spoon, scoop the berry filling onto the center of the dough, leaving any accumulated juices behind in the bowl. Spread the berry mixture evenly, leaving a 2-inch border for the crust.
- Fold the border of the dough on top of the filling, gently pleating and pinching the edges together as needed to form a rustic crust. Brush the folded-over edge of the galette with the egg wash and generously sprinkle coarse sugar on top of the crust.
- Bake in the preheated oven for 25 to 30 minutes, until the crust is golden brown and the berries appear softened and bubbly. Let the galette cool for at least 10 minutes before slicing.
- Slice the galette into 6 portions and serve it warm with a scoop of your favorite ice cream or a dollop of whipped cream.
Notes
- Recipe retested and revised in July 2024. Previously posted as “Rustic Four Berry Pie.”
- Storage: Cool any leftover galette completely before covering. Store in the refrigerator for up to 3 days. It’s delicious both cold and warm. To reheat, preheat the oven to 350ºF (175ºC) and bake for about 10 minutes, or until warm.
- Fruit Variations: If you’re not a fan of berries, you can substitute any of your favorite fruits, such as cherries, peaches, nectarines, plums, apricots, or apples. Aim for about 3 ½ cups of fruit. If using apples, slice them very thinly to ensure they soften adequately during baking.
- Shortcut: For a quicker preparation, use a store-bought refrigerated pie crust. Simply unroll it, roll it out to the desired size (12-14 inches), and follow the recipe instructions from the filling preparation step onwards.
Nutrition Information
Serving: 1 slice
Calories: 360 kcal
Carbohydrates: 49g
Protein: 5g
Fat: 17g
Saturated Fat: 10g
Polyunsaturated Fat: 1g
Monounsaturated Fat: 4g
Trans Fat: 1g
Cholesterol: 72mg
Sodium: 113mg
Potassium: 106mg
Fiber: 3g
Sugar: 20g
Vitamin A: 560IU
Vitamin C: 3mg
Calcium: 23mg
Iron: 2mg
Nutrition information is automatically calculated and should only be used as an approximation.