
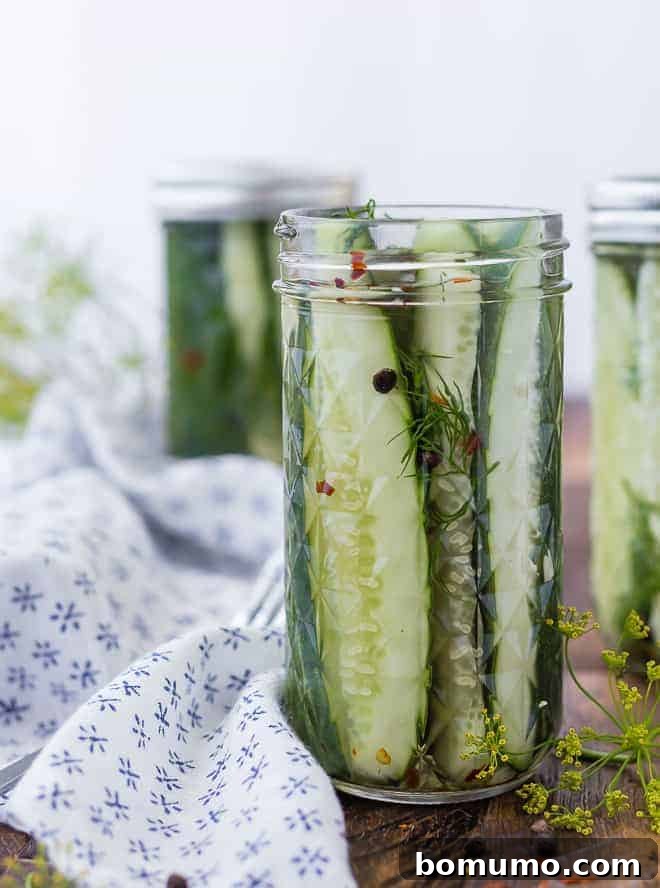
Quick Refrigerator Dill Pickles: Your Ultimate Guide to Homemade Goodness
Why you’ll adore this recipe: Imagine the crisp, tangy delight of homemade dill pickles, ready in under fifteen minutes of active prep time, with absolutely no complicated canning required. These refrigerator dill pickles redefine ease and flavor!
Total Time Commitment: Just 15 minutes of hands-on preparation, followed by a minimum of one hour of chilling time to let the flavors meld and deepen.
Essential Kitchen Gear: You’ll need a sharp chef’s knife for precise cucumber cuts, clean glass jars (any size that seals tightly), and a large measuring cup or mixing bowl for preparing the brine.
Yield: This recipe graciously serves 8, making it perfect for sharing or keeping a stash for yourself!
There’s something uniquely satisfying about the vibrant flavors of summer, isn’t there? As farm markets overflow with a colorful bounty of fresh fruits and vegetables, it’s the perfect time to capture that essence in your kitchen. Today, we’re diving into a remarkably simple yet incredibly rewarding recipe: easy refrigerator dill pickles. These aren’t just any pickles; they’re a testament to how quick and effortless homemade goodness can be, transforming humble cucumbers into zesty, crunchy delights that bring a taste of summer to any meal.
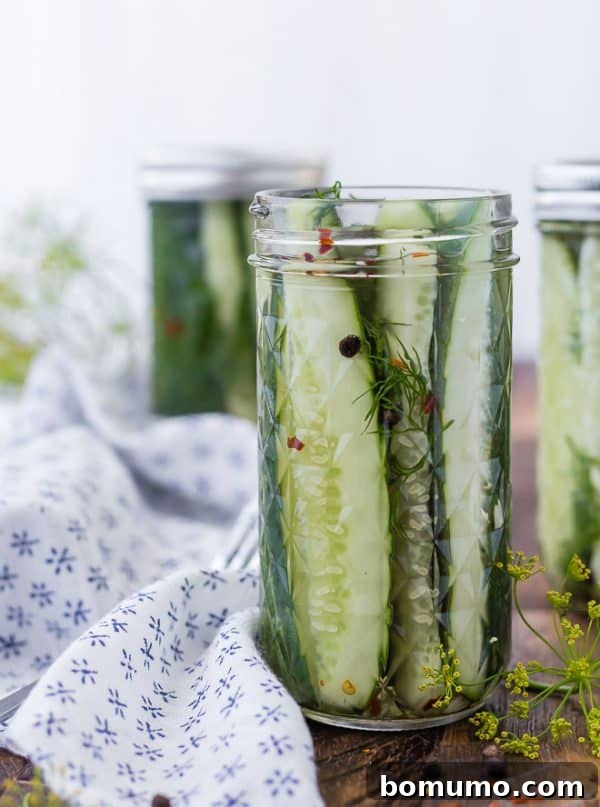
Unlock the Zesty Secret of Homemade Dill Pickles
Few culinary experiences rival the pure joy of opening a fresh jar of pickles. That satisfying pop as the lid releases, followed by the irresistible aroma of tangy dill, immediately signals a treat for your taste buds. What if we told you that creating this sensory experience at home is surprisingly straightforward? Forget the lengthy, intimidating process of traditional canning. Our method focuses on speed and simplicity, ensuring you can enjoy crisp, fresh, and intensely flavorful dill pickles without spending hours meticulously sterilizing and sealing jars.
The beauty of refrigerator dill pickles lies in their effortless preparation. It begins with selecting the finest cucumbers, transforming them into perfectly sized spears or rounds, and nestling them into clean jars. The magic truly happens with a quick, easy-to-prepare brine, which is then poured over the cucumbers. A brief chilling period in your refrigerator is all it takes for these ingredients to harmonize, developing a flavor profile that is wonderfully bright, subtly acidic, and bursting with the essence of fresh dill. The result? A batch of super good, crunchy, and refreshing pickles that perfectly showcase the delicate balance between garden-fresh cucumbers and aromatic dill. So, if you’re ready to embark on this deliciously simple pickling journey, grab your ingredients, and let’s get started!
Simple Steps to Crafting Perfect Refrigerator Dill Pickles
The world of pickling offers endless possibilities, and while many recipes exist, our focus today is on a quick, simple, and utterly delicious method for refrigerator dill pickles. This uncomplicated approach ensures that even novice pickle makers can achieve fantastic results. You’ll find that once you master this basic recipe, you can easily adapt it to pickle almost any vegetable – for instance, my delightful pickled cauliflower recipe is a testament to the versatility of quick pickling!
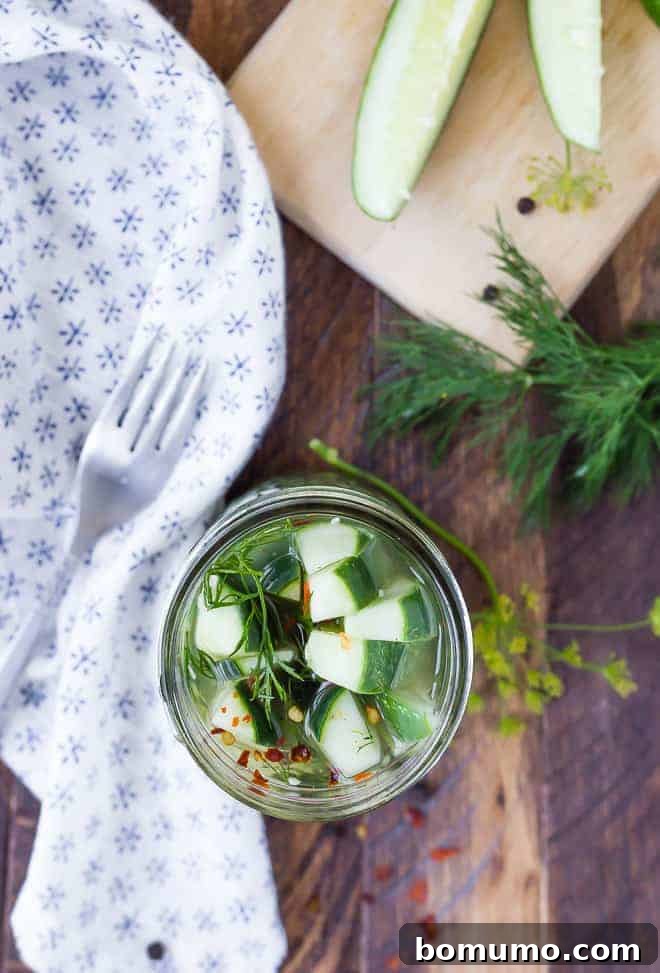
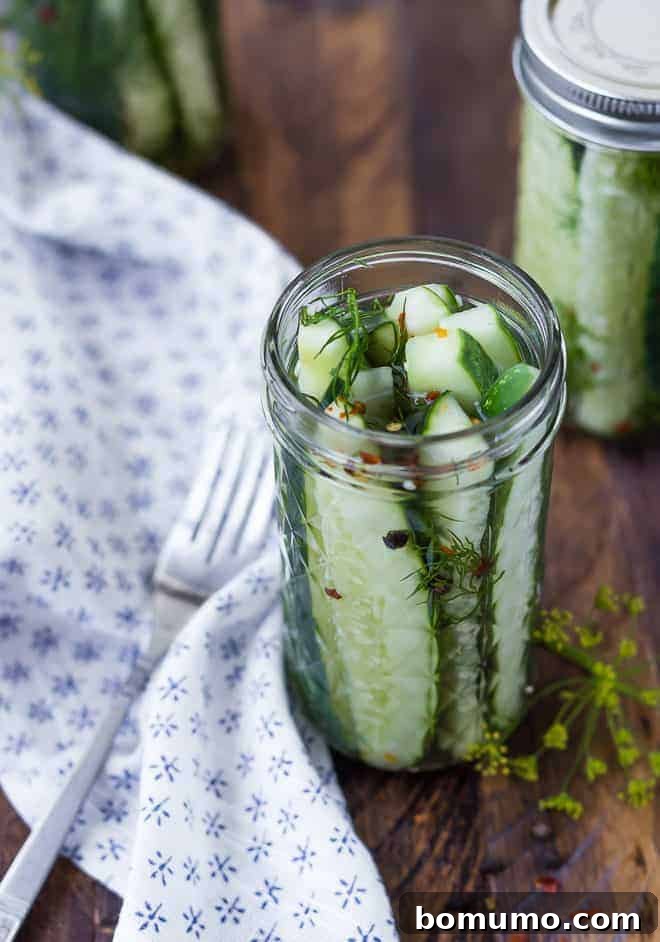
- Prepare Your Cucumbers: Begin by thoroughly washing your cucumbers. For this recipe, I recommend using small salad-type cucumbers, typically around six inches long and one and a half inches in diameter. Their skins are wonderfully tender and fully edible. You have the flexibility to slice them into thin rounds, perfect for topping hamburgers or sandwiches, or cut them into elegant spears, ideal for snacking or serving alongside a meal. Choose the shape that best suits your intended use.
- Fill Your Jars with Care: Select clean glass jars with tight-fitting lids. Standard canning jars are excellent, but feel free to repurpose empty pickle jars, ensuring they are impeccably clean. A wide-mouthed jar will make it significantly easier to pack your cucumber slices or spears snugly, maximizing the yield and visual appeal of your pickles.
- Infuse with Flavor: This is where the magic of personalization begins! Gather your chosen aromatics: plenty of fresh dill (including sprigs and delicate flowers for maximum flavor), whole garlic cloves (crushed slightly to release their essence), a scattering of black peppercorns, and a pinch of red pepper flakes if you enjoy a hint of heat. This recipe is incredibly adaptable, allowing you to tailor the flavors precisely to your preference. Keep reading for more exciting customization ideas!
- Whip Up the Easy Brine: The heart of any great pickle is its brine. Ours is a simple yet potent mixture. In a large measuring cup or bowl, combine boiling water, white vinegar, kosher salt, and granulated sugar. Stir until the salt and sugar are fully dissolved. This hot brine is then carefully poured over the packed cucumbers and aromatics in your jars, ensuring everything is fully submerged. Once filled, securely fasten the lids, allow the jars to cool to room temperature, then transfer them to the refrigerator. It’s truly that simple – your journey to homemade pickles is almost complete!
Customize Your Pickles: Exciting Recipe Variations
One of the most delightful aspects of making refrigerator dill pickles is how easily you can customize them to suit your personal taste. This recipe serves as a fantastic foundation, inviting you to experiment with various flavors and ingredients. Don’t be afraid to make it your own!
- Tailor the Sweetness: If you’re a fan of sweeter pickles, simply increase the amount of granulated sugar in your brine. For those who prefer a more savory or sugar-free option, you can certainly omit or reduce the sugar entirely. Keep in mind that this will result in a tangier flavor profile, which many find equally delicious.
- Amplify the Tang: For a more pungent, assertively tangy pickle, adjust the ratio of vinegar to water. By slightly increasing the white vinegar and decreasing the boiling water, you’ll create a brine that delivers a bolder, more acidic punch, satisfying those who crave an extra zesty kick.
- Explore Different Vinegars: While classic white vinegar provides a clean, sharp flavor, don’t hesitate to experiment with alternatives. Apple cider vinegar can add a subtle fruitiness, while rice vinegar offers a milder, slightly sweeter note. However, it’s generally best to avoid balsamic vinegar, as its dark color can unfortunately turn your beautiful pickles an unappetizing shade.
- Introduce Savory Notes: Elevate your pickles with additional savory elements. Slipping one or two whole garlic cloves (smashed lightly) into each jar will create robust garlic dills. Thinly sliced onions, especially red onions for a pop of color and mild sweetness, are another fantastic addition that deepens the overall flavor complexity.
- Spice Things Up: Dive into your spice cabinet for whole spices that can add incredible depth. Consider celery seed, mustard seed (yellow or brown), whole cumin seeds, or even a few bay leaves. The key is to use *whole* spices, as ground spices will cause the brine to become cloudy and less appealing. If you truly crave a spicy pickle, take inspiration from Korean pickles and incorporate a generous amount of gochugaru (Korean red pepper flakes) for a fiery kick.
- Beyond Pickles: Cucumber Salad Alternatives: If you’re looking for different ways to enjoy fresh cucumbers, explore these refreshing salad ideas: a simple yet satisfying cucumber onion salad with a light vinegar dressing, the elegant cucumber ribbon salad with yogurt herb dressing, or the classic freshness of this cucumber tomato salad. For a creamy cucumber-yogurt dip or sauce, our homemade tzatziki recipe is an absolute must-try.
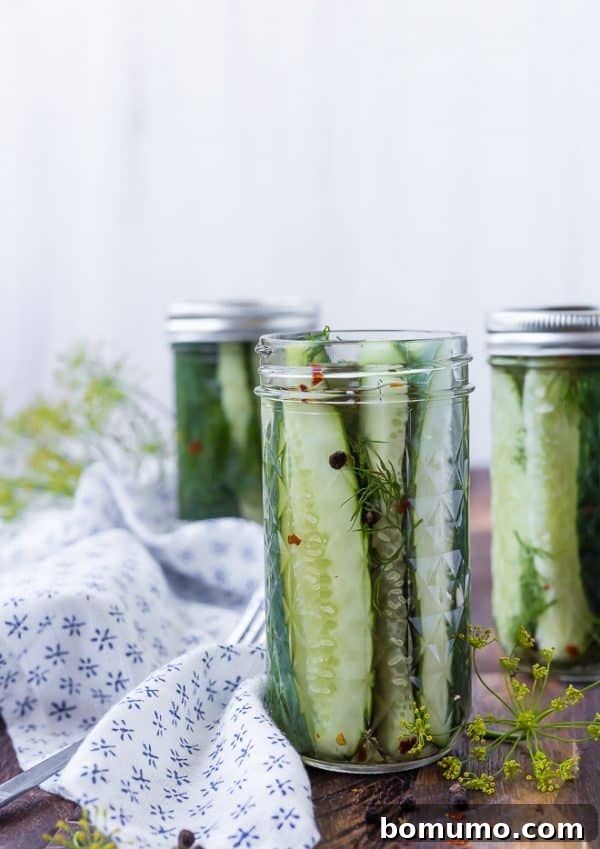
Essential Pickling Tips for Success
Essential Pickling Tips for Success
Achieving perfectly crisp and flavorful refrigerator dill pickles is easier than you think, especially with a few key tips in mind:
Choosing the Right Cucumbers: Not all cucumbers are created equal when it comes to pickling. While regular salad bar cucumbers can work in a pinch, they often have larger, tougher seeds and a thicker, waxier skin. For quick pickles, I highly recommend using smaller, salad-type cucumbers. If you grow your own or purchase them from a local farmers’ market, look for varieties specifically labeled as “pickling cucumbers.” These varieties typically boast a slightly more textured exterior, a soft, completely edible skin, and very small, underdeveloped seeds, making them ideal for absorbing the brine and retaining a satisfying crunch.
The Importance of a Clean Jar: While true sterilization, as required for traditional canning, isn’t necessary for refrigerator pickles, ensuring your jars are scrupulously clean is paramount. A sparkling clean jar minimizes the risk of spoilage and contributes to the overall freshness of your pickles. Your dishwasher is an excellent tool for this task, providing a thorough clean and rinse. Just make sure the jars are completely dry before you start packing them.
Allow Time for Marination: Patience is a virtue, especially in pickling! While you can certainly sample your quick pickles after an hour of chilling, their flavors truly deepen and develop over time. I strongly advise allowing them to marinate in the refrigerator for at least 24 hours. An overnight chill gives the cucumbers ample opportunity to fully absorb the tangy brine and aromatic spices, resulting in a more robust and satisfying flavor. The longer they sit (up to two weeks), the more intense their taste will become.
Do Not Reuse the Brine: It might be tempting to save and reuse the leftover brine once you’ve devoured all your delicious pickles, but this is a practice I strongly advise against. Reusing brine significantly compromises the quality of subsequent batches of pickles, leading to diminished flavor and an unappealing texture. More importantly, it can drastically shorten their refrigerator shelf life, as the brine will have absorbed some of the moisture and soluble components from the previous batch of cucumbers. Given that the ingredients for the brine (mostly water and vinegar) are quite inexpensive, making a fresh batch each time is the best way to ensure consistently excellent and safe pickles.
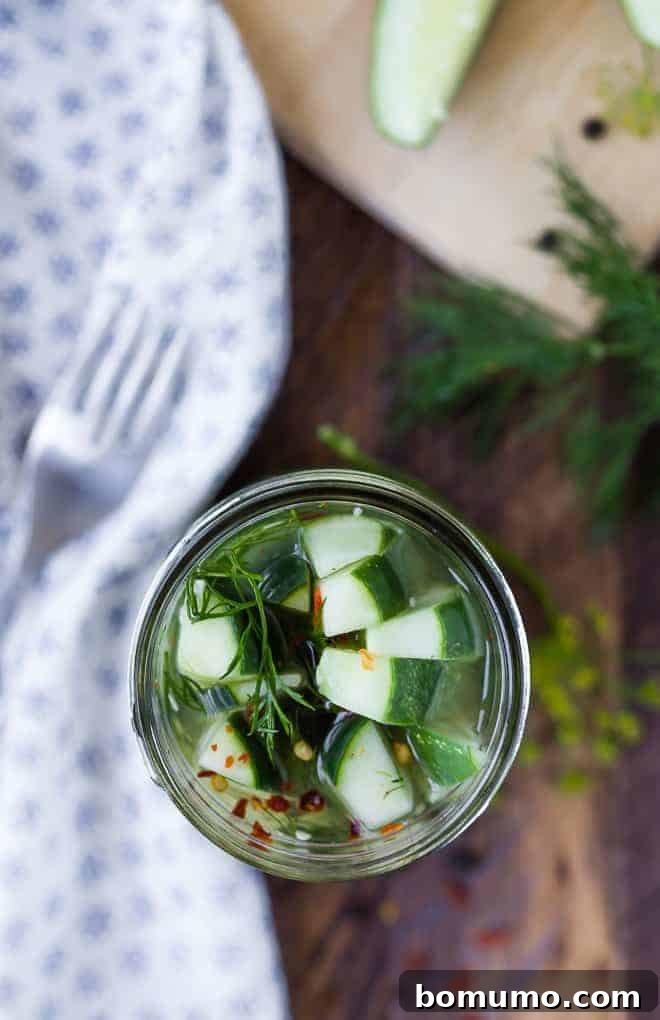
Optimal Storage for Your Refrigerator Pickles
Optimal Storage for Your Refrigerator Pickles
Once made, these delightful refrigerator dill pickles can be safely stored in your refrigerator for up to two weeks. To maintain their quality and prevent premature spoilage, always remember to use a clean fork or tongs when retrieving pickles from the jar. This simple practice avoids introducing any contaminants that could cloud the brine or affect the pickles’ freshness. If you notice the brine beginning to look cloudy or observe any unusual odors, it’s generally a sign that the pickles have passed their prime and should be discarded. Properly stored, you’ll enjoy crisp, tangy pickles that enhance any meal.
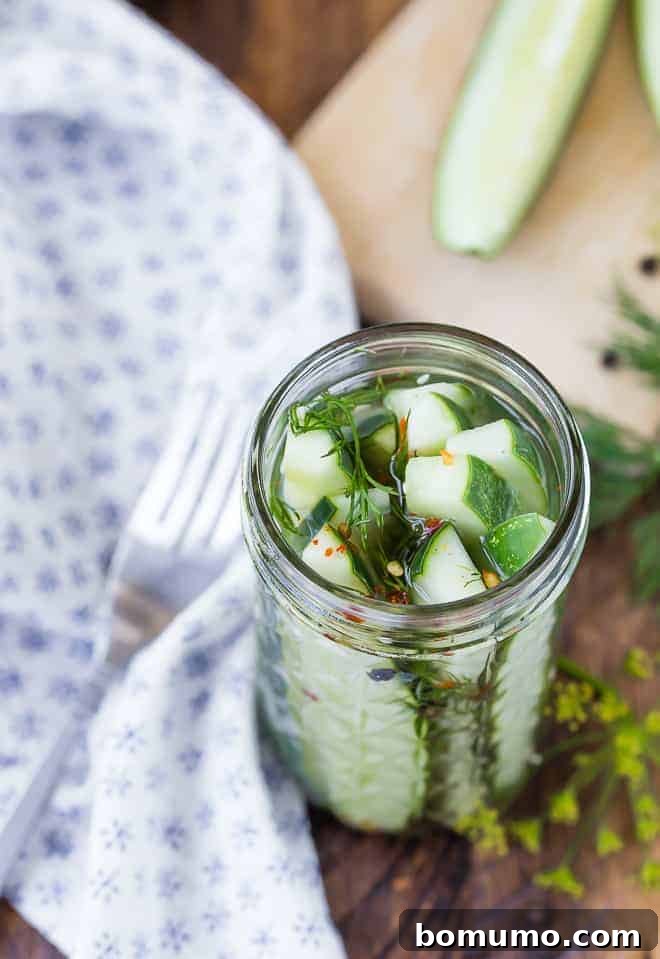
Explore More Quick Pickle Recipes
Pickled Vegetables – Spicy or Not!
The Easiest Pickled Green Beans
Quick Pickled Radish Recipe – How to Pickle Radishes
Pickled Asparagus Recipe – 10 Minutes Hands-On!
Refrigerator Dill Pickles
Rachel Gurk
15 minutes
1 hour
1 hour
15 minutes
8
Pin
Ingredients
-
4
small salad cucumbers, scrubbed and cut lengthwise into spears, or sliced into rounds
(see note for cucumber types) -
½
cup
fresh dill, loosely packed, washed and separated into sprigs -
½
teaspoon
black peppercorns
(approximately 5 per jar) -
1 ½
cups
boiling water -
¾
cup
white vinegar -
1 ½
teaspoons
kosher salt -
1 ½
teaspoons
granulated sugar
(adjust to your sweetness preference) -
½
teaspoon
red pepper flakes, optional
Instructions
-
In a large measuring cup or mixing bowl equipped with a pouring spout, combine the boiling water, white vinegar, kosher salt, granulated sugar, and red pepper flakes (if using). Stir the mixture thoroughly until both the salt and sugar have completely dissolved, creating your pickling brine.1 ½ cups boiling water,
¾ cup white vinegar,
1 ½ teaspoons kosher salt,
1 ½ teaspoons granulated sugar,
½ teaspoon red pepper flakes, optional -
Carefully arrange the prepared cucumber spears (or slices) into your clean glass jars, packing them as tightly as possible without crushing them. Distribute the fresh dill sprigs and black peppercorns evenly among the jars, ensuring each jar receives a good amount of flavor enhancers.4 small salad cucumbers, scrubbed and cut lengthwise into spears, or sliced into rounds,
½ cup fresh dill, loosely packed, washed and separated into sprigs,
½ teaspoon black peppercorns -
Pour the hot brine mixture over the cucumbers in each jar, filling them up to approximately ¼ inch from the top rim. Make sure the cucumbers are fully submerged in the liquid. Once filled, securely cover the jars with their lids.
-
Allow the sealed jars of pickles to cool completely to room temperature on your countertop. After cooling, transfer them to the refrigerator. For the best flavor, chill for at least 1 hour, though an overnight chill (12-24 hours) will yield significantly more developed and delicious pickles. They will keep well in the refrigerator for up to 2 weeks.
Notes
- Cucumber Selection: For optimal results, use small salad cucumbers, typically measuring around 5 inches in length and 1 ½ inches in diameter. Other excellent choices include English, Persian, or hothouse cucumbers, all known for their tender skins and small seeds, making them perfect for quick pickling.
- Choosing and Preparing Jars: You have flexibility here! You can use any combination of clean glass jars that seal tightly, or simply put all the pickles into one quart-sized jar. The crucial elements are that the jars are made of glass, have a lid that forms a tight seal, and are thoroughly cleaned and rinsed. Repurposed wide-mouth jars (like old pickle or jam jars) are perfectly acceptable, provided they are spotless.
- Flavor Customization: Unleash your creativity with flavor additions! Consider incorporating whole seeds such as coriander, cumin, celery, and/or mustard seeds for a complex spice profile. Whole garlic cloves, lightly smashed, will infuse a wonderful garlicky essence. Remember to always use *whole* spices, as ground spices will make your brine murky and less visually appealing. Furthermore, you can fine-tune the sweetness or tartness by increasing the amount of sugar or adjusting the ratio of vinegar to water. Just be sure not to use less vinegar than the recipe specifies, as vinegar is key to both flavor and preservation.
Video: Learn to Make Refrigerator Dill Pickles
Nutrition Facts
Serving:
1
serving
,
Calories:
32
kcal
,
Carbohydrates:
7
g
,
Protein:
1
g
,
Fat:
0.2
g
,
Saturated Fat:
0.1
g
,
Polyunsaturated Fat:
0.1
g
,
Monounsaturated Fat:
0.04
g
,
Sodium:
443
mg
,
Potassium:
249
mg
,
Fiber:
1
g
,
Sugar:
3
g
,
Vitamin A:
423
IU
,
Vitamin C:
7
mg
,
Calcium:
33
mg
,
Iron:
1
mg
Nutrition information is automatically calculated, so should only be used as an approximation.
Did You Make This?
Share a comment and rating below! I love hearing what you think!