
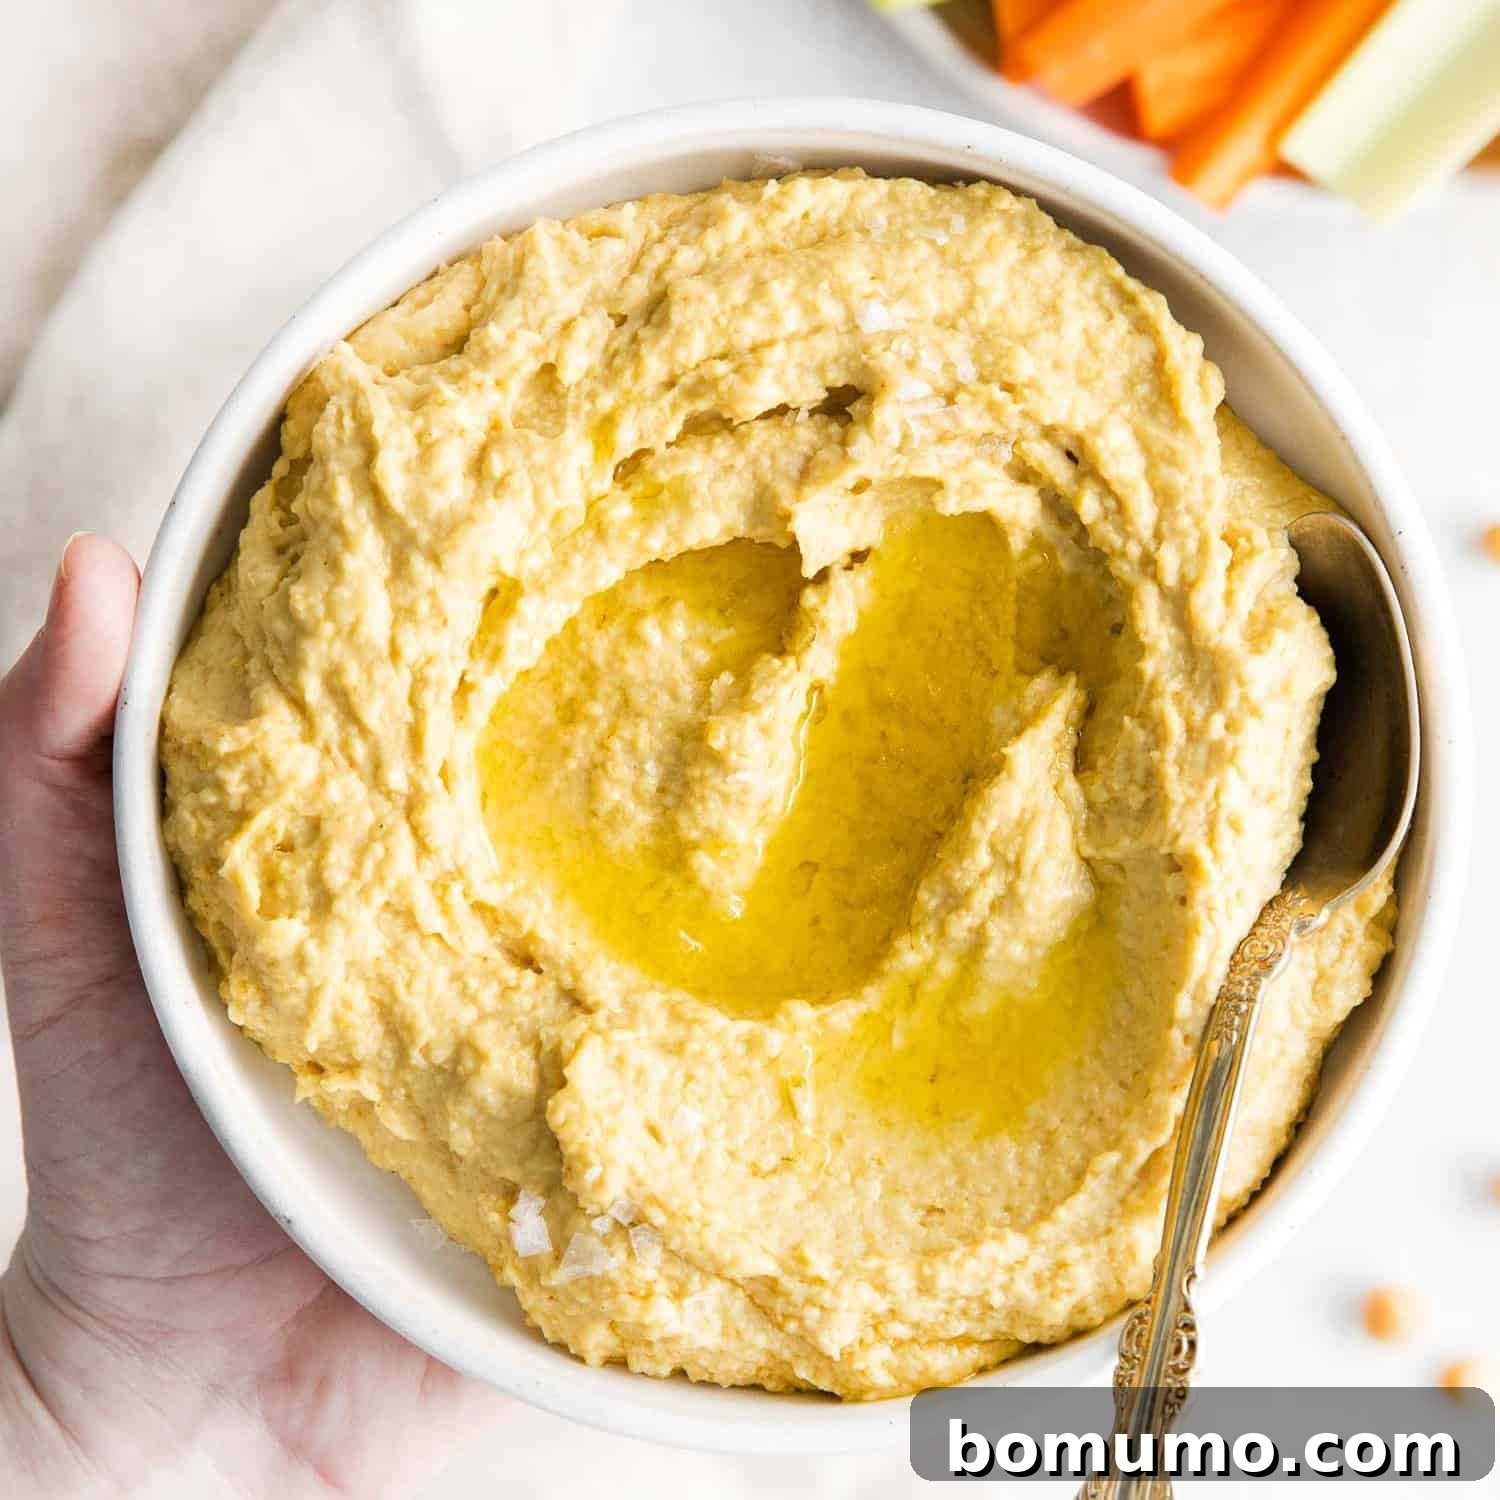
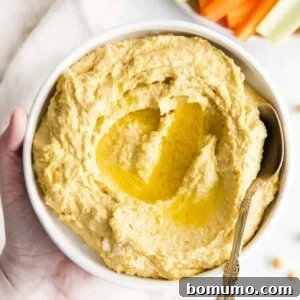
Why You’ll Adore This Recipe: Discover the unparalleled joy of crafting your very own luscious, creamy homemade hummus. This effortless recipe yields a dip that’s not only incredibly delicious but also significantly more economical than store-bought varieties. Best of all, you can customize it precisely to your taste, ensuring every spoonful is pure perfection!
Preparation Time: A mere 5 minutes
Essential Equipment: A reliable food processor, a flexible rubber spatula
Yields: Approximately 16 servings (based on 2 tablespoons per serving)
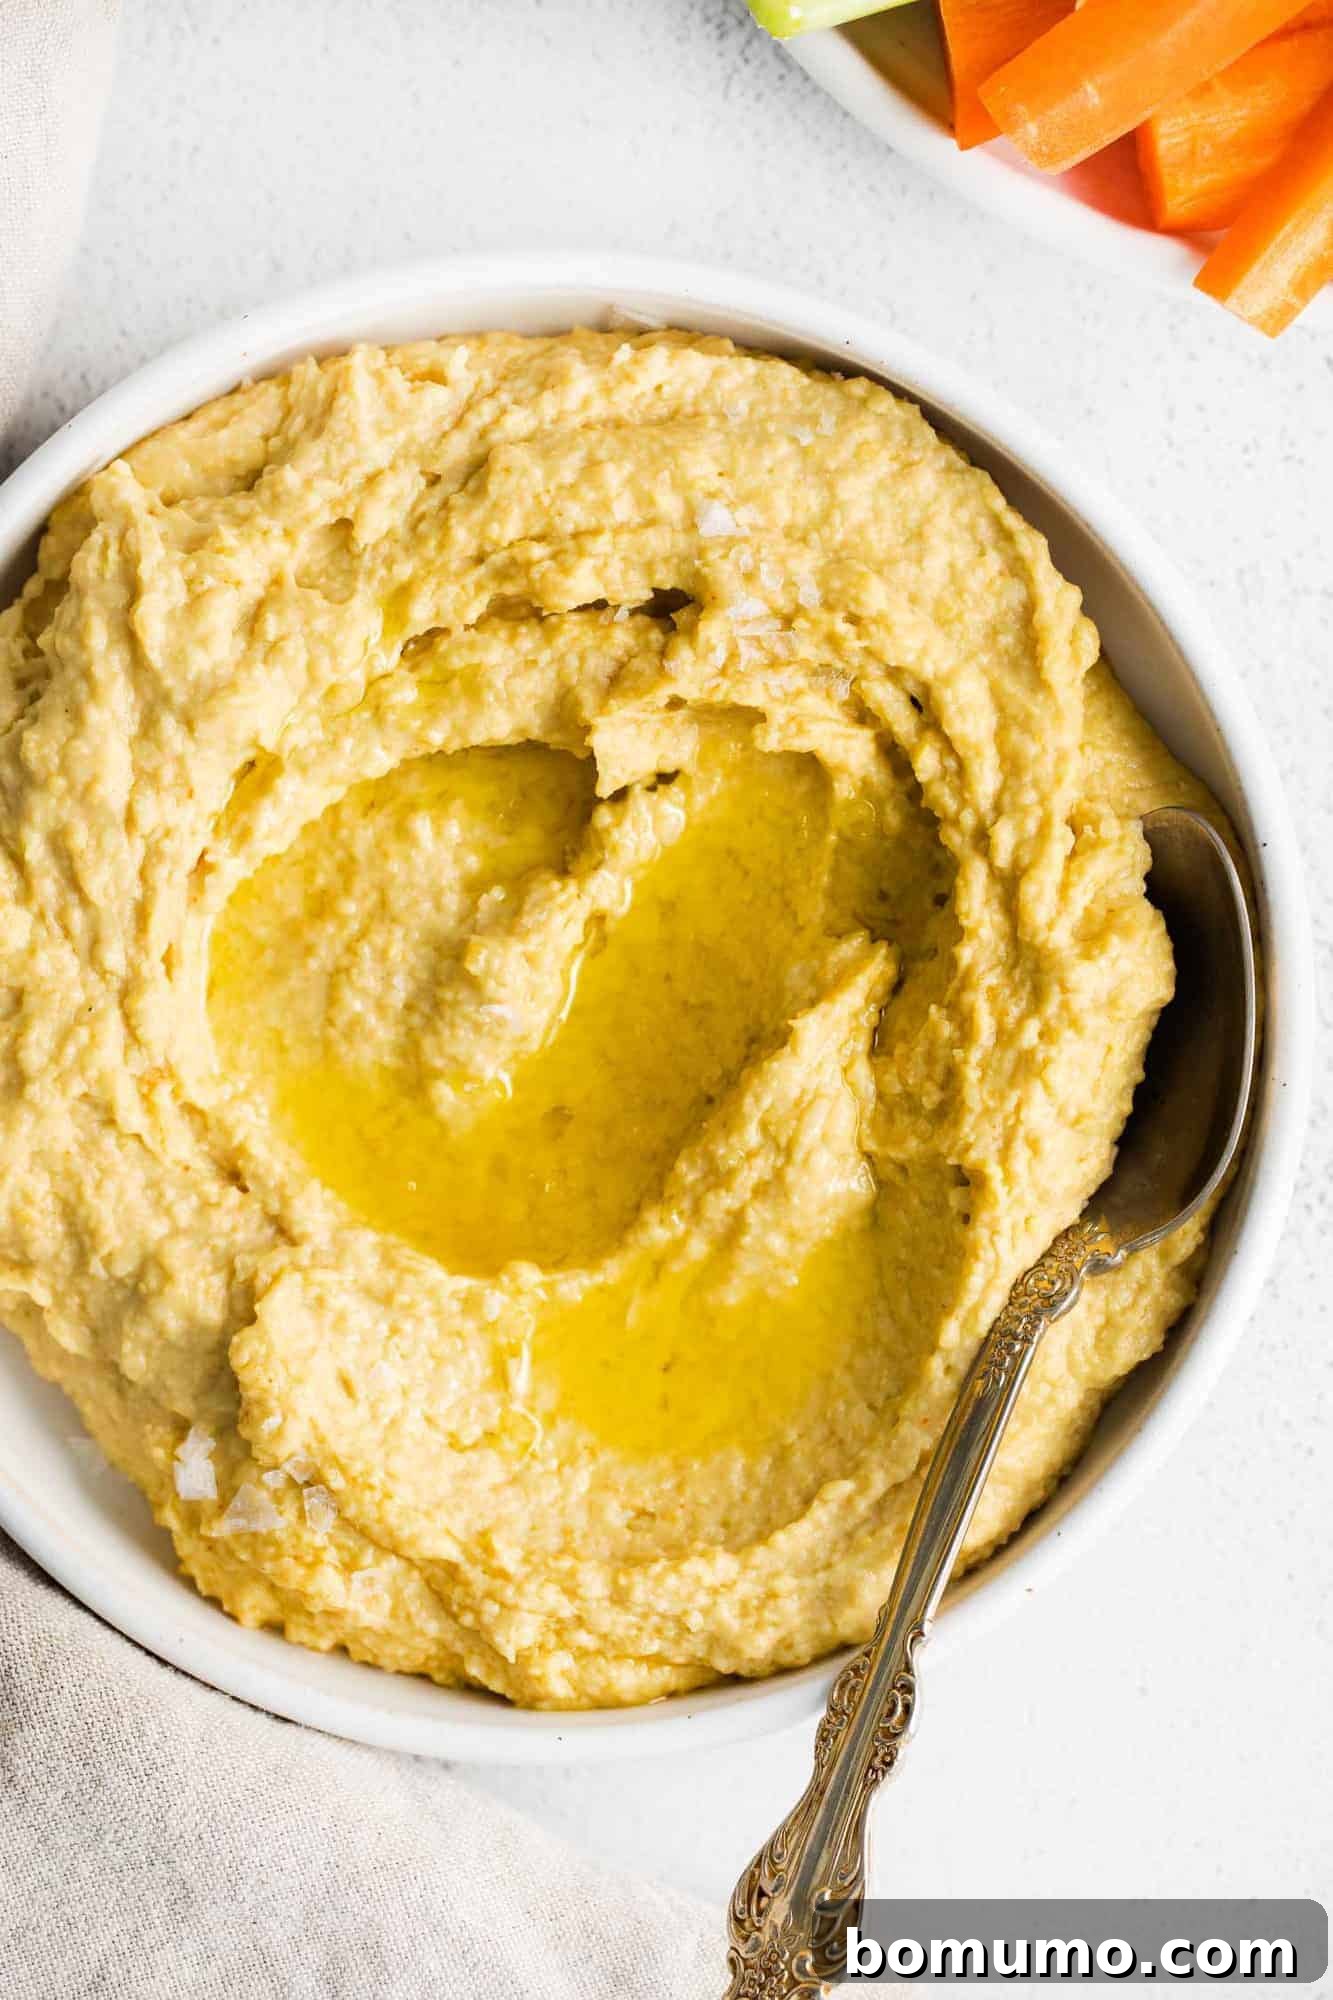
Mastering Homemade Hummus: Your Guide to a Creamy, Healthy Dip
There’s something truly magical about hummus. This velvety, rich, and deeply satisfying dip has captivated palates worldwide, becoming a staple in countless kitchens. Whether you spread it generously on sandwiches as a vibrant alternative to mayonnaise, or enjoy it as a guilt-free dip for crisp vegetables and warm pita wedges, hummus elevates any meal or snack. Its unique blend of flavors and textures makes it an irresistible treat that’s surprisingly simple to prepare right in your own kitchen.
Beyond its incredible taste, homemade hummus stands out as a genuinely healthy food choice. Packed with an impressive array of vitamins, essential minerals, and plant-based protein, it’s a nutritional powerhouse. As highlighted by Healthline, incorporating hummus into your diet offers remarkable health benefits. It’s known to combat inflammation, assist in managing blood sugar levels, promote healthy digestion, contribute to weight management, and even reduce the risk of heart disease. Imagine enjoying a protein-rich, satisfying snack that actively supports your well-being – that’s the beauty of hummus!
One of the most appealing aspects of this classic Mediterranean dip is its incredible ease of preparation. With just five core ingredients (excluding water, salt, and pepper), you can whip up a batch of the best homemade hummus in mere minutes. The key to achieving that signature smooth and creamy texture lies in using a powerful food processor. This recipe comes together so quickly – in just five minutes! It’s almost unbelievable how fast you can go from basic ingredients to a bowl of wholesome, flavorful deliciousness. You are truly just moments away from transforming your snack game with this easy homemade hummus recipe.
What makes homemade hummus truly exceptional is the complete control you have over its ingredients. For families managing severe allergies, like my own with sesame allergies, this control is invaluable. Many people aren’t aware that tahini, a smooth sesame seed paste, is a common ingredient in traditional hummus. However, with homemade versions, you can easily “make it your own” and omit the tahini entirely, or substitute it with other delicious alternatives. This eliminates the risk associated with store-bought hummus, where hidden allergens can be a serious concern. Making hummus from scratch offers peace of mind alongside superior flavor and freshness.
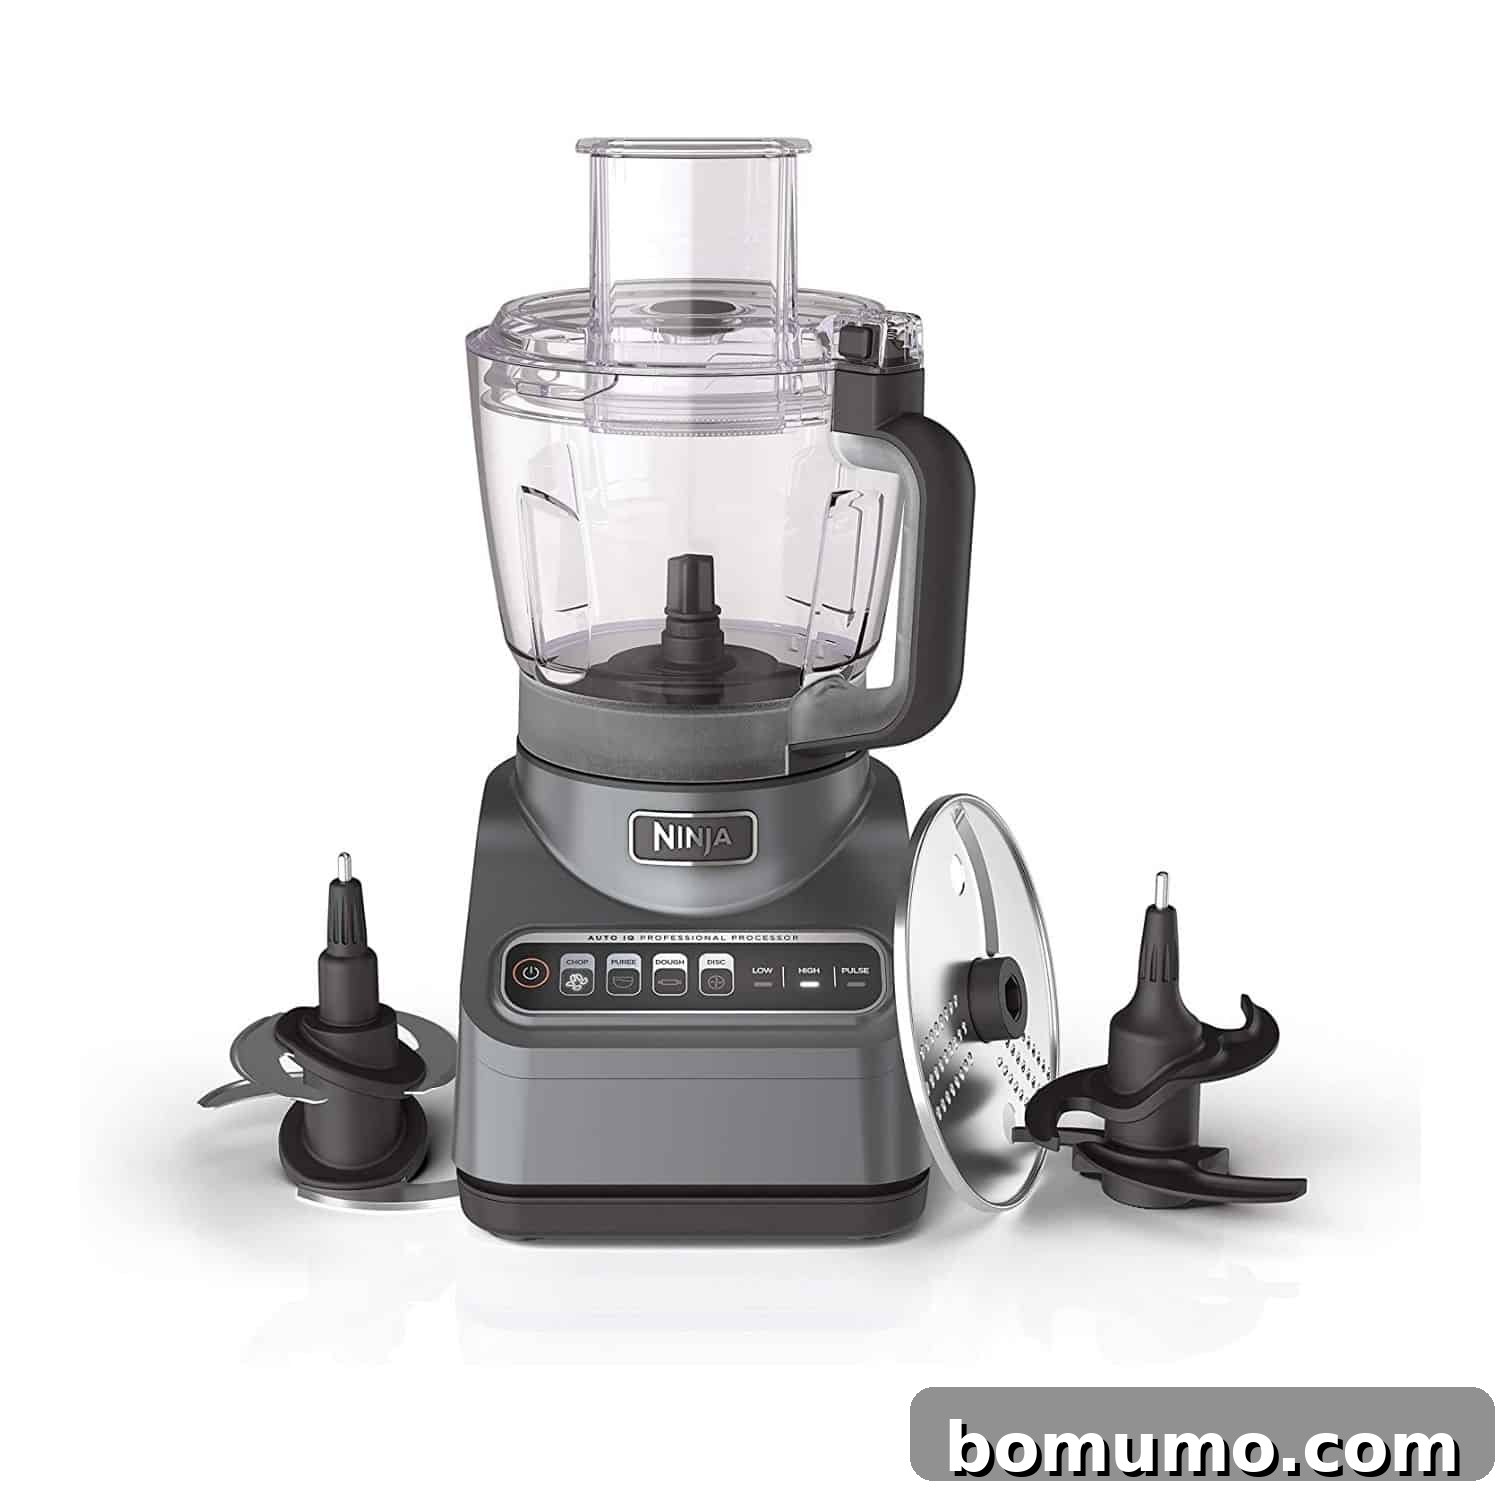
Upgrade Your Kitchen with a Food Processor
A high-quality food processor is an indispensable tool for achieving the perfectly smooth and creamy consistency that defines excellent hummus. Ninja is a highly regarded brand, known for its durable and efficient food processors and blenders. This particular model offers exceptional performance and durability, yet remains an accessible and fairly inexpensive investment for any home cook looking to elevate their culinary creations.
Key Ingredients for the Perfect Creamy Hummus
Crafting the perfect homemade hummus begins with understanding the role of each ingredient. This section provides a quick overview, offering insights into how each component contributes to the overall flavor and texture of your creamy dip. For precise measurements and step-by-step instructions, please refer to the detailed recipe card below.
- Canned Chickpeas (Garbanzo Beans): The foundation of any great hummus. These versatile legumes are a fantastic source of plant protein and dietary fiber, making your hummus both filling and incredibly healthy. They are also economical and readily available. While some recipes suggest removing the skins for an extra-smooth texture, a powerful food processor typically handles any coarseness effectively. If you’re keen on exploring the skinning method for an ultra-velvety dip, this method from Cooks Illustrated provides excellent guidance.
- Tahini (Sesame Paste): This smooth paste, made from ground sesame seeds, is a hallmark of authentic hummus, imparting a distinctive nutty flavor and luxurious creaminess. If food allergies are not a concern in your household, I highly recommend including it for its unique depth. However, as mentioned earlier, this recipe is adaptable and can be made without tahini if needed. Should you have leftover tahini, consider using it to prepare my homemade tahini sauce, a bright and zesty accompaniment featuring lemon and garlic.
- Freshly Squeezed Lemon Juice: Essential for a vibrant, tangy flavor that cuts through the richness of the chickpeas and tahini. Always opt for fresh lemons over bottled juice for the best possible taste profile. The bright acidity of lemon juice is crucial for balancing the flavors.
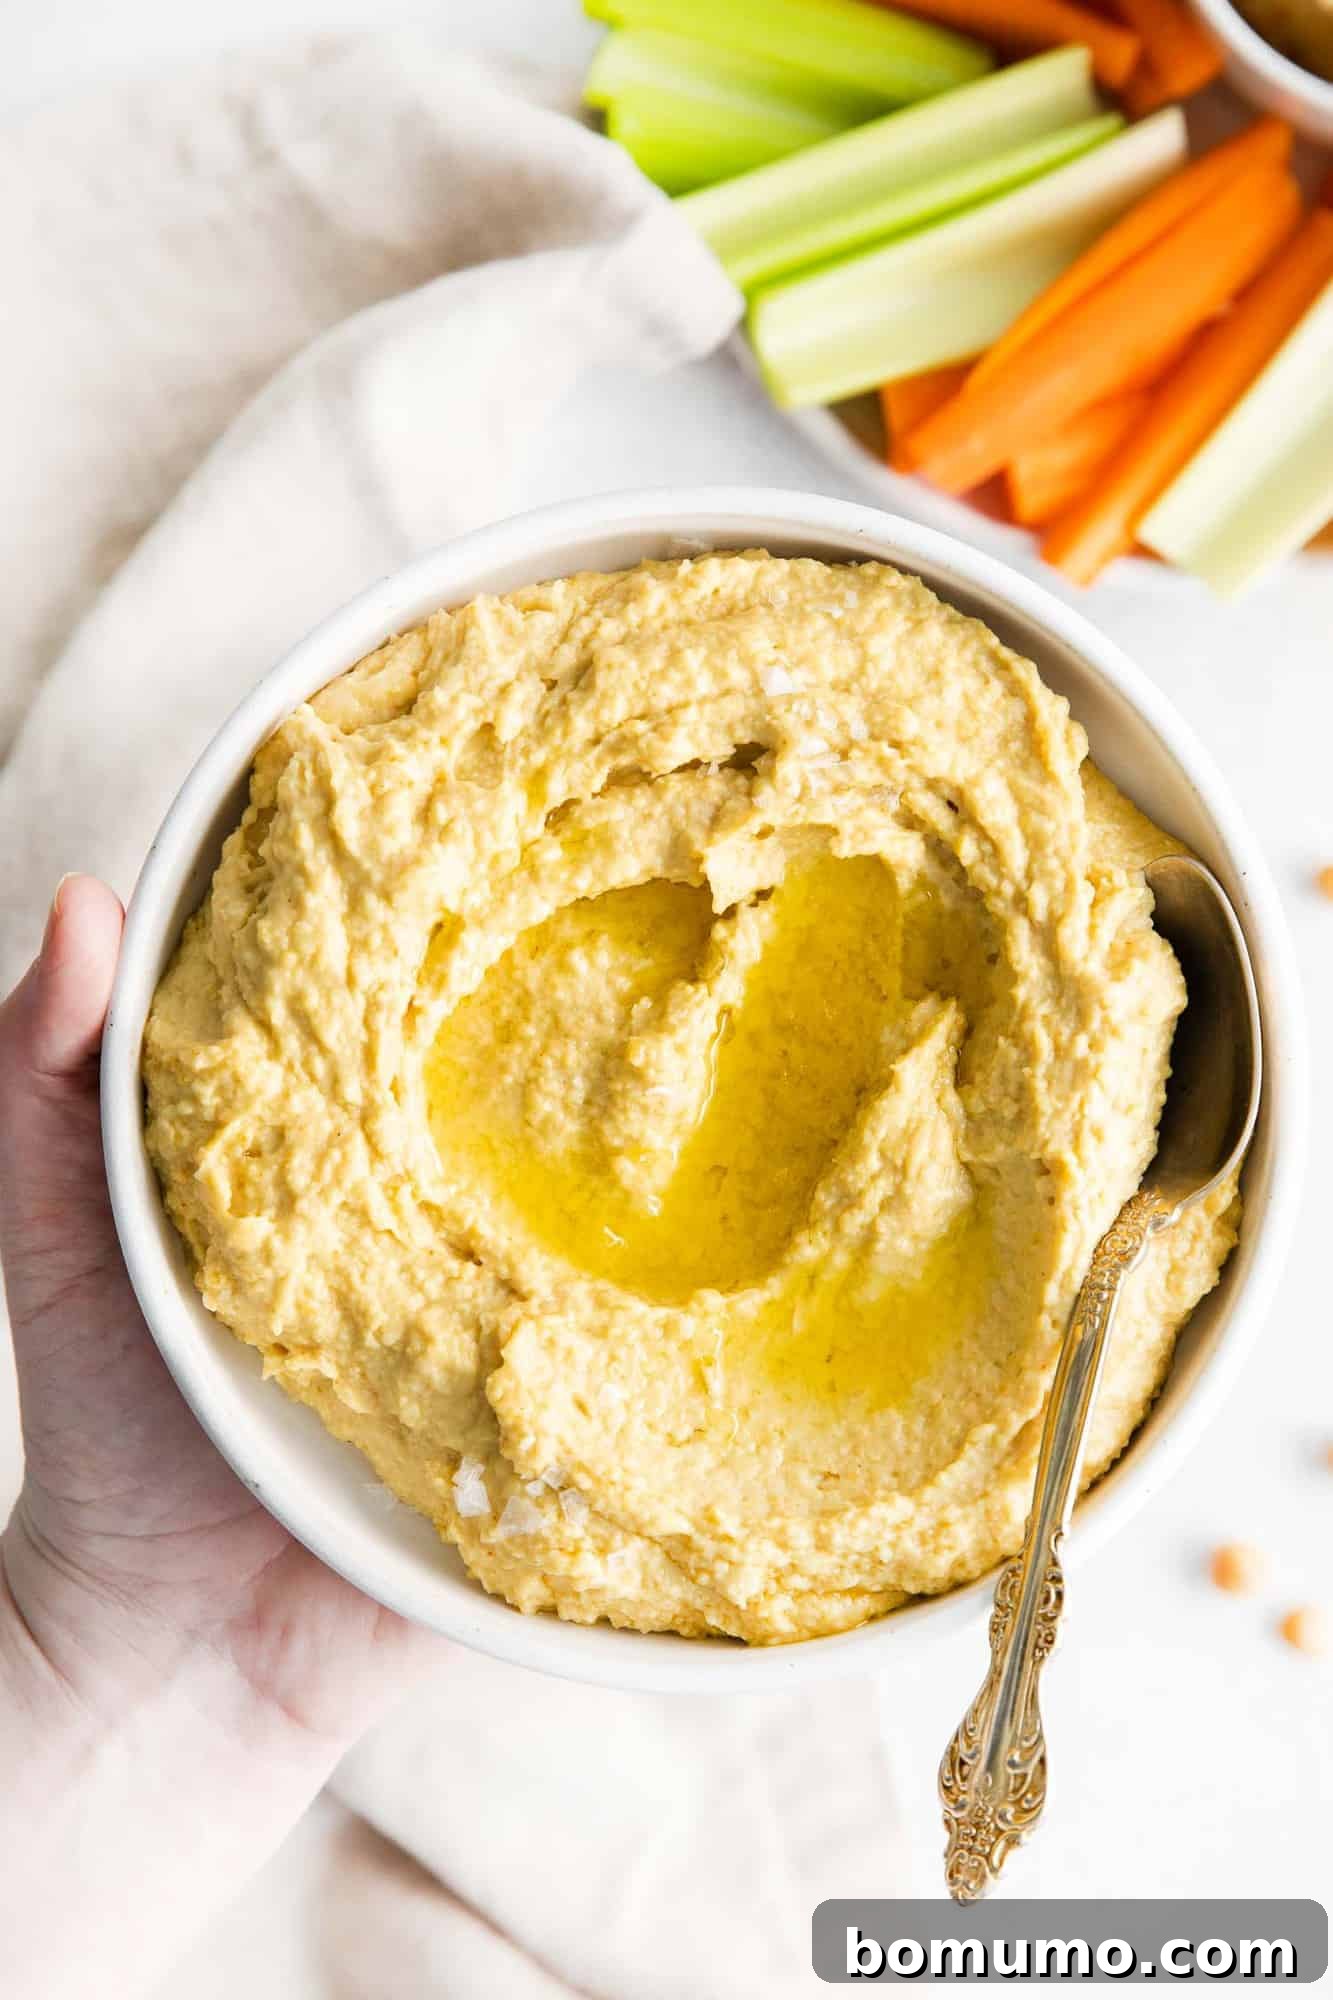
- Extra Virgin Olive Oil: This liquid gold contributes a fruity, peppery note and a silken texture to your hummus. Its robust flavor is integral to the Mediterranean essence of the dip. For an added touch of elegance and flavor when serving, drizzle a bit more high-quality extra virgin olive oil over the finished hummus.
- Fresh Garlic: A single clove of fresh garlic adds that quintessential aromatic and pungent kick, defining the classic hummus taste. However, personal preference reigns supreme in homemade cooking. If you or your family members are not fans of garlic, feel free to omit it entirely. I often adjust the garlic content based on my husband’s preference, proving that customization is key.
- Salt and Freshly Ground Black Pepper: These humble seasonings are all you need to enhance and balance the complex flavors of your classic hummus. Start with the recommended amount and adjust to taste, ensuring your hummus is perfectly seasoned.
- Water or Aquafaba: Plain tap water works perfectly fine to achieve the desired consistency. For an even creamier and slightly richer hummus, you can reserve some of the liquid from the canned chickpeas (known as aquafaba) and use that in place of water. Aquafaba adds a subtle creaminess without altering the flavor profile significantly.
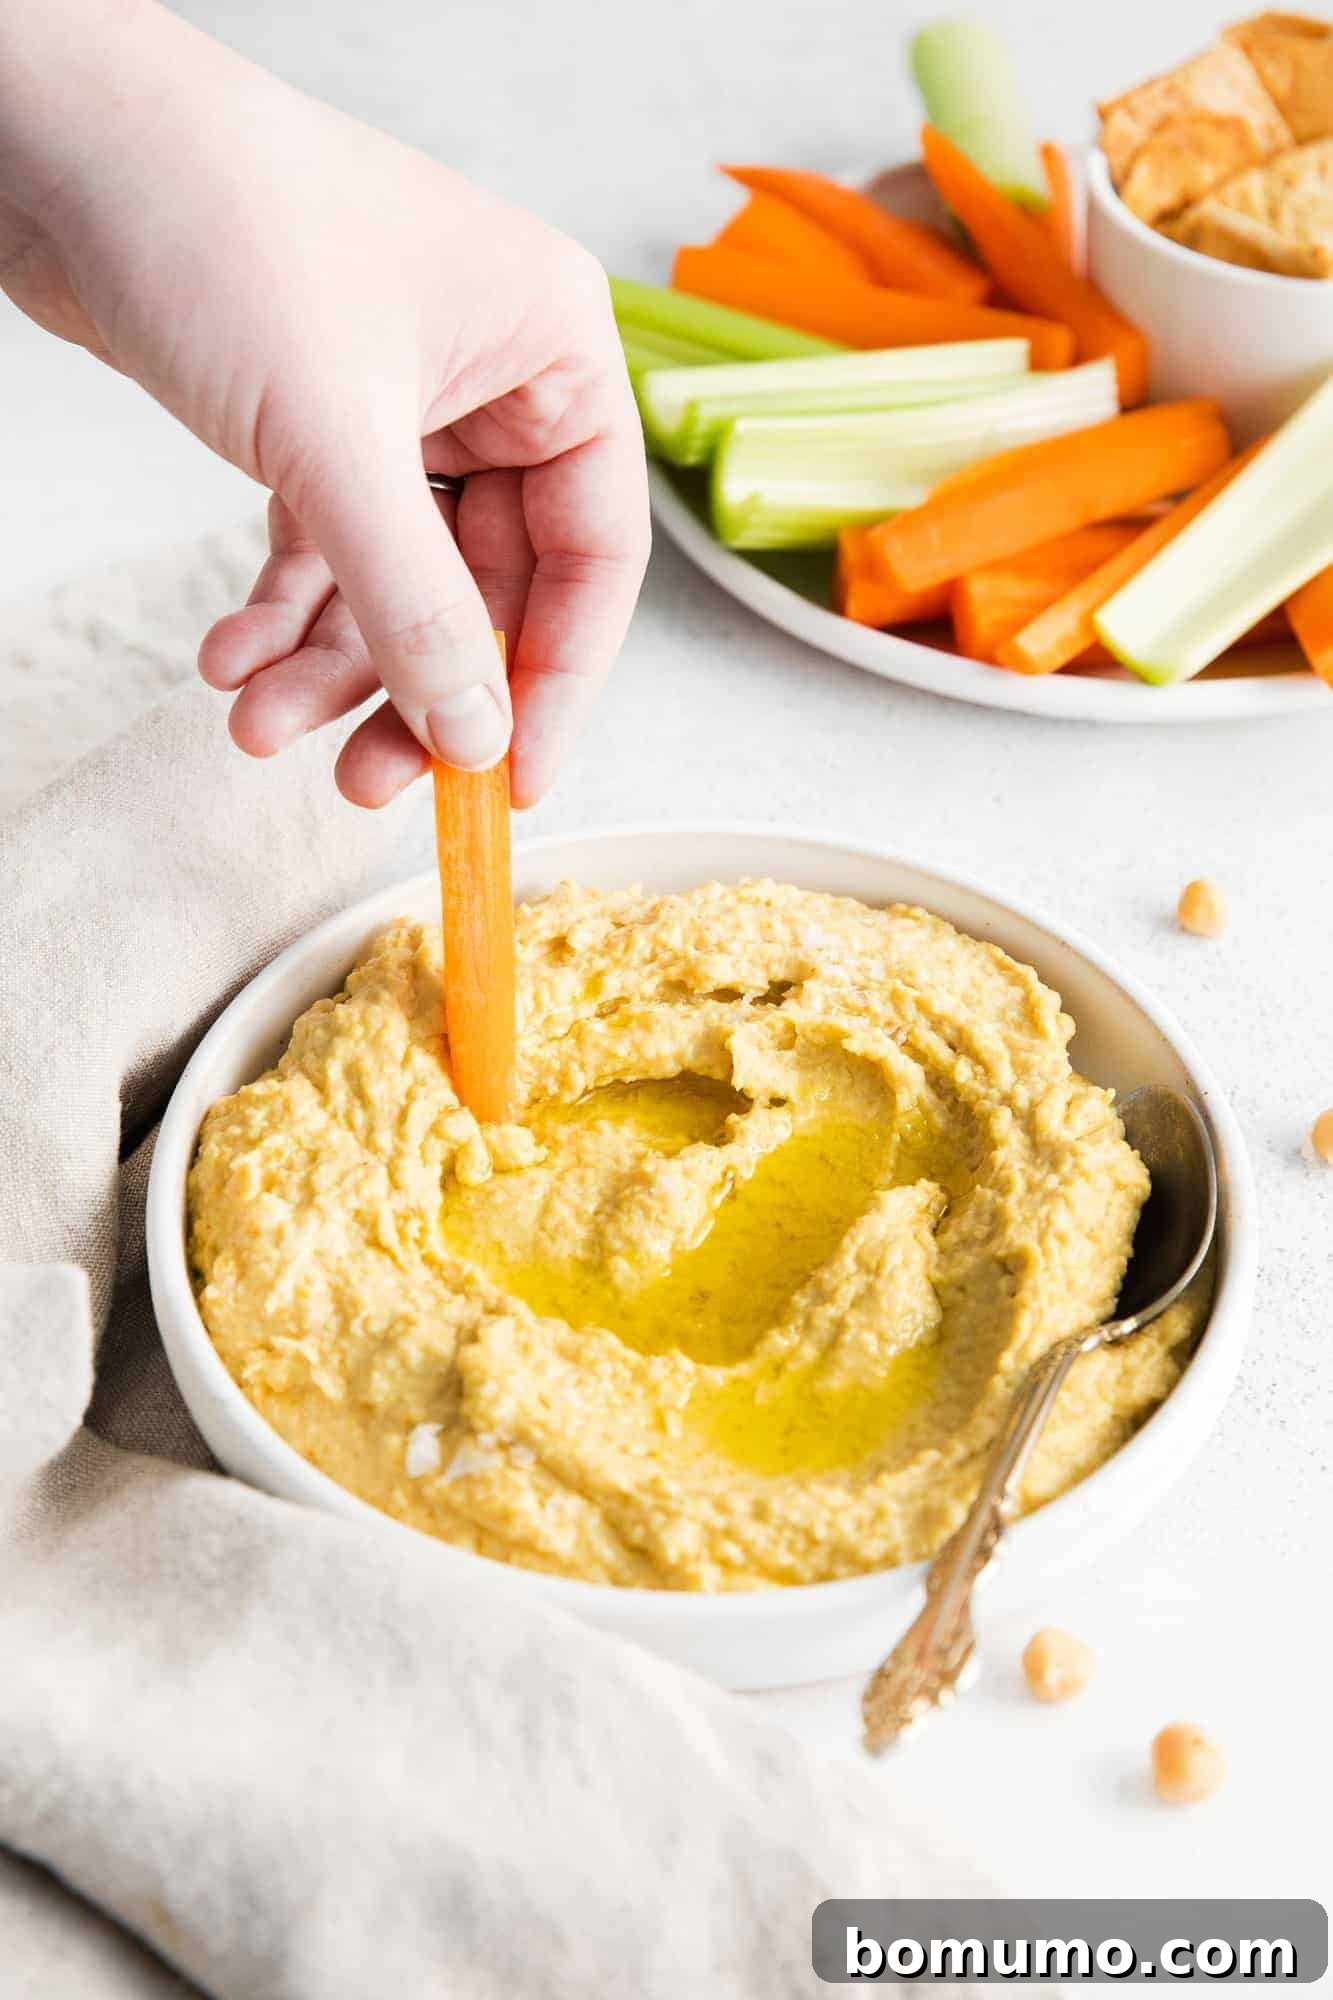
Step-by-Step Guide: Crafting Your Creamy Hummus
Making delicious homemade hummus is a surprisingly simple process that comes together quickly with the right equipment. Follow these steps to achieve that perfect, velvety texture:
-
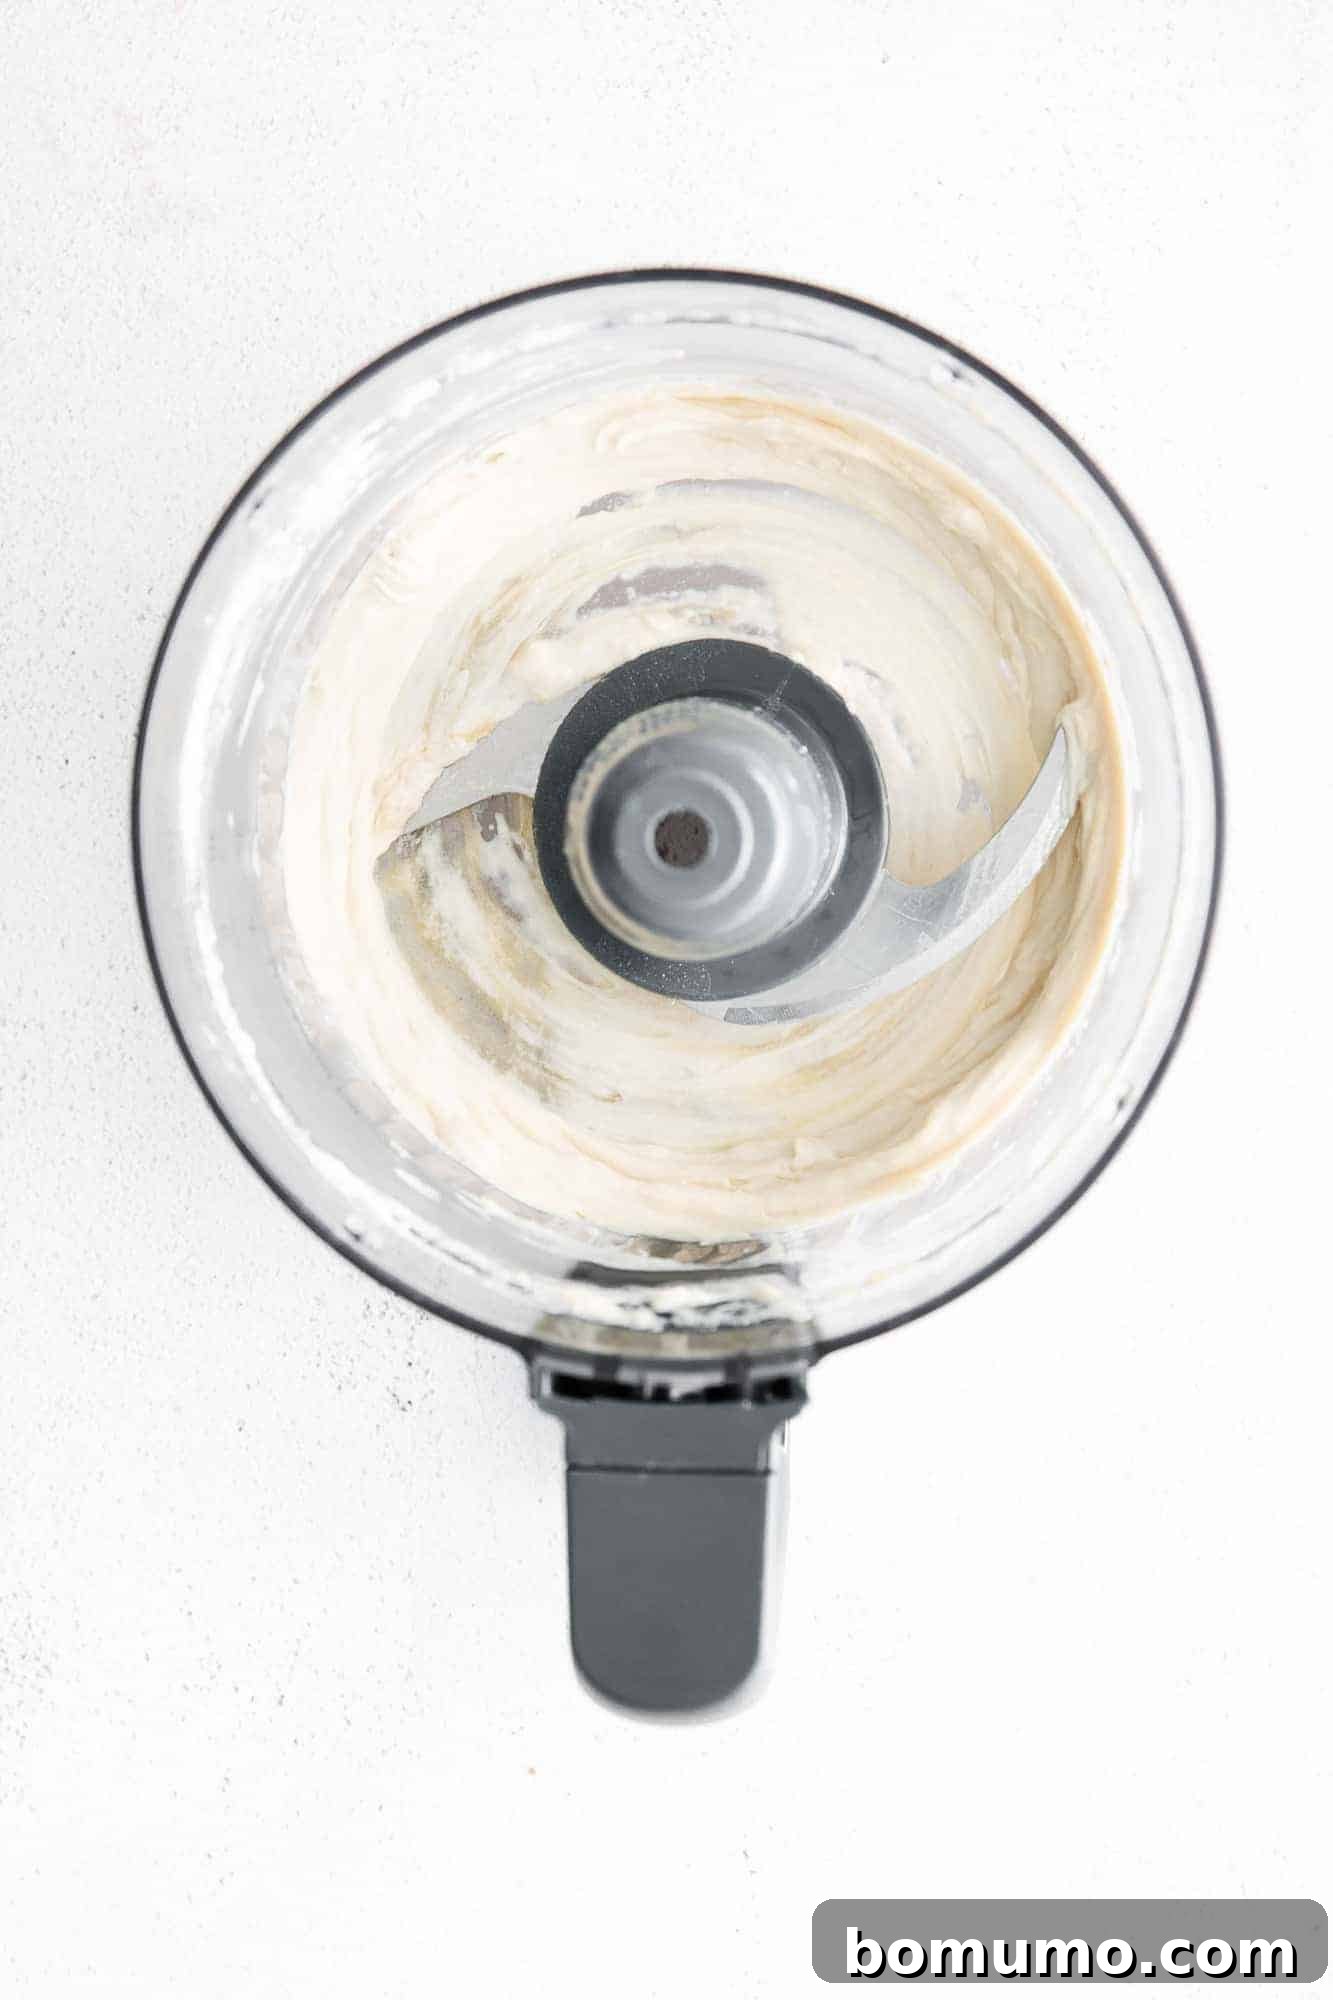
Initial Blending for Smoothness: Begin by combining the tahini, fresh lemon juice, and water in the bowl of your food processor. Pulse the mixture for approximately thirty seconds. This crucial step whips the tahini and liquids together, creating a light, airy, and emulsified base that contributes significantly to the overall creaminess of your hummus. If you’re opting for a tahini-free version due to allergies or preference, simply skip this step and proceed directly to adding the chickpeas with the lemon juice and water.

-
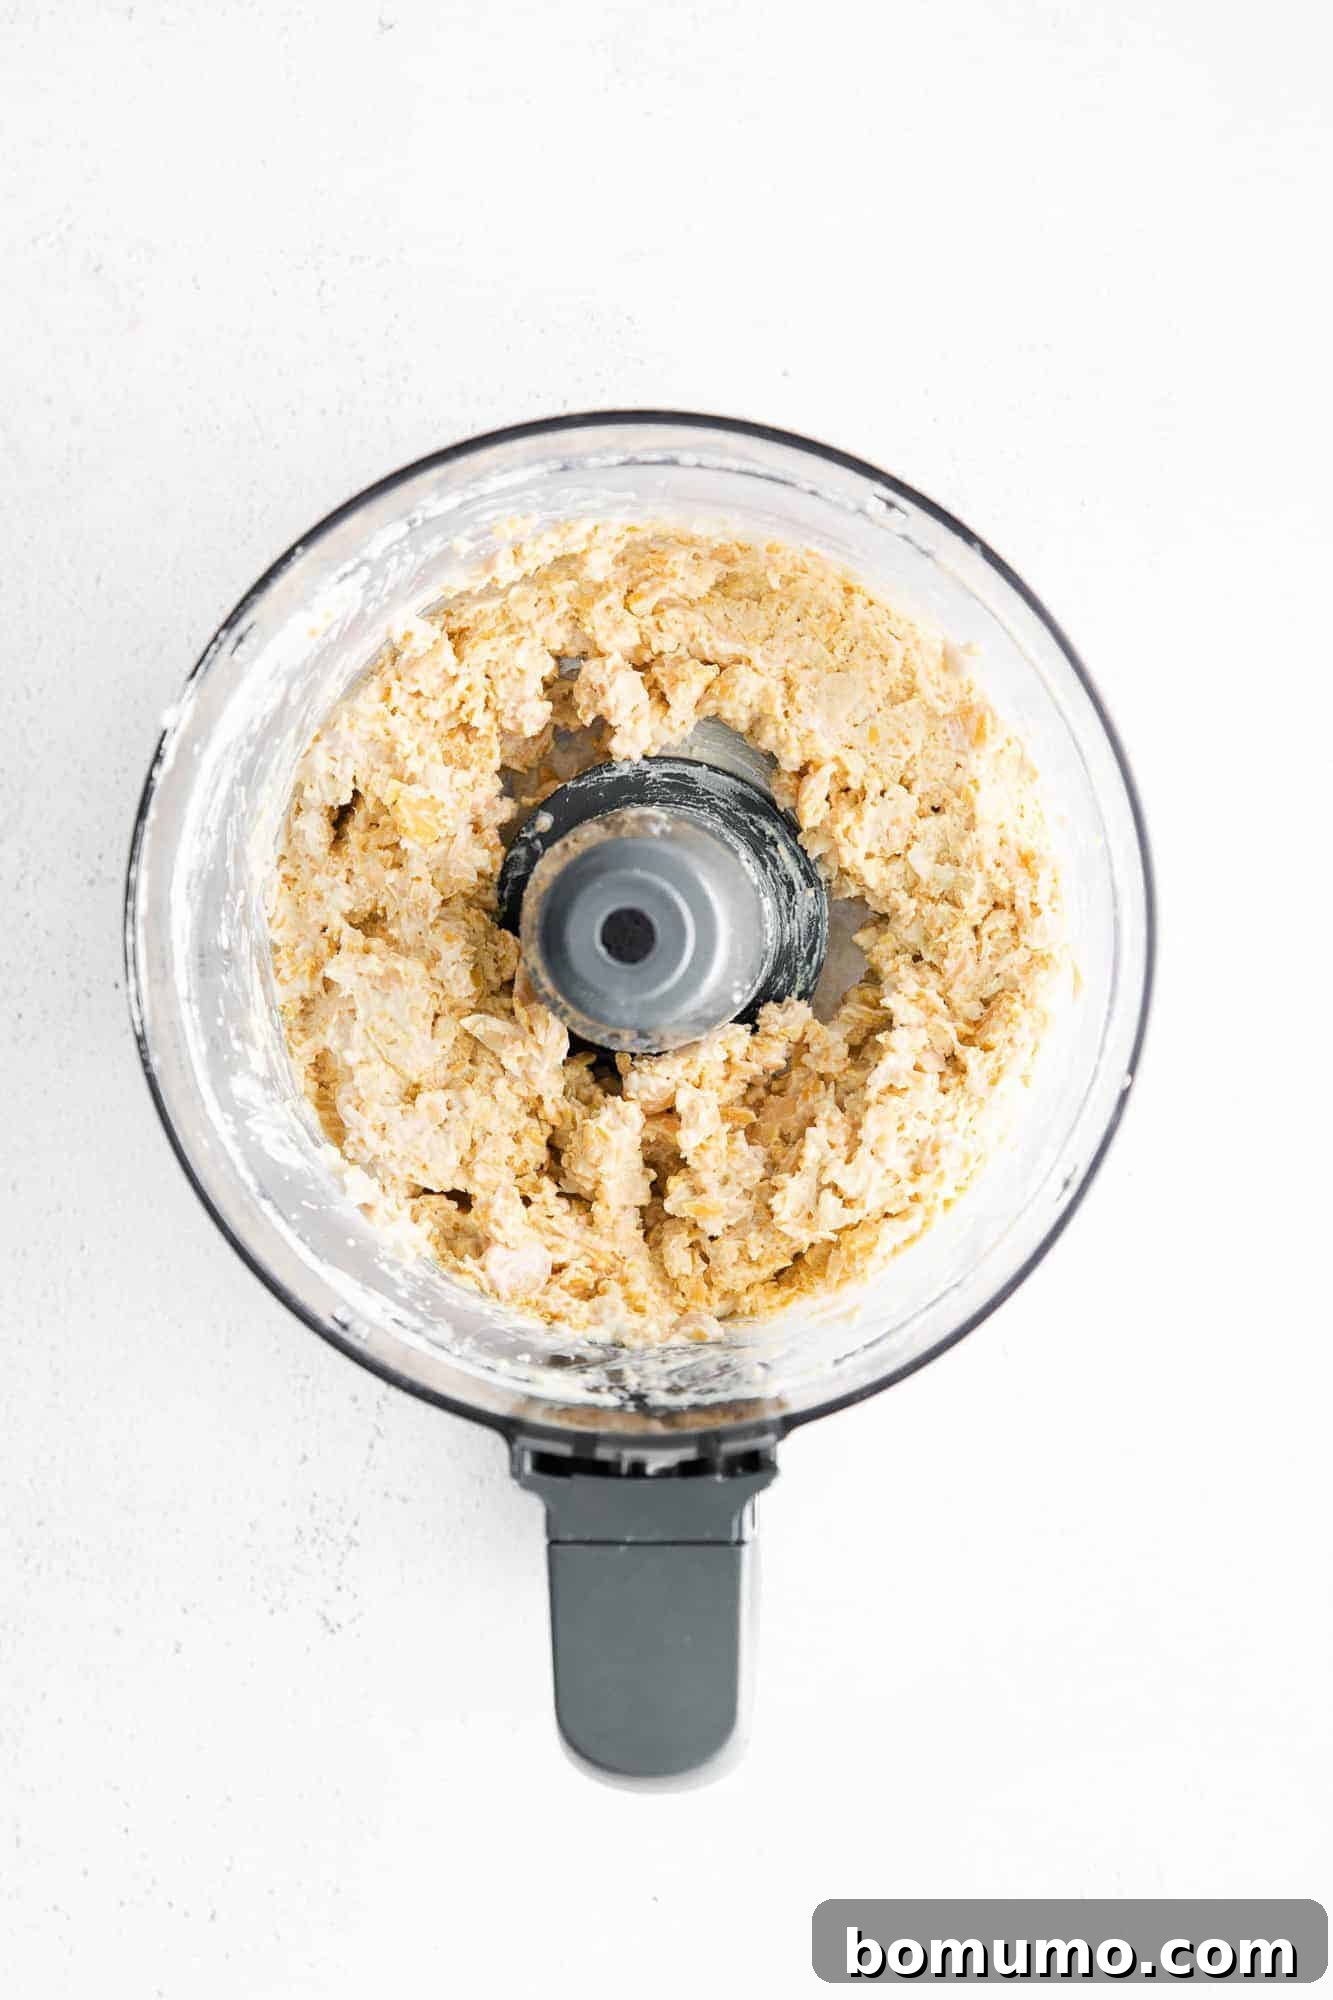
Adding the Core Ingredients: Next, add the thoroughly drained and rinsed chickpeas (garbanzo beans) and the minced fresh garlic to the food processor bowl. Pulse these ingredients several more times until the chickpeas are coarsely ground. Don’t worry about achieving a perfectly smooth consistency at this stage; we’re just breaking down the chickpeas to prepare them for the final blend.
-
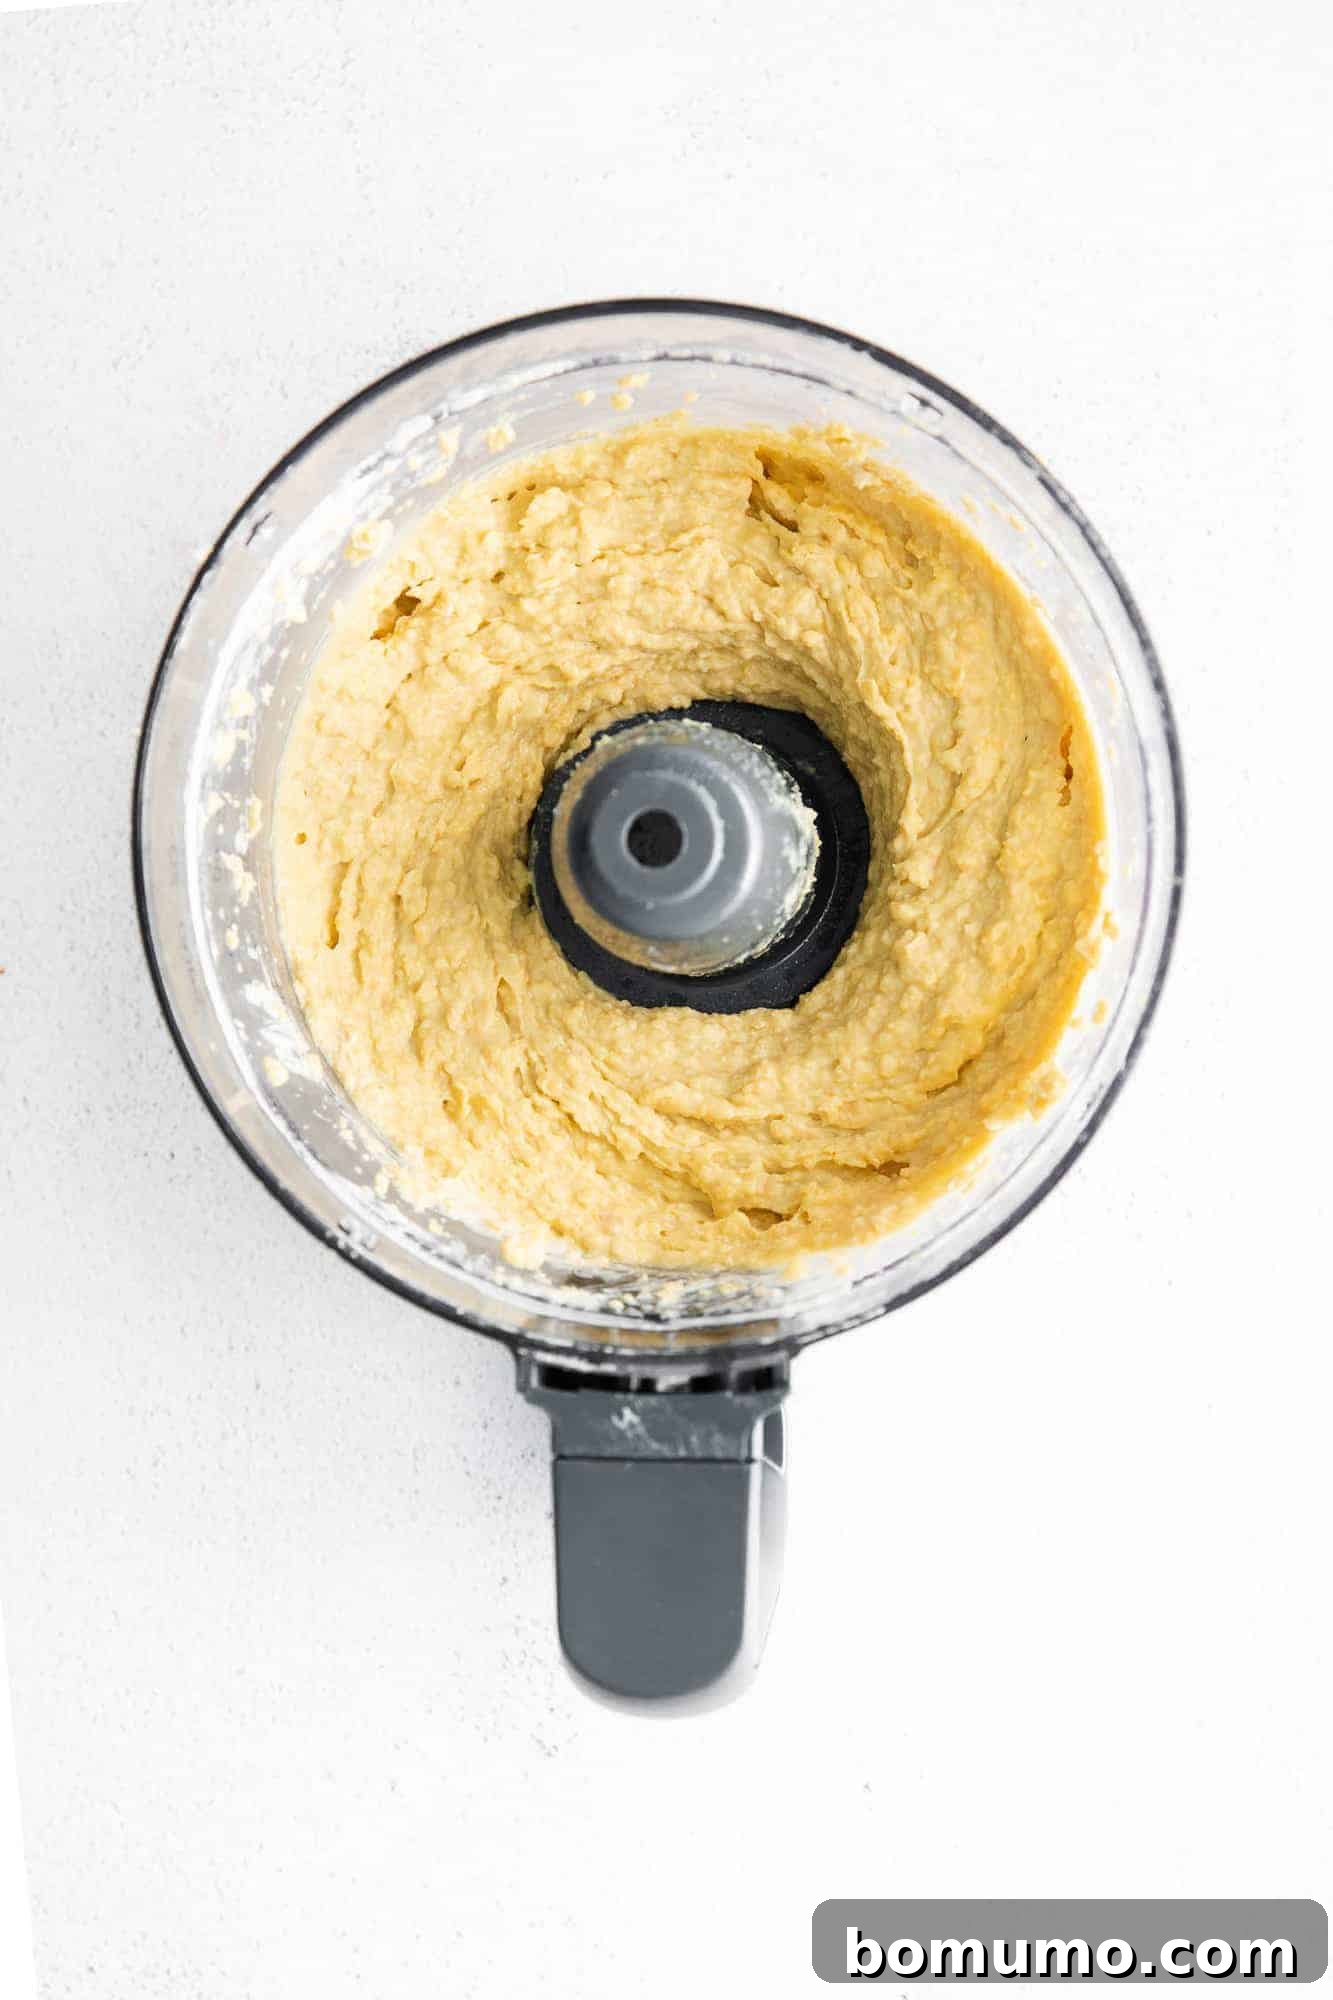
Achieving Velvety Perfection: For the final and most critical step in achieving a silky-smooth hummus, turn on your food processor and let it run continuously. While it’s running, slowly and steadily drizzle in the extra virgin olive oil through the feed tube. Continue processing until your hummus reaches your desired level of smoothness and creaminess. The longer you process, the finer and more luxurious the texture will become. If the mixture appears too thick or stiff, incorporate a small amount of additional water (or aquafaba) or olive oil, one teaspoon at a time, until the ideal consistency is reached. Finally, taste your freshly made hummus and season it generously with salt and freshly ground black pepper to your preference. Your homemade hummus is now ready to be savored!
Elevate Your Hummus with Irresistible Garnishes
One of the delightful aspects of hummus, especially when served, is the thoughtful touch of a beautiful garnish, much like those found on gourmet store-bought varieties. Elevating your homemade hummus with a simple topping not only enhances its visual appeal but also adds intriguing layers of flavor and texture.
- Toasted Pine Nuts: These golden, buttery nuts are my absolute favorite garnish. Their delicate crunch and rich flavor are simply addictive, making them an exquisite complement to creamy hummus. Learn how to easily toast pine nuts here.
- Roasted Red Pepper Strips: Sweet and smoky, strips of roasted red pepper add a pop of color and a delightful complexity to your dip.
- A Sprinkle of Paprika: A classic choice, a light dusting of sweet or smoked paprika offers a subtle warmth and a visually appealing red hue.
- Fresh Parsley or Cilantro: Finely chopped fresh herbs like parsley or cilantro provide a burst of freshness and vibrant green color.
- Olives: Sliced black or green olives, particularly Kalamata, introduce a briny, salty counterpoint that is wonderfully Mediterranean.
- Pickled Red Onions: The tangy, slightly sweet crunch of quick pickled red onions offers a fantastic textural and flavor contrast.
- Pickled Sweet Peppadew Peppers: These small, mild, and tangy peppers bring a sweet-and-sour punch and a beautiful red-orange shade.
- Bright Pink Pickled Turnips: A classic Middle Eastern topping, thinly sliced pickled turnips add a striking color and a sharp, tangy bite that is traditionally served with hummus.
Choose one or a combination of these garnishes to transform your delicious homemade hummus into a culinary masterpiece that’s as pleasing to the eye as it is to the palate.
Frequently Asked Questions About Hummus
Frequently Asked Questions About Hummus
Achieving perfectly creamy hummus often comes down to processing time. If your hummus isn’t as smooth as you’d like, try extending the processing duration by an additional minute or two. Longer blending helps break down the chickpeas more thoroughly. Incorporating a bit more tahini can also significantly enhance creaminess due to its emulsifying properties. Another excellent tip is to substitute regular water with aquafaba (the liquid from canned chickpeas), which adds a natural richness. While peeling individual chickpeas can result in an exceptionally smooth texture, I’ve found that extra tahini often makes the most noticeable difference in achieving a luxurious creaminess with less effort.
If tahini is not an option due to allergies or simply personal preference, you have several excellent alternatives. The simplest approach is to omit the tahini entirely; your hummus will still be delicious, albeit with a slightly different flavor profile and potentially less richness. For a similar texture and a nutty flavor without sesame, consider using sunflower seed butter or various nut butters, such as cashew or almond butter. These alternatives offer a creamy consistency and distinct taste notes. Another popular substitute is Greek yogurt, which provides tanginess and a smooth texture. While using substitutes will undoubtedly alter the classic hummus flavor, it opens up a world of new and equally delightful variations to explore.
To achieve an exceptionally light and fluffy hummus, a lesser-known trick is to add a few ice cubes or a tablespoon or two of ice-cold water during the final blending stage, particularly after adding the olive oil. The cold temperature helps to emulsify the ingredients more effectively and whip air into the mixture, resulting in a wonderfully aerated and lighter texture. You can also try blending the tahini, lemon juice, and water for an extra minute at the beginning to create a super-emulsified base.
Absolutely! Using dried chickpeas will yield an even fresher, often richer flavor, though it requires more preparation time. You’ll need to soak the dried chickpeas overnight, then cook them until they are very tender (almost mushy). Cooking them with a pinch of baking soda can help soften their skins, making them easier to blend into a smooth consistency. Remember to cook a larger quantity of dried chickpeas to yield the same amount as a can of cooked ones.
Exciting Hummus Recipe Variations to Try
Exciting Hummus Recipe Variations to Try
- Customize Your Garlic Level: The beauty of homemade hummus lies in its customizability. Feel free to completely omit the garlic if you prefer a milder flavor or wish to avoid “garlic breath” throughout the day. Conversely, if you’re a devoted garlic enthusiast, don’t hesitate to increase the quantity to two or even three cloves for an extra pungent kick. For a sweeter, more mellow garlic flavor, try roasting the garlic cloves until soft and golden before adding them to the food processor.
- Infuse with Spices and Fresh Herbs: Experiment with different spices to create unique flavor profiles. Ground cumin is a popular addition, imparting a warm, earthy depth; start with half a teaspoon and adjust to your liking. A pinch of cayenne pepper can introduce a subtle heat, while a teaspoon of chopped fresh rosemary offers an aromatic, Mediterranean twist. Other ideas include smoked paprika, coriander, or even a dash of Za’atar seasoning.
- Roasted Red Pepper Hummus: For a vibrant and slightly sweet variation, add about ¾ cup of chopped roasted red peppers (from a jar, drained) to your food processor along with the other ingredients. This creates a beautiful color and a delicious, smoky-sweet flavor.
- Decadent Chocolate Hummus: A surprising yet utterly delightful dessert hummus! This sweet variation is incredibly versatile and pairs wonderfully with pretzels, graham crackers, or fresh fruit dippers. Find an excellent recipe for dark chocolate hummus here.
- Sesame-Free Hummus Options: If tahini is not an option, explore other delicious sesame-free alternatives. As discussed in the FAQ section above, nut or seed butters can be good substitutes. For visually stunning and uniquely flavored dips, try parsley hummus, which boasts a gorgeous emerald green hue, or edamame dip, a flavorful chickpea-free dip made with frozen, shelled edamame.
- Beyond Hummus: Love Chickpeas in New Ways: If you enjoy chickpeas but are looking for alternatives to hummus, consider roasting them for a deliciously crispy and healthy snack. They can be seasoned in countless ways for savory or sweet treats. Explore these fantastic recipes: classic oven-roasted chickpeas, ultra-crispy air fryer chickpeas, or a delightful sweet treat with cinnamon roasted chickpeas.
Maximizing Freshness: Hummus Storage Tips
Maximizing Freshness: Hummus Storage Tips
One of the many benefits of homemade hummus is its excellent shelf life and versatility in storage, making it an ideal make-ahead dip for meal prep or entertaining.
- Refrigeration: Once prepared, transfer your hummus to an airtight container and store it in the refrigerator. It will maintain its delicious freshness and creamy texture for up to five days. For best results, you can smooth the top and drizzle a thin layer of olive oil over the surface before sealing; this helps to prevent drying and discoloration.
- Freezing: Did you know you can freeze hummus? This is a fantastic tip for extending its shelf life and ensuring you always have a healthy snack on hand. For convenience, portion your hummus into individual-sized freezer-safe containers. It can be safely stored in the freezer for up to six months. When thawed, you might notice a slight separation in consistency, but a quick stir will bring it right back to its creamy glory. If you’ve frozen a larger batch, it’s best to thaw it gradually overnight in your refrigerator to preserve its texture.
Dips don’t always have to be a guilty pleasure or a special indulgence. As I’ve highlighted with my edamame dip and parsley hummus, there are countless healthy and delicious options. Explore some of these other fantastic dip recipes that you and your loved ones are sure to enjoy.
Discover More Irresistible Dip Recipes
Refreshing Dill Vegetable Dip Recipe
Classic Spinach Dip (From Scratch or Mix)
Authentic Homemade Tzatziki Recipe (Cucumber Yogurt Sauce)
Irresistible Whipped Feta with Lemon and Dill
Classic Creamy Homemade Hummus Recipe
Rachel Gurk
5
5
16 servings
Print Recipe
Ingredients
- 1 can (15 ounce) chickpeas rinsed and drained
- ¼ cup tahini (sesame paste, optional for allergies)
- 2 tablespoons water (or aquafaba for extra creaminess)
- 2 tablespoons freshly squeezed lemon juice
- 1 clove garlic minced (optional, adjust to taste)
- ¼ teaspoon kosher salt more to taste
- ¼ cup extra virgin olive oil
- ground black pepper more to taste
Instructions
-
In the bowl of a food processor, combine the rinsed and drained chickpeas, tahini (if using), water, lemon juice, minced garlic, and salt. Pulse the mixture until all ingredients are well combined and the chickpeas are coarsely broken down, which takes about 1 minute.
-
With the food processor running continuously, slowly drizzle in the olive oil through the feed tube. Continue processing until your hummus achieves a smooth and creamy consistency. For an even silkier texture, process for a longer duration.
-
Taste the hummus and adjust the seasoning with additional salt and freshly ground black pepper as needed to suit your preference.
-
Serve your delicious homemade hummus immediately, or store it in an airtight container in the refrigerator for up to 5 days. Enjoy!
Notes
- This recipe yields approximately 2 cups of creamy homemade hummus.
- If you prefer to omit tahini, simply skip the first step of combining tahini with liquids. Instead, add the water and lemon juice directly to the chickpeas and garlic, then process. Note that without tahini, the consistency may be slightly less smooth and rich, but still very flavorful. You can also substitute tahini with cashew, almond, or sunflower butter, or even Greek yogurt for a different flavor profile.
- Hummus is freezer-friendly! It can be stored in an airtight container in the freezer for up to 6 months. Thaw overnight in the refrigerator and stir well before serving.
- For an exceptionally smooth hummus, you can remove the peels from the chickpeas before adding them to the food processor. This is an optional step that requires a bit more time but results in a truly luxurious texture.
Video Guide
Watch our step-by-step video to see how easily you can make this creamy homemade hummus!
Nutrition Facts
Serving: 2tablespoons
,
Calories: 53kcal
,
Carbohydrates: 1g
,
Protein: 1g
,
Fat: 5g
,
Saturated Fat: 1g
,
Polyunsaturated Fat: 1g
,
Monounsaturated Fat: 3g
,
Sodium: 38mg
,
Potassium: 20mg
,
Fiber: 1g
,
Sugar: 1g
,
Vitamin A: 3IU
,
Vitamin C: 1mg
,
Calcium: 6mg
,
Iron: 1mg
Nutrition information is automatically calculated and should be considered an approximation. Individual results may vary based on exact ingredients and preparation methods.
Did You Make This Recipe?
We’d love to hear your thoughts! Share your comments and leave a rating below.