
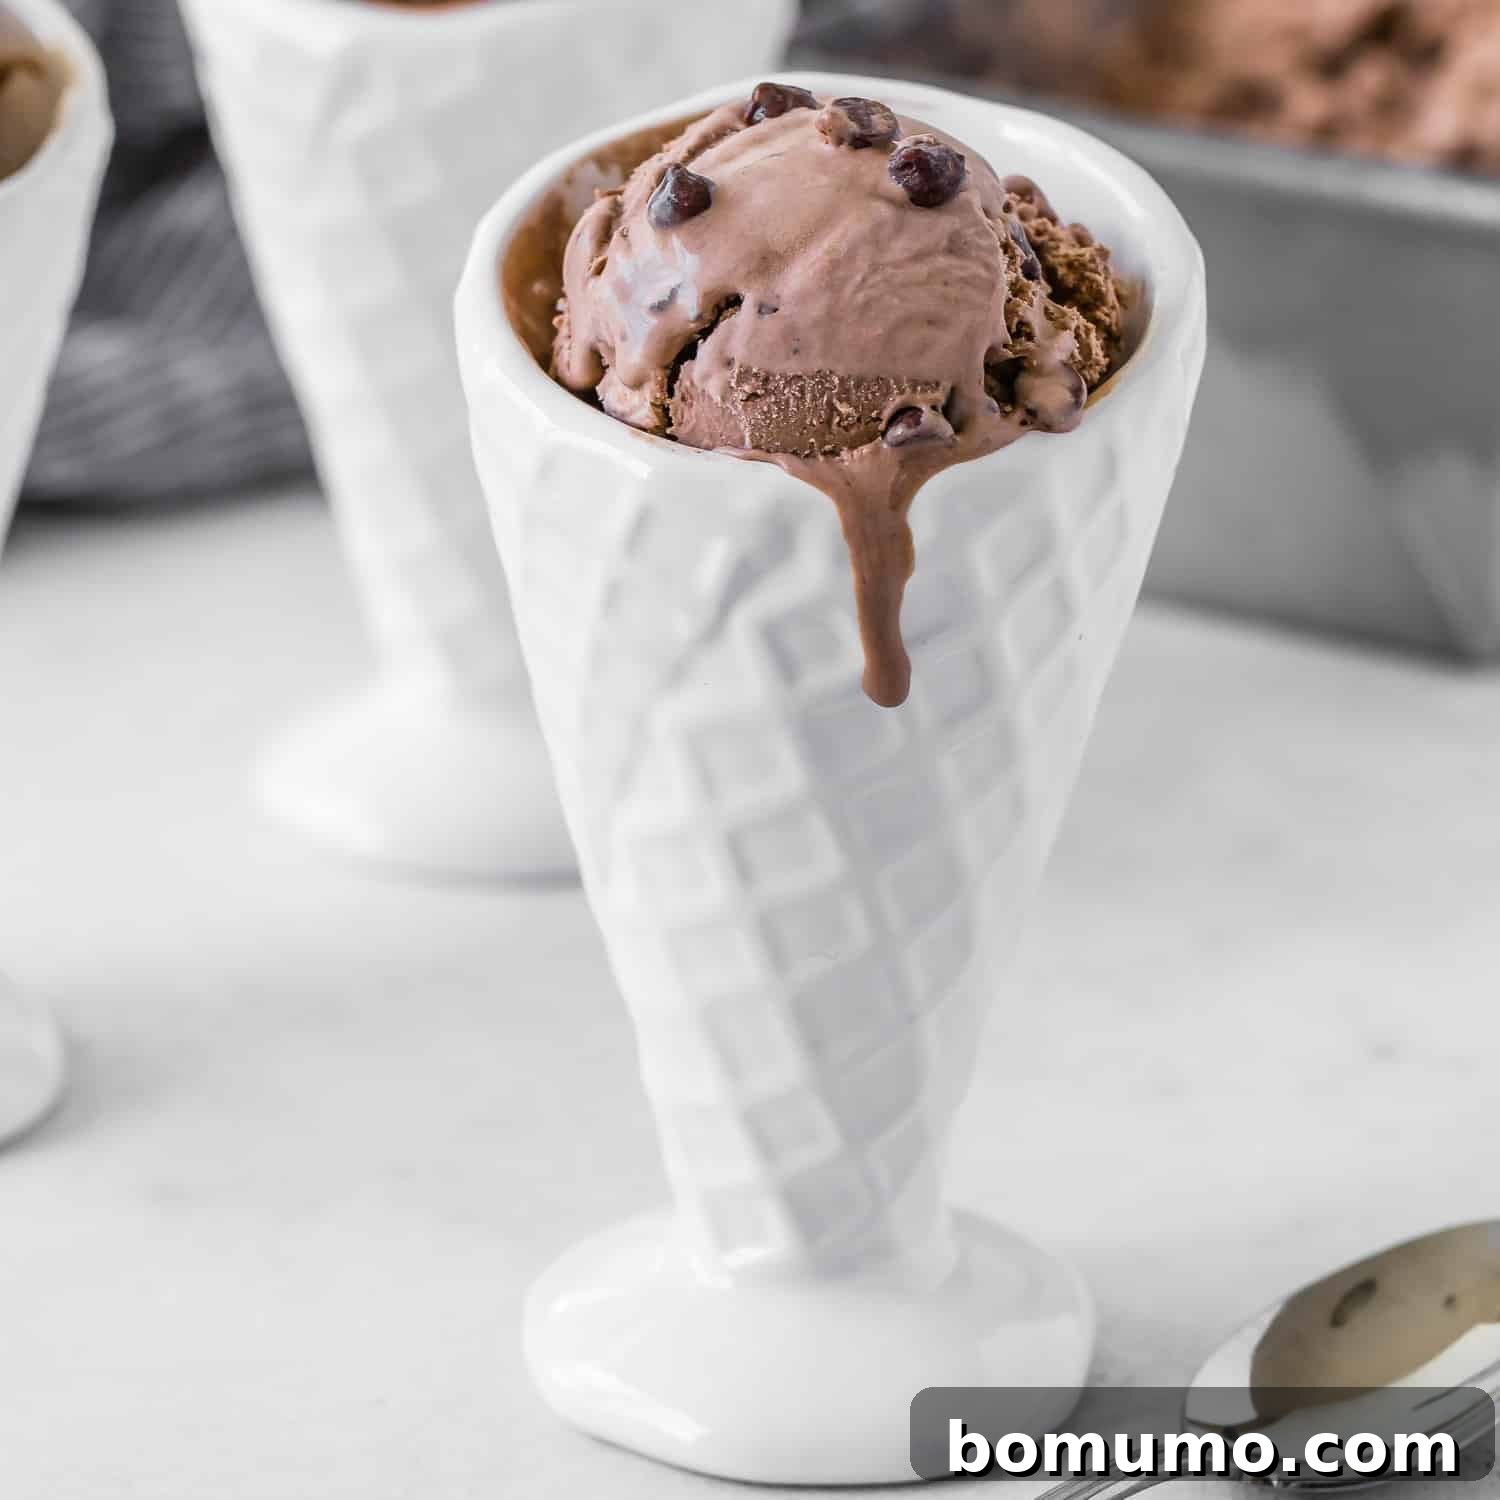
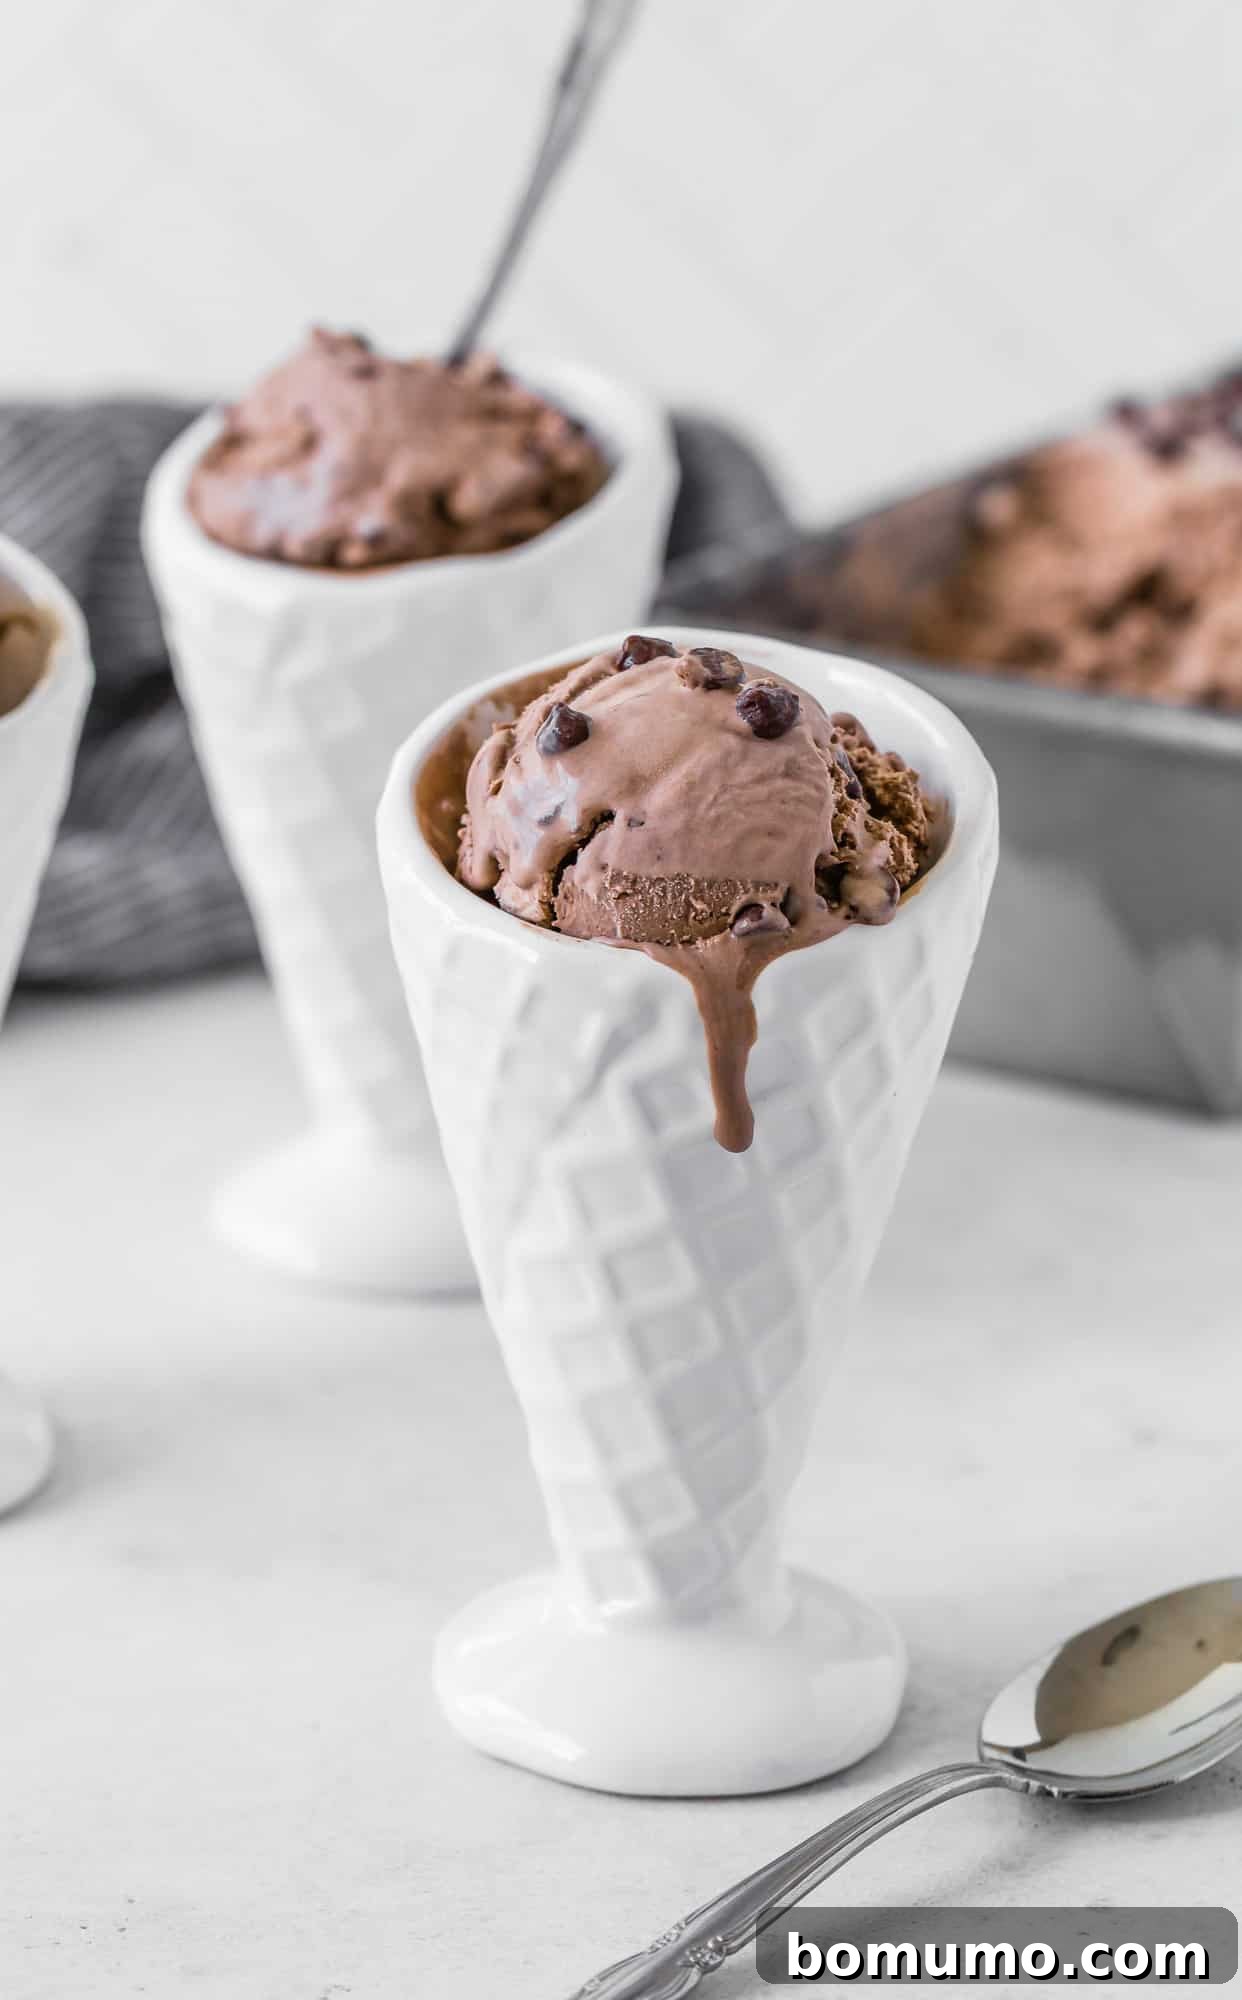
This irresistibly smooth and creamy no-churn chocolate ice cream recipe promises a luxurious, fudgy flavor without the need for an ice cream maker. Elevate the experience by stirring in chocolate chips for a truly double chocolate delight!
Recipe Overview: Your Path to Perfect No-Churn Chocolate Ice Cream
Why you’ll adore this recipe: Indulge in profoundly rich, unbelievably creamy chocolate ice cream that tastes like a premium scoop shop creation, all without needing an ice cream machine. It’s the ultimate easy homemade dessert!
Time commitment: Only 15 minutes of active preparation, followed by a minimum of 6 hours of freezer time to achieve perfect firmness.
Essential tools: An electric mixer (handheld or stand mixer), a spacious mixing bowl, and a standard loaf tin.
Yields: Approximately 10 generous servings.
Cuisine: American Dessert
Dietary: Vegetarian
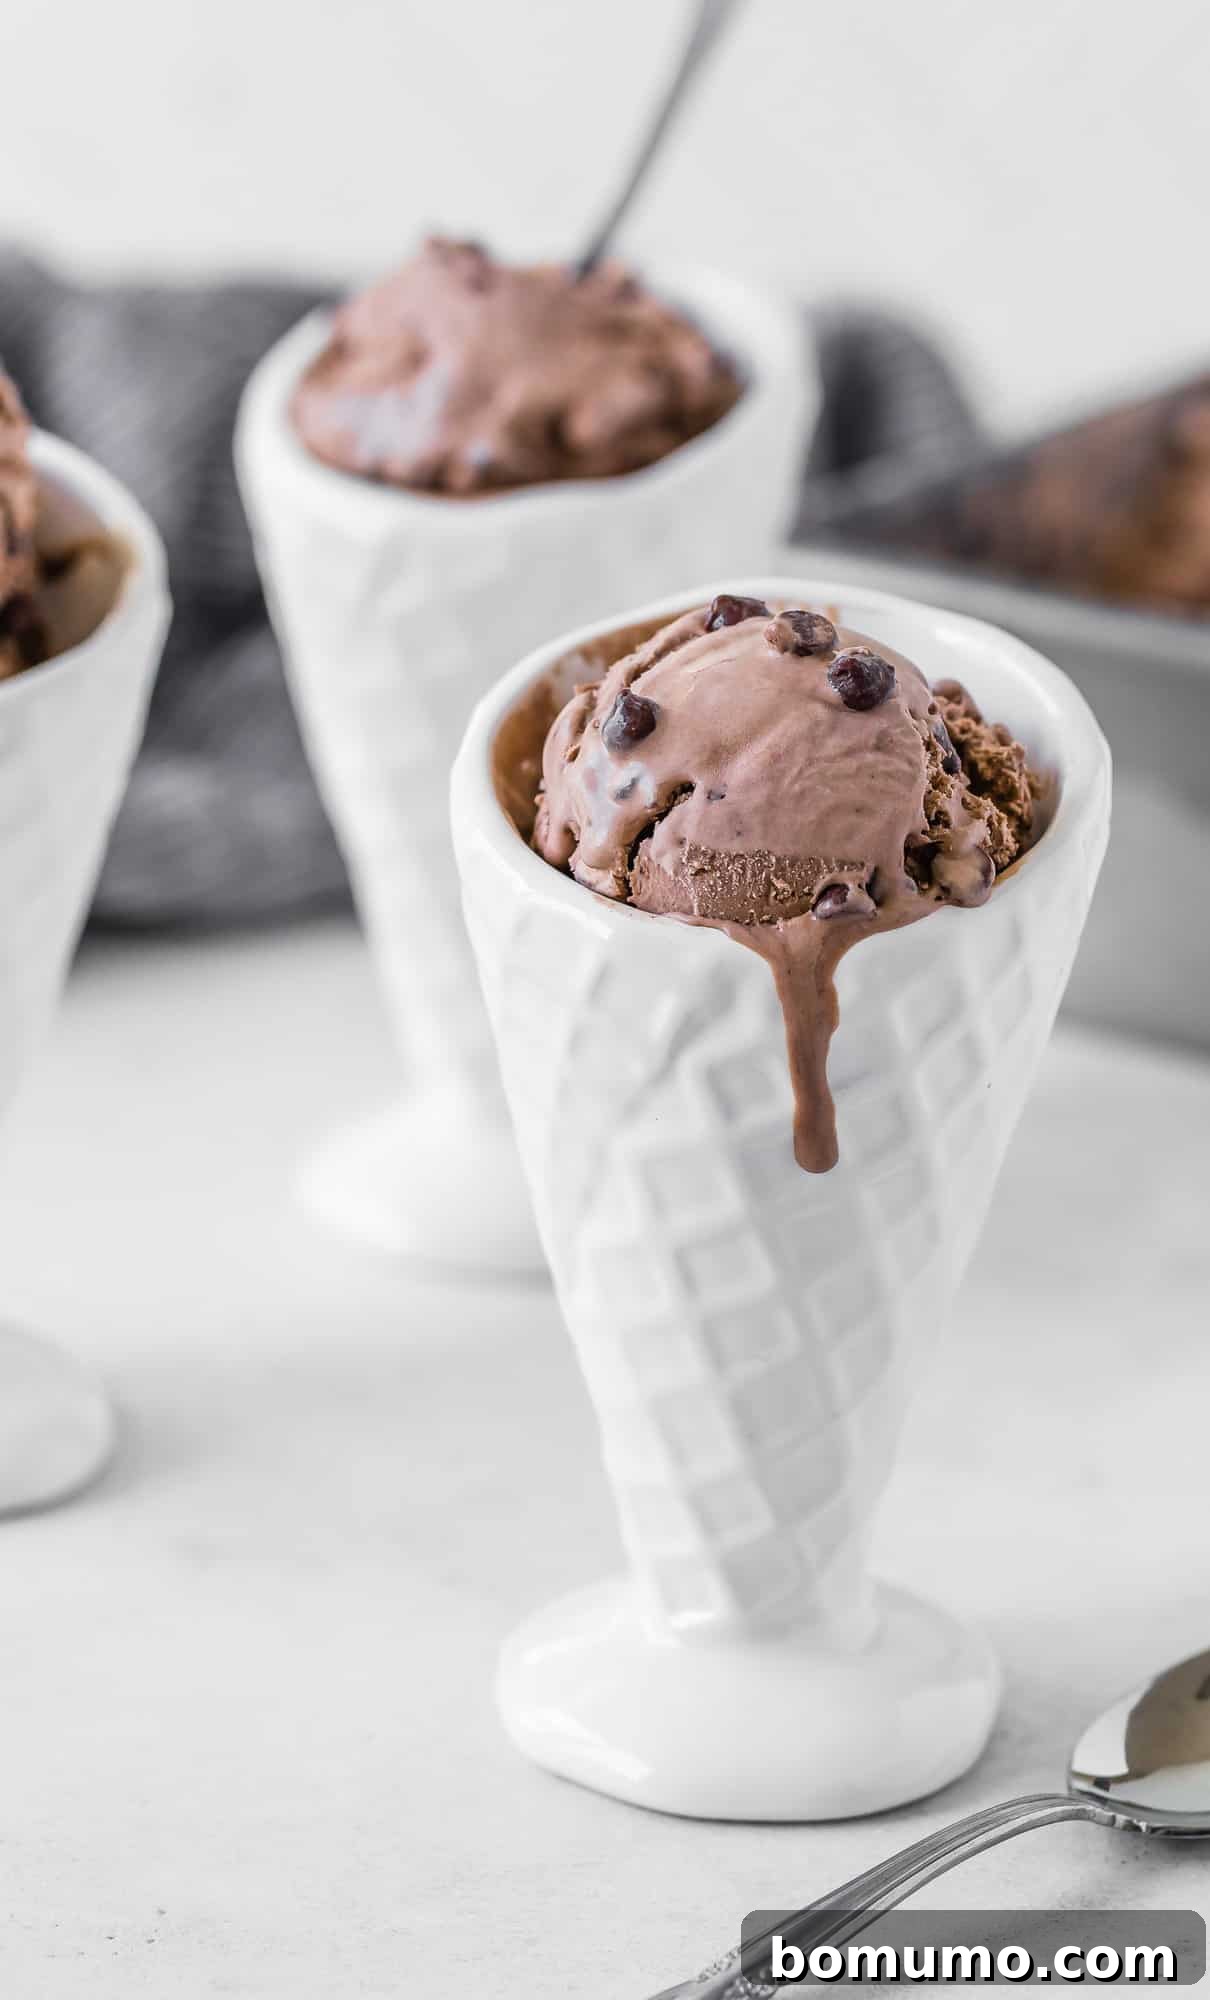
Indulge in the Ultimate Easy Homemade No-Churn Chocolate Ice Cream Recipe
There’s nothing quite like the simple pleasure of a rich, creamy scoop of chocolate ice cream, especially when it’s homemade. For many, the idea of making ice cream at home conjures images of bulky, noisy ice cream makers and lengthy churning processes. But what if we told you that creating luscious, gourmet-quality chocolate ice cream can be effortlessly simple, requiring no specialized machine at all? Enter the world of no-churn ice cream – a revolutionary approach that delivers incredibly smooth, deeply flavored frozen treats with minimal fuss.
This particular recipe for no-churn chocolate ice cream is a true game-changer. It’s designed to bring the joy of homemade ice cream to every kitchen, regardless of equipment. Whether you’re looking for a delightful dessert to share with loved ones, celebrating a special occasion, or simply craving a rich chocolate indulgence, this recipe ensures you don’t have to miss out. Its simplicity means you can control every ingredient, ensuring a fresh, wholesome, and perhaps even allergy-friendly dessert for everyone to enjoy. Forget the struggle of hauling out heavy appliances; this recipe is a win-win for deliciousness and convenience. Prepare to be amazed by how easily you can create an ice cream that tastes like it came from a high-end parlor. We truly hope you give it a try and fall in love!
If the thought of crafting your own frozen delights excites you, be sure to explore our extensive list of 14 delicious frozen desserts for even more inspiration.
Why This No-Churn Chocolate Ice Cream Recipe Is a Game-Changer
Our no-churn chocolate ice cream isn’t just easy; it’s ingeniously designed to deliver superior results with minimal effort. This recipe works its magic in a similar fashion to other homemade favorites like cinnamon ice cream, proving that an ice cream maker is truly optional. Here’s why this method stands out:
- Effortless Preparation with Just 4 Key Ingredients: The secret to this ultra-rich and creamy homemade chocolate ice cream lies in its surprisingly simple ingredient list. By combining heavy whipping cream and sweetened condensed milk, we create a magical base that transforms into a velvety texture without any churning. The heavy cream provides the necessary fat for creaminess and volume when whipped, while the sweetened condensed milk acts as both a sweetener and a crucial anti-crystallization agent, ensuring your ice cream remains smooth and scoopable.
- No Specialized Equipment Needed – Goodbye Ice Cream Maker! Forget about investing in bulky, single-purpose kitchen gadgets. All you need for this recipe is an electric mixer (either a handheld one or a stand mixer) to whip the cream to perfection. The entire active preparation takes a mere 15 minutes, after which the freezer does all the heavy lifting, allowing the ice cream to set into a delectable frozen dessert over just a few hours.
- Unapologetically Extra Chocolatey Flavor: This is the ultimate dream for true chocolate connoisseurs. The recipe is packed with a deep, robust cocoa flavor that truly satisfies. For those who believe there’s no such thing as too much chocolate, we highly recommend stirring in a generous handful of mini chocolate chips. This optional addition transforms it into a decadent double chocolate experience, adding delightful pockets of solid chocolate throughout the creamy base.
- Perfectly Smooth & Creamy Texture: The beauty of the no-churn method is how it mimics the texture of traditionally churned ice cream. By whipping the heavy cream, we incorporate vital air pockets, contributing to a light and airy consistency. The sweetened condensed milk, with its high sugar content, significantly lowers the freezing point, which helps prevent the formation of large, icy crystals. The result is an incredibly smooth, melt-in-your-mouth texture that rivals gourmet ice cream.
- Endlessly Customizable: Beyond its core deliciousness, this chocolate ice cream recipe offers incredible versatility. It serves as a fantastic base for a myriad of add-ins and flavor variations, allowing you to easily personalize it to suit any preference or occasion. You’ll find plenty of inspiration for creative twists further down in this article!
Gather Your Ingredients: The Simple Staples for Heavenly Chocolate Ice Cream
Crafting this incredible no-churn chocolate ice cream requires just a few readily available ingredients. While simple, selecting the right quality ensures the best results for that ultimate creamy and rich flavor. Below, we delve into each component and why it’s crucial for your homemade frozen treat. For precise measurements and full instructions, please consult the detailed recipe card at the bottom of this article.
- Sweetened Condensed Milk: This ingredient is a cornerstone of no-churn ice cream. You’ll typically find cans of sweetened condensed milk in the baking aisle of your grocery store. It’s vital not to confuse it with evaporated milk; they are distinctly different products. Sweetened condensed milk is thick, very sweet, and plays a dual role: it provides the necessary sweetness and, crucially, prevents large ice crystals from forming, ensuring a smooth, creamy texture. Its high sugar content acts as an anti-freeze, keeping the ice cream scoopable.
- Heavy Cream (Heavy Whipping Cream): This is arguably the most important component for achieving the airy, light body of no-churn ice cream. Look for heavy cream with a milk fat content of at least 36%. Products like half & half or light whipping cream will not work effectively as they lack the fat necessary to whip into stable, stiff peaks. Ensure your heavy cream is well-chilled before whipping, as cold cream incorporates air much more efficiently and holds its structure better, contributing significantly to the final texture.
- Unsweetened Cocoa Powder: This is where the rich chocolate flavor truly comes from. Cocoa powder is made from crushed cocoa beans that have been processed to remove most of their cocoa butter. It’s often used in baking and is a source of antioxidants. For the best flavor, use a good quality unsweetened cocoa powder. If your cocoa powder has hard lumps, make sure to sift it before incorporating it into the mixture to ensure a smooth, uniform chocolate base.
- Pure Vanilla Extract: A touch of pure vanilla extract is essential. Vanilla doesn’t just add its own sweet, aromatic flavor; it also subtly enhances and deepens the chocolate notes, adding complexity and warmth to the overall profile of the ice cream. Always opt for pure vanilla extract for the most authentic and rich flavor.
- Mini Chocolate Chips: For an extra layer of chocolate indulgence and to achieve that desirable “double chocolate” effect, mini chocolate chips are highly recommended. Their smaller size ensures they are evenly distributed throughout the ice cream and won’t sink to the bottom of your container as easily as larger chips might. While optional, they add a wonderful textural contrast and an extra burst of chocolate in every bite. Consider saving a small handful to sprinkle on top before freezing for an appealing finish.
Step-by-Step Guide: Crafting Your Creamy No-Churn Chocolate Ice Cream
Making this fudgy, incredibly creamy no-churn chocolate ice cream is surprisingly straightforward. Follow these simple steps to create a dessert that will impress everyone:
- Step 1: Prepare the Chocolate Base: In a medium-sized bowl, combine the sweetened condensed milk, rich unsweetened cocoa powder, and fragrant pure vanilla extract. Stir these ingredients thoroughly until the mixture is completely smooth and homogeneous. The condensed milk’s thick consistency makes blending in the cocoa powder quite easy, ensuring a rich chocolatey foundation for your ice cream. Set this luscious chocolate mixture aside for a moment.
- Step 2: Achieve Perfect Whipped Cream: Transfer your well-chilled heavy cream into a large mixing bowl. For best results, consider chilling your bowl and beaters beforehand (see tips below). Using an electric mixer (either a handheld model or a stand mixer fitted with the whisk attachment), beat the cream on medium-high speed. Continue beating until the cream transforms into firm, stiff peaks. This means when you lift the beaters, the cream should stand upright without drooping. This process typically takes about 3-5 minutes, depending on your mixer’s power and the cream’s initial temperature.
- Step 3: Gently Fold the Flavors: Carefully pour the chocolate-condensed milk mixture into the whipped cream. Employ a very light touch, using a spatula to gently fold the two mixtures together. The goal is to incorporate them fully until no streaks of white cream remain, while retaining as much air in the whipped cream as possible. Mix just until combined; a few tiny lumps from the cocoa are perfectly fine, but resist the urge to overmix, as this can deflate the delicate whipped cream and lead to a denser, less airy ice cream.
- Step 4: Incorporate Chocolate Chips (Optional, but Recommended!): Now is the perfect time to add your desired amount of mini chocolate chips. Gently fold them into the thick, creamy base using your spatula. Because the mixture is already quite substantial and airy, you won’t have to worry about the chips sinking straight to the bottom of your container, ensuring an even distribution of chocolatey bites throughout your frozen treat.
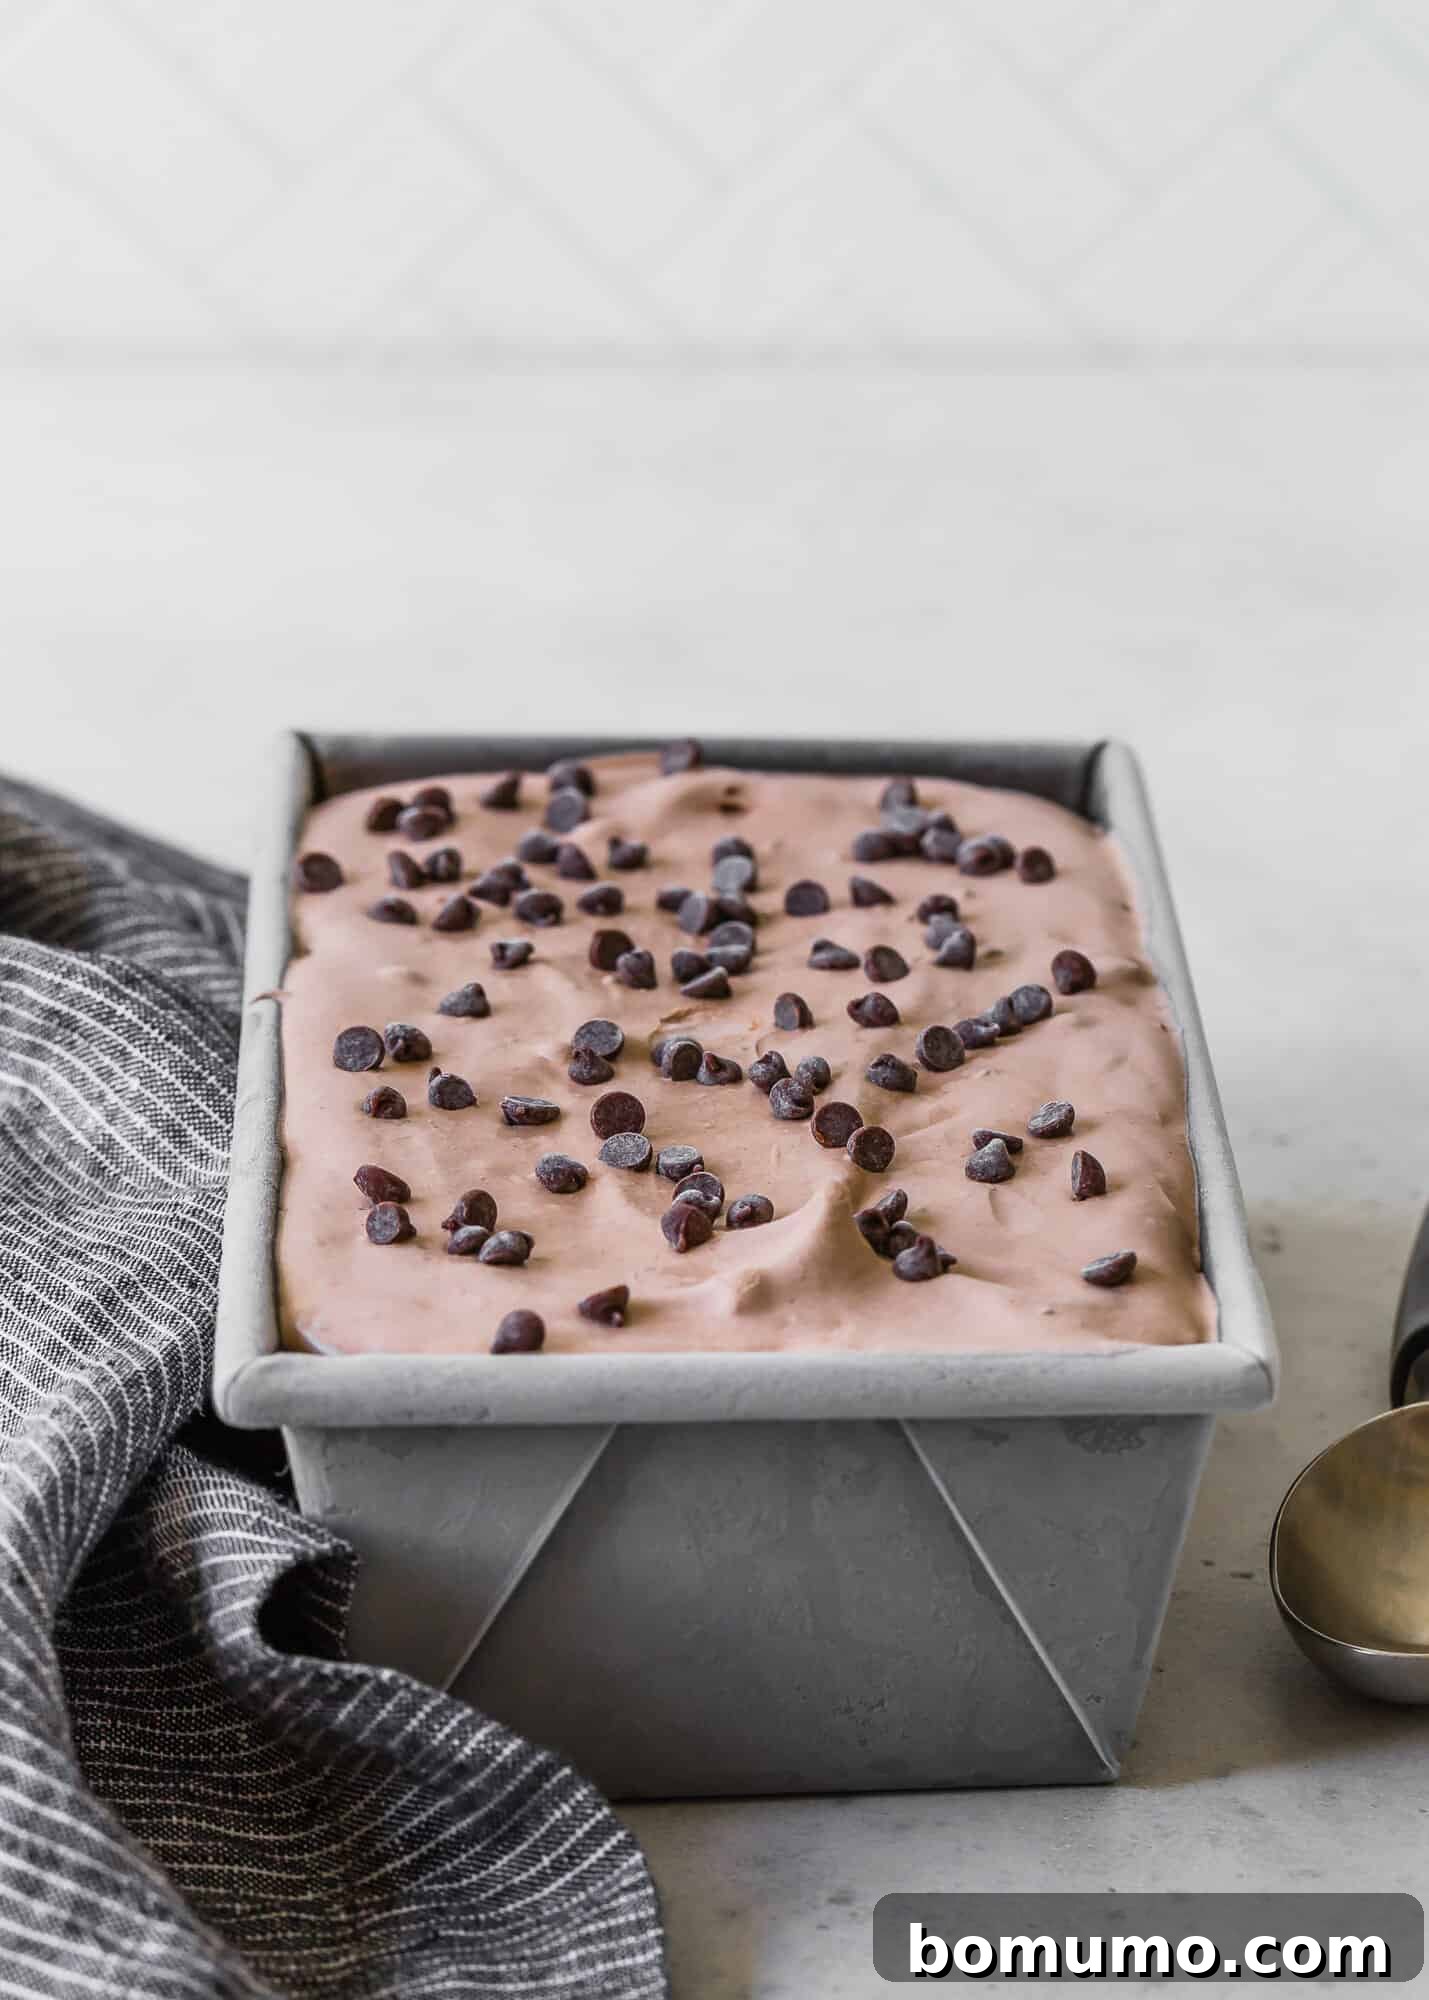
- Step 5: Freeze to Perfection: Transfer the entire ice cream mixture into your chosen 9-inch loaf pan, spreading it evenly and smoothing the top with your spatula. If desired, sprinkle a few extra mini chocolate chips over the surface for an appealing visual touch and an extra burst of chocolate. Cover the pan tightly with aluminum foil or plastic wrap, ensuring it forms an airtight seal directly on the surface of the ice cream to prevent freezer burn. Place the pan in the freezer for a minimum of 6 hours, or ideally, overnight, allowing it to firm up completely into a delightful frozen dessert.
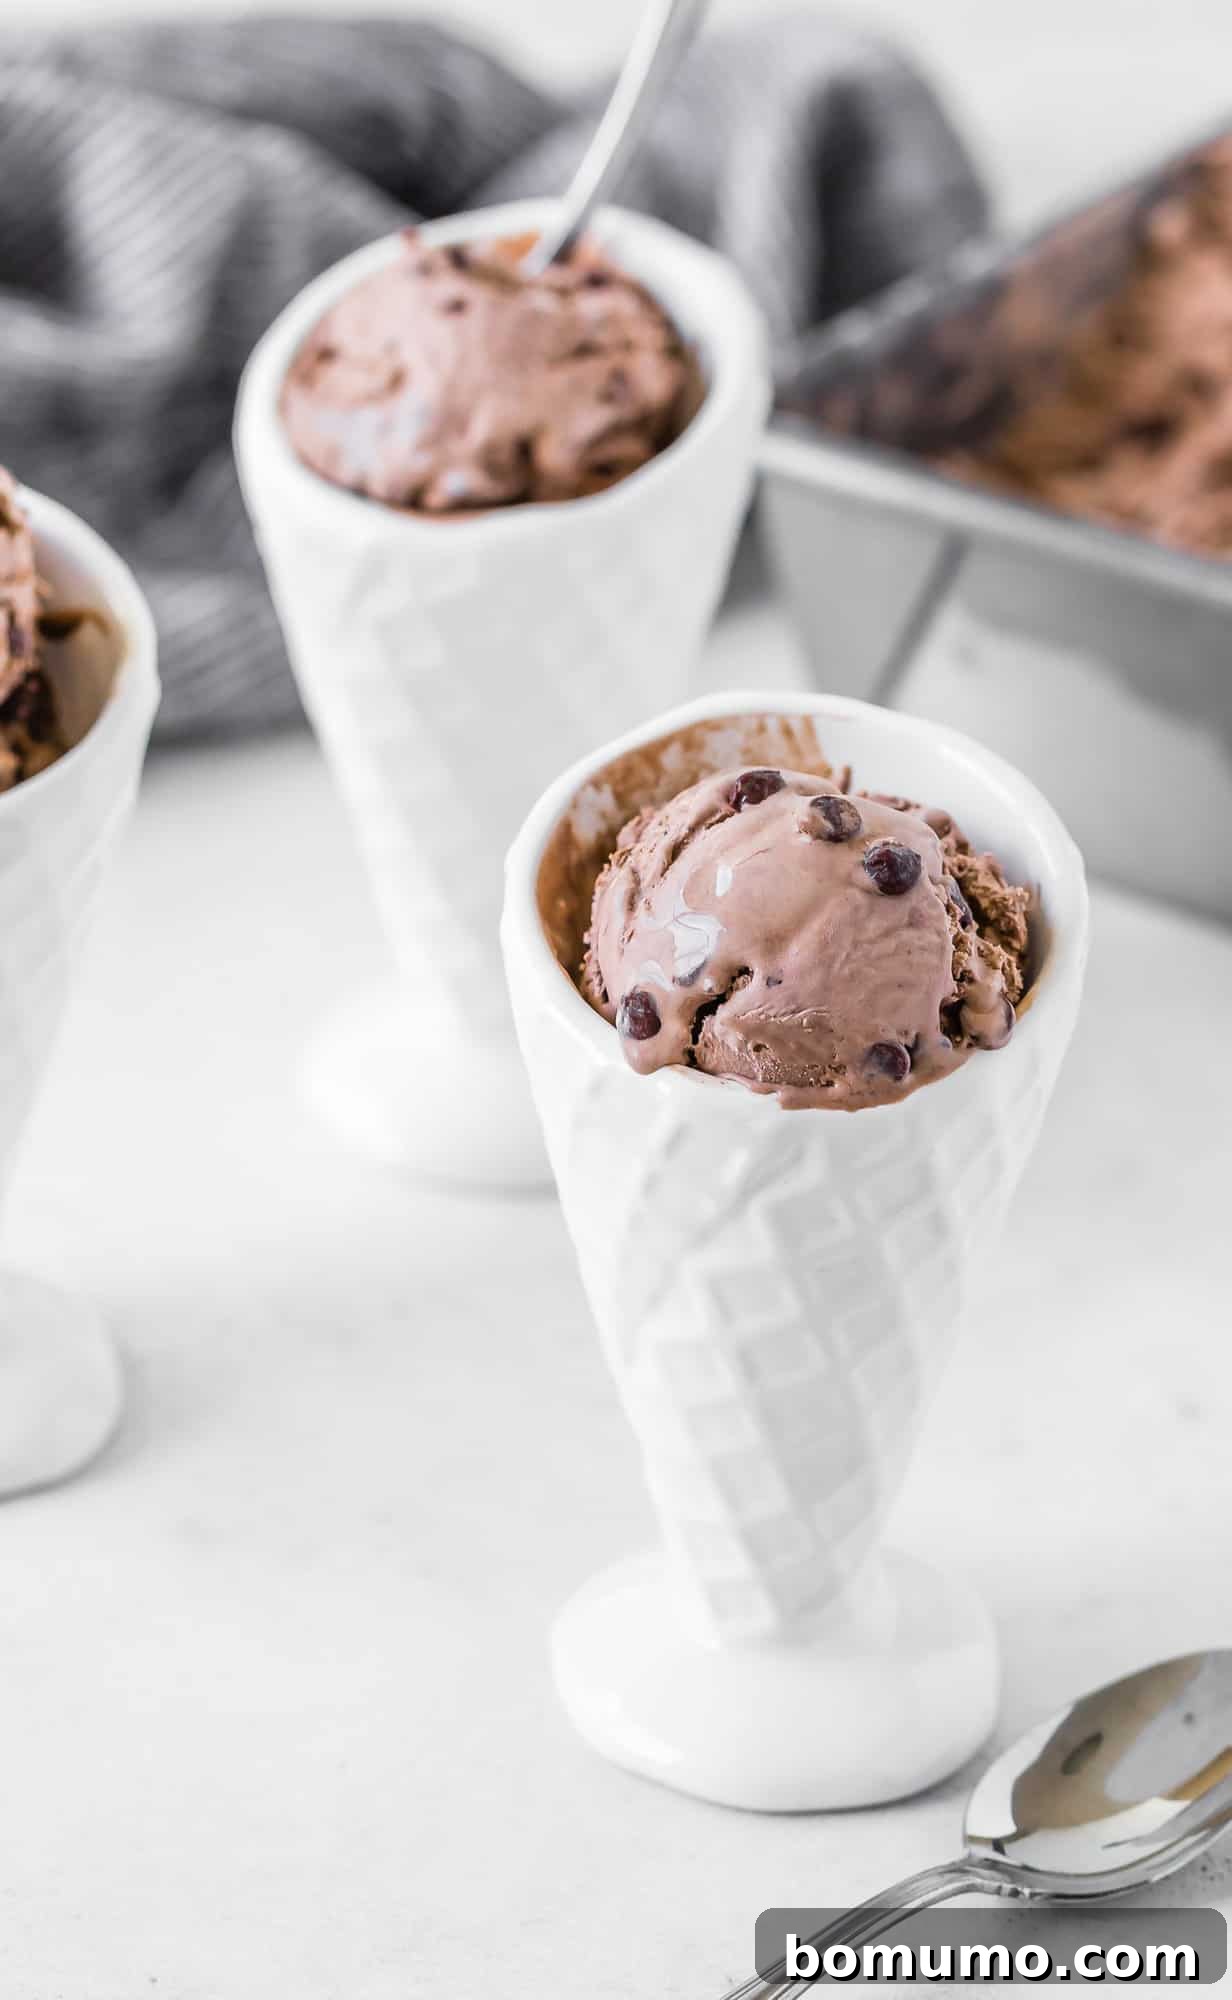
Mastering No-Churn: Expert Tips for the Best Homemade Ice Cream
Achieving that perfect, scoopable, and smooth texture in your no-churn ice cream is easy with a few insider tricks. Keep these helpful tips in mind to elevate your chocolate ice cream from great to absolutely extraordinary:
- Chill Your Equipment: For optimal whipping success, place your large mixing bowl and electric mixer beaters (or stand mixer whisk attachment) in the freezer for about 15-20 minutes before you begin. Colder tools significantly help the heavy cream whip up faster, achieve stiffer peaks, and hold its structure more effectively, contributing to a lighter, airier ice cream texture.
- Ensure Cream is Well-Chilled: In addition to chilling your tools, always make sure your heavy cream is straight from the coldest part of your refrigerator. Warm cream struggles to whip properly and will result in a less stable, potentially runny base that won’t set as well.
- Gentle Folding is Key: When combining the chocolate base with the whipped cream, and especially when adding chocolate chips, use a delicate folding technique with a spatula. Aggressive stirring or overmixing can quickly deflate the precious air pockets you worked hard to create in the whipped cream. These air pockets are absolutely vital for the light, creamy, and soft consistency characteristic of exceptional no-churn ice cream.
- Choose the Right Freezing Container: A standard 9×5 inch loaf tin (approximately 2-quart capacity) is ideal for this recipe. Its compact size allows for efficient and even freezing, and it’s much easier to fit in most freezers. It also makes scooping much more manageable, similar to a traditional carton of ice cream.
- Prevent Freezer Burn: After smoothing the top of your ice cream in the loaf pan, press a layer of plastic wrap or parchment paper directly onto the surface of the ice cream. Ensure it touches the entire surface to create an airtight seal, then cover the entire loaf pan tightly with aluminum foil. This dual layer creates an effective barrier against air and moisture, preventing unsightly ice crystals and the dreaded freezer burn.
- Patience During Freezing: While 6 hours is the minimum freezing time to set, allowing your ice cream to freeze overnight (10-12 hours) will yield the best, most solid, and perfectly scoopable results. Planning ahead ensures the best texture.
Frequently Asked Questions About No-Churn Ice Cream
Traditional ice cream recipes rely on continuous churning in an ice cream maker. This process incorporates air while simultaneously breaking up ice crystals as the mixture freezes, resulting in a super soft, creamy, and smooth texture. No-churn ice cream, on the other hand, bypasses the ice cream maker entirely. Instead, it achieves a similar creamy consistency by whipping heavy cream to incorporate air, then gently folding it into a sweetened condensed milk base. The condensed milk’s high sugar and fat content helps keep the mixture from freezing too hard and icy, making it wonderfully smooth without the need for specialized churning equipment.
Several factors can contribute to a hard or icy no-churn ice cream. The most common reason is using milk products with insufficient fat content. It’s crucial to use full-fat sweetened condensed milk and heavy whipping cream (with at least 36% milk fat). The high-fat content is essential for achieving that characteristic creamy, light texture. If the cream isn’t whipped to stiff peaks, it won’t incorporate enough air, leading to a denser result. Additionally, not covering the ice cream properly during freezing can allow moisture to escape and large ice crystals to form, making it icy. Always ensure a tight seal with plastic wrap pressed directly onto the surface of the ice cream before covering the container.
While this specific recipe relies on dairy, many no-churn concepts can be adapted for dietary needs! For a dairy-free or vegan version, you would typically substitute the heavy cream with full-fat canned coconut cream (chilled overnight and using only the thick, solidified top layer) and the sweetened condensed milk with a dairy-free sweetened condensed coconut milk alternative. Results may vary slightly in texture and flavor profile, but it’s a popular and achievable modification for those with dietary restrictions.
Freezer burn occurs when air comes into prolonged contact with the ice cream’s surface, causing moisture to evaporate and leading to the formation of large ice crystals and an unpleasant, icy texture. To effectively prevent this, once your ice cream is transferred to the loaf pan, press a layer of plastic wrap or parchment paper directly onto the surface of the ice cream, ensuring there are no air bubbles trapped underneath. Then, cover the entire loaf pan tightly with aluminum foil or transfer the fully frozen block to an airtight freezer-safe container. Storing your ice cream towards the back of the freezer, where temperatures are typically more consistent and less prone to fluctuations, also helps maintain its quality.
Unleash Your Creativity: Exciting Variations for Your No-Churn Chocolate Ice Cream
This creamy, rich, and decadent chocolate ice cream serves as the perfect canvas for your culinary imagination. The world of flavor combinations is truly your oyster! Don’t hesitate to experiment with these fun add-ins and variation ideas to tailor this recipe to your unique taste and impress your guests with bespoke frozen treats.
- Rocky Road Extravaganza: For a classic indulgence (and if nut allergies aren’t a concern for your family or guests), take this chocolate ice cream to new heights! Fold in a generous handful of mini marshmallows and finely chopped nuts, such as toasted almonds, crunchy walnuts, or roasted peanuts, along with your chocolate chips. The delightful textural contrast and mix of flavors create a truly satisfying experience.
- Decadent Fudge Swirl: Craving triple chocolate? You’ve come to the right place! After pouring your ice cream base into the loaf pan, gently drizzle about half a cup of homemade or high-quality store-bought fudge sauce over the top. Use a knife or skewer to create elegant swirls, distributing the rich fudge throughout the ice cream. It’s crucial that your fudge sauce is at room temperature (not hot) to prevent it from seizing or melting the ice cream base. You could also achieve a similar luxurious effect with a luscious, room-temperature caramel sauce.
- Morning Perk: Mocha Ice Cream: For all the coffee lovers out there, easily transform this into a sophisticated mocha delight. Simply add 1 tablespoon of high-quality espresso powder (or finely ground instant coffee granules) to the sweetened condensed milk mixture along with the cocoa powder. The coffee subtly enhances and deepens the chocolate flavor, creating a wonderfully complex and invigorating profile.
- Spicy Mexican Hot Chocolate: Experience a delightful kick with a Mexican hot chocolate twist. Incorporate 1 teaspoon of ground cinnamon and a tiny pinch (about 1/8 to 1/4 teaspoon, to taste) of cayenne pepper alongside the cocoa powder. The warmth of the spices perfectly complements the rich chocolate, creating an exciting and unexpected flavor adventure for your palate.
- Mint Chocolate Chip Dream: For a refreshing and classic take, add 1 teaspoon of pure peppermint extract (ensure it’s peppermint, not spearmint, which can have a toothpaste-like flavor!) to the condensed milk mixture. For extra visual appeal, you can also fold in some finely crushed chocolate mint candies or a few drops of green food coloring to achieve that iconic mint chocolate chip look.
- Orange Chocolate Zest: Brighten up your chocolate ice cream with a zesty, citrusy hint. Add 1-2 teaspoons of finely grated orange zest (from an organic orange for best flavor and no pesticide residue) to the chocolate base. The timeless pairing of orange and chocolate creates a surprising burst of freshness that elevates the indulgence.
Optimal Storage: Keeping Your Homemade Chocolate Ice Cream Fresh
To ensure your delicious homemade no-churn chocolate ice cream maintains its creamy texture and rich flavor for as long as possible, proper storage is absolutely essential. When stored correctly, this delightful frozen treat can last for up to two months in the freezer, allowing you to savor it over time.
For the best results and easiest retrieval when you’re ready to enjoy a scoop, we highly recommend lining your loaf pan with parchment paper before pouring in the ice cream mixture. Once the ice cream has frozen solid, you can simply lift the entire block out of the pan using the parchment paper as handles. This ingenious method allows you to effortlessly transfer the ice cream to a more permanent, **airtight freezer-safe container**. To further safeguard against freezer burn – which can lead to ice crystals and a less pleasant texture – always place a layer of plastic wrap or an additional piece of parchment paper directly onto the surface of the ice cream before sealing the container. This crucial step prevents air contact, which is the primary culprit behind ice crystal formation and flavor degradation. Finally, store your ice cream at the back of the freezer, where temperatures are generally most consistent and less prone to fluctuations from opening and closing the freezer door.
More Irresistible Frozen Treats to Explore
Strawberry Sorbet with Mint (2 Ingredients, 5 Minutes!)
Easy Fudge Swirl Ice Cream
Cinnamon Ice Cream (No Churn)
More Delicious Frozen Desserts to Beat the Heat
Homemade No-Churn Chocolate Ice Cream
Ingredients
- 1 can (14 oz.) sweetened condensed milk
- ¼ cup unsweetened cocoa powder
- 1 teaspoon pure vanilla extract
- 2 cups heavy cream, well-chilled (36% milk fat)
- ½ cup mini chocolate chips (extra for topping if desired)
Instructions
-
In a small bowl, thoroughly combine the sweetened condensed milk, unsweetened cocoa powder, and pure vanilla extract until the mixture is smooth. Set this chocolate base aside.
-
Pour the well-chilled heavy cream into a large mixing bowl. Using an electric mixer, beat the cream on medium-high speed until it forms stiff peaks. This usually takes about 3-5 minutes, depending on your mixer.
-
Gently fold the chocolate-condensed milk mixture and the mini chocolate chips into the whipped cream. Mix just until combined and smooth, taking care not to deflate the whipped cream. Some small cocoa lumps are acceptable.
-
Transfer the ice cream mixture into a 9-inch loaf pan and smooth the top. Cover the pan tightly with aluminum foil or plastic wrap, ensuring it touches the surface of the ice cream, and freeze for at least 6 hours, or ideally overnight, until firm.
Notes
- For Extended Storage: To prolong freshness and prevent freezer burn, line your loaf pan with parchment paper before freezing. Once the ice cream is solid, lift it out using the parchment paper and transfer to an airtight container. Press a layer of plastic wrap directly onto the ice cream’s surface before sealing the container.
- This ice cream can become quite firm after prolonged freezing. For ideal scoopability, remove it from the freezer and let it sit at room temperature for about 10-15 minutes before serving. This allows it to soften slightly and become easier to scoop.
Nutrition
Carbohydrates: 30g,
Protein: 5g,
Fat: 23g,
Saturated Fat: 15g,
Polyunsaturated Fat: 1g,
Monounsaturated Fat: 5g,
Trans Fat: 0.02g,
Cholesterol: 69mg,
Sodium: 70mg,
Potassium: 225mg,
Fiber: 1g,
Sugar: 29g,
Vitamin A: 826IU,
Vitamin C: 1mg,
Calcium: 157mg,
Iron: 1mg
Nutrition information is automatically calculated, so should only be used as an approximation.
Tried This Recipe?
We’d love to hear your thoughts! Share a comment and rating below to let us know how it turned out.