Pizza
Pita Pizzas
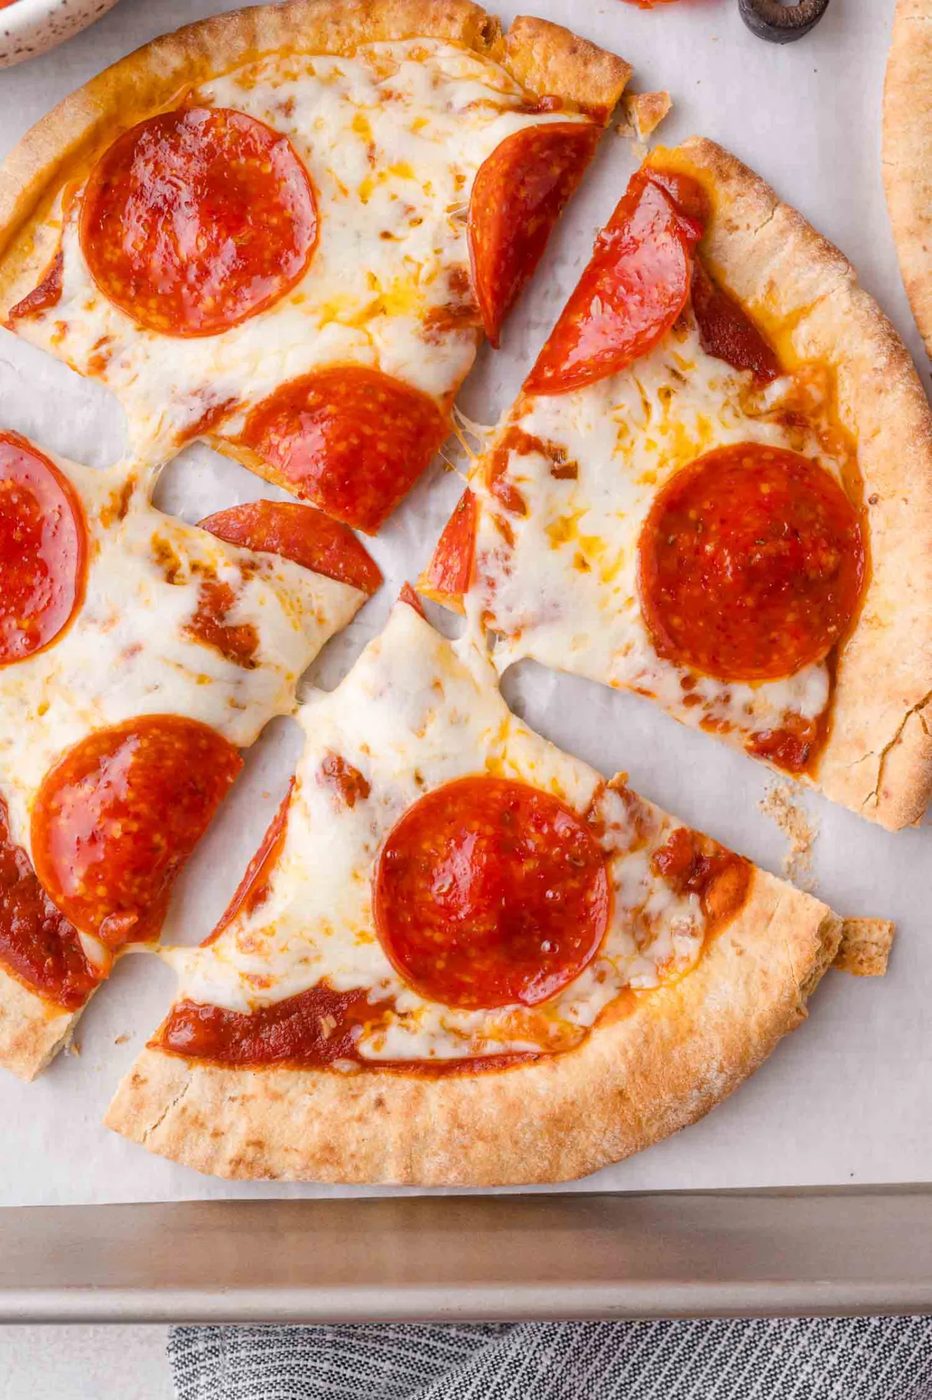
Pita pizzas are a kid-friendly weeknight dinner or lunch option with endless customization options. Pitas make the reliable base for personal-sized pizzas!
At a glance
What stands out: Pita pizzas are a kid-friendly weeknight dinner or lunch option with endless customization options. Pitas make the reliable base for personal-sized pizzas!
How long it takes: 15 minutes
Equipment you’ll need: baking sheet
Servings: 4 pizzas
Dinner Lifesaver
We love pizza around here, in case you couldn’t guess from our pizza quesadilla, zucchini pizza bites, and pizza burgers. These pita pizzas have been on frequent rotation in our house lately—and dare we say, they might just be the easiest pizzas we've ever made? We think so!
Pitas are just the right size for making into a kid-friendly pizza, but add a salad on the side (maybe our chopped salad?) and you’ll find that it makes a fun and satisfying meal for the adults in the house, too.
What makes them special:
- Kid-friendly and interactive: This is a recipe that your kids can make for themselves if you trust them with the oven, and if they’re too young to handle that responsibility, well, hey! they can still have fun assembling their own pita pizza.
- Low effort, big satisfaction: Like English muffin pizzas, this recipe takes practically no time to put together and cook, but there’s something about them that’s just so darn irresistible.
- Short ingredient list and customizable blueprint: Only 3 or 4 ingredients needed for a basic pizza but swap sauces, cheeses, and toppings for picky eaters or your favorite flavors.
How it comes together
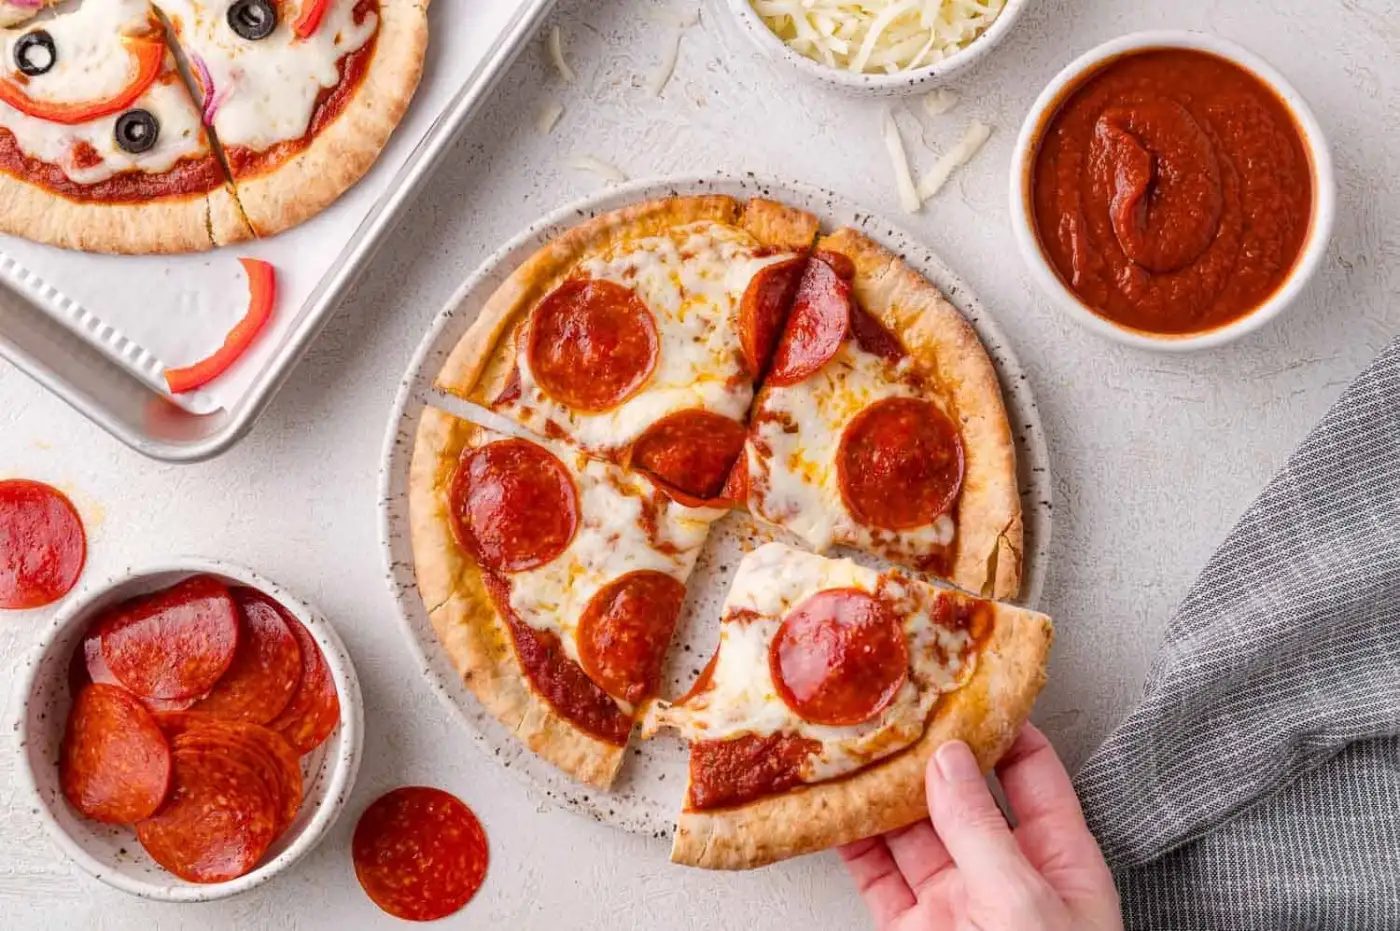
Prepare. Preheat your oven to 425ºF and line a baking sheet with foil or parchment paper for straightforward clean-up.
Add the sauce. Arrange the pitas on the prepared baking sheet. Dollop the sauce evenly onto the pitas, then use the back of a spoon to spread it, leaving a half inch border along the edges.
Top it. Sprinkle about a half cup of cheese over each pizza, followed by the pepperoni.
Bake. Place the pan in the oven and bake for 10 minutes, or until the cheese is melty and the edges of the pitas are golden brown. Slice and serve.
Meal Prep
Option 1: The school lunch. If your kids are fans of cold pizza, a pita pizza makes for an epic school lunch. Cook the pizzas as directed the night before, then cut them into wedges. Let them cool at room temperature so the crust doesn’t get soggy, then wrap the pizza in foil or plastic wrap, and pack it into their lunch.
Option 2: The frozen pizza. Pita pizzas make a straightforward after-school snack, so make a few batches! Assemble the pizzas but don’t bake them. Use gentle pressure to press the cheese and pepperoni down into the sauce. Place the pizzas in the freezer on a baking sheet and freeze them until they’re solid, then transfer to a freezer bag. Bake directly from frozen, adding a few minutes to the cooking time.
Keeping leftovers
Leftover pita pizzas will keep for up to 3 days in an airtight container or wrapped in foil. When you’re ready to eat them, you can enjoy the pizzas cold, warm them up in a 425ºF oven or air fryer, or use the microwave if that’s your only option. (The microwave will warm up the pizza, but the crust won’t be as good.)
Pizza Sliders
Pin this now to find it later
Pin It- Yield: 4
- Prep: 5 minutes
- Cook: 10 minutes
- Total: 15 minutes
Ingredients
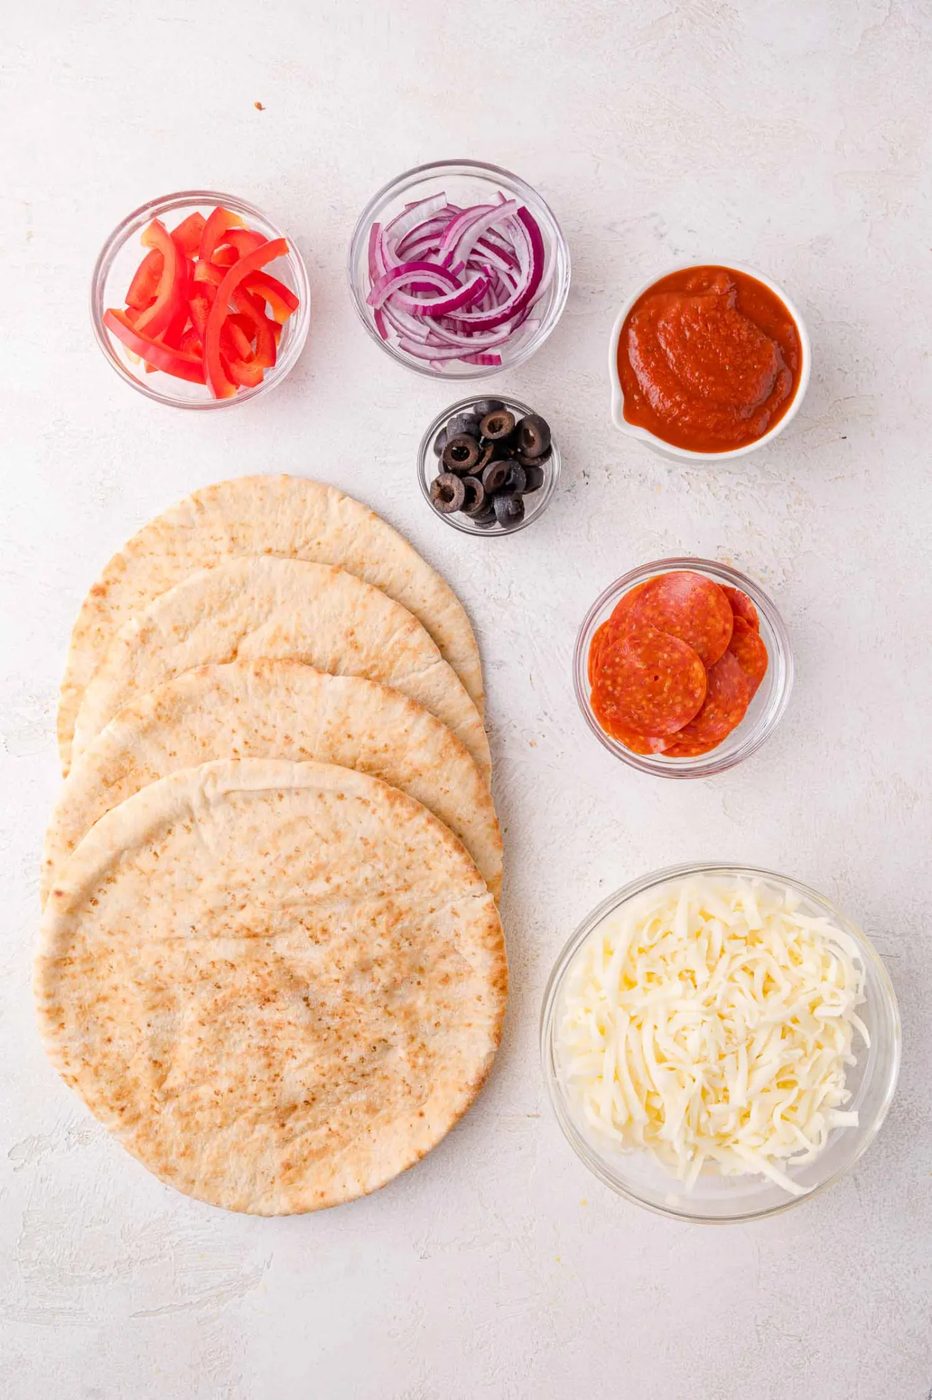
- 4 medium-sized pitas (7-inch diameter, 2 to 3 ounces each, see note 1)
- ½ cup pizza sauce (see note 2)
- 2 cups shredded mozzarella cheese (see note 3)
- 32 slices pepperoni (or toppings of choice, note 4)
Method
- Preheat oven to 425°F.
- Line a baking sheet with foil or parchment paper for easy clean-up.
- Place pitas on baking sheet. Spread sauce on each pita, leaving a half inch border around the outside edges.
- Top with cheese and pepperoni, or toppings of choice.
- Bake 10 minutes or until golden brown. Serve immediately.
Notes
Pitas: Look for medium-sized pitas; if they’re bigger, that’s okay, too, you’ll just need more sauce, cheese, and toppings. The pitas can be pocketless or pocketed. We love using a whole wheat pita for these pizzas.
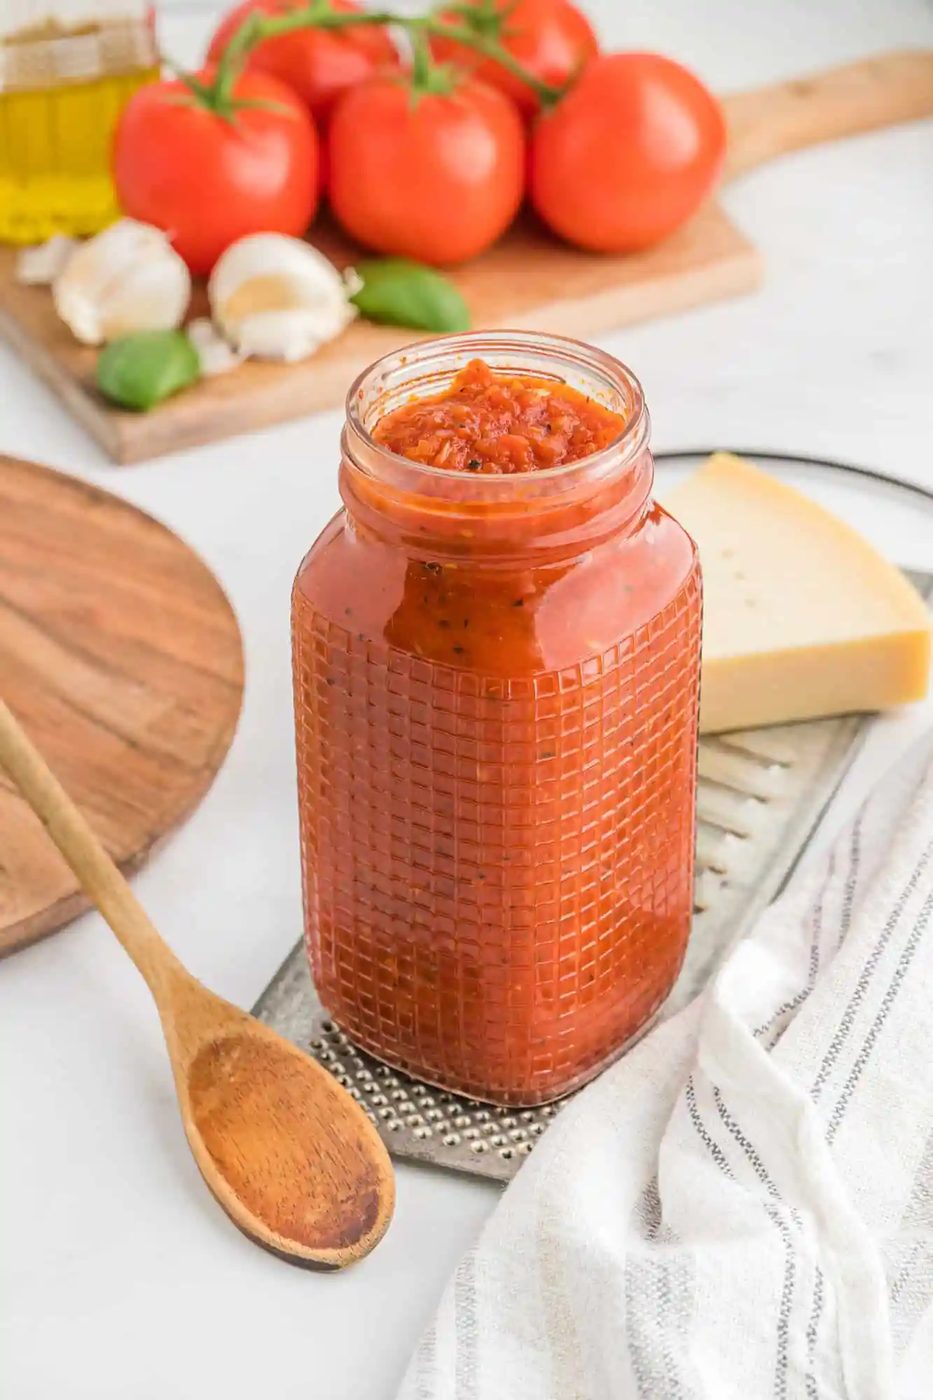
Pizza sauce: we keep this from-scratch pizza sauce on hand in our freezer but store-bought is fine too. The pizza sauce that comes in squeeze bottles is handy, too, and straightforward for younger cooks to squirt onto their pizzas.
Mozzarella cheese: Although mozzarella is a classic choice for pizza, an Italian blend also works well for pizza. Really, you can top the pizzas with any cheese you like or happen to have in the house.
Toppings : You can use any pizza toppings you like. Make sure any meat toppings (for example, sausage and bacon) are fully cooked before putting them on your pizzas. Try veggie toppings such as thinly sliced bell peppers, onions, spinach, olives, artichokes, etc. Fresh mushrooms may cause pizzas to get slightly watery; to prevent that, lightly sauté the mushrooms first.
Storage: Cool leftover pizza before wrapping in foil or covering with plastic wrap. Refrigerate for up to 3 days. Enjoy it cold, or reheat briefly in your toaster oven or air fryer.
Make ahead (frozen pizzas): Assemble the pizzas as instructed, lightly pressing the toppings into the sauce so they don’t fall off. Freeze the unbaked pizzas in a single layer on a baking sheet until solid, then transfer to a freezer bag. Bake unthawed frozen pizzas as instructed, adding a minute or two to the baking time.