
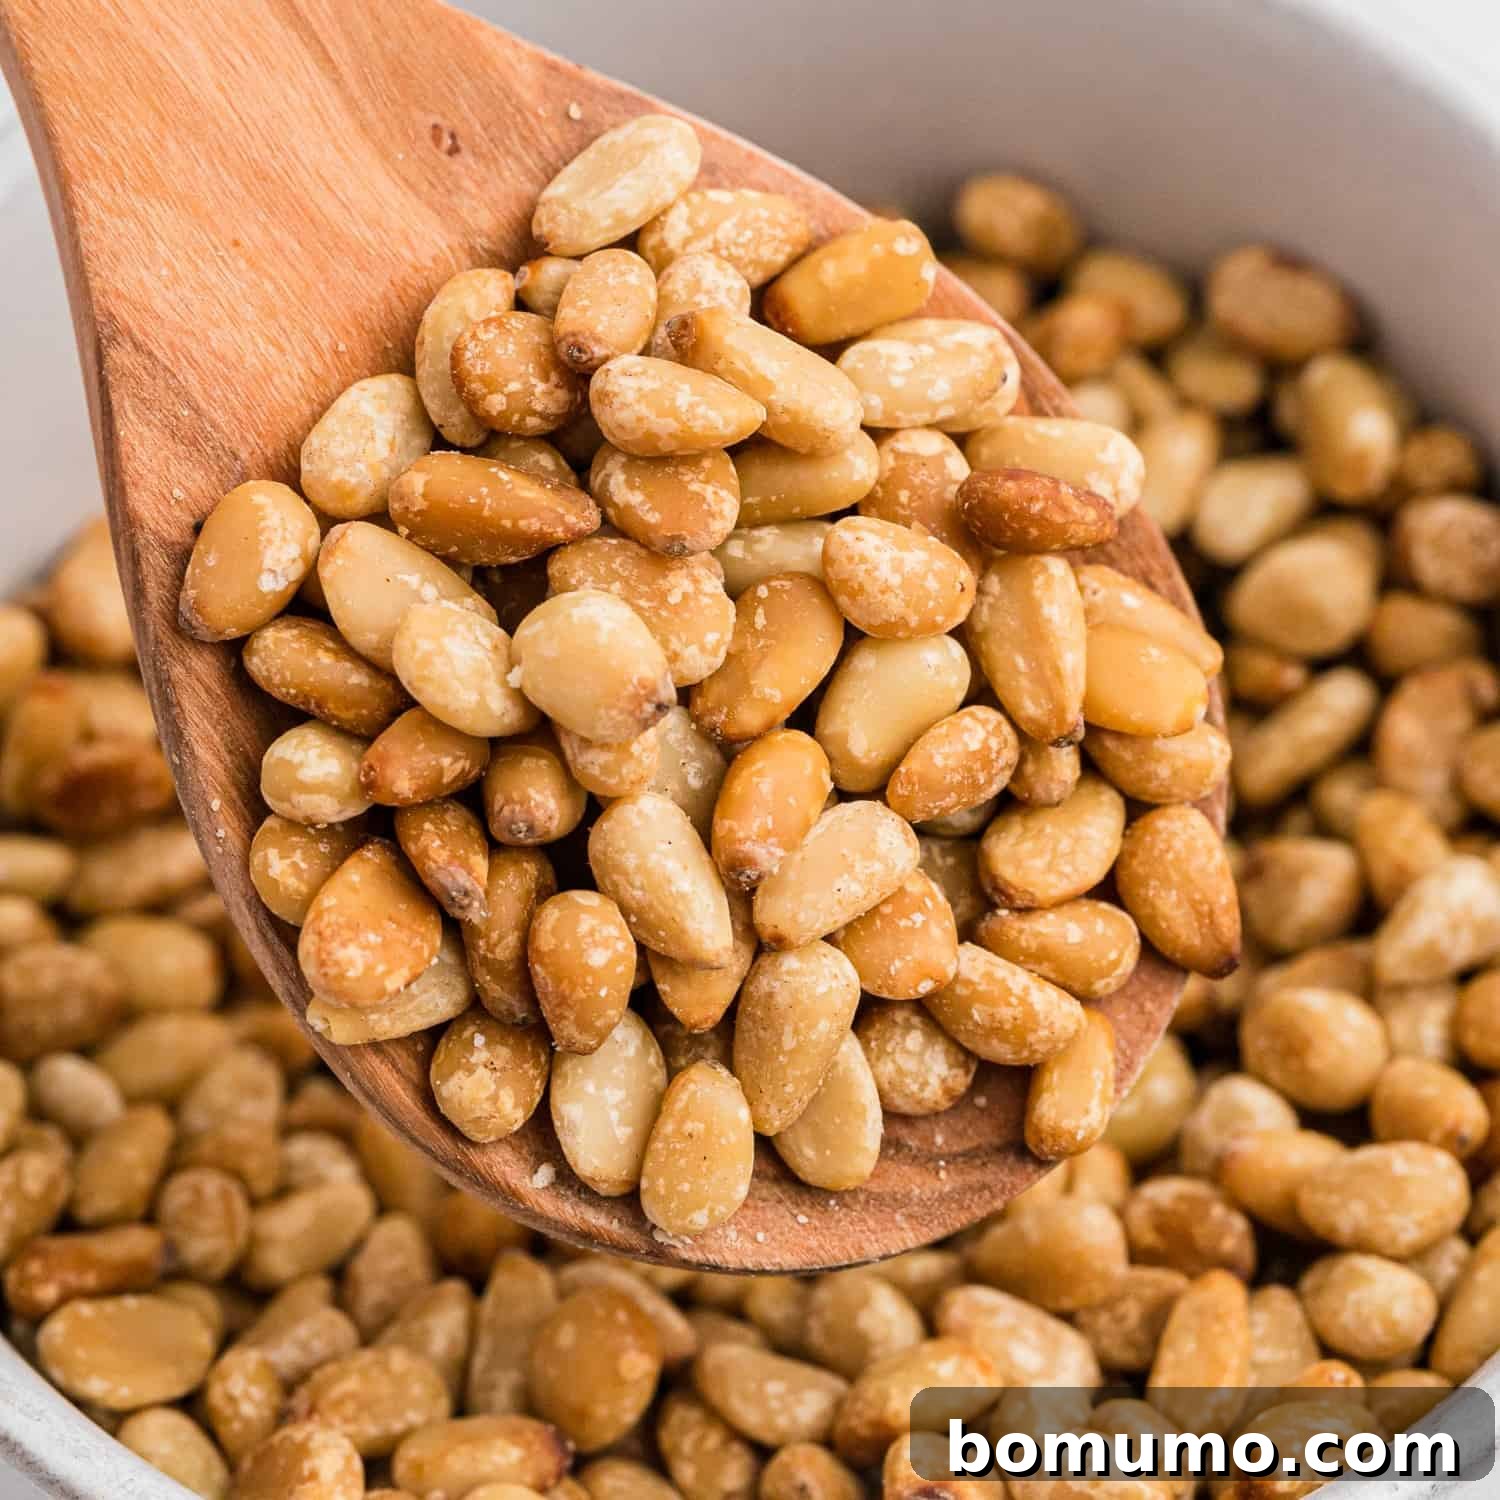
Mastering how to toast pine nuts is a fundamental cooking skill that will undeniably elevate your dishes. This guide presents three straightforward methods, allowing you to choose the perfect approach for any recipe and quantity.
Recipe Overview: Perfect Toasted Pine Nuts
Why you’ll love it: Toasting pine nuts dramatically deepens their flavor and aroma, transforming them from subtle to spectacularly rich. The difference is truly remarkable!
How long it takes: Depending on your chosen method, expect 5 to 10 minutes of active time.
Equipment you’ll need: A small skillet, a microwave-safe plate, OR a small rimmed baking pan.
Servings: Yields about half a cup, easily scalable for larger quantities.
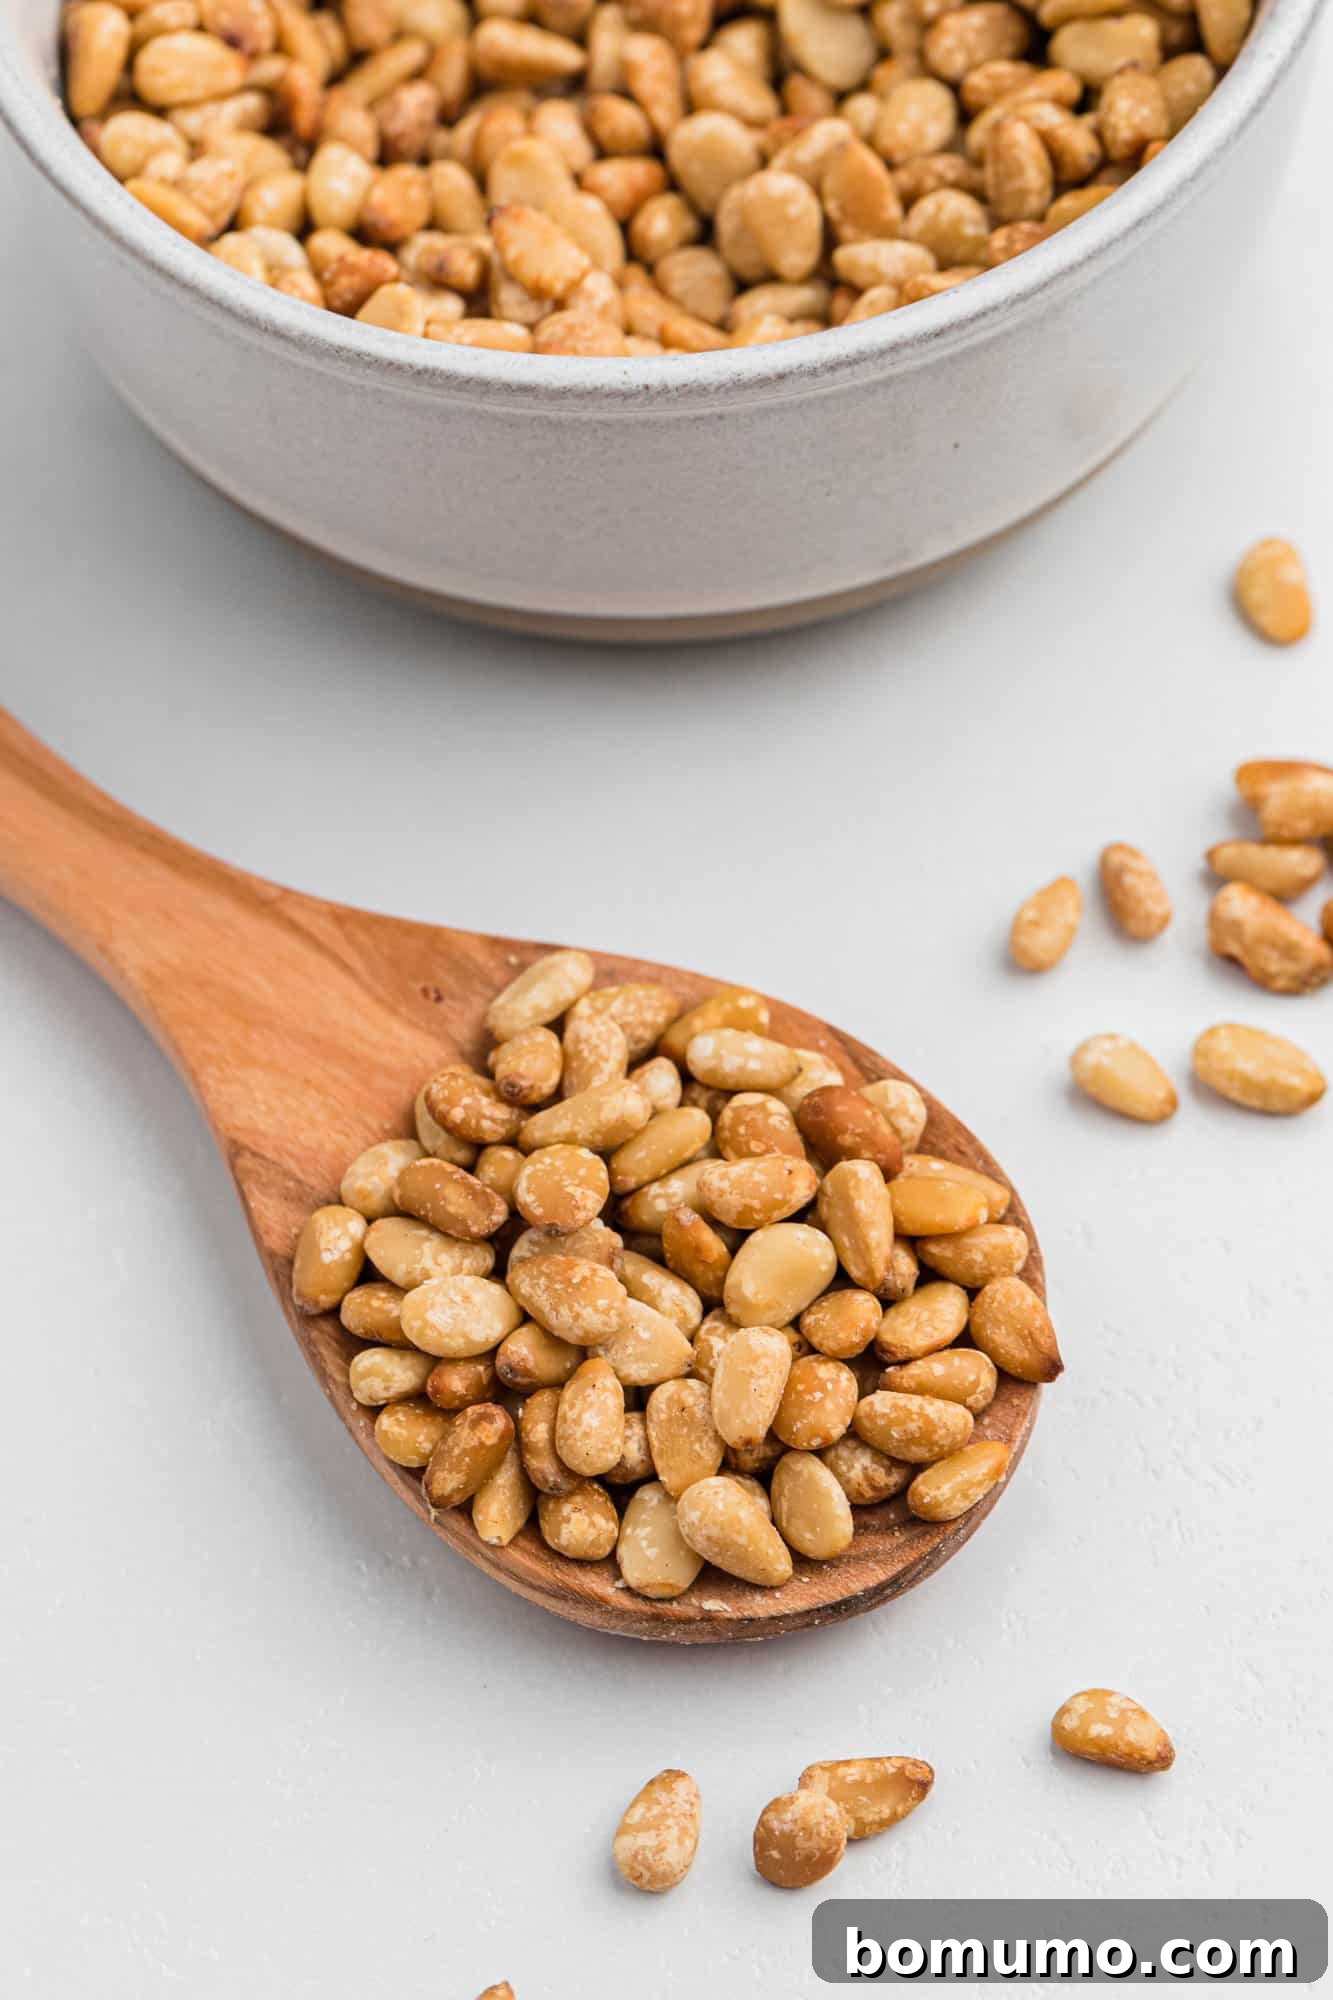
Whether you know them as pine nuts, pignoli, pine kernels, or pinon, these tiny treasures become truly magical when perfectly toasted. While my family’s tree nut allergies mean I don’t get to enjoy them as often as I’d like, it makes each experience all the more special for me. These exquisite nuts, though often carrying a higher price tag, are undeniably worth every penny. Their distinctive, buttery flavor cannot be replicated by any other ingredient, and their presence has the power to elevate even the simplest of dishes to gourmet status. Beyond their exceptional taste, pine nuts are also packed with beneficial nutrients, making them a delicious and healthy addition to your diet.
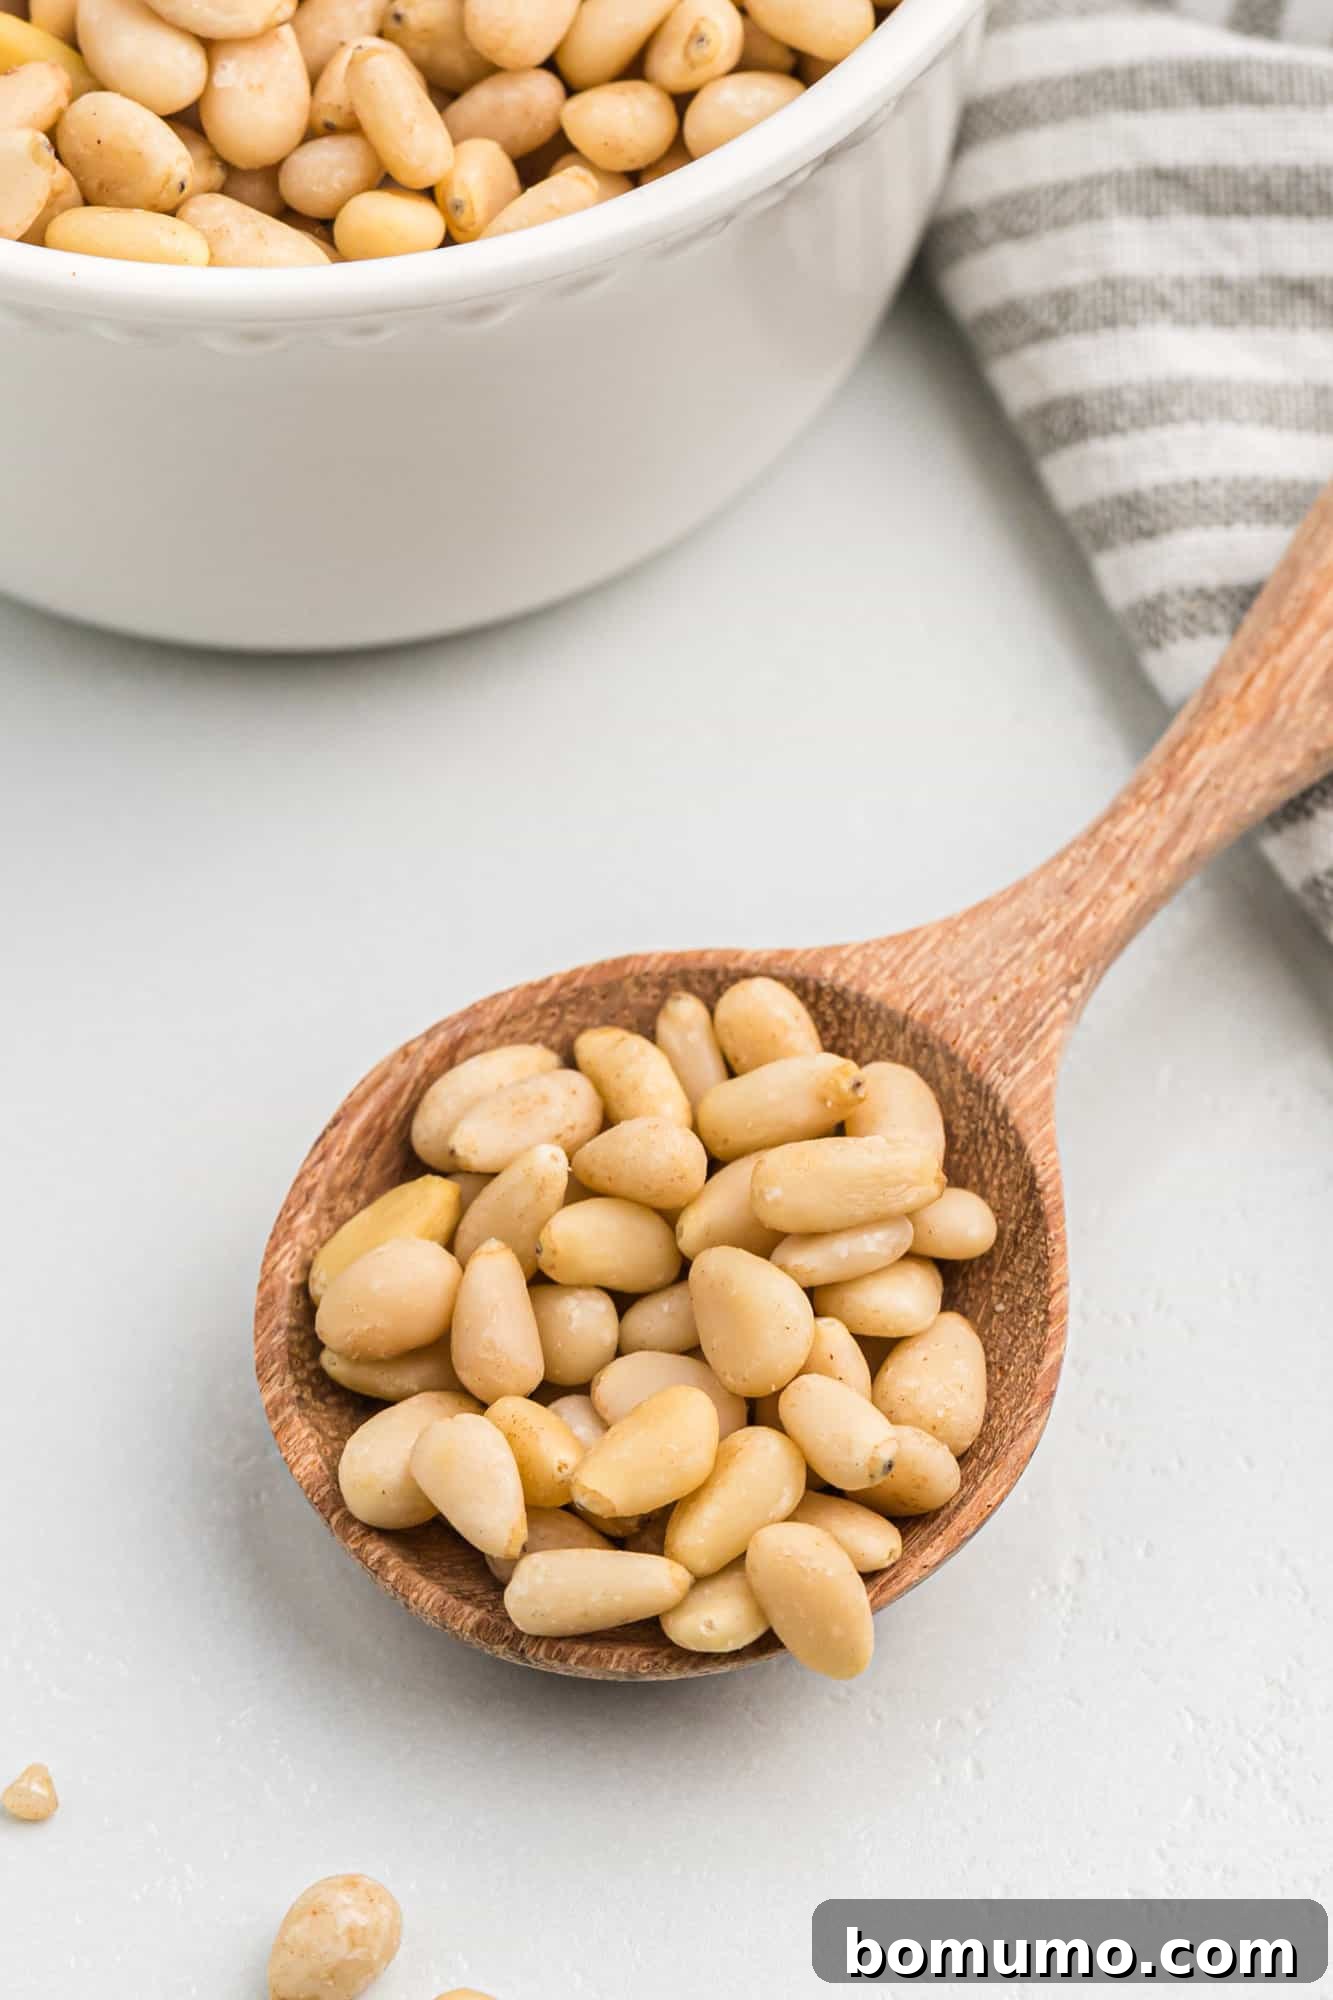
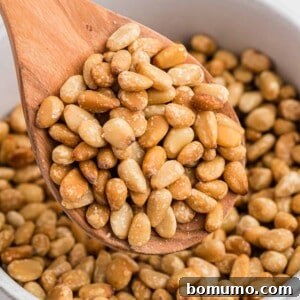
(The image below displays raw, untoasted pine nuts, ready for their flavor transformation.)
Why Toast Pine Nuts? Unlocking Their Full Flavor Potential
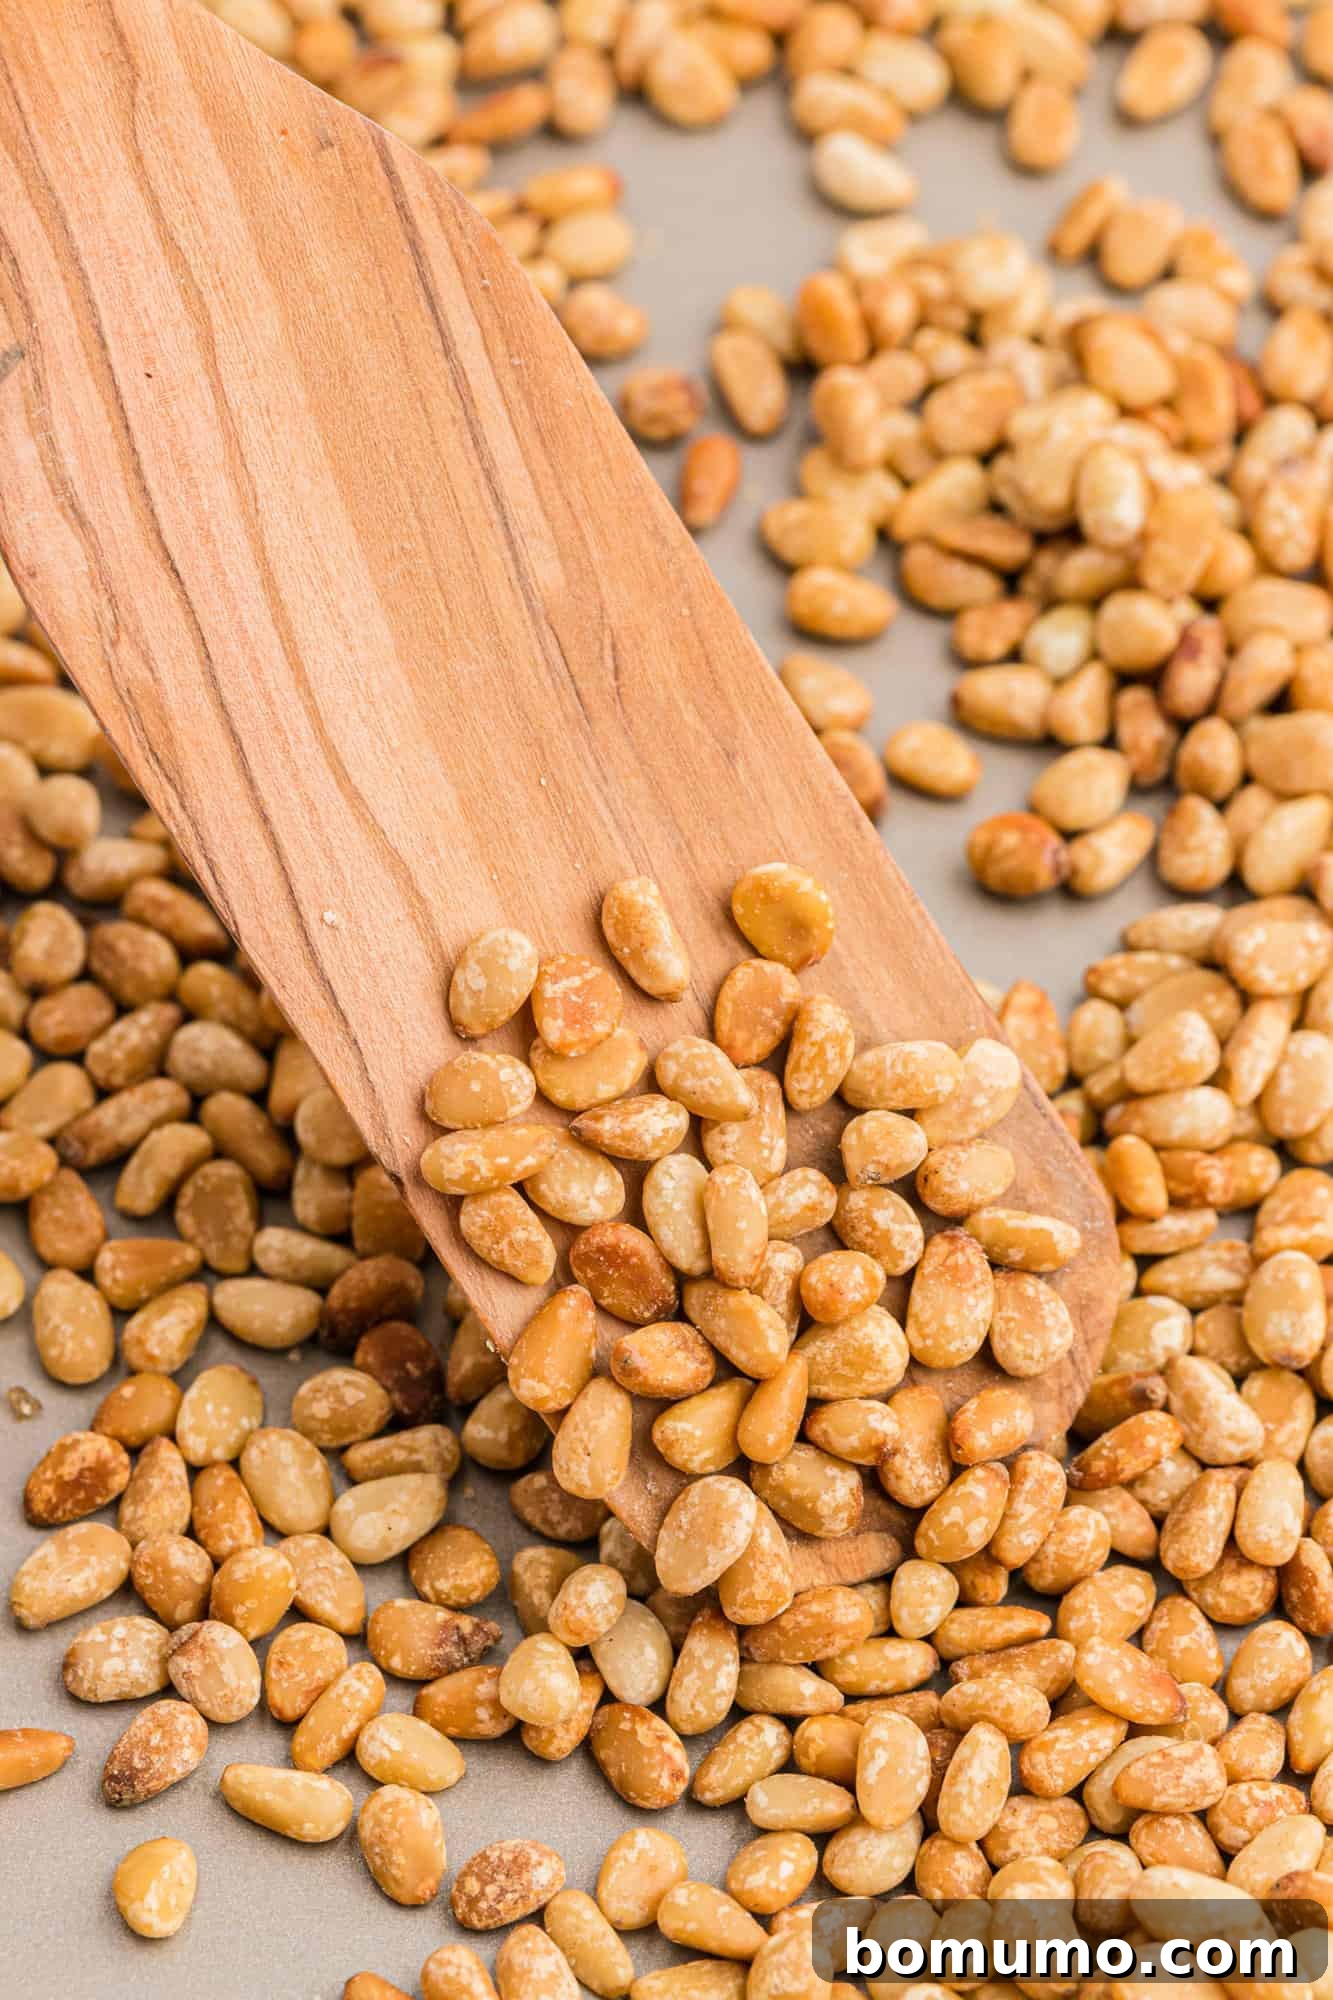
The act of toasting pine nuts is more than just a step in a recipe; it’s a revelation. Raw pine nuts have a mild, almost waxy texture, but applying gentle heat dramatically transforms them. The natural oils within the nuts are released, intensifying their sweet, buttery, and slightly earthy notes. This process, similar to the Maillard reaction in other foods, creates a complex flavor profile that adds depth and sophistication to any dish.
Elevate Your Favorite Dishes with Toasted Pine Nuts
Once toasted, pine nuts become incredibly versatile. They are an exceptional addition to a wide array of culinary creations:
- Salads: Sprinkle them over fresh green salads, like an arugula asparagus salad, for a delightful crunch and nutty flavor. They provide a wonderful contrast to crisp greens and vibrant vinaigrettes.
- Pasta Dishes: Their creamy texture and rich flavor make them perfect for enhancing creamy pasta recipes, offering a textural counterpoint and a burst of savory goodness.
- Hummus: I cannot overstate the magic of silky, homemade hummus crowned with perfectly toasted pine nuts and a generous drizzle of high-quality olive oil. It’s a simple indulgence that truly elevates this classic dip.
- Pesto: For an unbelievably rich and aromatic homemade pesto, toasting your pine nuts beforehand is an absolute must. The enhanced flavor will make your pesto sing, adding an incredible depth that raw nuts simply can’t provide. Try it once, and you’ll never go back!
- Baked Goods: From cookies to breads, toasted pine nuts can add an unexpected layer of flavor and texture.
- Vegetable Dishes: A simple sprinkle over roasted vegetables like Brussels sprouts or green beans can transform them into something extraordinary.
If you’re wondering how to achieve this culinary magic, you’re in the right place. I’m excited to share three incredibly easy and effective methods for toasting pine nuts. Even if you consider yourself a seasoned chef, a quick refresher on these fundamental techniques can always be valuable. My goal is to equip every home cook with the confidence to perfectly toast pine nuts, allowing you to effortlessly incorporate this flavor-enhancing skill into your everyday cooking repertoire.
Versatile Toasting Tip
The three methods detailed below aren’t exclusive to pine nuts; they work exceptionally well for most other nuts and seeds too! This simple technique dramatically improves the taste and aroma of almonds, walnuts, pecans, pumpkin seeds, and sunflower seeds, among others. Lightly roasting or toasting them brings out their inherent flavors, making them far more delicious and impactful in your recipes.
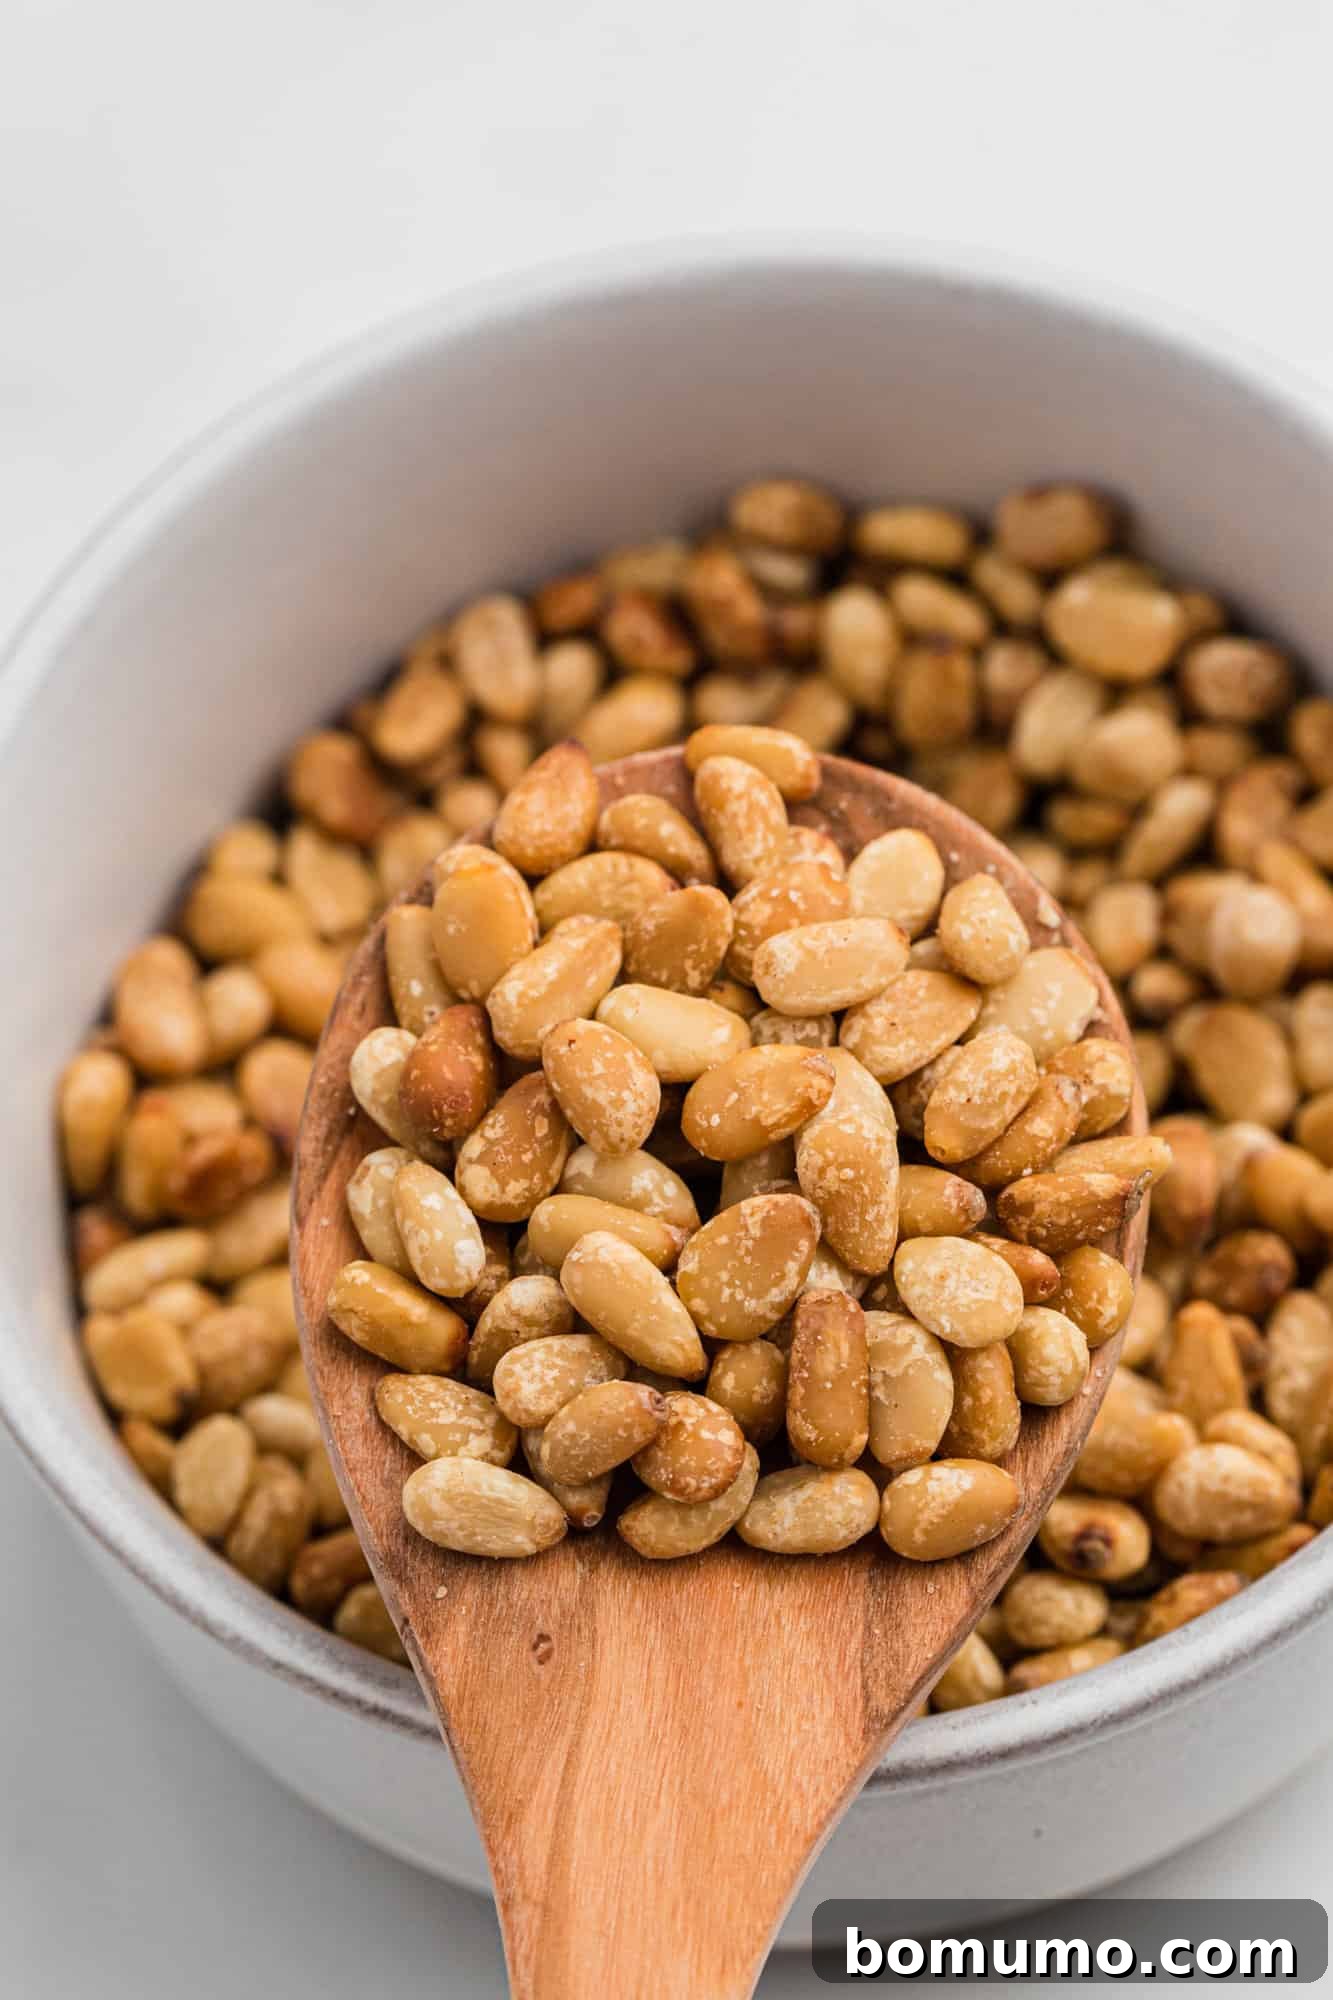
How To Toast Pine Nuts: Three Simple & Effective Methods
Each of these methods offers excellent results, with the best choice often depending on the quantity of pine nuts you plan to toast and your personal preference for hands-on involvement. We’ll explore the advantages of each technique to help you decide.
You might be considering an air fryer for toasting, but I generally advise against it for pine nuts. Their small size makes them prone to falling through the basket holes or being blown around by the air circulation, leading to uneven toasting or even loss. The following methods offer much more reliable and consistent results.
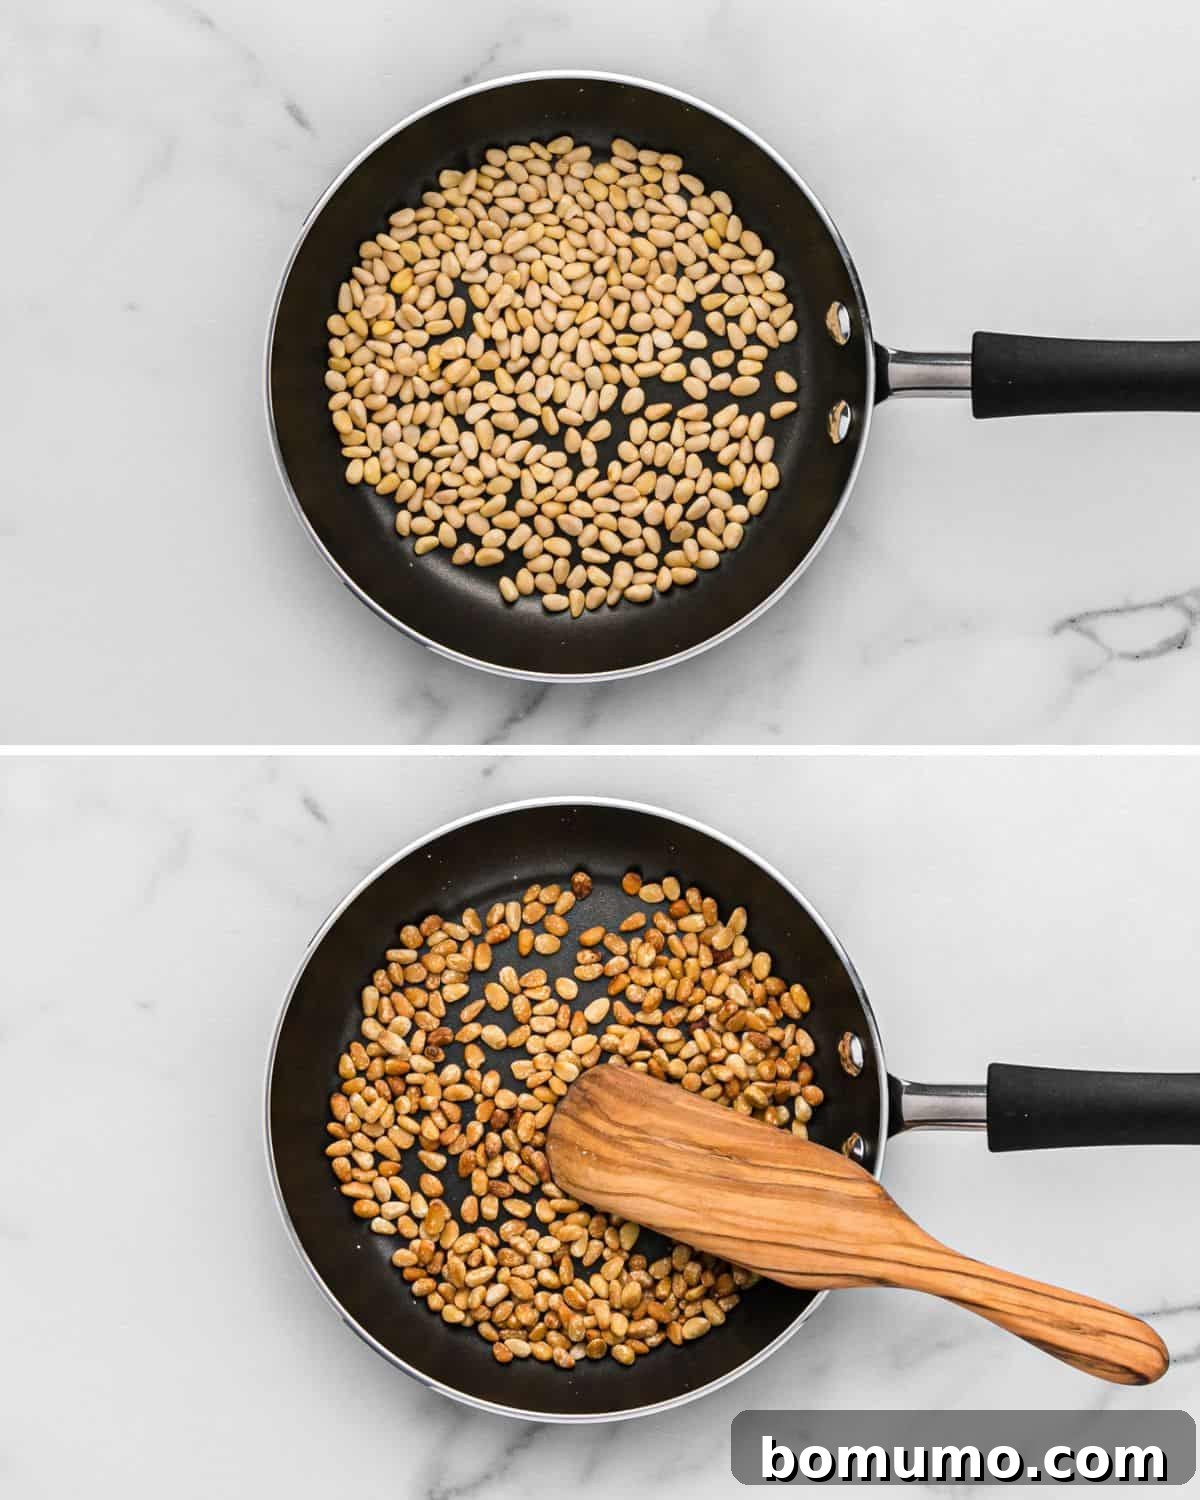
Method 1: The Stovetop – Quick and Controlled
The stovetop method is often my top choice for its speed and the high degree of control it offers. It allows you to closely monitor the nuts, ensuring they reach that perfect golden-brown hue without burning. While it requires a bit more active attention, the quick results are well worth it. This method is ideal for small to medium batches, typically ranging from ¼ cup to 1 cup of pine nuts.
- Preparation: Place your pine nuts in a dry frying pan or skillet. Ensure the pan is large enough to allow the nuts to spread out in a single layer. The term “dry” here is crucial, meaning you should not add any oil, butter, or water to the pan. Pine nuts naturally contain oils that will release and toast beautifully on their own.
- Heat Management: Turn your stovetop heat to medium-low. This gentle heat is key to preventing burning and ensuring even toasting.
- Constant Stirring: Begin toasting. From the moment they hit the pan, you must stir the pine nuts almost constantly. As they warm up, they will start to release a wonderfully fragrant aroma. This is your first sign that they are beginning to toast. Continue stirring frequently, especially as they start to take on color and become golden brown. Pine nuts can go from perfectly toasted to burnt in a matter of seconds, so never walk away from the pan.
- Immediate Transfer: Once the pine nuts achieve a uniform golden-brown color and are deeply fragrant, immediately transfer them out of the hot pan onto a cool plate or baking sheet. Leaving them in the hot pan, even off the heat, will cause them to continue cooking due to residual heat, potentially leading to scorching. Spreading them in a single layer on the plate will help them cool quickly and stop the cooking process.
- Timing Note: You might notice I haven’t given a precise cooking time. This is intentional, as stovetop toasting duration can vary significantly. Factors like the thickness of your skillet (heavy-bottomed pans heat slower but more evenly), your stove’s specific heat output, and even your interpretation of “medium-low” heat all play a role. While it’s tempting to crank up the heat to speed things along, a low and slow approach is always best for achieving perfectly toasted, flavorful nuts without burning. Trust your senses: look for the golden color and a rich, nutty aroma.
Method 2: The Microwave – Convenient and Quick for Small Batches
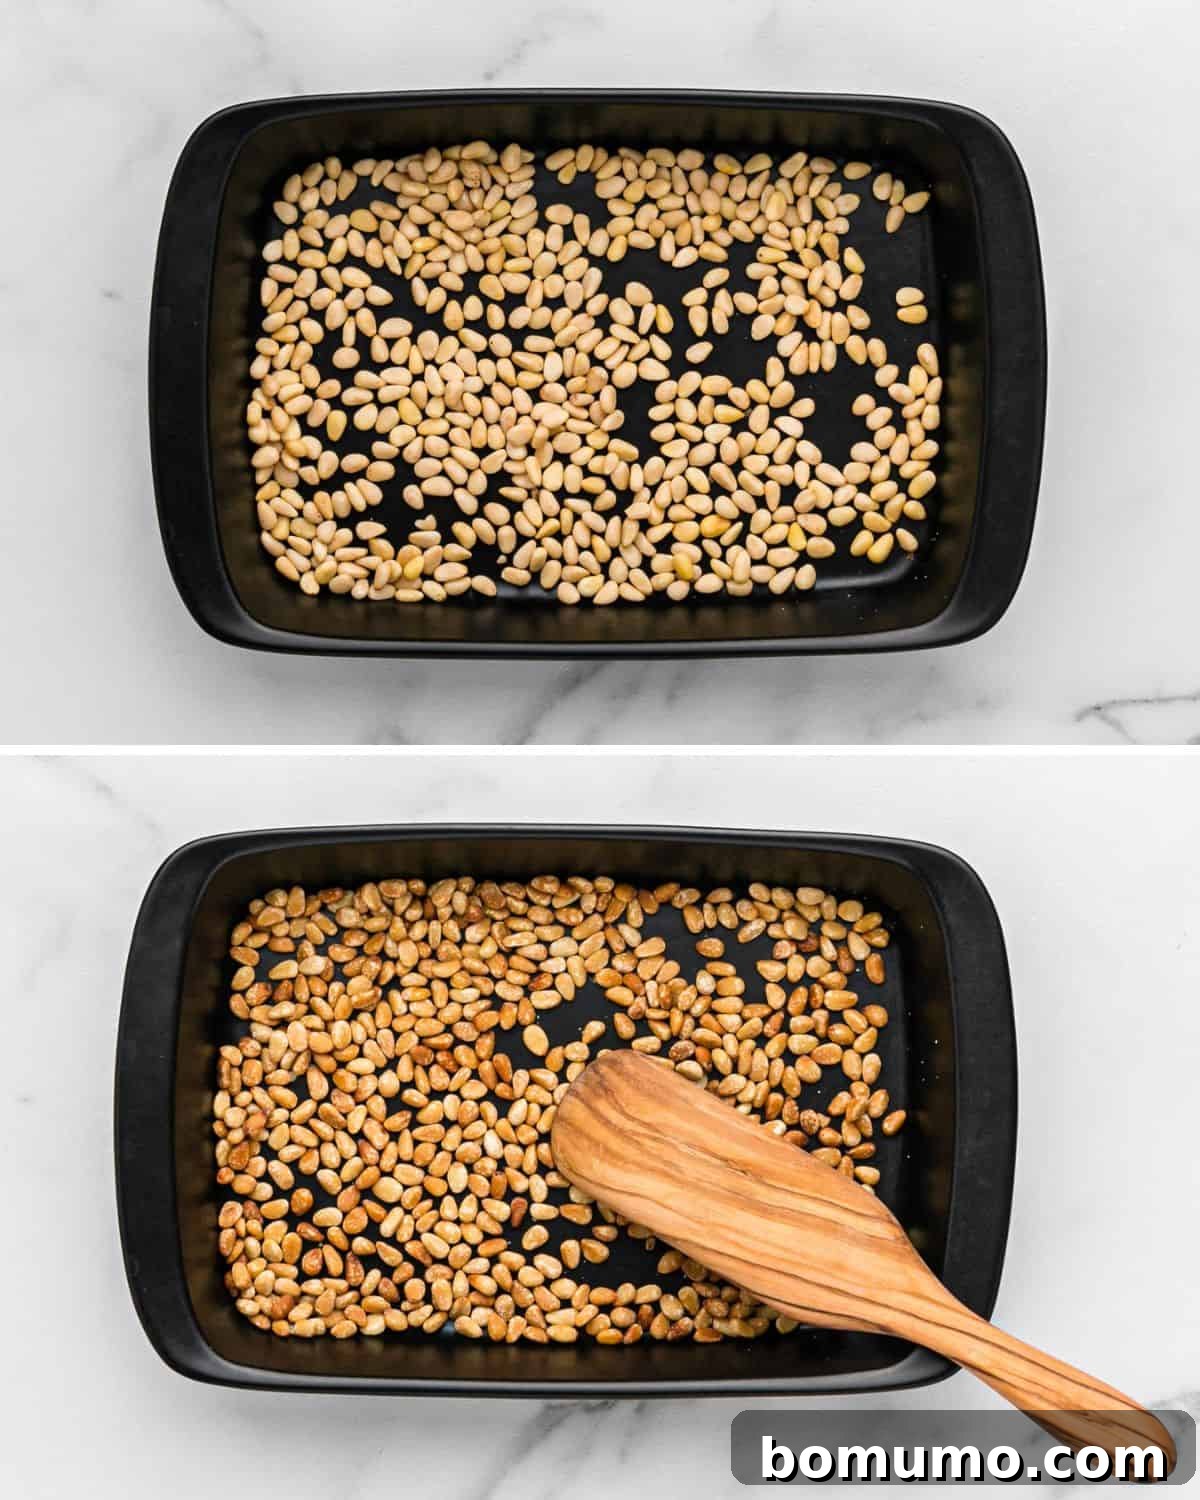
Surprisingly, the microwave is a fantastic tool for toasting nuts and seeds, offering an unparalleled level of convenience and speed. This method is particularly well-suited for very small quantities of pine nuts, typically ¼ cup to ½ cup. If you have a larger microwave-safe plate, you might manage up to a cup, ensuring they can still spread in a single layer.
- Preparation: Spread the pine nuts in a single, even layer on a microwave-safe plate. Avoid overcrowding, as this will lead to uneven cooking.
- Initial Microwave: Microwave on full power (100%) for 1 minute. After this initial minute, carefully remove the plate (it may be warm) and give the pine nuts a thorough stir to redistribute them.
- Interval Cooking and Stirring: Continue to microwave in 30-second intervals, stirring the nuts completely after each interval. This frequent stirring is absolutely essential because microwaves tend to heat unevenly. Without it, you could end up with some pine nuts still raw and others completely burnt.
- Vigilance is Key: Pay very close attention, especially during the final minute or two. Pine nuts can burn rapidly in the microwave once they start to brown. Look for a fragrant aroma and a uniform golden-brown color.
- Cooling: Once toasted, immediately transfer the pine nuts to another cool plate or surface, spreading them in a single layer to cool down. This prevents residual heat from continuing the cooking process and potentially burning them.
Method 3: The Oven – Best for Larger Quantities and Even Roasting
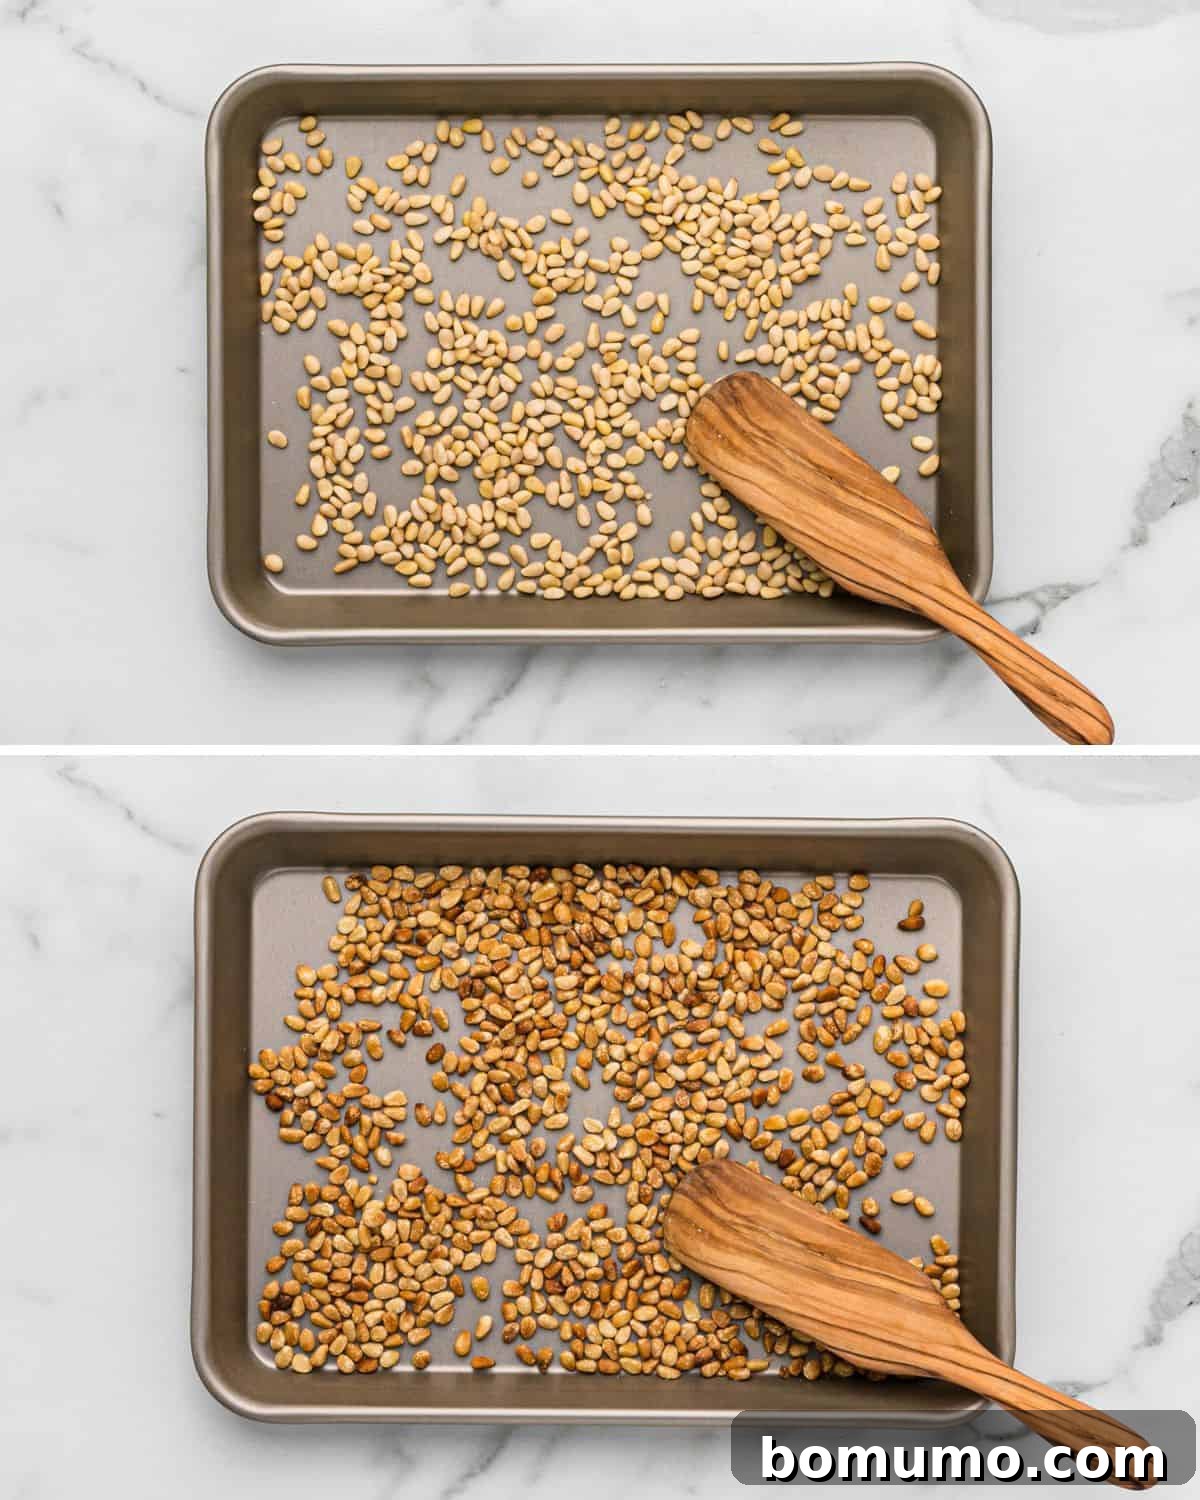
If your recipe calls for a substantial amount of pine nuts, or if you simply prefer a more hands-off approach that yields exceptionally even results, the oven method is your best bet. This technique allows you to toast larger batches, easily accommodating up to 2 cups or even more, provided you have a baking sheet large enough to spread them in a single layer. The oven’s consistent heat ensures uniform toasting and a beautiful, golden color on every single nut.
- Preheat Oven: Begin by preheating your oven to 375ºF (190ºC). Accurate oven temperature is crucial for even toasting.
- Preparation: Spread the pine nuts in a single, even layer on a rimmed baking sheet. A rimmed sheet prevents the small nuts from rolling off. Do not overcrowd the pan; if necessary, use two baking sheets.
- Baking and Stirring: Bake for an initial 5 minutes. Then, remove the pan from the oven and stir the pine nuts thoroughly to promote even browning. Return to the oven and continue baking, stirring every 2 to 3 minutes thereafter, until they achieve a rich golden-brown color and a fragrant aroma. The total baking time will typically be between 5 and 10 minutes, but always go by sight and smell rather than strict timing, as oven temperatures can vary.
- Immediate Transfer and Cooling: Just like with the stovetop method, it is critical to immediately transfer the toasted pine nuts from the hot baking sheet to a cool plate or another clean surface to cool completely. The baking sheet retains significant heat, and leaving the nuts on it will cause them to continue cooking and potentially scorch, even after they’ve been removed from the oven. Spread them in a single layer to cool quickly.
- Toaster Oven Alternative: Don’t want to heat up your whole oven? A toaster oven works equally well for this method, especially for medium-sized batches, offering the same even toasting capabilities. Just keep a closer eye on them due to the smaller space and often quicker heating.
FAQs: Your Pine Nut Questions Answered
FAQs: Your Pine Nut Questions Answered
No, there is absolutely no need to add oil when toasting pine nuts. These nuts are naturally rich in their own oils, which are released by the heat during the toasting process. Adding extra oil can make them greasy and potentially lead to uneven browning or burning.
Pine nuts can certainly be eaten raw, and they offer a mild, slightly resinous flavor in that state. However, toasting pine nuts (and indeed, most other nuts and seeds) significantly enhances their flavor profile. The heat brings out their natural sweetness, nuttiness, and a wonderfully rich aroma, making them far more delicious and impactful in culinary applications. While not strictly necessary, toasting is highly recommended for the best flavor experience.
While you don’t *have* to toast pine nuts for pesto, doing so is a game-changer. Toasting imparts a much deeper, richer, and more complex flavor to the nuts, which then translates directly into a more flavorful and aromatic pesto. This simple step elevates your homemade pesto from good to extraordinary, adding an incredible depth that will truly impress.
Optimal Storage Solutions for Toasted Pine Nuts
Optimal Storage Solutions for Toasted Pine Nuts
Proper storage is essential to maintain the freshness, flavor, and texture of your perfectly toasted pine nuts. The key factor is ensuring they are completely cool before storage.
It’s crucial to cool toasted pine nuts completely before transferring them to an airtight container. Any residual warmth can create steam and condensation inside the container, leading to soggy nuts that are more susceptible to mold and spoilage. Spread them out in a single layer on a plate or baking sheet until they reach room temperature.
How long do toasted pine nuts last?
- Room Temperature: If you plan to use your toasted pine nuts within a week, an airtight container stored in a cool, dark pantry is sufficient.
- Refrigerator: For longer storage, moving them to the refrigerator is highly recommended. The cooler temperatures significantly slow down the oxidation of their delicate oils, preventing them from becoming rancid. In a tightly sealed container or jar, they will maintain their freshness for several weeks.
- Freezer: For the longest shelf life, toasted pine nuts can be frozen. Place them in a freezer-safe, airtight bag or container. They will keep well for several months, often up to six months, without losing their flavor or quality. You can use them directly from the freezer in most recipes, or let them thaw for a few minutes.
Storing Raw Pine Nuts: A Critical Step
Given their delicate oil content and relatively high cost, properly storing raw pine nuts is equally important to extend their shelf life and prevent them from turning rancid. Always store raw pine nuts in an airtight container in the refrigerator or, ideally, the freezer. The cool, dark environment helps to preserve their freshness and prevent the oils from oxidizing prematurely.
How to tell if pine nuts are rancid: Rancid pine nuts will develop a distinct, strong odor that is no longer fresh and nutty; it might be sour, bitter, or paint-like. Their taste will also be noticeably unpleasant. If you detect any off-smell or taste, it’s best to discard them, as rancid nuts can negatively affect the flavor of your entire dish.
Expand Your Culinary Skills with More How-To Guides
How To Toast Walnuts – Three Methods!
How to Toast Almonds
How to Toast Pecans – Three Methods!
Cinnamon Roasted Chickpeas
How to Toast Pine Nuts – Three Easy Methods
Rachel Gurk
1 min
5-10 mins
6-11 mins
8 servings
Print Recipe
Ingredients
- ½ cup raw pine nuts (see note)
Instructions
Stove Top Method:
-
Place the pine nuts in a dry frying pan large enough to hold them in a single layer. Dry means you don’t need to add oil or water to the pan.
-
Turn the heat to medium-low and toast the pine nuts until fragrant and golden brown, stirring frequently or even constantly, especially as they begin to brown.
-
When they’re golden brown, immediately transfer them from the hot skillet to a plate to stop the cooking and prevent scorching. Nuts should be in a single layer to cool.
Microwave Method:
-
Spread pine nuts in a single layer on a microwave-safe plate. Microwave on full power (100%) for 1 minute, stir, and then continue to microwave in 30-second intervals, stirring each time, until golden brown.
-
Keep a close eye on them, especially towards the end, because they can burn quickly. The microwave tends to heat unevenly so some nuts may be untoasted while others scorch if you’re not watching and stirring every 30 seconds.
-
Transfer to another plate to cool; arrange in a single layer.
Oven Method (or toaster oven):
-
Preheat oven to 375ºF (190ºC).
-
Spread pine nuts in a single layer on a rimmed baking sheet.
-
Bake for 5 to 10 minutes, stirring every 2 to 3 minutes, or until golden brown.
-
Immediately transfer to a plate to cool, in a single layer. Don’t leave them in the hot pan because they will continue to brown.
Notes
- You can easily toast more than a ½ cup of pine nuts. If you toast more than 1 cup at a time, the oven method works best for even results.
- Store both raw and toasted pine nuts in either the refrigerator or freezer to keep them from becoming rancid and extend their shelf life.
- All 3 methods described here can also be effectively used to toast other types of nuts and seeds, enhancing their flavor significantly.
Video Tutorial
Nutrition Information
Calories: 57kcal,
Carbohydrates: 1g,
Protein: 1g,
Fat: 6g,
Saturated Fat: 0.4g,
Polyunsaturated Fat: 3g,
Monounsaturated Fat: 2g,
Sodium: 0.2mg,
Potassium: 50mg,
Fiber: 0.3g,
Sugar: 0.3g,
Vitamin A: 2IU,
Vitamin C: 0.1mg,
Calcium: 1mg,
Iron: 0.5mg
Nutrition information is automatically calculated and should be used as an approximation only.
Did You Make This?
Share your thoughts and a rating below! I always appreciate hearing what you think!