
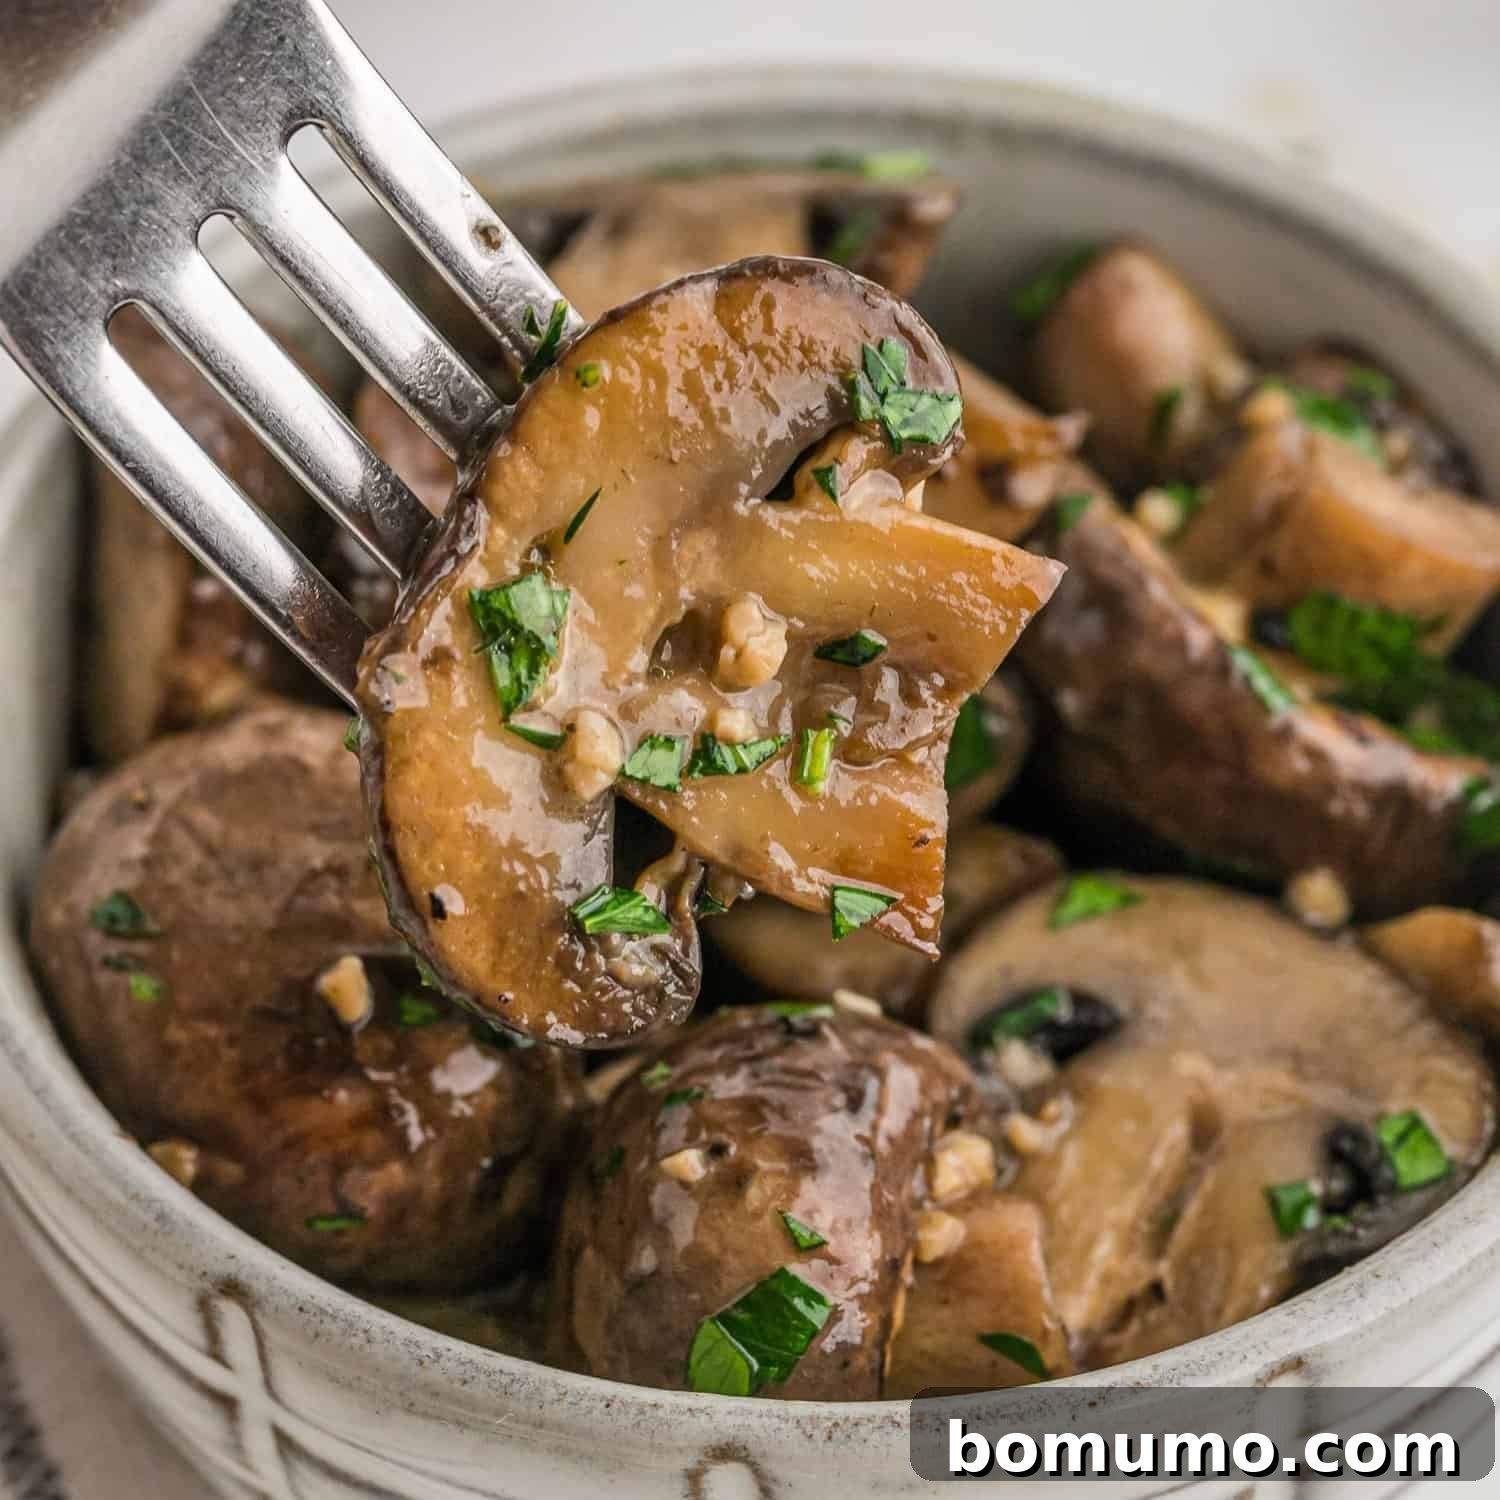
Recipe Highlights
Why You’ll Love This Recipe: Discover the secret to perfectly seared, flavorful mushrooms every single time. This method ensures your mushrooms are never soggy, but beautifully golden brown and infused with a rich, irresistible garlic butter sauce.
Preparation Time: Approximately 15 minutes from start to finish.
Essential Equipment: A large, reliable skillet.
Servings: Generously serves 6 people.
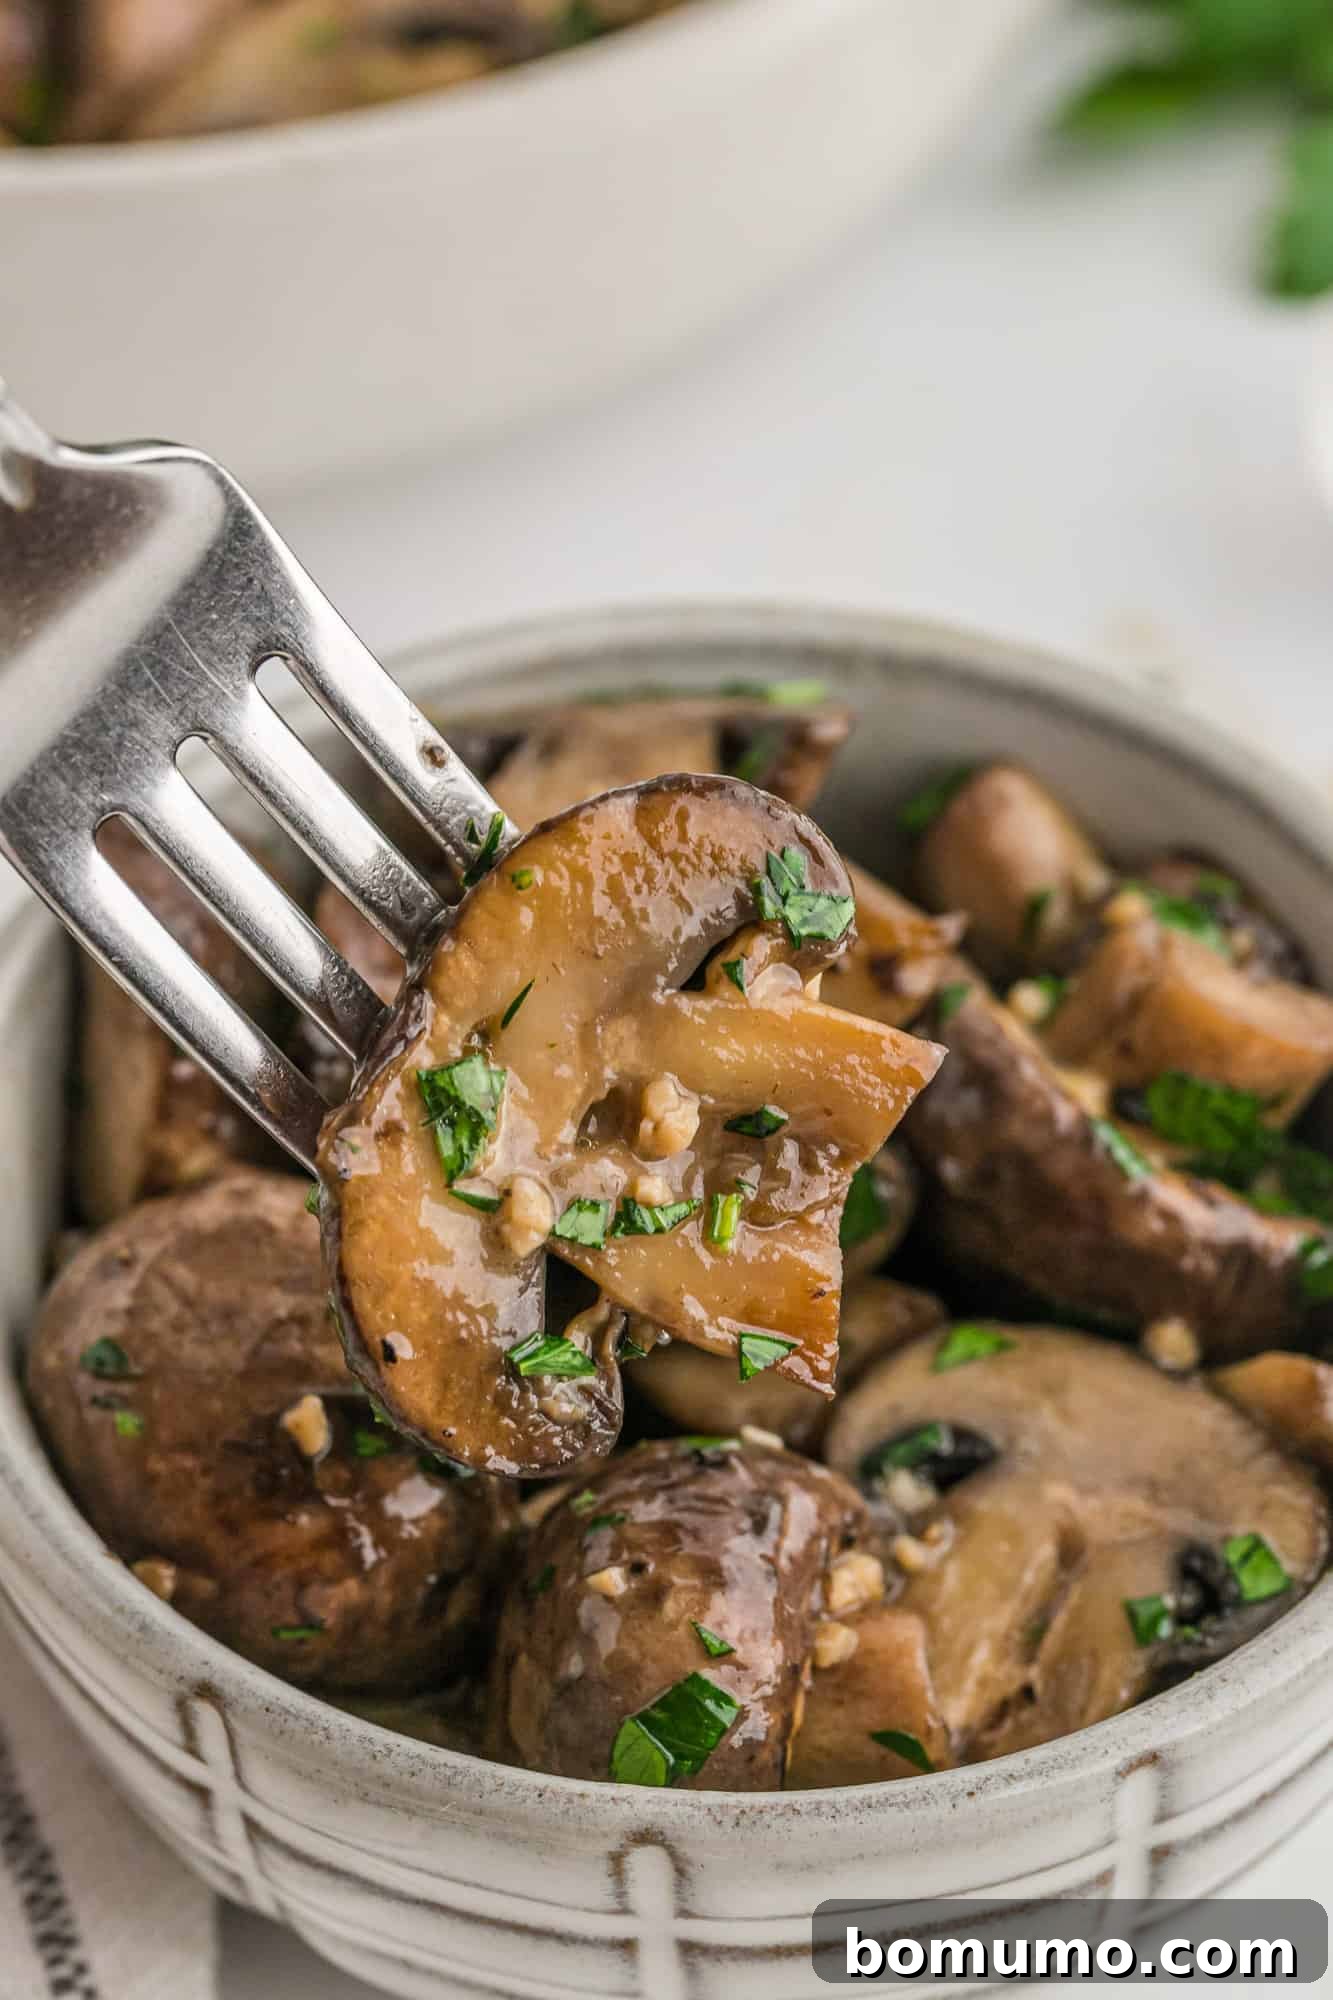
Prepare to fall in love with mushrooms all over again. These garlic butter sautéed mushrooms are so incredibly flavorful and tender, you’ll find yourself snatching them straight from the pan! Their unbelievable deliciousness makes it impossible to stop at just one.
What makes this recipe for sautéed mushrooms truly special isn’t a complex list of ingredients or an intricate cooking process. Its brilliance lies in its beautiful simplicity: fresh mushrooms, rich butter, and aromatic garlic. The real magic, however, comes from a simple yet powerful technique that guarantees a perfect sear and maximum flavor.
Once you uncover this easy-to-master secret, these garlic butter mushrooms will become a staple in your culinary repertoire.
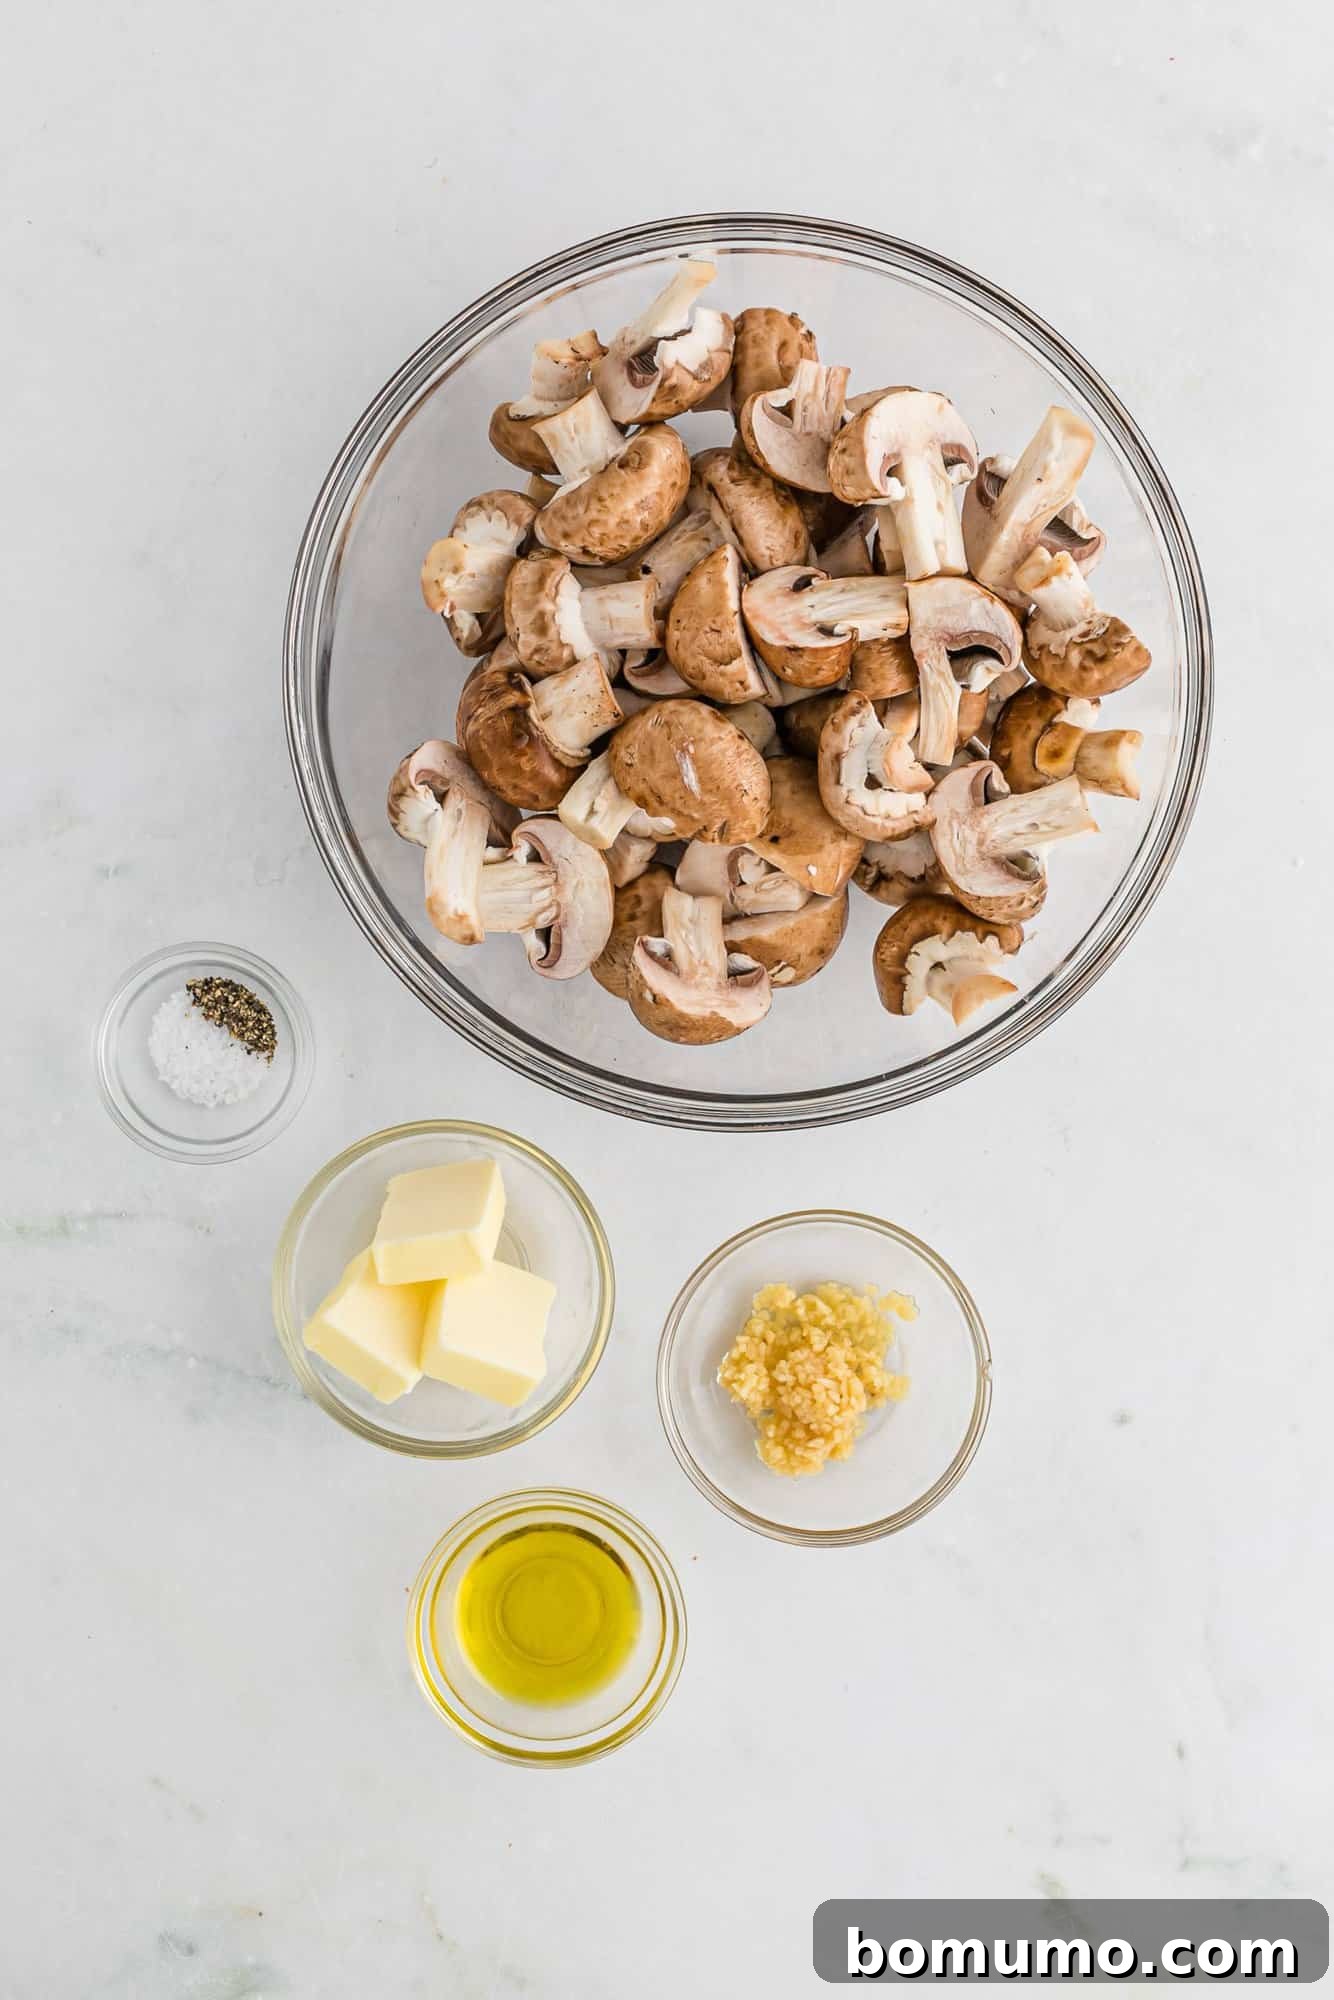
These exquisitely tasty mushrooms are incredibly versatile. They make a sublime topping for a perfectly seared steak, an elegant side dish for a juicy chicken breast, or a fantastic addition to pasta and sandwiches. Of course, they are absolutely divine enjoyed entirely on their own, perhaps with a crusty piece of bread to soak up the glorious garlic butter sauce.
Unlocking the Secret to Perfect Sautéed Mushrooms
Have you ever cooked mushrooms only to find them watery, soggy, or disappointingly bland? This is a common culinary frustration. The key to truly delicious mushrooms is achieving that beautiful, golden-brown caramelization. This browning, known as the Maillard reaction, is where all the deep, savory flavor develops. But how do you coax your mushrooms to reach this coveted state?
The answer lies in two crucial elements: high heat and minimal disturbance. Mushrooms are composed mostly of water. If you overcrowd the pan or stir them too frequently, the water they release will steam them instead of allowing them to sear. This steaming effect prevents the browning process, leaving you with those undesirable pale, soft, and uninspired mushrooms.
Our method focuses on allowing the mushrooms ample time to make direct contact with a hot cooking surface, undisturbed. This contact facilitates the evaporation of their natural moisture, enabling the sugars within them to caramelize and transform into those rich, nutty, and umami-packed flavors we crave.
But don’t just take our word for it—the rave reviews speak for themselves! This recipe is a proven favorite, praised by home cooks for its foolproof results and outstanding flavor.
JPG says:
“Novice cook here. I had no idea how to properly sauté mushrooms until I came across your recipe. Truly a game-changer!”
Elizabeth says:
“Just cooked a double batch. Best ever recipe!! I’ve been cooking them wrong for 40 years. This method is simply brilliant.”
Shoba says:
“This is one of the best and easiest mushroom recipes I have ever made. Mouth-wateringly delicious and incredibly simple to execute.”
Essential Ingredients for Irresistible Mushrooms
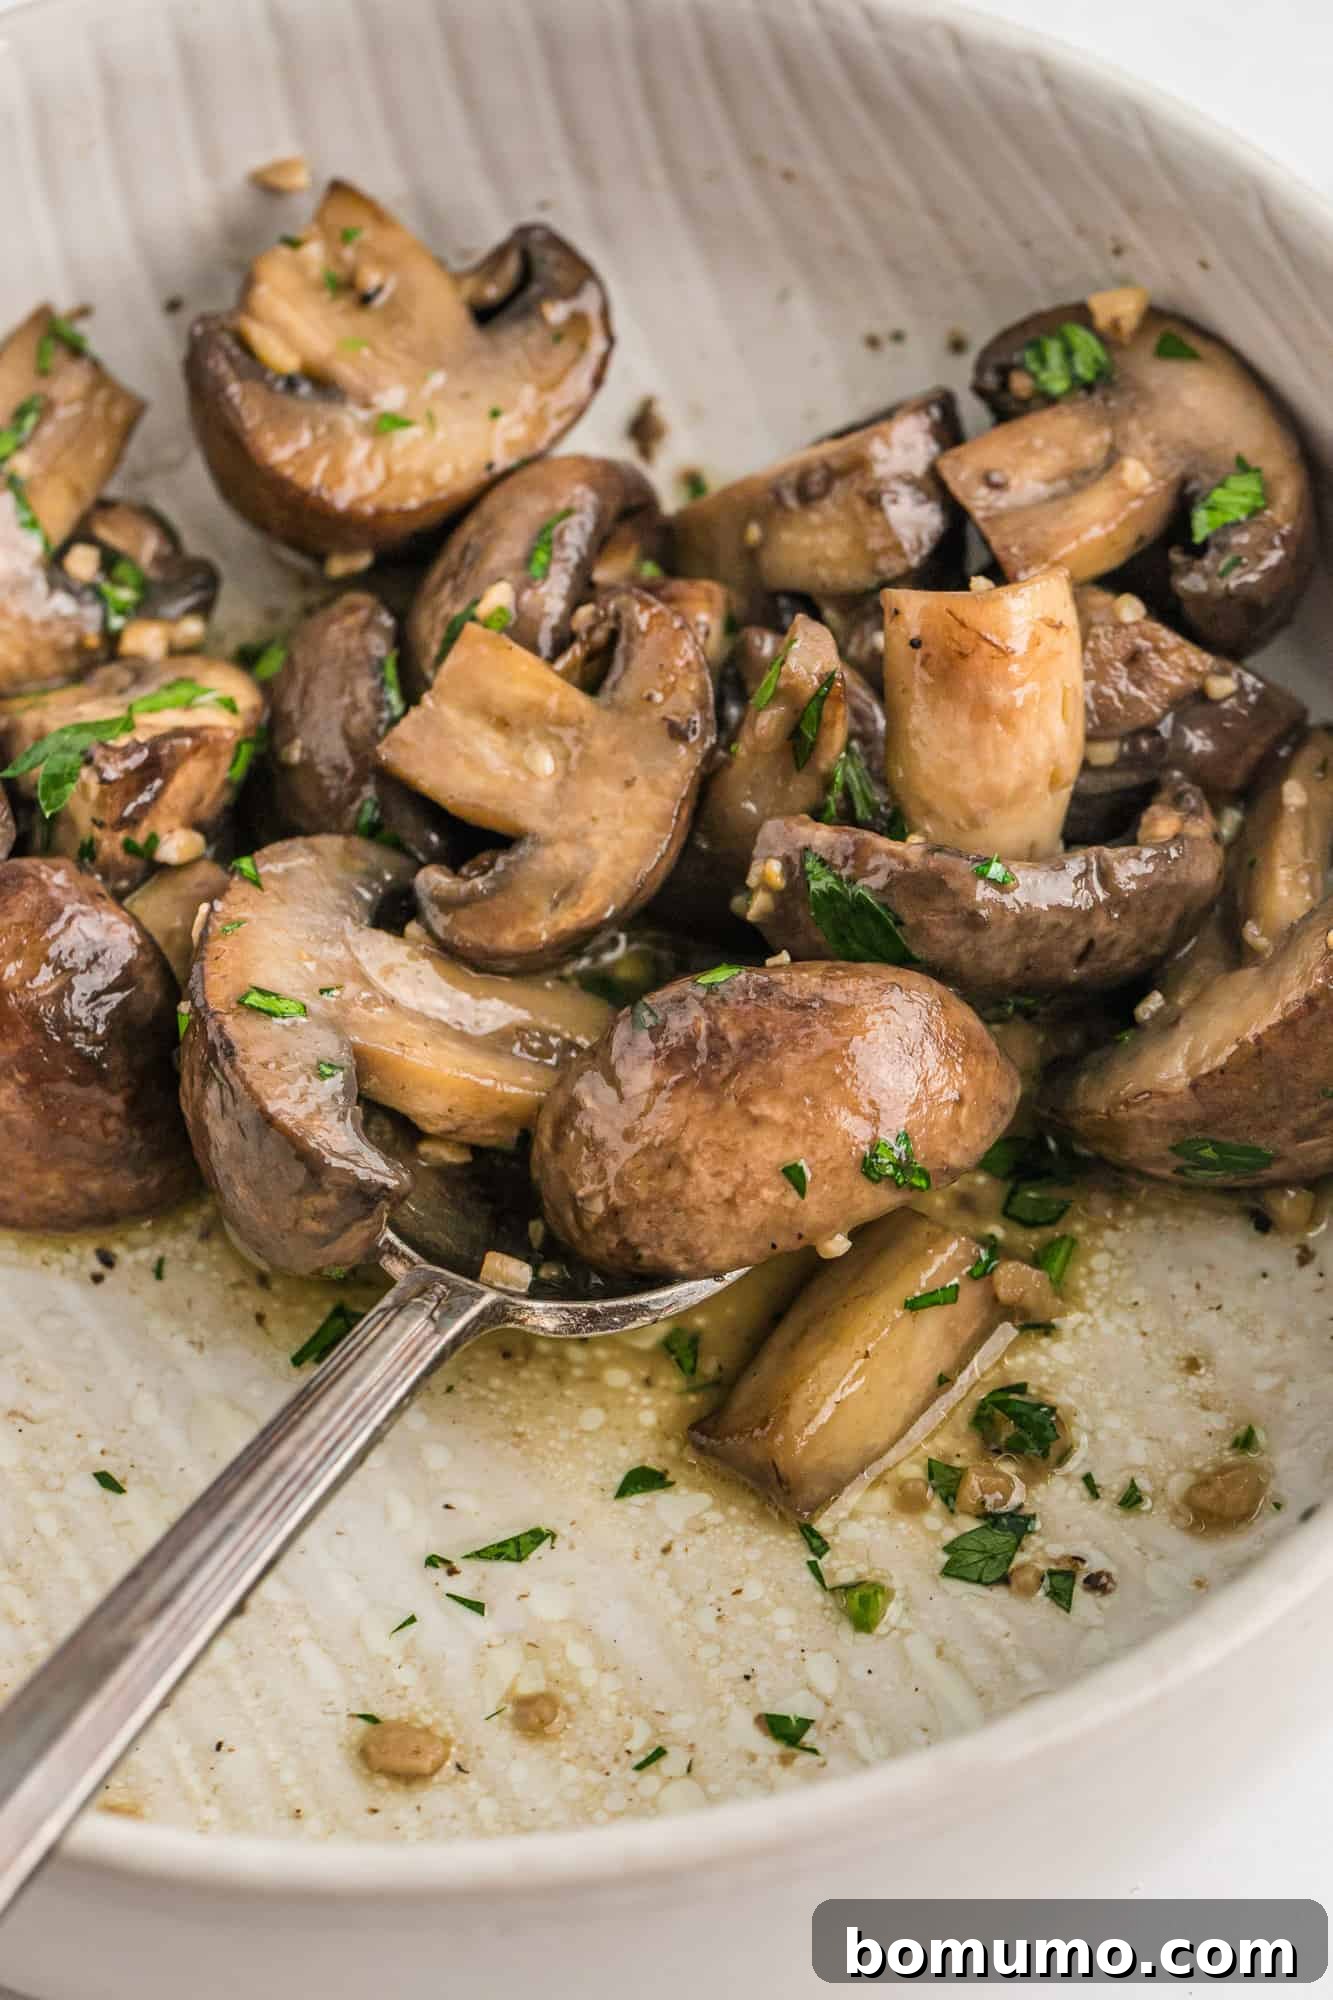
Crafting the perfect sautéed mushrooms requires just a handful of quality ingredients. Here’s a closer look at what you’ll need and why each component is vital:
- Mushrooms: The star of our dish! This cooking method is wonderfully versatile and works beautifully with nearly any variety of mushroom. Common choices include white button mushrooms, cremini (also known as baby bella) for their slightly deeper flavor, or a delightful mixture of both. For larger mushrooms, quartering them ensures even cooking. Always select firm, fresh mushrooms without any visible blemishes or sliminess.
- Olive Oil: We begin our sauté with olive oil because of its relatively high smoke point, which is crucial for achieving that desired golden-brown sear without burning. Unlike butter, which can burn quickly at high temperatures, olive oil can withstand the initial intense heat required for caramelization. You can also use avocado oil or grapeseed oil as excellent alternatives.
- Salt & Pepper: Simple seasonings are truly all that’s necessary here. A good quality kosher salt enhances the natural flavors of the mushrooms, while freshly ground black pepper adds a subtle kick. The goal is to highlight, not mask, the inherent earthy goodness of these beauties.
- Butter: Added towards the end of the cooking process, butter infuses the mushrooms with a luxurious richness and creates that luscious, silky sauce. We recommend unsalted butter, as it gives you complete control over the final seasoning of your dish. Feel free to adjust the amount to your preference for a lighter or richer sauce.
- Garlic: Fresh garlic cloves are non-negotiable for their pungent, aromatic flavor that perfectly complements earthy mushrooms. Minced garlic, added at the right moment, will become fragrant and sweet without burning. While it can be omitted if you have an aversion, we highly recommend it for the best flavor profile.
- Fresh Parsley: This optional garnish provides a vibrant pop of color and a fresh, herbaceous note. Chopped fresh parsley beautifully balances the richness of the garlic butter, adding a bright finish that elevates the entire dish. Don’t underestimate the power of fresh herbs to enhance flavor and presentation!
Mastering Mushroom Cleaning: A Key to Success
Properly cleaning mushrooms is a critical step often overlooked, yet it directly impacts the final texture of your dish. Mushrooms are like tiny sponges, eager to absorb any moisture they encounter. Soaking them in water, a common mistake, will lead to soggy, waterlogged mushrooms that will steam rather than sear, hindering that crucial golden-brown caramelization. To prevent this, adhere to these best practices:
- Brush or Wipe: The most effective method is to gently brush off any visible specks of dirt using a soft mushroom brush or a clean, damp paper towel. Work carefully to remove debris without saturating the mushrooms.
- Quick Rinse (if necessary): If your mushrooms are particularly dirty and brushing isn’t sufficient, a very quick rinse under cool running water is acceptable. However, this must be followed immediately by thorough drying.
- Immediate Drying: After any rinsing, swiftly dry the mushrooms on a clean, lint-free kitchen towel or multiple layers of paper towels. Pat them gently until they are as dry as possible. Any residual moisture will prevent proper searing.
Taking a moment to clean your mushrooms correctly will make all the difference in achieving that desired crisp-tender texture and rich flavor.
The Fail-Proof Method: How To Make The Best Sautéed Mushrooms
Achieving restaurant-quality sautéed mushrooms at home is surprisingly simple with this fail-proof technique. Follow these steps carefully to unlock their full flavor potential:
-
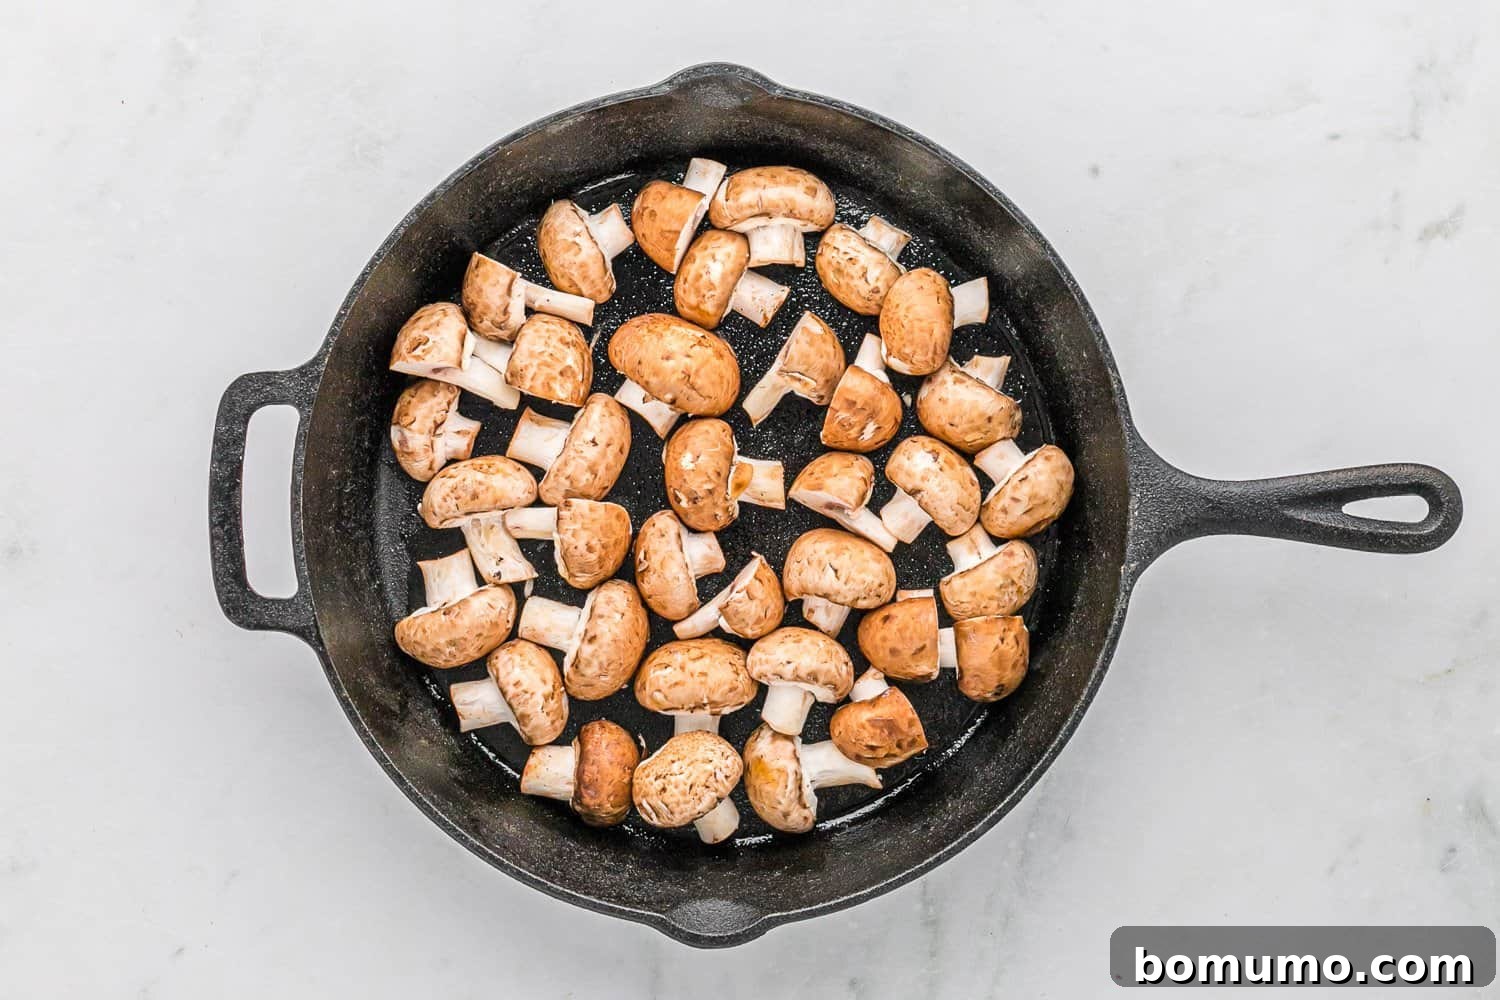
Prepare Your Pan: Begin by selecting a large skillet. The size is important here; it doesn’t necessarily need to be deep, but it must be wide enough to allow the mushrooms to spread out in a single layer. This prevents overcrowding, which leads to steaming rather than searing. Place the pan on your stove over medium-high heat. Allow it to heat thoroughly for a couple of minutes before adding oil.
To achieve a beautiful sear, it’s essential to start with an oil that has a higher smoke point. Olive oil, avocado oil, or grapeseed oil are excellent choices. Using butter at this initial high heat would cause it to burn, imparting a bitter taste. Add the chosen oil to the hot pan.
-
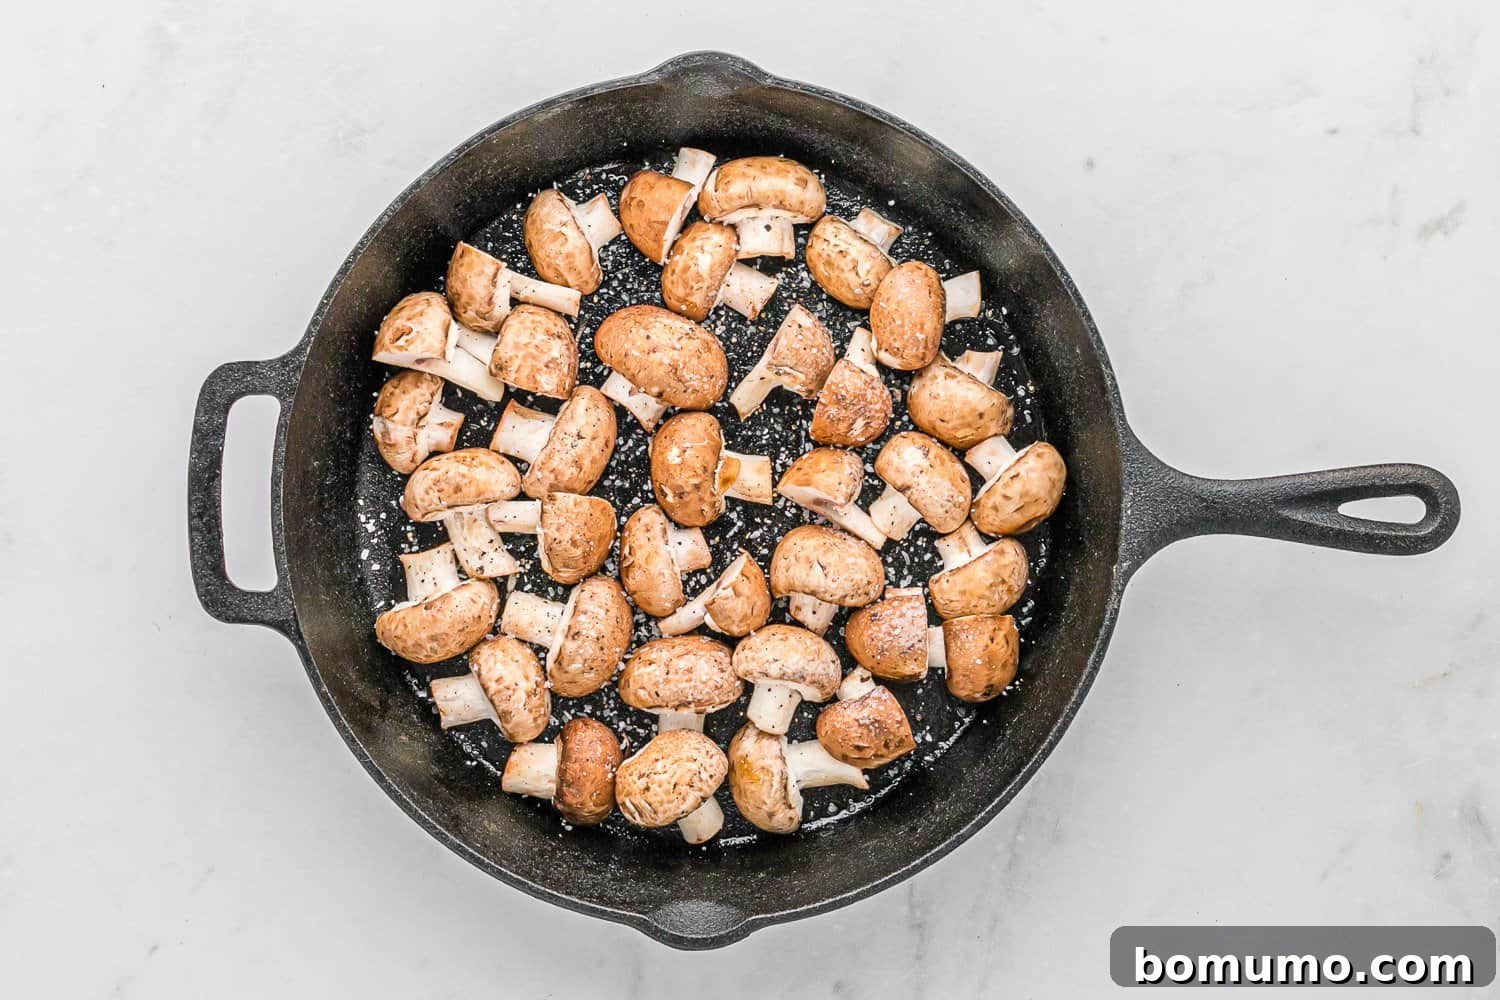
Add and Season Mushrooms: Once your pan and oil are hot (a good test is if a drop of water sizzles instantly), add the cleaned and halved mushrooms to the pan. Season them generously with salt and pepper. Quickly toss the mushrooms to ensure they are lightly coated with the hot oil, then spread them out into a single layer across the entire surface of the pan. Maintain the medium-high heat.
-
The Golden Rule: Don’t Stir! (Initial Sear): This is the most crucial step for perfect caramelization! For the next four minutes, resist every temptation to stir, flip, or even touch the mushrooms. Leave them completely undisturbed. This allows one side of the mushrooms to make continuous contact with the hot pan, promoting intense browning and flavor development. You’ll notice a beautiful golden-brown crust forming on the bottom, exactly what we want.

-
Second Sear: After the initial four minutes, quickly give the mushrooms a stir or toss, aiming to flip them so that the browned side faces upwards, allowing the other side a chance to brown. Don’t obsess over flipping every single mushroom individually; a general stir will suffice. Again, cook for two more minutes without stirring.
-
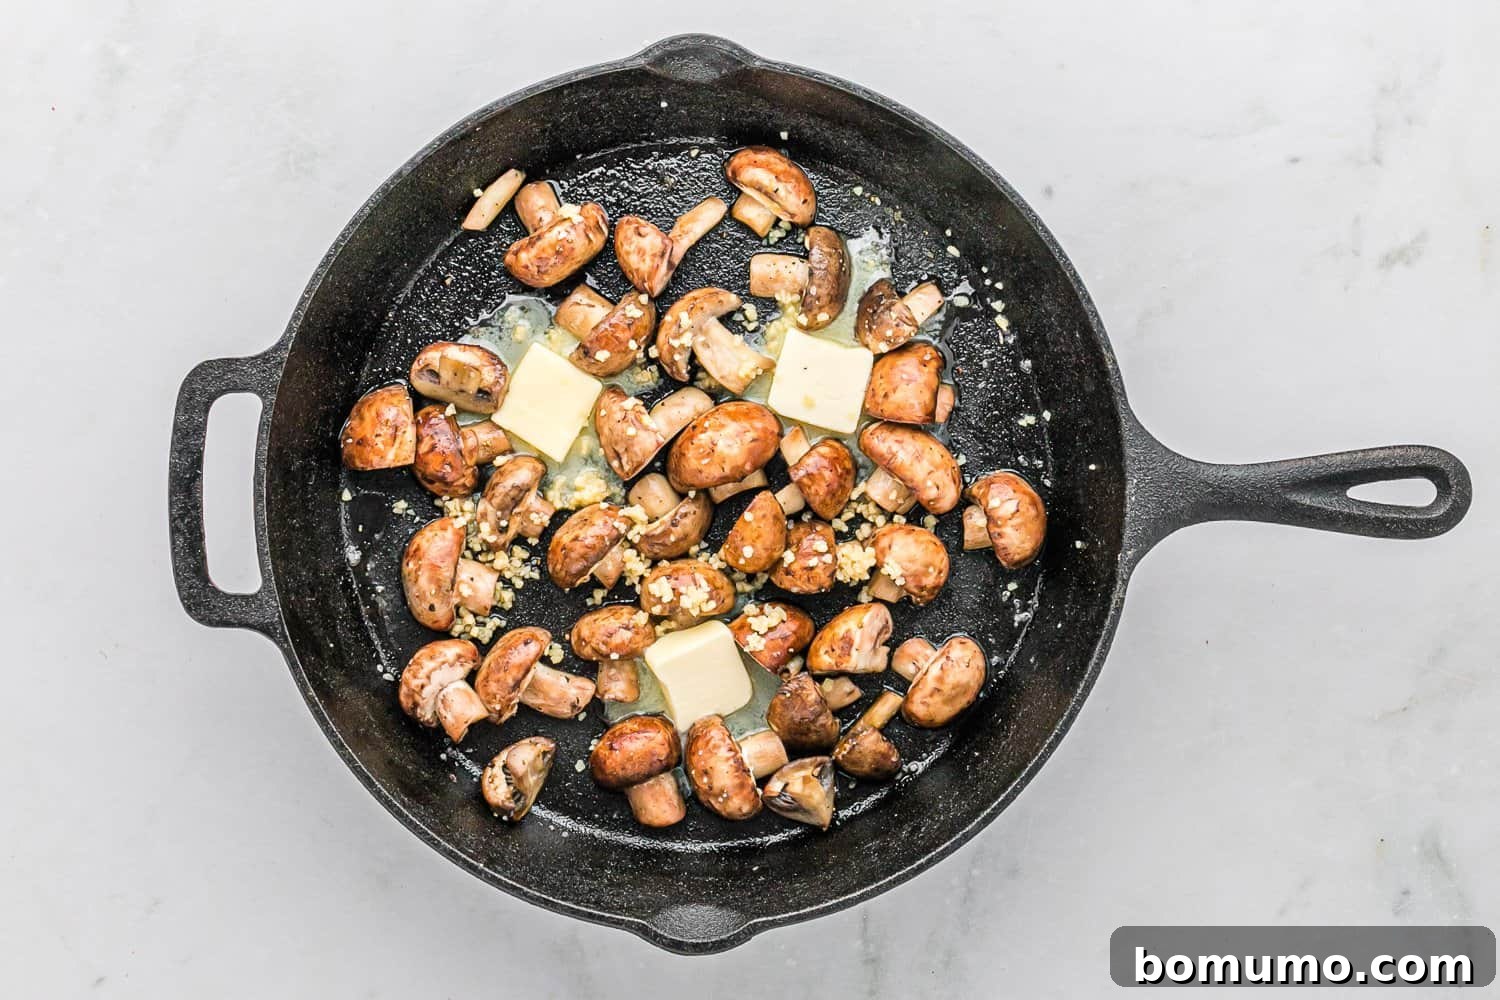
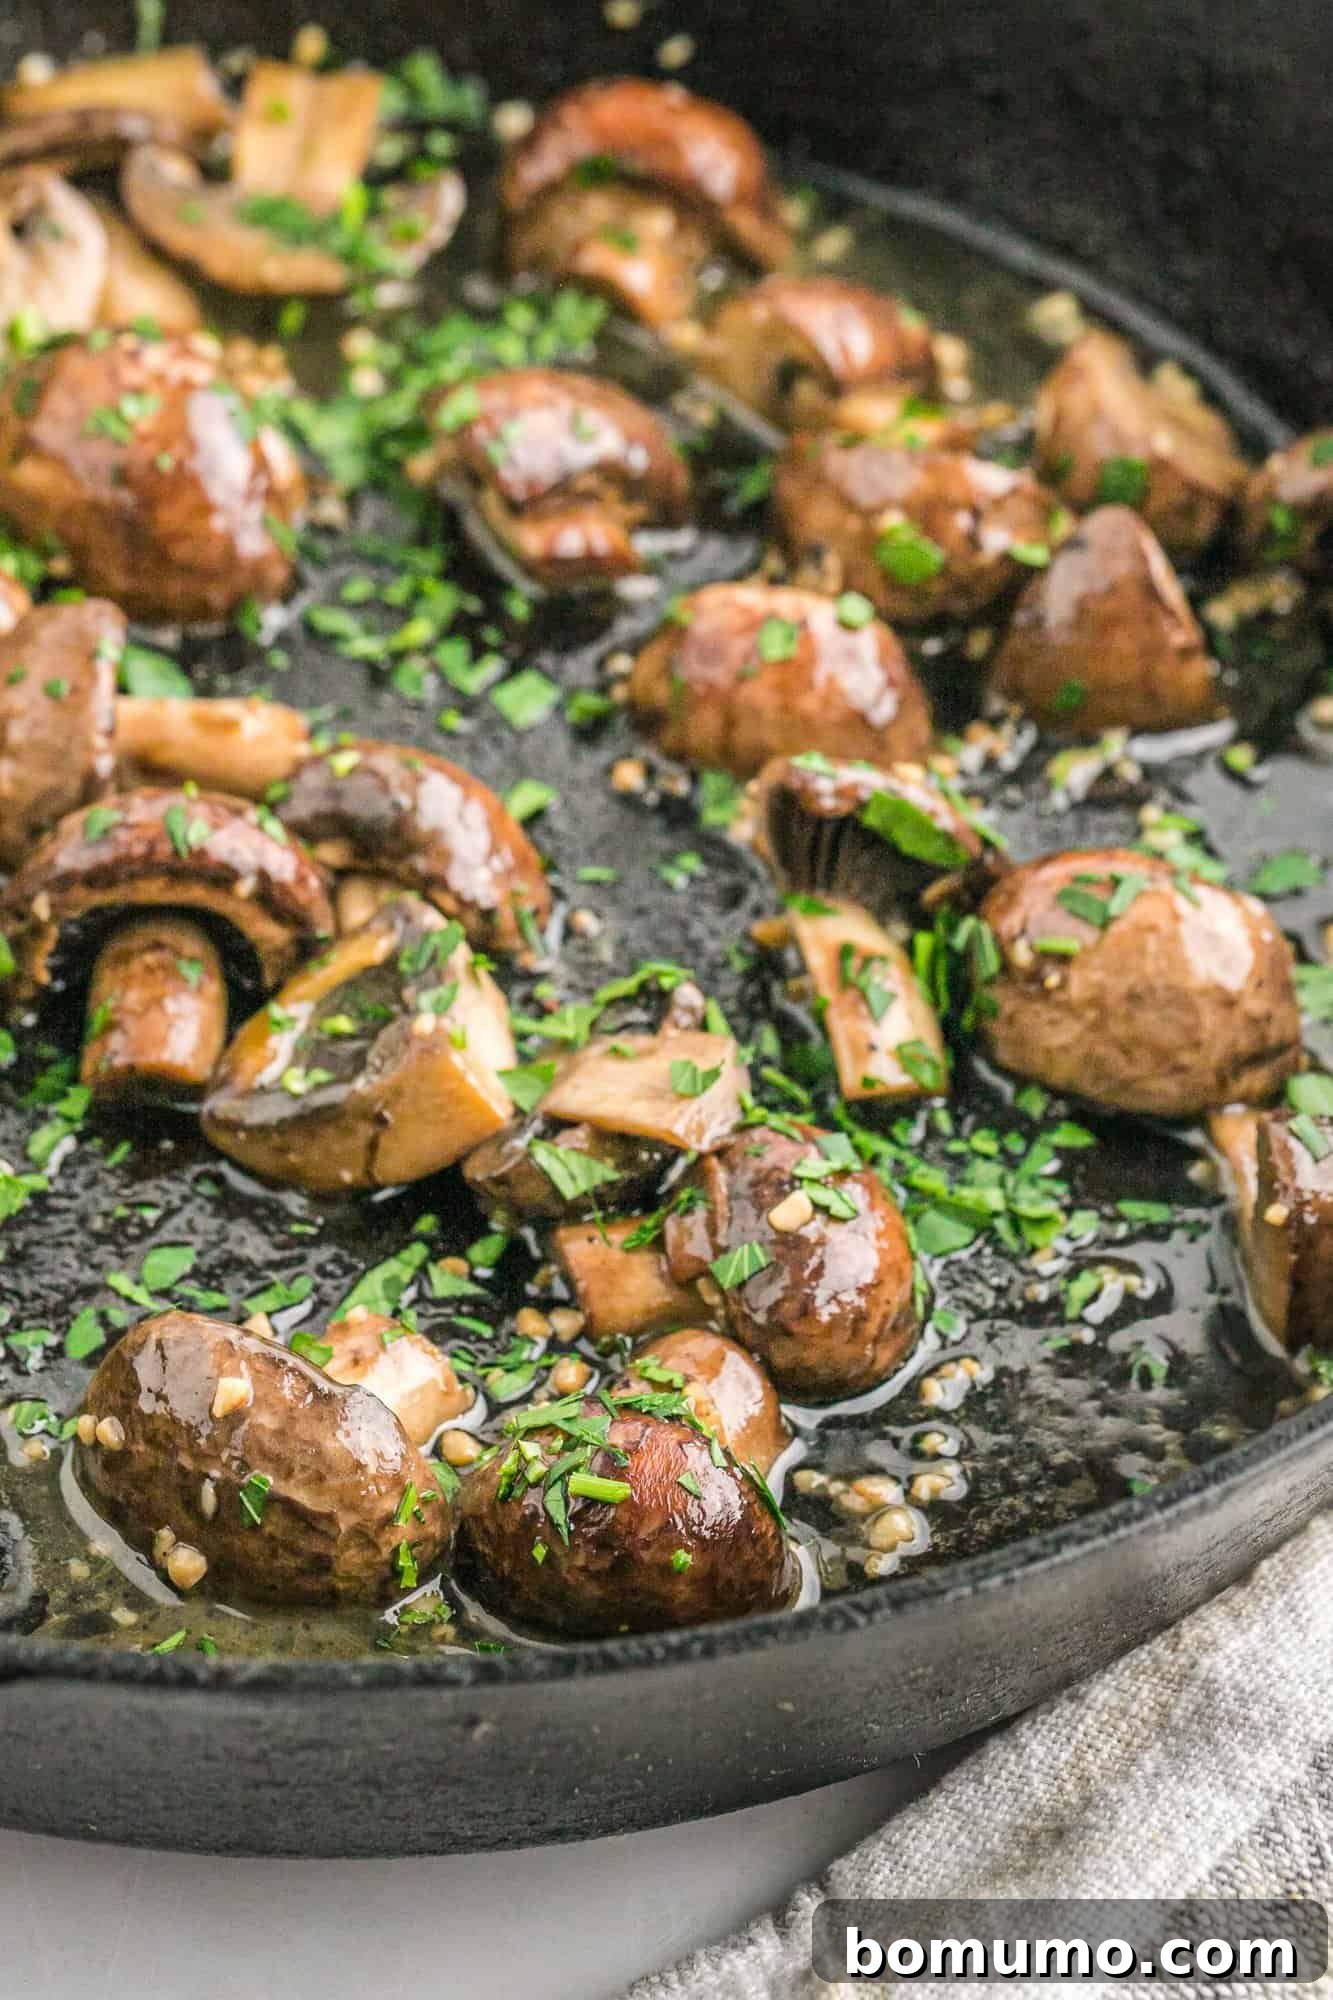
Introduce Butter and Garlic: Now it’s time for the magic! Reduce the heat to medium-low. Add the unsalted butter and minced garlic to the pan. This is when you can, and should, stir! The butter will quickly melt, creating a glistening, silky sauce that coats every mushroom.
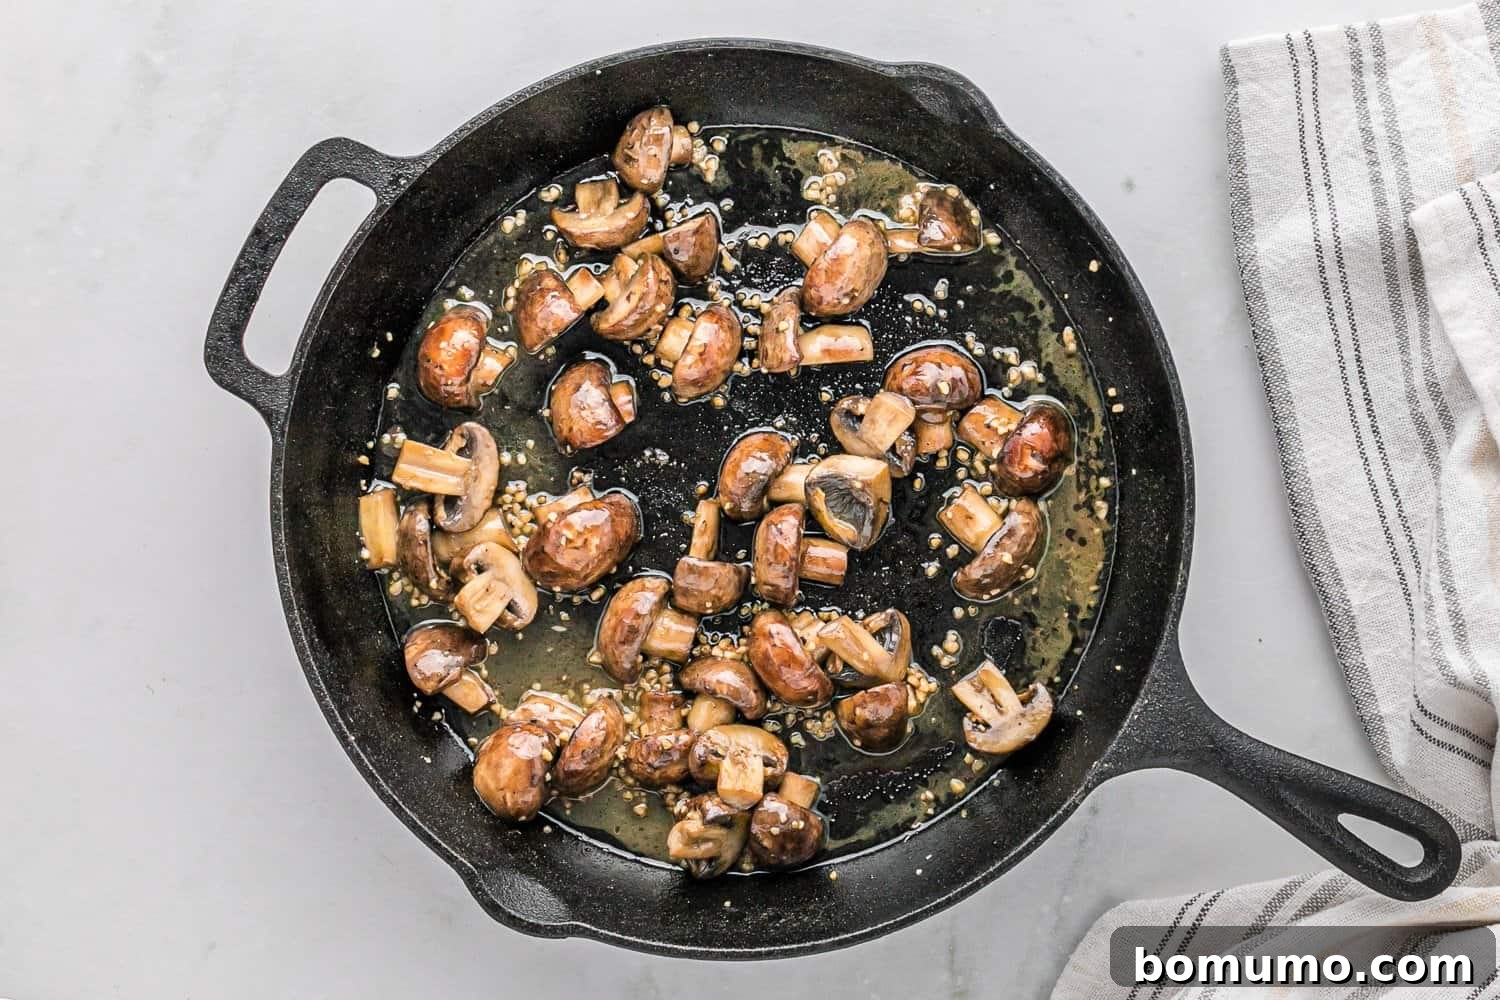
Cook for another three to four minutes, stirring frequently, until the garlic becomes wonderfully fragrant and the mushrooms are fully cooked through, bathed in that irresistible sauce. Be careful not to overcook the mushrooms once the butter is added, as this can sometimes cause the butter to separate.
-
Garnish and Serve: Remove the pan from the heat. Stir in a generous sprinkle of fresh chopped parsley. The vibrant green not only adds visual appeal but also a burst of fresh flavor that cuts through the richness. Serve immediately and enjoy your perfectly cooked, savory sautéed mushrooms!
For those who appreciate an extra layer of flavor, consider these sautéed mushrooms with wine and garlic – a delightful twist for a more sophisticated palate!
Creative Variations and Serving Suggestions
While these garlic butter sautéed mushrooms are perfect as is, they also provide a wonderful base for culinary experimentation. Here are some ideas to customize and enhance your dish:
- Slice for Versatility: Instead of halving your mushrooms, try slicing them. Thinner slices cook a bit faster and are fantastic for topping burgers, adding to omelets, or layering into a gourmet grilled cheese sandwich. Adjust cooking time slightly to prevent overcooking.
- Garlic-Free Option: Although we passionately advocate for garlic in this recipe, if you’re not a fan, you can certainly omit it. The technique for perfectly seared mushrooms combined with butter and a sprinkle of fresh herbs will still yield a wonderfully flavorful side dish.
- Umami Boost: For an extra layer of savory depth, stir in a tablespoon of Worcestershire sauce or soy sauce (or tamari for a gluten-free option) along with the butter and garlic. This adds a powerful umami punch that complements the mushrooms beautifully. If you enjoy richer flavors, these Marsala mushrooms are another excellent choice!
- Explore Roasting: If you prefer a different texture, consider roasting your mushrooms. Try our delicious roasted mushrooms with balsamic, thyme, and Dijon for an aromatic and tender result. You can even make roasted mushrooms in your air fryer for a quick and easy option; check out our air fryer mushrooms with garlic and shallots recipe.
- Elegant Appetizer: Transform these simple sautéed mushrooms into a sophisticated appetizer. Serve them piled high on toasted baguette slices with a dollop of goat cheese for exquisite wild mushroom crostini with goat cheese.
- Herb Variations: Experiment with different fresh herbs. Thyme or rosemary can be added with the garlic and butter for a more earthy flavor profile, while chives or tarragon could offer a delicate, fresh note.
- Spicy Kick: For those who enjoy a little heat, a pinch of red pepper flakes added with the garlic will introduce a delightful warmth to the dish.
Make-Ahead Preparations
To streamline your cooking process, you can prepare the raw mushrooms in advance. Clean and slice or halve your mushrooms a day ahead of time. Store them in a covered bowl or a plastic bag along with a couple of paper towels. The paper towels will help absorb any excess moisture, keeping the mushrooms fresh and ready for sautéing.
Storage & Reheating Guide
Proper storage ensures your delicious sautéed mushrooms can be enjoyed for days to come. Cooked mushrooms will remain fresh in an airtight container in the refrigerator for three to four days. For longer storage, they can be frozen for up to six months. To freeze, allow them to cool completely, then transfer them to a freezer-safe container or bag, removing as much air as possible.
For best results when reheating frozen mushrooms, thaw them overnight in the refrigerator. To warm them up, gently heat them in a skillet on the stove over medium-low heat until heated through. Alternatively, single portions can be quickly reheated in the microwave. Be careful not to overheat, as this can alter their texture.
Creative Ways to Use Leftovers
These garlic butter sautéed mushrooms are simply fantastic as leftovers, often tasting even better the next day as the flavors meld. Don’t let a single mushroom go to waste! Here are some delightful ways to repurpose them:
- Breakfast Booster: Warm them gently in a small frying pan and add a handful of fresh spinach to wilt alongside. Serve this flavorful vegetable mix with scrambled eggs, an omelet, or alongside your morning toast for a truly gourmet breakfast.
- Savory Toast Topper: Spoon the reheated mushrooms over a slice of toasted artisanal bread, perhaps with a sprinkle of Parmesan cheese or a dollop of ricotta, for a quick and satisfying snack or light lunch.
- Pasta Perfection: Toss leftover mushrooms with freshly cooked pasta, a swirl of olive oil, and some extra grated cheese for a simple yet incredibly flavorful pasta dish.
- Flavorful Pizza Topping: Spread them over your homemade pizza crust before baking for an instant upgrade to your favorite pie.
- Stir-Fry Addition: Add them to a quick vegetable stir-fry for an extra layer of umami and texture.
- Hearty Sandwich Filler: Layer them into hot sandwiches, wraps, or even quesadillas for a burst of savory goodness.
Explore More Mushroom Recipes
Creamy Tuscan Mushrooms
Grilled Portobello Mushrooms (Stuffed Option!)
Roasted Mushrooms
Coq Au Vin Stuffed Mushrooms Recipe
Perfect Garlic Butter Sautéed Mushrooms (Fail-Proof Method!)
Rachel Gurk
5
10
15
6
servings
Ingredients
- 1 tablespoon olive oil
- 16 ounces white, cremini, or baby bella mushrooms, washed and cut in half (quartered if very large)
- ½ teaspoon kosher salt
- ¼ teaspoon ground black pepper
- 3 tablespoons unsalted butter (see note)
- ½ to 1 tablespoon minced garlic, to taste (2–4 medium-sized cloves)
- 1 tablespoon chopped fresh parsley
Instructions
-
In a large sauté pan (ensuring mushrooms can fit in a single layer), heat olive oil over medium-high heat until hot. Add mushrooms and season with salt and pepper. Quickly toss to coat mushrooms with the oil, then spread them into a single layer across the pan.
-
Cook for four minutes on medium-high heat without stirring. After four minutes, stir once, trying to flip them to brown the other side; cook for 2 more minutes without stirring.
-
Reduce heat to medium-low. Add butter and minced garlic. Cook for 3-4 more minutes, stirring frequently, until mushrooms are fully cooked, butter is melted, and garlic is fragrant but not browned.
-
Remove from heat, stir in chopped fresh parsley and serve immediately.
Notes
- If desired, you can reduce the butter to 1-2 tablespoons for a lighter dish.
- Leftover cooked mushrooms can be refrigerated for up to 4 days or frozen for up to 6 months. Reheat gently in a skillet or microwave.
Video
Nutrition
, Calories: 89kcal
, Carbohydrates: 3g
, Protein: 2g
, Fat: 8g
, Saturated Fat: 4g
, Polyunsaturated Fat: 1g
, Monounsaturated Fat: 3g
, Trans Fat: 1g
, Cholesterol: 15mg
, Sodium: 199mg
, Potassium: 250mg
, Fiber: 1g
, Sugar: 2g
, Vitamin A: 232IU
, Vitamin C: 3mg
, Calcium: 7mg
, Iron: 1mg
Nutrition information is automatically calculated and should be used only as an approximation.
Made This Recipe?Share your thoughts and a rating below! We love hearing from you!