
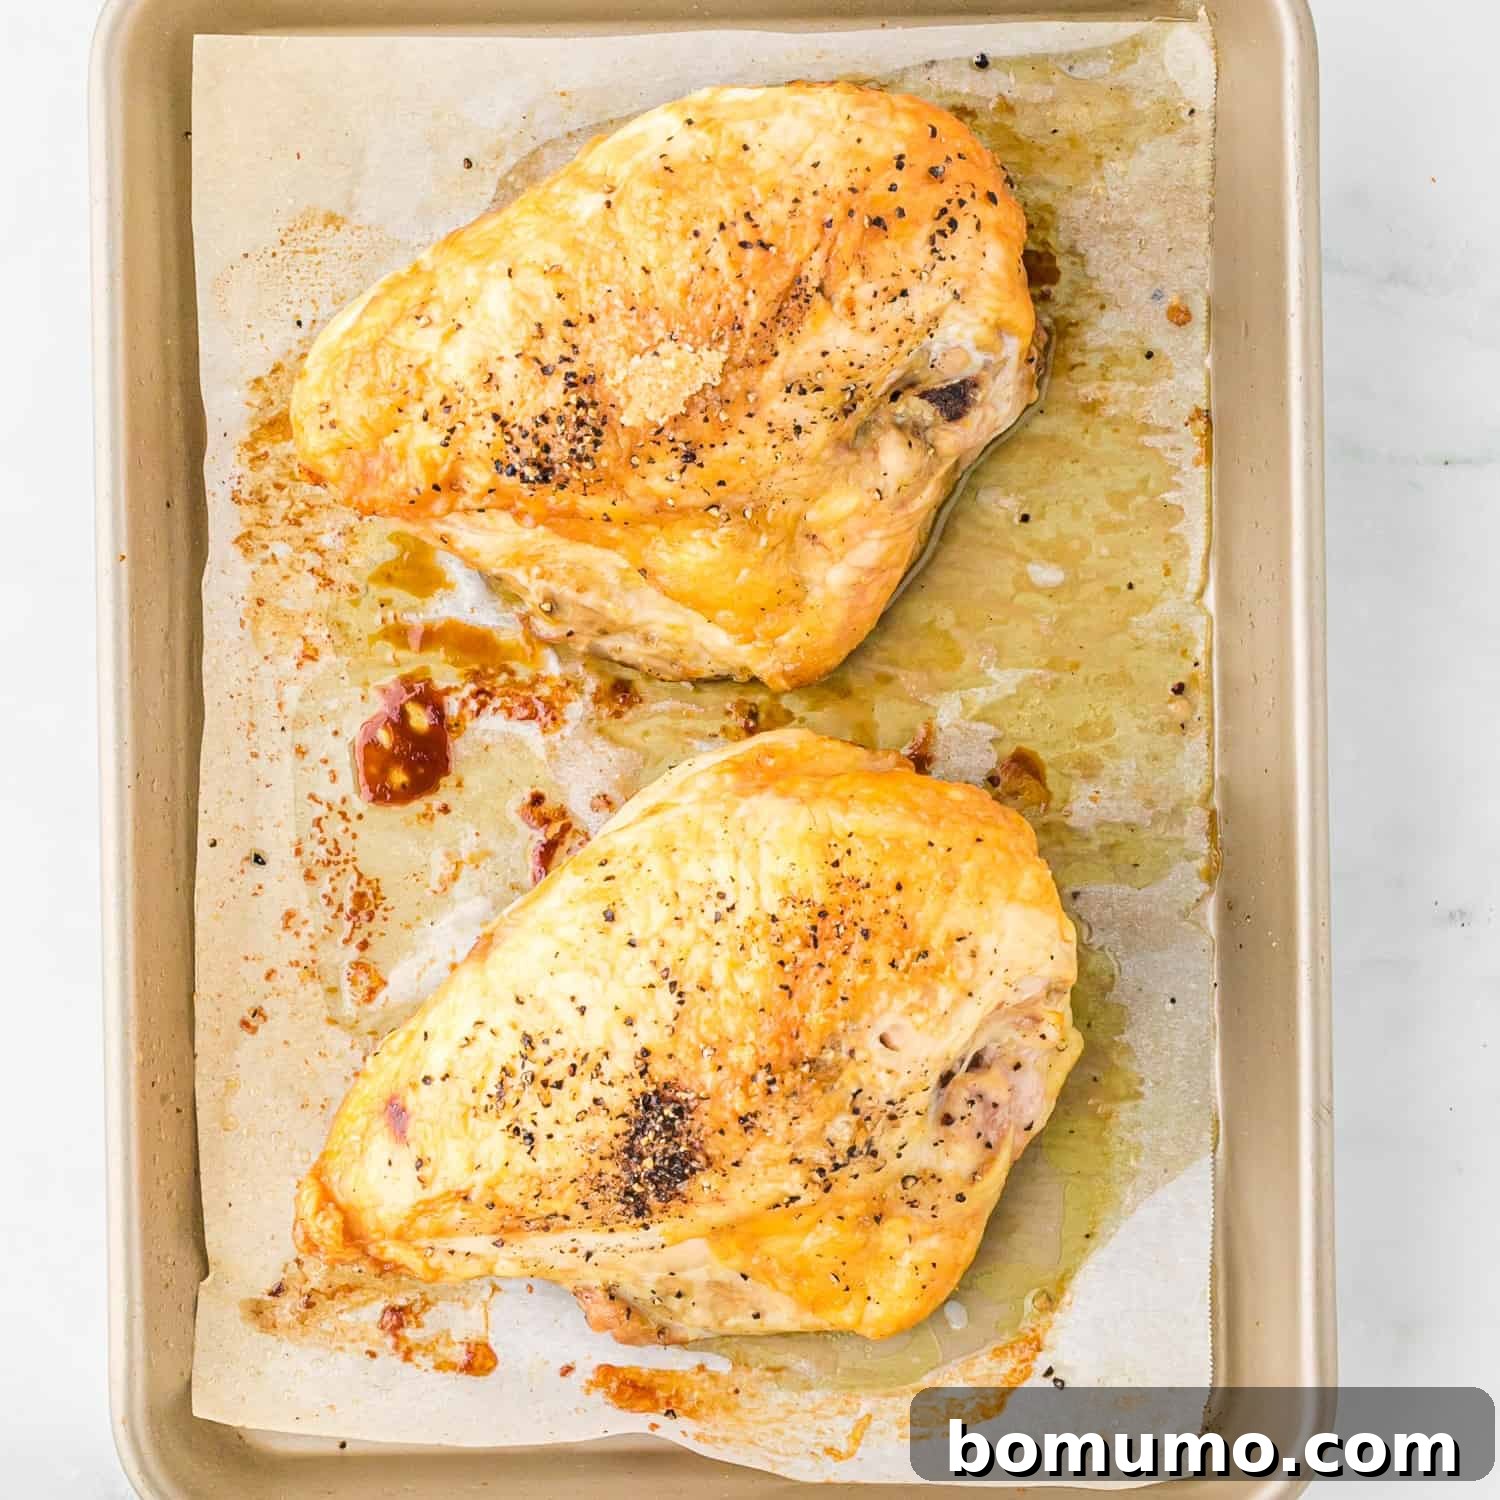
Recipe Overview: Perfect Roasted Bone-In Chicken Breasts
Why you’ll love this recipe: Master the art of roasting bone-in chicken breasts with skin for an unbelievably tender, juicy, and flavorful meal. Whether you’re preparing a quick weeknight dinner or batch cooking for meal prep, this recipe is a foundational skill for any home cook. Its simplicity and delicious outcome make it a guaranteed winner for both novice and experienced chefs.
Prep and Cook Time: Approximately 1 hour and 5 minutes (5 minutes prep, 45 minutes cook, 15 minutes rest)
Essential Equipment: A shallow baking pan or sheet
Servings: 4 generous portions
There’s nothing quite like the rich aroma and satisfying taste of perfectly roasted bone-in chicken breasts. Achieving that coveted crispy skin and succulent, juicy meat might seem daunting, but this recipe makes it incredibly simple. These beautifully roasted chicken breasts are versatile enough for any occasion, from an elegant dinner to a casual family meal.
Imagine a delightful dinner where the star is a golden-brown, flavorful chicken breast, served alongside fluffy baked potatoes (which can roast right alongside your chicken!) and a vibrant simple green salad, perhaps with a zesty homemade vinaigrette. It’s a complete, comforting meal that comes together with minimal fuss.
While I occasionally enjoy the grand project of roasting a whole chicken in the oven or preparing a whole chicken in the crockpot – filling the house with an incredible aroma of comfort food – these methods often demand significant time, making them ideal for weekend endeavors. Roasted bone-in chicken breasts, however, offer a fantastic, faster alternative without compromising on flavor or juiciness. They deliver all the deliciousness in a fraction of the time, proving that quick meals can still be incredibly satisfying. For another excellent and quick method, consider poaching chicken, which also yields tender results perfect for salads and sandwiches.
Why You’ll Love Roasting Bone-In Chicken Breasts
Opting for bone-in, skin-on chicken breasts for roasting is a culinary secret to unlocking maximum flavor and tenderness. This method consistently yields superior results compared to boneless, skinless cuts, and here’s why:
Unmatched Flavor and Juiciness
The bone acts as a natural heat conductor, ensuring that the meat cooks more evenly and stays moister. The skin, a true culinary marvel, crisps up beautifully, creating an irresistible texture and a protective barrier that seals in the chicken’s natural juices and savory flavors. Roasting with the bone and skin on allows for a deeper, more robust chicken flavor that simply isn’t achieved with boneless, skinless varieties. This results in chicken breasts that are incredibly tender on the inside with a delightfully crisp exterior.
A Savvy, Budget-Friendly Choice
Often overlooked, bone-in chicken breasts (also known as split chicken breasts) are typically more economical than their boneless, skinless counterparts. This makes them an excellent choice for feeding a family without breaking the bank. Look for family packs at your local grocery store for even greater savings – a smart way to enjoy high-quality protein affordably.
Effortless Meal Prep Solution
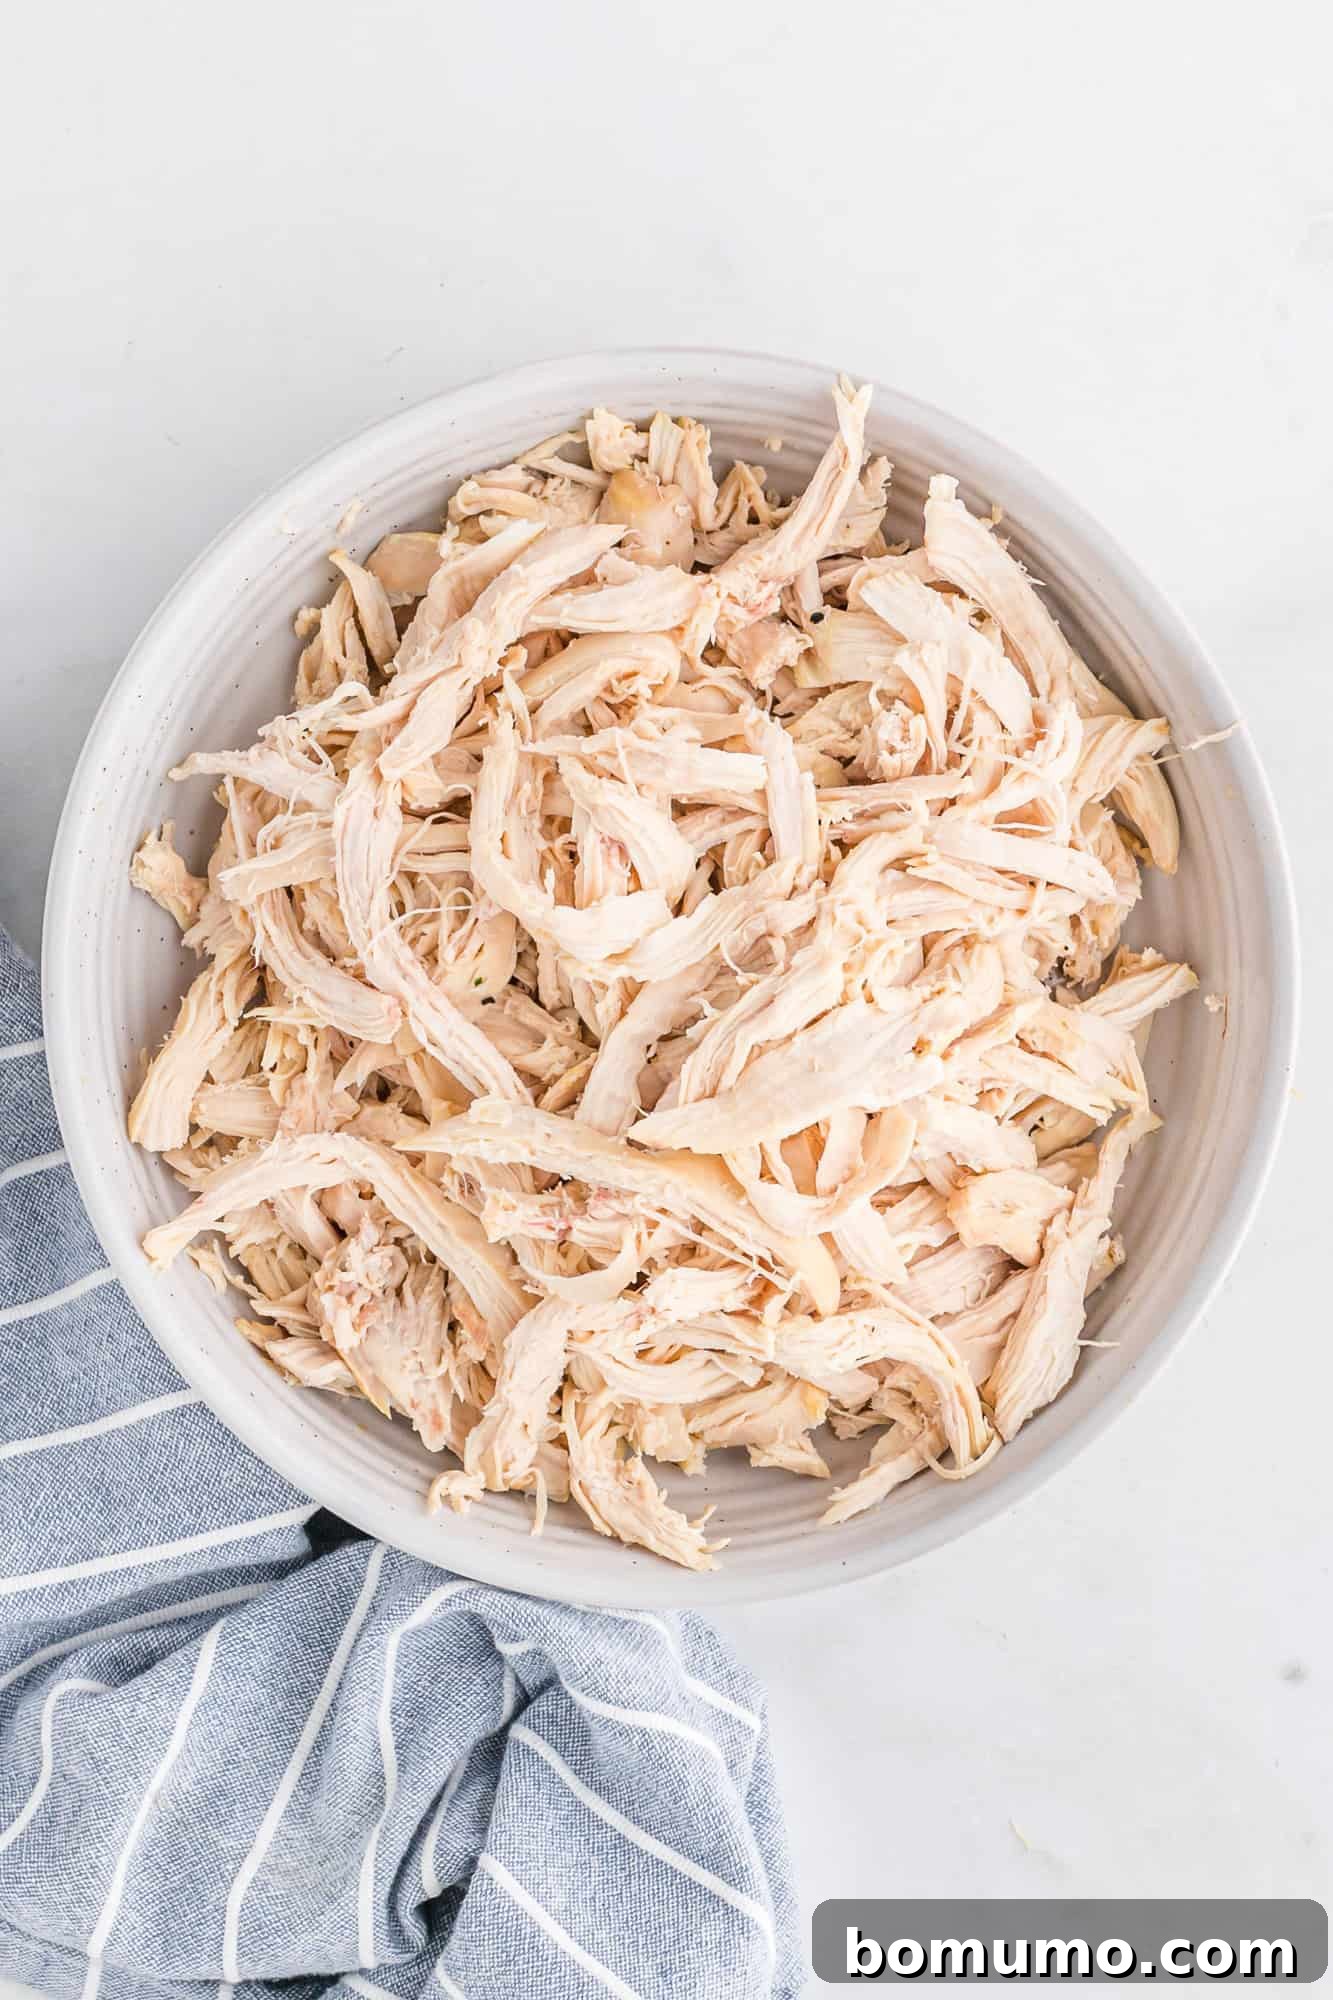
This recipe is a meal prepper’s dream come true. You can easily roast a large “family pack” of chicken breasts all at once. Once cooked, the delicious roasted chicken can be shredded or diced and stored, providing a ready-to-use protein source for multiple meals throughout the week. This strategy offers fast, healthy, economical, and undeniably scrumptious dinner solutions, saving you time and stress during busy weeknights. Keep reading for a plethora of creative recipes that utilize already cooked chicken, transforming your meal prep into a culinary advantage.
Jude Said:
“I stumbled upon your recipe and decided to give it a try instead of buying a store-bought rotisserie chicken for my pot pies. I roasted three large breasts, and they turned out absolutely perfect – wonderfully done and incredibly juicy!”
Essential Ingredients for Perfect Roasted Chicken Breasts
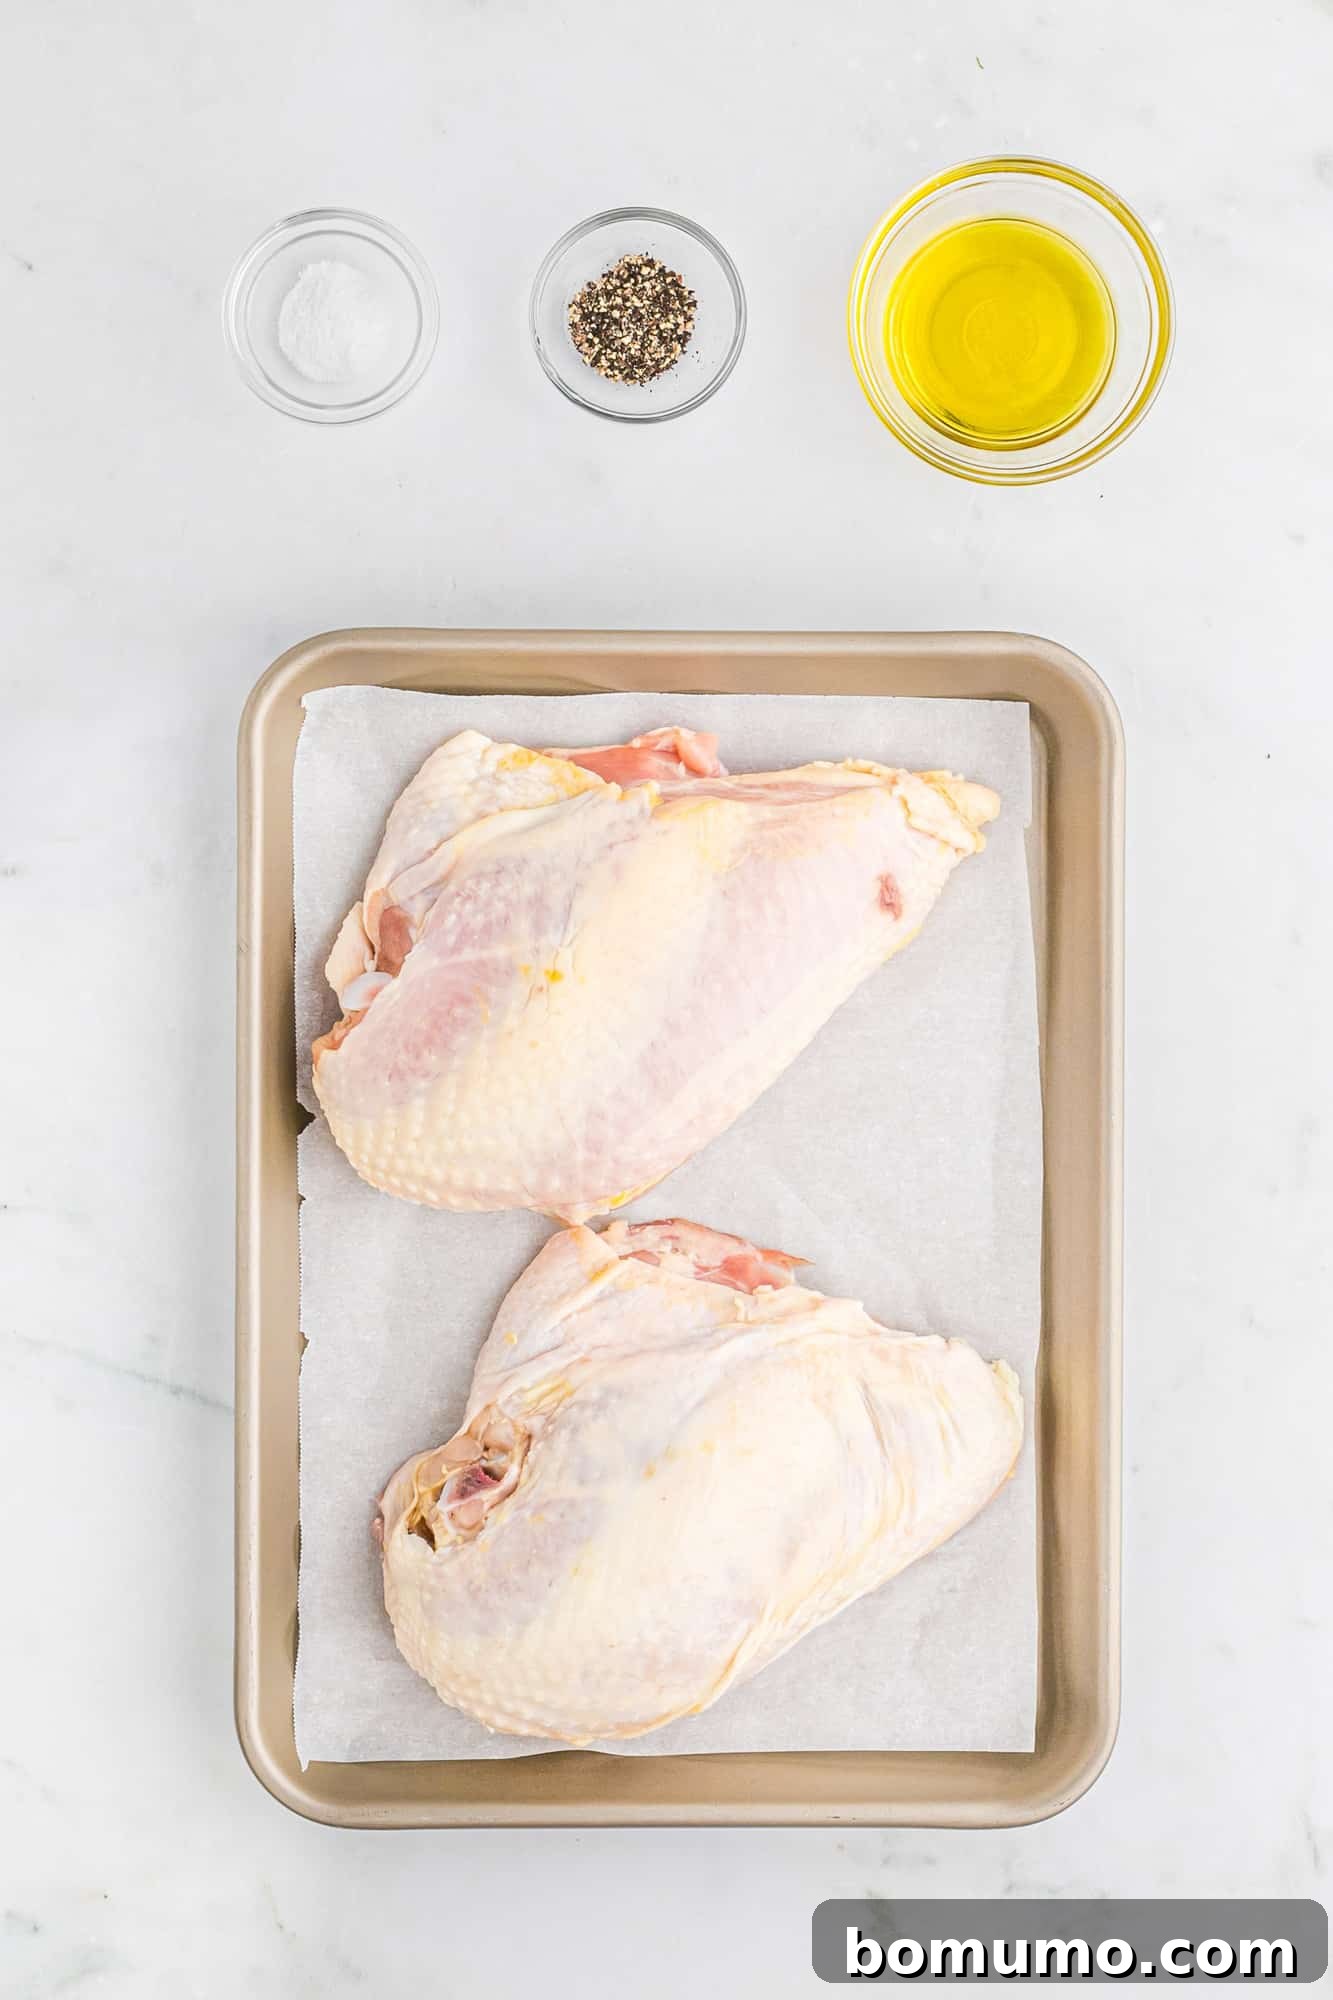
Simplicity is key to this recipe’s success. With just a few staple ingredients, you can create a remarkably flavorful and versatile dish. Here’s a closer look at what you’ll need:
- Split Chicken Breasts: When selecting your chicken, look for “split” breasts, which are essentially whole chicken breasts cut lengthwise along the breastbone, resulting in two halves. These are typically sold bone-in and skin-on. For even cooking, try to choose breasts that are roughly similar in size, ideally around 1 pound each. If you’re feeling adventurous and prefer roasting a whole bird, my spatchcock chicken recipe offers another fantastic option.
- Olive Oil: You’ll only need a small amount of olive oil to lightly coat the chicken breasts. This creates a beautiful golden-brown crust and helps the skin crisp up deliciously while preventing the meat from drying out during roasting. The fat in the oil also aids in heat transfer, ensuring even cooking.
- Salt & Pepper: The beauty of using just salt and pepper as primary seasonings lies in their versatility. This simple seasoning allows the natural flavor of the chicken to shine through and makes the roasted breasts adaptable to a multitude of cuisines, from robust Italian dishes to vibrant Mexican-inspired meals. If you plan to serve the chicken as a standalone main course and desire more complex flavors, feel free to enhance the seasoning. Consider trying my all-purpose seasoning blend, which adds a fantastic punch of flavor to nearly anything. Alternatively, a teaspoon of fragrant Herbes de Provence can instantly elevate your chicken with a sophisticated, aromatic touch.
Mastering the Art: How To Roast Bone-In Chicken Breasts to Perfection
Roasting bone-in chicken breasts is an incredibly straightforward process that yields impressive results. Follow these simple steps for perfectly tender, juicy chicken every time. (For the complete recipe with exact measurements, please scroll down to the recipe card.)
Step 1: Prepare Your Chicken
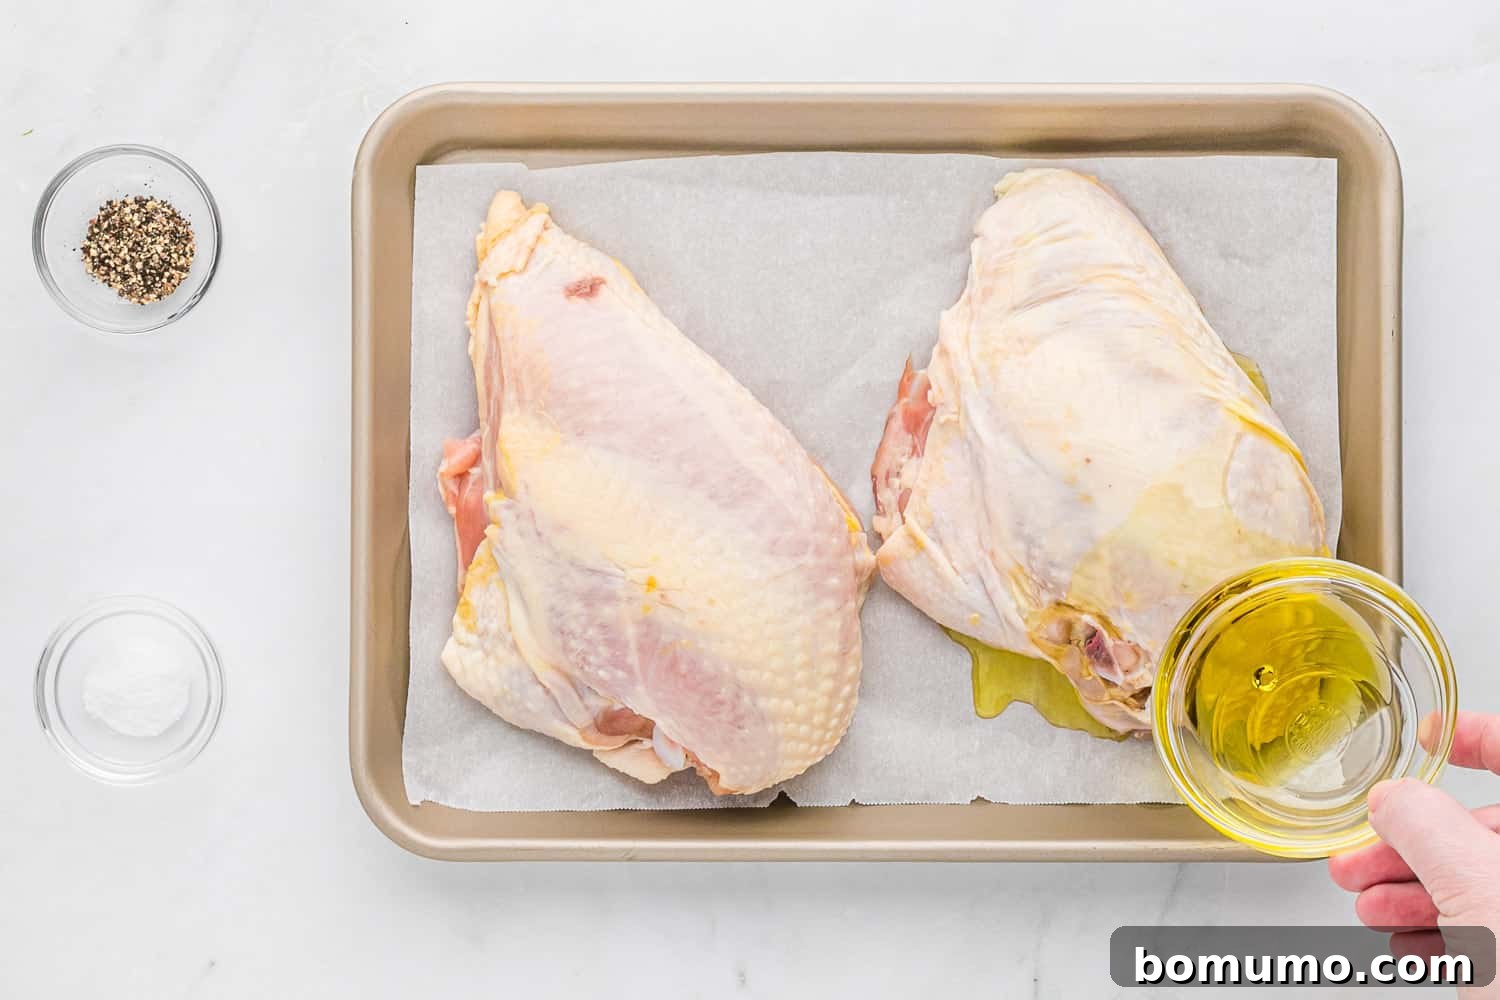
Begin by inspecting your chicken breasts. While some fat is desirable for flavor and moisture, excessive large chunks can be trimmed off using sharp kitchen shears for a cleaner finish. Next, and this is a crucial step for crispy skin, thoroughly pat the chicken dry with paper towels. Removing surface moisture helps the skin achieve that coveted golden-brown crispness. To ensure an easy cleanup, consider lining your baking pan with aluminum foil or parchment paper – it’s not strictly essential for cooking, but it will certainly make dishwashing much simpler. Place the prepared chicken breasts onto the lined pan, then generously drizzle them with olive oil. Use your hands to rub the oil evenly over the entire surface of each chicken breast, ensuring they are well-coated.
Step 2: Season Generously
Once oiled, sprinkle a generous amount of freshly ground black pepper and kosher salt evenly over the chicken breasts. This simple seasoning foundation allows you the flexibility to adapt the chicken to various dishes later. Remember, you can always add more complex seasonings as desired, but this basic salt and pepper rub ensures delicious flavor regardless of how you plan to use it.
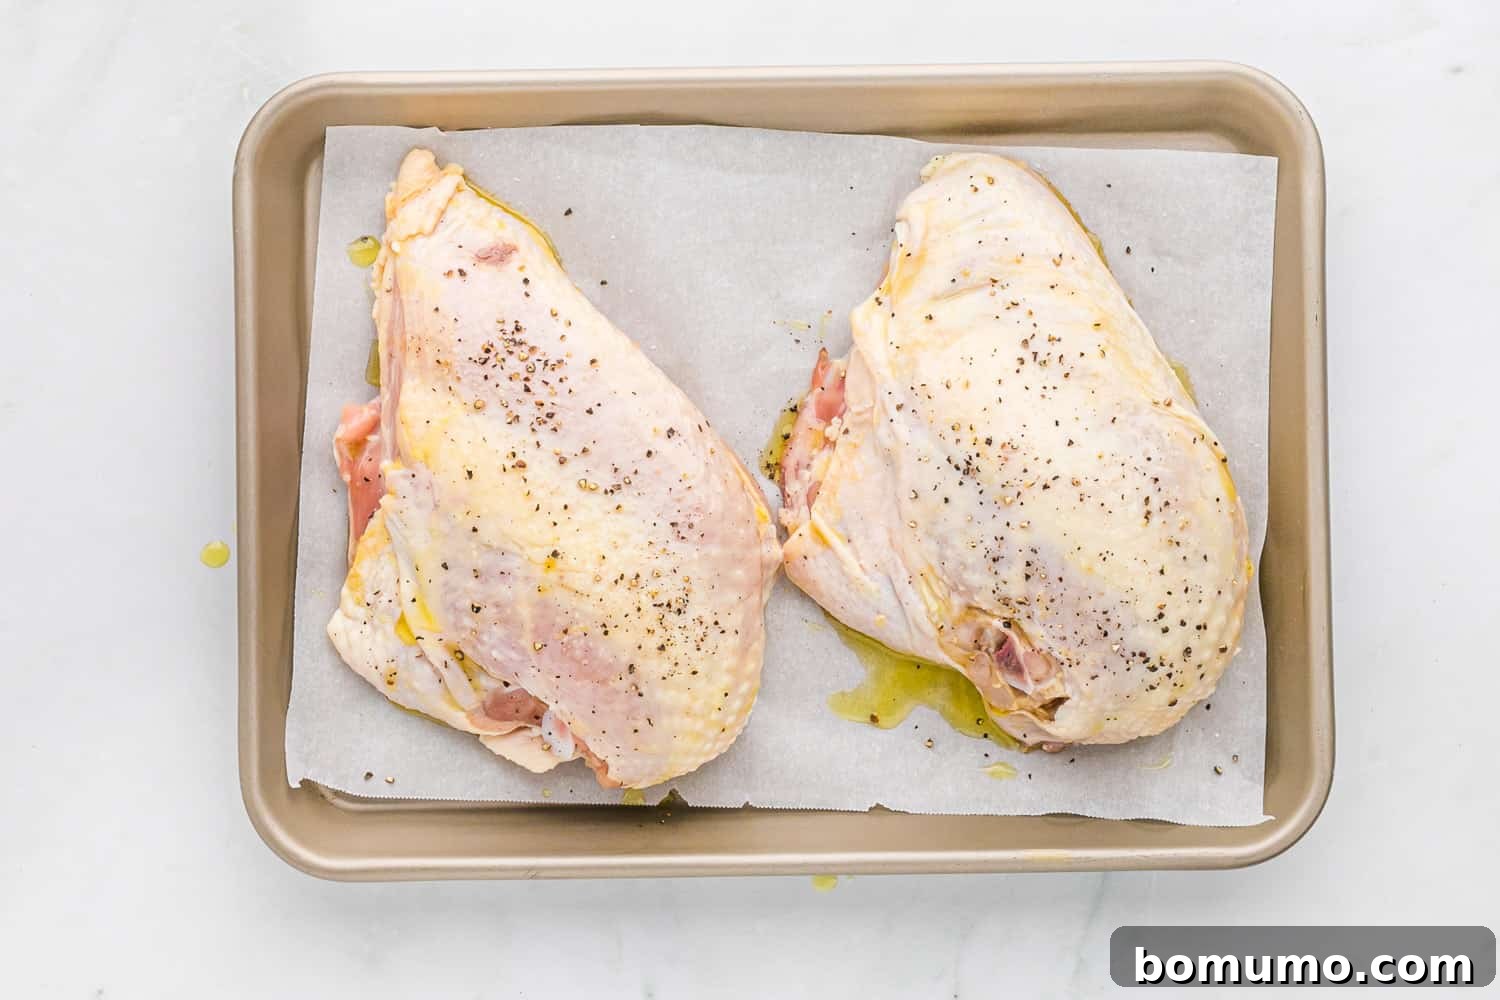
Step 3: Bake Until Perfectly Cooked
Transfer the prepared baking pan to a preheated oven. Roast the chicken until it is thoroughly cooked through and reaches the ideal internal temperature. It’s important to remember that bone-in chicken breasts typically require a slightly longer cooking time compared to their boneless counterparts due to the bone’s insulating properties. Always rely on a reliable instant-read thermometer to check for doneness, inserting it into the thickest part of the breast, avoiding the bone. This is the most accurate way to ensure your chicken is both safe to eat and perfectly juicy.
Pro Cooking Tip: The Secret to Juicy Chicken
Are you concerned about your roasted chicken breasts turning out dry? It’s a common fear, but when roasted correctly, bone-in chicken breasts with the skin on are inherently more flavorful and significantly juicier than boneless varieties. The key to preventing dry chicken is not relying solely on visual cues, which can be misleading. Instead, focus on the internal temperature. An instant-read thermometer is your best friend in the kitchen, indicating precisely when the chicken has reached its perfect doneness. Aim for an internal temperature of 165ºF (74ºC) for safe and deliciously moist results.
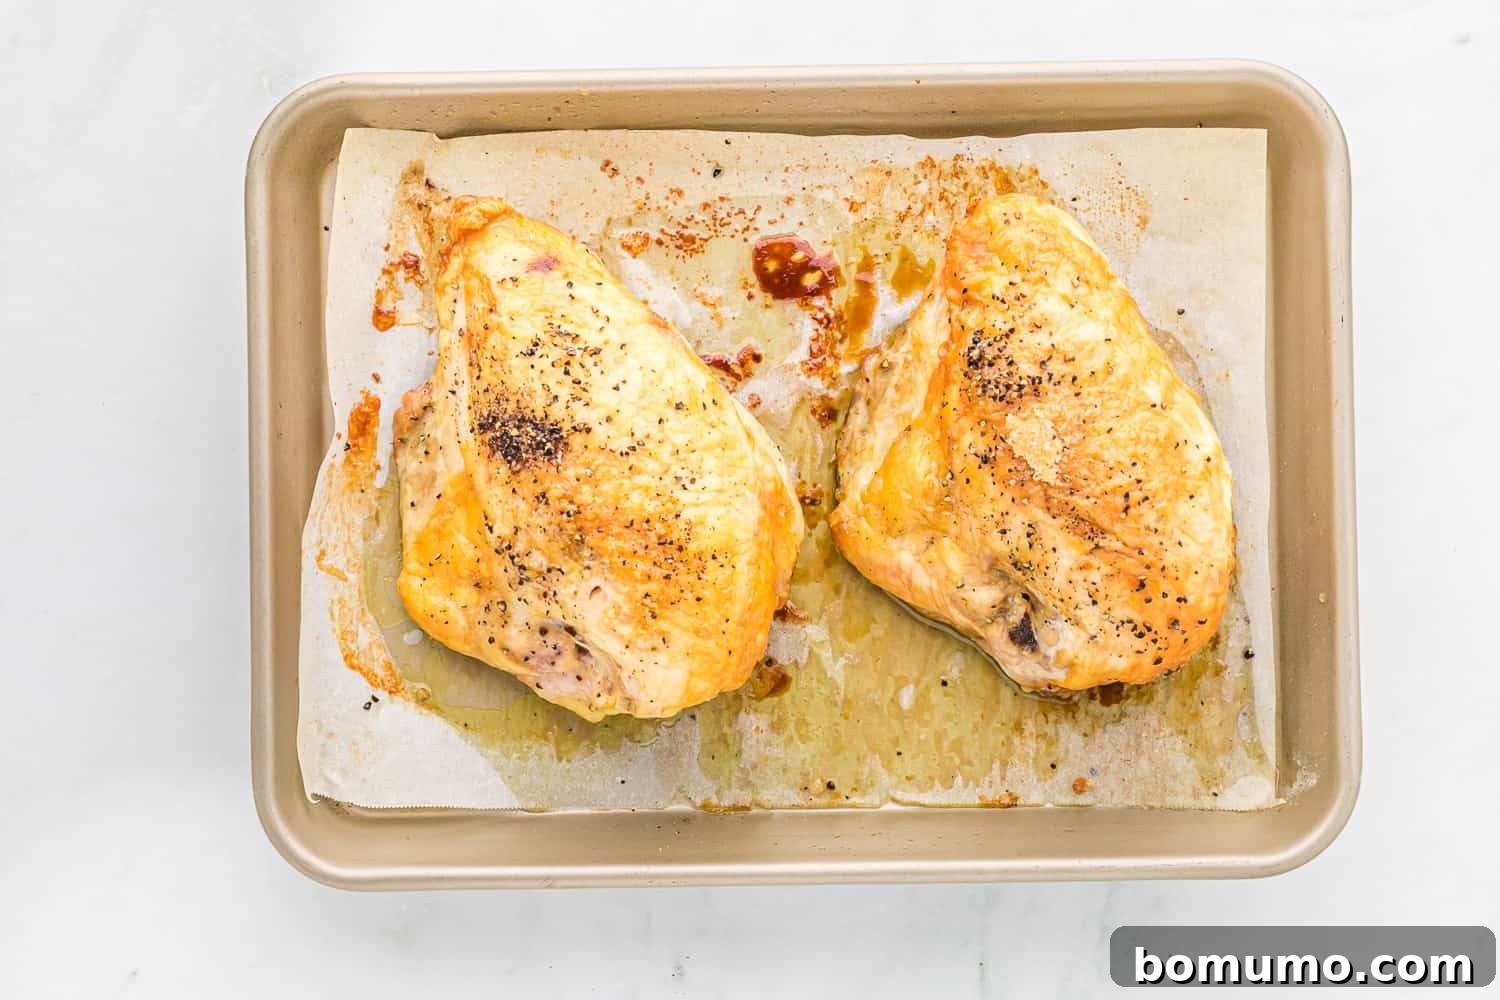
Step 4: Rest and Serve
Once the chicken reaches 165ºF, remove it from the oven. It’s crucial to let the chicken rest for 10-15 minutes before carving or shredding. This resting period allows the juices to redistribute throughout the meat, ensuring every bite is incredibly tender and moist. You can serve the roasted chicken breasts immediately as a delicious main course, or allow them to cool completely before shredding or dicing for later use in other recipes.
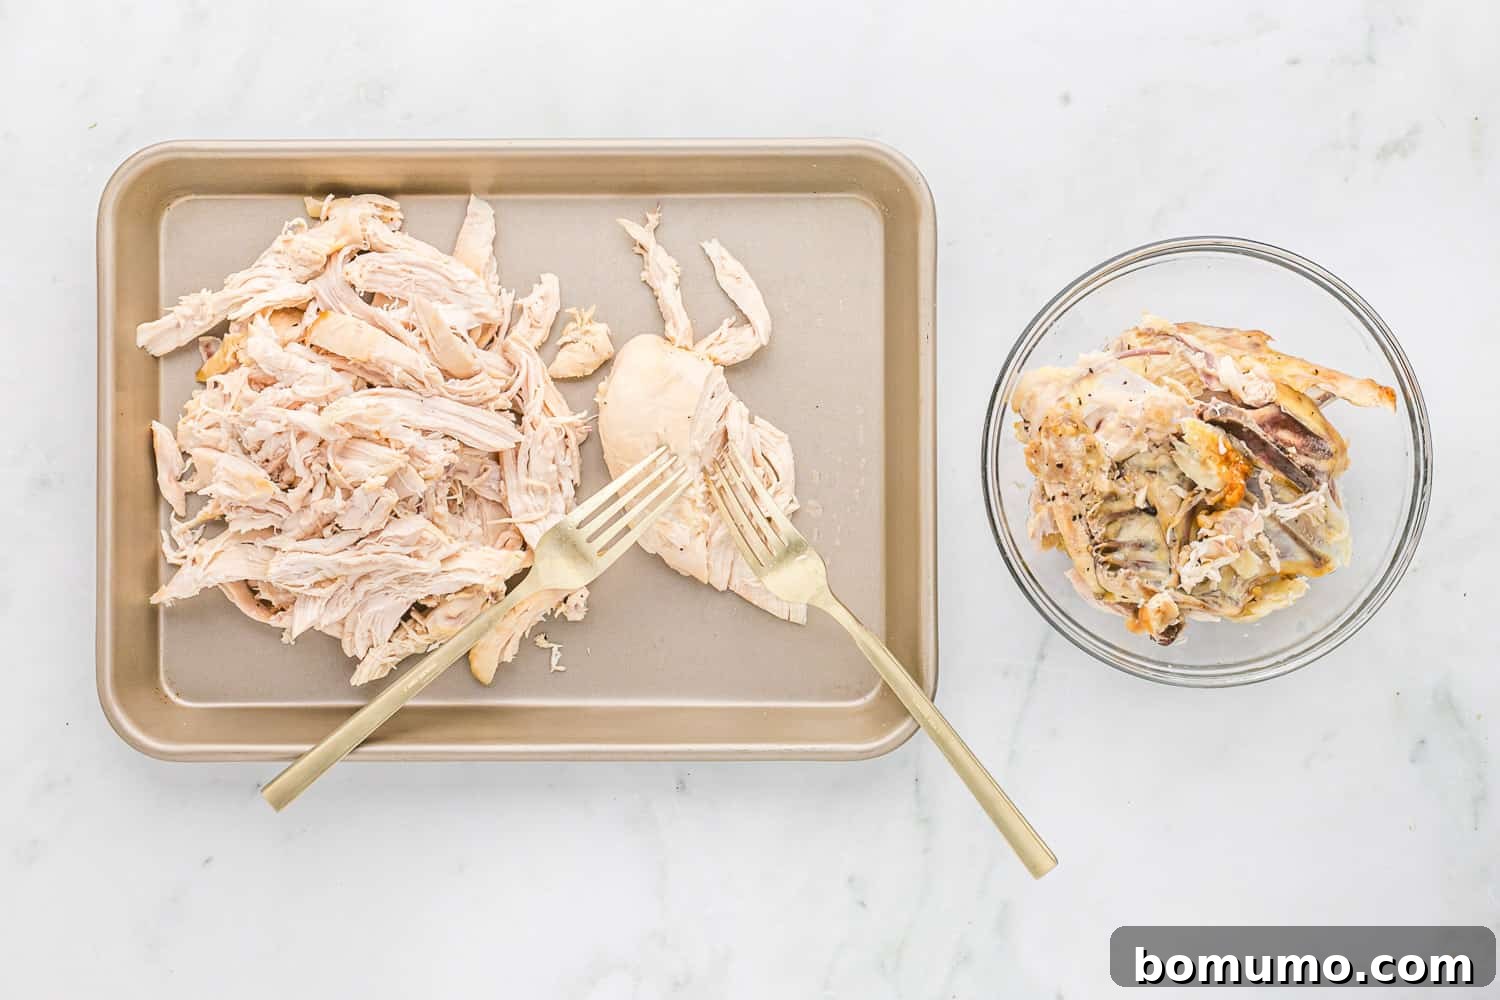
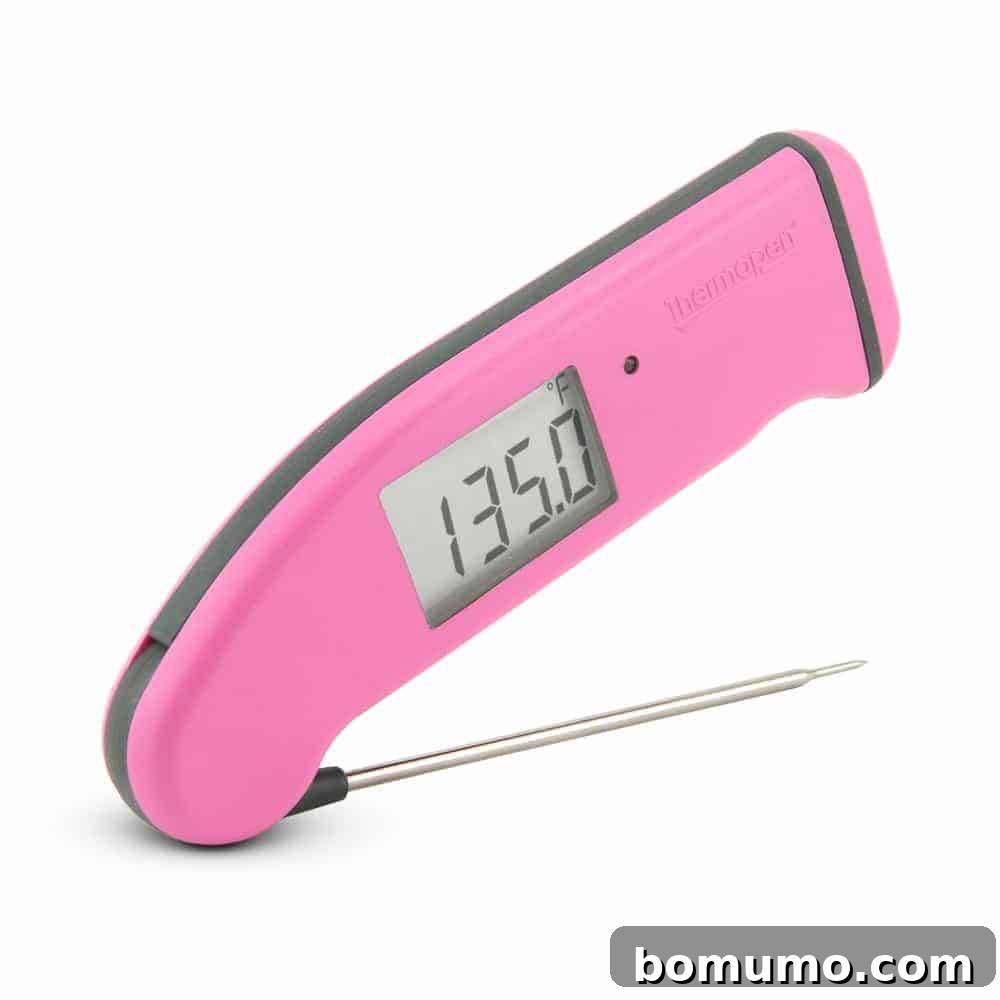
Invest in an Instant-Read Meat Thermometer
A good quality instant-read thermometer is one of the most valuable tools you can have in your kitchen. I personally rely on my Thermapen for consistent, accurate temperature readings, which has undoubtedly saved many chicken breasts from becoming dry and overcooked. If you don’t yet own a reliable thermometer, I highly recommend investing in one. It’s a game-changer for ensuring perfectly cooked meats, poultry, and even baked goods, and you’ll find yourself using it nearly every day.
Delicious Recipe Variations to Explore
While this basic roasted bone-in chicken breast recipe is fantastic on its own, it also serves as a perfect canvas for countless flavor combinations and cooking adjustments. Don’t hesitate to customize it to your taste and cooking needs:
- Elevate the Seasoning: This recipe intentionally keeps the seasoning simple (salt and pepper) to maximize versatility. However, feel free to get creative! Before rubbing with oil, mix your chosen spices directly into the olive oil to create a flavorful paste. Experiment with different blends: a vibrant Cajun seasoning can add a delightful kick, while a fragrant southwest spice blend will transport your taste buds to a different region. Other excellent options include garlic powder, onion powder, paprika, dried herbs like thyme or rosemary, or even a touch of brown sugar for a sweet and savory crust.
- Adjust Baking Temperature: The ideal temperature for roasting bone-in chicken breasts is typically 400ºF (200ºC) as it promotes crispy skin and thorough cooking. However, life in the kitchen isn’t always linear. If you’re roasting the chicken alongside another dish that requires a different temperature, don’t worry! Chicken breasts are quite forgiving and can be successfully roasted anywhere from 350ºF (175ºC) to 425ºF (220ºC). Just remember that the cooking time will be affected: lower temperatures will require more time, and higher temperatures will reduce it. This is where your instant-read thermometer becomes indispensable, ensuring perfect doneness regardless of the oven setting.
- Explore Dark Meat Alternatives: If your preference leans towards the rich, tender flavor of dark meat, I highly recommend trying my herb roasted chicken drumsticks & potatoes. They consistently deliver fantastic results and are incredibly easy to prepare. For those who enjoy turkey, my herb roasted turkey breast offers a similar comforting experience.
- Air Fryer Convenience: For an even quicker cooking method that still delivers crispy exteriors and juicy interiors, consider using your air fryer. Try boneless skinless air fryer chicken breasts for a lean option, or if you prefer dark meat, explore air fryer chicken drumsticks or air fryer chicken thighs. The air fryer excels at creating delicious textures with minimal effort.
- Instant Pot Efficiency: When time is of the essence and you need perfectly cooked chicken for shredding or dicing, the Instant Pot is an invaluable tool. My Instant Pot shredded chicken is a staple recipe, yielding tender meat ready for a variety of uses. For dark meat lovers, Instant Pot chicken thighs (whether bone-in, skin-on or boneless, skinless) are another excellent choice for quick, flavorful results.
Creative Ways to Utilize Your Roasted Chicken Breasts
The beauty of perfectly roasted chicken breasts lies in their incredible versatility. Once cooked, shredded, or diced, they become a fantastic base for a multitude of delicious meals. Here are just a few ideas to get you started, making meal prep a breeze and ensuring no delicious chicken goes to waste:
- Chicken à la King: A creamy, comforting classic that sings with pre-cooked chicken.
- Avocado Chicken Salad: Light, creamy, and packed with healthy fats – a refreshing twist on traditional chicken salad.
- Southwestern BBQ Chicken Salad: My absolute favorite chopped salad, vibrant with flavors and textures.
- Healthy Curried Chicken Salad: Incredibly easy to prepare and bursting with aromatic spices.
- Healthy Chicken Salad with walnuts and grapes: A timeless combination offering crunch and sweetness.
- Southwest Chicken Salad: Add a touch of heat and Tex-Mex flair to your chicken salad.
- Creamy Chicken Rice Soup: A soul-warming soup that comes together quickly with pre-cooked chicken.
- Chicken Fajita Stuffed Spaghetti Squash: A healthy and flavorful alternative to traditional fajitas, easily assembled.
- Cauliflower Nachos: Load up these low-carb nachos with shredded chicken for a satisfying snack or meal.
- BBQ Chicken Pizza: A perennial favorite that’s simple to make at home with ready-to-go chicken.
- For a super easy weeknight fix, stir cooked chicken into a can of your favorite vegetable soup or a box of macaroni and cheese. Of course, it’s even better when added to homemade vegetable soup or my easiest-ever baked macaroni and cheese. It doesn’t get much simpler or more delicious than that for a quick, hearty boost!
Smart Make-Ahead Strategies
Smart Make-Ahead Strategies
Once you try this method for cooking bone-in chicken breasts, it’s destined to become a regular fixture in your meal prep routine. To prepare chicken for future use, first, let the cooked breasts cool down until they are comfortable to handle. Carefully remove the skin and then debone the chicken. At this stage, you have options: leave the meat in larger pieces, cut it into small chunks, or shred it finely, depending on how you plan to use it. Store the prepared chicken in airtight, labeled freezer-safe containers. This ensures maximum freshness and convenience, making your weeknight meals considerably easier.
Storage & Reheating Best Practices
Storage & Reheating Best Practices
Proper storage and reheating are crucial for maintaining the quality and safety of your cooked chicken. Follow these guidelines to enjoy your roasted bone-in chicken breasts long after they’re made:
Refrigerate/Freeze: Cooked chicken is best stored in an airtight container. It will remain fresh for up to four days in the refrigerator. For longer storage, you can freeze the chicken for up to four months. When freezing, ensure it’s in a freezer-safe bag or container, pressing out as much air as possible to prevent freezer burn. If frozen, always thaw the chicken overnight in the refrigerator before use to ensure even thawing.
Reheat: To reheat individual portions, gently warm them in the microwave until heated through. Alternatively, incorporate the chicken directly into one of the many delicious recipes listed above, where it will reheat as part of the new dish. Avoid over-reheating, as this can cause the chicken to dry out.
Discover Our Free Meal Plans
Are you looking for a structured, delicious weekly meal plan that thoughtfully incorporates recipes like this one? Explore my curated options, specifically Meal Plan #8 or Meal Plan #37. Each plan provides wholesome recipes for every weekday, complete with a categorized grocery list to streamline your shopping. Let me take the stress out of planning your meals this week! We consistently add new and exciting meal plans weekly, so there’s always something fresh to discover.
Explore More Delicious Chicken Recipes
One-Pan Chicken Fricassee Recipe
Healthier Baked Chicken Cordon Bleu
Super Easy Baked Honey Mustard Chicken
Authentic Bourbon Chicken Recipe
Effortlessly Roasted Bone-In Chicken Breasts
Pin
Ingredients
- 2 large split chicken breasts, bone-in and skin-on, about 1 pound each
- 2 teaspoons extra virgin olive oil
- ½ teaspoon kosher salt
- ¼ teaspoon coarse ground black pepper
Instructions
-
Preheat your oven to 400℉ (200ºC). Refer to the notes section for adjustments if you’re using a different oven temperature.
-
For easier cleanup, you may line a baking sheet with aluminum foil or parchment paper. Place the chicken breasts on the prepared pan. Drizzle them generously with olive oil and then rub the oil evenly over each breast. Sprinkle the salt and pepper uniformly across the chicken.2 large split chicken breasts, bone-in and skin-on, about 1 pound each, 2 teaspoons extra virgin olive oil, ½ teaspoon kosher salt, ¼ teaspoon coarse ground black pepper
-
Bake in the preheated oven for approximately 45 to 55 minutes, or until an instant-read thermometer inserted into the thickest part of the chicken (avoiding the bone) registers 165ºF (74ºC) and the juices run clear. The exact roasting time will vary depending on the size and thickness of your chicken breasts.
-
Once cooked, remove the chicken from the oven and let it rest on the baking sheet or a cutting board for 15 minutes before serving or carving. This allows the juices to redistribute, ensuring maximum tenderness and moisture.
-
For meal prep: If you plan to use the chicken in other recipes, let it cool sufficiently to handle. Remove the skin and debone the chicken, then shred or dice the meat as desired. Store it in the refrigerator or freezer for later use.
Notes
- Oven Temperature Flexibility: Don’t worry if you’re baking other items alongside your chicken. This recipe is adaptable! Chicken can be successfully roasted at temperatures ranging from 350℉ (175ºC) to 425℉ (220ºC). Just remember to adjust your cooking time accordingly – lower temperatures will require a longer cook, and higher temperatures will shorten it. Always use an instant-read thermometer to confirm doneness at 165ºF (74ºC).
- Storage Guidelines: Cooked chicken, when properly stored in an airtight container, will keep fresh in the refrigerator for up to four days. For longer preservation, it can be frozen for up to four months. Ensure it’s in a freezer-safe container or bag. If frozen, remember to thaw it overnight in the refrigerator before using.
- Easily Double or Triple: This recipe scales beautifully! Feel free to cook a larger batch by doubling or tripling the ingredients. Simply ensure each chicken breast receives a light rub of olive oil and a sprinkle of salt and pepper. If the baking pan becomes crowded, you might need to slightly increase the baking time to ensure even cooking.
Video
Nutrition Information
Nutrition information is automatically calculated and should be used as an approximation only. Actual values may vary.