
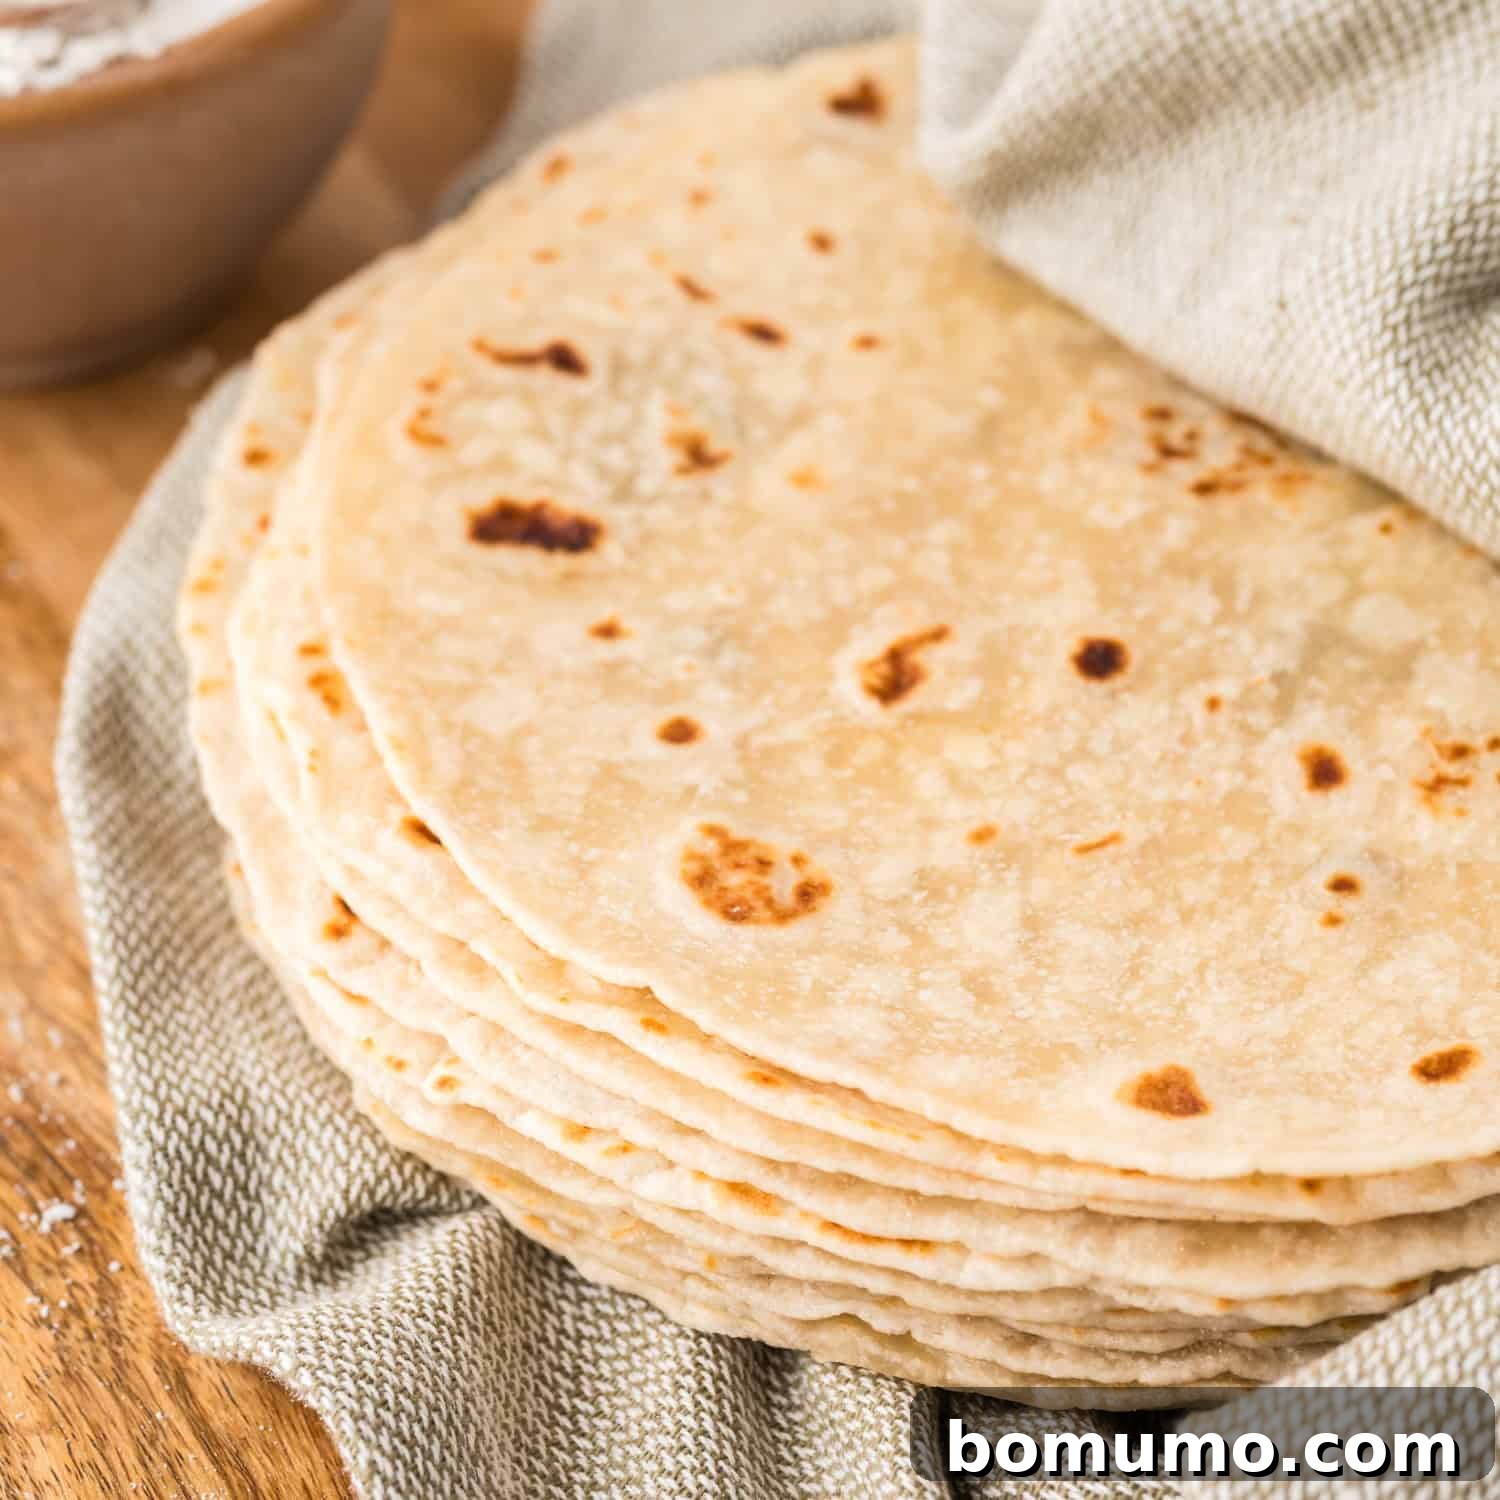
Recipe Overview: Homemade Flour Tortillas
Why you’ll love it: Experience the transformative power of homemade flour tortillas! They elevate any Tex-Mex meal with their unparalleled freshness, soft texture, and deeply satisfying flavor. This meticulously tested recipe guarantees perfect, pliable tortillas every time, making them a game-changer for your culinary adventures.
How long it takes: 30 minutes active preparation, plus a crucial 1 hour for dough resting.
Equipment you’ll need: A spacious mixing bowl, a rolling pin, and a sturdy pan or griddle (cast iron recommended).
Servings: This recipe yields 12 delicious tortillas, serving approximately 6 people.
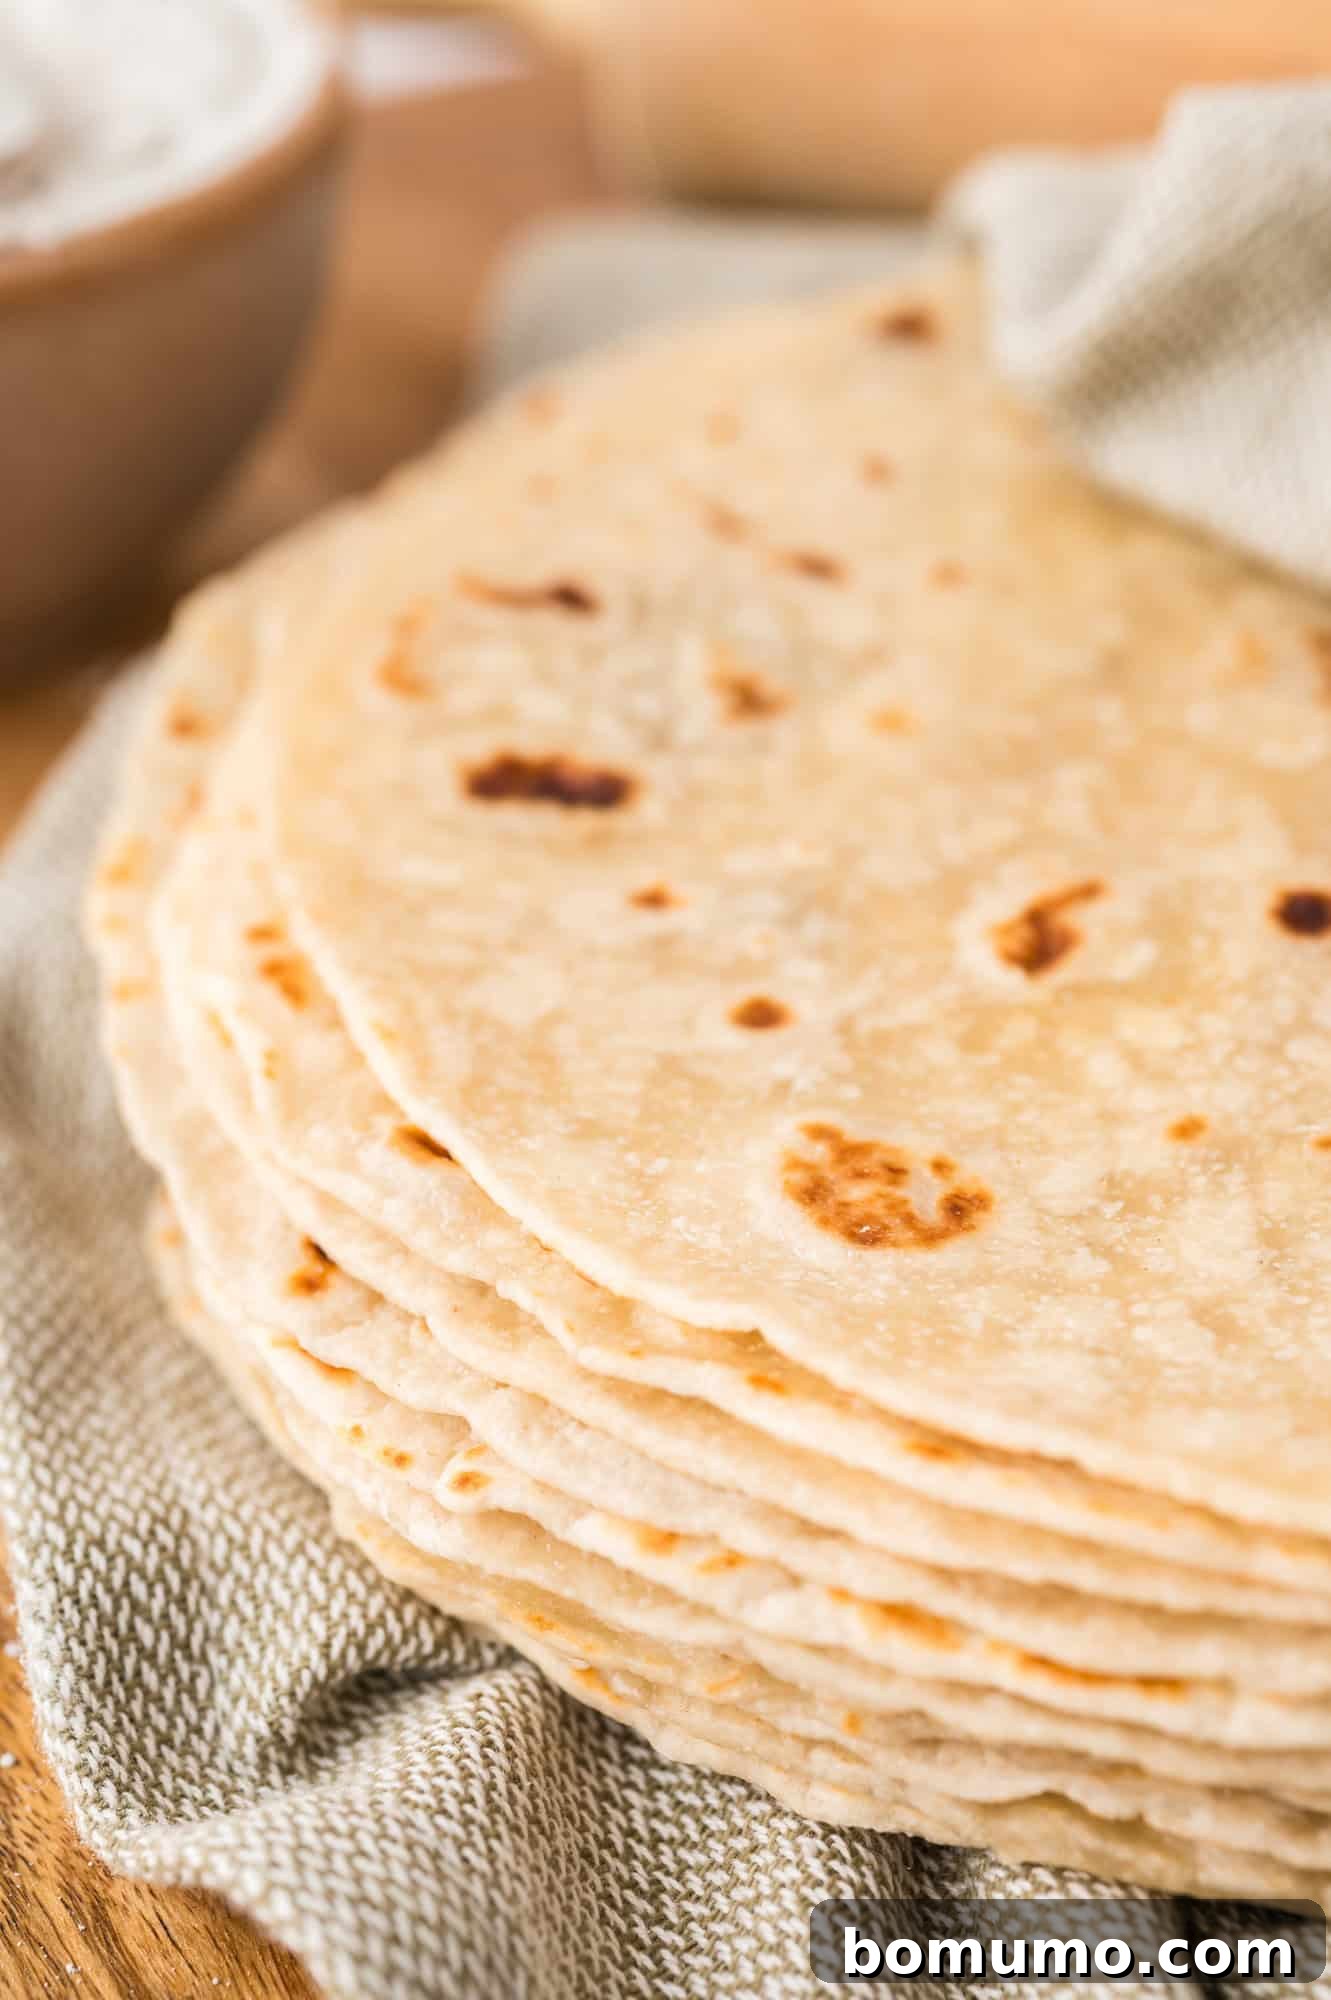
Pin this recipe now to save it for later!
Pin It
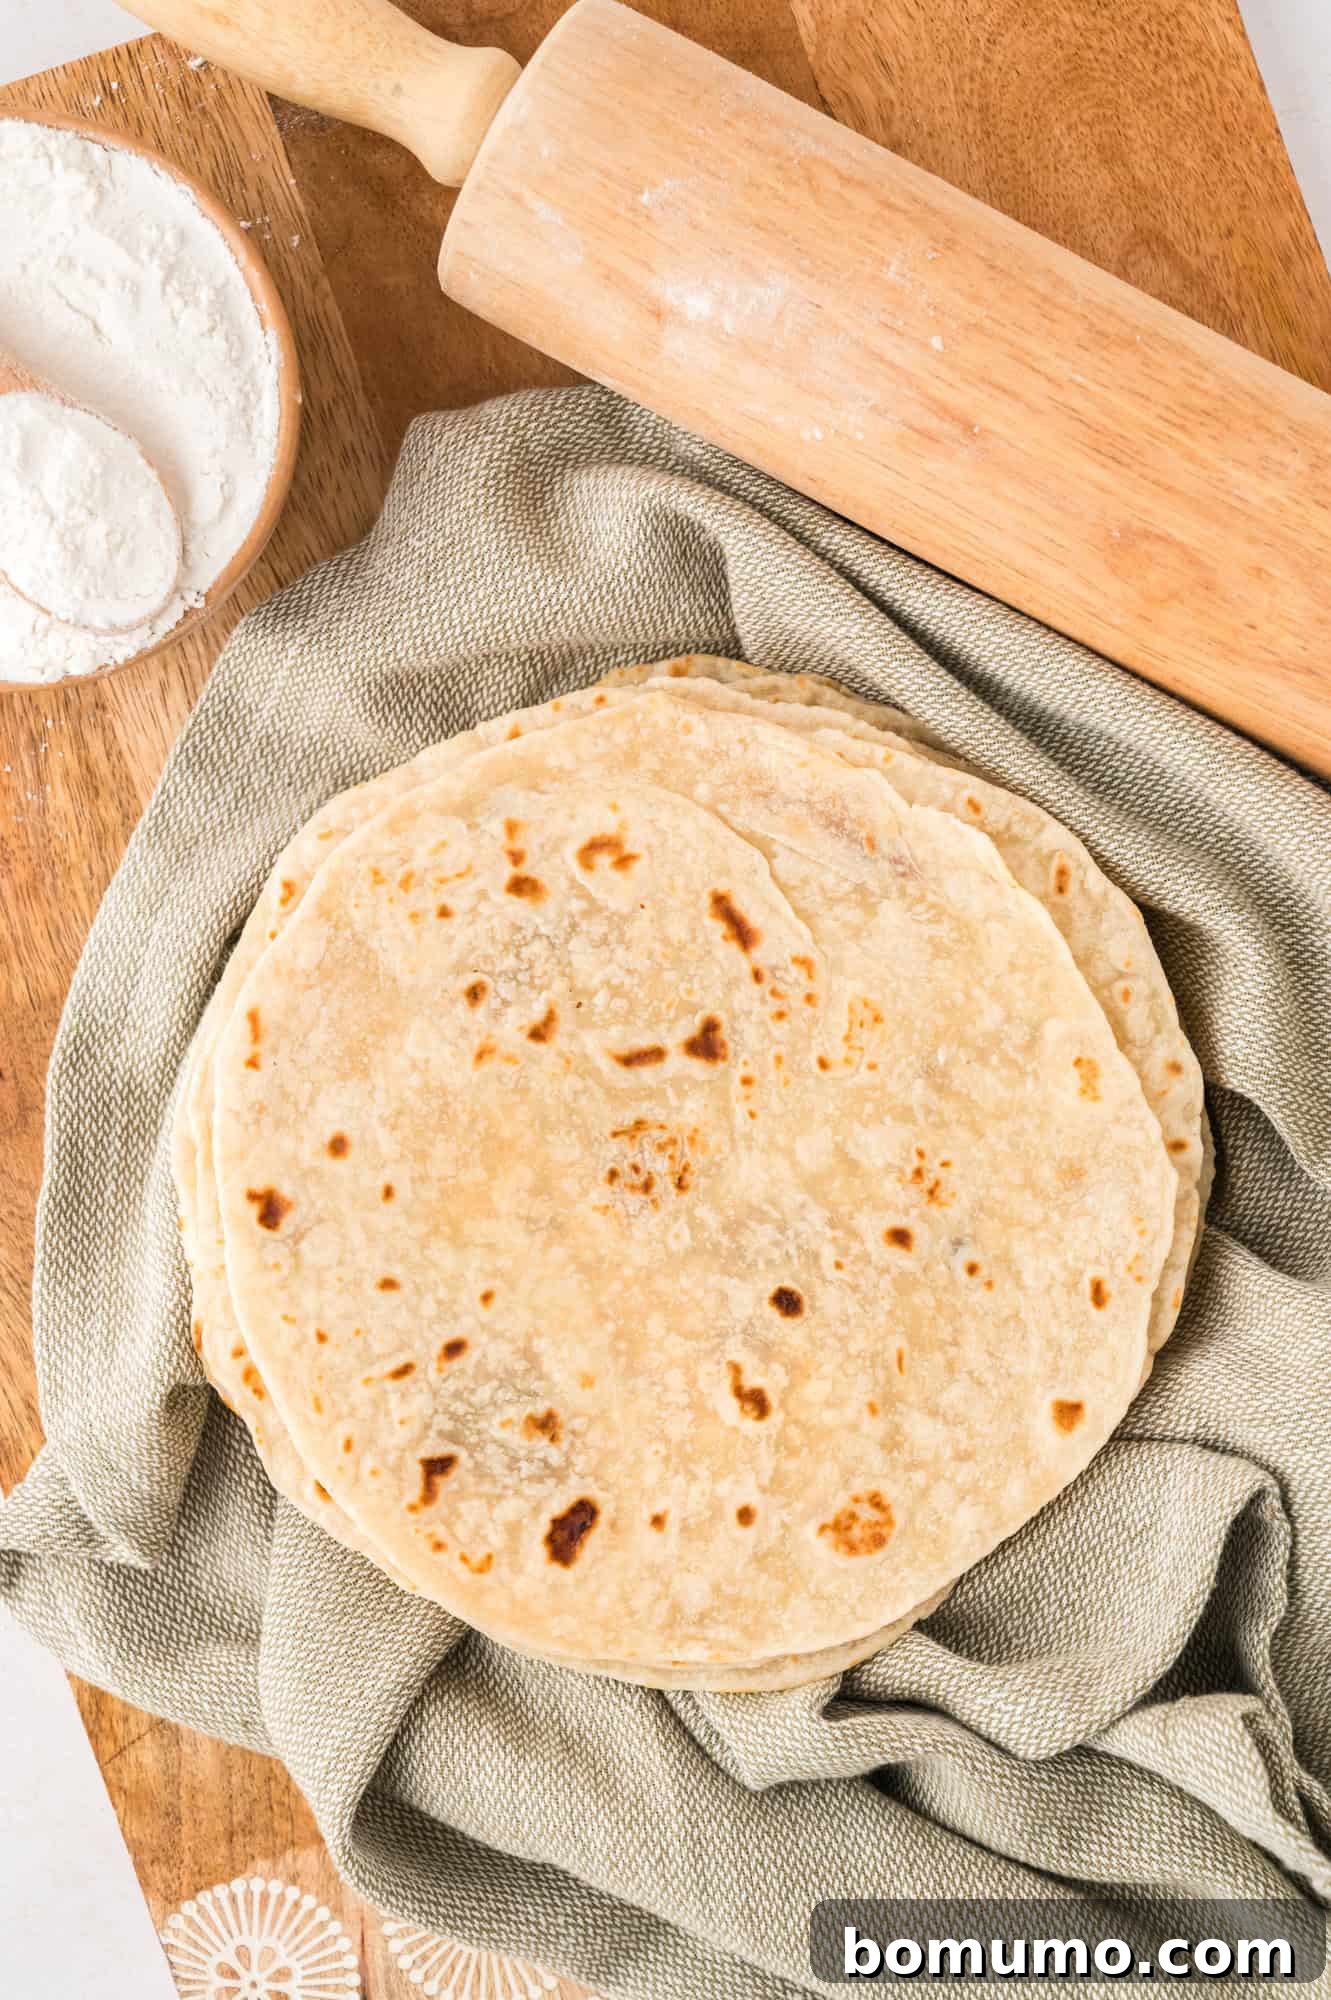
Are you ready to elevate your culinary game and impress your taste buds? Homemade flour tortillas are not just easier to make than you might imagine, but they are incredibly rewarding. Forget the dry, bland store-bought versions; these tortillas emerge from the pan warm, irresistibly tender, and beautifully flecked with toasted, charred spots. They are so flavorful on their own that you might be tempted to enjoy them plain, right off the griddle! These homemade delights aren’t merely a vessel for your taco fillings; they are a fundamental component, bringing their own distinct deliciousness to every meal.
Many home cooks shy away from making tortillas from scratch, believing special equipment like a tortilla press is essential. Rest assured, that’s a myth! While a press can create perfectly uniform circles, it’s absolutely not required. A simple rolling pin is all you need to achieve wonderfully rustic, thin, and perfectly delicious tortillas. Embrace the charming irregularities of hand-rolled tortillas – they add to their homemade appeal.
One of the greatest advantages of making your own flour tortillas is the ability to prepare a large batch and freeze them for future use. Imagine the convenience of having fresh, flavorful tortillas at your fingertips for your next Taco Tuesday or weeknight dinner. Your future self will undoubtedly thank you for this simple yet impactful meal prep!
Why Opt for Homemade Flour Tortillas?
While store-bought tortillas offer convenience, crafting your own brings a host of benefits that truly set them apart. Here’s why mastering this simple recipe is worth every moment:
Unbeatable Freshness and Superior Taste: There’s a world of difference between fresh, warm tortillas and their pre-packaged counterparts. Homemade tortillas boast an incredibly soft, pliable texture and a rich, authentic flavor that store-bought versions simply can’t match. Each bite offers a delightful warmth and a subtle, satisfying char that enhances any filling. Once you experience the difference, you’ll find it hard to go back. If you’re familiar with the taste of fresh, uncooked tortillas from brands like Tortilla Land, you’ll find these homemade versions share that delightful, fresh-baked quality.
Remarkably Budget-Friendly: Glance into your pantry, and chances are you already have the few basic ingredients required for these flour tortillas: all-purpose flour, shortening, salt, and water. By making them yourself, you bypass grocery store expenses, saving money while creating a superior product. This recipe is perfect for those moments when a taco craving strikes, but you’re out of tortillas – simply whip up a batch!
A Fun and Engaging Family Activity: Making tortillas from scratch can be a wonderfully satisfying culinary project. The process of kneading the dough and rolling out each individual tortilla is not only therapeutic but also an excellent way to get the entire family involved in the kitchen. Kids especially love the hands-on fun of rolling dough, and with minimal potential for mess, it’s a win-win for everyone.
Pure Ingredients, No Mystery Additives: When you make homemade flour tortillas, you have complete control over what goes into your food. This recipe uses only simple, natural ingredients, free from the preservatives and additives often found in commercial products. For comparison, consider the lengthy and often complex ingredient list of many name-brand tortillas: Enriched Bleached Wheat Flour, Water, Interesterified Soybean Oil, Sodium Aluminum Phosphate, Potassium Bicarbonate, Sodium Bicarbonate, Corn Starch, Calcium Sulfate, Ammonium Glutamate, Enzymes, Salt, Mono-and Diglycerides, Hydrogenated Cottonseed Oil, Carboxymethylcellulose, Potassium Sorbate, Calcium Propionate, Fumaric Acid, Sodium Metabisulfite. With homemade, you get pure, wholesome goodness every time.
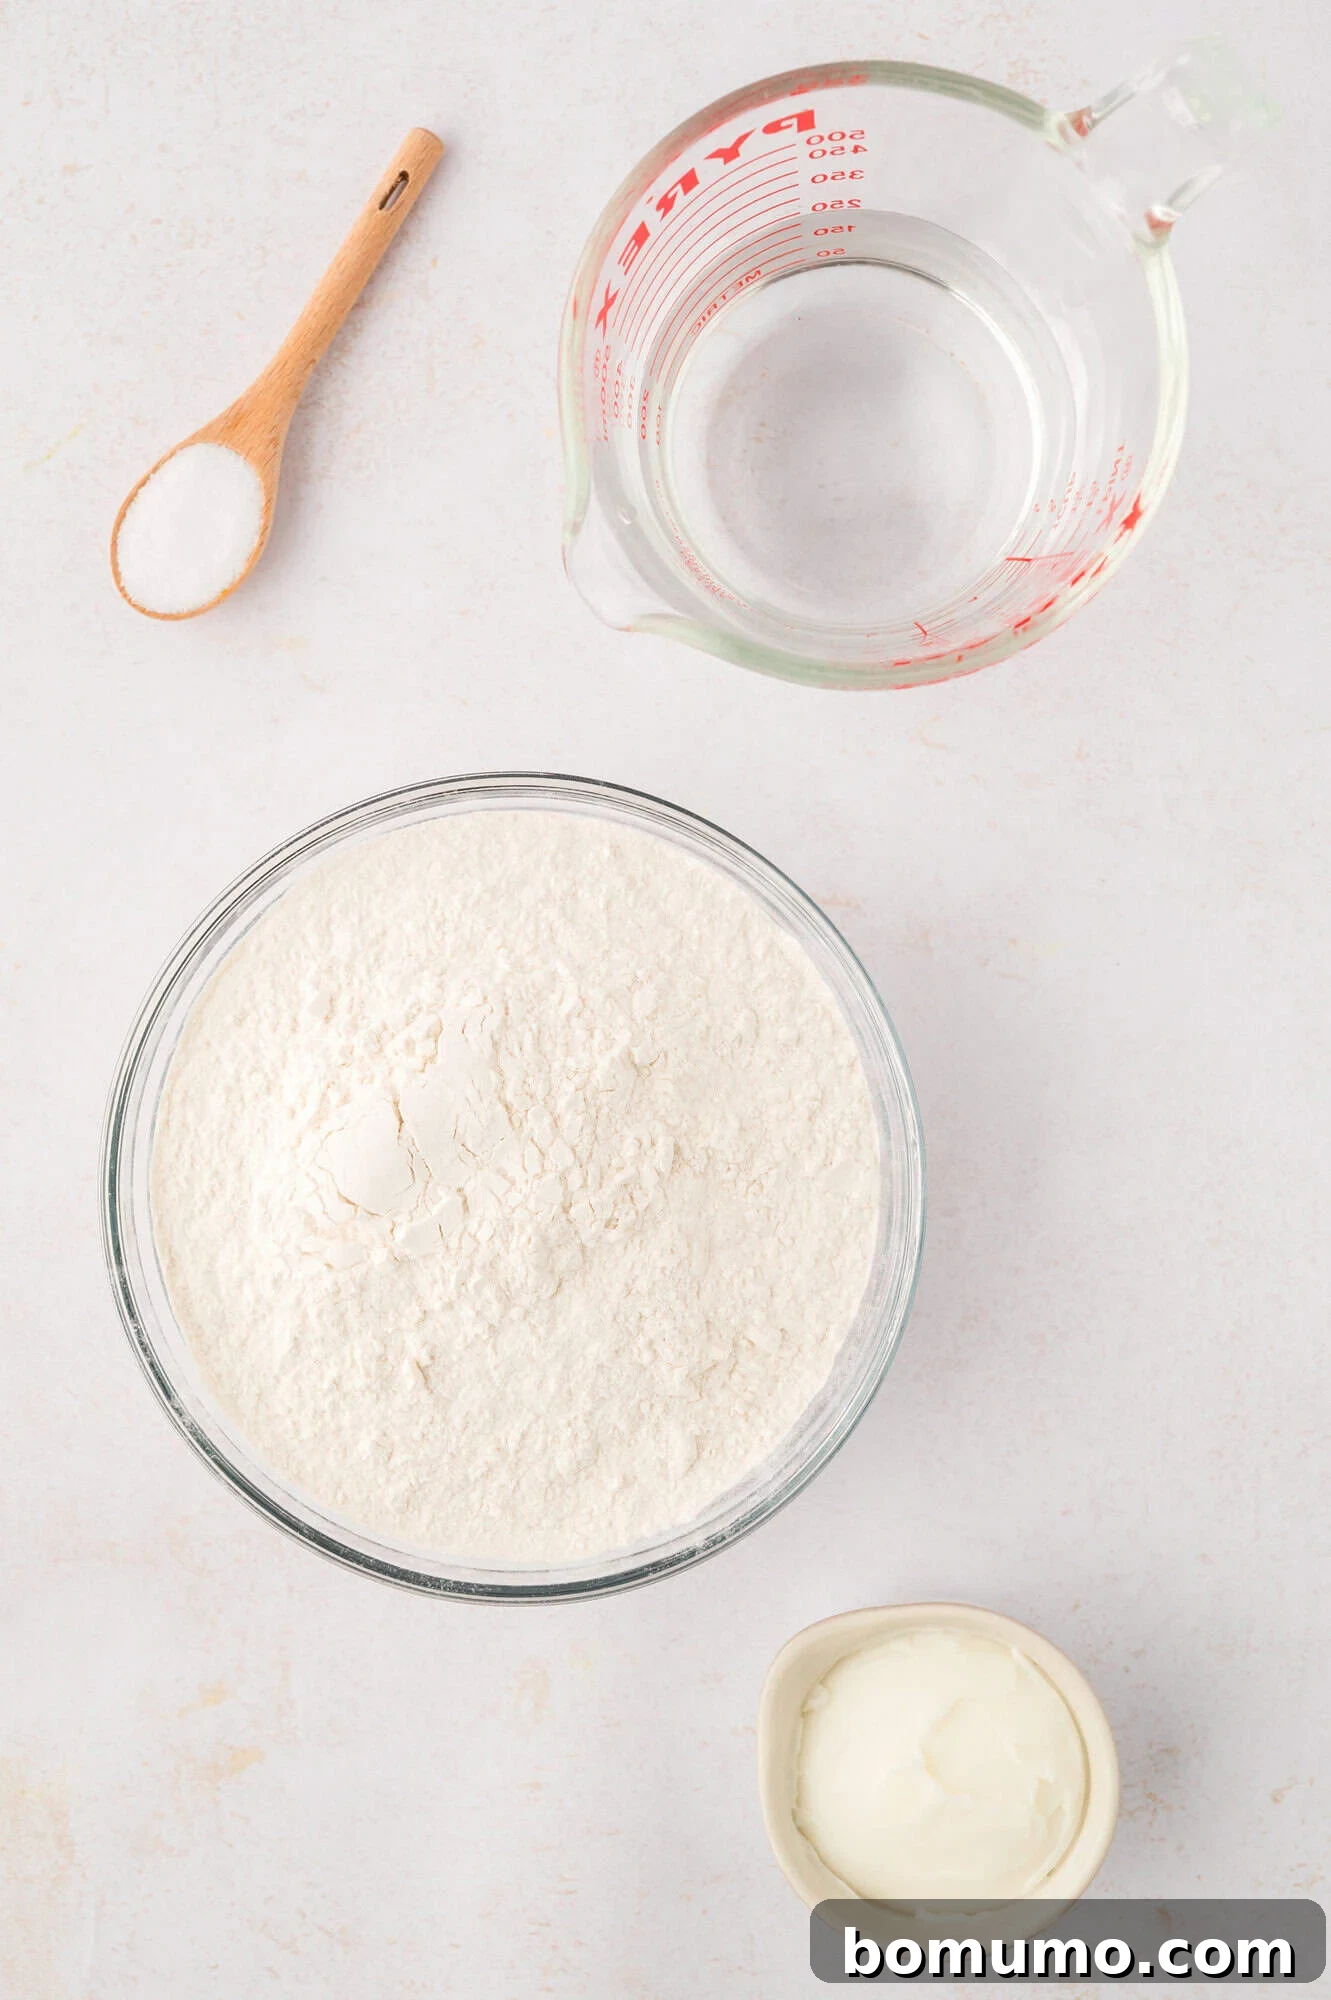
Key Ingredient Notes for Perfect Tortillas
Understanding the role of each ingredient is crucial for achieving the ideal texture and flavor in your homemade flour tortillas:
- All-purpose flour: This common pantry staple forms the foundation of our tortillas. Its balanced protein content provides the perfect structure and elasticity. For a slight nutritional boost and a nutty flavor, you can substitute up to half of the all-purpose flour with whole wheat flour. If you do, you might need to add a tiny bit more water, as whole wheat flour absorbs more liquid.
- Salt: While seemingly minor, salt is the sole seasoning in this recipe and plays a vital role in enhancing the overall flavor of your tortillas. Do not skip or skimp on it, as it balances the richness and brings out the best in the flour.
- Shortening: After extensive testing with various fats, shortening emerged as the clear winner for creating exceptionally soft, pliable, and tender tortillas. It disperses evenly throughout the dough, preventing toughness and ensuring that signature melt-in-your-mouth quality. While some recipes call for lard or oil, shortening consistently delivered the best results in terms of texture.
- Hot water: This is a critical component for achieving the perfect dough consistency when working with shortening. The hot water helps to thoroughly melt the shortening and hydrate the flour efficiently, leading to a smooth, workable dough that is easy to roll out and produces soft tortillas. Ensure the water is genuinely hot, not just lukewarm.
Step-by-Step Guide: Crafting Your Own Flour Tortillas
Making homemade flour tortillas is a straightforward process once you get the hang of it. Follow these steps for delicious results:
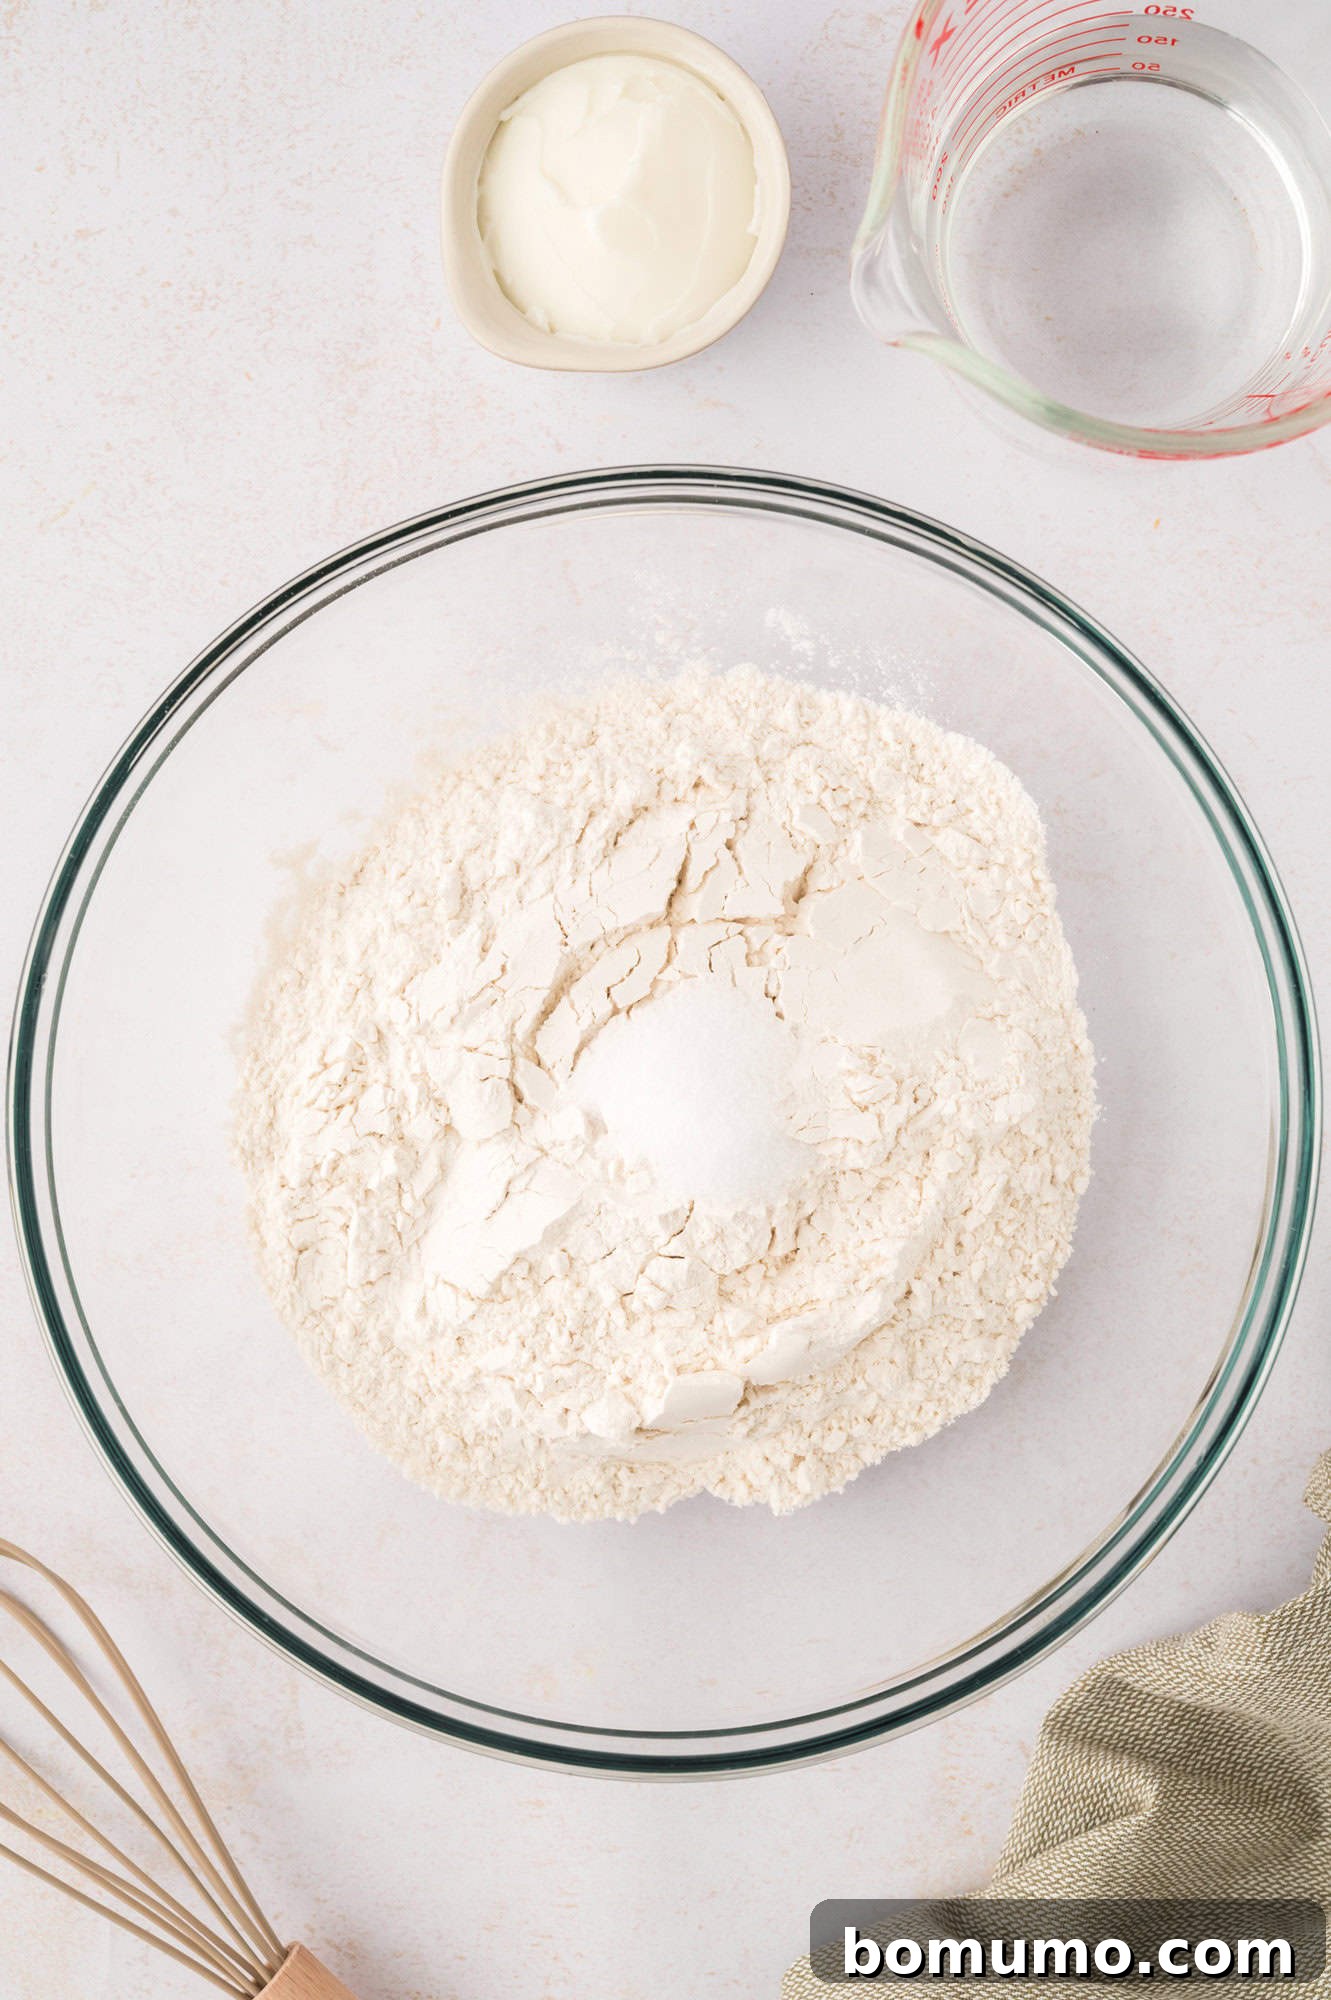
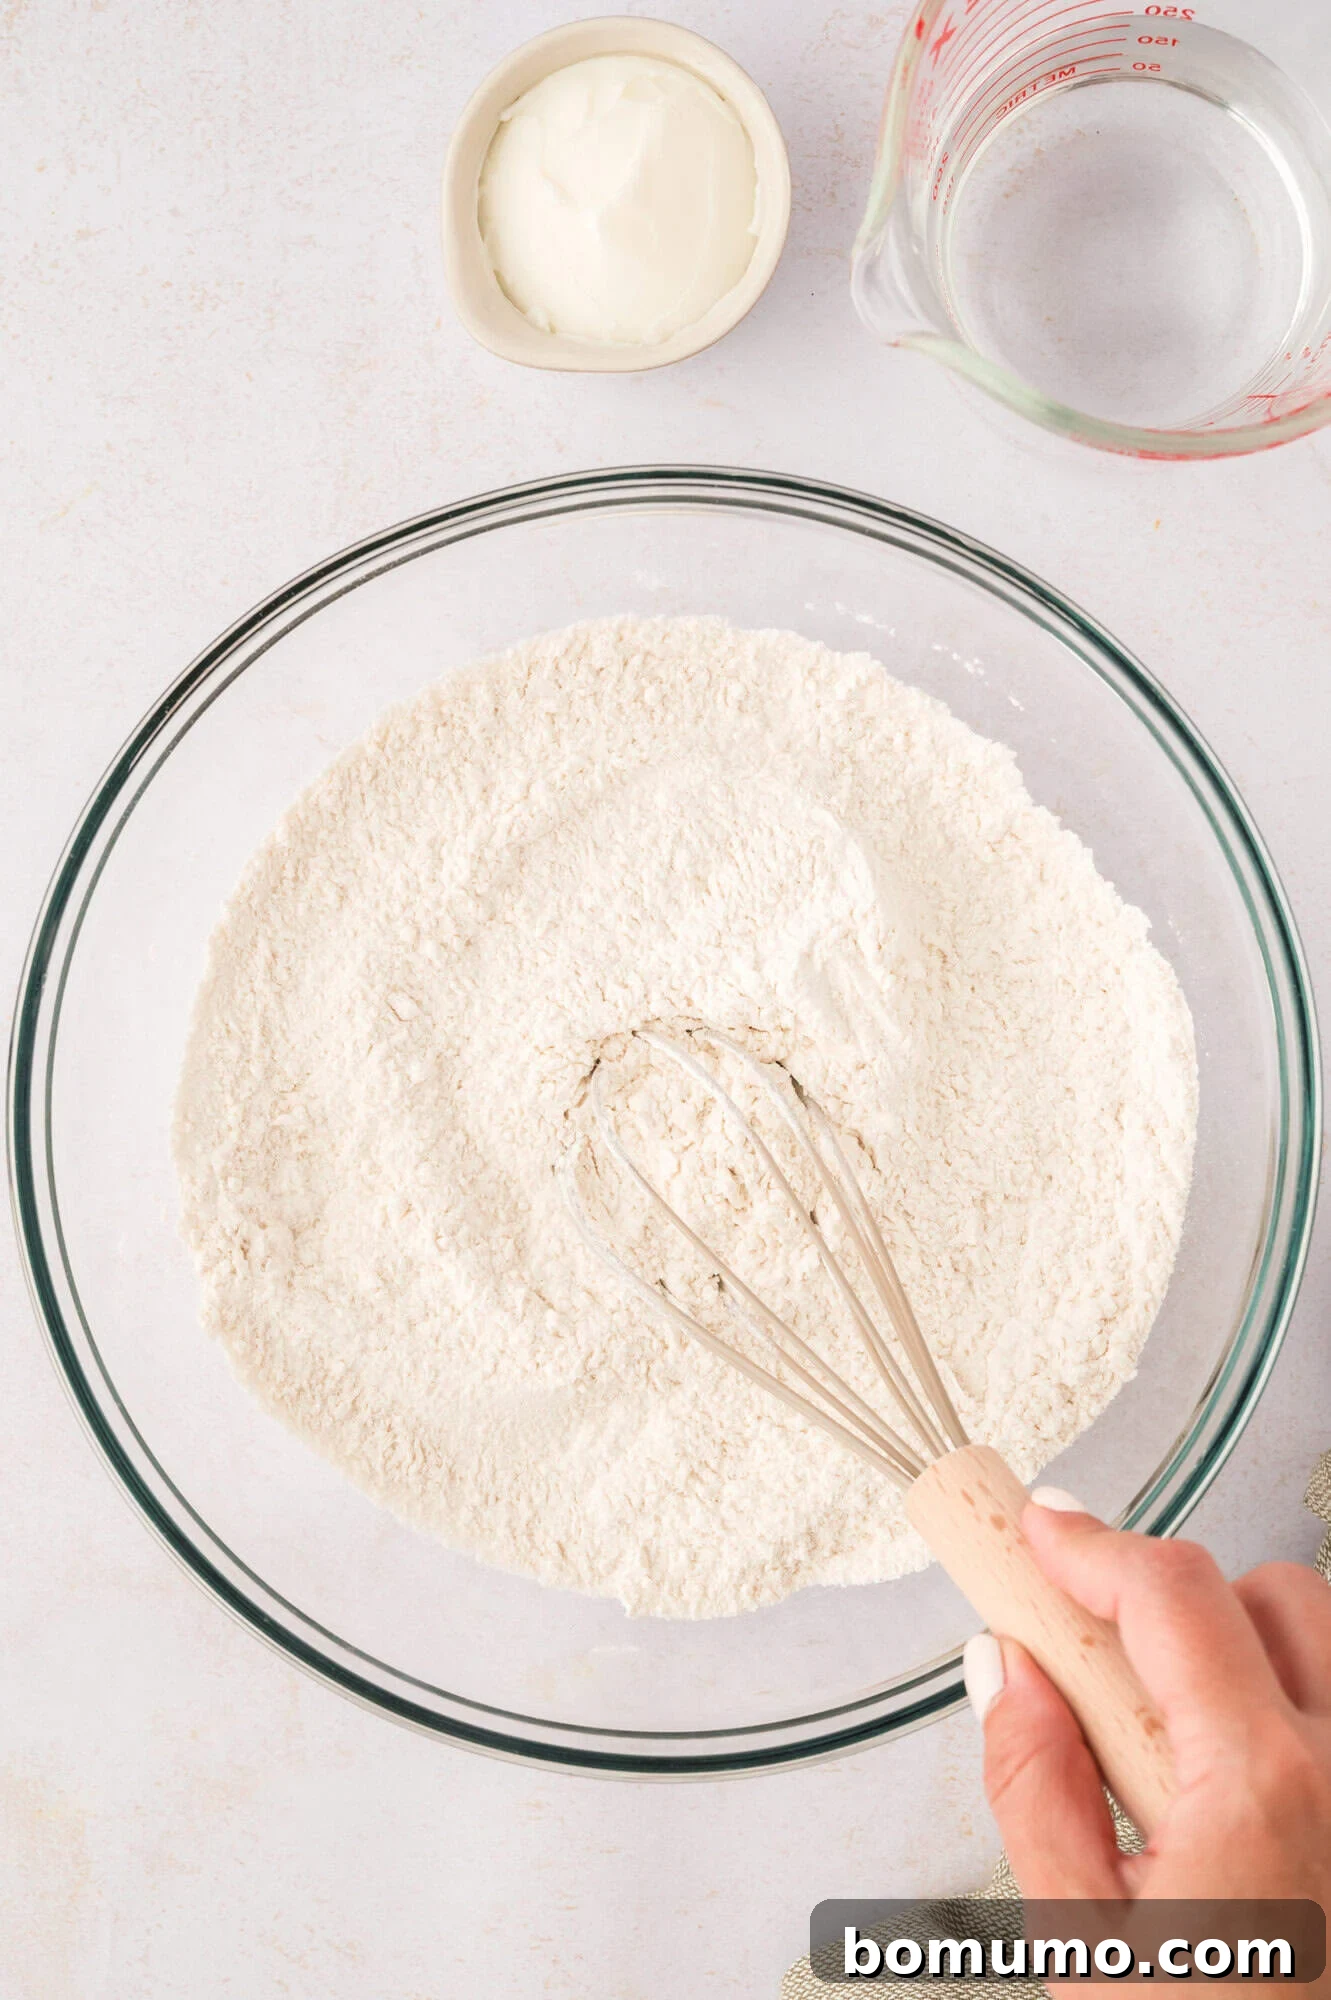
1. Mix the Dry Ingredients: In a large mixing bowl, combine the all-purpose flour and salt. Use a whisk to thoroughly blend them, ensuring the salt is evenly distributed throughout the flour. This simple step lays the groundwork for consistent flavor in every tortilla.
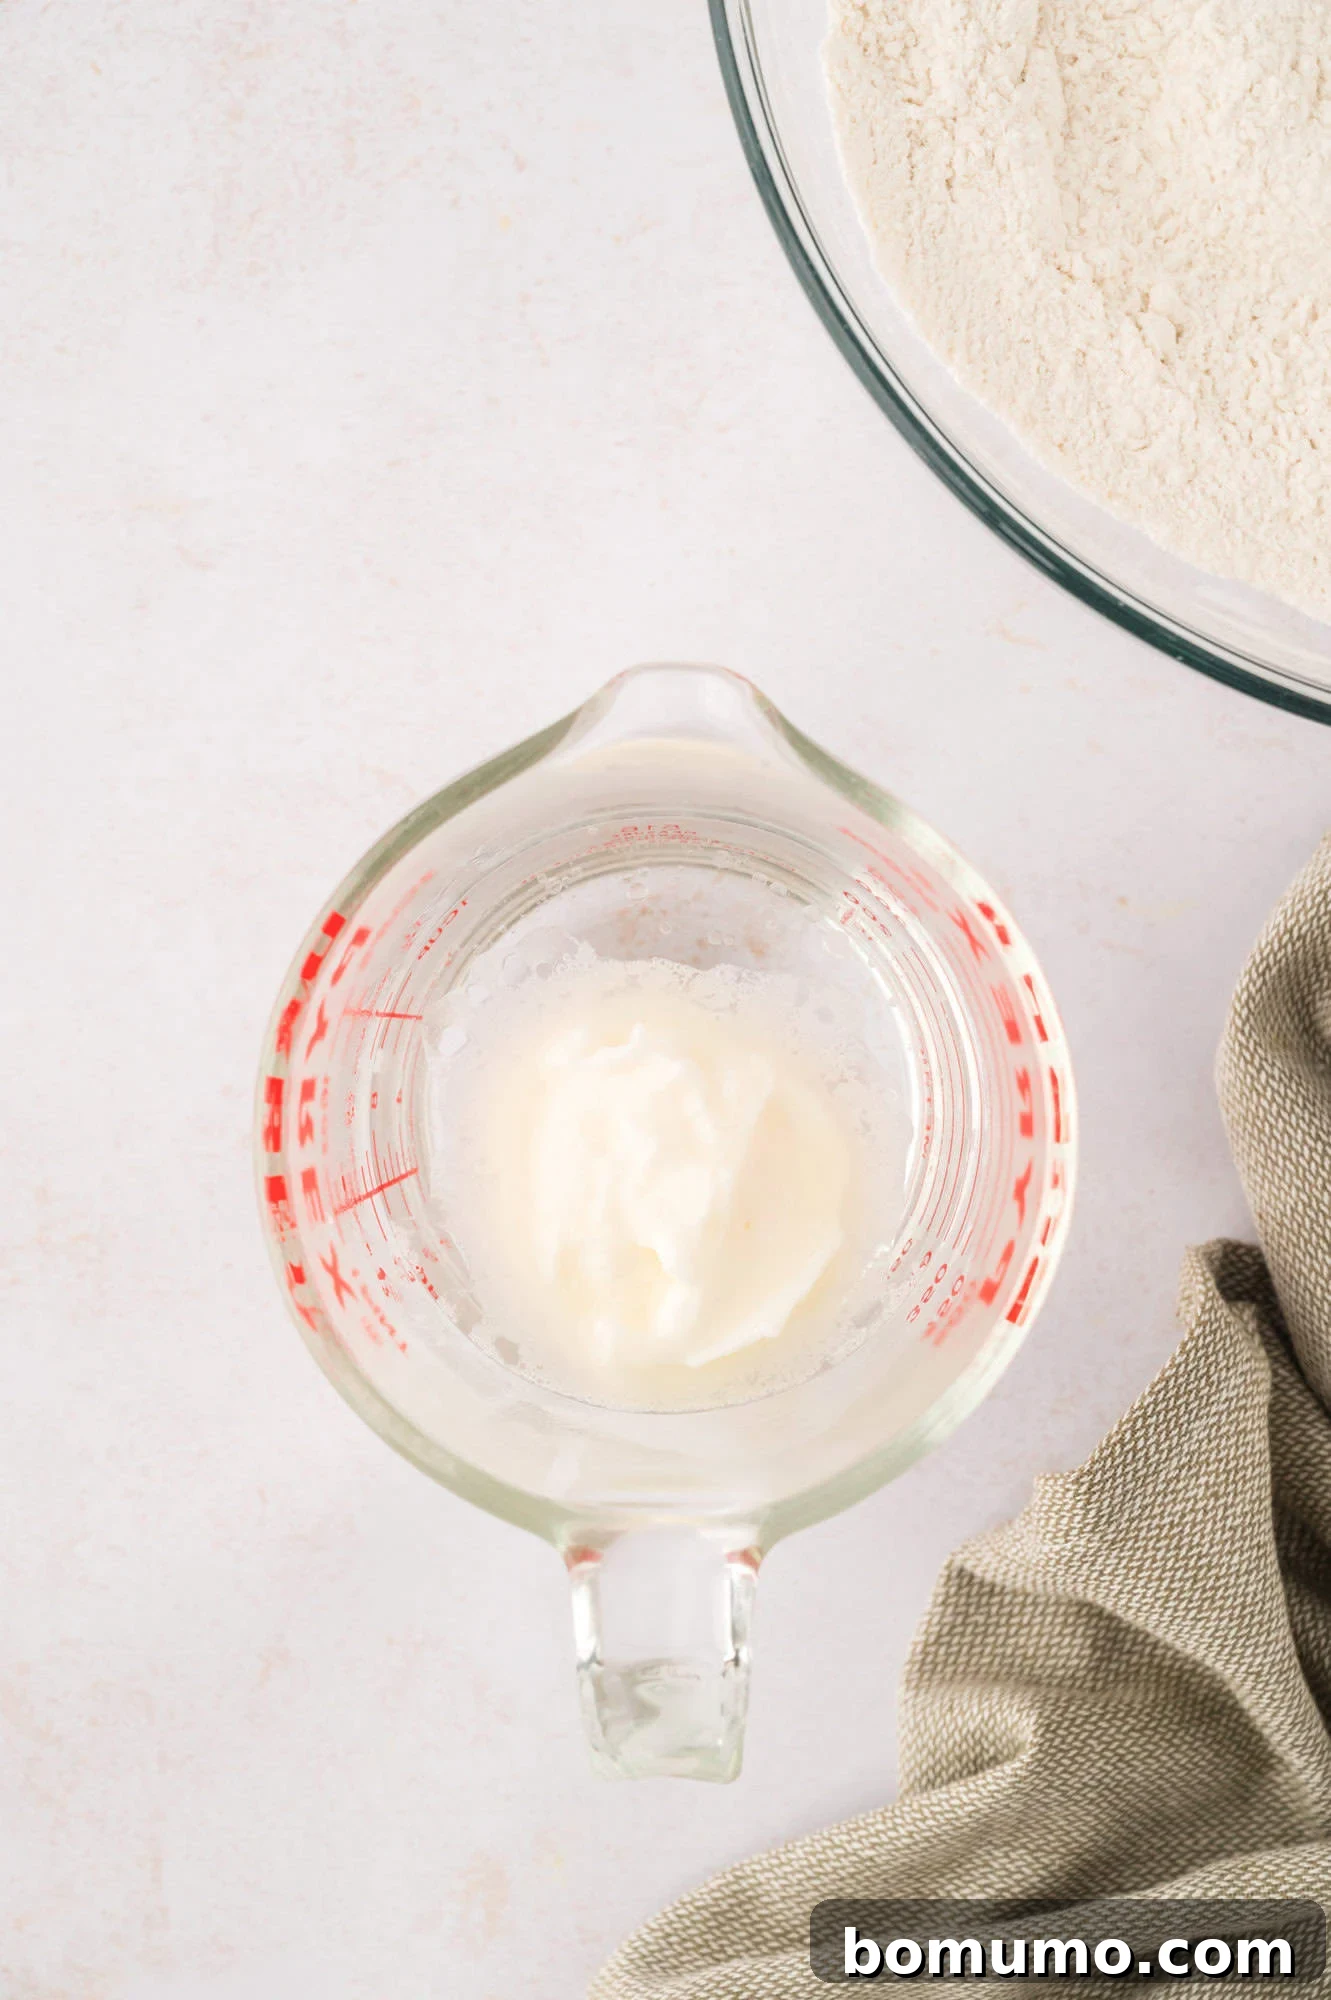
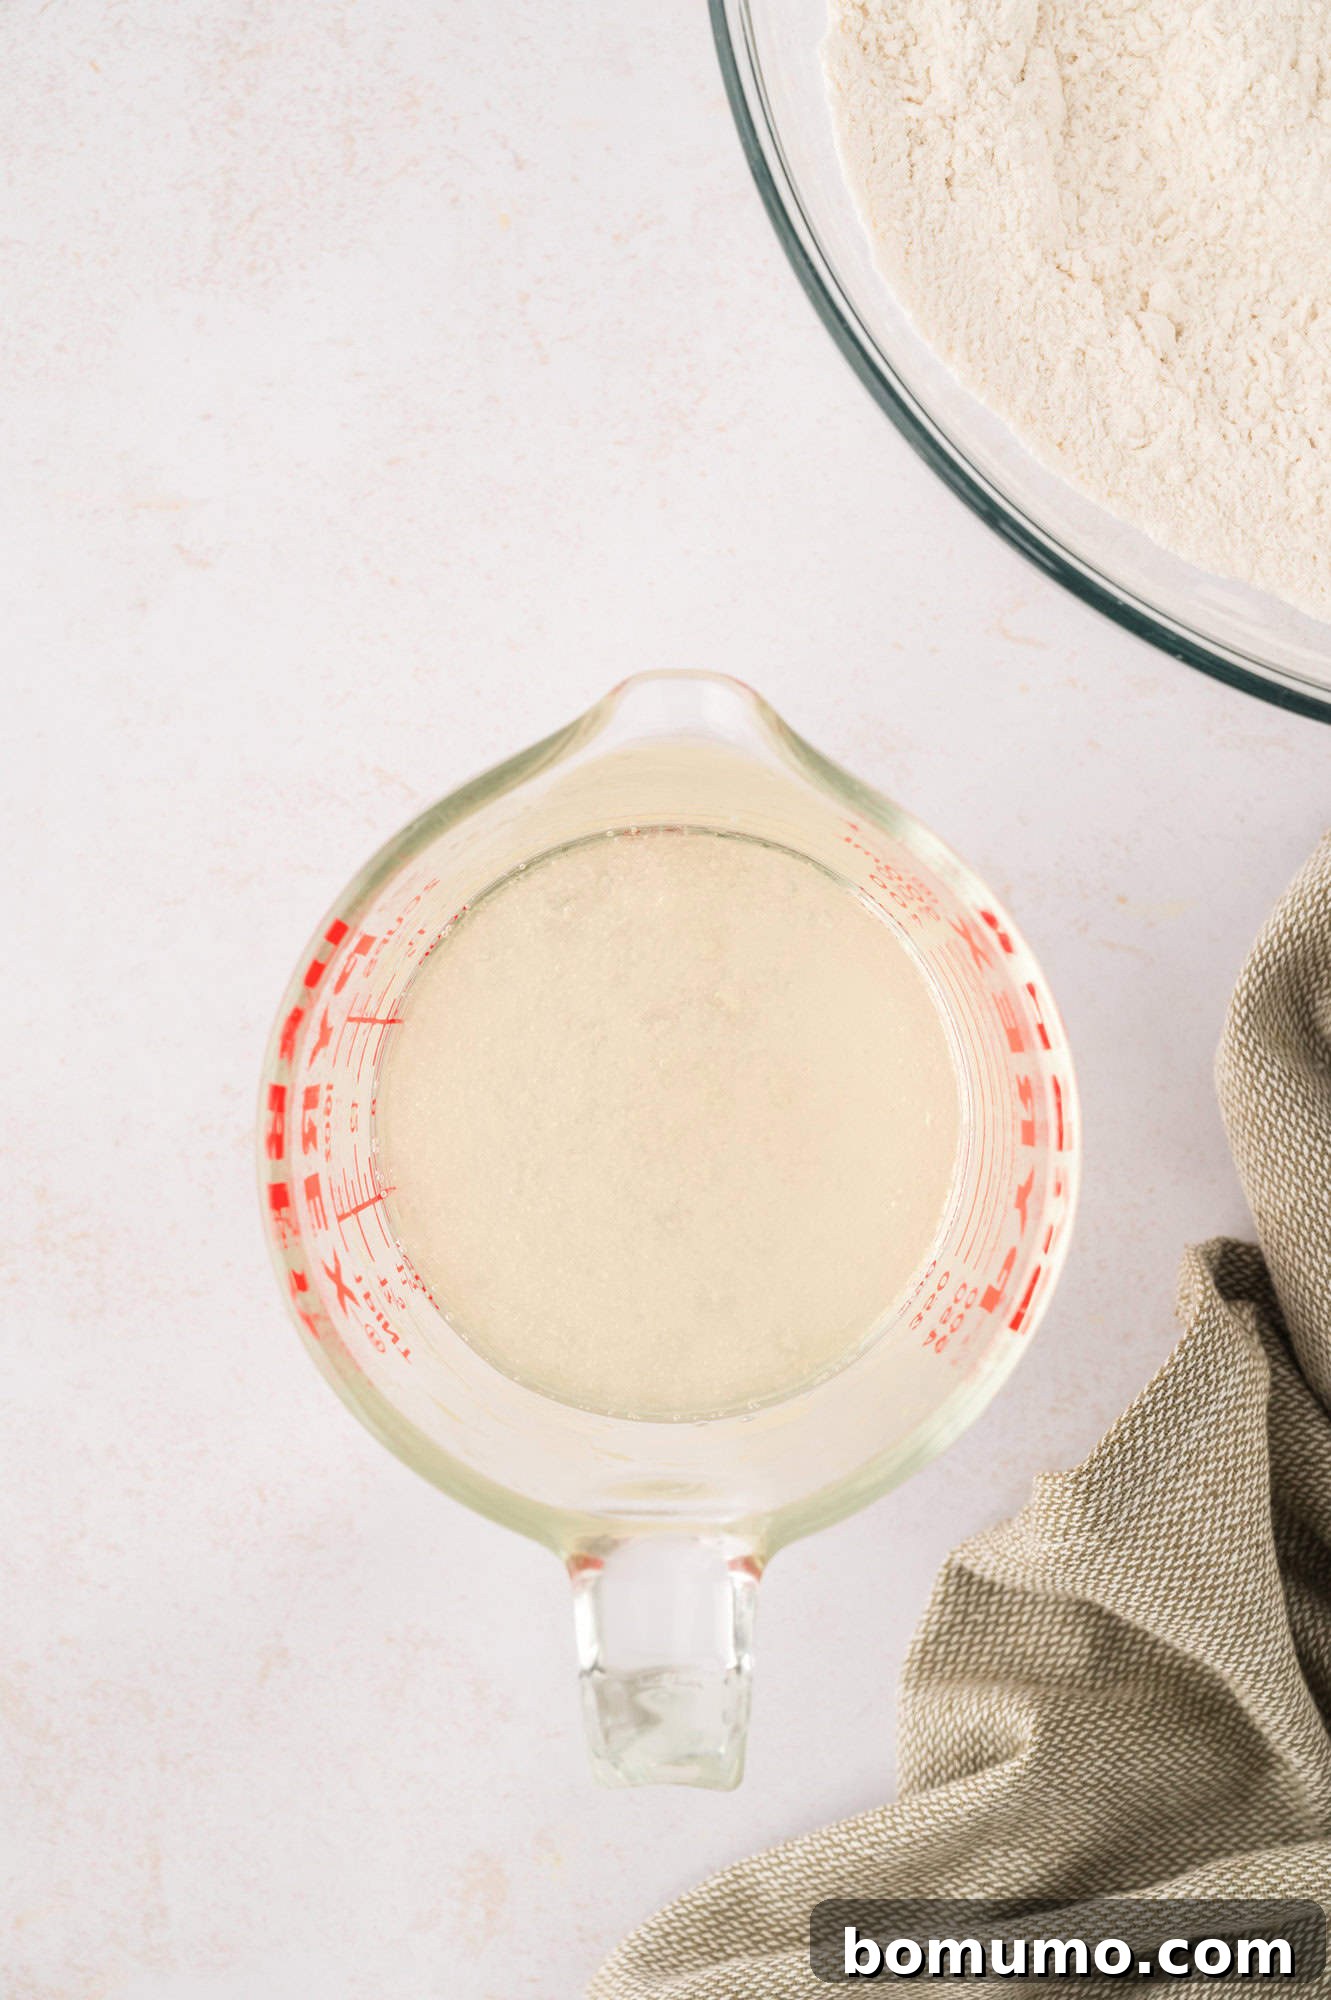
2. Heat the Water and Shortening: Pour the specified amount of hot water into a 2-cup microwave-safe liquid measuring cup. Add the shortening to the hot water. Microwave the mixture for approximately one minute, or until the shortening has completely melted and can be easily stirred into the hot water. If necessary, continue heating in 10-second increments, stirring after each, until the shortening is fully dissolved and the water is very hot.
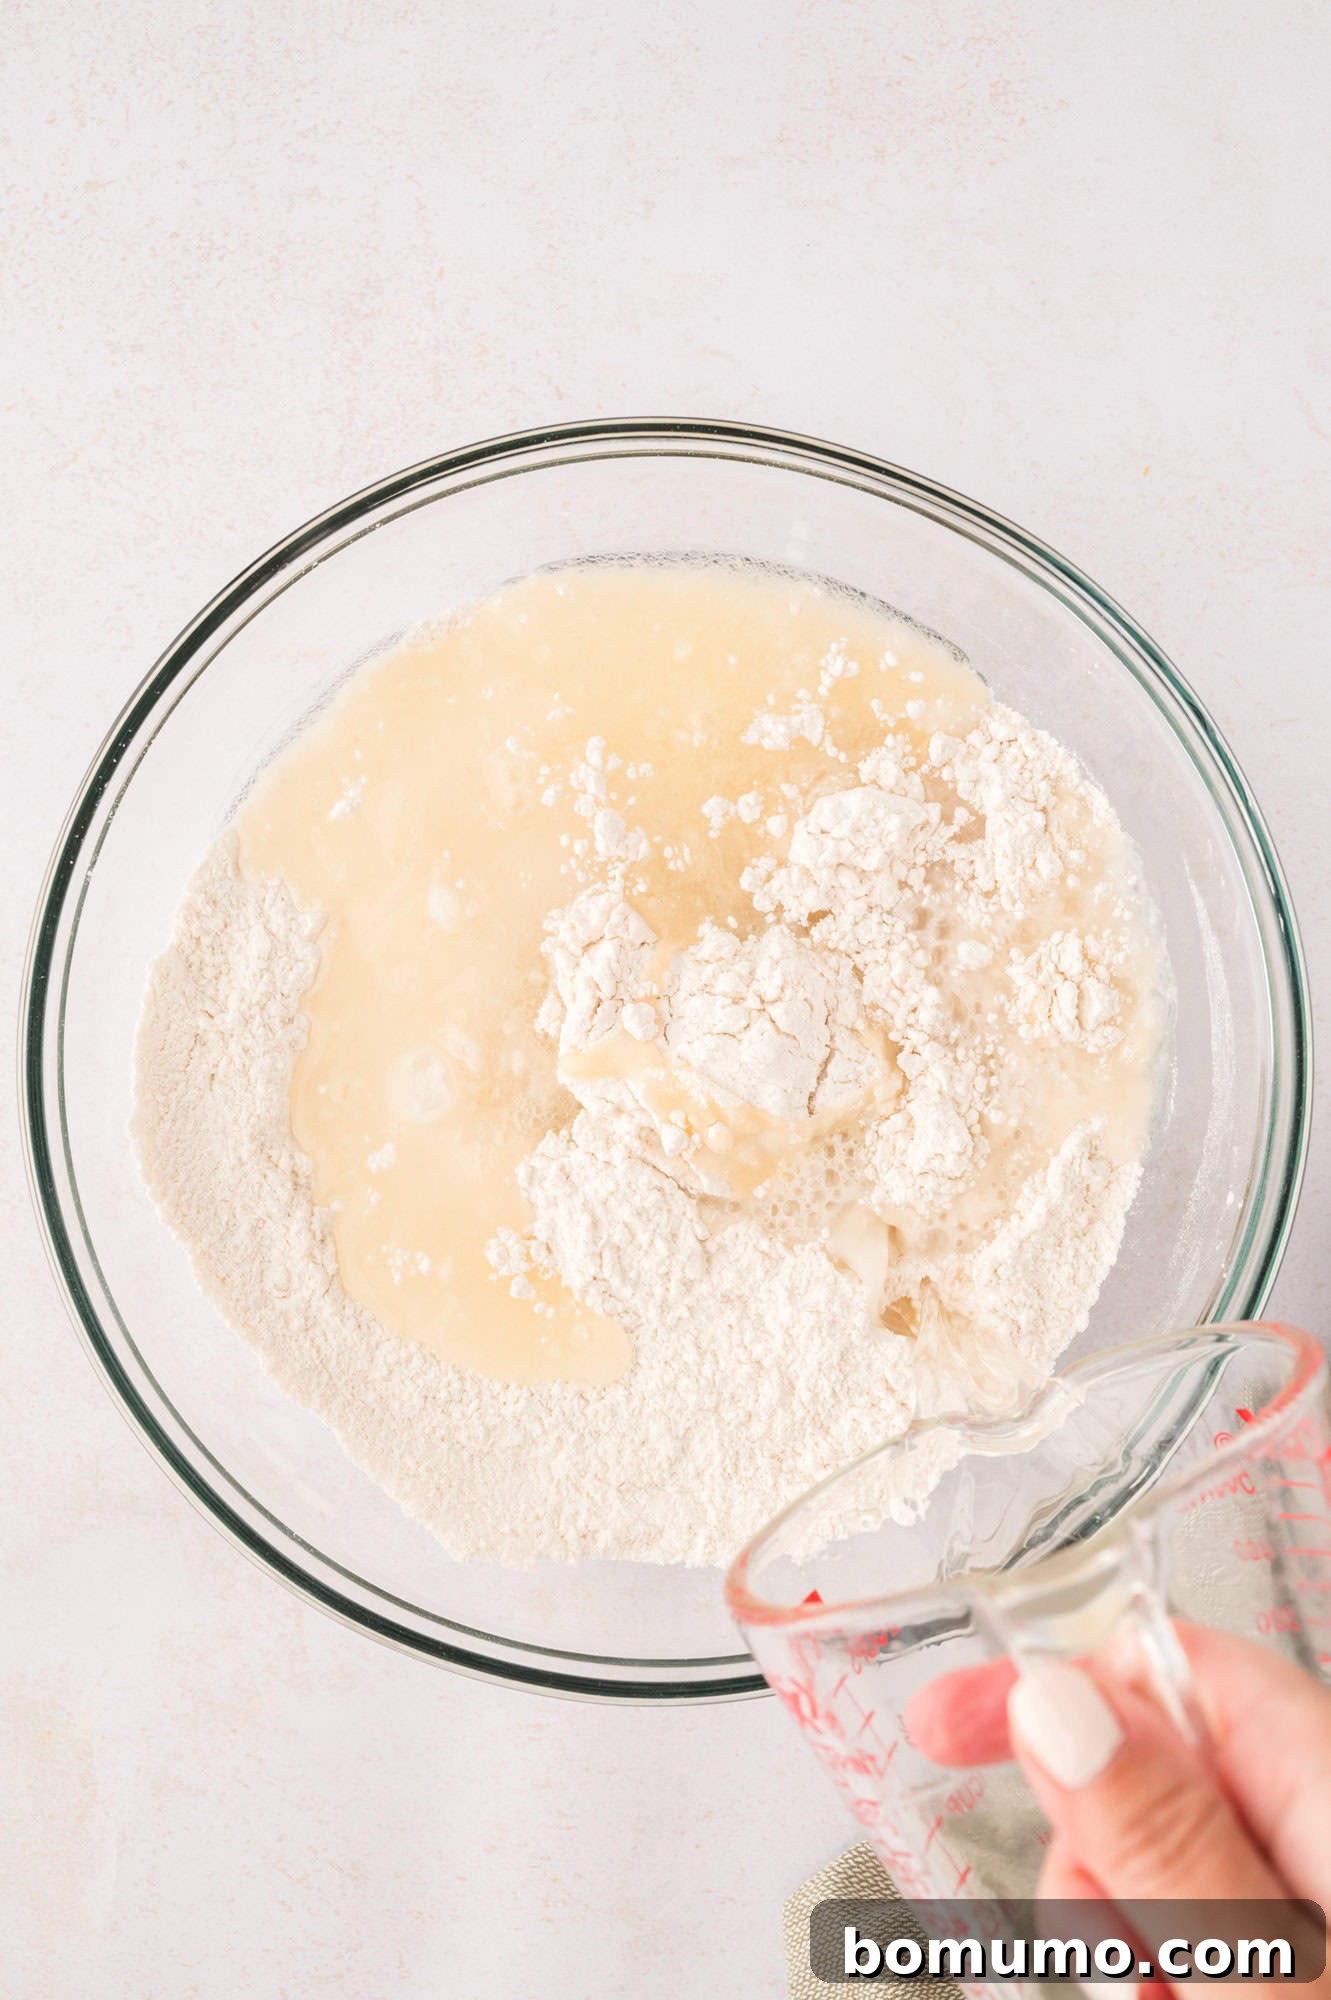
3. Form the Dough: Carefully pour the hot shortening and water mixture into the bowl containing the dry ingredients. Using a sturdy spatula or spoon, stir the mixture until it begins to come together and forms a cohesive ball. The dough should be somewhat sticky but manageable. If it appears too dry or crumbly, add a tablespoon of hot water at a time, mixing well after each addition, until the dough forms a soft ball. The amount of water needed can vary slightly depending on the humidity levels in your kitchen.
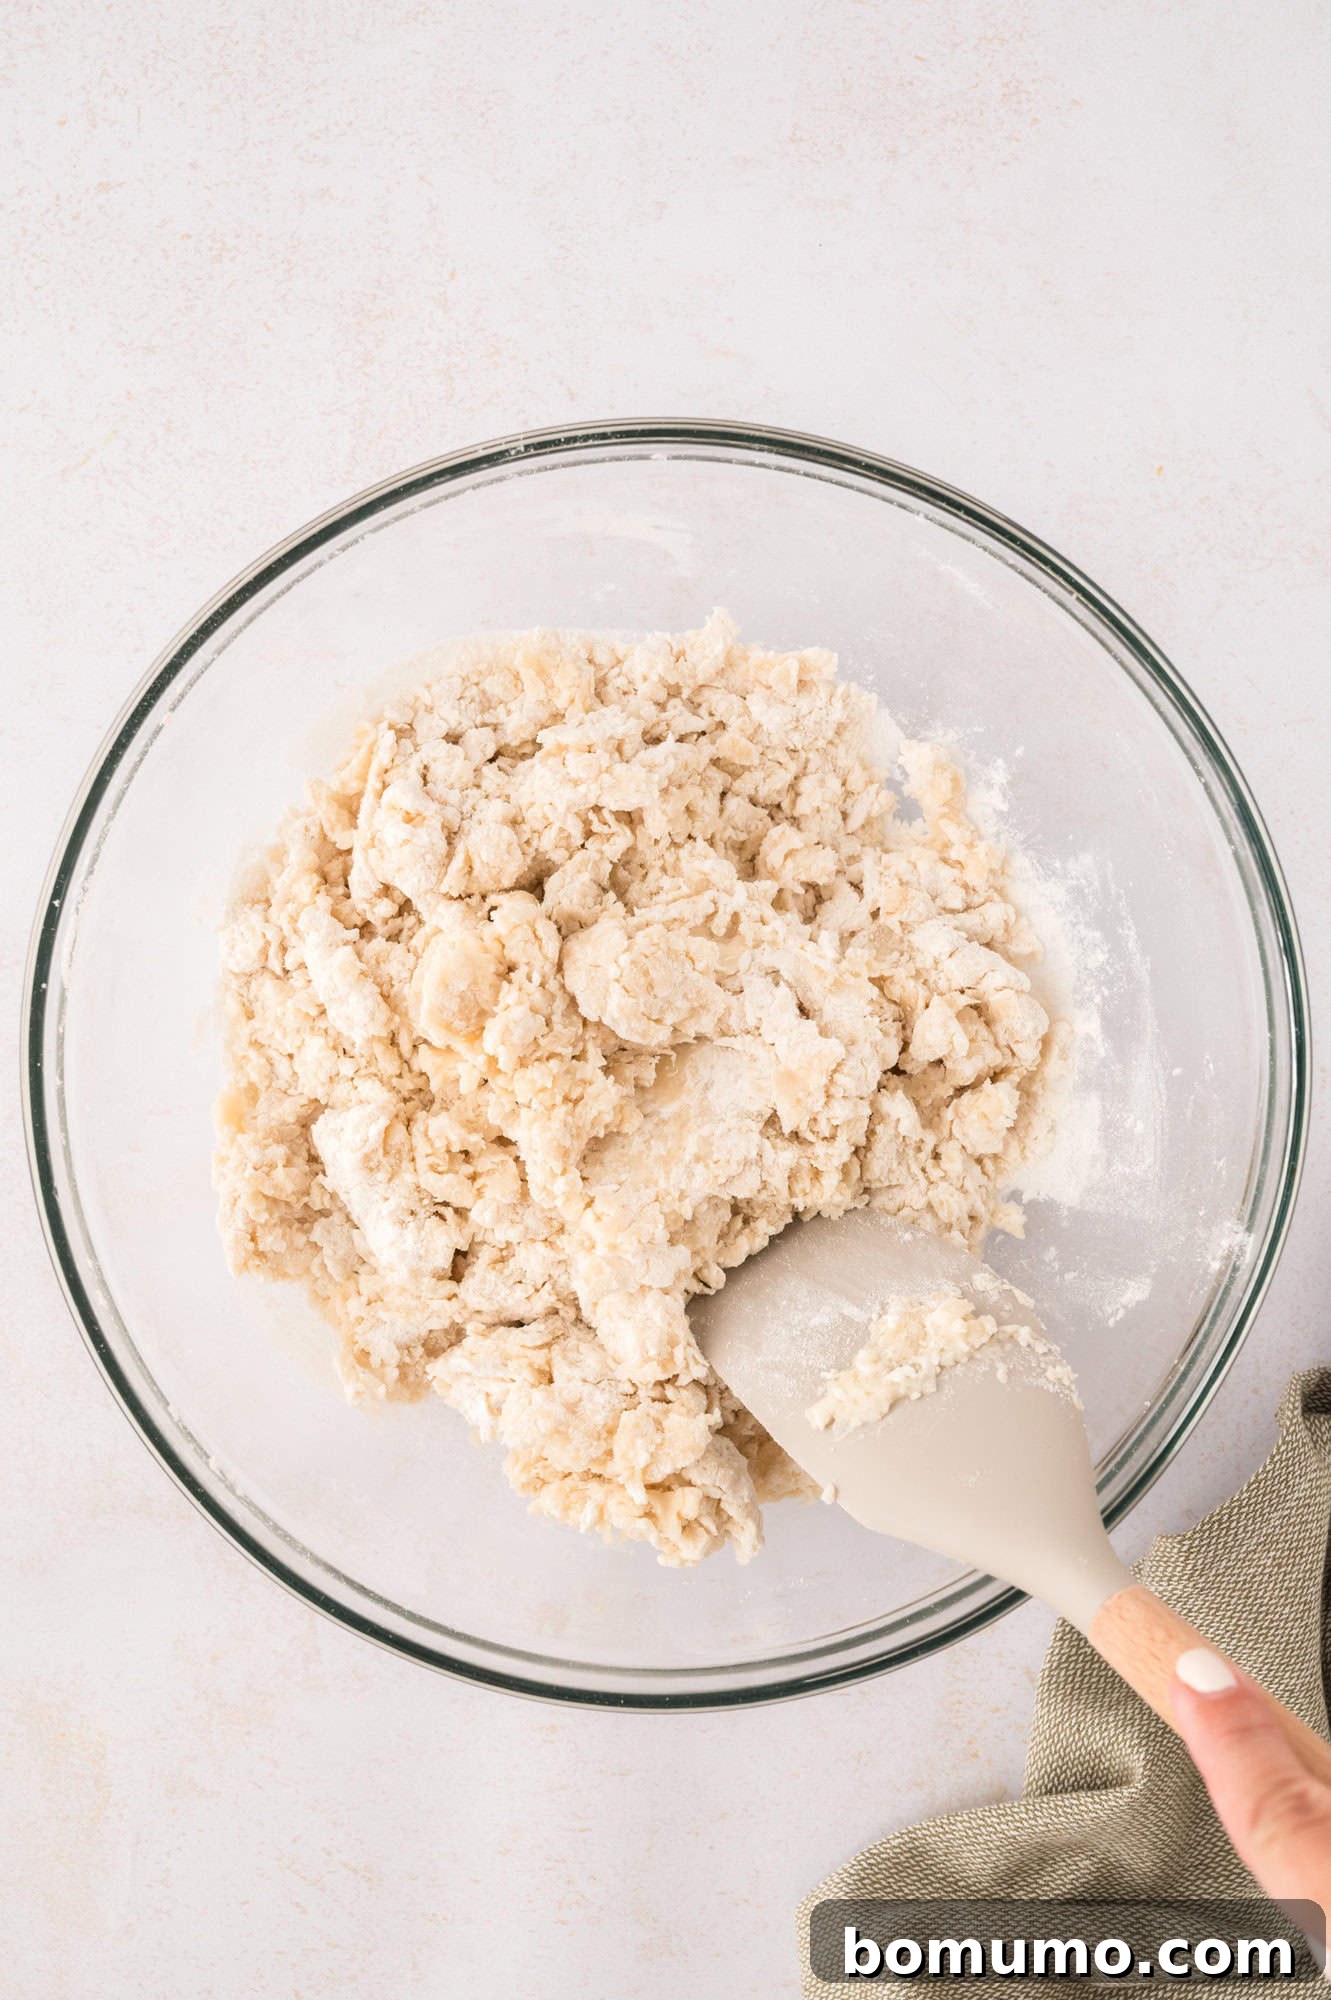
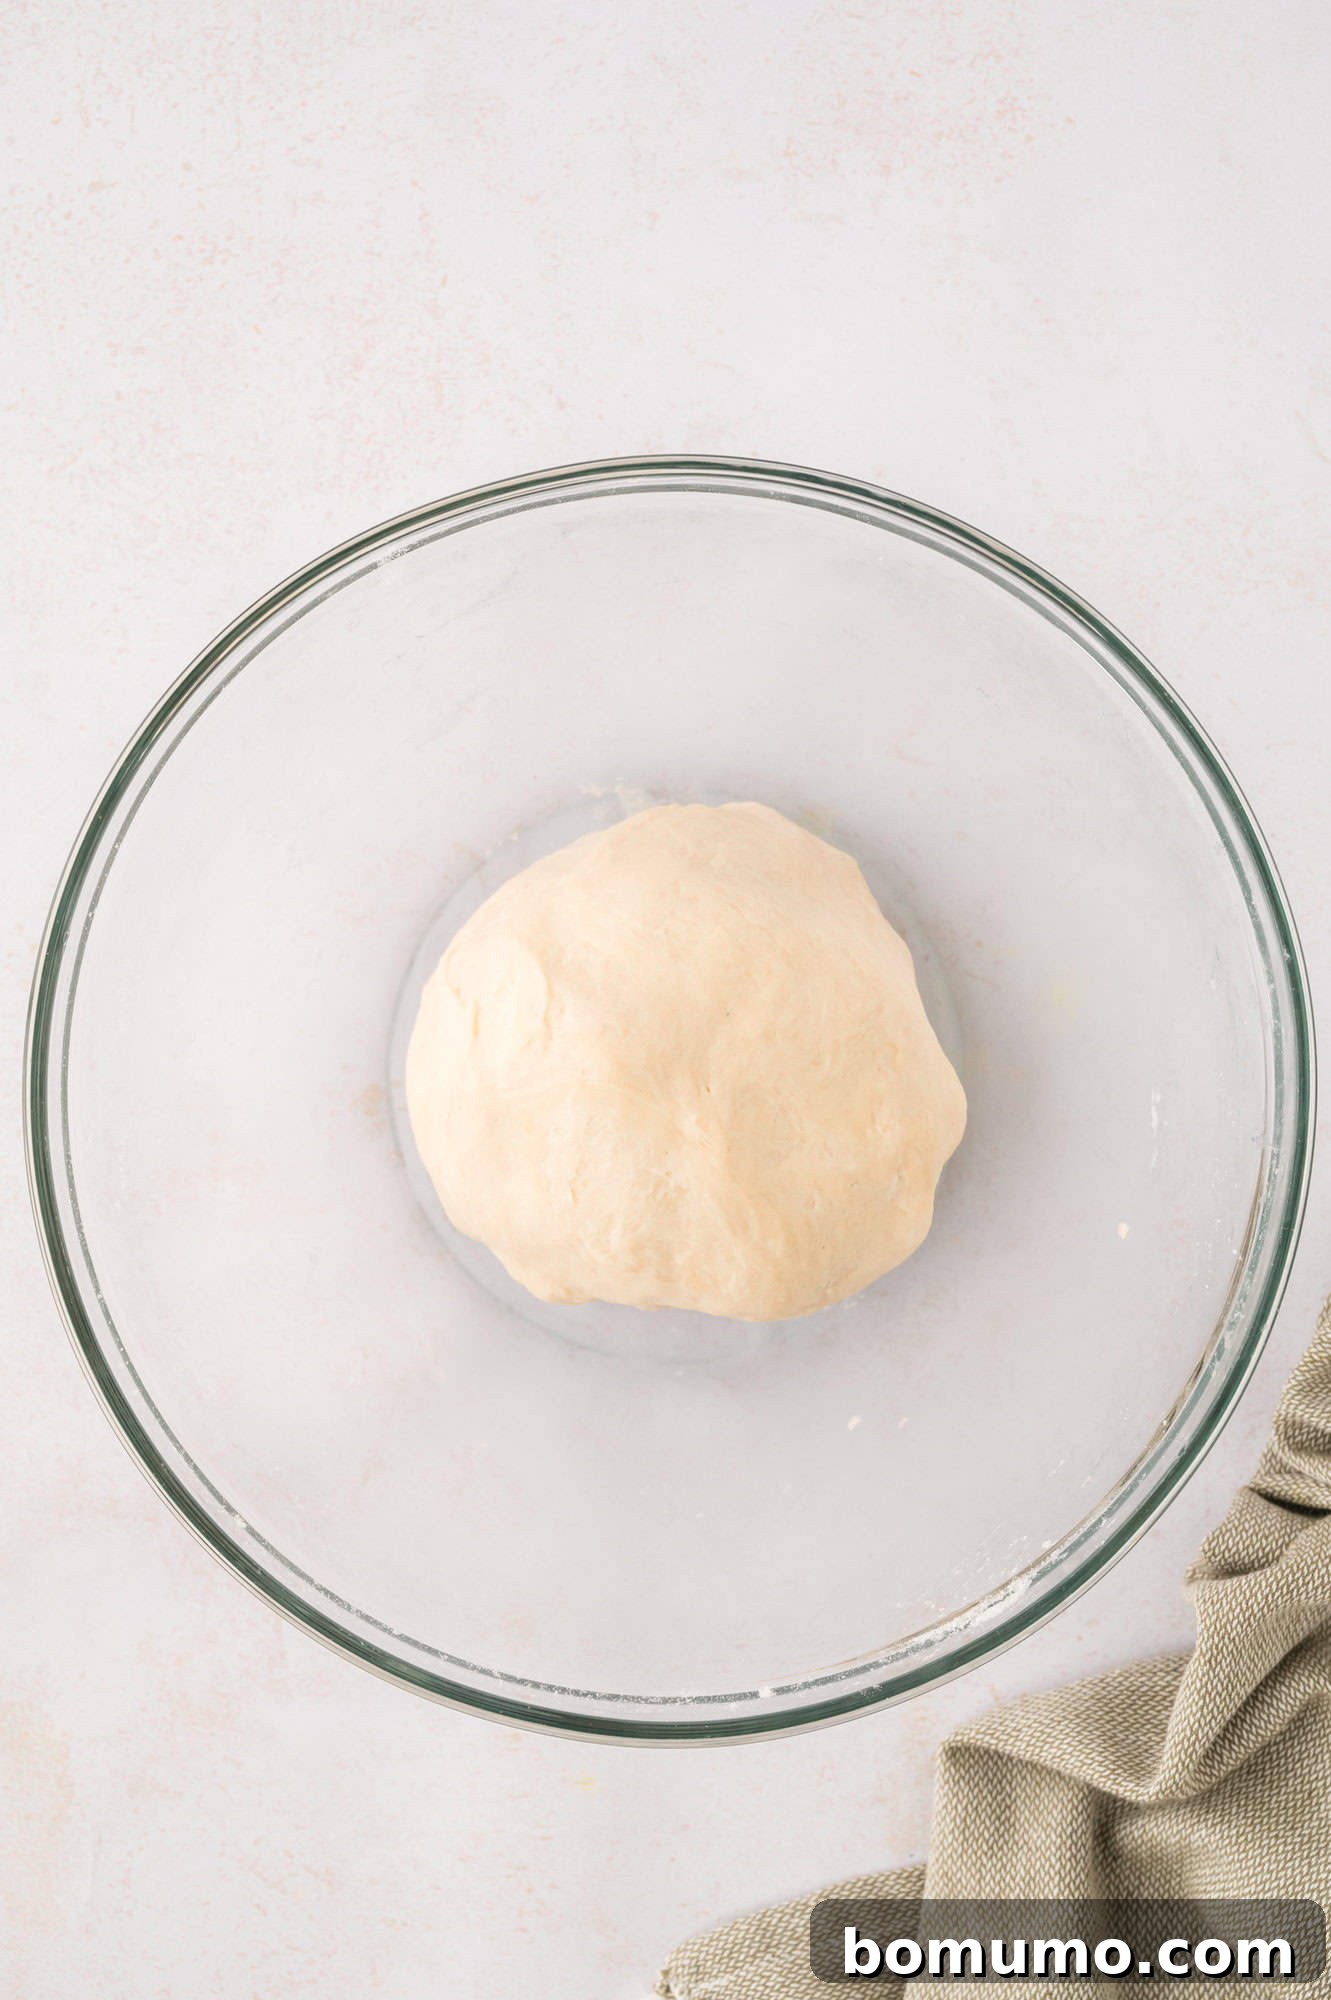
4. Rest the Dough: This is a crucial step for achieving tender and pliable tortillas. Once the dough ball is formed, cover the bowl with a clean kitchen towel and allow the dough to rest at room temperature for at least one hour. During this resting period, the flour fully absorbs the liquid, and the gluten relaxes, making the dough much easier to roll out and ensuring the final tortillas are wonderfully soft and flexible.
5. Form the Tortillas: While the dough is resting, prepare your cooking surface by heating a cast iron skillet or griddle over medium heat. Once the dough has rested, divide it into 12 equal portions. Roll each portion into a smooth ball. On a lightly floured surface (or parchment paper for easy transfer), use a rolling pin to roll out each dough ball as thinly as possible into a circular shape, about 6-7 inches in diameter. The thinner you roll them, the more delicate and pliable your finished tortillas will be.
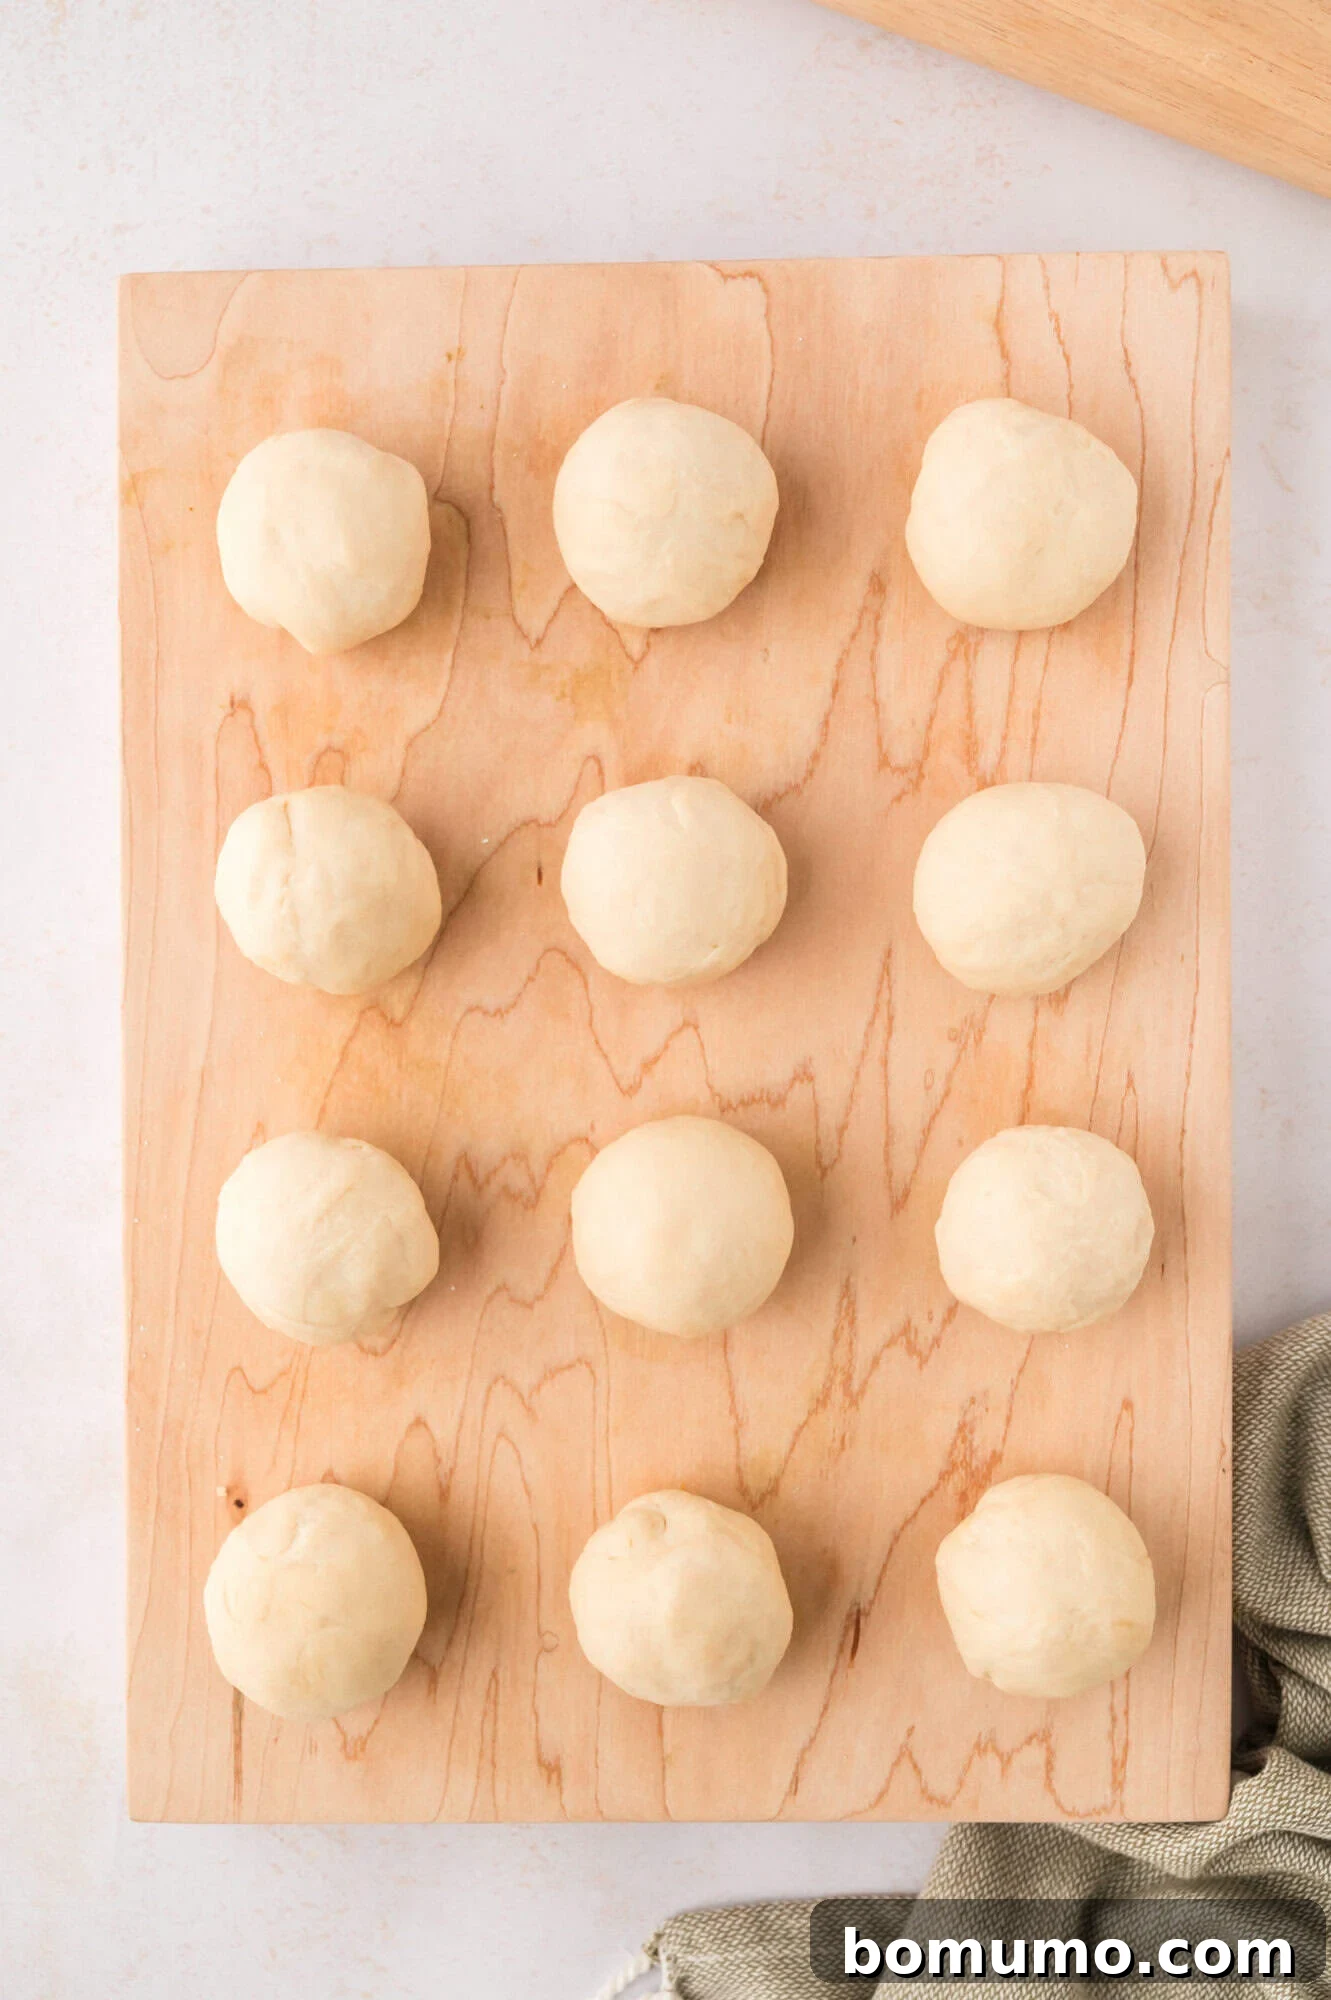
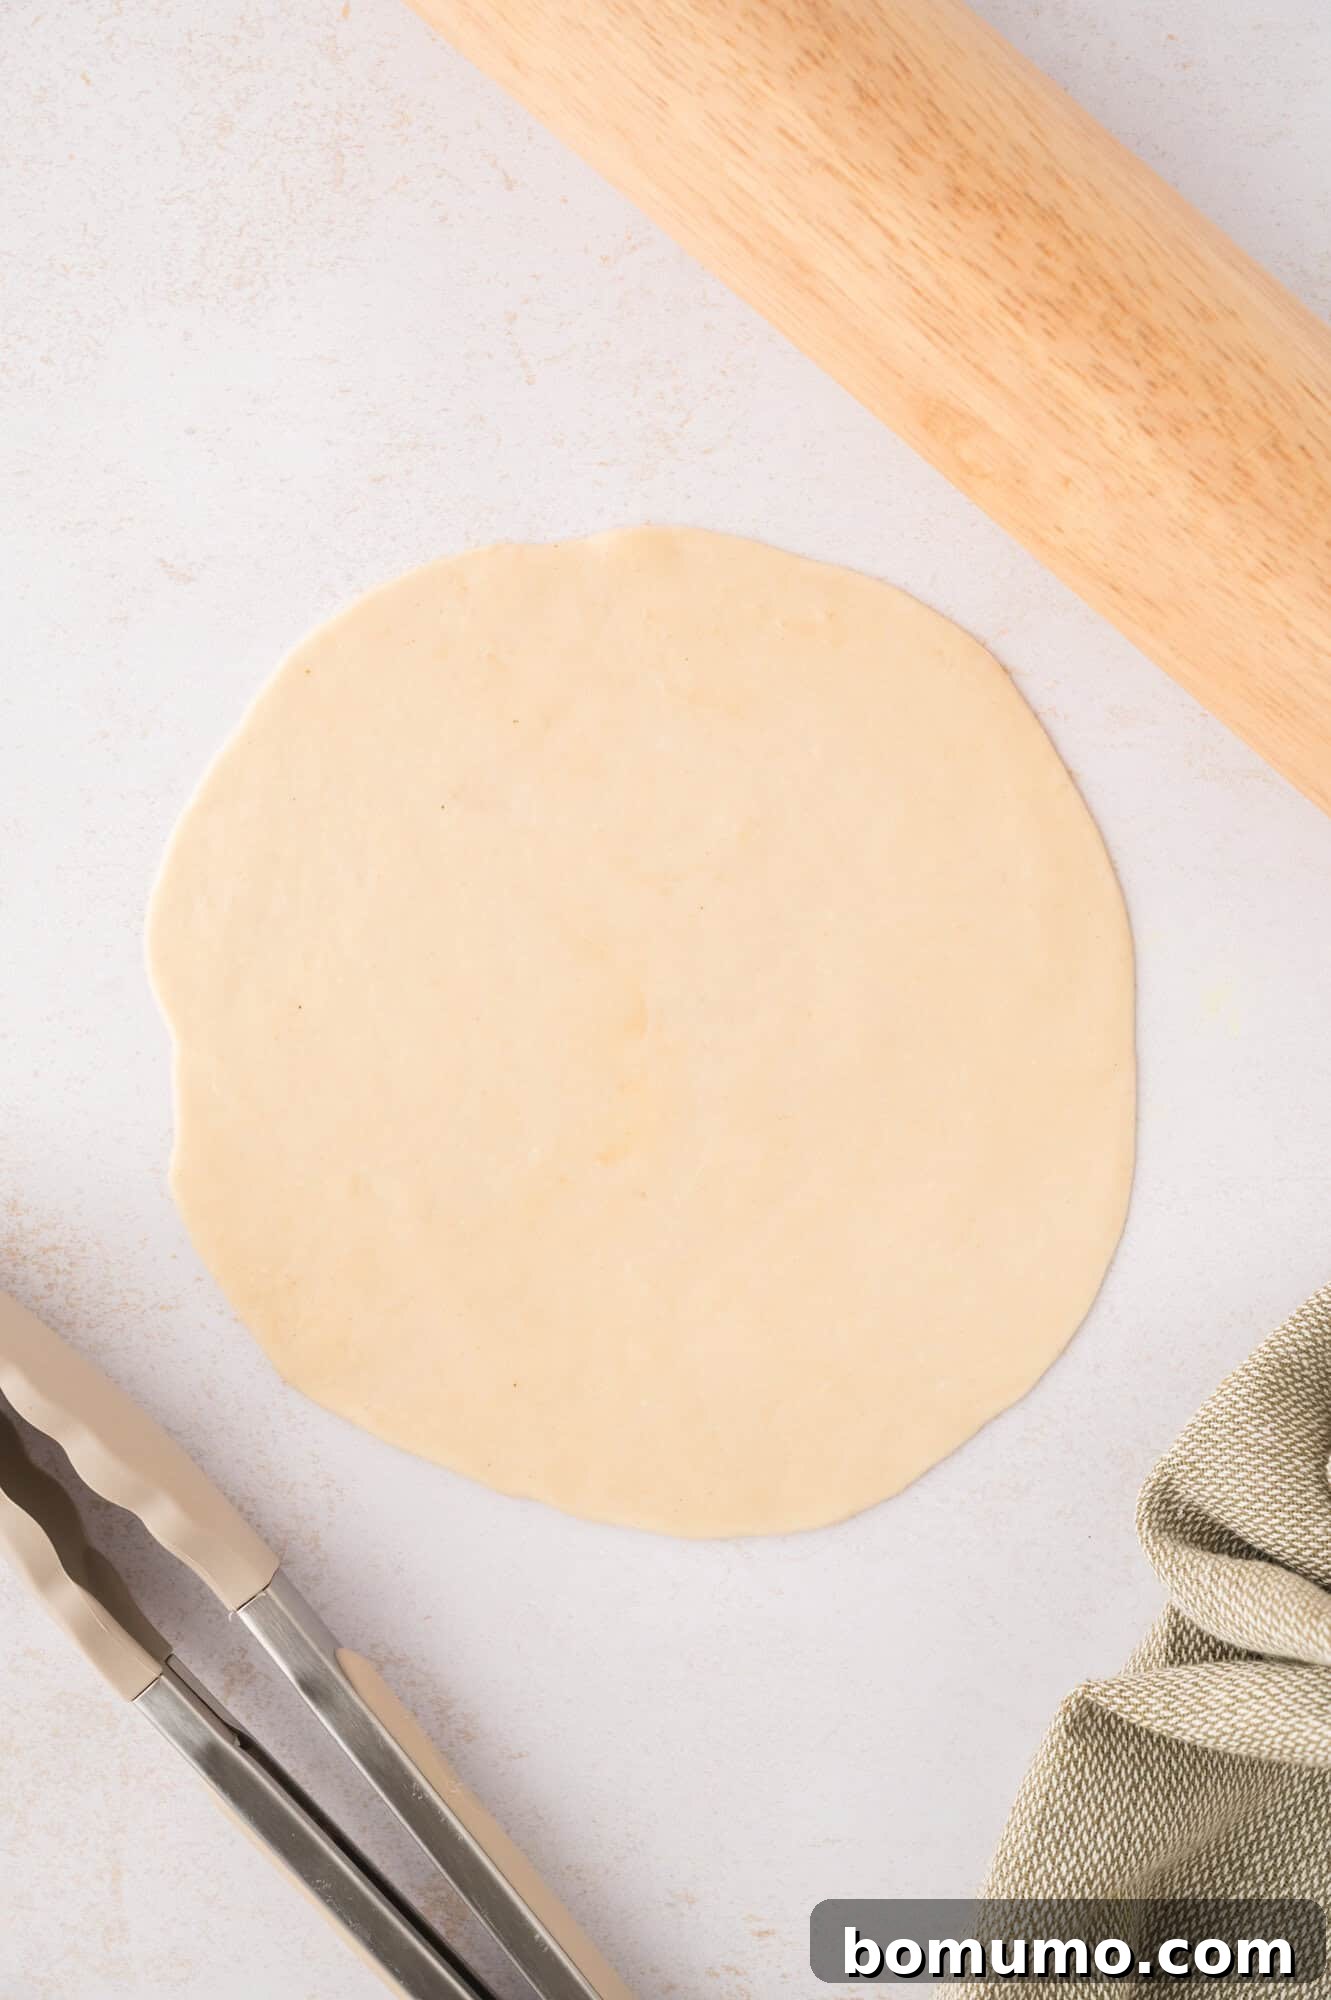
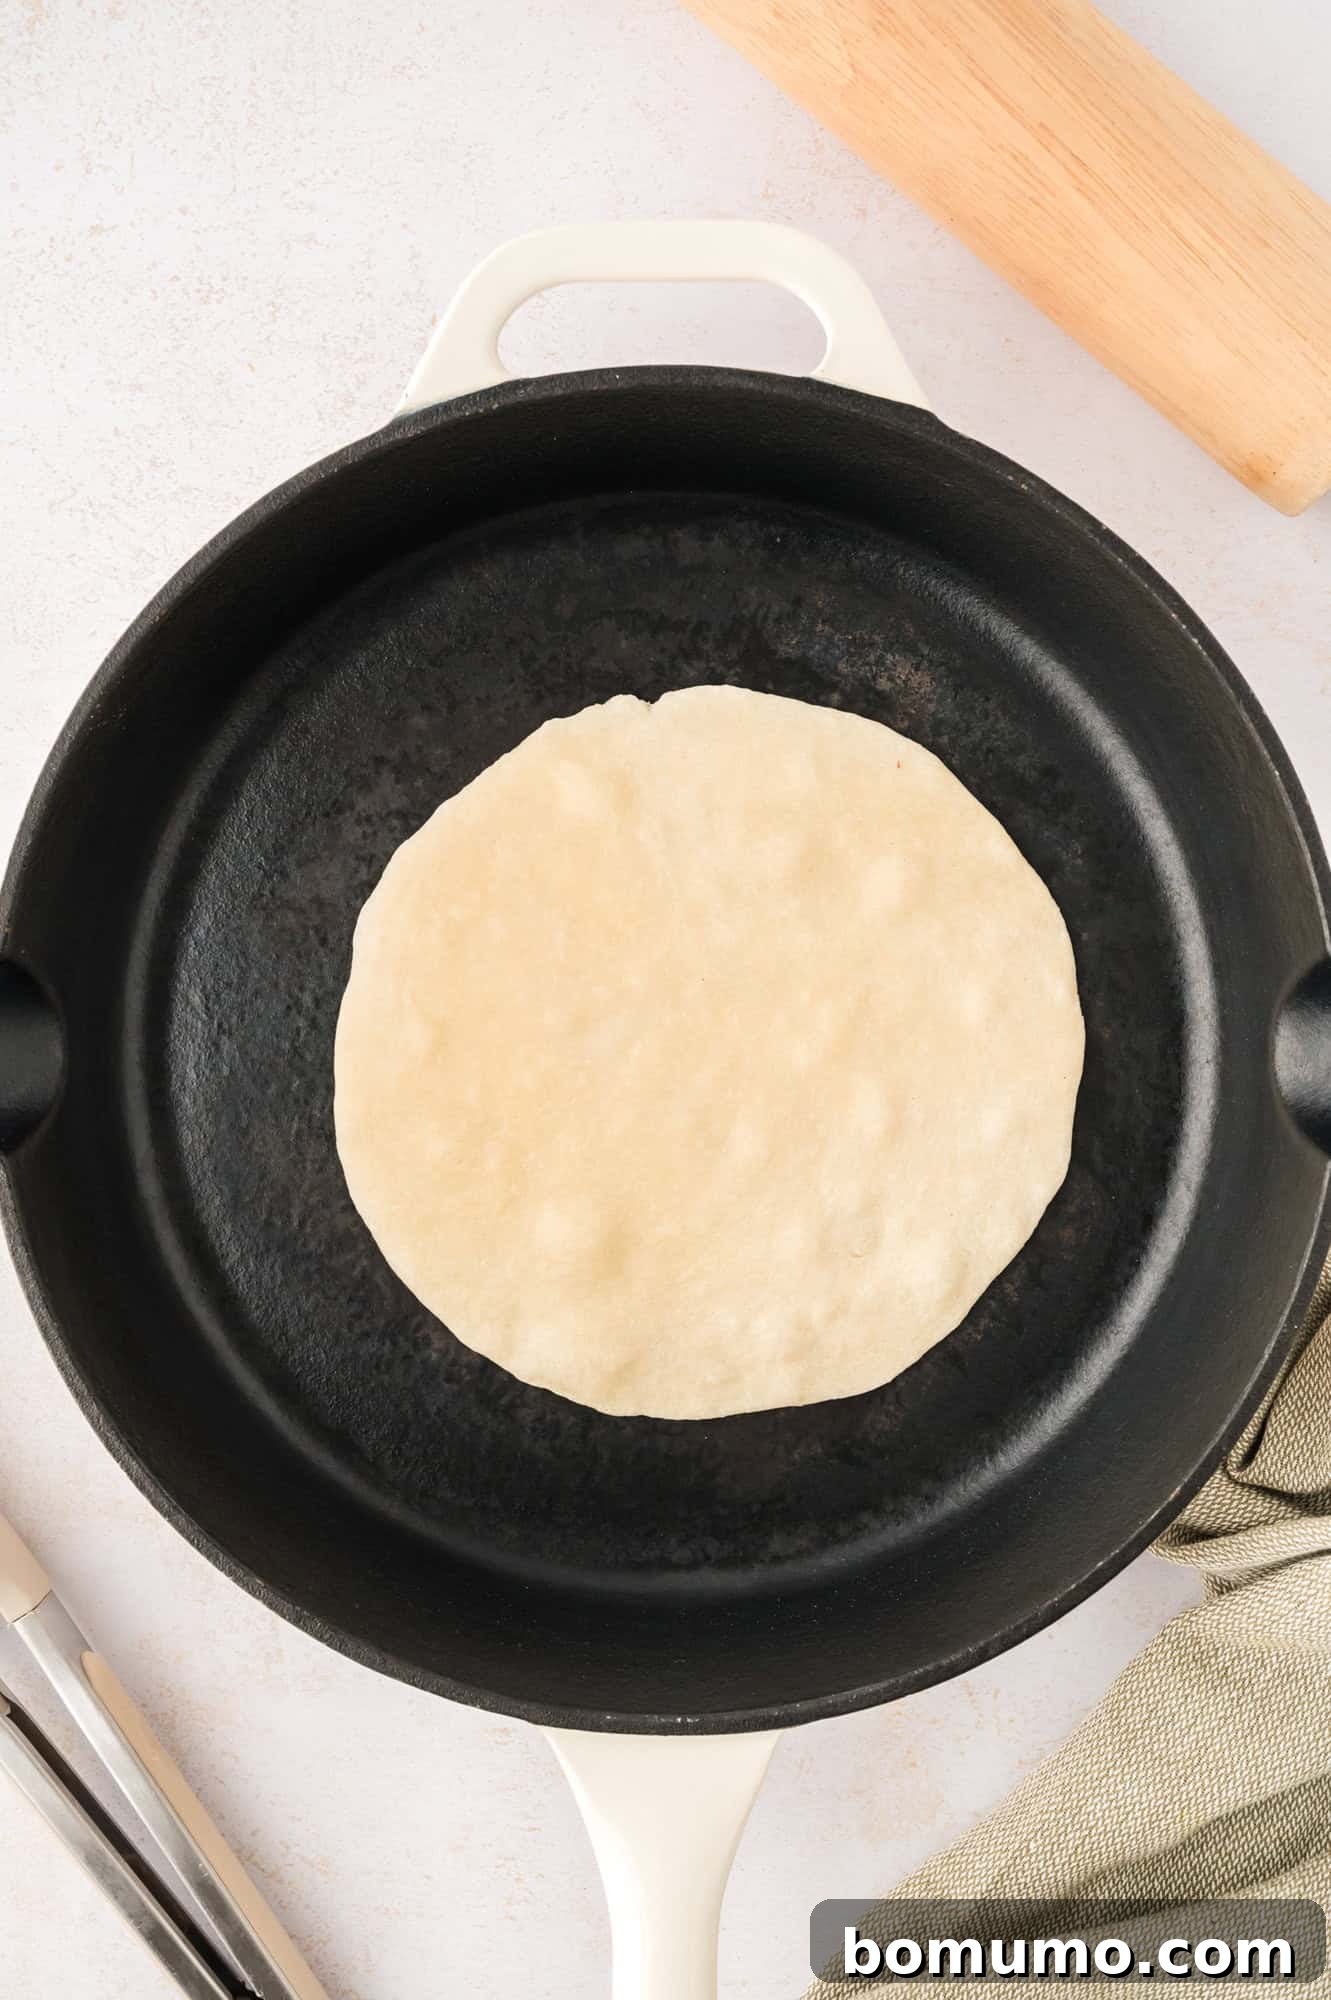
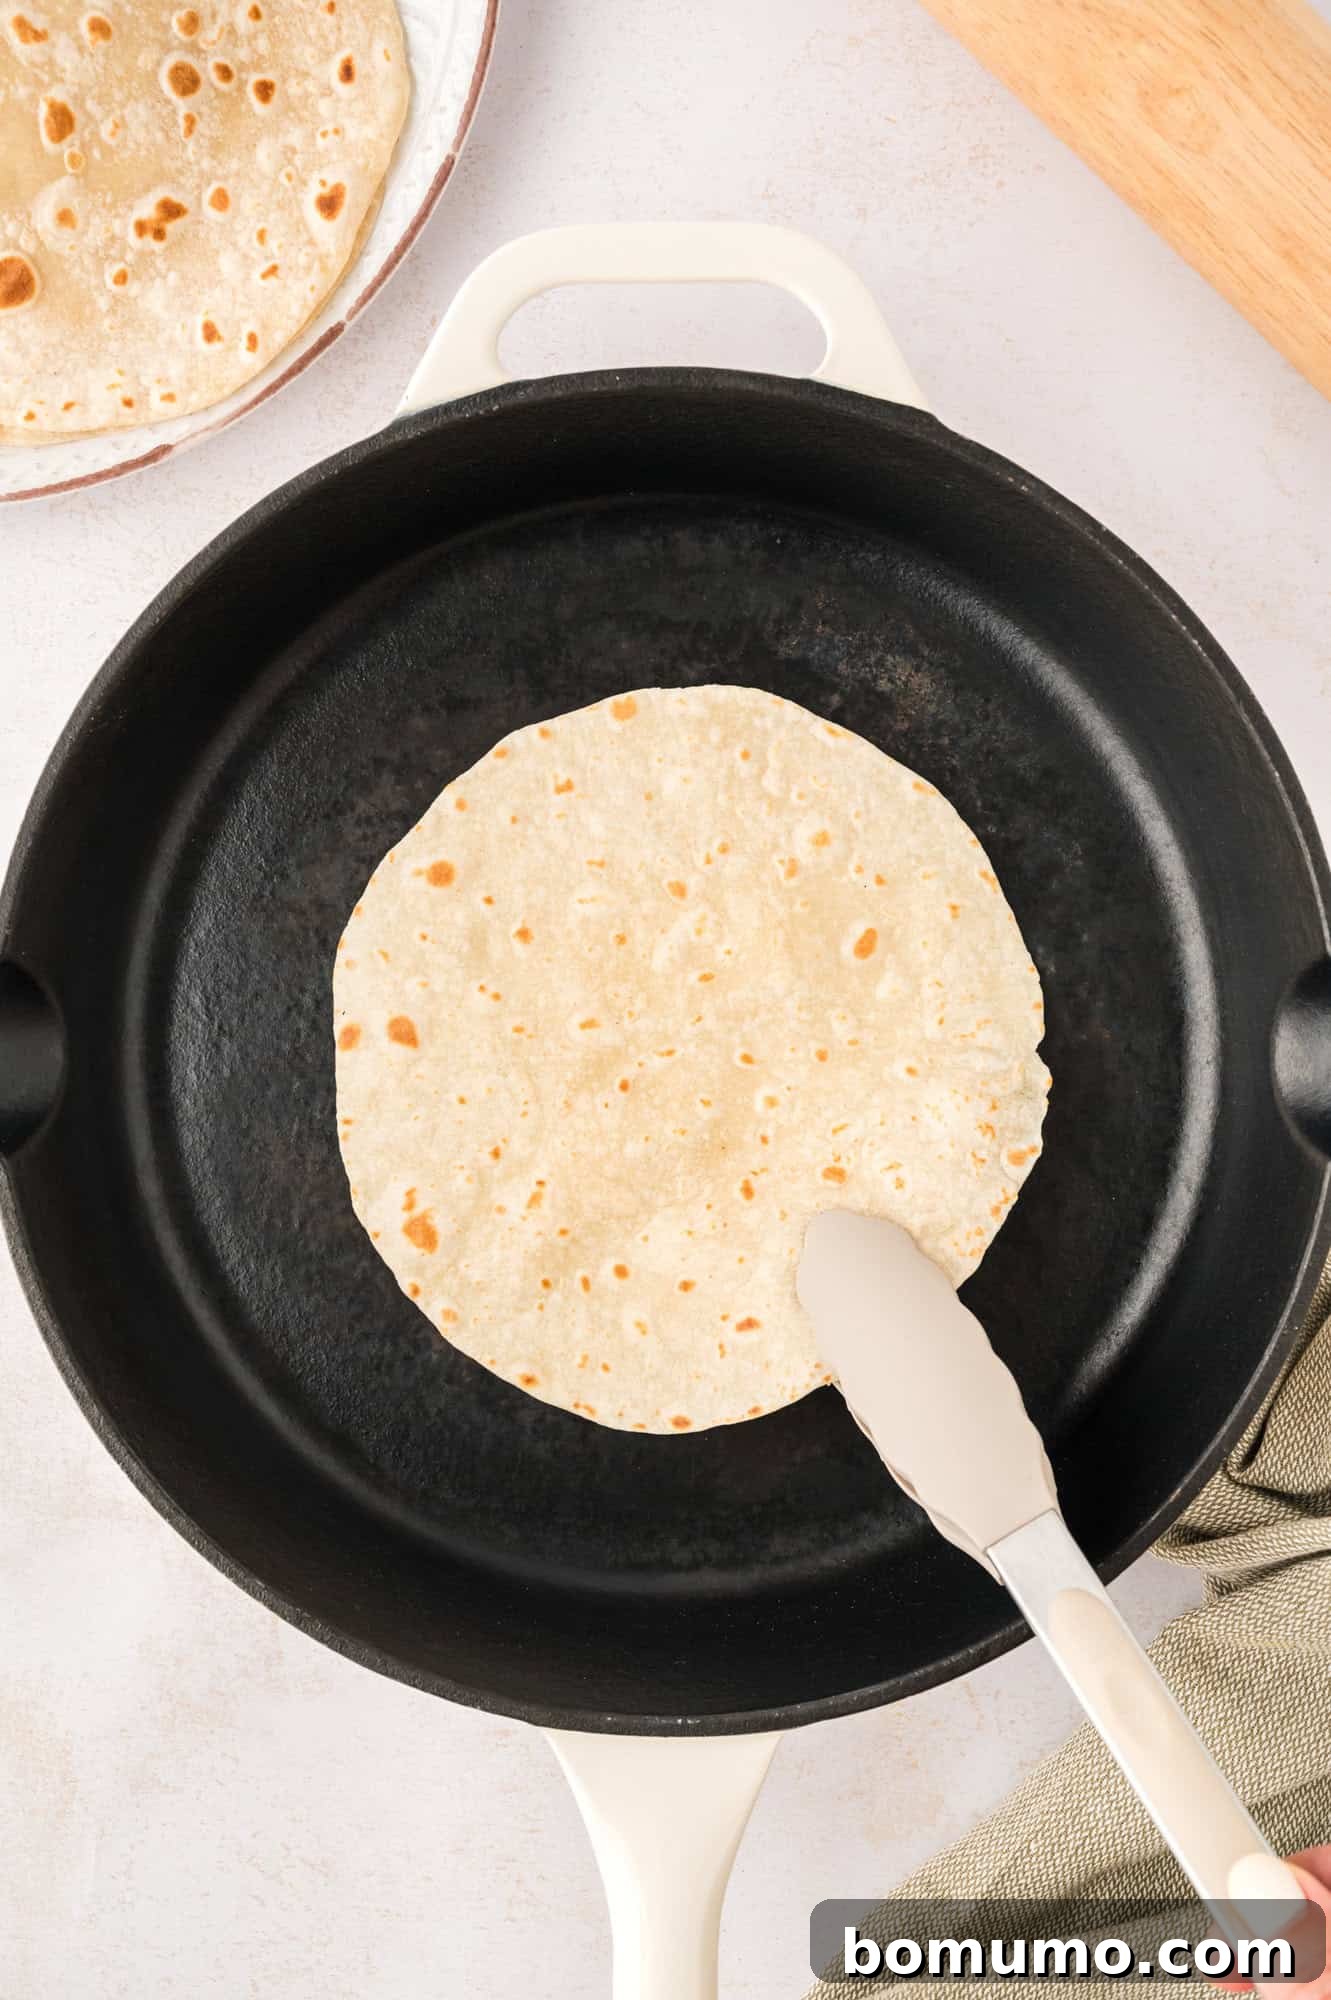
6. Cook the Tortillas: Once your skillet is hot, place one rolled tortilla onto the dry pan. Cook for 10 to 15 seconds, or until small bubbles appear on the surface and the bottom shows light brown spots and some puffing. Using tongs, flip the tortilla over and cook for another 10 seconds on the second side, until lightly browned. Adjust the heat as needed to prevent burning. Immediately transfer the cooked tortilla to a plate or a tortilla warmer lined with a clean kitchen towel to keep it warm and soft while you cook the remaining tortillas. Covering them helps trap steam and maintains their pliability.
Pro Tip: Keeping Tortillas Warm and Soft
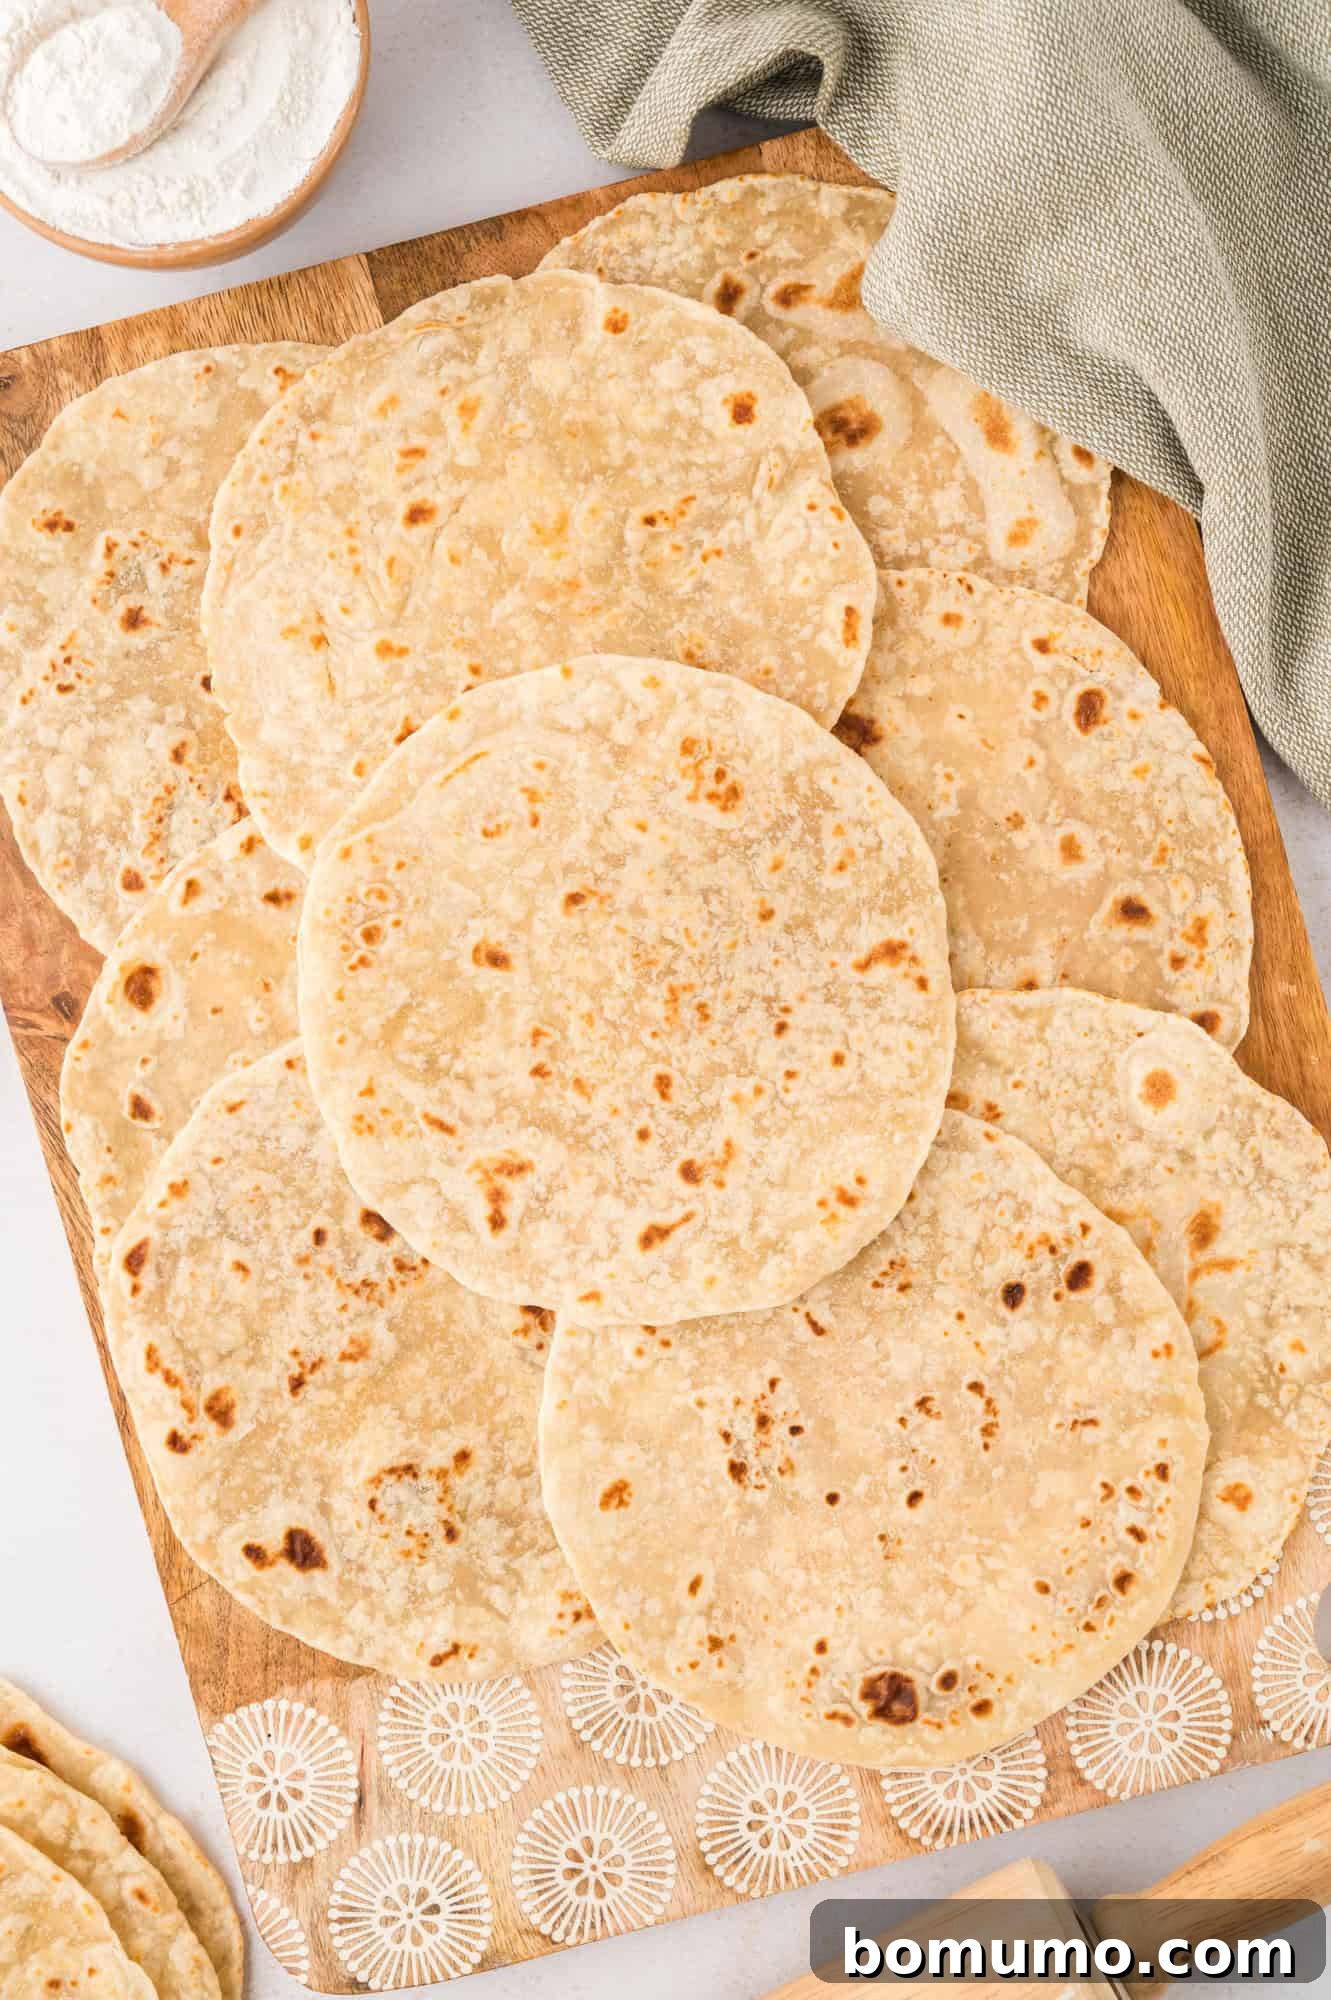
Maintaining the warmth and pliability of your freshly cooked tortillas is key to enjoying them at their best. If you don’t own a specialized tortilla warmer, a simple and effective method is to line a cast iron pan (or any shallow dish) with parchment paper. As each tortilla finishes cooking, place it in the prepared pan and immediately cover it with a clean kitchen towel. This creates a steamy environment that keeps the tortillas warm without allowing them to become soggy or stiff.
Essential Tips for Perfect Homemade Tortillas
Achieving consistently perfect homemade tortillas involves a few key techniques and careful attention to detail:
- Roll the Tortillas Out Thinly: This is perhaps the most important tip for tender, pliable tortillas. The thinner you can roll the dough, the more delicate and flexible your finished product will be. Aim for an almost translucent appearance, being careful not to tear the dough. Consistent thinness ensures even cooking and prevents dense, chewy spots.
- Utilize a Well-Seasoned Cast Iron Skillet or Griddle: Cast iron is ideal for cooking tortillas because it heats evenly and retains heat exceptionally well. This consistent temperature allows for quick cooking and helps develop those desirable toasted, charred spots without drying out the tortilla. If you don’t have cast iron, a heavy-bottomed non-stick pan can also work, but keep an even closer eye on the heat.
- Ensure the Pan is Sufficiently Hot: Before placing your first tortilla, make sure your pan is heated adequately. If the pan isn’t hot enough, the tortilla will cook too slowly, becoming dry and crispy rather than soft and flexible. You should hear a slight sizzle when the dough touches the surface.
- Avoid Overheating the Pan: While a hot pan is essential, an excessively hot pan will quickly burn the tortillas before they have a chance to cook through or puff up properly. It might take a bit of trial and error to find the perfect medium heat for your specific stove. As you cook successive tortillas, the pan will continue to heat up, so be prepared to slightly reduce the heat towards the end of your batch to maintain optimal cooking temperature.
- Don’t Be Afraid of the Puff: It’s perfectly normal and desirable for homemade tortillas to puff up in spots while cooking. This indicates that steam is trapped inside, creating internal pockets that contribute to a soft, airy texture.
- Practice Makes Perfect: Don’t get discouraged if your first few tortillas aren’t perfectly round or don’t puff up exactly right. Like any craft, tortilla making improves with practice. Focus on the flavor and texture, and the aesthetics will follow.
Creative Serving Ideas for Your Homemade Tortillas
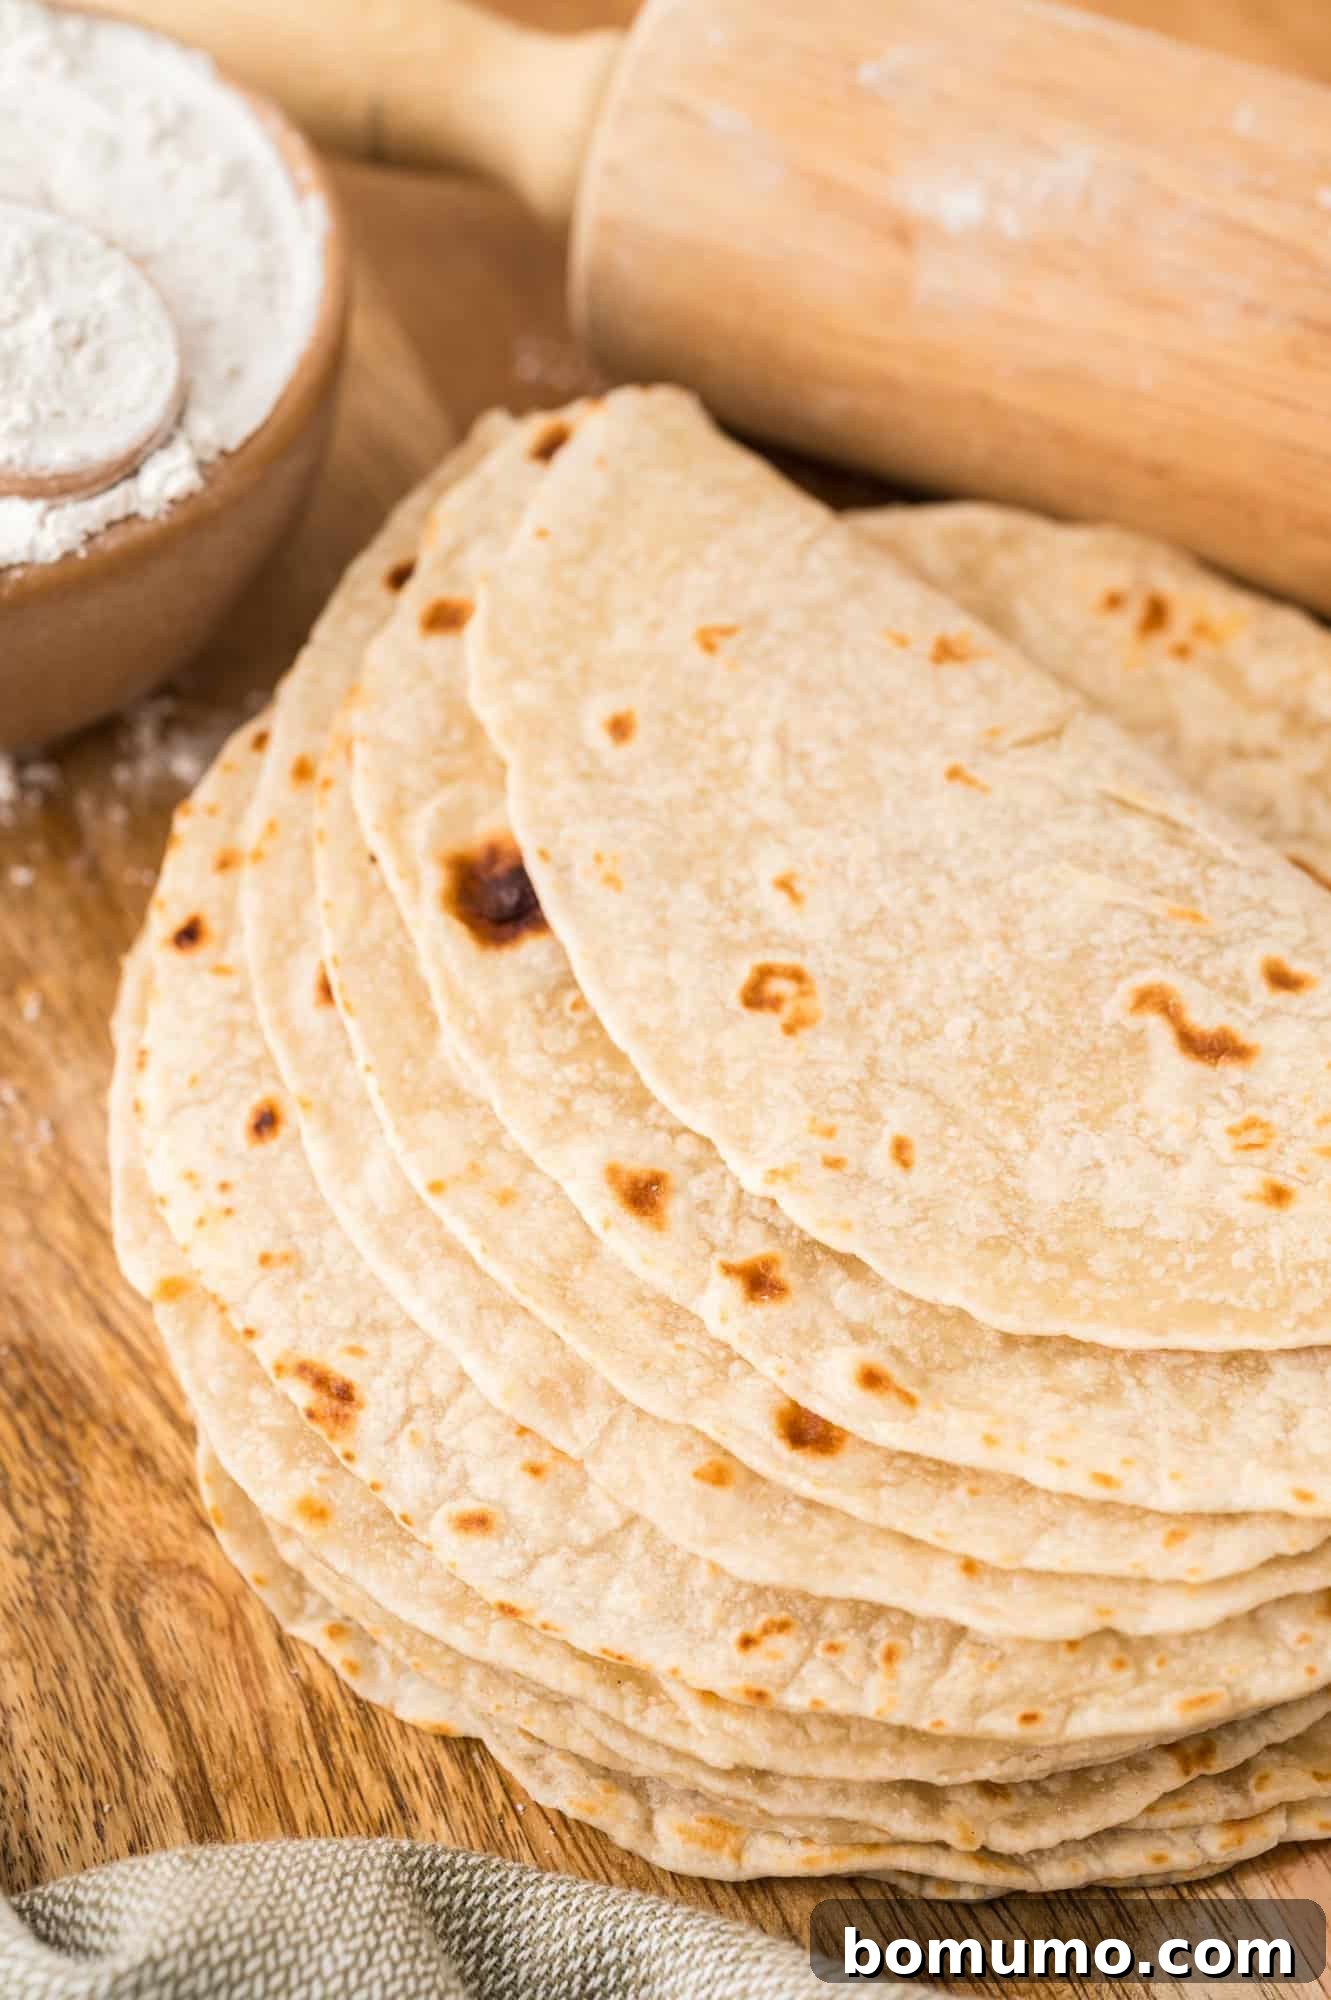
Once you’ve mastered the art of homemade flour tortillas, the possibilities for delicious meals are endless. Their fresh flavor and soft texture make them perfect for a wide variety of dishes:
- Tacos: The classic choice! These soft, warm tortillas are the ideal vehicle for any taco filling. Try them with my healthier ground turkey taco meat, vibrant salmon tacos, or savory mushroom tacos for a fantastic meatless option.
- Burritos: Roll up larger versions of these tortillas with your favorite hearty fillings. Combine fluffy cilantro lime rice, flavorful Instant Pot pinto beans, seasoned meat, cheese, and fresh veggies for a satisfying meal.
- Quesadillas: Transform your tortillas into melty, cheesy goodness. Our kid-friendly pizza quesadilla recipe is a surefire hit, or keep it simple with classic cheese and your favorite protein.
- Tostadas: For a crispy twist, lightly bake or fry your homemade flour tortillas until golden and crunchy. Top them with creamy Instant Pot refried beans, shredded lettuce, salsa, and other fresh ingredients for an open-faced delight.
- Wraps: Utilize the flexibility of soft homemade tortillas to create delicious sandwiches and wraps. They’re fantastic filled with zesty chickpea salad or a creamy avocado chicken salad. Get creative by stuffing them with crispy baked chicken tenders, fresh shredded lettuce, and a drizzle of your favorite sauce. For lighter options, try a hearty roasted vegetable wrap or a classic turkey wrap. Don’t forget breakfast: sheet pan eggs fit perfectly inside for a convenient grab-and-go start to your day.
Storage & Reheating Your Tortillas
Storage & Reheating Your Tortillas
Proper storage and reheating ensure your homemade flour tortillas remain delicious and pliable long after they’re made:
Storage: Allow your homemade flour tortillas to cool completely to room temperature before storing them. Once cooled, place them in an airtight zip-top bag to prevent them from drying out. They will stay fresh at room temperature for up to 3 days. For longer storage, you can easily freeze them for up to 3 months. To freeze, stack them with small pieces of parchment paper between each tortilla to prevent sticking, then place the stack in a freezer-safe bag.
Reheating: While homemade flour tortillas are certainly edible at room temperature, warming them up truly brings out their best texture and flavor, making them wonderfully pliable. To reheat, place tortillas one at a time in a dry skillet over medium heat for about 15 seconds per side, or until they are warm and soft. You can also quickly warm them in a microwave (stacked and covered with a damp paper towel) for 10-20 seconds, or wrap a stack in foil and heat in a preheated oven at 300°F (150°C) for 10-15 minutes.
More Delightful Tex-Mex Recipes to Explore
Classic Taco Salad Recipe – with Optional Homemade Dressing
Easy & Flavorful Mexican Rice Recipe
The Ultimate 7 Layer Dip Recipe
Easy & Quick Shrimp Tacos
Homemade Flour Tortillas
Rachel Gurk
15 mins
15 mins
1 hr
1 hr 30 mins
6
(makes 12 tortillas)
Print Recipe
Homemade flour tortillas are an absolute game-changer for any Tex-Mex feast! They are surprisingly simple to prepare, yet offer an unbeatable freshness and taste that will make all your meals more special. This recipe has been carefully tested and re-tested to ensure you achieve perfectly soft, pliable, and delicious results every single time.
Ingredients
-
3
cups
all-purpose flour
(whole wheat flour can be substituted for up to half of the flour) -
1
teaspoon
salt -
1
cup
hot water, more if needed -
⅓
cup
shortening
Instructions
-
In a large bowl, whisk together the 3 cups of all-purpose flour and 1 teaspoon of salt. Set this mixture aside.
-
Measure 1 cup of hot water into a 2-cup microwave-safe glass measuring cup. Add the ⅓ cup of shortening to the hot water. Microwave for about 1 minute, then stir well until the shortening is completely melted and integrated into the hot water. If the shortening hasn’t fully melted, microwave in additional 10-second increments, stirring after each, until the mixture is uniform and very hot.
-
Pour the hot shortening and water mixture into the bowl with the flour. Stir vigorously with a sturdy spoon or spatula until the mixture comes together to form a cohesive ball of dough. The dough will be somewhat sticky but should be manageable. If it appears too dry or crumbly, add additional hot water, one tablespoon at a time, mixing well after each addition, until the dough forms a soft, pliable ball.
-
Cover the bowl containing the dough with a clean kitchen towel and let it rest at room temperature for at least 1 hour. This resting step is crucial as it allows the hot water to fully hydrate the flour and enables the gluten to relax, which is essential for creating soft, pliable, and easy-to-roll tortillas.
-
When you are ready to cook the tortillas, heat a cast iron skillet (or a heavy-bottomed griddle) over medium heat until it is hot. Meanwhile, divide the rested dough into 12 equal portions and roll each portion into a smooth ball. On a clean, lightly floured surface (or using parchment paper for easier handling), use a rolling pin to roll out each dough ball as thinly as possible into a circular shape, aiming for about 6-7 inches in diameter.
-
Once the pan is hot, place one rolled tortilla onto the dry surface. Cook for approximately 10 to 15 seconds, or until the tortilla begins to puff up in various spots and its underside is lightly freckled with brown spots. Using tongs, carefully flip the tortilla over and cook for another 10 seconds on the second side, until it too shows light browning. Monitor the heat and adjust it slightly downwards if the tortillas are browning too quickly. Remove the cooked tortilla from the pan and place it on a plate or in a tortilla warmer, covered with a clean towel, to keep it warm and soft. Continue this process with the remaining tortillas.
Notes
- Cooking tip: It’s paramount that your pan is hot enough before you start cooking the tortillas. If the pan is too cool, the tortilla will dry out and become crispy instead of soft and flexible. Aim for light brown freckles, not black spots. Don’t worry if the tortilla puffs up in places—that’s a sign of a well-made tortilla!
- Testing note: We rigorously tested this recipe with various methods and ingredient combinations. The technique of hydrating the flour with hot water and melted shortening consistently produced the best results, yielding wonderfully soft and pliable tortillas.
- Storage & reheating: Always allow your flour tortillas to cool completely before storing them. Once cool, place them in an airtight zip-top bag. They will stay fresh at room temperature for up to 3 days. For longer storage, freeze them for up to 3 months. To reheat, simply warm the tortillas in a skillet over medium heat for about 15 seconds per side until they are warm and soft again. They can also be enjoyed at room temperature.
- This recipe was originally posted as “Southwestern Homemade Tortillas” and included 1 teaspoon of taco seasoning. The recipe has been re-tested and revised in September 2024 to its current, perfected version without the seasoning, allowing for maximum versatility.
Nutrition Information
Serving: 2 tortillas
Calories: 328 kcal
Carbohydrates: 48 g
Protein: 6 g
Fat: 12 g
Saturated Fat: 3 g
Polyunsaturated Fat: 3 g
Monounsaturated Fat: 5 g
Trans Fat: 2 g
Sodium: 391 mg
Potassium: 67 mg
Fiber: 2 g
Sugar: 0.2 g
Calcium: 11 mg
Iron: 3 mg
Nutrition information is automatically calculated and should be used as an approximation.
Did You Make This Recipe?
Share your thoughts by leaving a comment and rating below! I love hearing about your cooking experiences.