
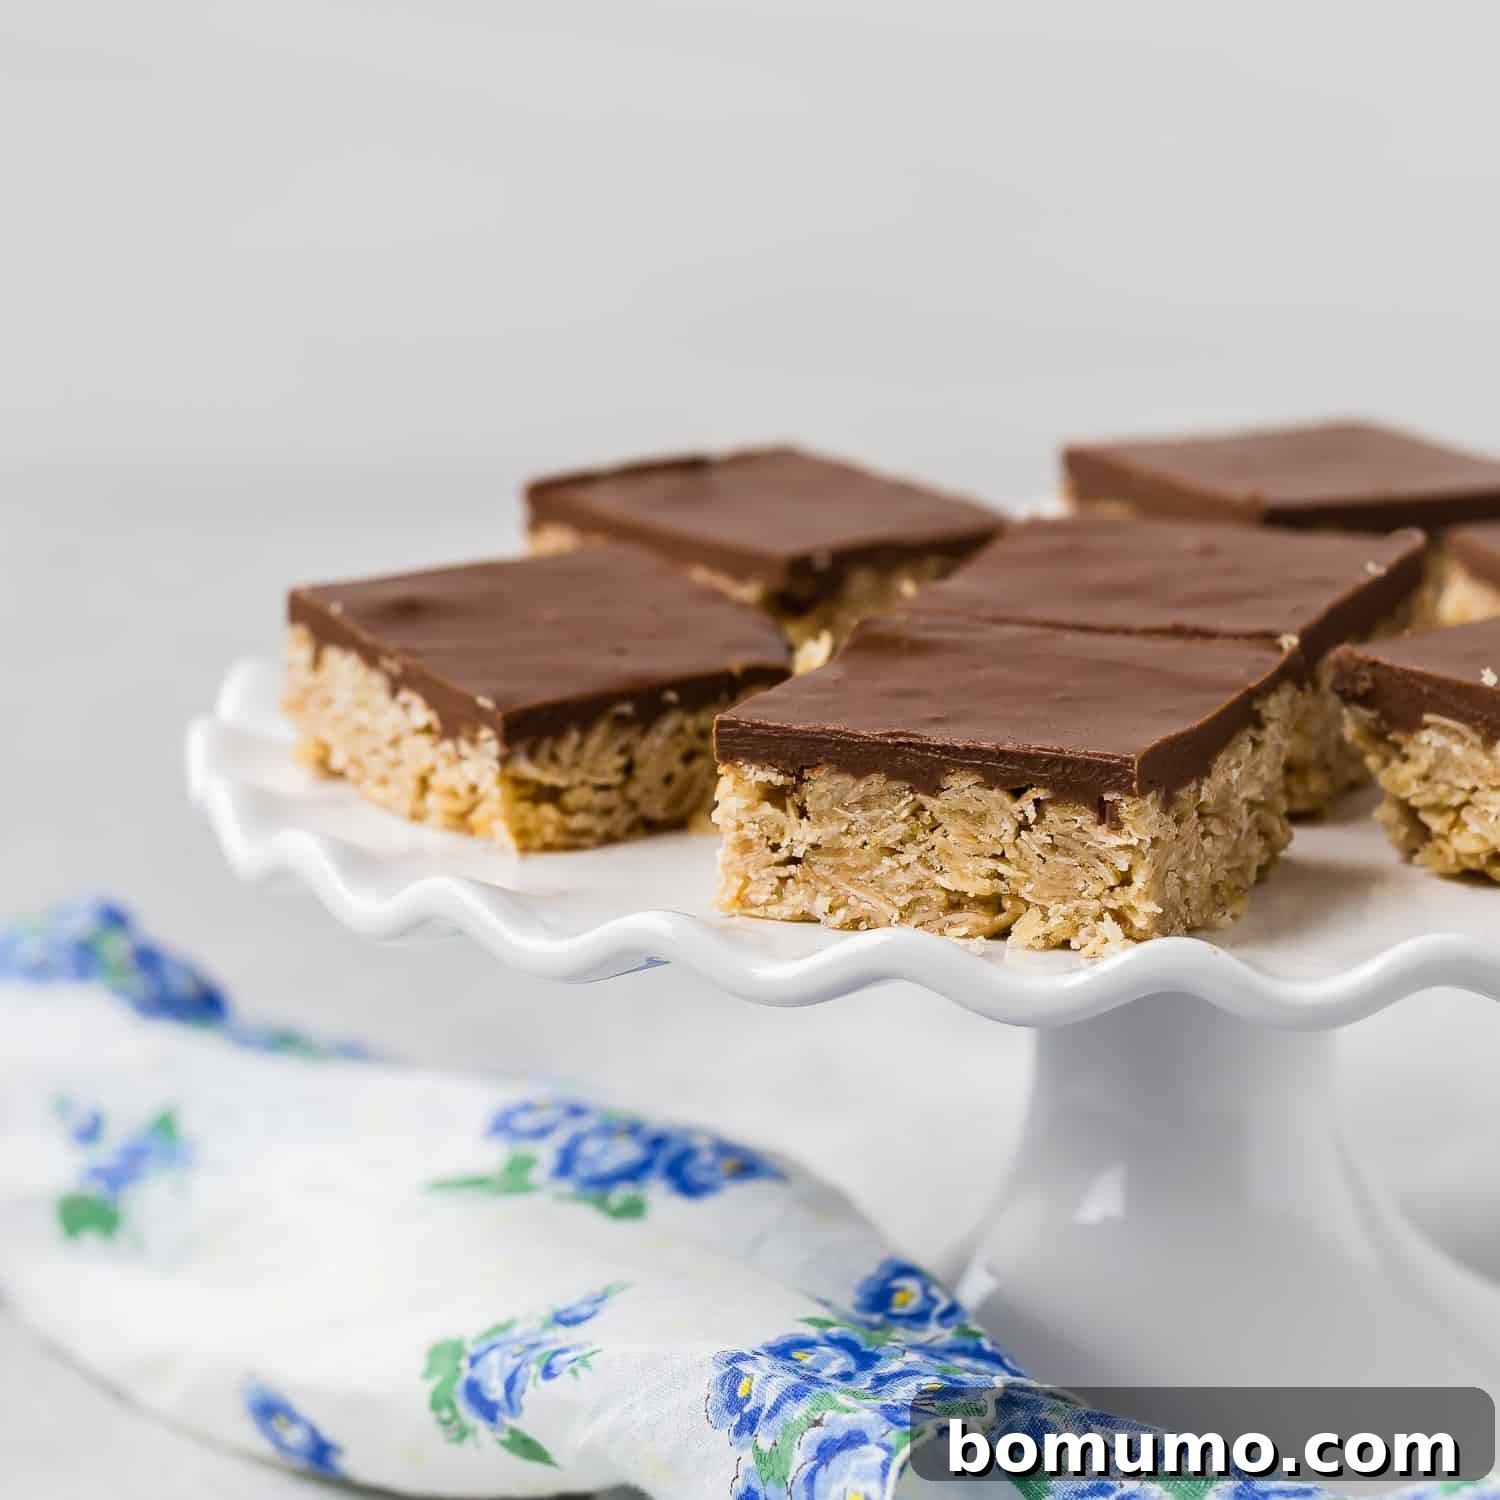
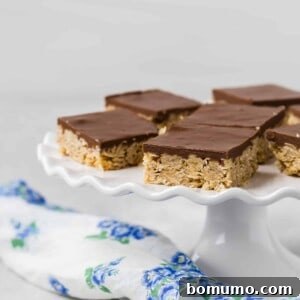
Indulge in the nostalgic delight of homemade Oh Henry bars, a beloved family recipe that captures the essence of the classic Nestlé candy bar. Prepare to be enchanted by the harmonious layers: a wonderfully sweet and chewy oat base, crowned with a rich, creamy peanut butter fudge. These bars aren’t just a dessert; they’re a trip down memory lane, promising a symphony of textures and flavors with every bite.
Recipe Overview
Why you’ll love it: These Oh Henry bars are a true crowd-pleaser, delivering rich, satisfying flavor with minimal effort. Requiring just six simple ingredients, they are incredibly easy to make, making them perfect for both experienced bakers and kitchen newcomers. Their irresistible combination of sweet oats and creamy peanut fudge ensures they are always the first to disappear at any gathering.
How long it takes: The active preparation and baking time is less than half an hour, with an additional hour or more needed for the bars to chill and set properly in the refrigerator.
Equipment you’ll need: You’ll require a standard 9×13 inch baking pan, an oven for baking the oat base, and a microwave or double boiler for melting the topping ingredients.
Servings: This recipe yields a generous 36 bars, making it ideal for large families, parties, or for stocking up your freezer with delightful treats.
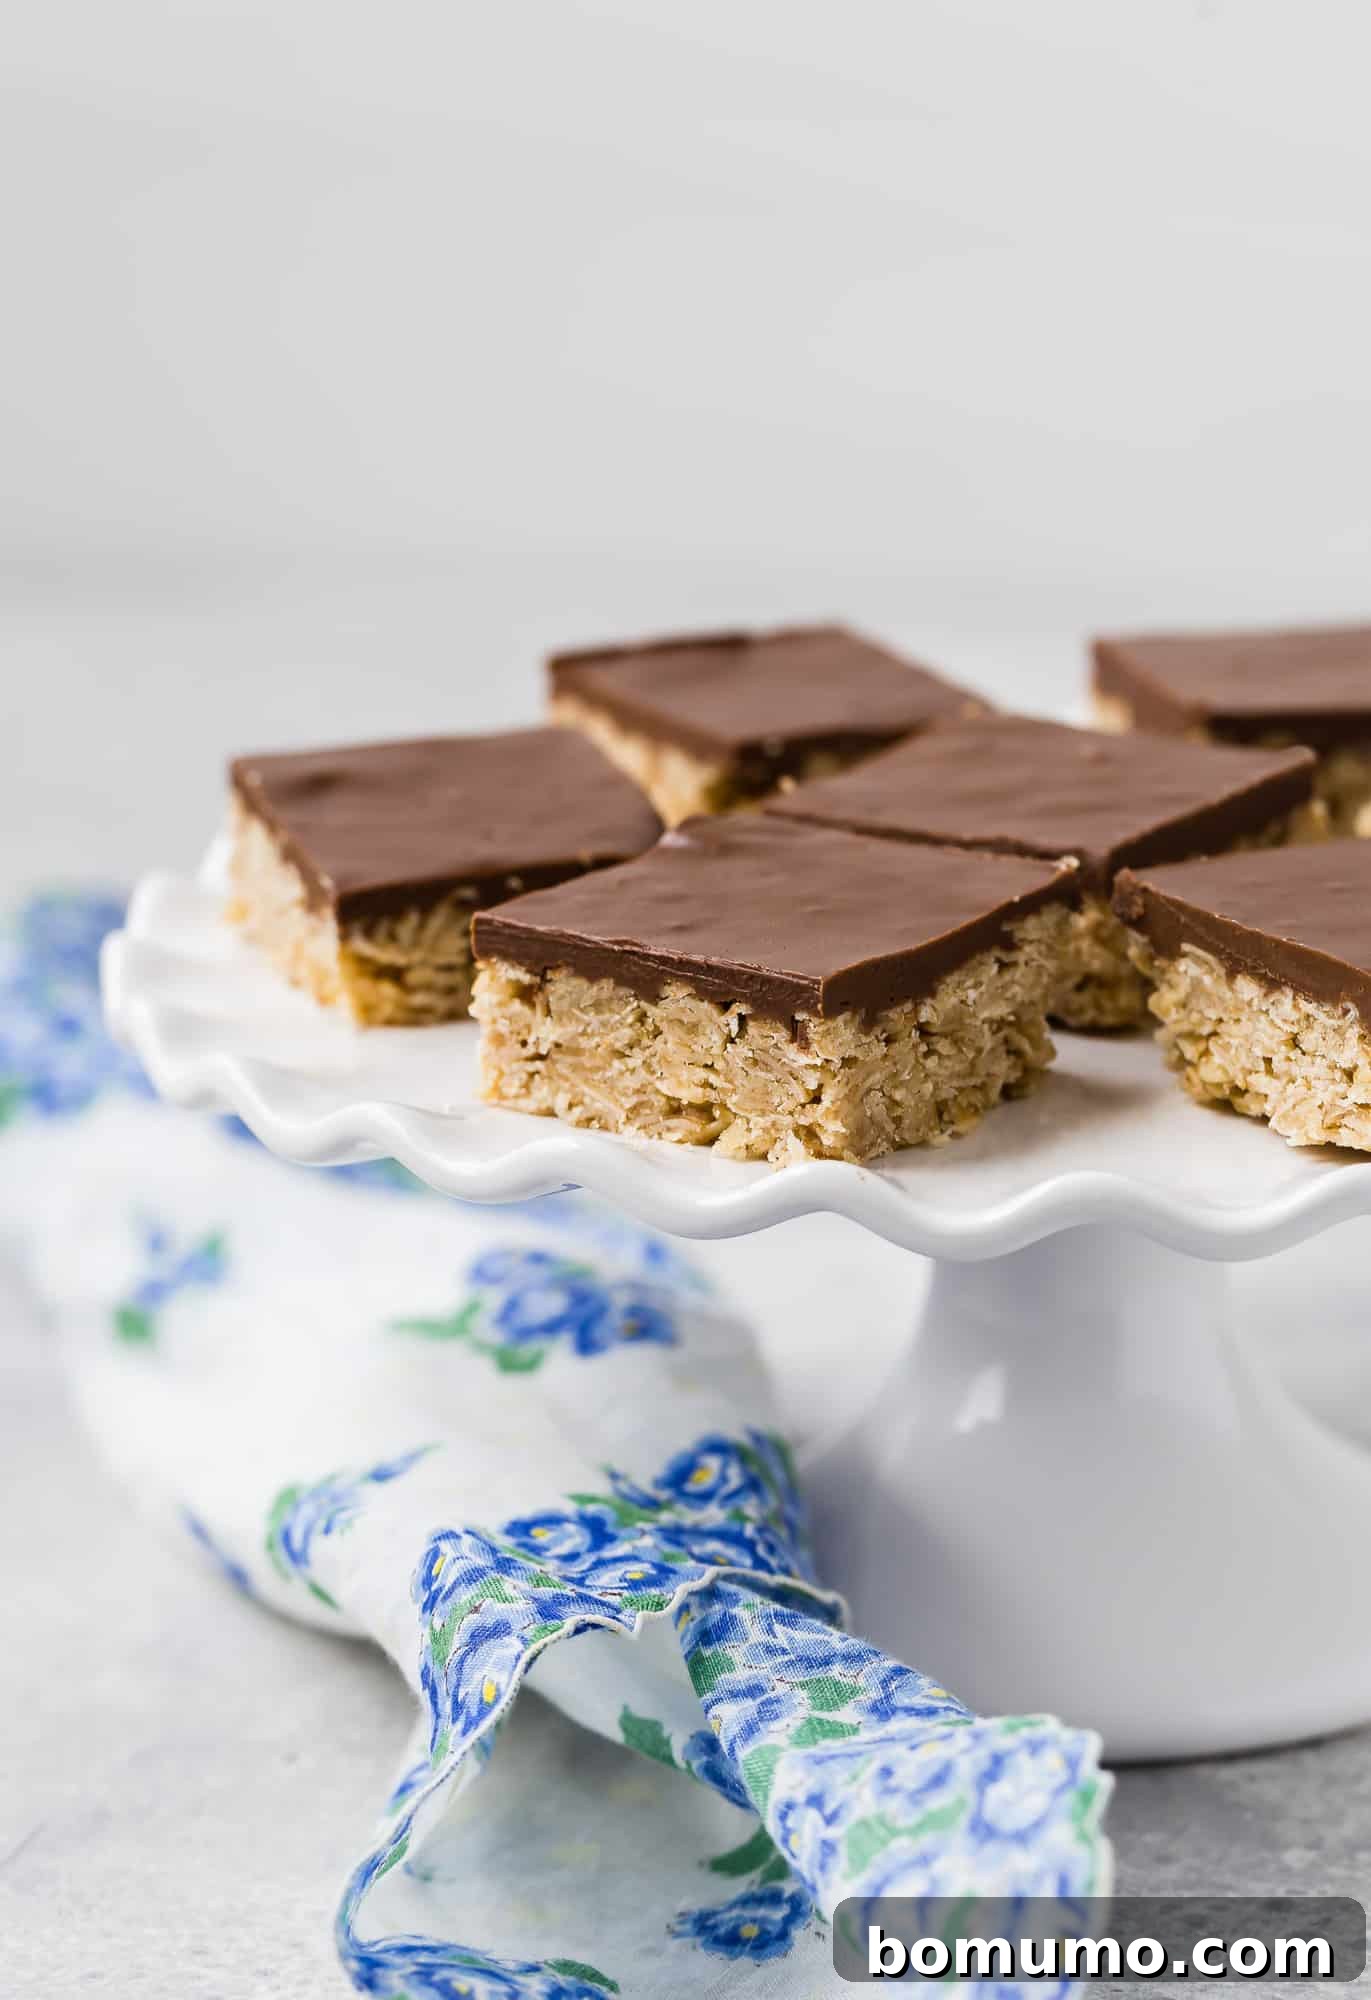
There are some recipes that transcend mere ingredients and instructions, becoming cherished family heirlooms. This recipe for Oh Henry bars is precisely one of those. It holds a very special place in my heart, primarily because it was one of my grandma’s absolute favorites. She was renowned for her baking, and whenever there was a church event, a family reunion, or any potluck, everyone knew exactly what my grandma would bring: her legendary Oh Henry bars.
It wasn’t just an expectation; it became a delightful tradition. “Please bring your Oh Henry bars!” was the recurring request, a warm invitation that she couldn’t refuse. I sometimes wonder if she felt she wouldn’t be truly welcomed if she didn’t arrive with a pan of these delectable treats in hand. And, without fail, those pans would return home completely empty. My poor Grandpa often had to strategize just to get his share!
While my grandma no longer bakes, her culinary legacy lives on through her grandchildren. We proudly carry on her traditions, sharing the joy and deliciousness she brought into our lives. I am absolutely thrilled to share this treasured recipe with you, and I truly hope these homemade Oh Henry bars bring as much happiness and sweet memories to your family as they have to ours.
About Oh Henry Bars: A Sweet History and Homemade Revival
The original Oh Henry! candy bar, a creation by Nestlé (and previously the Williamson Candy Company), was a beloved confection featuring distinct layers of crunchy peanuts, rich caramel, and creamy chocolate fudge. It was a symphony of flavors and textures that captured the hearts of candy enthusiasts for decades. However, like many nostalgic treats, the commercial Oh Henry! bar was discontinued in many regions around 2019, leaving a void for those who adored its unique taste profile.
This discontinuation has led to a resurgence of interest in homemade “copycat” versions, allowing fans to recreate the magic in their own kitchens. Our homemade Oh Henry bars aim to emulate that classic experience, offering a delightful combination of a sweet oat base and a luxurious peanut butter fudge topping that closely mirrors the essence of the original.
Beyond its delicious taste, the Oh Henry! candy bar also boasts a charming origin story. According to Wikipedia, the name emerged from a candy shop owned by George Williamson. A young man named Henry was a regular visitor, often befriending the female employees. These ladies would frequently call out, “Oh Henry, will you do this?” or “Oh Henry, will you do that?” Mr. Williamson, amused by their frequent pleas, eventually decided to name his new peanut-caramel-chocolate concoction after the obliging young man. It’s a whimsical tale that adds an extra layer of sweetness to an already delightful treat.
So, we echo the sentiment: Oh Henry! Will you do us a favor and make these incredible bars for your friends and family? You won’t regret it.
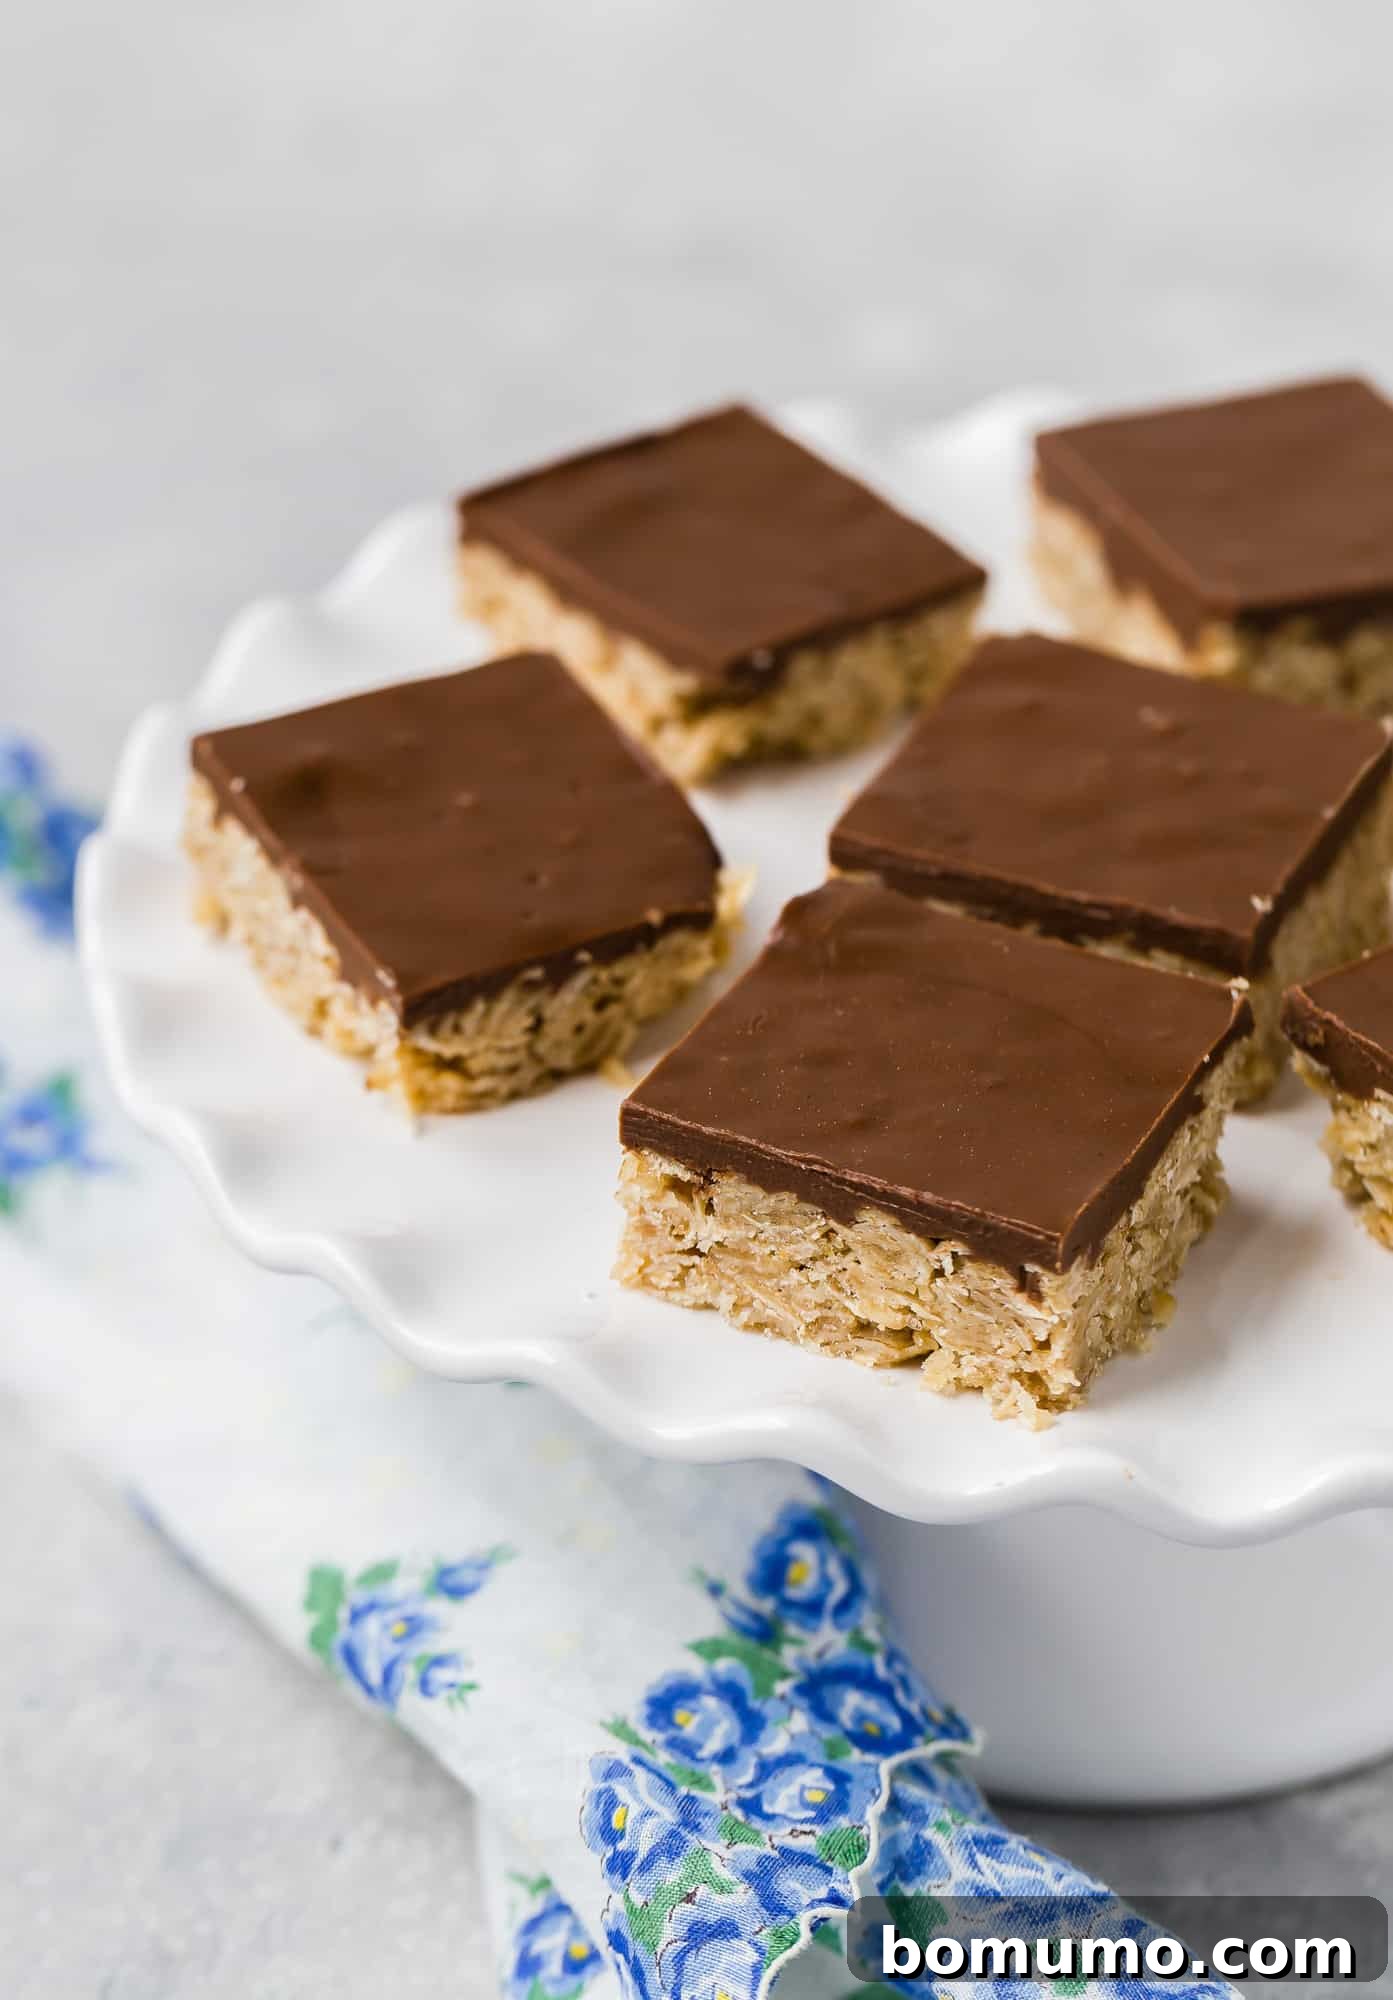
Essential Ingredients for Perfect Oh Henry Bars
Crafting these delectable Oh Henry bars requires only a handful of common pantry staples. Each ingredient plays a crucial role in achieving that signature chewy base and rich, irresistible fudge topping. Here’s a closer look at what you’ll need:
- Rolled Oats: The foundation of these bars is built upon hearty oats, providing a wholesome and delightfully chewy texture. You have the flexibility to use either old-fashioned rolled oats or quick oats. Both varieties work well, creating a substantial and satisfying base. However, it’s crucial to avoid using steel-cut oats or instant oats, as their different processing methods and textures will not yield the desired result for this recipe. Steel-cut oats will remain too firm, while instant oats can become mushy.
- Sugar: We use a combination of two types of sugar to sweeten the oat base and contribute to its rich, caramel-like flavor profile. Brown sugar adds moisture and a deeper, molasses-rich sweetness, enhancing the fudge-like quality of the base. Granulated white sugar provides a clean, balanced sweetness. Together with the butter, these sugars help create a wonderfully cohesive and flavorful bottom layer.
- Butter: You’ll need two sticks (one cup) of melted butter, preferably unsalted. Unsalted butter allows you to control the overall saltiness of the bars, though salted butter can be used if that’s all you have on hand – just be mindful of any additional salt in other ingredients. The butter acts as a binding agent for the oats and sugars, and it imparts a luscious richness that makes the base truly indulgent.
- Peanut Butter: This is a star ingredient for the irresistible fudge topping. Whether you prefer creamy or chunky peanut butter is entirely your choice; both will yield delicious results. My grandma always opted for creamy for a smoother fudge. For the best texture and consistency, we recommend using a conventional, shelf-stable peanut butter like Jif or Skippy. Natural peanut butters, which often separate into oil and solids, tend to create a less stable and potentially greasy topping. If you have nut allergies, sunflower seed butter (often called “sunbutter”) is an excellent and delicious substitute, as is almond butter if tree nuts are permissible.
- Chocolate Chips: The chocolate element of the fudge topping brings everything together. Semi-sweet chocolate chips are our usual choice, offering a balanced sweetness that complements the peanut butter beautifully. However, you can certainly use milk chocolate chips for a sweeter, creamier fudge, or even dark chocolate chips for a more intense, sophisticated flavor. Feel free to experiment with your favorite type!
Crafting Your Homemade Oh Henry Bars: A Simple Step-by-Step Guide
These Oh Henry bars are not just incredibly delicious; they’re also remarkably straightforward to prepare, making them an ideal project for bakers of all skill levels. With just a few simple steps, you’ll be on your way to enjoying these irresistible treats.
-
Before you begin, preheat your oven to 350ºF (175ºC). For the easiest removal and cleanest cuts, we highly recommend lining your 9×13 inch baking pan with parchment paper. Allow the parchment paper to extend over the edges of the pan, creating “wings” that you can use to lift the entire batch of bars out once chilled. Lightly spray the parchment with nonstick cooking spray.
-
In a large mixing bowl, combine the rolled oats, packed brown sugar, granulated white sugar, and the melted butter. Mix these ingredients thoroughly until the oats are evenly coated and the mixture resembles a moist, sandy texture. This is a perfect task for little helpers in the kitchen! Once combined, press this mixture very firmly and evenly into the prepared 9×13 inch pan. Use the back of a spoon or your hands to ensure it’s tightly packed. Bake this oat base for 12 minutes, or until the edges are lightly golden and the center is set and slightly bubbly. Be careful not to overbake, as this can make the base too dry. Remove from the oven and let it cool for about 15 minutes in the pan to allow it to firm up slightly.
-
While the oat base is cooling, prepare your rich, peanut butter chocolate fudge topping. In a medium, microwave-safe mixing bowl, combine the chocolate chips and peanut butter (or your chosen nut/seed butter). Heat this mixture in the microwave in 30-second intervals at 50% power, stirring thoroughly after each interval. Continue until the chocolate is completely melted and the mixture is smooth, glossy, and well blended. Alternatively, you can melt these ingredients together over a double boiler for a gentler, more controlled melting process. Remember, the best part is always “slicking” the spoon clean after spreading!
-
Carefully pour the warm chocolate-peanut butter mixture over the slightly cooled oat base in the pan. Use an offset spatula or the back of a spoon to spread the topping evenly all the way to the edges. Once spread, transfer the pan to the refrigerator and chill for at least 1 hour, or until the chocolate layer is completely set and firm. This chilling step is essential for clean, precise cuts.
-
Once thoroughly chilled, use the parchment paper wings to lift the entire slab of Oh Henry bars out of the pan and onto a cutting board. Using a sharp, warm knife (you can run it under hot water and wipe it dry), cut the bars into your desired size squares or rectangles. For the recommended 36 servings, cut 6 rows by 6 columns. Serve immediately and savor every delicious bite! These bars are truly a treat.
FAQs
FAQs
Sadly, the original commercial Oh Henry! candy bars were largely discontinued in many markets, including the United States, around 2019. This makes crafting your own homemade copycat version all the more essential to relive that classic flavor experience.
These iconic candy bars first made their debut in 1920, originally manufactured by the Williamson Candy Company of Chicago. The company, and with it the Oh Henry! bar, was eventually acquired by Nestlé in 1984.
The classic Oh Henry! candy bar was known for its distinct layers of roasted peanuts, a rich caramel core, and a coating of creamy milk chocolate fudge. This homemade recipe aims to capture that indulgent combination of textures and flavors.
Yes, absolutely! Oats are naturally gluten-free, but it’s important to choose certified gluten-free rolled oats to avoid cross-contamination during processing. All other ingredients in this recipe are typically gluten-free, making it easy to adapt for those with gluten sensitivities.
If your chocolate topping remains too soft, it usually indicates it hasn’t been chilled long enough or your kitchen is particularly warm. Ensure the bars chill in the refrigerator for at least an hour, or even longer (2-3 hours) if necessary, until the topping is firm to the touch. Using a good quality peanut butter that doesn’t separate can also help achieve the right consistency.
Customize Your Oh Henry Bars: Delicious Variations
While the classic Oh Henry bar recipe is perfect as is, it also offers wonderful flexibility for customization. Feel free to experiment with these delicious variations to make them truly your own:
- Peanut-Free Option for Allergies: For those with peanut allergies, easily adapt this recipe by substituting the peanut butter with sunflower seed butter (often sold as “sunbutter”). I personally love using unsweetened sunbutter for a slightly different yet equally delicious flavor profile. If tree nuts are permissible, almond butter or cashew butter can also be fantastic alternatives, each offering a unique twist to the fudge layer.
- Oat Type Flexibility: The recipe works beautifully with both old-fashioned rolled oats and quick oats. Quick oats will result in a slightly finer, more uniform base, while old-fashioned oats provide a chewier texture with more pronounced oat flakes. Avoid steel-cut or instant oats for the best results, as they won’t provide the correct texture for the baked base.
- Extra Toppings and Garnishes: Elevate your bars with additional toppings! Immediately after spreading the chocolate layer, and before it has a chance to harden, sprinkle chopped roasted peanuts for an extra crunch and intensified peanut flavor. Other delightful additions include a sprinkle of flaky sea salt (which beautifully enhances chocolate and peanut butter), colorful sprinkles for a festive touch, mini chocolate chips, or even a dusting of cocoa powder.
- Chocolate Choices and Beyond: Don’t limit yourself to just semi-sweet chocolate chips. Experiment with different types of chocolate to alter the flavor profile of your fudge. Milk chocolate chips will create a sweeter, creamier topping, while dark chocolate chips will offer a more intense, less sweet contrast. For a unique twist, consider using butterscotch chips for a completely different but equally delicious flavor combination. You could even mix and match chip varieties!
- Love Peanut Butter and Chocolate? Try These! If the irresistible combination of peanut butter and chocolate is your ultimate craving, you’ll adore these other recipes:
- Buckeyes: Classic no-bake peanut butter balls dipped in chocolate.
- No-Bake Peanut Butter Bars: Taste just like your favorite Reese’s Peanut Butter Cups, without turning on the oven.
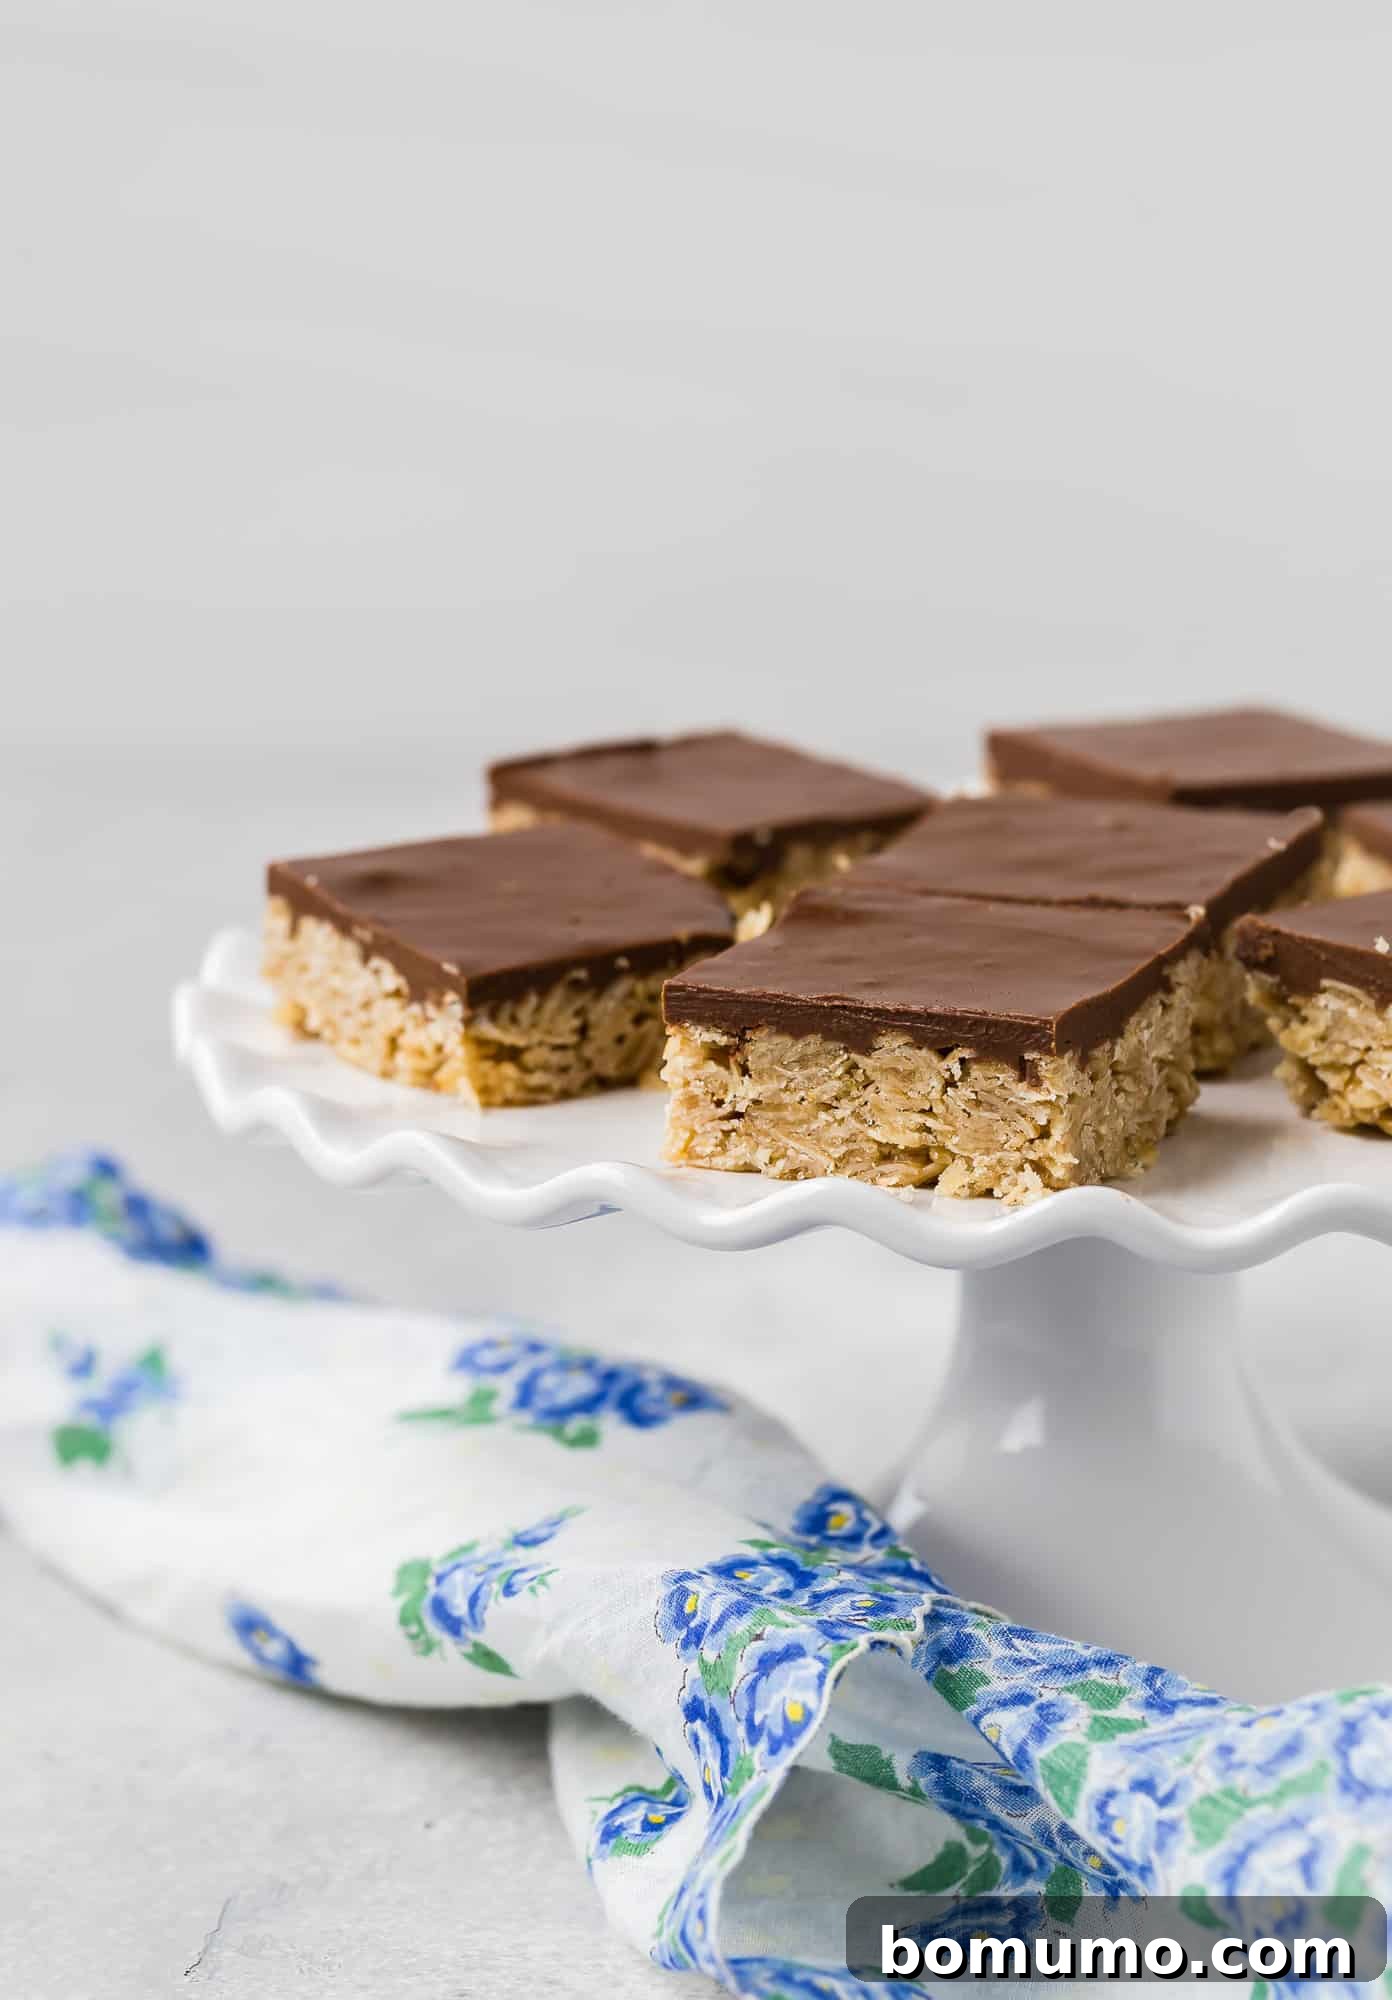
Storage Tips
Storage Tips
To maintain their perfect texture and prevent the rich, creamy chocolate topping from becoming too soft, Oh Henry bars are best stored in the refrigerator. In warmer environments, the chocolate and peanut butter fudge can quickly soften, making the bars messy and less enjoyable. When properly stored in an airtight container in the fridge, these delightful bars will remain fresh and delicious for up to one week. However, based on their popularity, it’s highly unlikely they’ll last that long – unless you find a very clever hiding spot!
For longer-term enjoyment, Oh Henry bars freeze exceptionally well. To freeze, first cut the chilled bars into individual servings. Place the cut bars into a freezer-safe container, layering them with waxed paper or parchment paper between each layer to prevent them from sticking together. They can be frozen for up to two months. Simply thaw them in the refrigerator for a few hours or at room temperature for about 30 minutes before serving.
More Irresistible Bar Recipes
While commercial candy bars offer a quick fix, nothing quite compares to the wholesome goodness and customizable flavors of homemade treats. If you love the convenience and deliciousness of bar recipes, you’ll definitely want to try these other fantastic options:
- M & M Peanut Butter Bars: A colorful and crunchy twist on a peanut butter classic.
- The Best Rice Krispies Treats: A timeless, chewy favorite that’s always a hit.
- Easy Snickerdoodle Bars: All the cinnamon-sugar goodness of snickerdoodle cookies in an easy-to-bake bar form.
- Peanut Butter Cookie Bars: Simple yet satisfying, requiring only 5 ingredients for a quick peanut butter fix.
- Blondies: A chewy, buttery, brown sugar treat that’s simpler than a brownie but just as indulgent.
- Vanilla Bean Cookie Bars: Elegant and aromatic, perfect for those who adore classic vanilla flavor.
- Frosted Oreo Cookie Bars: A decadent chocolate bar base studded with Oreos and topped with a luscious frosting.
- Fruity Pebbles No-Bake Bars: A fun, colorful, and incredibly easy no-bake option that kids and adults will love.
Oh Henry Bars – with Nut-Free Option
Rachel Gurk
15 minutes
12 minutes
1 hour
1 hour
27 minutes
36
bars
Ingredients
-
4
cups
old fashioned oats
(or quick oats) -
½
cup
packed brown sugar -
½
cup
granulated sugar -
1
cup
(2 sticks) unsalted butter, melted -
¾
cup
chocolate chips -
¾
cup
peanut butter, almond butter, or sunflower seed butter
Instructions
-
Preheat oven to 350ºF (175ºC). For easier cutting, line a 9×13 inch pan with parchment paper, leaving overhang on each side to lift out the bars. Lightly spray with nonstick spray.
-
In a large mixing bowl, combine oats, brown sugar, white sugar, and melted butter. Press firmly into the prepared pan and bake for 12 minutes or until lightly golden. Do not overbake. Let cool for 15 minutes.
-
In a medium mixing bowl, heat chocolate chips and peanut butter (or sunflower butter) over a double boiler or in 30-second intervals at 50% power in the microwave, stirring each time until smooth and well blended.
-
Spread the chocolate mixture evenly over the oat base. Refrigerate until completely set (at least 1 hour) before lifting out of the pan and cutting into squares. Store bars in the refrigerator.
Notes
- To make this recipe peanut-free, use sunflower seed butter (unsweetened Sunbutter works great) instead of peanut butter.
- Quick oats can be substituted for old-fashioned rolled oats for a slightly different texture in the base. Do not use steel-cut oats or instant oatmeal.
- Feel free to use semi-sweet, dark, or milk chocolate chips for the topping. For a unique flavor, try butterscotch chips.
- For an extra touch, sprinkle chopped peanuts, flaky sea salt, or colorful sprinkles over the warm chocolate layer before it hardens.
Nutrition
Serving:
1
bar
,
Calories:
146
kcal
,
Carbohydrates:
15
g
,
Protein:
2
g
,
Fat:
9
g
,
Saturated Fat:
4
g
,
Polyunsaturated Fat:
1
g
,
Monounsaturated Fat:
3
g
,
Trans Fat:
1
g
,
Cholesterol:
14
mg
,
Sodium:
26
mg
,
Potassium:
69
mg
,
Fiber:
1
g
,
Sugar:
8
g
,
Vitamin A:
158
IU
,
Calcium:
11
mg
,
Iron:
1
mg
Please note that nutrition information is an estimate and can vary based on specific ingredients and preparation methods.
Did You Make This?
Share a comment and rating below! I love hearing what you think!