
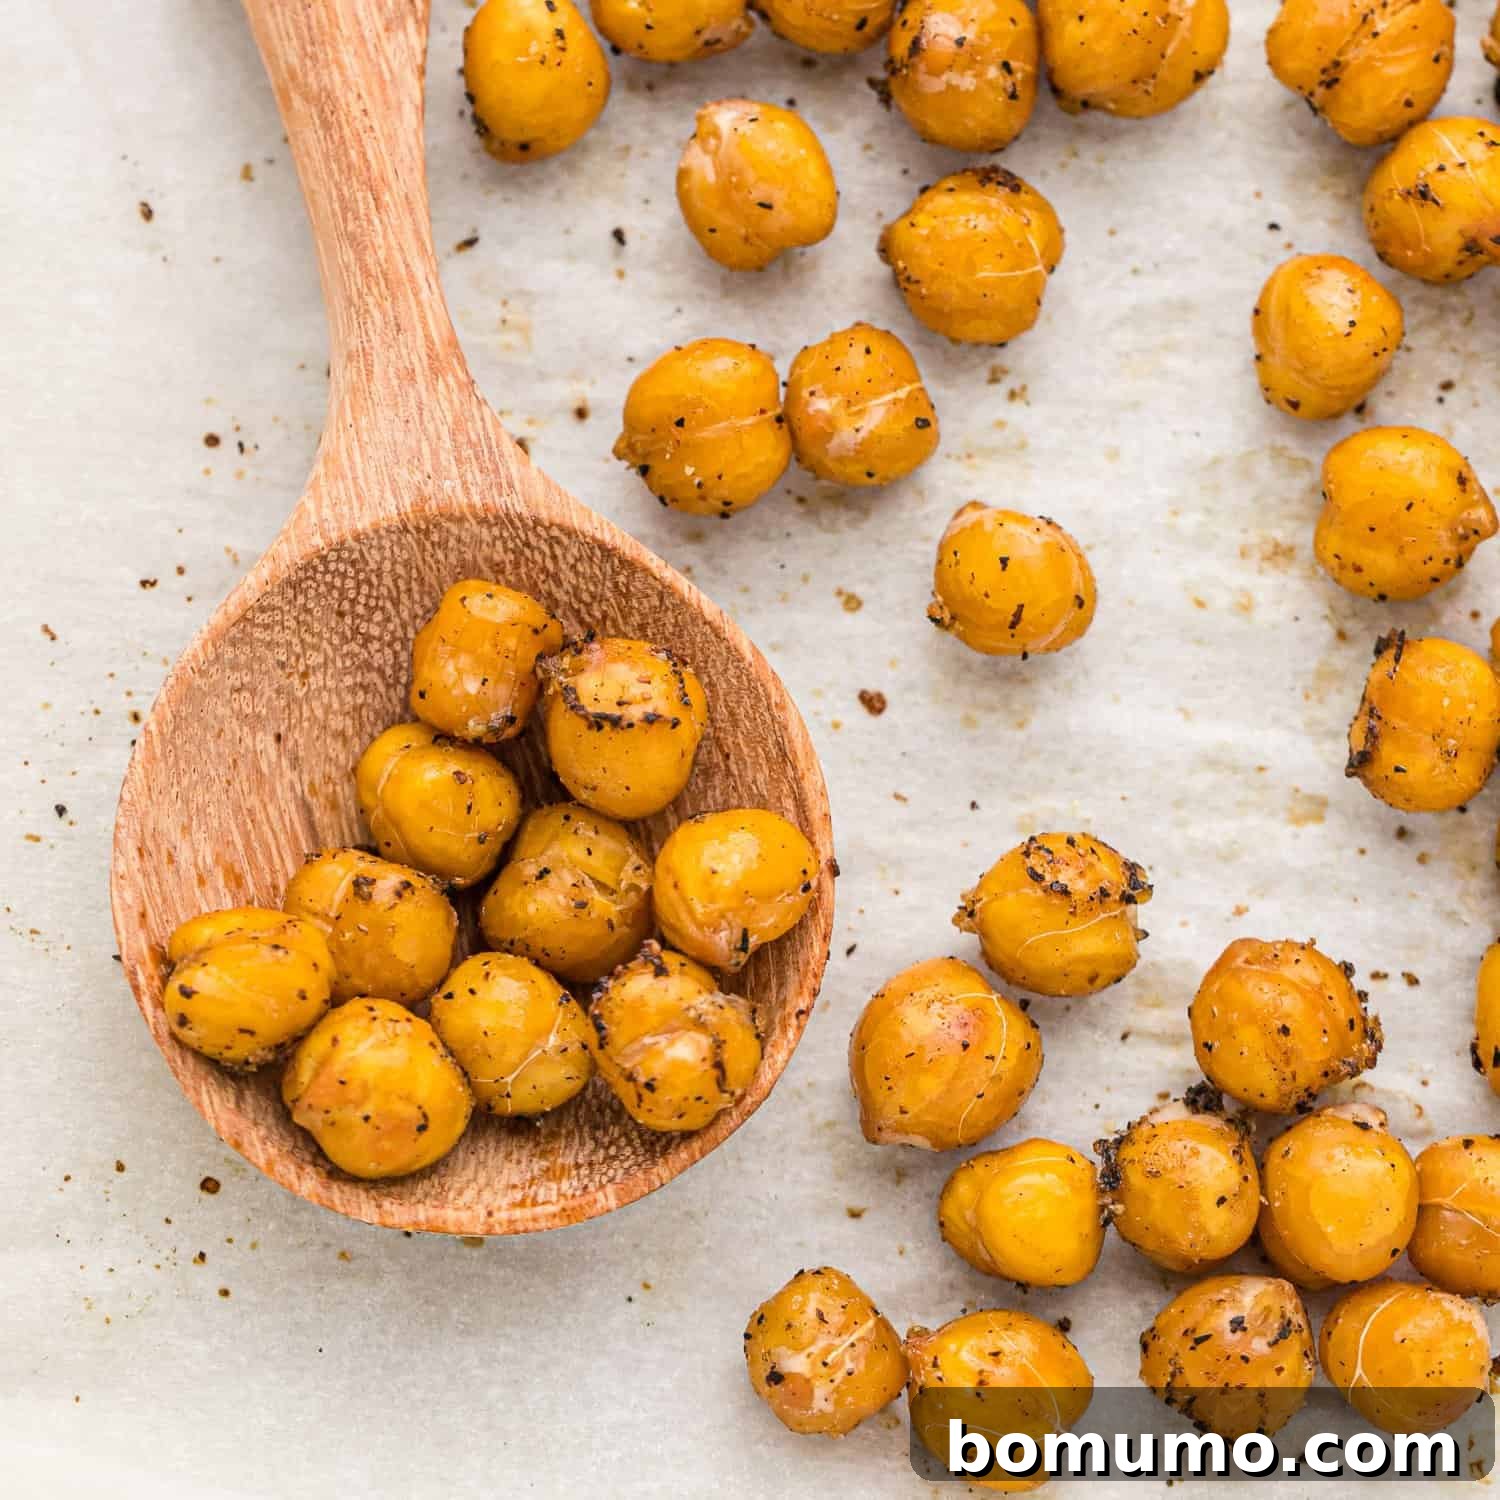
Discover how to effortlessly create irresistibly crispy roasted chickpeas, a delicious and remarkably healthy snack that’s bursting with plant-based protein and fiber. These golden nuggets aren’t just for snacking; they also make a fantastic addition to salads, soups, and even grain bowls, adding a delightful crunch and savory flavor.
Recipe Overview: Crispy Roasted Chickpeas
Why you’ll love this recipe: These crispy chickpeas are incredibly easy to make, satisfyingly crunchy, and wonderfully addictive. They offer a wholesome alternative to processed snacks without compromising on flavor or texture.
How long it takes: Approximately 35 minutes (10 minutes prep, 25 minutes cook time).
Equipment you’ll need: A small rimmed baking sheet, a mixing bowl, and a clean kitchen towel.
Servings: This recipe yields about 4 servings, perfect for sharing or enjoying throughout the week.

Roasted chickpeas, often celebrated for their earthy, nutty flavor and incredibly satisfying crunch, stand out as a superior, healthy alternative to many common snack foods. Far from being just a tasty treat, they are nutritional powerhouses. Each bite delivers a generous dose of plant-based protein, essential dietary fiber, and a spectrum of important vitamins and minerals, including iron, folate, and manganese. All these benefits are neatly packaged in these cute, flavorful, and wonderfully versatile legumes.
Beyond simply munching on them straight from the bowl, the culinary possibilities for roasted chickpeas are truly endless. Transform your everyday meals by adding them to crisp green salads for a substantial protein boost and an exciting textural contrast. Sprinkle them over creamy soups just before serving to introduce a delightful crunch and depth of flavor. They can also elevate grain bowls, wraps, or even serve as a unique, savory topping for avocado toast. Their convenient size makes them a hit with children too, offering a finger-friendly snack that’s both fun to eat and incredibly nutritious. Imagine them as part of a vibrant after-school snack board, providing a healthy and engaging option for little hands.
For those moments when you’re craving something perfectly crunchy and salty, roasted chickpeas are an ideal choice. They achieve a delightful crispiness in the oven, offering a satisfying texture that can rival any less healthy option. If you happen to have an air fryer, you can achieve similar crispy results even faster. Perfectly crispy air fryer chickpeas are another fantastic option for a quick and convenient healthy snack.
Let me share a quick, memorable story about my journey to perfecting these crispy chickpeas. It was an afternoon that perfectly encapsulated the chaotic joy of hosting a belated Christmas celebration for my parents, sister, and her family. We had all been battling various illnesses, pushing our festive gathering back by more than a week. The kitchen was a flurry of activity, and my ambition was, perhaps, a little overzeated.
In addition to preparing a luscious banana chocolate chip cake for dessert and whipping up a batch of my impossibly delicious bacon-wrapped dates (a perennial favorite!), I was determined to get a fresh Brussels sprouts salad prepped. It was then that the brilliant idea struck: why not add some yummy crispy chickpeas as a topping for the salad? It seemed like a perfectly logical addition to my already ambitious menu. After all, a glass of well-deserved wine awaited me at the end of this culinary tunnel, right?
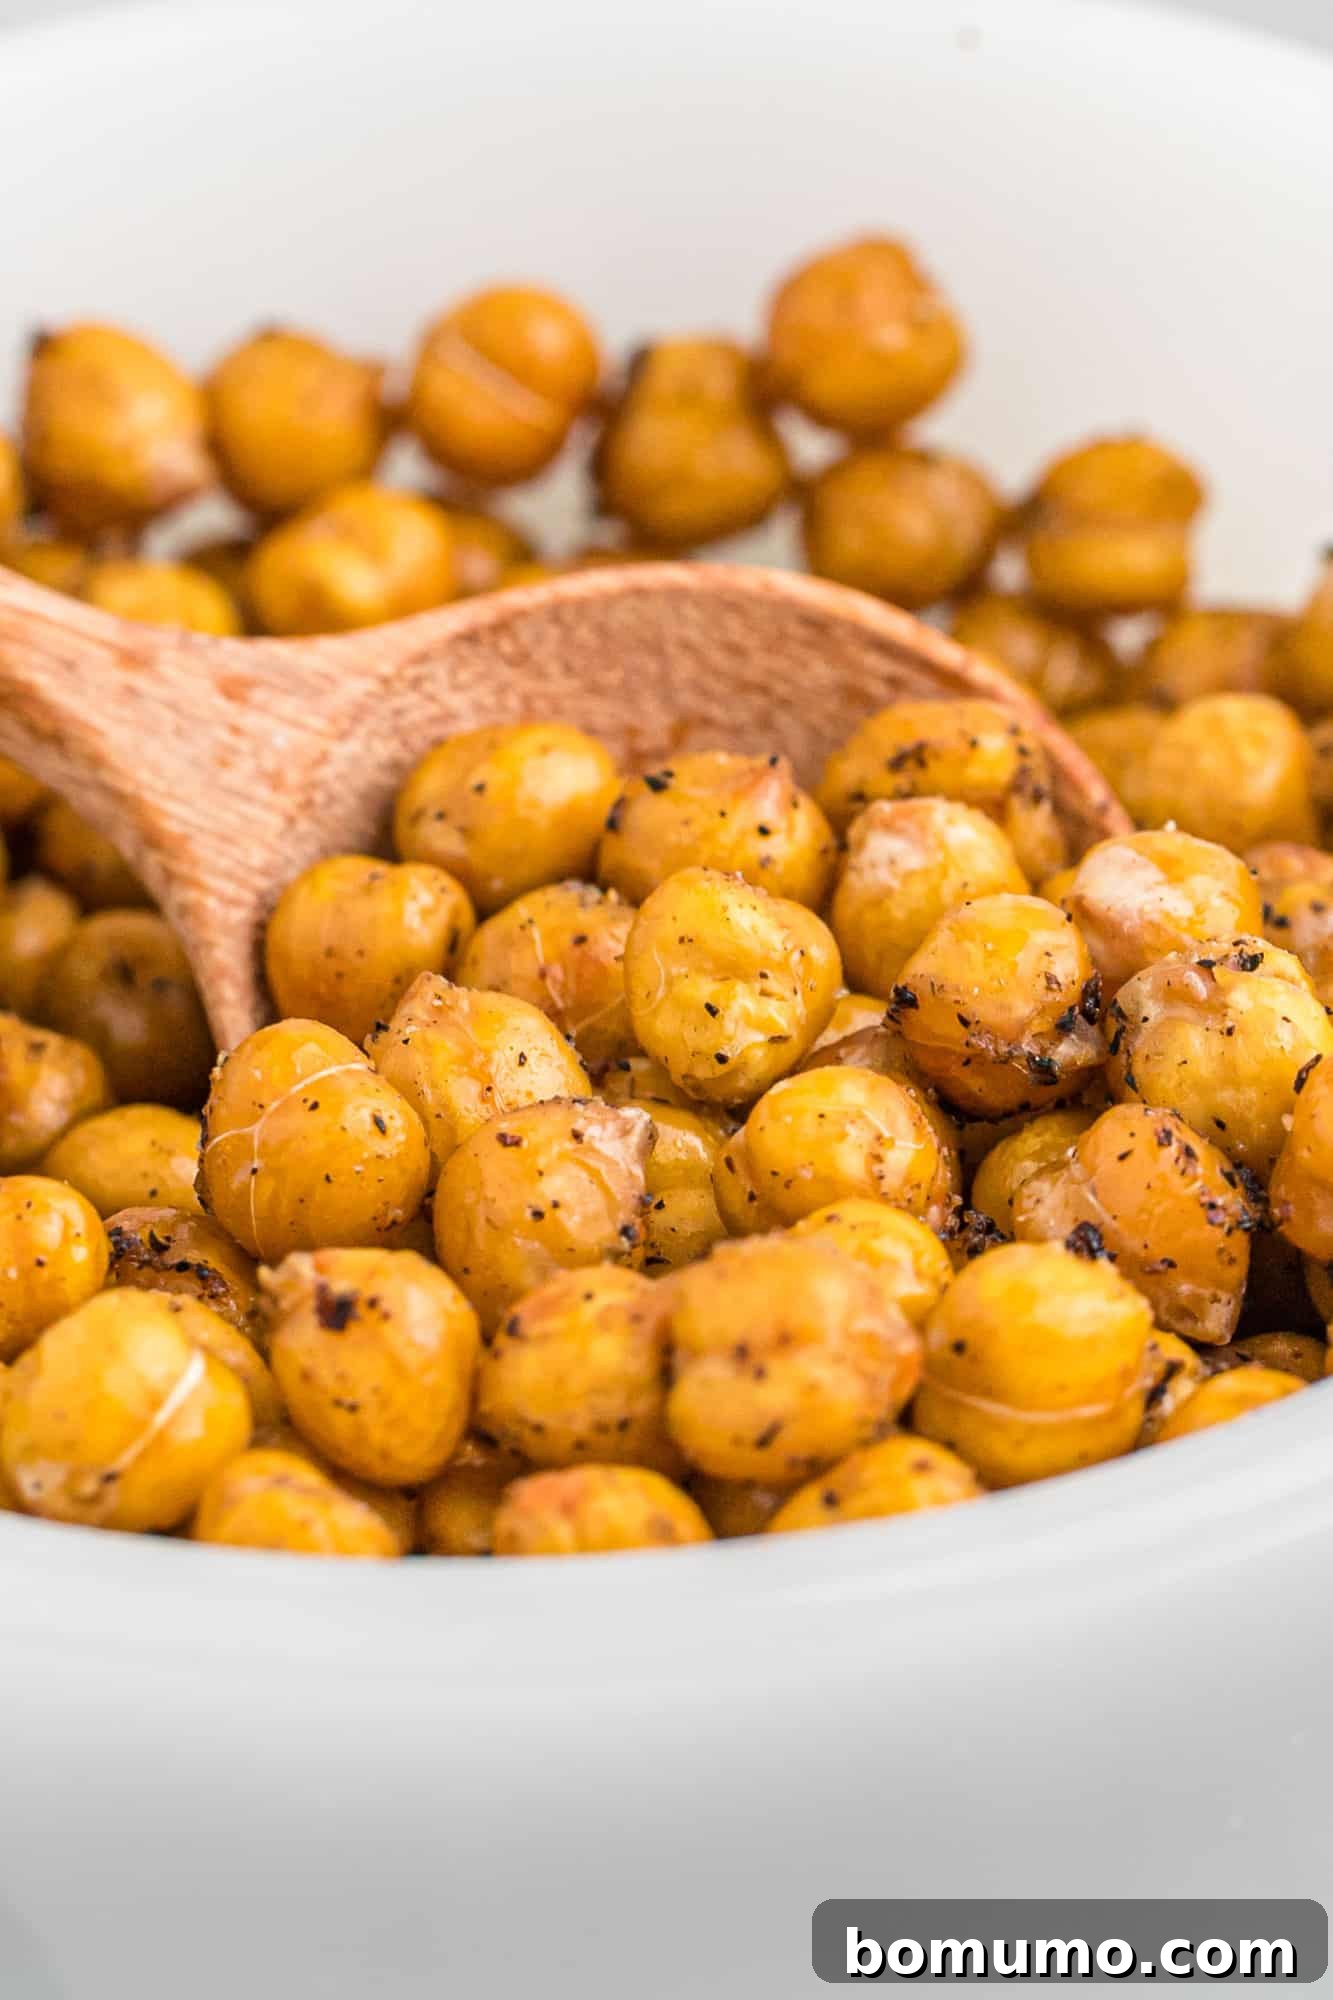
I meticulously peeled the chickpeas – a step I highly recommend for ultimate crispiness – and slid them into the preheated oven. While they began to roast, I started on the Brussels sprouts salad. Now, an important note for this recipe: you need to give the pan a gentle shake every ten minutes or so to ensure even crisping. This is where my story takes a turn. Please, learn from my experience and maintain a firm grip on that baking sheet!
In my multi-tasking frenzy, I made a crucial error. Instead of carefully removing the pan to shake it on the countertop, I attempted to shake it inside the oven, with the door precariously three-quarters open. As you might imagine, the pan slipped. Instead of falling safely onto the floor or, even worse, into the hot oven cavity, the chickpeas plunged directly into the narrow crack where the oven door meets the oven frame. From there, they cascaded into the mysterious drawer beneath my oven – what some call a “warming drawer.” (Confession: like many, mine is typically reserved for grilling tools, not for warming food!)
And just like that, all my painstakingly peeled chickpeas, destined for salad glory and healthy snacking, vanished into the depths of the grill tool drawer. It was a moment of exasperated amusement, a vivid reminder that even the simplest recipes can present unexpected challenges when rushed. Hopefully, my little mishap offers a valuable lesson in kitchen safety and mindfulness. Despite my momentary fumble, I can wholeheartedly assure you that making crispy roasted chickpeas is genuinely easy, and the delicious, healthy results are absolutely worth it.
Essential Ingredients for Perfect Crispy Chickpeas
Crafting these delectable crispy chickpeas requires just a few simple ingredients, many of which you likely already have in your pantry. The quality of your ingredients can significantly impact the final flavor, so choose wisely!
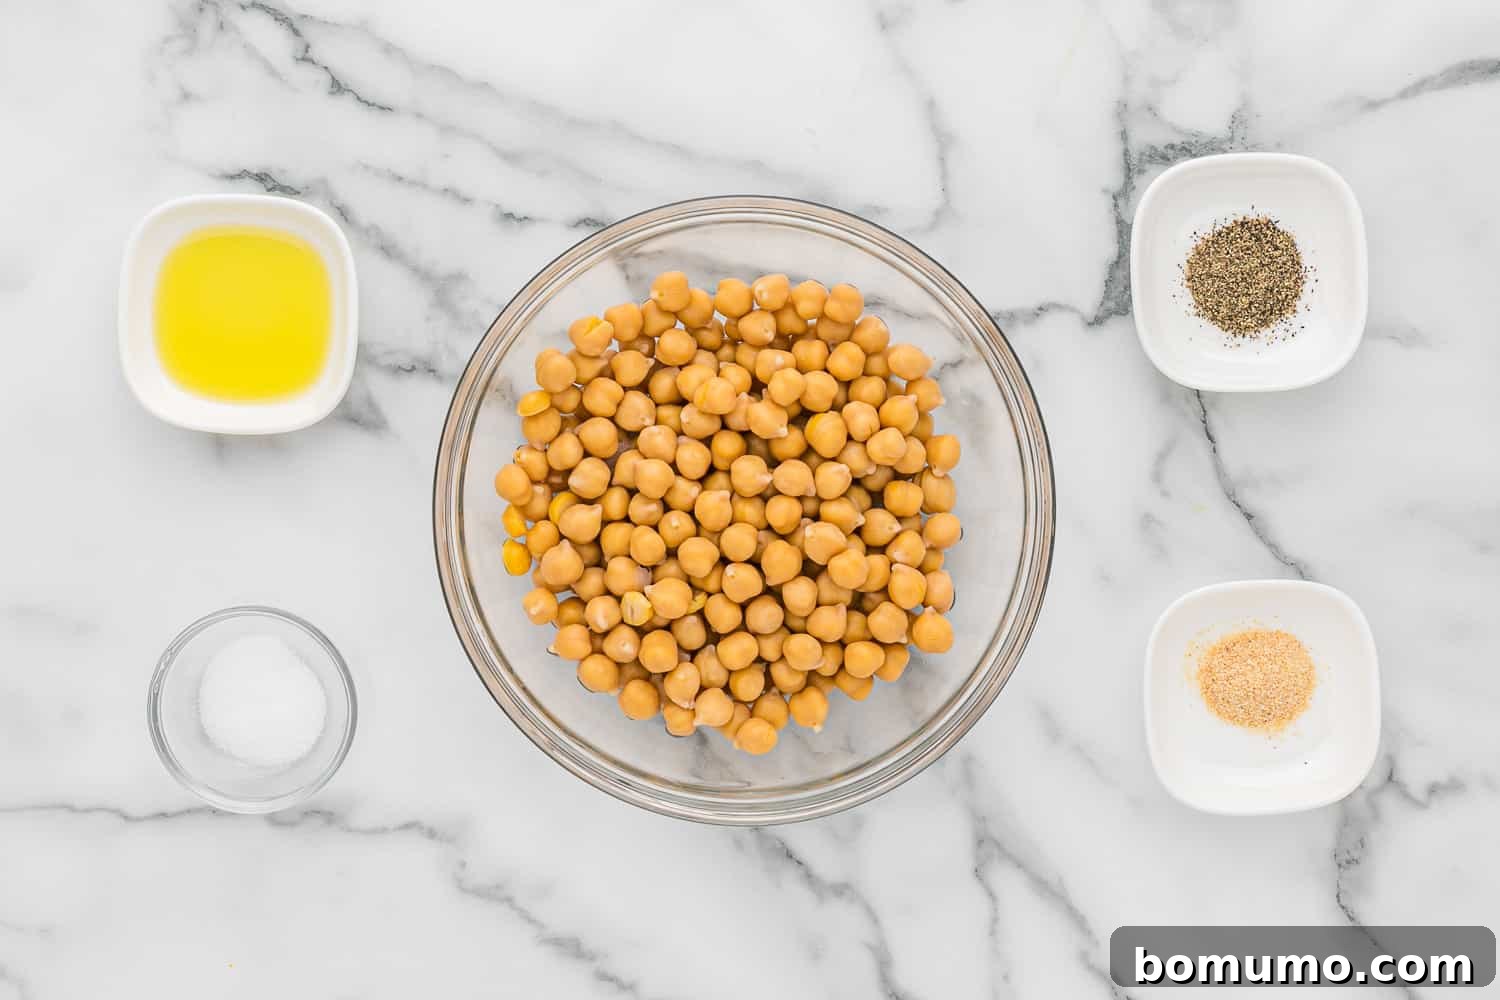
- Canned Chickpeas (Garbanzo Beans): The foundation of our snack! Opt for low-sodium canned chickpeas if possible to better control the salt content. It’s important to remember that “chickpeas” and “garbanzo beans” are simply two different names for the exact same versatile legume. Don’t worry, there’s no difference in taste or texture. You can learn more about this in our FAQs section.
- Olive Oil: A good quality extra virgin olive oil not only helps the chickpeas crisp up beautifully but also imparts a rich, nuanced flavor. It’s a key component in achieving that desirable golden-brown exterior.
- Garlic Powder: This simple yet powerful seasoning adds a warm, savory depth to the chickpeas. It’s a staple in countless recipes for a reason and forms the base of our classic flavor profile.
- Salt and Pepper: These fundamental seasonings are crucial for enhancing all the other flavors. Use kosher salt for a clean taste and freshly ground black pepper for a subtle aromatic kick. Their presence is understated but vital for a truly satisfying snack.
Step-by-Step Guide: How to Make Crispy Roasted Chickpeas
This recipe for roasted chickpeas is wonderfully straightforward, relying on the classic combination of olive oil, salt, pepper, and garlic powder for a universally loved flavor. However, the beauty of this dish lies in its adaptability; you can easily customize the seasonings to suit your palate. Explore a variety of exciting flavor profiles in our Make It Your Own section!
Here’s how to achieve perfectly crispy, flavorful chickpeas:
- **Prepare Your Oven and Baking Sheet:** Begin by preheating your oven to 400°F (200°C). While the oven heats, line a small rimmed baking pan with parchment paper for easy cleanup and to prevent sticking.
- **Rinse and Dry the Chickpeas Thoroughly:** Open your can of chickpeas, drain them into a colander, and rinse them thoroughly under cold running water. This removes excess sodium and any canning liquid. The most crucial step for crispiness is drying! Spread the rinsed chickpeas in a single layer on a clean, lint-free kitchen towel (or several layers of paper towels). Gently pat and rub them dry between the towel layers.
- **Remove Loose Skins (Optional but Recommended):** As you dry them, many of the skins will naturally loosen or fall off. Take a few extra moments to slip the skins off the remaining chickpeas. While this step is optional, removing the skins is a secret to achieving the absolute crispiest texture. It’s a bit monotonous but surprisingly satisfying!
- **Season the Chickpeas:** Transfer the thoroughly dried and peeled chickpeas to a mixing bowl. Drizzle with olive oil, then sprinkle evenly with salt, pepper, and garlic powder. Toss everything together vigorously to ensure every chickpea is well-coated with the oil and seasonings.
- **Arrange on Baking Sheet:** Spread the seasoned chickpeas in a single, even layer on your prepared baking pan. Avoid overcrowding the pan, as this can steam the chickpeas instead of roasting them, hindering crispiness. Use two pans if necessary.
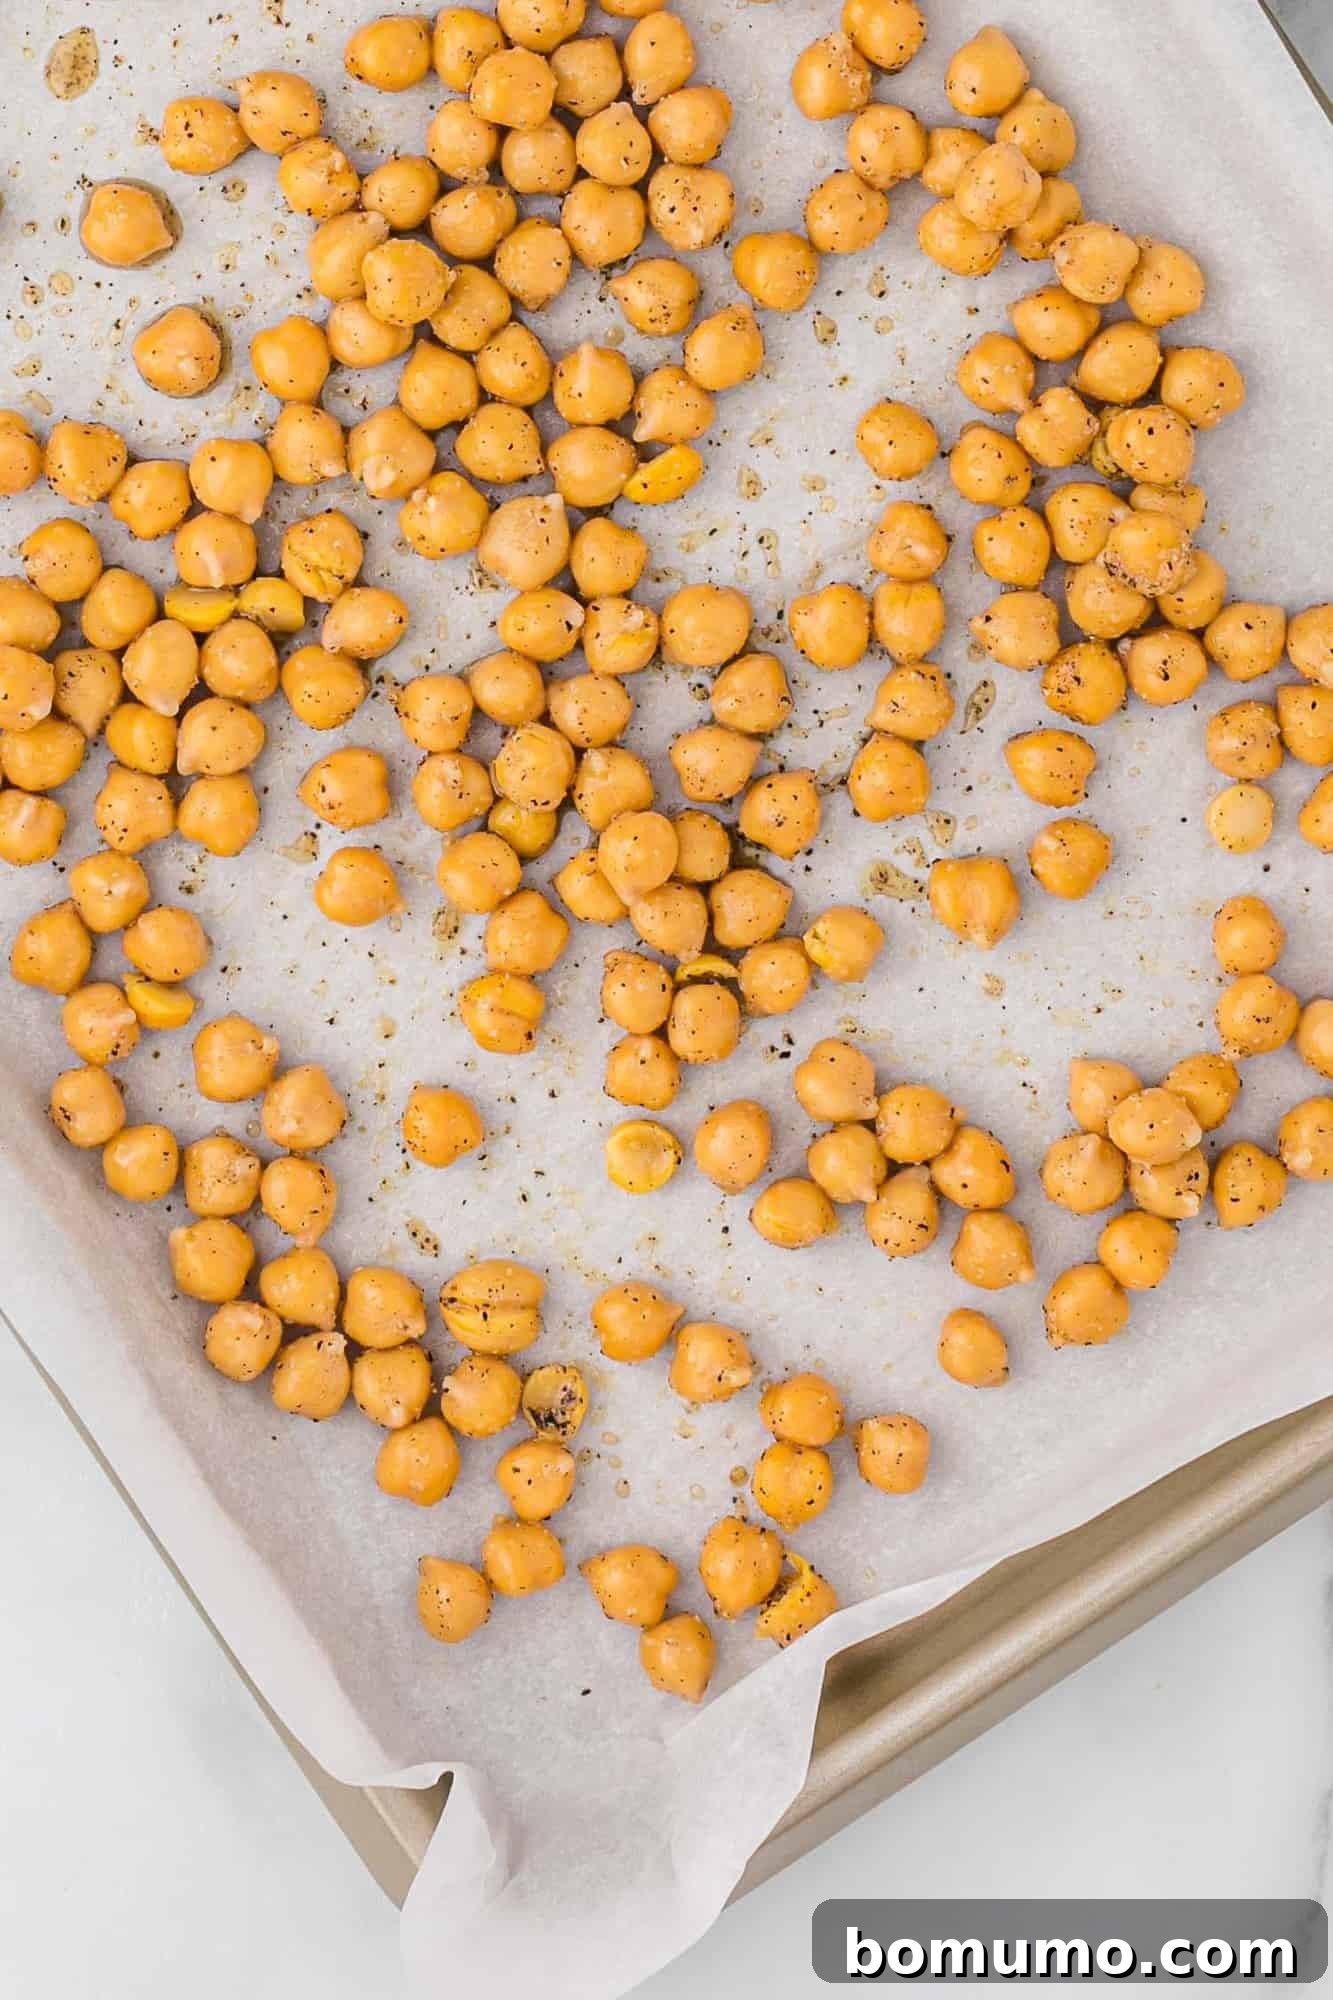
- **Roast to Golden Perfection:** Place the baking sheet in your preheated oven. Roast for 25 to 30 minutes. The key to even browning and maximum crispiness is to **carefully shake the pan every ten minutes**. This ensures all sides of the chickpeas are exposed to the heat. Monitor them closely during the last few minutes. They should achieve a beautiful golden-brown color and have a distinct dry, crispy exterior while remaining slightly nutty on the inside. Be mindful not to overbake them to the point of being burnt or rock-hard.
- **Cool and Enjoy:** Once roasted, remove the chickpeas from the oven and let them cool completely on the baking sheet. They will continue to crisp up as they cool.
That’s all there is to it! A remarkably simple process yields a truly spectacular snack. Roasted chickpeas are undeniably best enjoyed fresh on the same day they are made. However, if you have leftovers, refer to our Storage Tips section for the best ways to keep them.
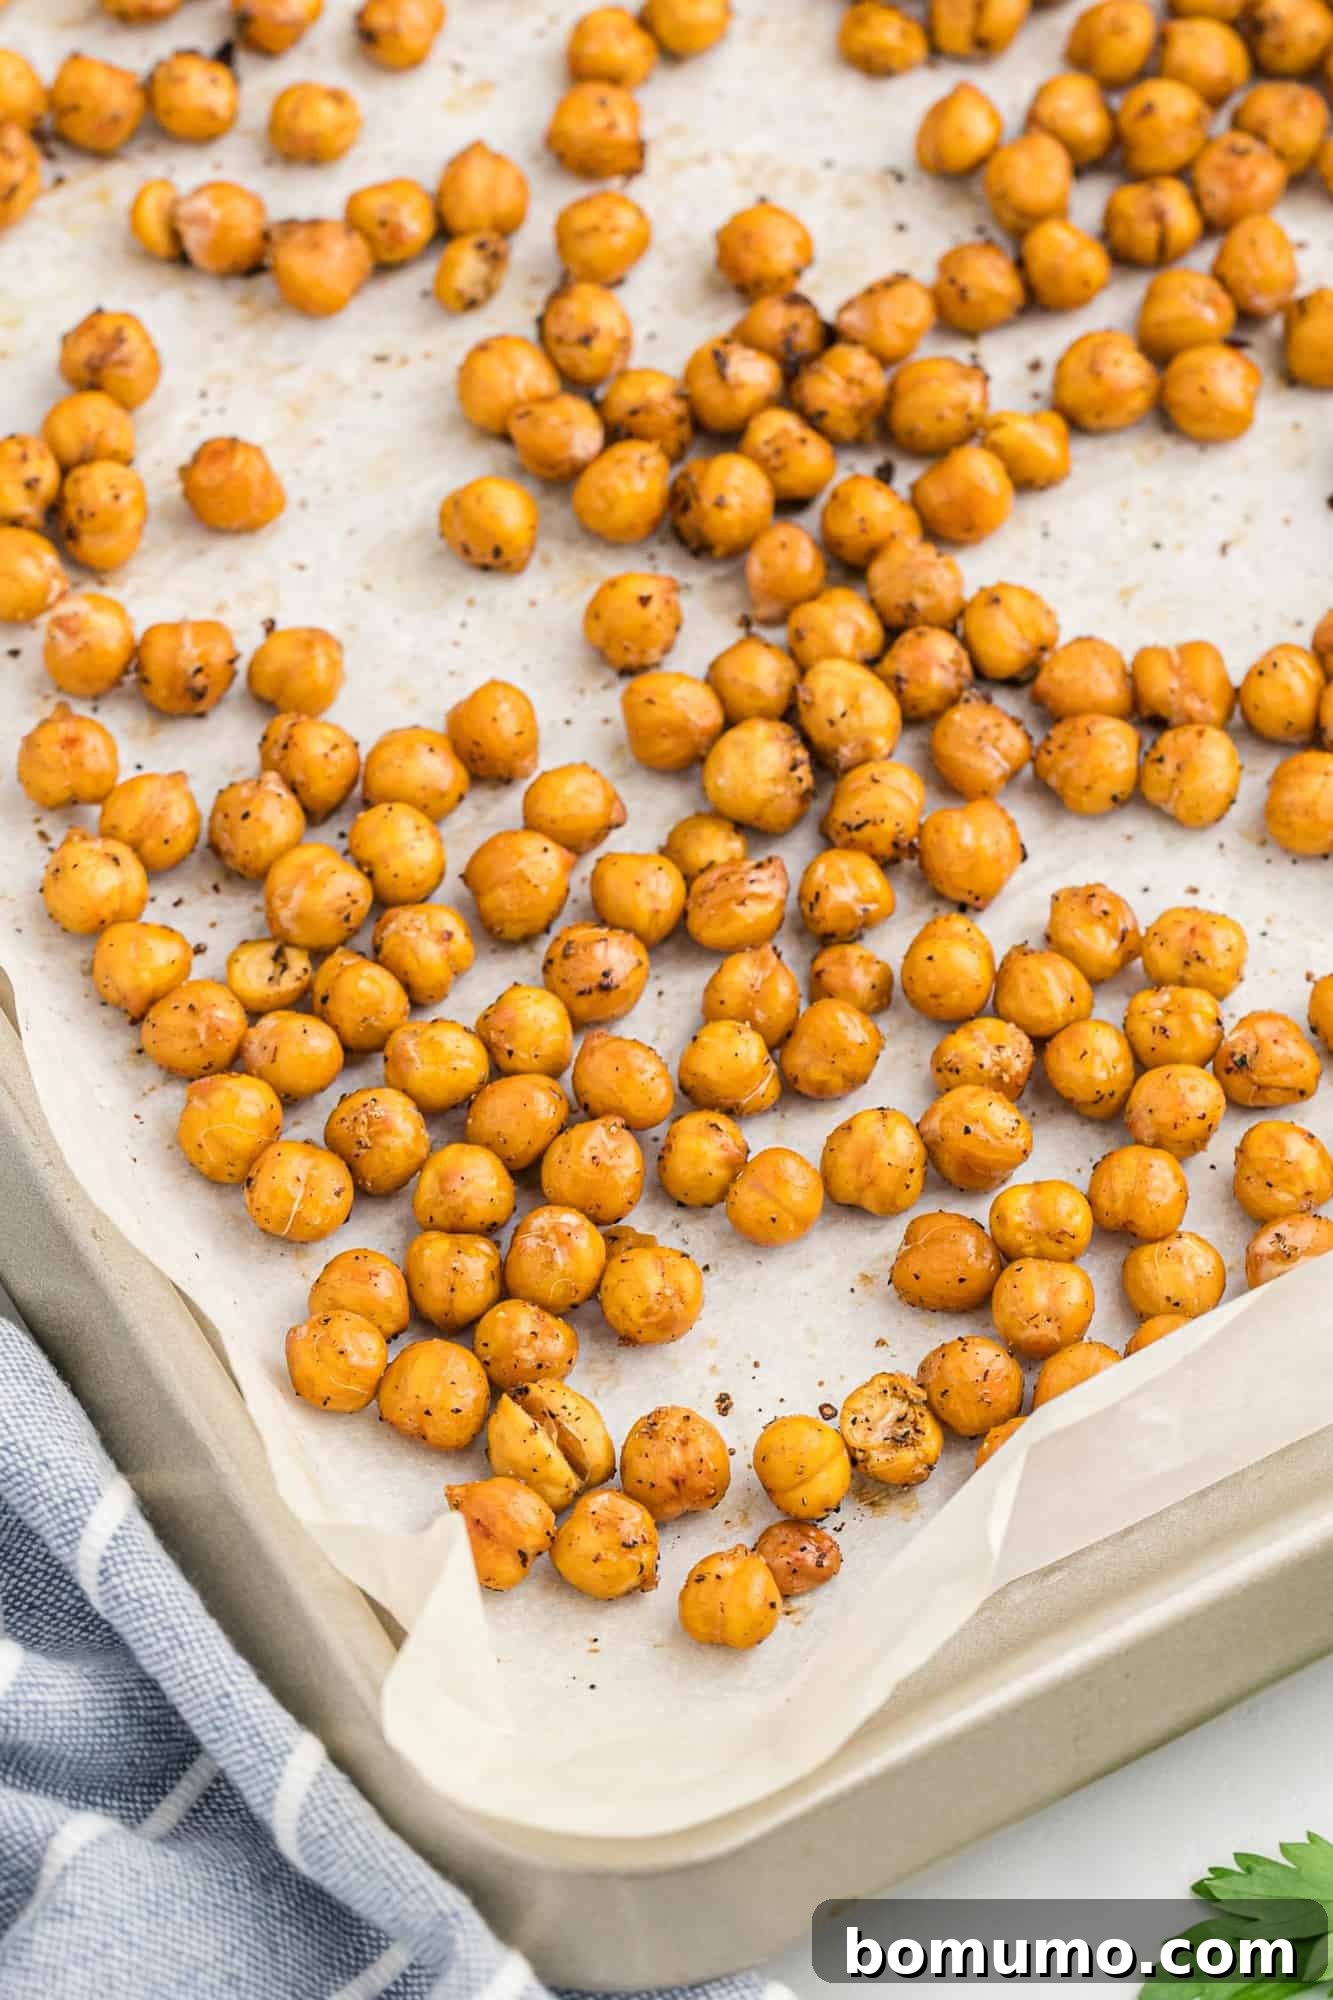
Mastering the Crunch: Top Tips for the Crispiest Roasted Chickpeas
Achieving that perfect, addictive crunch in your roasted chickpeas is simpler than you might think, but a few key steps can make all the difference. After countless batches, I’ve gathered the most effective strategies to ensure your chickpeas reach peak crispiness every time.
- Peel Them (Yes, It’s Worth It!): I know, the thought of peeling individual chickpeas might seem tedious, but trust me, it’s the ultimate secret to unparalleled crispiness. The thin skins can trap moisture, preventing the chickpeas from drying out and getting truly crunchy. Start by gently rubbing them with a clean, lint-free kitchen towel or a few sheets of paper towel after rinsing; this will dislodge many of the skins automatically. Then, take a few extra minutes to manually remove any stubborn remaining skins. It’s a bit of a repetitive task, but there’s an oddly satisfying “pop” as each chickpea slides free, and the results are absolutely worth the effort.
- Dry Them Exceptionally Well: This tip is non-negotiable for crispiness! Any residual moisture on the chickpeas will steam them in the oven instead of allowing them to roast and crisp. After rinsing, spread them in a single layer on a clean, dry kitchen towel. Pat them vigorously until they feel completely dry to the touch. For an extra measure, you can even let them air dry on the towel for an additional 30 minutes to an hour before tossing them with oil and seasonings. The drier they are, the crispier they’ll become.
- Roast, Shake, Roast, Shake: Even cooking is paramount. Don’t just set them and forget them! The longer your chickpeas spend in the oven, the crispier they will get, but they need help to cook evenly. Set a timer to **carefully shake the pan every 10 minutes** throughout the roasting process. This ensures all sides of the chickpeas get a chance to brown and crisp up, preventing some from burning while others remain soft. This consistent agitation promotes uniform crunchiness.
Frequently Asked Questions About Roasted Chickpeas
Absolutely! Chickpeas are an excellent source of plant-based protein, making them ideal for vegetarians, vegans, and anyone looking to boost their protein intake. They are also packed with dietary fiber, which aids digestion and promotes satiety, helping you feel full longer. Beyond these macronutrients, chickpeas offer a wealth of vitamins and minerals, including iron, folate, magnesium, and zinc, all of which contribute to overall health. Their impressive nutritional profile is widely recognized for offering several significant health benefits (Healthline). In many cultures, particularly Indian cuisine, chickpea flour (besan) is a fundamental staple, highlighting their historical importance and versatility.
If your roasted chickpeas aren’t reaching that desired crunch, it’s usually due to moisture. Revisit the crucial tips mentioned above. The most common culprits are insufficient drying and leaving the skins on. Ensure you thoroughly dry the chickpeas with a clean towel and, for optimal crispiness, take the time to peel off any loose skins before roasting. Additionally, make sure you’re spreading them in a single layer on the baking sheet to prevent steaming. Finally, they might simply need a bit more time in the oven. The longer they bake (without burning!), the more moisture will evaporate, leading to a crunchier texture. Don’t be afraid to extend the baking time slightly if they still feel soft.
There is no difference whatsoever between chickpeas and garbanzo beans. They are two names for the exact same legume! “Chickpea” is the more common term in English-speaking countries, while “garbanzo bean” is often used, particularly in Spanish-speaking regions (from the Spanish “garbanzo”). These ancient legumes have been a part of human diets for thousands of years, with their history tracing back to the Middle East. The French referred to them as “pois chiche,” which the English later adapted to “chich-pease,” eventually evolving into the modern “chickpea” (Spoon University). So, whether you call them chickpeas or garbanzo beans, you’re talking about the same wonderfully healthy and versatile ingredient.
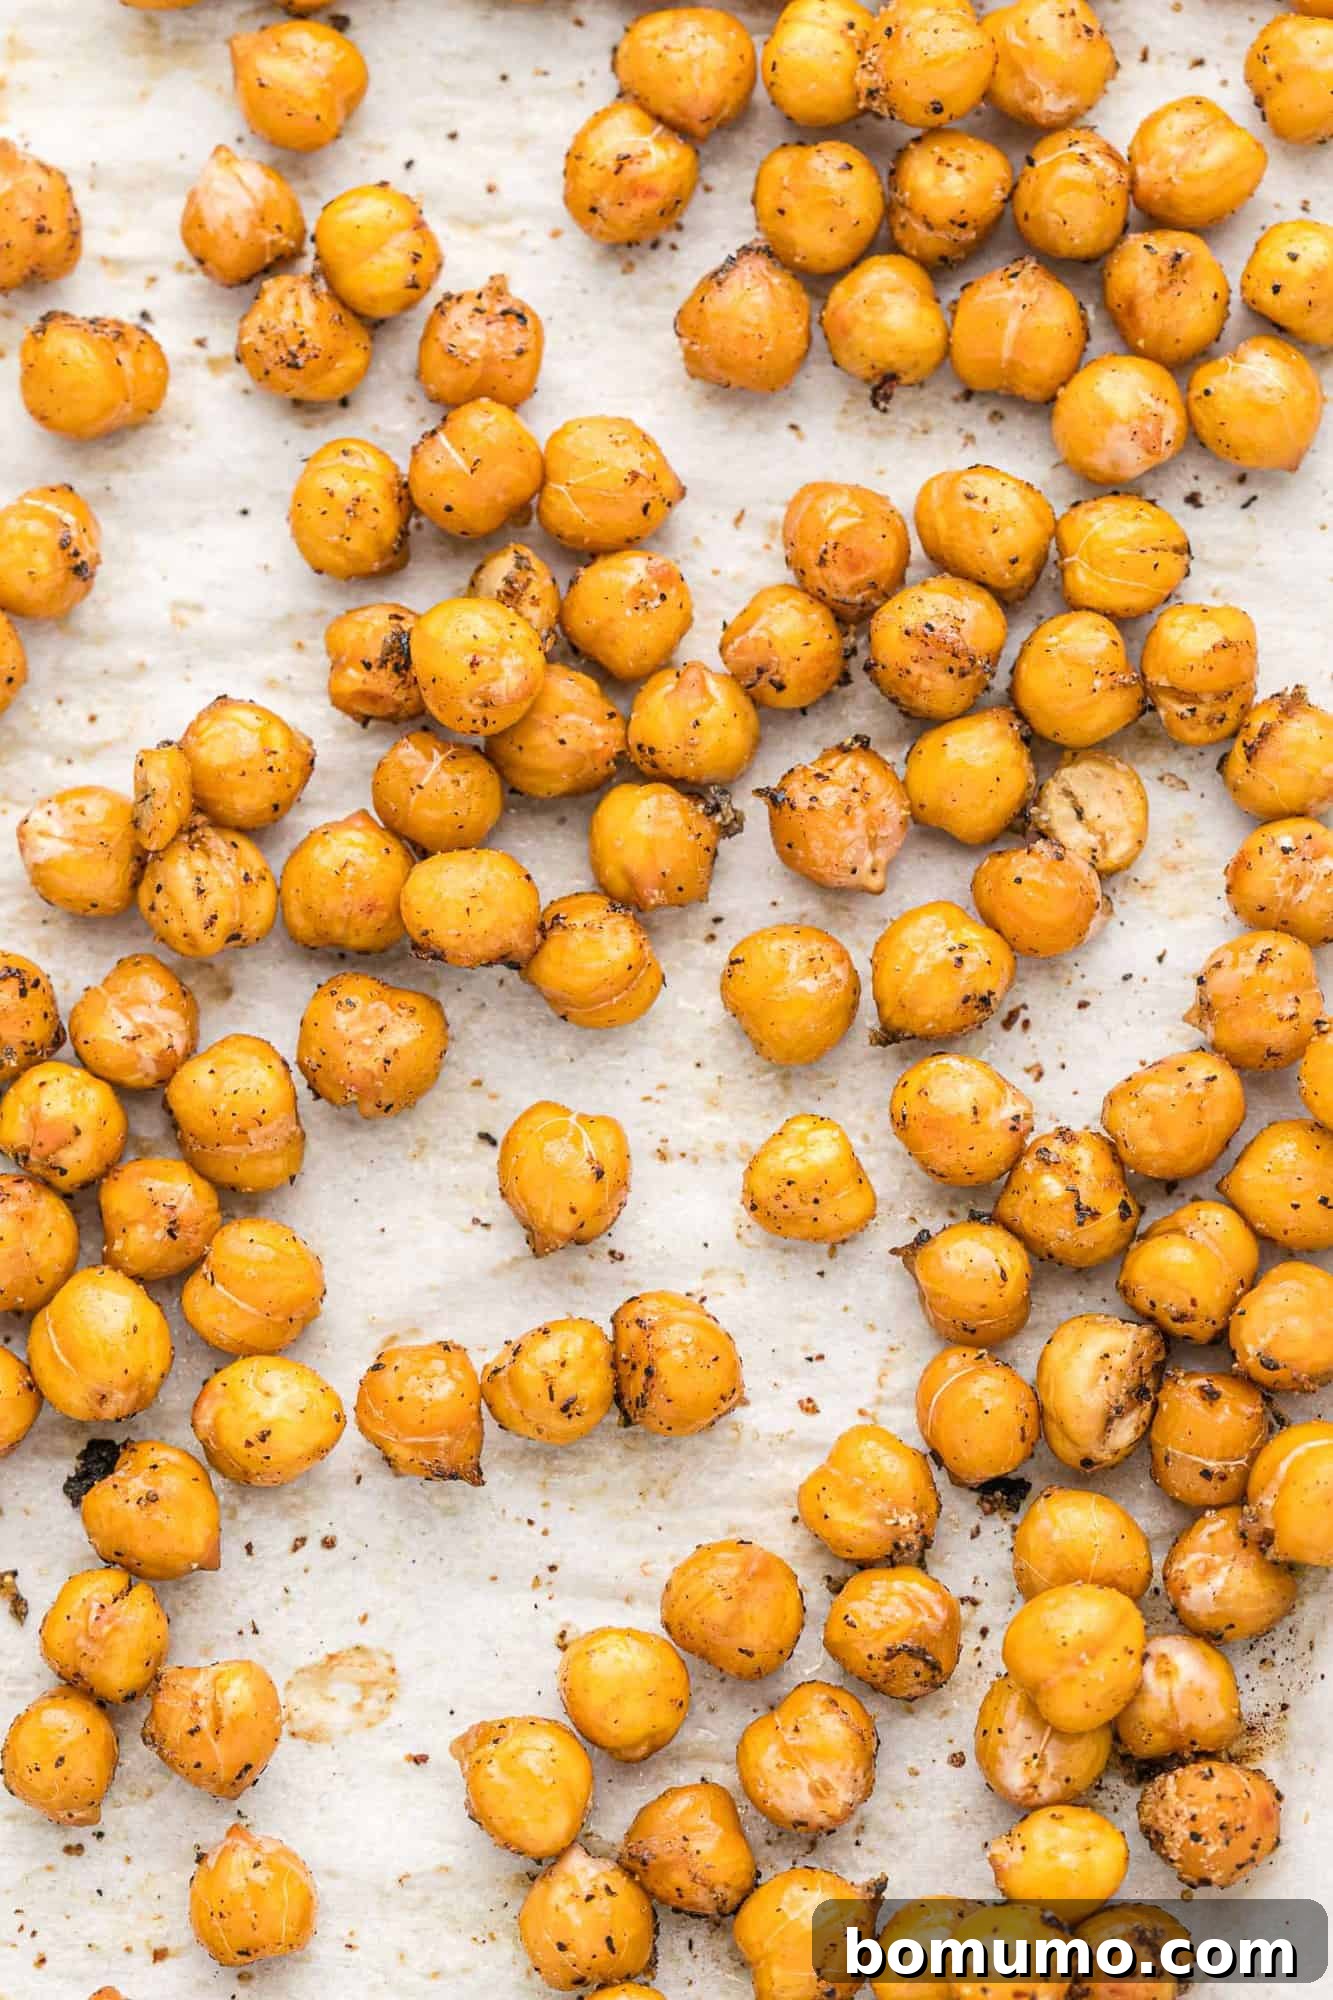
Unleash Your Creativity: Exciting Variations for Roasted Chickpeas
While our classic roasted chickpea recipe is a guaranteed hit, these versatile legumes are a perfect canvas for culinary experimentation. Don’t be afraid to explore a world of flavors by customizing your seasonings!
- **Spice It Up:** For a fiery kick, try adding a generous pinch of chili powder, smoked paprika, or a dash of cayenne pepper. A sprinkle of cumin can also add a warm, earthy note.
- **Sweet and Spicy:** Believe it or not, chickpeas can be delightful with a hint of sweetness! Our popular cinnamon roasted chickpeas are a testament to this. For an autumnal twist, incorporate pumpkin pie spice. A drizzle of maple syrup or honey during the last few minutes of roasting can create a lovely caramelized exterior.
- **Global Flavors:** Journey through international cuisines! Add a tablespoon of curry powder for an Indian-inspired snack, or a blend of za’atar for a Middle Eastern touch.
- **Herbal & Savory:** Dried herbs like rosemary, thyme, or sage pair beautifully with the nutty flavor of chickpeas. For an Italian flair, add a blend of Italian seasoning and, after roasting, toss with a spoonful of finely grated Parmesan cheese while still warm. Our all-purpose seasoning blend, similar to seasoned salt, is another fantastic option for a simple yet flavorful coating.
- **Beyond the Snack Bowl:** Looking for more ways to incorporate chickpeas into your diet? They are incredibly versatile! Whip up a batch of classic homemade hummus, or try a unique tahini-free hummus with parsley. Chickpeas are also superb in hearty stews and chilis; one of our favorites is a comforting Moroccan stew featuring butternut squash and chickpeas. For a refreshing and vibrant meal, don’t miss this incredible quinoa salad with chickpeas, blackberries, and candied pepitas – it’s truly out of this world!
- **If You Prefer Nuts:** While chickpeas are fantastic, sometimes you just crave nuts. Try our savory olive oil roasted almonds or for a sweet treat, these sugar-free cinnamon roasted almonds.
Maximizing Freshness: Storage Tips for Roasted Chickpeas
You might instinctively reach for an airtight container to preserve the crispiness of your roasted chickpeas, but surprisingly, this isn’t the ideal method! To best retain their crunchy texture, roasted chickpeas thrive in an environment where air can circulate.
- For Short-Term Crispness (1-2 days): The trick is to store them in an open container on your kitchen counter. Simply lay a paper towel lightly over the top to protect them from dust. This allows any residual moisture to escape, helping them stay crisp for a day or two.
- For Longer Storage (Up to a week): If you’re not overly concerned about maintaining peak crunchiness (perhaps you’ll be adding them to a soup or salad where texture is less critical), you can store them in an airtight container in the refrigerator for up to a week. However, be aware they will soften considerably. Before storing, ensure the chickpeas are completely cooled to prevent condensation from forming inside the container, which would make them even softer.
- Reviving Soft Chickpeas: If your chickpeas have lost their crisp, don’t despair! You can often revive them by spreading them on a baking sheet and reheating them in a 350°F (175°C) oven for about 5-10 minutes, or until they crisp up again.
Explore More Wholesome Snack Ideas
It’s time to elevate your snacking game! Step outside the confines of the chip bag and discover a world of delicious, good-for-you snacks that are just as satisfying. Snacking doesn’t have to be a compromise between taste and health – you can truly have both. Here are some of our favorite healthy and tasty snack recipes to inspire your next kitchen adventure:
- Air Fryer Zucchini Chips: Crispy, light, and packed with vegetable goodness.
- Cranberry Oatmeal Energy Balls (Nut-Free): A fantastic grab-and-go option for sustained energy.
- The Best Cauliflower Nachos: A guilt-free twist on a classic comfort food.
- Air Fryer Buffalo Cauliflower Bites: Spicy, flavorful, and incredibly satisfying.
- Sweet Potato Wedges with Chinese Five Spice: A unique and aromatic side or snack.
- Easy Potato Skins (Shortcut No-Waste Method!): Savory and comforting, with a clever preparation trick.
- Spinach Balls – Whole Wheat!: A wholesome and delicious appetizer or snack.
- Homemade Cheez-Its (Cheddar Cheese Crackers): A fun, homemade version of a beloved classic.
- Vegetable Cream Cheese Roll Ups: Fresh, creamy, and easy to prepare.
- Air Fryer Tofu – Perfectly Crispy!: A protein-packed, crispy alternative for salads or snacking.
Roasted Chickpeas: A Simple Guide to Perfectly Crispy Chickpeas
Learn how to make crispy roasted chickpeas, a healthy snack that’s packed with protein and fiber. These versatile legumes are also great on salads and sprinkled on top of soup for added crunch!
Ingredients
- 1 can (16 oz.) chickpeas, low sodium preferred (also known as garbanzo beans)
- 1 tablespoon olive oil
- ½ teaspoon kosher salt
- ¼ teaspoon black pepper
- ¼ teaspoon garlic powder
Instructions
- Preheat oven to 400°F (200°C).
- Rinse and drain chickpeas thoroughly. Spread them out on a clean, lint-free towel and pat dry exceptionally well. Remove any loose skins for maximum crispiness.
- In a medium bowl, toss the dried chickpeas with olive oil, salt, pepper, and garlic powder until they are evenly coated.
- Spread the seasoned chickpeas in a single layer on a small rimmed baking sheet. Bake for 25 to 30 minutes, **carefully shaking the pan every 10 minutes** to ensure they roast evenly and achieve a crispy, golden-brown finish.
- Allow to cool completely before enjoying. They will crisp up further as they cool.
Notes
- Crispy roasted chickpeas are best enjoyed on the same day they are made. For optimal crispness if storing, place them in an uncovered bowl on the counter and lightly cover with a paper towel or a loose lid. They’ll remain crisp for a day or two. For longer storage, put them into an airtight container in the refrigerator for up to a week, though they will soften.
- Feel free to experiment with seasonings! Many ideas for variations are listed in the main article above.
- For the crispiest possible results, diligently remove the skins before roasting and ensure the chickpeas are thoroughly dry.
Nutrition
Carbohydrates: 15 g,
Protein: 6 g,
Fat: 6 g,
Saturated Fat: 1 g,
Polyunsaturated Fat: 1 g,
Monounsaturated Fat: 3 g,
Sodium: 606 mg,
Potassium: 167 mg,
Fiber: 5 g,
Sugar: 1 g,
Vitamin A: 18 IU,
Vitamin C: 1 mg,
Calcium: 41 mg,
Iron: 1 mg
Nutrition information is automatically calculated and should only be used as an approximation.
We’d love to hear your thoughts! Share a comment and rating below to let us know what you think of this recipe!