
Mastering Poached Chicken: Your Essential Guide
Why You’ll Love This Method: Discover the art of making perfectly tender, incredibly juicy poached chicken. This simple technique yields a versatile protein that forms the foundation for countless delicious meals. From vibrant salads and hearty sandwiches to comforting casseroles and flavorful burritos, the possibilities are endless. Plus, it’s an excellent choice for meal prepping and freezes beautifully!
Prep and Cook Time: Approximately 35 minutes
Essential Equipment: A shallow pan with a tight-fitting cover, a stovetop, and an instant-read thermometer (highly recommended for best results).
Servings: 4 (easily scalable to double or triple for larger batches!)
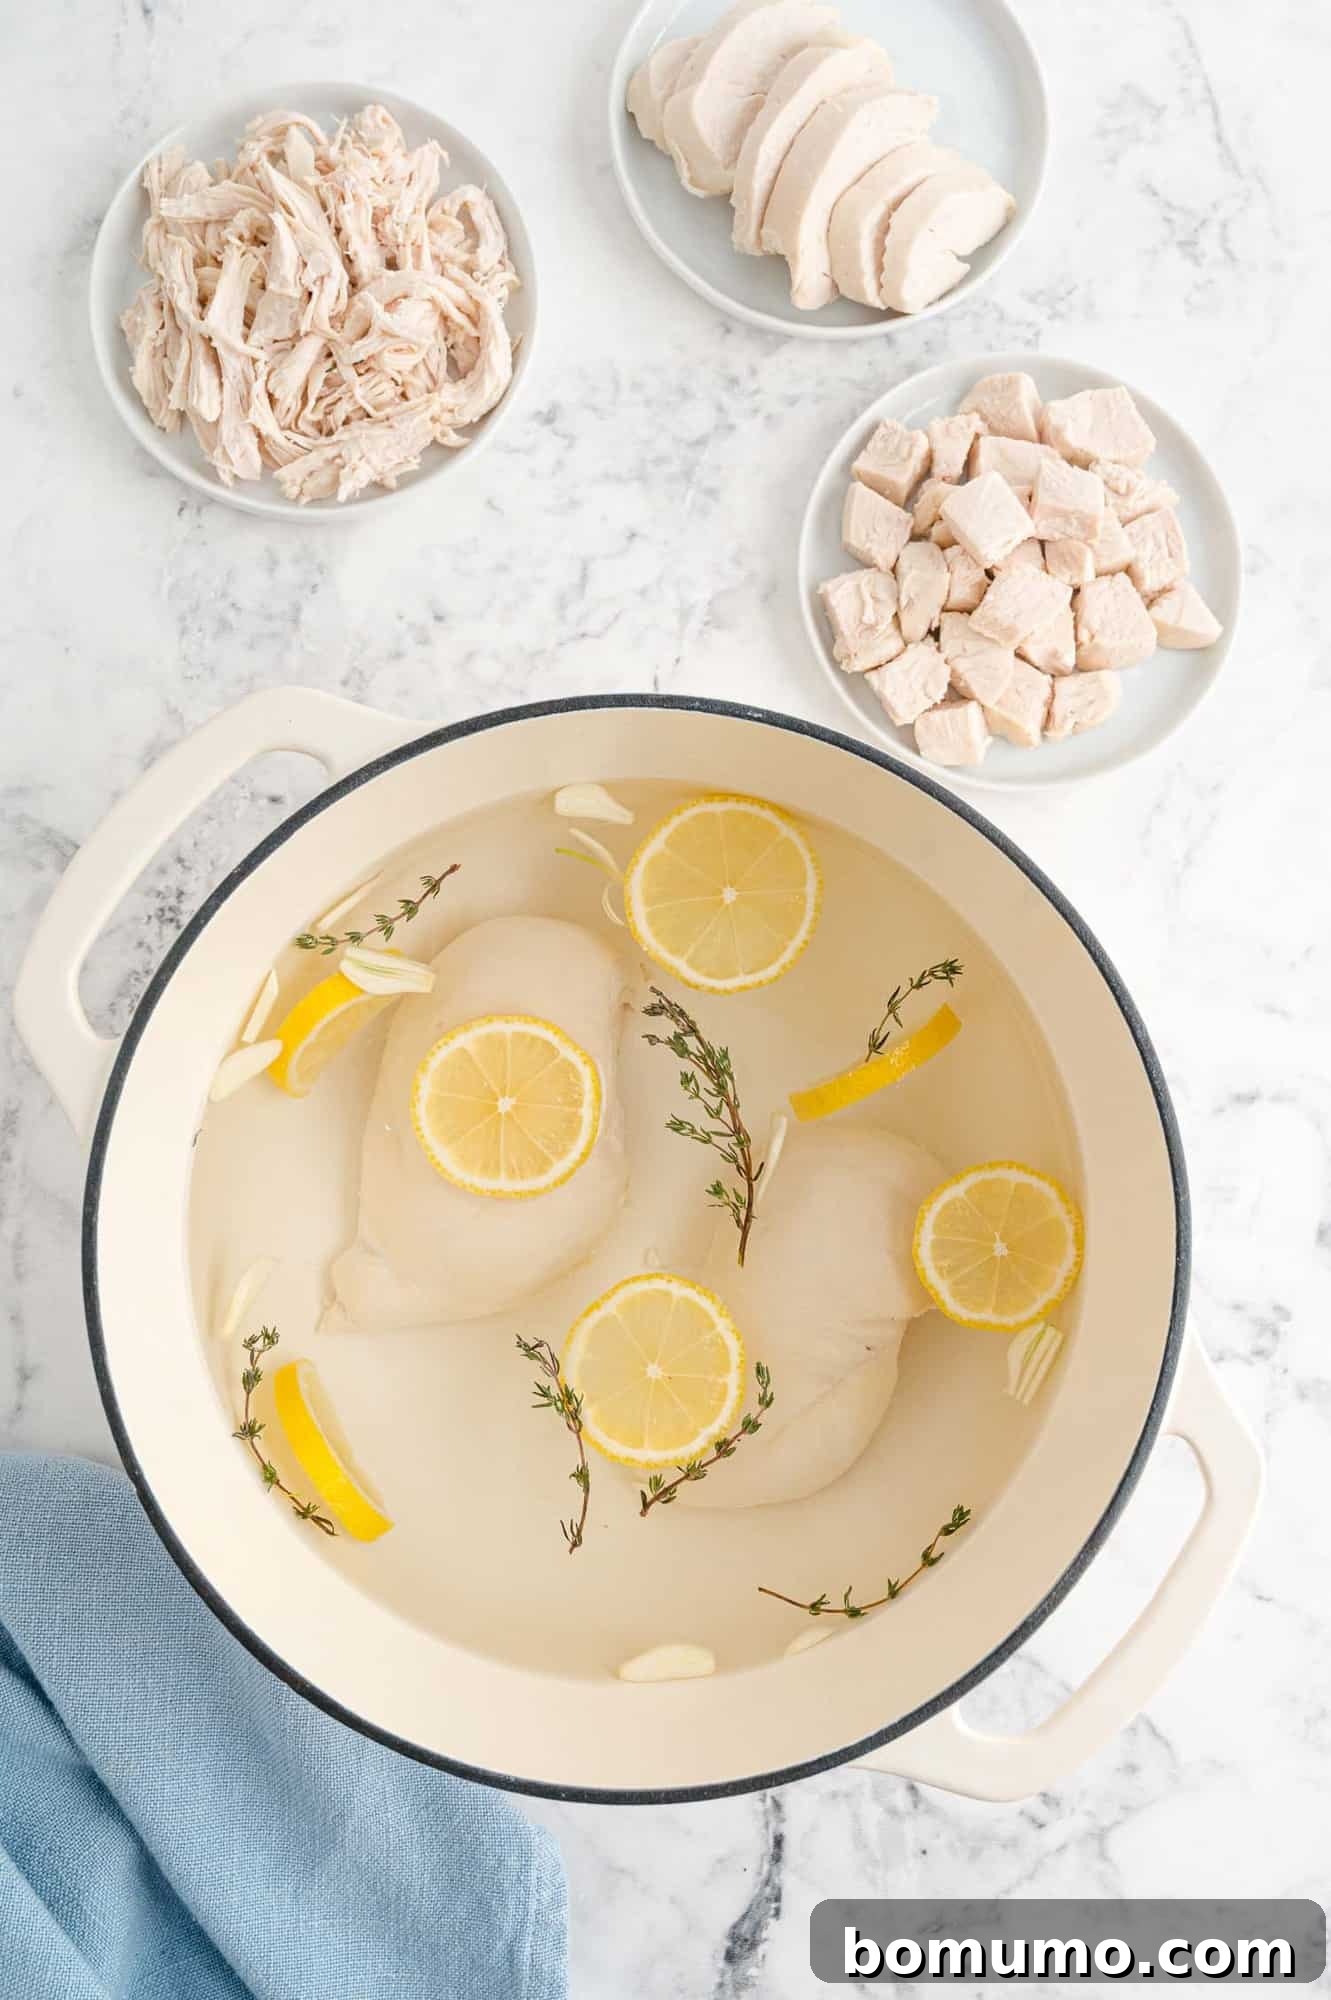
Imagine tender, succulent, and perfectly cooked chicken breasts, ready to be incorporated into your favorite weeknight dinners. This might sound like a dream, but once you master the simple technique of poaching chicken, you’ll wonder how you ever managed without it. This guide will walk you through creating juicy, flavorful chicken that’s incredibly versatile and a staple for any home cook looking to simplify meal prep.
The Many Benefits of Easy Poached Chicken
Poaching chicken is not just a cooking method; it’s a culinary superpower that offers numerous advantages, making it a go-to for busy individuals and families alike. Here’s why it deserves a permanent spot in your kitchen repertoire:
More Economical. Say goodbye to expensive, often over-salted store-bought rotisserie chicken. Poaching your own chicken at home is significantly more budget-friendly. By purchasing family packs of boneless, skinless chicken breasts when they’re on sale, you can create a large batch of cooked chicken for a fraction of the cost, stretching your grocery budget further without compromising on quality or taste.
Remarkably Easy! This method is designed for simplicity. In just about thirty-five minutes, you can prepare a substantial quantity of perfectly cooked chicken breasts, using only one pan for minimal cleanup. The core ingredients are simply chicken and a liquid base, such as broth or even plain water. It’s a straightforward, foolproof recipe that consistently delivers excellent results. After a couple of tries, you’ll likely find yourself making it from memory, freeing up time and mental energy in the kitchen.
Excellent Source of Lean Protein. When you poach chicken at home, you gain control over its preparation. Unlike many store-bought options, DIY poached chicken is typically lower in sodium and provides a healthy, lean source of protein. A 4-ounce serving offers a robust 12 grams of protein with only about 72 calories, making it an ideal choice for healthy eating plans and active lifestyles.
Freezes Exceptionally Well. The recipe is perfect for four servings, but its true magic lies in its scalability. With a pan large enough to accommodate more chicken, you can easily double or triple the recipe to create a substantial reserve. Poached chicken freezes beautifully, allowing you to stock your freezer with pre-cooked protein. This convenience means you always have a healthy, ready-to-use ingredient on hand for quick meals, transforming your approach to meal planning and impromptu dinners.
Incredibly Versatile! This is where poached chicken truly shines. Its neutral yet delicious flavor profile makes it a chameleon in the kitchen, adapting effortlessly to nearly any cuisine or dish. When dinner time approaches, simply pull out your pre-cooked chicken, and you’re halfway to a delicious meal. Think beyond the basic:
- Quick and satisfying **salads**: Slice or shred it into a fresh green salad with your favorite homemade or bottled dressing.
- Hearty **sandwiches and wraps**: Combine with mayonnaise, mustard, or even DIY Chick-fil-A sauce for a superior lunch option.
- Loaded **nachos**: Add diced poached chicken to a pan of cauliflower nachos or traditional tortilla chips and bake until warm and crispy.
- Flavorful **tacos or burritos**: Create delicious chicken tacos with fresh salsa, creamy guacamole, and cheese. Or assemble quick and easy BBQ chicken burrito bowls.
- Gourmet **pizza**: Use shredded poached chicken as a topping for a BBQ chicken pizza.
- Comforting **soups and stews**: Stir into canned vegetable soup for an instant upgrade, or better yet, add it to homemade vegetable soup or creamy chicken rice soup.
- Speedy **pasta dishes**: Mix shredded chicken into a jar of pasta sauce or homemade spaghetti sauce and serve over your preferred pasta.
- Creative **bowls**: Build a Southwestern quinoa bowl with chicken for a wholesome meal.
Keep reading for a dedicated list of recipes that truly shine with cooked chicken!
Ingredient Notes for Perfect Poached Chicken
The beauty of poached chicken lies in its simplicity, but a few considerations for your ingredients can elevate the final result:
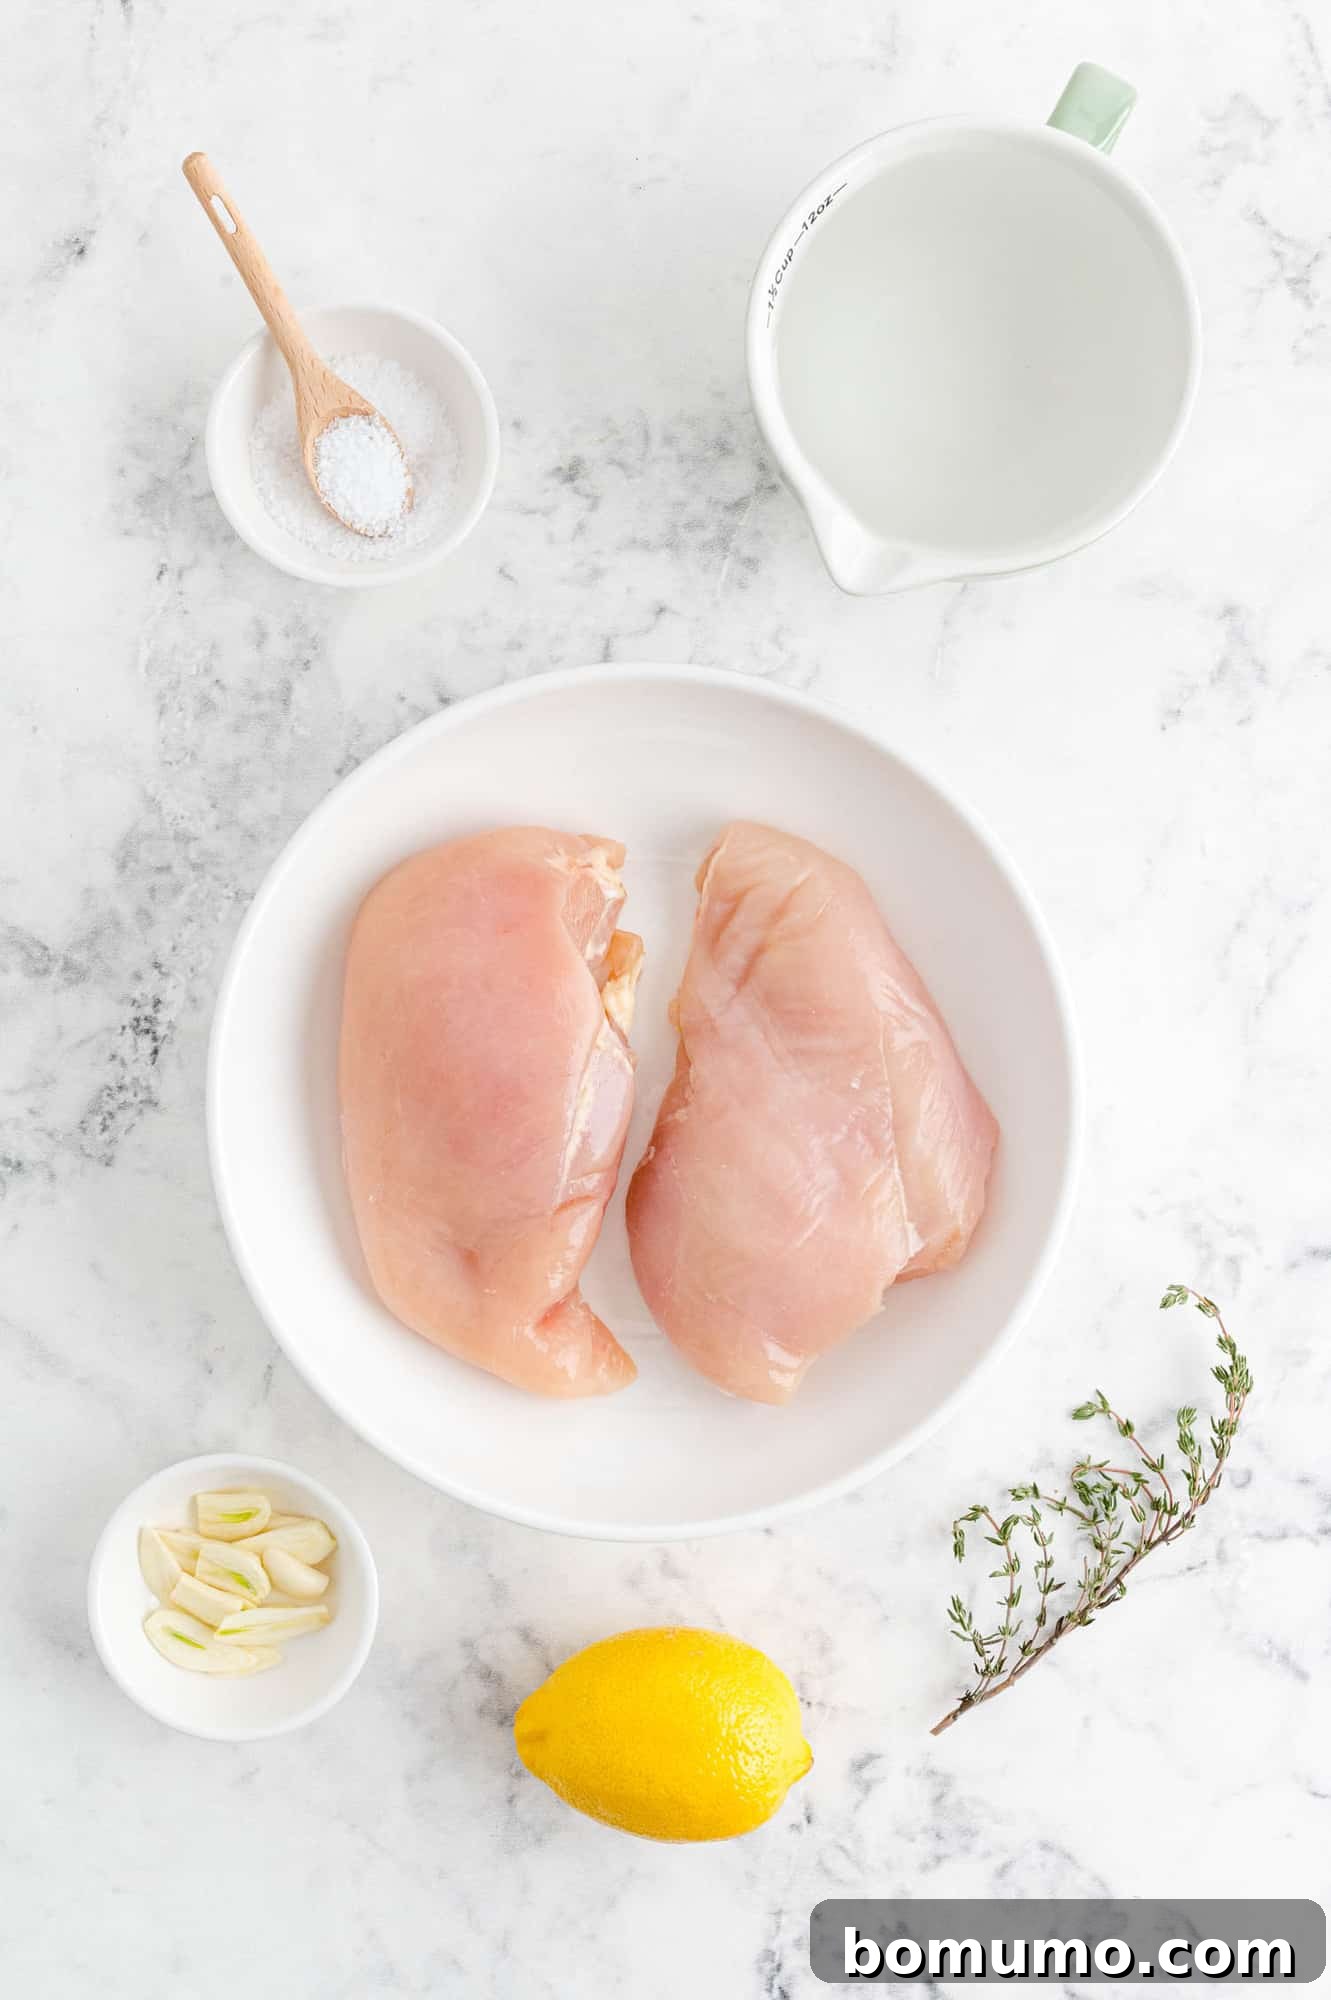
- Chicken: This recipe primarily focuses on boneless, skinless chicken breasts, typically around 8 ounces each. However, the poaching method is incredibly adaptable. You can easily adjust the quantity as long as your pan allows the chicken to cook in a single layer, ensuring even cooking. On the recipe card below, you’ll also find specific instructions and recommended cooking times for other cuts, including bone-in breasts, boneless skinless thighs, and bone-in thighs, making this technique universally applicable.
- Water or Broth: The choice of liquid is fundamental. You’ll need enough water or broth (or a combination of both) to fully submerge the chicken pieces. While water works perfectly fine for a neutral flavor, using chicken broth (low-sodium is often preferred) will infuse your chicken with a deeper, more savory taste, making it even more delicious for standalone dishes or as a base for other recipes.
- Kosher Salt: Salt is an optional but highly recommended addition. It plays a crucial role in seasoning the chicken from within, enhancing its natural flavors. If you’re using full-sodium broth, you’ll want to reduce the added salt; for low-sodium broth, you can use a bit more. The goal is to season subtly without overpowering the delicate chicken flavor.
- Optional Flavorings/Aromatics: To infuse your poached chicken with additional complexity and aroma, consider adding one or more of these elements to the poaching liquid:
- Lemon Slices: Add a bright, citrusy note.
- Bay Leaf: Contributes a subtle, earthy, and herbal undertone.
- Garlic Cloves: Infuse a gentle, savory aroma.
- Fresh Herbs: Sprigs of rosemary, thyme, or parsley can impart a wonderful fresh fragrance.
- Shallots: Offer a milder, sweeter onion flavor.
- Dry White Wine: A splash of wine can add depth and sophistication to the poaching liquid.
These aromatics transform the poaching liquid into a light, flavorful broth that can then be used in other recipes.
Recommended Equipment: Straight-Sided Skillet
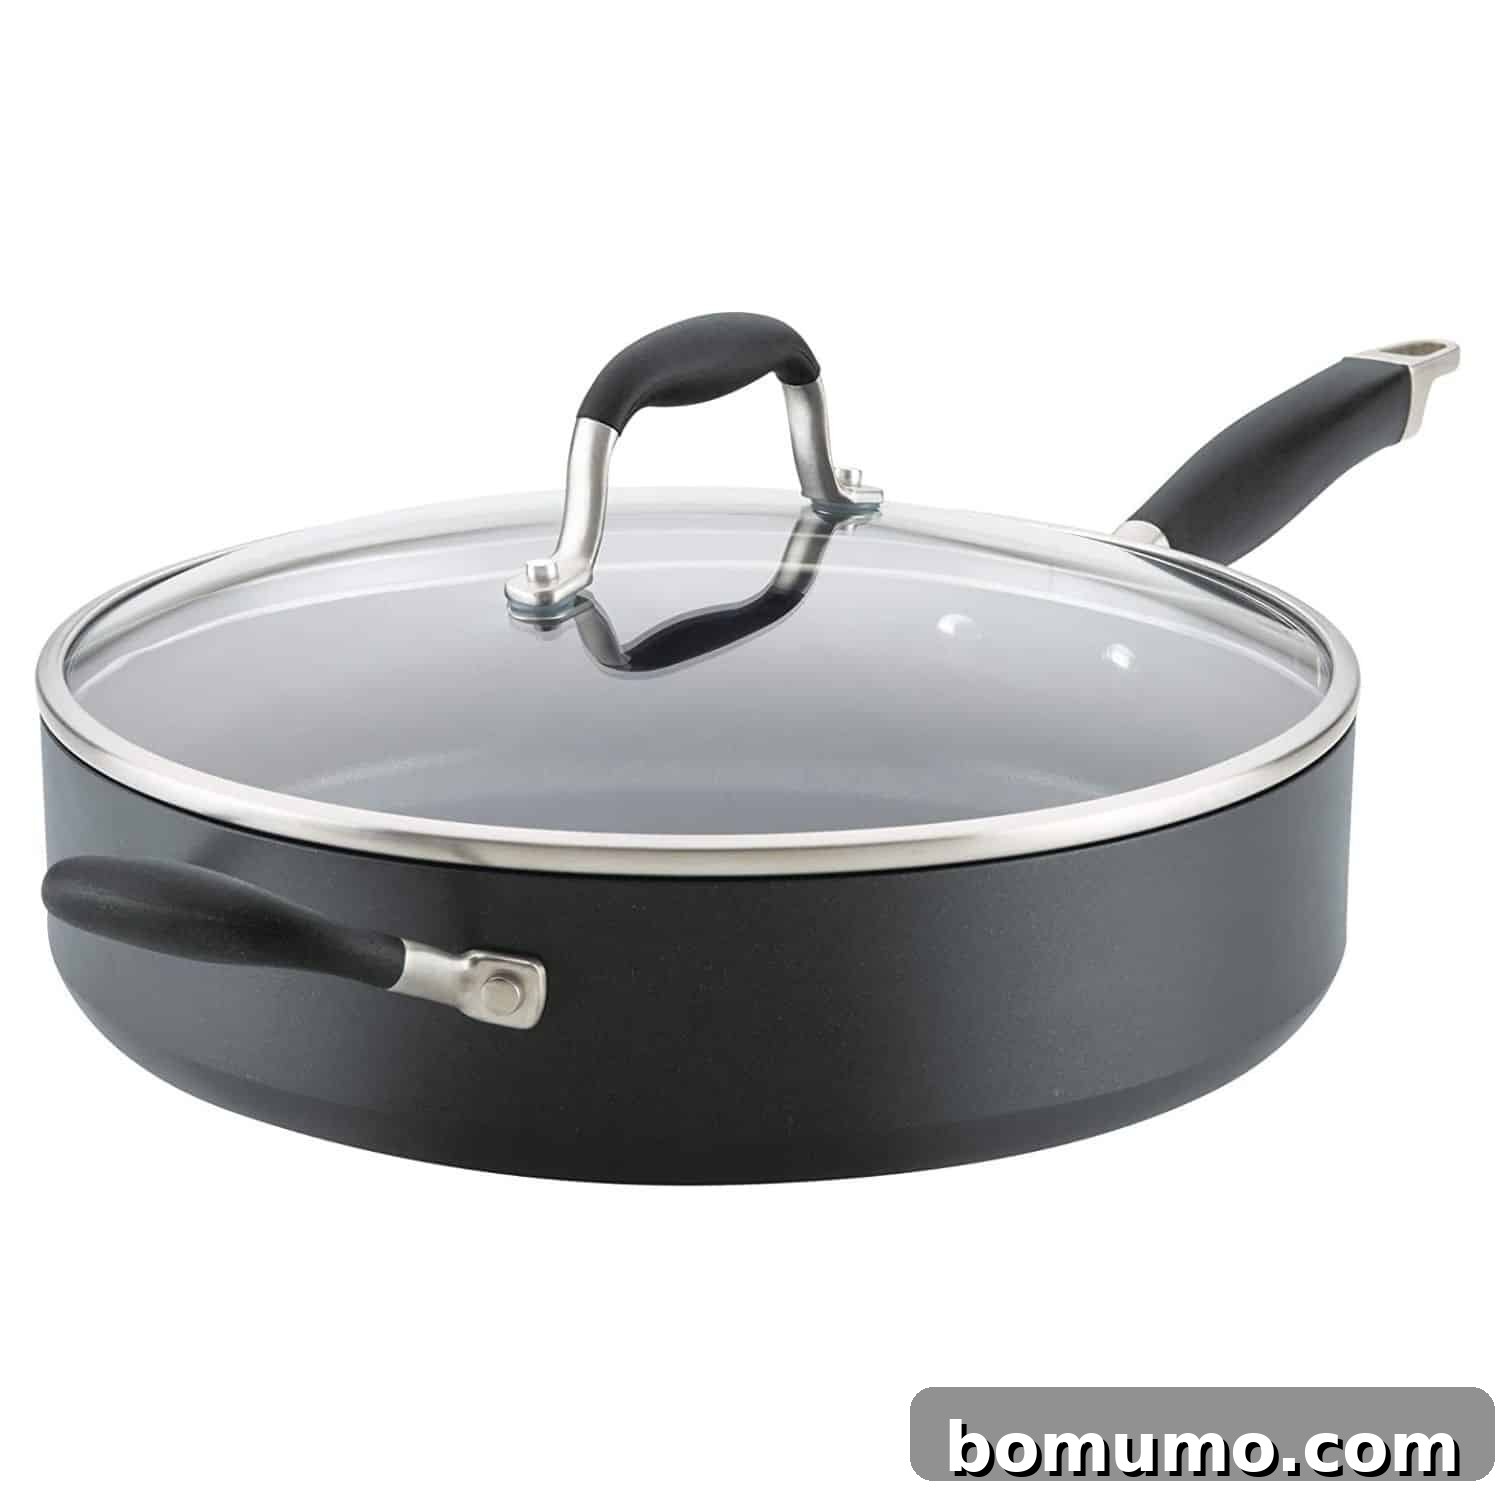
A straight-sided skillet or Dutch oven with a lid is the ideal vessel for poaching chicken. Its even heat distribution and sufficient depth ensure the chicken is perfectly submerged and cooks consistently. This type of pan is also wonderfully versatile, making it excellent for one-pot pasta recipes and more!
How to Make Perfectly Poached Chicken: A Step-by-Step Guide
Achieving tender, moist poached chicken is simple when you follow these steps:
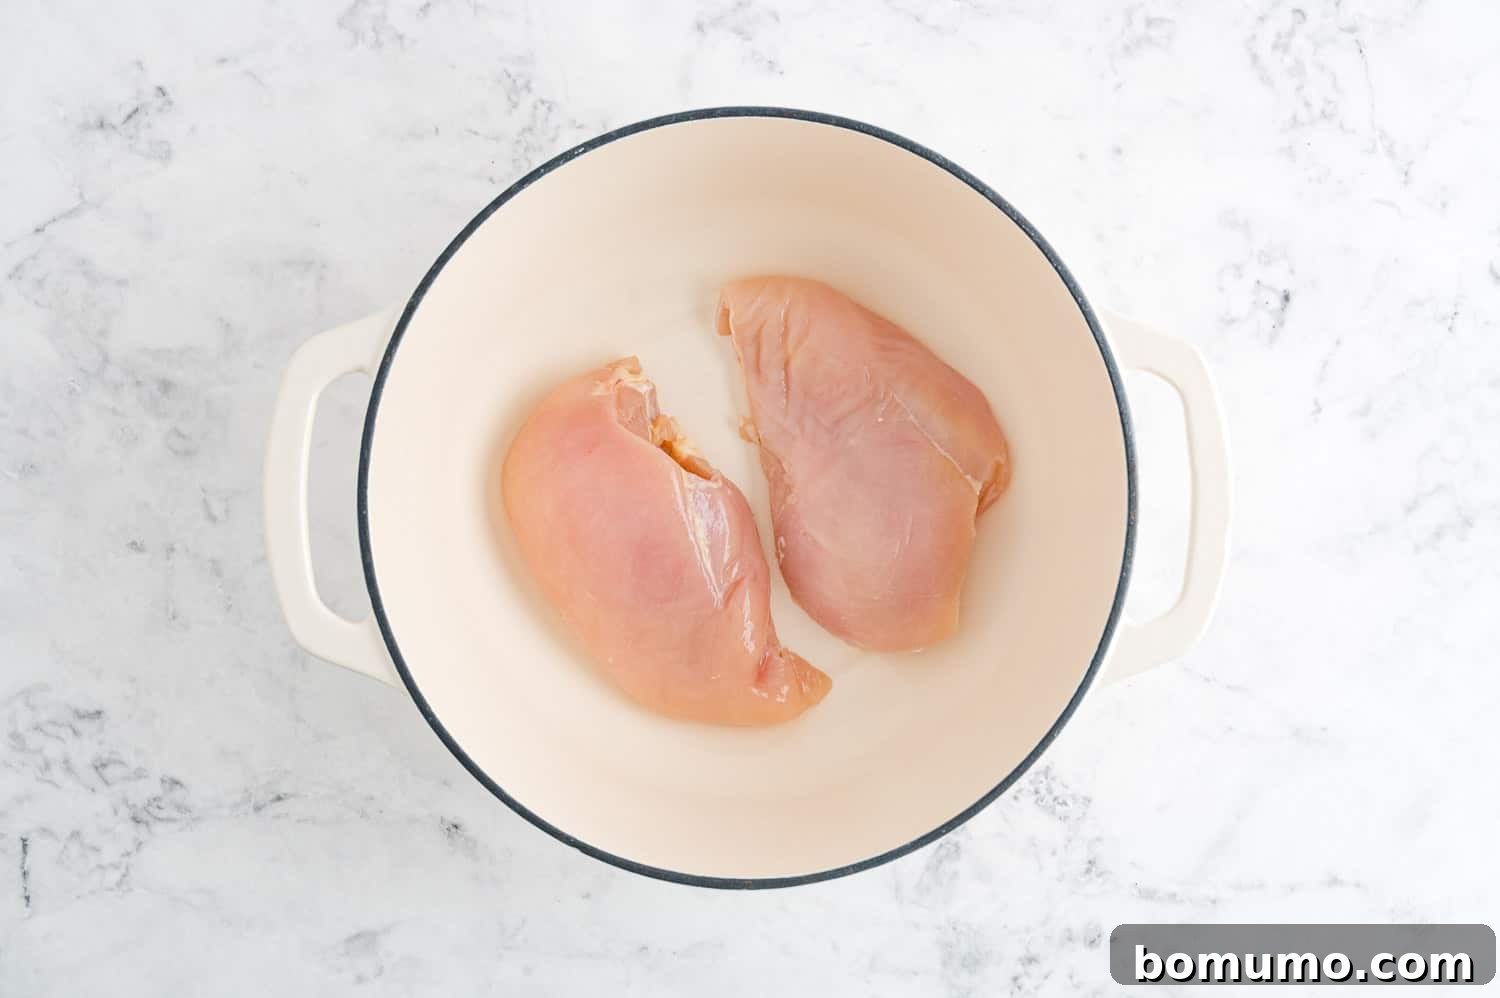
Step 1: Prepare the Pan and Chicken. Select a wide, shallow pan or Dutch oven that comes with a tight-fitting lid. The key is to choose a pan large enough to allow your chicken pieces to lay mostly in a single layer. A slight overlap of thinner edges is acceptable, but avoid overcrowding the pan, as this can lead to uneven cooking. Gently place the chicken into the prepared pan.
Essential Cooking Tip: Low and Slow is Key
The golden rule for exquisite poached chicken is “low and slow.” Maintain a gentle, consistent simmer throughout the cooking process. Poaching is distinct from boiling; boiling causes meat proteins to seize up, often resulting in dry, rubbery, and tough chicken. A slow simmer ensures the chicken cooks gently, retaining its moisture and achieving that desirable tender texture.
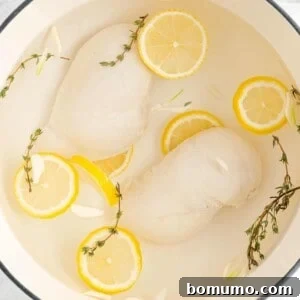
Step 2: Cover with Liquid. Pour enough water or chicken broth over the chicken to ensure it is completely submerged. The exact quantity of liquid will vary based on your pan’s dimensions and the amount and size of chicken breasts you are cooking. Aim for full coverage to ensure even heat transfer and consistent poaching.
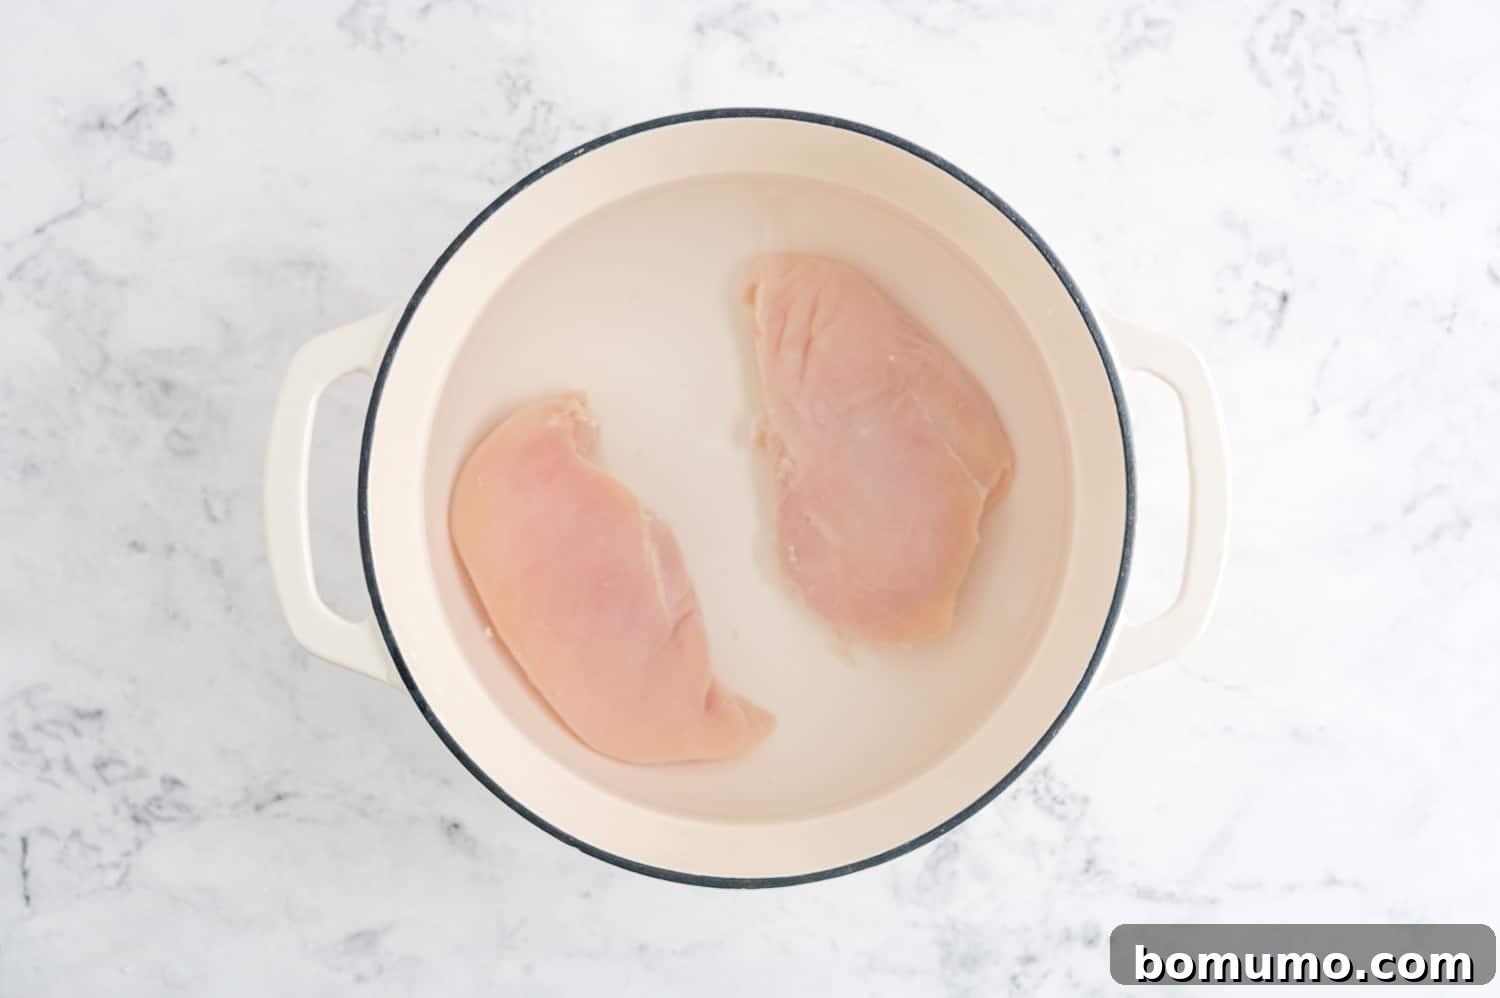
Important Tip: Always start with cool water straight from the tap or room temperature broth. Resist the urge to use hot water, as rapid temperature changes can shock the chicken and affect its texture. A gradual increase in temperature is vital for tender results.
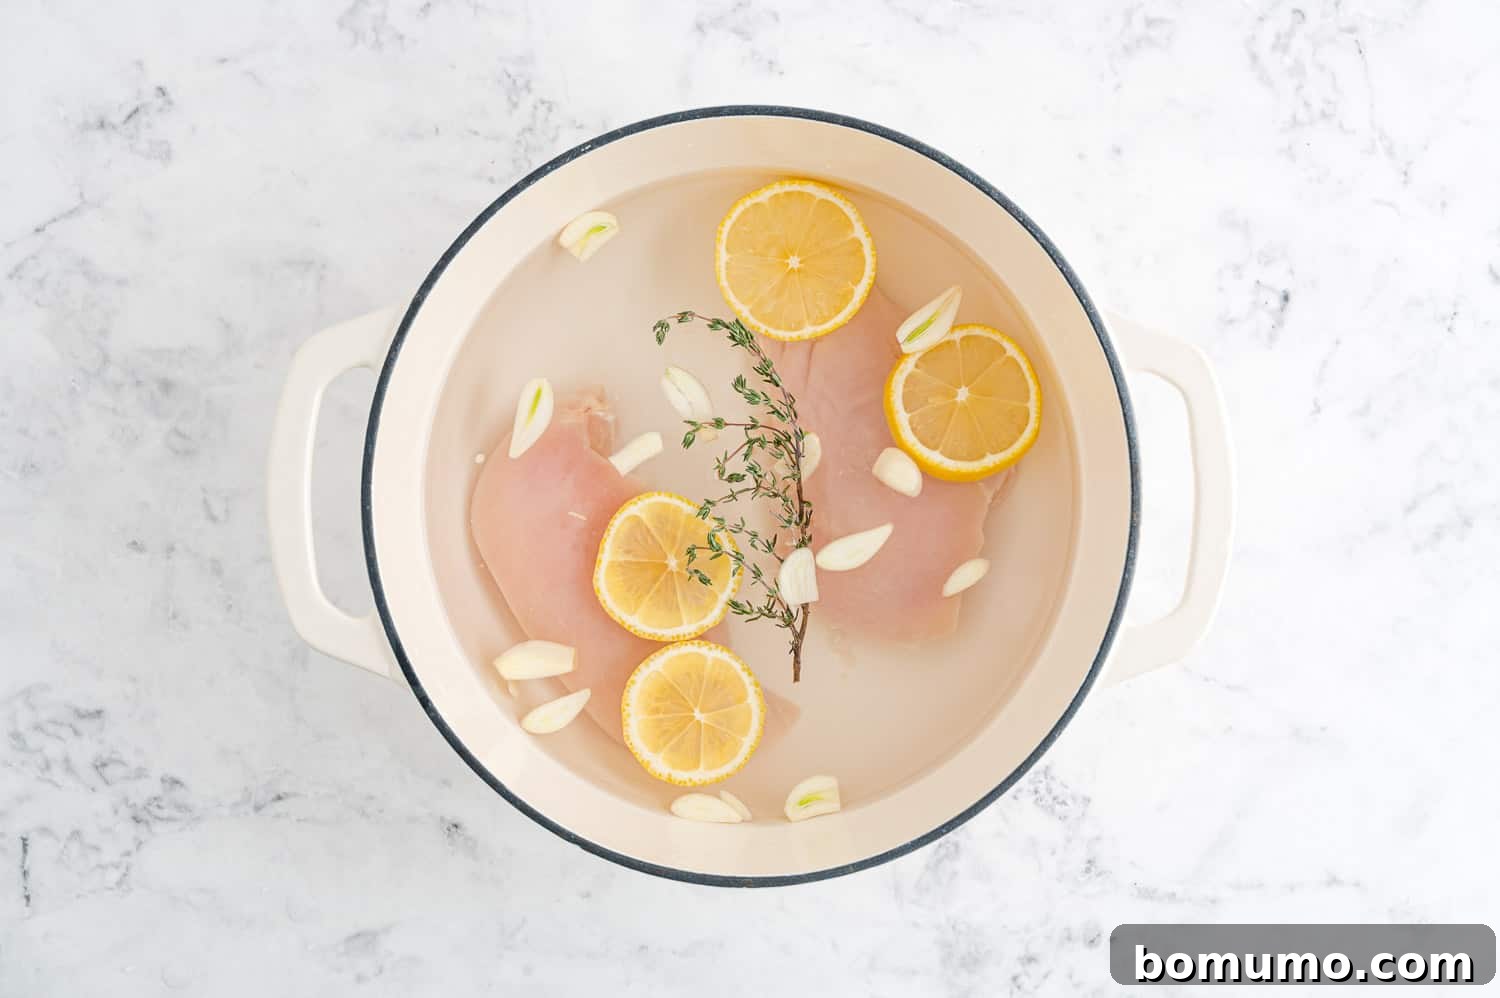
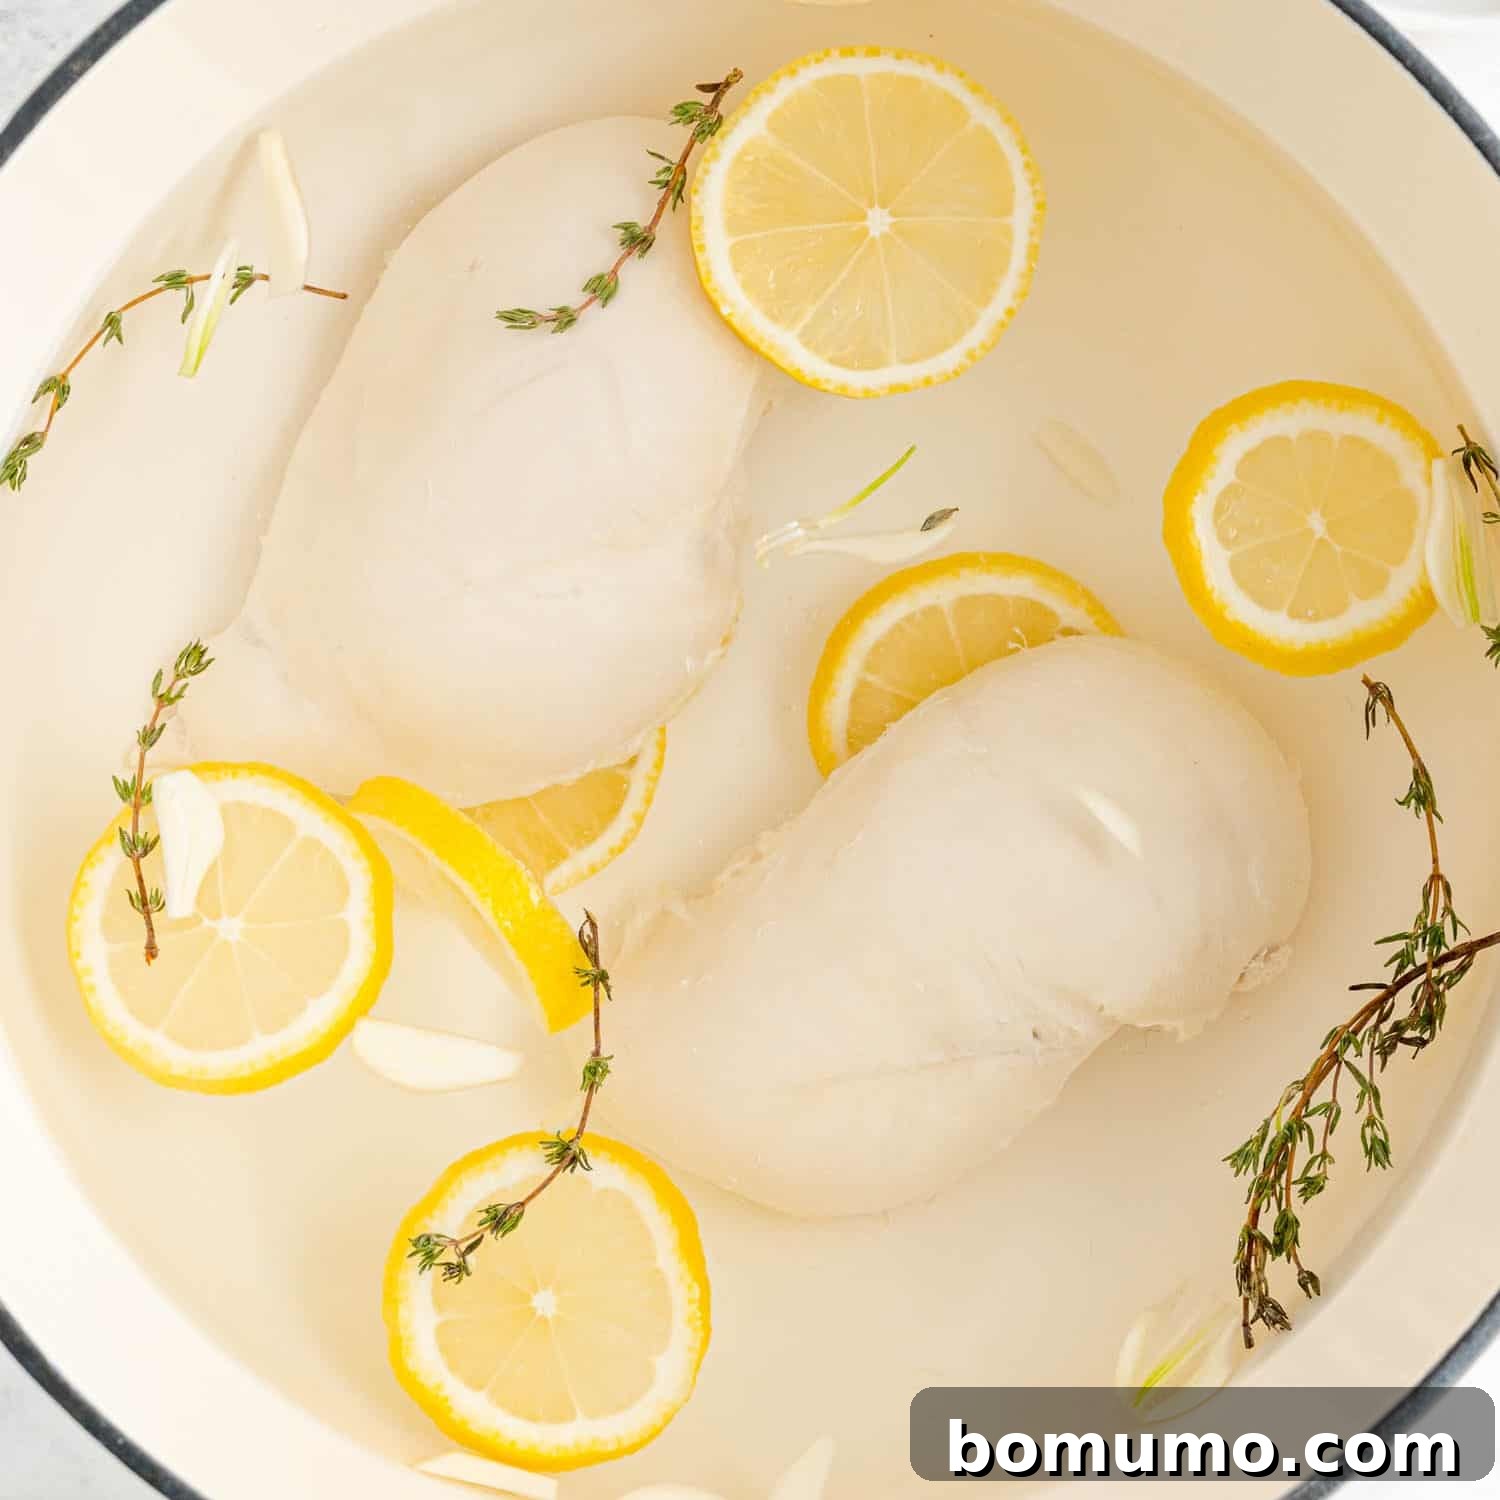
Step 3: Add Flavorings (Optional but Recommended). This is your chance to customize the flavor profile of your chicken. Add kosher salt to the liquid, and any desired aromatics such as lemon slices, garlic cloves, bay leaves, fresh herbs (like thyme or rosemary), or quartered shallots. For the photographs in this guide, we enhanced the flavor with fresh lemon, garlic, and thyme, which imparted a wonderfully subtle and aromatic quality to the chicken.
Step 4: Begin Cooking Over Medium Heat. Place the pan on your stovetop and set the heat to medium. Remember our “low and slow” mantra – avoid turning the heat up too high in an attempt to speed things up. The goal is to gradually bring the liquid to a gentle simmer. This initial heating process typically takes about fifteen minutes, but this can vary depending on the efficiency of your stove and the amount of chicken and liquid in the pan.
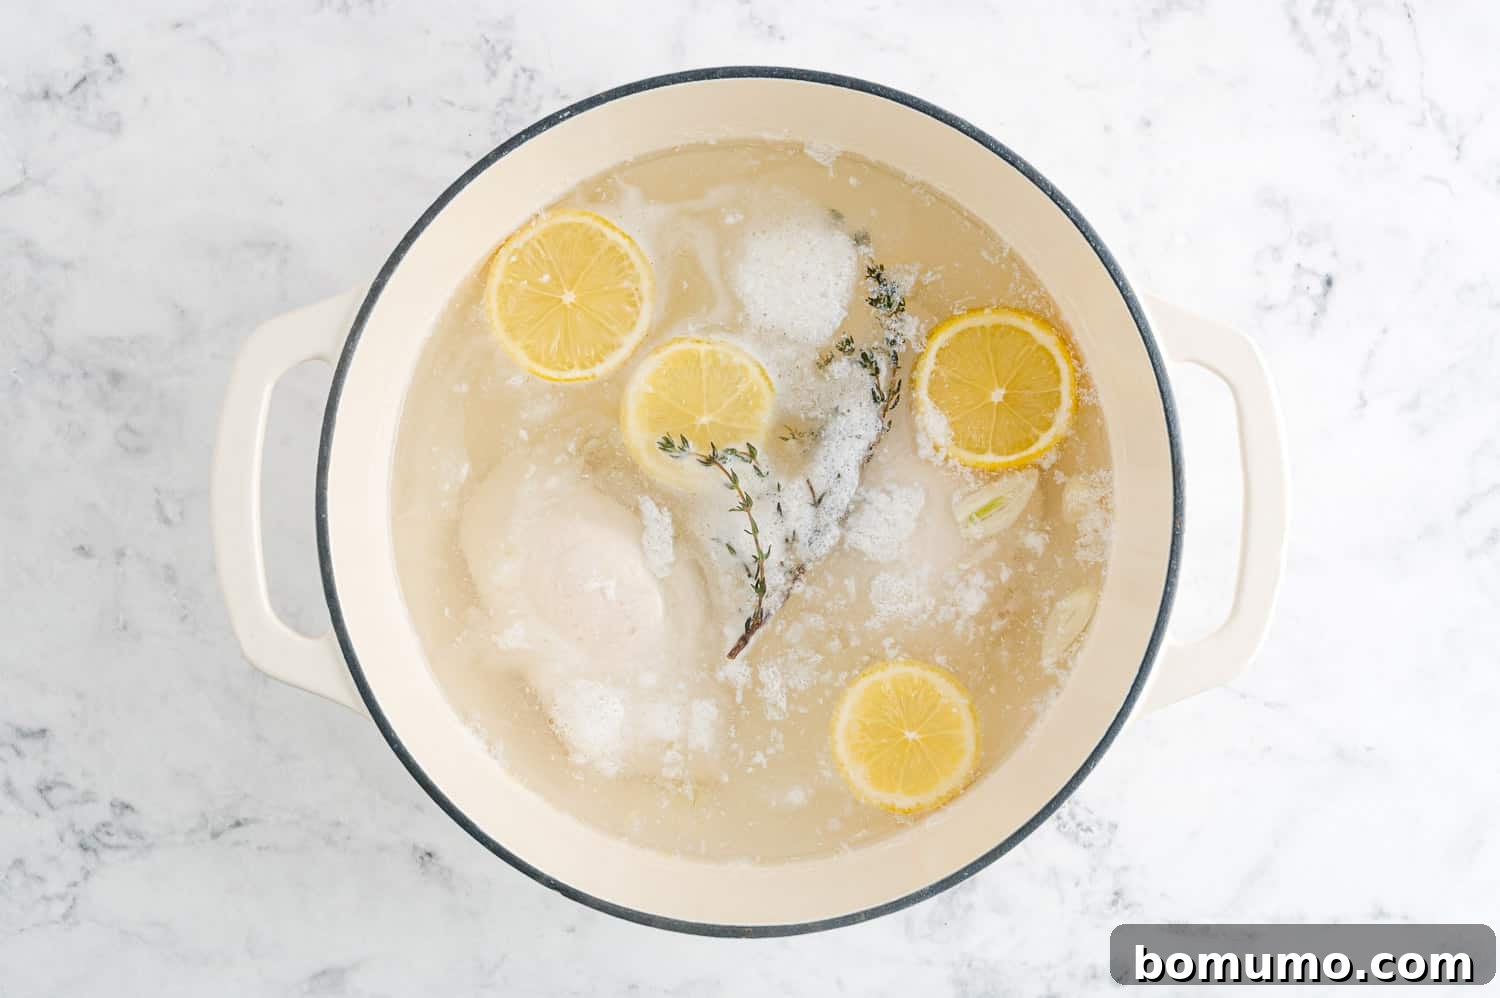
Understand the Differences: Boil, Simmer, Poach
The distinction between these cooking methods lies purely in temperature and agitation:
- Boiling: This is the hottest, reaching 212°F (100°C). You’ll observe large, vigorous, steaming bubbles rapidly breaking the surface. This is generally too harsh for delicate foods like chicken breasts.
- Simmering: Moderately hot, with temperatures ranging from 185°F to 205°F (85°C to 96°C). Characterized by tiny, continuous bubbles gently rising to the surface, indicating a steady, controlled heat.
- Poaching: Requires the coolest temperature, maintained between 160°F and 180°F (71°C to 82°C). At this temperature, the liquid will show minimal movement—perhaps a gentle shimmer—but no visible bubbles. This gentle heat is what makes poached chicken so tender.
Step 5: Reduce Heat and Cover to Simmer. Once the poaching liquid reaches a gentle simmer, reduce the heat to low. The goal is to maintain that barely-there simmer, just below boiling. Cover the pan with its lid. This traps the heat and moisture, allowing the chicken to cook evenly and gently without drying out.
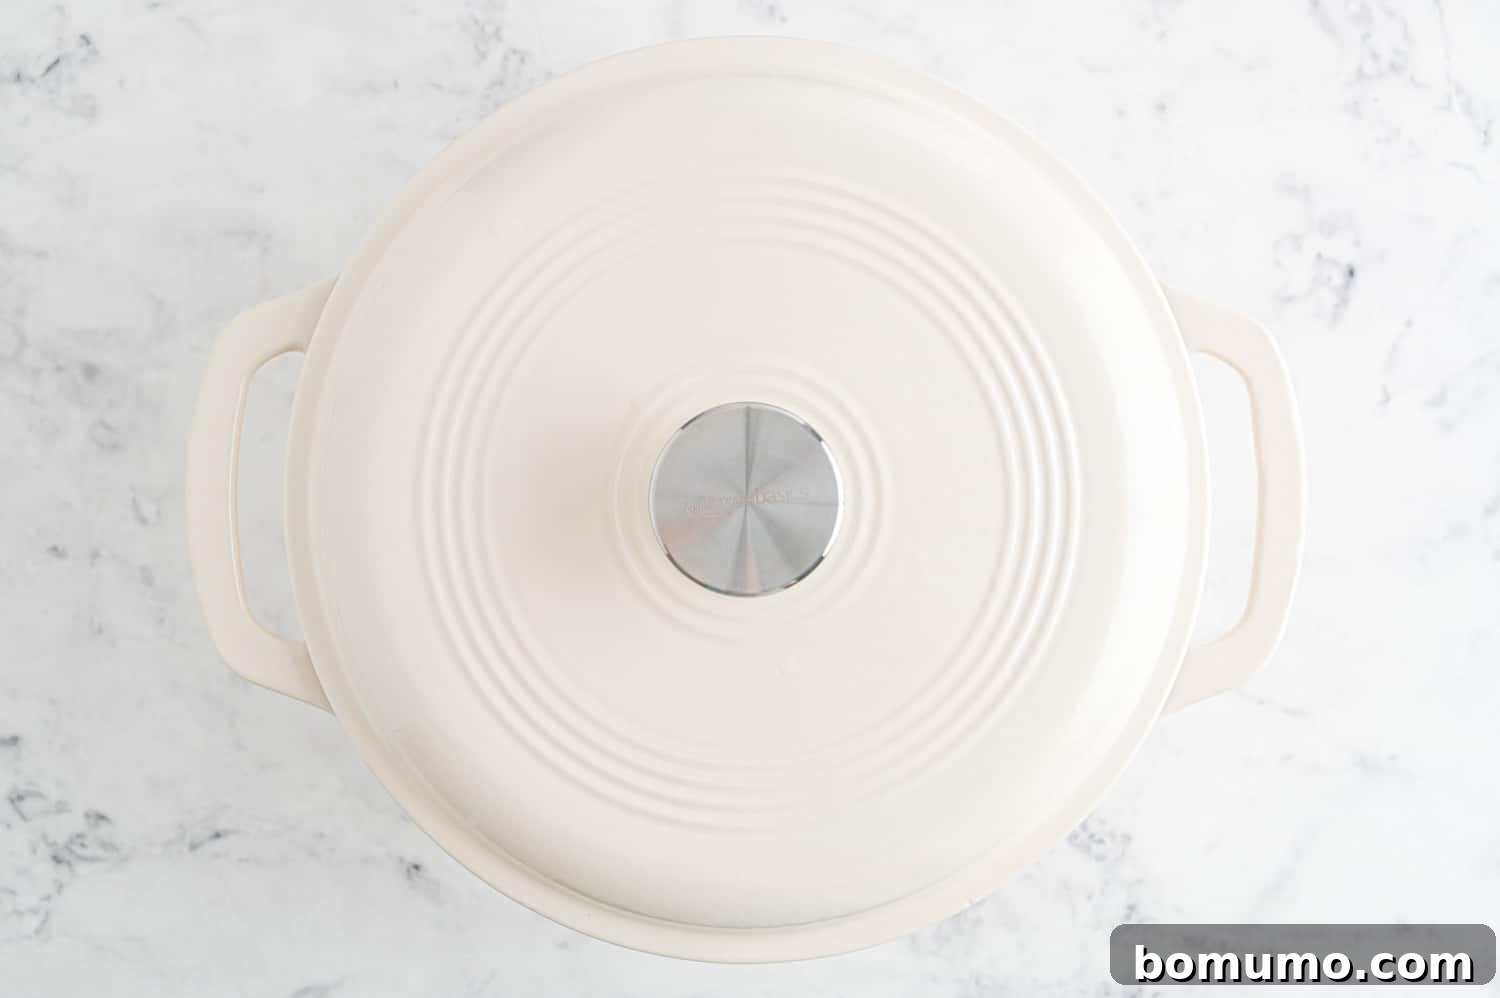
Step 6: Check for Doneness. After approximately 10 minutes of simmering, it’s time to check the chicken’s internal temperature. The most accurate way to ensure your chicken is fully cooked and safe to eat, yet still tender, is by using an instant-read thermometer. Insert the thermometer into the thickest part of the largest chicken piece, ensuring it does not touch the bone (if applicable). The internal temperature should register 165ºF (74°C). If it hasn’t reached this temperature, continue cooking for a couple more minutes, remembering that the temperature will rise slightly during the resting period. Visually, the chicken should be firm, opaque throughout, and show no signs of pink in the center.
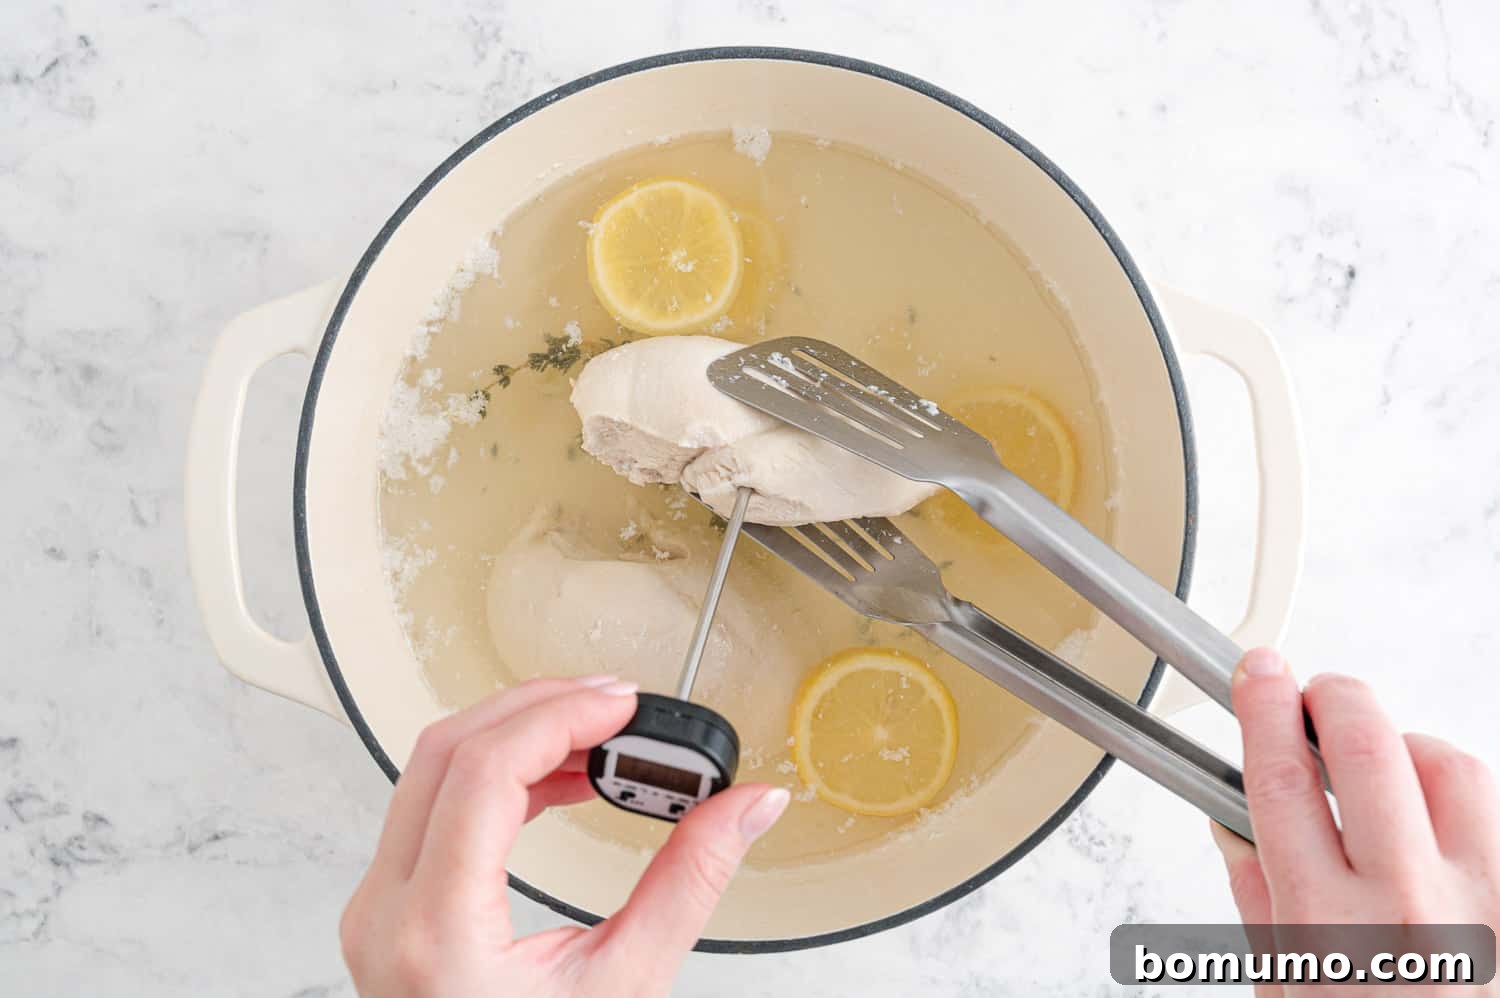
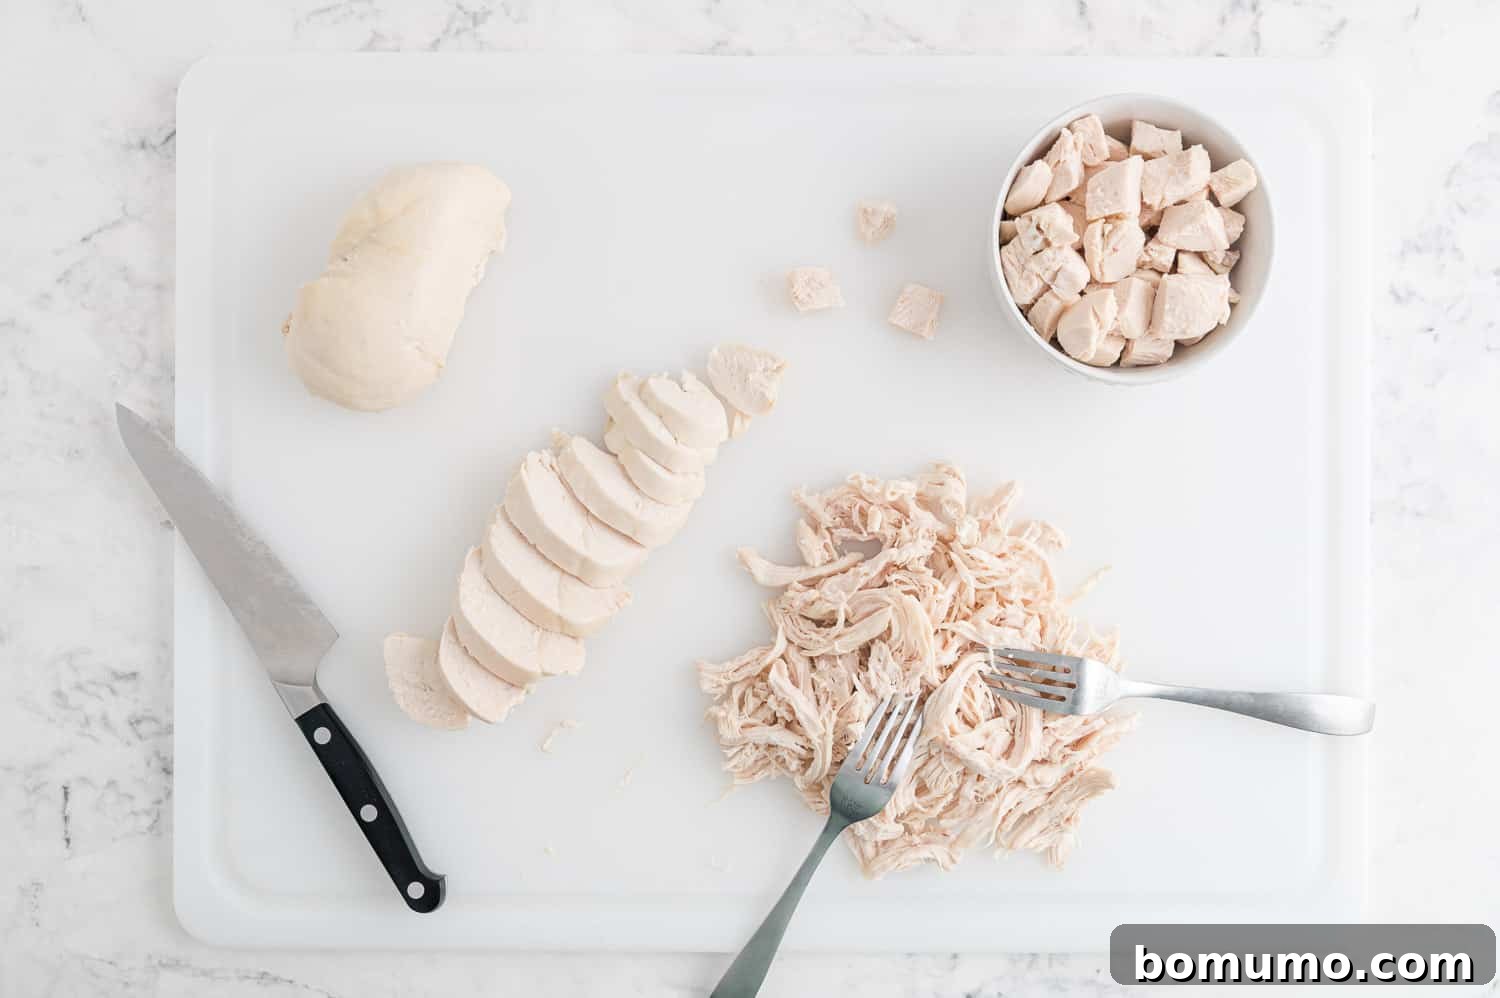
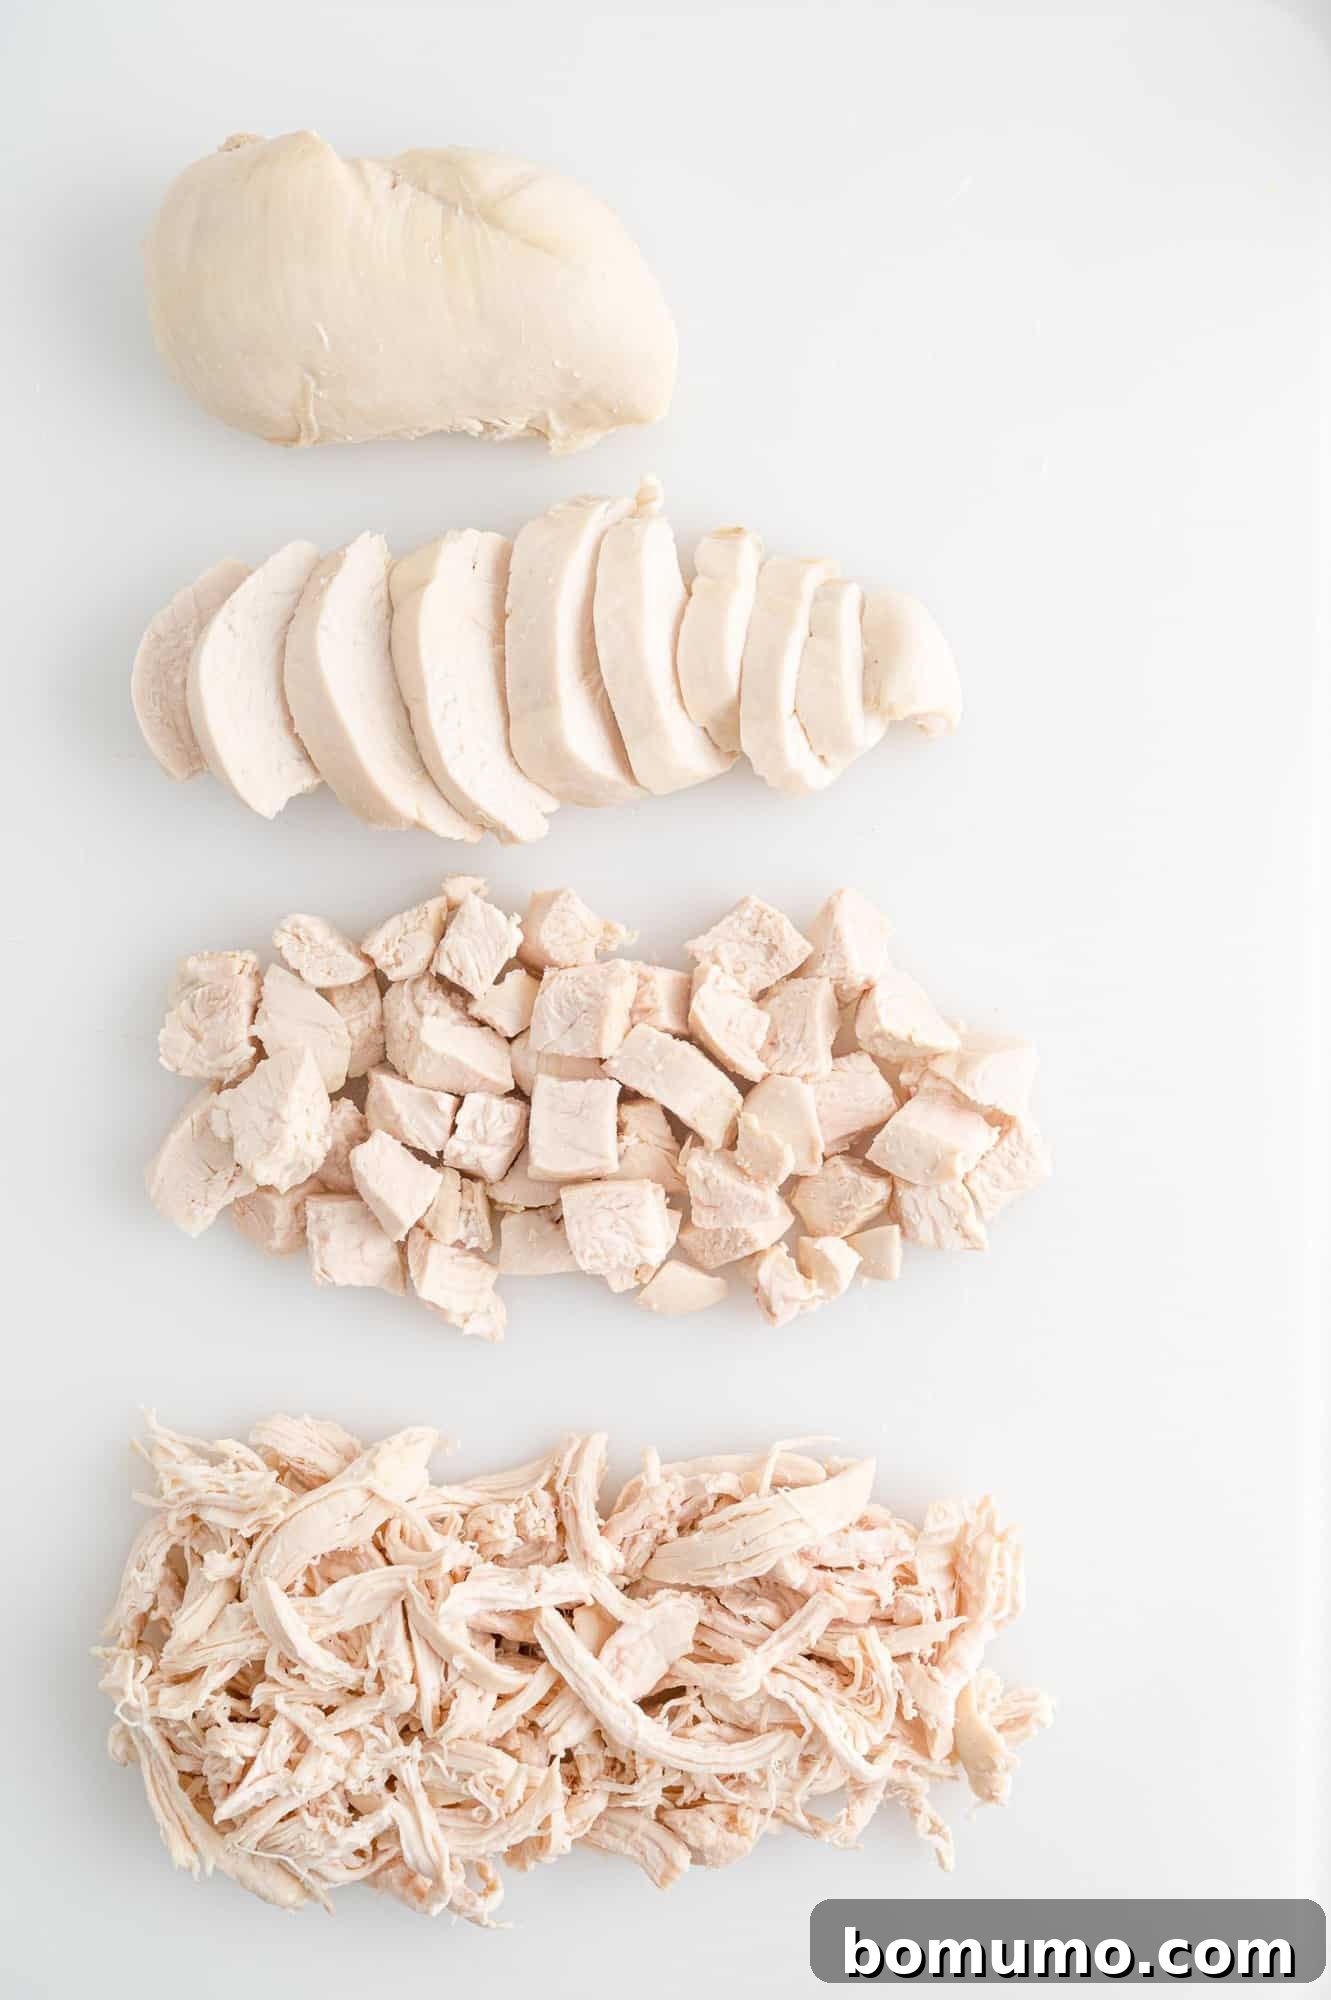
Step 7: Remove and Cool. Once the chicken reaches 165ºF (74°C), carefully remove it from the pan using tongs. Transfer the cooked chicken to a clean cutting board or platter. Allow it to rest for at least 5 minutes before you begin slicing, cubing, or shredding it. This resting period is crucial; it allows the juices to redistribute throughout the meat, ensuring your chicken remains incredibly juicy and tender.
Maximizing Flavor: Using Your Chicken Poaching Liquid
Don’t discard the flavorful liquid left in your pan after poaching! This liquid is essentially a light, homemade chicken broth, especially rich and aromatic if you added optional flavorings like herbs, garlic, or shallots. It’s too good to waste and offers fantastic culinary potential:
First, use a fine-mesh strainer to remove any solids, such as herb sprigs, lemon slices, or garlic cloves, leaving behind a clear, fragrant broth. This poaching liquid is perfect for:
- Soups: Use it as the base for any chicken or vegetable soup, adding an instant layer of homemade flavor.
- Cooking Grains: Replace water with this broth when cooking rice, quinoa, couscous, or pasta to infuse them with extra depth and savoriness.
- Sauces: Reduce it slightly to create a light, flavorful sauce for your chicken or vegetables.
Store the strained broth in an airtight container. It will keep well in the refrigerator for up to a week or in the freezer for up to 6 months, ensuring you always have a ready supply of delicious, homemade stock.
Beyond Poaching: Exploring Other Chicken Cooking Methods
While poaching is an outstanding technique, chicken’s versatility extends to many other cooking methods, each offering a unique flavor and texture profile. Consider these delicious alternatives:
- Instant Pot Cooked Chicken: For incredibly quick and perfectly shredded chicken, the Instant Pot is a game-changer. It’s ideal for meal prepping and creating large batches effortlessly. Try this easy recipe for Instant Pot shredded chicken.
- Oven Roasted Chicken: Roasting brings out rich, caramelized flavors and crispy skin. It’s a classic for a reason and yields delicious results, whether served as a main entrée or used in other recipes. Explore roasted bone-in chicken breasts for a savory meal. For a larger crowd, you can also roast a whole chicken in the oven, or try the quicker method of spatchcock chicken, where the chicken is flattened to reduce cooking time.
- Air Fryer Chicken: The air fryer offers a fantastic way to achieve crispy, golden chicken with minimal oil. It’s quick, efficient, and perfect for individual portions or smaller family meals. Learn how to make crispy air fryer chicken breasts, juicy air fryer chicken thighs, or classic air fryer drumsticks.
- Crockpot Chicken: For hands-off cooking and incredibly tender results, the slow cooker is unparalleled. It’s perfect for when you want to set it and forget it. Discover how to “roast” a whole chicken in the crockpot for a comforting, easy meal.
Creative Culinary Ideas: How to Use Poached Chicken
The beauty of poached chicken lies in its neutral and tender profile, making it a perfect canvas for endless culinary creations. Here are some inspiring recipes and ideas, though the list of possibilities is truly infinite:
- Southwestern BBQ Chicken Salad: A vibrant, chopped salad bursting with flavor, made hearty with tender chicken.
- Healthy Curried Chicken Salad: An exotic twist on a classic, perfect for sandwiches or lettuce wraps.
- Dill Chicken Salad: Fresh and herby, a light and easy option.
- Southwest Chicken Salad Recipe: Adds a zesty kick with green chiles.
- Healthy Chicken Salad with Walnuts and Grapes: A sweet and savory delight, perfect for picnics.
- Chicken Fajita Stuffed Spaghetti Squash: A low-carb, flavor-packed meal that uses cooked chicken wonderfully.
- The Best Cauliflower Nachos: Load up these healthy nachos with shredded chicken for a satisfying snack or meal.
- Southwestern Quinoa Bowl with Chicken: A nutritious and colorful bowl perfect for lunch or dinner.
- BBQ Chicken Burrito Bowls: All the flavor of a burrito without the tortilla, great for meal prep.
- Creamy Chicken Rice Soup: A comforting classic, easily enriched with pre-cooked chicken.
Meal Prep Master: Make Ahead Poached Chicken
Poaching chicken is a truly invaluable tool for effective meal prepping. It’s incredibly straightforward to do, and the cooked chicken keeps exceptionally well, allowing you to prepare nutritious meals throughout the week with minimal effort. Keeping poached chicken on hand in your fridge or freezer can be a game-changer for quick, healthy eating. I almost always have a batch prepared, ready to be transformed into a variety of dishes.
A Healthier Lunchbox Idea: Consider replacing expensive deli meats, which often contain added preservatives and high levels of sodium, with slices of homemade poached chicken breast. It’s a far more economical and significantly healthier alternative. Sliced poached chicken makes for a hearty and satisfying sandwich filling. Simply add your favorite condiments like mayonnaise, mustard, or even a generous dollop of DIY Chick-fil-A sauce, along with your preferred sandwich toppings for a truly wholesome lunch.
Storage Solutions for Poached Chicken
Proper storage is essential to extend the freshness and usability of your poached chicken. Always allow the chicken to cool completely for about 30 minutes before storing.
Refrigerate: Place cooled poached chicken in an airtight container or a resealable bag. It will maintain its quality and freshness in the refrigerator for up to four days.
Freeze: For longer storage, freeze the chicken in a tightly covered, freezer-safe container or a heavy-duty resealable freezer bag. To prevent freezer burn, ensure as much air as possible is removed from the bag. Properly stored, poached chicken can last in the freezer for up to four months, offering incredible convenience for future meals.
More Delicious Chicken Recipes to Explore
Roasted Chicken – the EASIEST recipe!
Air Fryer Chicken Nuggets
Chicken Fricassee Recipe – One Pan!
Air Fryer Chicken Thighs – perfect every time!
Classic Poached Chicken: Your Guide to Tender, Juicy Perfection
Print Recipe
Ingredients
- 2 boneless skinless chicken breasts, approximately 8 ounces each (see notes for other cuts)
- 6 cups water or chicken broth (or a combination), more or less as needed to cover chicken
- 2 teaspoons kosher salt (reduce to 1 teaspoon if using low-sodium broth, ½ teaspoon if using full-sodium broth)
Optional Flavorings:
- 1 lemon, cut into slices
- 1 bay leaf
- 2 cloves garlic, sliced
- fresh herbs (such as a sprig of rosemary, fresh thyme, or fresh parsley)
- 2 shallots, peeled and cut in quarters
- 1 cup dry white wine
Instructions
-
Choose a wide, shallow pan with a tight-fitting lid that is large enough for the chicken to fit mostly in a single layer. The chicken should be fully submerged in water or broth.
-
Place the chicken breasts into the pan and cover them completely with cold water or broth. The exact amount of liquid will depend on your pan size and the quantity of chicken. Add the kosher salt and any desired optional flavorings (lemon, garlic, herbs, etc.).2 boneless skinless chicken breasts, about 8 ounces each,
6 cups water or chicken broth (as needed),
2 teaspoons kosher salt -
Place the pan over medium heat and slowly bring the liquid to a gentle simmer. This process should take approximately fifteen minutes, but timing will vary based on your stove and pan. It is crucial not to rush this step to ensure tender chicken.
-
Once the poaching liquid reaches a gentle simmer, carefully flip each piece of chicken over using tongs. Immediately reduce the heat to low, ensuring the liquid maintains a very gentle simmer (no vigorous boiling), and cover the pan tightly with its lid.
-
Continue cooking for about 10 minutes. After this time, check the internal temperature of the thickest part of the chicken using an instant-read thermometer. The chicken is fully cooked when it reaches an internal temperature of 165ºF (74°C). Once it reaches this temperature, remove the pan from the heat and transfer the chicken to a clean cutting board.
-
Allow the chicken to rest for 5 minutes on the cutting board before you begin slicing, cubing, or shredding it. This resting period helps retain the juices, ensuring the chicken remains tender and moist.
Notes
- Sodium Content: While the nutrition information might indicate a higher sodium level, it’s important to note that most of this sodium remains in the cooking liquid and is not significantly absorbed by the chicken itself.
- Storage Guidelines: Always allow the poached chicken to cool for at least 30 minutes before storing it. Store in a tightly covered container or a resealable bag in the refrigerator for up to four days, or freeze for up to four months.
- Increasing the Recipe: This recipe is easily scalable. You can double or even triple the amount of chicken, provided you use a pan large enough to accommodate all pieces in a single layer with sufficient liquid to cover them. The time it takes for the liquid to come to a simmer will increase with more volume, but once simmering, the actual cooking time for the chicken (approximately 10 minutes) should remain consistent.
Poaching Different Chicken Cuts:
The poaching process is generally similar across different cuts, but cooking times will vary significantly based on size and bone presence. Always remember, chicken is done when it reaches an internal temperature of 165ºF (74°C).
- Bone-in, Skin-on Breasts (approx. 16 oz each): After liquid simmers, poach for about 20 minutes.
- Boneless, Skinless Thighs (approx. 4 oz each): After liquid simmers, poach for 8 to 10 minutes.
- Bone-in, Skin-on Thighs (approx. 7 oz each): After liquid simmers, poach for about 13 minutes.
Video Guide
Watch the full recipe demonstration here: Poached Chicken Video Tutorial

Nutrition Information
Calories: 72kcal,
Carbohydrates: 3g,
Protein: 12g,
Fat: 2g,
Saturated Fat: 1g,
Polyunsaturated Fat: 1g,
Monounsaturated Fat: 1g,
Trans Fat: 1g,
Cholesterol: 36mg,
Sodium: 1247mg,
Potassium: 247mg,
Fiber: 1g,
Sugar: 1g,
Vitamin A: 24IU,
Vitamin C: 15mg,
Calcium: 21mg,
Iron: 1mg
Nutrition information is automatically calculated and should be used as an approximation only.
Tried This Recipe?
Share your feedback and rating below! I appreciate hearing your thoughts!