
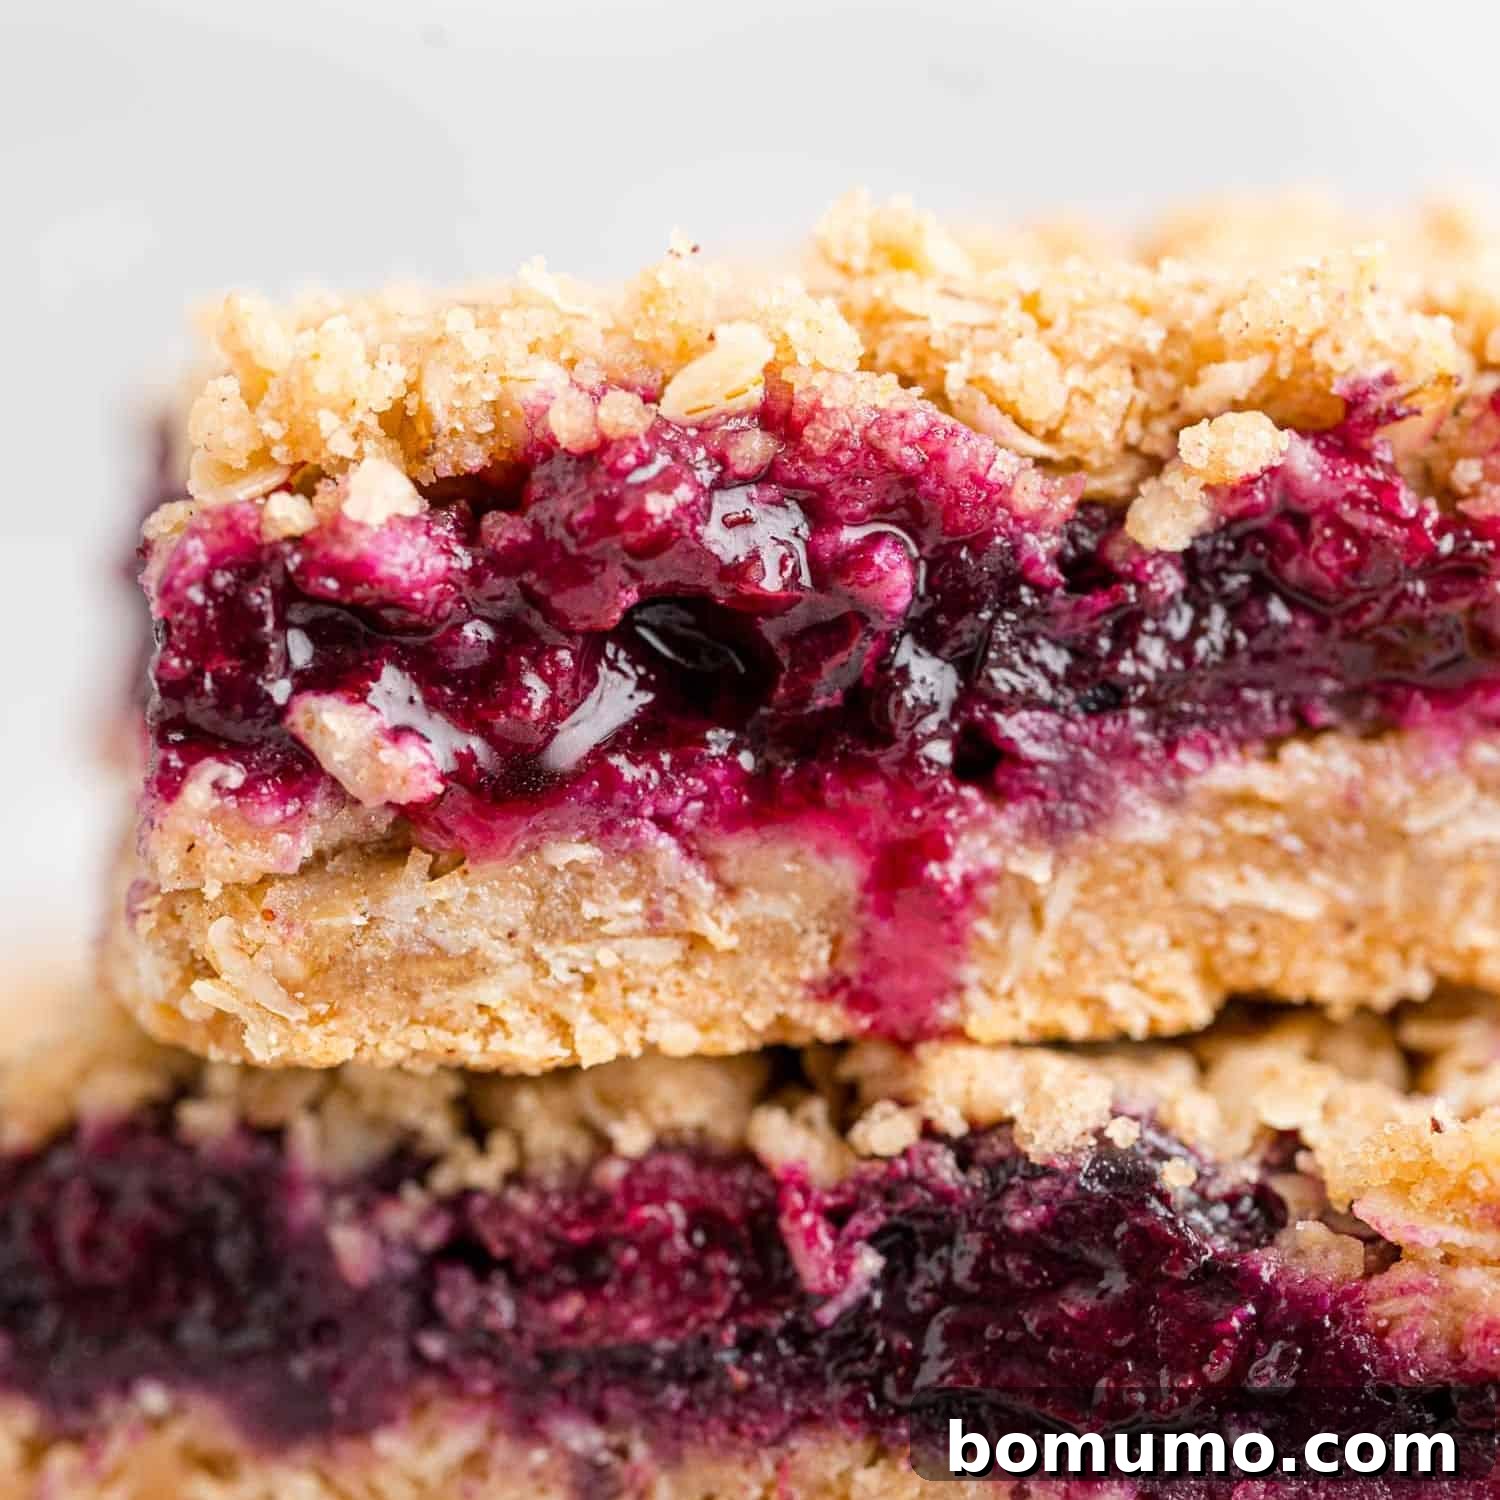
Recipe Overview: Delicious Blueberry Crumb Bars
Why You’ll Adore Them: These delightful blueberry crumb bars are a symphony of flavors and textures. Featuring a rich, buttery oat crust, a vibrant homemade blueberry compote, and a perfectly crumbly topping, they offer a truly satisfying and golden bite. Beyond their irresistible taste, these bars are incredibly versatile and convenient. Sliced into neat squares, they’re the ultimate grab-and-go snack, ideal for lunchboxes, picnics, or simply enjoying with your morning coffee. Best of all, whether you have a bounty of fresh summer blueberries or a stash of frozen ones, you can whip up these delectable treats any time of the year.
Time Investment: You’ll need approximately 20 minutes for active preparation, followed by 50 minutes of baking time. This efficient recipe ensures you can enjoy freshly baked goodness without spending hours in the kitchen.
Essential Kitchen Tools: To create these marvelous bars, gather a sturdy saucepan for the compote, a large mixing bowl for the crumb mixture, a reliable pastry cutter (or two forks), and a standard glass baking dish (9×13 inch works best).
Yield: This recipe generously yields about 20 servings, though the exact number can vary depending on how you choose to slice your bars. They’re perfect for sharing, if you can resist eating them all yourself!
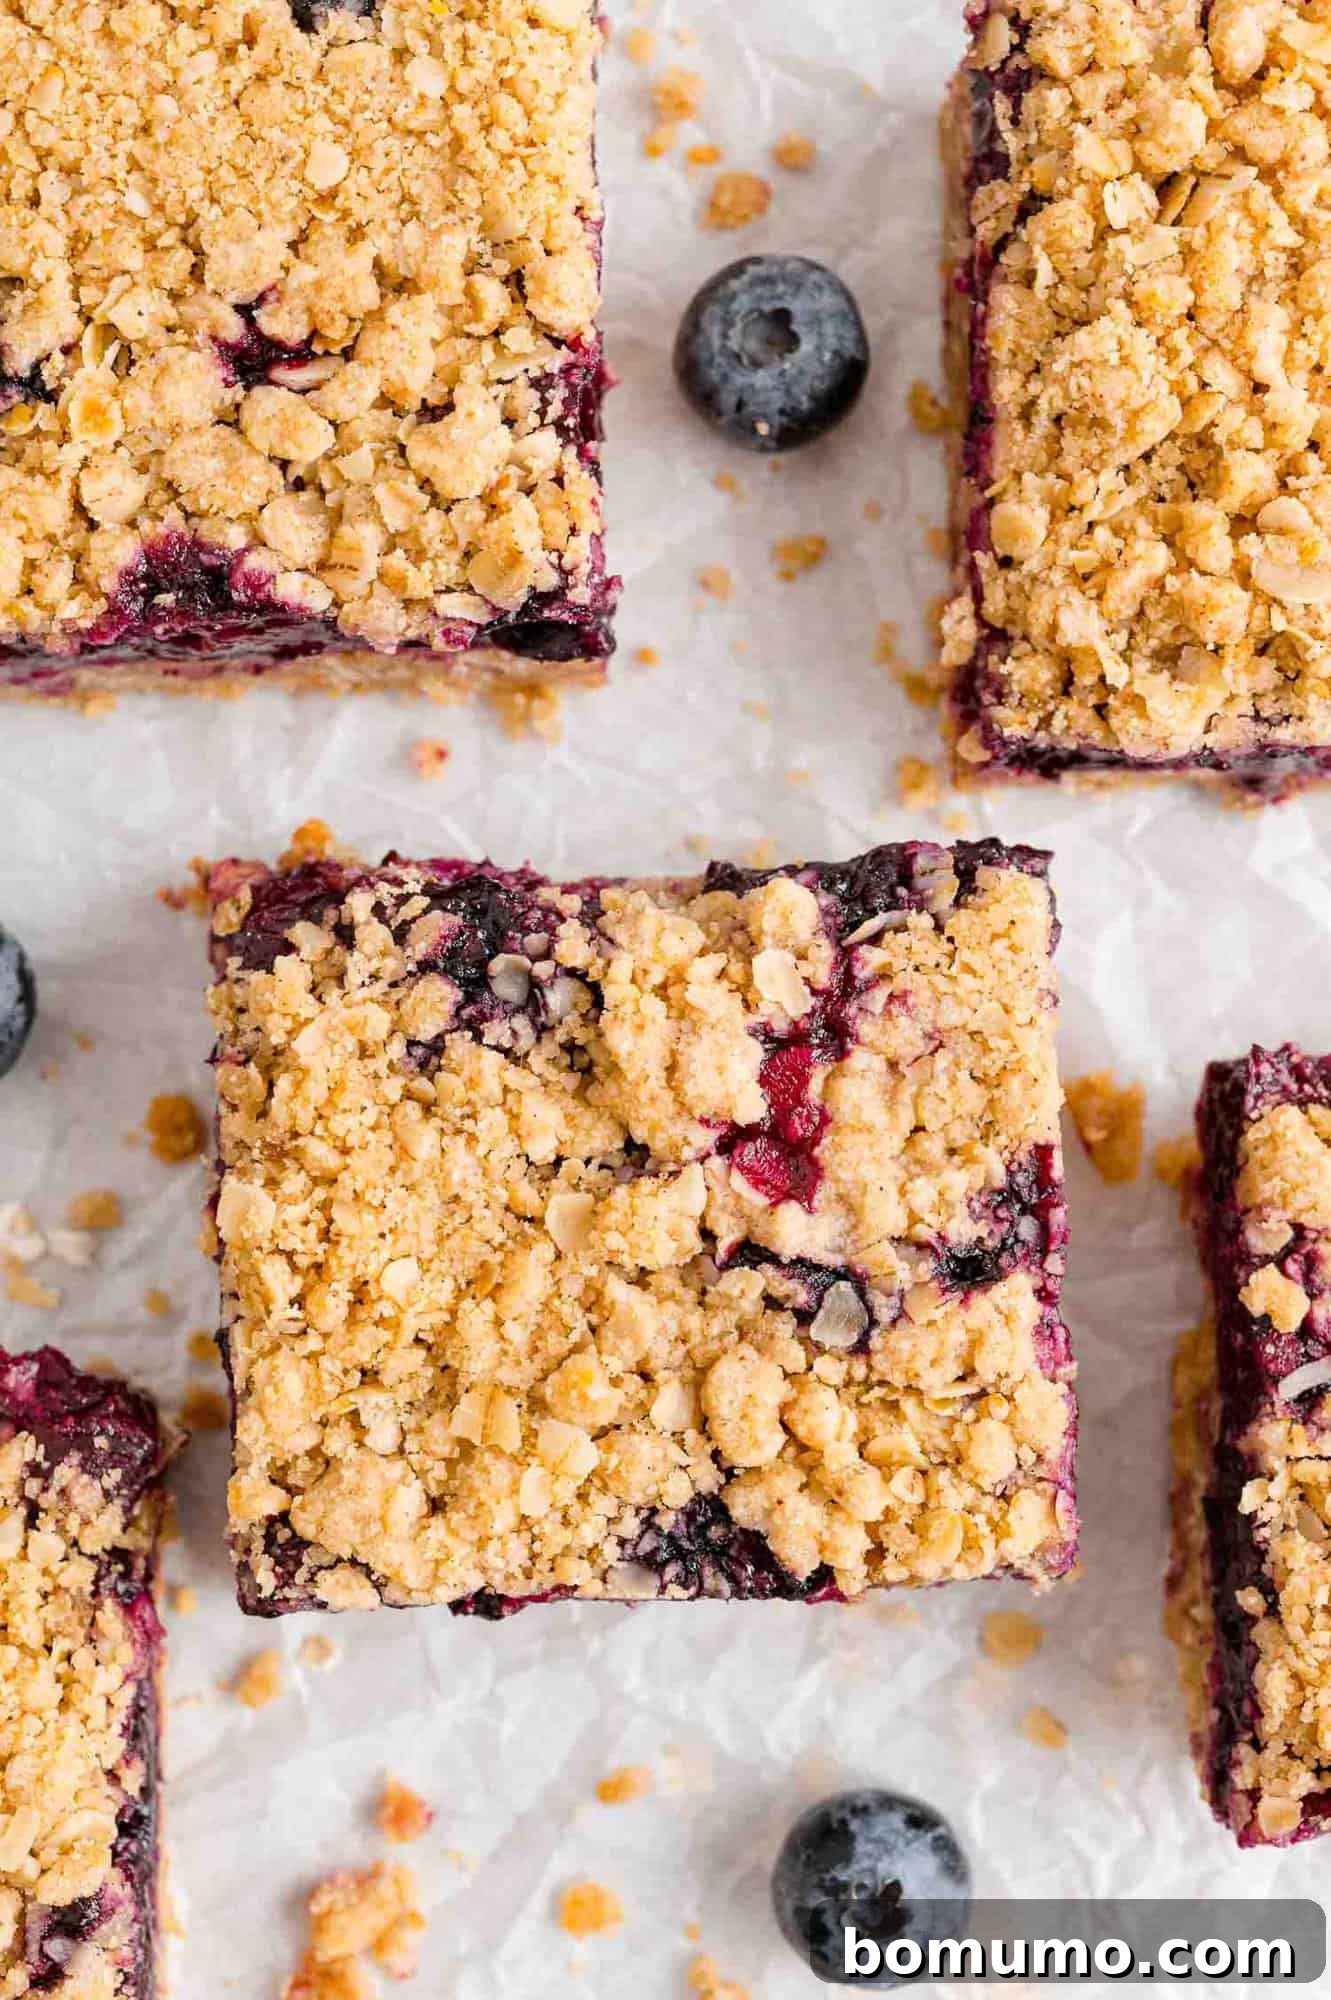
The Ultimate Easy Blueberry Crumb Bars with Oats
Indulge in a homemade treat that marries simplicity with sensational flavor: our Easy Blueberry Crumb Bars with Oats. Each square is a delightful stack of a rich, buttery shortbread-style crust, a luscious homemade blueberry filling, and a perfectly golden, crumbly oat topping. Infused with subtle hints of warm cinnamon and bright lemon zest, every bite promises to put a “berry big” smile on your face – pun intended!
What makes these bars truly special is the harmonious contrast in textures. You’ll experience the satisfying crispness of the golden-brown topping, giving way to a soft, tender interior. The star of the show, a homemade blueberry filling, bursts with a fruity tang that beautifully balances the sweetness of the crust and crumble. This makes them reminiscent of classic blueberry crumble or blueberry crisp, but cleverly packaged into an effortlessly portable bar form. Whether blueberries are in peak season or you’re reaching for a bag of frozen ones, these bars are a fantastic way to enjoy fruity goodness all year long.
The irresistible buttery oat topping ensures these aren’t just any dessert; they’re a versatile snack that might just become your new obsession. You’ll find yourself packing more than a couple (if not all!) for work or school. With their delightful crust and vibrant, jammy purple filling, resistance is futile – and your coworkers might just try to sneak a bite from your lunch bag!
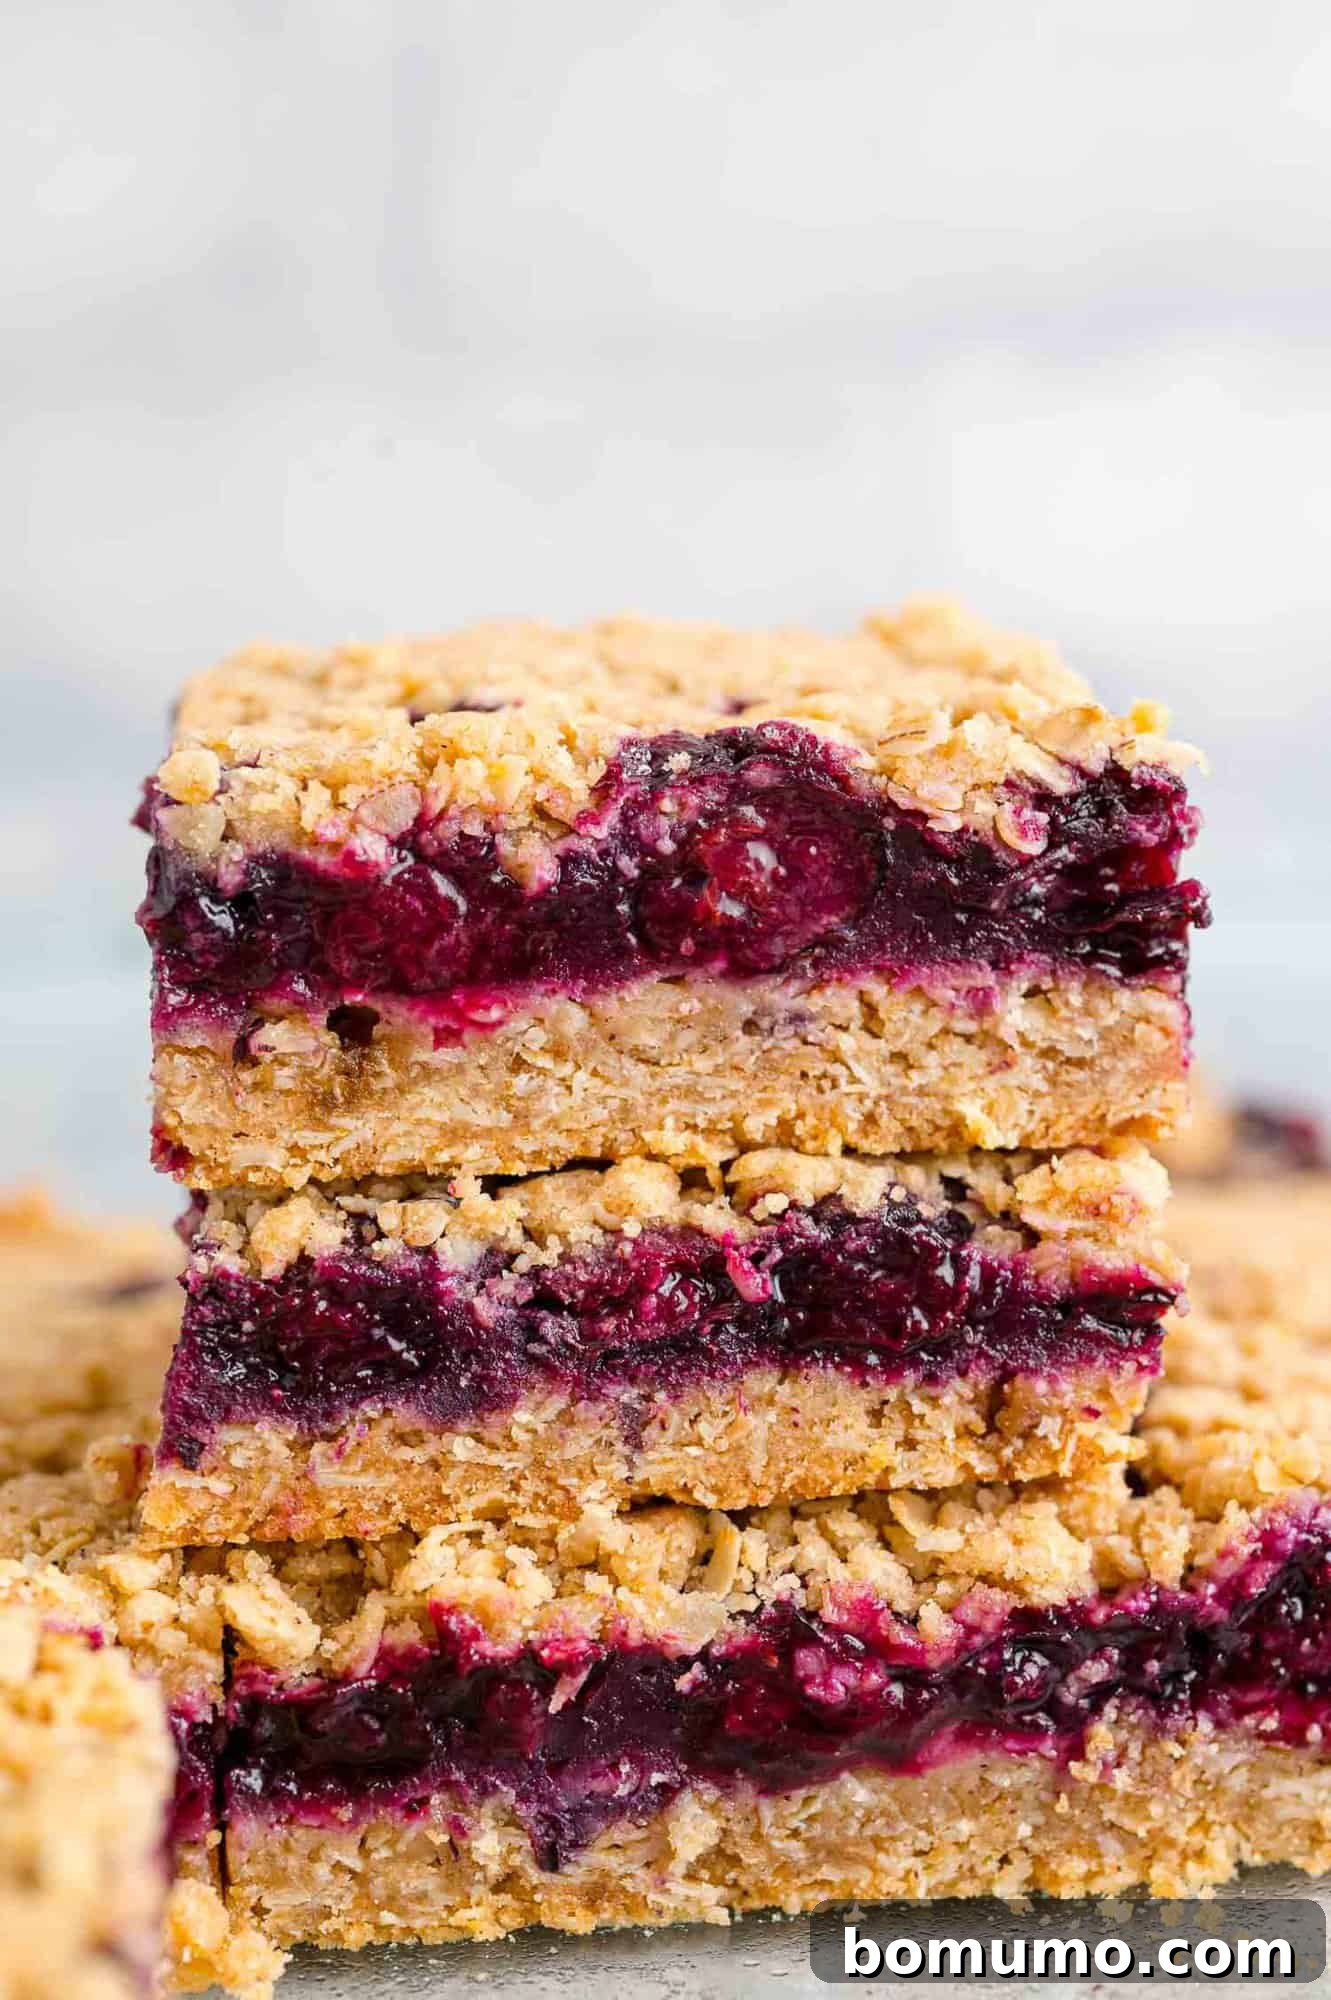
Irresistible Reasons to Bake Blueberry Crumb Bars
While the allure of a perfectly crumbly, buttery topping is often enough to entice anyone, these blueberry crumb bars offer a multitude of compelling reasons to make them a staple in your baking repertoire:
- Enjoy Them Year-Round: Don’t let seasonal availability dictate your cravings! This recipe is incredibly adaptable, performing beautifully with either fresh or frozen blueberries. This means you can indulge in these delightful bars whether it’s the height of summer or the chill of winter. Plus, they are freezer-friendly, allowing you to prepare a batch ahead of time and enjoy them whenever the mood strikes.
- Perfect for On-the-Go Snacking: Forget flimsy snacks that don’t hold up. These robust bars are designed for portability. Their firm structure makes them ideal for packing into individual bags or containers, providing a satisfyingly sweet and fruity energy boost throughout your busy day. They’re excellent for school lunches, office breaks, or hiking trips.
- Remarkably Flexible and Customizable: This recipe is a fantastic canvas for your creativity. While blueberries are phenomenal, feel free to swap them for your favorite berries, or even a combination! Raspberries, strawberries, or blackberries work wonderfully, each adding its unique flavor profile. You can use fresh or frozen berries interchangeably, or even mix them for a more complex fruit filling. This flexibility ensures you can always adapt the recipe to what you have on hand or what’s in season.
- Simple Ingredients, Incredible Flavor: You’ll be amazed at the depth of flavor achieved with just a few common pantry staples and fresh or frozen fruit. The combination of oats, flour, butter, and brown sugar creates a rich foundation, while the blueberries, lemon, and cinnamon elevate it to something truly extraordinary.
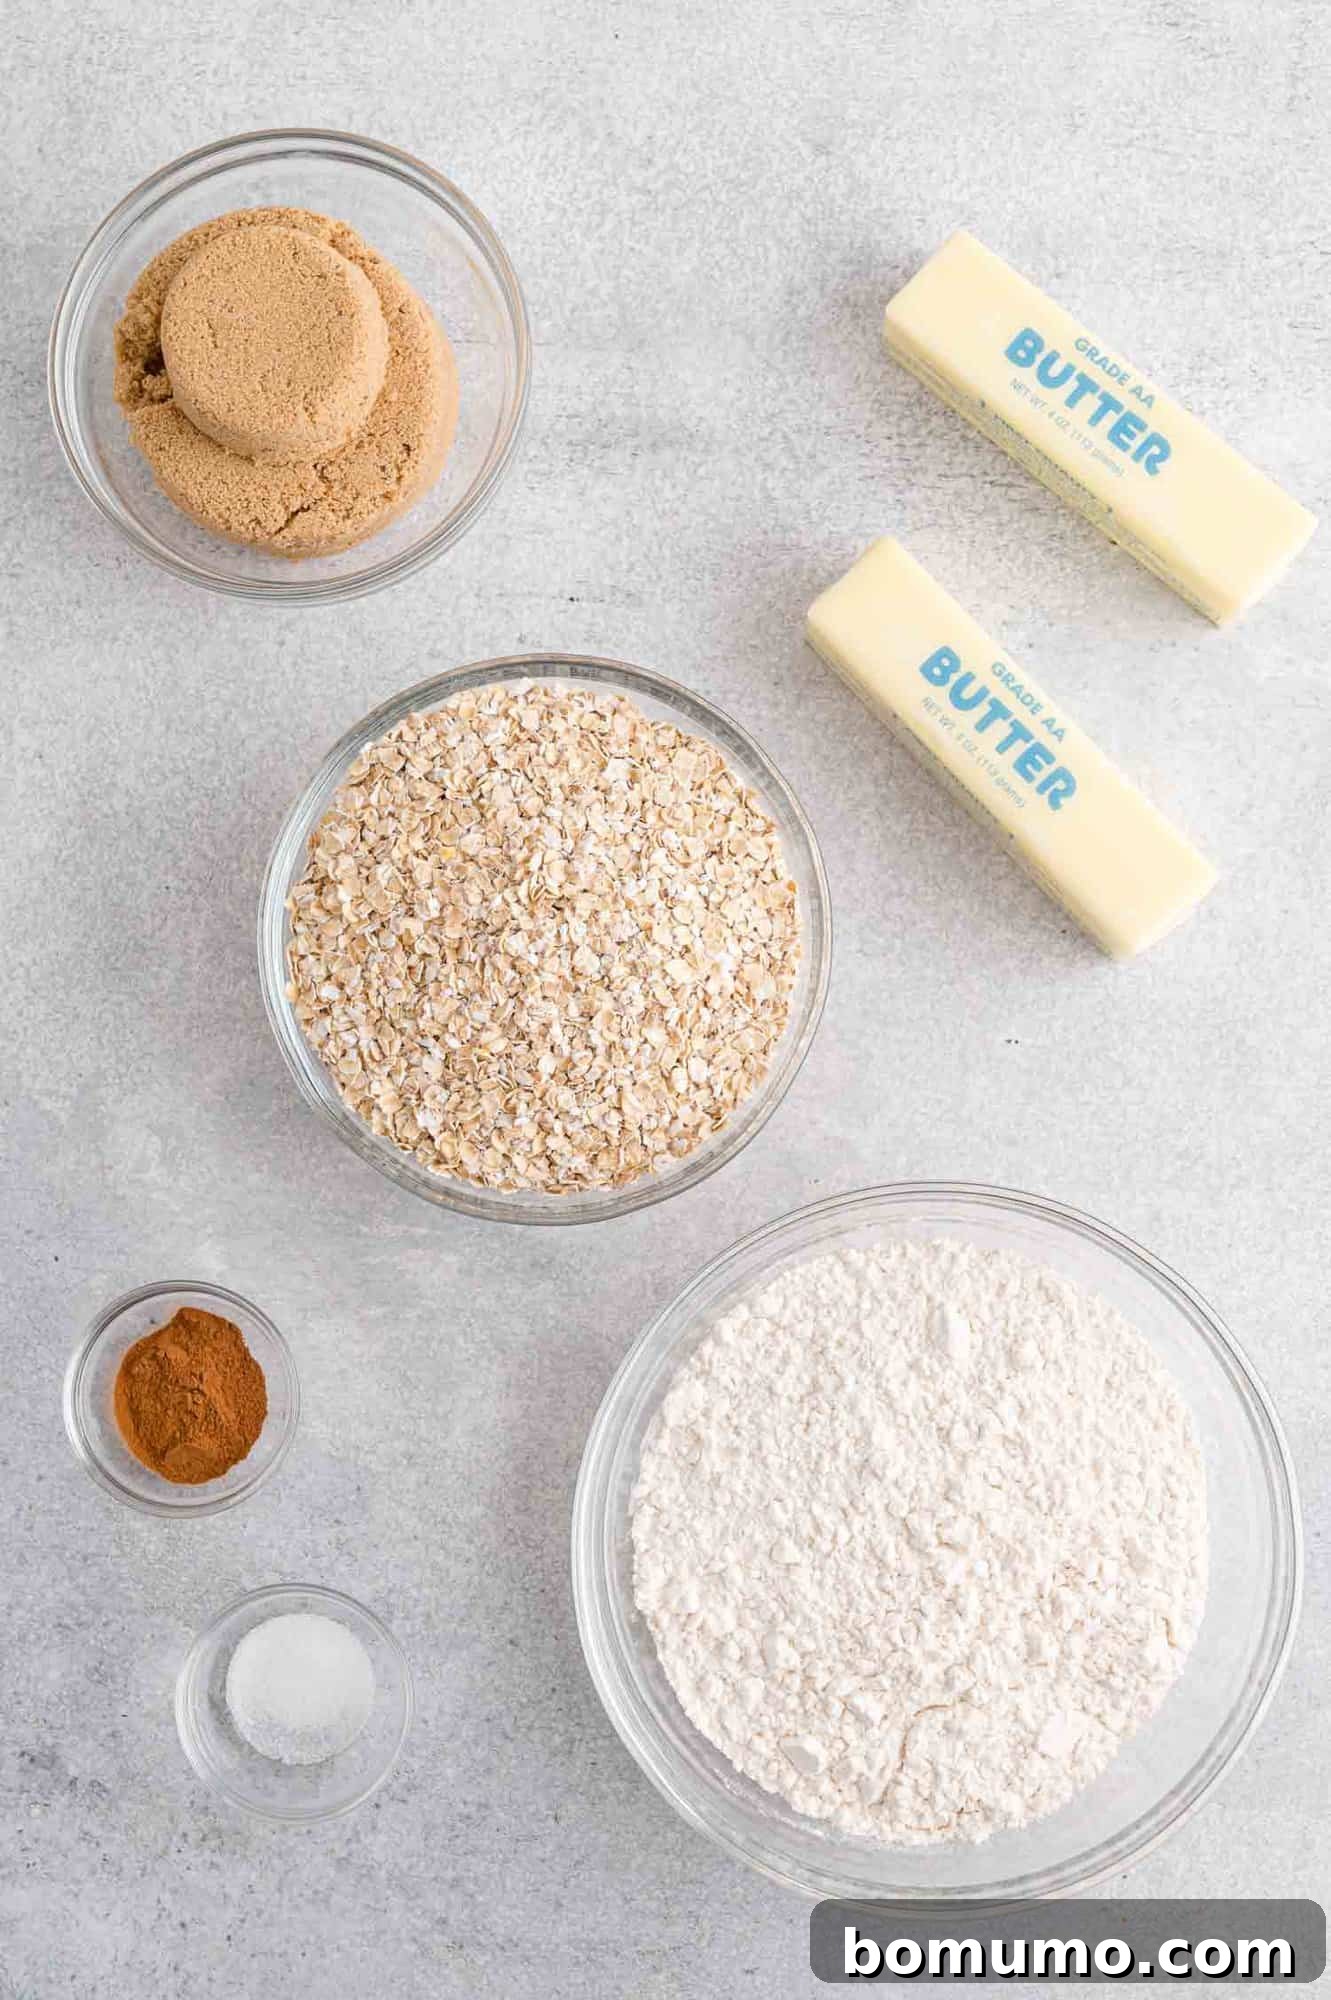
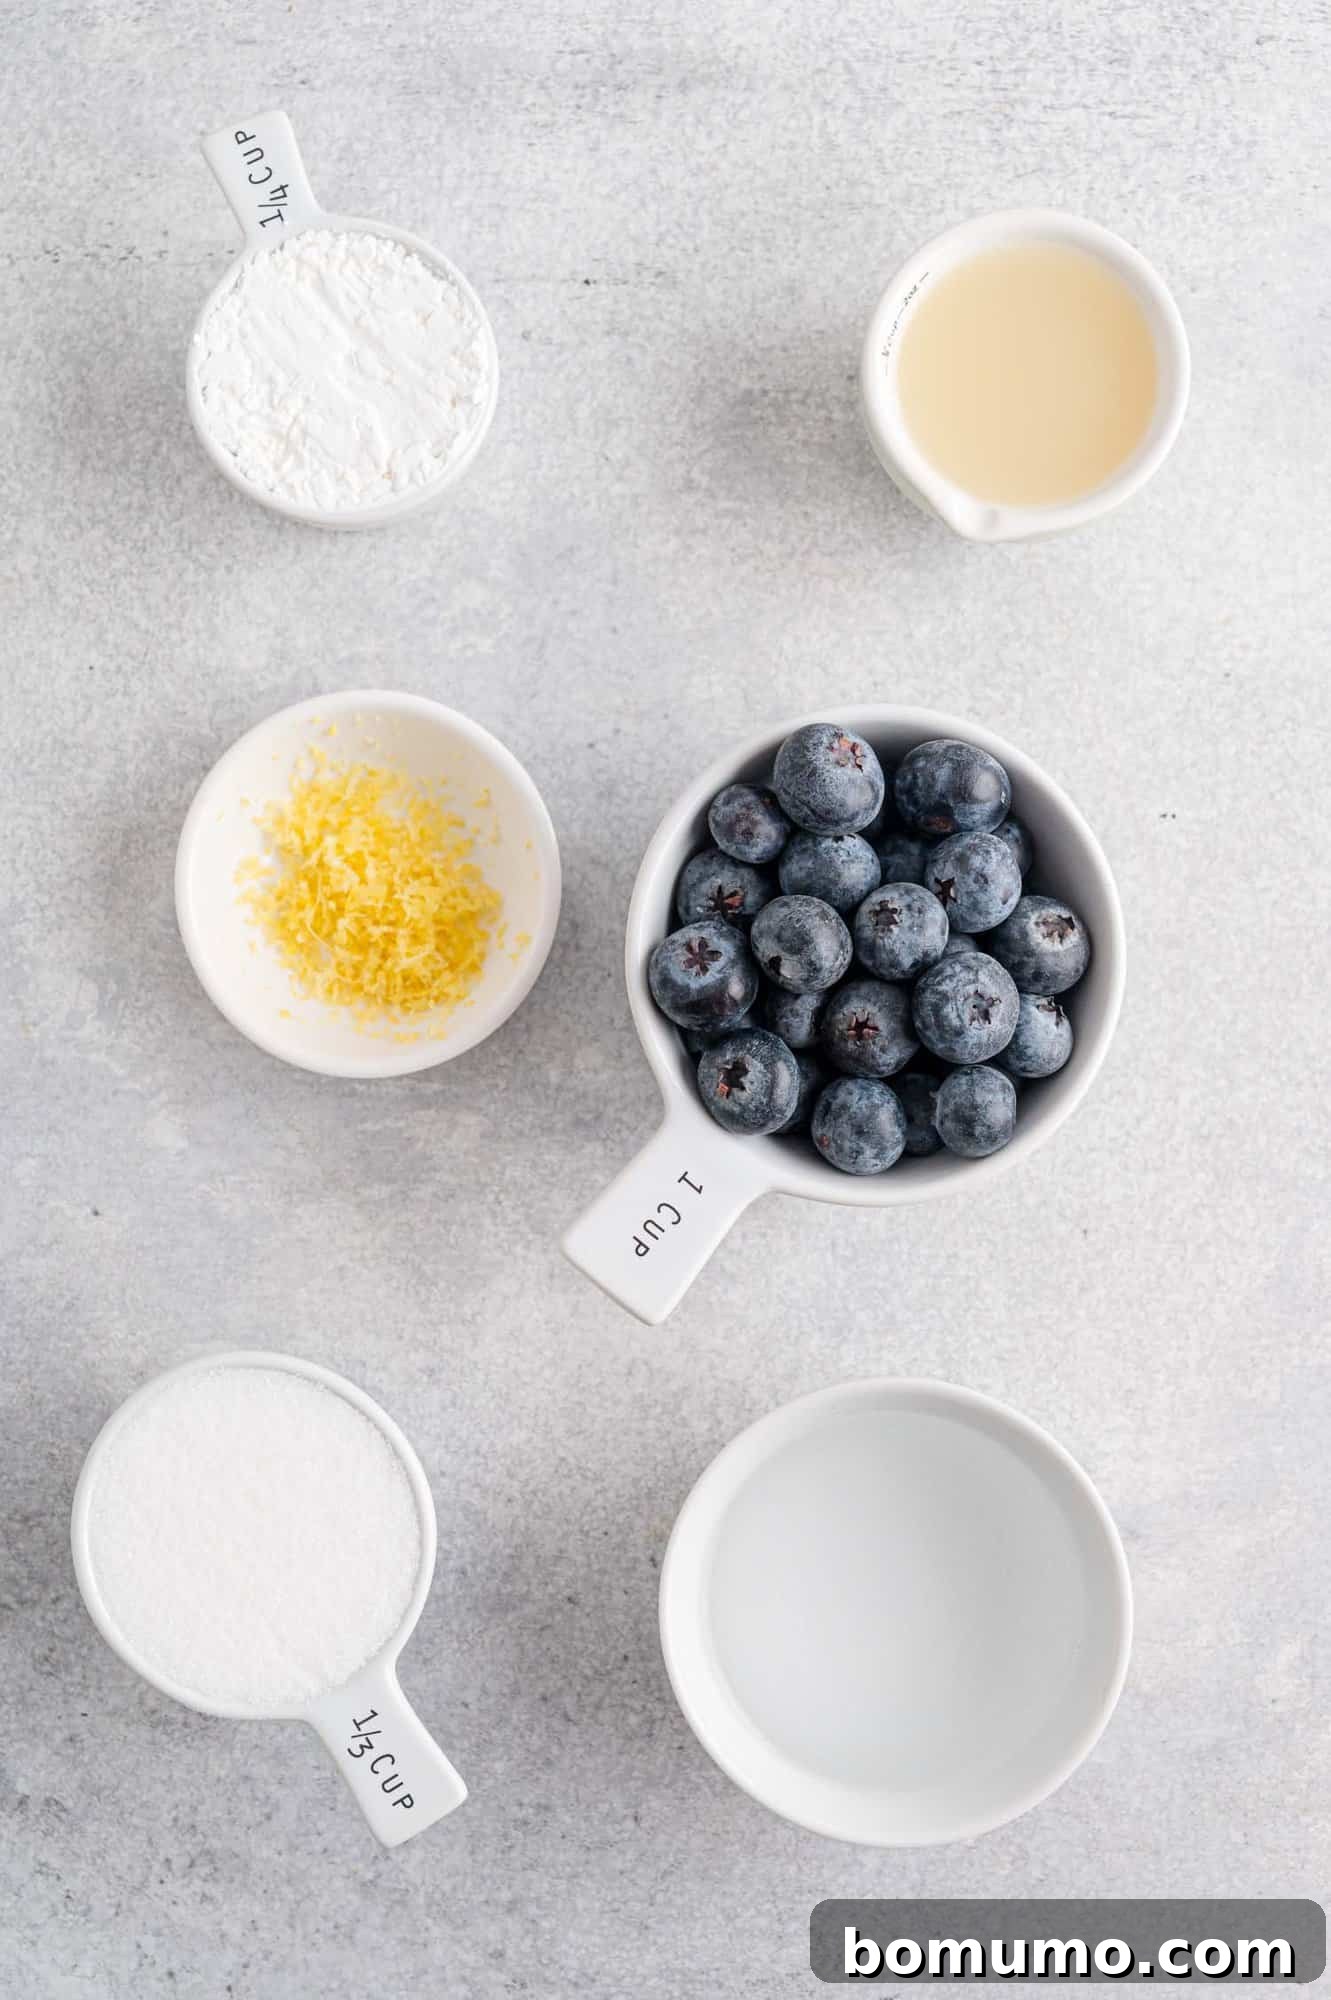
Key Ingredients for Perfect Blueberry Crumb Bars
Crafting these delectable blueberry crumb bars requires just a handful of fresh blueberries and a few common pantry staples. Below, we’ll dive into the specific ingredients and why each plays a crucial role in achieving that perfect taste and texture. For precise measurements, please refer to the detailed recipe card at the bottom of this article.
For the Luscious Blueberry Filling
- Granulated Sugar: This provides the essential sweetness to complement the tartness of the blueberries. While white granulated sugar is ideal for its clean flavor, in a pinch, you could use light brown sugar, which would add a subtle molasses note.
- Cornstarch: A vital thickener for our fruit filling. Cornstarch ensures that the blueberry mixture sets beautifully, preventing a watery, runny filling and creating that desirable jammy consistency. Without it, your bars might be too messy.
- Blueberries: The star of the show! You can use either plump fresh blueberries for their vibrant flavor, or equally good frozen blueberries. There’s no need to thaw frozen berries before adding them to the saucepan; they will cook down perfectly. This makes the recipe truly year-round.
- Fresh Lemon Juice: The bright acidity of fresh lemon juice is crucial for balancing the sweetness of the berries and sugar. It enhances the overall fruity flavor, making the filling taste even more vibrant and fresh. Aim for the juice from about two average-sized lemons.
- Lemon Zest: Don’t skip this! Lemon zest adds an incredible aromatic depth and intense lemon flavor that the juice alone cannot provide. It brightens the entire filling without adding extra liquid. Since you’re already juicing lemons, it’s a simple step to zest them first.
- Water: A small amount of water helps to dissolve the cornstarch and sugar initially, creating the liquid base for the blueberries to simmer and thicken into a glorious compote.
For the Buttery Oat Crust and Crumb Topping
- Quick Oats: These are essential for the desired texture of the crumb. Quick oats are thinner and cook faster than old-fashioned rolled oats, creating a delicate, tender crumble. Avoid using rolled oats, as they will result in a tougher texture and may cause the bars to fall apart more easily.
- All-Purpose Flour: The foundation of our crumb mixture, providing structure and body. For the best results, stick to good quality all-purpose flour. Please refrain from using flour alternatives, as they can significantly alter the texture and outcome of the bars.
- Light Brown Sugar: This adds a wonderful caramel-like sweetness and moisture to the crumb, contributing to its tender yet slightly chewy texture. Dark brown sugar can be used as a substitute for a richer, deeper molasses flavor. Granulated white sugar is not recommended here, as it would make the crumb drier and less flavorful.
- Ground Cinnamon: A touch of ground cinnamon imparts a warm, comforting aroma and a subtle spice that beautifully complements the blueberries and oats. It adds depth and coziness to every bite.
- Salt: Just a pinch of salt is vital to enhance all the other flavors and balance the sweetness. It’s a secret ingredient that makes all the difference in baked goods.
- Unsalted Butter, Softened: High-quality butter is key for a rich, flavorful crust and topping. Ensure your butter is softened to room temperature for easier incorporation into the dry ingredients, resulting in that perfect sandy, crumbly texture. If using salted butter, simply omit the additional salt listed in the recipe.
Can I Use Frozen Berries in These Crumb Bars? Absolutely!
Yes, you absolutely can! Frozen blueberries are a fantastic option and make these bars a year-round delight. There’s no need to thaw them beforehand. Simply add them directly to your saucepan with the other filling ingredients, straight from the freezer. As they cook, they will naturally release their moisture and soften. Don’t worry if the mixture seems very liquid at first; just continue to simmer and stir until it reduces and thickens to a lovely, jammy consistency. The result will be just as delicious as with fresh berries.
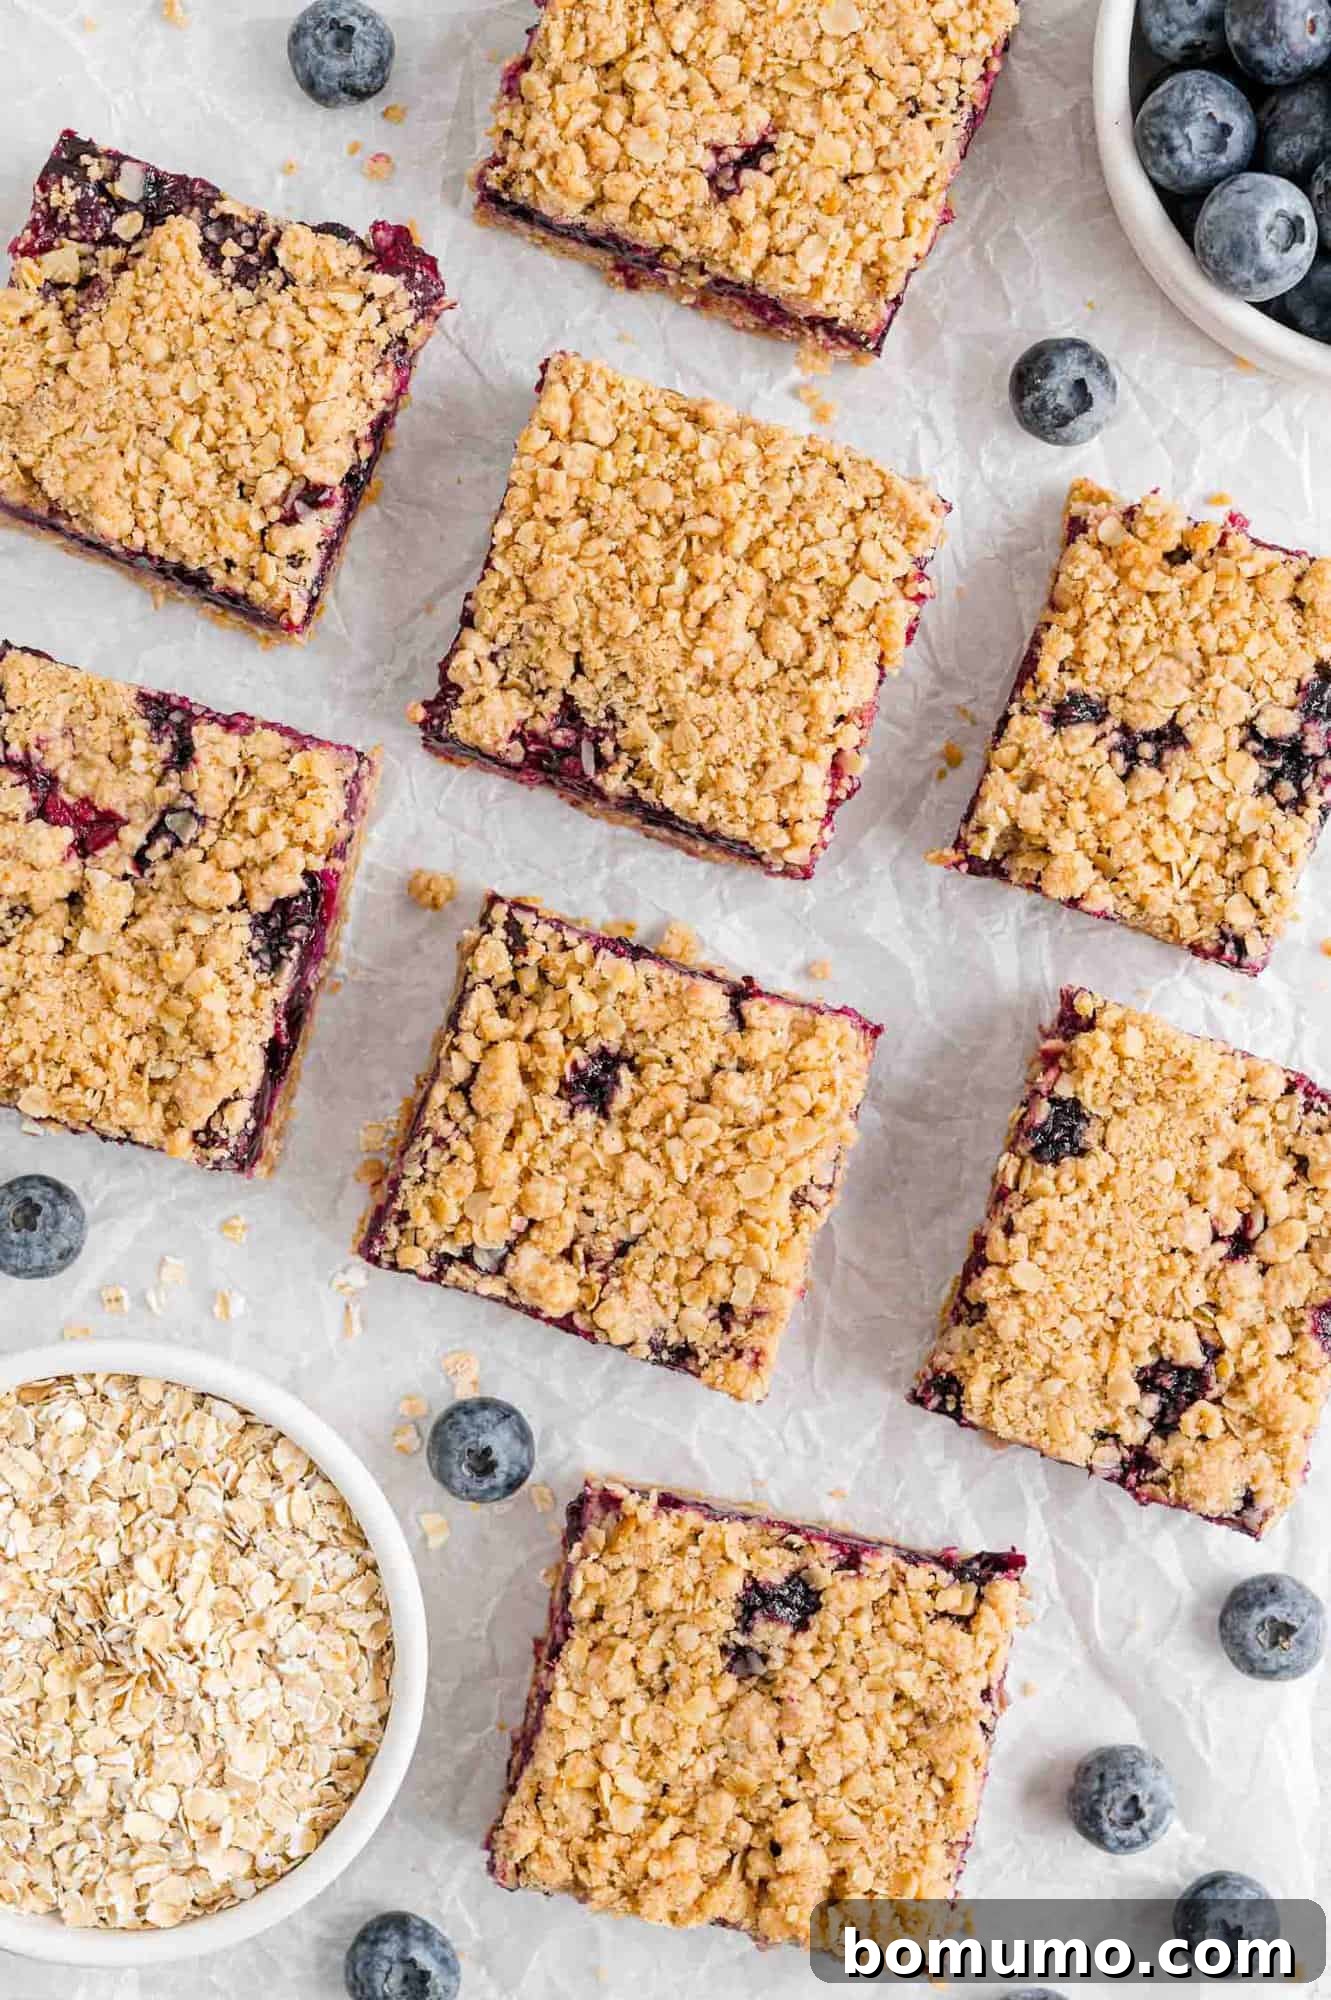
Step-by-Step Guide: How to Make Blueberry Crumb Bars
Creating these golden, fruity bars is a straightforward process that breaks down into three simple stages: preparing the homemade filling, assembling and layering the bars, and finally, baking them to perfection. Let’s get started!
- Prepare Your Oven and Baking Dish: Begin by preheating your oven to 325°F (160°C). Then, take a 9×13-inch (23×33 cm) baking pan or dish and generously spray it with a nonstick cooking spray. For even easier removal and clean-up, you can also line the pan with parchment paper, leaving an overhang on the sides.
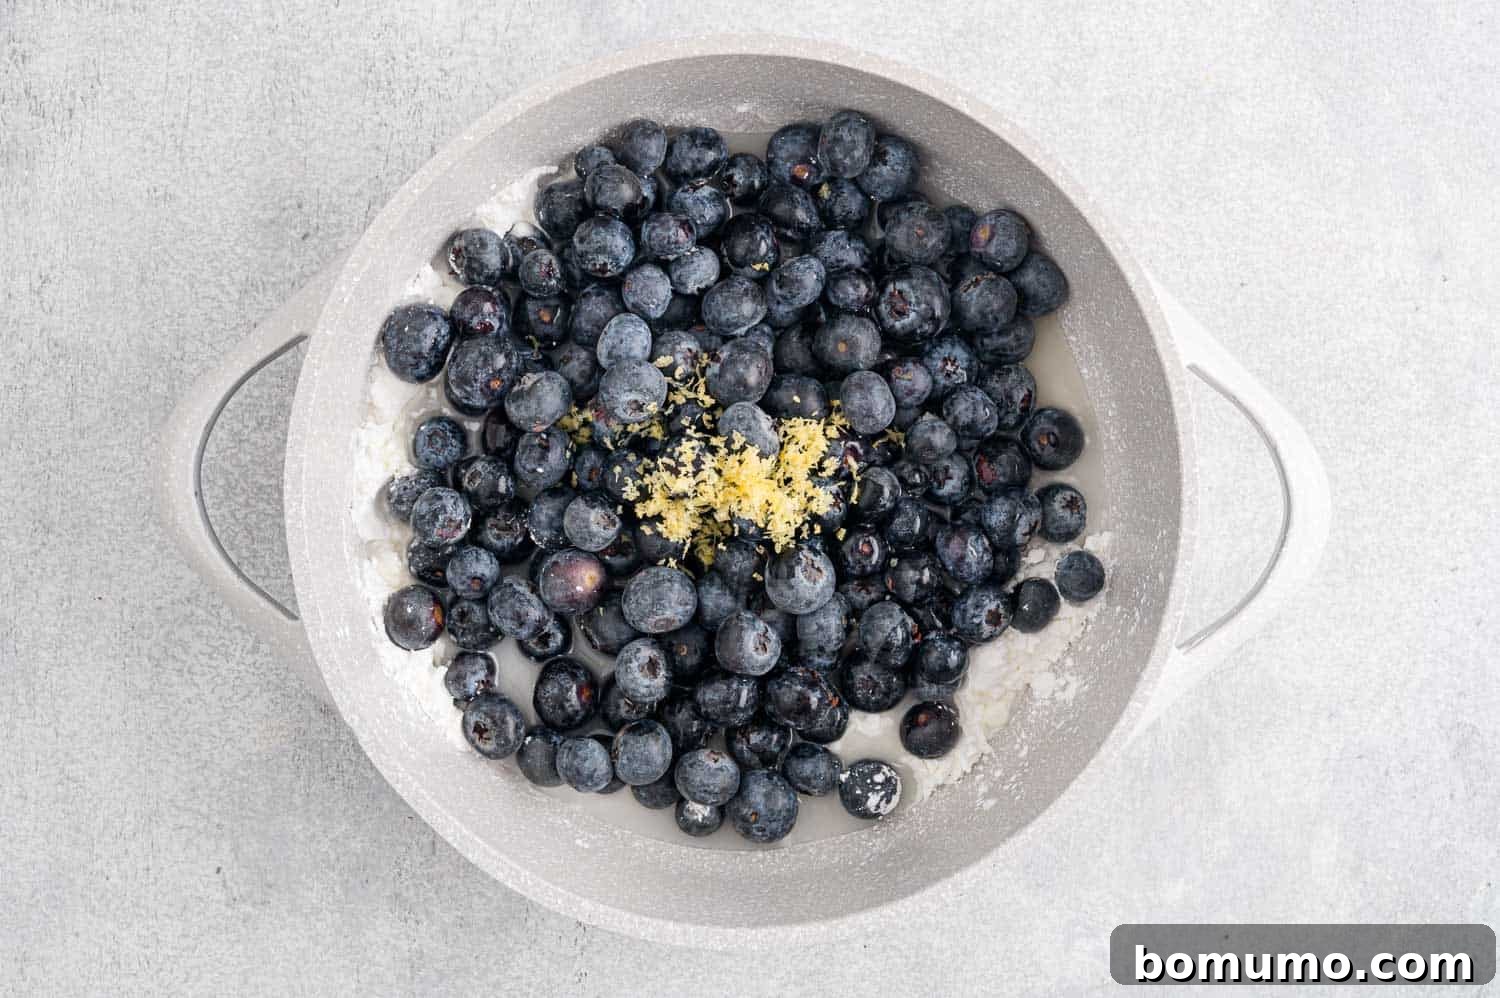
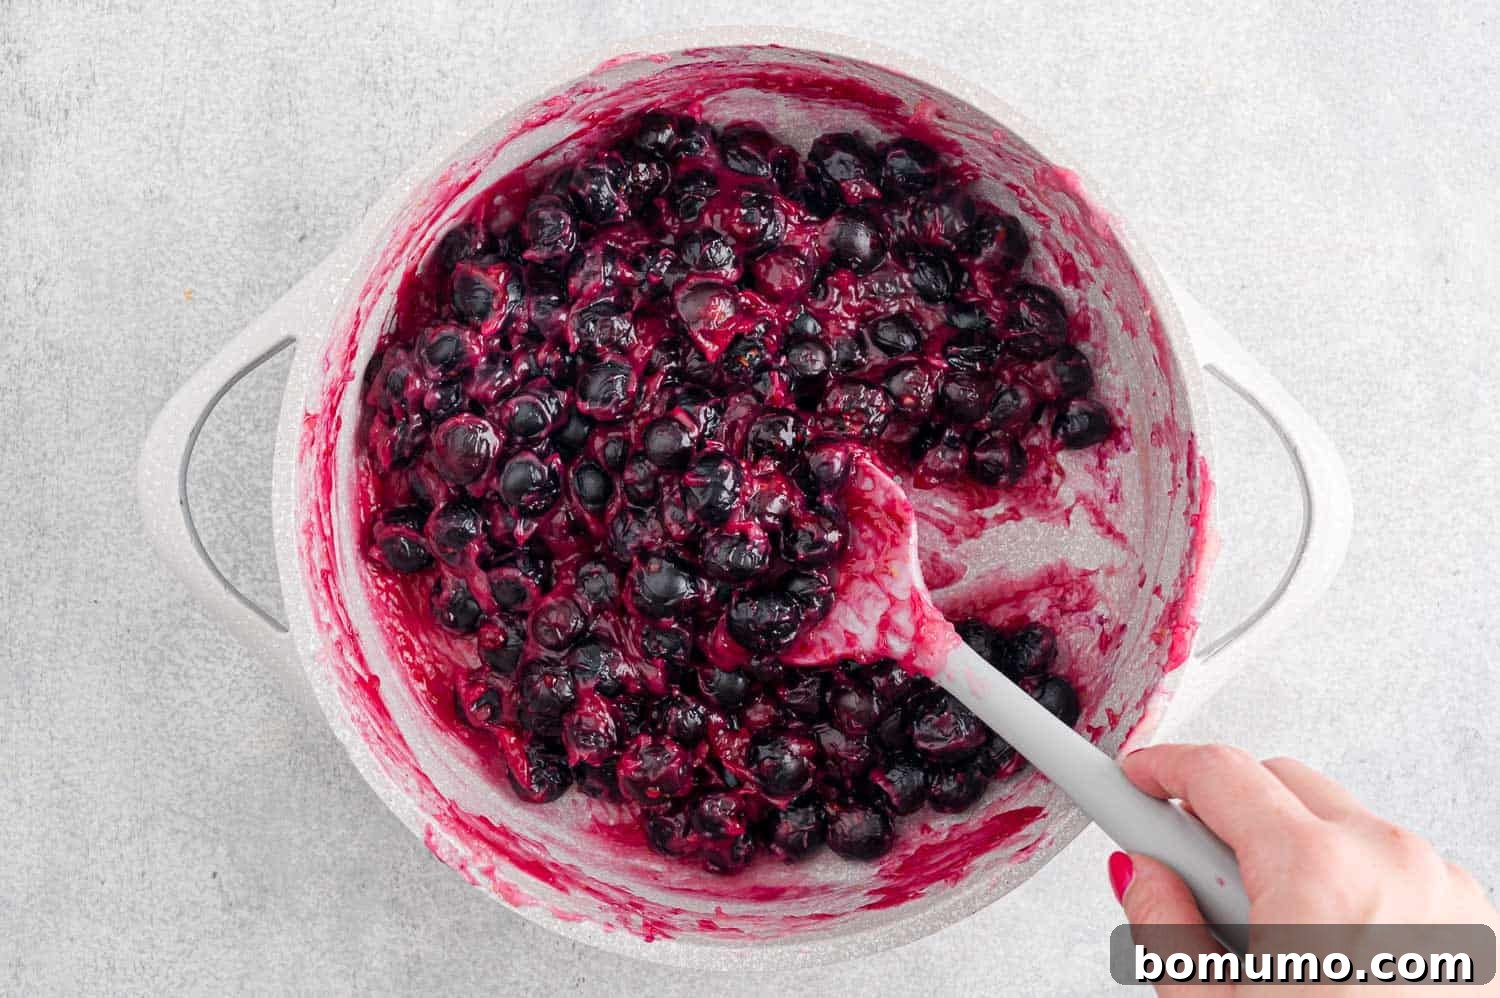
- Craft the Homemade Blueberry Filling: In a medium-sized saucepan, combine the granulated sugar and cornstarch, whisking them together thoroughly to prevent lumps. Next, add your blueberries (fresh or frozen), fresh lemon juice, lemon zest, and water. Stir all the ingredients until they are well combined. Place the saucepan over medium heat and bring the mixture to a gentle simmer, stirring constantly with a silicone spatula to prevent sticking and burning. Once simmering, reduce the heat to medium-low and continue to cook for another 5 minutes, or until the mixture has significantly thickened and most of the blueberries have slightly popped and broken down. Remove the filling from the heat and set it aside to cool slightly while you prepare the crumb mixture.
- Prepare the Dry Crumb Ingredients: In a large mixing bowl, whisk together the quick oats, all-purpose flour, light brown sugar, ground cinnamon, and salt. Ensure all the dry ingredients are evenly distributed.
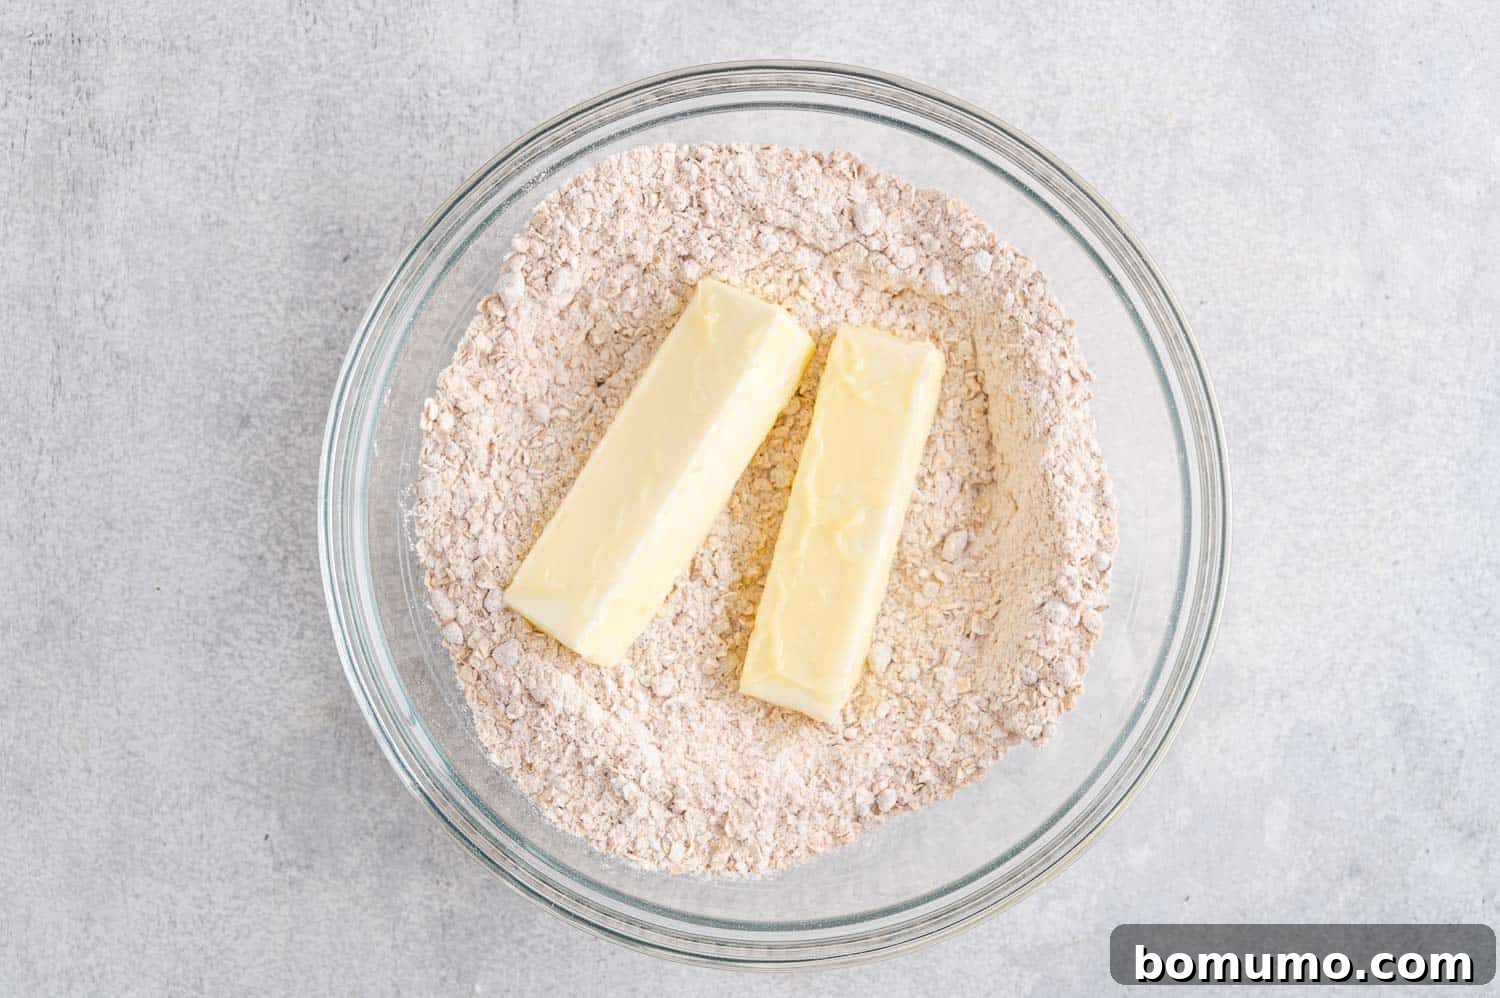
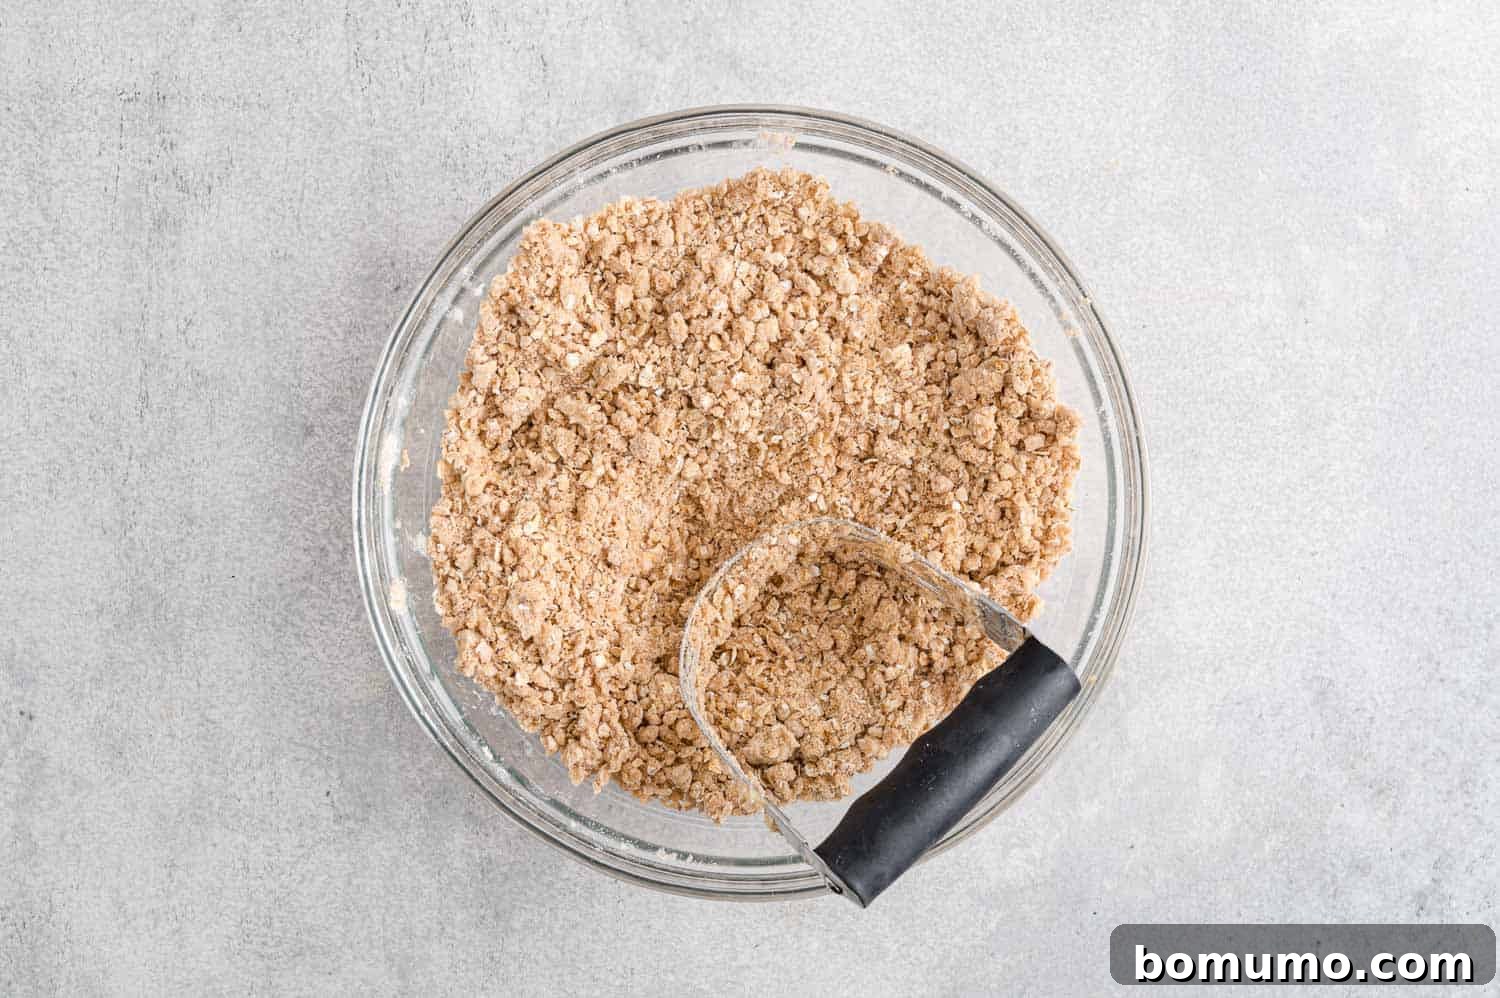
- Create the Crumb Mixture: Add the softened unsalted butter to your bowl of dry ingredients. Using a pastry cutter, two forks, or even your fingertips, work the butter into the dry mixture until it forms a coarse, crumbly texture resembling wet sand. It’s crucial that there are no large chunks of butter remaining, as this ensures an even bake and a consistent crumb.
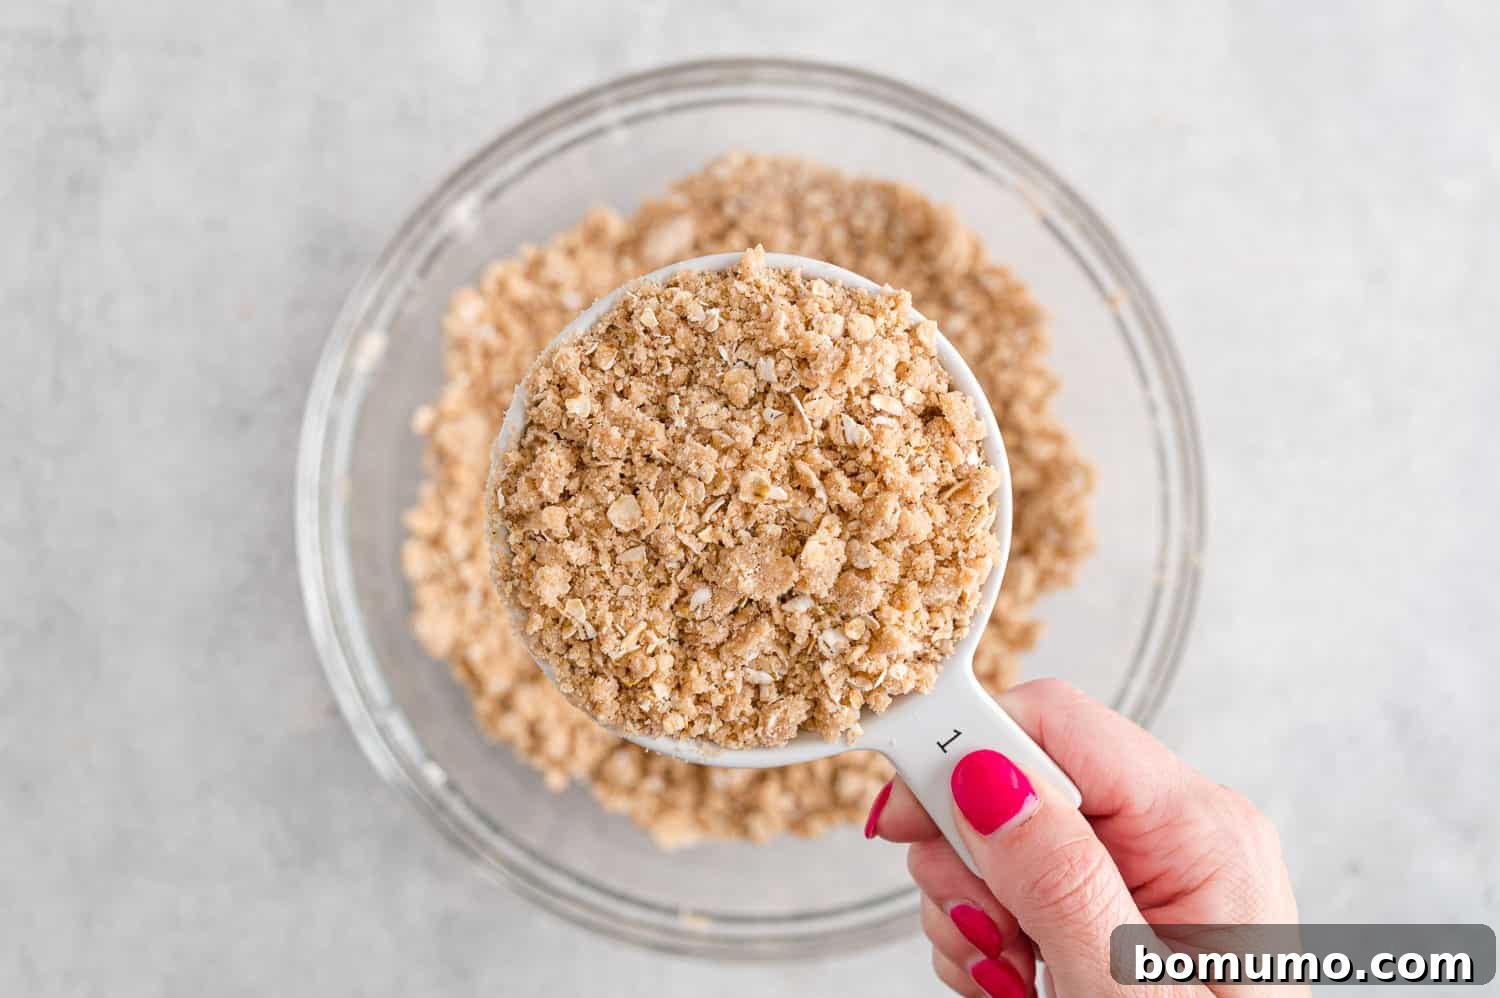
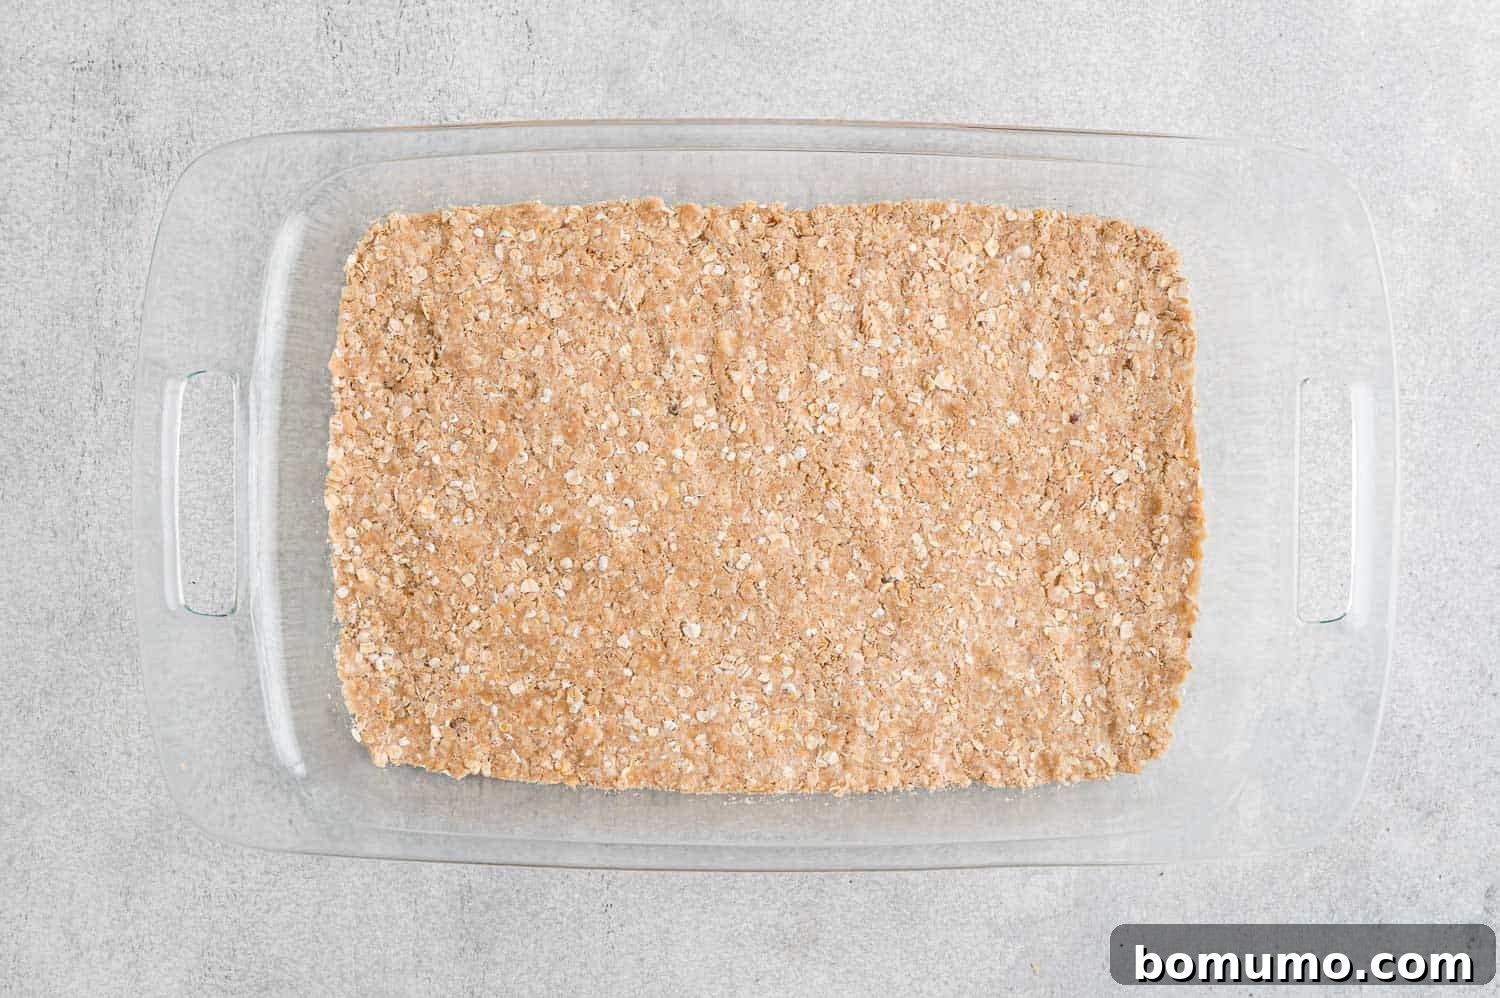
Assembling Your Blueberry Crumb Bars
- Form the Crust Base: Measure out and set aside 2 cups of your prepared crumb mixture; this will be for the topping. Take the remaining crumb mixture and pour it into your prepared 9×13-inch baking pan. Spread it out evenly and press it down firmly with your fingers or the back of a large spoon to create a compact, even crust. Lightly spraying your hands with cooking spray can help prevent the mixture from sticking.
- Par-Bake the Crust: Place the baking pan with the pressed crust into your preheated oven. Bake for approximately 10 minutes. This initial bake helps to set the crust, giving it a sturdy foundation before adding the fruit filling. After 10 minutes, carefully remove the pan from the oven.
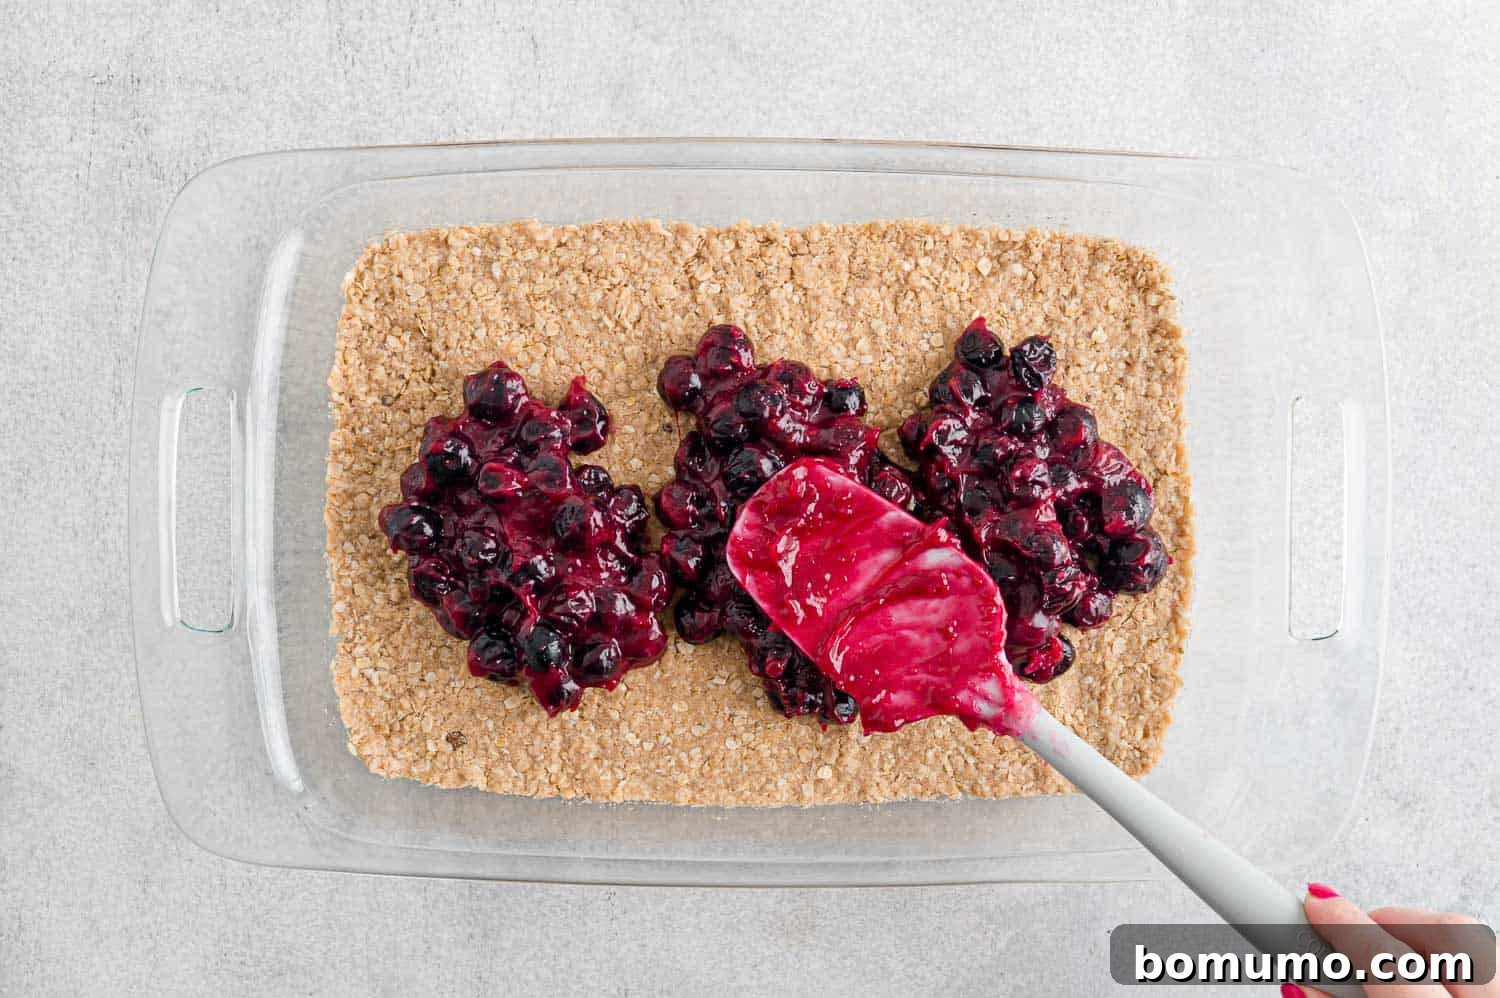
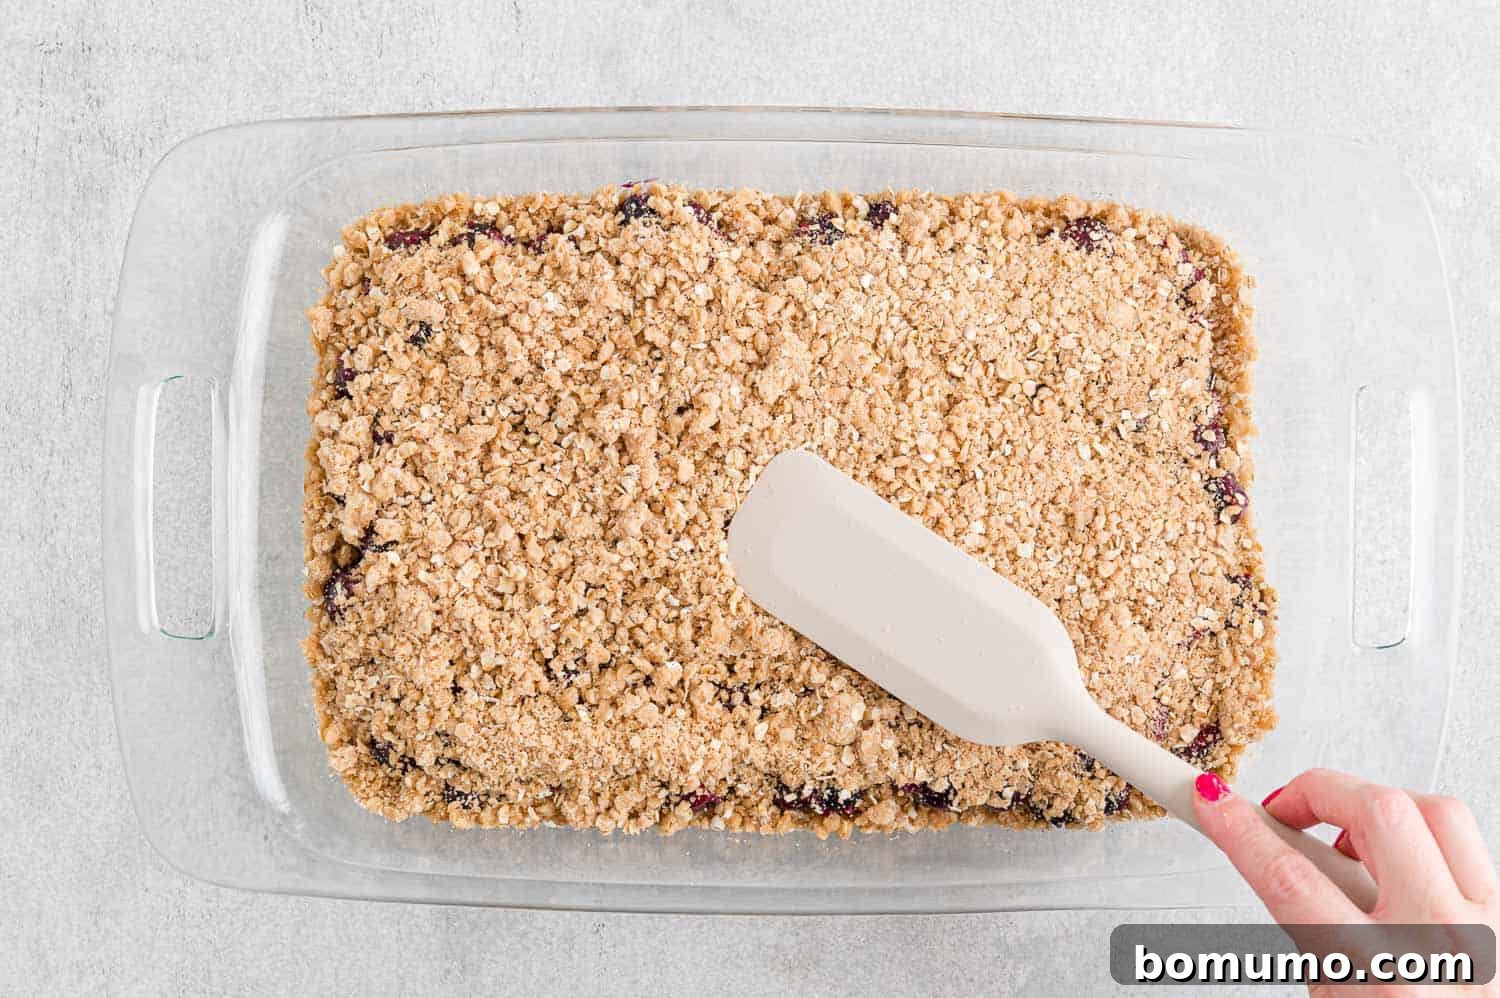
- Layer the Filling and Topping: Carefully spread the slightly cooled blueberry filling evenly over the par-baked crust using a spoon or an offset spatula. Ensure it reaches all the edges. Next, generously sprinkle the reserved 2 cups of crumb mixture over the fruit filling. Gently pat down the topping with your hand or a spoon to help it adhere slightly.
- Final Bake: Return the baking pan to the oven and bake for an additional 40 to 50 minutes, or until the crumb topping is beautifully golden brown and the filling is bubbly. The timing can vary slightly depending on your oven, so keep an eye on them.
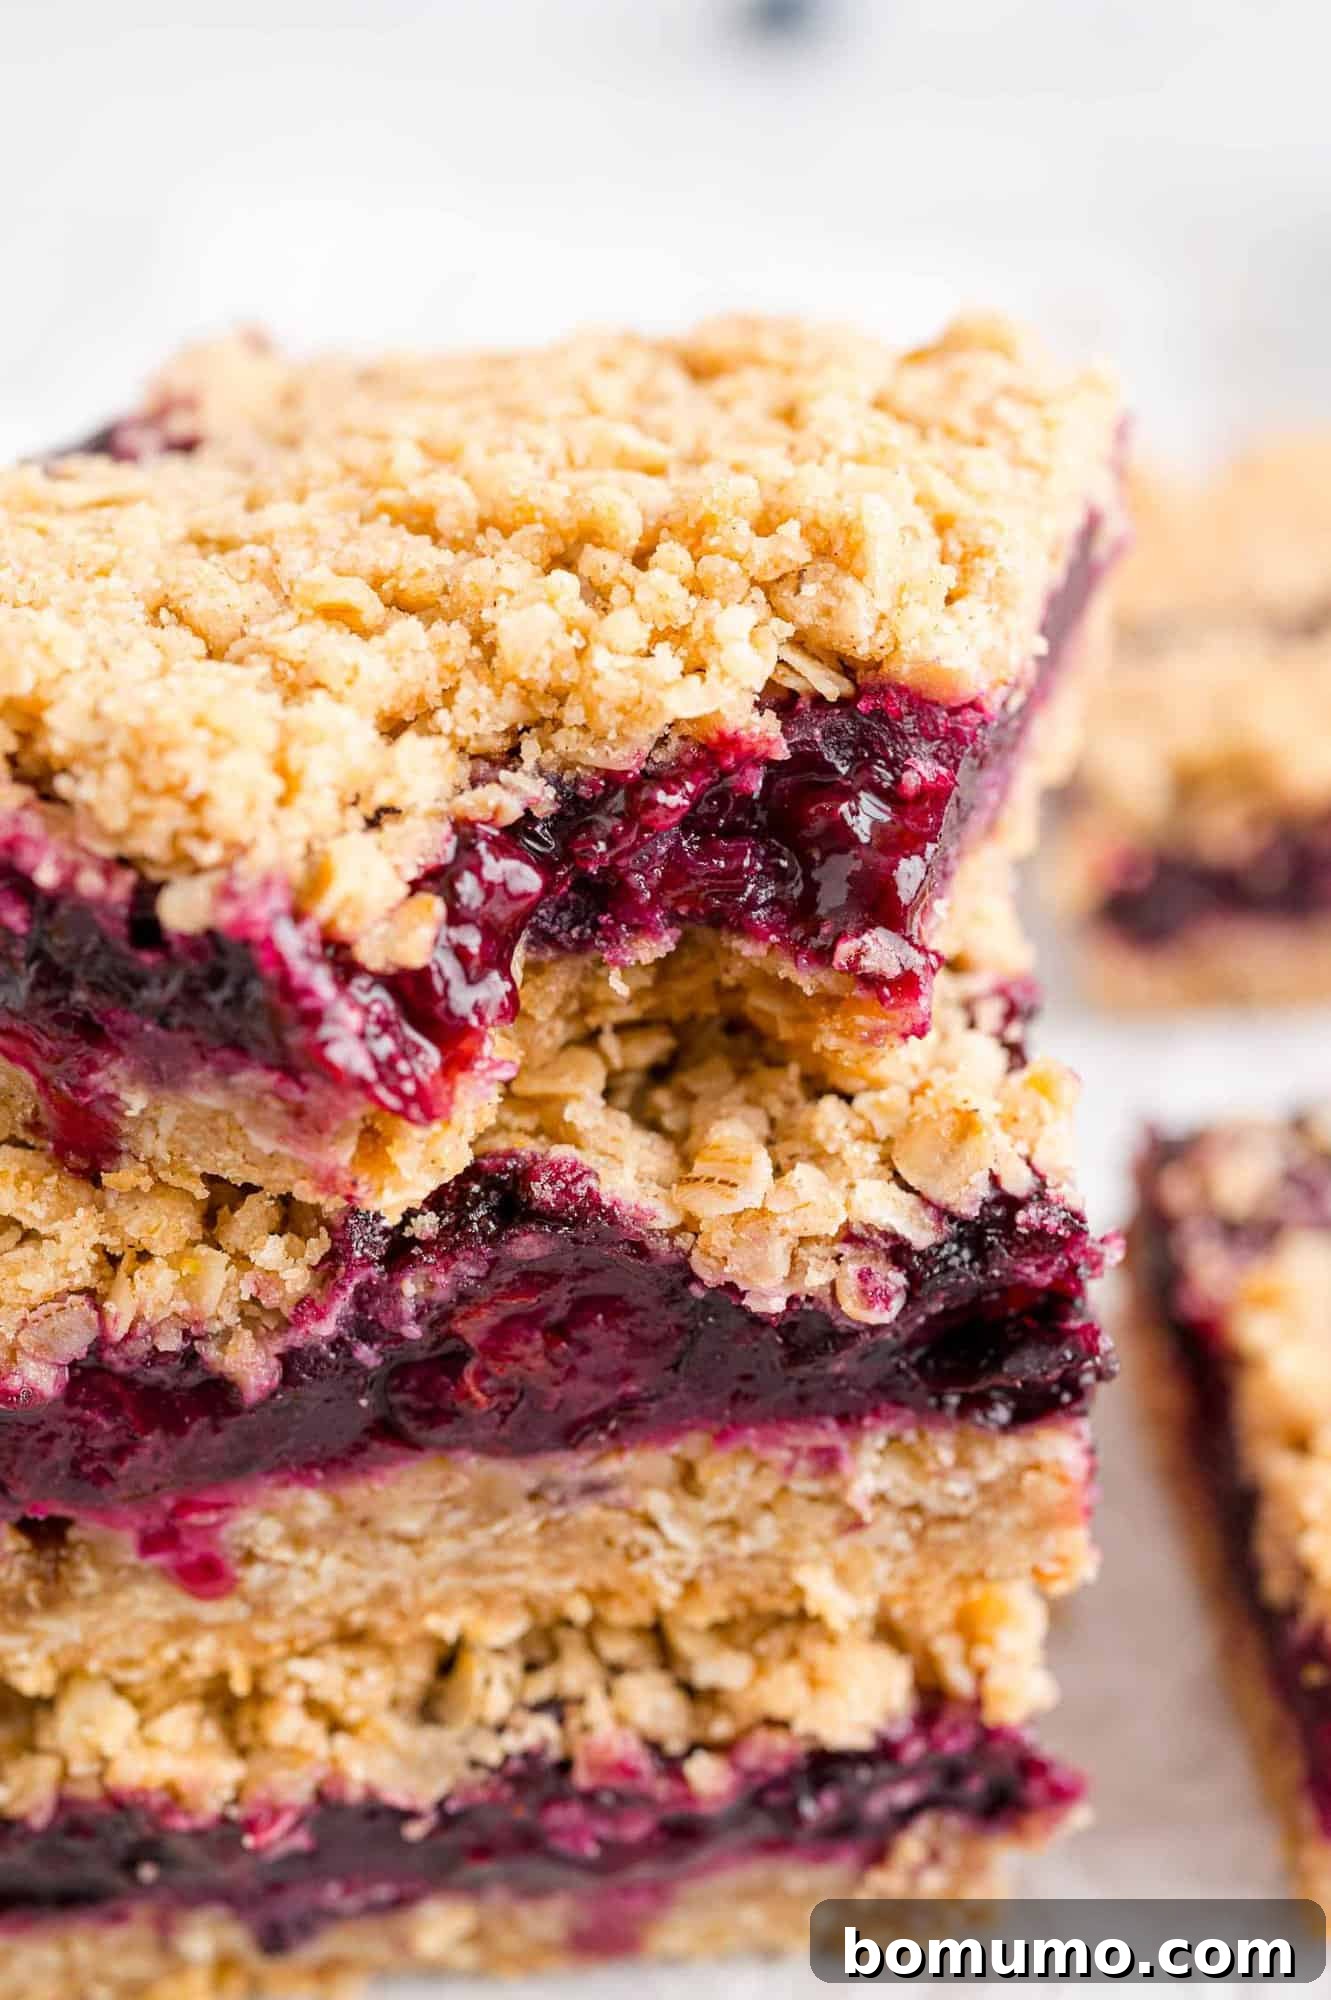
- Cool Before Slicing: Once baked, remove the pan from the oven. This is the hardest part, but it’s crucial: allow the bars to cool completely to room temperature before attempting to cut them. Cooling allows the filling to fully set and the bars to firm up, ensuring clean, perfect squares. Resist the urge to slice them warm, as they may crumble or be too soft.
Expert Tips for Baking Perfect Blueberry Crumb Bars
Whether you’re a seasoned baker or new to the kitchen, these practical tips will help ensure your blueberry crumb bars turn out absolutely perfect every time:
- Line Your Baking Pan: For effortless removal and clean, neat slices, always line your 9×13-inch baking pan with parchment paper. Leave a generous overhang on the longer sides to create “handles” that you can use to lift the entire slab of baked bars out of the pan once cooled. This makes slicing and serving a breeze, minimizing mess and maximizing presentation.
- Utilize a Silicone Spatula for the Filling: When cooking your blueberry filling, constant stirring is key to prevent it from sticking to the bottom of the saucepan and burning. A silicone spatula is your best friend here. Its flexible edge allows you to scrape the bottom and sides of the pot completely, ensuring an evenly cooked, lump-free, and perfectly thickened compote.
- Always Bake on the Middle Oven Rack: For consistent and even baking, always place your baking dish on the middle rack of the oven. The lowest rack tends to be significantly hotter and can lead to over-browning or even burning of the bottom crust, while the top rack might brown the crumble too quickly. The middle rack provides the most uniform heat distribution for optimal results.
- Don’t Overmix the Crumb Mixture: When incorporating the butter into the dry ingredients for the crumb, mix until just combined and crumbly. Overmixing can develop the gluten in the flour, leading to a tough, less tender crust and topping.
- Ensure Butter is Properly Softened (for the crumb): For the best crumbly texture, your unsalted butter should be softened but still cool to the touch. If it’s too warm and greasy, the mixture might become pasty instead of crumbly.
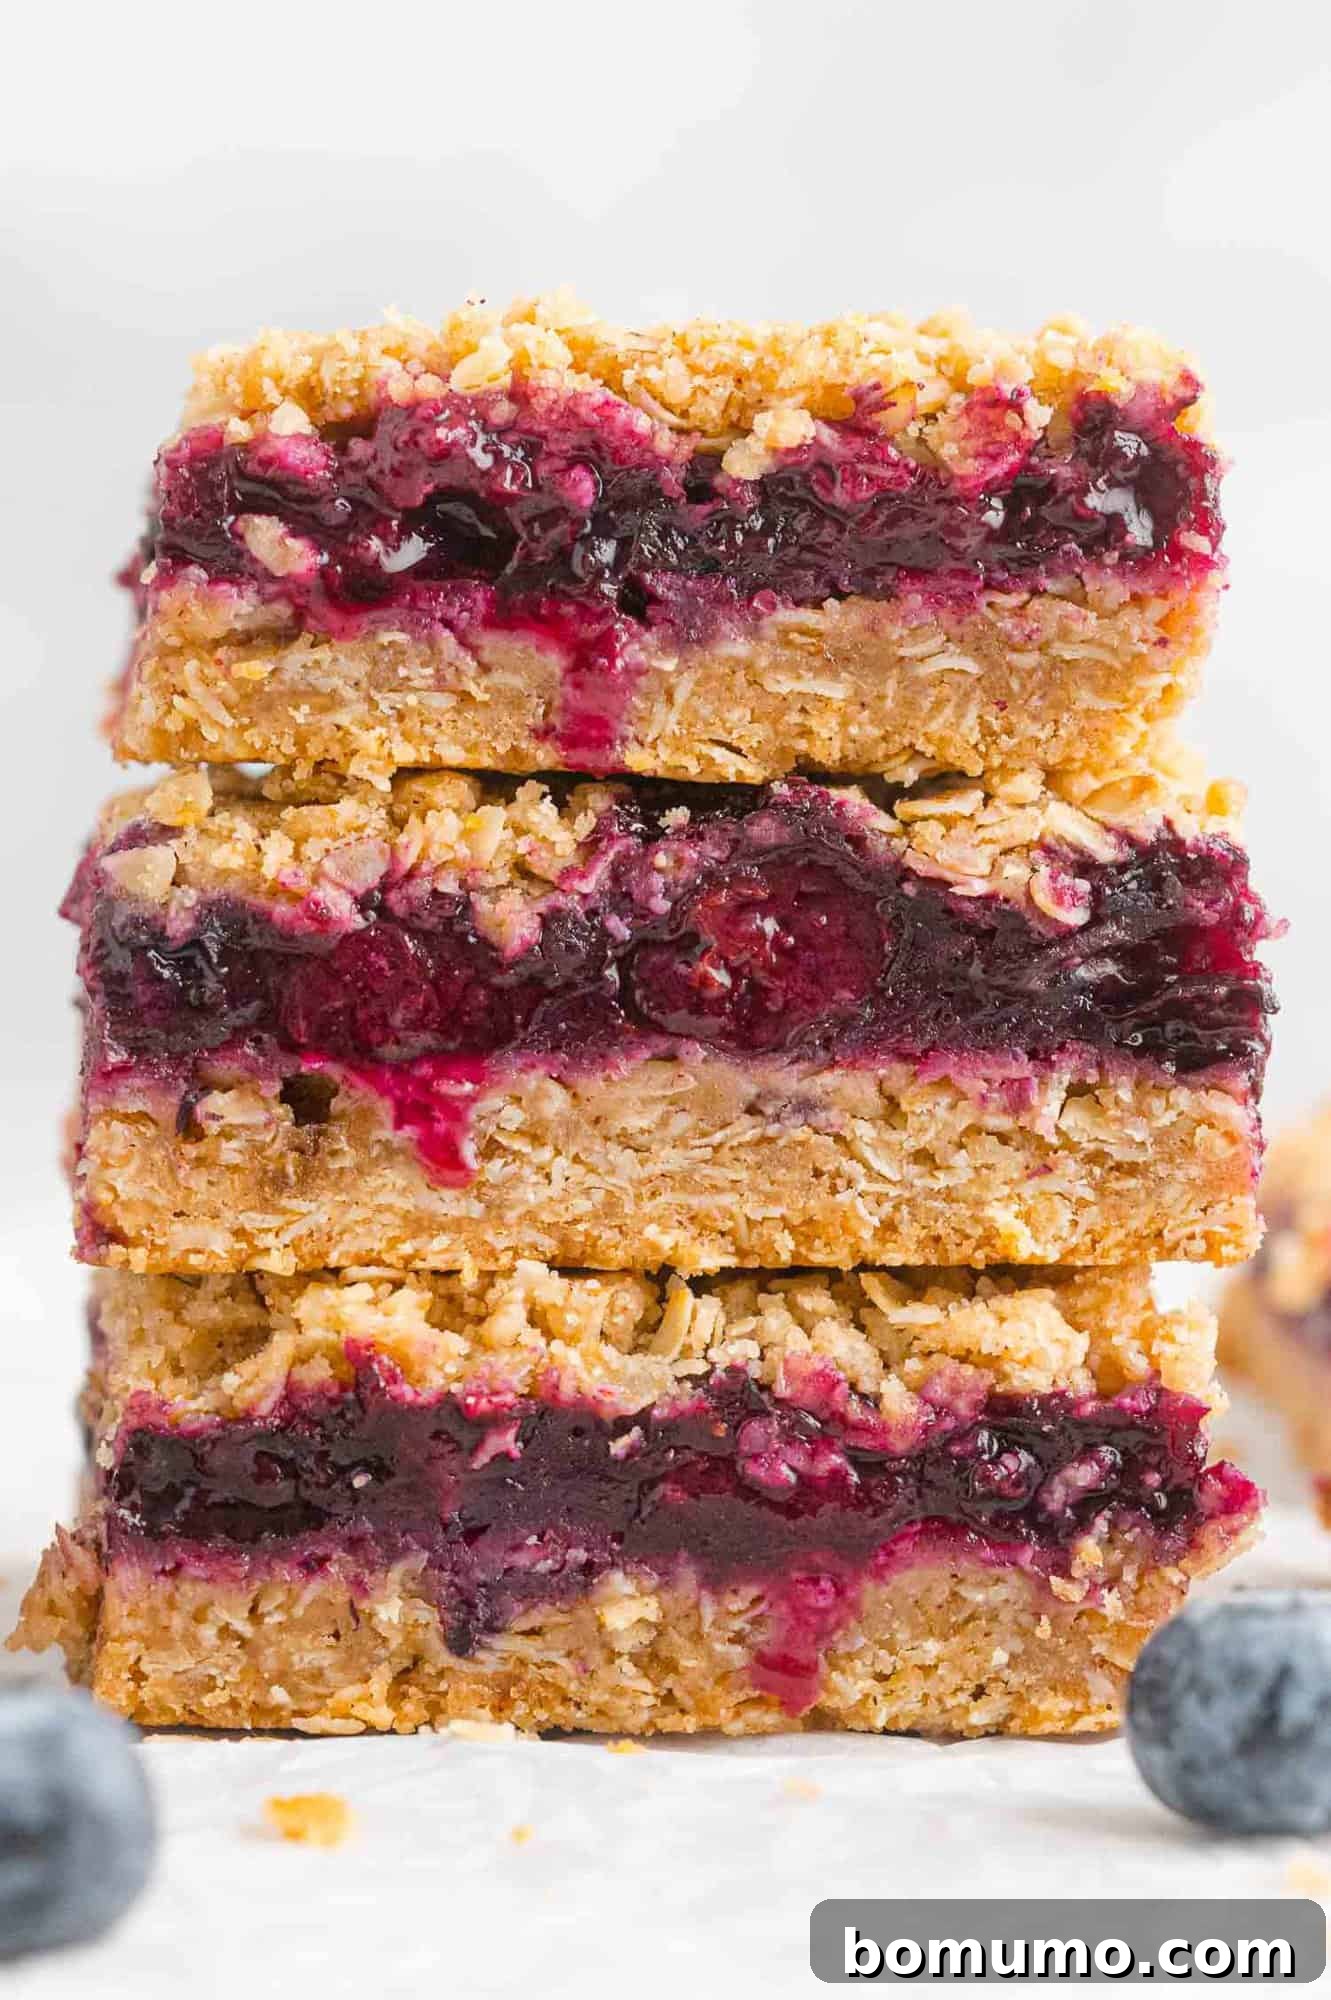
- Cool Completely Before Cutting: This tip cannot be stressed enough! Warm fruit fillings are soft and prone to squishing. Allowing the bars to cool completely, ideally for at least 2-3 hours (or even chilling in the fridge for an hour once mostly cooled), allows the fruit filling to set and the crust to firm up. This will give you beautifully defined, clean-cut squares.
Exciting Recipe Variations for Your Crumb Bars
While classic blueberry crumb bars are undeniably delicious, this recipe serves as a fantastic foundation for creative experimentation. Feel free to explore these variations to customize your bars and discover new favorite flavor combinations:
- Experiment with Different Fruits: Don’t limit yourself to just blueberries! This recipe is incredibly adaptable to a wide array of fruits. Try a vibrant mix of your favorite berries like strawberries, blackberries, and raspberries for a uniquely complex and delicious filling. Pitted cherries also make an excellent substitute, offering a beautiful tartness. If berries aren’t in season, consider trying other fruit-filled bars, such as my delightful rhubarb bars, or even a mixed fruit compote with apples or peaches.
- Speed It Up with Premade Compote: In a hurry but still craving that homemade taste? You can significantly reduce prep time by using a high-quality, organic fruit compote as your filling. You’ll need approximately 2 cups (or about 16 ounces) of your chosen compote. Just spread it over the par-baked crust and proceed with the crumb topping.
- Add a Nutty Crunch: Introduce an extra layer of texture and flavor by adding nuts to your crumb topping. Incorporate about ½ cup of finely chopped almonds, walnuts, or pecans to the dry ingredients for the crumb mixture. The nuts will toast beautifully during baking, providing a delightful crunch and a rich, nutty aroma that pairs wonderfully with the fruit.
- Indulge with Chocolate Chips: For the ultimate sweet indulgence, sprinkle ¼ to ½ cup of white or dark chocolate chips over the fruit filling before adding the top crumb layer. As the bars bake, the chocolate chips will melt slightly, creating pockets of rich, gooey sweetness that complement the tart blueberries perfectly.
- Spice It Up: Enhance the warm notes of the crumb by adding a touch more spice. A pinch of nutmeg or cardamom alongside the cinnamon can introduce a fragrant complexity.
- Citrus Boost: For an even more pronounced citrus flavor, add an extra teaspoon of lemon zest to the crumb mixture, or try lime zest for a slightly different bright tang in the filling.
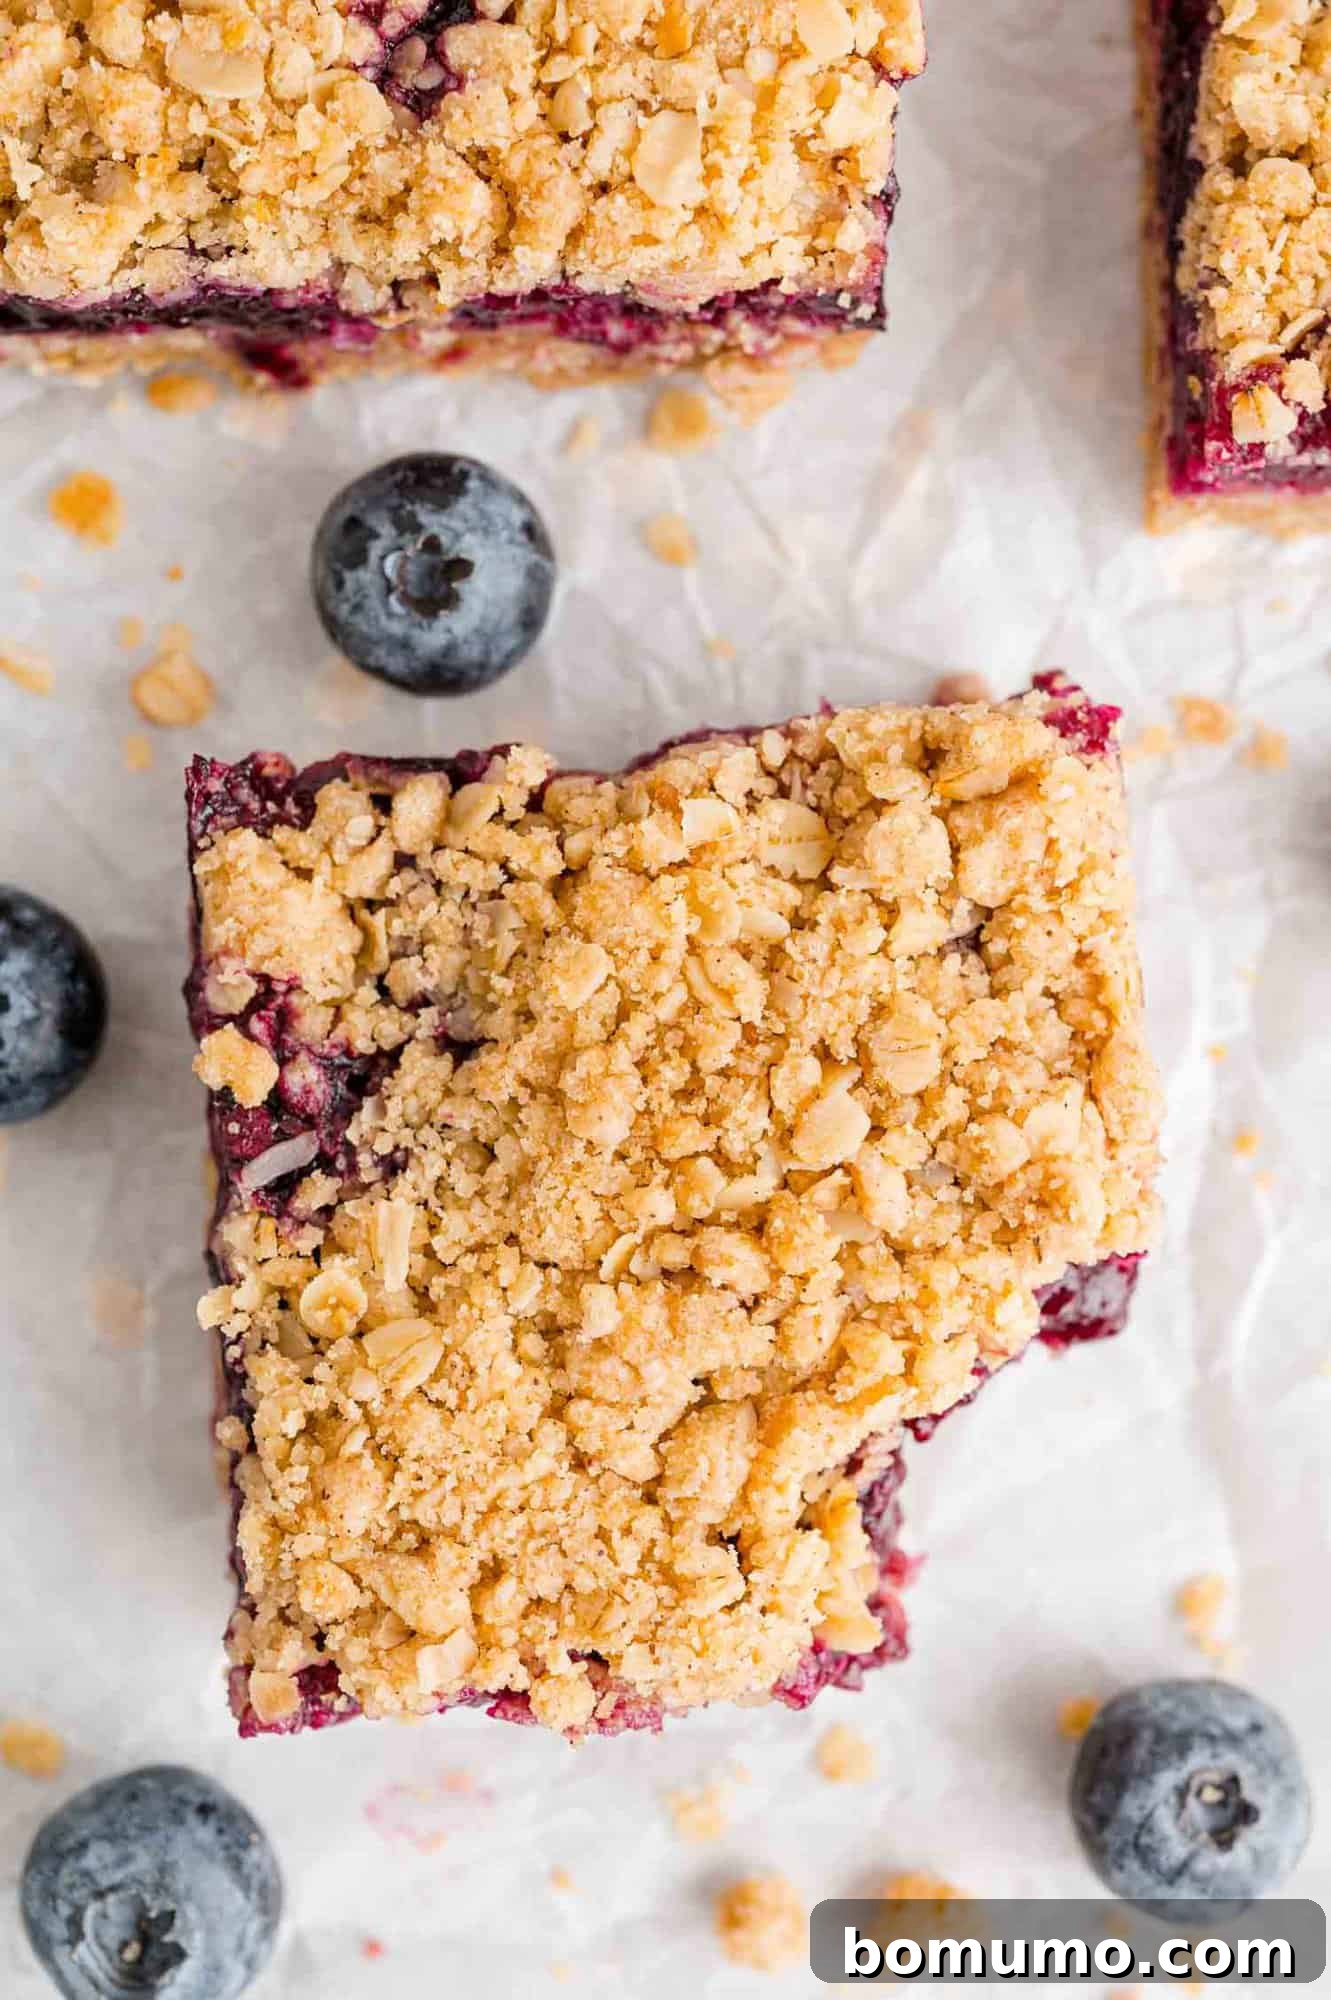
Delightful Serving Suggestions for Blueberry Crumb Bars
These blueberry crumb bars are absolutely exquisite on their own, offering a perfectly balanced sweet and fruity snack that satisfies any craving. However, if you’re looking to elevate the experience or present them as a more elaborate dessert, here are some fantastic serving suggestions:
For an extra touch of decadence, serve a warm (or room temperature) bar with a generous scoop of creamy, homemade ice cream. My no-churn vanilla bean ice cream or a spiced cinnamon ice cream would be a perfect complement, with the cold, melting ice cream creating a delightful contrast to the fruity bars. For something a bit simpler but equally delicious, a drizzle of rich, homemade caramel sauce or a dollop of freshly whipped cream adds a lovely touch of creaminess and extra sweetness. The whipped cream, especially, allows the natural blueberry flavor to shine through.
Don’t forget the perfect beverage pairing! These bars are wonderful alongside your favorite hot drink – be it a comforting cup of tea, a rich coffee, or even a creamy hot chocolate. For a refreshing option, a cold glass of milk perfectly completes this delightful snack or dessert.
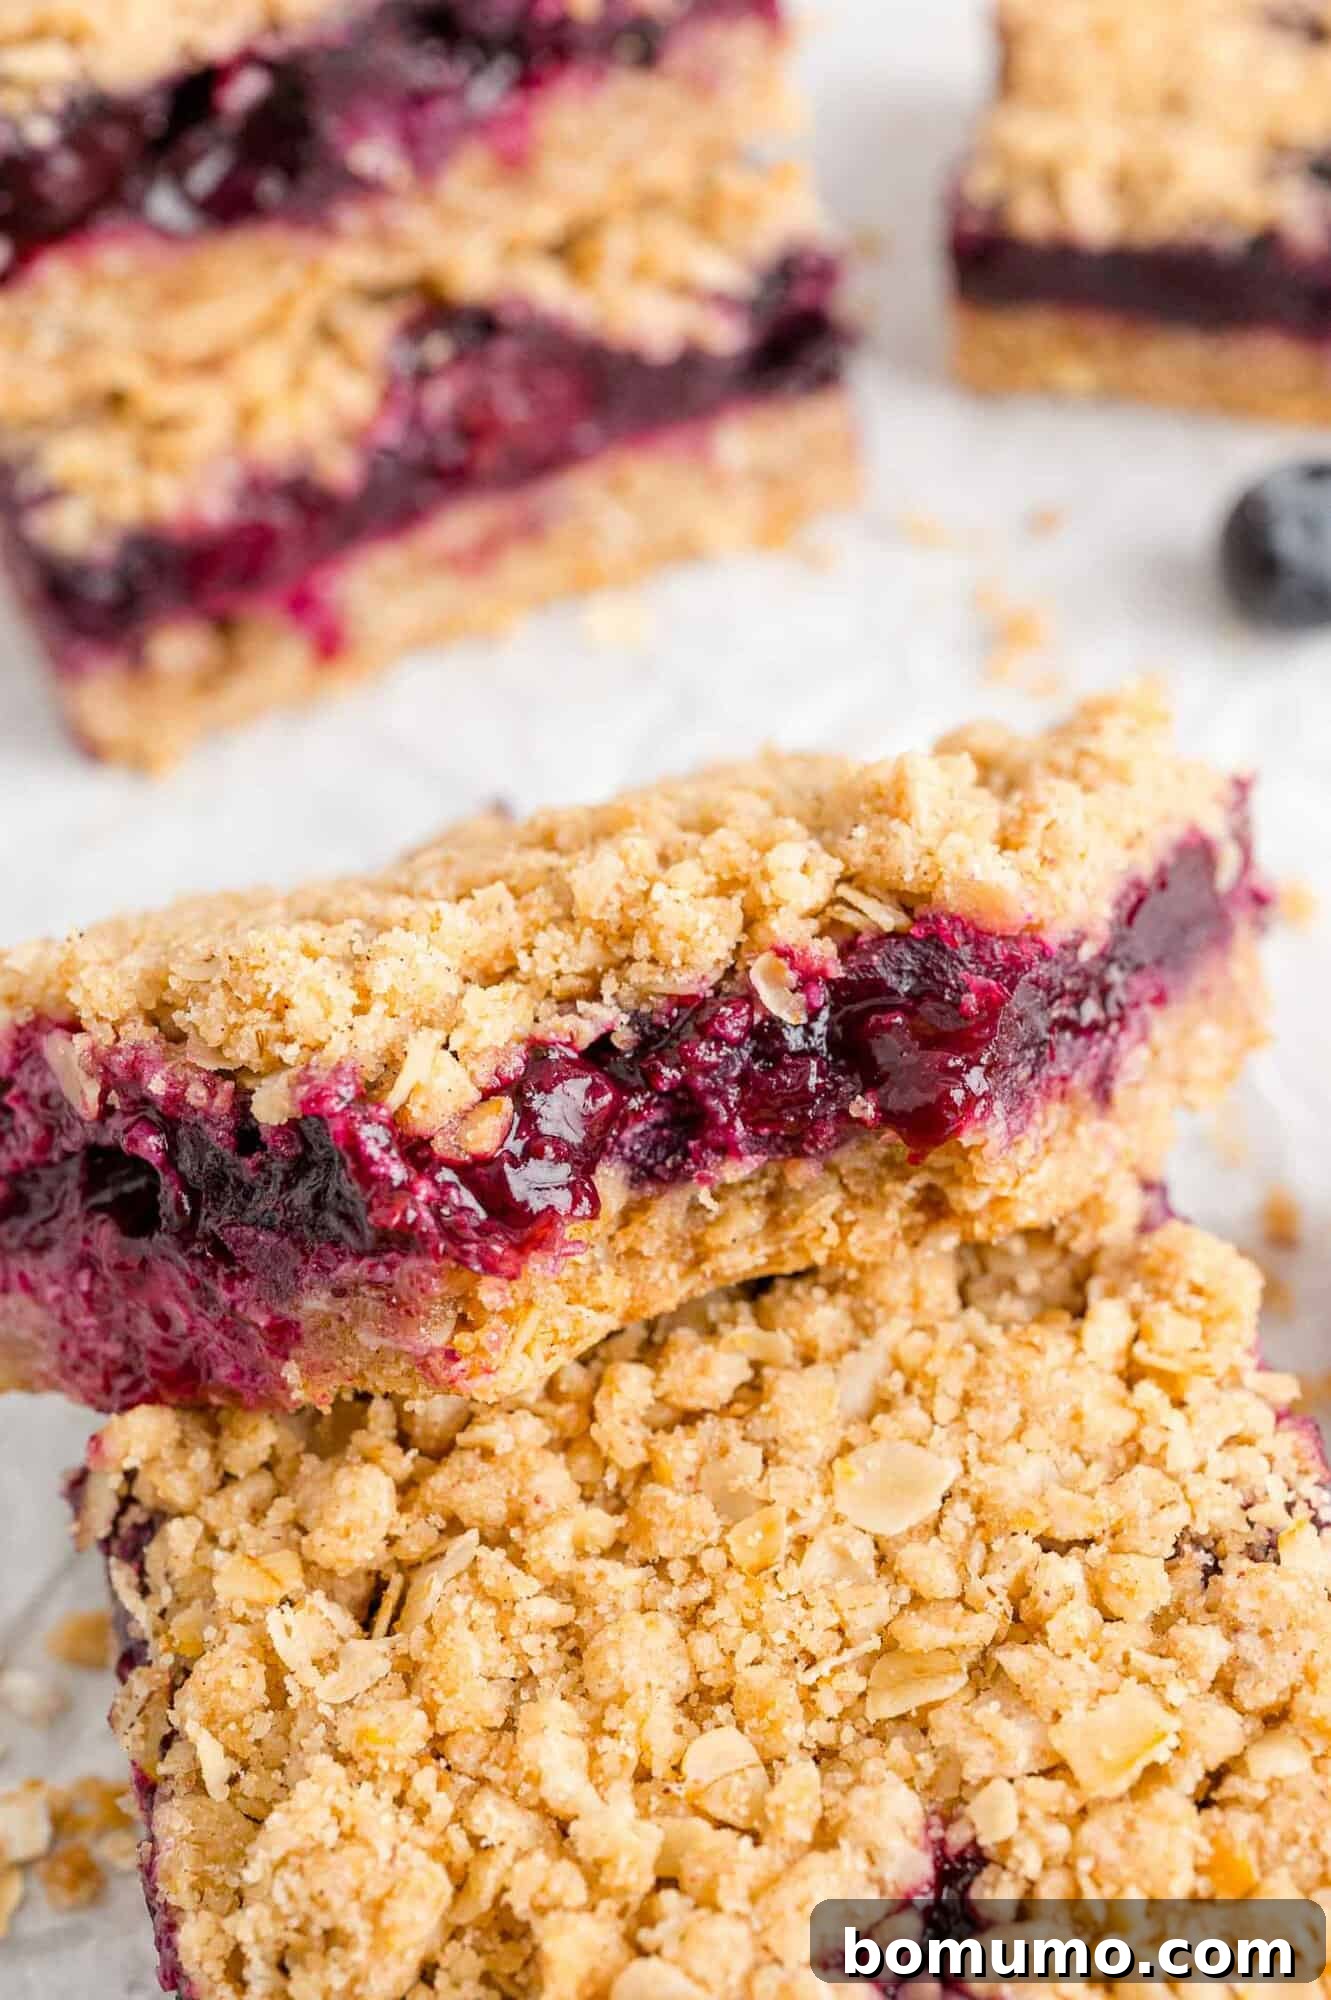
Storage & Freezing Tips
Proper storage is key to extending the freshness and deliciousness of your homemade blueberry crumb bars. Choose the method that best suits your needs:
- At Room Temperature (Counter): If you plan to enjoy your bars within a few days, they can be stored in an airtight container at room temperature. Place the container in a cool, dry place away from direct heat and sunlight. They will maintain their quality and flavor for 4 to 5 days.
- Refrigeration for Extended Freshness: For a longer shelf life, or if you live in a warm, humid climate, refrigerating the bars is recommended. Store them in an airtight container in the refrigerator for up to 7 days. To best enjoy their texture and flavor, allow them to come down to room temperature for about 10 to 15 minutes before serving. You can also gently warm them in the microwave for a few seconds if you prefer.
- Freezing for Long-Term Storage: These blueberry crumb bars freeze beautifully, making them perfect for meal prep or saving for future cravings. To freeze, first ensure the bars are completely cooled. Then, individually wrap each bar tightly in plastic wrap (a double layer is best) and follow with a layer of aluminum foil. This double-layer wrapping helps prevent freezer burn. Transfer the securely wrapped bars into a freezer-friendly bag or an airtight container. They can be stored in the freezer for up to 3 months. To thaw, simply transfer them to the refrigerator overnight, or place them on the counter for a few hours until they reach room temperature.
Explore More Delicious Bar Recipes
Sugar Cookie Bars with Vanilla Bean Buttercream
Frosted Oreo Cookie Bars
The Easiest Chocolate Chip Blondies
Easy Snickerdoodle Bars
Blueberry Crumb Bars
Print Recipe
Ingredients
For the Filling:
- ½ cup granulated sugar
- ¼ cup cornstarch
- 4 cups blueberries (fresh or frozen)
- ¼ cup fresh lemon juice (from 2 lemons)
- 2 teaspoons lemon zest (zest lemons before juicing)
- ⅓ cup water
For the Bars:
- 2 cups quick oats
- 2 cups all-purpose flour
- 1 ¼ cups light brown sugar, firmly packed
- 1 teaspoon ground cinnamon
- ½ teaspoon salt
- 1 cup unsalted butter, softened
Instructions
- Preheat oven to 325°F (160°C).
- For the filling: In a small saucepan, mix together sugar and cornstarch. Add blueberries, lemon juice, lemon zest, and water. Stir to combine. Bring to a simmer over medium heat, stirring constantly. Reduce heat to medium-low and continue to cook until thickened and berries are mostly broken down (about 5 minutes).
- In a large mixing bowl, combine oats, flour, brown sugar, cinnamon, and salt until well combined. Add butter and use a pastry cutter or two forks to cut in the butter until the mixture is crumbly and there are no large chunks of butter remaining.
- Spray a 9×13-inch baking pan or dish with nonstick cooking spray, or line with parchment paper.
- Set aside 2 cups of the crumb mixture. Put the remaining crumb mixture into the prepared pan and press down firmly in an even layer, using your fingers or the back of a large spoon.
- Bake for 10 minutes. Remove pan from oven and carefully spread the fruit filling evenly over the crust. Sprinkle with the reserved crumb mixture and gently pat down with a large spoon. Put the bars back in the oven and bake for 40 to 50 minutes or until golden brown.
- Cool completely before cutting into bars.
Notes
- Storage: Store in an airtight container at room temperature (away from heat and sunlight) for 4 to 5 days. For longer storage, refrigerate the bars in an airtight container for up to 7 days. To freeze, individually wrap each bar tightly in plastic wrap and then foil. Transfer to a freezer-friendly bag or container for up to 3 months. Thaw overnight in the fridge or at room temperature.
- Fruit Variation: Feel free to use different berries or a combination, such as strawberries, blackberries, raspberries, or pitted cherries, for a unique filling.
Nutrition
Calories: 252 kcal
Carbohydrates: 40g
Protein: 3g
Fat: 10g
Saturated Fat: 6g
Polyunsaturated Fat: 1g
Monounsaturated Fat: 3g
Trans Fat: 0.4g
Cholesterol: 24mg
Sodium: 64mg
Potassium: 90mg
Fiber: 2g
Sugar: 22g
Vitamin A: 300IU
Vitamin C: 4mg
Calcium: 23mg
Iron: 1mg
Nutrition information is automatically calculated and should be used as an approximation only.
Did You Make This?
Share a comment and rating below! I love hearing what you think!