
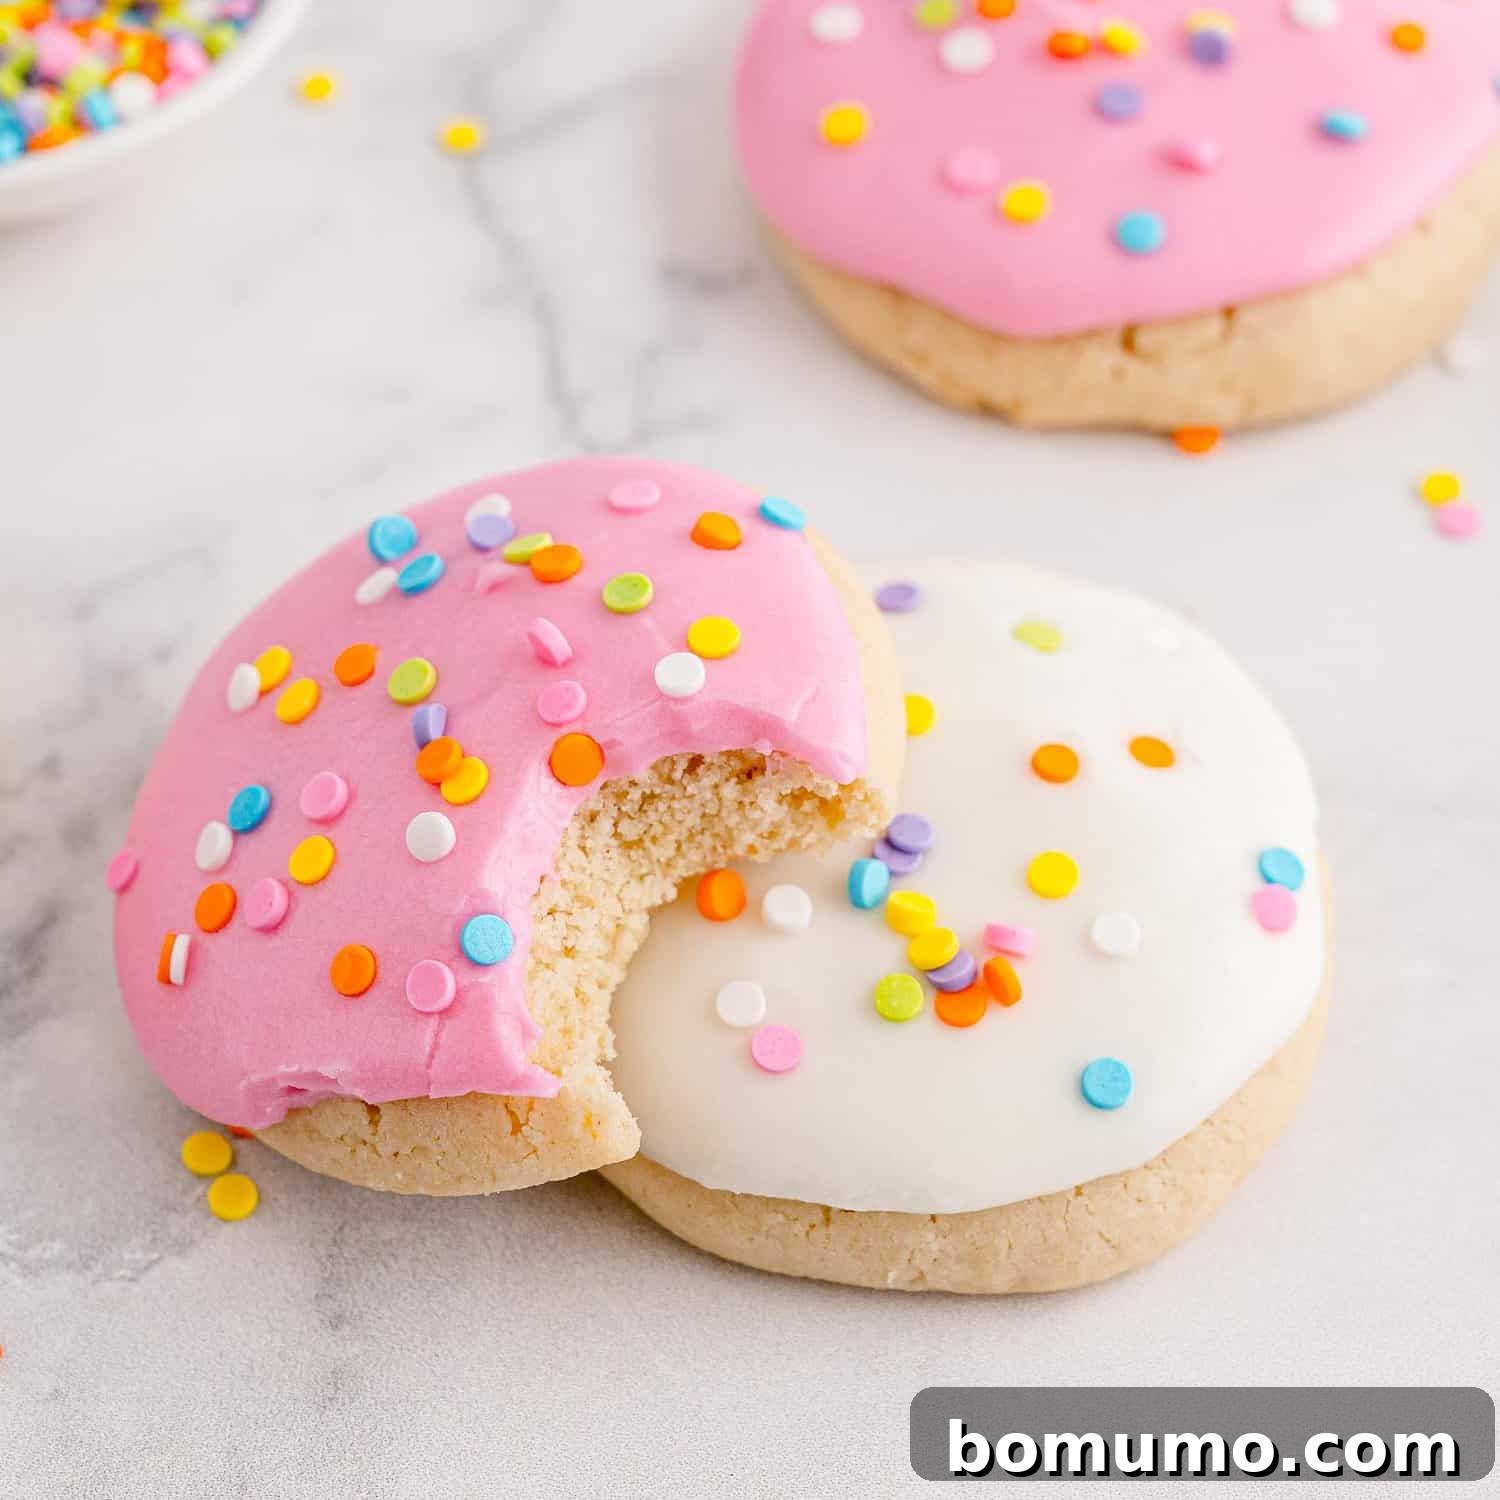
Welcome to the ultimate guide for crafting the perfect homemade Lofthouse-style sugar cookies! Forget those bakery aisle temptations; these soft, pillowy treats with their signature creamy frosting and vibrant sprinkles are not just a copycat recipe – they’re an elevated experience, made with love right in your own kitchen. Easy to customize for any season or celebration, these cookies promise a delightful bite every single time.
Recipe Overview
Why you’ll love them: These homemade Lofthouse-style cookies offer unparalleled freshness, superior flavor, and are surprisingly simple to create, making them far better than any store-bought version.
How long it takes: Approximately 15 minutes for dough preparation, followed by a minimum of 1 hour (or ideally overnight) for chilling, and about 12-14 minutes to bake each batch to golden perfection.
Equipment you’ll need: A large mixing bowl, an electric or stand mixer, reliable baking sheets, and a preheated oven are your essential tools for this recipe.
Servings: This recipe yields approximately 18 generously sized, soft sugar cookies, perfect for sharing or savoring.
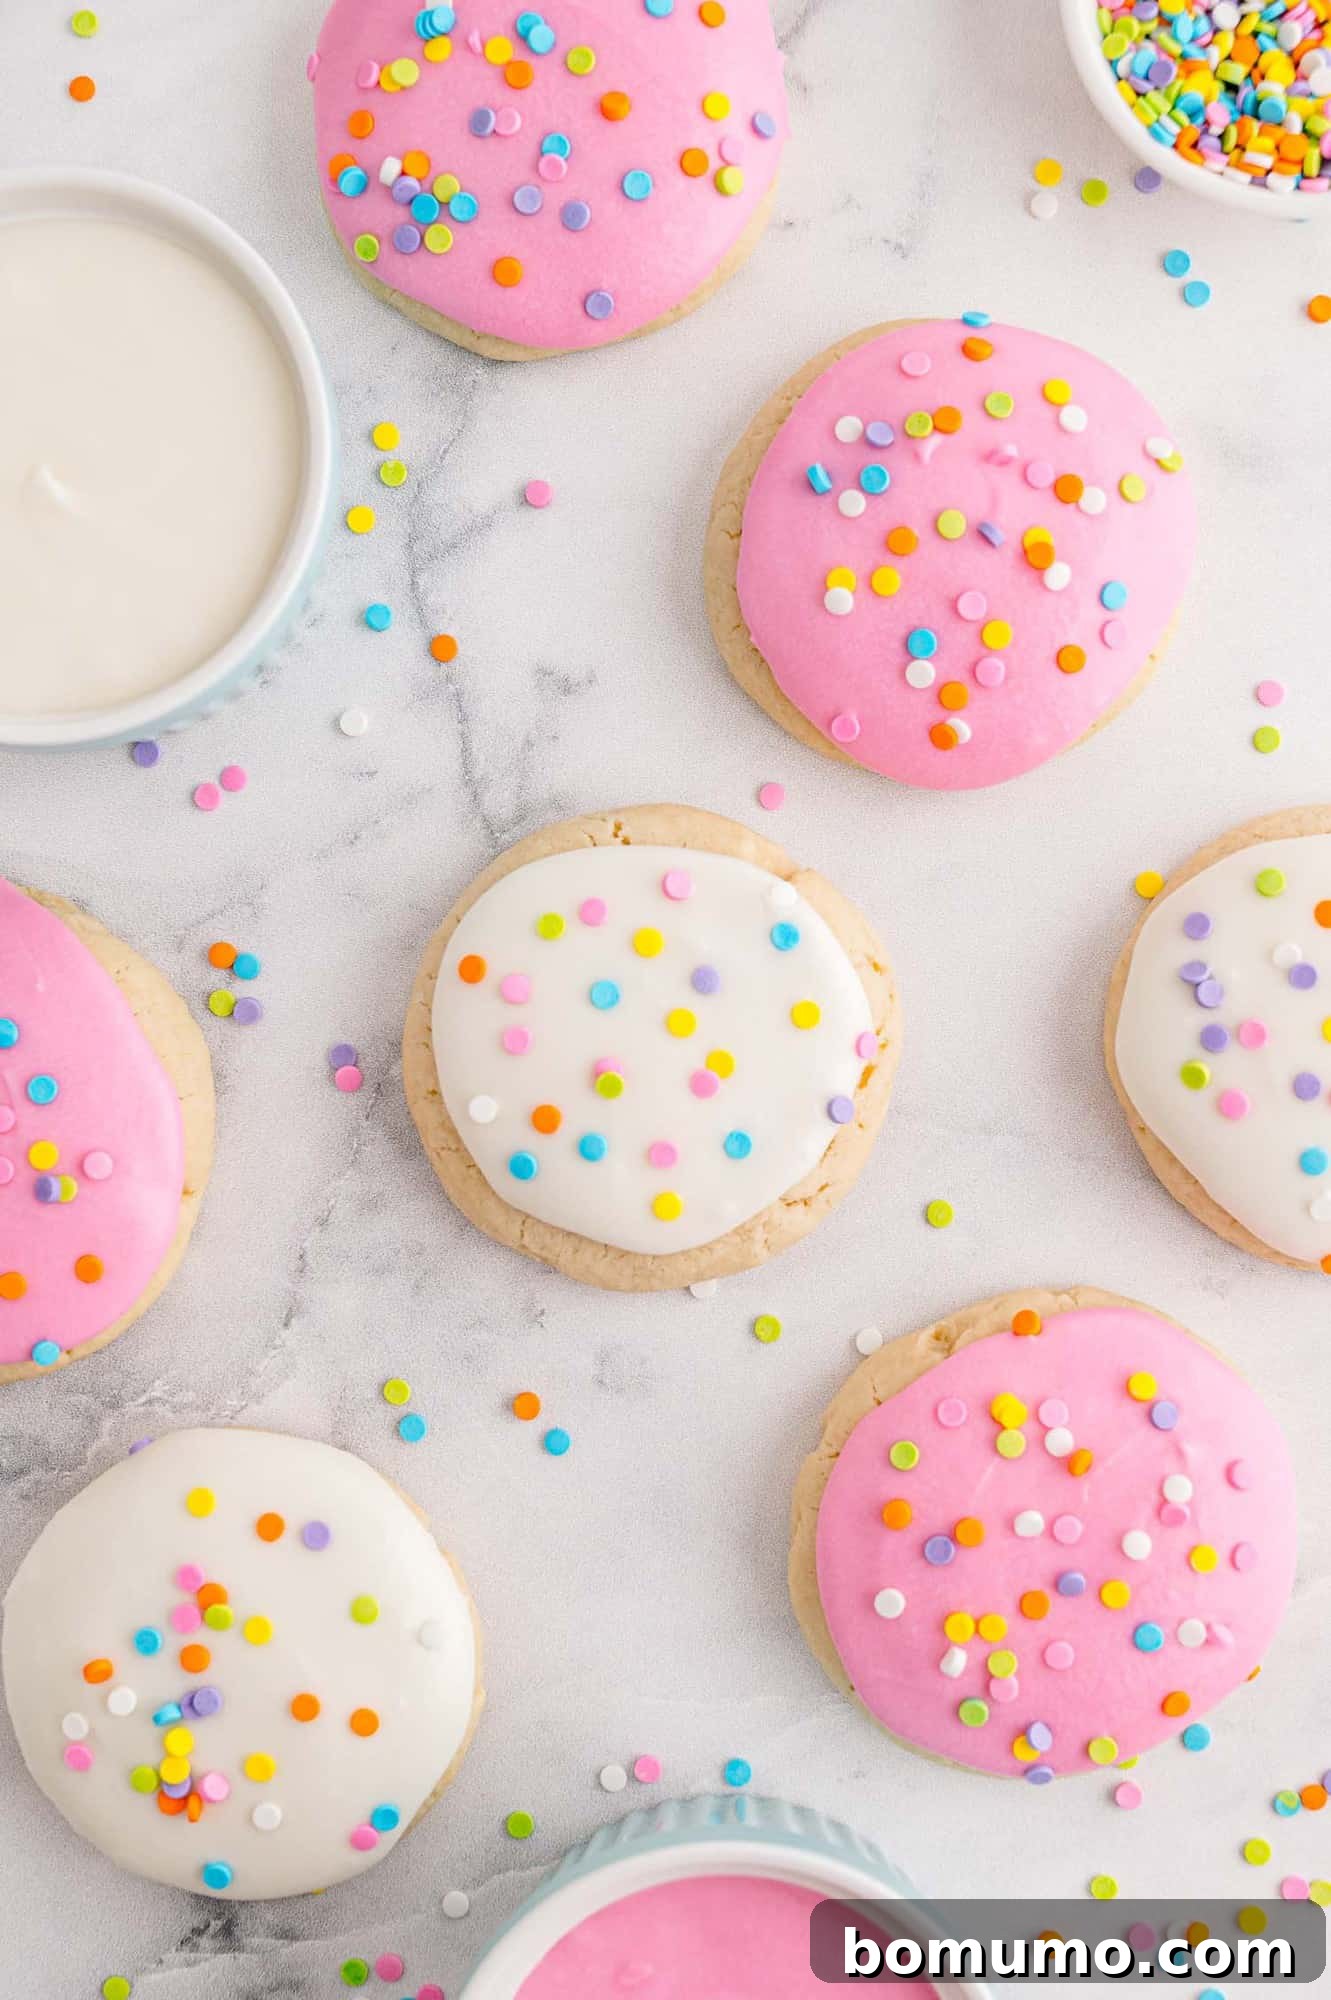
Those iconic, pillowy soft sugar cookies, instantly recognizable by their thick layer of brightly colored frosting and generous scattering of sprinkles, are a beloved classic. Often found nestled in the bakery section of your local grocery store, Lofthouse cookies hold a special place in many hearts. The vibrant hues and irresistible sweetness make them a perennial favorite, often tempting shoppers to toss a package into their carts.
But what if you could recreate that magic at home, only better? That’s precisely what this recipe offers. Homemade cookies consistently surpass their store-bought counterparts in every aspect. They boast an unbeatable freshness that fills your home with an inviting aroma, a richer, more authentic flavor profile, and are typically more budget-friendly. Crucially, when you bake at home, you control the ingredients, opting for wholesome pantry staples rather than preservatives, partially hydrogenated fats, or artificial flavors commonly found in mass-produced treats. The difference is truly night and day when you compare them to the likes of iced oatmeal cookies, gingersnaps, or classic chewy chocolate chip cookies made from scratch.
Discover the Magic of Homemade Lofthouse Cookies
This recipe for Lofthouse copycat cookies is designed to be straightforward and accessible, even for novice bakers. There’s an undeniable joy in creating these soft, sugary delights topped with creamy, dreamy icing and a playful burst of sprinkles. Not only do they taste incredible, but their vibrant appearance makes them a stunning addition to any cookie platter, guaranteed to be devoured quickly. Let’s face it: frosted cookies always disappear first, it’s simply a fact of life and a testament to their universal appeal!
One of the most exciting aspects of making these soft frosted sugar cookies at home is the endless potential for customization. Consider them a delicious blank canvas awaiting your creative touch. For Christmas festivities, infuse the dough with a hint of peppermint extract and adorn them with festive red and green sprinkles for a holiday twist. The versatility of sprinkles is truly remarkable; they come in every shade imaginable, allowing your cookies to perfectly match any occasion. Envision vibrant green for St. Patrick’s Day, romantic red and pink for Valentine’s Day, spooky orange and black for Halloween, or patriotic red, white, and blue for national holidays. The possibilities are boundless, inviting you to unleash your inner cookie artist!
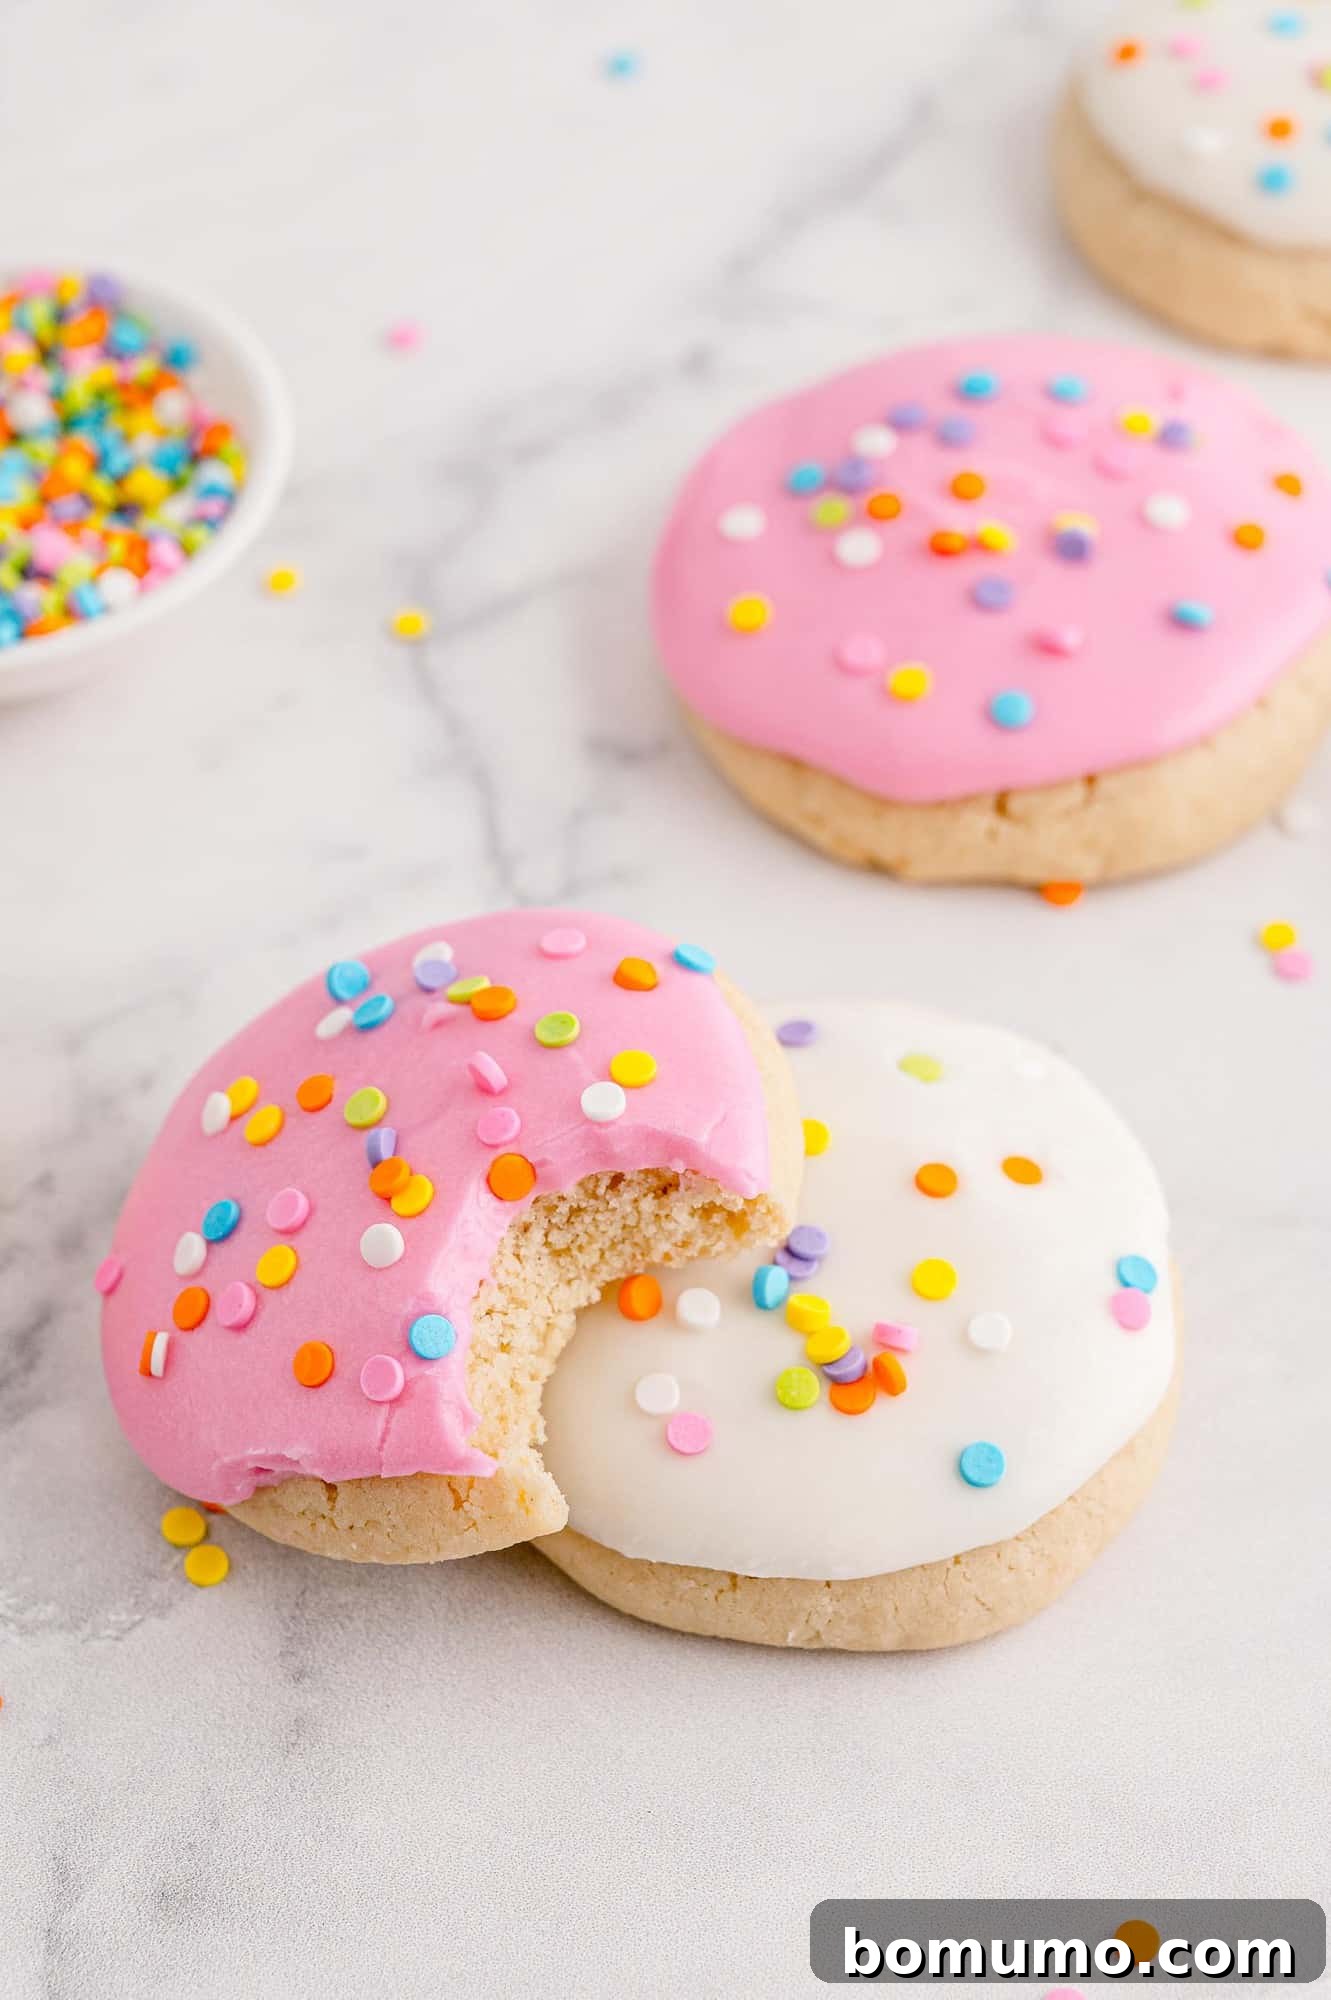
What truly sets Lofthouse cookies apart from traditional sugar cookies is their distinctively soft, almost cake-like texture. Unlike crisp or chewy varieties, these cookies boast a tender crumb that practically melts in your mouth. They are typically quite large, though you have the freedom to size them however you prefer, making them perfect for generous servings. Each cookie is lavishly topped with either classic white or beautifully tinted powdered sugar frosting, then finished with a shower of colorful sprinkles, creating an edible work of art that’s as fun to look at as it is to eat.
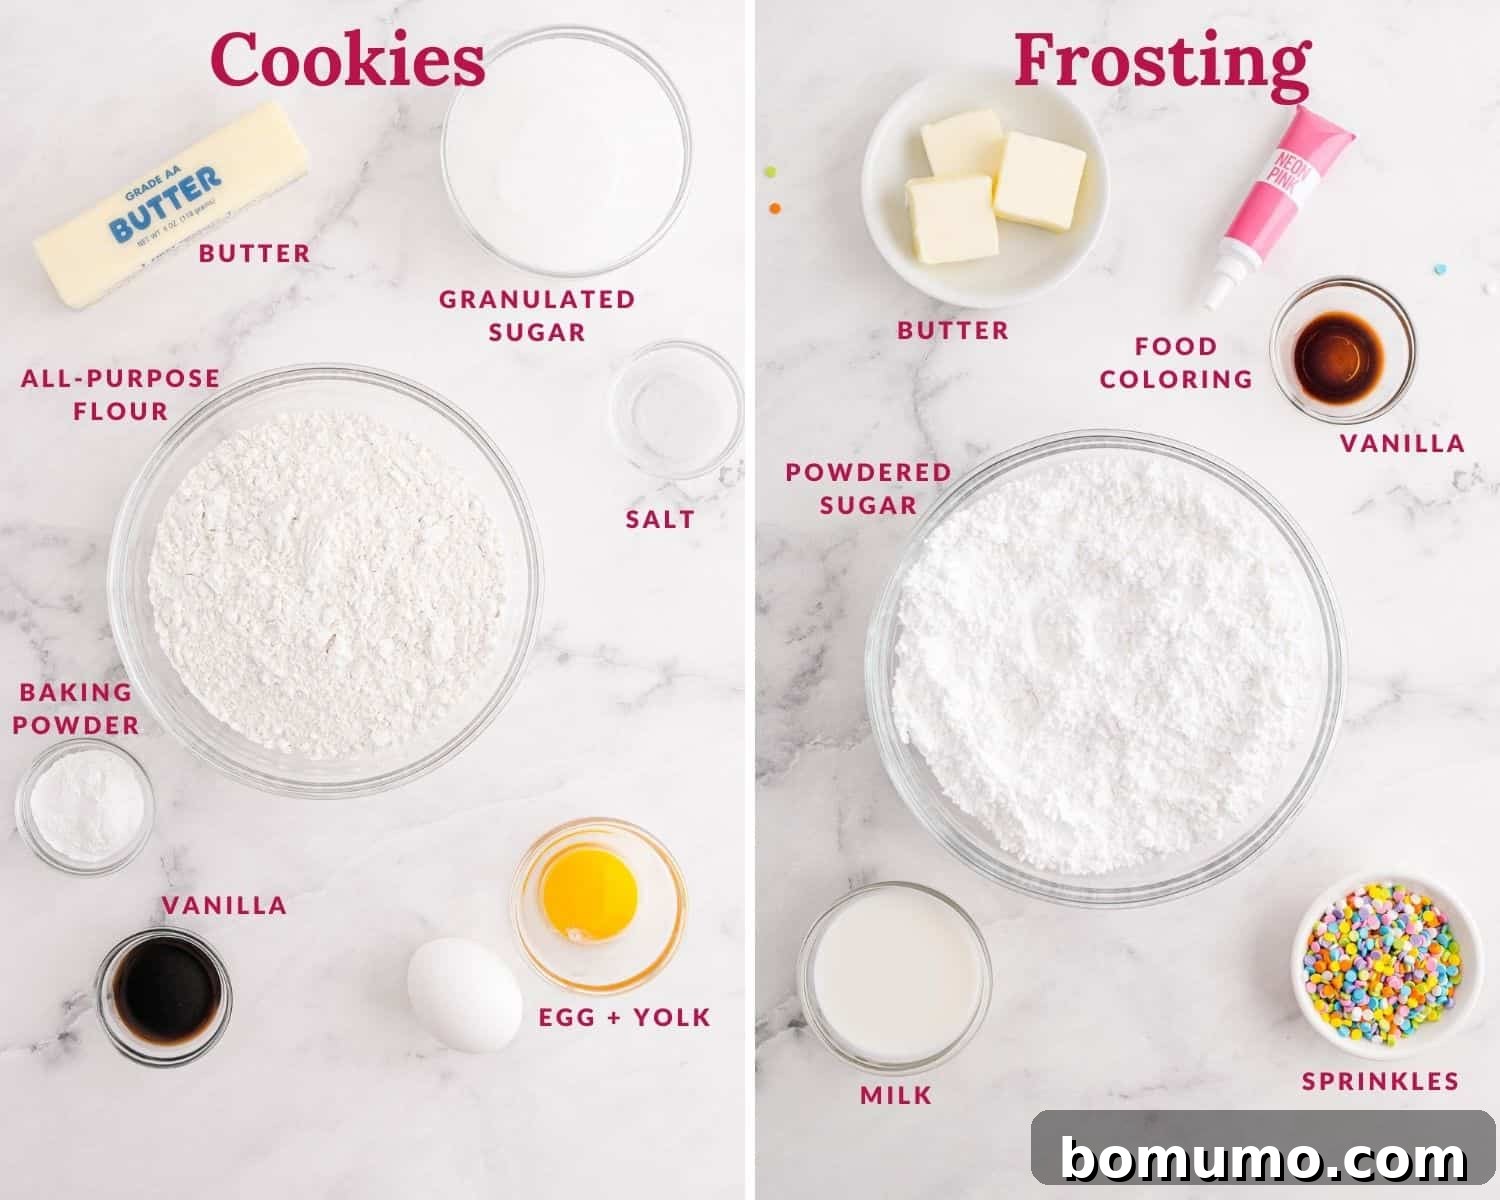
Essential Ingredients for Perfect Lofthouse Cookies
Crafting these delectable Lofthouse-style sugar cookies requires a few fundamental ingredients, each playing a crucial role in achieving their signature soft texture and creamy frosting. Here’s a closer look at what you’ll need:
- Butter: This is the cornerstone of both the cookie dough and the rich, fluffy frosting. It’s imperative that your butter is softened to room temperature before you begin. This ensures it creams properly with the sugar, incorporating air for that characteristic tender crumb. Always opt for unsalted butter when baking, unless the recipe specifies otherwise, as it gives you precise control over the overall salt content and flavor balance.
- Sugar: You’ll use two types of sugar for this recipe. Granulated white sugar is for the cookie dough, contributing to its sweetness and texture. For the luscious frosting, confectioner’s sugar (also known as powdered sugar) is essential, providing a smooth, melt-in-your-mouth consistency without any grittiness.
- Eggs: The recipe calls for one whole large egg and an additional egg yolk. The whole egg provides structure and richness, while the extra yolk contributes to the cookies’ tenderness and helps achieve that wonderfully soft, almost cake-like consistency that Lofthouse cookies are known for.
- Vanilla Extract: Pure vanilla extract is the primary flavoring for these classic sugar cookies, infusing them with a warm, inviting aroma and taste. For an authentic flavor profile, always choose pure vanilla extract over imitation. Remember, you can also experiment with other extracts for unique twists!
- All-Purpose Flour: While many cookie recipes can accommodate whole wheat flour, for these specific sugar cookies, all-purpose flour is truly ideal. Its fine texture and moderate protein content are key to achieving the light, soft, and delicate crumb that defines a Lofthouse cookie. Using whole wheat flour would alter the texture significantly, making them denser.
Baking Tip for Flour!
Accurate flour measurement is vital for successful baking. Always use the “spoon and level” method: gently spoon the flour into your measuring cup until it overflows, then level it off with a straight edge (like the back of a knife). Avoid scooping directly into the flour container with the measuring cup, as this compacts the flour, leading to an excess amount that can result in dense, dry, or tough cookies. A light hand with flour ensures a perfectly tender cookie.
- Baking Powder: This leavening agent is critical for giving the cookies their characteristic rise and soft, fluffy texture. It reacts during baking to create air pockets, contributing to that desirable cake-like crumb.
- Salt: A small amount of salt is crucial for balancing the sweetness and enhancing all the other flavors in the cookie. It prevents the cookies from tasting flat or overly sweet. If you happen to use salted butter, you may wish to slightly reduce or omit the added salt, but generally, a pinch is always recommended.
- Milk: A few tablespoons of milk are all you’ll need to achieve the perfect consistency for the frosting. Any type of milk – whole, skim, or even a non-dairy alternative – will work equally well, so use what you have on hand.
- Food Coloring and Sprinkles: These are entirely optional but highly recommended! They are what transform these delicious sugar cookies into the visually stunning and festive Lofthouse-style treats we adore. Food coloring allows you to tint your frosting any shade, while sprinkles add a playful burst of color and texture.
Step-by-Step Guide: Crafting Your Lofthouse Masterpiece
Making these delightful Lofthouse cookies is a rewarding experience, but remember that the dough requires a chilling period of at least one hour, or even overnight. Plan accordingly to ensure the best texture and manage your baking schedule. I’ll walk you through the process here, offering plenty of practical tips and encouragement along the way to help you achieve perfect results.
Let’s get started! First, ensure your butter is properly softened to room temperature. If you forgot to take it out ahead of time, a quick trick is to warm it in the microwave on very low power (10-20%) in short 10-20 second increments, turning it frequently, until just softened, not melted.
Step 1: Combine the Wet Ingredients (Creaming Method). In a nice big mixing bowl, ideally using a stand mixer with the paddle attachment or a robust electric hand mixer, combine the softened unsalted butter and granulated sugar. Beat these two ingredients together on medium-high speed for 3-5 minutes. The mixture will visibly transform, becoming light in color, wonderfully fluffy, and airy. This crucial creaming process incorporates air, which is essential for the cookies’ signature soft, cake-like crumb. Don’t rush this step!
Next, add the large egg, the extra egg yolk, and the pure vanilla extract to the creamed butter and sugar. Continue mixing on medium speed until all these ingredients are thoroughly incorporated, and the mixture appears creamy and smooth. Scrape down the sides of the bowl with a spatula to ensure everything is evenly blended.
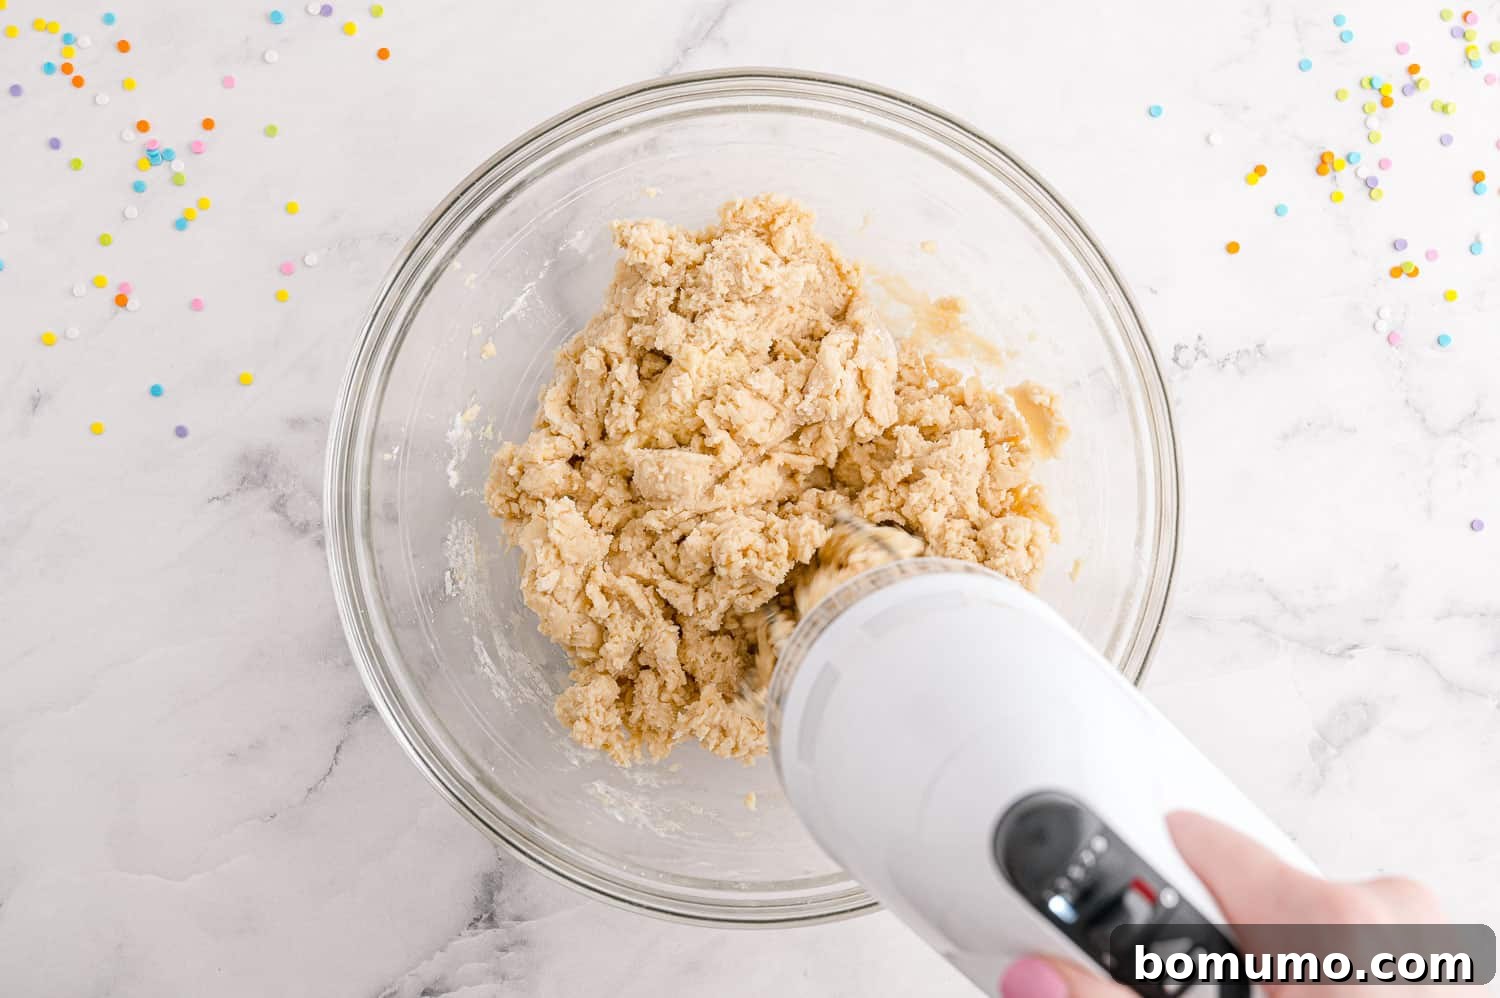
Step 2: Incorporate the Dry Ingredients. In a separate small bowl, whisk together the all-purpose flour, baking powder, and salt to ensure they are well combined. Gradually add these dry ingredients to the wet mixture in the large bowl, mixing on low speed until they are just combined. It’s very important not to overmix the dough at this stage. Overmixing can develop the gluten in the flour too much, leading to tough rather than tender cookies. Stop mixing as soon as no streaks of flour are visible.
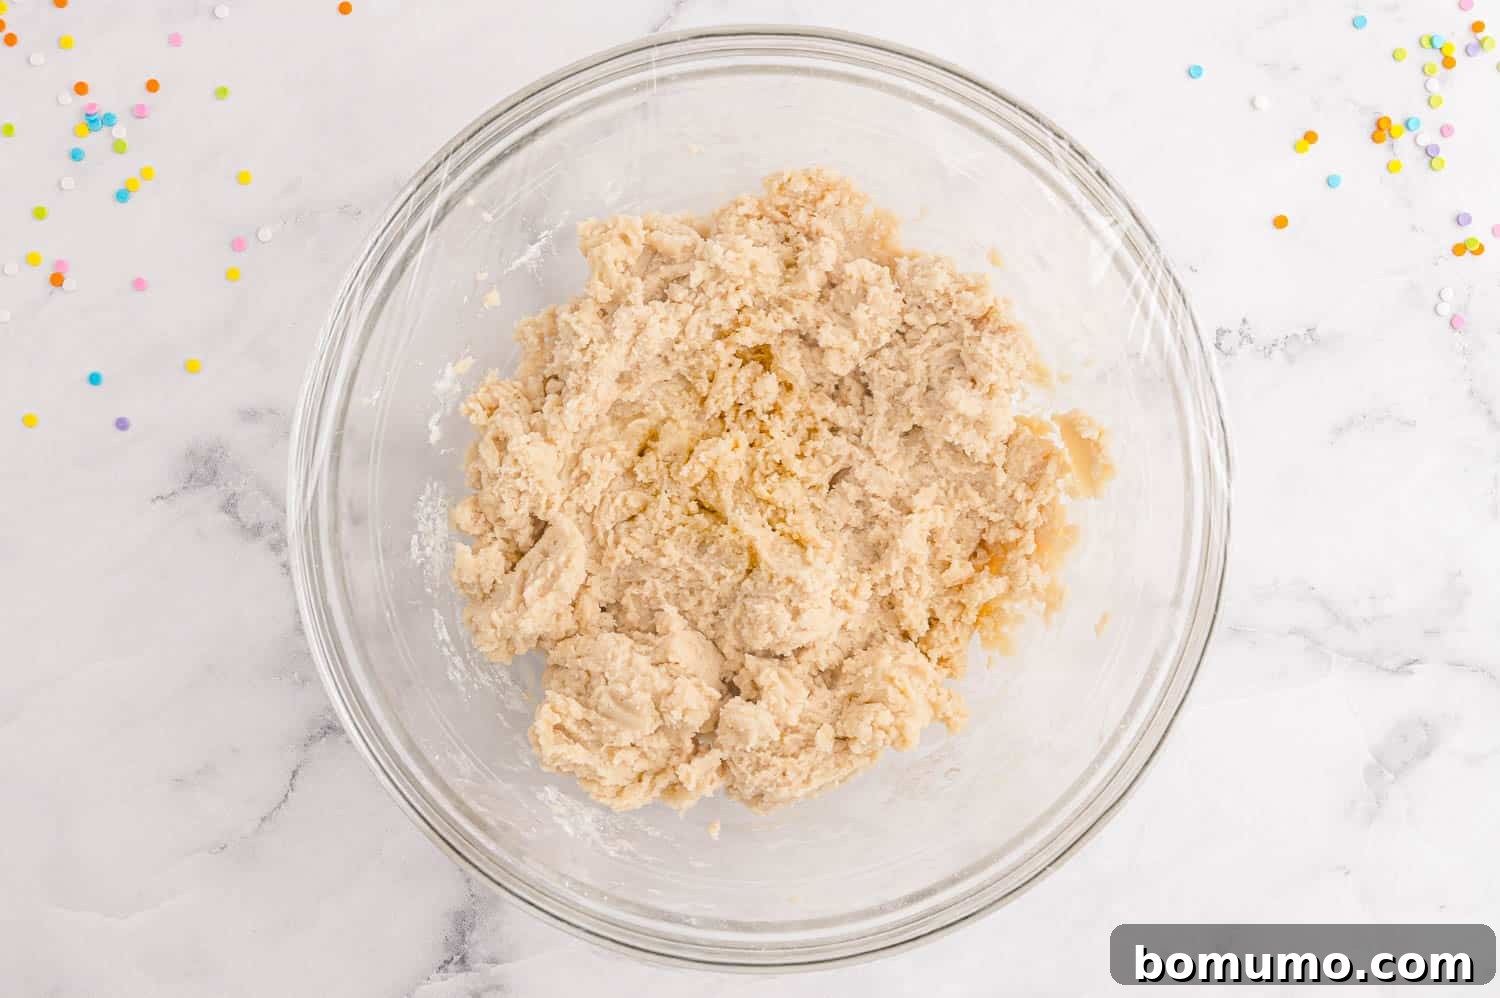
Step 3: Chill the Dough. Once your dough is mixed, gently form it into a disk, wrap it tightly in plastic wrap, or place it in a bowl covered with a lid. Transfer the dough to the refrigerator and chill for a minimum of one hour. For the best texture and easier handling, chilling overnight is perfectly fine and often recommended, as it allows the flavors to meld and the butter to firm up, preventing excessive spreading during baking. This step is non-negotiable for tender, stable cookies.
Step 4: Prepare for Baking. When the dough is sufficiently chilled and you’re ready to bake, preheat your oven to 350°F (175°C). Line your baking sheets with parchment paper or a silicone baking mat (like a Silpat). This prevents sticking and ensures even baking and easy cleanup.
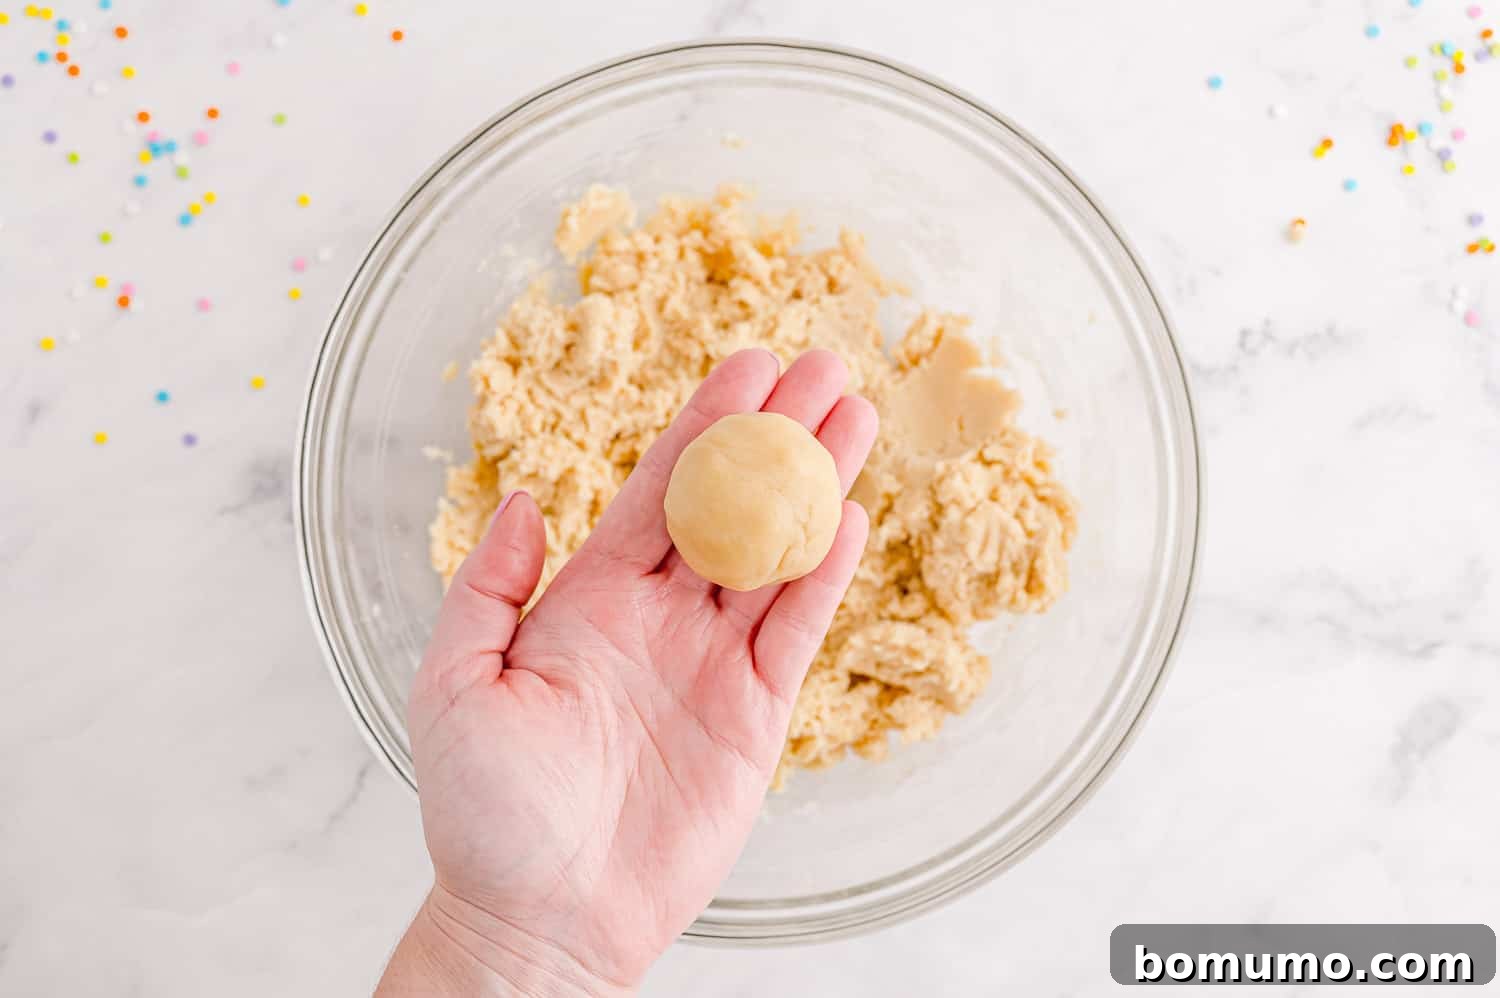
Step 5: Form the Cookies. Scoop out generous portions of dough, about two tablespoons each. Roll each portion into a smooth ball between your palms. Place the dough balls on the prepared baking sheet, leaving ample space between them (about 2-3 inches), as these cookies will spread. Gently flatten each ball slightly with the palm of your hand or the bottom of a glass. This helps achieve that classic Lofthouse shape. You’ll typically get about 18 large cookies from this recipe, and I usually bake 9 at a time per standard baking sheet to avoid overcrowding.
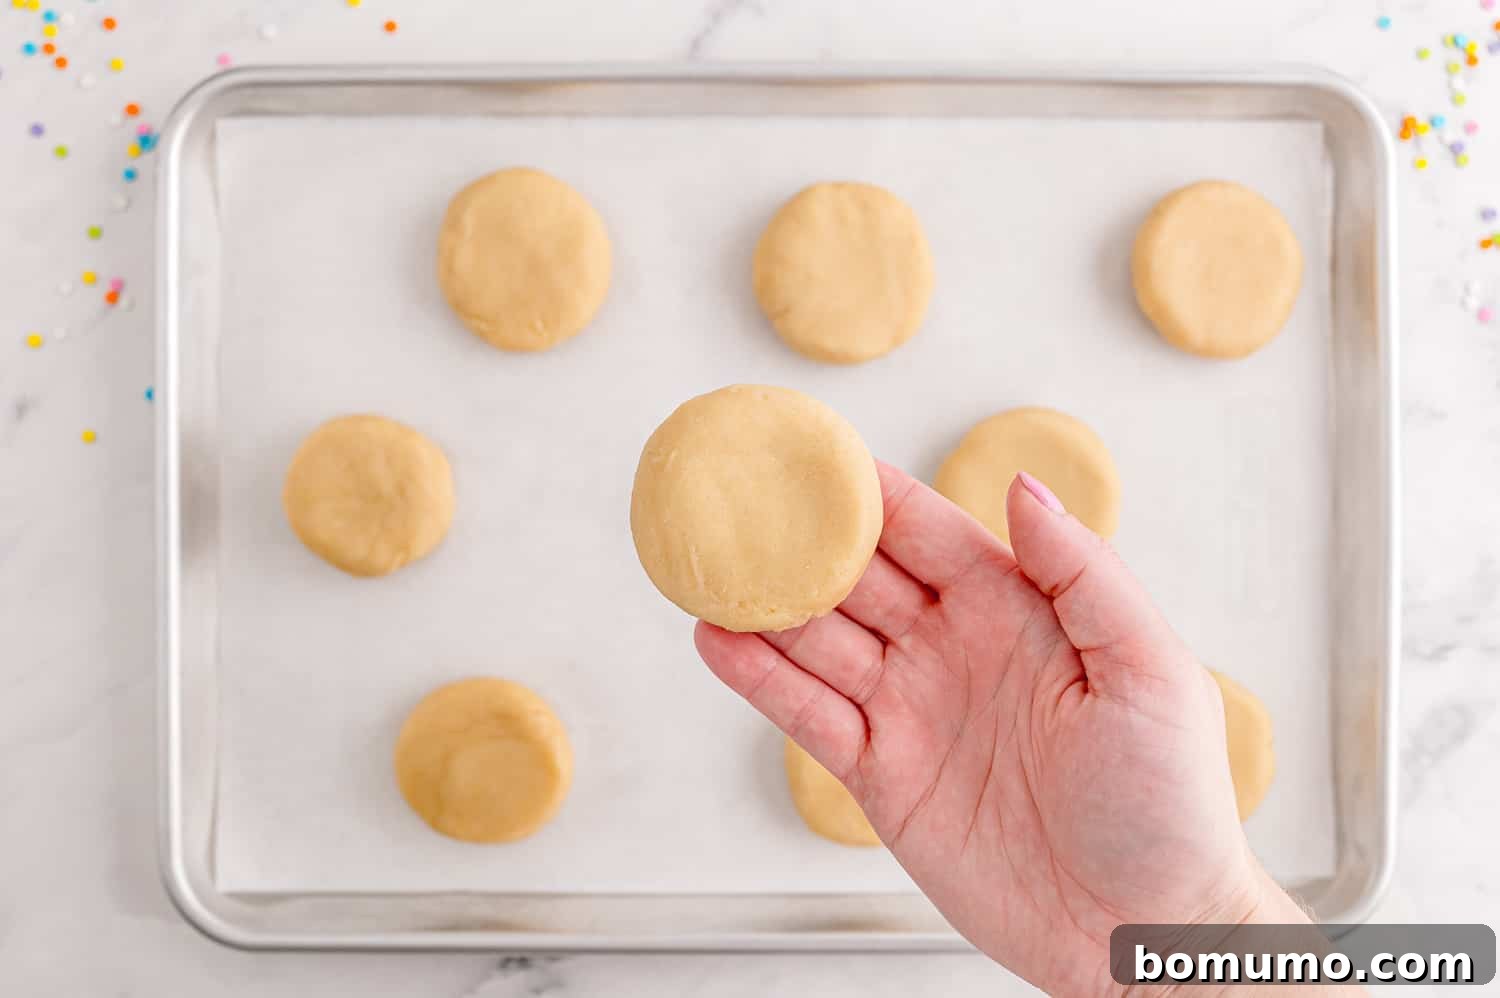
Step 6: Bake to Perfection. Bake the cookies in your preheated oven for 12 to 14 minutes. Keep a close eye on them; Lofthouse cookies should remain relatively pale with only the barest hint of golden-brown around the very edges. They should appear set and firm. Overbaking will result in a drier, less tender cookie, so remove them promptly. Once baked, let them cool on the baking sheet for 2 to 3 minutes before carefully transferring them with a spatula to a wire rack to cool completely. Cooling completely is crucial before frosting.
Step 7: Prepare the Fluffy Frosting. While your cookies are baking and cooling, you can whip up the creamy frosting. In a medium-sized mixing bowl, combine the softened unsalted butter, confectioner’s sugar, pure vanilla extract, and milk. Using your electric mixer, beat these ingredients together on medium-high speed until the frosting becomes light, airy, and wonderfully fluffy. If the frosting appears too thick or dry, add a tiny splash more milk (half a teaspoon at a time) until it reaches a spreadable consistency. Conversely, if it seems too thin, gradually add a tablespoon more powdered sugar until it thickens to your liking.
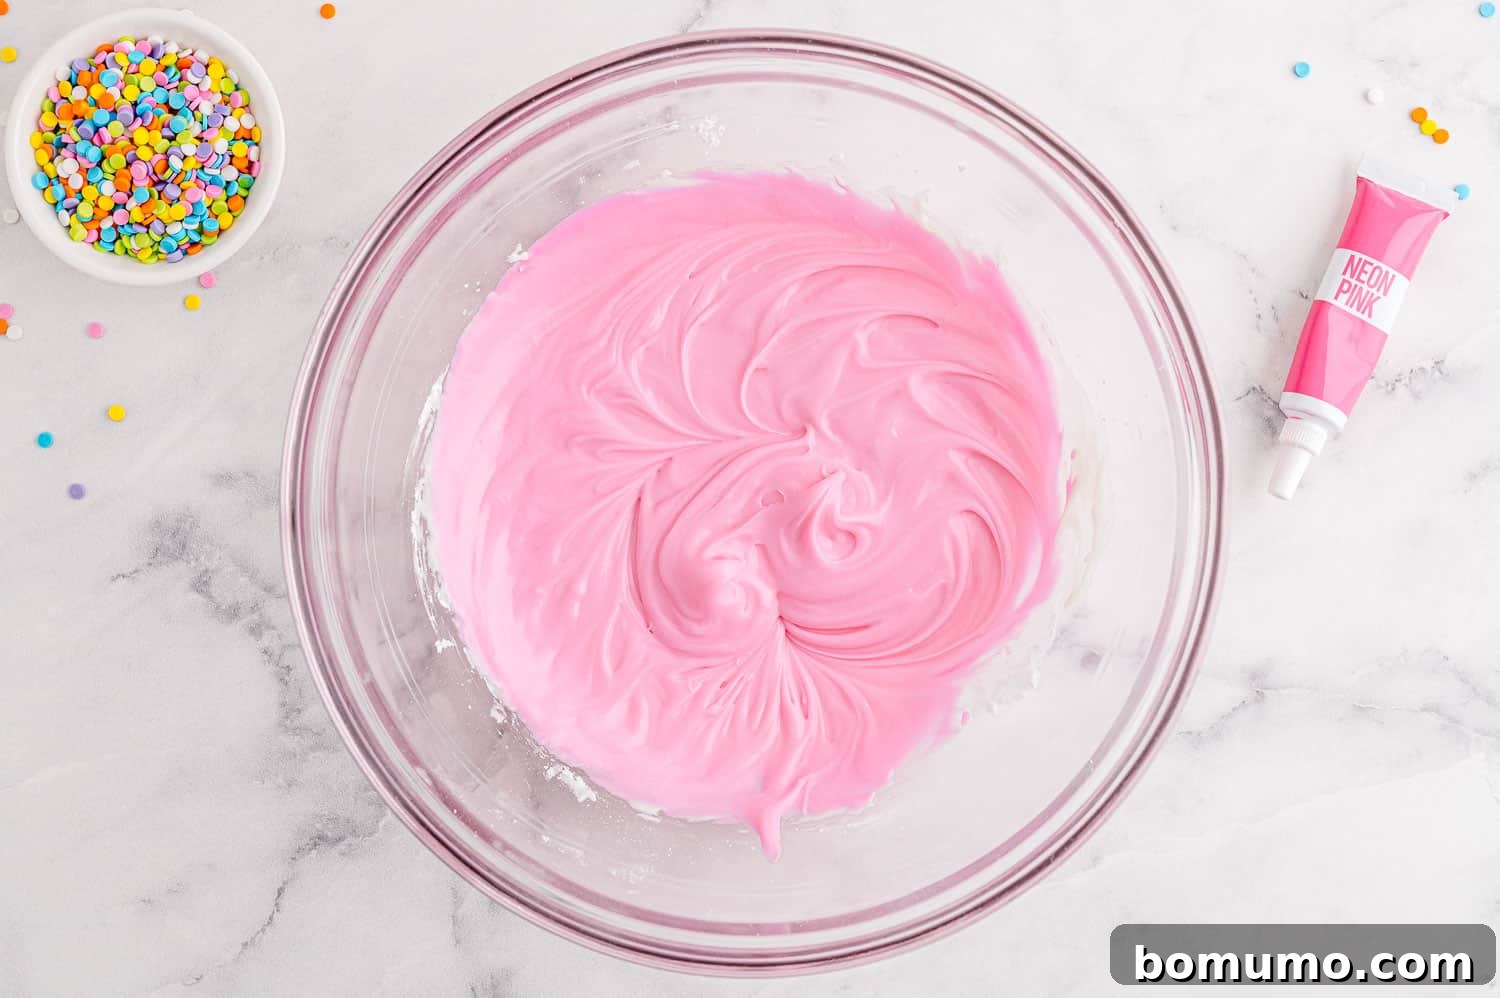
Step 8: Frost and Decorate. Once the cookies are entirely cool to the touch, it’s time for the fun part: frosting! Generously spread the creamy frosting over each cookie. Don’t be shy; this recipe yields a generous amount of frosting, so you can truly pile it on for that authentic Lofthouse experience. A common mistake is to skimp on the first few cookies, fearing you’ll run out, but rest assured, you will have plenty for all 18 cookies.
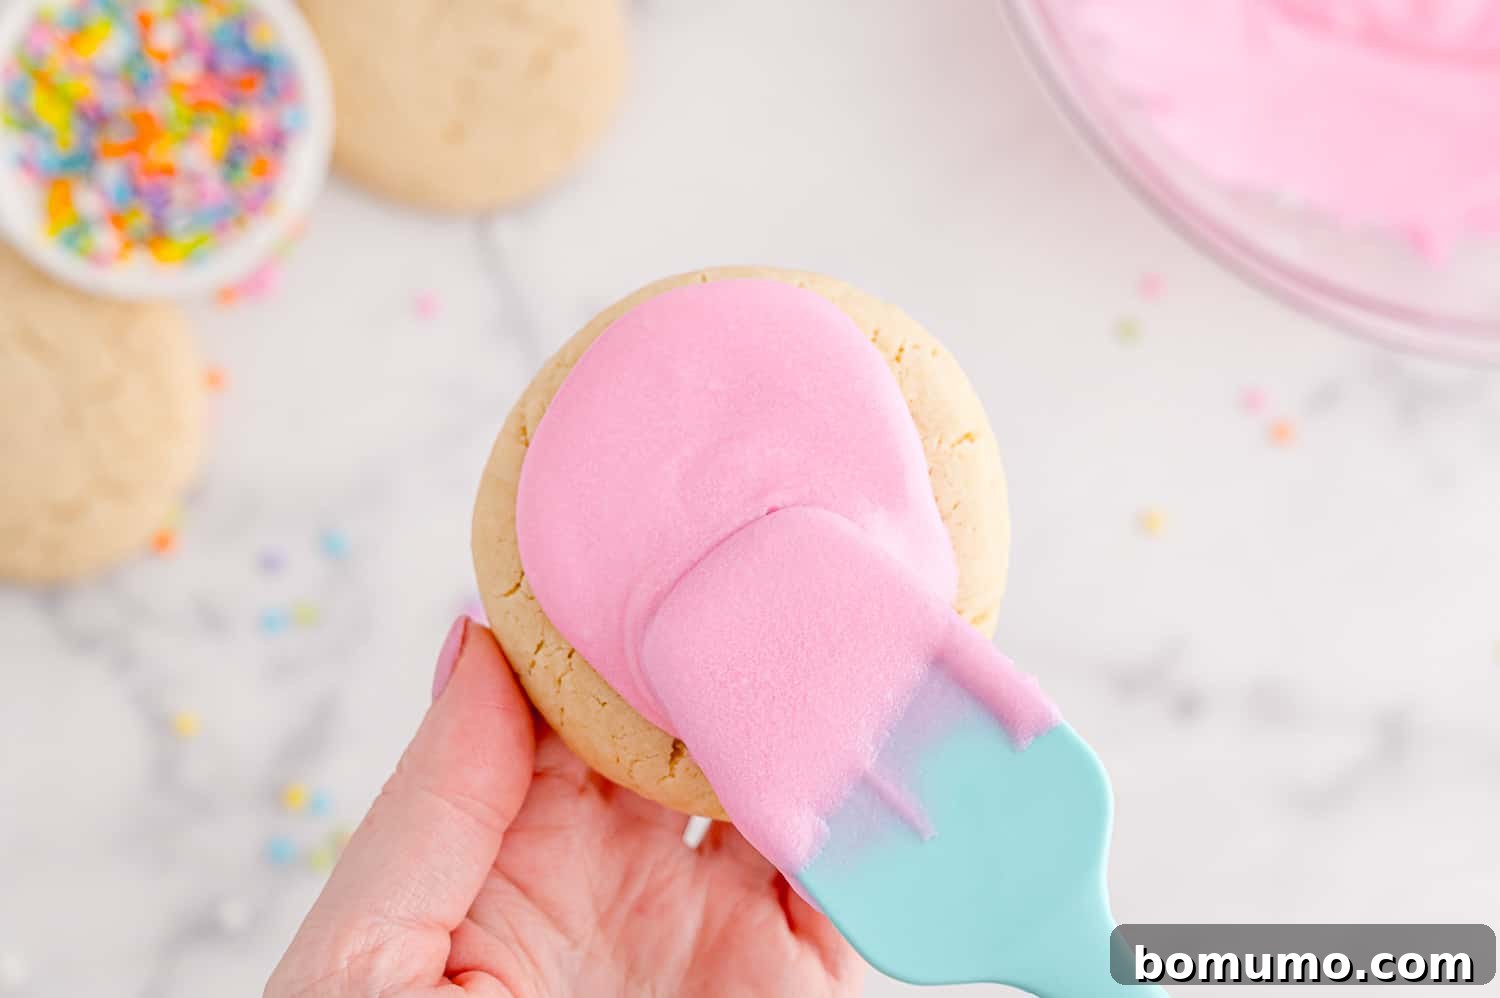
Crucial Decorating Tip: Add the sprinkles immediately after frosting each individual cookie! The powdered sugar frosting hardens quite quickly as it sets. If you wait until all cookies are frosted before adding sprinkles, you’ll find that many of them will simply roll off rather than adhere to the surface. Save yourself the sadness of bare cookies and add those festive sprinkles right away!
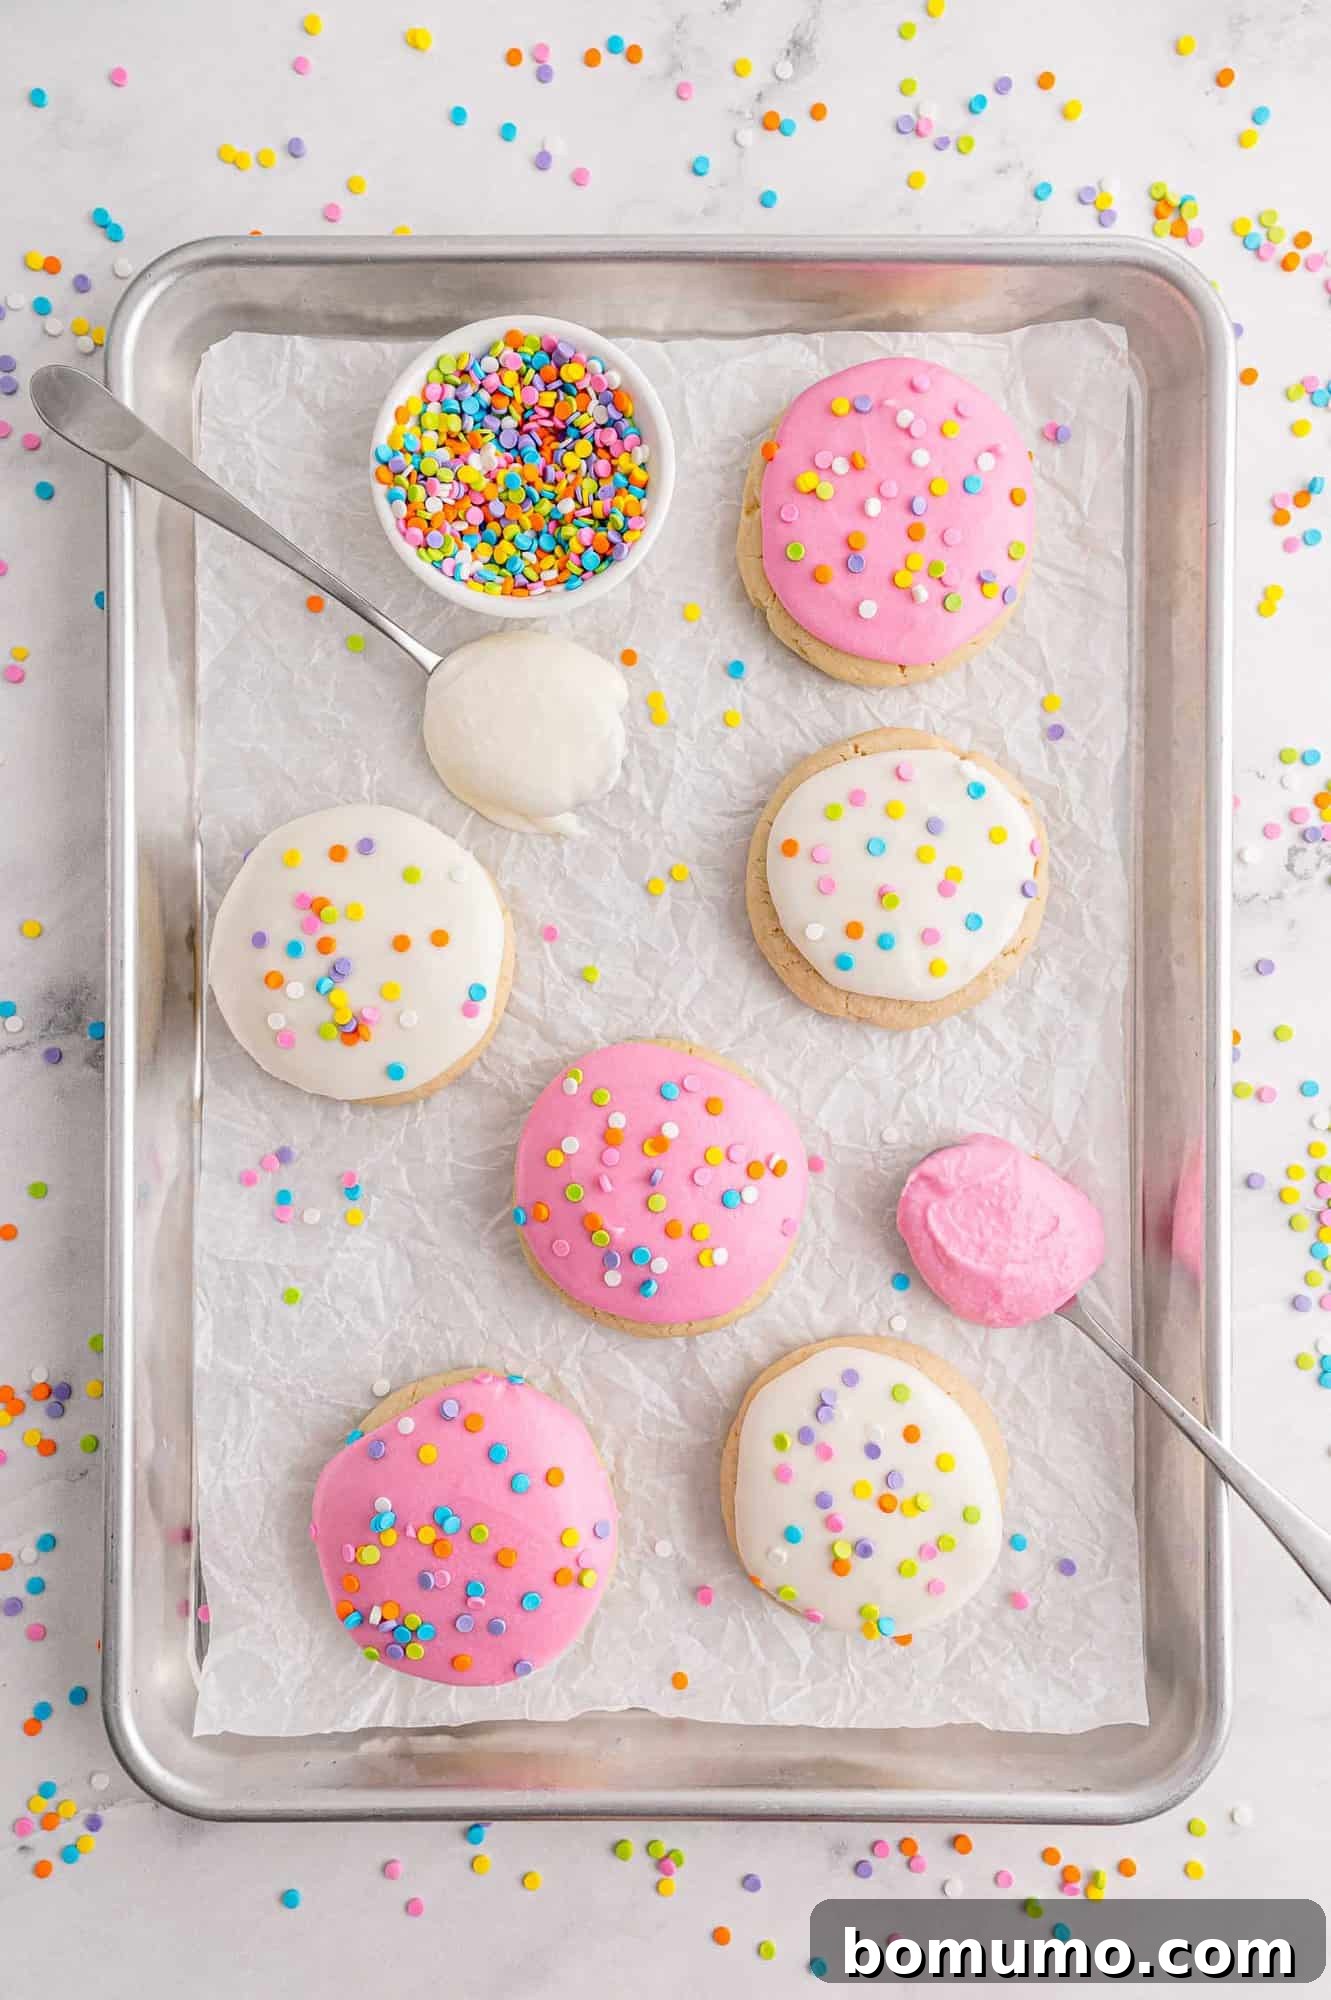
There’s nothing quite like enjoying these perfectly soft, frosted sugar cookies with a tall glass of ice-cold milk. It’s a timeless pairing for a good reason – cookies and milk are simply meant to be together, just as Santa prefers his treats!

If milk isn’t your preference, these versatile cookies also pair wonderfully with a warm cup of coffee or tea. For a cozy treat, consider whipping up a batch of ginger spiced hot chocolate, which is incredibly easy to make in the microwave. For adults seeking a more indulgent pairing, a classic White Russian or a comforting Hot White Russian could be just the ticket. And for a truly special holiday delight, don’t forget homemade eggnog!
Frequently Asked Questions (FAQs)
While the exact origin of the name “Lofthouse” is somewhat anecdotal, the fascinating history behind these popular sugar cookies tells a classic American success story. According to an article in the Deseret News, a resourceful Utah family began baking these distinctive sugar cookies in a rented kitchen during off-hours. They initially sold them to convenience stores as a means to supplement their family income. The venture rapidly flourished, growing into Lofthouse Foods, Inc., a company renowned for producing an astonishing 2 million cookies daily at its peak. This remarkable growth transformed a humble family enterprise into a household name. Today, the Lofthouse brand is proudly owned by ConAgra Foods, Inc., continuing its legacy as a beloved treat.
Absolutely! While the classic vanilla sugar cookie with white or pink frosting is the most recognizable, Lofthouse cookies have been known to come in a delightful variety of flavors and seasonal designs. These can range from lemon or almond-flavored cookies to those with holiday-themed spices and corresponding frosting colors and sprinkles. Our homemade recipe encourages this creativity, allowing you to easily experiment with different extracts and decorations.
Achieving that signature soft texture comes down to a few key factors: ensuring your butter is at room temperature for proper creaming, carefully measuring your flour using the spoon-and-level method to avoid over-measuring, and most importantly, not overbaking. Bake until the edges are just barely set and the centers still look slightly soft. They will continue to set as they cool on the baking sheet. Also, chilling the dough is vital for preventing excessive spreading and maintaining a tender crumb.
Yes, absolutely! Making the cookie dough ahead of time is one of the best ways to streamline your baking process. The dough can be prepared, wrapped tightly, and refrigerated for up to 2-3 days. This actually helps the flavors develop further and ensures an even better texture. You can also freeze the dough for longer storage; see our detailed storage tips below for more information.
Unleash Your Creativity: Make It Your Own!
One of the true joys of baking these Lofthouse-style cookies at home is the incredible versatility they offer. They are a perfect foundation for all sorts of flavor experiments and decorative flair. Here are some fantastic ways to customize your batch:
- Experiment with Flavorings: Beyond classic vanilla, the possibilities are endless! Infuse both the cookie dough and the frosting with other delightful extracts like refreshing peppermint extract for a holiday treat, rich almond extract for a nutty depth, bright lemon extract for a zesty zing, or even a touch of orange blossom water for an aromatic twist. A pinch of ground cardamom or nutmeg in the dough can also add a subtle warmth.
- Tint the Frosting for Any Occasion: Let your imagination run wild with food coloring! Tint your creamy frosting any hue of the rainbow to match a specific holiday, birthday party theme, or simply your mood. Pastel pink for spring, vibrant blue for a baby shower, or a mix of primary colors for a kids’ party – the visual impact is always a winner. Pair your chosen color with complementary sprinkles for a truly festive look.
- Indulge in Chocolate Lofthouse Cookies: For the chocolate lovers, this variation is a must-try. Simply substitute ¼ cup of the all-purpose flour with ¼ cup of unsweetened cocoa powder in the cookie dough. For the frosting, add a tablespoon or two of cocoa powder until it reaches your desired chocolate intensity. Decorate these rich, dark cookies with chocolate jimmies, white chocolate shavings, or even a drizzle of ganache for an extra decadent touch. If you love the chocolate-peppermint combo, try our peppermint chocolate sugar cookies!
- Opt for Convenient Cookie Bars: If you’re short on time or prefer a less fussy baking project, transform this recipe into delicious cookie bars. Our sugar cookie bars offer a similar tender, cake-like texture and can be topped with our vanilla buttercream frosting. The best part? The dough for cookie bars often doesn’t require chilling, making it a quicker option for when a cookie craving strikes!
Storage & Make-Ahead Tips for Lofthouse Cookies
These homemade Lofthouse cookies are so delicious, they rarely last long! However, proper storage and make-ahead techniques can ensure you enjoy them at their best or have them ready for future cravings or events.
Storing Baked Cookies: Once your cookies have completely cooled and the frosting has had a chance to harden (this usually takes an hour or two at room temperature), store them in an airtight container. They will remain wonderfully soft and fresh for up to a week at room temperature. To prevent the cookies from sticking together or the frosting from smudging, place a sheet of wax paper or parchment paper between layers.
Freezing Baked Cookies: If you’re planning ahead or simply want to have a stash of these delightful treats, baked and frosted cookies freeze beautifully. Once the frosting is completely set, arrange the cookies in a single layer on a baking sheet and freeze until solid (about 1-2 hours). Then, transfer the frozen cookies to an airtight freezer-safe container, placing parchment paper between layers. They can be frozen for up to a month. Thaw them at room temperature for several hours or overnight before serving.
Freezing Cookie Dough: For the freshest possible cookies on demand, freezing the dough is an excellent option. Cookie dough can be stored in the freezer for up to 2 months. You have a couple of methods:
- As a Log: Shape the dough into a log, wrap it tightly in plastic wrap, then again in aluminum foil. Label with the date.
- As Individual Balls: Roll the cookie dough into balls (as you would for baking) and arrange them on a baking sheet. Freeze until solid, then transfer the frozen dough balls to a freezer-safe zip-top bag or container. This allows you to bake just a few at a time!
To Bake from Frozen Dough:
- Unshaped Frozen Dough: If you froze the dough as a log, it’s best to thaw it overnight in the refrigerator before shaping and baking as usual.
- Shaped Frozen Dough Balls: You can bake these directly from frozen! Simply place them on your prepared baking sheet and add an extra minute or two to the original baking time. Keep an eye on them for that perfect light golden edge.
Explore More Delicious Cookie Recipes
Perfect M&M Cookies
Classic Snickerdoodle Cookies
Irresistibly Chewy Chocolate Chip Cookies
Joyful Funfetti Sugar Cookies
Homemade Lofthouse Cookies – with Flavor and Frosting Options!
Rachel Gurk
15 mins
14 mins
1 hr
1 hr 29 mins
18 servings

These soft sugar cookies are like the Lofthouse cookies you find in your grocery store but better since they’re homemade! They are easy to customize so make them just the way you like.
Ingredients
Cookies
- ¾ cup unsalted butter, softened
- ¾ cup granulated sugar
- 1 large egg
- 1 egg yolk
- 1 teaspoon pure vanilla extract
- 2 ¼ cups all-purpose flour
- 2 ¼ teaspoons baking powder
- ½ teaspoon salt
Frosting
- 2 ½ cups powdered sugar
- 3 tablespoons unsalted butter, softened
- ½ teaspoon pure vanilla extract
- 3 tablespoons milk
- Food coloring, optional
- Sprinkles, optional
Instructions
- Using a hand mixer or stand mixer, cream together the softened butter and granulated sugar until the mixture is light in color and wonderfully fluffy (about 3-5 minutes). Add the large egg, egg yolk, and pure vanilla extract; mix until all ingredients are well combined and the mixture is creamy and smooth.
- In a separate bowl, whisk together the all-purpose flour, baking powder, and salt. Gradually add these dry ingredients to the wet mixture, mixing on low speed until just combined. Be careful not to overmix the dough.
- Wrap the cookie dough tightly in plastic wrap or place it in a covered bowl. Chill the dough in the refrigerator for at least one hour, or preferably overnight, for best results and easier handling.
- When you are ready to bake, preheat your oven to 350°F (175°C). Prepare your baking sheets by lining them with parchment paper or a silicone baking mat.
- Scoop out about two tablespoons of the chilled dough for each cookie. Roll the dough into a smooth ball. Gently flatten each ball slightly with the palm of your hand and place it on the prepared baking sheet, leaving about 2-3 inches between each cookie to allow for spreading. (Approximately 9 cookies per standard sheet).
- Bake for 12 to 14 minutes, or until the edges are just starting to show a very faint golden brown. The centers should still look pale and soft. Remove from the oven and let the cookies cool on the baking sheet for 2 to 3 minutes before carefully transferring them to a wire rack to cool completely.
- While the cookies cool, prepare the frosting. In a medium-sized bowl, using a hand mixer or stand mixer, whip together the softened butter, powdered sugar, pure vanilla extract, and milk until light and fluffy. If the frosting seems too thick, add more milk (1 teaspoon at a time). If it’s too thin, gradually add more powdered sugar.
- Once the cookies are completely cool, generously spread the frosting over each cookie. Immediately add your desired sprinkles to each cookie after frosting it, as the frosting hardens quickly. Allow the frosting to fully set before storing the cookies in an airtight container. This recipe yields 18 to 20 large cookies, depending on their size.
Notes
- For delicious peppermint cookies, add ½ teaspoon of peppermint extract to the cookie dough and substitute ½ teaspoon of peppermint extract for the vanilla extract in the frosting.
- To make warm cinnamon cookies, add 1 teaspoon of ground cinnamon to the dry ingredients in the cookie batter and ¼ teaspoon of cinnamon to the frosting.
- Create tempting chocolate Lofthouse cookies by substituting ¼ cup of unsweetened cocoa powder for ¼ cup of the all-purpose flour in the dough. Add cocoa powder to the frosting as well for a consistent chocolate flavor. Decorate with chocolate jimmies or mini chocolate chips if desired.
- This recipe makes a very generous amount of frosting, so feel free to pile it high on your cookies for that authentic bakery-style look and taste!
Nutrition Information (Approximate)
Serving: 1 cookie,
Calories: 248 kcal,
Carbohydrates: 37g,
Protein: 2g,
Fat: 10g,
Saturated Fat: 6g,
Polyunsaturated Fat: 1g,
Monounsaturated Fat: 3g,
Trans Fat: 1g,
Cholesterol: 46mg,
Sodium: 125mg,
Potassium: 28mg,
Fiber: 1g,
Sugar: 25g,
Vitamin A: 326 IU,
Calcium: 40mg,
Iron: 1mg
Nutrition information is automatically calculated and should only be used as an approximation. It may vary based on specific ingredients and preparation methods.