
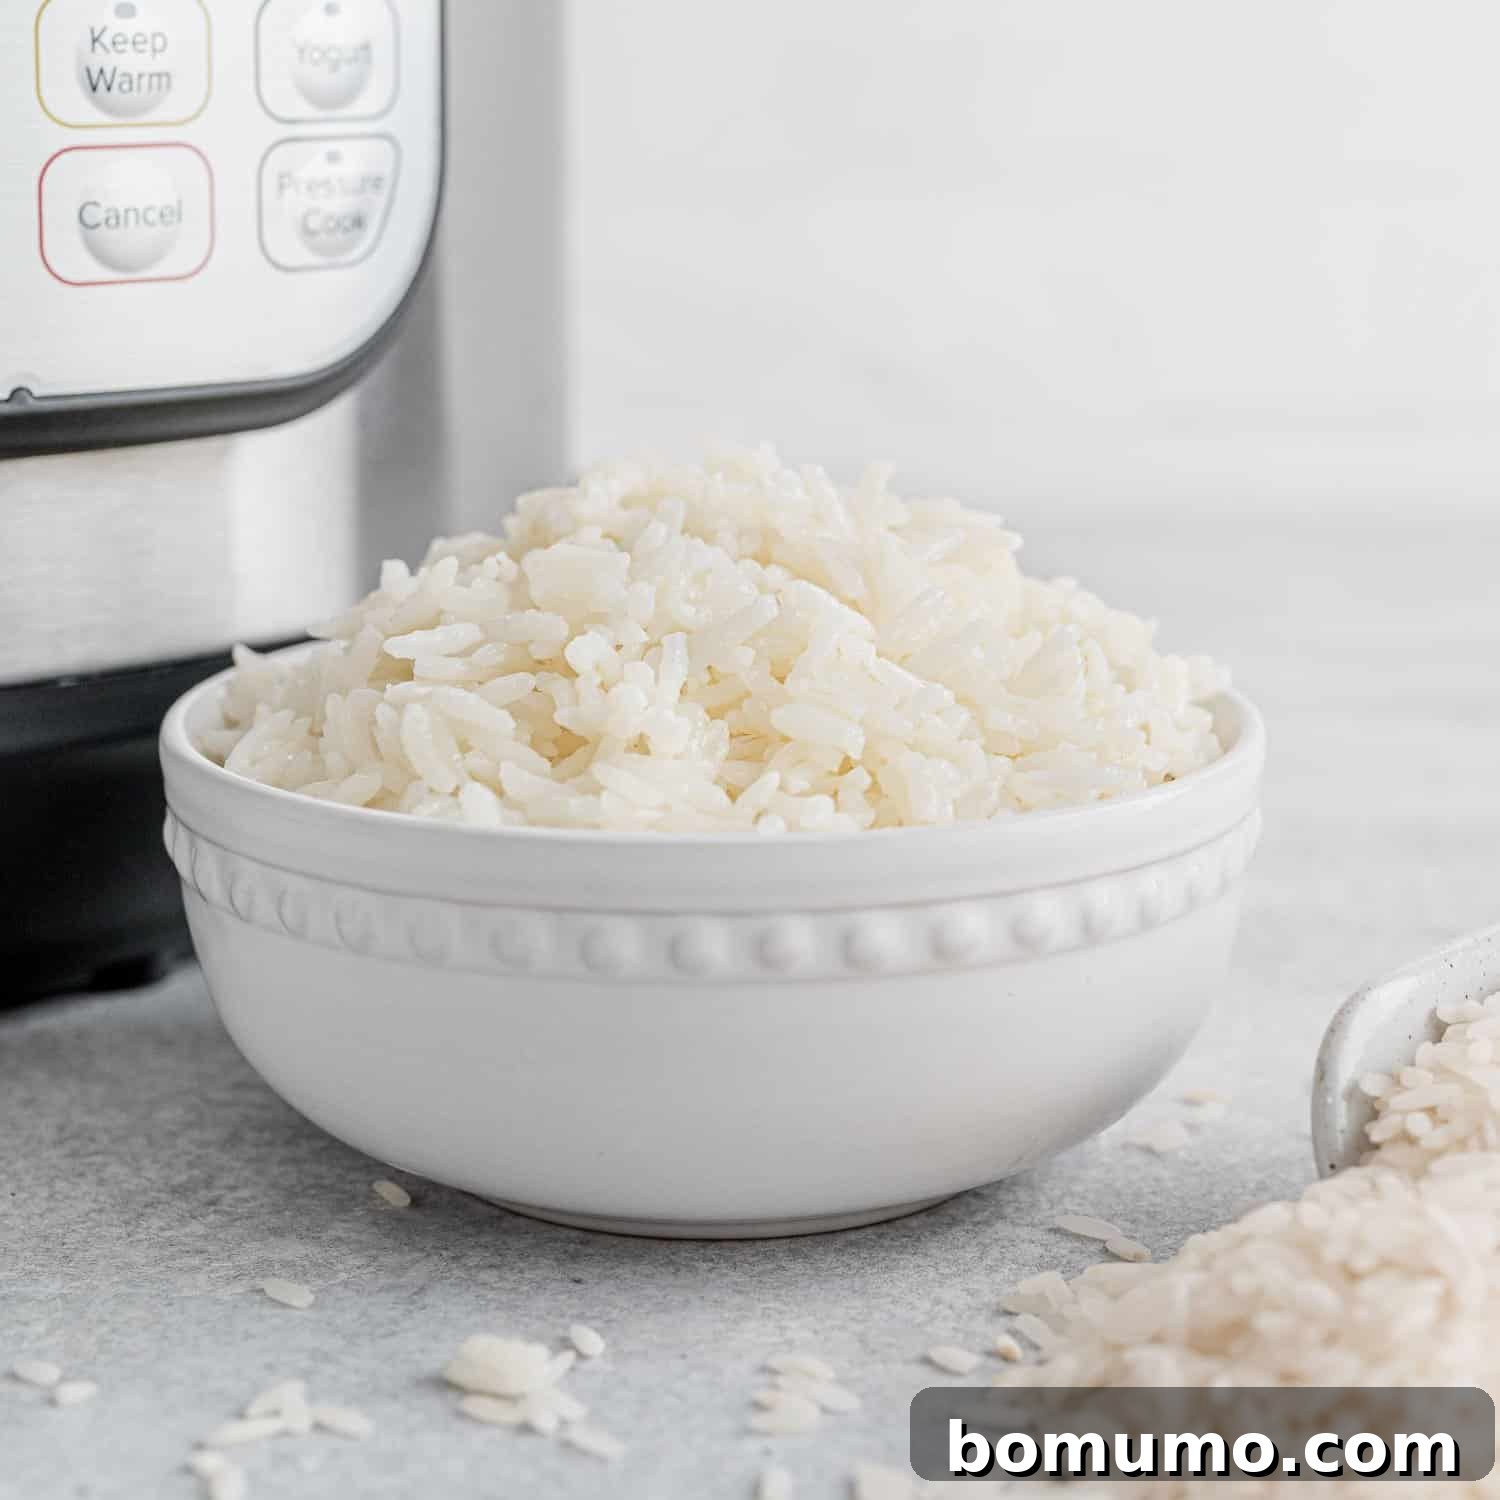
Effortless Instant Pot White Rice: Your Dinner Game Changer
Why You’ll Adore This Recipe: Transform your dinner routine with incredibly fluffy and perfectly cooked Instant Pot white rice. This method is a true game-changer, offering a completely hands-off approach that guarantees delicious results every single time. Say goodbye to sticky, mushy, or undercooked rice – this foolproof technique makes cooking rice a joy, not a chore.
Total Time from Start to Finish: Approximately 19 minutes (including pressure building and natural release)
Essential Equipment: Your trusty pressure cooker (Instant Pot)
Yield: Serves 3 individuals generously, but it’s remarkably simple to double or even triple the recipe to feed a crowd.
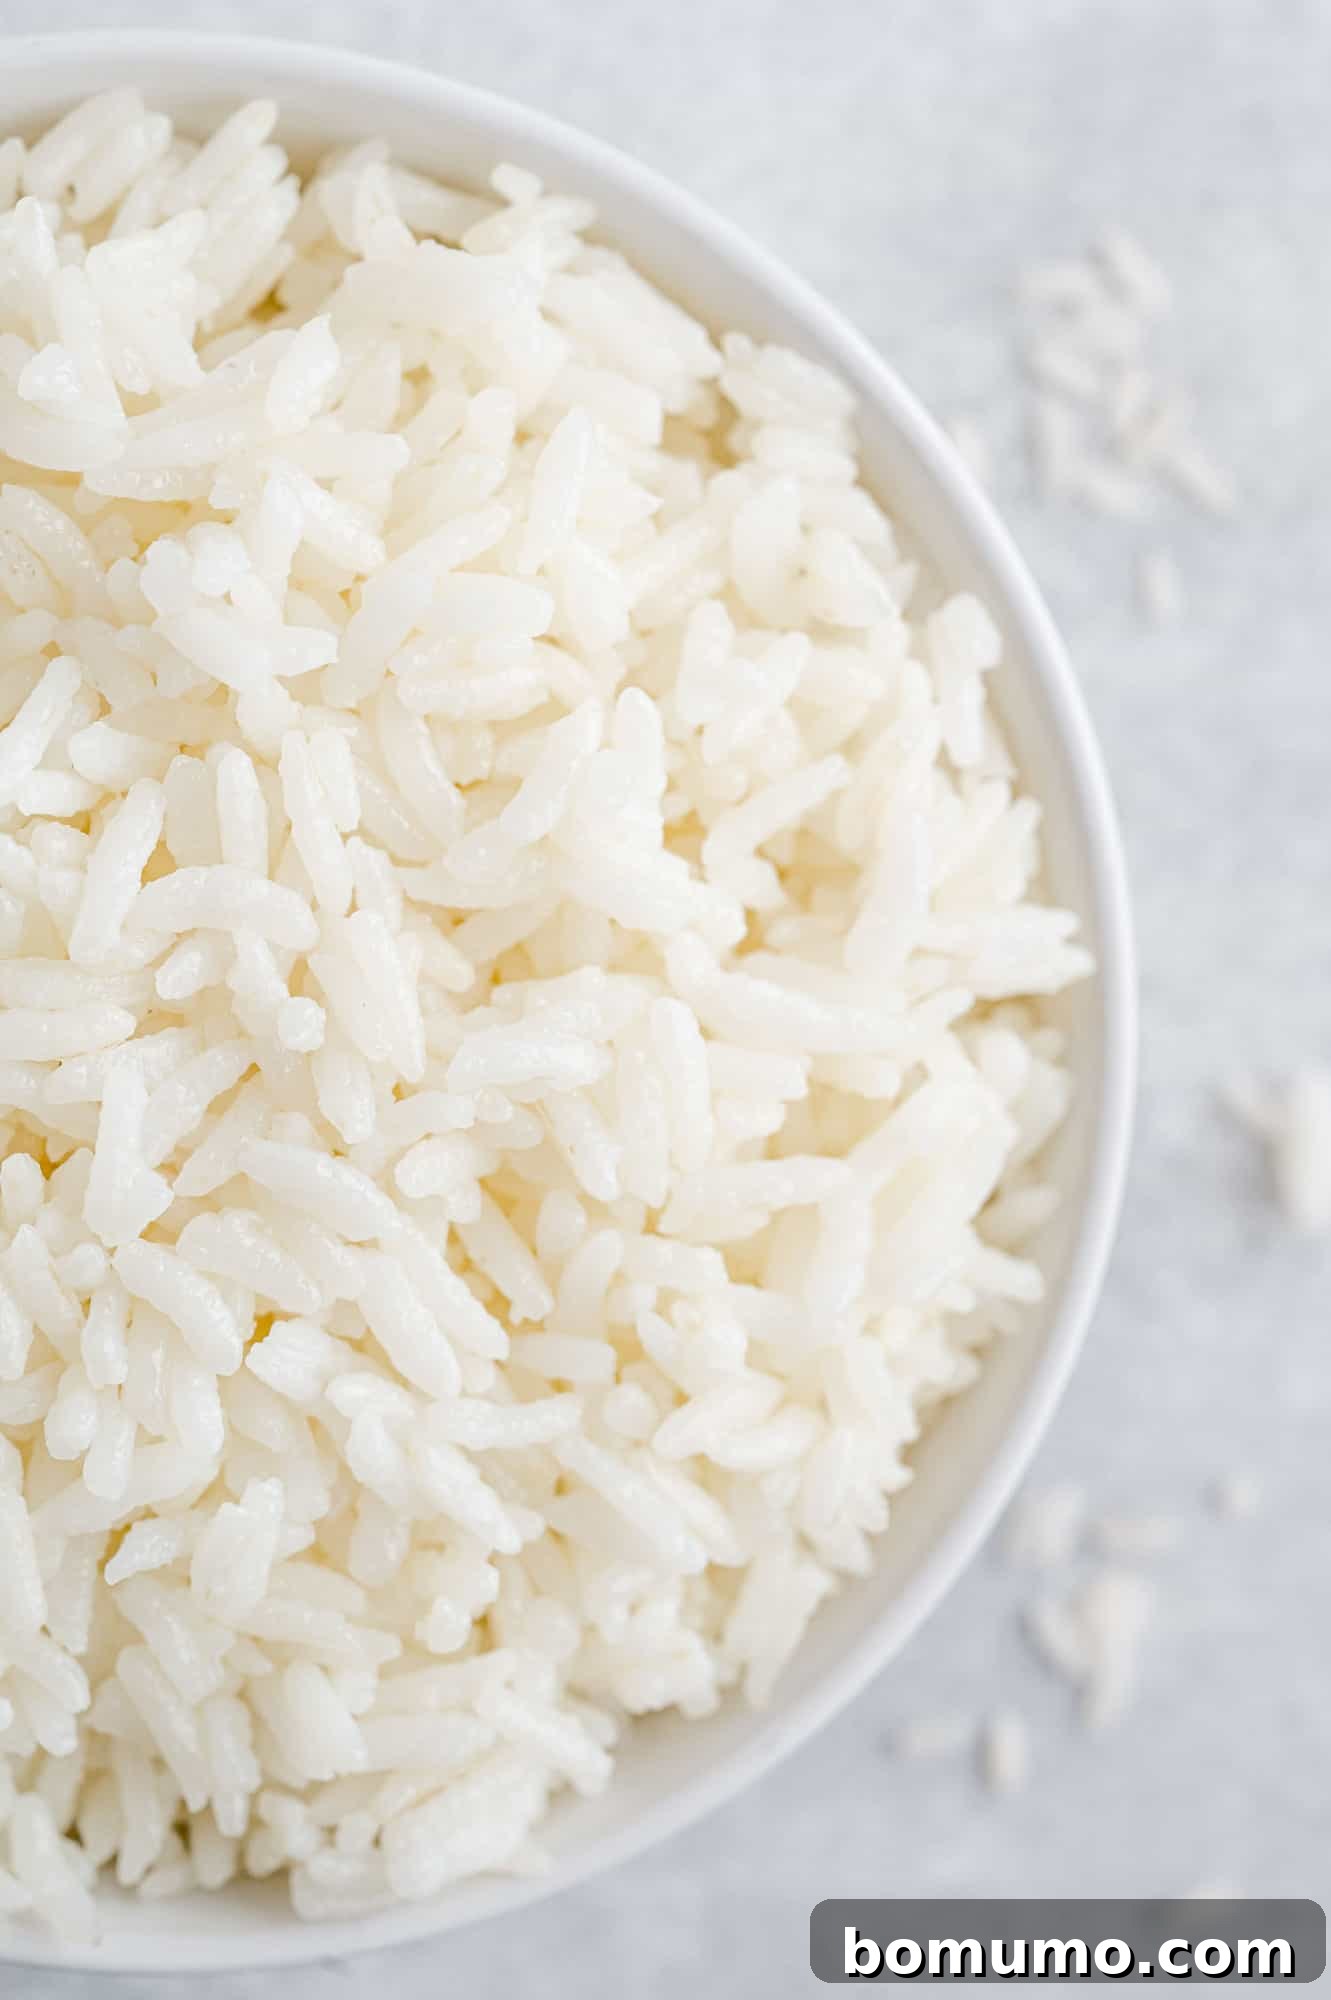
For many households, rice is more than just a side dish; it’s a staple, a comfort food, and the foundation of countless cuisines worldwide. It seems everyone has their go-to method for preparing this versatile grain. From traditional rice cookers that have graced kitchen counters for decades to simple saucepans on the stove, or even covered casseroles baking in the oven, the approaches are as varied as the thousands of rice varieties themselves. Essentially, whether steamed or boiled, the goal remains the same: perfectly cooked, tender grains that complement any meal.
While convenient options like parboiled “Minute Rice” or ready-to-heat packets offer quick fixes, they often fall short in flavor and texture compared to freshly cooked rice. If you’re seeking a superior solution that combines convenience with exceptional quality, look no further than your Instant Pot. This revolutionary kitchen appliance simplifies the process of cooking rice, delivering consistent, delectable results with minimal effort. Imagine pressing a few buttons and walking away, knowing that fluffy, restaurant-quality rice will be waiting for you, perfectly timed for your meal. It’s not only more delicious but also significantly more economical than relying on pre-packaged alternatives. Trust us, mastering Instant Pot white rice is within everyone’s reach – it’s truly that easy!
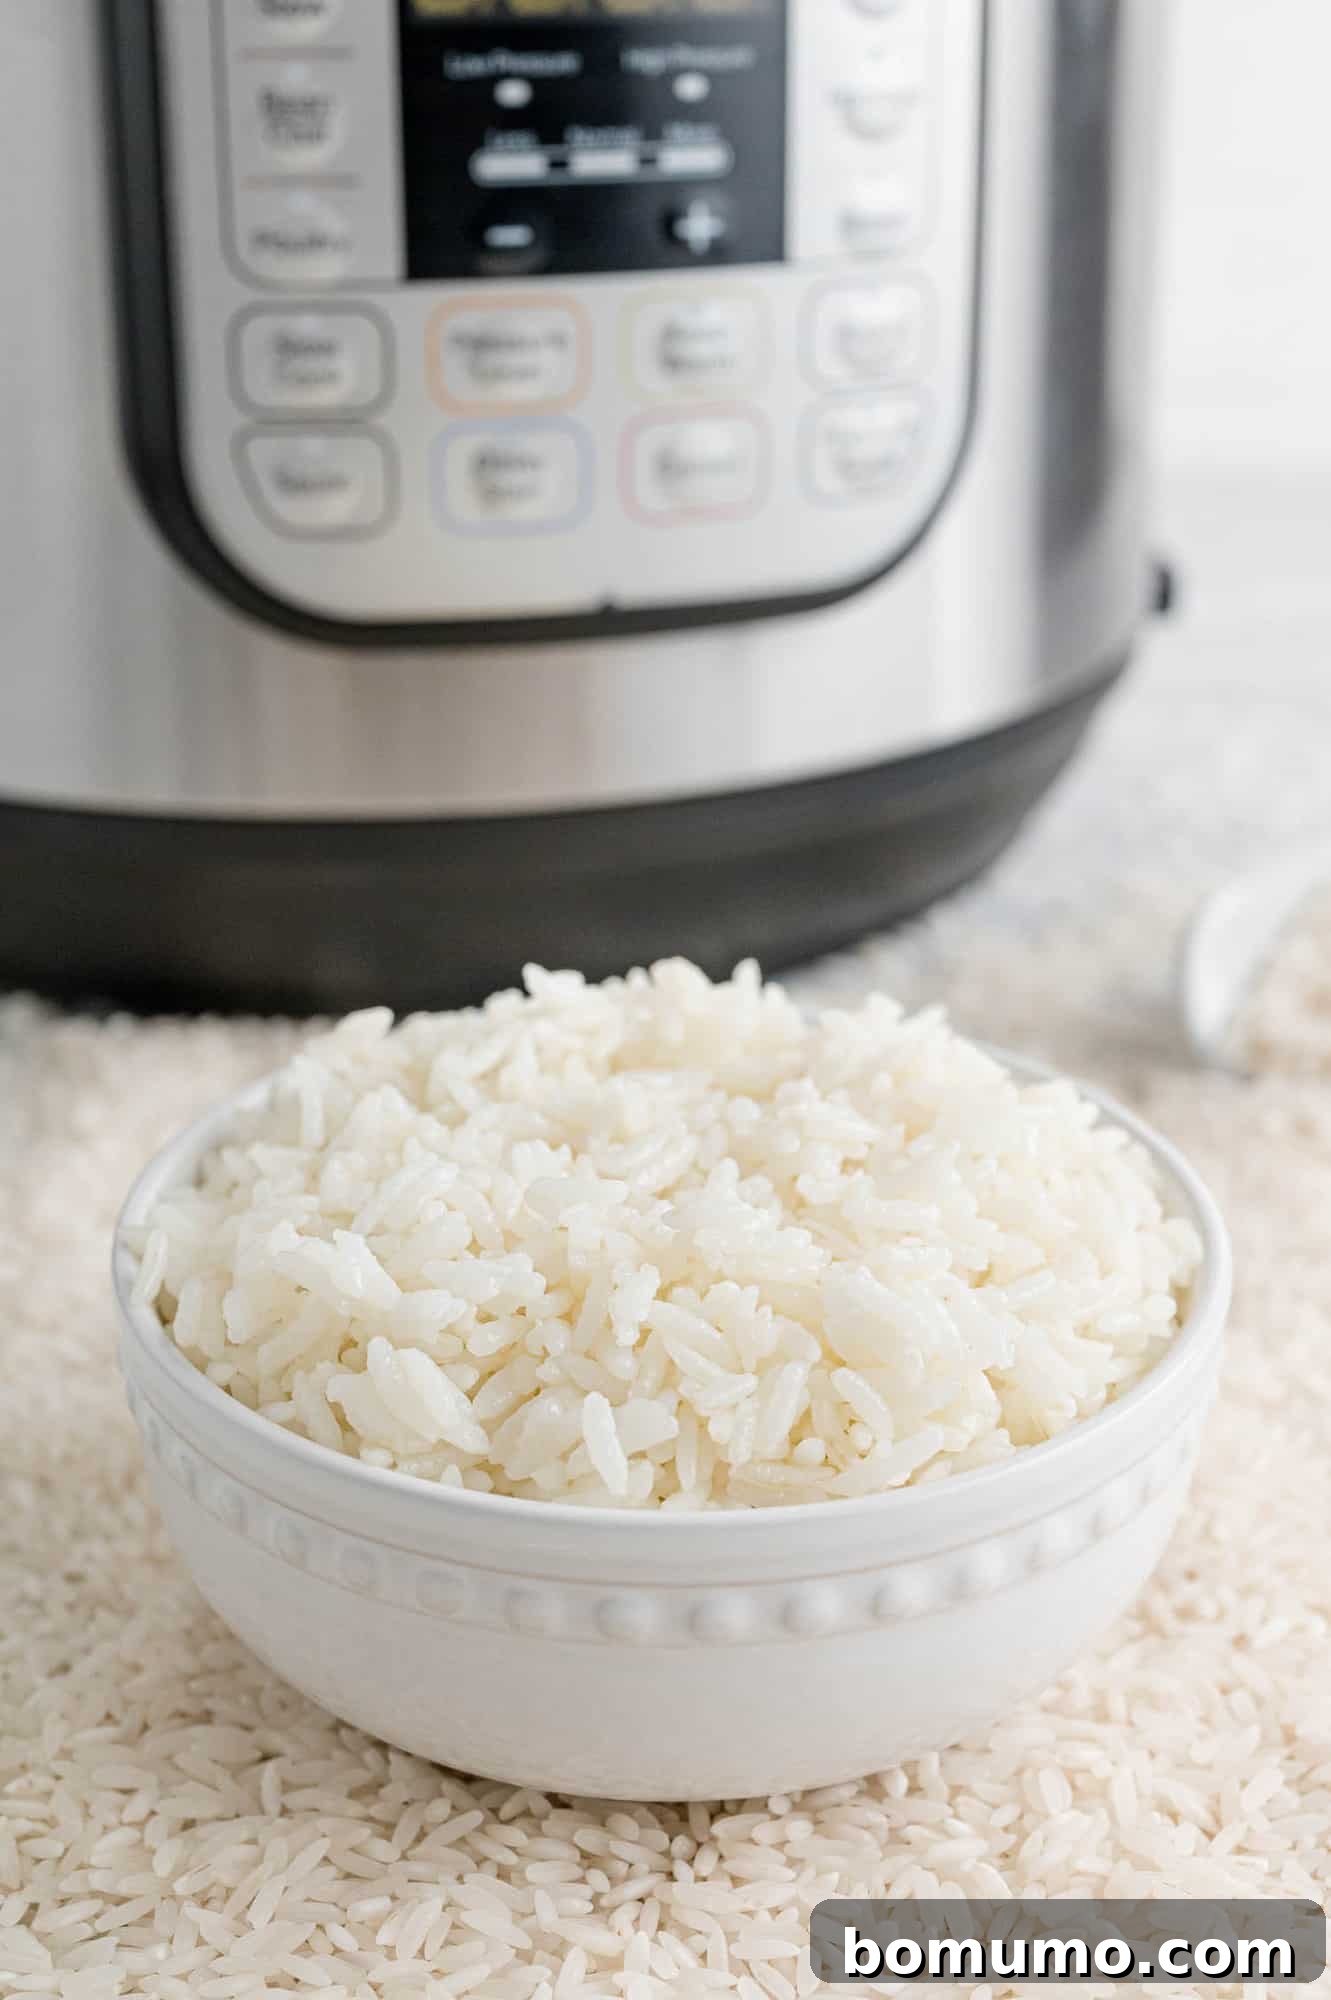
Beyond its culinary versatility, white rice offers incredible practicality in terms of storage. Uncooked long-grain white rice can comfortably reside in your pantry for an impressive four to five years without losing quality, making it an ideal pantry staple for emergency preparedness or simply ensuring you always have a quick meal base on hand. Savvy shoppers often take advantage of bulk deals, purchasing ten-pound bags, knowing that this investment will last. For even longer preservation, freezing uncooked rice extends its shelf life indefinitely, allowing you to stock up without worry. This remarkable longevity makes rice a truly smart and essential addition to any kitchen.
A Super Simplified Rice Primer: Understanding Your Grains
Navigating the world of rice can sometimes feel overwhelming, with thousands of varieties boasting unique characteristics and uses. To help demystify this global grain, here’s a concise guide to some of the most common types you’ll encounter:
- Brown Rice: This whole grain rice retains its bran and germ layers, which are typically removed in white rice processing. As a result, brown rice is significantly more nutritious, rich in fiber, vitamins, and minerals. It has a chewier texture and a distinct, nutty flavor. Due to its intact layers, brown rice requires a longer cooking time and a different water ratio compared to white rice, but it’s a fantastic healthy alternative.
- Long Grain White Rice: This category encompasses popular varieties like Basmati and Jasmine rice. Known for its slender grains that remain separate and fluffy when cooked, long-grain white rice results in a lighter, drier texture. Its non-sticky nature makes it perfect for dishes where distinct grains are desired, such as pilafs, stir-fries, or as a simple, elegant side dish to absorb flavorful sauces. Basmati offers a delicate, nutty aroma, while Jasmine rice boasts a slightly sweet, floral fragrance.
- Medium Grain Rice: Varieties like Arborio, famous for risotto, fall into this category. Medium-grain rice has a shorter, wider kernel than long-grain and cooks up moist and tender, often with a slightly creamy texture due to its moderate starch content. While not overly sticky, it absorbs liquids beautifully, making it ideal for dishes that require a luscious, integrated consistency, like paella, rice pudding, or the aforementioned creamy risotto.
- Short Grain Rice: With its plump, almost round grains, short-grain rice is characterized by its high starch content, which makes it exceptionally sticky when cooked. This stickiness is highly prized in certain culinary applications, such as sushi, where the grains need to bind together firmly. It’s also the rice of choice for many desserts, like traditional rice pudding, where its creamy, cohesive texture is a key component.
Essential Ingredient Notes for Perfect Instant Pot White Rice
Achieving perfectly cooked rice with a delightful flavor profile requires just a few simple, high-quality ingredients. Here’s a closer look at what you’ll need and why each component is important:
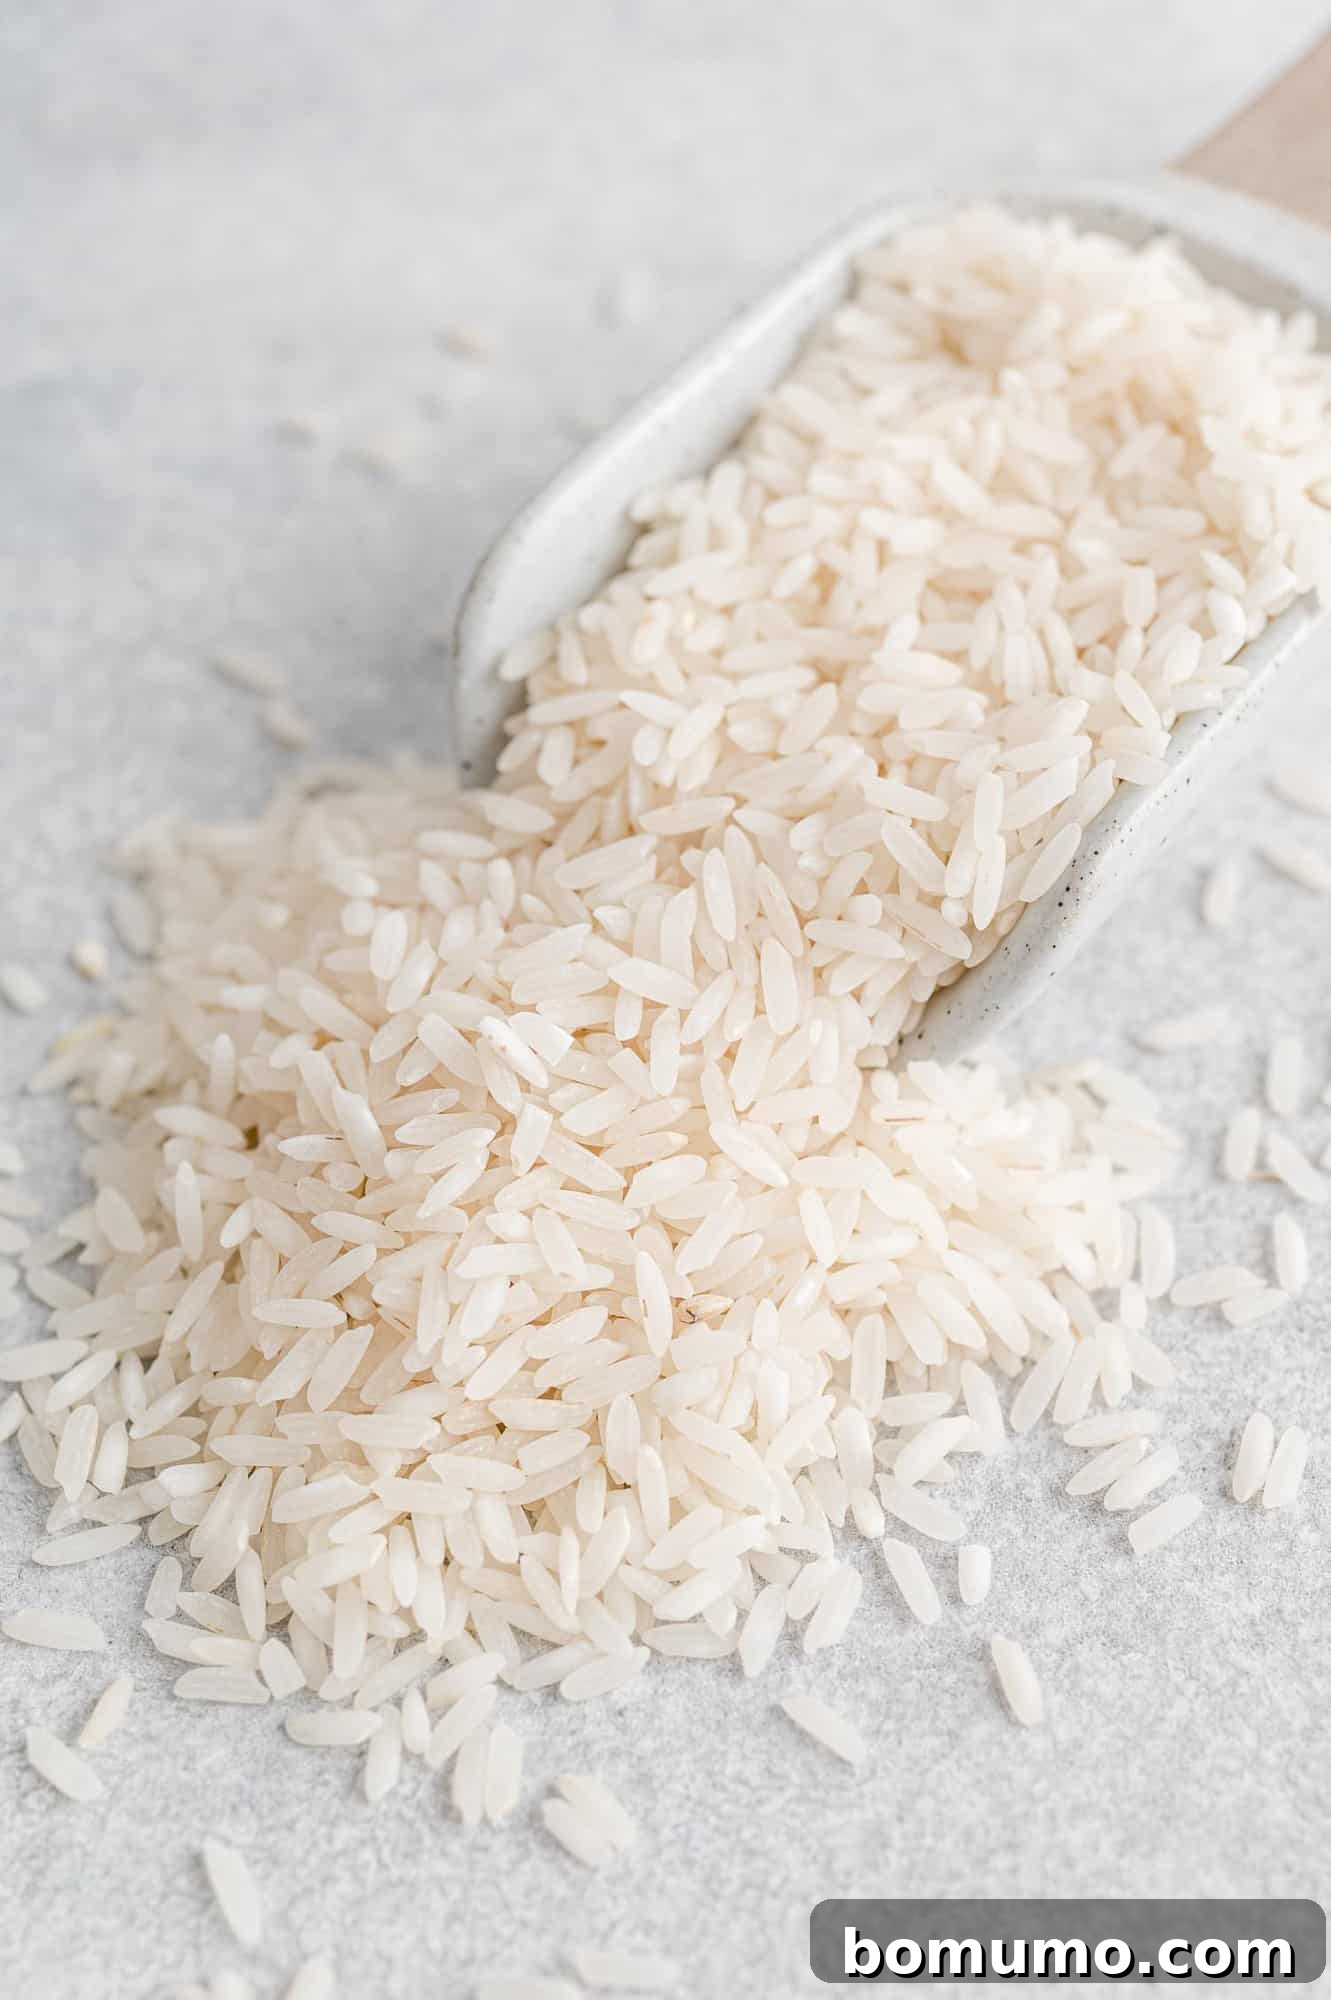
- Long Grain White Rice: The star of our recipe! Ensure you select long-grain white rice, which is widely available in any supermarket. Its distinct elongated shape and lower starch content (compared to medium or short-grain varieties) are crucial for achieving the desired fluffy, separate grains that this recipe promises. While Basmati or Jasmine rice can also be used, general “long grain white rice” is perfectly suitable and budget-friendly.
- Oil or Butter: A small amount of fat, whether it’s olive oil, vegetable oil, or butter, plays a significant role in the texture and flavor of your cooked rice. It helps to lightly coat each grain, preventing them from sticking together excessively and contributing to that coveted fluffy texture. Additionally, oil or butter infuses a subtle richness and depth of flavor. We often opt for olive oil for its clean taste or butter for a classic, comforting note.
- Salt: This often-overlooked ingredient is absolutely vital. Rice cooked without salt can taste remarkably bland, regardless of how perfectly it’s prepared. Salt enhances the natural flavors of the rice and makes it a more enjoyable accompaniment to your main dishes. We highly recommend using kosher salt for its larger crystals and cleaner taste, which also makes it easier to measure consistently without over-salting.
- Water: The most crucial component for cooking rice. The precise ratio of water to rice is fundamental in pressure cooking. For long-grain white rice in the Instant Pot, a 1:1 ratio is generally ideal, ensuring each grain absorbs just enough moisture to become tender without becoming mushy.
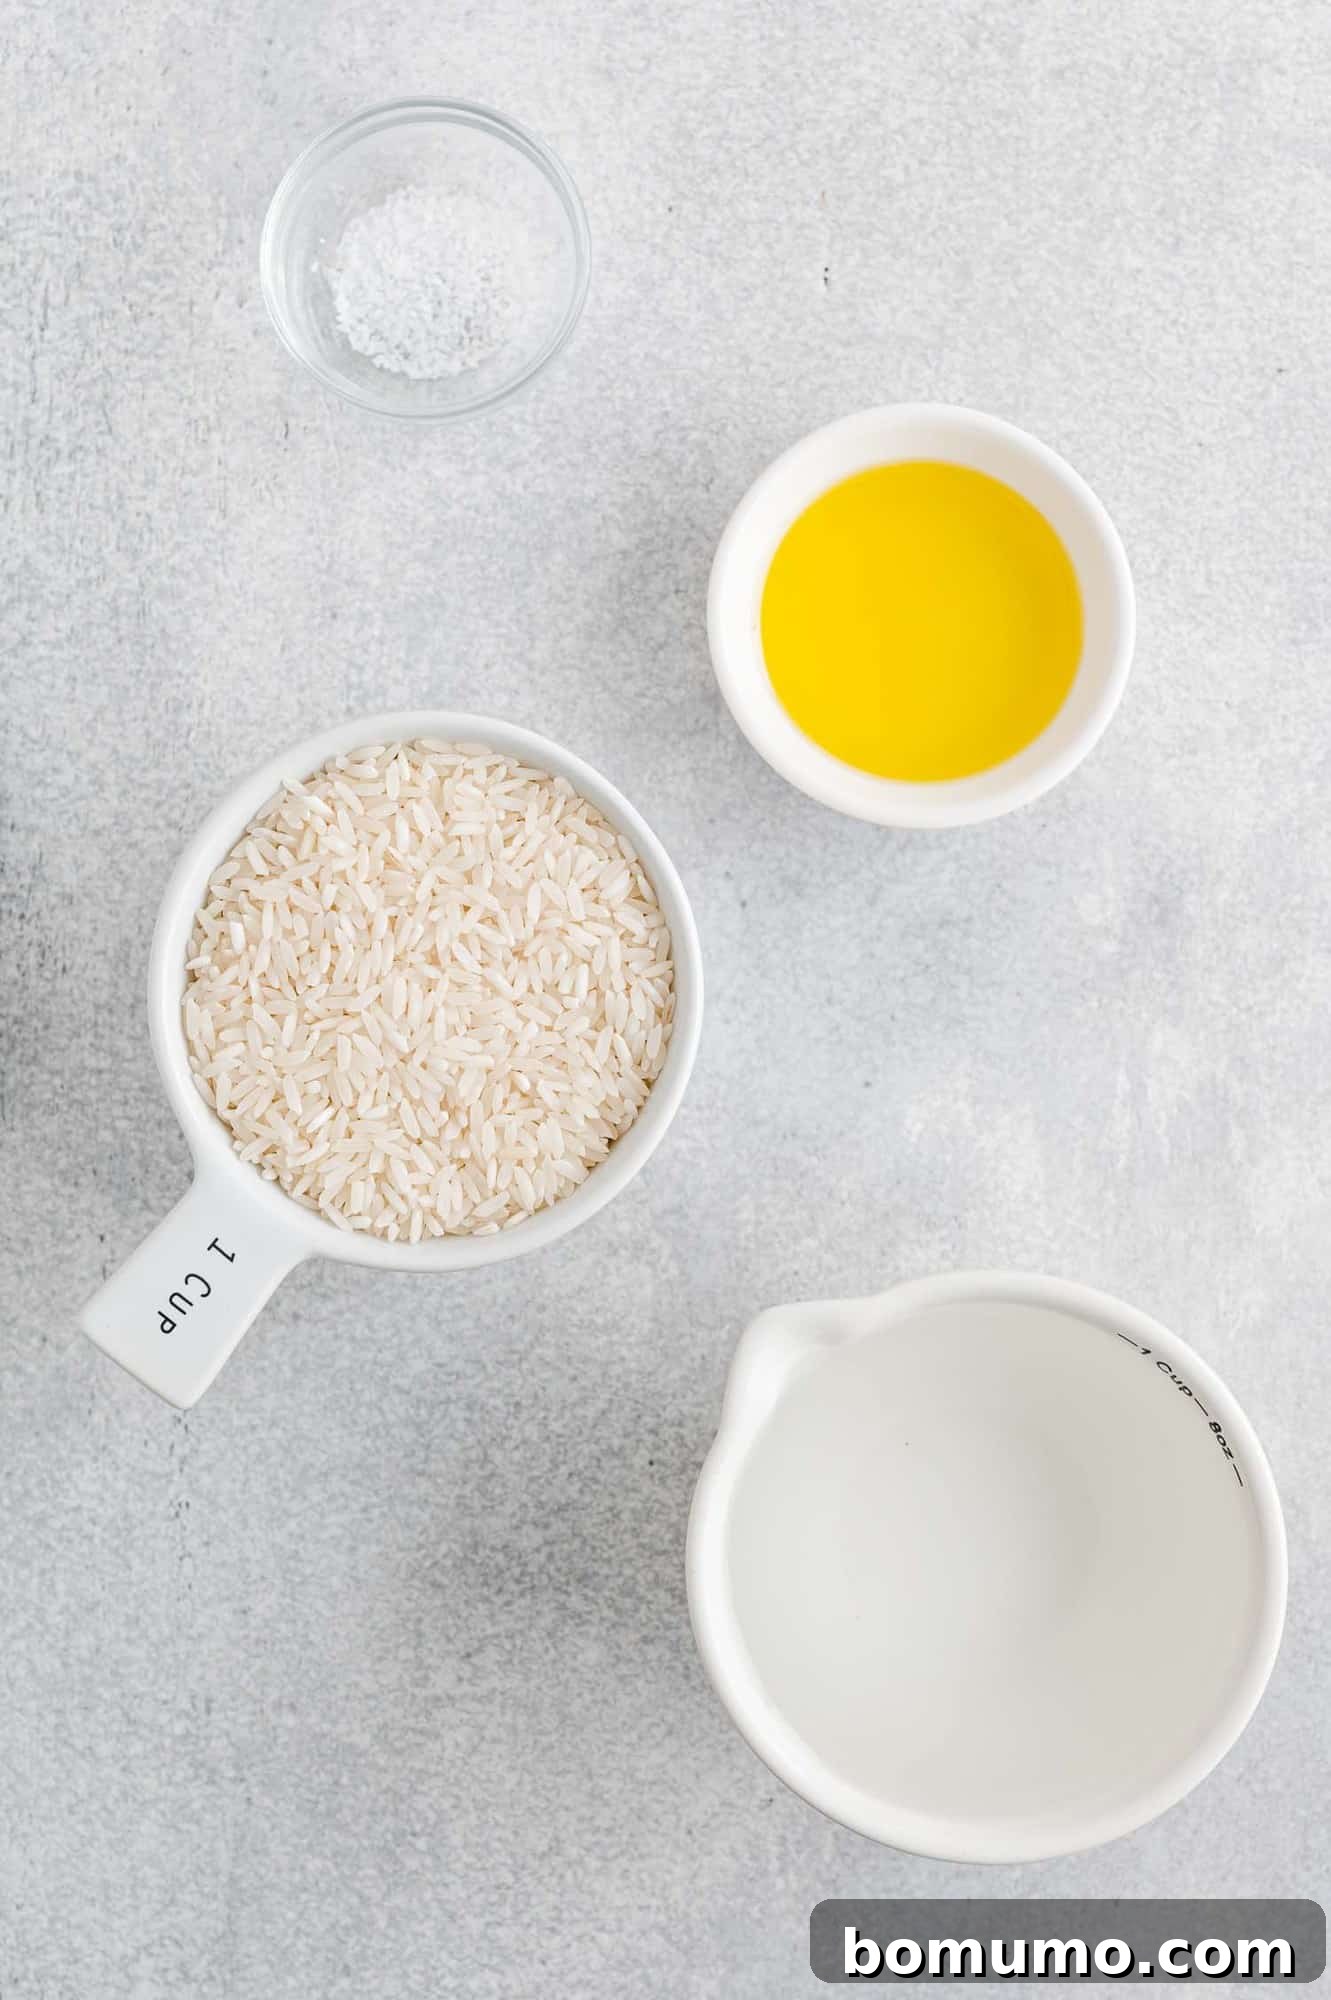
Step-by-Step Guide: How To Make Fluffy White Rice in an Instant Pot
Cooking white rice in your Instant Pot is a straightforward process that yields consistent, perfectly fluffy grains every time. Follow these simple steps for a truly foolproof experience:
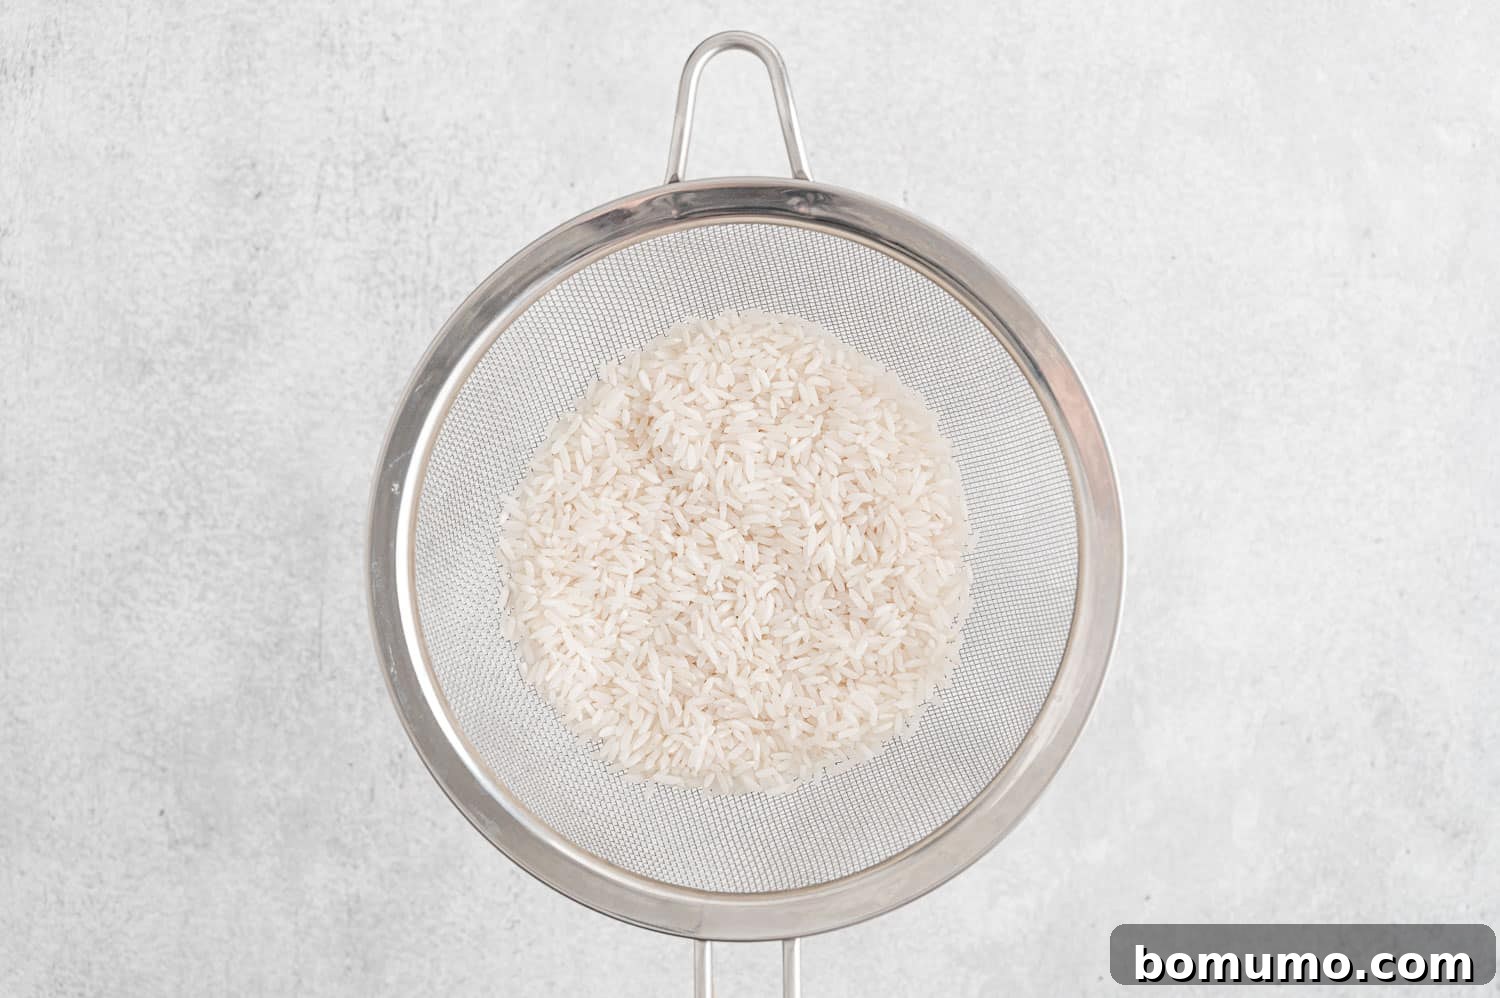
1. Rinse the Rice Thoroughly: This initial step is non-negotiable for achieving fluffy, separate grains. Place your long-grain white rice in a fine-mesh strainer and rinse it under cold running water. Continue rinsing, gently tossing the rice, until the water running through the strainer appears completely clear. This process removes excess starch from the surface of the rice grains, which is the primary culprit behind sticky, clumpy rice and potential foaming during cooking. Proper rinsing ensures your rice comes out light, airy, and beautifully separate.
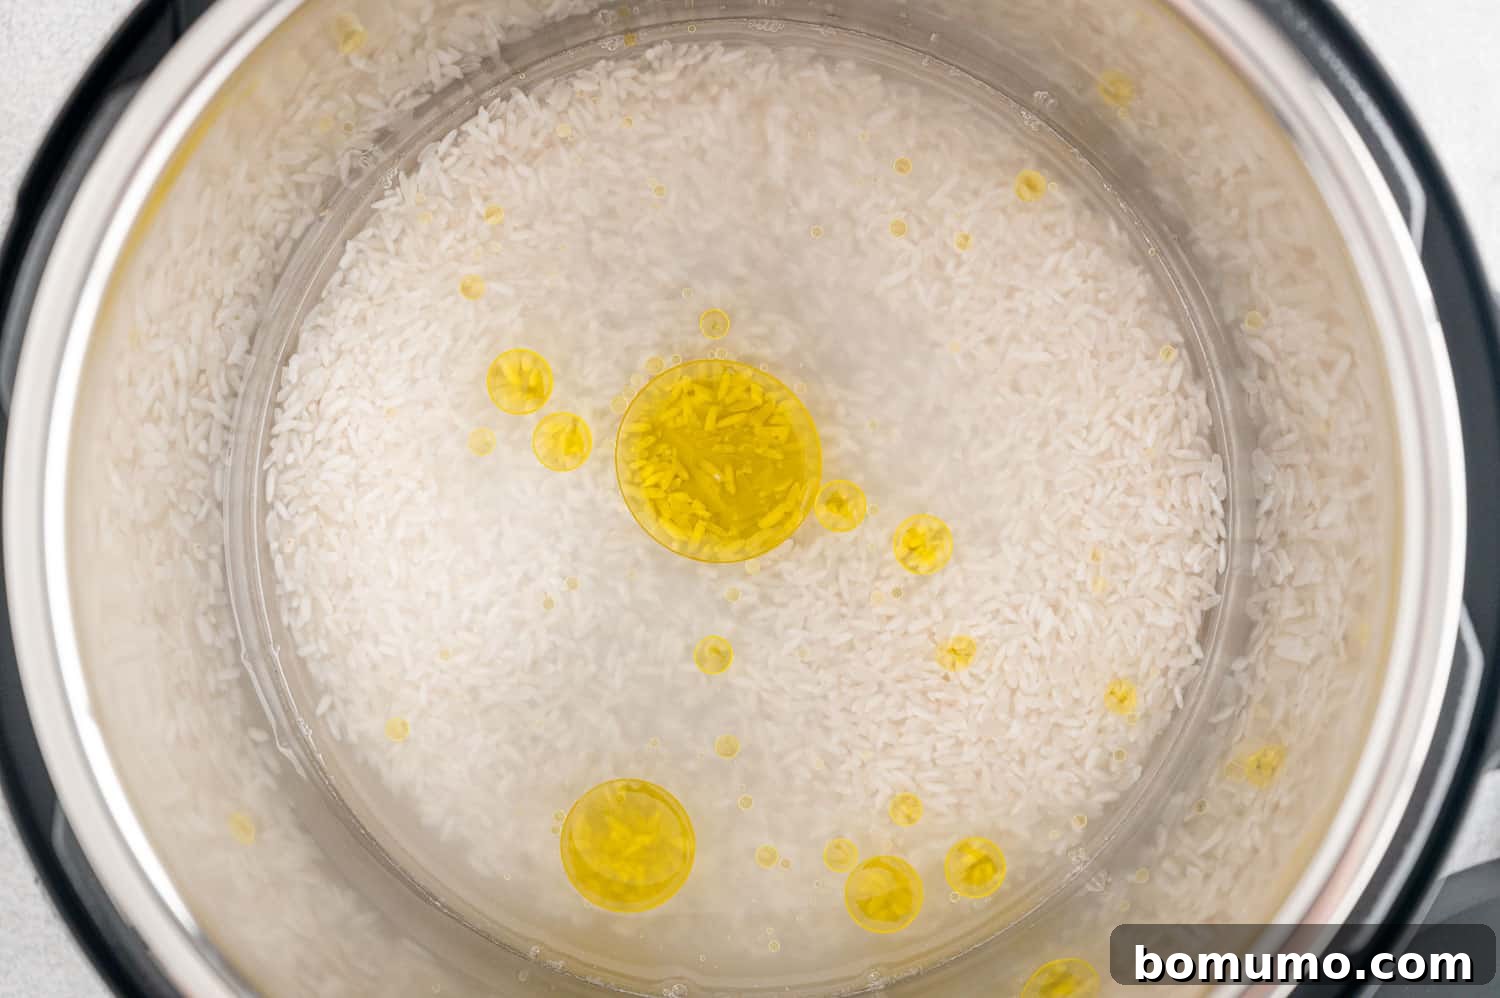
2. Combine Ingredients in the Instant Pot: Transfer the well-rinsed rice directly into the inner pot of your Instant Pot. Add the measured amount of water (remembering our 1:1 ratio), along with your chosen fat (olive oil or butter, if desired), and the kosher salt. Use a spoon to gently push down any stray grains of rice that might be clinging to the sides of the pot, ensuring they are fully submerged in the liquid. This helps ensure even cooking.
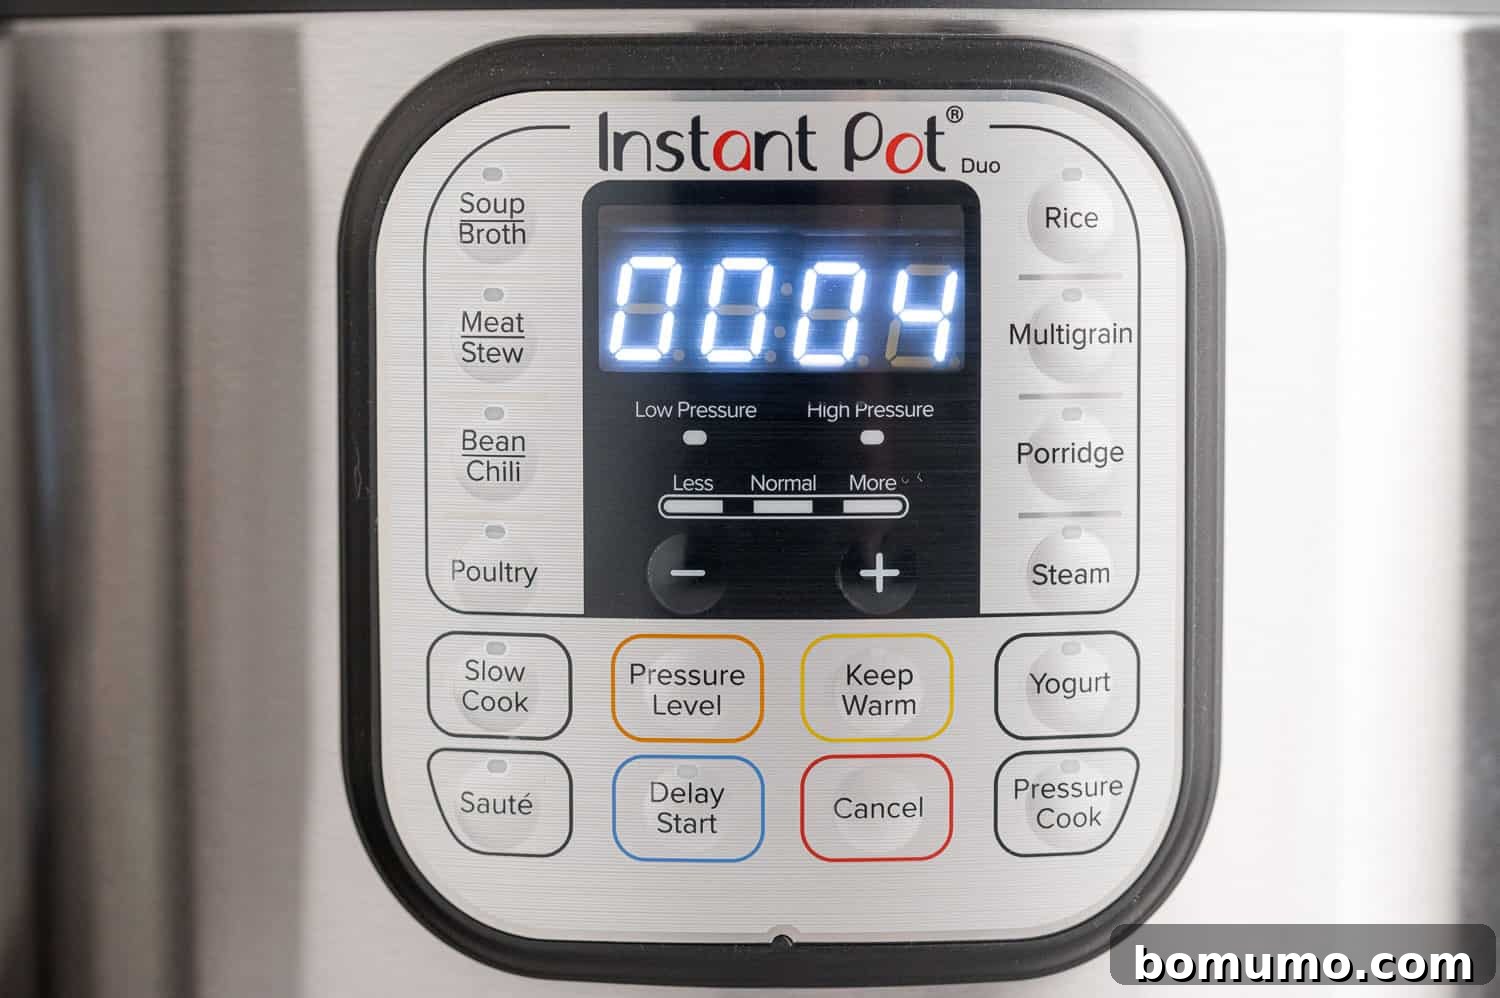
3. Set the Instant Pot for Pressure Cooking: Secure the lid onto your Instant Pot and ensure the steam release valve is set to the “Sealing” position. If you possess a newer Instant Pot model, you might find a convenient pre-programmed “Rice” setting. This setting typically operates on low pressure and may offer modes like “Less,” “Normal,” or “More” to customize the firmness of your rice. While these settings can be useful, many, including us, prefer the precision and control offered by manual settings to consistently achieve optimal results with white rice.
For those with older models or simply preferring more control, select the “Pressure Cook” (or “Manual,” depending on your model) setting and set the cooking time to 4 minutes on high pressure. It’s important to factor in additional time for the Instant Pot to build up to full pressure before the cooking countdown begins; for a single batch, this usually takes around 5 minutes.
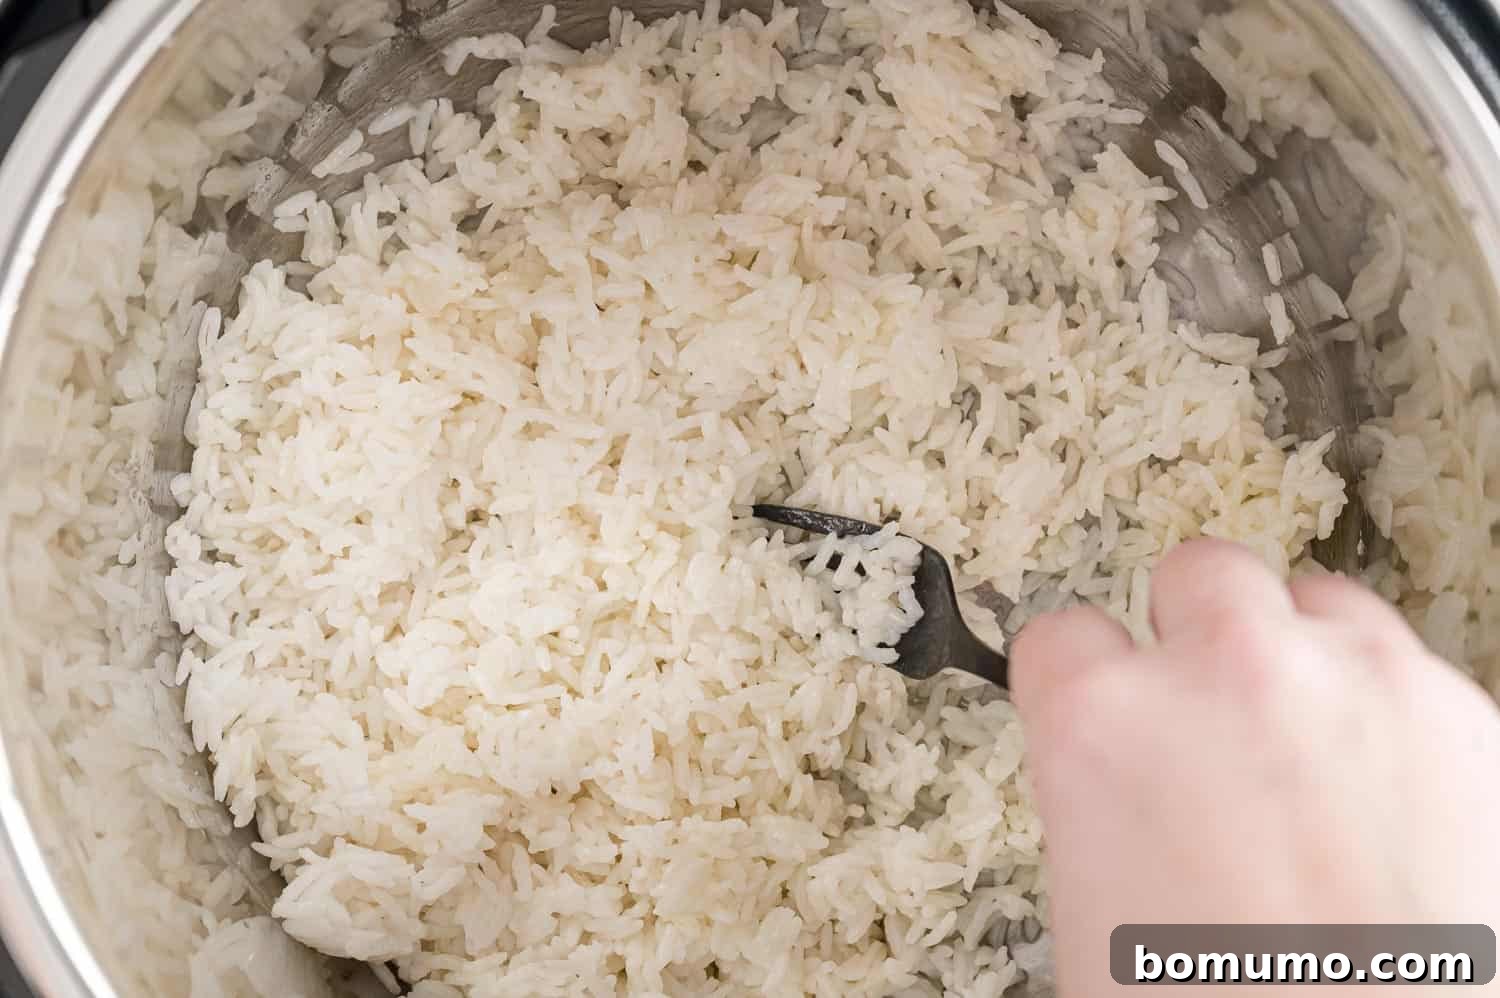
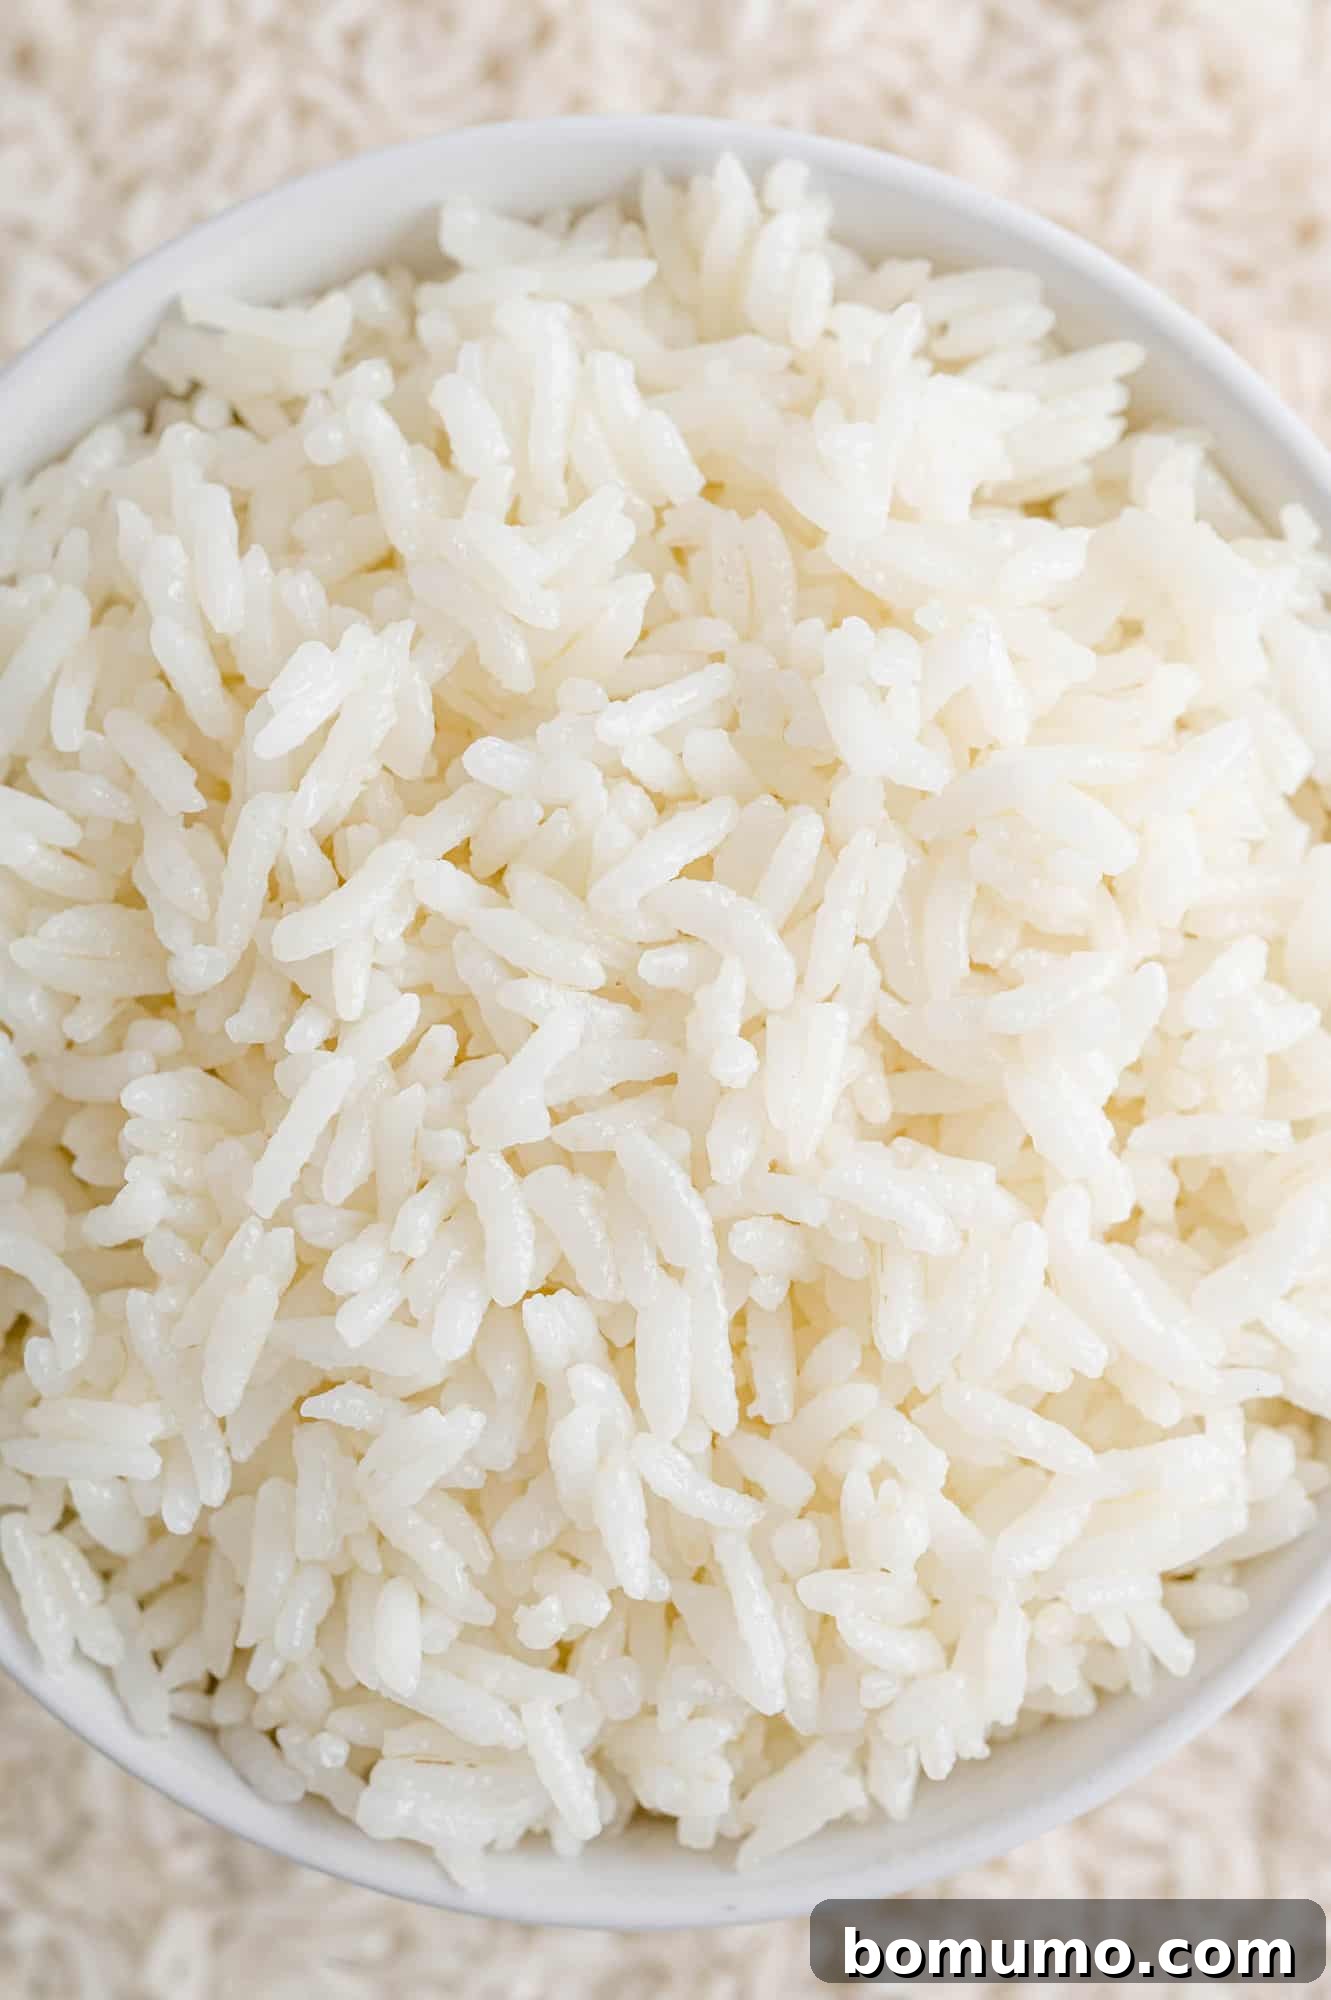
4. Allow Natural Pressure Release and Fluff: Once the 4-minute cooking cycle concludes, the Instant Pot will beep and likely switch to “Keep Warm” mode. Do not immediately release the pressure. Instead, allow for a natural pressure release for 10 minutes. This crucial step allows the rice to continue steaming gently within the pot, fully absorbing any remaining moisture and resulting in a perfectly tender and fluffy texture. After 10 minutes, carefully move the steam release valve to the “Venting” position to quick release any residual pressure. Once the float valve drops, indicating all pressure has been released, open the lid. Use a fork to gently fluff the rice, separating the grains. Serve immediately and enjoy your perfectly cooked Instant Pot white rice!
Expert Tips for Instant Pot White Rice Success
While cooking rice in the Instant Pot is incredibly straightforward, a few key tips can elevate your results from good to absolutely perfect every single time. Master these nuances to ensure fluffy, tender, and delicious rice that never disappoints.
- Rinse, Rinse, Rinse! The Golden Rule: We cannot stress this enough. Rinsing your rice thoroughly is perhaps the most critical step for achieving separate, non-sticky grains. The goal is to wash away the excess surface starch that, if left on, would cause the rice to clump together and become gummy during cooking. Rinsing also plays a vital role in preventing the starchy water from foaming up and potentially sputtering out of the steam release valve, which can be messy and disrupt the pressure cooking process. Keep rinsing until the water runs completely clear – usually about 1-2 minutes of gentle agitation.
- Mastering the Rice-to-Water Ratio: For long-grain white rice in the Instant Pot, the ideal ratio is a simple 1 part rice to 1 part water (1:1). This precise measurement ensures perfect absorption and texture. This recipe is specifically designed for 1 cup of rice with 1 cup of water. The beauty of this method is its scalability. Whether you want to cook 2 cups of rice, 3 cups, or even more, simply maintain this 1:1 proportion (e.g., 2 cups rice to 2 cups water, 3 cups rice to 3 cups water). We’ve successfully doubled, tripled, and even quadrupled this recipe in a standard 6-quart Instant Pot, always with consistent results.
- Consistent Cooking Time, Variable Pressure Build-Up: One of the most common questions is about adjusting cooking time for larger batches. The good news is that the active pressure cooking time for long-grain white rice remains constant at 4 minutes, regardless of the quantity (within your Instant Pot’s capacity). However, remember that the Instant Pot needs time to come up to pressure. More rice and water mean more volume to heat, which naturally extends the time it takes for the appliance to reach its target pressure. For example, 1 cup of rice and water might take about 5 minutes to pressurize, while larger quantities could take 8-10 minutes or even longer. Don’t worry, the Instant Pot will automatically start its 4-minute countdown only once it’s fully pressurized.
- The Importance of Natural Release (Don’t Rush the Steam!): After the 4-minute cooking cycle is complete, resist the urge to immediately perform a quick release. The 10-minute natural pressure release (NPR) is essential. During this period, the rice continues to steam gently within the residual heat and pressure, allowing the moisture to redistribute evenly and for the grains to fully swell and become tender. This steaming phase is critical for achieving that light, fluffy texture. Rushing it can lead to rice that’s slightly undercooked or too firm.
- Preventing the Burn Message: While rare with the 1:1 ratio, a “burn” message can sometimes appear. Ensure your inner pot is clean, and you have enough liquid. If you’re adding mix-ins, ensure they are not dense or at the very bottom, as this can impede liquid circulation.
- Elevation Adjustments: For those living at high altitudes (3,000 feet or more above sea level), cooking times in pressure cookers sometimes need slight adjustments. While this 4-minute cook time works for most, if your rice consistently comes out slightly undercooked, try increasing the pressure cook time by 1-2 minutes.
What to Serve With Your Perfect Instant Pot White Rice
Rice’s incredible versatility makes it a cornerstone of countless culinary traditions across the globe. Once you’ve mastered the art of fluffy Instant Pot white rice, you’ll find endless possibilities for incorporating it into your meals. Here are just a few ideas, spanning a variety of flavors and cuisines, to inspire your next delicious pairing:
- As a Classic Side Dish: Perfect rice elevates any main course. It’s an excellent accompaniment to flavorful proteins like tender Instant Pot Honey Sriracha Chicken, the vibrant Sheet Pan Honey Balsamic Chicken and Vegetables, or the delicate Tarragon Chicken with Vegetables. For a classic takeaway feel, serve it alongside homemade Orange Chicken, rich Bourbon Chicken, or fiery Spicy Garlic Shrimp. The plain rice acts as a beautiful canvas, soaking up all the delicious sauces and flavors.
- Asian Culinary Delights: Rice is absolutely essential to Asian cooking. It forms the perfect base for savory stir-fry dishes such as Sweet Chili Chicken Stir Fry, classic Sweet and Sour Chicken, or this hearty Easy Beef and Vegetable Stir Fry. For seafood lovers, try our popular Shrimp and Vegetable Stir Fry or the delectable Shrimp and Broccoli Stir Fry, renowned for its incredible brown sauce. It’s also the ideal pairing for Honey Walnut Shrimp, ensuring you don’t miss a drop of that luscious sweet sauce. And don’t forget, leftover or pre-cooked rice is the secret to a quick and easy Fried Rice.
- Southwestern and Mexican Inspired Meals: Incorporate your perfectly cooked rice into hearty Southwestern dishes. It’s a fantastic filler for burritos, a delicious component in stuffed peppers, or the foundation for a vibrant Mexican Rice, cooked with flavorful vegetables and Southwest seasoning.
- The Foundation of Nourishing Meal Bowls: Build wholesome and satisfying meal bowls by using rice as your sturdy base. It beautifully anchors options like a savory BBQ Chicken Bowl or an elegant Salmon Bowl. Add your favorite proteins, vegetables, and sauces for a complete and customizable meal.
- Indian and Middle Eastern Cuisine: Rice is indispensable in these rich culinary traditions. Serve it alongside creamy curries, aromatic lentil dishes (dal), or flavorful stews. It’s perfect for soaking up the spices of a Butter Chicken or a Lamb Tagine.
- Mediterranean Delights: Use rice as a base for Greek lemon chicken, or mix it with fresh herbs and pine nuts for a lighter pilaf to accompany grilled fish or kabobs.
Elevate Your Rice: Creative Flavor Enhancements
While plain white rice is a wonderful canvas, it also offers endless opportunities for customization and flavor infusions. Transforming a simple side dish into a culinary highlight is surprisingly easy with these delicious enhancement ideas:
- Infuse with Seasonings or Fresh Herbs: Add depth and aroma to your rice by incorporating your favorite dried seasonings or freshly chopped herbs directly into the Instant Pot with the water. Think a pinch of garlic powder or onion powder for savory meals, dried thyme or rosemary for a Mediterranean flair, or fresh parsley, chives, or dill stirred in after cooking for brightness.
- Richness with Cheese: For a decadent side, sprinkle sharp cheddar, grated Parmesan, or even a creamy goat cheese onto your hot, fluffy rice. The cheese will melt beautifully, adding a creamy texture and savory punch that’s perfect with hearty main courses.
- Boost Nutrition and Flavor with Vegetables: Gently mix in sautéed aromatics like finely diced onions, mushrooms, bell peppers, or even tender spinach and kale after the rice has cooked. This not only adds a nutritious boost but also introduces additional textures and flavors.
- Zesty Cilantro-Lime Rice: Recreate the popular Chipotle classic by stirring in fresh chopped cilantro and a generous squeeze of fresh lime juice after the rice is cooked. This cilantro-lime rice is bright, zesty, and incredibly refreshing, perfect with tacos, burritos, or grilled chicken.
- Sweet & Savory Variations: For a unique and comforting treat, try my grandpa’s favorite: spread warm rice on a plate, melt a pat of butter over it, and sprinkle generously with brown sugar and cinnamon. It’s a surprisingly delicious and nostalgic dessert or breakfast option. Alternatively, transform your plain rice into aromatic Coconut Rice by replacing some of the water with coconut milk. It’s just as easy to make and pairs wonderfully with curries and tropical dishes!
- Savory Broth Boost: Instead of water, use chicken broth, vegetable broth, or even bone broth to cook your rice. This simple swap adds a profound depth of savory flavor without any extra effort.
Meal Prep Made Easy: Make-Ahead & Freezing Cooked Rice
One of the greatest benefits of cooking rice in your Instant Pot is the ease with which you can prepare large batches for future meals. This makes meal prepping incredibly simple and ensures you always have a healthy carb component ready to go.
Freezing Cooked Rice: To effectively freeze cooked rice and maintain its quality, timing is key. As soon as your rice is fluffed and ready, spread it out thinly on a rimmed baking sheet. This allows the rice to cool down rapidly, preventing it from staying in the “danger zone” temperature range where bacteria can multiply. Once completely cooled, scoop the rice into freezer-safe bags (removing as much air as possible) or airtight containers. Label with the date. Cooked rice can be safely frozen for up to two months, offering incredible convenience for busy weeknights.
To Reheat Frozen Rice: When you’re ready to enjoy your frozen rice, transfer the desired amount to a microwave-safe bowl. Use a fork or your hands to gently break up any solidly frozen chunks into smaller, more manageable pieces. Add a tablespoon or two of water per cup of rice, cover the bowl (either with a lid or microwave-safe plastic wrap), and microwave on high for 1-2 minutes, or until heated through. Stir halfway for even reheating. Alternatively, you can steam it in a steamer basket over simmering water for about 5-7 minutes, or gently reheat in a saucepan with a splash of water over low heat, stirring occasionally.
Storage & Reheating for Freshness and Safety
Proper storage and reheating of cooked rice are crucial not only for maintaining its quality but also for ensuring food safety. Cooked rice can harbor bacteria, specifically Bacillus cereus, if left at room temperature for too long. Always handle leftovers with care.
- Refrigerating Cooked Rice: Allow any leftover cooked rice to cool quickly before storing. Ideally, spread it out on a plate or shallow container to speed up the cooling process. Once cooled, transfer the rice to an airtight container and store it in the refrigerator. It will remain fresh and safe to eat for four to five days. When refrigerating, add a splash of water before sealing the container – this helps prevent the rice from drying out and maintains its moisture.
- Reheating Methods: Leftover rice reheats beautifully, and you have several options depending on your preference and available equipment:
- Microwave: This is often the quickest method. Place the rice in a microwave-safe bowl, add a tablespoon or two of water (or broth) per cup of rice, and cover loosely with a lid or damp paper towel. Microwave on high for 1-2 minutes, stirring halfway, until thoroughly heated. The added liquid creates steam, rehydrating the rice and making it fluffy again.
- Stovetop: For a stovetop reheat, place the rice in a saucepan with a tablespoon or two of water or broth per cup of rice. Cover and heat over low to medium heat, stirring occasionally, until hot and fluffy. The steam created by the added liquid is key here.
- Oven: For larger quantities, or if you prefer a drier finish, preheat your oven to 300°F (150°C). Spread the rice evenly in an oven-safe dish, add a splash of water or broth, and cover tightly with foil. Bake for 15-20 minutes, or until heated through.
- Repurposing Leftover Rice: Don’t let leftover rice go to waste! It’s the perfect ingredient for making delicious Fried Rice, as day-old rice tends to be firmer and less sticky, ideal for stir-frying. You can also add it to soups, stews, or even make rice patties.
Explore More Instant Pot Culinary Adventures
Instant Pot Pot Roast Recipe
Instant Pot Steel Cut Oats
Instant Pot Chili – Paleo and Whole30
Instant Pot Mac and Cheese – so easy!
Instant Pot White Rice
Rachel Gurk
5 minutes
4 minutes
15 minutes
19 minutes
3
Ingredients
- 1 cup long grain white rice (see note)
- 1 cup water
- 1 tablespoon oil of choice or butter (optional)
- ¼ teaspoon kosher salt
Instructions
-
In a fine mesh colander, rinse rice well until water runs clear, about 1 minute.1 cup long grain white rice
-
Add rice to the insert of your Instant Pot. Add water, oil, and salt. Push down any rice that may be on the side of the pot to submerge in liquid.1 cup water, 1 tablespoon oil of choice or butter, ¼ teaspoon kosher salt
-
Secure cover, turn valve to seal, and set Instant Pot on the “pressure cook” (or “manual,” depending on model) setting for 4 minutes on high pressure. It will take about 5 minutes to come to full pressure.
-
When the timer goes off, let pressure naturally release for 10 minutes (in other words, leave it alone).
-
Once 10 minutes has elapsed, quick release remaining pressure, fluff with a fork, and serve.
Notes
- Increase yield: Recipe can easily be doubled or tripled using same proportions (1 cup rice: 1 cup water). It will take longer for the Instant Pot to come to full pressure (approximately 8 minutes for 2 cups rice, 10 minutes for 3 cups rice). Cook 4 minutes, with 10 minutes natural release
- Using the Pre-programmed Setting: Newer Instant Pot models feature a dedicated “Rice” setting. Feel free to use this option if you prefer; it typically operates on low pressure.
- Storage: Leftover cooked rice should be refrigerated in an airtight container for up to 4 days or frozen for up to 2 months for extended freshness.
Video
Nutrition
Nutrition information is automatically calculated and provided for informational purposes only. It should be used as an approximation and is not a substitute for professional dietary advice.
Did You Make This?
Share a comment and rating below! I love hearing what you think!