Make ahead
Bread Crumbs
From-scratch bread crumbs are straightforward to mix and so useful for breading, making meatballs or meatloaf, or for topping pasta. Try plain or Italian seasoned crumbs!
At a glance
What stands out: From-scratch bread crumbs are straightforward to mix and so useful for breading, making meatballs or meatloaf, or for topping pasta. Try plain or Italian seasoned crumbs!
How long it takes: 30 minutes
Equipment you’ll need: food processor, baking pan, oven
Servings: makes 2 ½ cups
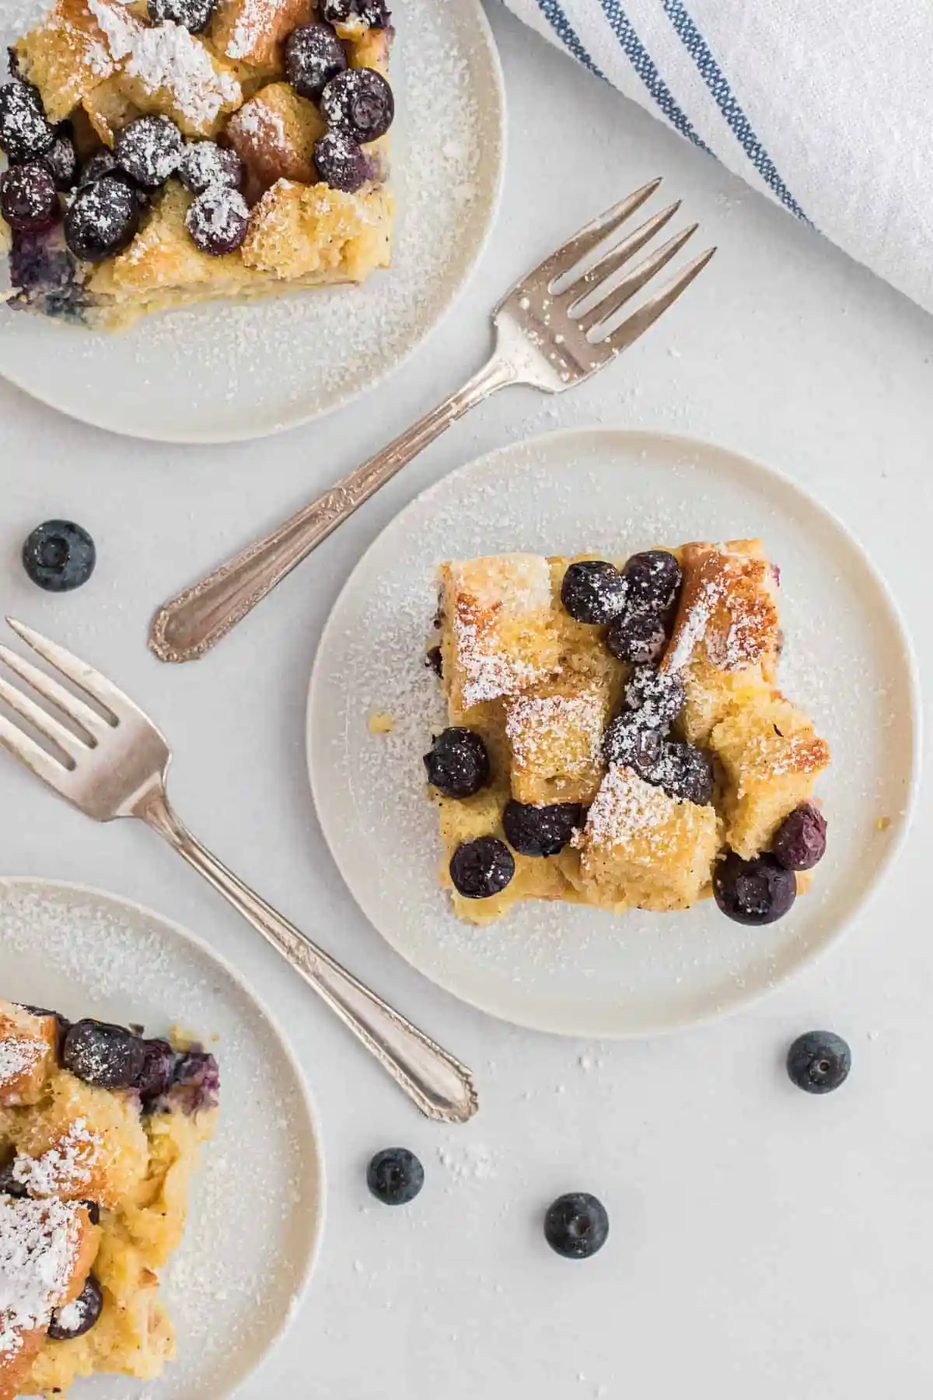
We love day-old dry bread! We consider it a treasure in our kitchen. It’s reliable for making French toast, from-scratch croutons which are a thousand times better than packaged, or a standby panzanella salads. We love it for bread pudding, too. And now, bread crumbs!
DIY Breadcrumbs
Use leftover bread. That’s one of the big advantages of from-scratch bread crumbs. You can use up stale bread. If you have day old bread that’s just a bit dry, it’s reliable for making bread crumbs. Mind you, we’re not talking about moldy bread, just dry bread. Save up your crusts or stale bread. Just put it in the freezer until you’re ready to turn it into useful breadcrumbs.
Great bread makes great bread crumbs! It’s as simple as that! If you have a favorite bread, use it to make bread crumbs. We like it because we can make our own allergy-safe bread for our son, who is allergic to all things sesame. Surprisingly, commercial breadcrumbs contain sesame, along with almost all commercial breads.
So many ways to use them. Dry bread crumbs can be used for breading, to add as a binder in meatballs and meatloaf, or as a rich topping for pasta (mixed with butter, garlic, and a bit of Parm). They are great on casseroles, too.
It’s straightforward to mix different kinds. We'll show you how to make coarse bread crumbs (like panko), fine bread crumbs, or Italian seasoned bread crumbs.
Keep well. Once the breadcrumbs are thoroughly dried, they’ll keep for a long time. You can easily freeze them for longer storage. They won’t stick together and you can just take out what you need.
What You’ll Need
- Bread: Pretty much any kind of yeast bread can be turned into bread crumbs, from whole wheat to gluten-free. Keep in mind that your bread crumbs will taste like the bread you use. Day-old or dry bread is best but don’t worry if you have fresh, soft bread. We'll show you how to dry it quickly.
- Food Processor: Using a food processor with the S-blade is the quickest way to pulverize the bread, i.e., turn it into crumbs.
- Rimmed Baking Pan (Sheet Pan): Look for a shallow pan with a rim so your crumbs don’t end up all over your oven.
How it comes together
This bread crumb recipe is more of a “how to” than a recipe. There are just a few steps to making your own ready-to-use bread crumbs.
Prep. Begin by preheating your oven to 300ºF and getting out a large rimmed baking pan.
Dry the bread if it’s fresh. (If your bread is already a bit dry, you can omit this step.) Why does the bread need to be dry? If you put soft, fresh bread into the food processor, you’ll get moist clumps of bread instead of crumbs. The bread has to be fairly dry to process.
Tear the bread slices into cubes. Use your fingers to tear the bread into rough chunks. There’s no need to get fancy or try to get square pieces.
Arrange the bread on the baking pan and dry it in a slow oven for about 5 minutes. The bread shouldn’t be browned, just dry.
Turn oven temp down. Remove the pan from the oven and let the bread cool down. Turn the oven down to 275ºF.
Process the bread. When the bread has cooled off, put it into your food processor, with the S-blade.
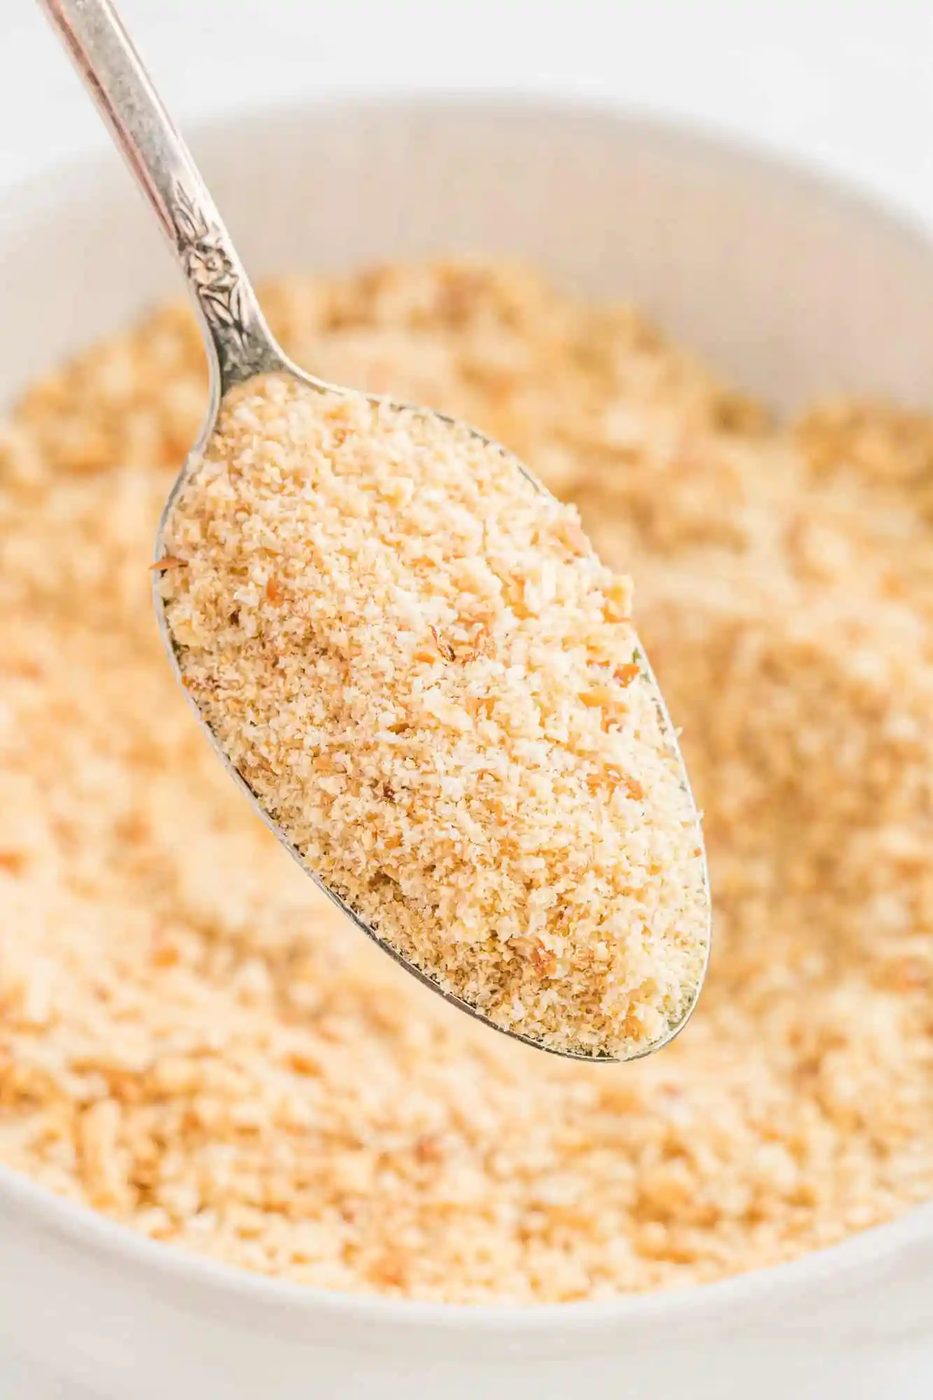
Pulse several times, until the bread has the consistency of coarse crumbs. It should look somewhat like panko bread crumbs.
Bake. Back onto the sheet pan it goes. Bake the crumbs until they are dry, about fifteen to twenty minutes. Stir them every five minutes so they dry evenly.
Cool completely. Take the breadcrumbs out of the oven and cool completely. Once they are cooled, you can either process them again for fine crumbs or store them just as they are (more like panko). You can also add seasoning to the crumbs to make Italian seasoned bread crumbs.
Panko
Panko is more flaky and coarser than regular breadcrumbs. We often prefer panko because it’s lighter and airier. Breading made with panko or coarse bread crumbs is crisper.
When you make your own, the longer you process the crumbs in your food processor, the finer the crumbs get. If you want breadcrumbs that are similar to panko, don’t process them as long.
When you use bread crumbs, remember that a larger amount of fine crumbs will fit into a measuring cup than coarse crumbs. If a recipe calls for panko, use coarse crumbs. If it calls for bread crumbs, use finely ground crumbs. It will make a difference in your recipe!
How it comes together
Turning these bread crumbs into Italian style bread crumbs is straightforward with the addition of a few herbs and spices.
To each cup of bread crumbs, add:
- 1 teaspoon Italian seasoning (store bought or from-scratch Italian seasoning)
- ¼ teaspoon garlic powder
From there, if you’d like them more flavorful, add more! These instructions are also found on the printable recipe card below.
How To Use Breadcrumbs
- For breading. Breadcrumbs are essential for breading, whether you’re making chicken Parmesan or breaded pork chops. If you have an air fryer, try breaded zucchini fries, mozzarella sticks, or air fryer breaded shrimp. We use them often to make from-scratch chicken nuggets or air fryer chicken tenders. You can use bread crumbs to make crispy fried goat cheese.
As a binder. Bread crumbs are often used in recipes for meatballs and meatloaf. Try them in baked turkey meatballs or classic meatloaf. - As a topping. Mix them with melted butter to make a rich topping for casseroles, like cheesy potatoes, mac and cheese, or tuna casserole.
Make-Ahead Ideas
From-scratch bread crumbs are best made ahead so they are ready when you need them. Make a big batch and store them in the freezer. Some cooks like to save leftover dry bread in the freezer until they have enough to make a batch of bread crumbs. That’s a good money-saving habit!
Keeping leftovers
Cool completely before storing. This is important because if you put warm breadcrumbs in a sealed container, condensation will form and your breadcrumbs may get moldy or soft.
Store in an airtight container. Store bread crumbs in an airtight container at room temperature for up to a week or in the refrigerator for up to 3 weeks.
Freeze breadcrumbs for longer storage. Breadcrumbs can be frozen for up to three months. Frozen bread crumbs will not clump together so you’ll be able to remove as many as you like at a time without thawing them first.
Learn How To:
- Yield: 10
- Prep: 10 minutes
- Cook: 20 minutes
- Total: 30 minutes
Ingredients
- 8 ounces white bread, 4 to 5 slices (can easily be doubled or tripled)
- Italian seasoning, optional
- garlic powder, optional
Method
- Preheat oven to 300ºF. Tear bread into large cubes and place on a rimmed baking sheet. Bake for about 5 minutes or until dry but not browned. Let cool completely. You may be able to skip this step if you have dry, stale bread.
- Once cooled, place dry bread in a food processor, with the S-blade, and pulse until the bread turns into coarse crumbs (should look like panko bread crumbs).
- Preheat oven to 275ºF. Spread crumbs out in an even layer on a rimmed baking sheet.
- Bake for 15 to 20 minutes, stirring every five minutes, or until crumbs are completely dry. Cool completely before storing in an airtight container.
- If fine crumbs are desired, cool completely and process again in food processor until desired consistency.
- After the second bake, for each cup of bread crumbs, add 1 teaspoon Italian seasoning, plus ¼ teaspoon garlic powder. Increase seasoning as desired to taste.
Notes
Yield: 2 ½ cups bread crumbs
Remove crust (optional): If using a bread with a tougher crust (such as sourdough), you might want to remove the crust before processing into crumbs.
Storage: Make sure bread crumbs are completely cool. Store in an airtight container at room temperature for up to a week, in the fridge for up to 3 weeks, or in the freezer for up to three months. Frozen breadcrumbs do not clump together so you’ll be able to remove as many as you like at a time.