
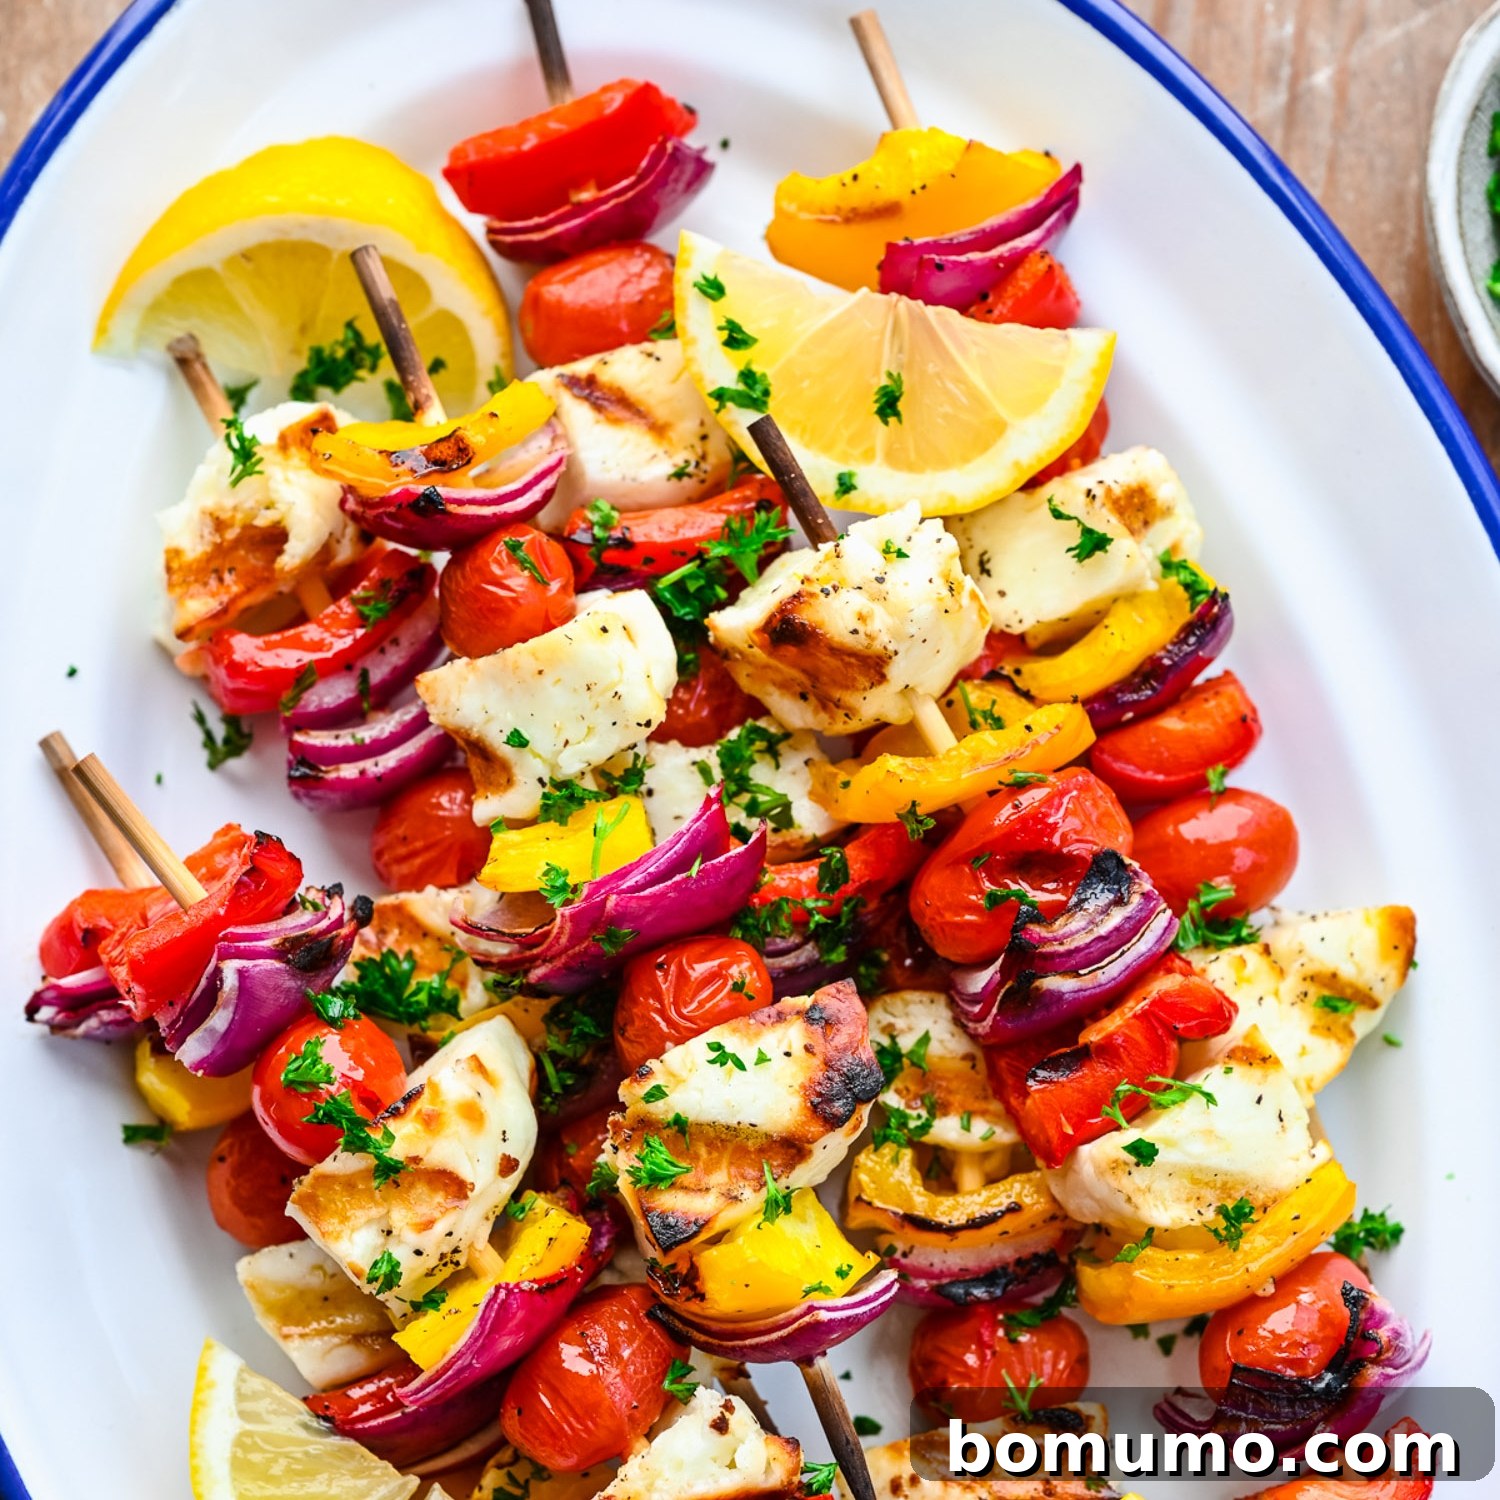
Recipe Overview: Grilled Halloumi Kebabs
Why You’ll Love It: These grilled halloumi kebabs are the ultimate summer treat! Imagine skewers loaded with golden-brown, grilled halloumi cheese cubes, nestled between vibrant bell peppers, juicy tomatoes, and sweet onions. It’s a unique and delicious appetizer or vegetarian main course that everyone will rave about.
Prep Time: 10 minutes
Cook Time: 15 minutes
Equipment Needed: Wooden skewers, grill
Servings: 4 main course servings or 12 appetizer servings
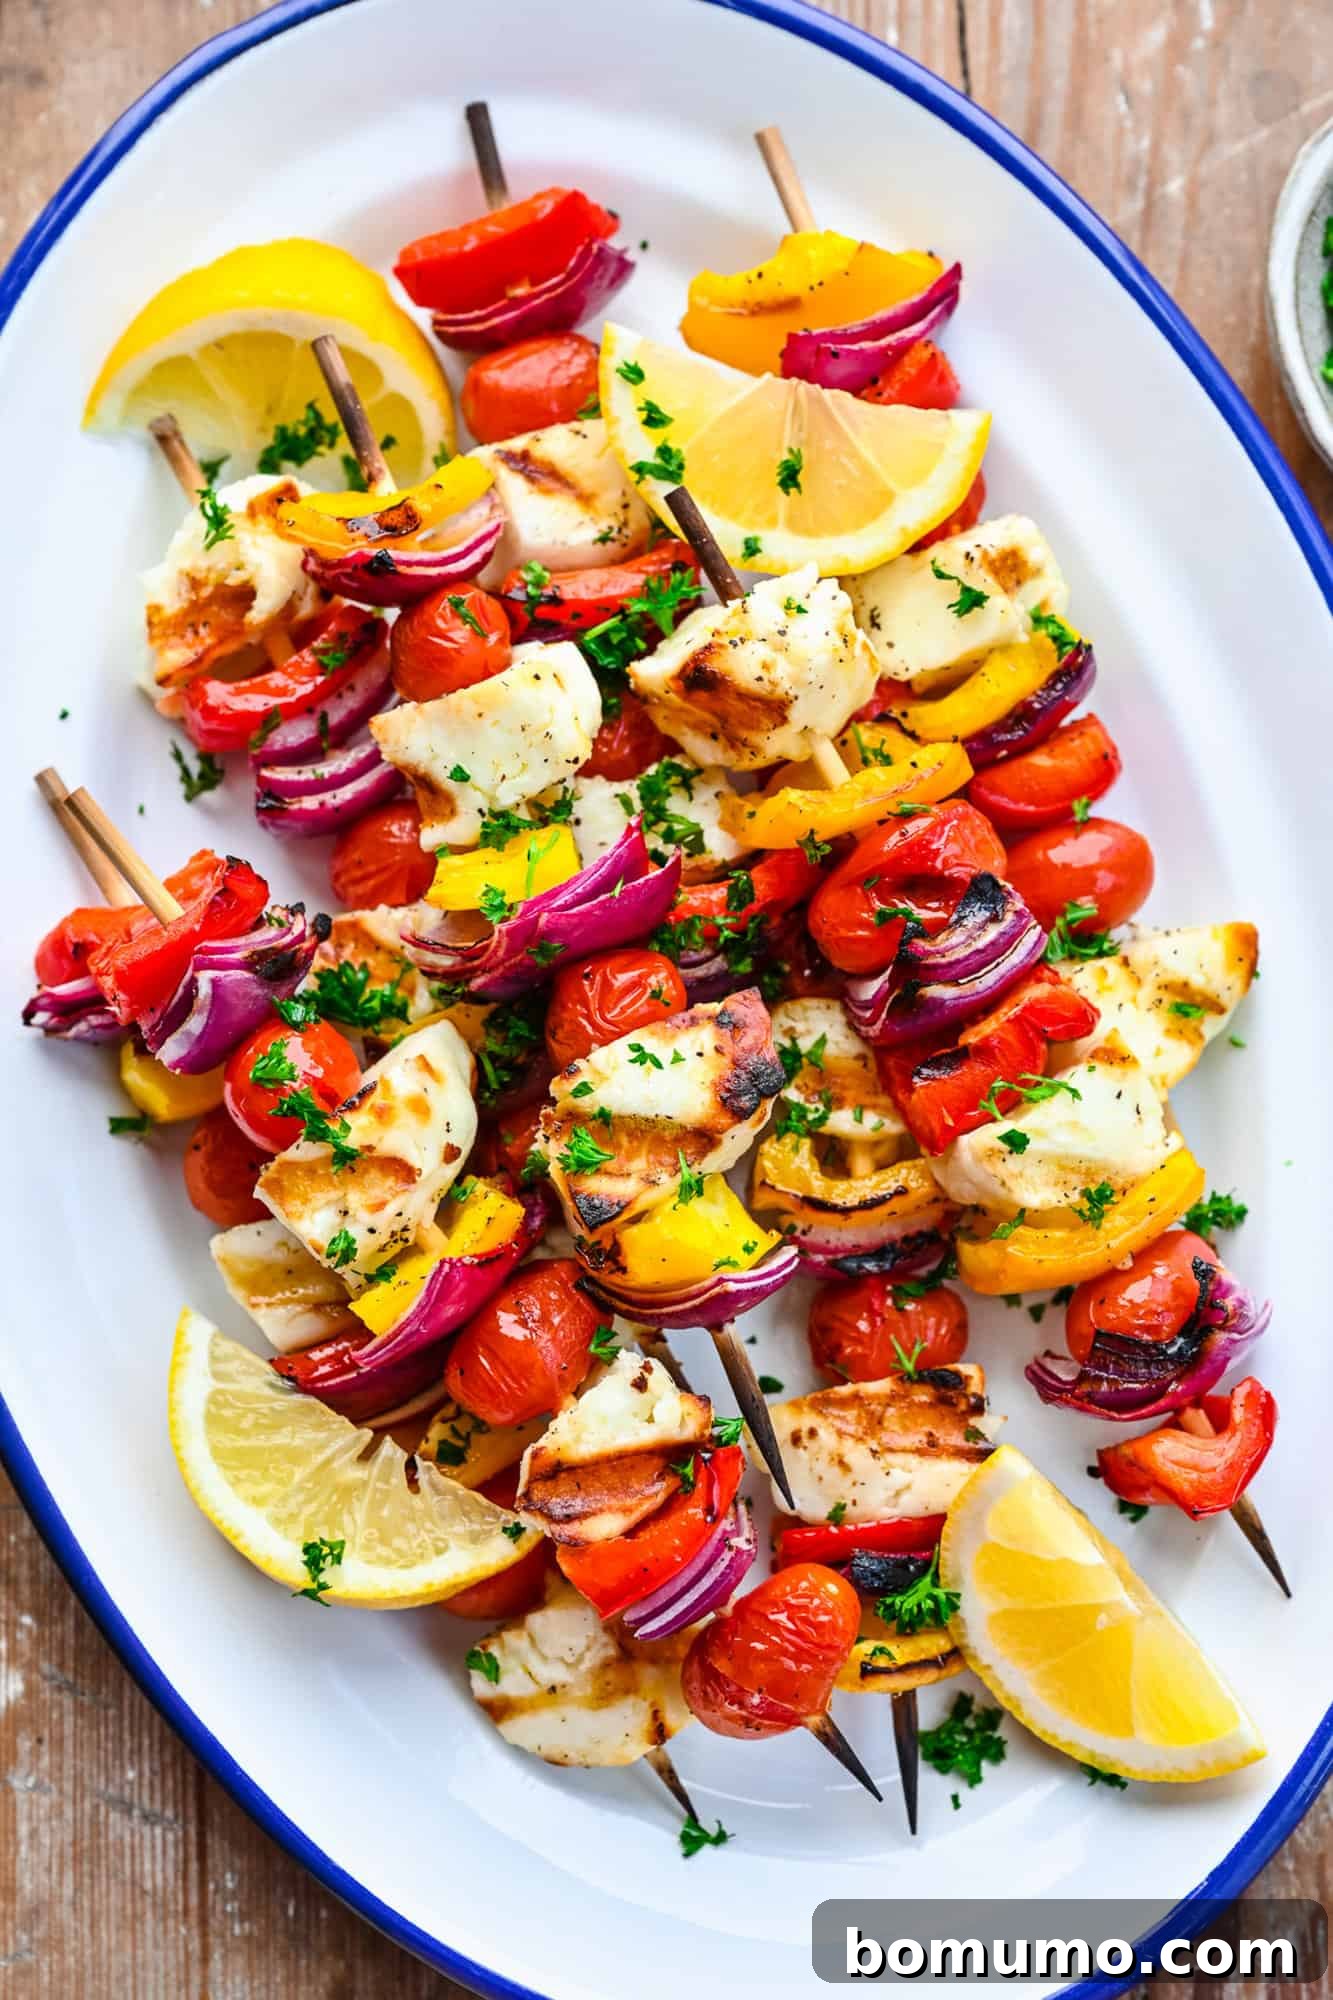
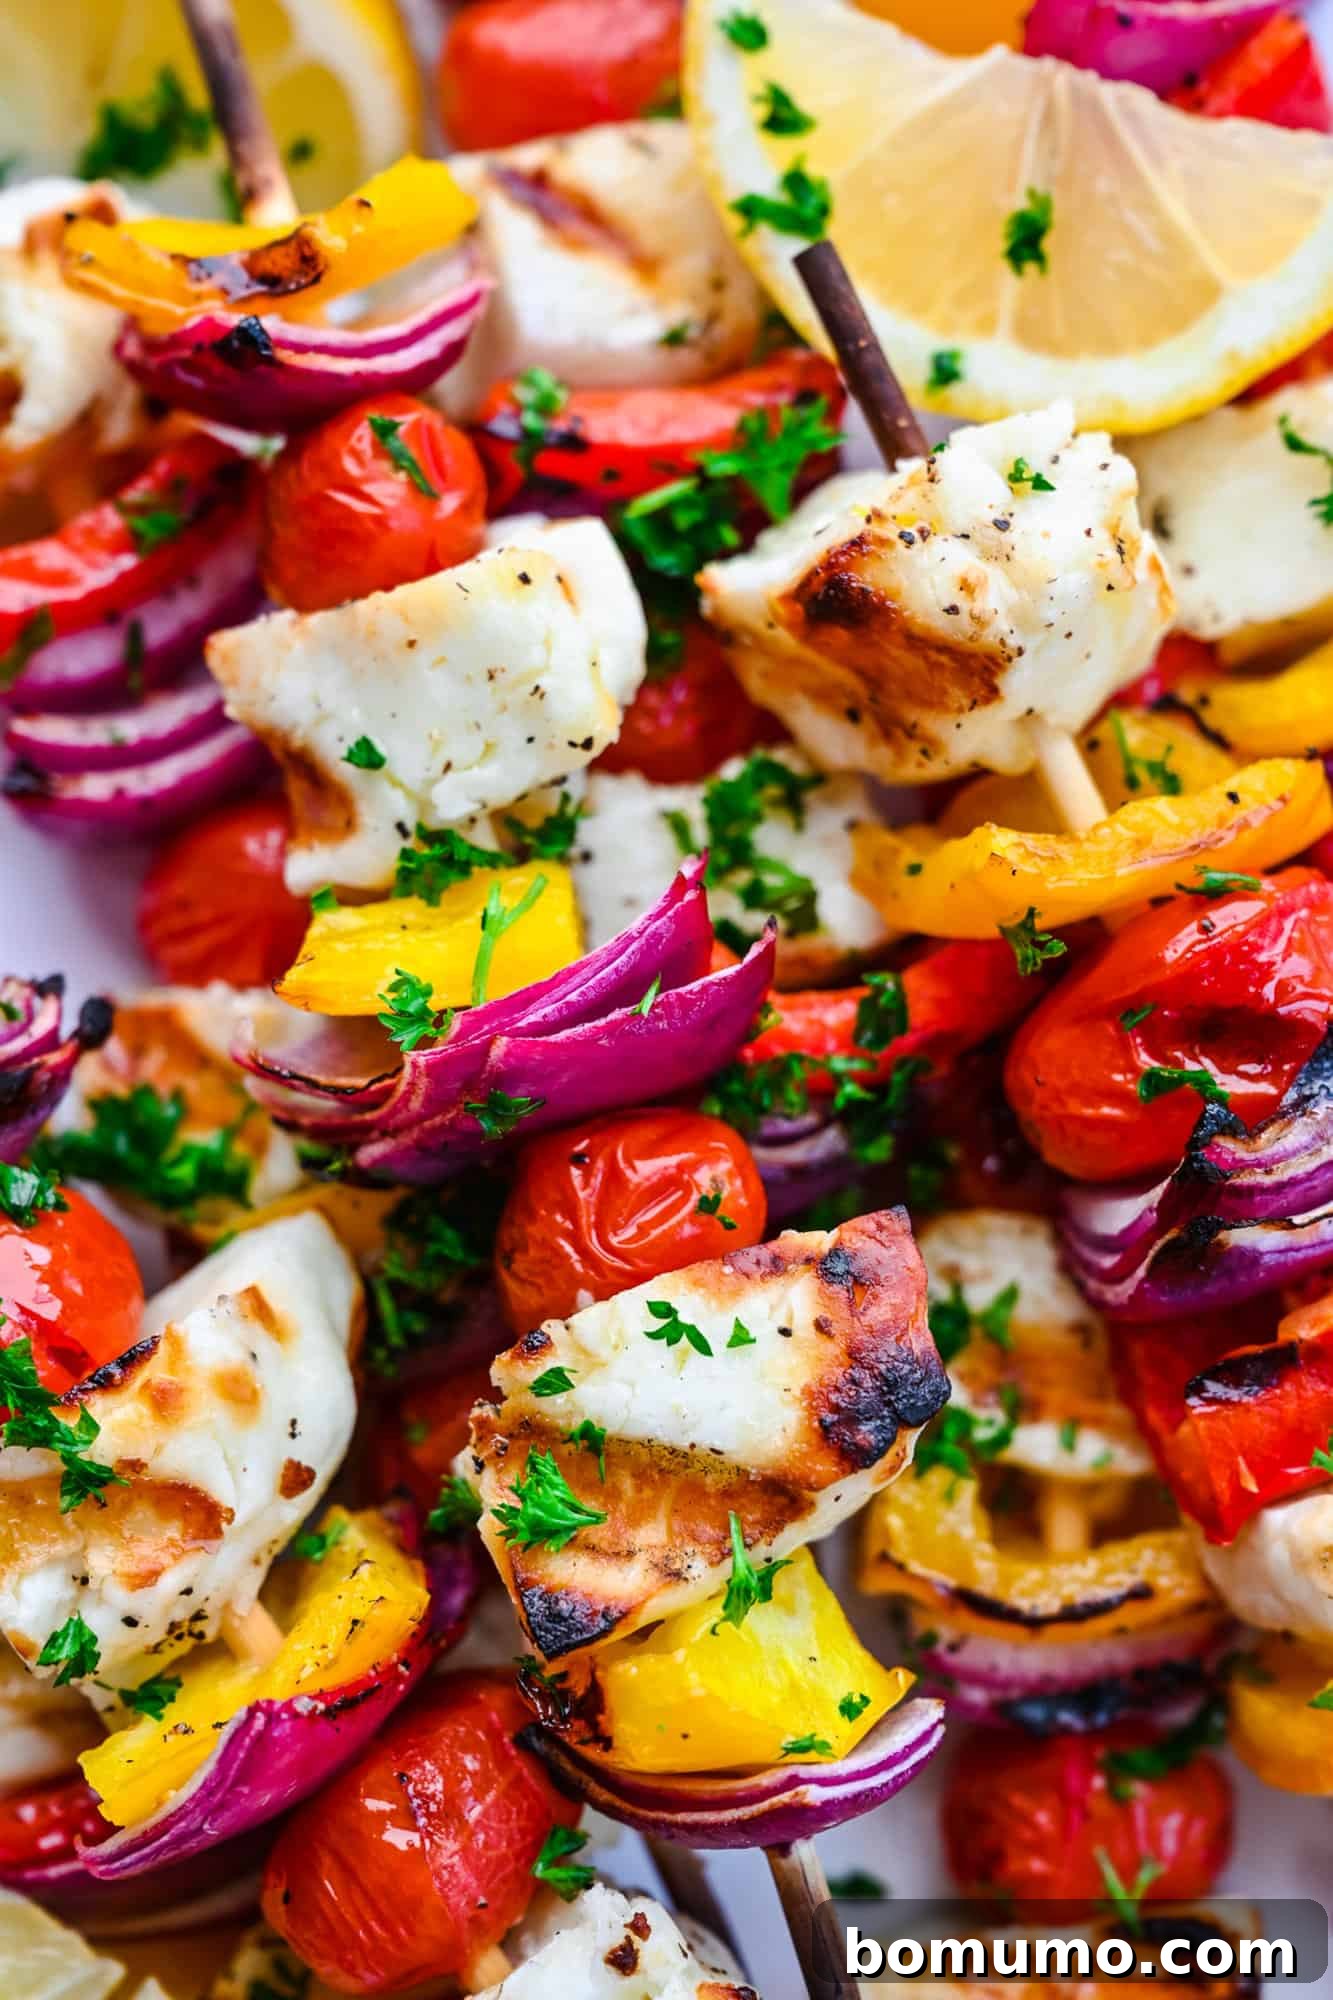
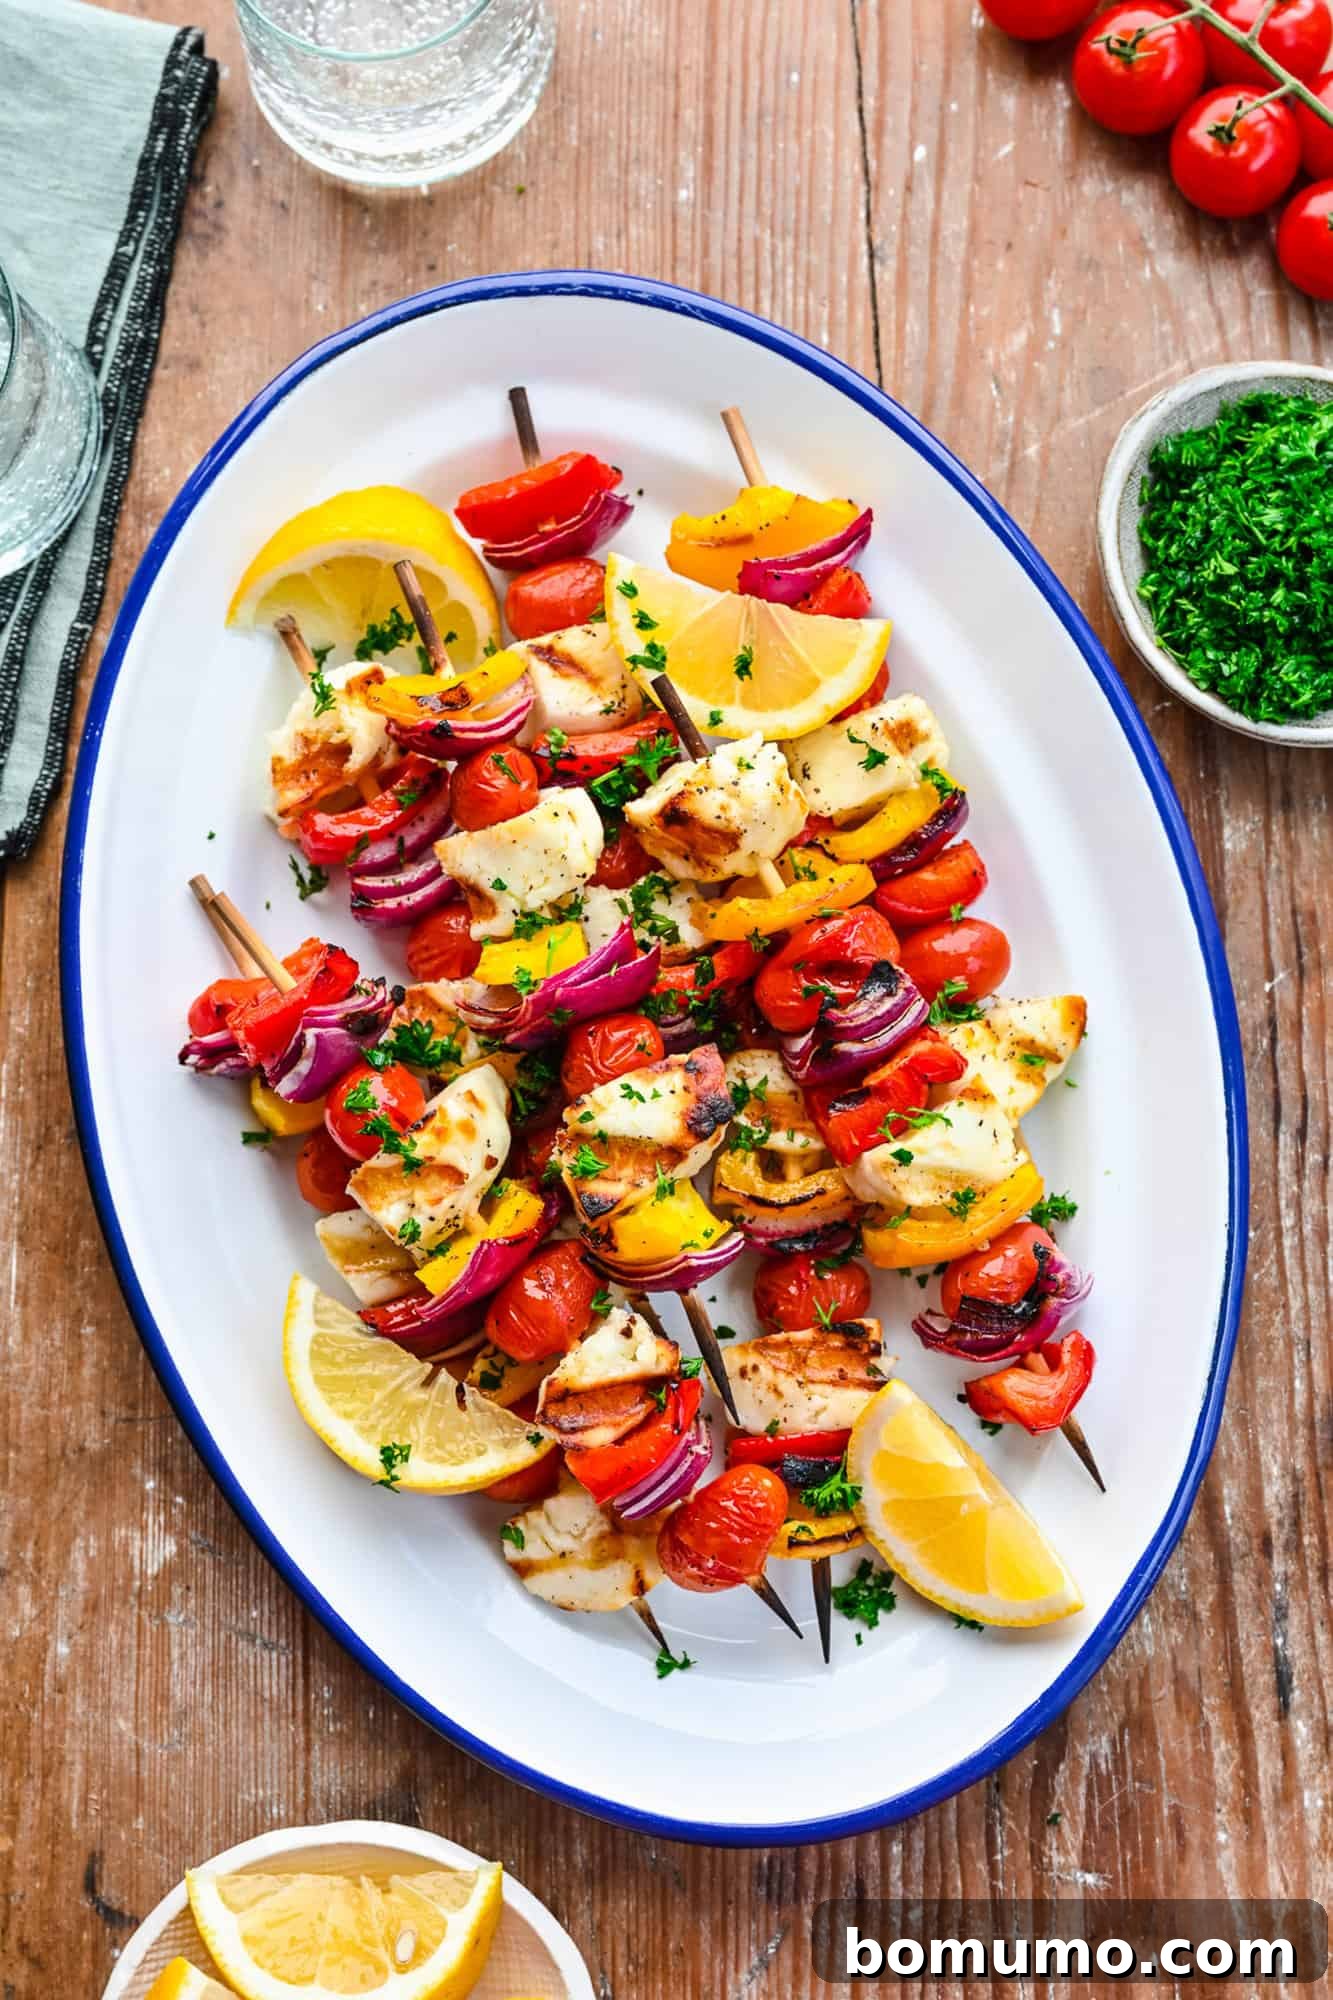
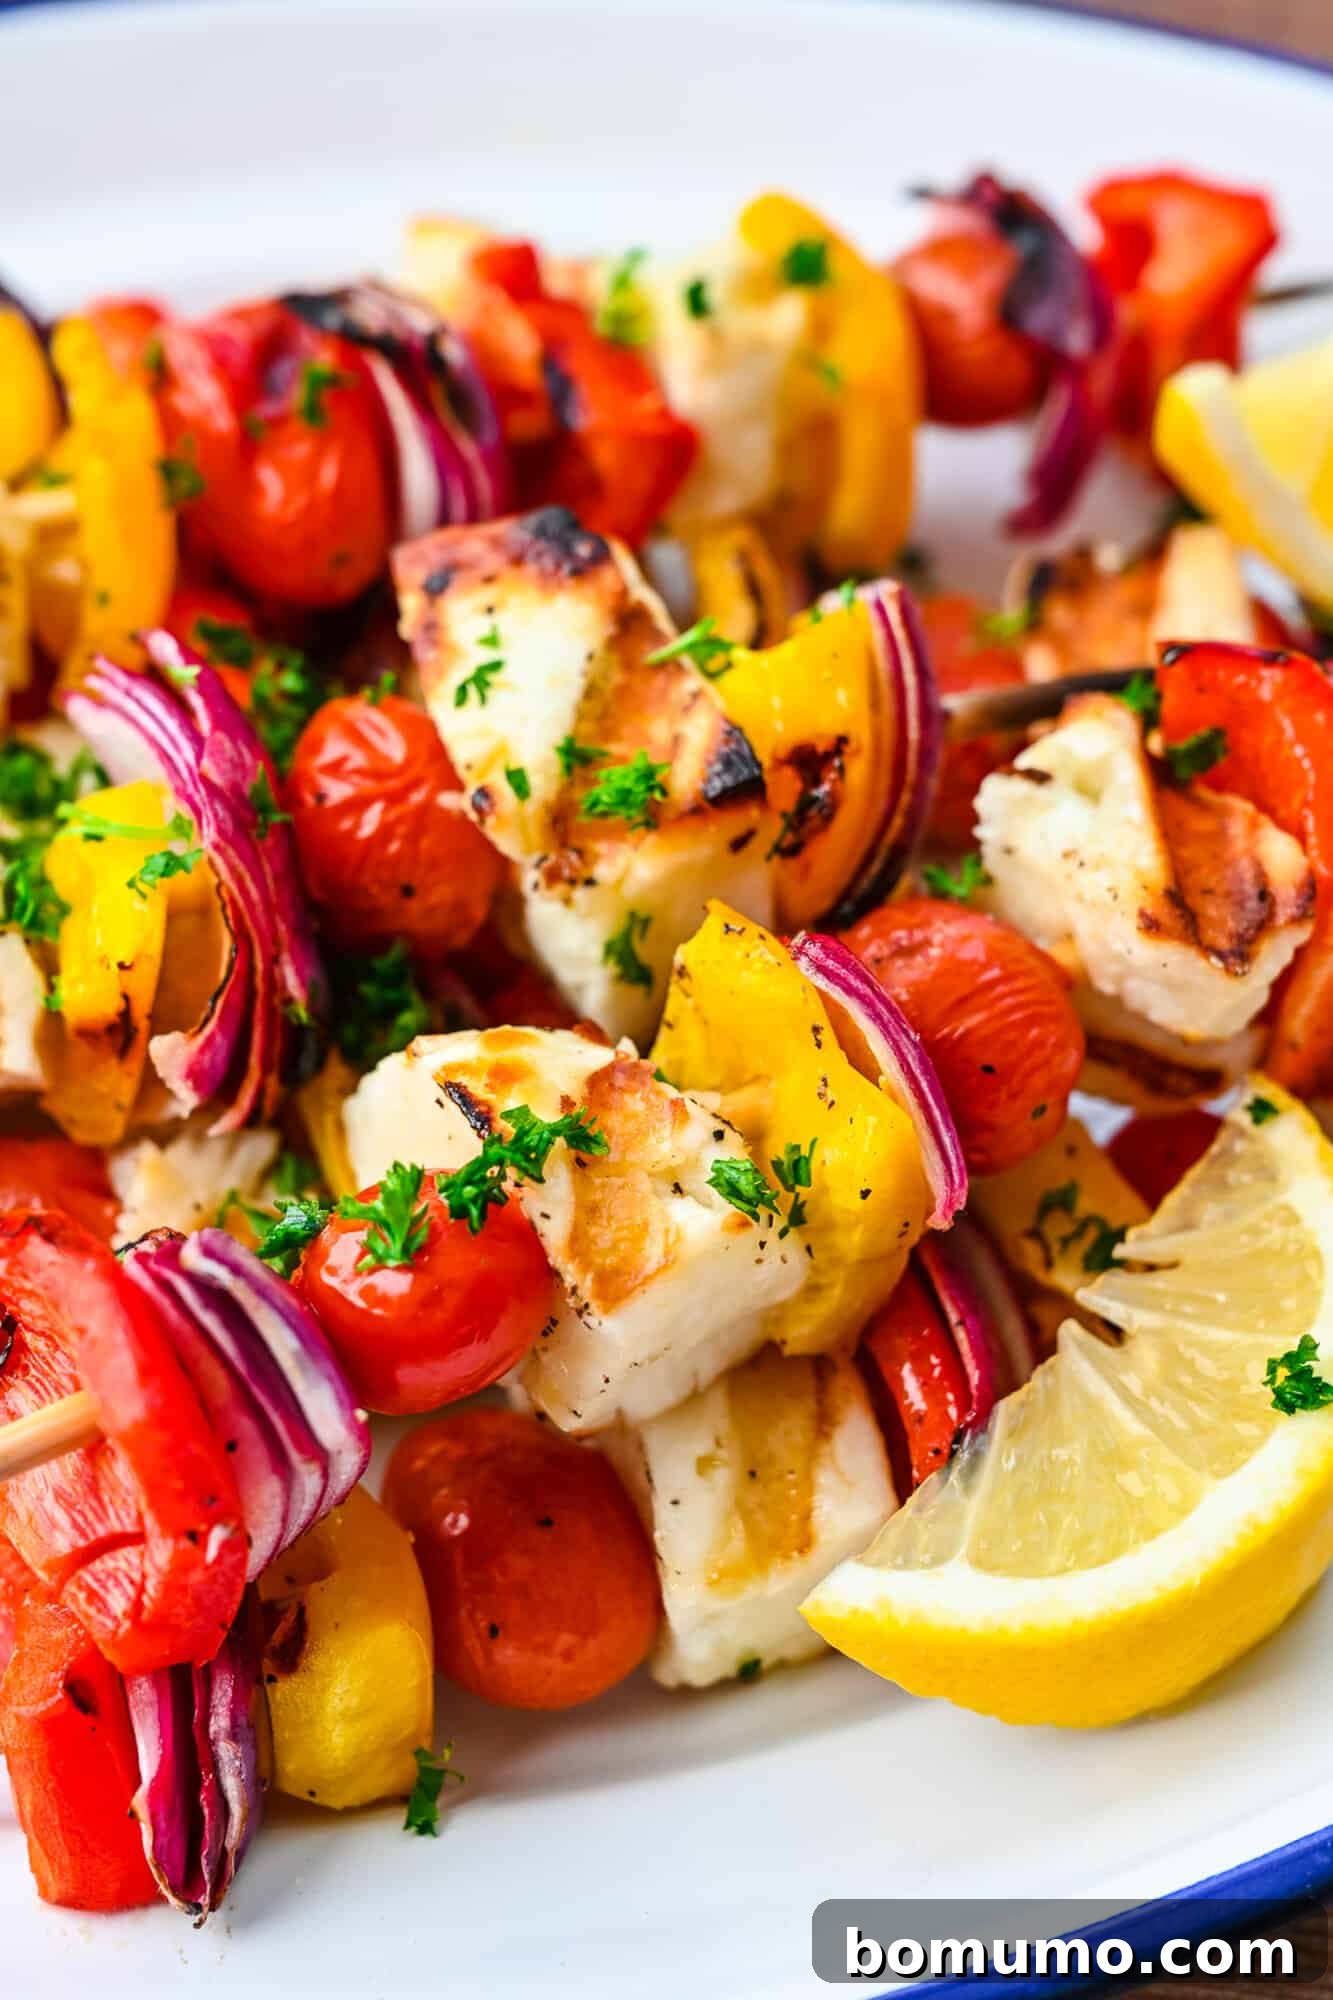
Picture this: perfectly grilled cubes of halloumi cheese, boasting a delightful golden exterior and a warm, soft interior. Now, add a colorful medley of fresh, flavorful vegetables to the mix, all nestled on a skewer: sweet bell peppers, ripe red tomatoes, and subtly sweet onions. Drizzled with a zesty lemon-olive oil dressing, these kebabs are a feast for the eyes and the taste buds!
Aren’t these kebabs simply stunning? You can almost taste how amazing they are, right? Trust me, you need to try this recipe!
Have you ever enjoyed halloumi in a restaurant? Because of its unique firmness, halloumi holds its shape beautifully when heated, making it ideal for grilling or frying. It’s a cheese that’s sure to impress!
Grilled Halloumi Kebabs: A Simple Summer Delight
Grilled halloumi kebabs are incredibly easy to make. The most challenging part is threading the cheese and vegetables onto the skewers without breaking the cheese – but it’s not difficult at all!
The ingredients are fresh and healthy. As you can see from the photos, these kebabs are bursting with colorful, fresh vegetables, packed with goodness. It’s a fantastic way to enjoy your daily dose of veggies! Plus, halloumi itself is a great source of calcium and protein. And since these are grilled, not fried, they’re relatively low in fat.
These kebabs are incredibly versatile. Feel free to customize them to your liking! Swap out vegetables, adding your favorites or omitting those you don’t care for. Serve them as appetizers, a light lunch or dinner, or as a side dish alongside grilled chicken or salmon. You can even add the grilled halloumi and vegetables to grain bowls or salads for a complete meal.
What is Halloumi?
Halloumi is a firm, white cheese originating from Cyprus that has a high melting point, making it perfect for grilling or frying. It offers a distinctive “squeaky” texture when you bite into it.
Halloumi can be eaten raw or cooked, and its flavor is both salty and tangy, similar to feta or mozzarella. You might even detect a hint of spearmint.
Traditionally made with goat or sheep’s milk, halloumi is now also commonly made with cow’s milk and is widely available in most grocery stores. (Learn more on Wikipedia).
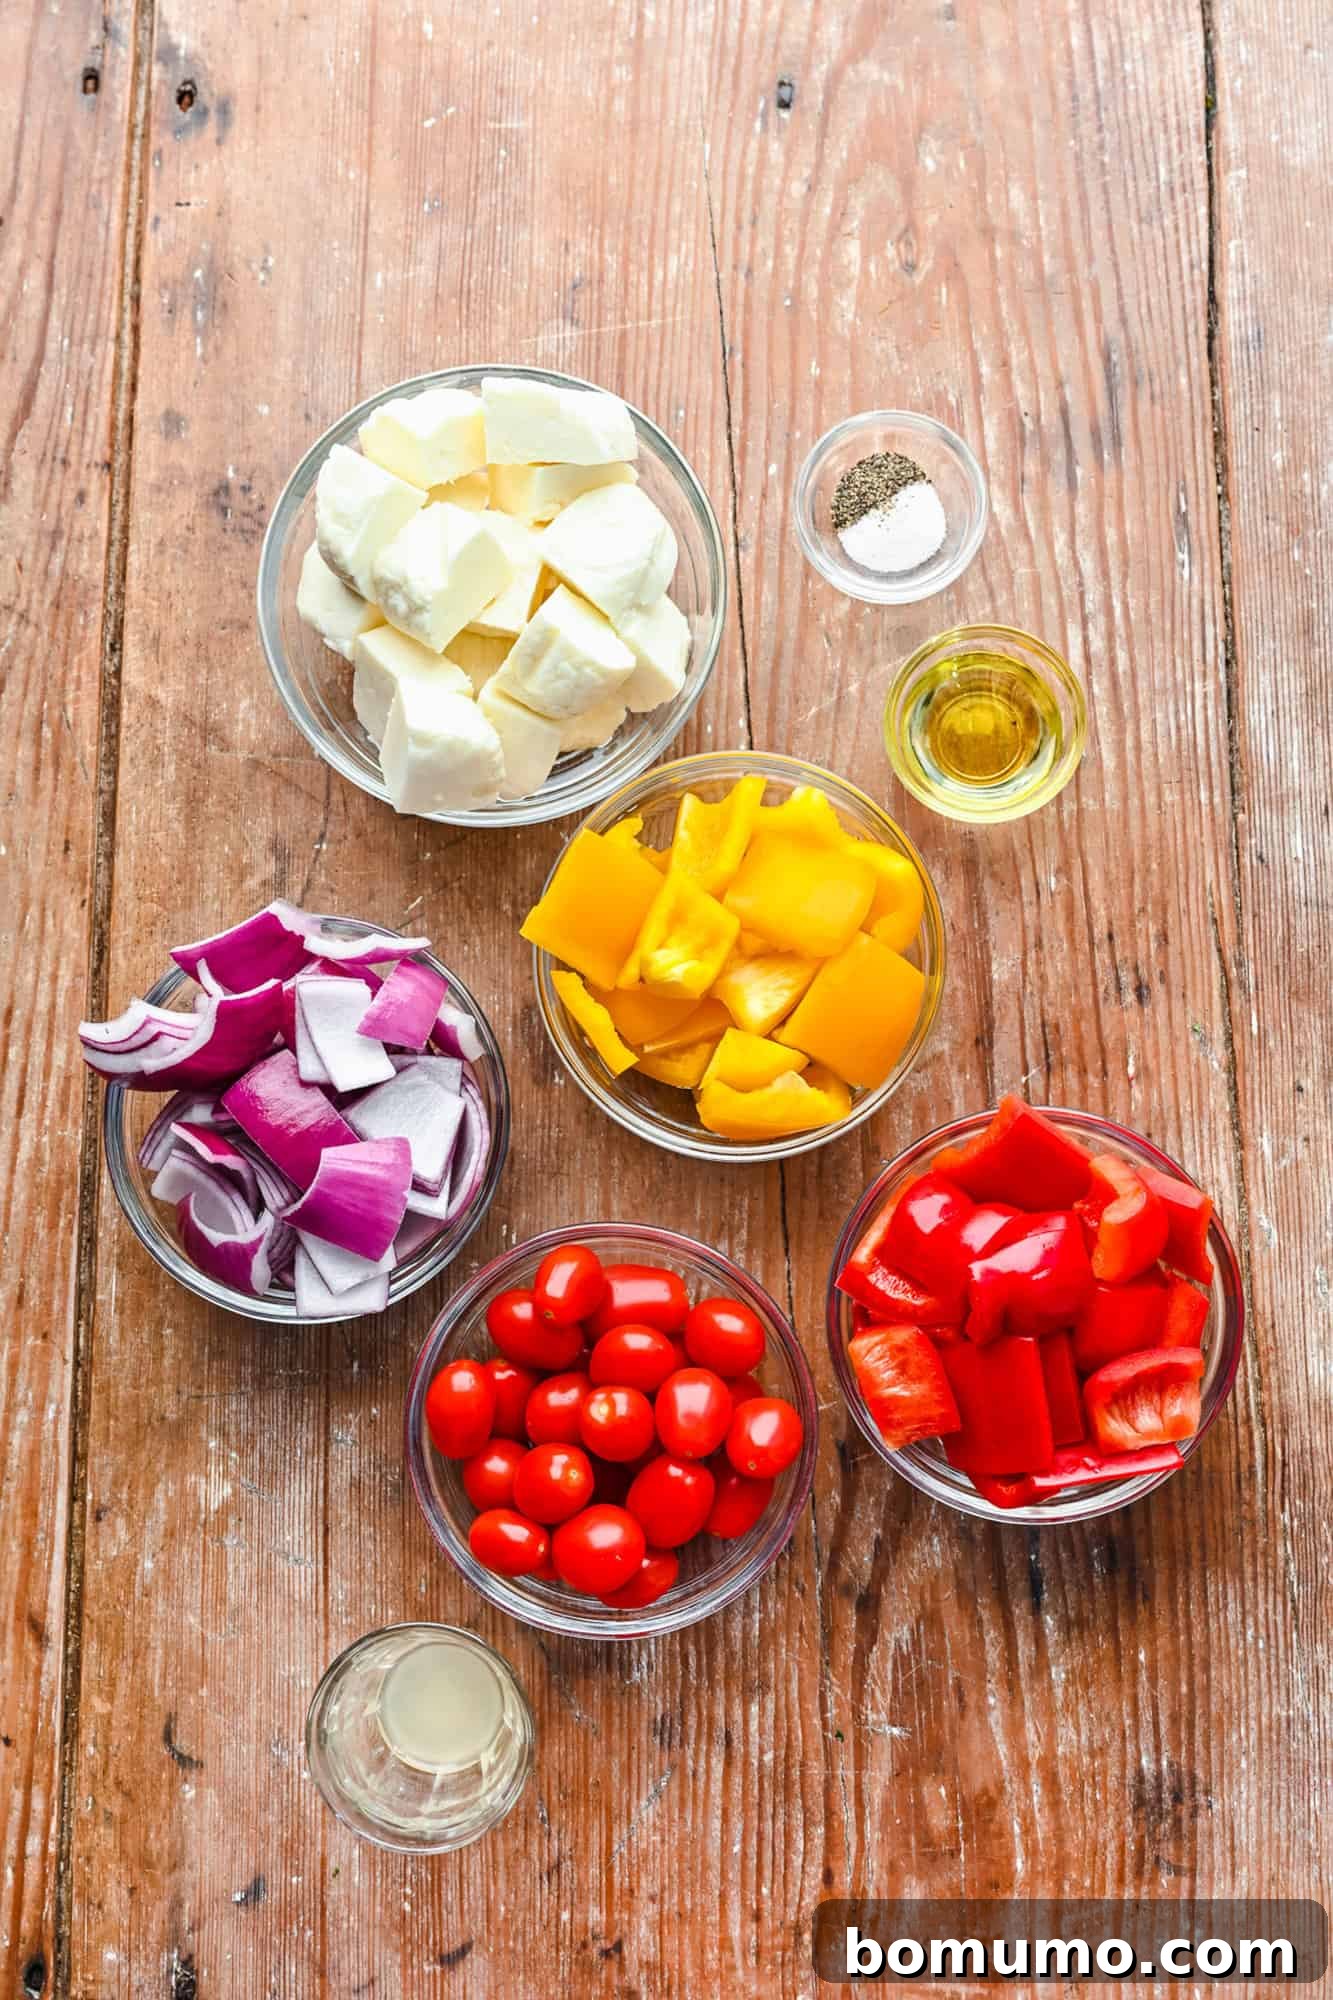
Ingredient Notes
- Halloumi: Look for halloumi or “grilling cheese” in the deli or cheese section of your grocery store. It stores well; unopened packages can be refrigerated for up to a year. Once opened, use within 2 weeks. Always check the “Use by” date.
- Bell Pepper: For the most visually appealing kebabs, use two different colored bell peppers. You’ll need about 2 peppers.
- Red Onion: Other sweet, thick-fleshed onions will work just as well.
- Cherry Tomatoes: These are ideal for grilling because of their convenient size!
- Olive Oil & Fresh Lemon Juice: This combination is used to brush the kebabs, helping them brown beautifully and keeping them from drying out during grilling.
- Wooden Skewers: You’ll need ten to twelve 8-inch skewers. Remember to soak them in water for at least 30 minutes before grilling to prevent them from burning.
- Fresh Parsley and Lemon Wedges: These are perfect for garnishing and serving the kebabs.
How to Make Grilled Halloumi Kebabs
Prepare the vegetables and cheese. Cut the bell peppers and onions into bite-sized pieces, roughly 1-inch squares. The halloumi cheese should also be cut into 1-inch cubes. Try to keep the sizes uniform so everything grills evenly. Don’t forget to soak your wooden skewers if you’re using them!
Thread the ingredients onto skewers. Arrange the vegetables and halloumi on the skewers in an appealing way, alternating the colors. I usually start and end with a piece of bell pepper because they tend to stay more securely on the skewer.
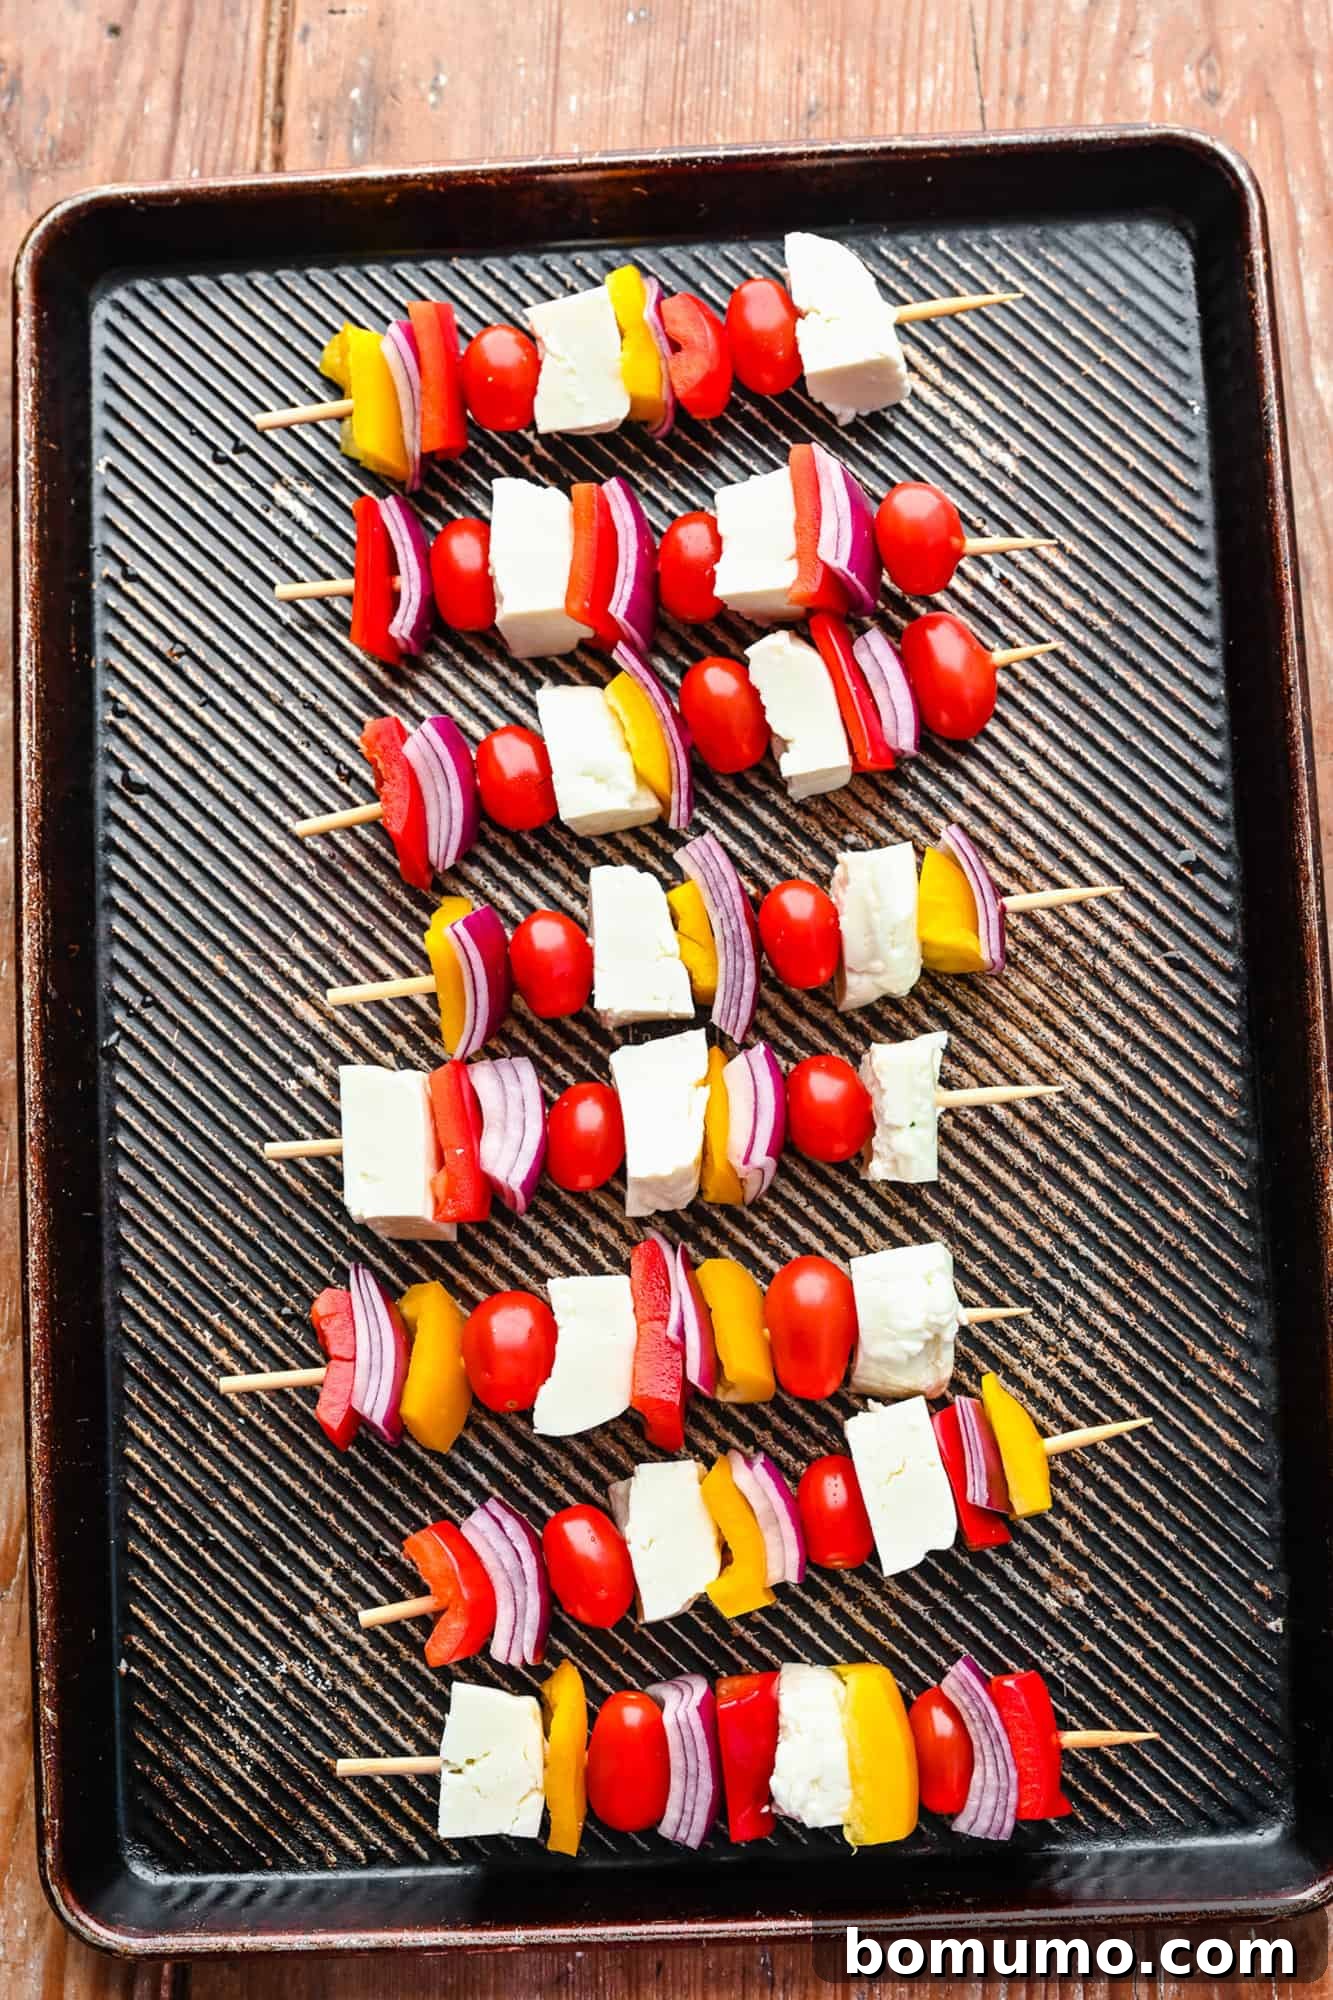
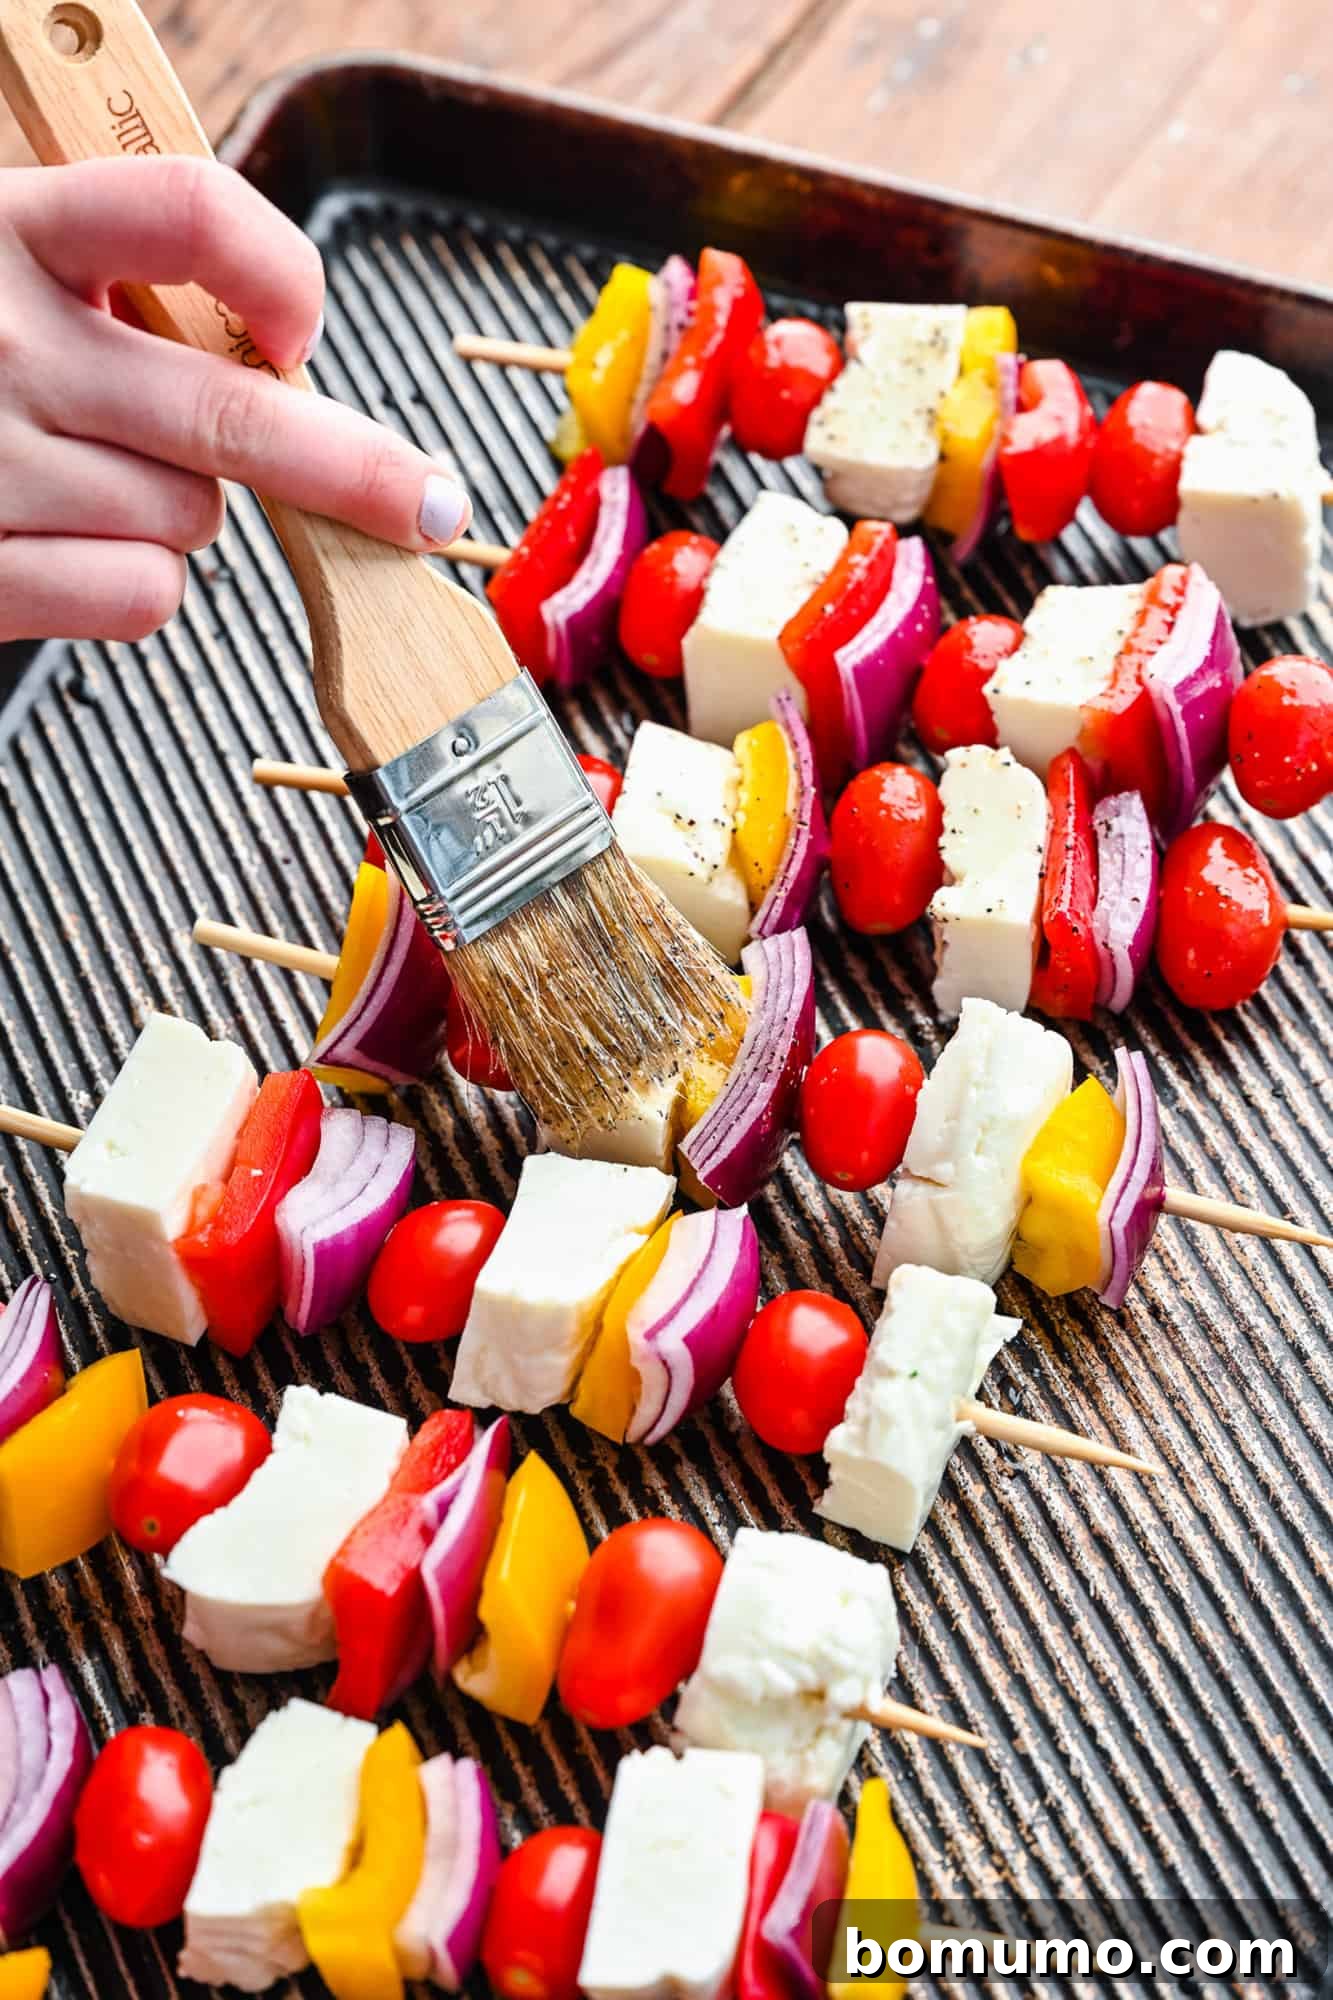
Brush the kebabs with the oil and lemon juice mixture. For easy cleanup, line up the assembled skewers on a rimmed baking sheet. Using a brush, lightly coat each skewer with the oil and lemon juice mixture.
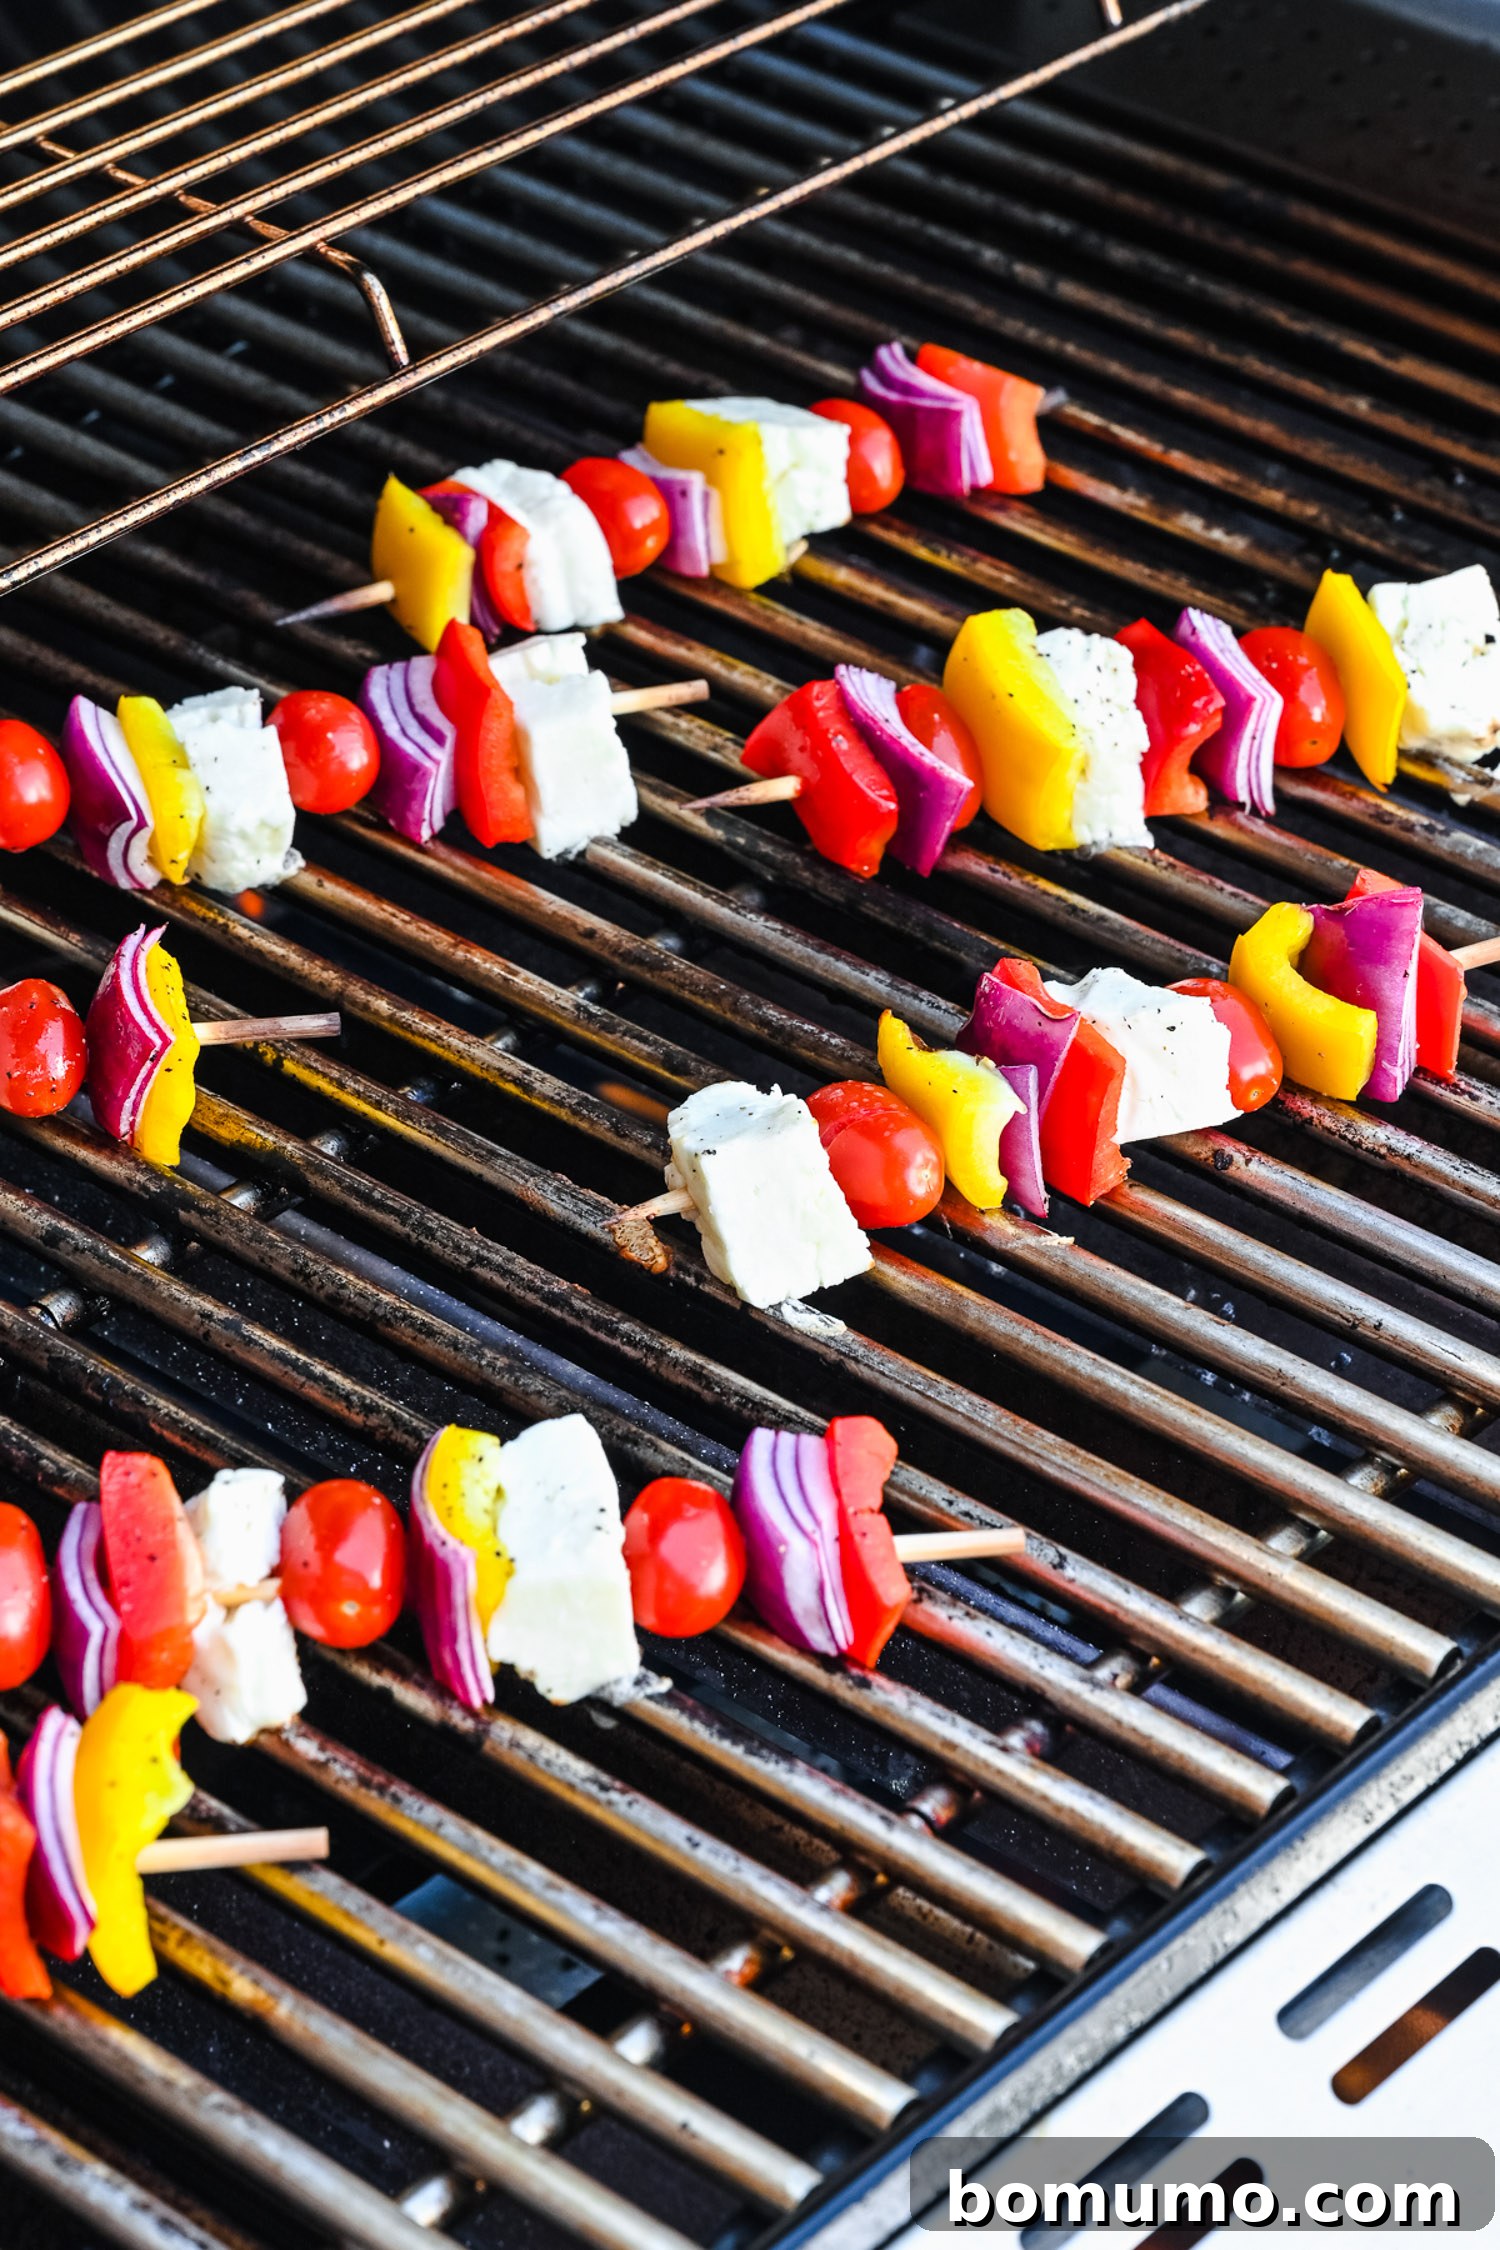
Grill the kebabs. Preheat your grill to medium-high heat. Place the skewers on the oiled grill grates and grill for approximately 5 to 7 minutes, or until the halloumi cheese is golden brown and the vegetables are softened and show a slight char.
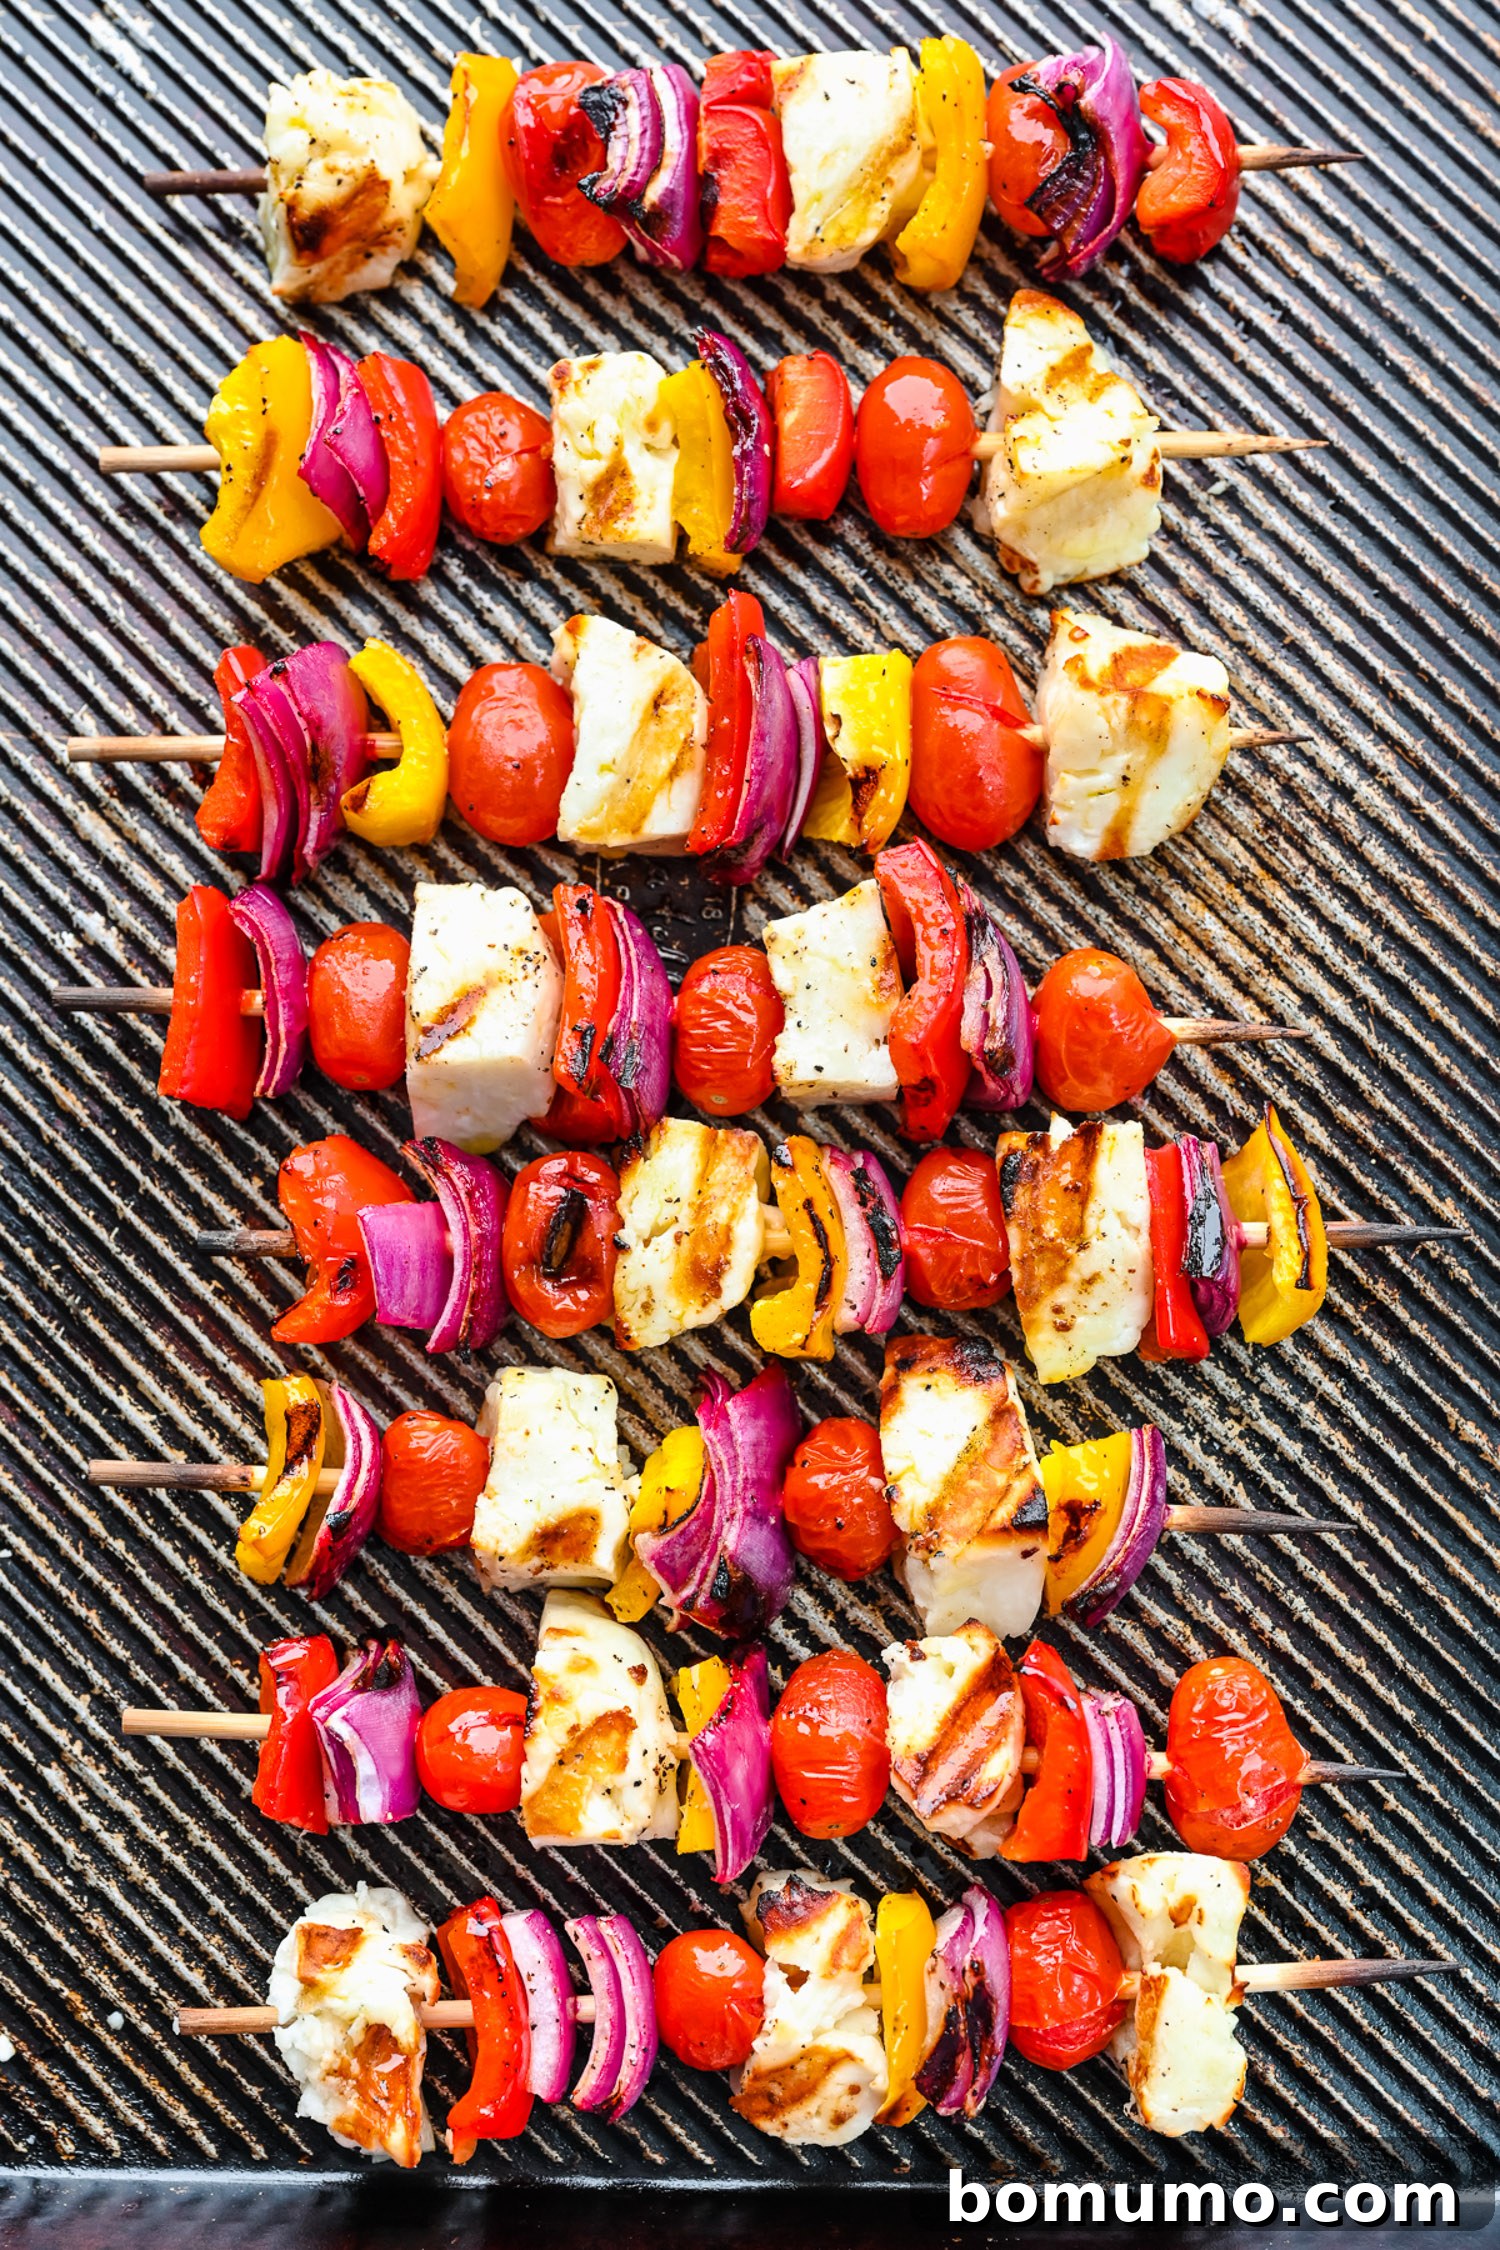
Serve and enjoy! Serve the delicious grilled halloumi kebabs with fresh lemon wedges and a sprinkle of freshly chopped parsley.
Serving Suggestions
Appetizer: Grilled halloumi kebabs are a fantastic appetizer. They pair perfectly with an Aperol spritz or a vodka lemonade.
Side Dish: If you’re serving the kebabs as a side, consider grilling some marinated chicken alongside. We love grilled chicken thighs or Greek-style marinated chicken. Grilled salmon is another excellent choice. Complete the meal with a simple arugula salad or a refreshing citrus fruit salad.
Vegetarian Main Course: For a satisfying meatless main course, serve the grilled halloumi kebabs with brown rice or seasoned cauliflower rice.
Helpful Tips for Perfect Halloumi Kebabs
Oil the grill grates. Halloumi cheese tends to stick to the grill grates if they aren’t oiled. Use long-handled tongs to rub a paper towel soaked in vegetable or canola oil over the grates after preheating your grill. You can also use grill sprays or specially designed brushes for this purpose.
Keep the grill lid open. Keeping the lid open allows you to monitor the grilling process closely, ensuring you achieve those desirable grill marks on the cheese without overcooking it. The goal is to get the cheese golden brown without melting it completely into the grill.
Don’t overcook the cheese cubes. Avoid overcooking the halloumi, as this can cause it to melt and fall apart on the grill. If you’re concerned about the vegetables cooking faster than the cheese, you can grill them on separate skewers. We have found that the grilling time can vary depending on the halloumi brand; some melt faster than others.
Recipe Variations
- Experiment with different vegetables: Try summer squash or zucchini, mushrooms, green bell peppers, or even Brussels sprouts. Any vegetables that can be easily threaded onto a skewer are fair game!
- Explore other grilling cheese options: Consider exploring other types of cheese suitable for grilling, as suggested in this Martha Stewart article. Some options include Rougette Bon-Fire cheese, bread cheese (Juustoleipä), and paneer.
- Substitute the dressing: Instead of the olive oil and lemon juice mixture, brush the kebabs with Greek salad dressing or Italian dressing for a different flavor profile.
Make-Ahead Tips
You can assemble the kebabs completely ahead of time, up to 24 hours in advance. Simply cover them and refrigerate until you’re ready to grill. The olive oil and lemon juice mixture can also be prepared in advance.
Storage & Reheating
Grilled halloumi kebabs are best enjoyed immediately after grilling, but they will keep for three to four days in the refrigerator.
To reheat, gently warm them in the microwave until heated through. Be careful not to overheat the cheese, as this can make it tough.
Leftover Inspiration
Make a Grain Bowl: If you have leftover halloumi kebabs, they are a delicious addition to a grain bowl (also known as a Buddha bowl). Remove the cheese and vegetables from the skewers, and gently warm them in the microwave.
Add the warm halloumi and vegetables to a shallow bowl with your favorite grain, such as quinoa, brown rice, farro, or couscous. Top with your favorite dressing – we love honey mustard vinaigrette or red wine vinaigrette. Finish with fresh greens, toasted pine nuts, or any other toppings you enjoy.
Free Meal Plan
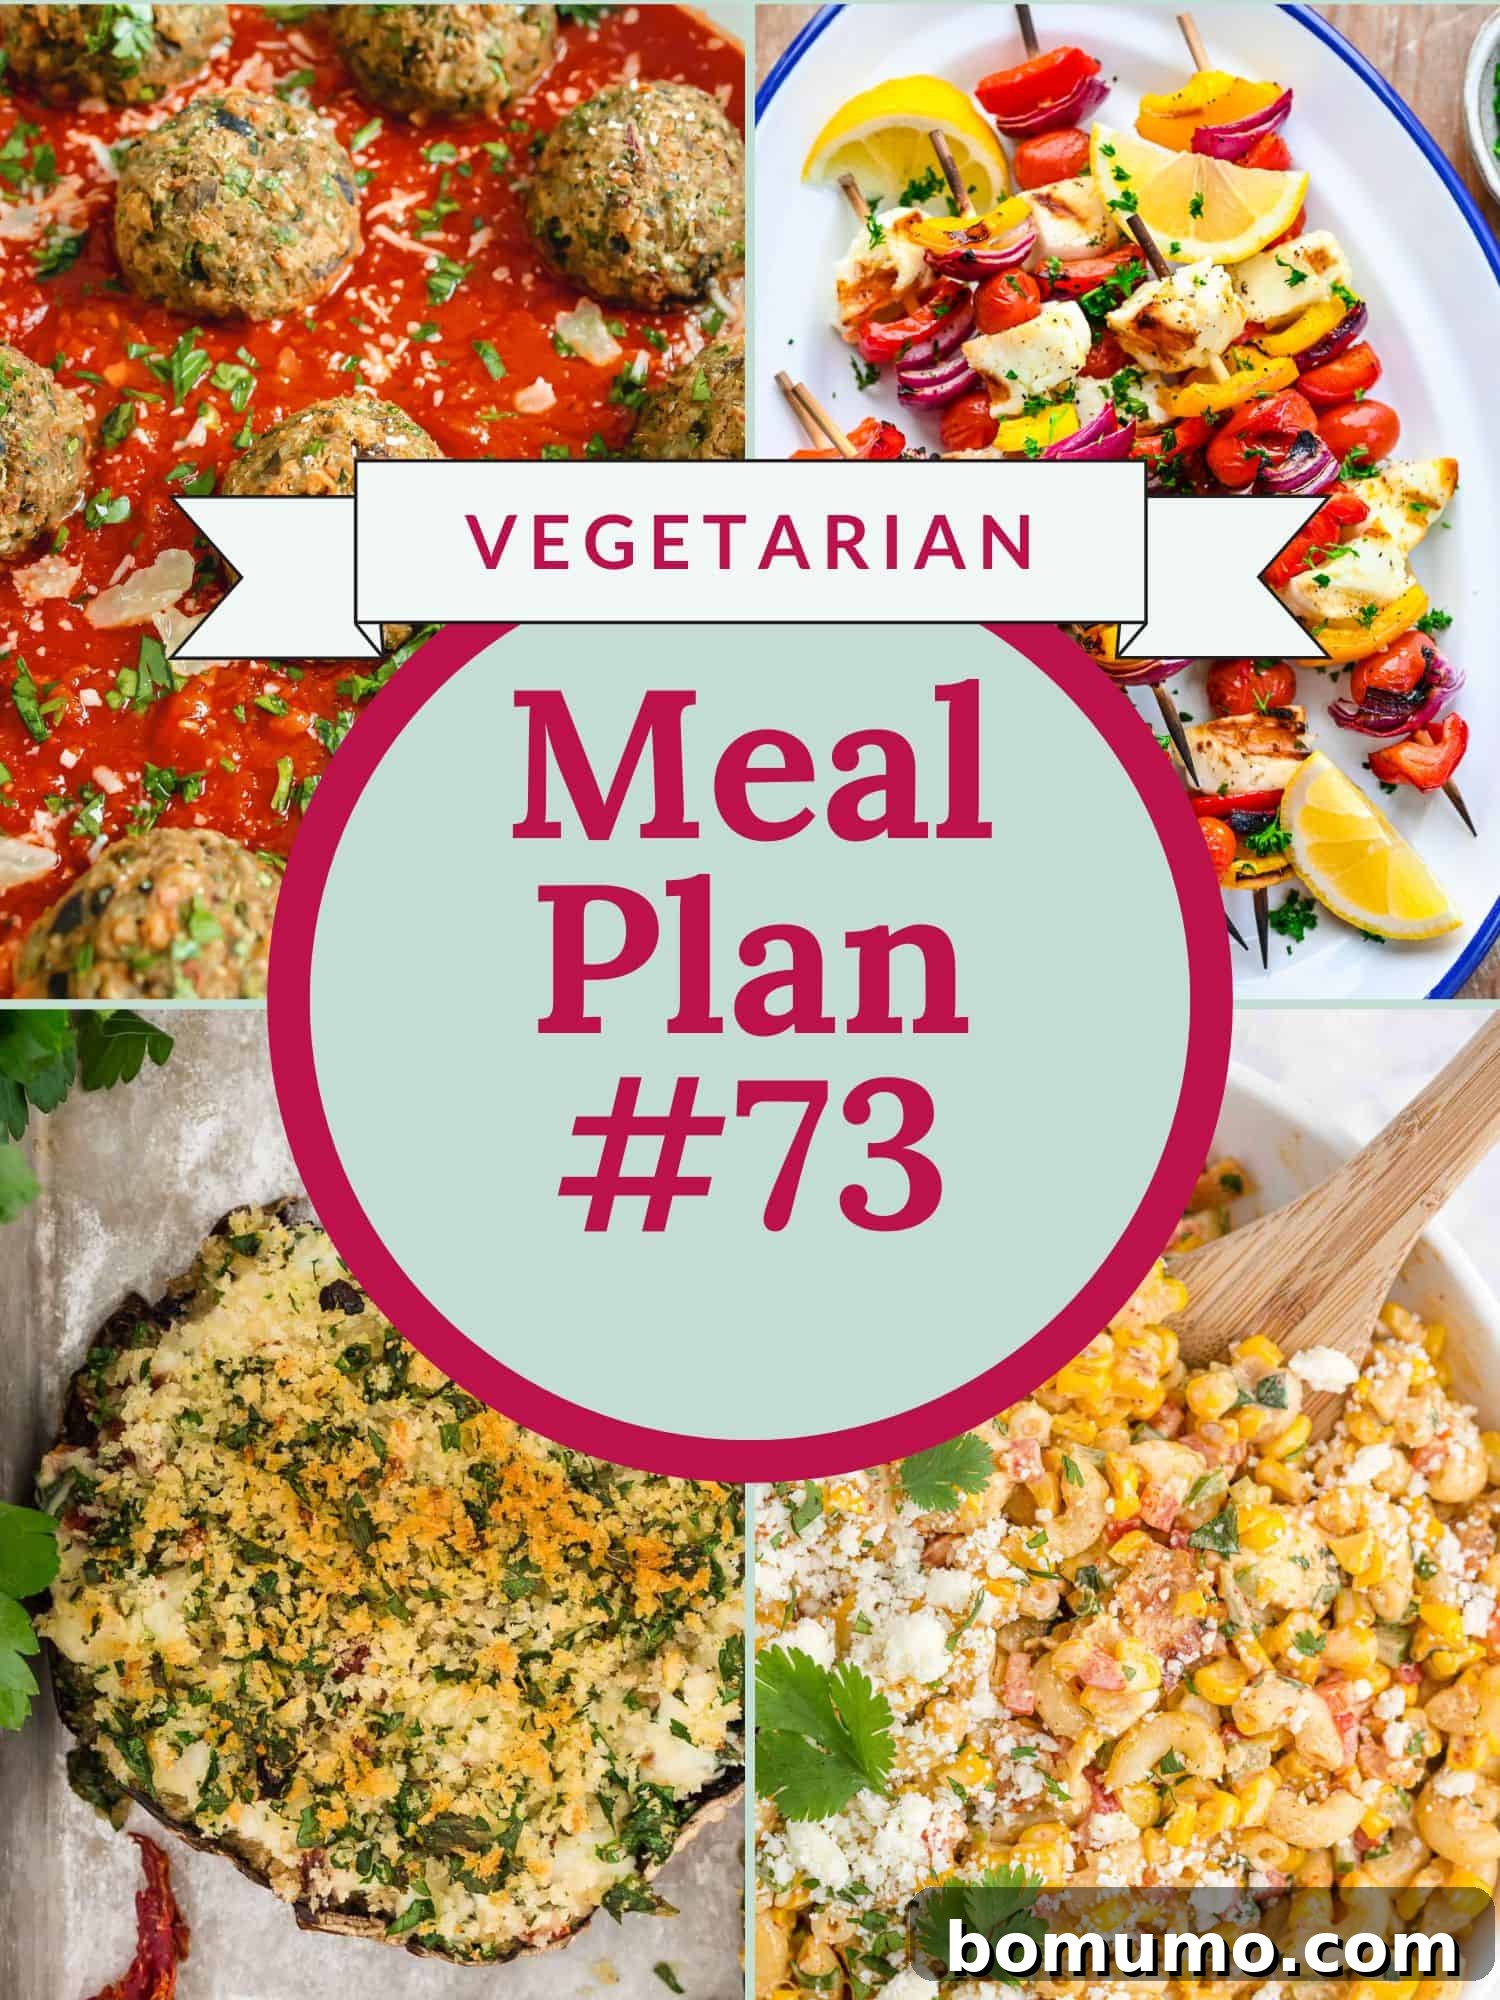
Interested in a weekly meal plan that incorporates this recipe? Check out Meal Plan #73. You’ll find a complete recipe for each weekday, along with a categorized grocery list. New meal plans are added weekly.