
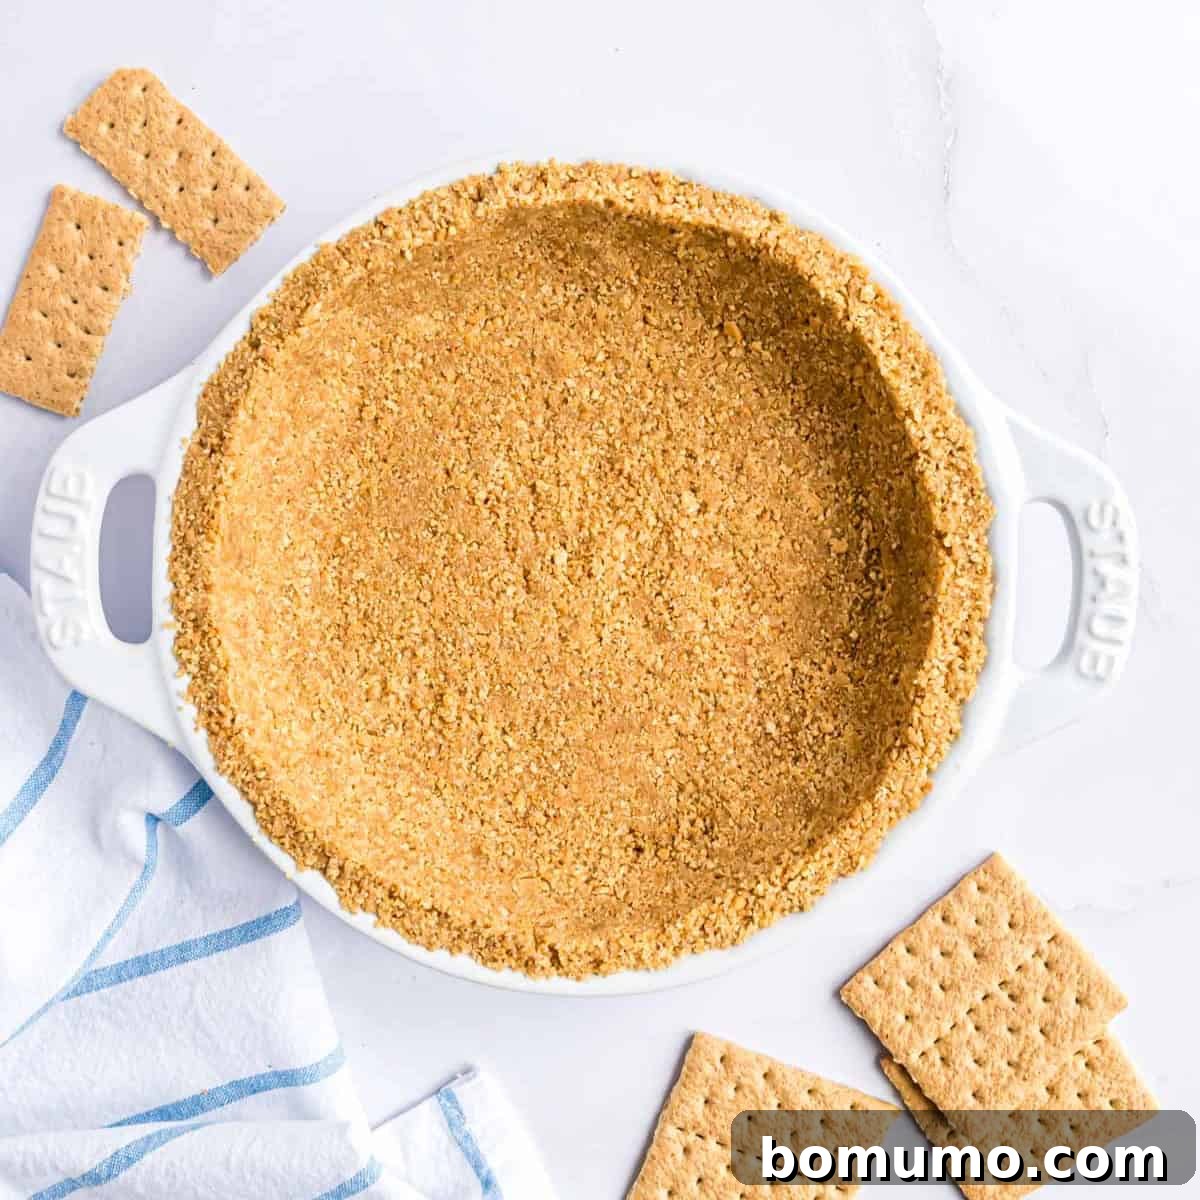
Recipe Overview: Your Go-To Graham Cracker Crust
Why You’ll Adore This Recipe: Say goodbye to the struggles of traditional pastry crusts! This homemade graham cracker crust recipe offers unparalleled ease and a delectable flavor that far surpasses any store-bought alternative. It’s the perfect sweet, buttery, and crunchy base for a myriad of desserts, promising a consistently delightful experience every time.
Preparation Time: A mere 10 minutes to bring this delightful crust together.
Essential Equipment: A food processor for effortless crumb creation (though manual methods work perfectly too!) and a standard pie plate.
Yield: This recipe expertly prepares one perfectly sized 9-inch pie crust.
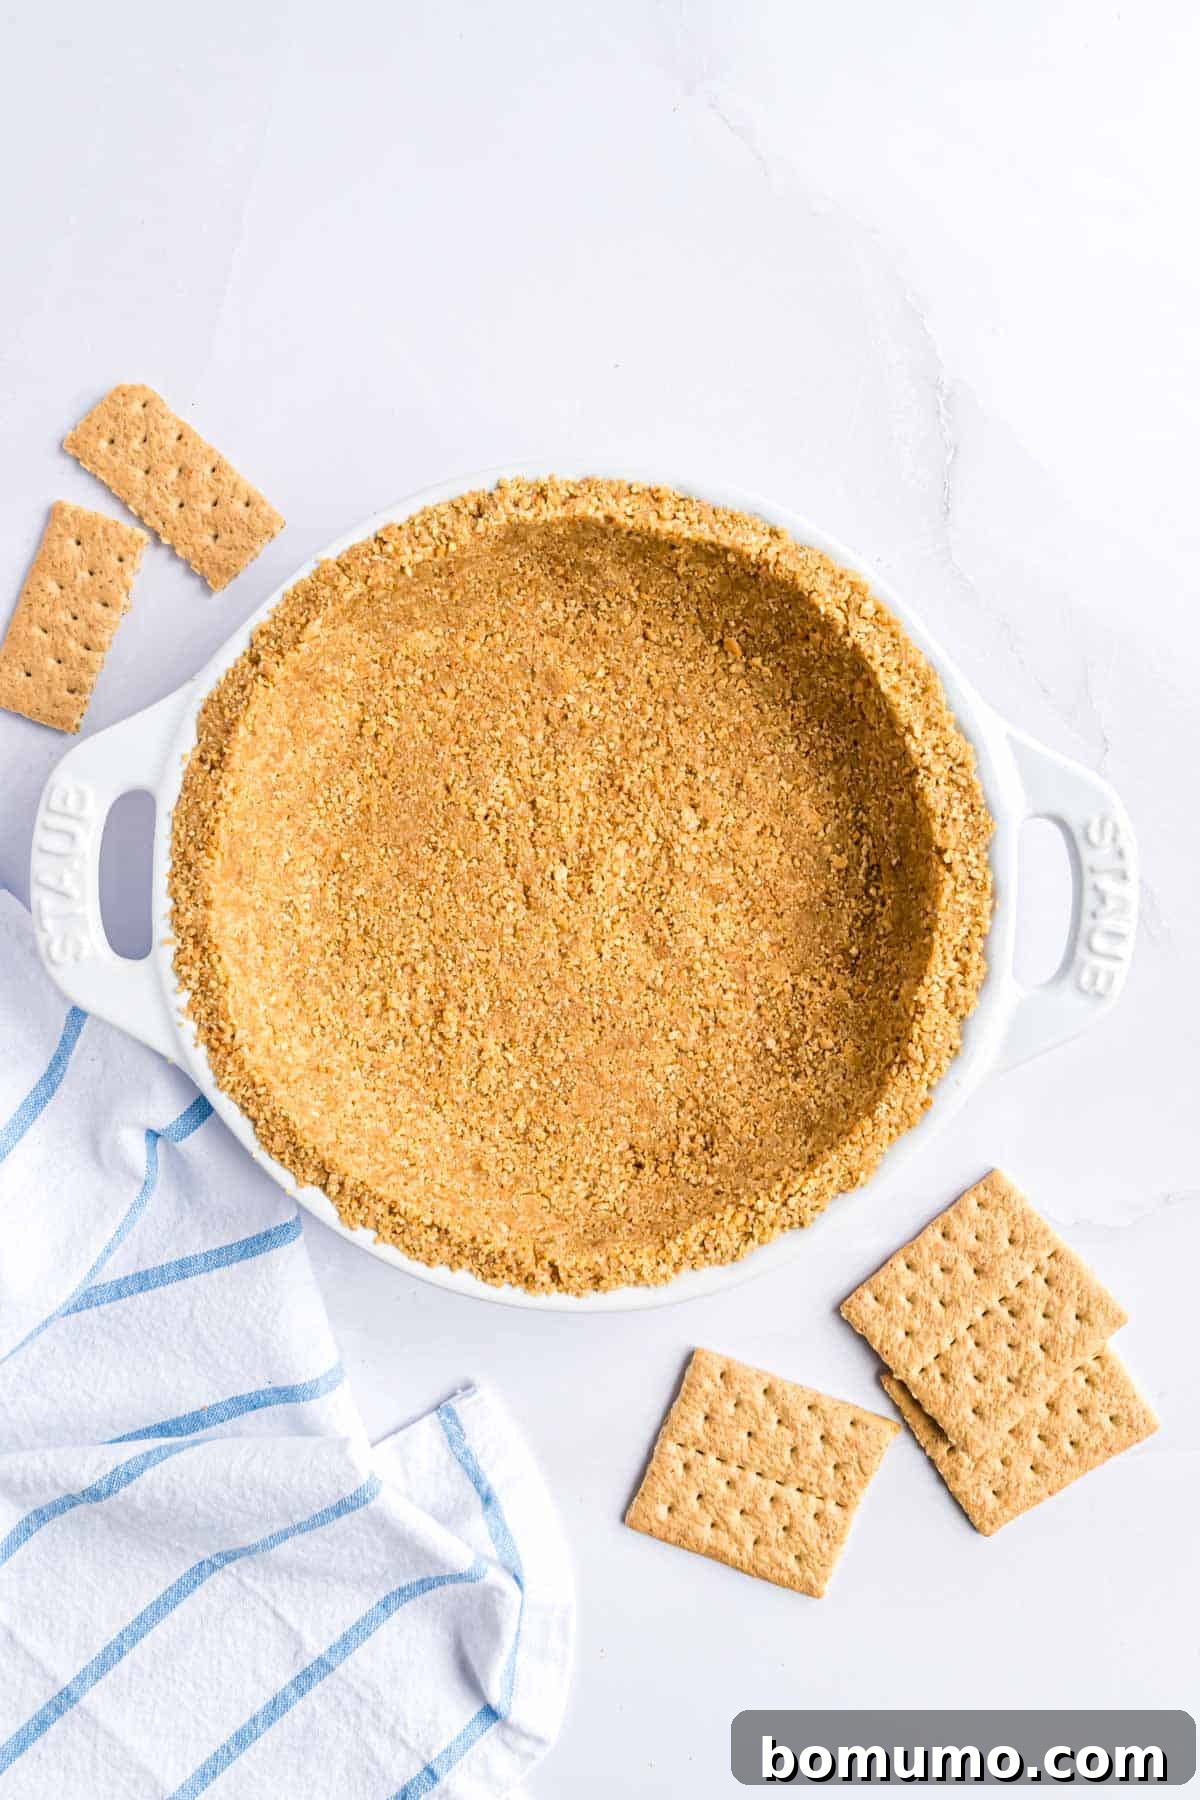
When it comes to pie crusts, the culinary world offers a delightful dichotomy: the classic flaky pastry and the irresistibly sweet graham cracker crust. While both serve as foundational elements for countless desserts, they each bring a distinctly unique character to the table. A traditional pastry crust, with its rich buttery notes and delicate, airy layers, often demands precision and a careful hand. It’s a labor of love that results in a sophisticated base.
In contrast, a homemade graham cracker crust embodies a different kind of charm. It’s gloriously sweet, wonderfully crumbly, and offers a satisfying crunch with every bite. There’s a comforting, almost nostalgic quality to it, making it the ideal partner for creamy fillings, fruity layers, and rich chocolate creations. And yes, it’s still beautifully buttery – because what’s a truly great crust without that rich, golden fat?
Beyond the delightful difference in flavor and texture, there’s another significant factor that sets these two crusts apart: the sheer simplicity of making a graham cracker crust. Forget the meticulous process of handling cold butter, the tricky task of incorporating just the right amount of ice water, or the delicate art of rolling out dough without tearing it. Crafting a graham cracker crust eliminates all that fuss. It’s a straightforward matter of crushing graham crackers, blending them with a few key ingredients, and gently pressing the mixture into your chosen pan. This effortless method ensures a perfect, foolproof crust every single time, even for novice bakers.
Why Choose a Homemade Graham Cracker Crust?
While store-bought graham cracker crusts offer convenience, creating your own at home elevates your desserts to an entirely new level. The minimal effort required is incredibly rewarding, yielding a crust that is not only superior in taste but also boasts better ingredients and offers endless customization possibilities. Here’s why making your own is always the best choice:
- Unrivaled Flavor and Quality: There’s simply no comparison to the rich, authentic taste of a homemade graham cracker crust. Unlike many store-bought versions that rely on hydrogenated oils (such as palm or soybean oil) and artificial preservatives to extend shelf life, your DIY crust uses real butter, resulting in a depth of flavor and a tender crumbly texture that store-bought varieties can’t match. You control the quality of ingredients, ensuring a fresher, more wholesome foundation for your desserts.
- Effortless Customization: This recipe is incredibly adaptable, inviting you to experiment and make it truly your own. Whether you prefer a finer, more delicate crumb or a slightly coarser, heartier texture, you can easily adjust the consistency of your crushed graham crackers. The real fun begins with adding flavors: a dash of cinnamon for warmth, a hint of ginger for a subtle spice, or even finely chopped nuts for an added layer of crunch and richness. The possibilities for tailoring your crust to perfectly complement your filling are virtually limitless.
- Versatility in Form: Don’t limit yourself to just a standard pie plate! While store-bought crusts typically come in one predetermined shape and size, this homemade recipe allows you to create crusts for various baking dishes. Imagine crafting a custom crust for elegant square cheesecake bars, whimsical mini pies, or impressive rectangular desserts. From traditional round pies to individual tartlets, this recipe provides the flexibility to fit any culinary vision, making it an indispensable tool for every home baker.
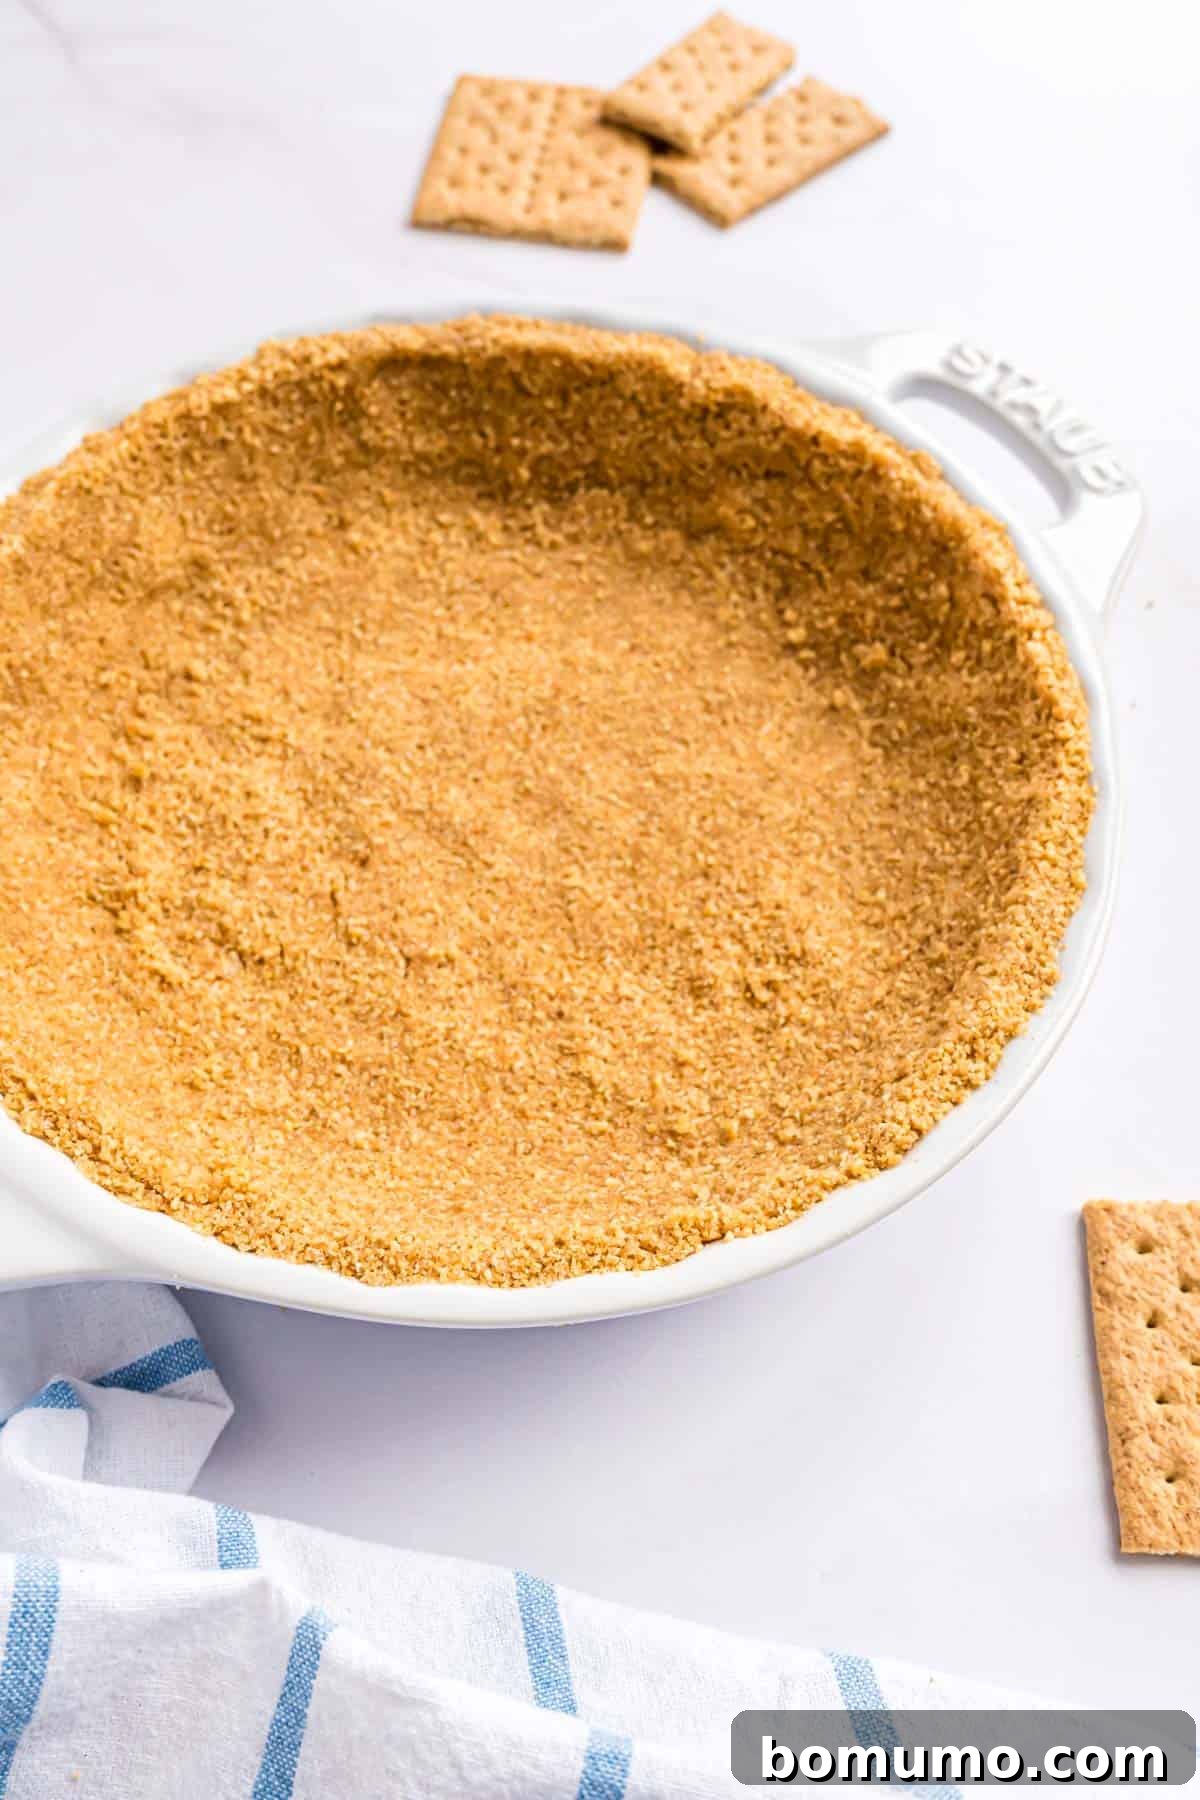
Key Ingredients for the Perfect Graham Cracker Crust
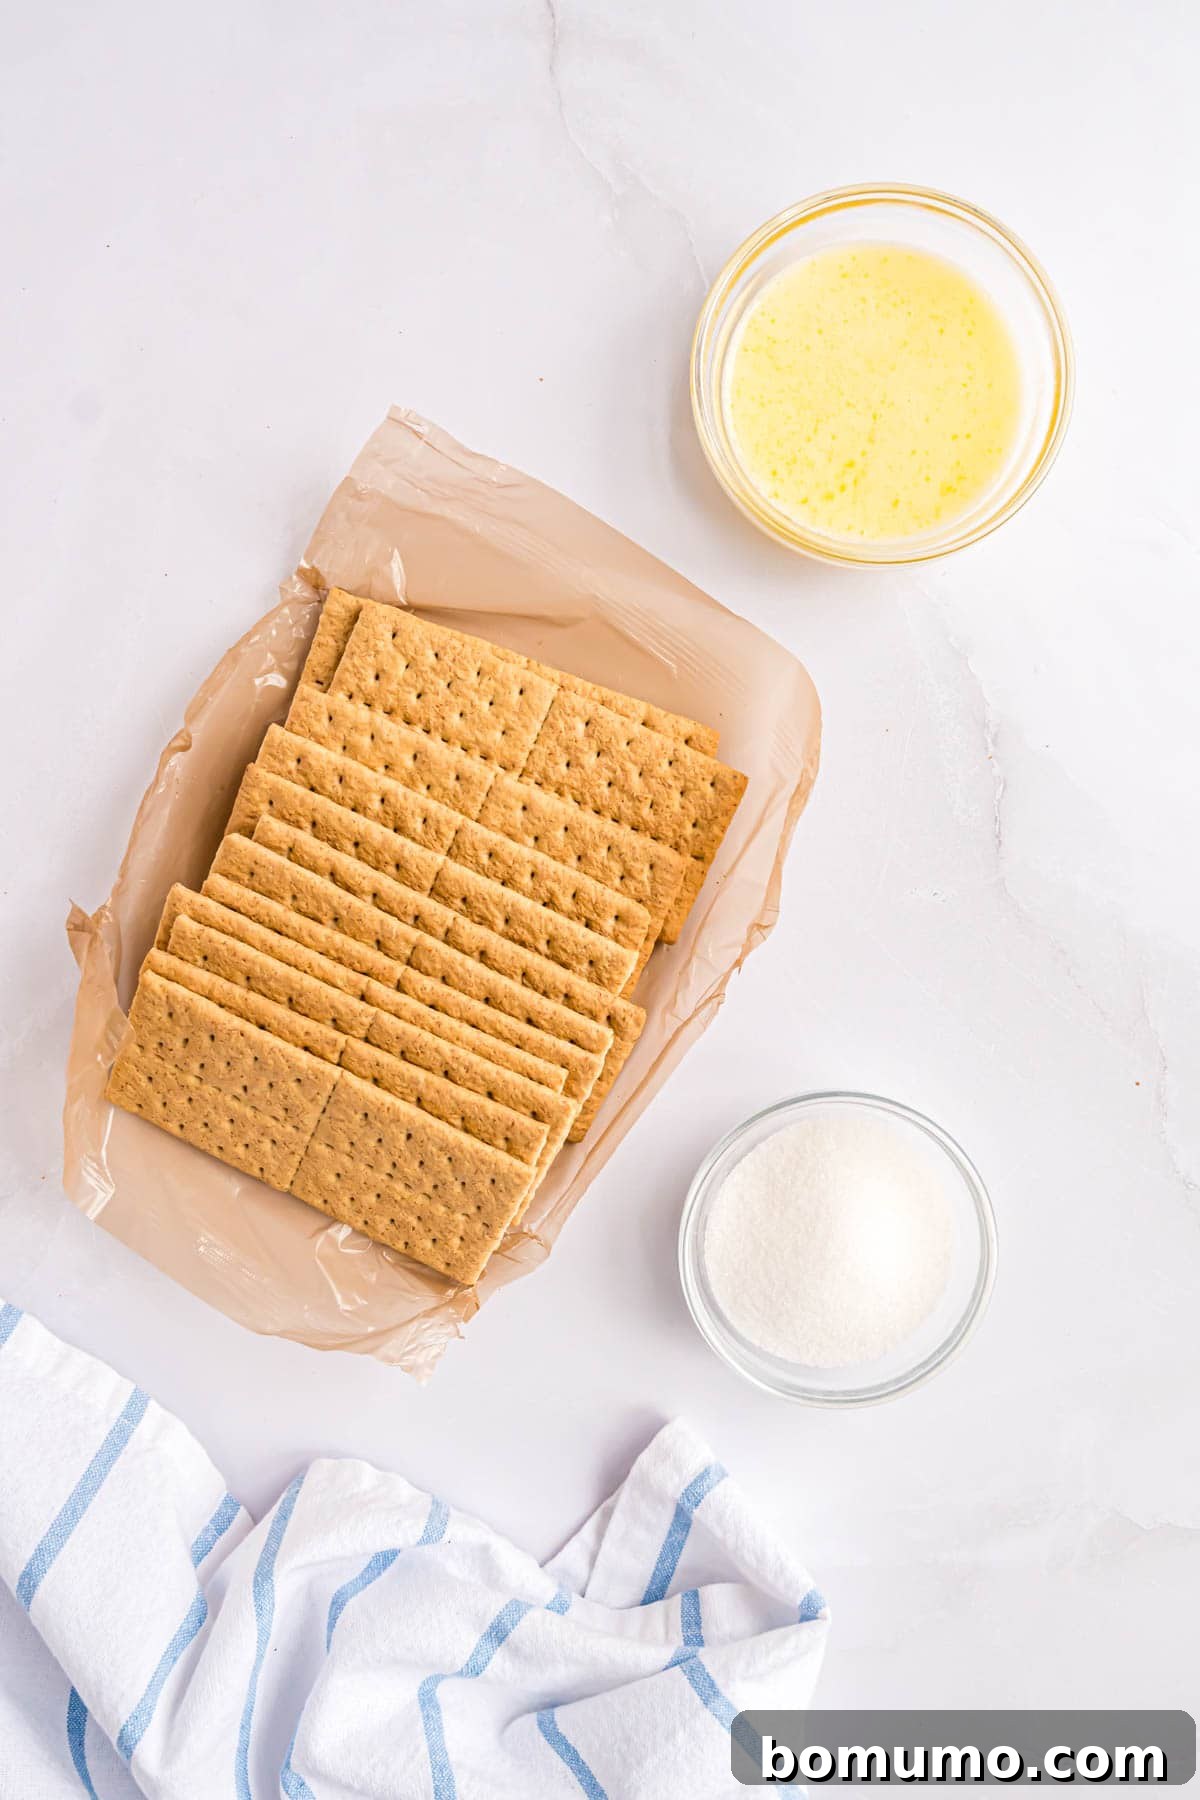
Crafting a superior graham cracker crust starts with understanding the role of each ingredient. Simple, high-quality components are all you need to achieve a truly delicious base for your favorite desserts.
- Graham Cracker Crumbs: For the ideal crust, you’ll need approximately 1.5 cups of fine graham cracker crumbs, which typically equates to about 12 full-size rectangular crackers (the ones with perforated sheets). The brand you choose can significantly impact the flavor. Many seasoned bakers find that Honey Maid graham crackers offer a superior taste profile compared to generic store brands, delivering a richer and more authentic base. Making your own crumbs from whole crackers also ensures a better texture, as they tend to be coarser than pre-packaged crumbs, which helps the crust bind together more effectively.
- Granulated Sugar: This isn’t just for sweetness; granulated sugar plays a crucial structural role in your graham cracker crust. It helps bind the crumbs together, ensuring the crust holds its shape beautifully once pressed and chilled or baked. For a slight variation and a deeper, more caramel-like flavor, feel free to substitute a portion or all of the granulated sugar with light or dark brown sugar. This can add a wonderful warmth and richness, especially suitable for fall-inspired desserts.
- Unsalted Butter: The cornerstone of any great crust, melted unsalted butter provides the essential moisture and fat needed to hold the graham cracker crumbs together. Melting the butter ensures it evenly coats the crumbs, creating a cohesive mixture that presses easily into the pan. If you’re looking to create a dairy-free or vegan graham cracker crust, a high-quality plant-based butter substitute works wonderfully. Just ensure your chosen graham crackers also do not contain honey or other animal products if strictly adhering to a vegan diet.
Step-by-Step Guide: Crafting Your Perfect Graham Cracker Crust
Creating a homemade graham cracker crust is incredibly simple, requiring minimal effort for maximum flavor payoff. Follow these straightforward steps for a flawless result:
-
Prepare the Graham Cracker Crumbs
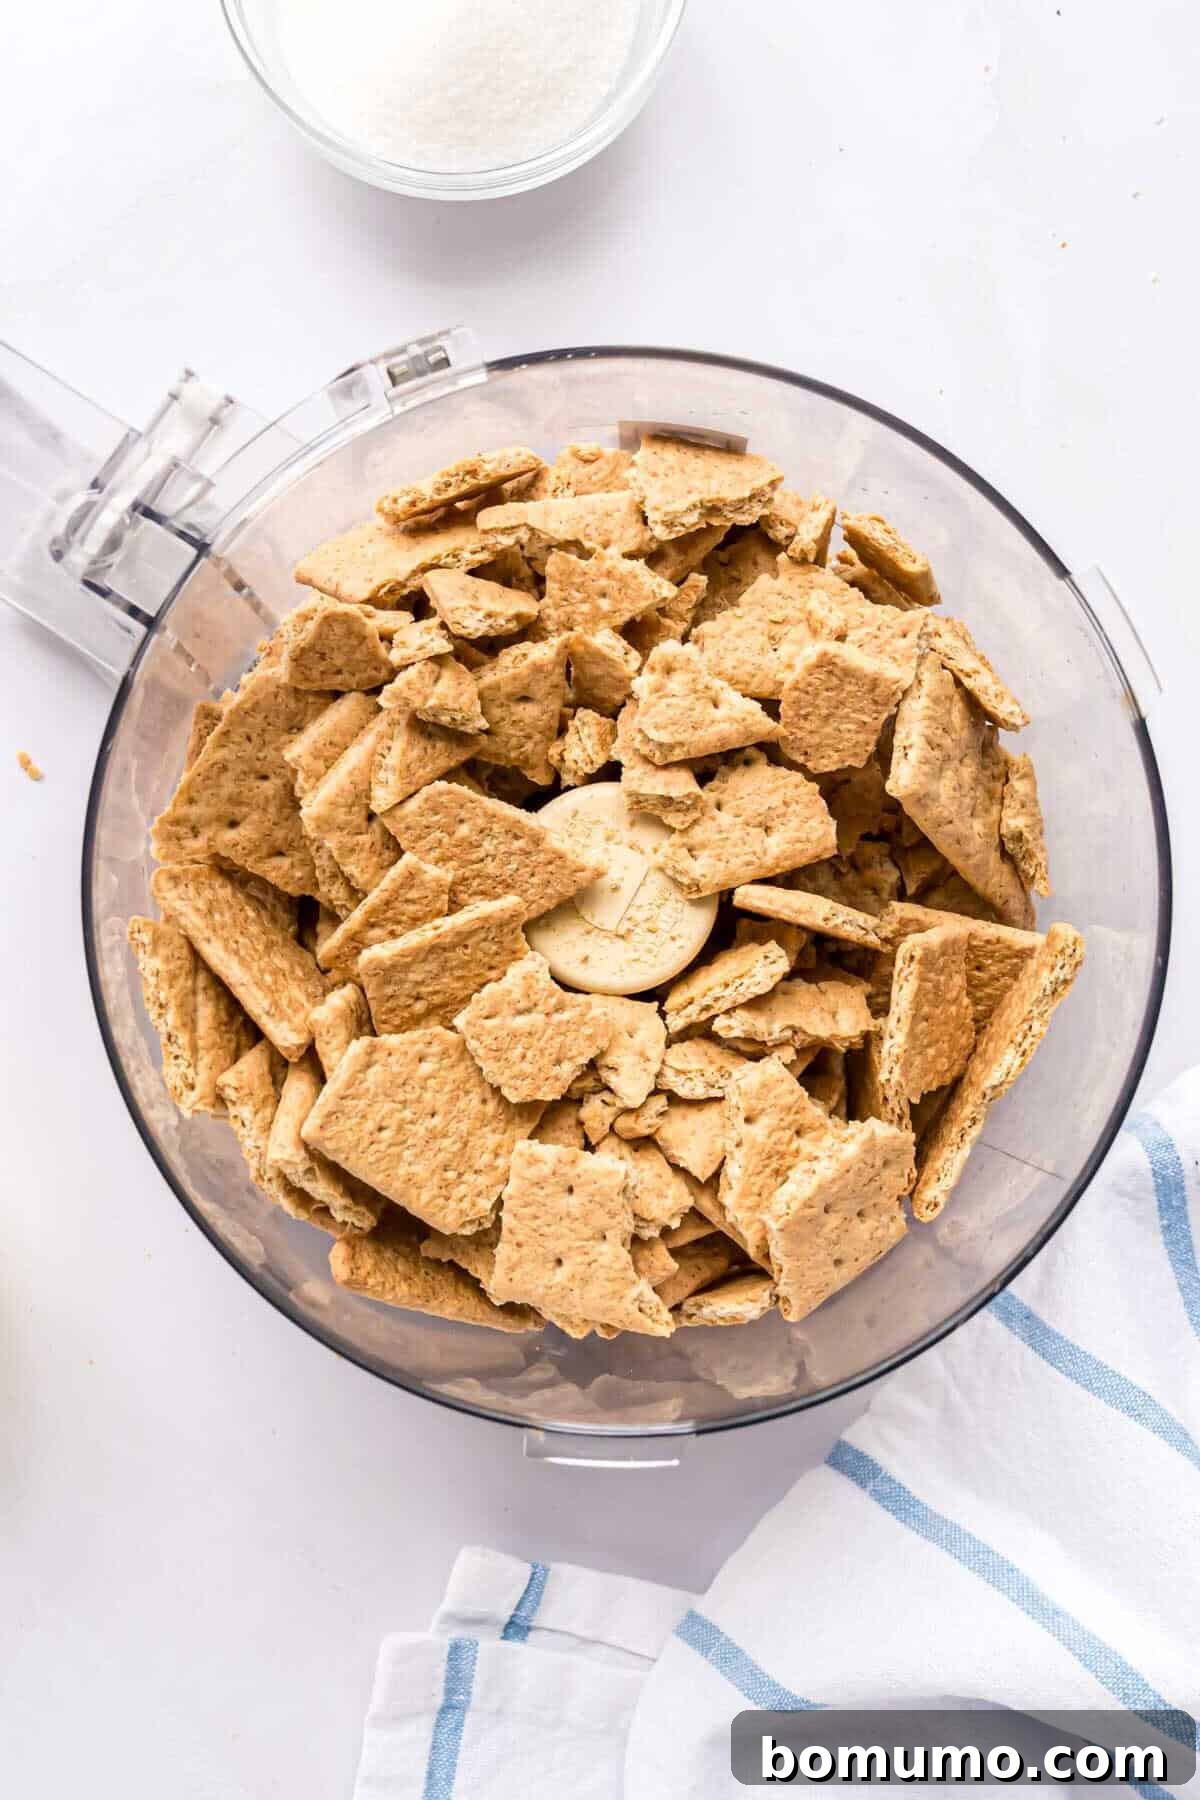
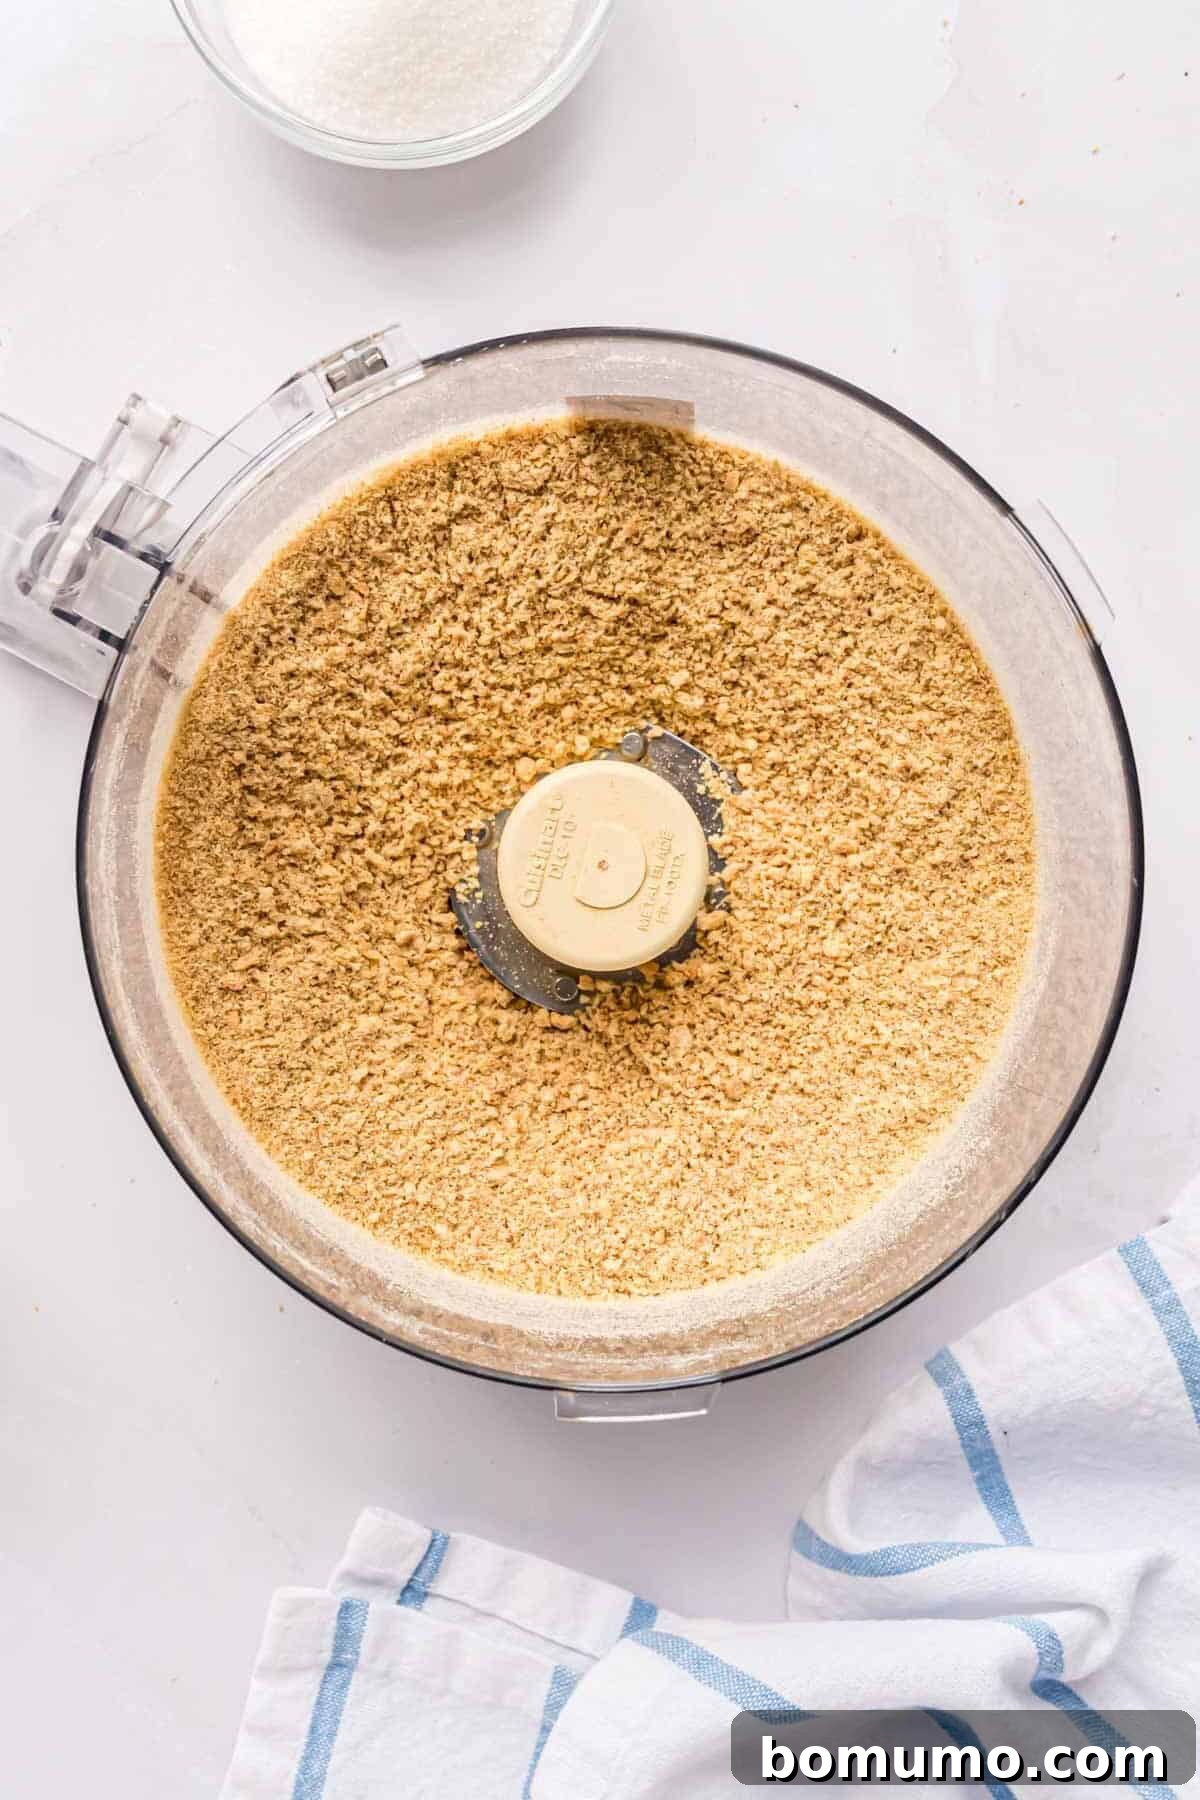
Begin by breaking your full-size graham crackers into large, manageable pieces. Place these pieces into the bowl of a food processor. Pulse the food processor until the crackers are transformed into fine, uniform crumbs. The ideal consistency is fine, resembling coarse sand, but not so fine that it becomes a powdery flour. A slight variation in crumb size is perfectly acceptable, but avoid any large chunks to ensure a smooth, cohesive crust. (If you don’t have a food processor, refer to our “Make The Crust By Hand” section below for an alternative method).
-
Incorporate the Sugar
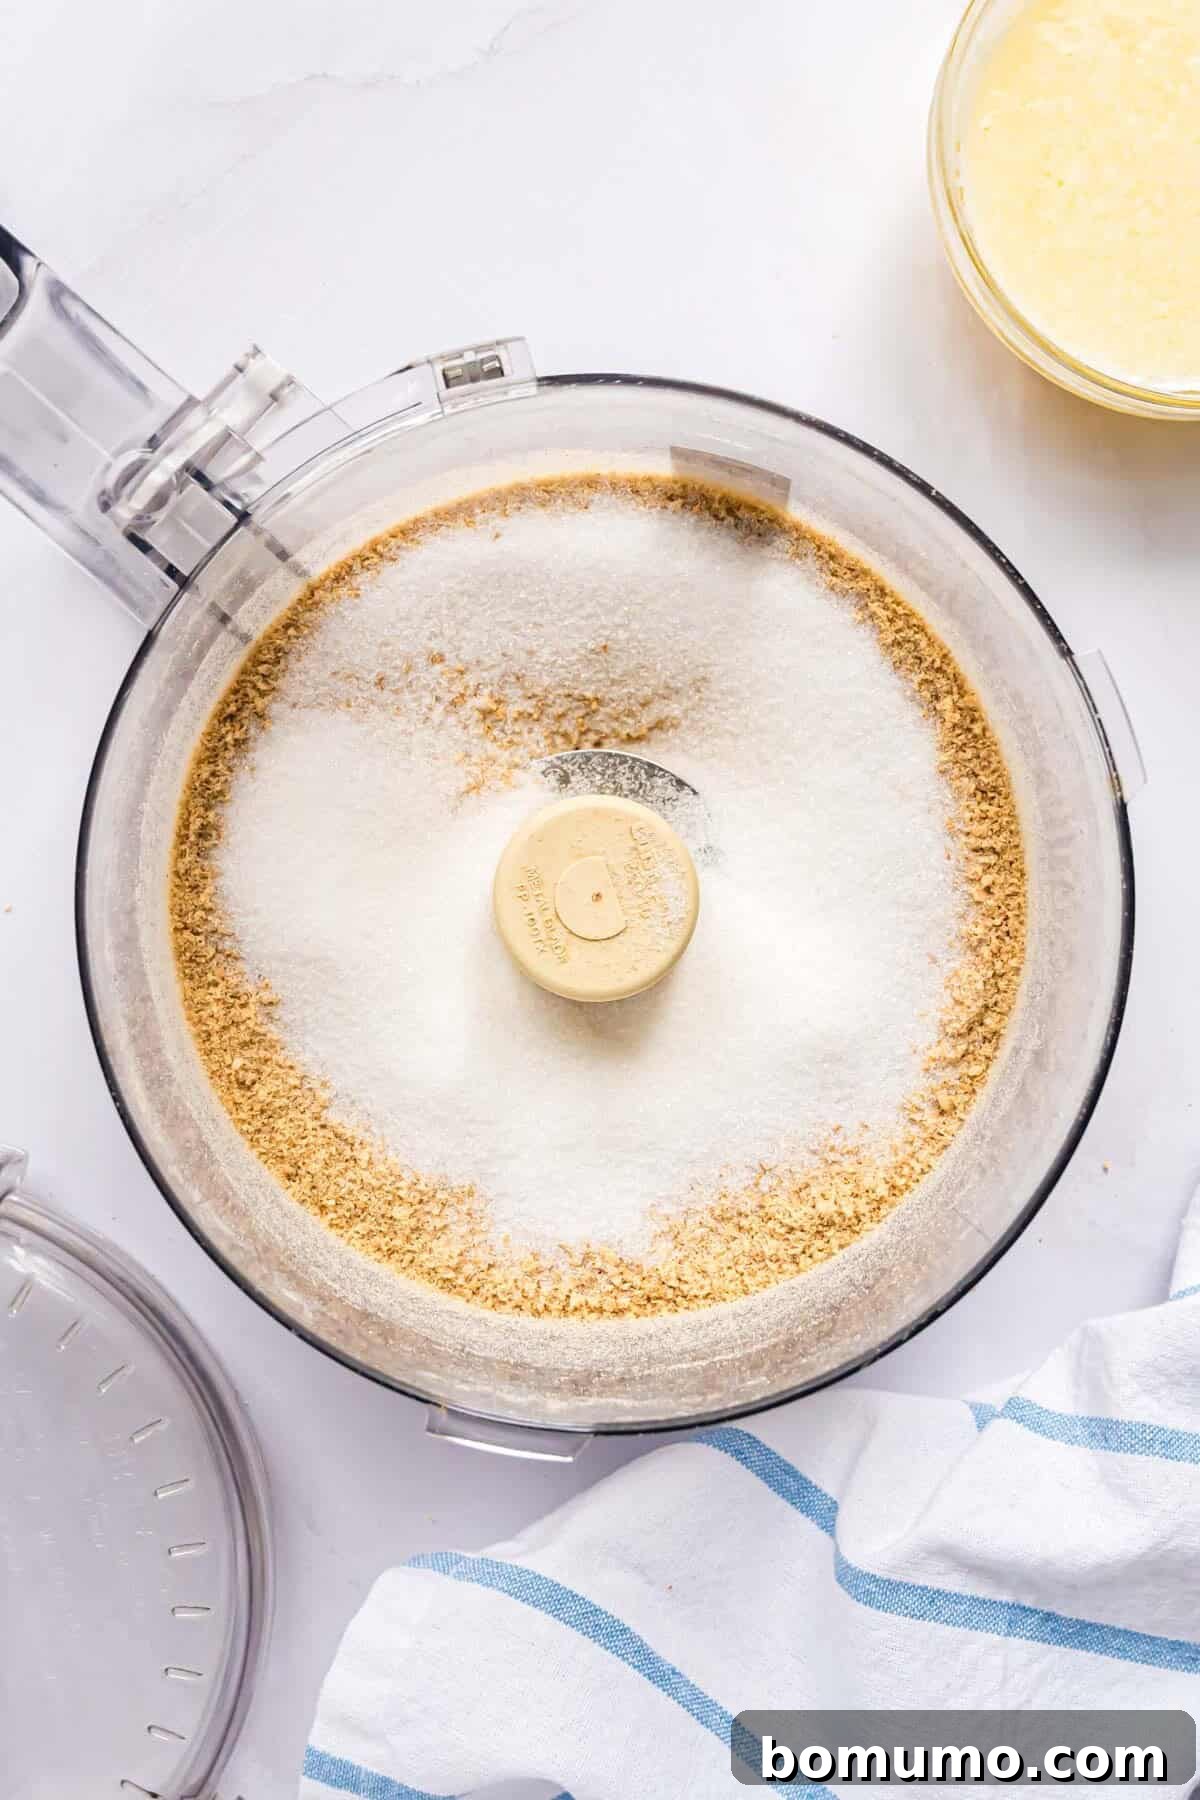
Measure out the granulated sugar and add it directly into the food processor bowl with the graham cracker crumbs. Pulse a few times, just enough to ensure the sugar is evenly distributed throughout the crumbs. The sugar acts as a binding agent, helping the crust hold its structure, so even distribution is key.
-
Add the Melted Butter
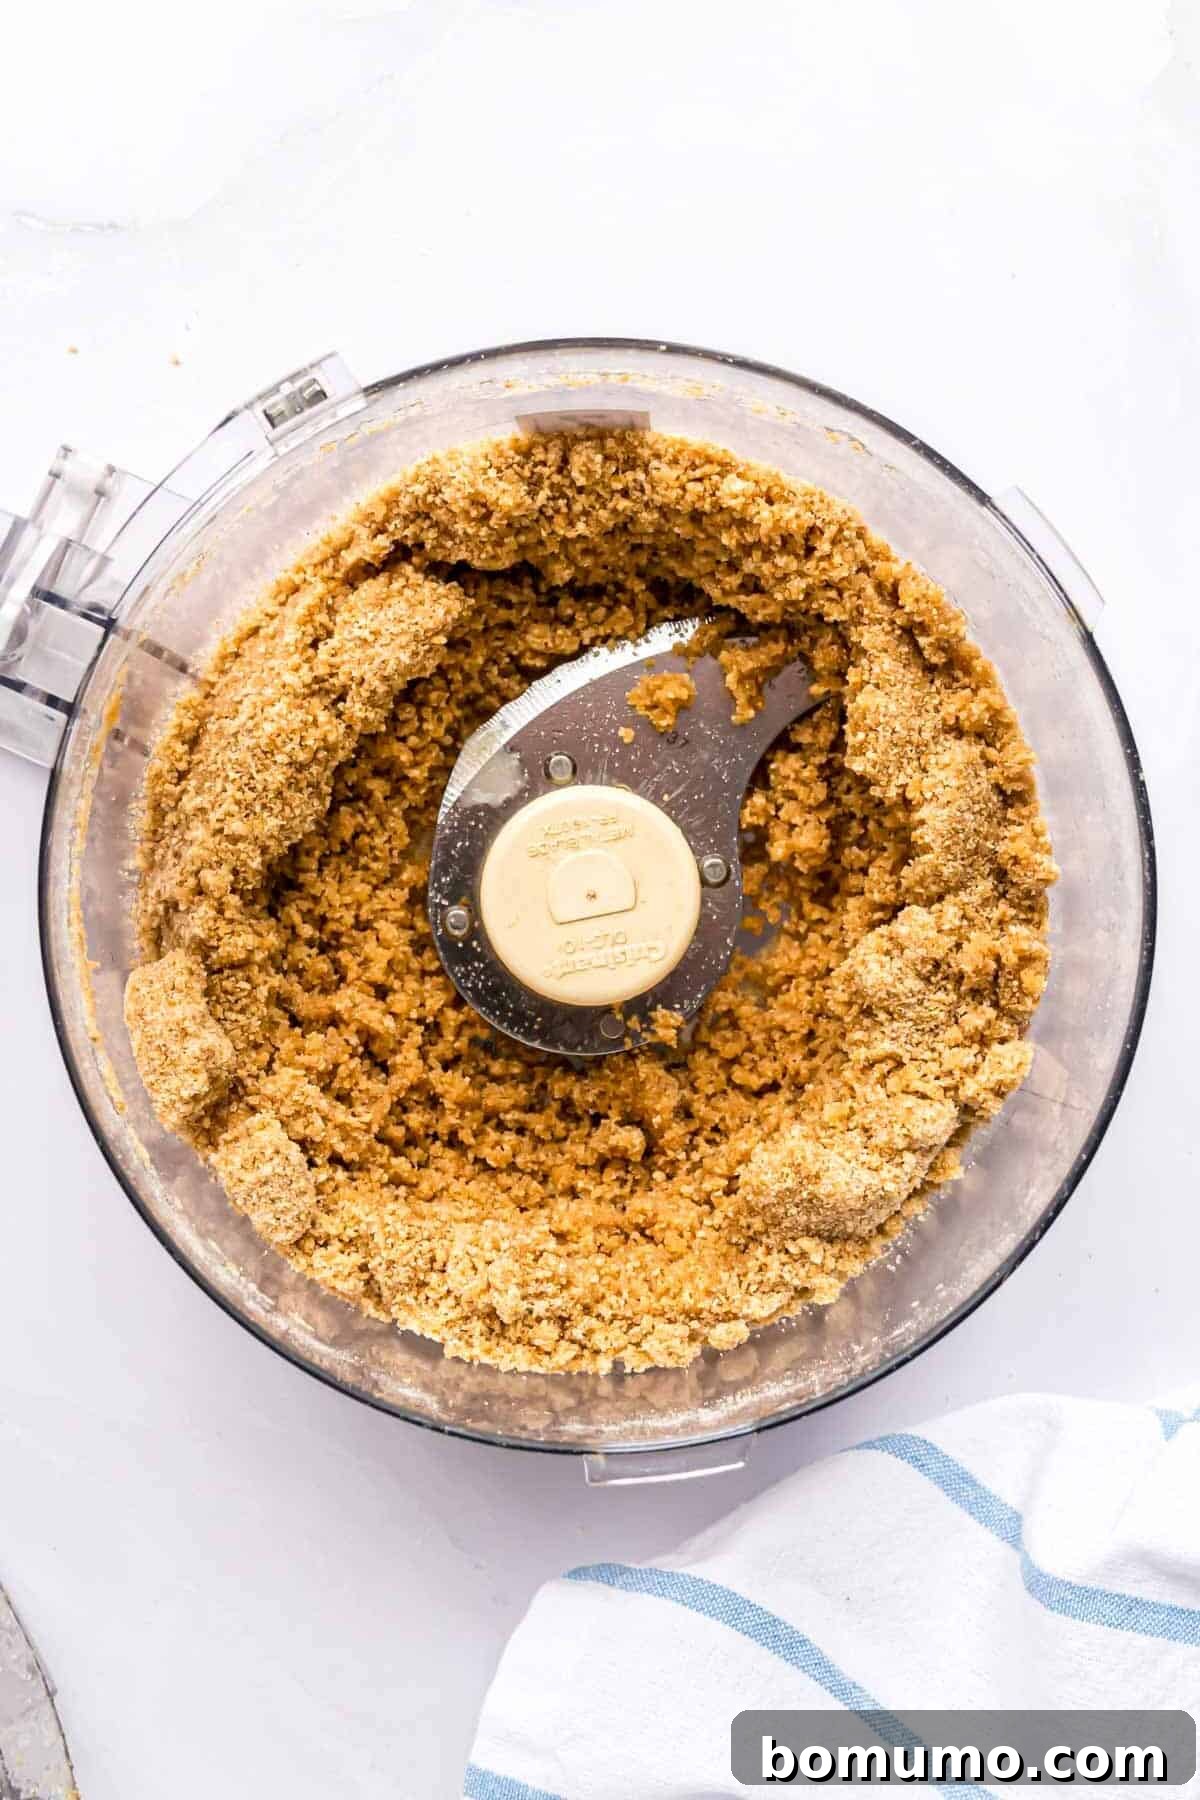
Pour the melted unsalted butter over the crumb and sugar mixture in the food processor. Pulse again, blending until the butter is thoroughly incorporated. You’ll notice the crumbs transition from a light golden brown to a deeper, medium brown color as the butter coats them. Be careful not to overprocess; the mixture should just come together. To test for readiness, pinch a small amount between your fingers; it should hold together when pressed. A few slightly drier crumbs are perfectly fine.
-
Press the Crust into the Pan
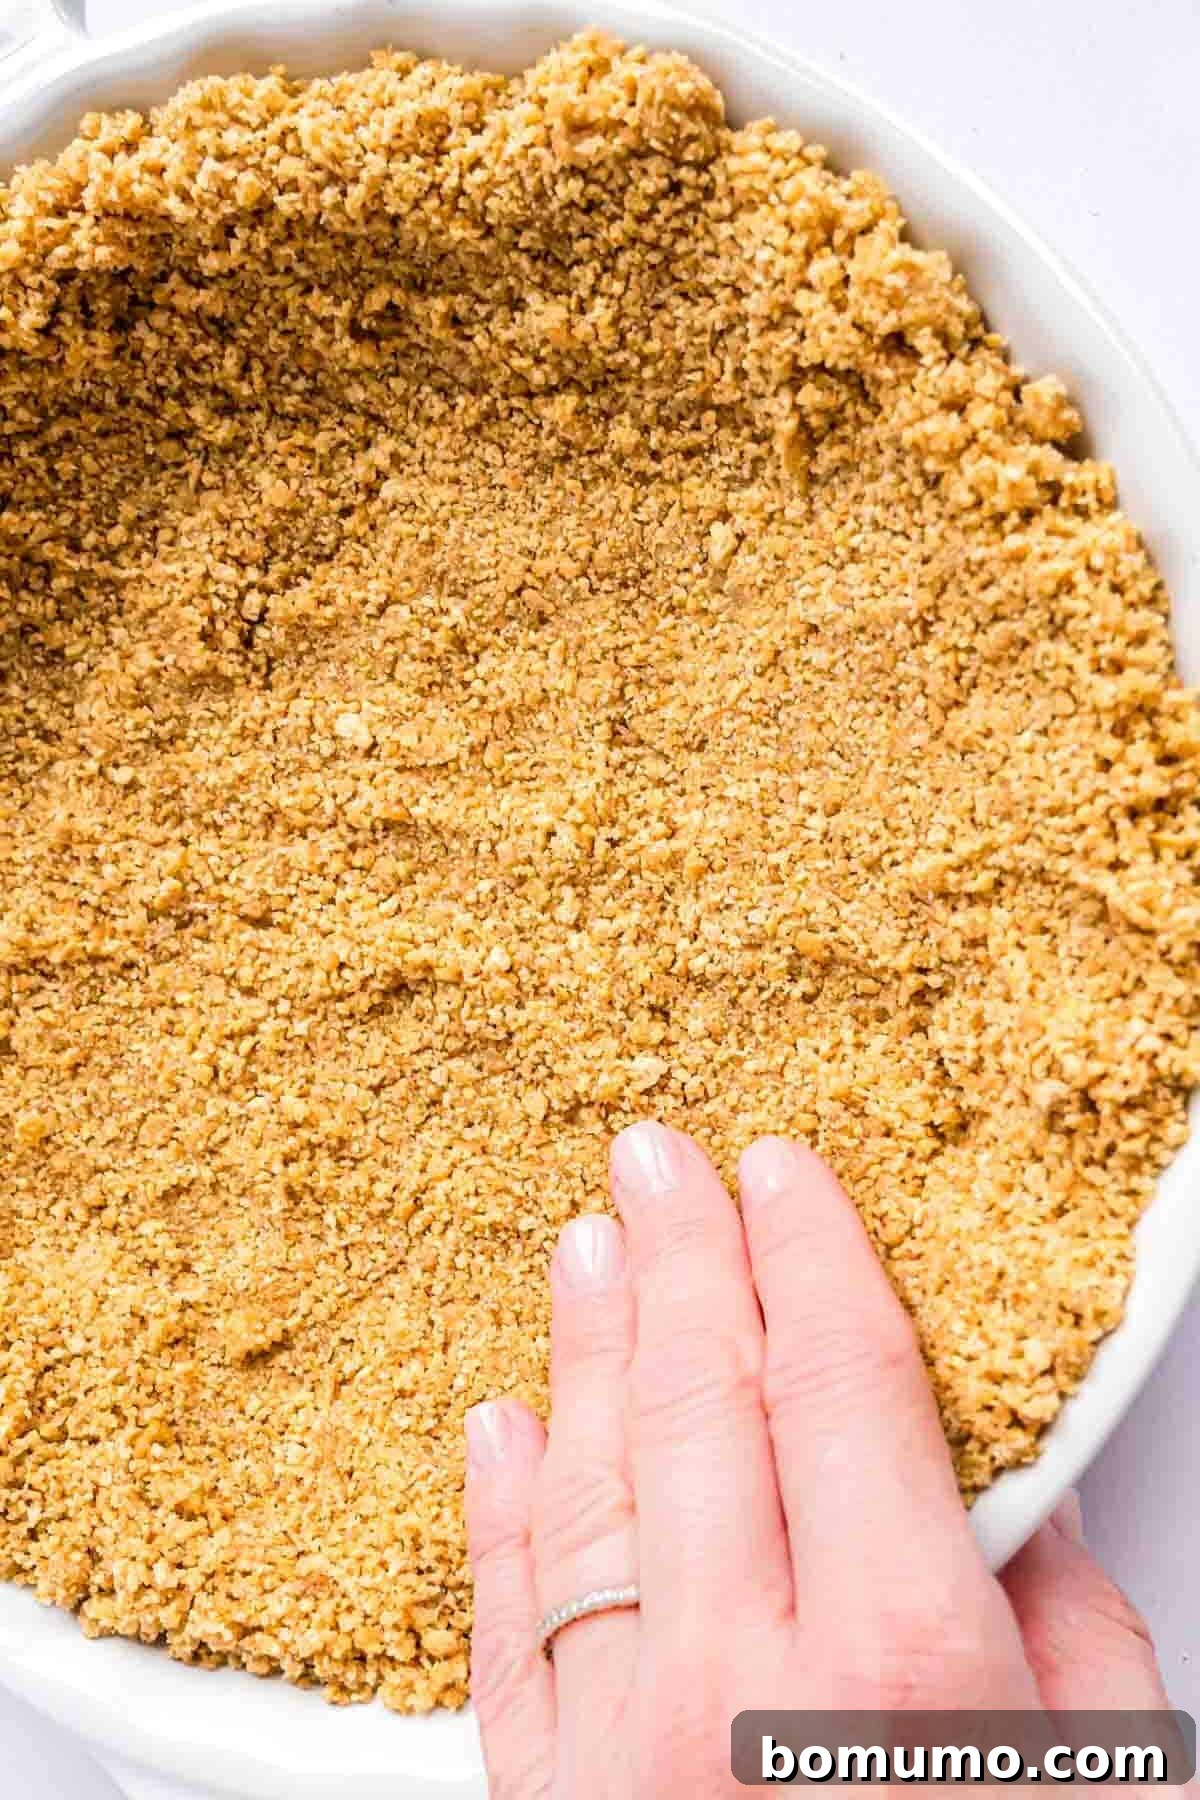
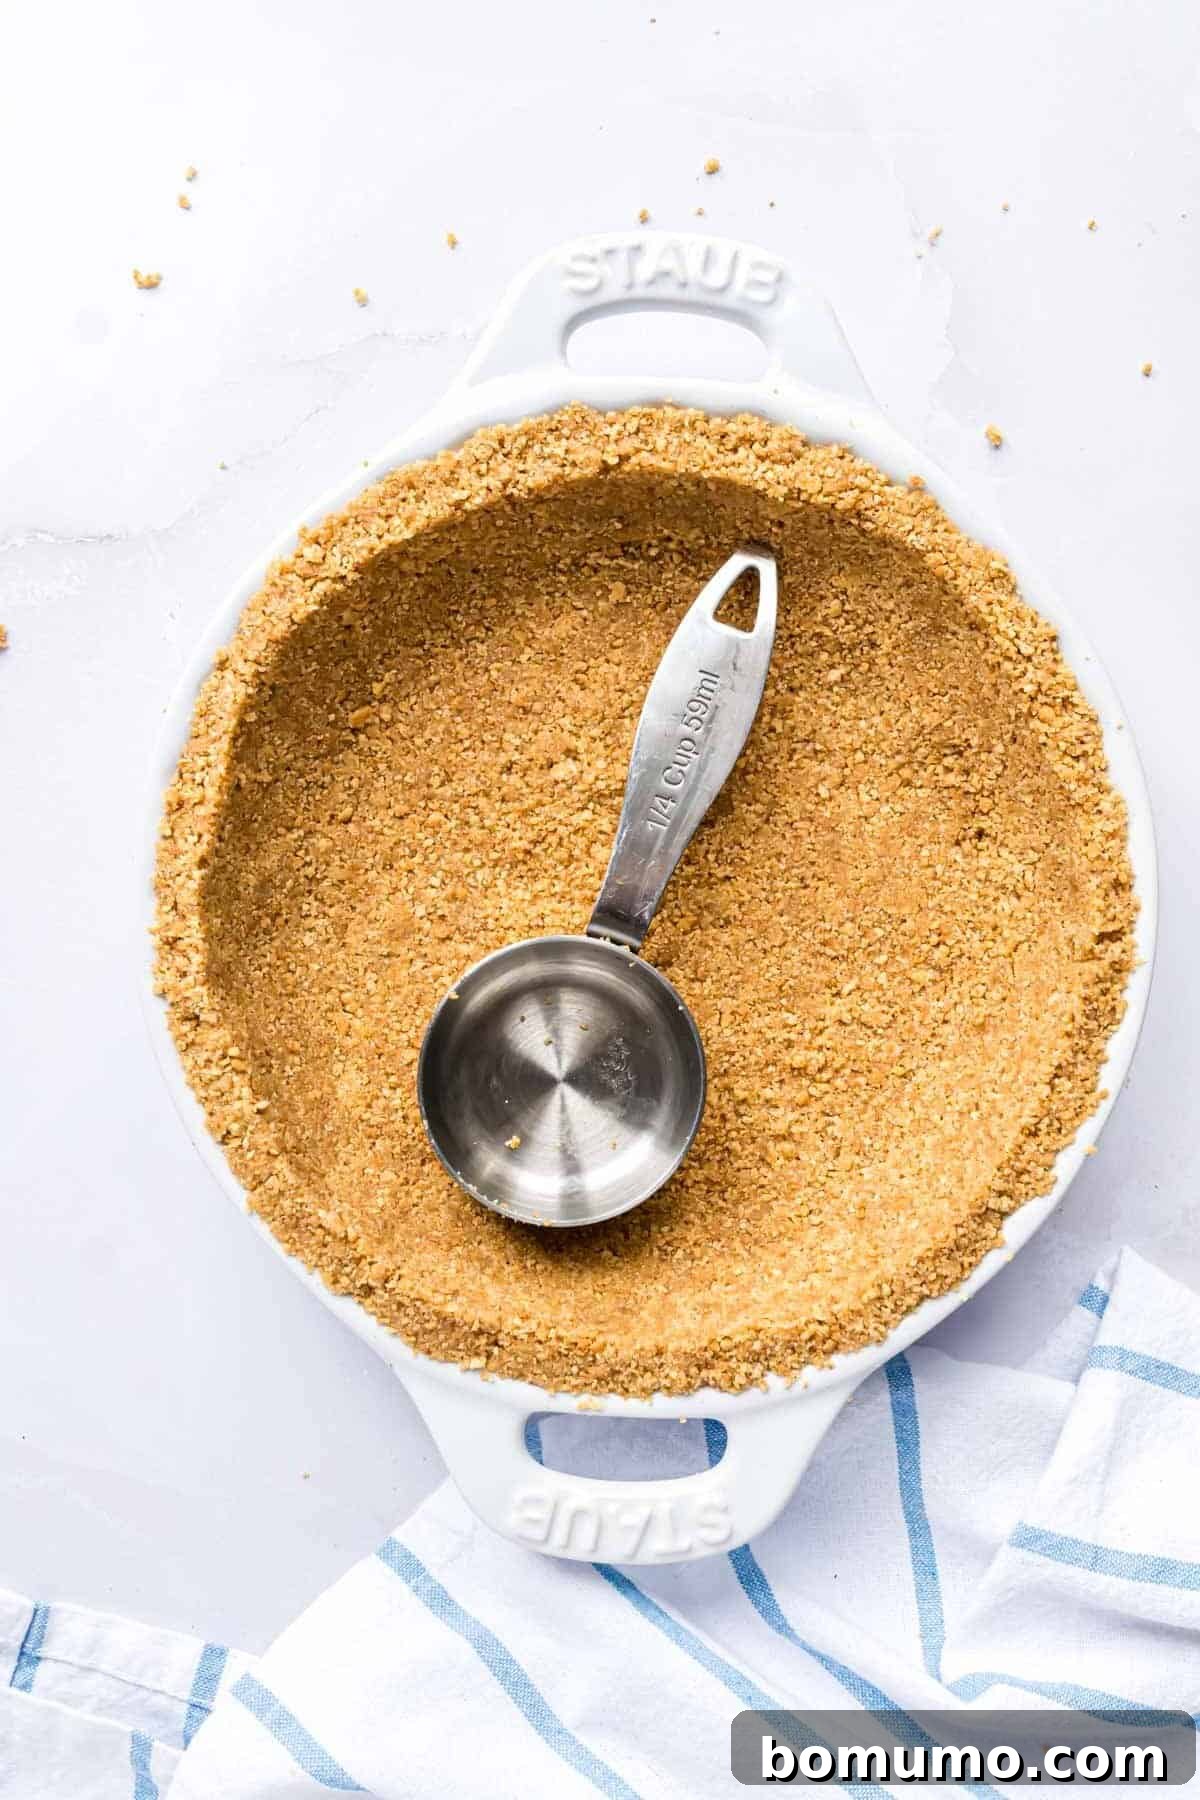
Transfer the buttery crumb mixture into your chosen pie plate. Begin by evenly spreading the crumbs across the bottom of the pan, then gently push them up the sides. For best results, use a firm, flat object like the bottom of a small measuring cup or a flat-bottomed glass to press the crumbs firmly into place. The goal is to compact the crumbs just enough so they hold together without being overly dense. Applying too much pressure can make the crust difficult to cut and serve later, so aim for a firm, yet not rock-hard, consistency.
-
Chill Until Ready
Once pressed, cover the crust securely with plastic wrap. Place it in the refrigerator for at least 30 minutes, or until you are ready to fill it. Chilling allows the butter to solidify, further binding the crumbs and ensuring a firm, stable crust. If your recipe requires baking, you can proceed directly to the baking step without prior chilling.
Versatile Applications: Using Your Graham Cracker Crust
One of the many advantages of a graham cracker crust is its incredible adaptability, making it suitable for a wide range of desserts, whether they require baking or not. Here’s how you can prepare and utilize your homemade crust:
-
No-Bake Desserts: For those times when you’re short on time or prefer to keep your oven off, a no-bake approach is perfect. Simply refrigerate your pressed graham cracker crust until the butter has thoroughly solidified, which typically takes about 30 minutes to an hour. The chilled butter acts as an effective binder, creating a firm and delicious base. This method is ideal for quick and easy treats like no-bake chocolate peanut butter pie, luscious mini cheesecakes, or any dessert where a creamy, chilled filling takes center stage.
-
Pre-Baked Crust for Chilled Fillings: For the most robust and flavor-rich crust, especially when pairing with a chilled, unbaked filling, pre-baking is highly recommended. Baking the crust for a short period deepens its flavor, enhances its crunch, and helps it hold together even better, particularly if you’ve made your crumbs by hand. Preheat your oven to 350ºF (175ºC) and bake the empty crust for approximately 10 minutes, or until it’s lightly golden and fragrant. Allow the crust to cool completely before adding your filling. This technique is fantastic for desserts like creamy millionaire pie, decadent chocolate pudding pie, or vibrant Kool-Aid pie, providing a sturdy and flavorful foundation.
-
Baked with Your Dessert: If your chosen dessert, such as a classic cheesecake or a baked custard pie, requires oven time, there’s no need to pre-bake the graham cracker crust separately. Simply prepare and press your crust into the pan, then add your unbaked filling directly into it. The crust will bake alongside the filling, becoming perfectly crisp and golden as the dessert cooks. This streamlined method saves time and simplifies the baking process for many popular recipes.
Mastering Your Graham Cracker Crust Without a Food Processor
Don’t have a food processor? No problem! You can still create a fantastic graham cracker crust with a little manual effort. This method is just as effective and yields equally delicious results, simply requiring a bit more muscle.
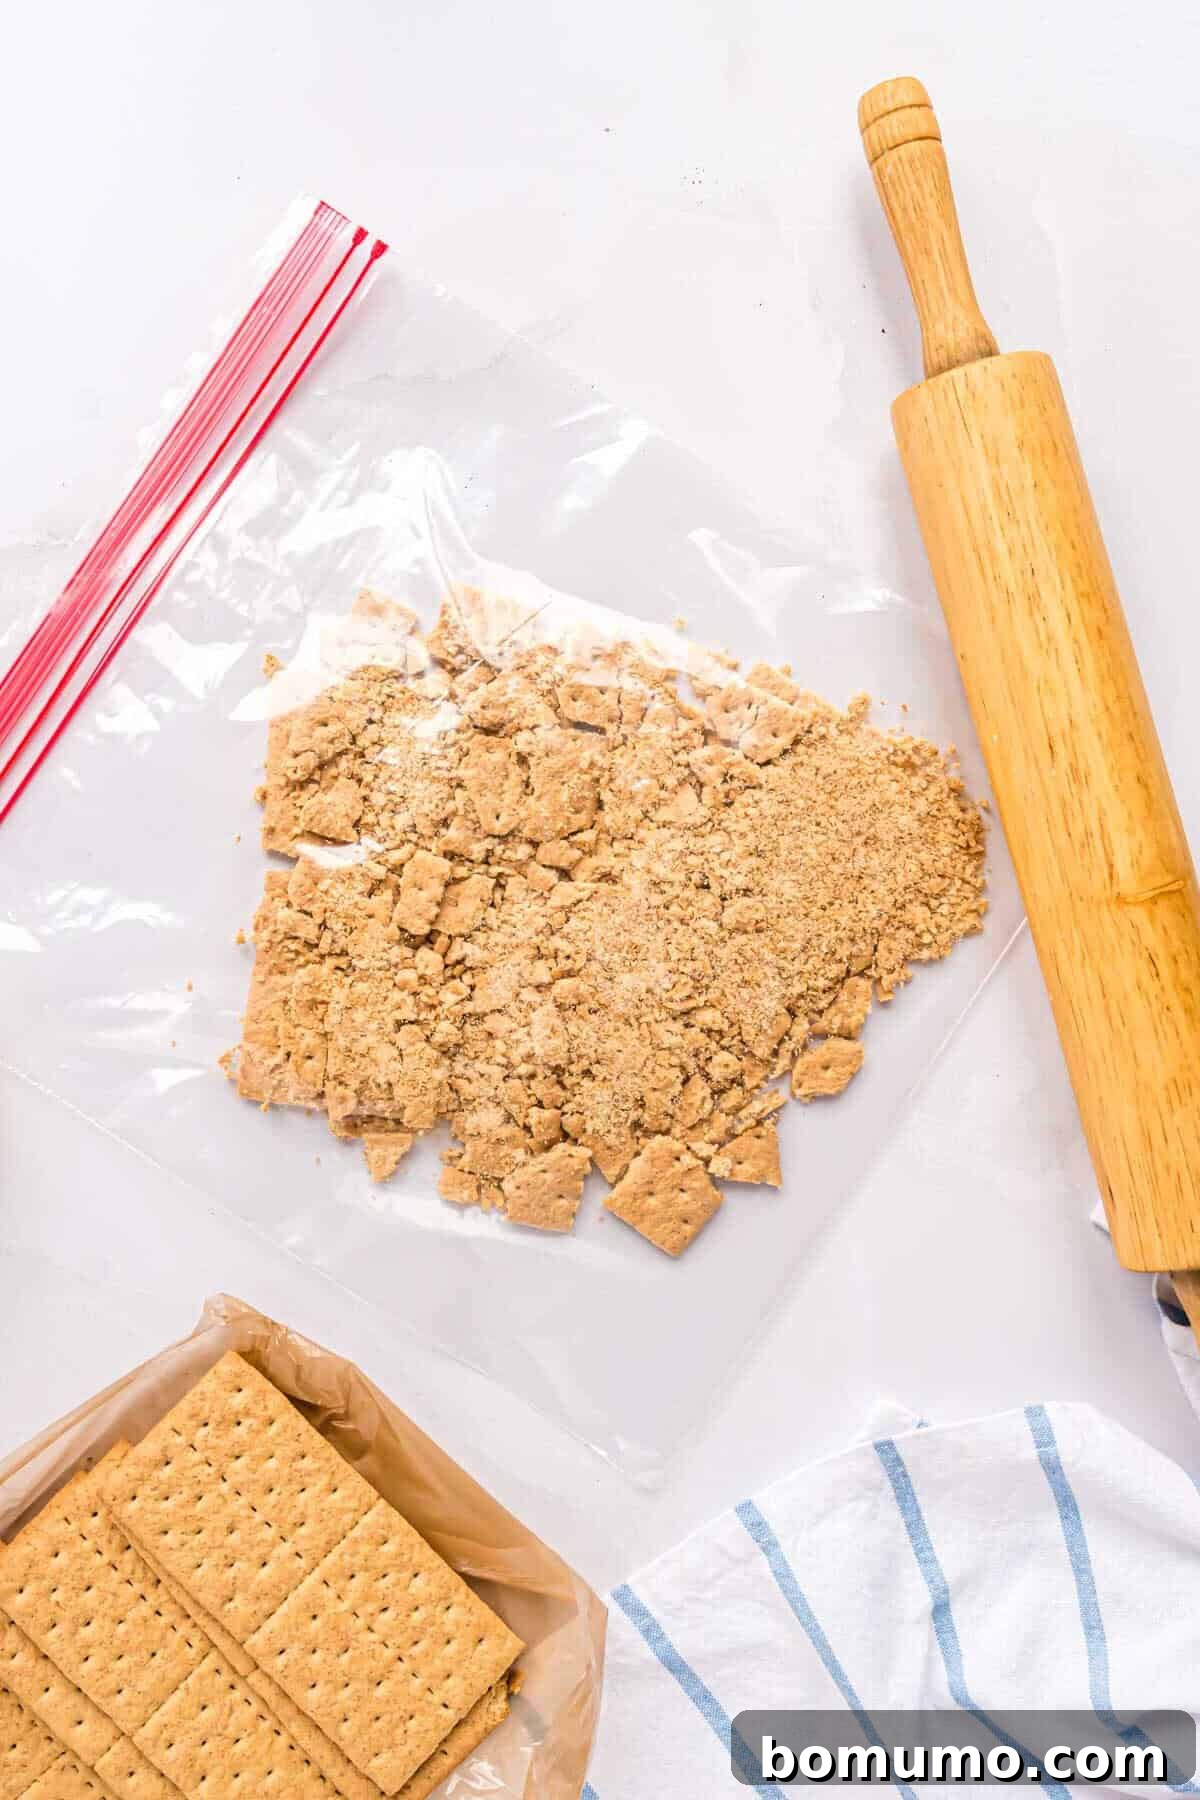
First, place your graham crackers in a large, heavy-duty zip-top bag. Seal the bag, pressing out as much air as possible. Lay the bag flat on a sturdy surface and use a rolling pin, a clean wine bottle, or a kitchen mallet to crush the crackers into fine crumbs. Aim for a consistency similar to coarse sand, avoiding large chunks. This may take a few minutes, so enjoy the satisfying crunch! Once you have your desired crumb texture, transfer the graham cracker crumbs to a large mixing bowl. Add the granulated sugar and melted butter to the bowl. Use a fork or a spatula to stir and combine all the ingredients thoroughly until the mixture is evenly moistened and holds together when pressed. From there, proceed with pressing the mixture into your pie plate as instructed in the main recipe. This manual method proves that a food processor is a convenience, not a necessity, for an excellent homemade graham cracker crust.
Expert Tips for a Flawless Graham Cracker Crust
Achieving the perfect graham cracker crust is simple, but a few key tips can elevate your results from good to truly outstanding. Pay attention to these details for a crust that’s always firm, flavorful, and easy to serve:
- Always Make Your Own Crumbs: Resist the temptation to buy pre-crushed graham cracker crumbs. When you crush whole graham crackers yourself, you get a varied mix of crumb sizes—some finer, some slightly coarser. This irregular texture is actually beneficial, as it helps the crumbs interlock and bind together more effectively when combined with butter and sugar. Homemade crumbs also retain more of their natural flavor, contributing to a richer, more authentic crust compared to the often bland and uniformly fine store-bought options.
- Avoid Overprocessing the Crumbs: Whether you’re using a food processor or crushing by hand, be mindful of the crumb consistency. The goal is a texture similar to coarse sand, not a powdery flour. If the crumbs are too fine, they can become gummy when mixed with butter and may result in a dense, hard crust. Conversely, if they’re too chunky, the crust won’t hold together well. Aim for a happy medium – a fine, yet distinct, crumb.
- Do Not Overmix After Adding Butter: Once the melted butter is introduced, mix just until the crumbs are evenly coated and the mixture begins to clump together when pressed. Overmixing can lead to a dense, pasty consistency resembling cookie butter, which, while delicious on its own, won’t create the light and crumbly texture desired for a pie crust. A few quick pulses in the food processor or gentle stirring by hand is usually all it takes.
- Apply Firm, Even Pressure: The way you press the mixture into the pan is crucial for a crust that holds together. Use the bottom of a flat-bottomed measuring cup or glass to apply consistent, firm pressure across the bottom and up the sides of your pie plate. This compaction helps the butter-coated crumbs adhere to each other. However, exercise caution: too much pressure can make the crust overly dense and incredibly difficult to cut and remove neat slices once your dessert is ready. Aim for a balance where the crumbs are cohesive but still yield slightly.
Exciting Graham Cracker Crust Variations to Explore
One of the joys of making your own graham cracker crust is the freedom to customize its flavor profile to perfectly complement any dessert. Here are some delightful variations to inspire your next creation:
- Infuse with Spices: Add warmth and depth by incorporating spices into your crumb mixture. Cinnamon is a classic and popular choice; simply add a teaspoon of ground cinnamon when you mix in the sugar. For a bolder flavor, consider a pinch of ground ginger or nutmeg. You can also seasonally inspired blends like pumpkin pie spice or apple pie spice. Always choose a spice that will harmonize with and enhance the flavors of your pie or cheesecake filling.
- Decadent Chocolate Crust: Transform your crust into a chocolate lover’s dream. You can achieve this in two ways: by using chocolate graham crackers for a rich cocoa flavor, or by adding ¼ cup of unsweetened cocoa powder to your regular graham cracker crumbs and sugar mixture. This variation pairs exceptionally well with peanut butter, mint, or fruit fillings.
- Rich Brown Sugar Twist: For a deeper, more complex flavor with notes of molasses and caramel, substitute the granulated white sugar with ¼ cup of packed brown sugar. This simple change adds a wonderful chewiness and a richer taste that is particularly excellent with pecan pies, apple crisps, or banana cream desserts.
- Nutty Crunch: Introduce a delightful textural contrast and an extra layer of flavor by incorporating finely chopped nuts. Substitute ½ cup of your graham cracker crumbs with ½ cup of finely chopped nuts. It’s best to chop the nuts in a food processor first (then remove them before crushing the graham crackers to ensure accurate measurement). Pecans, walnuts, and almonds are all fantastic choices that lend themselves beautifully to this crust variation.
- Tropical Coconut Infusion: For a taste of the tropics, add ¼ to ½ cup of finely shredded unsweetened coconut to your crumb mixture. This variation is particularly wonderful for lime, pineapple, or passion fruit-based desserts, offering a subtle sweetness and an exotic aroma.
- Espresso Kick: For coffee lovers, a teaspoon of instant espresso powder or finely ground coffee added to the dry ingredients can provide a subtle, yet impactful, boost of flavor, especially when paired with chocolate or cream-based fillings.
Smart Make-Ahead and Storage Solutions
Preparing your graham cracker crust in advance can be a huge time-saver when planning your desserts. Here’s how to properly store your crust for optimal freshness:
- Refrigeration: A prepared graham cracker crust can be stored in the refrigerator for up to 3 days. Ensure it is tightly covered with plastic wrap or aluminum foil to prevent it from absorbing odors from other foods and to maintain its freshness. Chilling also helps the crust firm up, making it easier to handle when you’re ready to fill it.
- Freezing for Longer Storage: For longer-term storage, a graham cracker crust freezes exceptionally well. Wrap the crust (in its pie plate or removed and securely wrapped) tightly in several layers of plastic wrap, followed by a layer of aluminum foil. Alternatively, place it in an airtight freezer bag or container. It can be frozen for up to 3 months. When you’re ready to use it, thaw the frozen crust completely in the refrigerator before filling. You can also freeze extra graham cracker crumbs in an airtight container for up to 6 months, making future crust preparations even quicker.
Frequently Asked Questions About Graham Cracker Crusts
Here are answers to some common questions about making and using homemade graham cracker crusts:
- Can I use digestive biscuits or other cookies instead of graham crackers?
Absolutely! Many recipes can be adapted to use other crumbly cookies like digestive biscuits, shortbread, vanilla wafers, or even chocolate cookies (like Oreos for an “Oreo crust”). Just ensure the quantity of crumbs is similar and adjust the sugar and butter slightly if your chosen cookie is already very sweet or buttery. - My crust is too crumbly and won’t hold together. What went wrong?
This usually means there isn’t enough butter (the binder) or the crumbs aren’t fine enough. Ensure your butter is fully melted and evenly distributed. If still too crumbly, try adding another tablespoon of melted butter, mixing well, and testing again. Also, make sure you’re pressing firmly enough into the pan. - My crust is too hard after baking. How can I prevent this?
A crust can become too hard if it’s over-compacted when pressed into the pan, or if it’s overbaked. When pressing, aim for firm but not rock-solid. For baking, stick to the recommended 10 minutes and let it cool completely; it will firm up as it cools. - Do I really need to chill the crust?
For no-bake recipes, chilling is essential as it allows the butter to solidify and bind the crust. For baked desserts, chilling isn’t strictly necessary if you’re baking the crust immediately with the filling, but a quick chill can help it hold its shape even better. - Can I make this crust gluten-free?
Yes! Simply substitute traditional graham crackers with your favorite brand of gluten-free graham crackers. The rest of the recipe remains the same, providing a delicious gluten-free option.
Explore More Delicious Pie Recipes
Classic Fresh Blueberry Pie
No-Bake Chocolate Peanut Butter Pie
Easy Chocolate Pudding Pie
Traditional Homemade Pumpkin Pie
The Best Homemade Graham Cracker Crust
Ingredients
- 1 ½ cups graham cracker crumbs (approx. 12 full-size rectangles, for best flavor use Honey Maid)
- ¼ cup granulated sugar (can substitute brown sugar for a richer flavor)
- 6 tablespoons unsalted butter, melted (use plant-based butter for dairy-free/vegan option)
Instructions
-
Break graham crackers into large pieces and place them in a food processor (see notes for hand-crushing method). Pulse until they form fine, even crumbs. Avoid making them into a powder; a coarse sand-like texture is ideal for binding.1 ½ cups graham cracker crumbs
-
Add the granulated sugar to the food processor with the crumbs. Pulse a few times, just until the sugar is well combined and evenly distributed throughout the graham cracker crumbs.¼ cup granulated sugar
-
Pour the melted unsalted butter into the food processor. Pulse a few more times until the butter is fully blended into the crumbs. The mixture should appear darker and clump together easily when you press it between your fingers. It’s okay if a few crumbs still seem slightly dry.6 tablespoons unsalted butter, melted
-
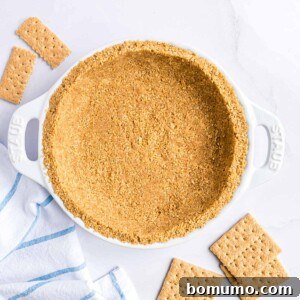
Transfer the graham cracker mixture into a deep-dish 9-inch pie plate. Using your fingertips or the flat bottom of a measuring cup, firmly press the crumbs into an even layer across the bottom and up the sides of the pan. Apply enough pressure for the crumbs to hold together, but avoid over-compacting, which can make the crust too hard to cut.
-
Cover the prepared crust with plastic wrap and refrigerate for at least 30 minutes, or until firm and ready to fill. If your dessert recipe requires baking, you can proceed directly to filling and baking without chilling first.
Optional: To Bake Crust
-
For an extra crisp and flavorful crust, preheat your oven to 350ºF (175ºC). Bake the pressed crust for 10 minutes. Allow it to cool completely on a wire rack before adding your desired filling. This step is recommended for chilled, no-bake fillings to enhance stability and flavor, but it is not necessary if your entire dessert will be baked (like a cheesecake).
Notes
- No Food Processor? Make it by Hand: If you don’t have a food processor, place graham crackers in a large zip-top bag and crush them with a rolling pin or kitchen mallet until fine. Transfer crumbs to a mixing bowl, then add sugar and melted butter. Stir with a fork until blended, then press into the pan.
- Storage and Freezing Instructions: A finished graham cracker crust can be covered tightly with plastic wrap or foil and refrigerated for up to 3 days. For longer storage, freeze the wrapped crust in an airtight container or freezer bag for up to 3 months. Thaw completely in the refrigerator before use. You can also freeze extra graham cracker crumbs for up to 6 months in an airtight container, ready for your next crust!
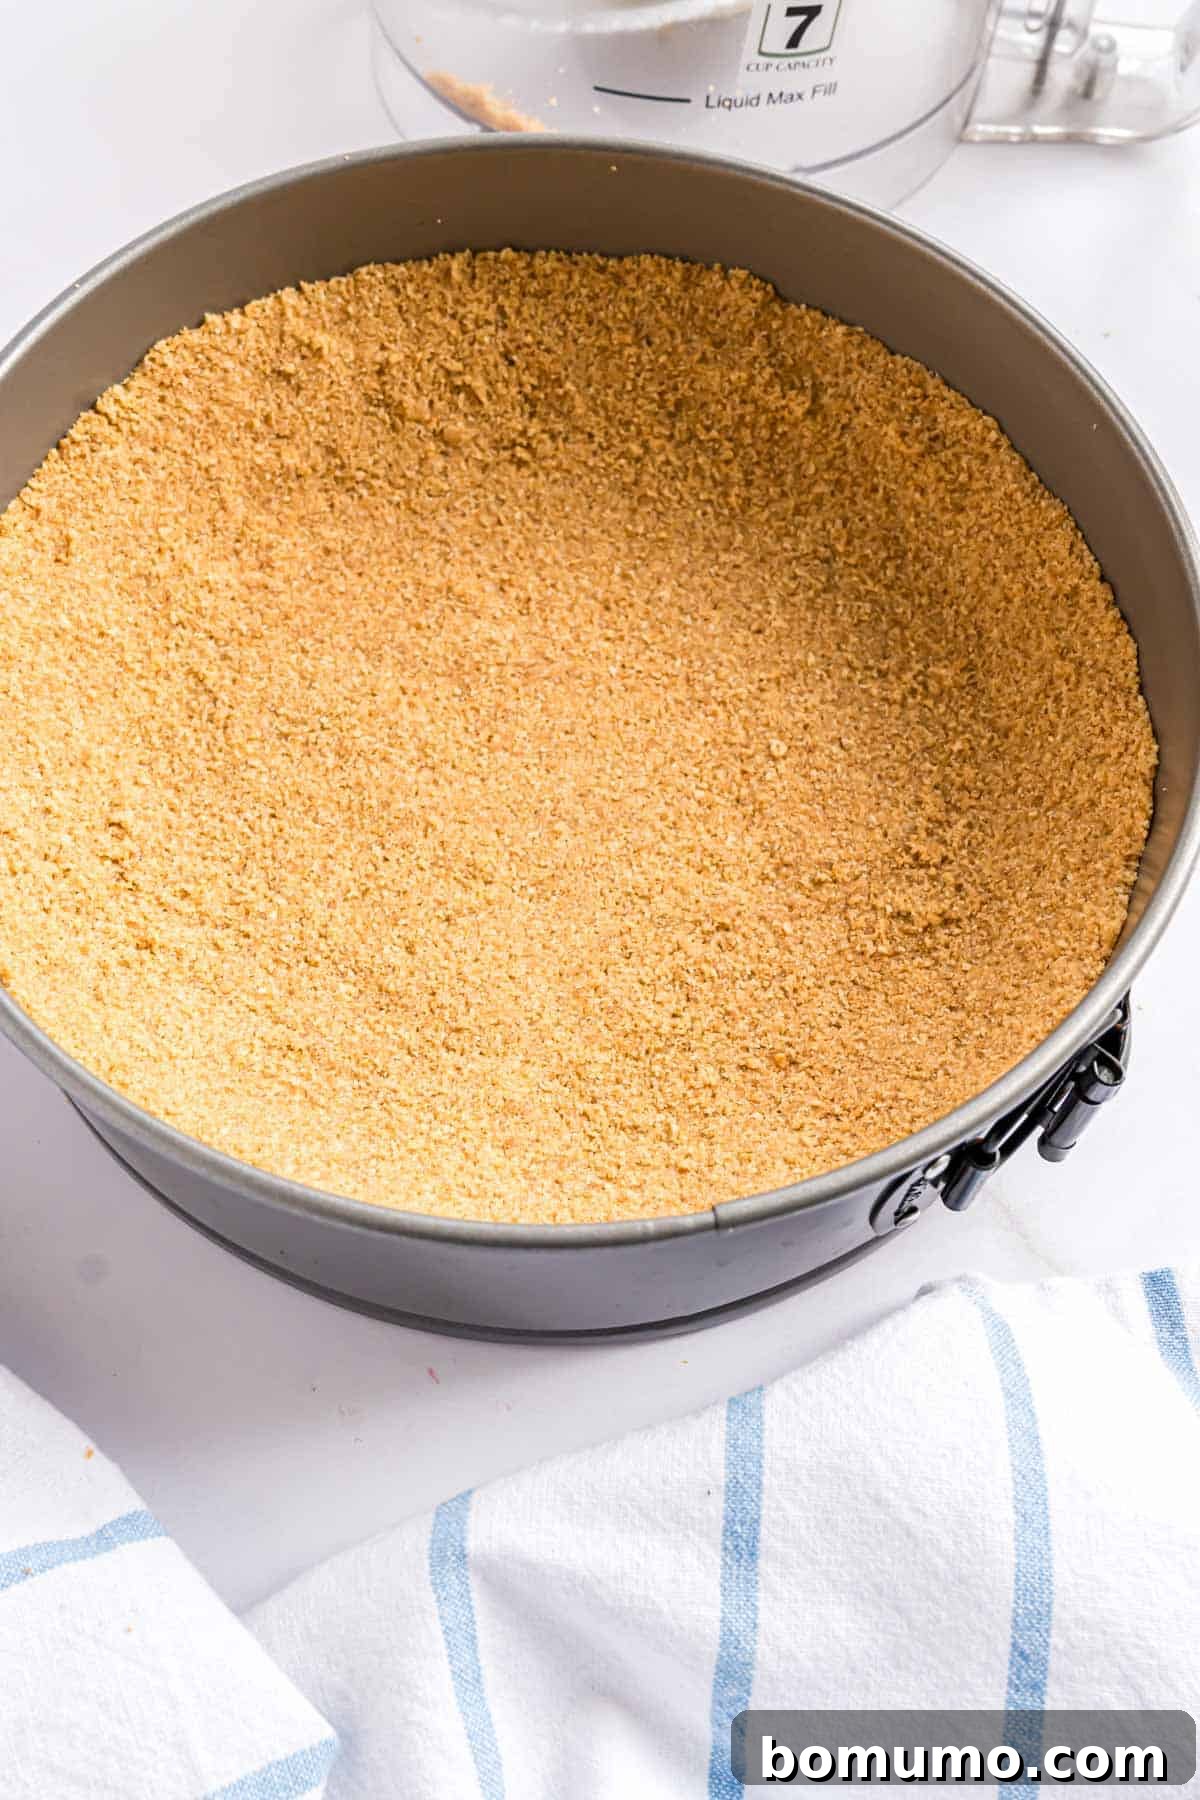
- For Larger Pans (9-inch springform pan or 9×13-inch pan):
- 2 to 2 ½ cups graham cracker crumbs (approximately 16 to 18 full-size crackers, depending on desired crust thickness)
- ½ cup granulated sugar
- ½ cup unsalted butter, melted
Adjust the quantities proportionally for other pan sizes.
Nutrition Information
Nutrition information is automatically calculated and should only be used as an approximation.