
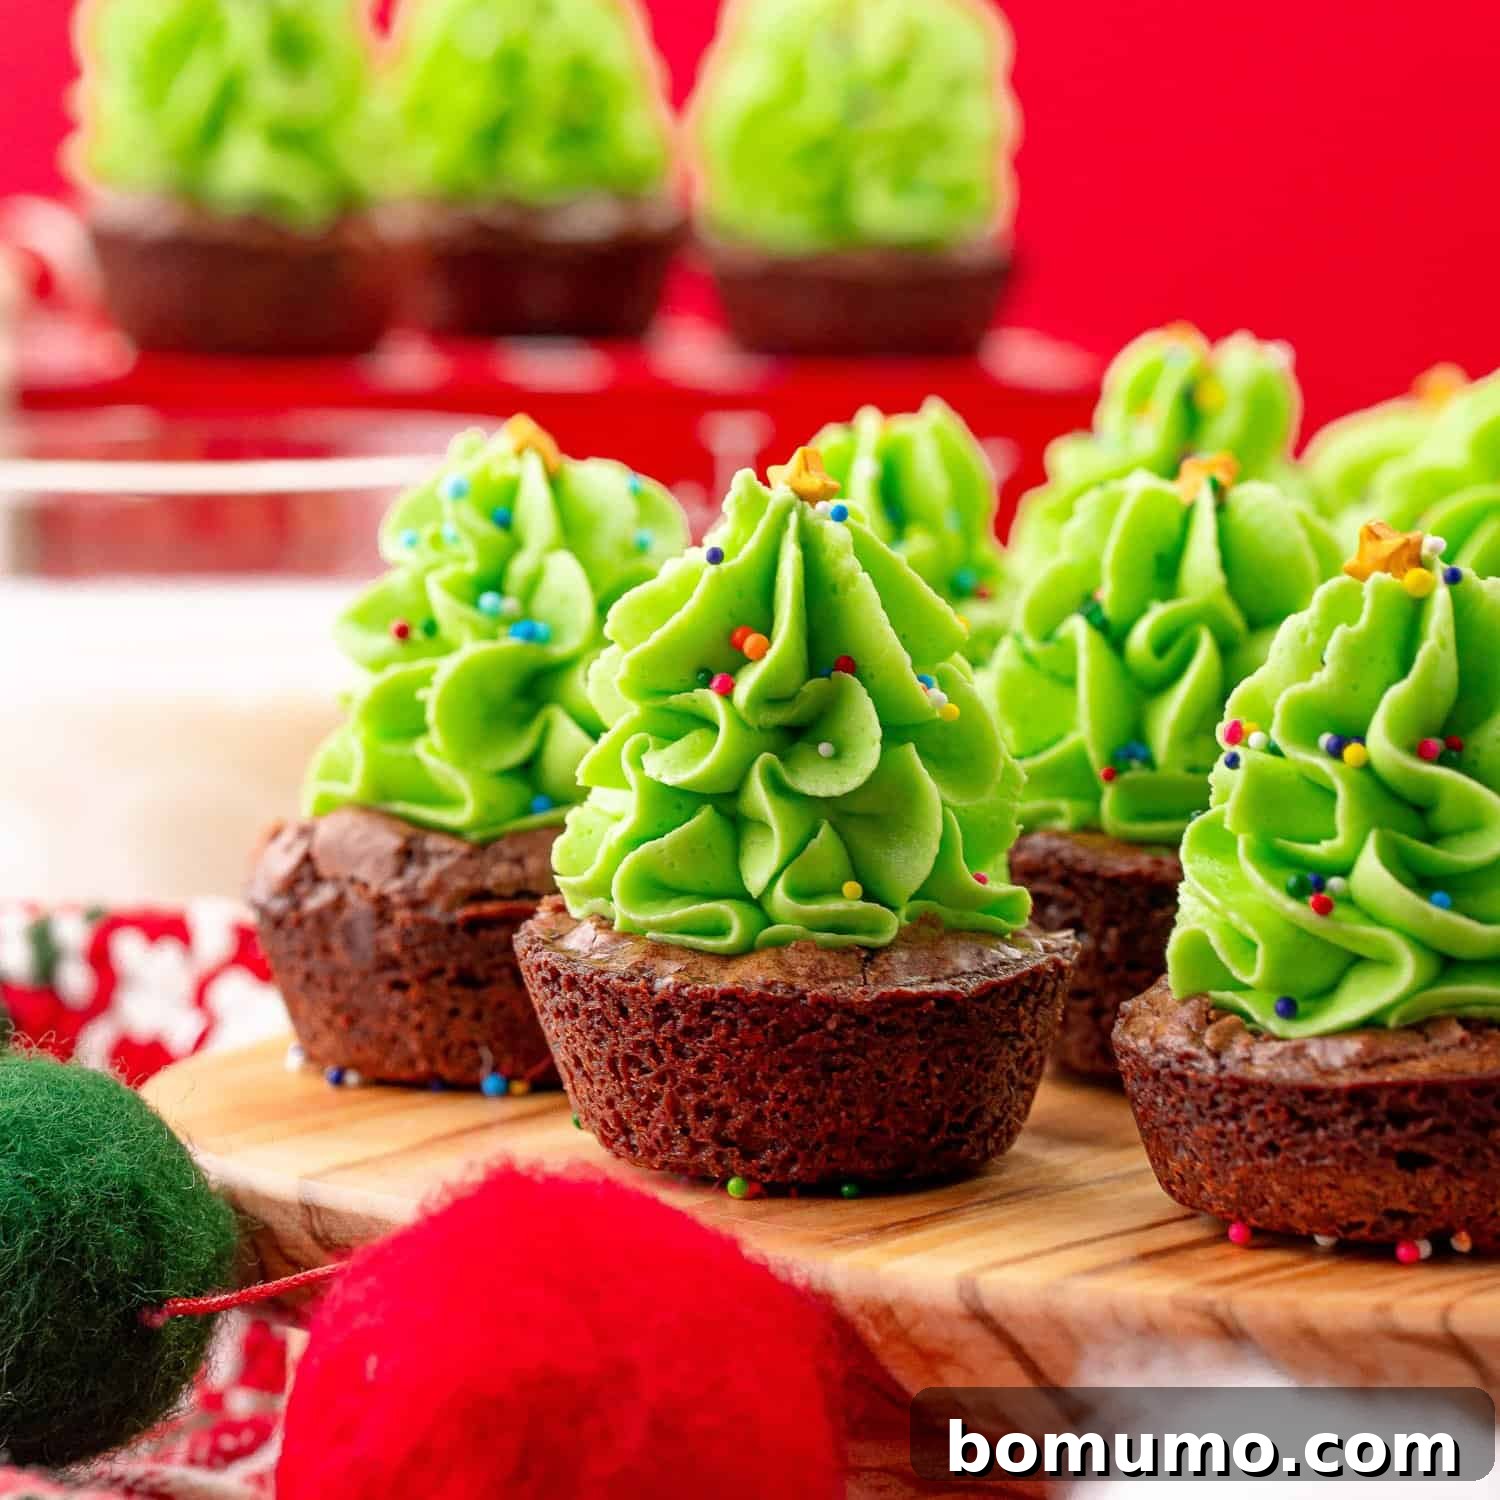
Recipe Overview: Festive Christmas Tree Brownie Bites
Why you’ll adore them: These delightful Christmas Tree Brownie Bites are a perfect blend of convenience and homemade charm. Starting with a simple brownie mix, they’re elevated with a luscious, from-scratch vanilla buttercream frosting. Their inherent cuteness and customizable nature make them ideal for any celebration, not just Christmas!
Preparation Time: Approximately 1 hour and 15 minutes, which includes essential cooling time for the brownies.
Essential Kitchen Tools: You’ll need mini muffin pans and a pastry piping bag equipped with a star tip for that signature tree shape.
Yield: This recipe generously makes 36 charming brownie bites, perfect for sharing or enjoying throughout the holiday season.
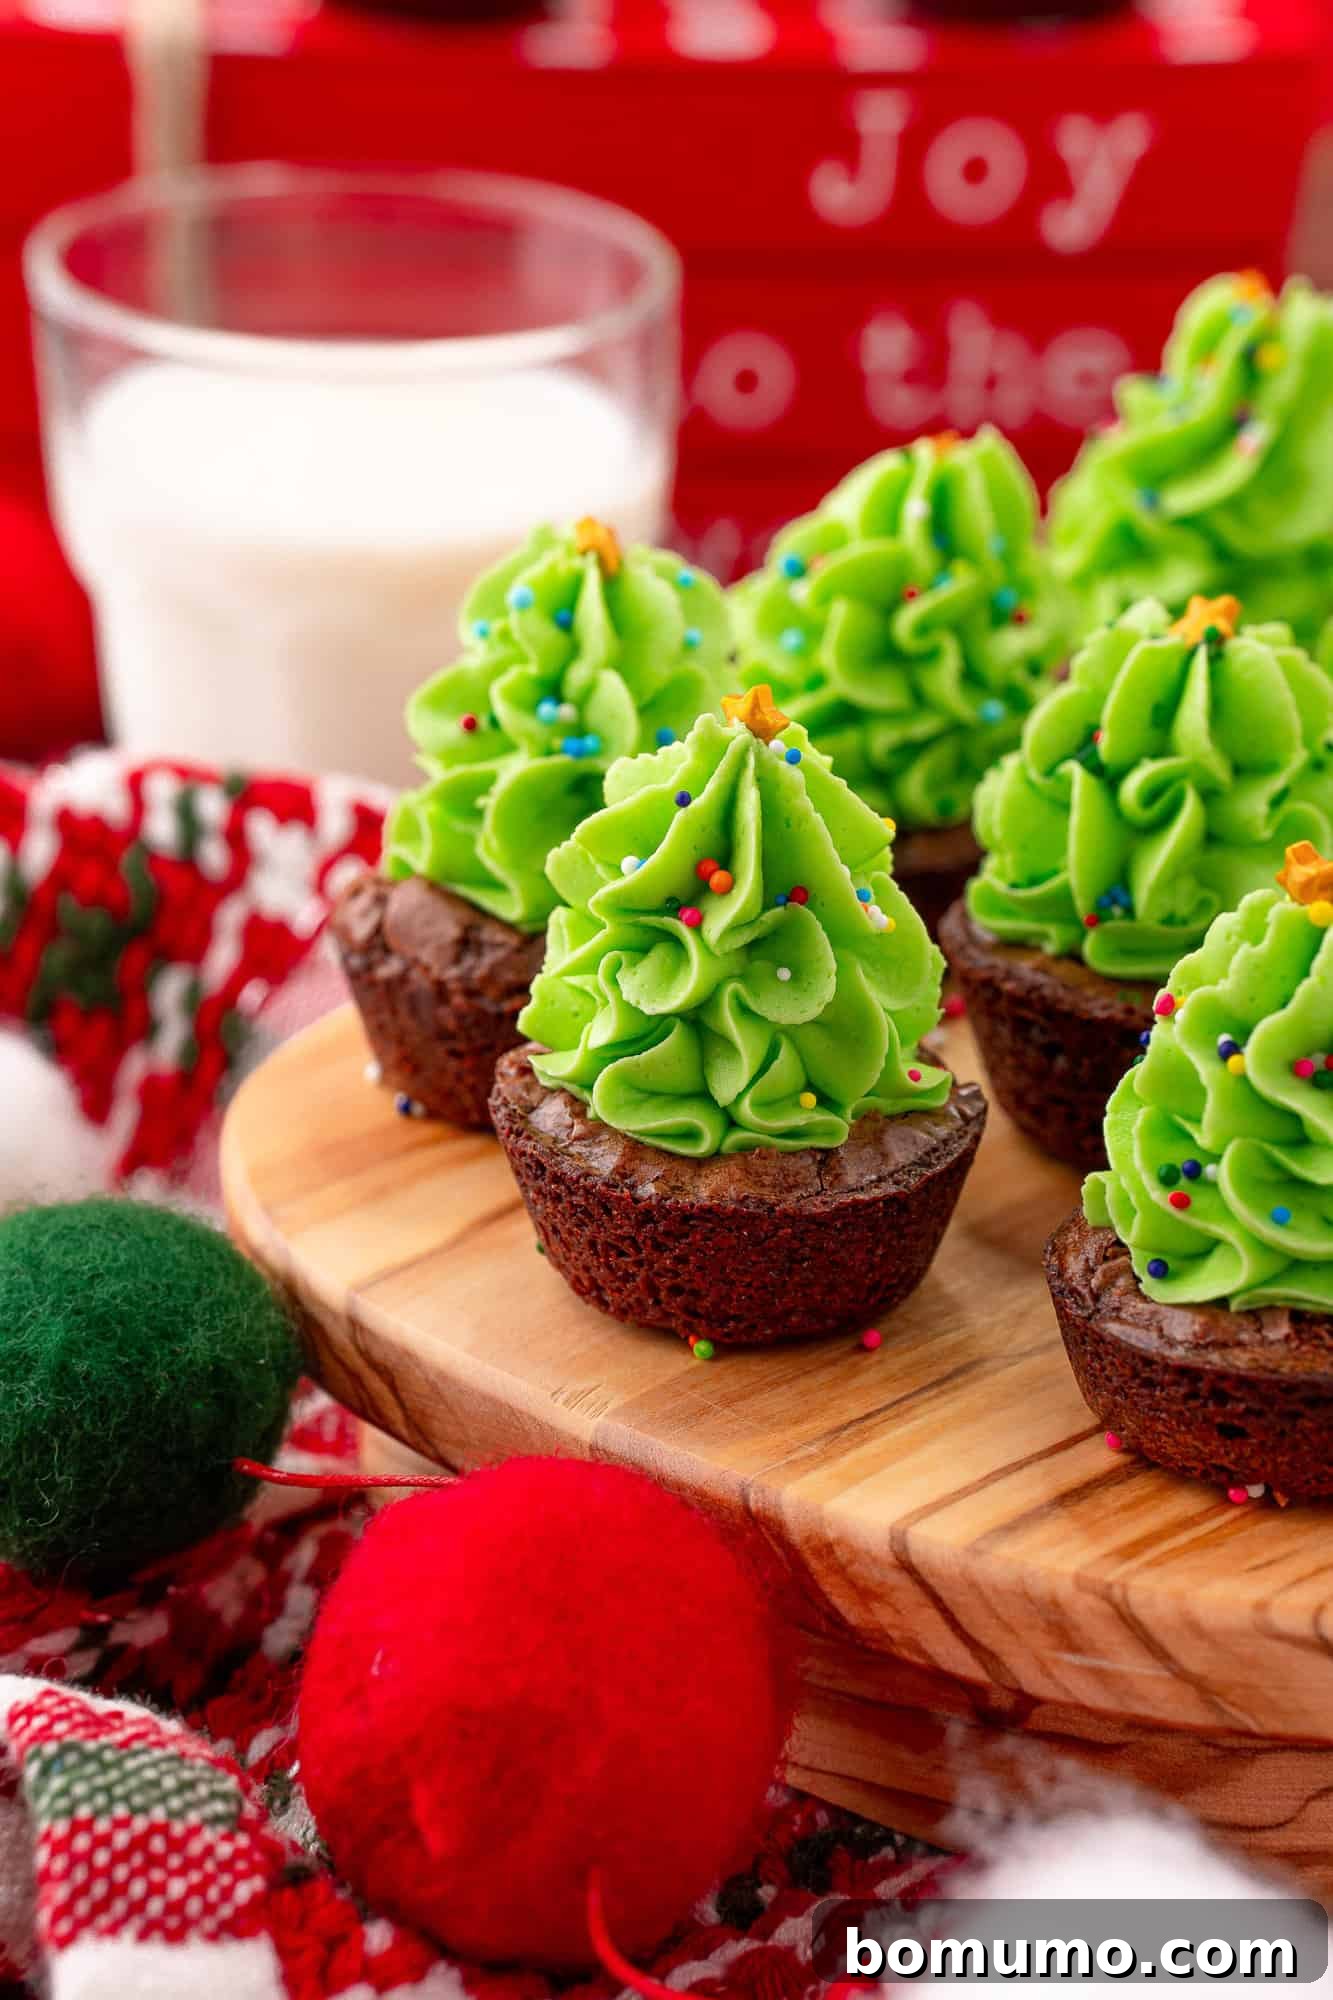
Indulge in These Must-Try Brownie Bites: Your New Favorite Holiday Treat
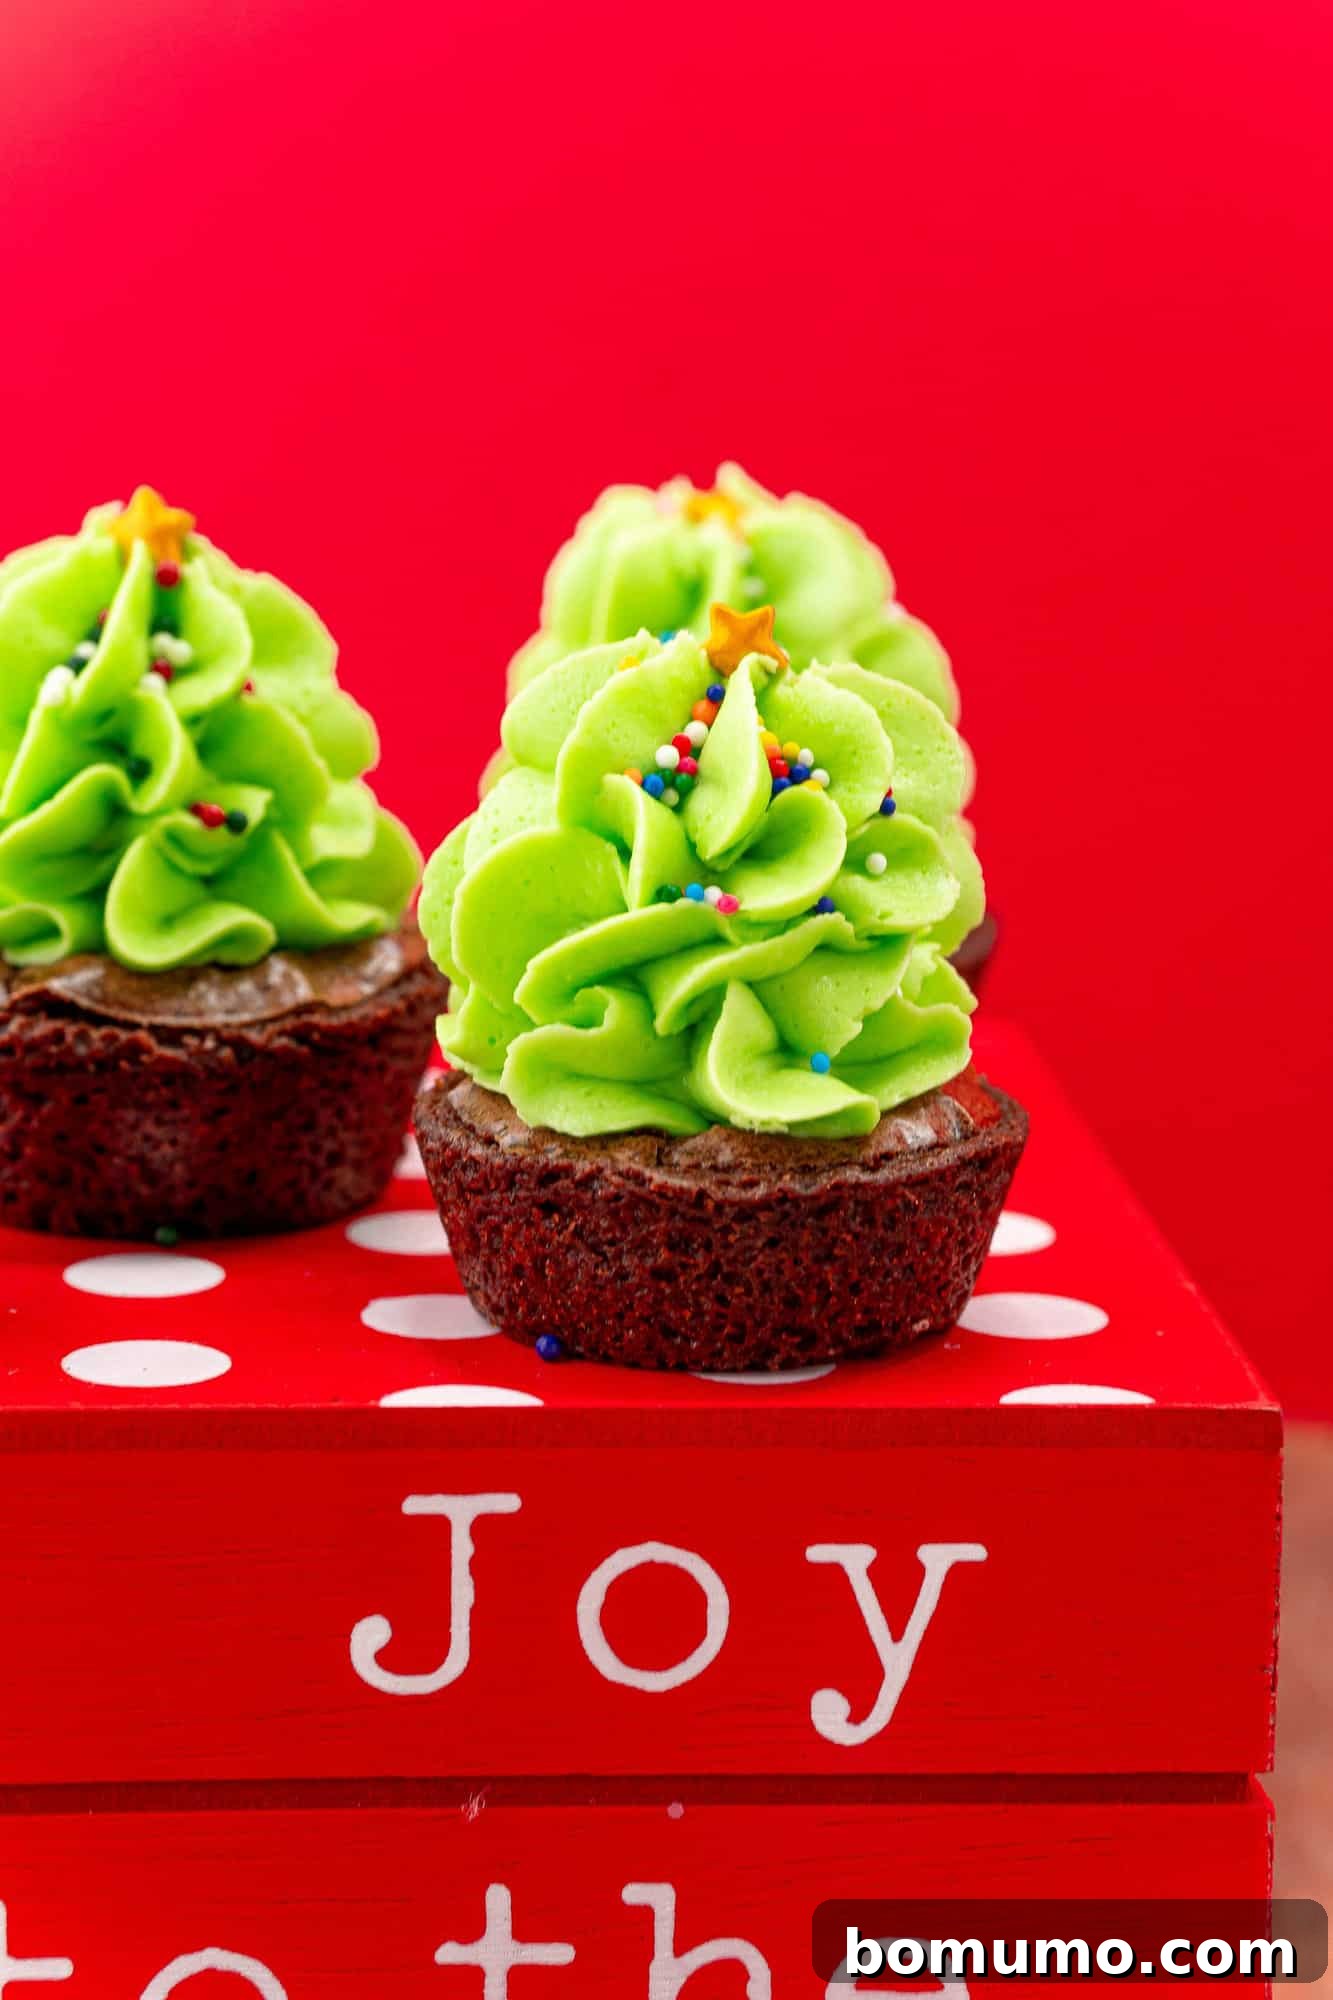
Prepare to be enchanted by these mini Christmas tree brownie bites! They are not just a treat for the taste buds but also a feast for the eyes, adding a magical touch to any holiday spread. Imagine a whimsical miniature forest gracing your Christmas platter, each tiny tree nestled in its own rich chocolate brown pot, sparkling with colorful sprinkles that mimic festive lights, and often crowned with a radiant golden star. These aren’t just adorable; they’re an experience waiting to happen.
Beyond their captivating appearance, these brownie bites deliver an unforgettable taste. Each piece features a moist, intensely chewy brownie cup, perfectly contrasted with a generous swirl of rich, velvety vanilla buttercream frosting. It’s a combination that promises pure delight in every bite. Your festive forest of treats won’t last long, as guests will undoubtedly devour them in a delicious flurry! Even Santa himself would be tempted to trade his usual milk and cookies for a plate of these irresistible Christmas tree brownie bites. Ho, ho, ho, indeed!
One of the best aspects of this recipe is its simplicity. These brownie bites are incredibly popular, and for good reason: they start with a convenient brownie mix, making them accessible even for novice bakers. Their miniature size makes them the ideal snack – perfectly portioned for a couple of bites, easy to pick up, and guaranteed to satisfy those sweet cravings without overindulging. They’re the ultimate stress-free solution for holiday entertaining or a simple family treat.
While designed for Christmas, the versatility of this recipe shines. These Christmas tree brownie bites are dressed up with their tower of festive buttercream, but the core concept is easily adaptable for any special occasion throughout the year. Thinking of a different holiday? Simply change the frosting color and sprinkles to match! They also make fantastic lunchbox treats, especially if you opt for a simpler dab of frosting in the center, perhaps with a sprinkle of colorful sugar or chocolate chips. From birthdays to game nights, these brownie bites are ready to impress with minimal effort.
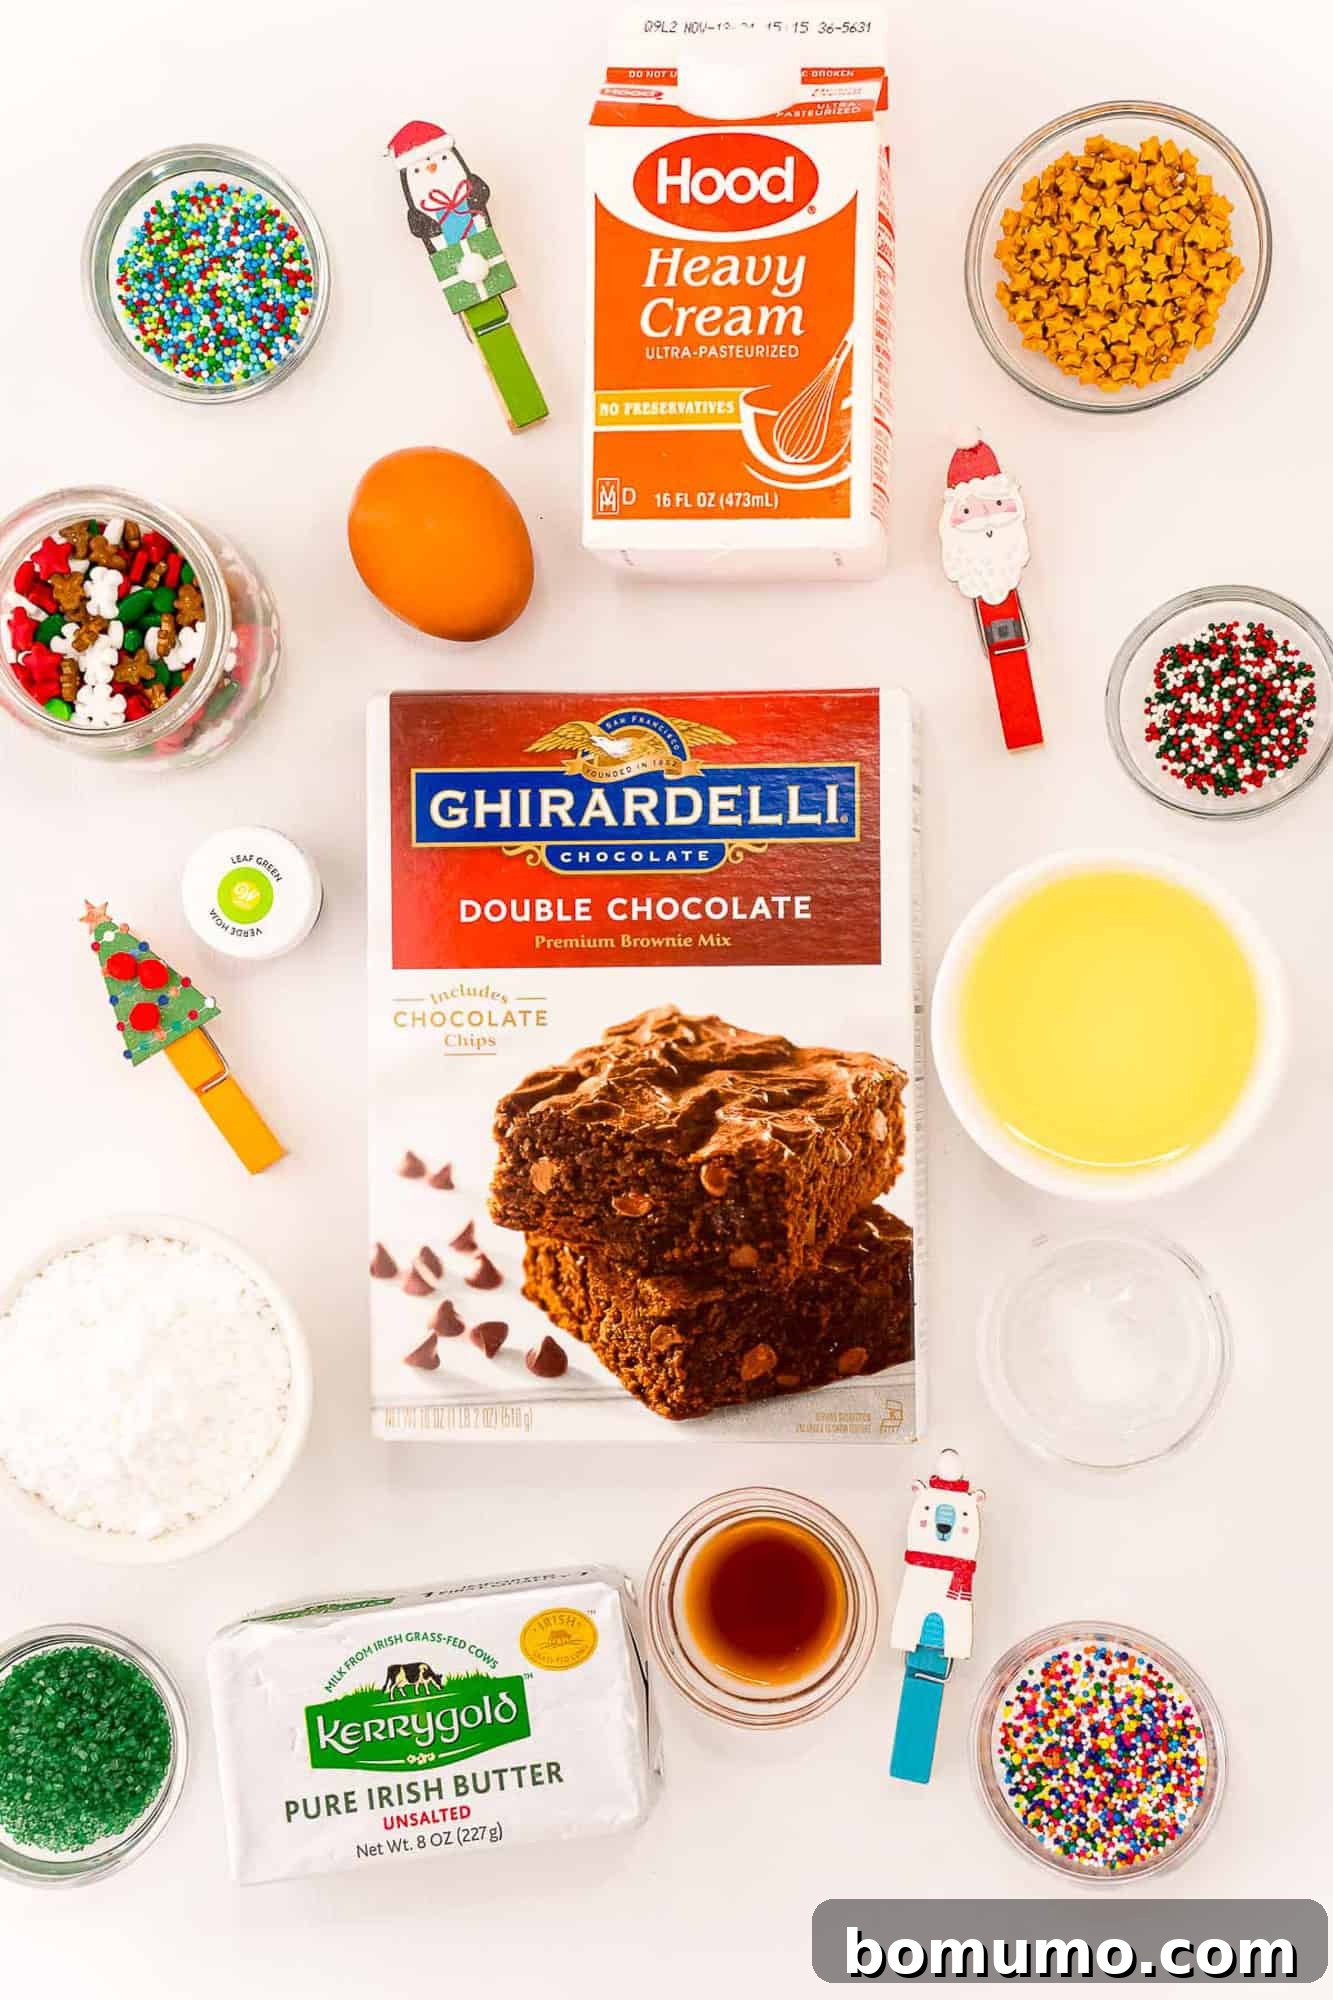
Key Ingredient Notes for Perfect Brownie Bites
Crafting these delectable Christmas Tree Brownie Bites requires a few simple ingredients, many of which you likely already have on hand. Here’s a closer look at each component and some helpful tips to ensure your treats turn out perfectly:
- Brownie Mix: The foundation of our easy recipe! Choose your favorite brand of plain box brownie mix. It’s crucial to select a mix without any added extras like caramel swirls, chocolate chunks, or nuts, as these can interfere with the structural integrity needed for mini bites and the frosting application. The final yield may vary slightly depending on the specific brand and size of the mix you choose. For those who prefer, feel free to substitute with your go-to homemade brownie recipe for an extra touch of personalization.
- Eggs, Oil, Water: These are the standard liquid components for most boxed brownie mixes. Always refer to the specific instructions on your chosen brownie mix package for the exact quantities required. Following these directions ensures your brownie base achieves the perfect texture and consistency.
- Unsalted Butter: This is a star ingredient for our rich and creamy homemade vanilla buttercream. Using unsalted butter gives you complete control over the saltiness of your frosting. Ensure it’s at room temperature before you begin; softened butter creams much more smoothly, leading to a lighter, airier frosting texture.
- Powdered Sugar (Confectioner’s Sugar): Essential for achieving the smooth, fine texture of buttercream. This finely milled sugar dissolves easily, preventing any grainy consistency in your frosting. Having a little extra on hand is always a good idea for adjusting frosting thickness.
- Heavy Cream: Even a small amount of heavy cream makes a significant difference in buttercream. It contributes to a wonderfully light, fluffy, and smooth frosting that’s almost like whipped cream but with much greater stability and substance, perfect for piping decorative shapes.
- Pure Vanilla Extract: The secret to truly delicious vanilla buttercream. Opt for pure vanilla extract over imitation for the best, most authentic flavor profile that complements the rich chocolate of the brownie.
- Green Food Coloring, Holiday Sprinkles: These are the magic touches that transform simple frosted brownie bites into enchanting Christmas trees. Gel food coloring is often preferred for its vibrant color intensity without adding excess liquid. Let your creativity shine with a variety of festive sprinkles, edible glitter, or small candy stars to decorate your trees just the way you like!
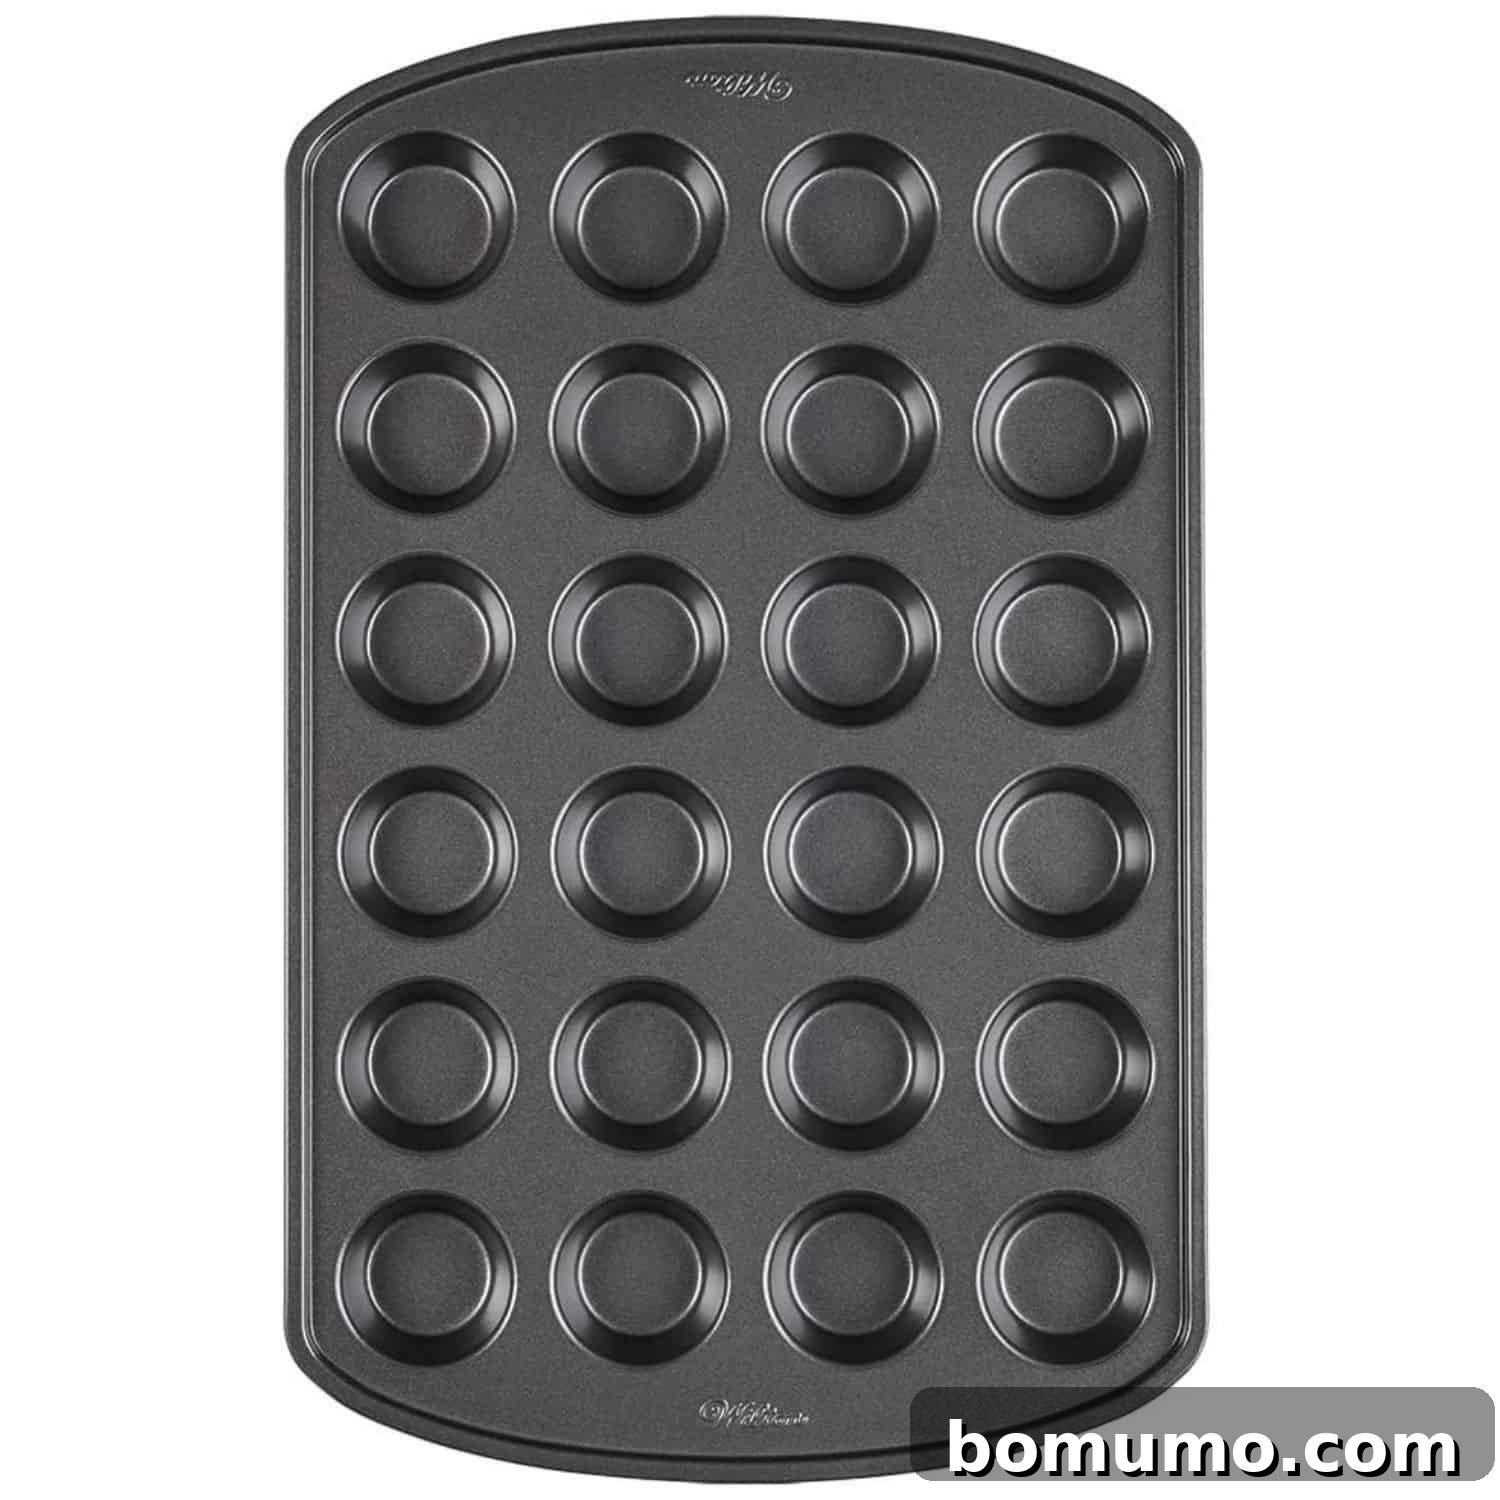
Essential Tool: The Mini Muffin Tin
A mini muffin tin is an absolute must-have for achieving the perfect size and shape for these adorable brownie bites. We highly recommend a durable and affordable option like this Wilton mini muffin tin. It’s not only very inexpensive but also reliable for consistent baking results. For those wondering, a mini muffin tin is indeed the same as a mini cupcake tin, so any pan labeled for mini cupcakes will work perfectly for this recipe!
Step-by-Step Guide: Crafting Your Own Christmas Tree Brownie Bites
Making these festive treats is a surprisingly straightforward process, perfect for a fun baking session with family or friends. Follow these detailed steps to create your own miniature forest of deliciousness:
1. Preparing the Brownie Base
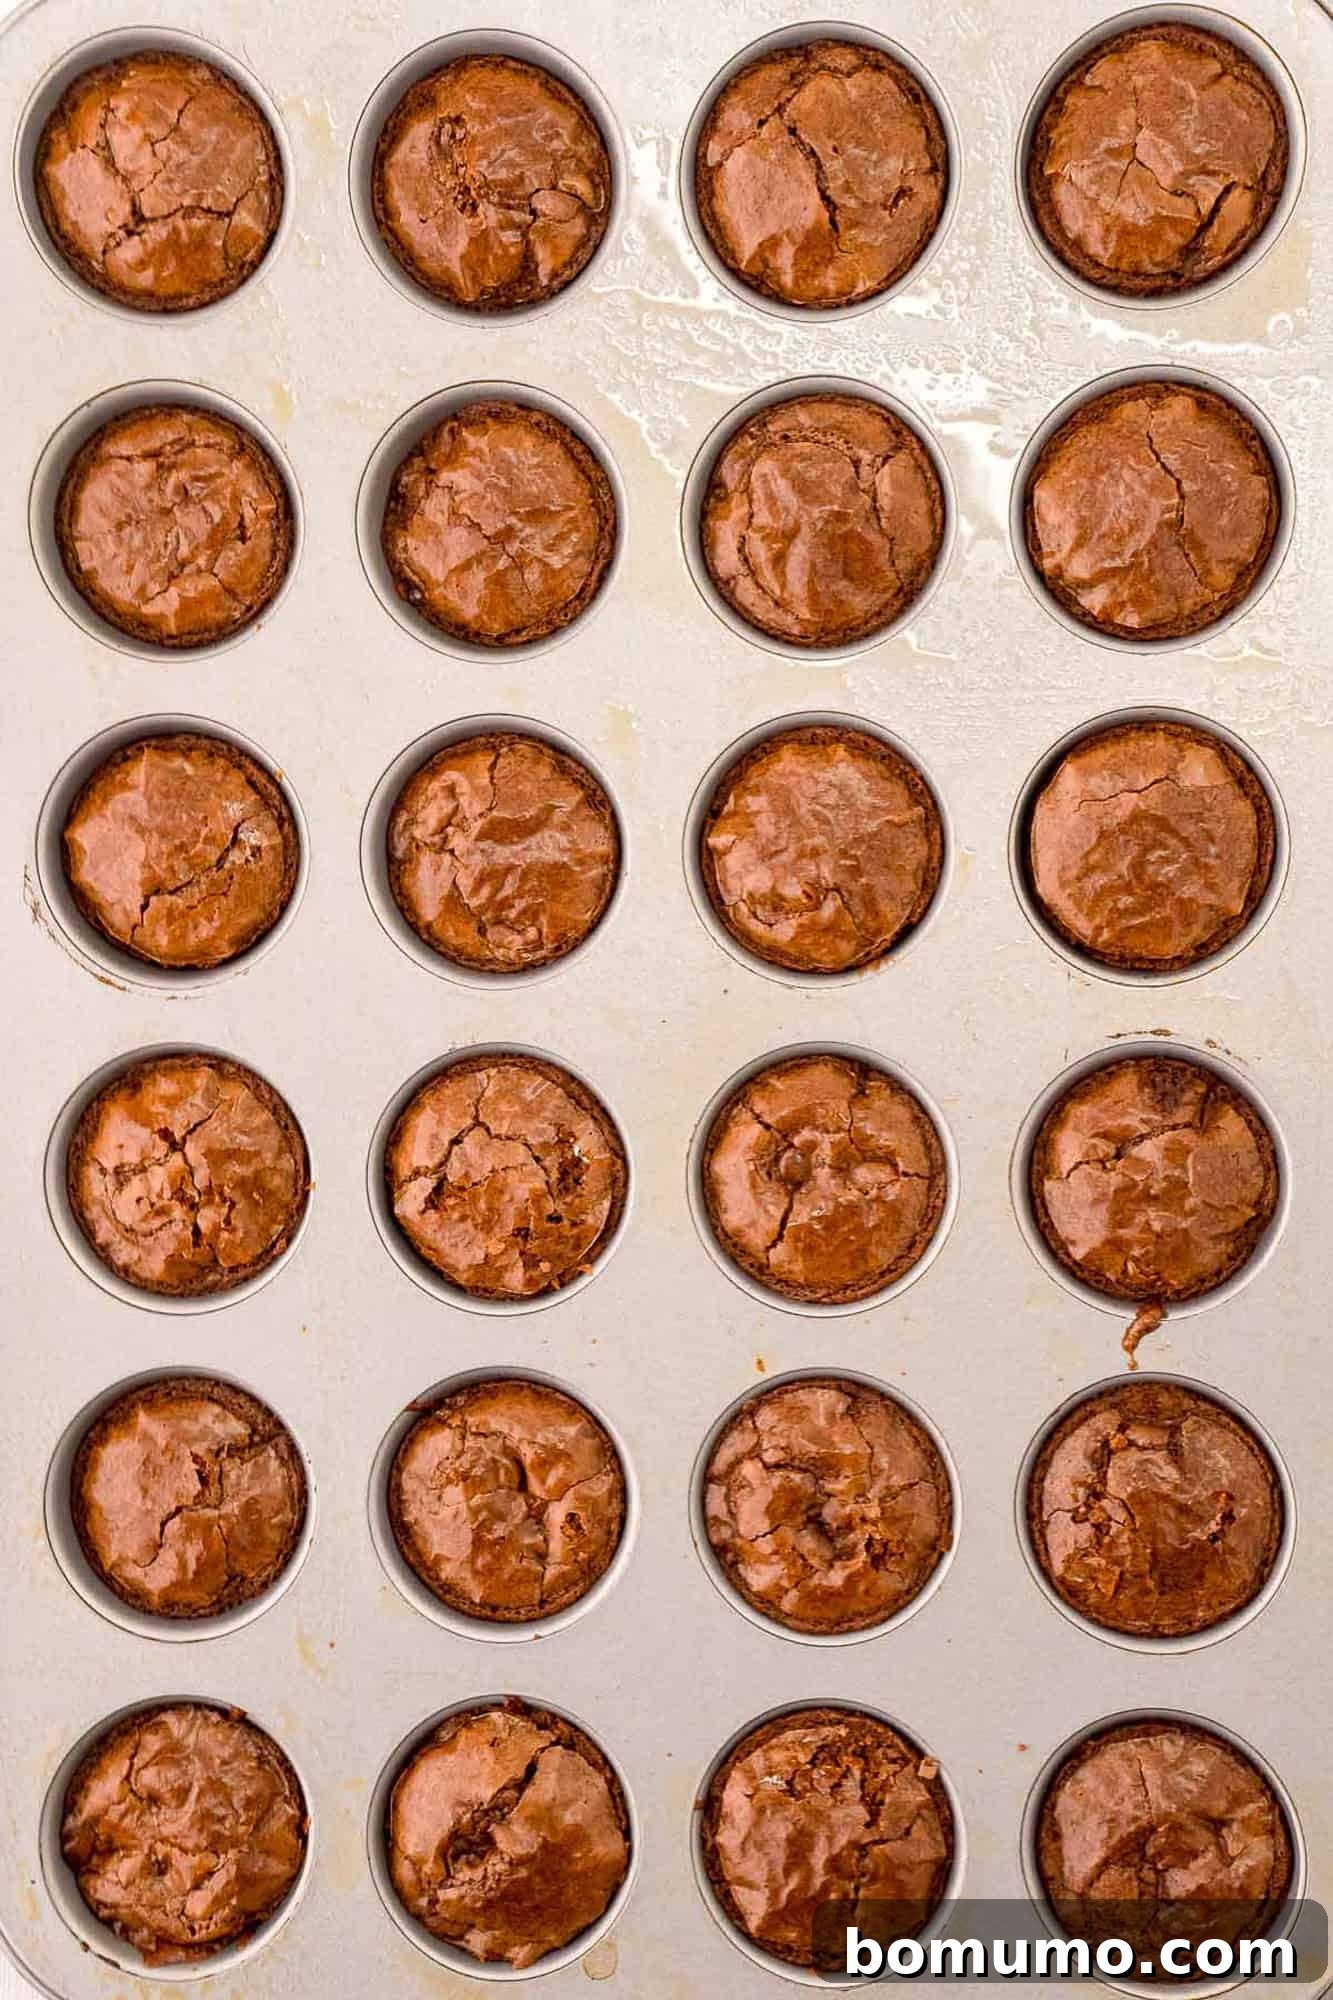
The journey to perfect brownie bites begins with a solid foundation. You’ll need your trusty mini muffin tin, generously sprayed with cooking spray—even if it’s nonstick, an extra layer of grease ensures easy release. Prepare your chosen brownie batter exactly as instructed on the package. This usually involves mixing the brownie mix with eggs, oil, and water. Once your batter is smooth and well-combined, fill each cup of the mini muffin tin about two-thirds full. This allows enough space for them to rise without overflowing. Depending on your brownie mix, you should yield approximately 32 to 36 brownie bites. If you only have one mini muffin tin, you might need to bake them in batches, which is perfectly fine for managing your time.
Bake the brownies until the edges are nicely firm, but the centers still retain a slight softness. It’s crucial not to overbake them, as this can result in dry, hard brownies. A slightly soft center ensures a wonderfully moist and chewy texture that pairs beautifully with the creamy frosting.
2. Creating the Indentation
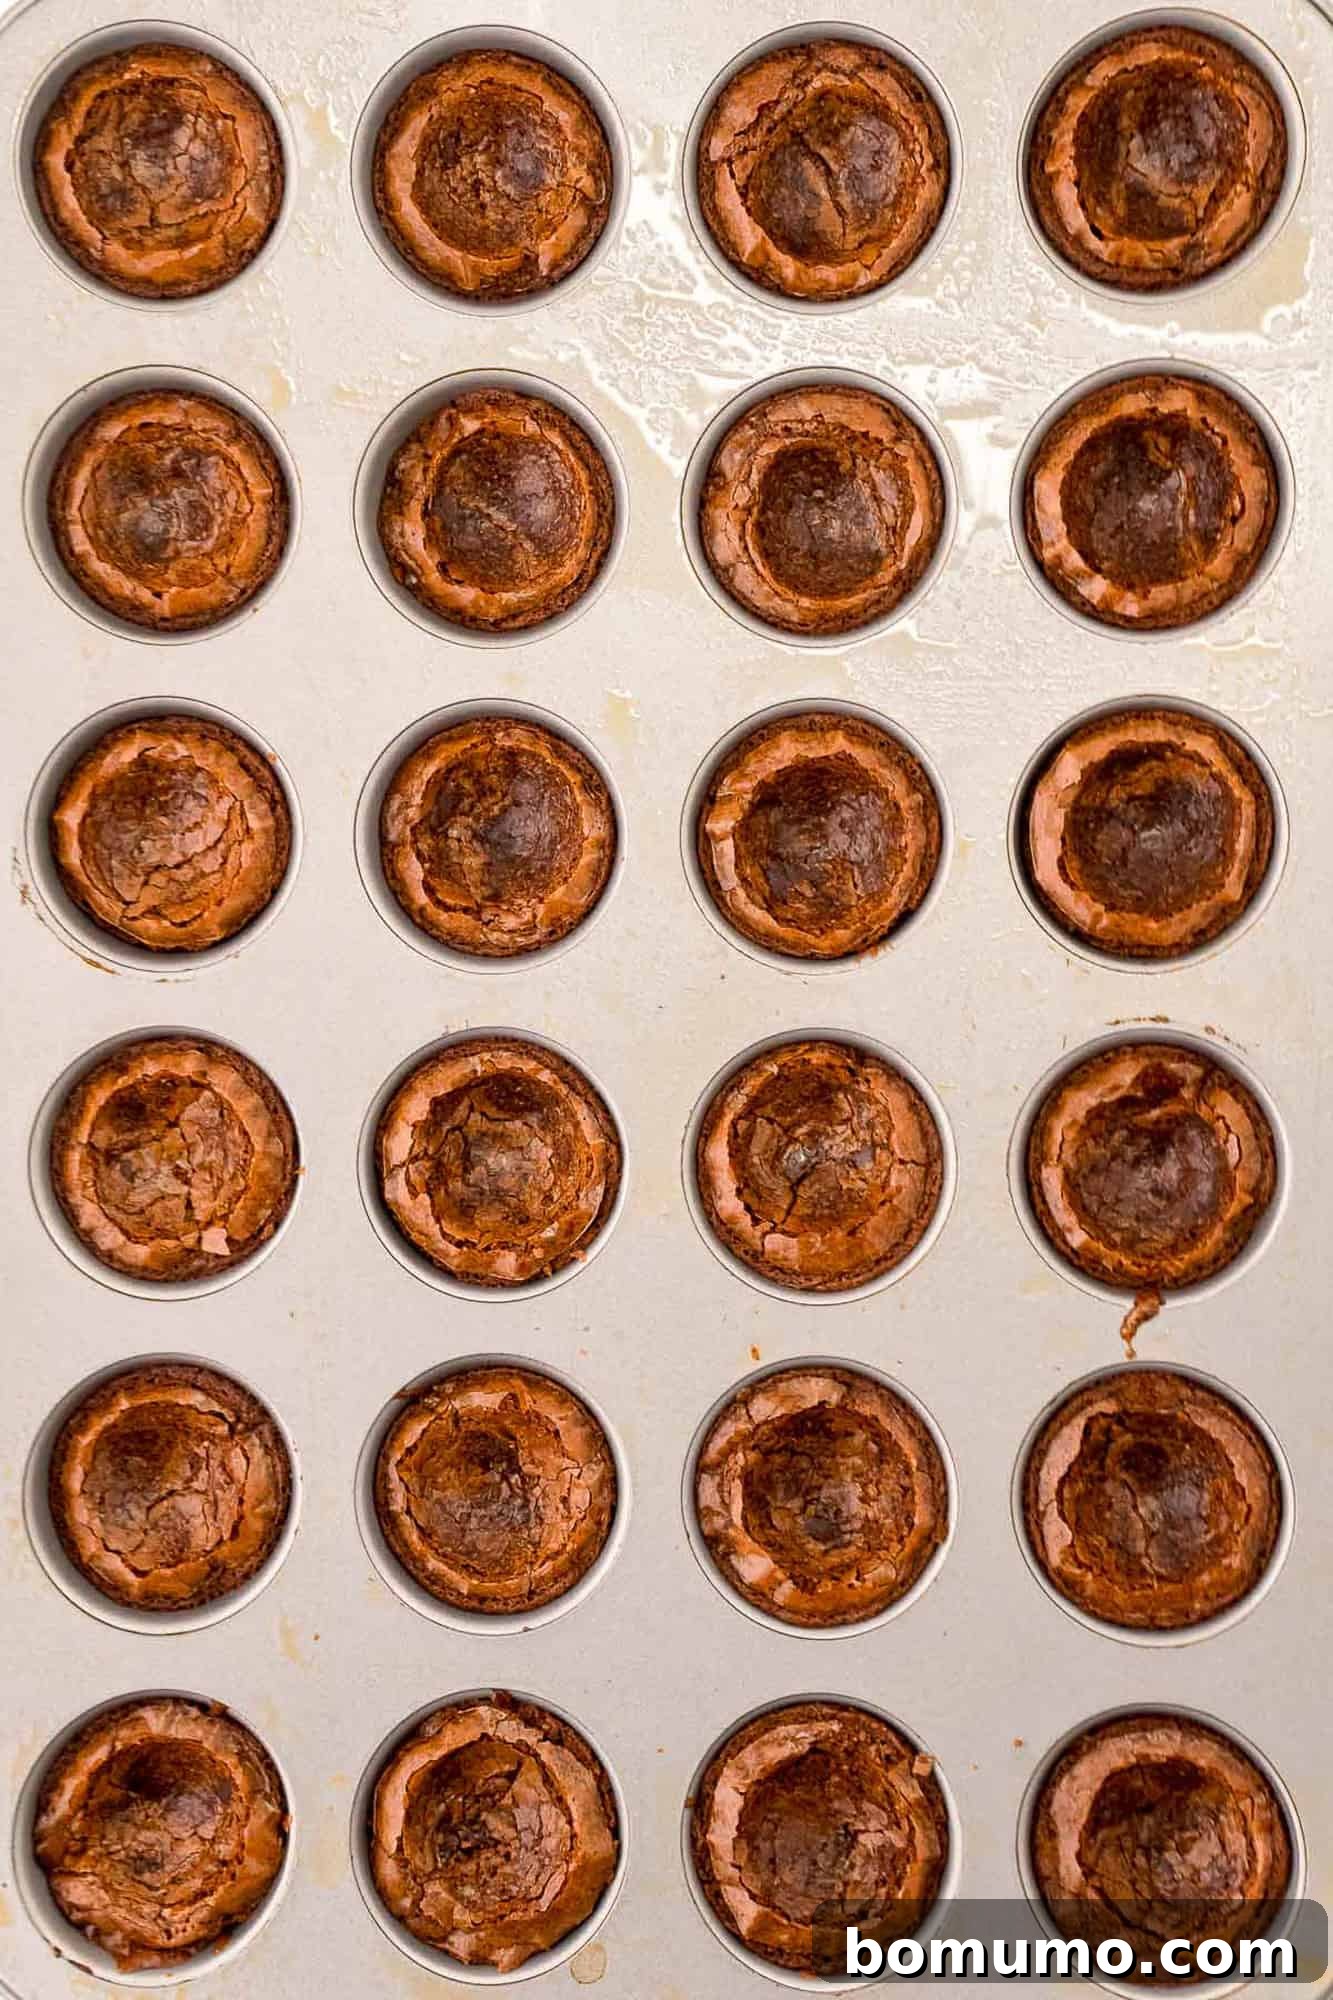
As soon as you remove the baked brownies from the oven, while they are still warm and pliable, immediately use the back of a measuring teaspoon or a similar small, round utensil to create a gentle indentation in the middle of each brownie cup. Simply press it firmly into the center to form a small hollow. This indentation will serve as the perfect cradle for your piped frosting, ensuring it stays neatly in place and helps create the distinctive Christmas tree shape.
3. Cooling Process
Allow the brownies to cool in their pans for about ten minutes after indentation. This brief cooling period helps them to firm up slightly, making them easier to handle. After ten minutes, carefully remove them from the tin. If any are sticking, a gentle nudge with a table knife or a small paring knife around the edges should help them pop out. Transfer the individual brownie bites to a wire rack to cool completely. This step is vital; frosting warm brownies will cause the buttercream to melt and slide off, so patience here will lead to perfect results.
4. Preparing the Vanilla Buttercream Frosting
While your brownies are cooling, it’s time to whip up the star of the show: the rich vanilla buttercream frosting. In a mixing bowl, combine the softened unsalted butter and beat it on medium speed until it’s light, smooth, and creamy. If you’re using a stand mixer, the paddle attachment is ideal; for a hand mixer, use the beaters. Gradually add the powdered sugar and heavy cream alternately, a small amount at a time, ensuring you beat well after each addition. Continue this process until all the sugar and cream are incorporated and the frosting is smooth. Next, beat in the pure vanilla extract and a tiny pinch of salt to enhance the flavors. For the perfect consistency, if the frosting appears too thick, add a little more cream, a teaspoon at a time. If it’s too thin, gradually add more powdered sugar until it reaches a pipeable consistency. Finally, tint the frosting with green food coloring to achieve that vibrant Christmas tree hue. Beat the frosting on high speed for about two minutes; the heavy cream will infuse it with wonderful volume and lightness, making it incredibly easy to pipe.
5. Frosting and Decorating Your Christmas Trees
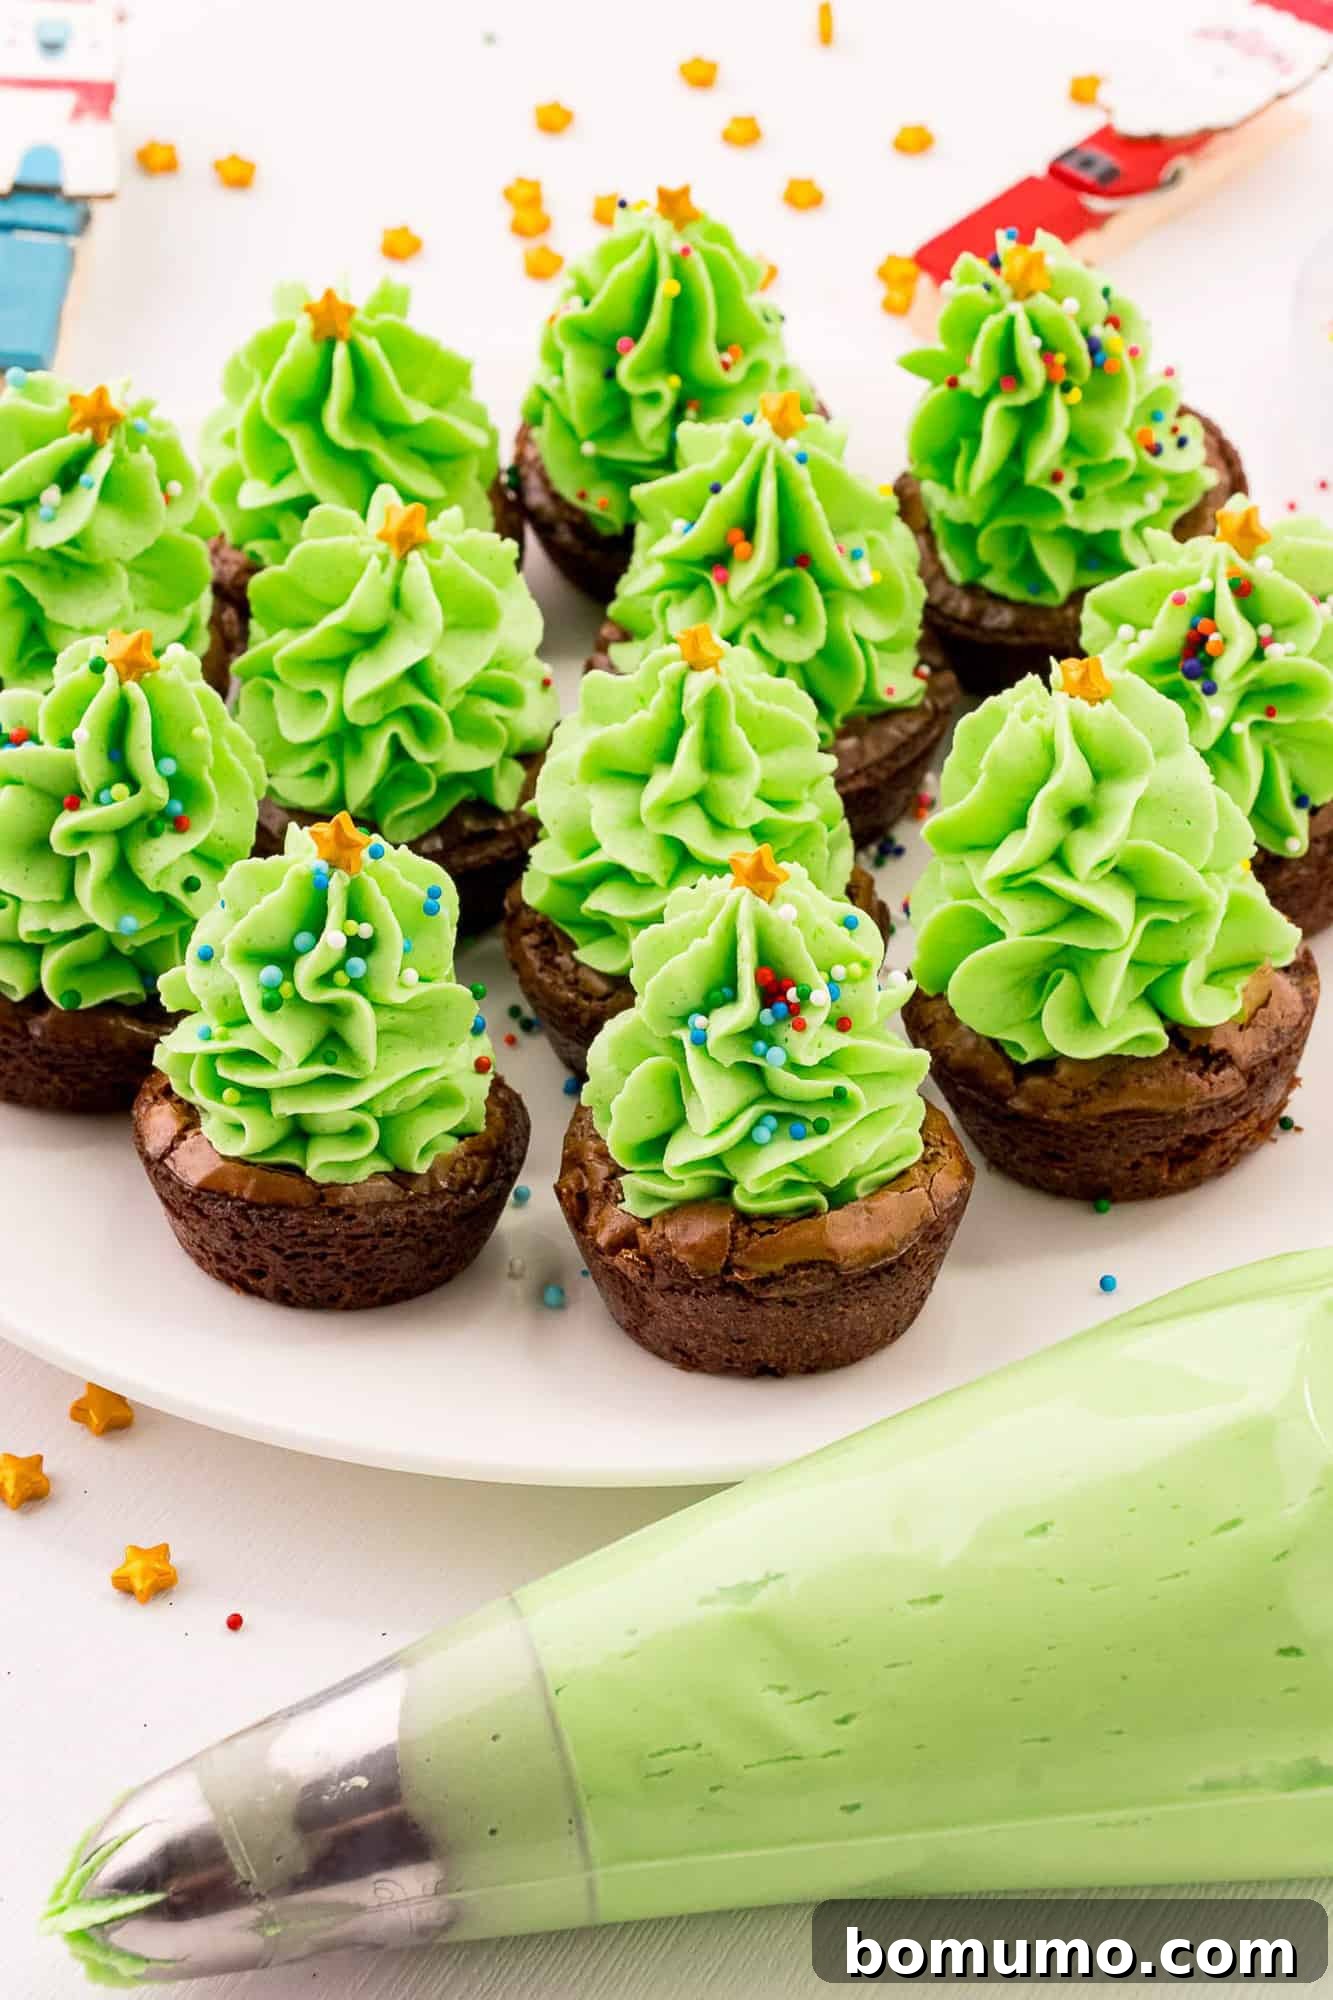
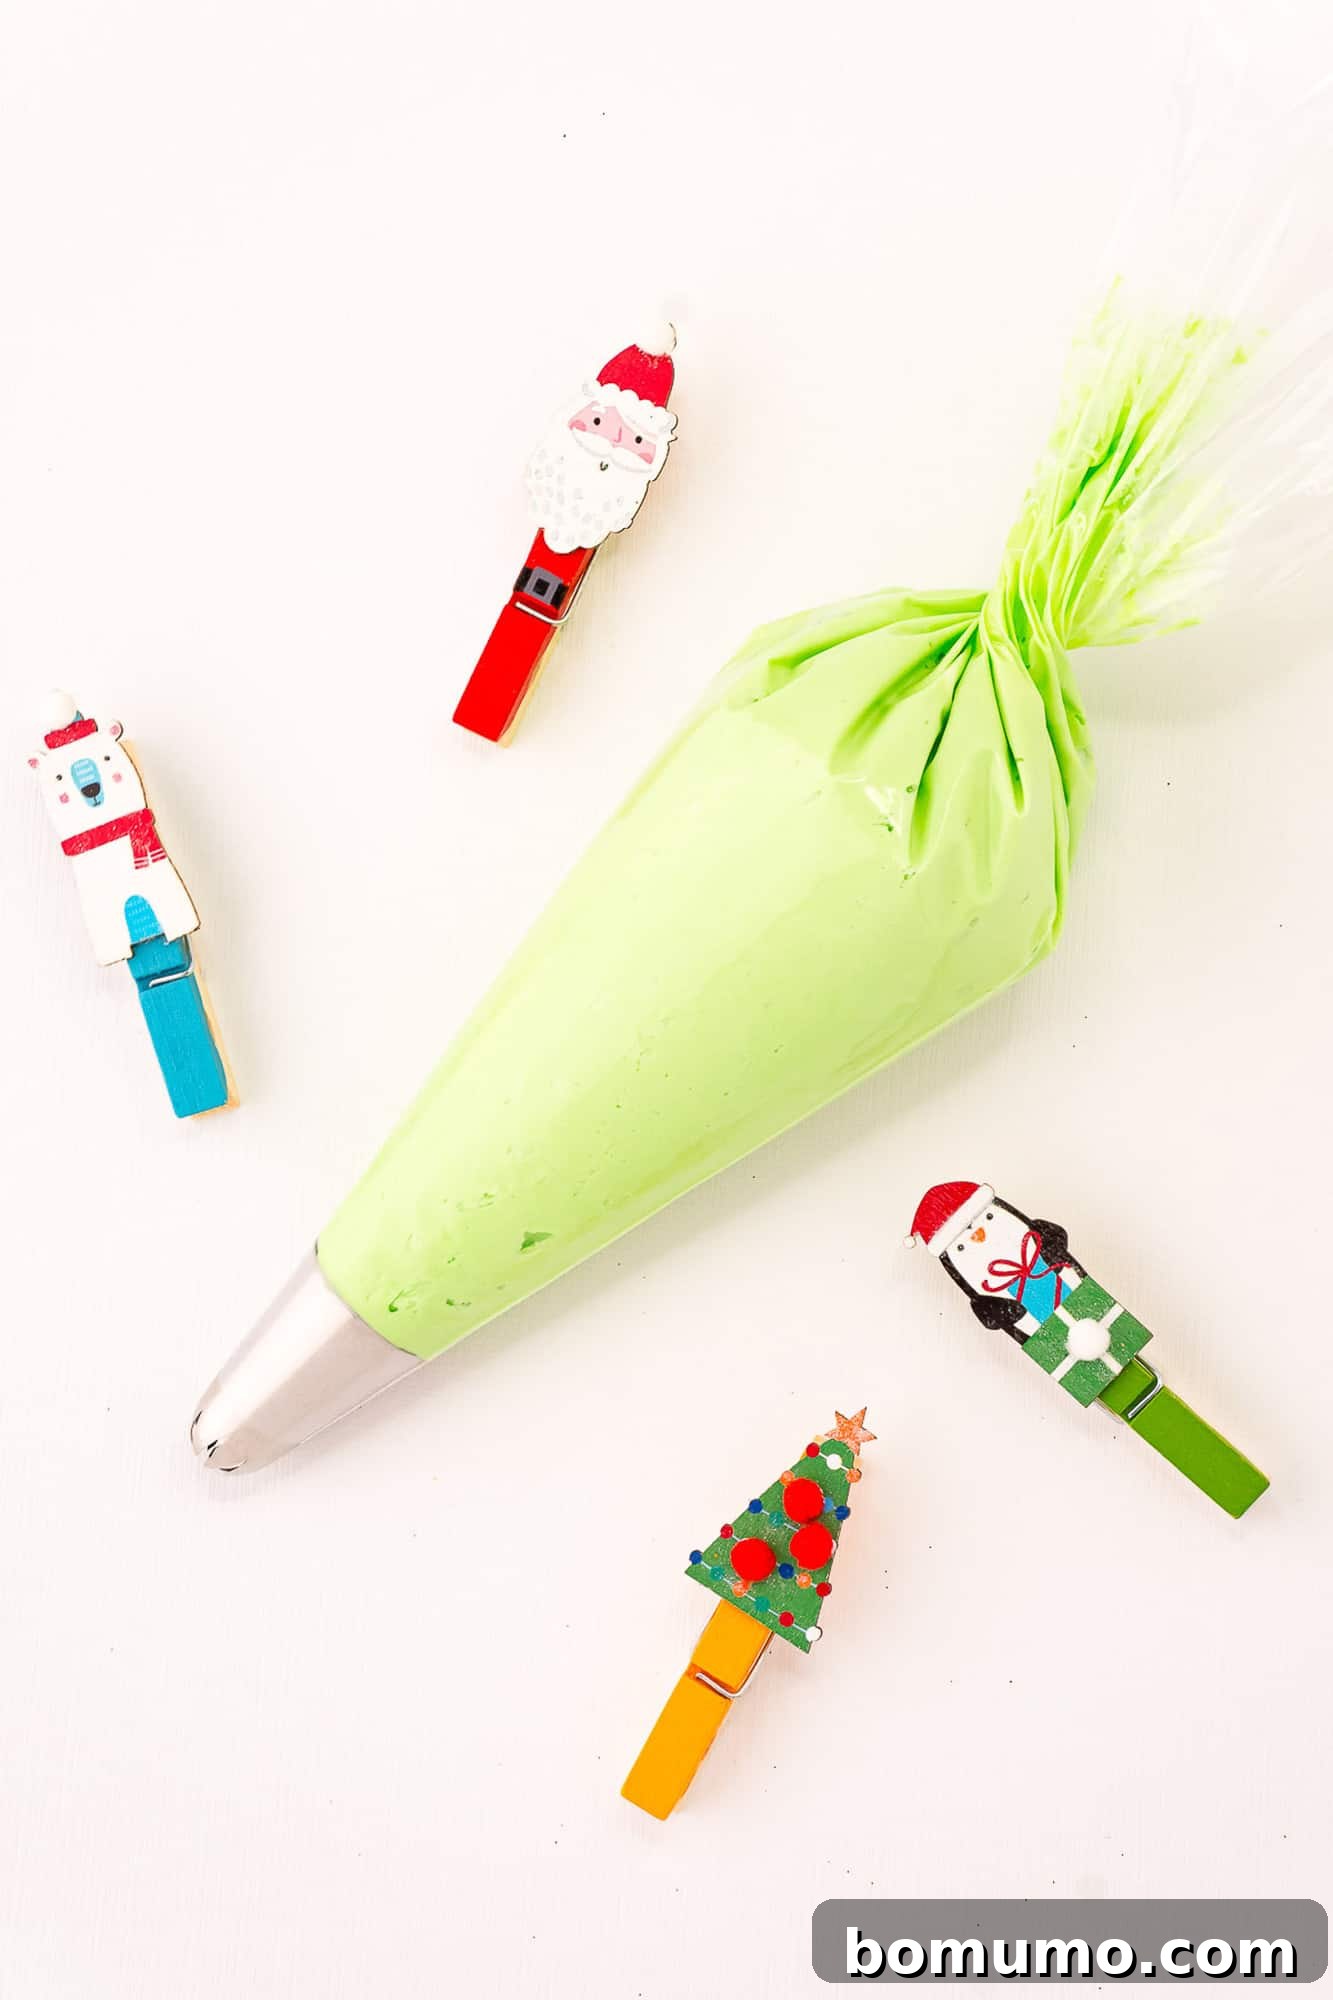
With your brownies cooled and your frosting ready, it’s time for the most fun part – trimming your Christmas trees! Load the green buttercream into a pastry bag fitted with a large star tip. Pipe the frosting onto the center of each cooled brownie bite, applying gentle pressure and twisting your wrist back and forth slightly as you pipe upwards to create the classic, tiered Christmas tree shape. This technique adds texture and dimension, making each tree unique and charming.
Immediate Decoration is Key: This step is crucial for success! As soon as you finish frosting each individual brownie tree, immediately decorate it with your chosen holiday sprinkles, edible stars, or other festive embellishments. Buttercream frosting begins to set relatively quickly, and if you wait until all the trees are frosted before adding sprinkles, the first ones will have formed a crust, making it difficult for the decorations to adhere. You don’t want to feel like the Grinch watching your sprinkles bounce right off! Decorating each tree as you go ensures all your festive adornments stick perfectly, making your Christmas tree brownie bites truly sparkle.
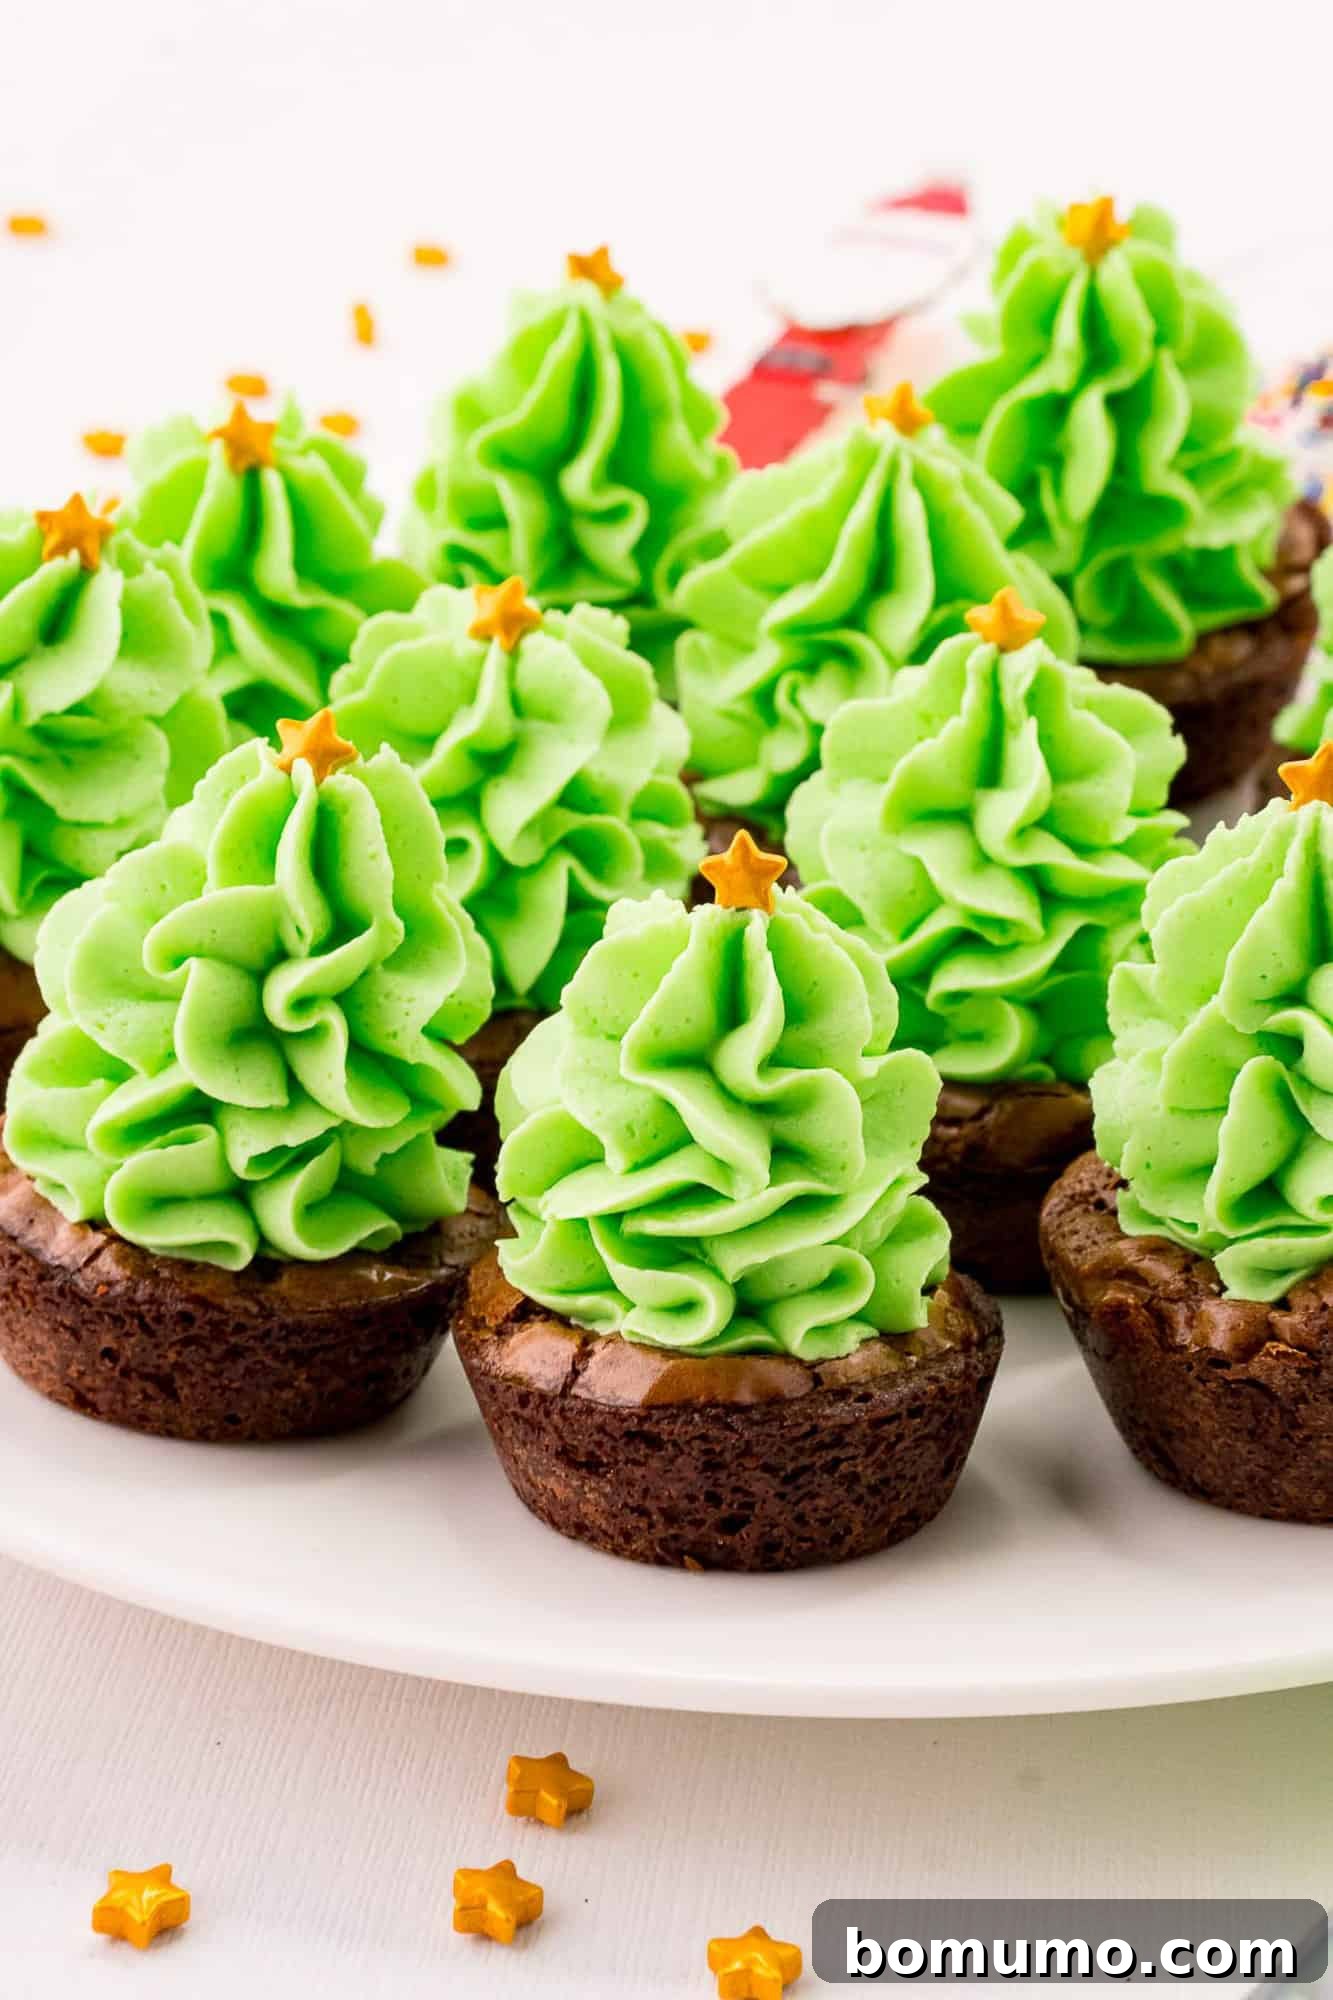
And there you have it! Your adorable Christmas tree brownie bites are complete. Aren’t they simply beautiful? And the best part is, they taste every bit as good as they look! These festive treats look incredibly charming arranged on a platter, especially alongside other holiday favorites like delightful Snowman Oreo Pops and classic Peppermint Kiss Cookies. For a truly unforgettable holiday spread, consider pairing these treats with a cozy Christmas beverage. How about a comforting cup of Homemade Eggnog (spiked or non-alcoholic), a rich Spiked Hot Chocolate, or a sophisticated Hot White Russian? Even a mug of steaming Hot Cocoa will hit the spot perfectly. If you’re hosting a larger gathering, my Crockpot Hot Chocolate recipe is a fantastic, fuss-free option for serving a crowd.
Creative Recipe Variations and Adaptations
The beauty of these brownie bites lies in their incredible adaptability. While they shine as Christmas trees, the core recipe can be easily transformed to suit any holiday or theme you can imagine. Get creative and make these delightful treats your own!
- Endless Color and Theme Combinations: Don’t limit yourself to green! Tint the frosting a different color and coordinate with matching sprinkles to celebrate various occasions. For instance, think romantic pink frosting with red and white sprinkles for Valentine’s Day, or vibrant orange frosting with black and chocolate sprinkles for a spooky Halloween delight. You could even create game day brownie bites by coloring the frosting to match your favorite team’s colors, topped with sprinkles in contrasting team hues. The possibilities are truly boundless!
- Simplify the Frosting: If you’re short on time or prefer a less elaborate treat, you don’t always need a towering Christmas tree. Simply pipe a smaller dollop or swirl of frosting into the indentation of each brownie bite. They’ll still be incredibly delicious and attractive, perfect for everyday snacks or lunchbox surprises.
- Looking for Quicker Sweet Fixes? Sometimes, you need a treat that comes together in a flash. For an even quicker holiday confection, try these incredibly easy Christmas Tree Rice Krispie Treats. Or, for minimal effort and maximum reward, our Rolo Pretzels require only three ingredients (Rolo candies, pretzels, and either pecan halves or M&Ms) and are truly super good!
- Prefer Brownies in Bar Form? If the classic brownie bar is more your style, we have fantastic options to satisfy that craving. Indulge in rich Kahlúa Brownies, decadent Cream Cheese Filled Brownies, or for a healthier twist that no one will guess is good for you, try our surprisingly delicious Black Bean Brownies!
Prepare Ahead: Your Stress-Free Baking Solution
Prepare Ahead: Your Stress-Free Baking Solution
Holiday baking doesn’t have to be a last-minute rush! These Christmas Tree Brownie Bites are fantastic for making ahead, allowing you to spread out your kitchen tasks. You can bake the brownie bases a day or two in advance and store them in an airtight container at room temperature. This way, when you’re ready to serve, all that’s left is to quickly whip up the vanilla buttercream frosting and pipe it onto your cooled brownies. This simple strategy significantly reduces stress and saves valuable time, making holiday entertaining much more enjoyable.
Proper Storage for Maximum Freshness
Proper Storage for Maximum Freshness
To keep your festive Christmas tree brownie bites fresh and delicious, store them in an airtight container. They will maintain their quality at room temperature for up to five days. However, if your kitchen tends to be on the warmer side, or if you want to extend their freshness a bit longer, it’s best to store them in the refrigerator. Just be sure to allow them to come to room temperature for about 15-20 minutes before serving for the best flavor and texture experience.
Discover More Delightful Goodies
Easy Snowman Oreo Pops
Sand Tart Cookies (Buttery Slice & Bake Sugar Cookies)
Gingersnap Cookies with White Chocolate and Cranberries
Brigadeiros (Rich Brazilian Fudge Balls)
Christmas Tree Brownie Bites
Rachel Gurk
30 mins
17 mins
1 hr 17 mins
36 servings
Ingredients
- 1 box brownie mix
- 2 large eggs (follow package instructions)
- ½ cup oil (follow package instructions)
- 3 tablespoons water (follow package instructions)
- 1 cup (2 sticks) unsalted butter, softened
- 3 cups powdered sugar, more if needed
- 3 tablespoons heavy cream, more if needed
- 1 tablespoon pure vanilla extract
- ¼ teaspoon salt
- green food coloring
- holiday sprinkles
Instructions
-
Preheat oven to 350ºF (175°C) and generously grease a mini muffin pan with nonstick spray; set aside.
-
Prepare the brownie mix according to the package directions, then fill each well of the mini muffin pan about ⅔ full with brownie batter.
-
Bake for approximately 15 to 17 minutes, or until the edges appear firm but the center is still slightly soft to the touch (avoid overbaking).
-
Remove the pan from the oven. While still warm, use the back of a round measuring teaspoon to create a small indentation in the center of each brownie cup. Allow them to cool in the pan for 10 minutes.
-
Carefully use a paring knife or table knife to help gently pop the brownies out of the pan. Transfer them to a wire rack to cool completely before applying frosting (this usually takes about 30 minutes).
-
While the brownies are cooling, begin preparing the buttercream. In a mixing bowl, cream the softened butter on low speed with a paddle attachment (or use an electric hand mixer) until it becomes pale and creamy.
-
Slowly add 3 cups of powdered sugar and 3 tablespoons of heavy cream, alternating small amounts of each, while mixing on low speed over approximately 3 minutes. If the frosting needs a stiffer consistency, add more powdered sugar. If it needs to be thinned out, add more cream a teaspoon at a time.
-
Stir in the vanilla extract, salt, and green food coloring. Whip the frosting on high speed for 2 minutes to incorporate air, making it light and fluffy.
-
Fill a piping bag, fitted with a large star tip, with the prepared green frosting. Pipe the frosting onto the cooled brownie bites, twisting back and forth slightly as you pipe upwards to form a festive Christmas tree shape.
-
Immediately decorate each tree with holiday sprinkles and a star as you finish frosting it. The frosting sets quickly, so adding sprinkles as you go ensures they adhere properly before the surface hardens.
Notes
- Brownie mix: For consistency, I often use Ghirardelli Double Chocolate Mix (18 ounces), which typically yields about 36 bites. The exact quantity might vary slightly depending on the brand and size of your chosen mix.
- Brownie preparation: Always follow the specific package directions when making the brownies, as the required amounts of eggs, oil, and water can differ between brands.
- Storage: Store these delightful Christmas tree brownie bites in an airtight container for up to 5 days. They can be kept at room temperature, or in the refrigerator if your kitchen is particularly warm, or for extended freshness.
Video Tutorial
Watch a quick video demonstration on how to make these festive Christmas Tree Brownie Bites!
Nutrition Information
, Calories: 183 kcal
, Carbohydrates: 21 g
, Protein: 1 g
, Fat: 11 g
, Saturated Fat: 4 g
, Polyunsaturated Fat: 1 g
, Monounsaturated Fat: 4 g
, Trans Fat: 1 g
, Cholesterol: 24 mg
, Sodium: 62 mg
, Potassium: 7 mg
, Sugar: 17 g
, Vitamin A: 189 IU
, Vitamin C: 1 mg
, Calcium: 4 mg
, Iron: 1 mg
Please note: Nutrition information is an automatic calculation and should be used as an approximation.
Did You Make This Recipe?
Share your thoughts and rating below! We love hearing from you!