
Recipe Highlights
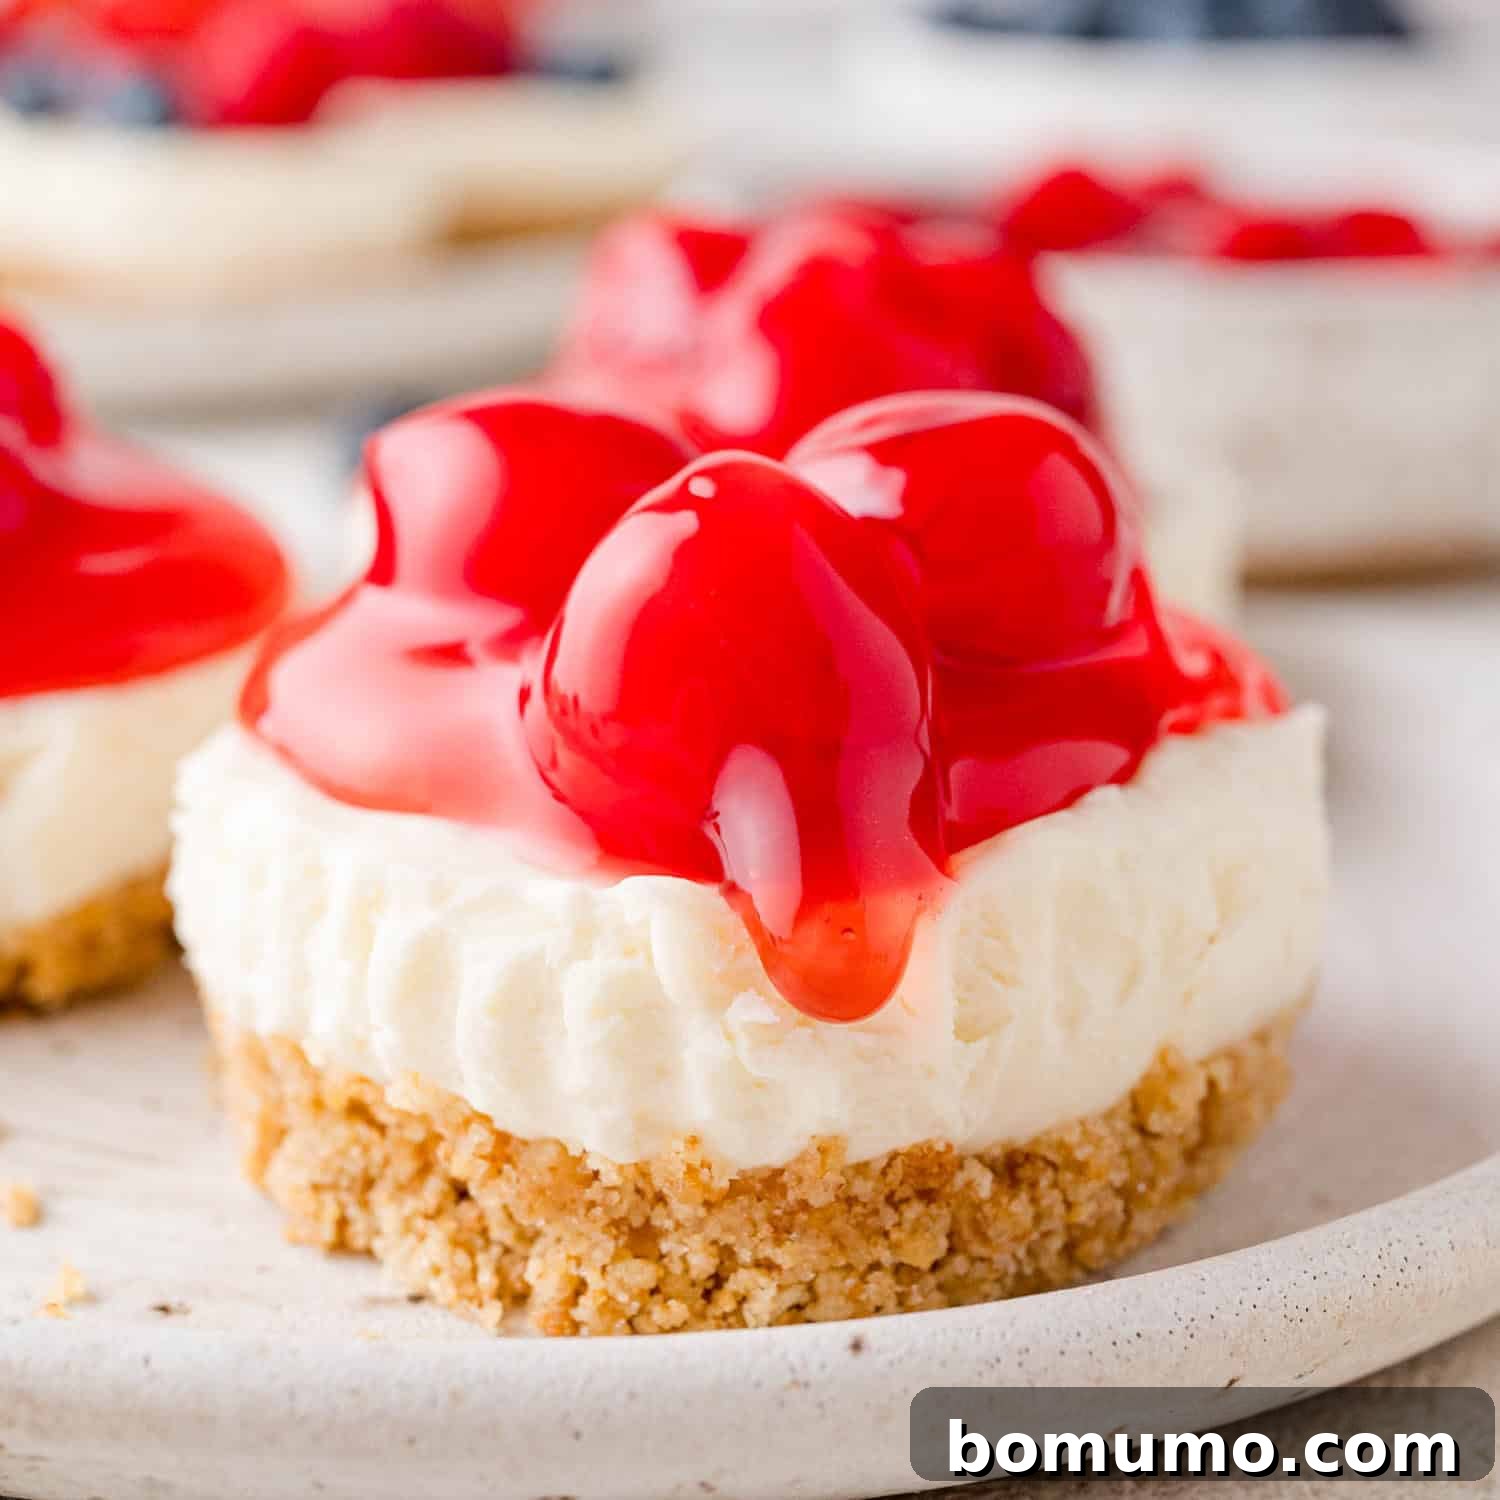
Why you’ll love them: Indulge in the luscious taste of cheesecake without the oven! These no-bake mini cheesecakes are irresistibly creamy, rich, and zesty. Their perfect individual size makes them an elegant and convenient choice for any gathering or party.
Preparation time: 30 minutes for assembly, followed by a minimum of 2 hours for chilling.
Essential equipment: Mixing bowls, an electric mixer, and a standard cupcake pan.
Yields: 24 delightful mini cheesecakes.
Save this recipe for later!
Pin It
Effortless Elegance: The Ultimate Guide to No-Bake Mini Cheesecakes
Are you craving the rich, tangy indulgence of cheesecake but dread the complex baking process? Traditional cheesecakes can often be intimidating, requiring precise oven temperatures, water baths, and the constant worry of cracks appearing. But what if we told you that you could enjoy all the decadent flavor of cheesecake with none of the stress? Enter the marvelous world of no-bake mini cheesecakes – the epitome of easy dessert perfection.
These individual no-bake mini cheesecakes are not just simple to assemble; they are a delightful culinary shortcut that yields impressive results every time. Forget the anxiety of oven-baked desserts; this recipe is designed for maximum flavor with minimal effort. Whether you’re a novice baker or a seasoned chef looking for a quick yet elegant treat, these mini cheesecakes will undoubtedly become your go-to recipe for any occasion. They’ve consistently charmed guests at numerous special events, proving that convenience doesn’t have to compromise on taste or sophistication.
No-Bake vs. Traditional Cheesecake: What’s the Difference? The primary distinction lies in their setting process. Traditional baked cheesecakes rely on eggs as a binder and require a careful baking method, typically in a water bath, to achieve their signature dense, creamy texture and prevent dreaded cracks. It’s a delicate balance that can be challenging to master. In contrast, no-bake cheesecakes achieve their structure through refrigeration. They are typically made by combining a rich cream cheese base with light, airy whipped cream, resulting in a distinctively smooth, fluffy, and incredibly delightful texture. This method eliminates all the potential pitfalls of baking, offering a foolproof path to cheesecake bliss.
The Irresistible Appeal of No-Bake Mini Cheesecakes
These individual desserts offer a myriad of advantages that make them a standout choice for any sweet craving or social gathering.
Rich, Creamy, and Light Texture
While equally delicious, the texture of a no-bake cheesecake offers a unique experience compared to its baked counterpart. Instead of the dense, custard-like consistency of traditional cheesecakes, the addition of whipped cream creates a filling that is wonderfully creamy and notably fluffier, almost mousse-like. This lighter, airier profile is often preferred by many, providing a refreshing twist on a classic dessert. It’s still incredibly rich and satisfying, but with a delicate melt-in-your-mouth quality that’s simply divine.
No Oven Required: Perfect for Any Season
As the name clearly states, these mini cheesecakes require absolutely no baking! This makes them an ideal dessert solution for a variety of situations. Imagine hot summer days when turning on the oven is the last thing you want to do – these cheesecakes come to the rescue. They are also invaluable when you’re entertaining and your oven is already occupied with other dishes, freeing up precious kitchen space. For more oven-free inspiration, explore other delightful no-bake recipes like no-bake peanut butter bars or a decadent chocolate tart.
Unleash Your Creativity: Versatile Flavors and Toppings
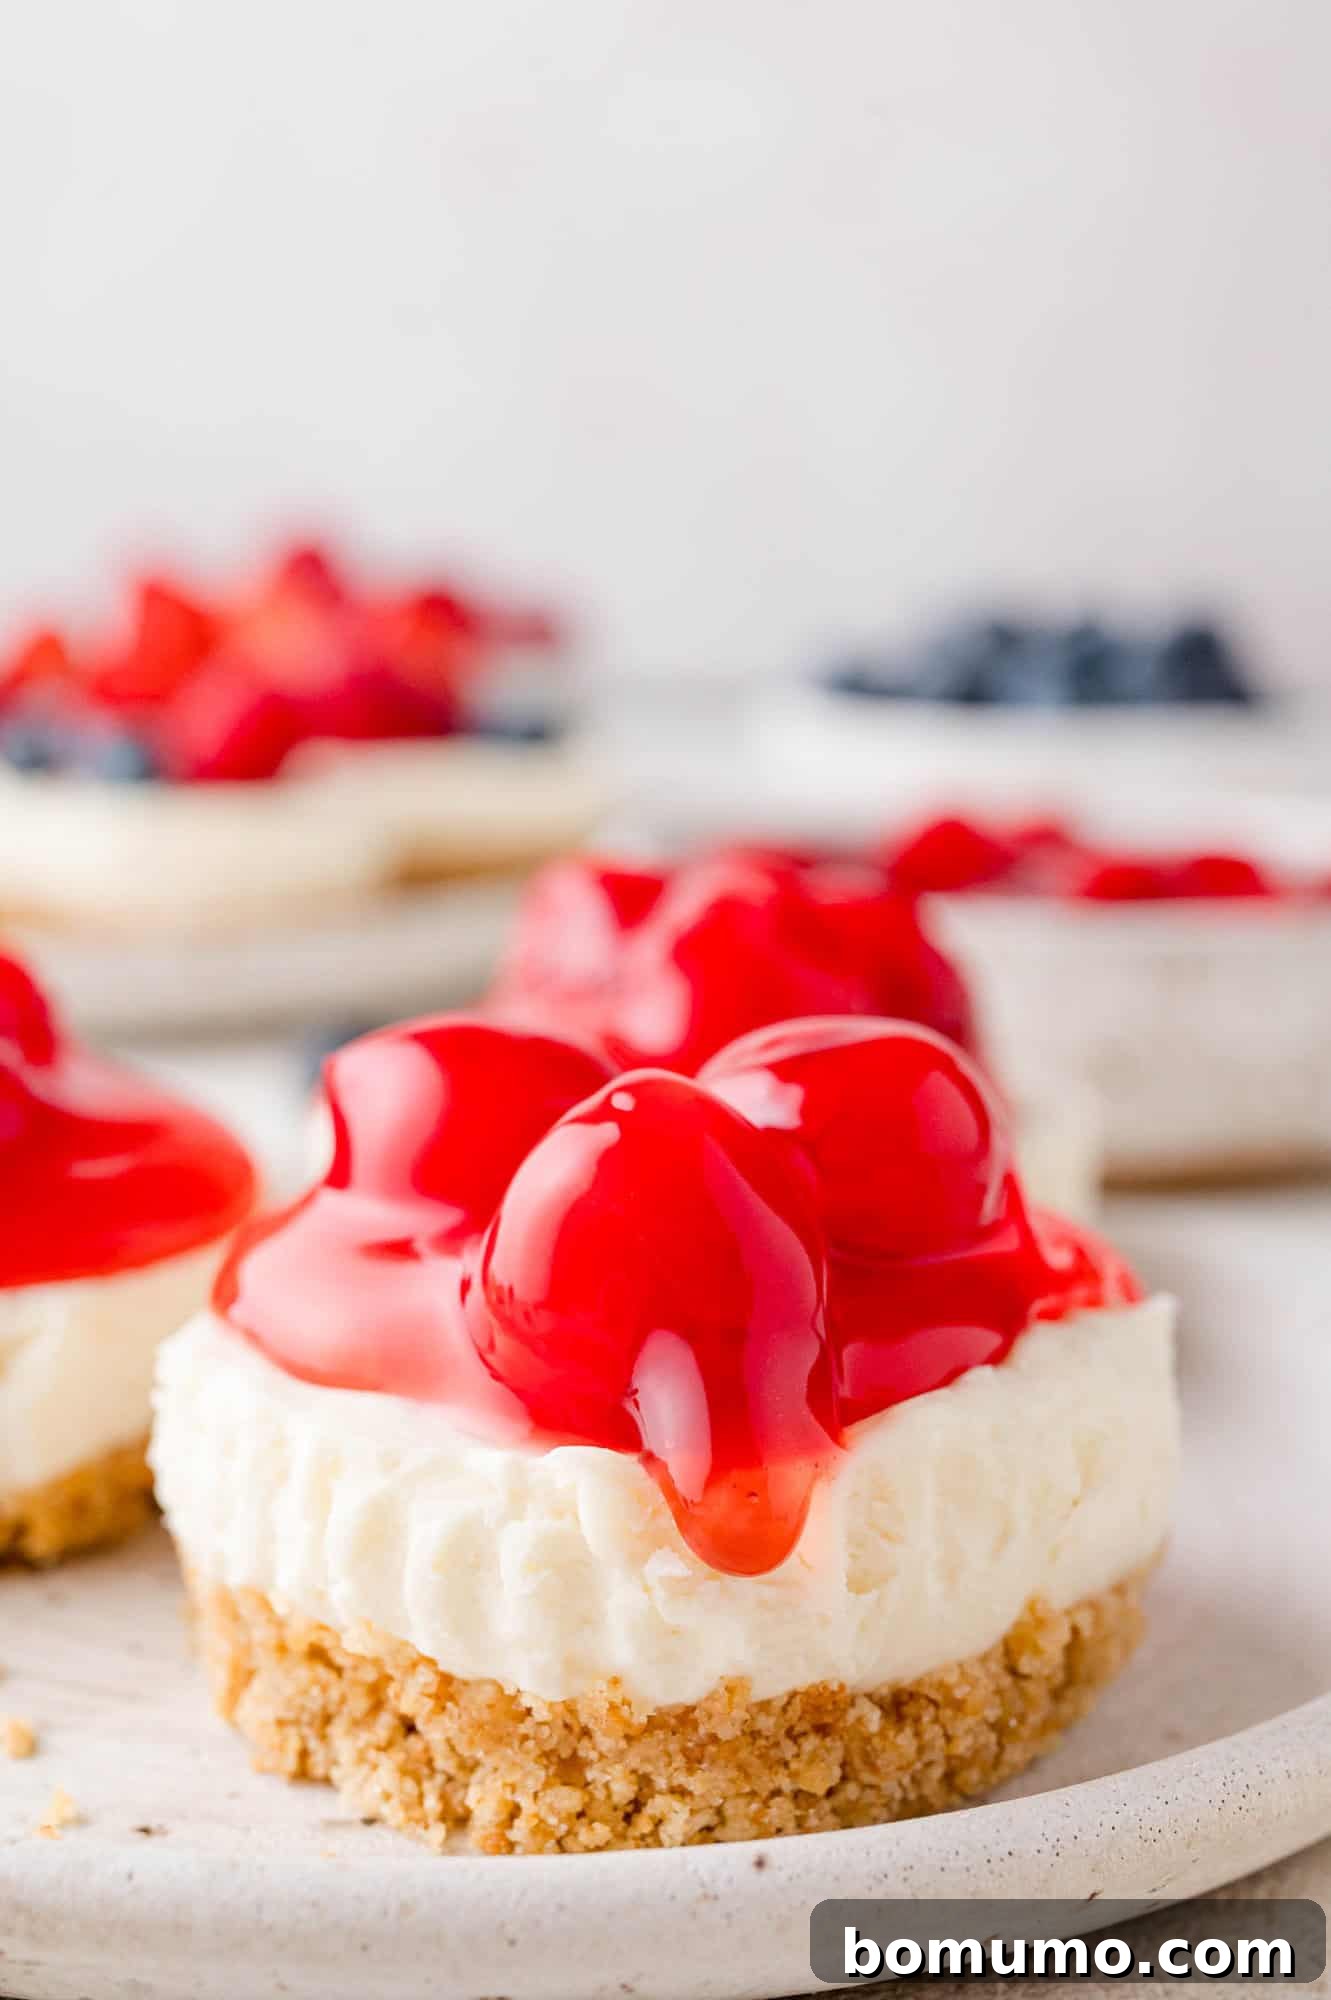
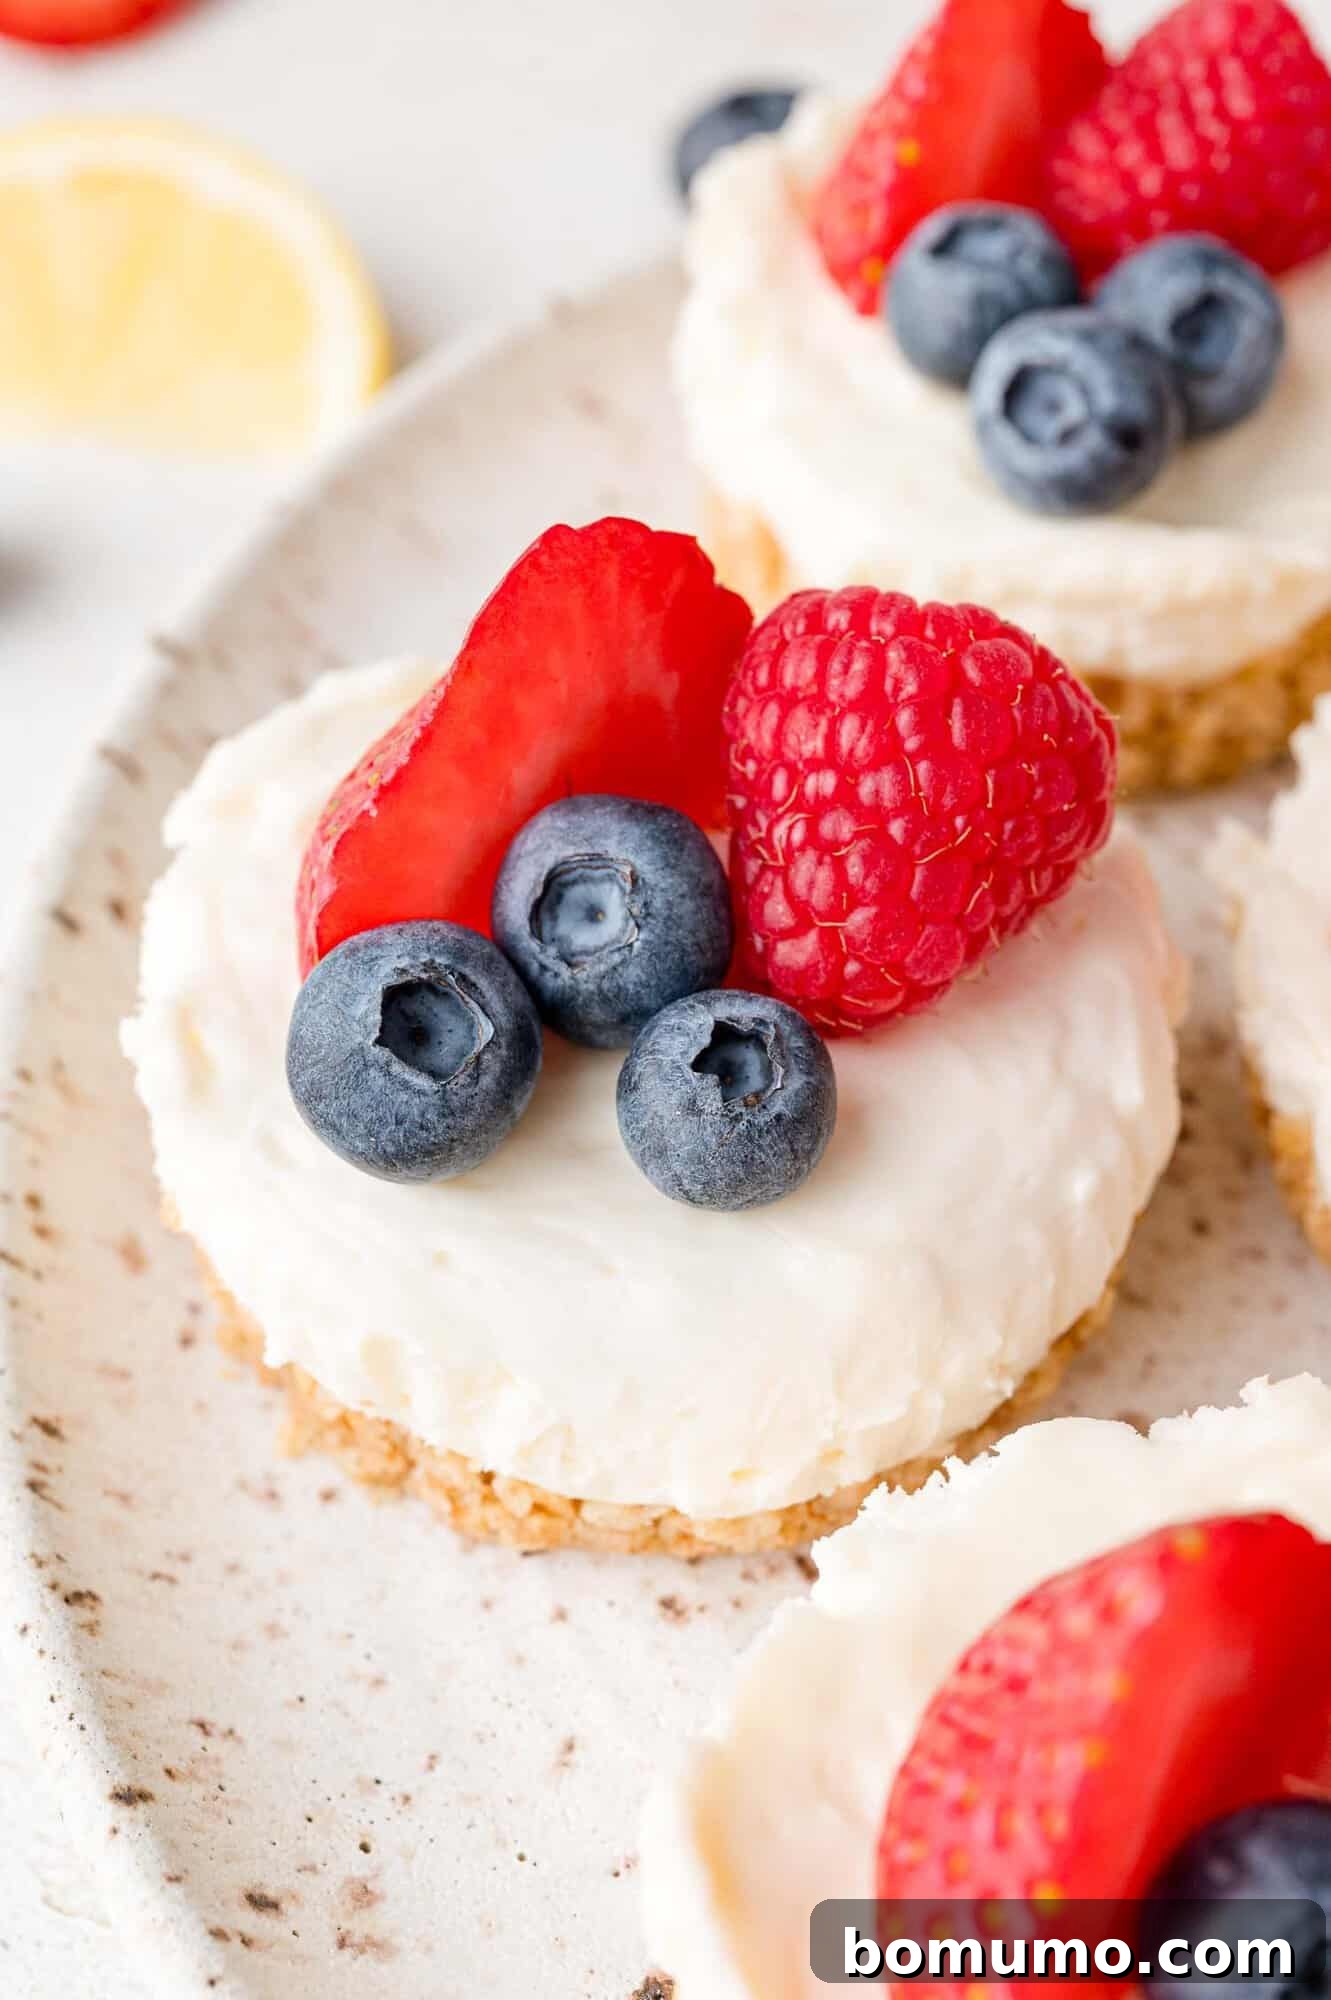
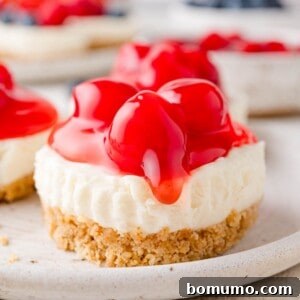
One of the most exciting aspects of these no-bake mini cheesecakes is their incredible versatility. The base recipe is a blank canvas, eagerly awaiting your personal touch. You can easily customize them with your favorite add-ins, extracts, or a wide array of toppings to suit any preference or occasion. Consider setting up a “cheesecake bar” at your next party with various topping options, allowing guests to create their own bespoke dessert. For a festive and patriotic theme, a colorful medley of fresh sliced strawberries and blueberries adds a vibrant touch, as seen in the photo above. But the possibilities extend far beyond berries!
Perfectly Portioned for Parties and Individual Indulgence
The individual size of these cheesecakes is a game-changer for entertaining. They eliminate the need for slicing and serving a large cheesecake, making dessert distribution effortless. Each guest receives their own perfectly portioned treat, ensuring elegant presentation and easy enjoyment. This also makes them ideal for meal prepping individual desserts throughout the week, offering a controlled indulgence whenever a sweet craving strikes.
Essential Ingredients for Flawless No-Bake Mini Cheesecakes
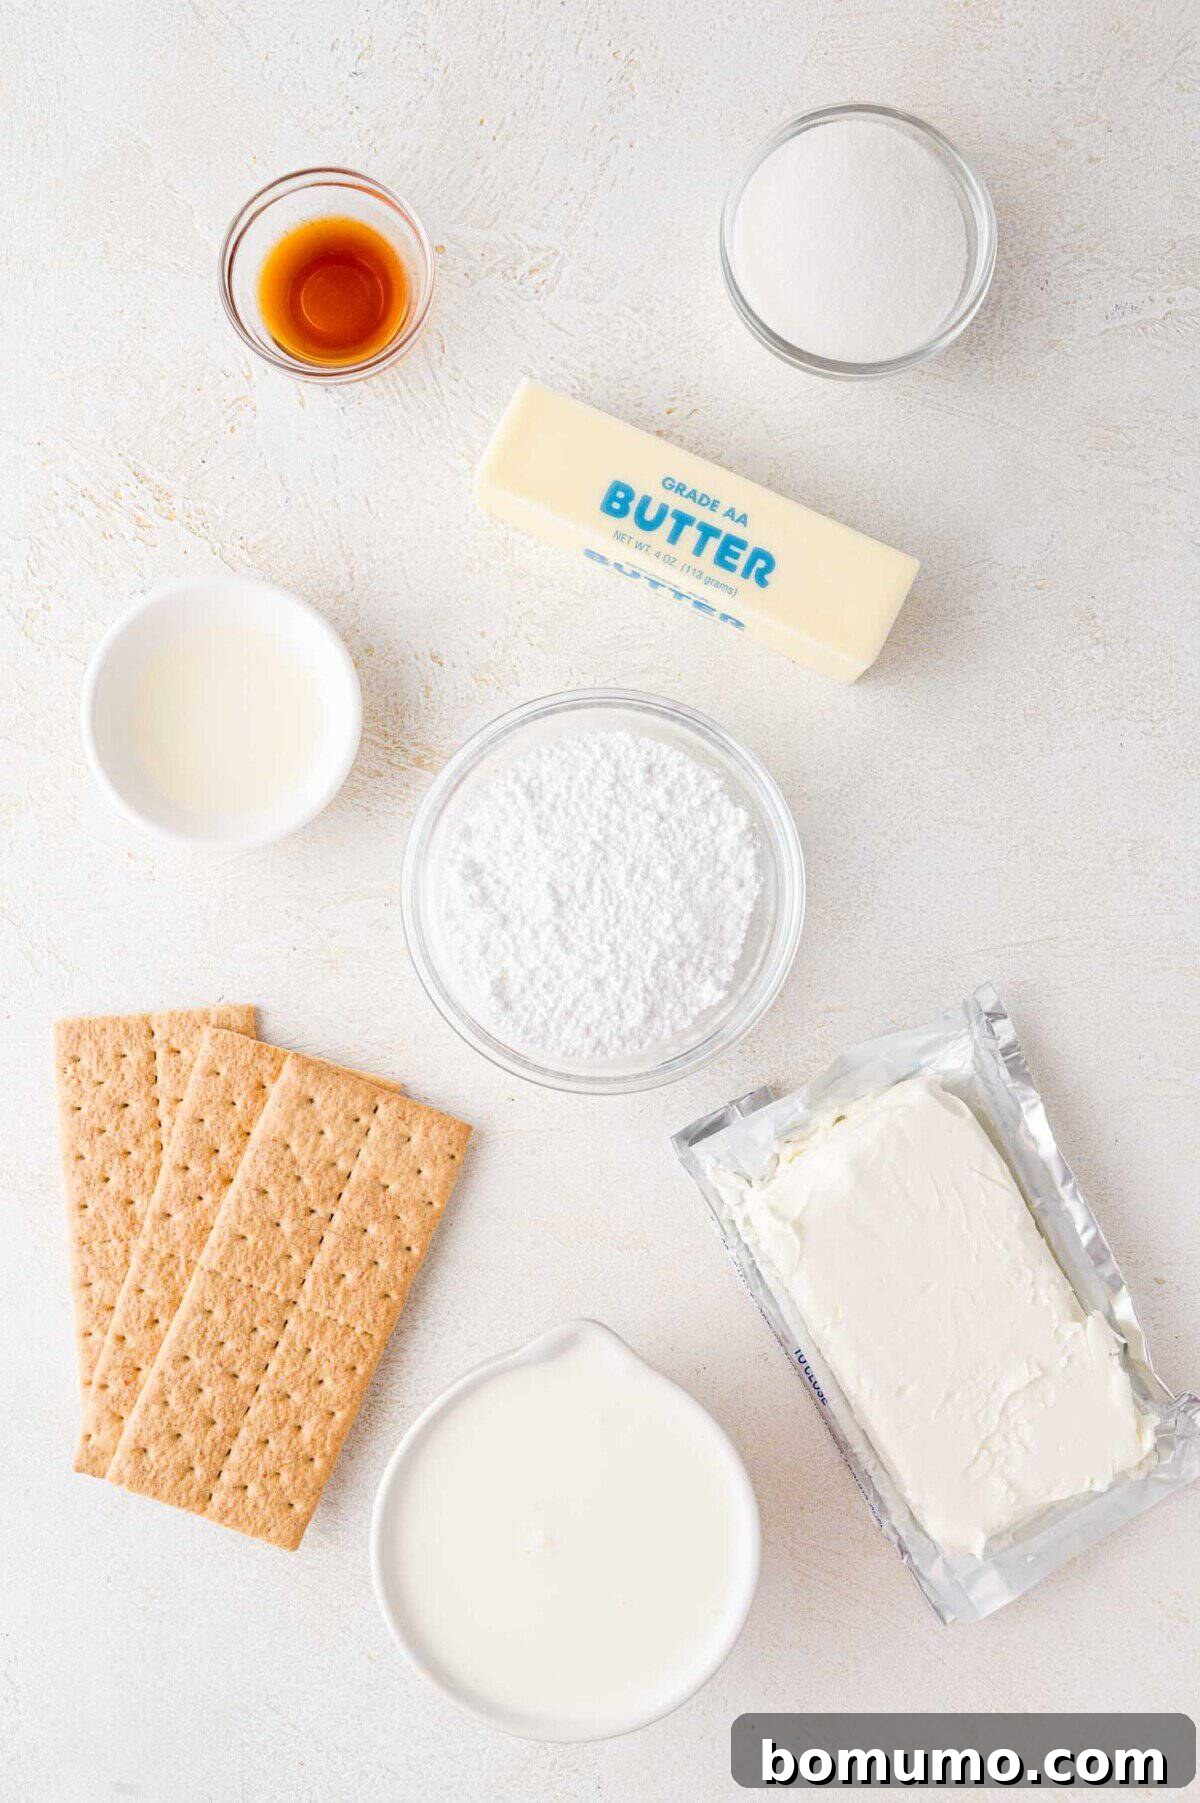
Crafting the perfect no-bake mini cheesecake begins with understanding the role of each ingredient. Here’s a detailed look at what you’ll need and why:
- Graham Crackers: The foundation of these mini delights is a simple yet satisfying graham cracker crust. You have the option to crush your own graham crackers for a more rustic texture and enhanced flavor, or for ultimate convenience, purchase pre-made graham cracker crumbs. We find that the homemade method often yields coarser, more flavorful crumbs, contributing to a superior crust.
- Granulated Sugar (for the crust): A small amount of granulated sugar is added to the crust mixture. When combined with melted butter, it not only adds a touch of sweetness but also plays a crucial role in helping the crumbs bind together firmly, ensuring your crust holds its shape after chilling.
- Unsalted Butter (melted): Melted butter is the critical binding agent for the graham cracker crust. As it chills in the refrigerator, the butter solidifies, locking the crumbs together to form a sturdy and delicious base that perfectly complements the creamy filling.
- Heavy Cream (well-chilled): This is a star ingredient for the cheesecake filling, providing that essential light and airy texture. For optimal whipping results, ensure your heavy cream is very well-chilled. Cold cream incorporates more air and forms stiff peaks much more easily, which is crucial for the filling’s structure.
- Cream Cheese (softened): The heart of any cheesecake! You’ll need two 8-ounce blocks of full-fat cream cheese. It’s imperative that the cream cheese is softened to room temperature before mixing. This ensures a smooth, lump-free filling that blends beautifully with the other ingredients. Avoid low-fat or Neufchâtel cream cheese, as their softer consistency may not provide the desired structure for the no-bake filling.
- Powdered Sugar (confectioners’ sugar): Used in the filling, powdered sugar dissolves seamlessly, creating a perfectly smooth and non-grainy texture. Granulated sugar, in contrast, would result in a less refined and slightly gritty filling.
- Freshly Squeezed Lemon Juice: This ingredient is key to achieving that signature tangy zest that balances the richness of the cream cheese. During testing, we found that lemon juice significantly elevates the flavor profile, adding a bright, refreshing counterpoint. We highly recommend including it for an authentic cheesecake experience.
- Pure Vanilla Extract: For the best and most authentic flavor, always opt for pure vanilla extract over imitation. It enhances the overall sweetness and depth of the cheesecake filling.
- Garnish Options: The fun part! Get creative with toppings such as fresh berries (strawberries, blueberries, raspberries), canned pie filling (cherry, strawberry, apple, or raspberry), a dollop of whipped cream, or delicate chocolate shavings.
Step-by-Step: Crafting Your No-Bake Mini Cheesecakes
Follow these simple instructions to create perfect, individual no-bake cheesecakes that will impress everyone.
Preparing the Graham Cracker Crust
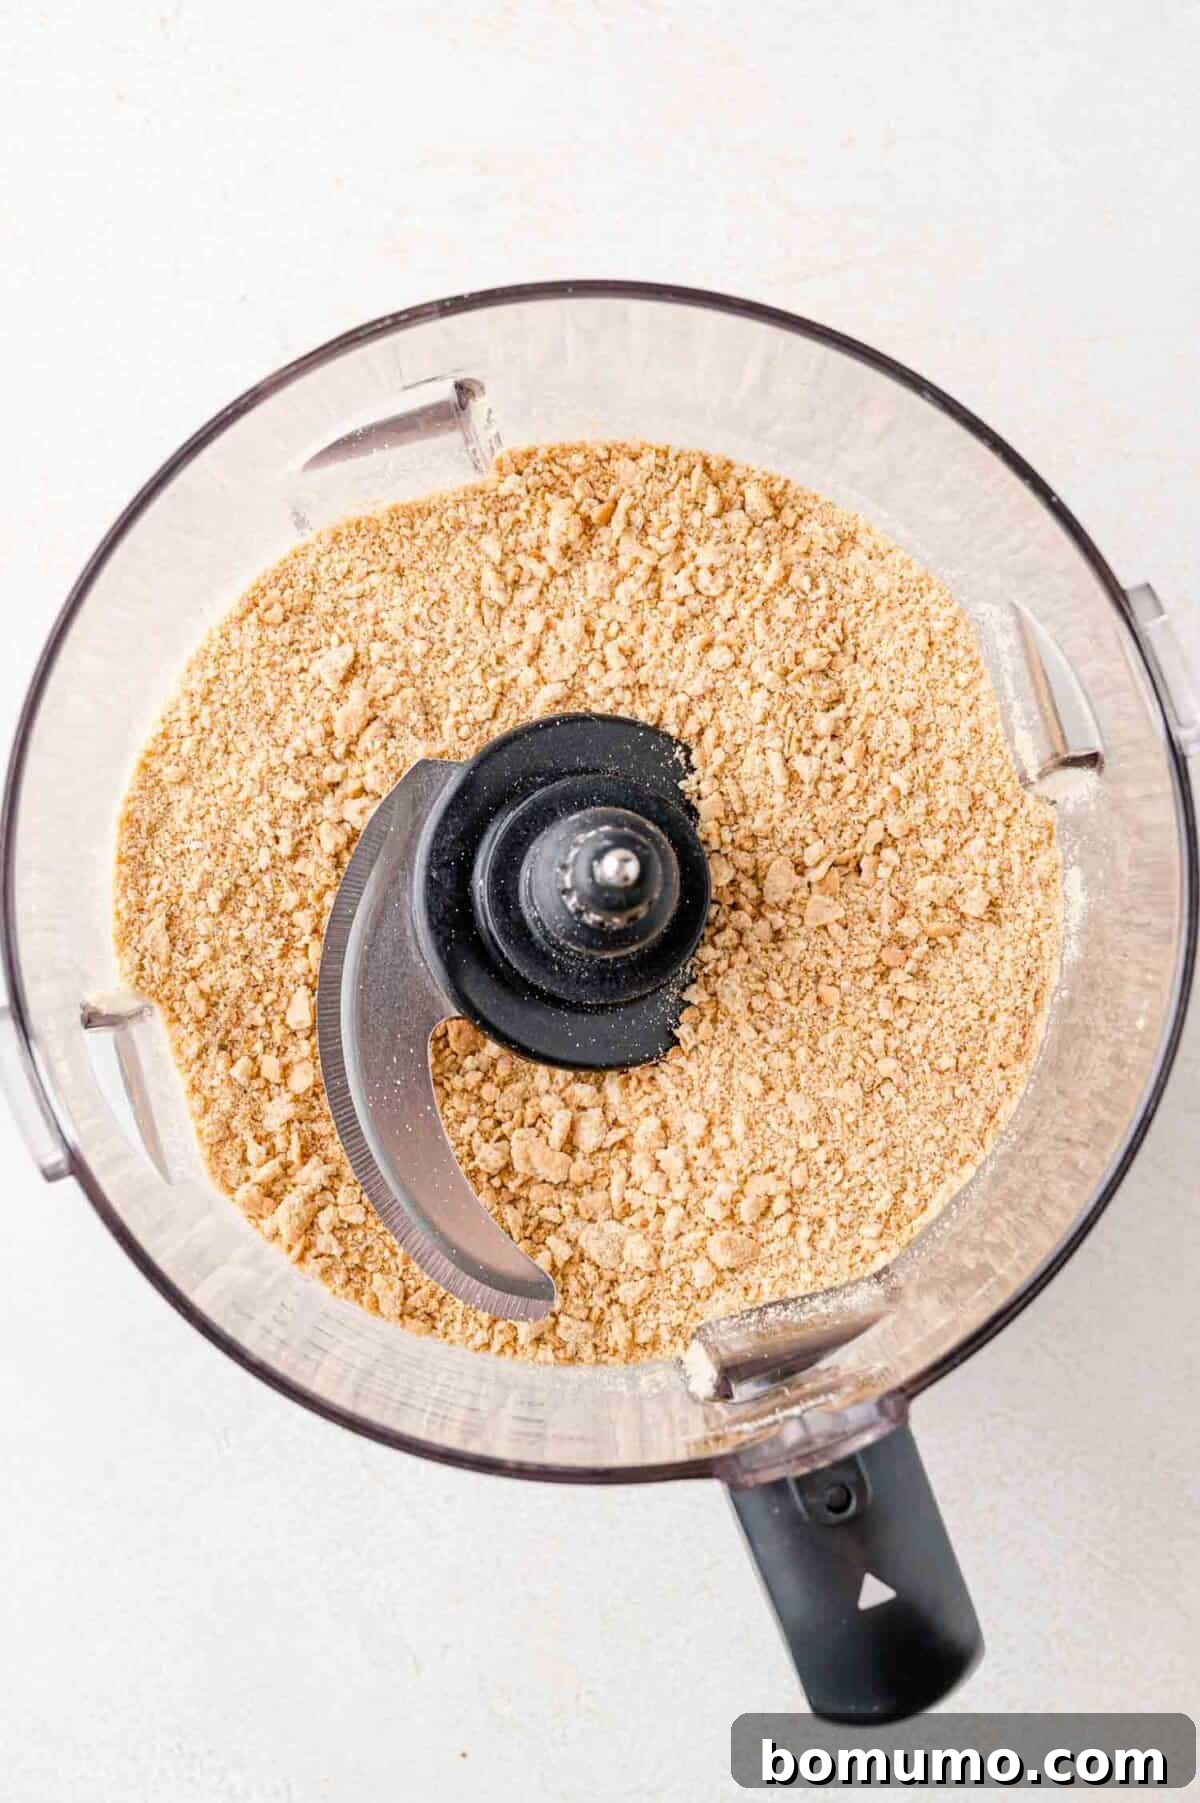
1. Create the crumbs: If using whole graham crackers, place them in the bowl of a food processor. Pulse until fine, even crumbs are formed. Aim for about 2 cups of crumbs. If you don’t have a food processor, don’t worry – this can easily be done manually!
Cooking Tip: No Food Processor? No Problem!
If a food processor isn’t available, simply place your graham crackers in a large, sturdy resealable bag. Seal the bag, ensuring as much air as possible is removed. Then, use a rolling pin, a sturdy mug, or even a wine bottle to firmly crush the crackers until they reach your desired crumb consistency. This method works perfectly and is quite satisfying!
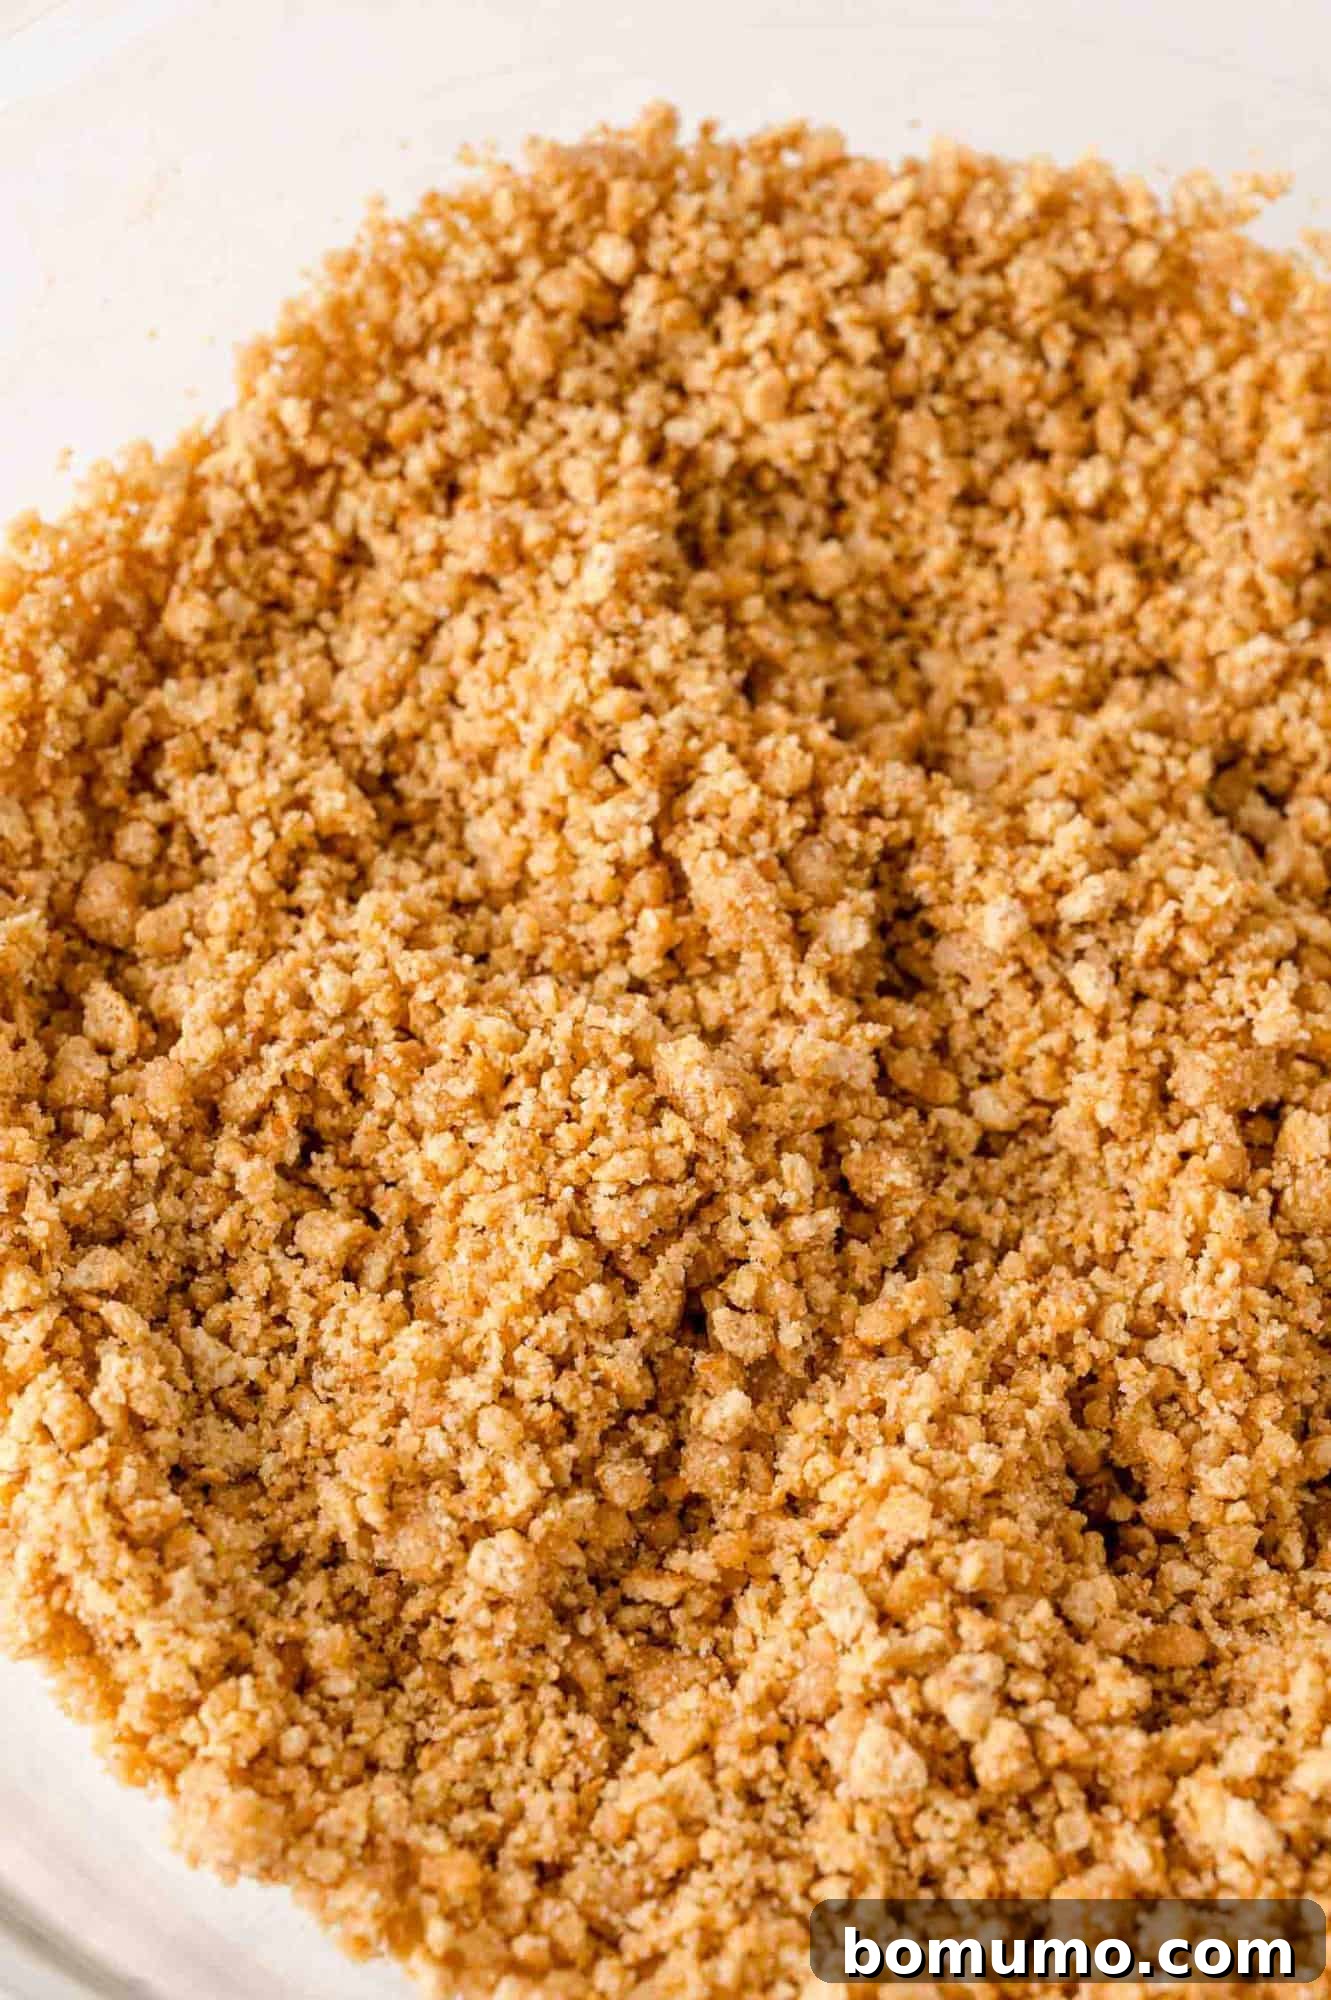
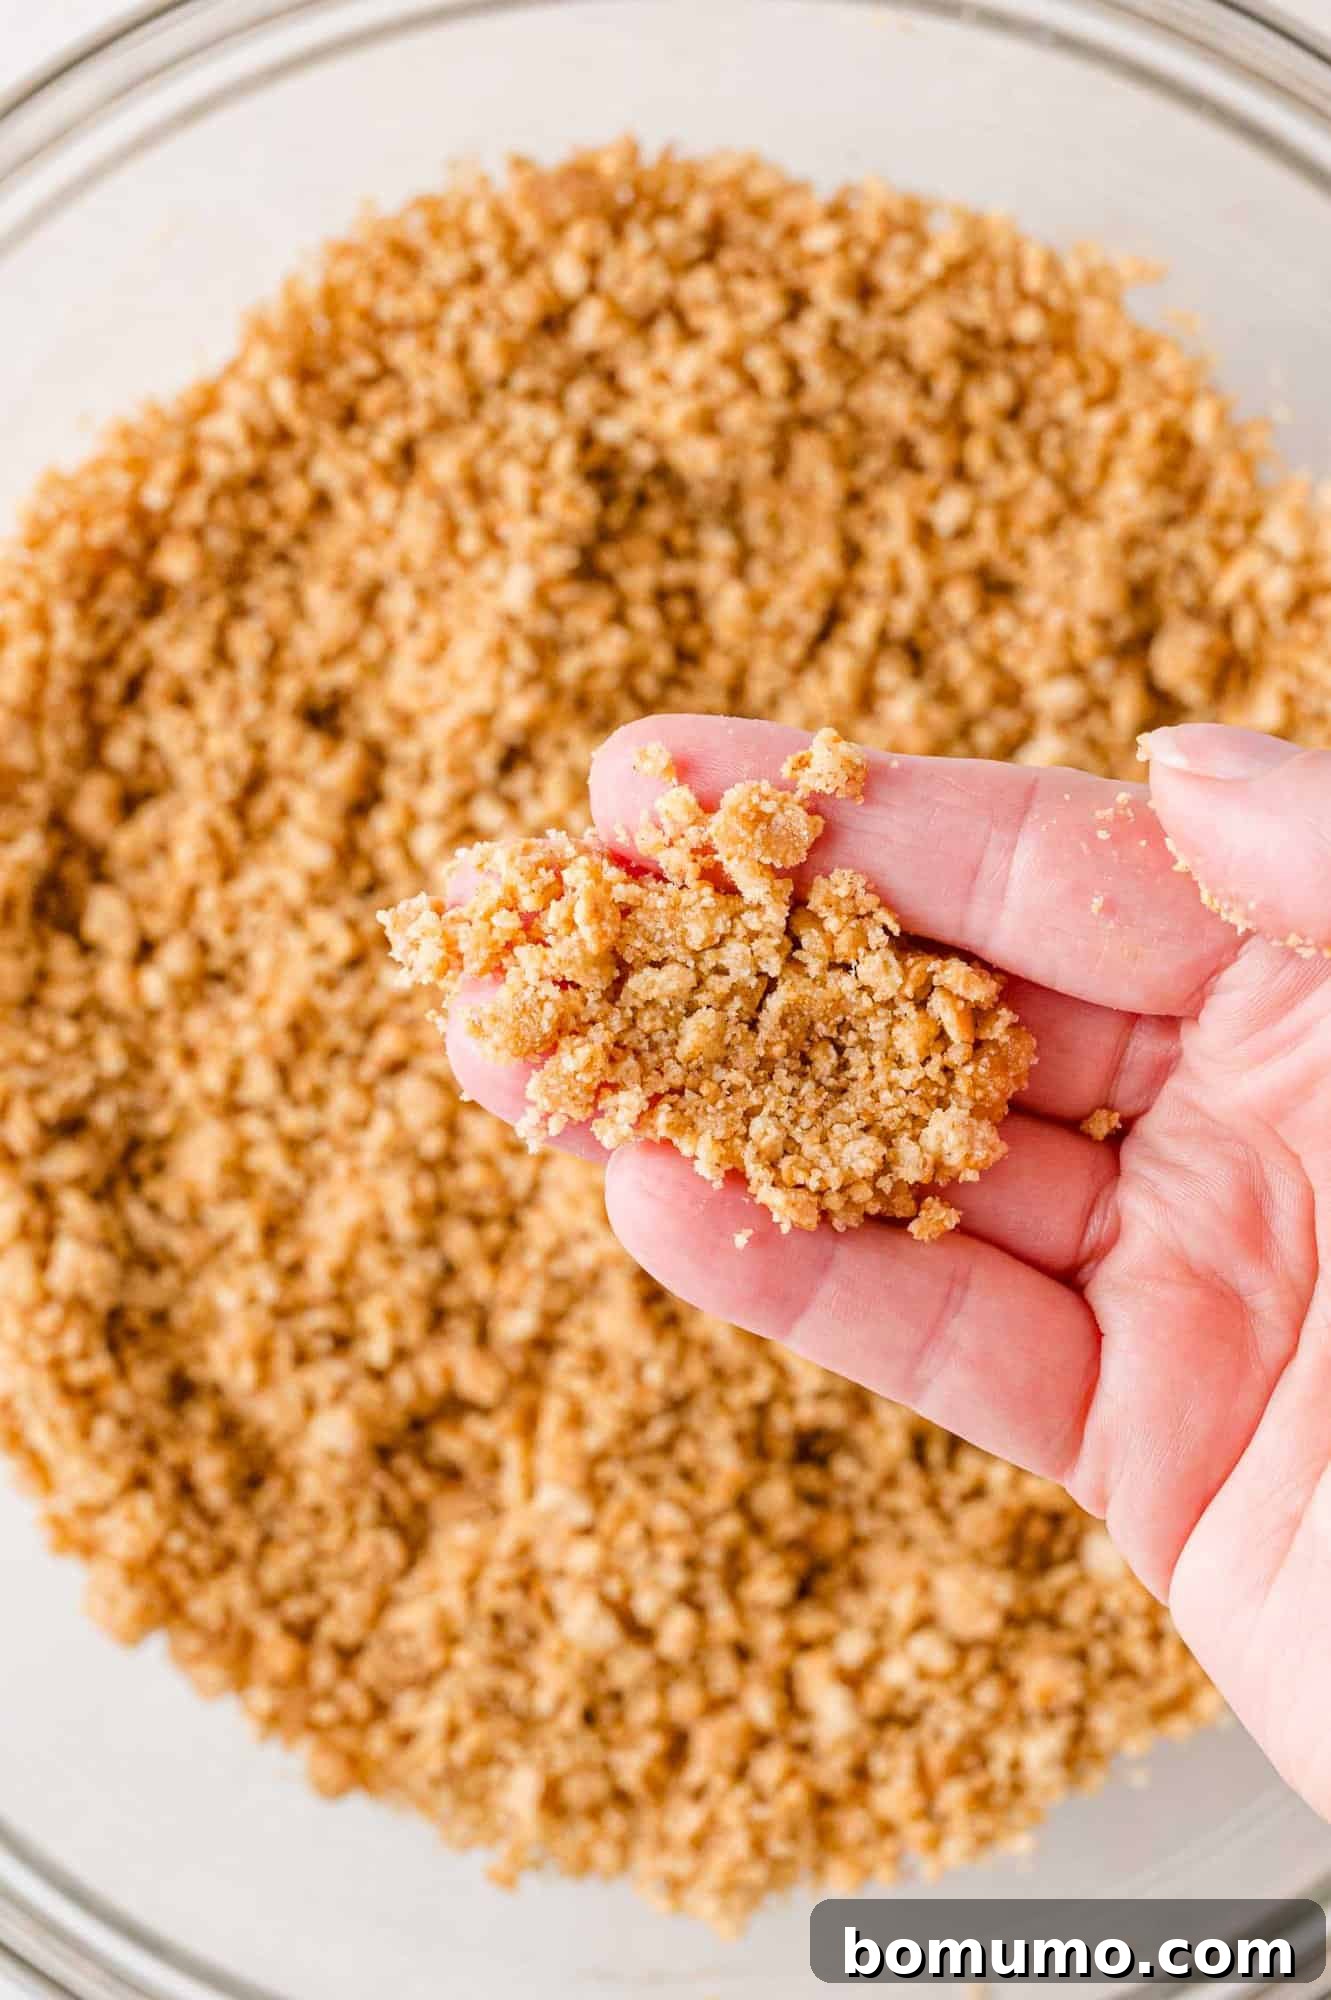
2. Mix the crust ingredients: In a medium mixing bowl, combine the prepared graham cracker crumbs, granulated sugar, and the melted unsalted butter. Stir thoroughly with a spoon or spatula until all ingredients are well incorporated and the mixture resembles wet sand. To test for proper consistency, pinch a small amount between your thumb and forefinger; it should hold together firmly.
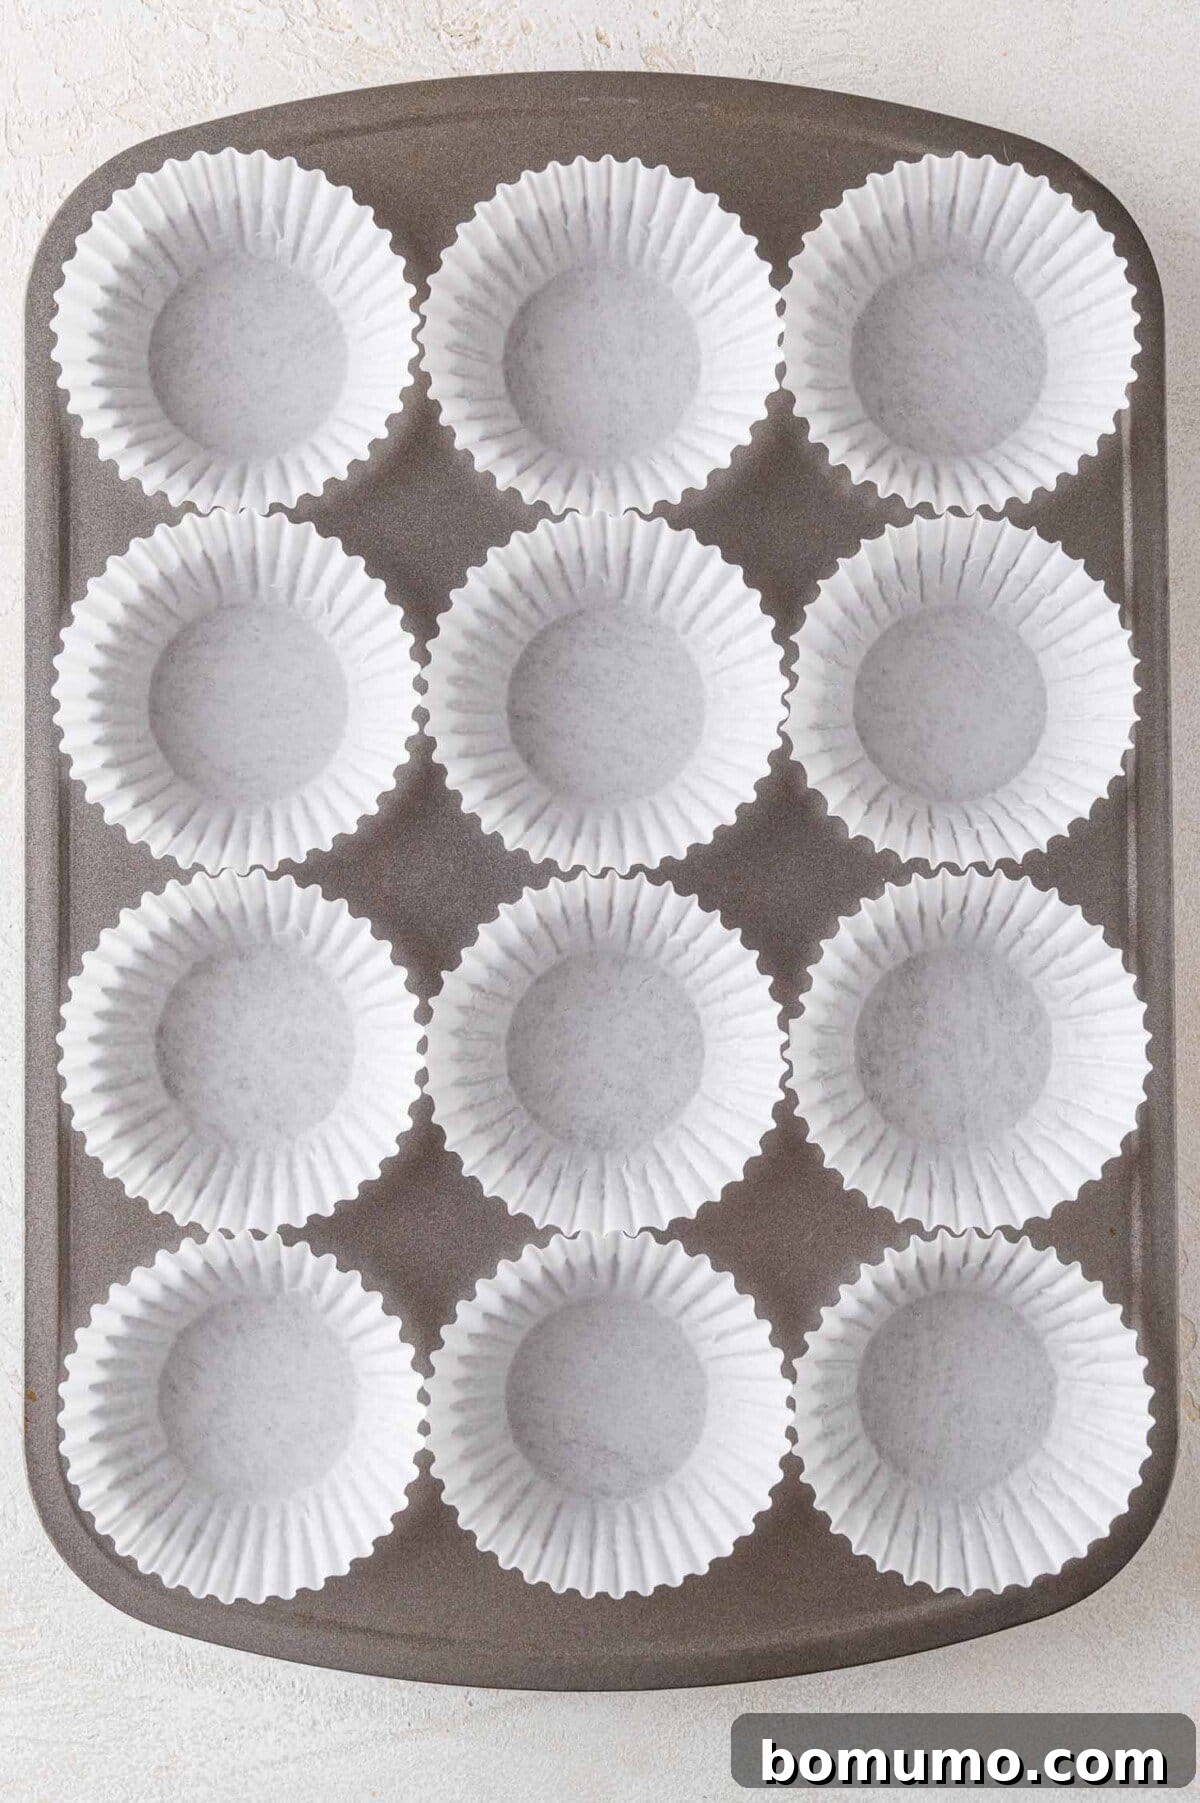
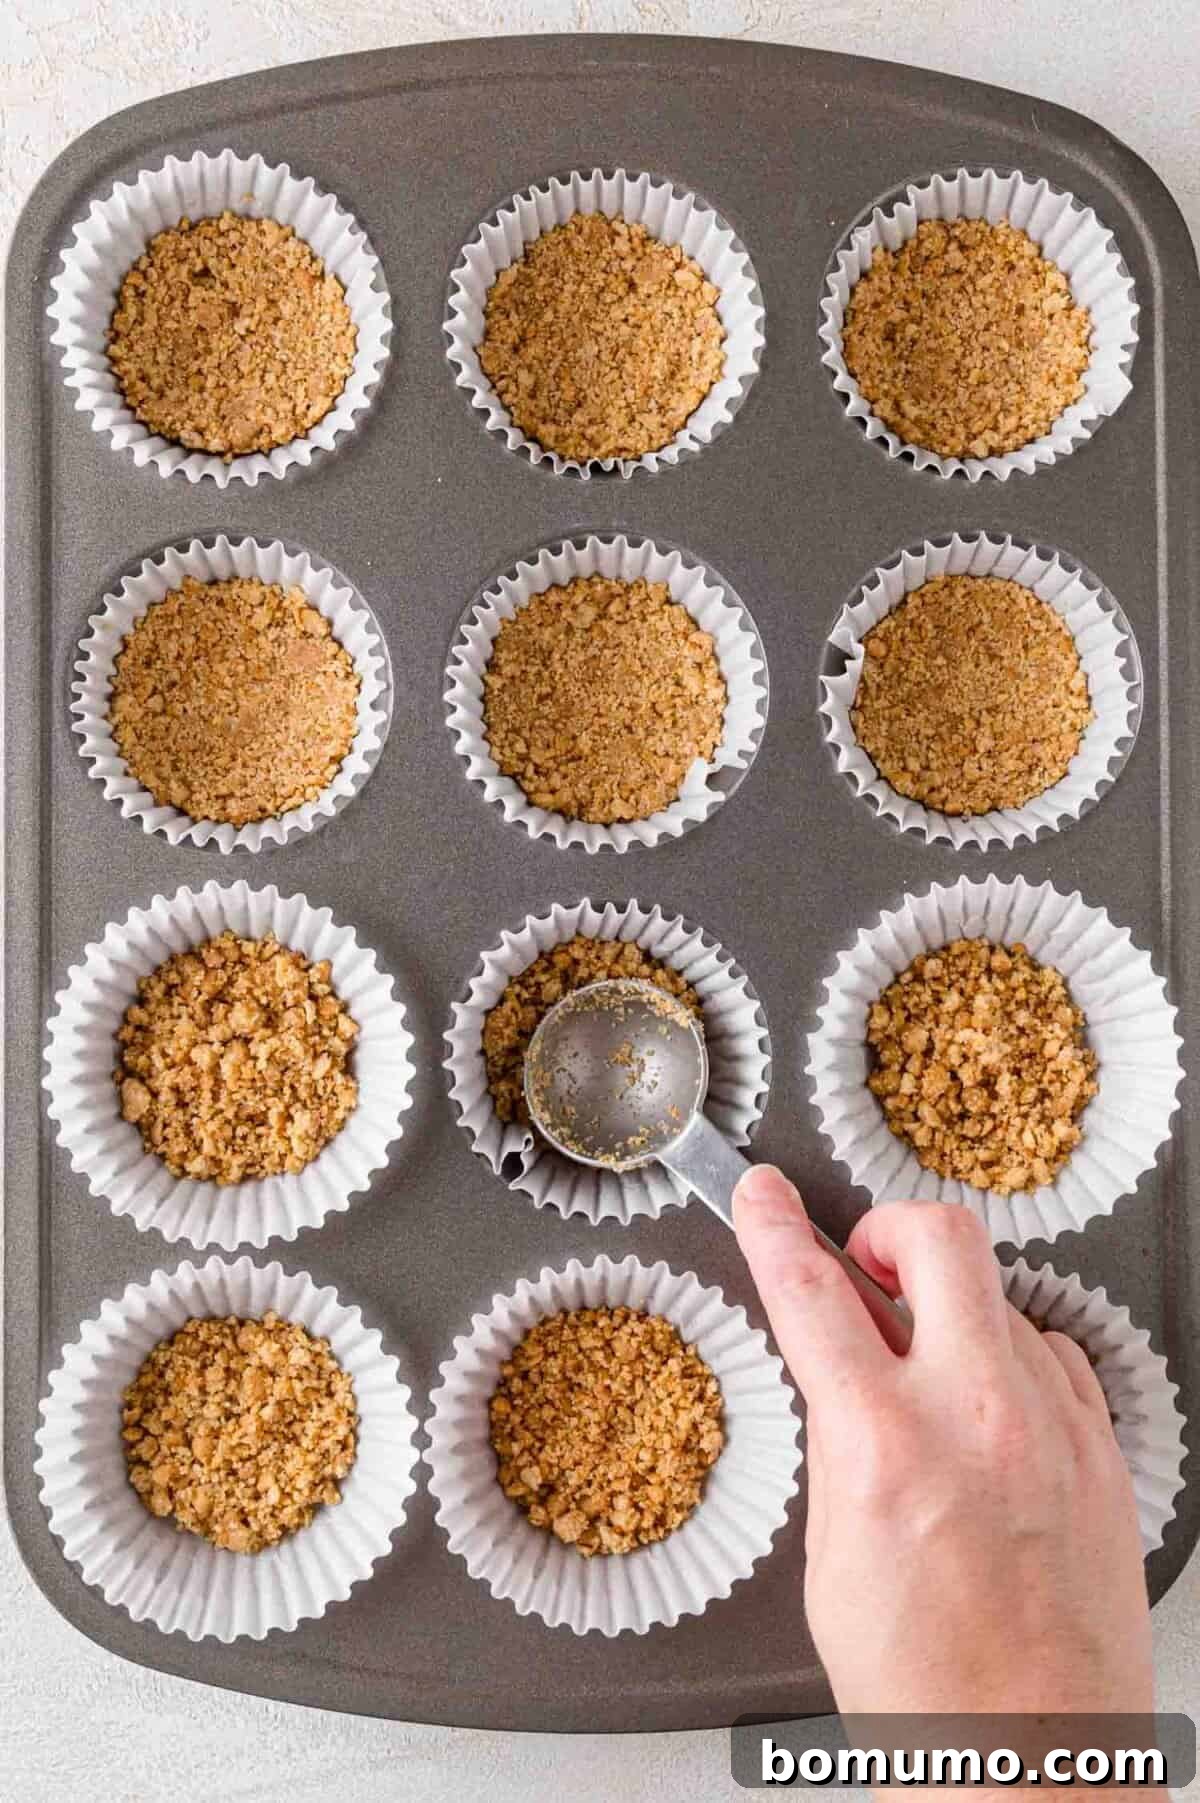
3. Form the crust layer: Line a standard 24-cup muffin pan with paper or foil cupcake liners. Spoon a heaping tablespoon of the graham cracker mixture into the bottom of each liner. Using the back of a spoon, your fingers, or the bottom of a small measuring cup, firmly press the mixture into an even, compact layer. This firm press is crucial for a stable crust. Once all crusts are formed, place the muffin pan into the refrigerator. This allows the butter to firm up and sets the crust while you prepare the creamy filling.
Crafting the Creamy Cheesecake Filling
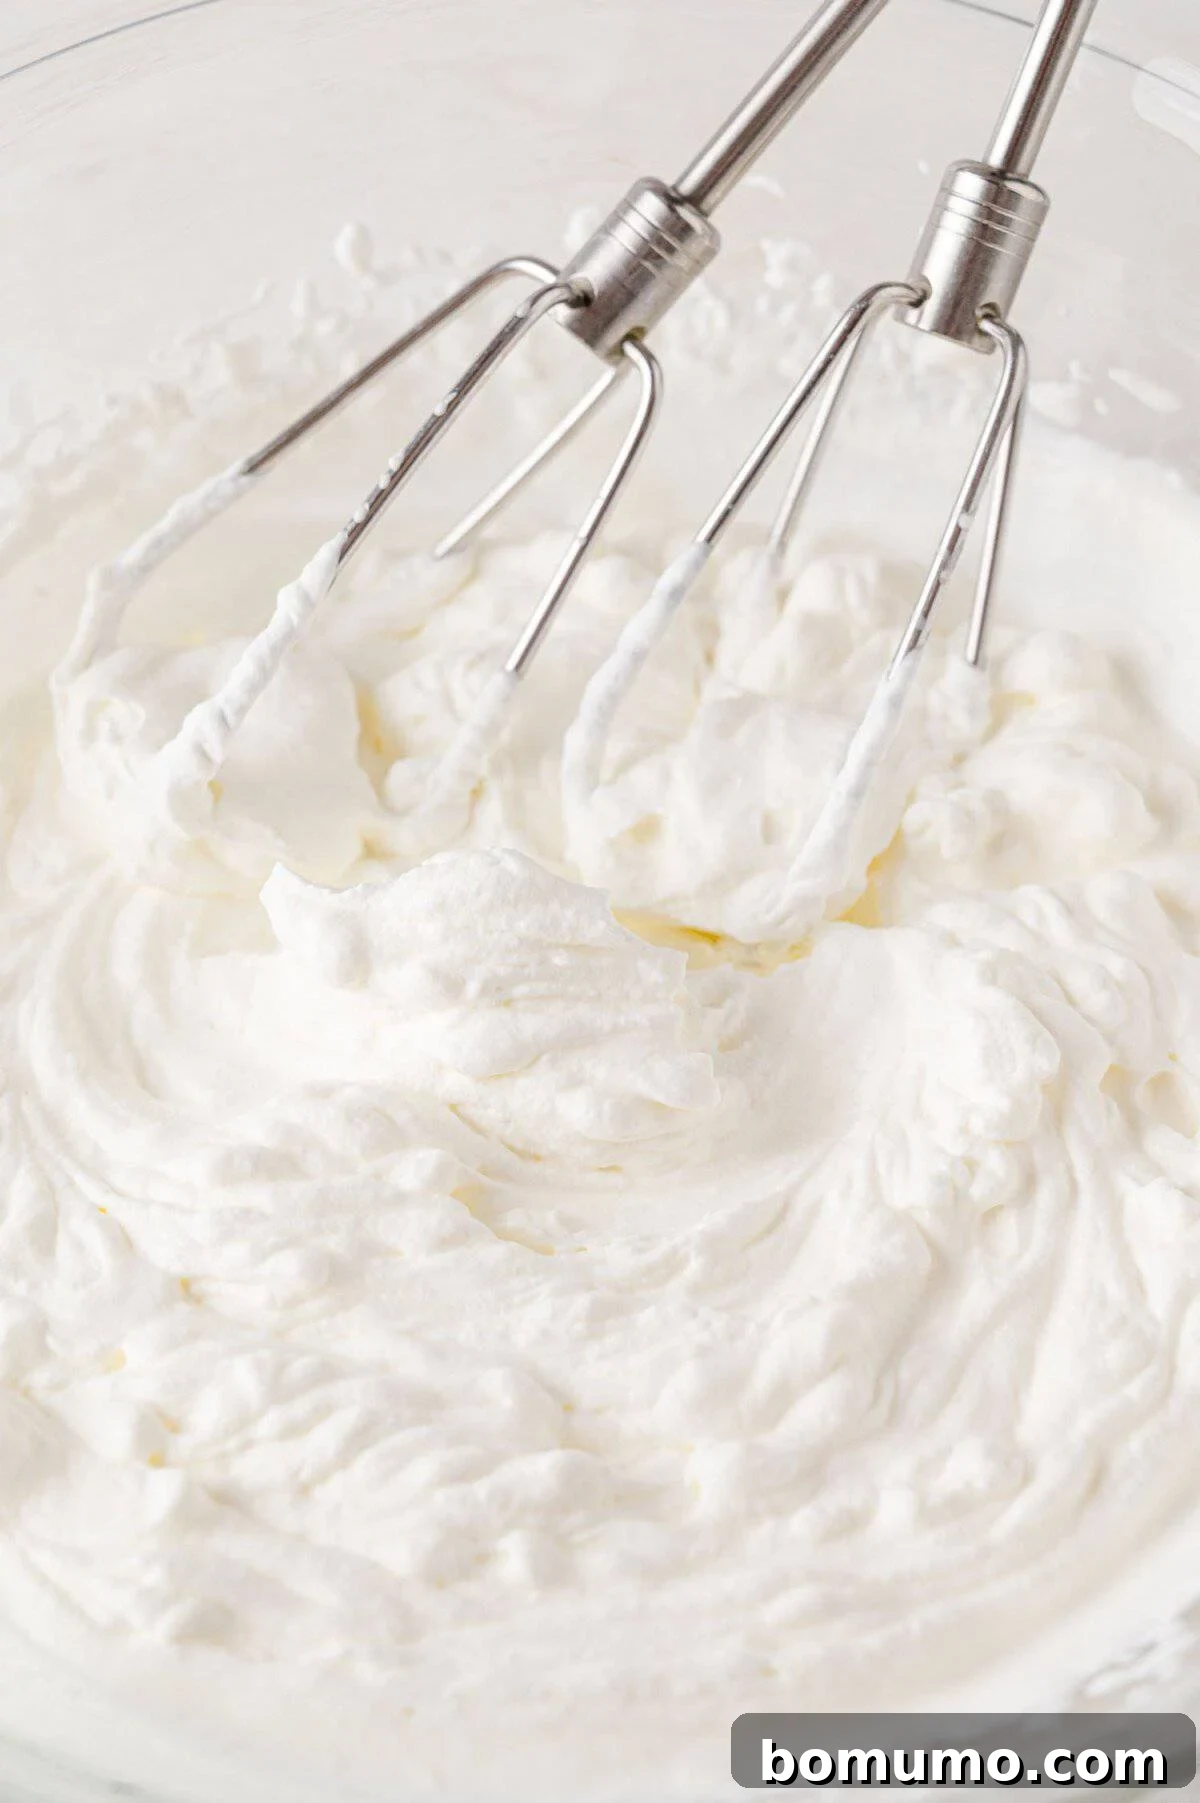
4. Whip the heavy cream: In a large, impeccably clean mixing bowl, pour the well-chilled heavy cream. Using an electric mixer (either a hand mixer or a stand mixer with a whisk attachment), whip the cream on medium-high speed until it forms stiff peaks. You’ll know it’s ready when you lift the beaters and the whipped cream holds its shape, standing straight up without drooping or folding over. Be careful not to overmix, or it could turn into butter!
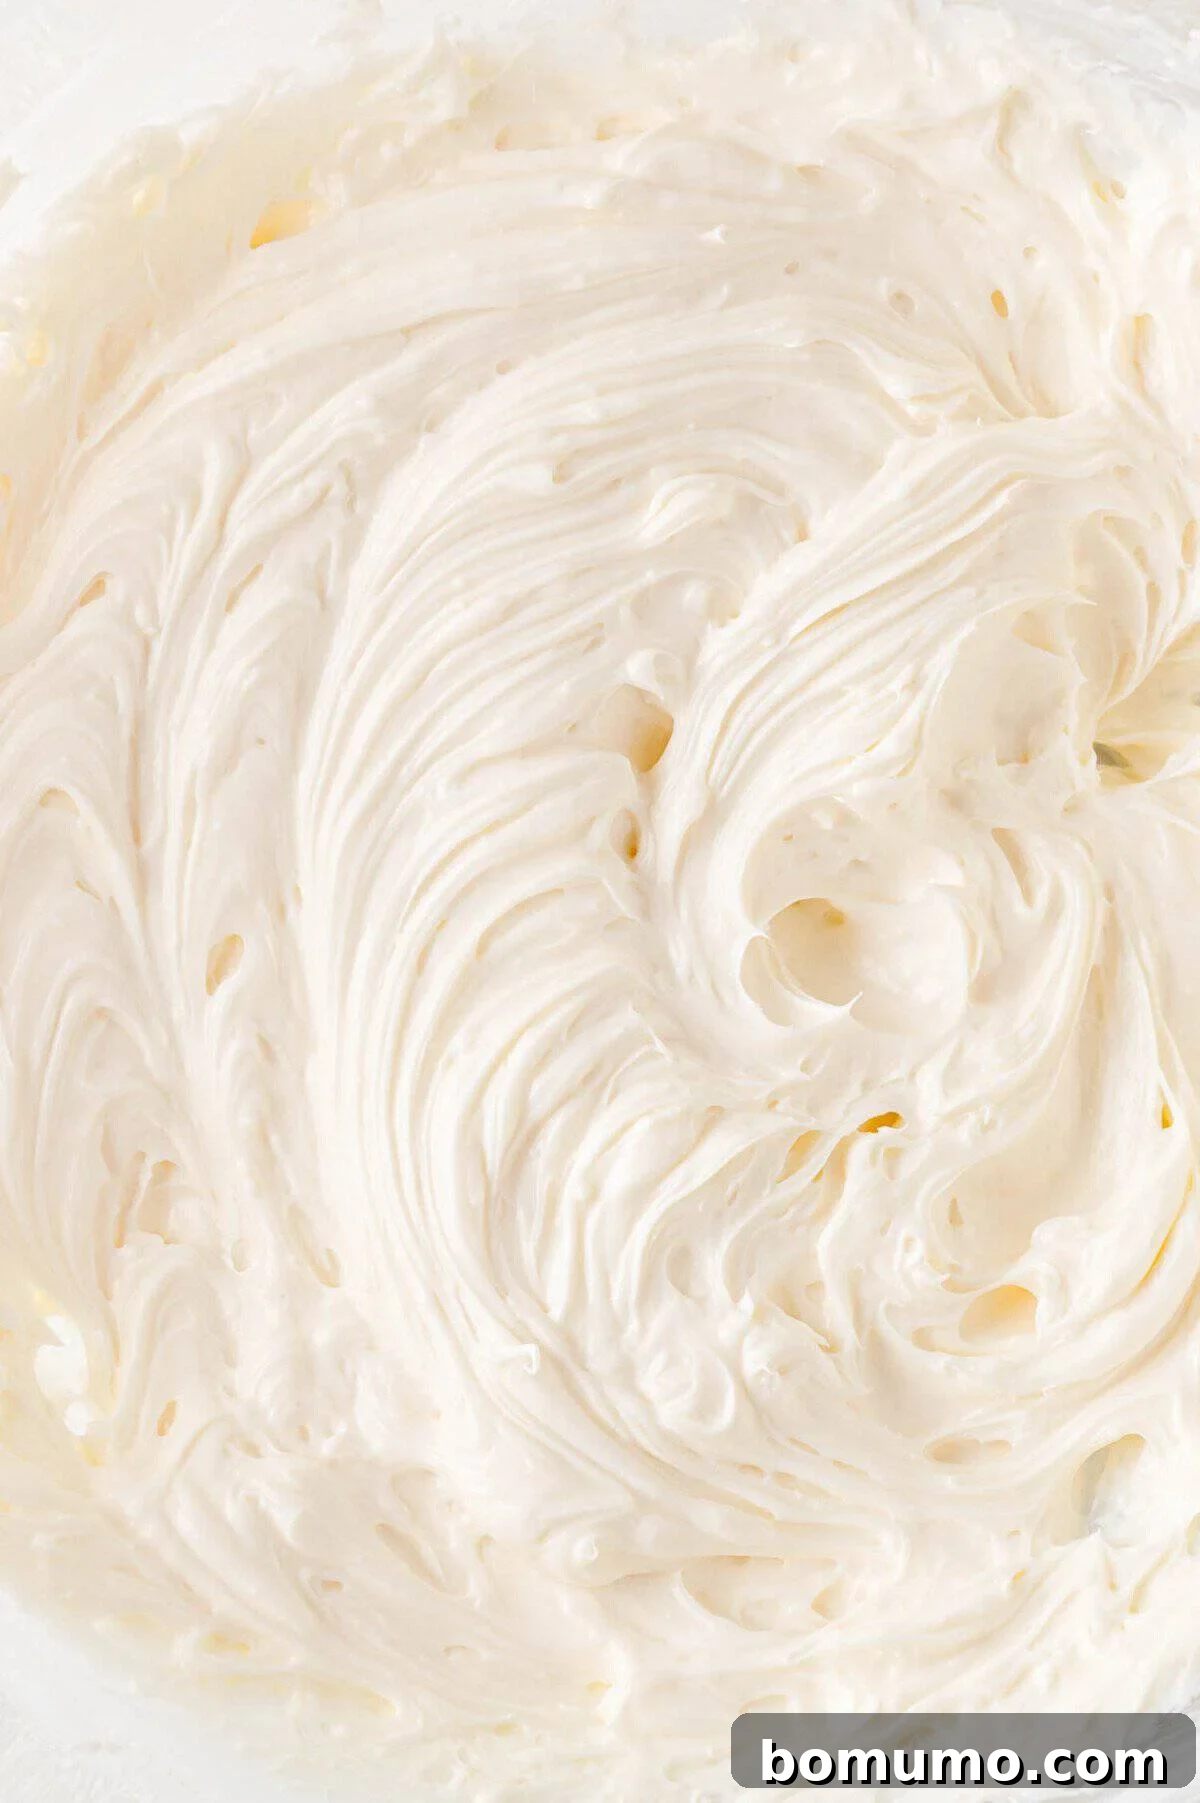
5. Prepare the cream cheese base: In a separate mixing bowl, using your electric mixer, beat the softened cream cheese, powdered sugar, freshly squeezed lemon juice, and pure vanilla extract. Beat on medium speed until the mixture is completely smooth, creamy, and free of any lumps. Scrape down the sides of the bowl as needed to ensure everything is thoroughly combined.
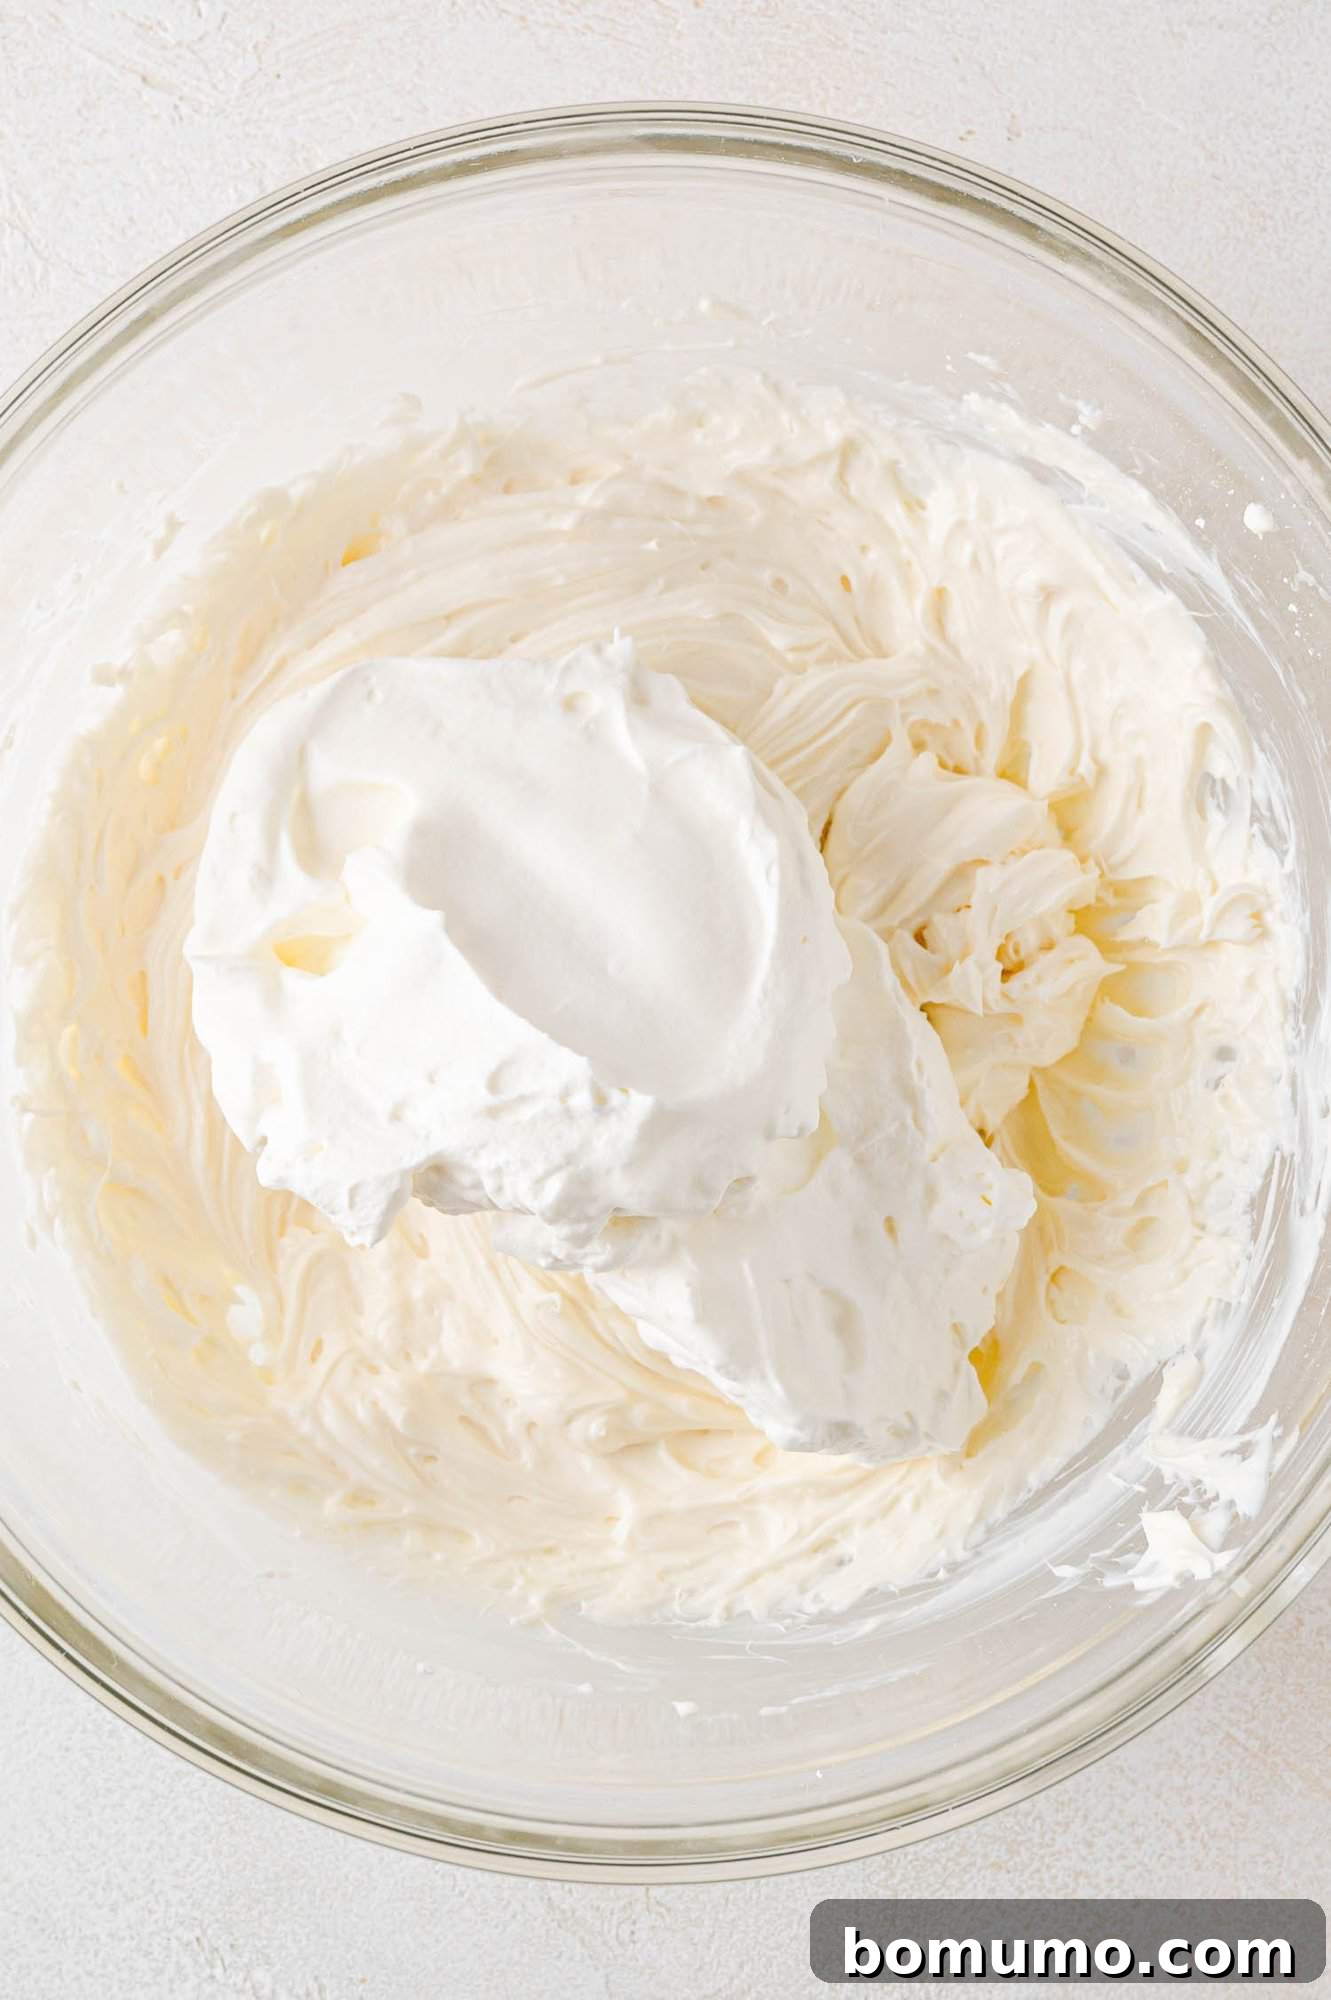
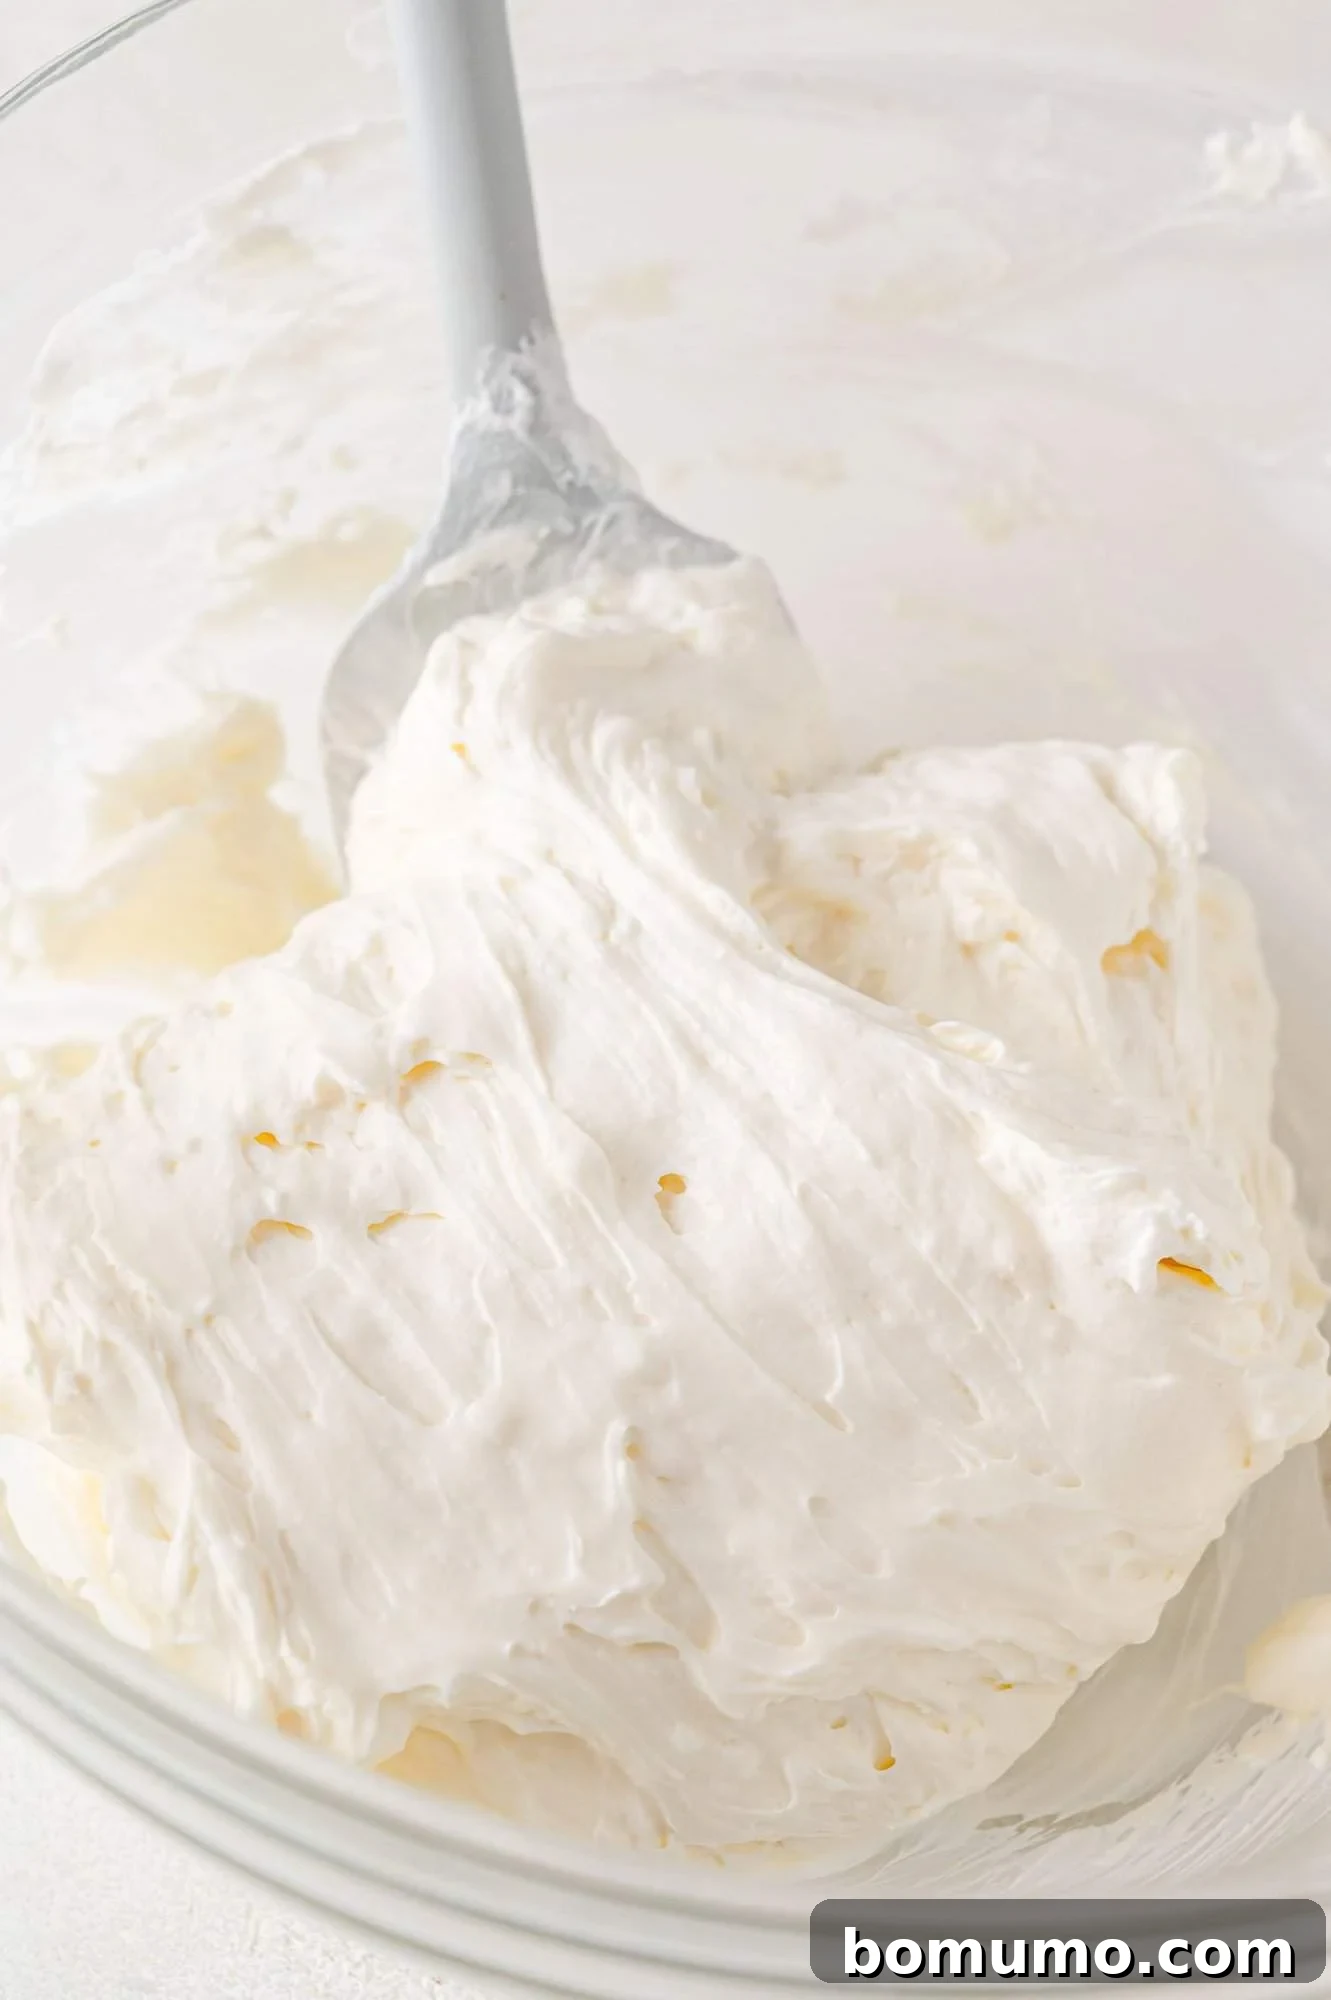
6. Combine the filling: This step requires a delicate touch to maintain the airiness of the whipped cream. Gently fold the whipped cream into the cream cheese mixture using a spatula. Use a circular motion, scooping from the bottom and folding over the top, until the two mixtures are just combined and smooth. Be careful not to overmix, as vigorous stirring can deflate the whipped cream, resulting in a denser filling.
Assembly and Chilling
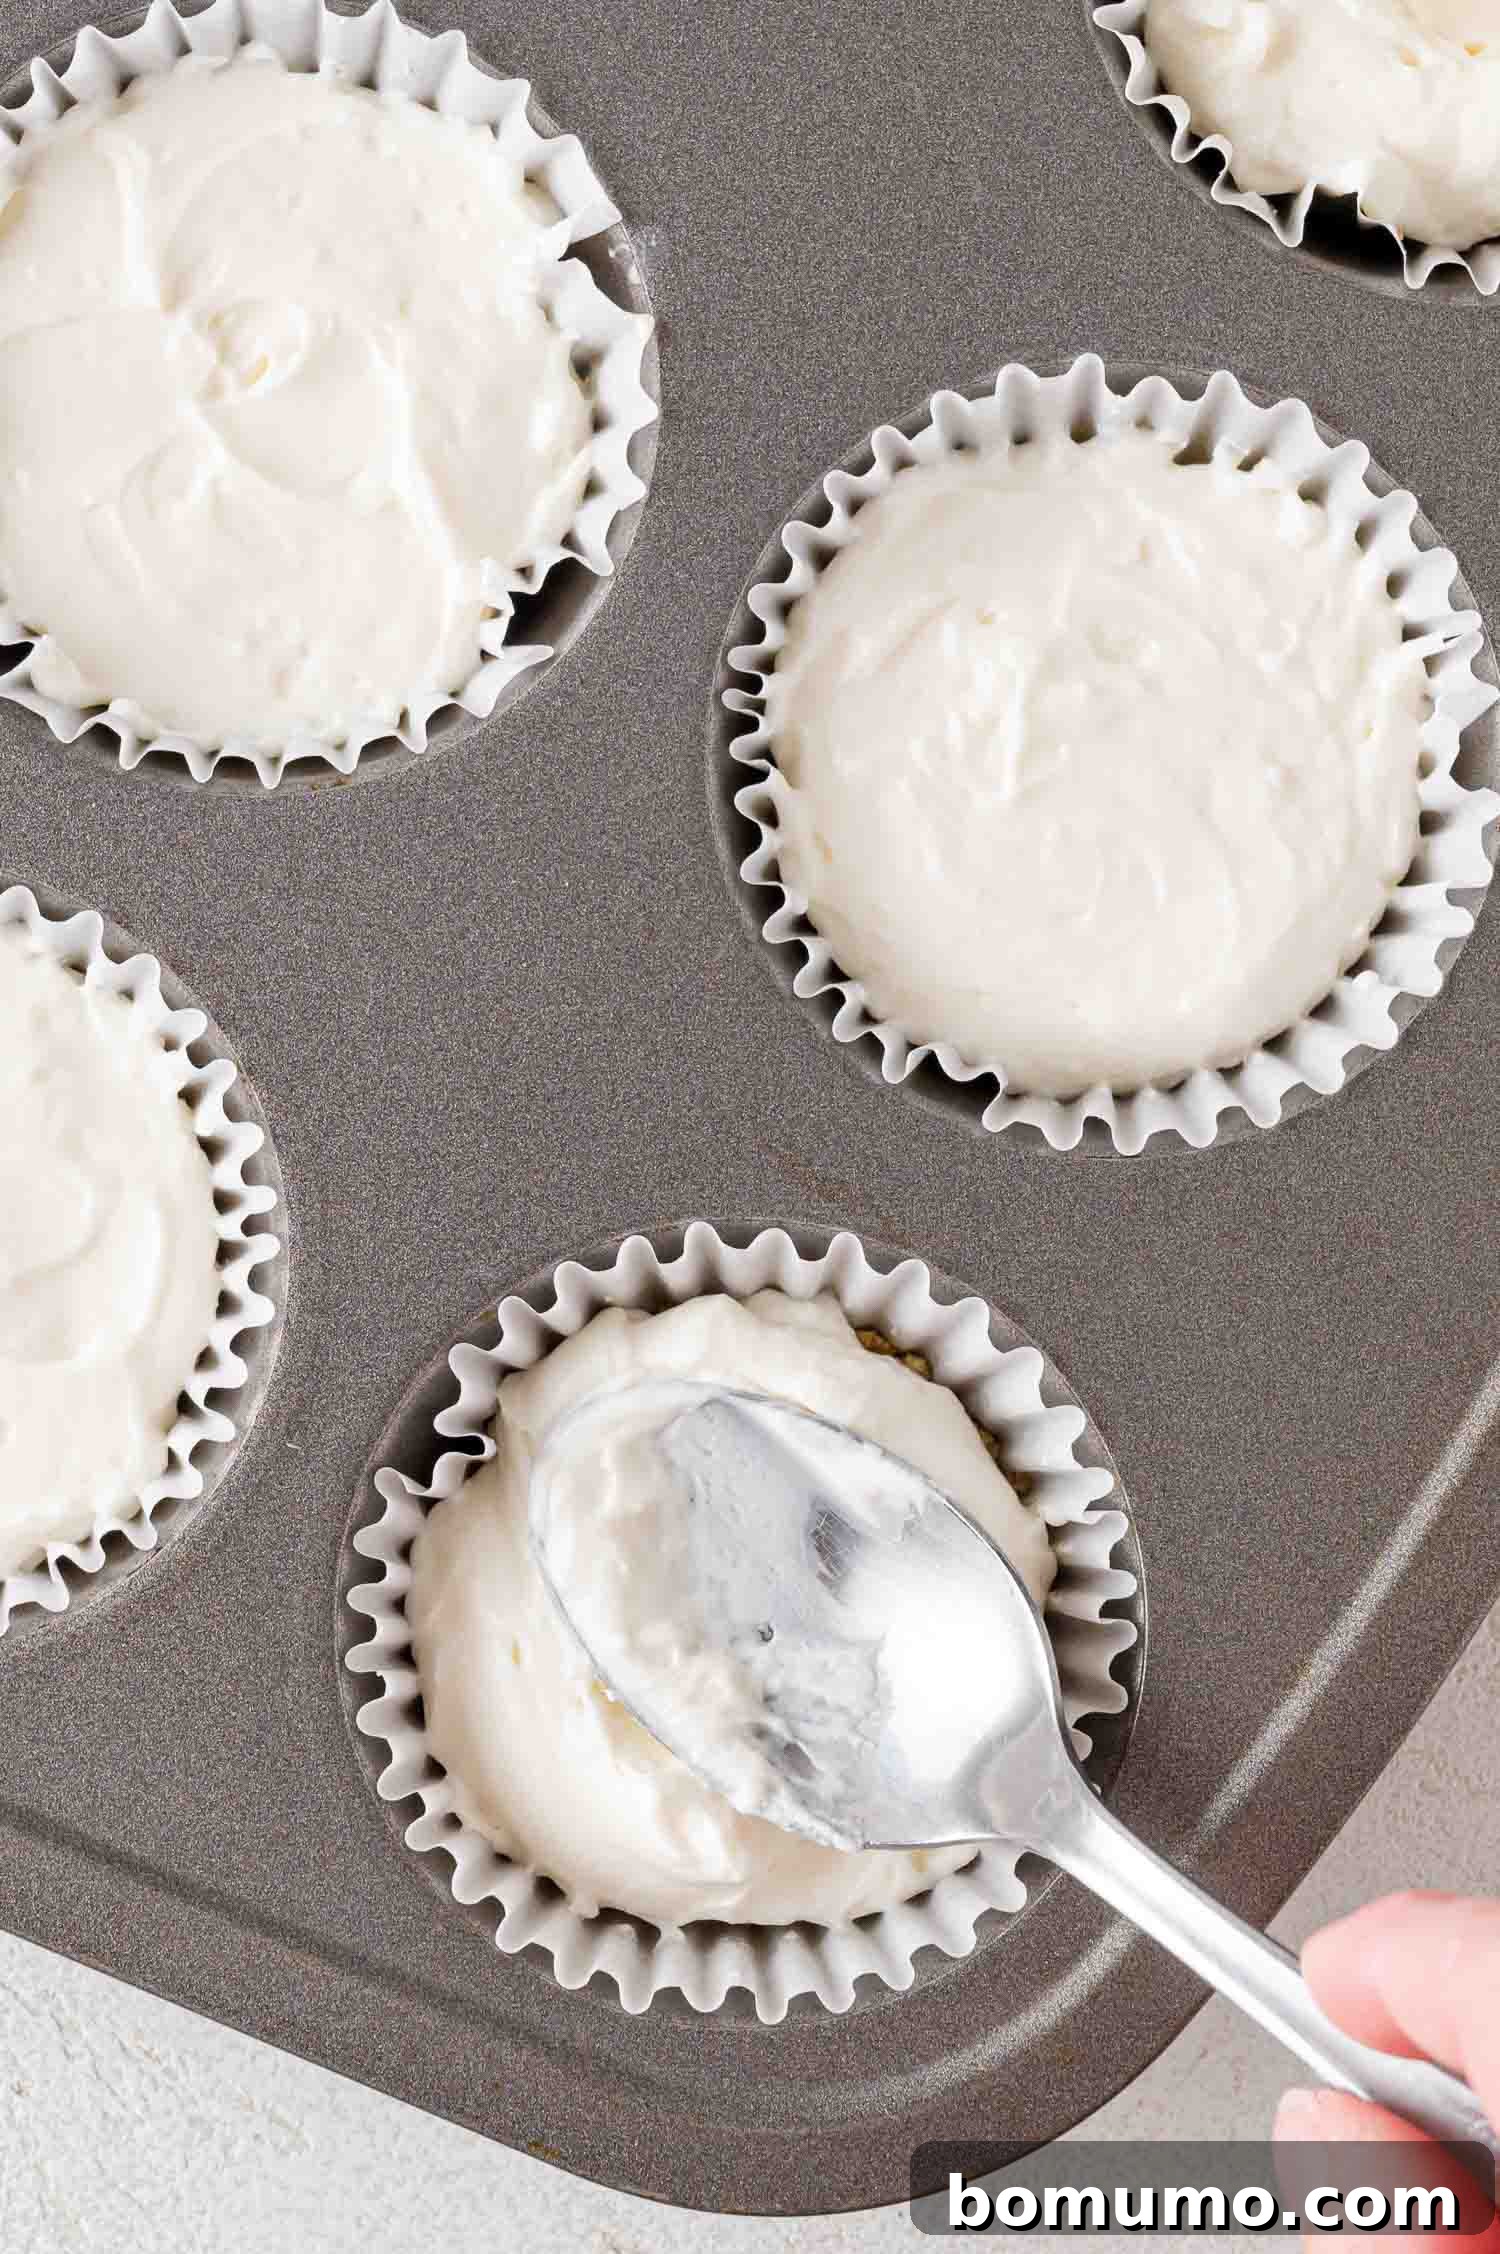
7. Assemble the cheesecakes: Retrieve the muffin pan with the chilled crusts from the refrigerator. Spoon the cheesecake filling evenly onto each crust-lined cup, filling them almost to the top. A cookie scoop is particularly useful for portioning the filling neatly. Once filled, gently smooth the tops of the mini cheesecakes with a small spatula or the back of a spoon for a polished finish.
8. Chill to perfection: Place the muffin pan back into the refrigerator and allow the mini cheesecakes to chill for a minimum of 2 hours, or until they are completely firm and set. Adequate chilling time is essential for the cheesecake to hold its shape and achieve the desired creamy consistency. For best results, consider chilling overnight.
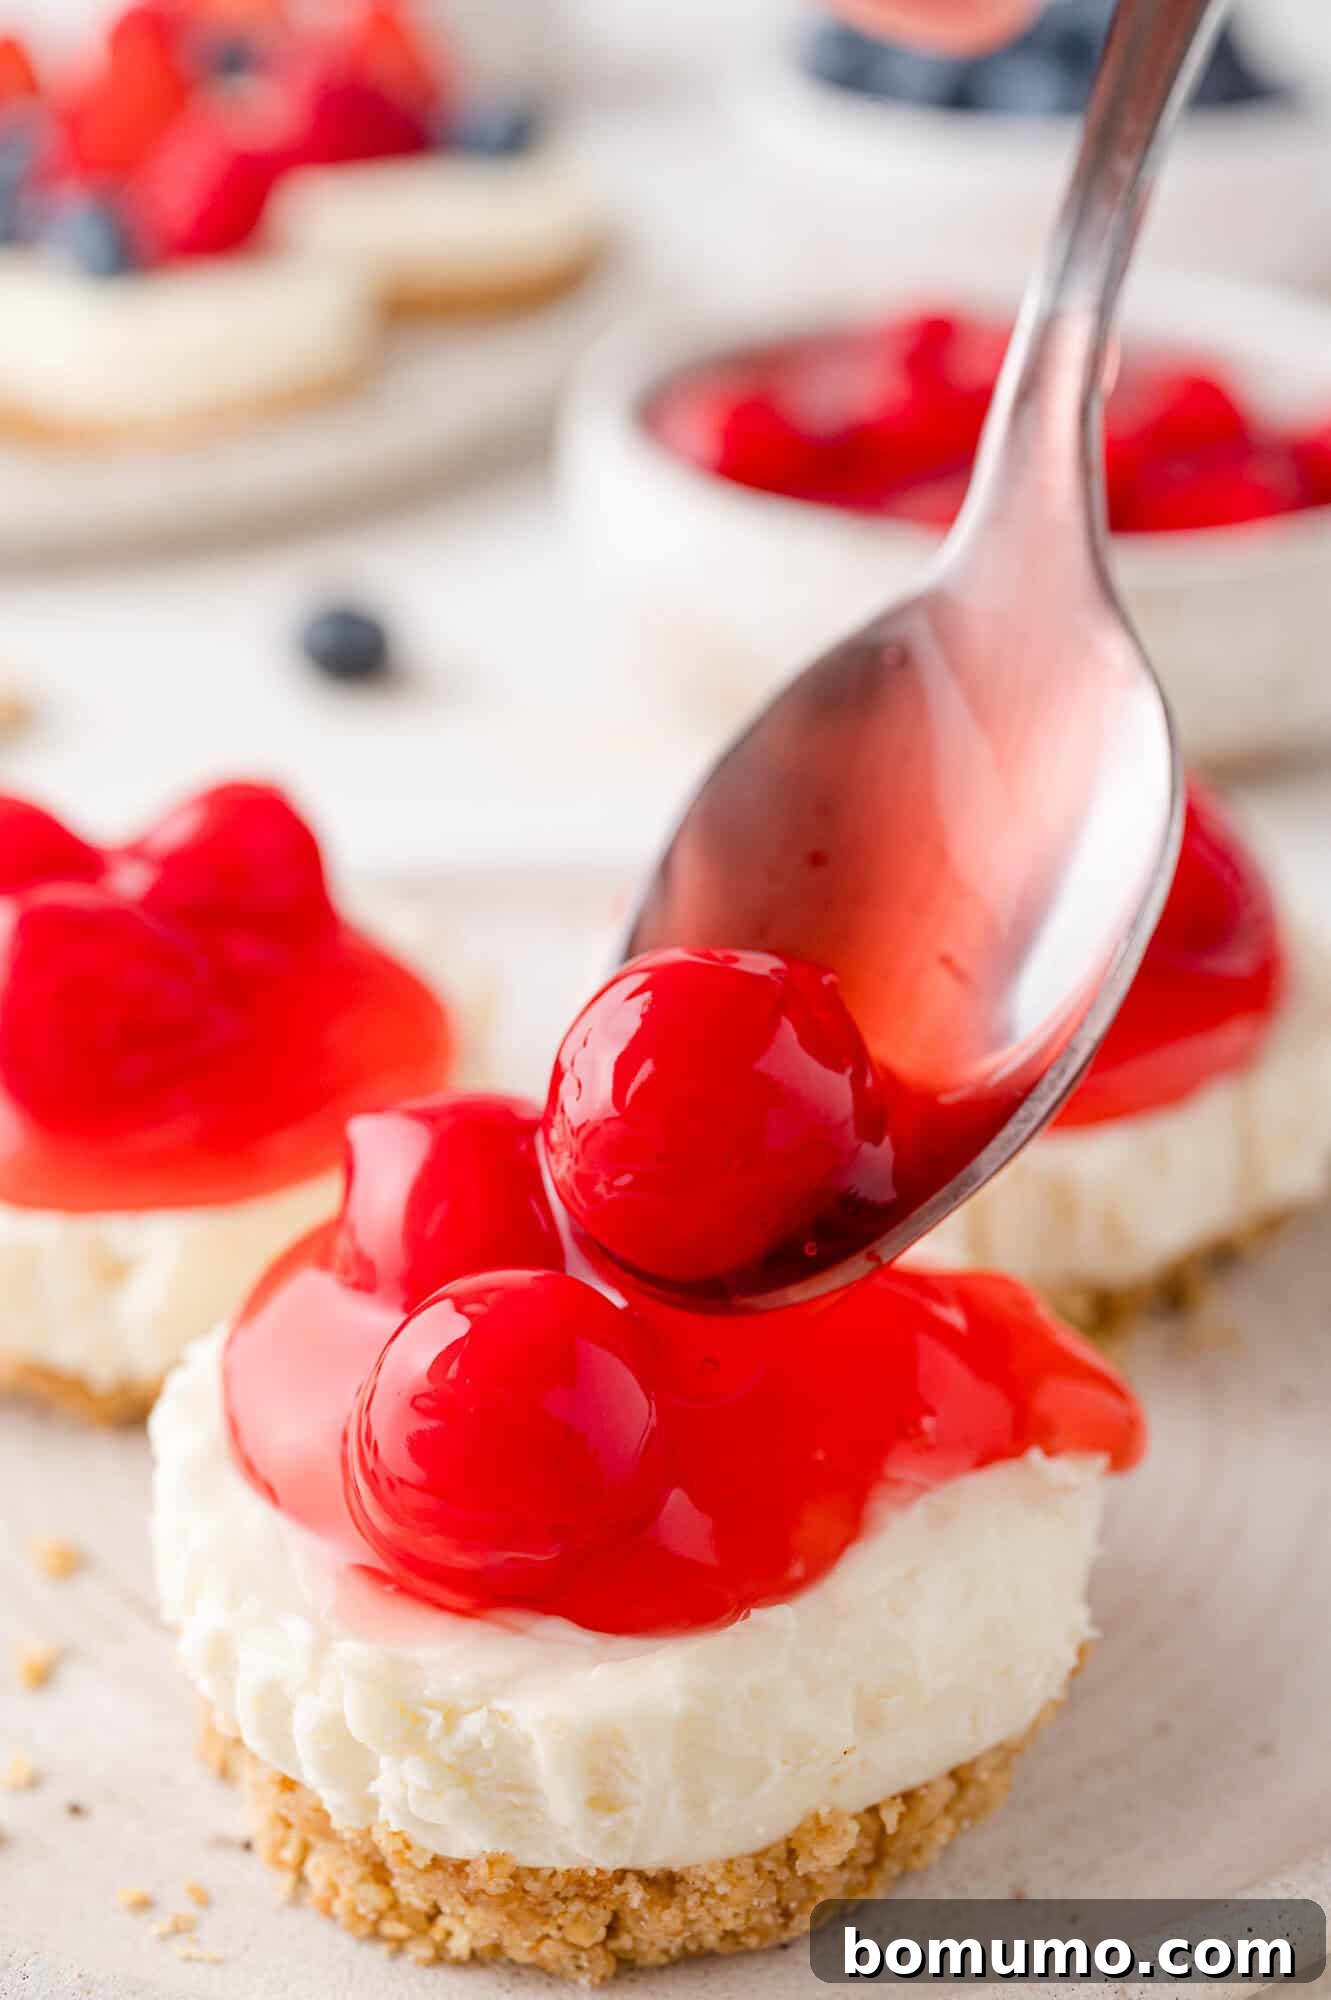
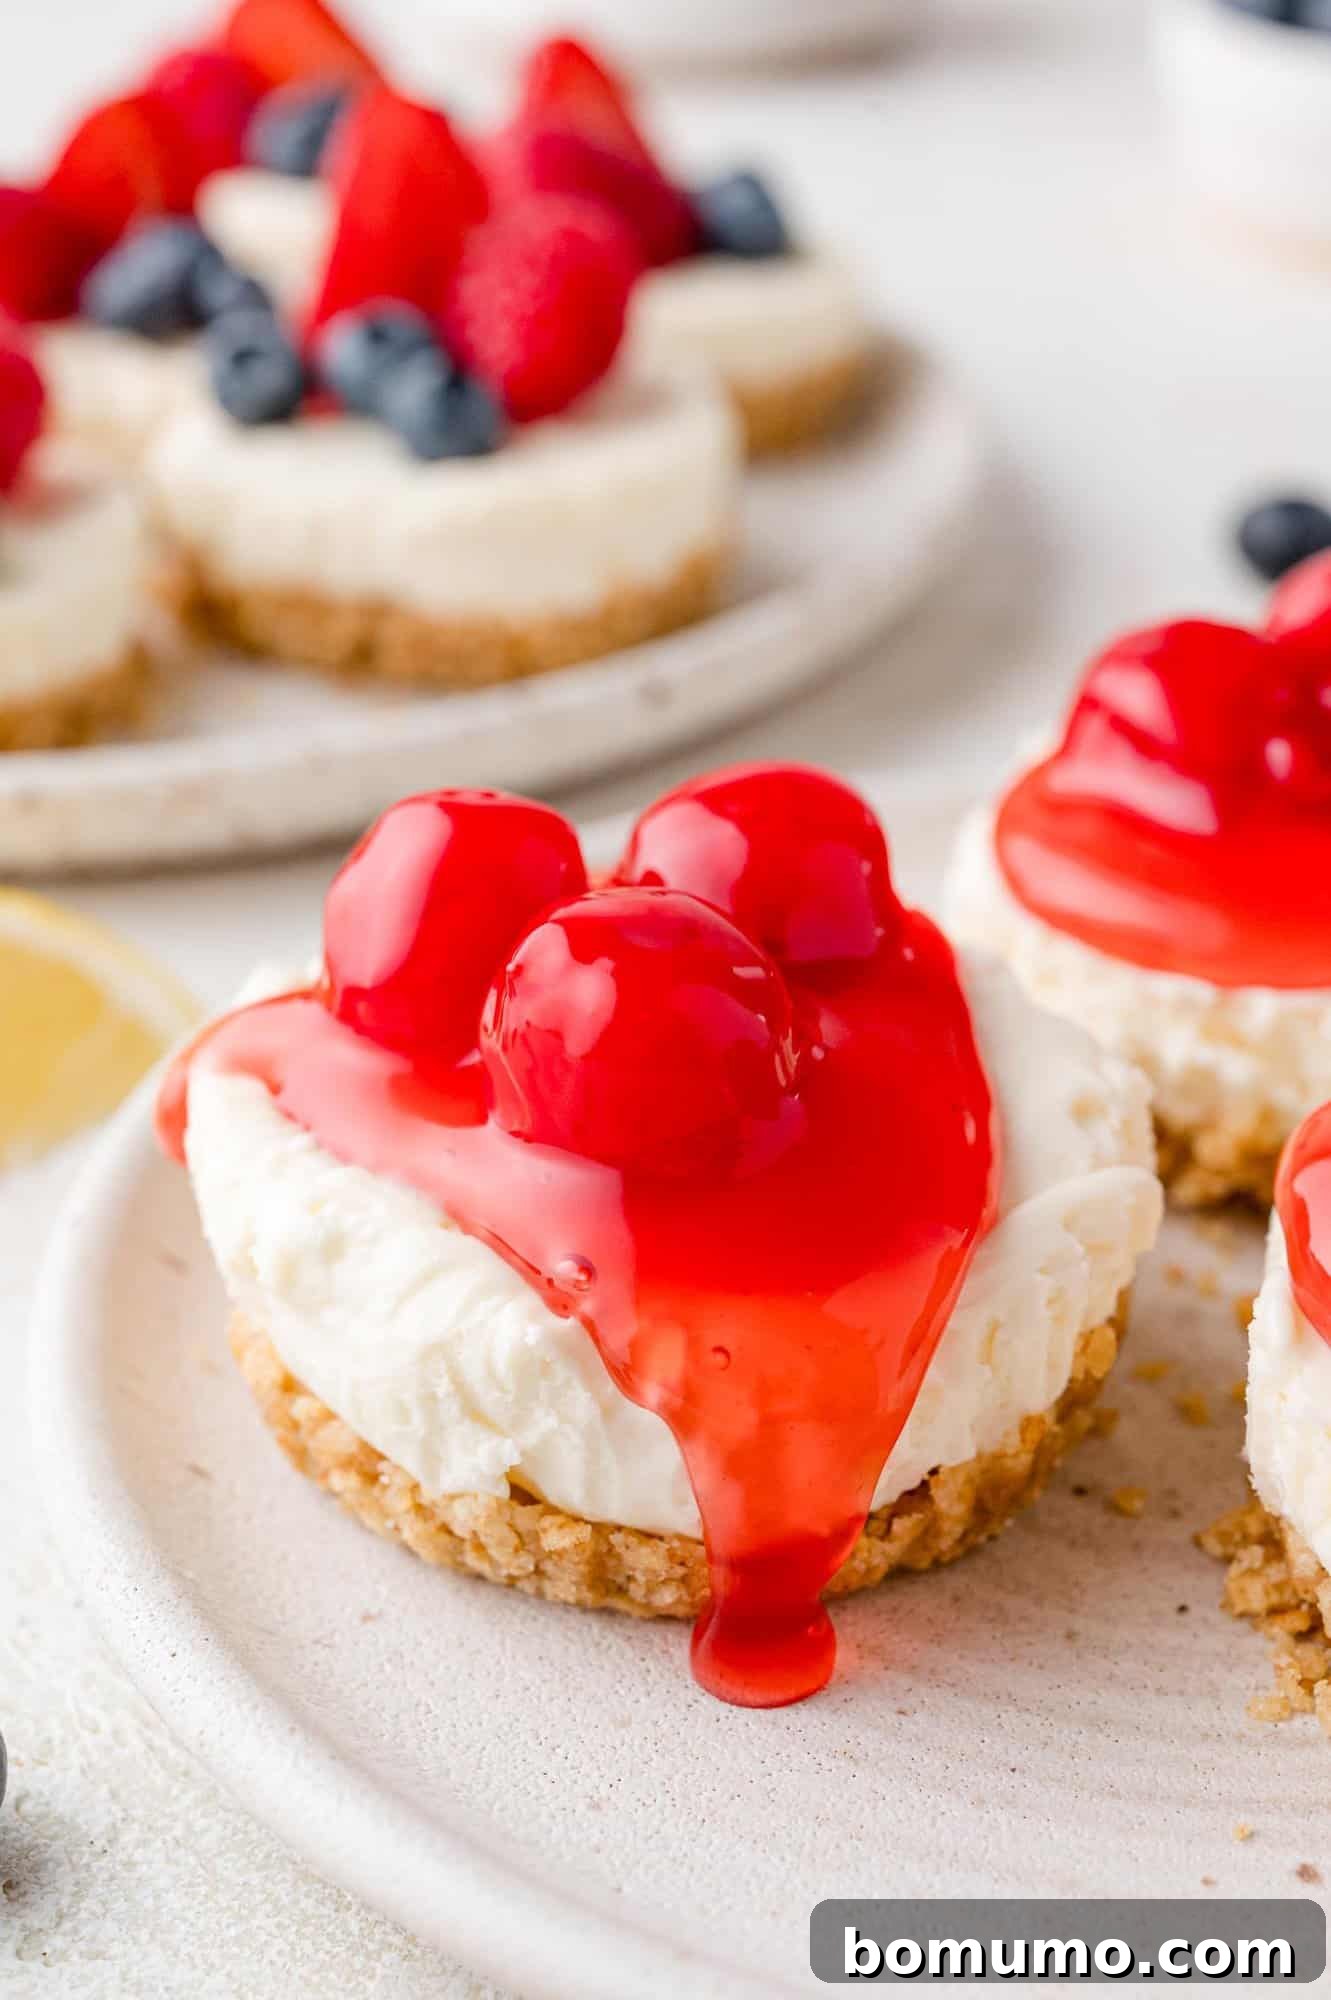
9. Serve and enjoy: Once fully chilled and firm, carefully remove the no-bake mini cheesecakes from the muffin pan. You can choose to leave the paper liners on for easy handling, or gently peel them off for a more elegant presentation. Just before serving, adorn your cheesecakes with your desired toppings. Fresh berries, a spoonful of pie filling, a swirl of whipped cream, or a sprinkle of chocolate shavings will add a beautiful finishing touch and enhance their appeal. Serve immediately and savor every bite!
Get Creative: Exciting No-Bake Mini Cheesecake Variations
The beauty of this recipe lies in its adaptability. Once you master the basic no-bake mini cheesecake, the possibilities for customization are endless. Experiment with these variations to create unique treats for any taste or occasion:
Adjust the Size for Any Occasion
- Bite-sized delights: For a delightful two-bite treat, use a mini muffin pan instead of a standard one. These tiny cheesecakes are perfect for dessert buffets or as an elegant petit four.
- Sophisticated shot glasses: For a fancier presentation, layer the crust and filling in small shot glasses or clear dessert cups. This creates a beautiful, layered look that’s perfect for formal gatherings or a chic dessert bar.
No-Bake Cheesecake Parfaits
Transform your mini cheesecakes into stunning parfaits by assembling them in decorative glasses. Straight-sided whiskey old-fashioned glasses or elegant stemless wine glasses work beautifully. Start with a layer of graham cracker crust, followed by a generous dollop of cheesecake filling, then a layer of fresh berries or fruit compote. Repeat the layers (crust, filling, berries) until the glass is filled. This creates an eye-catching, multi-textured dessert that’s as delicious as it is beautiful. Note that this method will likely yield fewer servings, depending on the size of your chosen glasses and how generously you layer them.
Explore New Flavor Twists
- Lemon Berry Burst: Amp up the citrusy tang by adding fresh lemon zest to the cheesecake filling along with the lemon juice. For an extra layer of sweetness and fruitiness, swirl in some raspberry jam or preserves between the filling layers, much like our popular lemon berry cheesecakes.
- Chocolate Lover’s Dream: Incorporate mini chocolate chips into the filling or drizzle melted chocolate over the top for a rich, indulgent twist. A chocolate cookie crust (using crushed Oreos) can further enhance the chocolate experience.
- Caramel Pecan Delight: Drizzle with warm caramel sauce and sprinkle with toasted pecans or walnuts for a nutty, buttery variation.
- Tropical Escape: Mix in a touch of lime juice and zest for a key lime-inspired cheesecake, or top with fresh mango or passion fruit puree.
- Seasonal Specialties: Adapt your toppings to the season! Pumpkin pie spice and a dollop of pumpkin puree for fall, peppermint extract and crushed candy canes for winter, or a vibrant mixed berry medley for spring and summer.
Storage Solutions for Your Delicious Treats
Proper storage ensures your no-bake mini cheesecakes remain fresh and delicious for as long as possible.
- Make Ahead: While these cheesecakes can last longer, for optimal taste and texture, we recommend preparing them no more than a day in advance if you’re making them for a party or special event. They are truly at their best within 24 hours of assembly.
- Refrigerate: Store any leftover no-bake mini cheesecakes in an airtight container in the refrigerator for up to 3 days. This prevents them from absorbing other food odors and keeps them fresh.
- Freezer: These cheesecakes freeze beautifully! Place them in a freezer-safe, airtight container for up to 3 months. When you’re ready to enjoy them, simply transfer them to the refrigerator and allow them to thaw completely before serving. If you plan to freeze your cheesecakes, it’s best to leave off any fresh fruit or wet toppings until after they have thawed, as freezing can alter the texture of these garnishes.
More Cheesecake Recipes to Explore
Mini Mocha Cheesecakes
Breakfast Cheesecake – Cinnamon Swirl
Raspberry Cheesecake Yogurt Dip
Easy Grapefruit Cheesecake Bars
No-Bake Mini Cheesecakes
Ingredients
For the crust:
- 18 whole graham crackers (or 2 cups graham cracker crumbs)
- ¼ cup granulated sugar
- 8 tablespoons unsalted butter, melted (1 stick)
For the filling:
- 1 cup heavy cream, chilled
- 16 ounces (2 packages) cream cheese, softened
- ½ cup powdered sugar
- 2 teaspoons freshly squeezed lemon juice
- 1 teaspoon pure vanilla extract
Optional garnishes/toppings:
- fresh berries, canned pie filling (cherry, strawberry, apple, raspberry), whipped cream, and/or chocolate shavings
Instructions
For the crust:
- Place graham crackers in the bowl of a food processor; process the crackers until they are fine crumbs. You should have 2 cups of crumbs.
- In a small mixing bowl, combine the graham cracker crumbs, granulated sugar, and melted butter. Stir until the mixture resembles wet sand and holds together when pressed.
- Line 24 cups of a muffin pan with paper or foil liners. Spoon a heaping tablespoon of the crust mixture into each liner. Use the back of a spoon, your fingers, or the bottom of a small measuring cup to press the mixture firmly into the bottom of each liner.
- Place the crusts in the refrigerator to firm up while you prepare the filling.
For the filling:
- In a large mixing bowl, with an electric mixer, whip the chilled heavy cream until stiff peaks form.
- In a separate mixing bowl, beat the softened cream cheese, powdered sugar, lemon juice, and vanilla extract until smooth and creamy.
- Gently fold the whipped cream into the cream cheese mixture until well-combined and smooth.
- Remove the muffin pan from the refrigerator. Spoon the cheesecake filling evenly over the crust in each liner, filling them almost to the top. Smooth the tops of the mini cheesecakes with a spatula or the back of a spoon.
- Place the muffin pan in the refrigerator and chill the mini cheesecakes for at least 2 hours, or until firm.
- Once chilled, remove the cheesecakes from the muffin tin. The paper liners can be left on or carefully removed if you prefer. Serve immediately or refrigerate the mini cheesecakes (without toppings) in a covered container until ready to serve.
- To serve, garnish the mini cheesecakes with your choice of fresh berries, pie filling, whipped cream, and/or chocolate shavings, if desired.
Notes
- Graham cracker crumbs: If you don’t have a food processor, put the crackers in a sturdy resealable bag. Seal it, removing as much air as possible. Use a rolling pin or wine bottle to crush the crackers inside the bag. You can also purchase graham cracker crumbs but we found that they weren’t as flavorful.
- Storage: Cheesecakes will keep in the refrigerator in a covered container for up to 3 days but they are best if eaten within 24 hours. They can be frozen in a freezer safe container for up to 3 months. Thaw in the refrigerator before serving.
- Recipe retested and revised 11/2024. Previously posted as Pink Lemonade No-Bake Mini Cheesecakes.
Video
Nutrition
Calories: 150kcal,
Carbohydrates: 14g,
Protein: 4g,
Fat: 9g,
Saturated Fat: 5g,
Polyunsaturated Fat: 0.4g,
Monounsaturated Fat: 2g,
Trans Fat: 0.2g,
Cholesterol: 24mg,
Sodium: 205mg,
Potassium: 82mg,
Fiber: 0.4g,
Sugar: 8g,
Vitamin A: 272IU,
Vitamin C: 0.2mg,
Calcium: 82mg,
Iron: 0.5mg
Nutrition information is automatically calculated, so should only be used as an approximation.
Did You Make This?
Share a comment and rating below! I love hearing what you think!