
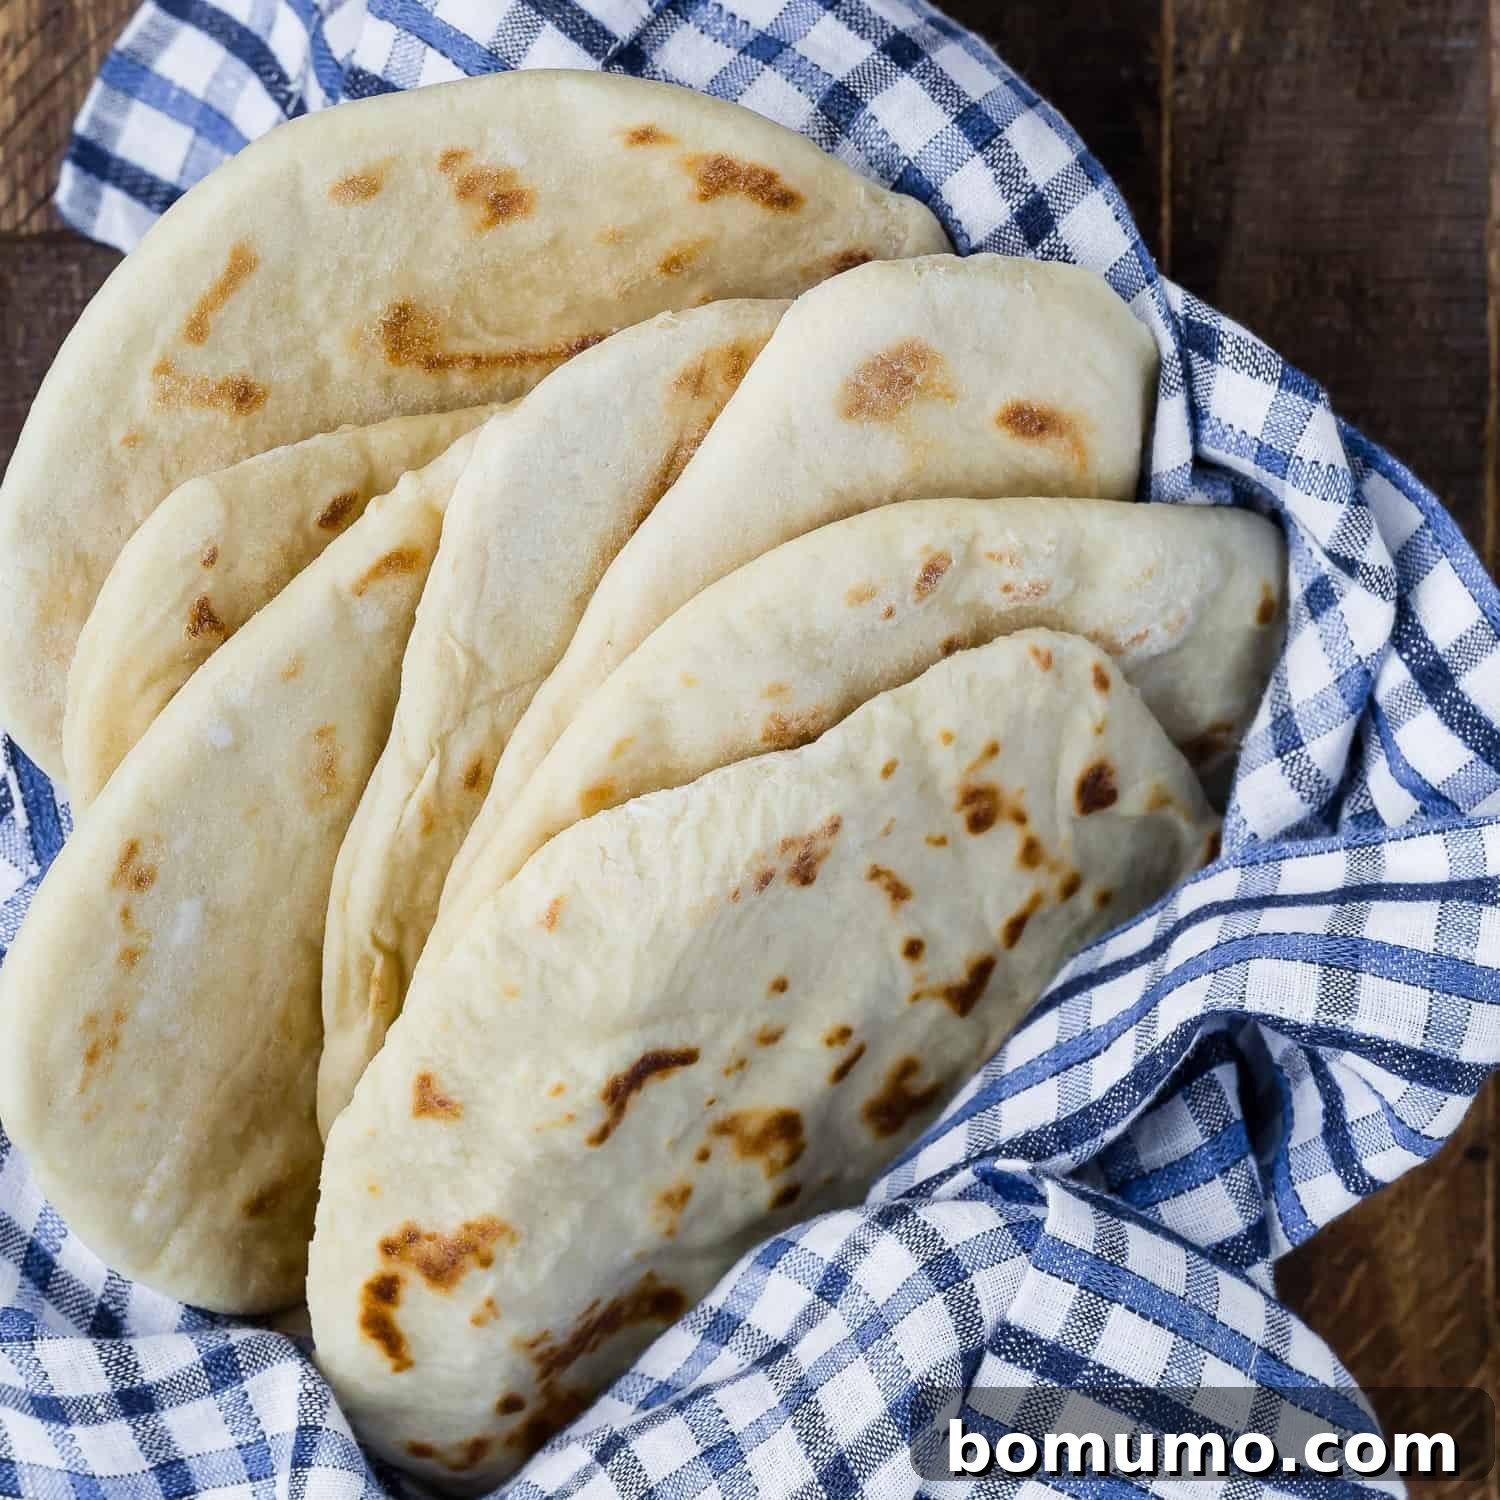
Homemade Flatbread: An Essential Guide
Why you’ll love it: This remarkable leavened flatbread recipe is incredibly easy to master and surprisingly versatile. Much like beloved naan, pita, or chapati, it offers a soft, chewy texture perfect for countless culinary applications. Use it as a hearty wrap, a quick and delicious pizza crust, or simply enjoy it warm straight from the pan. Crafted with only simple, wholesome ingredients, this homemade flatbread is entirely free from additives or preservatives, guaranteeing a pure and satisfying taste.
How long it takes: Approximately 1 hour 50 minutes (this includes essential dough resting and rising times, ensuring optimal flavor and texture).
Equipment you’ll need: A large mixing bowl for the dough, and a heavy skillet or griddle for cooking.
Servings: This recipe yields 8 perfectly sized flatbreads, ideal for sharing or meal prepping.
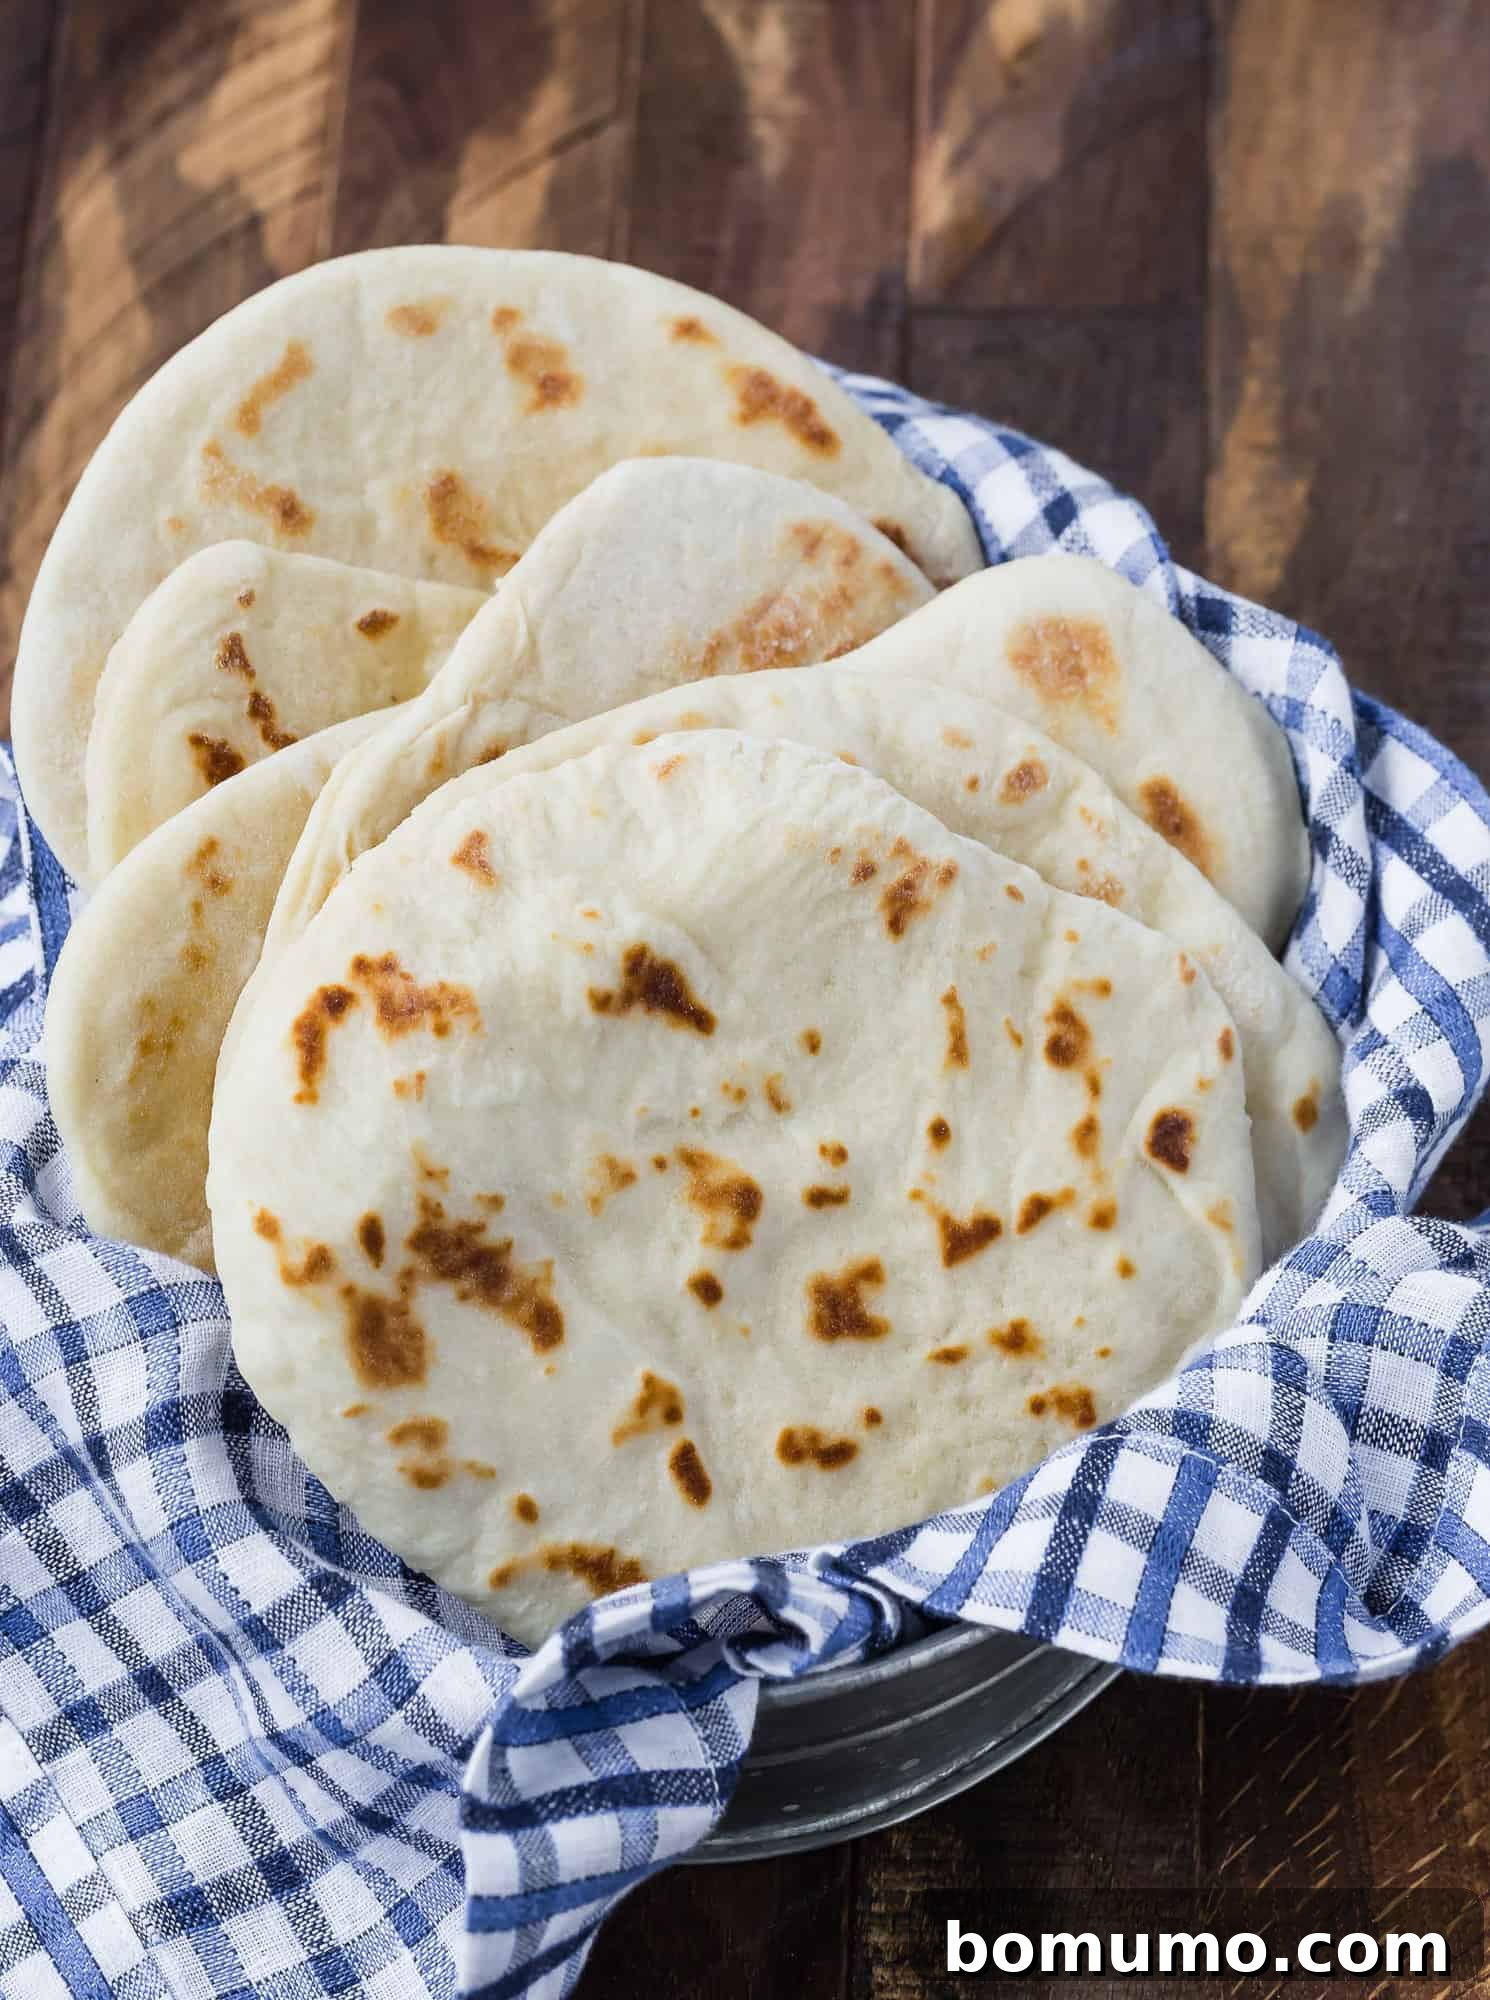
Flatbreads hold a cherished place in culinary traditions across the globe, representing one of the oldest and most fundamental forms of bread. Their history spans centuries, with countless variations evolving within different cultures, each reflecting local ingredients and preferences. From the supple pita of the Middle East to the robust focaccia of Italy, the delicate lavash of Armenia, the everyday tortillas of Mexico, the versatile roti and chapati of India, the unleavened matzah, and the popular naan, flatbreads are a universal comfort food.
While the basic concept remains the same – a simple bread flattened before cooking – not all flatbreads are created equal. They can be broadly categorized into two types: leavened and unleavened. Leavened flatbreads, like this recipe, incorporate yeast, which allows the dough to rise, resulting in a lighter, airier, and chewier texture. Unleavened flatbreads, on the other hand, rely on steam or other methods for their texture. My recipe embraces the subtle magic of yeast, requiring just a short 15-minute rest period for the dough. This crucial resting time allows the gluten network within the dough to relax, making it significantly easier to roll out into perfect, thin rounds. This brief pause in the process is a small investment that yields big returns in terms of handling and final texture.
The Irresistible Appeal of Homemade Flatbread
There’s something uniquely satisfying about homemade bread, and flatbread is no exception. Beyond its simple charm, this recipe delivers an unparalleled experience that elevates any meal. Here’s why homemade flatbread deserves a permanent spot in your kitchen:
Unmatched Versatility for Every Meal
Forget bland store-bought tortillas or ordinary sliced bread. Homemade flatbread offers a much more interesting and flavorful foundation for whatever you choose to pair with it. Its soft yet resilient structure makes it ideal for a myriad of culinary creations. Whether you’re assembling a quick lunch, planning a family dinner, or hosting a gathering, these flatbreads adapt effortlessly. Their neutral yet inviting flavor profile ensures they complement both savory and sweet dishes, truly making them a blank canvas for your culinary imagination.
A Perfect Companion for Diverse Dishes
What meal isn’t enhanced by the addition of warm, freshly made, yeasty bread? The aroma alone is enough to entice. This flatbread pairs beautifully with a vast array of dishes. Imagine scooping up a vibrant roasted romaine salad, topped with crispy chicken and juicy tomatoes, using a piece of warm flatbread. Or perhaps diving into creamy homemade hummus, where the flatbread serves as the ultimate dipper. For a light yet fulfilling lunch, wrap a zesty dill chicken salad in a freshly made flatbread – simply delicious! It’s also an excellent accompaniment for hearty stews like beef stew or a warming bowl of chili, perfect for soaking up every last drop of flavorful gravy or sauce. The possibilities are truly endless, transforming everyday meals into something special.
The Ultimate Personal Pizza Crust
If your family shares my enthusiasm for homemade pizza, then these flatbreads are about to become your new secret weapon. While frozen dough balls offer convenience, these homemade flatbreads provide a fresh, superior alternative. Their individual size makes them perfect for crafting personalized pizzas, allowing each family member to choose their favorite sauce, shredded mozzarella cheese, and an array of toppings. Imagine the joy of creating a unique pizza masterpiece tailored exactly to one’s taste, all on a perfectly cooked, homemade crust. This interactive and customizable approach makes pizza night even more exciting and enjoyable for everyone.
An Engaging and Rewarding Baking Experience
This fantastic flatbread recipe, originally shared by my friend Megan from the renowned King Arthur Flour, has quickly become a household favorite. While it does require a bit of time, much of it is hands-off, making it a manageable and enjoyable project. It’s an ideal recipe for getting kids involved in the kitchen, teaching them the rewarding process of bread making. There’s a special kind of magic in watching simple ingredients transform into warm, fragrant bread right before your eyes. The taste of a fresh, hot flatbread, straight off the griddle, is an experience that truly can’t be beaten. (If you enjoy this hands-on baking, be sure to also try making homemade flour tortillas for another delightful bread-making adventure!)
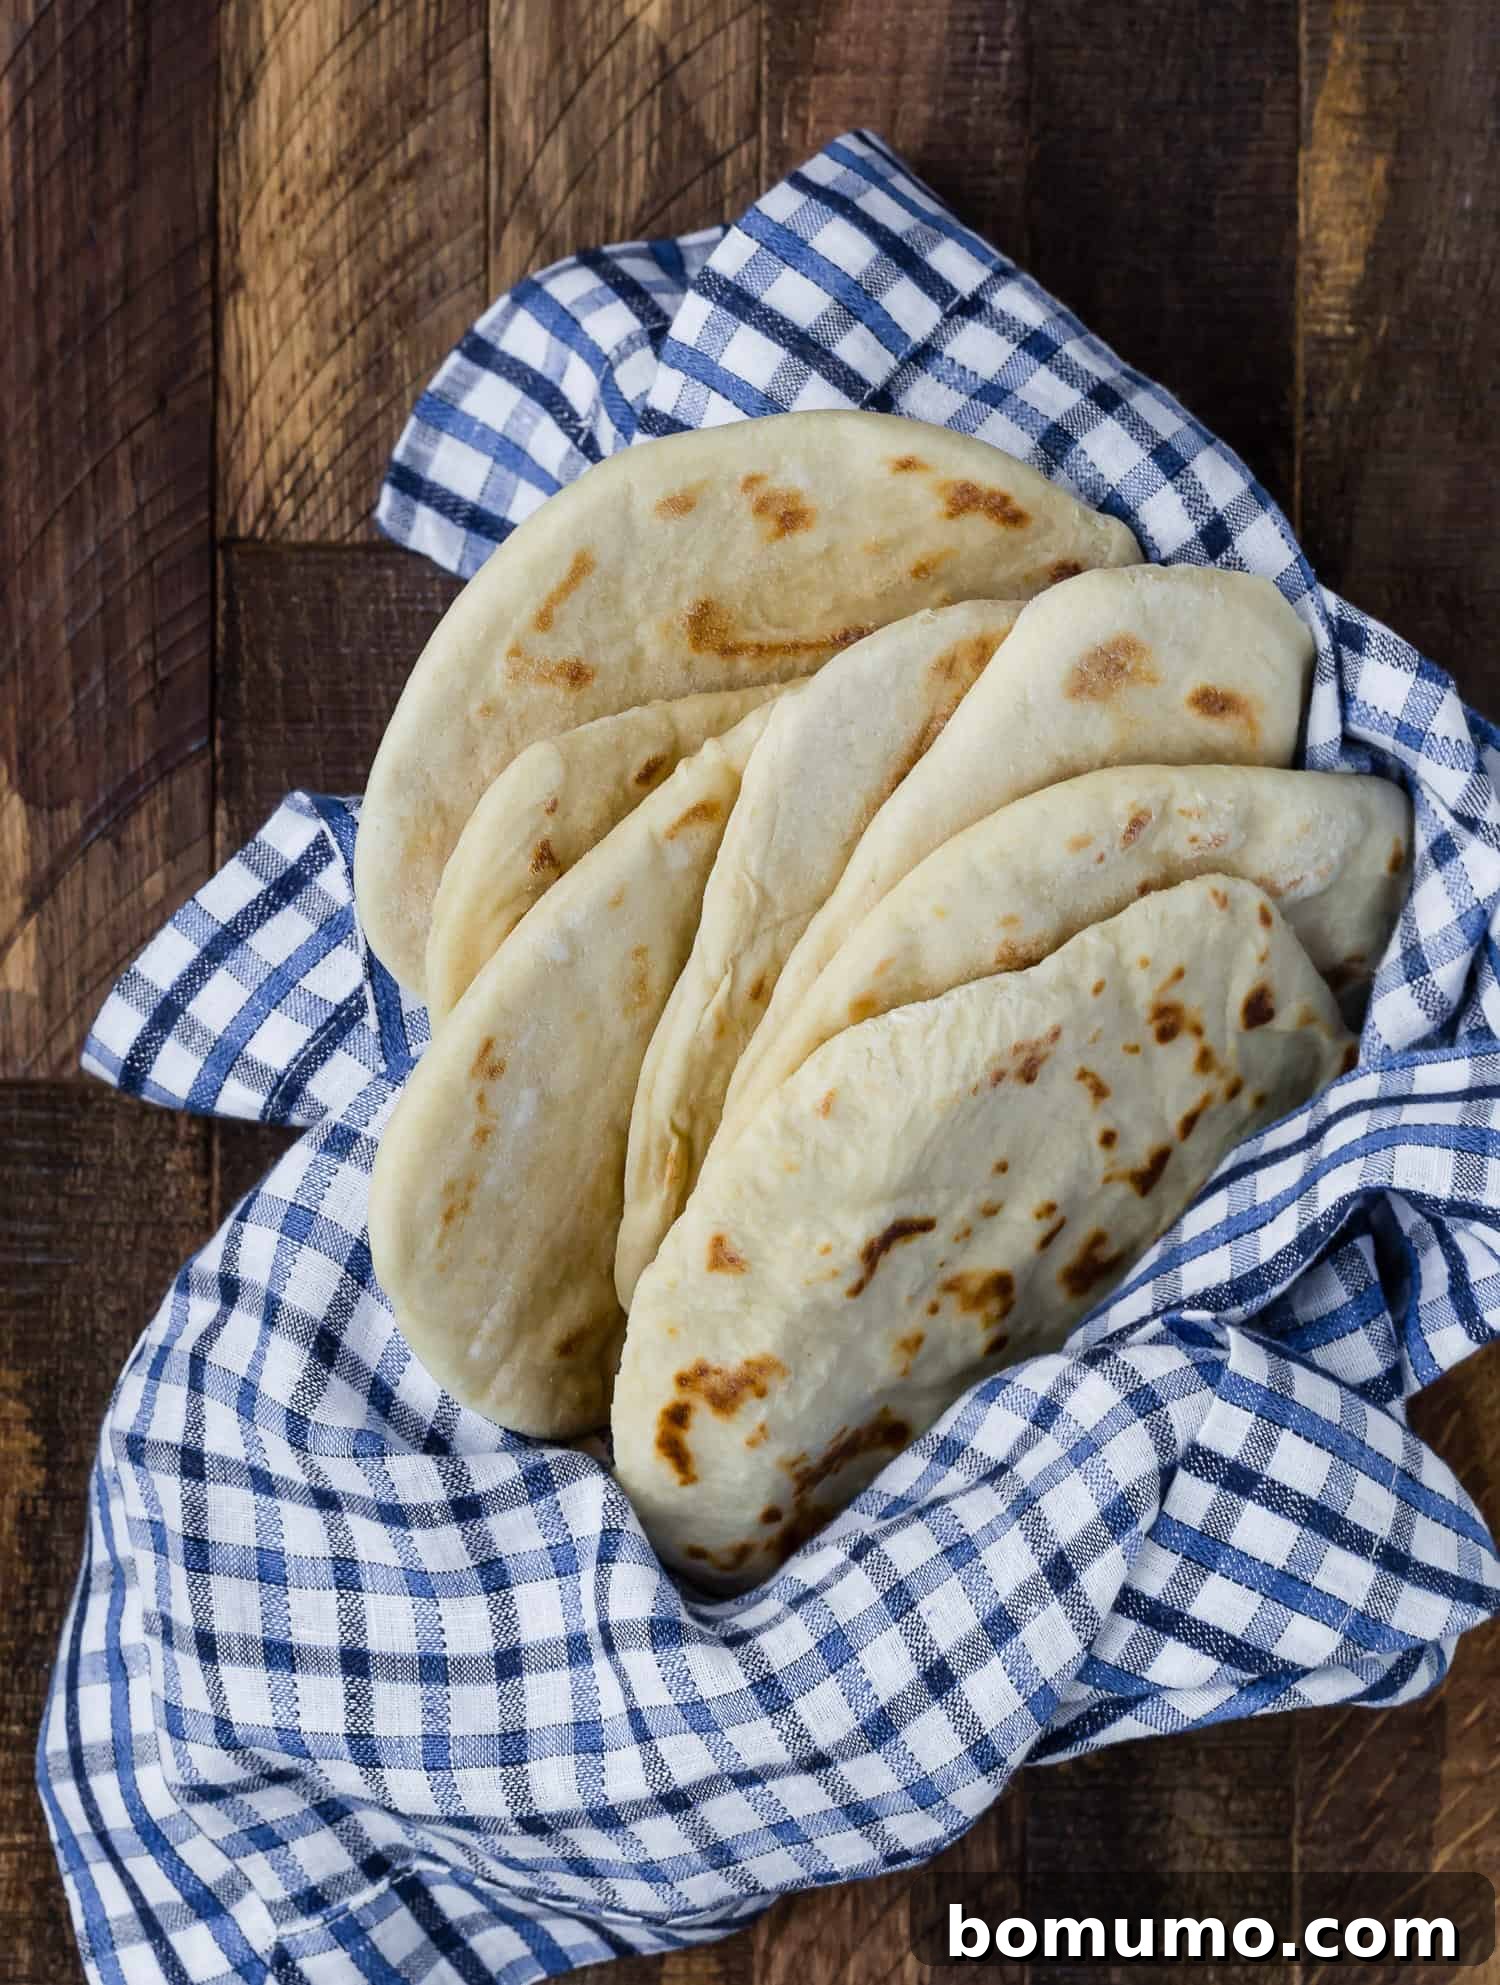
Crafting Your Perfect Flatbread: A Step-by-Step Guide
Making homemade flatbread is a journey that’s both scientific and incredibly rewarding. Each step is designed to contribute to the final delicious product. Here’s a detailed look at how to achieve flatbread perfection:
The Autolyse Method: Hydrating the Flour
The initial step in this flatbread recipe employs the clever autolyse method, a technique revered in bread making. You’ll begin by mixing a portion of the flour with boiling water and allowing it to rest for approximately thirty minutes. Why is this important? The autolyse method is crucial for fully hydrating the flour and initiating the activation of its gluten proteins. This pre-soaking step significantly reduces the overall kneading time required later on, while simultaneously enhancing the dough’s extensibility. The result is a bread with improved volume, a more tender crumb structure, and an overall superior texture. It’s a fascinating glimpse into the science of baking, and a technique that truly elevates homemade bread.
Kneading and the First Rise: Building Structure and Flavor
Once the autolyse phase is complete and the initial flour-water mixture has cooled, you’ll incorporate the remaining ingredients. This is where the magic of kneading comes into play. Whether you choose to knead by hand or with a stand mixer, this process is essential for developing the gluten further, creating a strong yet elastic dough. Aim for a soft, pliable texture that bounces back when gently poked. After kneading, the dough is covered and left to rise for about an hour. During this period, the yeast gets to work, fermenting the sugars in the flour and producing carbon dioxide, which gives the bread its characteristic airy structure and complex flavor. This first rise is critical for achieving a light and flavorful flatbread.
Rolling the Dough: Shaping Your Flatbreads
Now comes the truly engaging and hands-on part – shaping the flatbreads! This is often where children love to join in, as it’s a fun and tactile activity. Begin by dividing the risen dough into eight equal portions. After another brief rest (just 15-30 minutes), which helps the gluten relax once more, you’ll flatten each ball into a roundish shape. Don’t worry about achieving perfectly uniform circles; irregular or “organic” shapes, as my daughter learned in art class, are perfectly charming and add to the rustic appeal of homemade bread. The goal is to create a thin, even layer that will cook beautifully on the stovetop.
Stovetop Baking: Quick and Convenient
One of the most appealing aspects of this flatbread recipe is that you don’t even need to preheat your oven. These breads are cooked entirely on the stovetop, making them a quick and energy-efficient option, especially on warmer days when you want to avoid heating up your kitchen. Simply cook each flatbread on a preheated griddle or heavy skillet over medium heat for approximately two to three minutes per side. As they cook, you’ll witness them transform: they’ll puff up beautifully, indicating the yeast has done its job, and develop enticing flecks of golden brown on their surface. This stovetop method ensures a soft, tender interior with a slight crispness on the outside. It’s a delightful and surprisingly simple way to bake fresh bread!
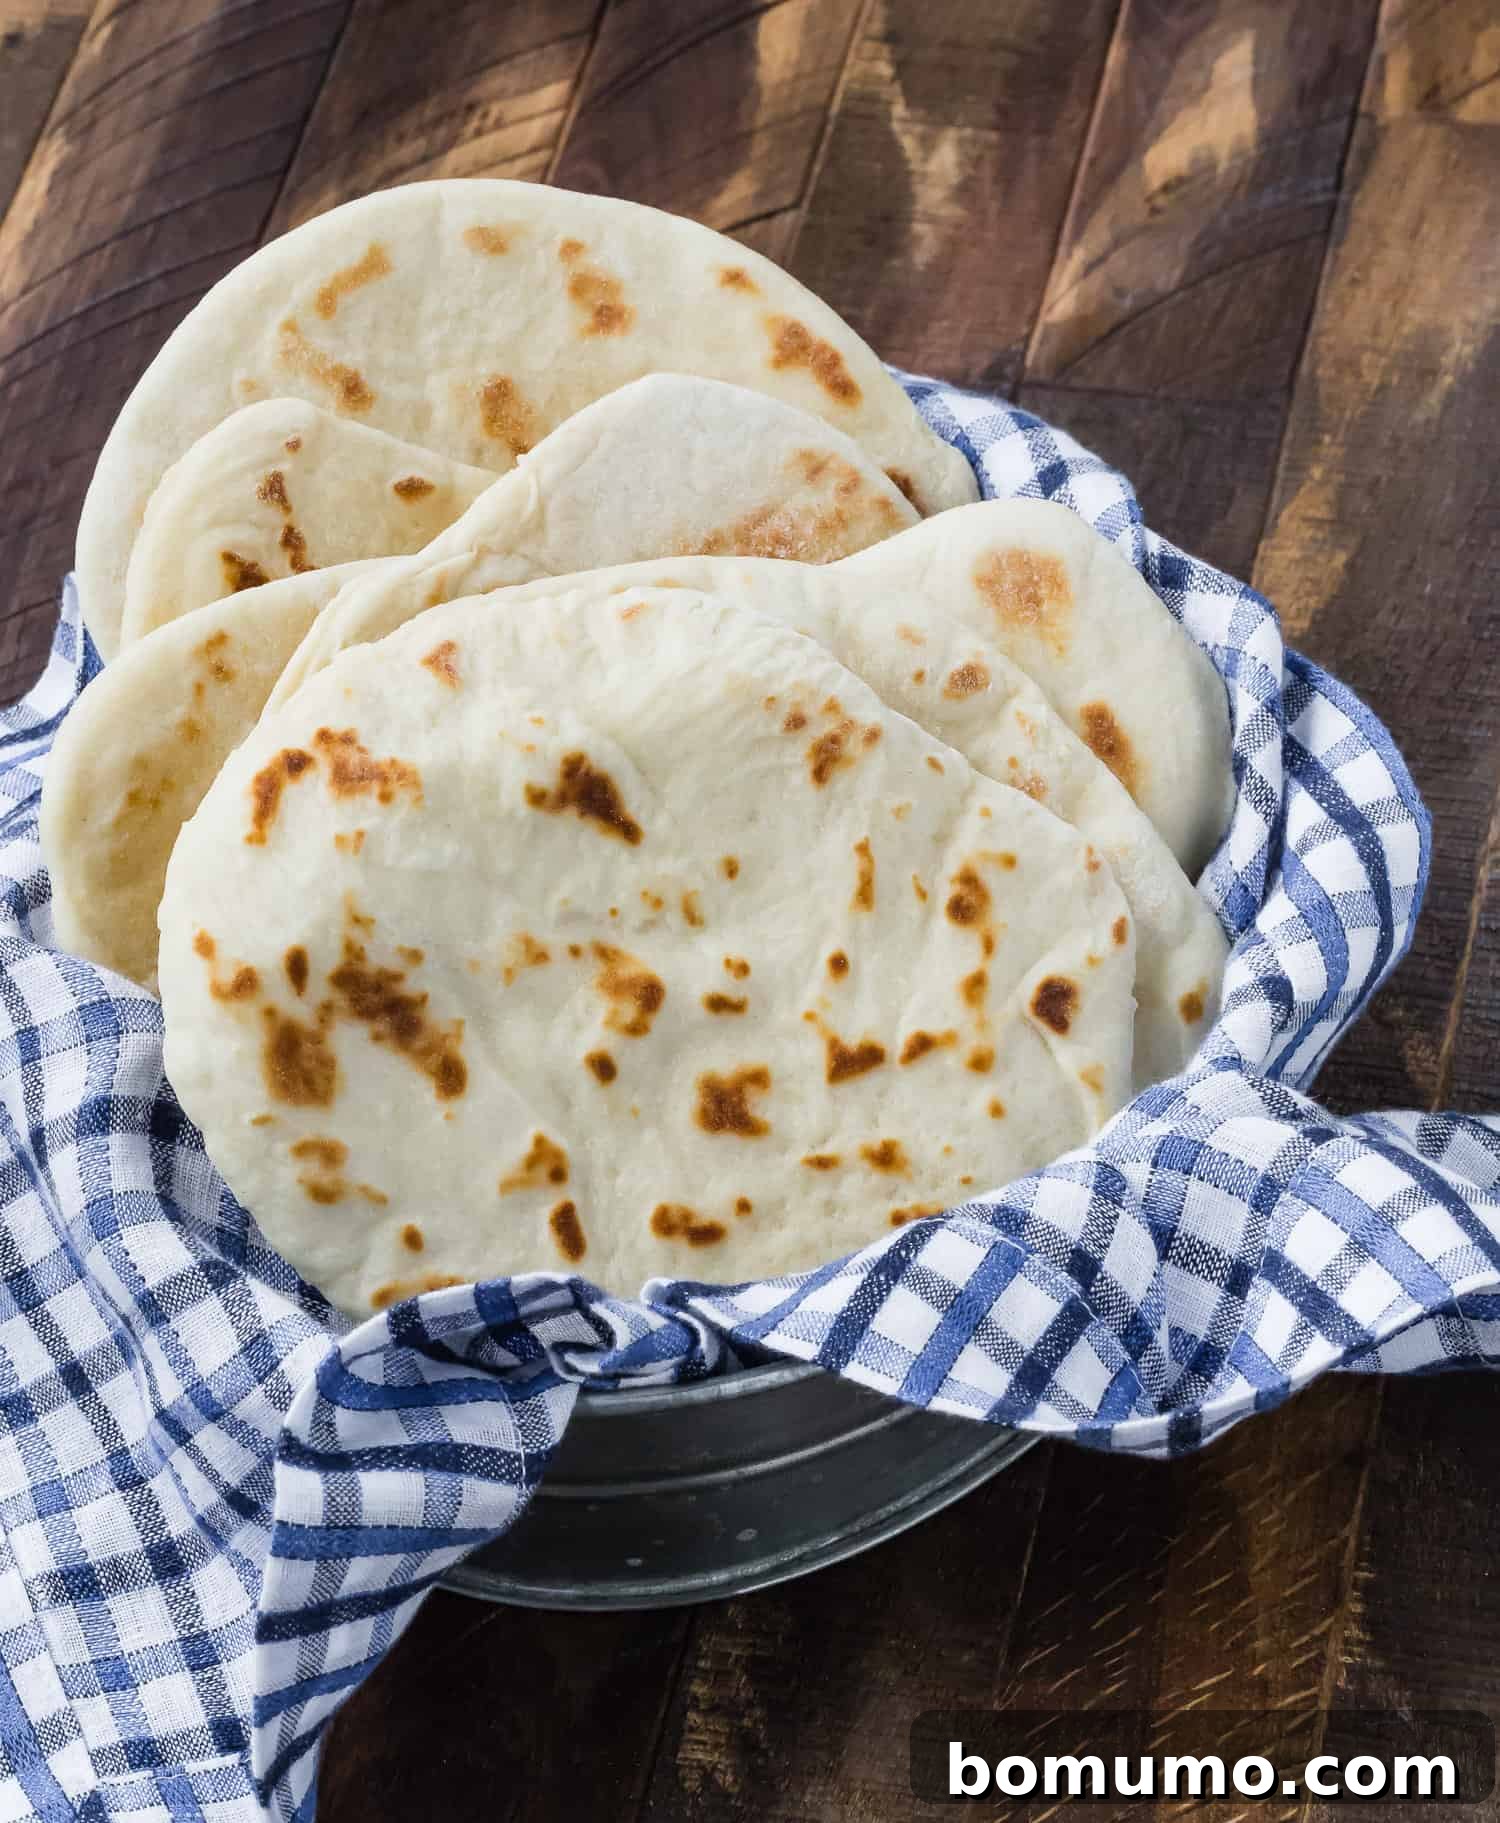
Creative Ways to Serve Your Homemade Flatbread
The beauty of homemade flatbread lies in its incredible adaptability. Once you’ve mastered the basic recipe, a world of culinary possibilities opens up. Here are some inspiring ideas to showcase your freshly baked creations:
- As a Staple Bread: These homemade flatbreads effortlessly step in for commonly used breads like naan, pita, or chapati. They’re not just an alternative; they’re often a superior choice due to their freshness and wholesome ingredients. Serve them warm alongside curries, stews, or use them to scoop up dips and spreads. The taste of bread made by your own hands is truly unbeatable!
- Open-Faced “Grilled Cheese” Flatbreads: Elevate a simple comfort food by sprinkling your favorite cheese onto a warm flatbread and popping it under the broiler for a minute or two until bubbly and golden. For a gourmet twist, try a ricotta flatbread with crispy bacon, sweet roasted squash, tart apples, and crunchy maple pepitas – a sophisticated appetizer or light meal.
- Delightful Breakfast Treat: Transform your flatbread into a morning delight. Butter a warm flatbread generously and sprinkle it with a mixture of cinnamon and sugar for a sweet start to your day. Alternatively, create a hearty breakfast sandwich by piling scrambled eggs and crispy bacon onto a lightly toasted flatbread, perhaps with a dash of hot sauce or a slice of avocado.
- Customizable Personal Pizzas: The individual size of these flatbreads makes them absolutely perfect for personal pizzas. Spread your favorite pizza sauce, scatter a generous layer of shredded mozzarella cheese, and let everyone choose their desired toppings – pepperoni, vegetables, herbs, or anything else that sparks their culinary imagination. Bake them at 400°F (200°C) for 5 to 10 minutes, depending on the thickness of your toppings, until the cheese is melted and bubbly.
- Versatile Sandwich Wraps: Ditch traditional bread and use flatbreads for your sandwiches. They’re ideal for wrapping up deli meat and cheese, tuna salad, or even leftover roasted vegetables. Simply fill, fold in half, and enjoy a satisfying and flavorful meal. One of my personal favorites is a Mediterranean-inspired wrap: warm flatbread filled with savory Greek meatballs and creamy homemade tzatziki – a truly delicious combination!
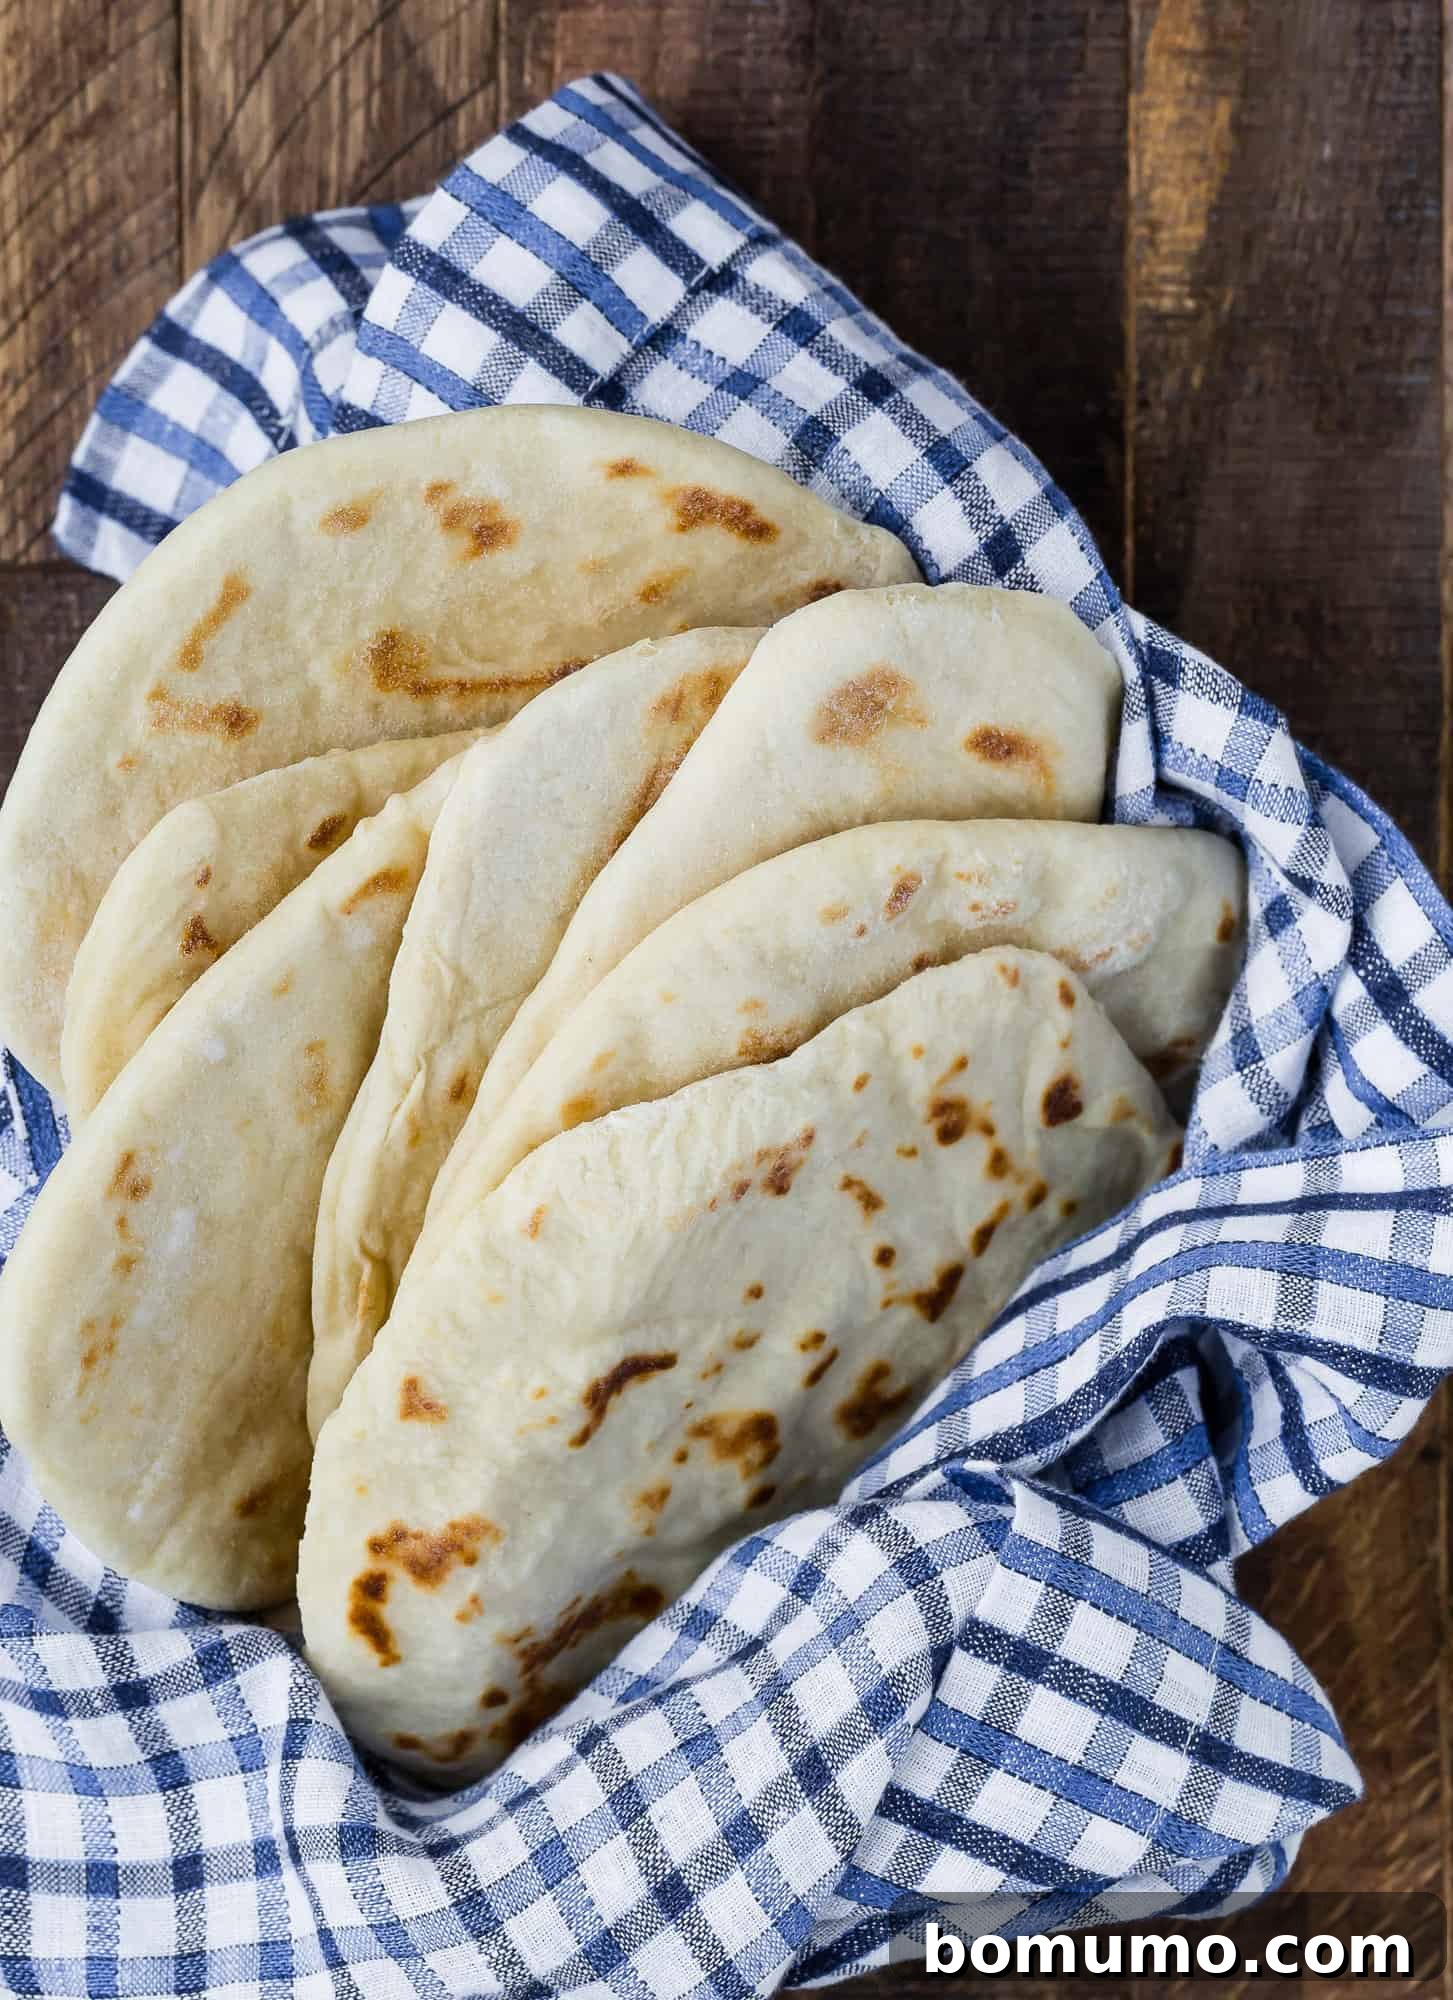
Storage & Reheating Tips
Storage & Reheating Tips
Storing Your Homemade Flatbread
To enjoy your homemade flatbreads beyond the day they’re made, proper storage is key. Once completely cooled to room temperature, they can be stored in an airtight container or a sealed plastic bag for two to three days. This prevents them from drying out and maintains their soft texture. For longer preservation, flatbreads freeze exceptionally well. Wrap them individually or stack them with parchment paper in between, then place them in a freezer-safe bag or container. They will maintain their quality in the freezer for up to one month, ready to be pulled out and enjoyed whenever a craving strikes.
Reheating for Optimal Freshness
Reheating flatbread is simple and allows you to enjoy them as if they were freshly baked. You have several convenient options depending on your preference for texture:
- Toaster or Toaster Oven: For a quick reheat that yields a slightly crisper exterior, pop them directly into a toaster or toaster oven for a minute or two.
- Conventional Oven: If you prefer a softer, more pliable flatbread, wrap it in aluminum foil before placing it in a preheated oven (around 300°F or 150°C) for 5-7 minutes. For a crisper result, omit the foil.
- Skillet: A dry skillet over medium heat works wonders for reviving flatbreads. Place them directly on the skillet for about 30-60 seconds per side, until warmed through and slightly pliable again. This method often helps them regain a bit of their original puffiness.
Always ensure your flatbreads are fully reheated before serving to bring out their best flavor and texture.
Explore More Homemade Breads
Dutch Oven Bread (No Knead!)
No-Knead Whole Wheat Bread
Healthy Cornbread Recipe (Whole Wheat)
Beer Bread Recipe
Fluffy Homemade Flatbread
Rachel Gurk
15
6
1
30
1
51
8
flatbreads
Equipment
-
All-Clad Griddle
-
Calphalon Square Griddle Pan
Ingredients
-
3
cups
all-purpose flour, divided -
1 ¼
cups
(10 ounces) boiling water -
½
cup
instant potato flakes -
1 ¼
teaspoons
kosher salt
-
2
tablespoons
vegetable oil -
1
teaspoon
instant yeast
(see note)
Instructions
-
Place 2 cups of the flour into a large mixing bowl. Carefully pour the boiling water over the flour, then stir until the mixture is smooth and evenly combined. Cover the bowl and set the mixture aside to rest for 30 minutes. This is the autolyse stage, which helps hydrate the flour and develop gluten.1 ¼ cups (10 ounces) boiling water
-
In a separate bowl, whisk together the instant potato flakes, the remaining 1 cup of flour, kosher salt, vegetable oil, and instant yeast. Add this dry mixture to the cooled flour/water mixture. Stir initially, then knead the dough for 5 to 7 minutes (either by hand or using a stand mixer with a dough hook) until a soft, elastic dough forms. The dough should be slightly tacky but not sticky. If the dough seems too stiff, add a tablespoon of water at a time until the desired consistency is reached. I typically add about 1 tablespoon. Only add additional flour if the dough is excessively sticky. If kneading by hand, keep your hands and work surface lightly oiled to prevent sticking.½ cup instant potato flakes,
1 ¼ teaspoons kosher salt,
2 tablespoons vegetable oil,
1 teaspoon instant yeast -
Once kneaded, cover the bowl with plastic wrap or a clean kitchen towel and let the dough rise in a warm place for 1 hour, or until it has visibly increased in size and appears light and airy.
-
Gently punch down the risen dough to release the air. Divide the dough into 8 equal pieces. Shape each piece into a small ball, cover them again, and let them rest for another 15 to 30 minutes. This short rest makes the dough easier to roll.
-
On a lightly floured surface, roll each rested dough ball into a 7- to 8-inch circle. Heat a heavy skillet or griddle over medium heat (no oil needed for frying). Once hot, place a flatbread on the skillet and cook for about 2 to 3 minutes per side. The flatbreads should puff up and develop beautiful golden-brown flecks. Adjust the heat as needed: if they cook too quickly, they might be raw in the center; if too slowly, they can dry out. Transfer the cooked flatbreads to a wire rack, stacking them to keep them warm and soft.
-
Serve your delicious flatbreads immediately, or allow them to cool completely before storing them in a plastic bag for later enjoyment.
Notes
- Using active dry yeast instead of instant yeast: This recipe is optimized for instant yeast because it can be directly incorporated into the dough without prior activation. If you choose to use active dry yeast, you will need to activate it first. Reduce the initial boiling water in step 1 to 1 cup. In a separate small bowl, dissolve the 1 teaspoon of active dry yeast in ¼ cup of warm water (around 105-115°F or 40-46°C) and let it sit for 5-10 minutes until foamy. Then, add this yeast mixture to the dough along with the potato flake mixture in step 2. The dough may feel a bit “slippery” at first, but continue kneading, and it will eventually become smooth and cohesive.
Nutrition
Serving:
1
flatbread
,
Calories:
219
kcal
,
Carbohydrates:
39
g
,
Protein:
6
g
,
Fat:
4
g
,
Saturated Fat:
1
g
,
Polyunsaturated Fat:
2
g
,
Monounsaturated Fat:
1
g
,
Trans Fat:
0.02
g
,
Sodium:
369
mg
,
Potassium:
106
mg
,
Fiber:
2
g
,
Sugar:
0.3
g
,
Vitamin A:
1
IU
,
Vitamin C:
3
mg
,
Calcium:
9
mg
,
Iron:
2
mg
Nutrition information is automatically calculated, so should only be used as an approximation.
Did You Make This?
Share a comment and rating below! I love hearing what you think!