
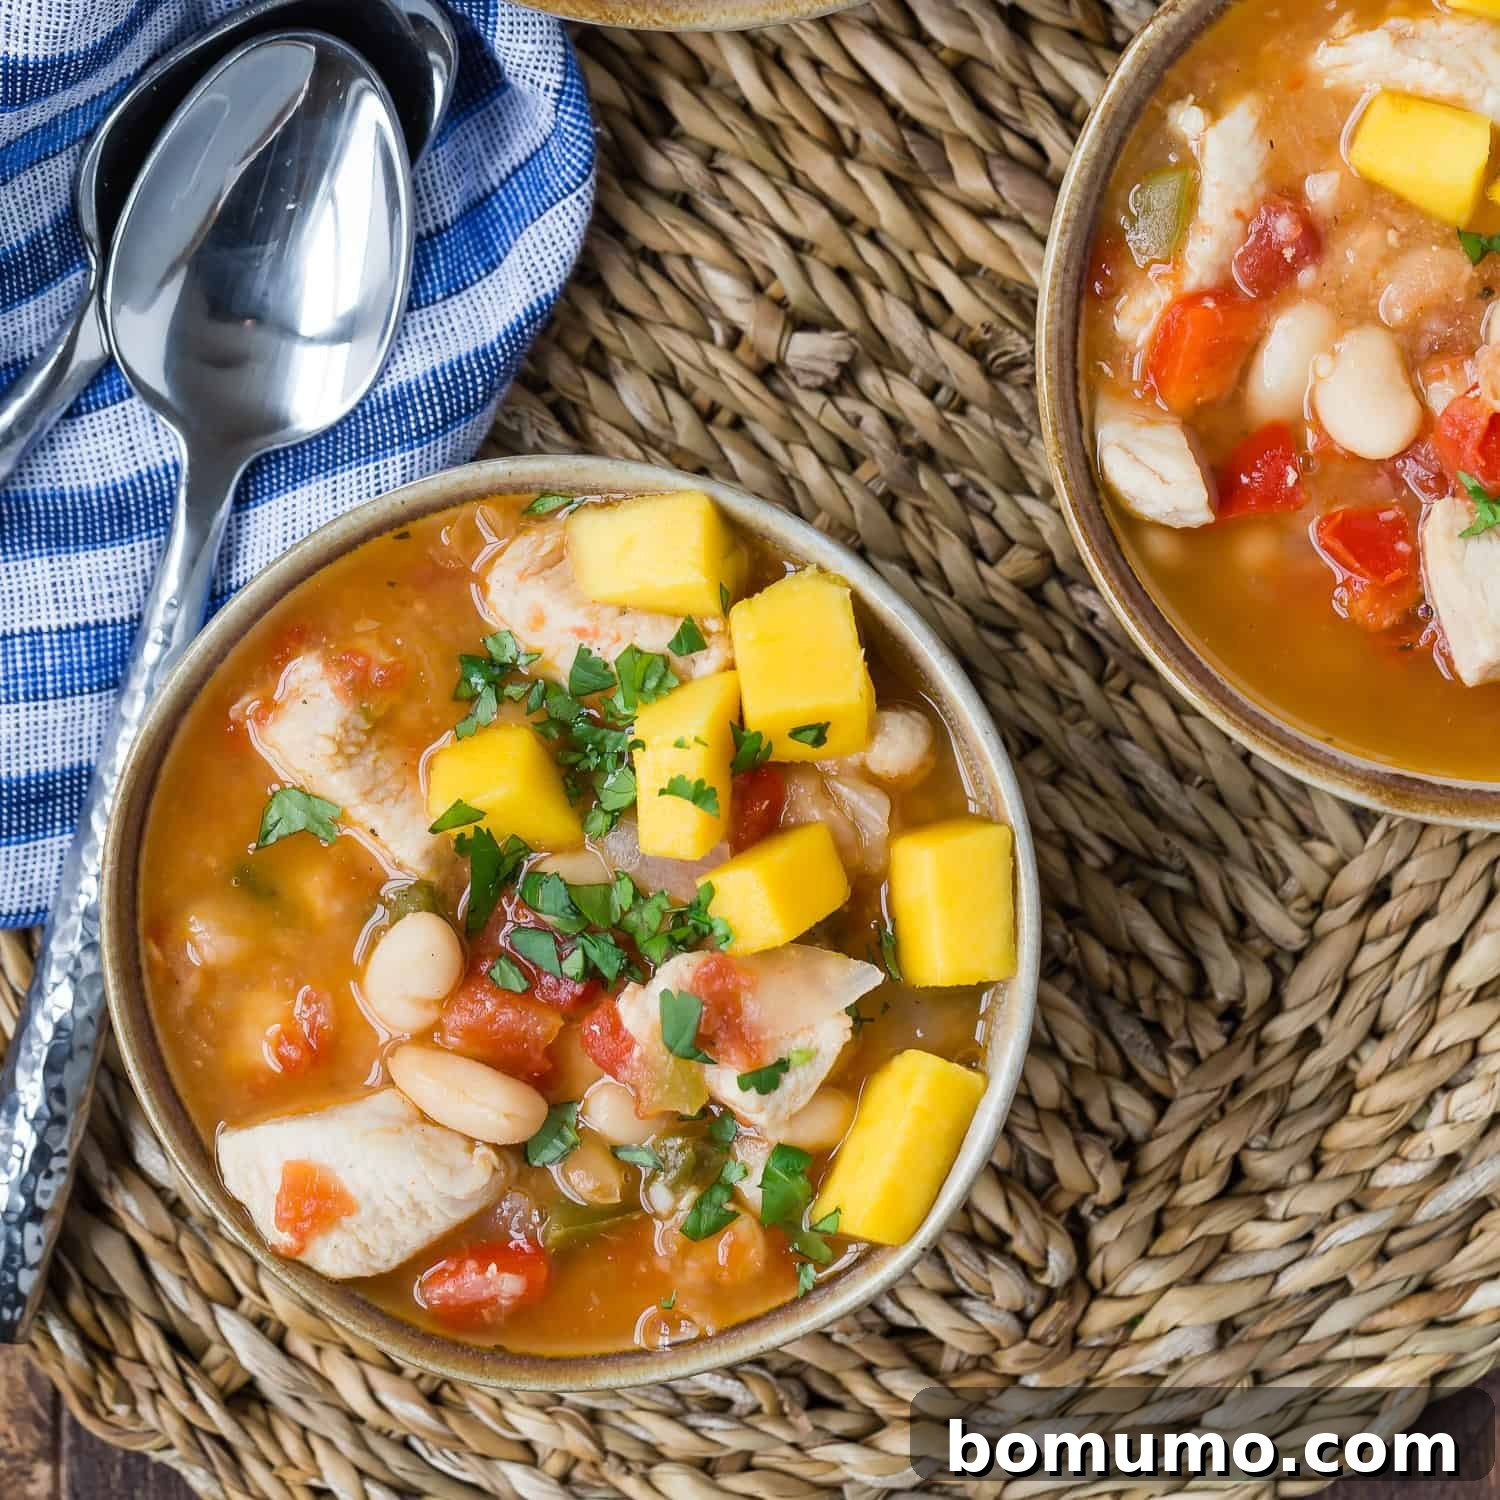
Jerk Chicken Chili: Recipe Overview
Why You’ll Love It: This Jerk Chicken Chili is a fantastic blend of spicy, intensely flavorful, and incredibly simple to prepare, bringing the vibrant taste of the Caribbean directly to your kitchen. It’s a delightful and unique variation of more traditional chicken chili recipes.
Preparation & Cook Time: The entire process takes approximately 50 minutes. Most of this time is passive simmering, leaving you with only about 15 minutes of active preparation.
Required Equipment: You’ll only need a single large pot or a versatile Dutch oven, making cleanup a breeze.
Servings: This recipe generously serves 6 people, perfect for family dinners or entertaining guests.
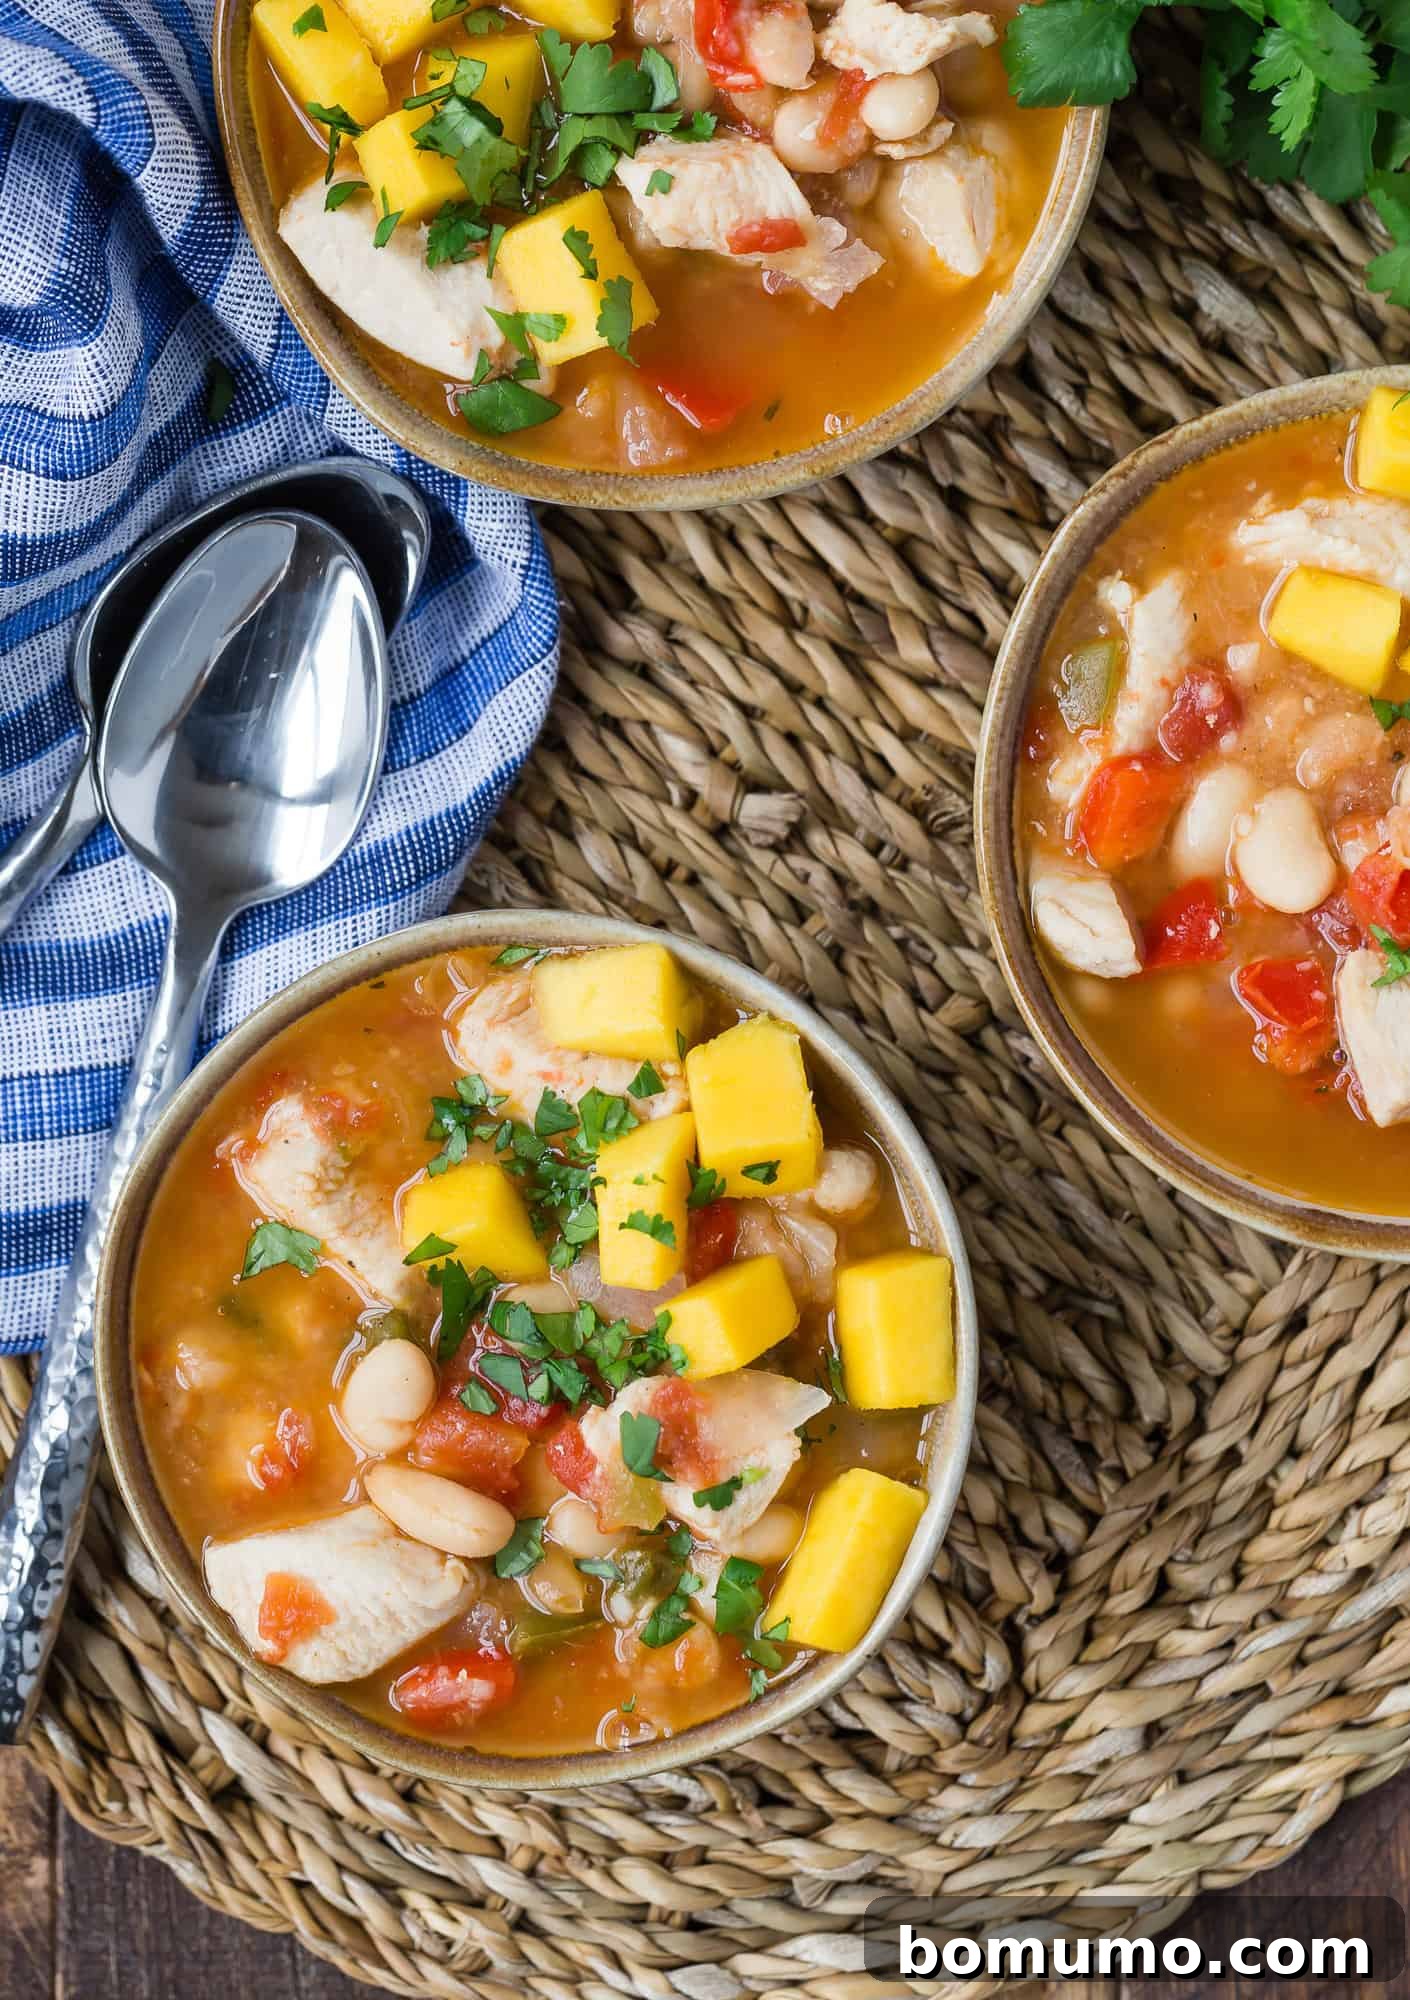
Today, we’re embarking on a delightful culinary journey to the sun-drenched Caribbean. Don’t we all crave that feeling sometimes? Thoughts of warm sunshine, pristine sandy beaches, refreshing drinks, and swaying palm trees often fill our minds, especially during the colder months when bright days are scarce. This Jerk Chicken Chili is designed to bring those tropical vibes and comforting warmth right into your home.
My husband and I cherished our honeymoon in Jamaica, and naturally, we were captivated by the incredible food. Jamaican cuisine is a rich tapestry of influences, showcasing contributions from British, Indian, African, Chinese, and Spanish cultures. This makes it challenging to categorize, but “unique, vibrant, and utterly delicious” certainly captures its essence! While white chicken chili is famously a staple of the American Southwest, I’ve taken that beloved concept and infused it with bold Caribbean flavors, creating a truly exciting fusion dish that I’m confident you’re going to love.
If you’re a fan of more traditional chicken chili, I have several cherished recipes you might enjoy. For a quick and effortless meal, try my 5-ingredient white chicken chili. For hands-off convenience, explore my Instant Pot white chicken chili or the comforting slow cooker white chicken chili. And for a proven family favorite, don’t miss my most requested recipe for classic white chicken chili. But for those seeking something wonderfully different, this Jerk Chicken Chili offers an exotic and satisfying escape.
One-Pan Jerk Chicken Chili: A Flavorful Weeknight Delight
This Caribbean-style chili is specifically crafted for ease and efficiency, ensuring a delicious meal without excessive fuss. It’s a true one-pan wonder that minimizes dishes and maximizes flavor, making it a perfect addition to your weeknight rotation.
Ready in Less Than an Hour
From the moment you start chopping to the first spoonful, this vibrant chili comes together in approximately 50 minutes. The beauty of this recipe lies in its structure: only about 15 minutes require active cooking and attention. The remaining time is hands-off simmering, allowing the rich, complex flavors to deepen and meld beautifully. This means you can focus on other tasks or simply unwind while your dinner cooks itself. And with everything prepared in a single large pot or Dutch oven, cleanup is refreshingly simple.
Designed for Flexible Schedules
One of the most appealing aspects of this Jerk Chicken Chili is its incredible flexibility. While a 30-minute simmer is ideal for optimal flavor development, don’t hesitate to let it gently bubble for a longer period if your schedule permits. This forgiving nature means you can prepare the initial steps during a spare 15 minutes, then leave it to simmer quietly on the stove, allowing the robust Caribbean spices to infuse even more deeply into the chicken and beans. It’s truly a dish that adapts to your pace, rather than the other way around.
A Unique and Savory Flavor Profile
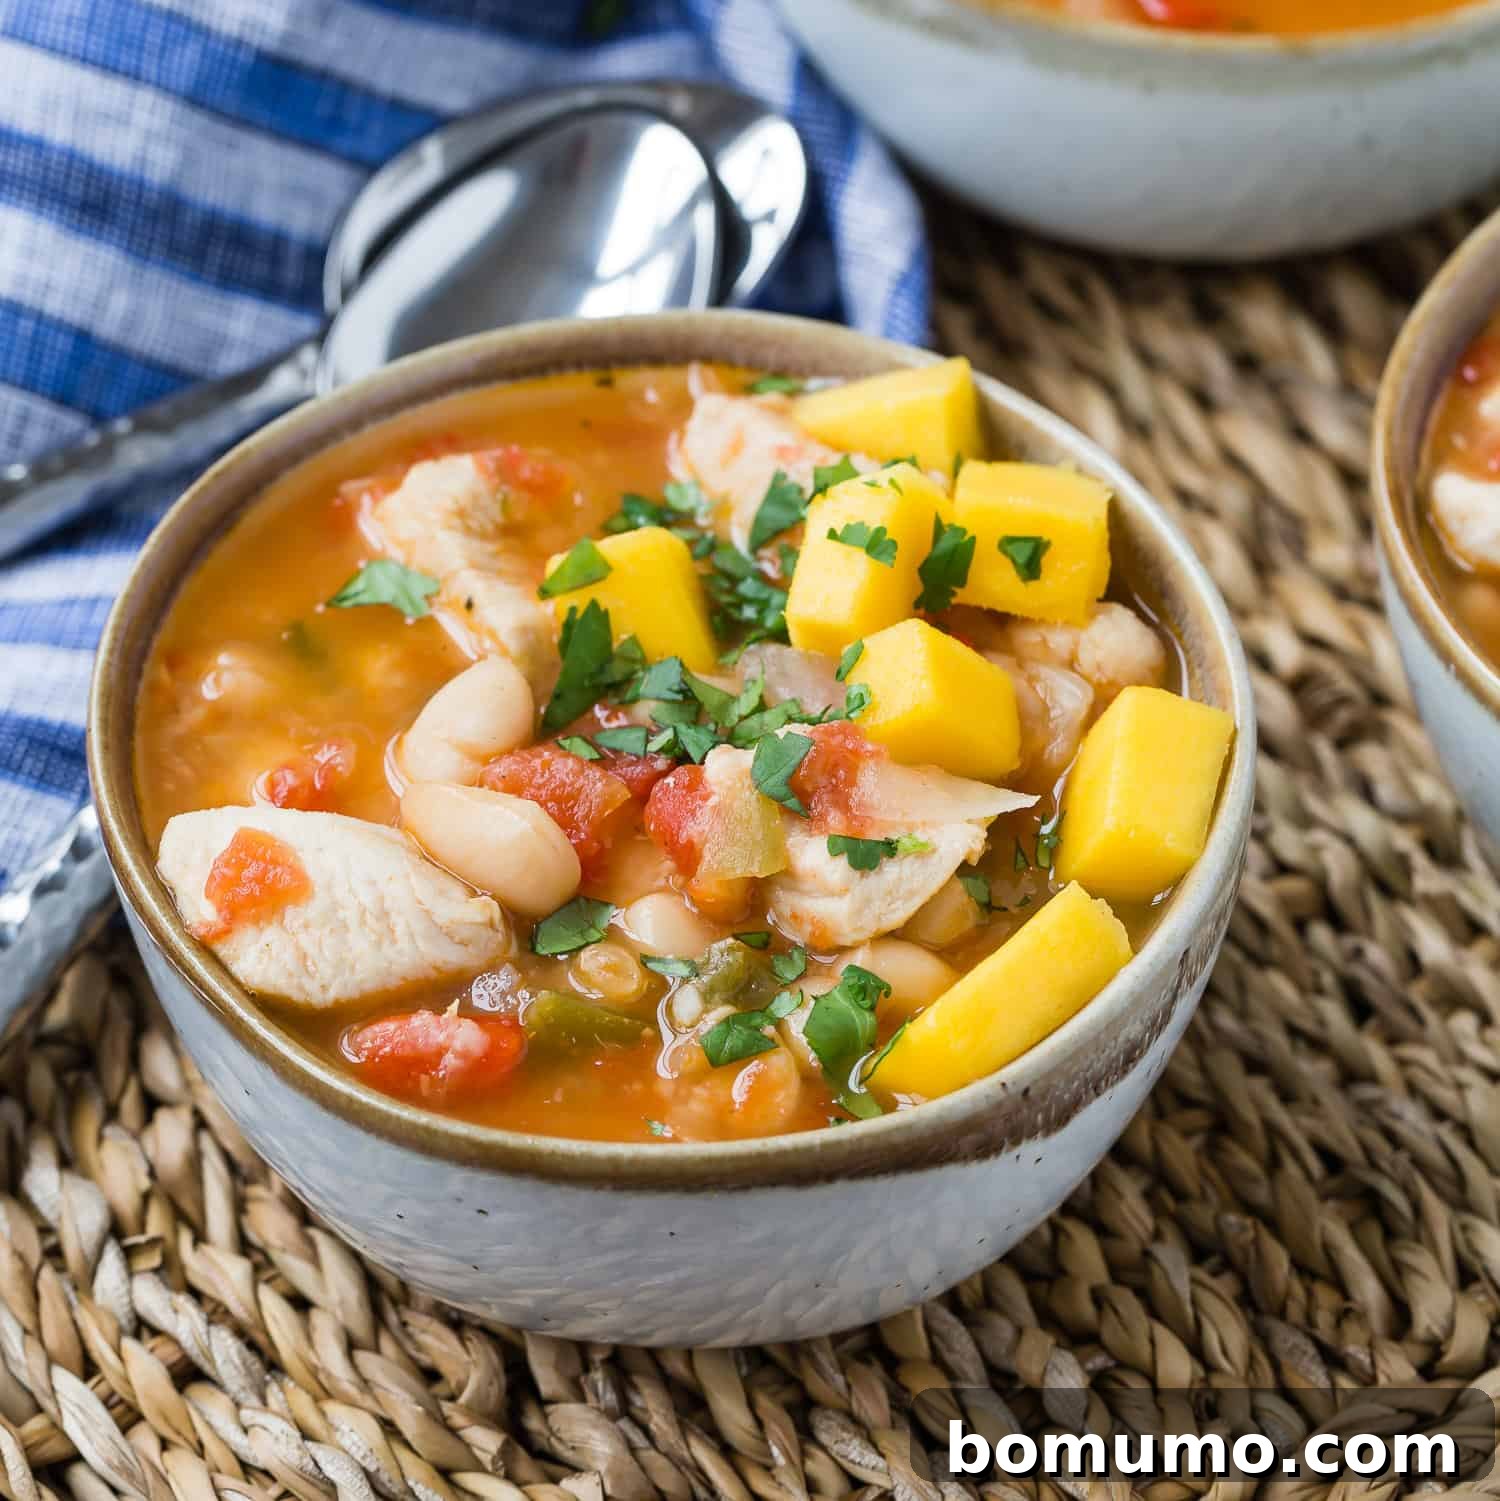
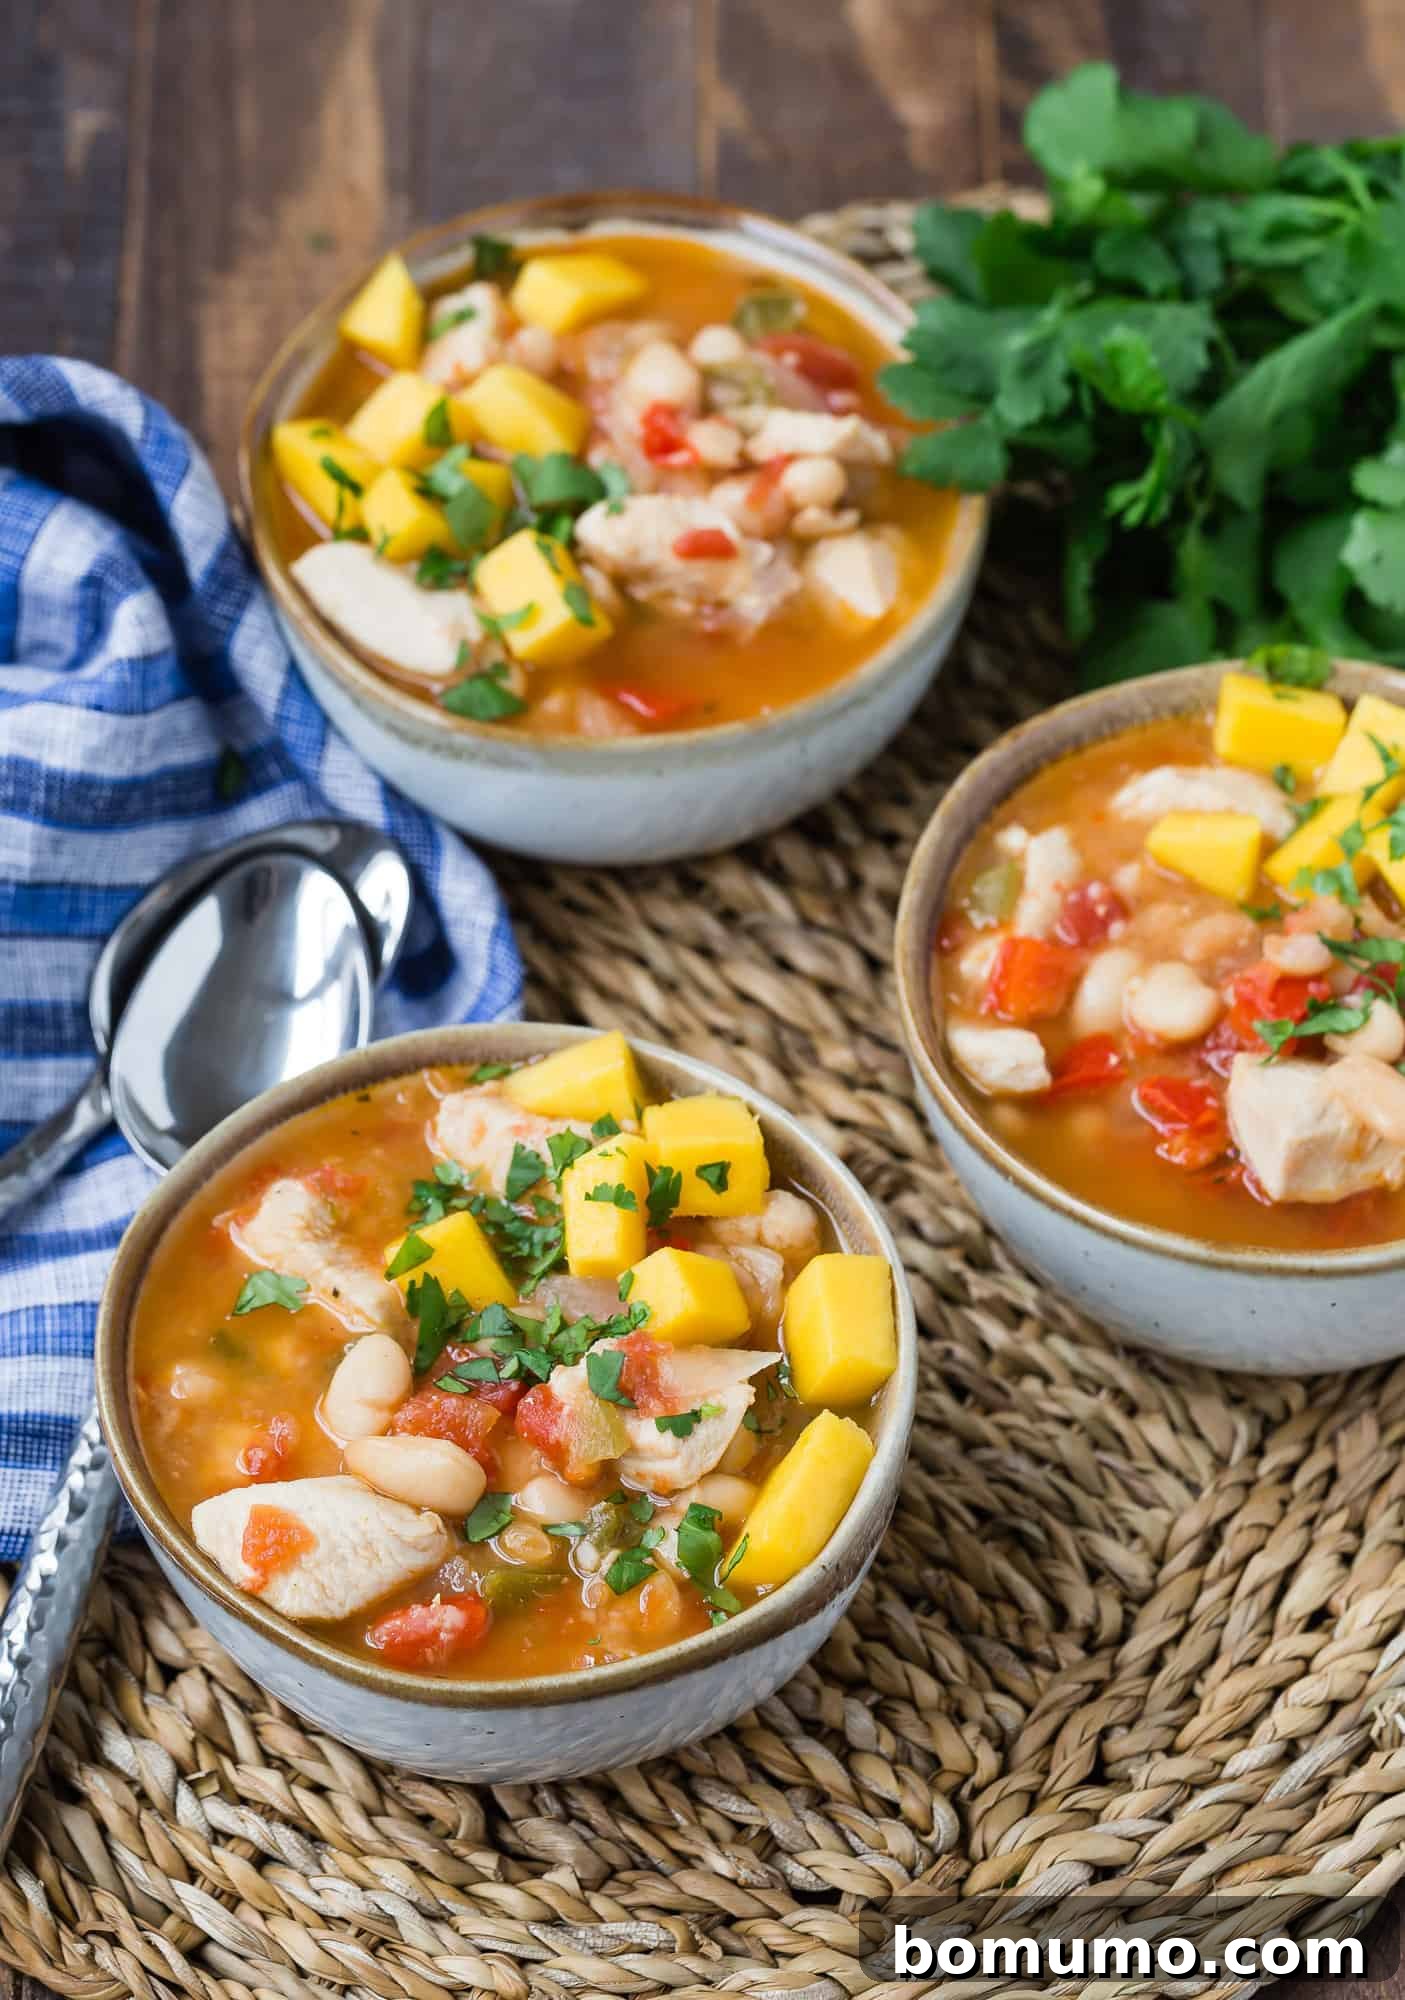
What truly distinguishes this chili is its extraordinary blend of savory and spicy elements, all centered around authentic Caribbean jerk flavors. We begin with tender, bite-sized pieces of boneless, skinless chicken breasts, complemented by creamy cannellini beans, sweet chopped onions, and a colorful mix of green and red bell peppers, all bathed in rich canned diced tomatoes. While these components are familiar to chili lovers, the transformative magic occurs with the addition of aromatic jerk seasoning and a bold dash of hot pepper sauce. This combination infuses the chili with an unmistakable island kick. To elevate the experience, we recommend a garnish of fresh, juicy mango and vibrant cilantro, offering a sweet and herbaceous contrast that makes this Jerk Chicken Chili a refreshing and exciting departure from the ordinary.
Essential Ingredient Notes for Your Jerk Chicken Chili
To ensure your Jerk Chicken Chili is as delicious and authentic as possible, here’s a closer look at the key ingredients and some helpful tips for each:
- Boneless Skinless Chicken Breasts: You’ll need approximately 1.5 to 2 pounds of chicken, allowing you to tailor the meatiness of your chili. For an equally delicious alternative, boneless skinless chicken thighs can be used, offering a slightly richer flavor. Remember to cut the chicken into uniform, bite-sized pieces for consistent cooking. Pro Tip: Chicken that is slightly firm from being very cold (or even partially frozen) is much easier to slice neatly and safely.
- Onion: A medium-sized sweet onion is our preference for its delicate sweetness that complements the chili’s spice without overpowering it. However, common yellow cooking onions or even a red onion would work perfectly well if that’s what you have on hand, each adding its own subtle nuance to the flavor base.
- Bell Peppers: Feel free to use any color bell pepper you prefer – red, green, yellow, or orange. Combining a couple of different colors not only adds a beautiful visual appeal to the chili but also contributes a broader spectrum of mild, sweet flavors.
- Canned Tomatoes: Petite diced tomatoes are an excellent choice as their smaller cut integrates smoothly into the chili, ensuring a consistent texture. Whenever possible, opt for “no-salt-added” varieties. This gives you greater control over the overall sodium content and allows you to season the chili precisely to your taste.
- Jerk Seasoning: This is the crucial ingredient that gives our chili its unique Caribbean character. Jerk seasoning is a complex blend of various herbs and spices, readily available in the spice aisle of most supermarkets. It’s important to note that the heat level can vary significantly between different brands, with some incorporating fiery Scotch bonnet peppers. It’s best to start with a smaller amount than suggested and gradually add more to taste once you’ve gauged the spice intensity of your chosen blend. For more details on this fascinating spice, be sure to check out our FAQ section.
- Cannellini Beans: You’ll need two cans of these creamy white kidney beans. Cannellini beans lend a wonderful, soft texture to the chili. Should you prefer, other white bean varieties like great northern or navy beans can be substituted, or even black beans for a different earthy depth. Always remember to rinse and thoroughly drain canned beans before adding them to your dish to remove excess sodium and improve digestibility.
- Chicken Stock or Broth: To maintain control over the saltiness, opt for reduced-sodium or no-salt-added chicken stock or broth. A standard carton or a couple of cans will provide the perfect liquid base for our chili.
- Hot Pepper Sauce: This ingredient is your personal dial for heat! There’s an incredible variety of hot pepper sauces available, from mild to extremely pungent. Use your favorite brand, whether it’s a classic, a local artisanal sauce, or a specific Caribbean-style hot sauce. Begin with a modest dash and increase gradually until the chili reaches your desired level of spicy warmth.
- Fresh Cilantro and Diced Mango: While technically optional, these garnishes are highly recommended for an authentic and refreshing finish. The fresh cilantro adds a bright, herbaceous note that cuts through the richness, while the sweet, succulent diced mango provides a delightful tropical contrast to the chili’s savory heat, elevating every spoonful.
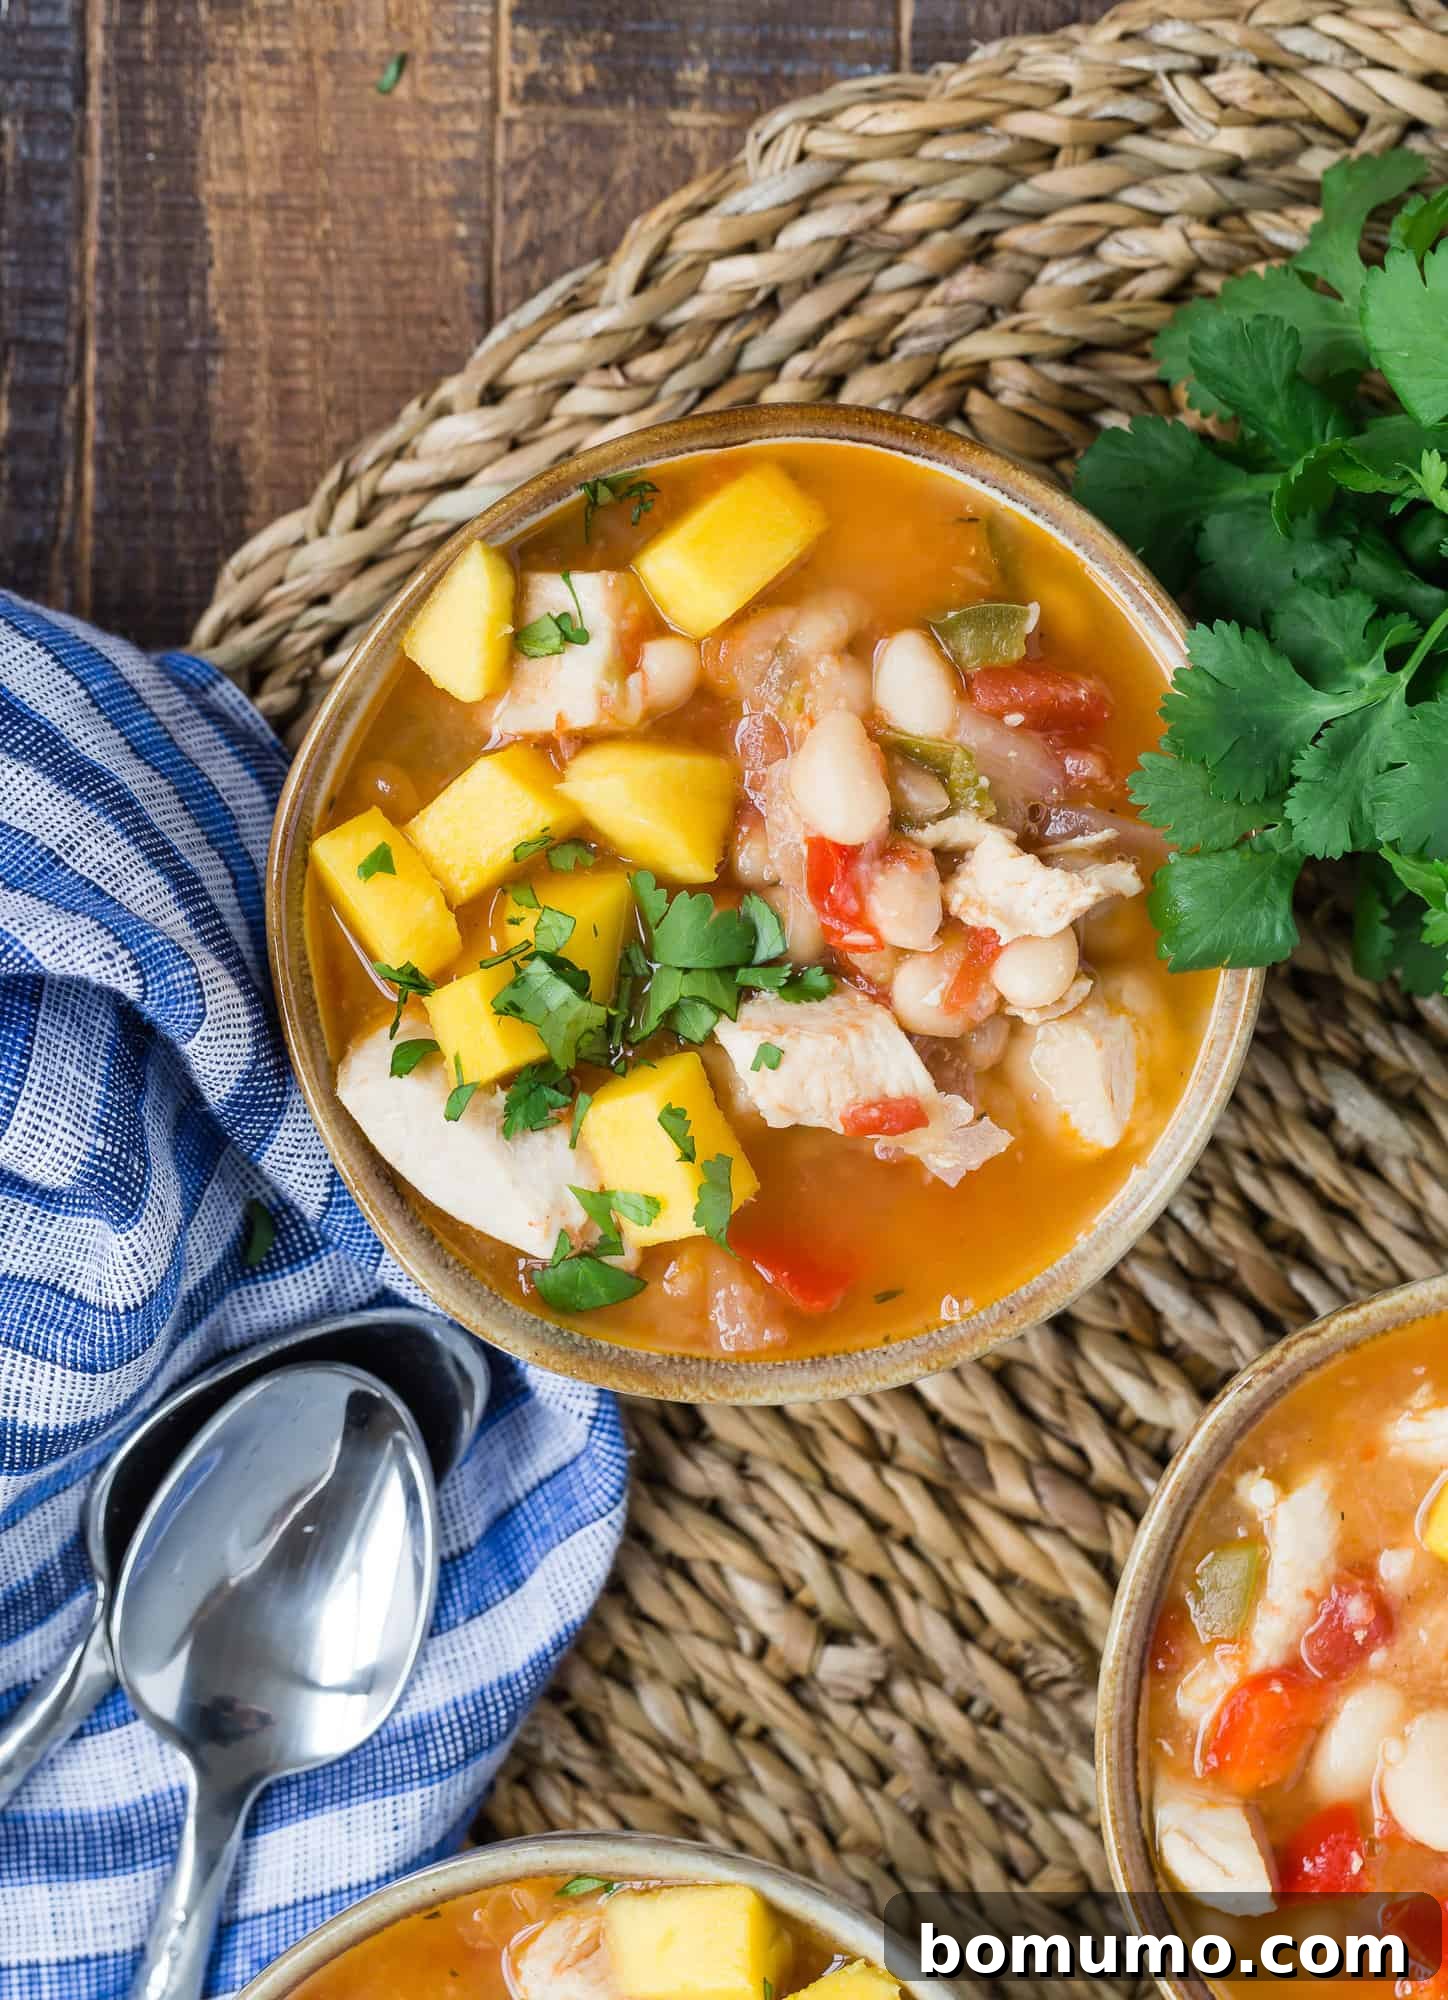
How to Craft Your Delicious Jerk Chicken Chili: Step-by-Step Instructions
Making this flavorful Jerk Chicken Chili is surprisingly easy, following a similar comforting process to most traditional chilis. You’ll only need one significant piece of cookware: a large pot or a sturdy Dutch oven.
-
1. Brown the Chicken: Begin by heating 1 tablespoon of olive oil in your large pot or Dutch oven over medium-high heat. Once the oil is shimmering, add the bite-sized chicken pieces, lightly seasoned with a pinch of salt. Cook the chicken, stirring occasionally, for approximately 5 minutes, until it’s beautifully browned on all sides. This initial browning step is crucial for developing deep flavor in your chili.
-
2. Sauté Aromatics: Next, introduce the chopped onion, red bell pepper, and green bell pepper to the pot. Continue to cook, stirring intermittently, for another 5 minutes or until the onions become translucent and the bell peppers begin to soften. Your kitchen will already be filling with wonderful aromas at this stage!
-
3. Combine and Bring to a Boil: Now, add the remaining core ingredients to the pot: the can of undrained petite diced tomatoes, 2 teaspoons of jerk seasoning, 2 cans of rinsed and drained cannellini beans, 3 cups of reduced-sodium chicken stock or broth, and a dash of your preferred hot pepper sauce. Stir all these ingredients thoroughly to ensure they are well combined. Increase the heat to high and bring the entire mixture to a rolling boil.
-
4. Simmer and Develop Flavors: Once boiling, reduce the heat to a gentle simmer. Cover the pot partially, and allow the chili to cook, stirring occasionally, for about 30 minutes. This simmering period is essential for all the flavors to fully develop and meld together, creating a harmonious and deeply satisfying chili. The longer it simmers, the more profound the flavors become, so don’t fret if it cooks for a bit longer.
-
5. Final Seasoning and Serving: Before serving, taste the chili and adjust the seasoning as needed. You might want to add a bit more salt, extra jerk seasoning, or another dash of hot sauce to perfectly match your desired flavor and spice level. For those who love an extra kick, consider placing a bottle of hot sauce on the table for individual customization. Serve this delightful Jerk Chicken Chili warm, topped generously with fresh diced mango and chopped cilantro. These garnishes are optional but highly recommended as they provide a refreshing counterpoint to the chili’s robust flavors. This chili pairs wonderfully with warm homemade Dutch oven bread, light and airy flatbread, or a hearty slice of whole wheat cornbread. Enjoy your homemade taste of the islands!
FAQs: Frequently Asked Questions About Jerk Chicken Chili
FAQs: Frequently Asked Questions About Jerk Chicken Chili
Jerk seasoning is a quintessential Caribbean spice blend, renowned for its bold, aromatic, and often fiery character. While recipes vary, common ingredients typically include allspice, thyme, cinnamon, nutmeg, garlic, ginger, and frequently, potent Scotch bonnet peppers for that signature heat. The commercial blend I often use contains sugar, a mix of spices (like red pepper, thyme, and allspice), salt, onion, and turmeric. Absolutely, you can craft your own custom jerk seasoning blend at home! This allows you to perfectly tailor the flavor and heat to your personal preference. I’m particularly keen to try my friend Jo’s fantastic homemade jerk seasoning recipe from her blog, JoCooks. Making your own is a rewarding experience that ensures maximum freshness and customization.
The intriguing name “jerk” has deep historical roots intertwined with ancient Caribbean cooking techniques. According to Britannica, the word “jerk” is widely believed to be a derivative of charqui, a Spanish term that refers to strips of dried meat, which also gave us the English word “jerky.” The traditional method of “jerking” meat is credited to the Taíno people, the indigenous inhabitants of the Caribbean. They developed a unique culinary process of coating meats with a vibrant blend of spices and then slowly cooking them over a smoky fire, often in underground pits. This ingenious method served to both preserve the meat and infuse it with distinct, mouthwatering flavors. Over centuries, this practice evolved into the iconic jerk cuisine we cherish today.
Yes, absolutely! Jerk paste is an excellent alternative to dry seasoning, often providing an even more concentrated and robust flavor profile. If you decide to use jerk paste, you might need to adjust the quantity slightly, as pastes can vary in intensity. Start with a conservative amount (perhaps a bit less than the recommended dry seasoning) and taste as you go, adding more until you achieve your desired level of authentic jerk flavor and spice. Keep in mind that jerk pastes typically contain more moisture, so you might consider slightly reducing the amount of chicken stock if you prefer a thicker chili consistency.
Exciting Recipe Variations for Your Jerk Chicken Chili
The beauty of a chili recipe lies in its adaptability! Feel empowered to experiment with these delicious variations to perfectly customize your Jerk Chicken Chili to your taste preferences or to utilize ingredients you already have:
- Explore Different Chicken Options: While boneless, skinless chicken breasts are a lean and tender choice, boneless, skinless chicken thighs offer a richer flavor and even more succulent texture, making them an excellent substitute if you prefer dark meat. For those truly pressed for time, incorporate already cooked chicken, such as shredded rotisserie chicken or Instant Pot shredded chicken. Simply add the pre-cooked chicken to the chili along with the beans, skipping the initial browning step.
- Adjust the Heat Level to Your Liking: This chili recipe is wonderfully versatile when it comes to spice. If you crave a fiery kick, feel free to increase the amount of jerk seasoning and hot pepper sauce. For a milder, more family-friendly version, start with smaller quantities of both and taste test before adding more. You can always place a bottle of hot sauce on the table for guests to customize their individual bowls.
- Enhance with Fresh Garlic: For an added layer of pungent, aromatic flavor, mince 2-3 cloves of fresh garlic and sauté them right along with the chopped onions and bell peppers. Garlic beautifully complements the savory and spicy notes of the chili.
- Bell Pepper Diversity: Don’t worry if you only have one color of bell pepper available. While a mix of red, green, and other vibrant colors adds visual appeal, using a single color of bell pepper will absolutely not compromise the delicious flavor profile of your chili. Use what’s convenient!
- Experiment with Different Bean Varieties: Cannellini beans provide a lovely creamy texture, but this chili is equally delicious with other types of beans. Pinto beans, black beans, or navy beans are all excellent choices that will readily absorb the rich Caribbean flavors, offering a slightly different texture and earthy note.
- Craving More Caribbean Flavors? If you thoroughly enjoyed this island-inspired dish, you might also fall in love with my Jamaican Rasta Pasta. It’s a vibrant, incredibly easy one-pot pasta recipe that bursts with tropical flavors and is sure to become another favorite in your culinary repertoire!
Storage & Reheating Tips for Convenience
Storage & Reheating Tips for Convenience
This Jerk Chicken Chili is not only fantastic when freshly made, but it’s also an excellent candidate for meal prep and freezing, ensuring you have delicious, comforting meals ready to go!
To Freeze: This chili is perfectly suited for making ahead. Consider doubling the batch so you have extra for future dinners. Allow the chili to cool completely to room temperature before transferring it into airtight, freezer-safe storage containers or heavy-duty freezer bags. Properly stored, it will maintain its quality and flavor for up to 3 months. For the best results and texture, always thaw frozen chili overnight in the refrigerator before reheating.
Storing Leftovers: Any leftover chili should be cooled completely before being placed into an airtight container or a covered dish. Stored correctly, your delicious leftovers will remain fresh and flavorful in the refrigerator for three to four days, making them ideal for quick lunches or easy weeknight dinners.
To Reheat: For reheating a larger quantity, gently warm the chili in a saucepan over low to medium heat on the stovetop, stirring occasionally, until it is thoroughly heated through. Individual portions can be easily reheated in the microwave. Simply transfer a serving to a microwave-safe bowl, cover it (to prevent any splatters!), and reheat on medium power, stirring every minute or so, until it’s steaming hot and ready to enjoy. Be careful not to overheat to preserve the chicken’s tender texture.

Unlock Your Free Weekly Meal Plan!
Are you seeking inspiration for your weekly dinners and a way to simplify your meal prep? Discover our meticulously curated weekly meal plans, designed to bring delicious, wholesome, and exciting meals to your table every single night!
Intrigued by a structured weekly meal plan that thoughtfully incorporates delightful recipes just like this Jerk Chicken Chili? We invite you to explore Meal Plan #82. Each plan features a wholesome and exciting recipe for every weekday, accompanied by a categorized grocery list that makes your shopping trip incredibly efficient and stress-free. We are committed to providing fresh, new meal plans every single week, ensuring there’s always something new and delicious to inspire your cooking adventures.
Discover More Delicious Chili Recipes
Hearty Vegetarian Chili – Stovetop or Slow Cooker
Indulgent Creamy Queso Chili
Classic White Chicken Chili (Stovetop Method)
The Best Slow Cooker Texas Chili – a Crockpot Favorite!
Authentic One-Pan Jerk Chicken Chili
Rachel Gurk
10 minutes
40 minutes
50 minutes
6 servings

Print Recipe
Ingredients for 6 Servings
- 1 tablespoon olive oil
- 1 ½ to 2 pounds boneless, skinless chicken breasts, cut into bite-sized pieces
- 1 medium sweet onion, chopped (approximately 1 cup)
- 1 red bell pepper, chopped (approximately 1 cup)
- 1 green bell pepper, chopped (approximately 1 cup)
- 1 can (14.5 oz.) petite diced tomatoes, undrained
- 2 teaspoons jerk seasoning
- 2 cans (15.5 oz.) cannellini beans, rinsed and drained
- 3 cups reduced sodium chicken stock or broth
- Dash of hot pepper sauce, or more to taste
- Fresh cilantro and/or diced mango for garnish (optional, but highly recommended)
Instructions
-
1. Brown the Chicken: Heat 1 tablespoon of olive oil in a large pot or Dutch oven over medium-high heat. Add the boneless, skinless chicken breasts (cut into bite-sized pieces), sprinkle lightly with salt, and cook for about 5 minutes, stirring occasionally, until browned on all sides. This initial browning step is crucial for developing deep flavor in your chili.
-
2. Sauté Aromatics: Next, introduce the chopped medium sweet onion, red bell pepper, and green bell pepper to the pot. Continue to cook for another 5 minutes, stirring occasionally, until the onions become translucent and the bell peppers begin to soften. Your kitchen will already be filling with wonderful aromas at this stage!
-
3. Combine and Bring to a Boil: Now, add the remaining core ingredients to the pot: the can of undrained petite diced tomatoes, 2 teaspoons of jerk seasoning, 2 cans of rinsed and drained cannellini beans, 3 cups of reduced-sodium chicken stock or broth, and a dash of your preferred hot pepper sauce. Stir all these ingredients thoroughly to ensure they are well combined. Increase the heat to high and bring the entire mixture to a rolling boil.
-
4. Simmer and Develop Flavors: Once boiling, reduce the heat to a low simmer. Cover the pot partially, and allow the chili to cook, stirring occasionally, for about 30 minutes. This simmering period is essential for all the flavors to fully develop and meld together, creating a harmonious and deeply satisfying chili. The longer it simmers, the more profound the flavors become, so don’t fret if it cooks for a bit longer.
-
5. Final Seasoning and Serving: Before serving, taste the chili and adjust seasonings as needed. You might want to add a bit more salt, extra jerk seasoning, or another dash of hot sauce to perfectly match your desired flavor and spice level. For those who love an extra kick, consider placing a bottle of hot sauce on the table for individual customization. Ladle the hot chili into bowls and, if desired, garnish generously with fresh diced mango and/or chopped cilantro immediately before serving. Enjoy your homemade taste of the Caribbean!
Notes from the Kitchen
- Storage and Reheating: Ensure the chili is completely cooled before storing. Leftovers can be kept in an airtight container in the refrigerator for 3-4 days. For longer storage, freeze chili in freezer-safe containers for up to 3 months. Thaw overnight in the refrigerator. Reheat gently on the stovetop over low-medium heat or in the microwave for individual portions, ensuring it’s thoroughly warmed through.
- Chicken Options: For a richer, darker meat flavor, feel free to use boneless, skinless chicken thighs instead of breasts. If you’re short on time, pre-cooked chicken, such as rotisserie chicken or Instant Pot shredded chicken, can be added to the chili along with the beans, reducing the initial browning step.
- Customizing Spice Level: The beauty of this chili lies in its adaptability. Increase the amount of jerk seasoning and hot pepper sauce to turn up the heat, or reduce them for a milder, family-friendly version. Always taste and adjust to your preference.
- Bean Choices: While cannellini beans offer a creamy touch, feel free to substitute with other types of beans. Pinto beans, black beans, or navy beans would all work wonderfully and complement the chili’s robust flavors. Just remember to rinse and drain them thoroughly.
- Serving Suggestions: This chili is hearty enough on its own, but it pairs beautifully with sides like warm cornbread (try our whole wheat version!), crusty bread for dipping, or even served over rice for a more substantial meal.
Nutritional Information (per serving)
Carbohydrates: 42g,
Protein: 71g,
Fat: 11g,
Saturated Fat: 2g,
Polyunsaturated Fat: 2g,
Monounsaturated Fat: 4g,
Trans Fat: 1g,
Cholesterol: 169mg,
Sodium: 453mg,
Potassium: 2062mg,
Fiber: 10g,
Sugar: 6g,
Vitamin A: 1119IU,
Vitamin C: 52mg,
Calcium: 158mg,
Iron: 7mg
Disclaimer: Nutritional information is automatically calculated and should be considered an approximation. Actual values may vary based on specific ingredient brands and preparation methods.
Enjoyed This Recipe?
We’d love to hear your thoughts! Share a comment and consider leaving a rating below.