
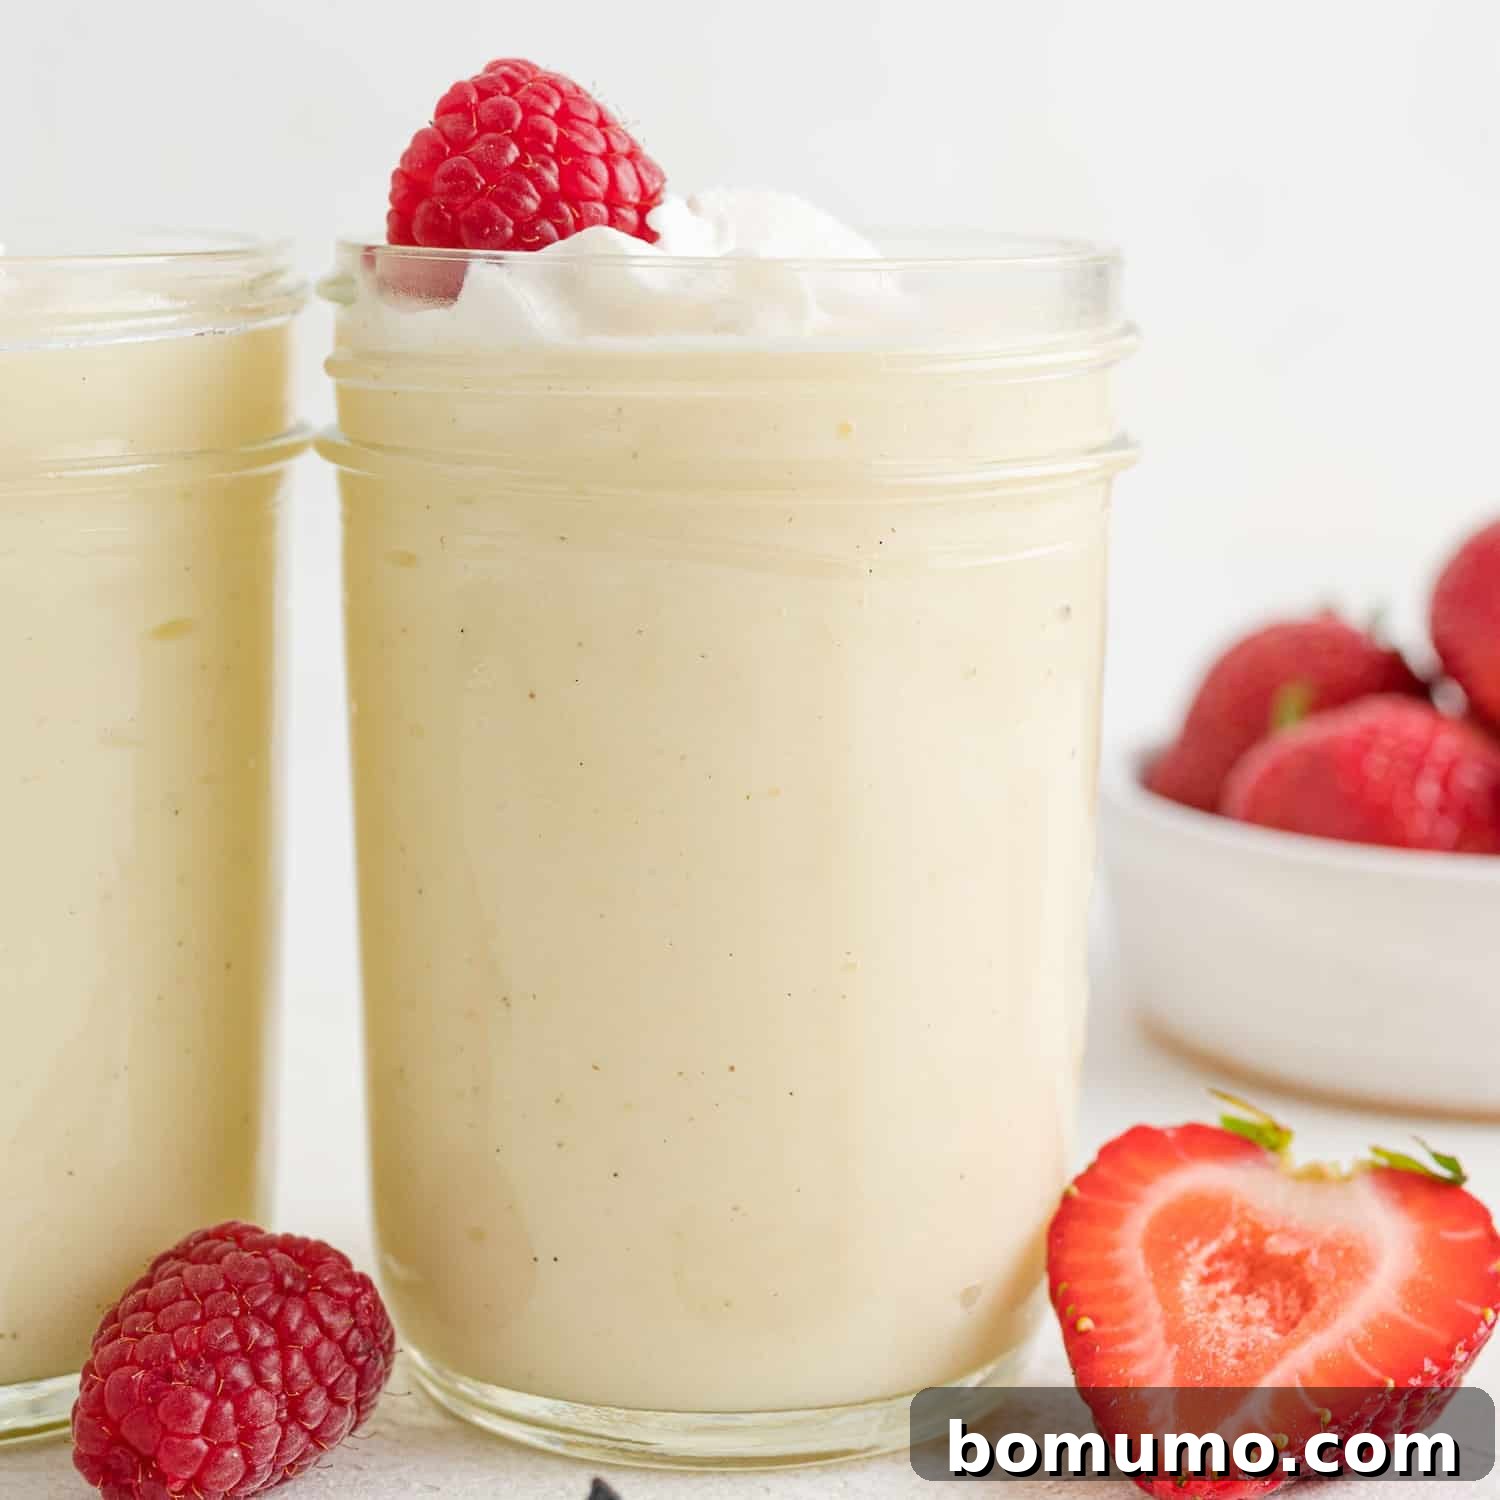
Experience the unparalleled delight of homemade vanilla pudding, a truly classic dessert that surpasses any store-bought mix or pre-made option. Crafted with simple, wholesome ingredients, this pudding delivers a creamy, rich, and utterly satisfying flavor that evokes warmth and nostalgia with every spoonful. Forget complicated recipes; this easy-to-follow guide will help you create a comforting treat in under 20 minutes.
Recipe Overview
Why you’ll love it: Homemade vanilla pudding is a simple yet elegant dessert, incredibly versatile, and perfect for any occasion.
How long it takes: Less than 20 minutes from start to finish.
Equipment you’ll need: A single saucepan.
Servings: Yields 4 delightful servings.
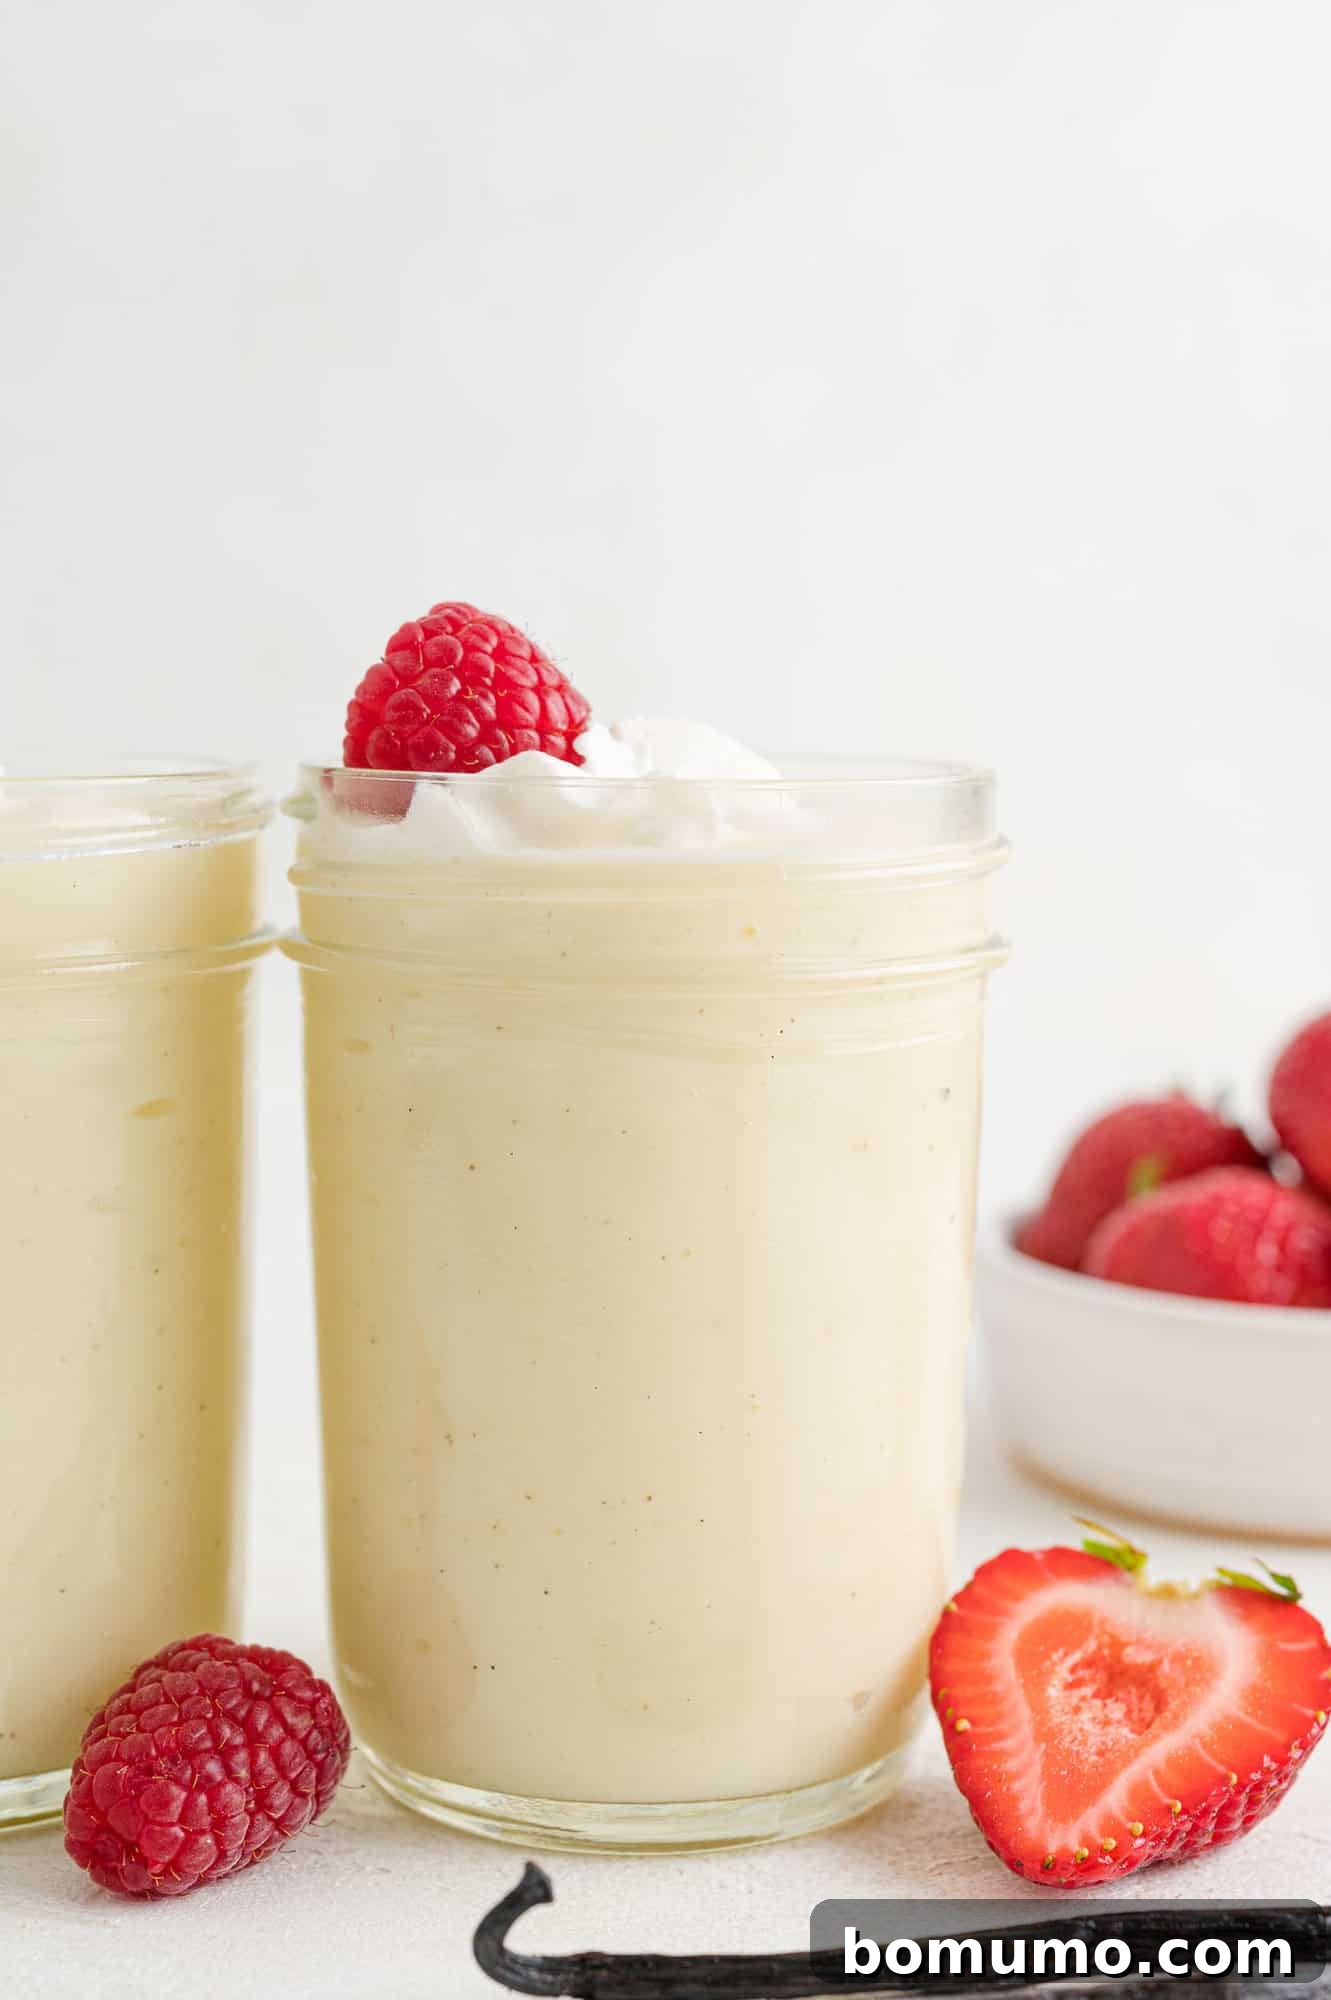
There’s an undeniable magic to homemade treats, and vanilla pudding is no exception. It offers a depth of flavor and a silky-smooth texture that simply can’t be replicated by overly processed commercial products. Freshly made, especially when served slightly warm, homemade vanilla pudding is the epitome of comfort food. For many, it’s a sweet echo of childhood, a taste of simpler times and cherished family recipes.
I still recall my mother’s kitchen, a vibrant hub of homemade goodness. From growing alfalfa sprouts under the sink to making her own yogurt, canning mountains of homemade applesauce each autumn, and preserving an array of jams and pickles, her dedication to natural, wholesome food was inspiring. She’d also meticulously freeze Michigan sweet corn, ensuring we enjoyed its sweetness long after summer faded. Life seemed to unfold at a gentler pace back then, allowing for the unhurried joy of crafting food from scratch.
I vividly remember sitting at the kitchen table, helping my mom press cooked apples through a large conical sieve, a “chinois,” using a special wooden tool. The rhythmic motion, the comforting aromas that permeated the kitchen, and the sight of bright pink applesauce oozing through the holes felt like a cherished ritual. It’s a stark contrast to today’s fast-paced world, where convenience often trumps tradition. (Though I admit, making Instant Pot applesauce is undeniably delicious and efficient now!)
This homemade vanilla pudding, however, always brings me back to those moments with my mom. I like to think she savored the peaceful interlude of standing by the stove, gently stirring the pudding, a quiet ten-minute escape from the day’s demands. Even now, she occasionally whips up a batch for her grandkids – and, of course, for me – whenever the mood for something truly comforting strikes.
In our modern world, we often rush through life, expecting instant gratification. We become impatient when an online order takes more than a day to arrive or when traffic slows us down. Perhaps it’s a sign that we all need to take a collective deep breath, slow down, and savor the present moment. And what better way to embrace a little tranquility than by making a batch of rich, creamy homemade vanilla pudding? I believe it’s just what we need.
About This Simple Vanilla Pudding Recipe
The beauty of this vanilla pudding recipe lies in its elegant simplicity. You’ll likely find all the necessary ingredients already stocked in your pantry, making it an accessible and spontaneous treat. Best of all, it comes together in approximately 15 minutes of active cooking time, proving that extraordinary flavor doesn’t require hours in the kitchen.
You might wonder, why bother making pudding from scratch when inexpensive, instant mixes are readily available? The answer lies in the ingredients and the incomparable taste. Let’s consider a typical instant vanilla pudding mix: it often contains a list of ingredients like sugar, modified cornstarch, sodium phosphate, tetrasodium pyrophosphate, salt, mono- and diglycerides, artificial colors (such as Yellow 5 and Yellow 6), and natural and artificial flavors. And even then, you still need to add your own milk.
Contrast that with our homemade version, where you simply combine a handful of familiar, wholesome ingredients: sugar, flour, a fresh egg, pure vanilla extract, a touch of butter, and milk. There are no artificial colors, no unpronounceable chemicals, just pure, natural goodness you can feel confident serving to your family. This is a cooked pudding, which means a few minutes of gentle stirring by the stove, a small investment of your time that yields immense rewards in flavor and texture.
Ultimately, the most compelling reason to choose homemade vanilla pudding is its utterly delicious outcome. It’s gloriously creamy, wonderfully smooth, and deeply satisfying – a true testament to the power of simple, quality ingredients transformed with a little love and effort.
Essential Ingredients for Perfect Vanilla Pudding
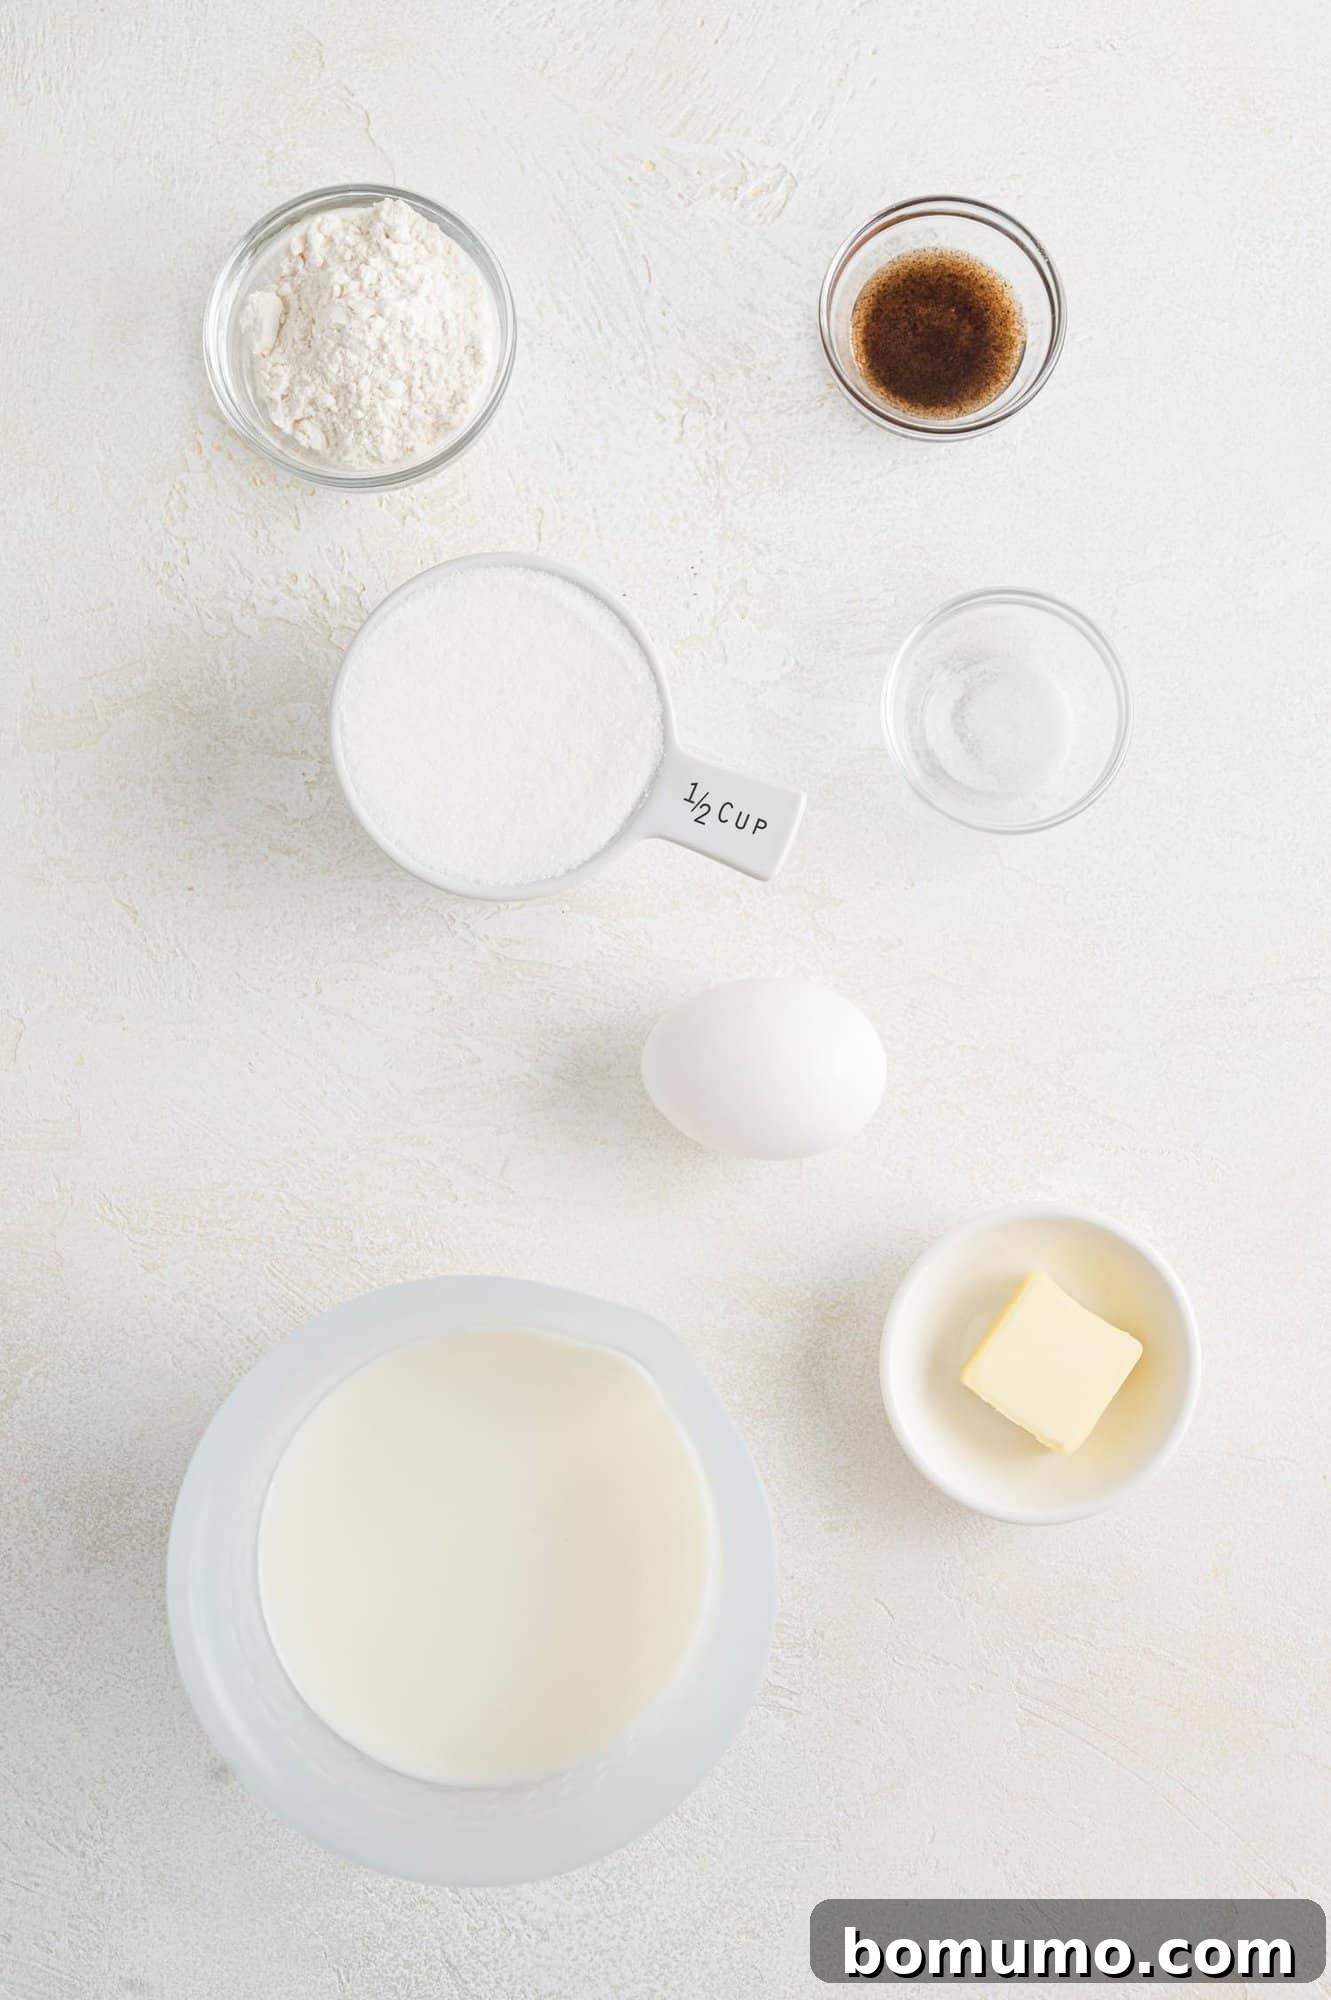
Crafting the perfect homemade vanilla pudding starts with selecting quality ingredients. Here’s a closer look at what you’ll need and why each component plays a vital role in achieving that coveted creamy texture and rich flavor:
- Milk: For the richest and creamiest pudding, whole milk is highly recommended due to its fat content. If you prefer a slightly lighter version, 2% milk works well, though the pudding might be a touch less decadent. Avoid nonfat milk, as its lack of fat results in a watery consistency and a less luxurious mouthfeel.
- Granulated Sugar: Standard white granulated sugar is all that’s required. This recipe is designed to produce a perfectly balanced sweetness, not overly cloying. With just half a cup of sugar for the entire batch, it allows the natural vanilla flavor to truly shine.
- Egg: A large egg is incorporated to add a lovely richness to the pudding and acts as a crucial thickening agent, contributing to its smooth and cohesive texture.
- All-Purpose Flour: Flour is the primary thickener in this recipe. It helps create a beautifully firm yet silky pudding that holds its shape without being overly stiff. Ensure it’s all-purpose for consistent results.
- Salt: Just a small pinch of salt is essential. It doesn’t make the pudding taste salty, but rather enhances and balances the sweetness of the sugar and the depth of the vanilla, preventing the overall flavor from falling flat.
- Unsalted Butter: A tablespoon of unsalted butter stirred in at the end provides a luxurious, rich flavor and a glossy finish to the pudding. For an even more complex and nutty flavor profile, consider browning the butter first – a simple technique that elevates the pudding to gourmet status. Detailed instructions for this variation can be found below in the recipe notes.
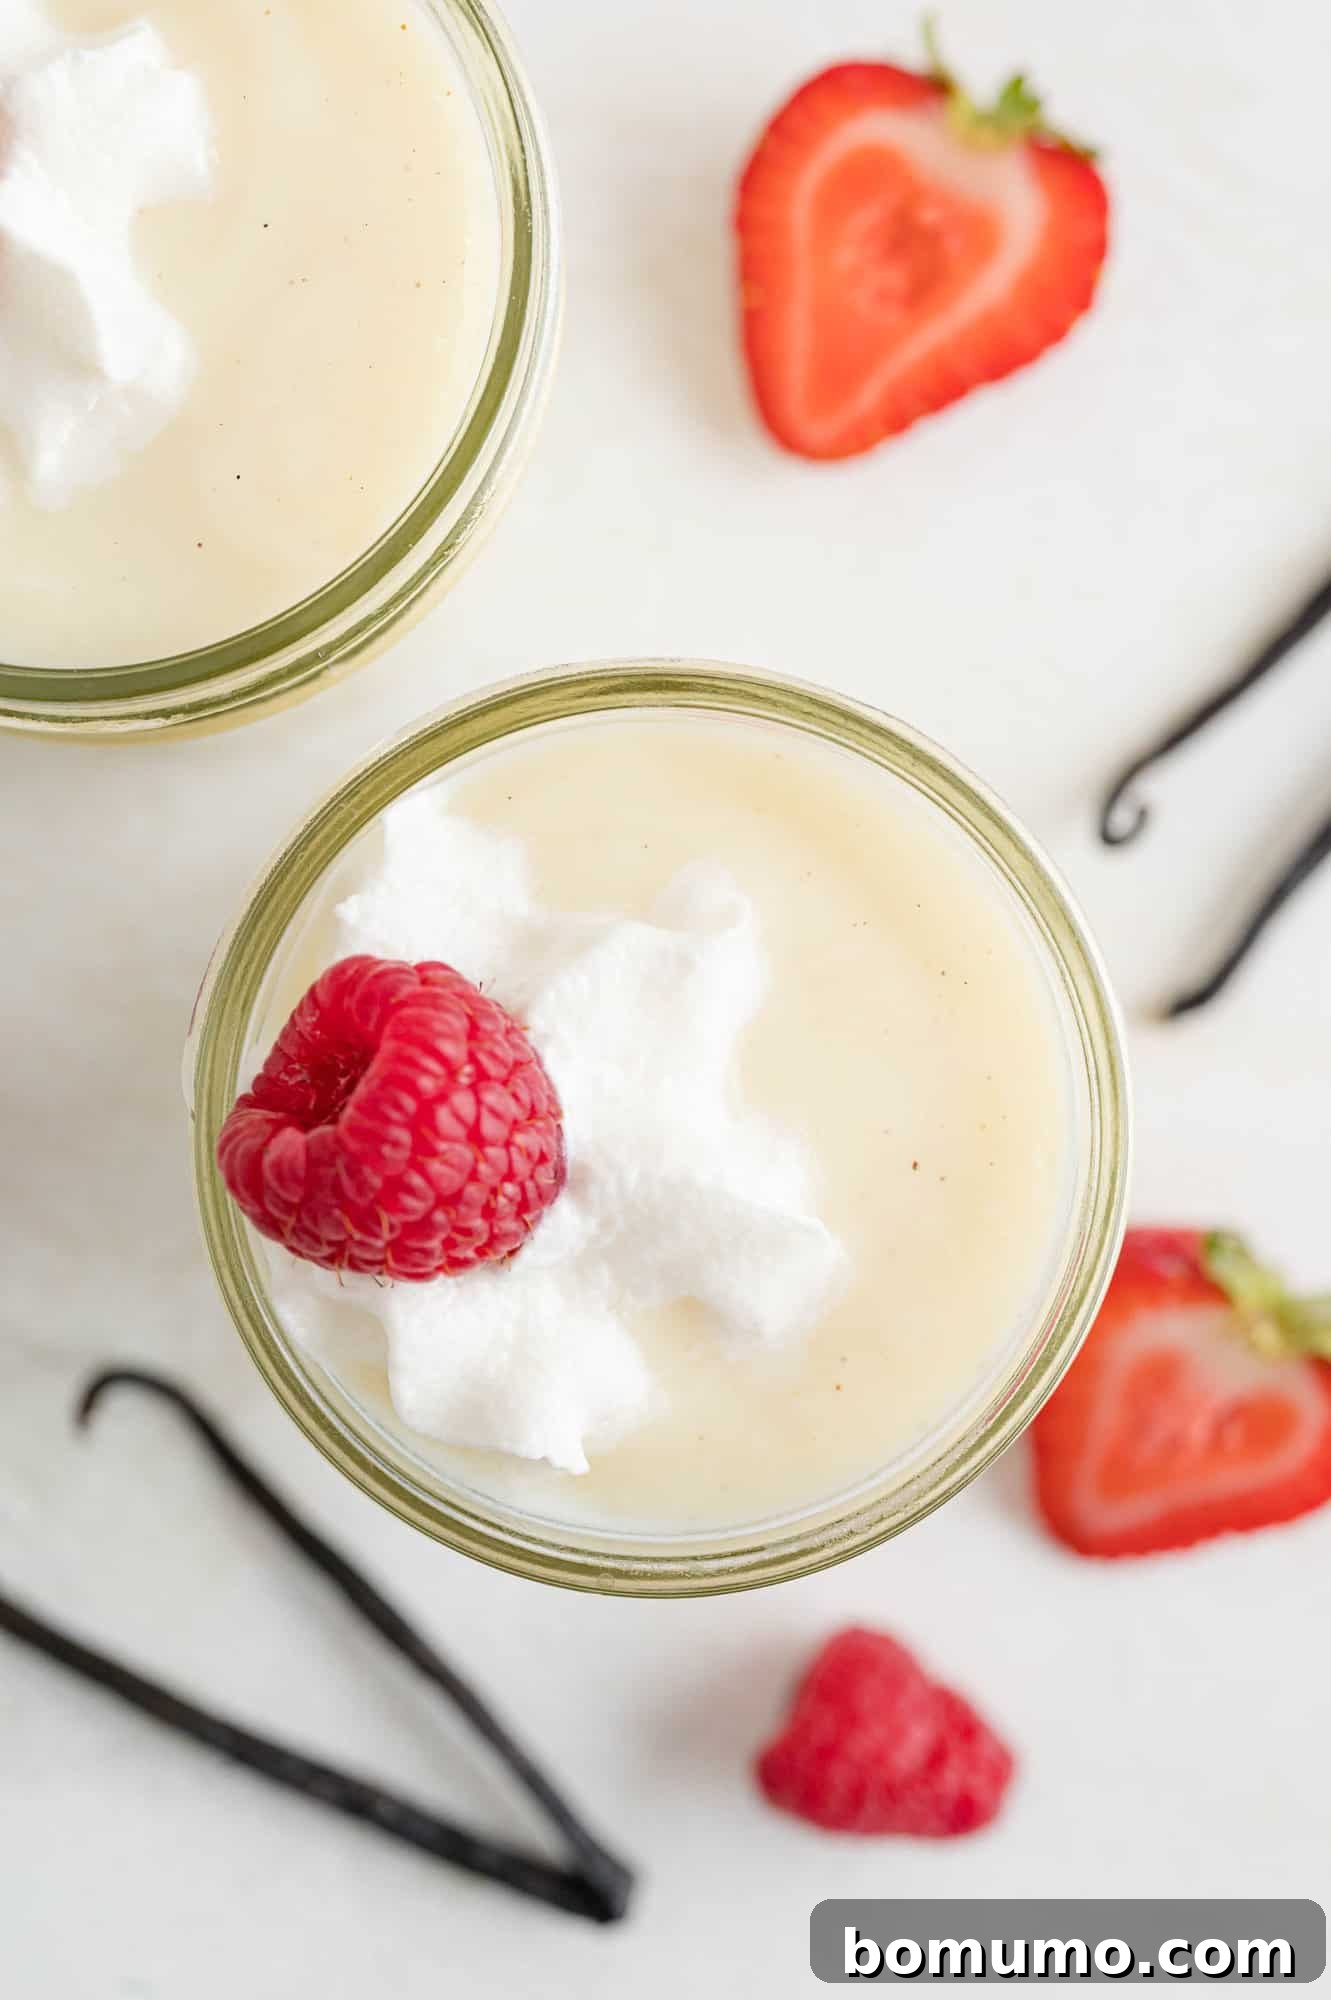
- Vanilla: This is the star ingredient! Whether you opt for high-quality pure vanilla extract or the visually appealing vanilla bean paste, ensure it’s a good product. The quality of your vanilla will directly impact the pudding’s signature aroma and taste.
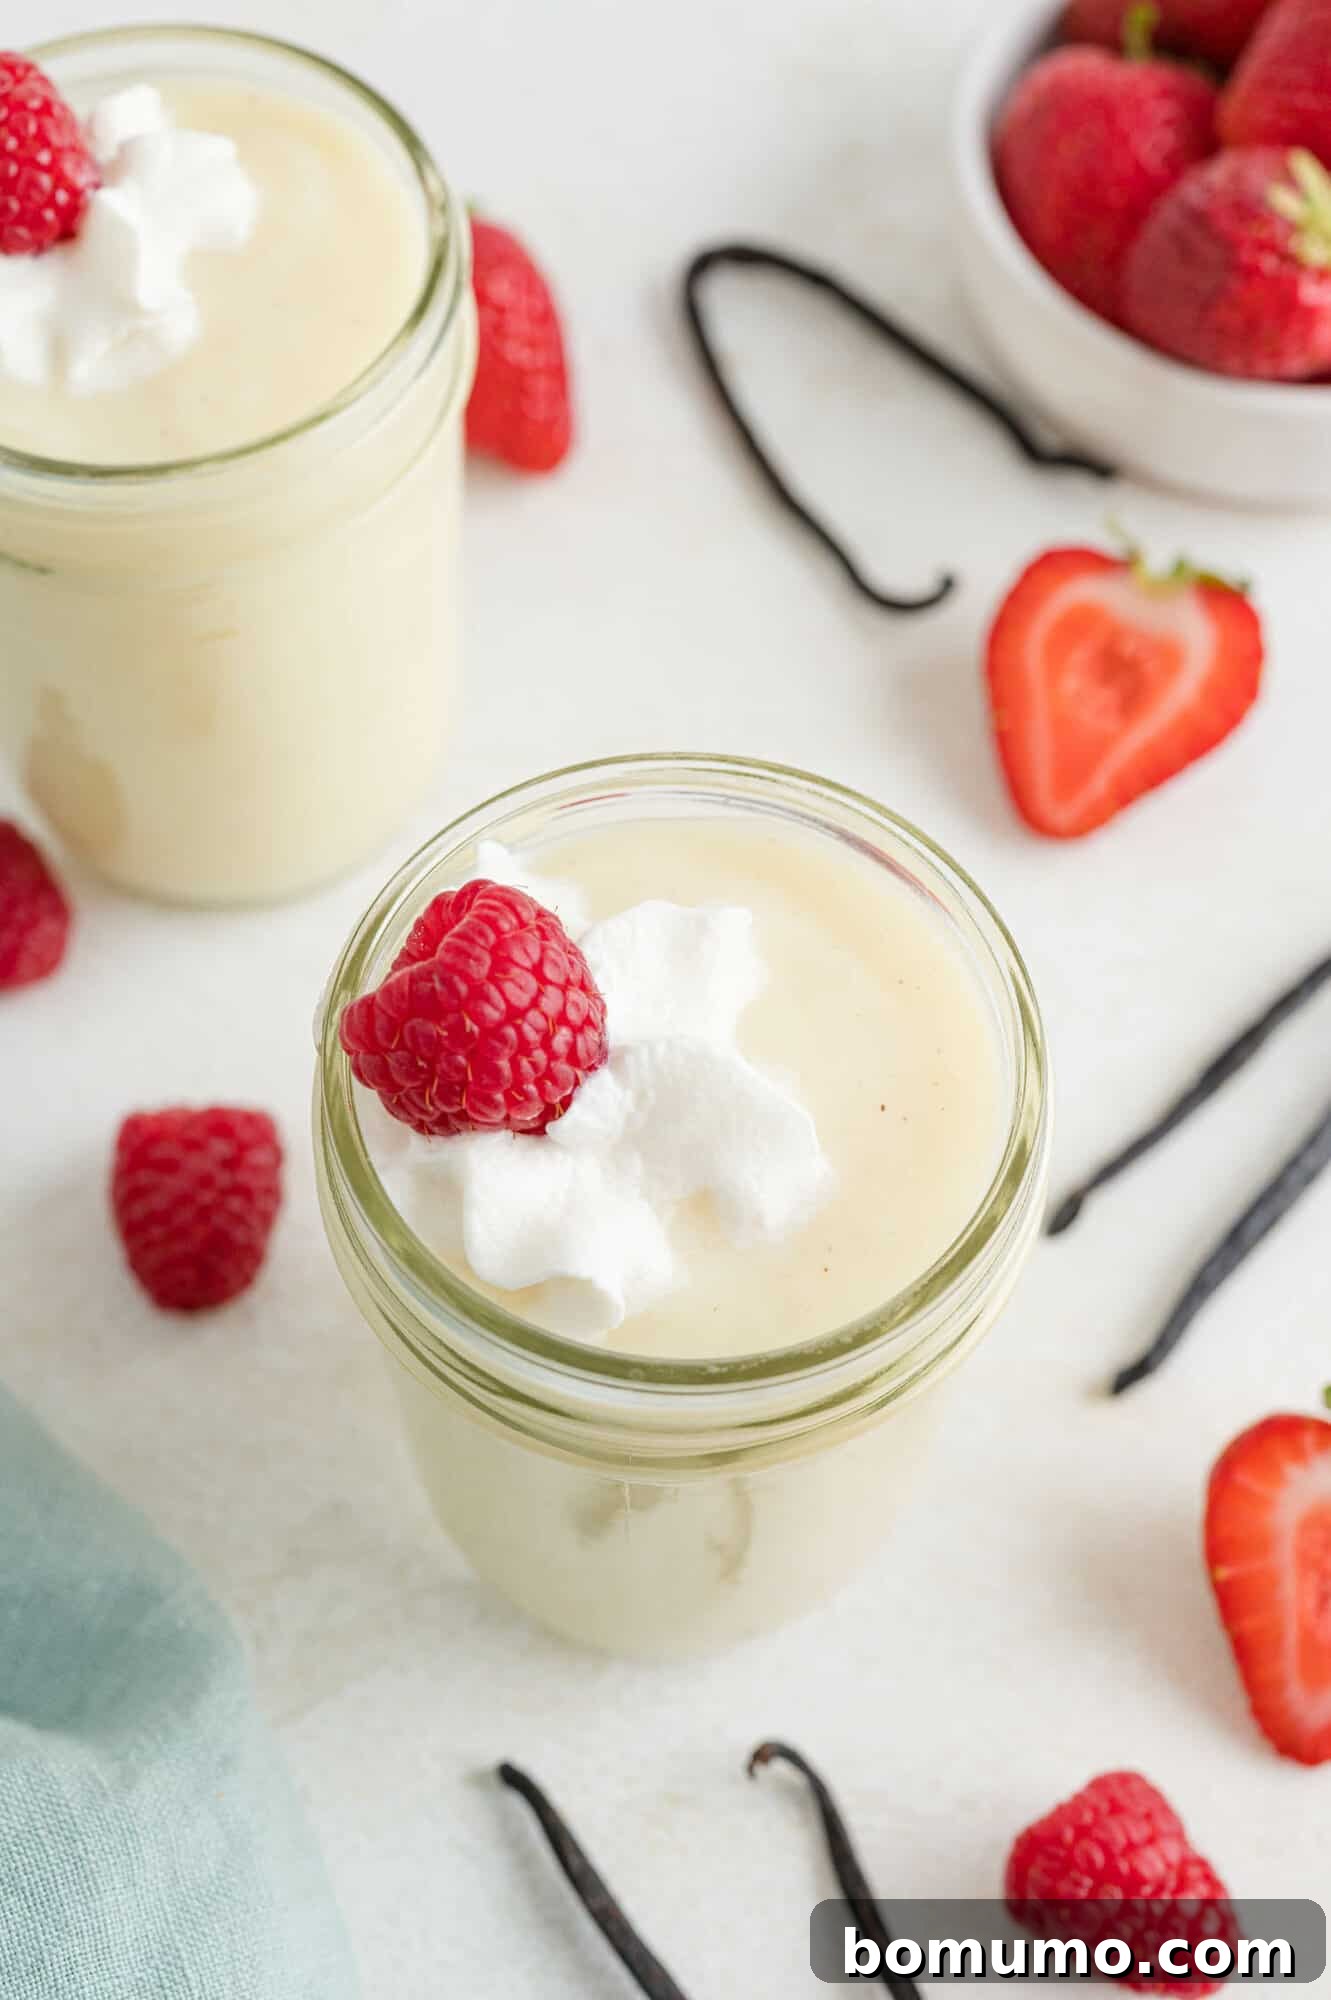
- Optional Garnishes: While this homemade vanilla pudding is absolutely exquisite on its own, garnishes offer a fantastic opportunity for customization and presentation. Get creative with these suggestions:
- Classic Toppings: A dollop of freshly whipped cream, mini chocolate chips, or a sprinkle of graham cracker crumbs.
- Fruit Delights: Fresh berries (strawberries, raspberries, blueberries), sliced bananas, canned peaches, or cherry pie filling.
- Crunchy Additions: Your favorite granola, crushed Oreo cookies, or crunchy nuts. Consider spiced pecans, candied walnuts, roasted pepitas, or simple toasted pine nuts for an extra layer of texture and flavor.
- Syrups & Sauces: A drizzle of caramel, chocolate sauce, or a fruit coulis.
Understanding Vanilla Bean Paste
While my mother often reached for pure vanilla extract, I’ve developed a fondness for vanilla bean paste. The primary advantage of vanilla bean paste is the charming visual appeal it lends to the pudding, with tiny flecks of vanilla bean visibly suspended throughout. Essentially, vanilla bean paste is concentrated vanilla beans suspended in a sweet, syrupy base, often with a touch of alcohol. It’s a fantastic substitute for vanilla extract and can be used in a 1:1 ratio, offering a slightly richer flavor and that coveted speckled appearance.
Crafting Your Homemade Vanilla Pudding: A Step-by-Step Guide
This vanilla pudding recipe distinguishes itself from some classic French-style puddings or custards, which often involve more intricate techniques like tempering egg yolks or meticulous straining for an ultra-smooth consistency. Our approach is a bit more straightforward, offering a delightful “homestyle” pudding that’s incredibly easy to achieve without sacrificing flavor or creaminess. Let’s dive in!
Step 1: Prepare Your Workstation and Initial Mix
First, gather all your ingredients and ensure you have a good-sized saucepan. The right pan is essential; if it’s too small, it will be challenging to stir the pudding consistently without spills as it thickens. A medium-sized saucepan with a heavy bottom works best, as it distributes heat evenly and helps prevent scorching.
In your chosen saucepan, combine the dry ingredients: sugar, all-purpose flour, and a pinch of salt. Crack in the large egg. Using a whisk, briskly beat these ingredients together until the mixture is smooth and well-blended. At this stage, it might look a little grainy, but don’t worry – this is perfectly normal and will resolve itself as you add the milk.
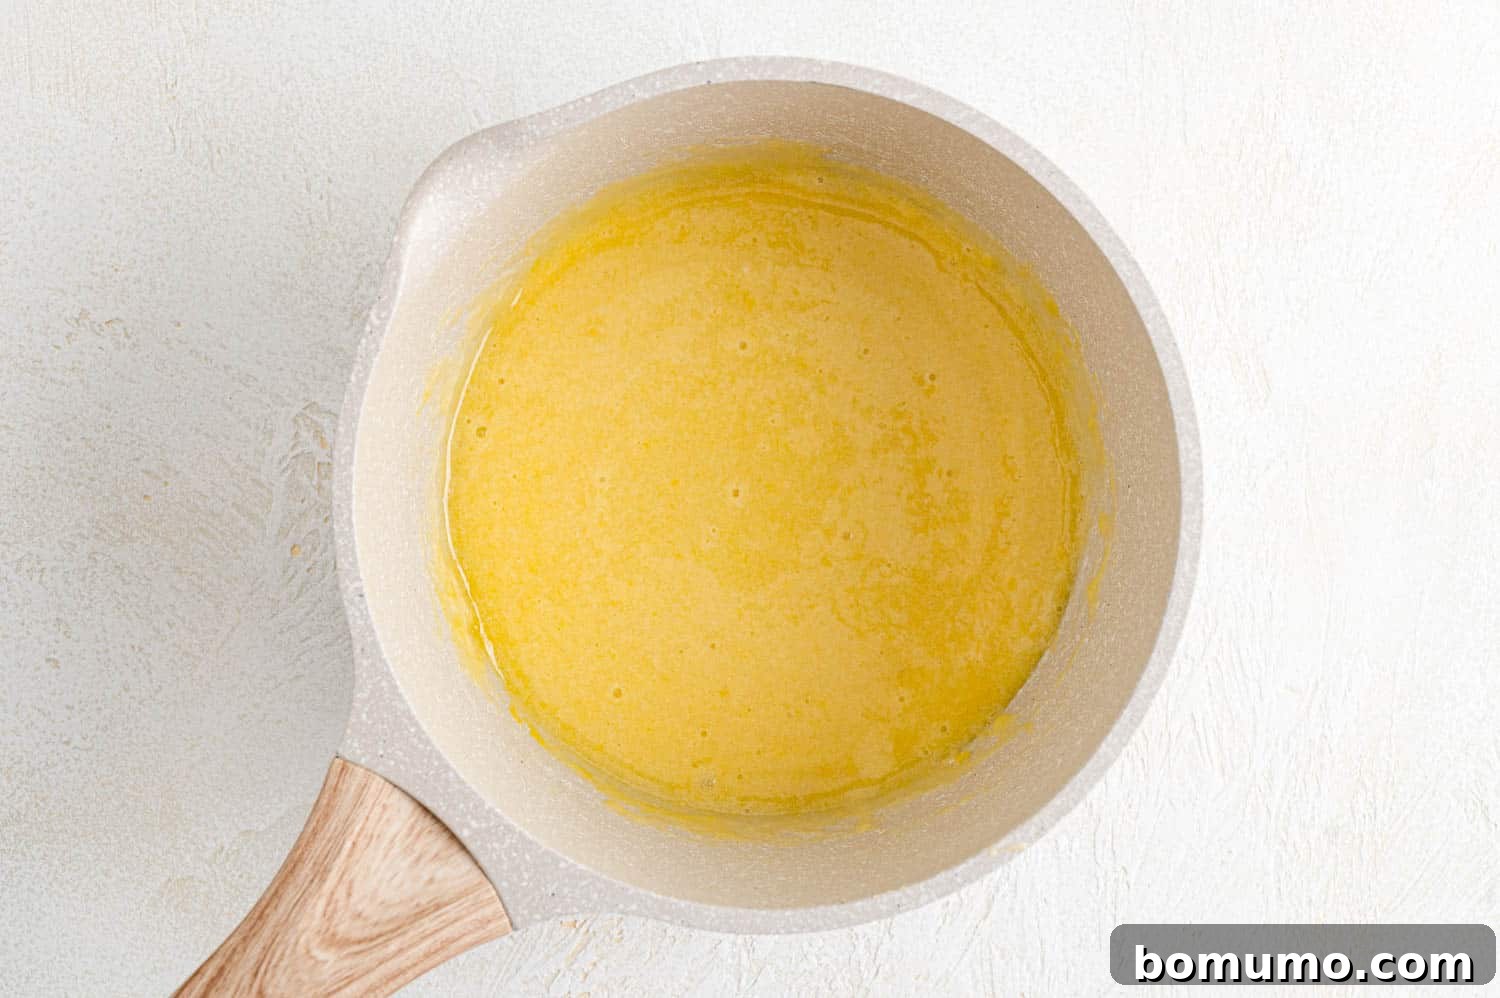
Step 2: Incorporate Milk and Begin Cooking
Place your saucepan over medium heat. Gradually begin to whisk in the milk, adding it slowly to the egg and flour mixture. Continuous whisking is key here to prevent lumps from forming and to ensure the mixture heats evenly. As you continue to stir, the pudding will slowly come to a gentle boil and begin to thicken. This process typically takes about ten minutes, though the exact time can vary slightly depending on the size of your saucepan and the intensity of your heat.
Keep an eye on the consistency; you’ll notice it transforming from a thin liquid into a creamy, luscious pudding. The constant stirring helps distribute heat and prevents the bottom from scorching, ensuring a smooth, uniform texture throughout.
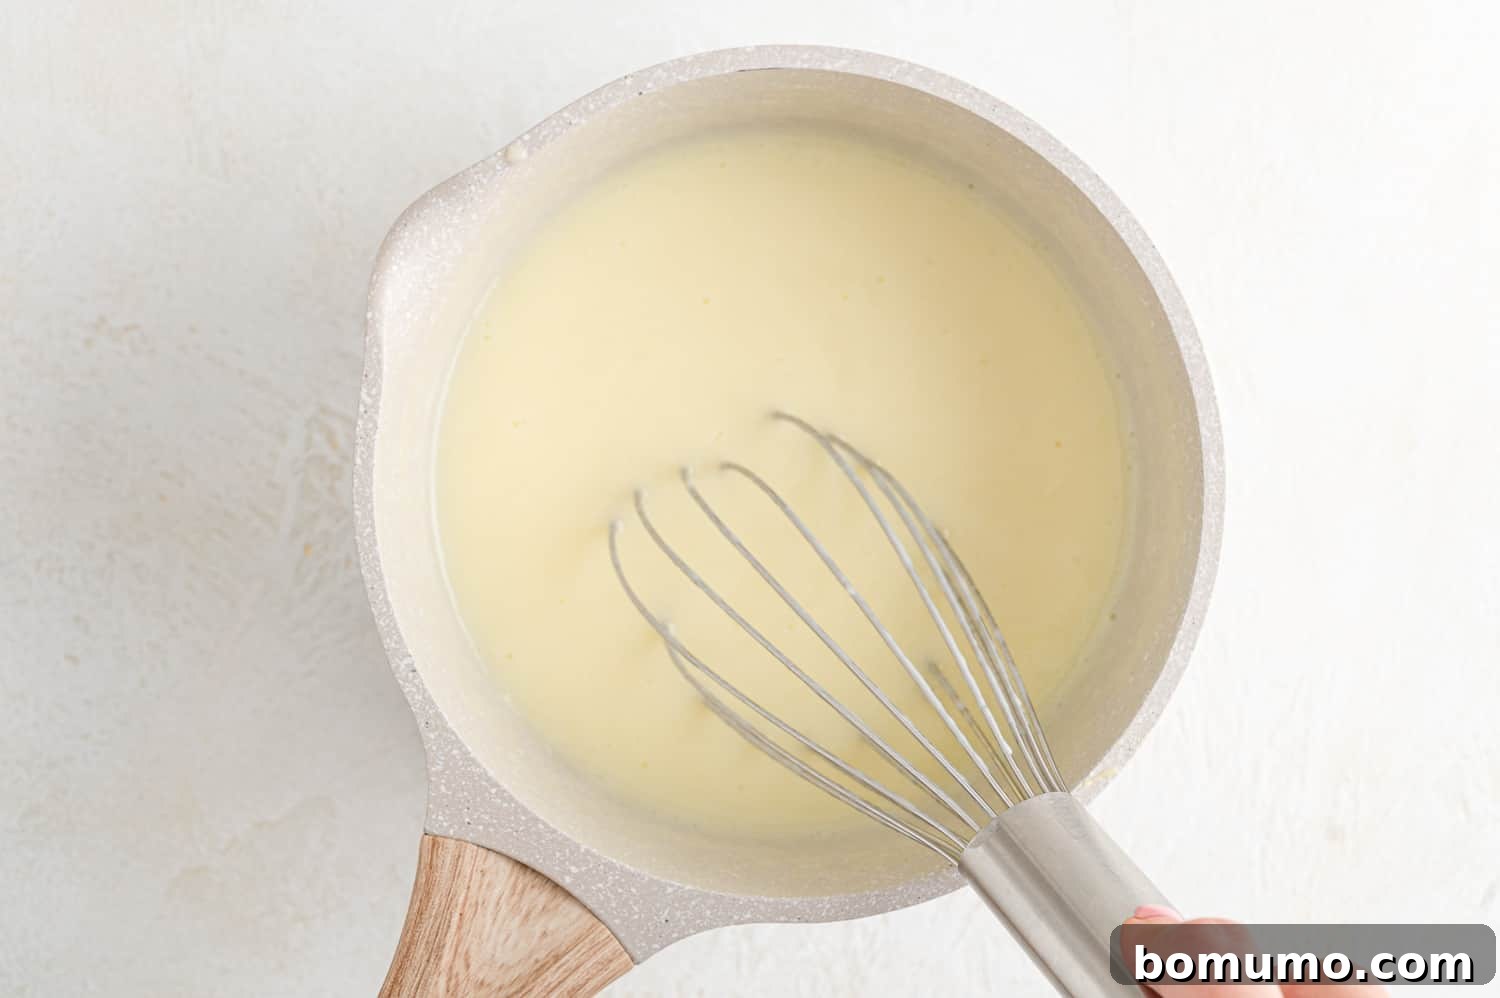
Step 3: The Final Thickening and Flavor Infusion
Once the pudding reaches a gentle boil and visibly thickens, continue to cook and stir for one additional minute. This ensures the flour is fully cooked, eliminating any starchy taste and allowing the pudding to achieve its optimal consistency.
After this minute, promptly remove the pan from the heat. Now it’s time to add the finishing touches that bring this pudding to life: stir in the tablespoon of unsalted butter until it’s completely melted and incorporated, and then stir in the pure vanilla extract or vanilla bean paste. The heat from the pudding will help the vanilla release its full aroma and flavor.
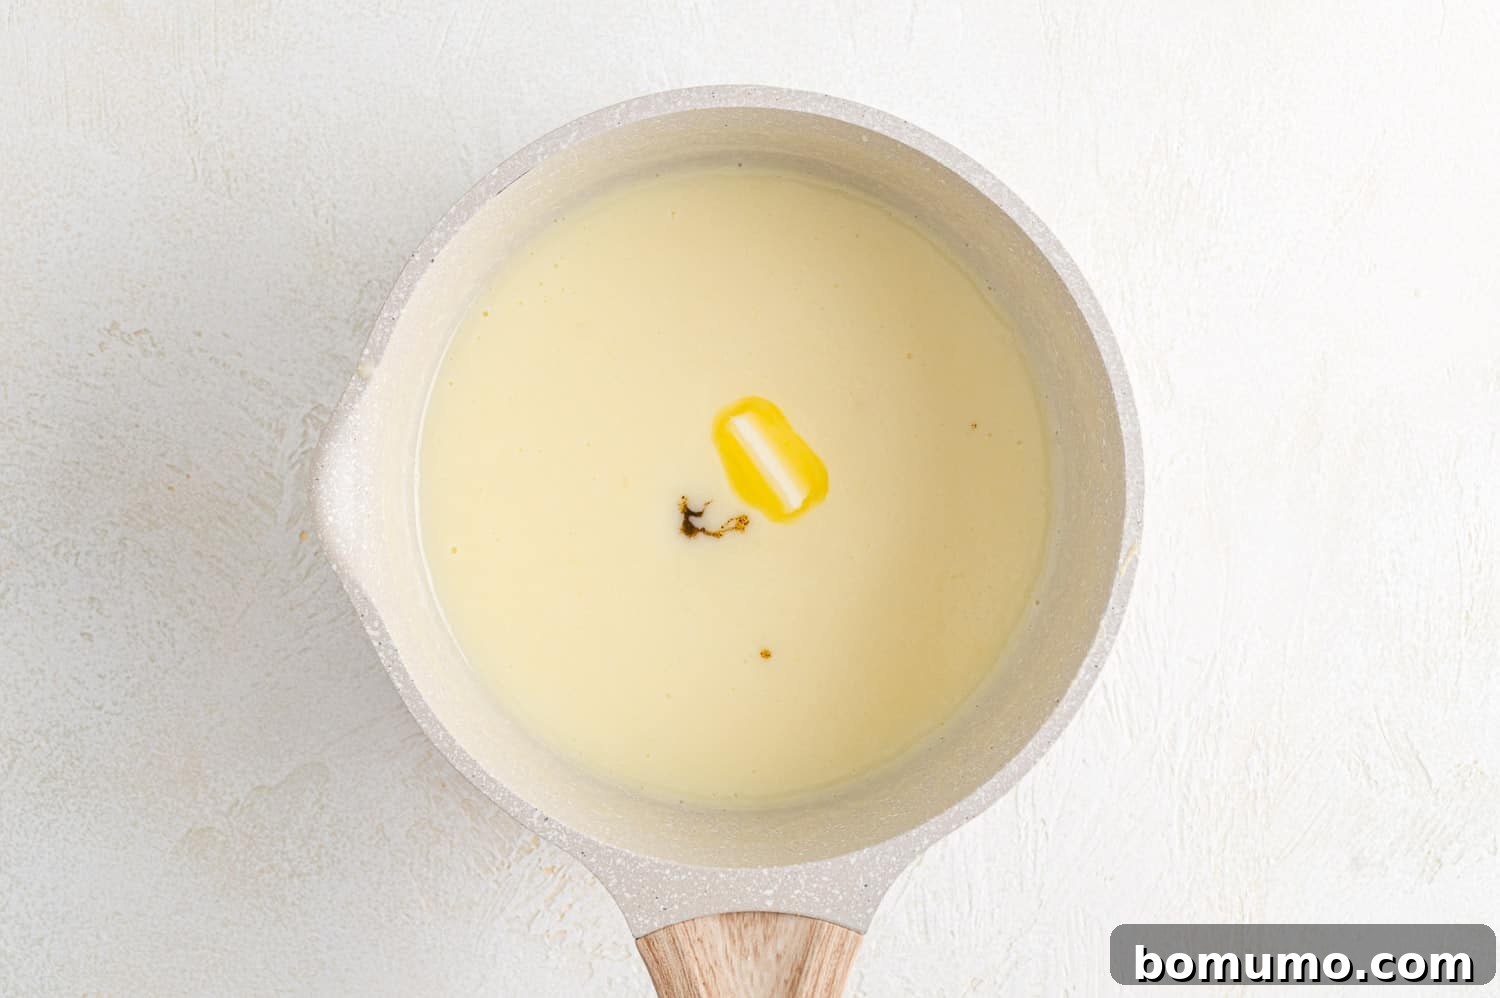
Step 4: Serve and Enjoy!
Pour the warm pudding into individual serving bowls or a larger dish. The pudding will continue to set and thicken slightly as it cools. You can serve it immediately while it’s warm and comforting, or allow it to cool completely before chilling. If you refrigerate the pudding overnight, it will firm up even more, developing a richer, denser texture.
For those who prefer a skin-free pudding, a simple trick is to press a piece of plastic wrap directly onto the surface of the pudding while it cools. This creates a barrier that prevents a “skin” from forming. Personally, I don’t mind the skin, as it adds a rustic charm, but this is an easy way to achieve a completely smooth top if desired.
See? It’s truly that simple! There’s nothing complicated about creating a homemade vanilla pudding that will impress and delight. Enjoy the process, and savor the delicious reward!
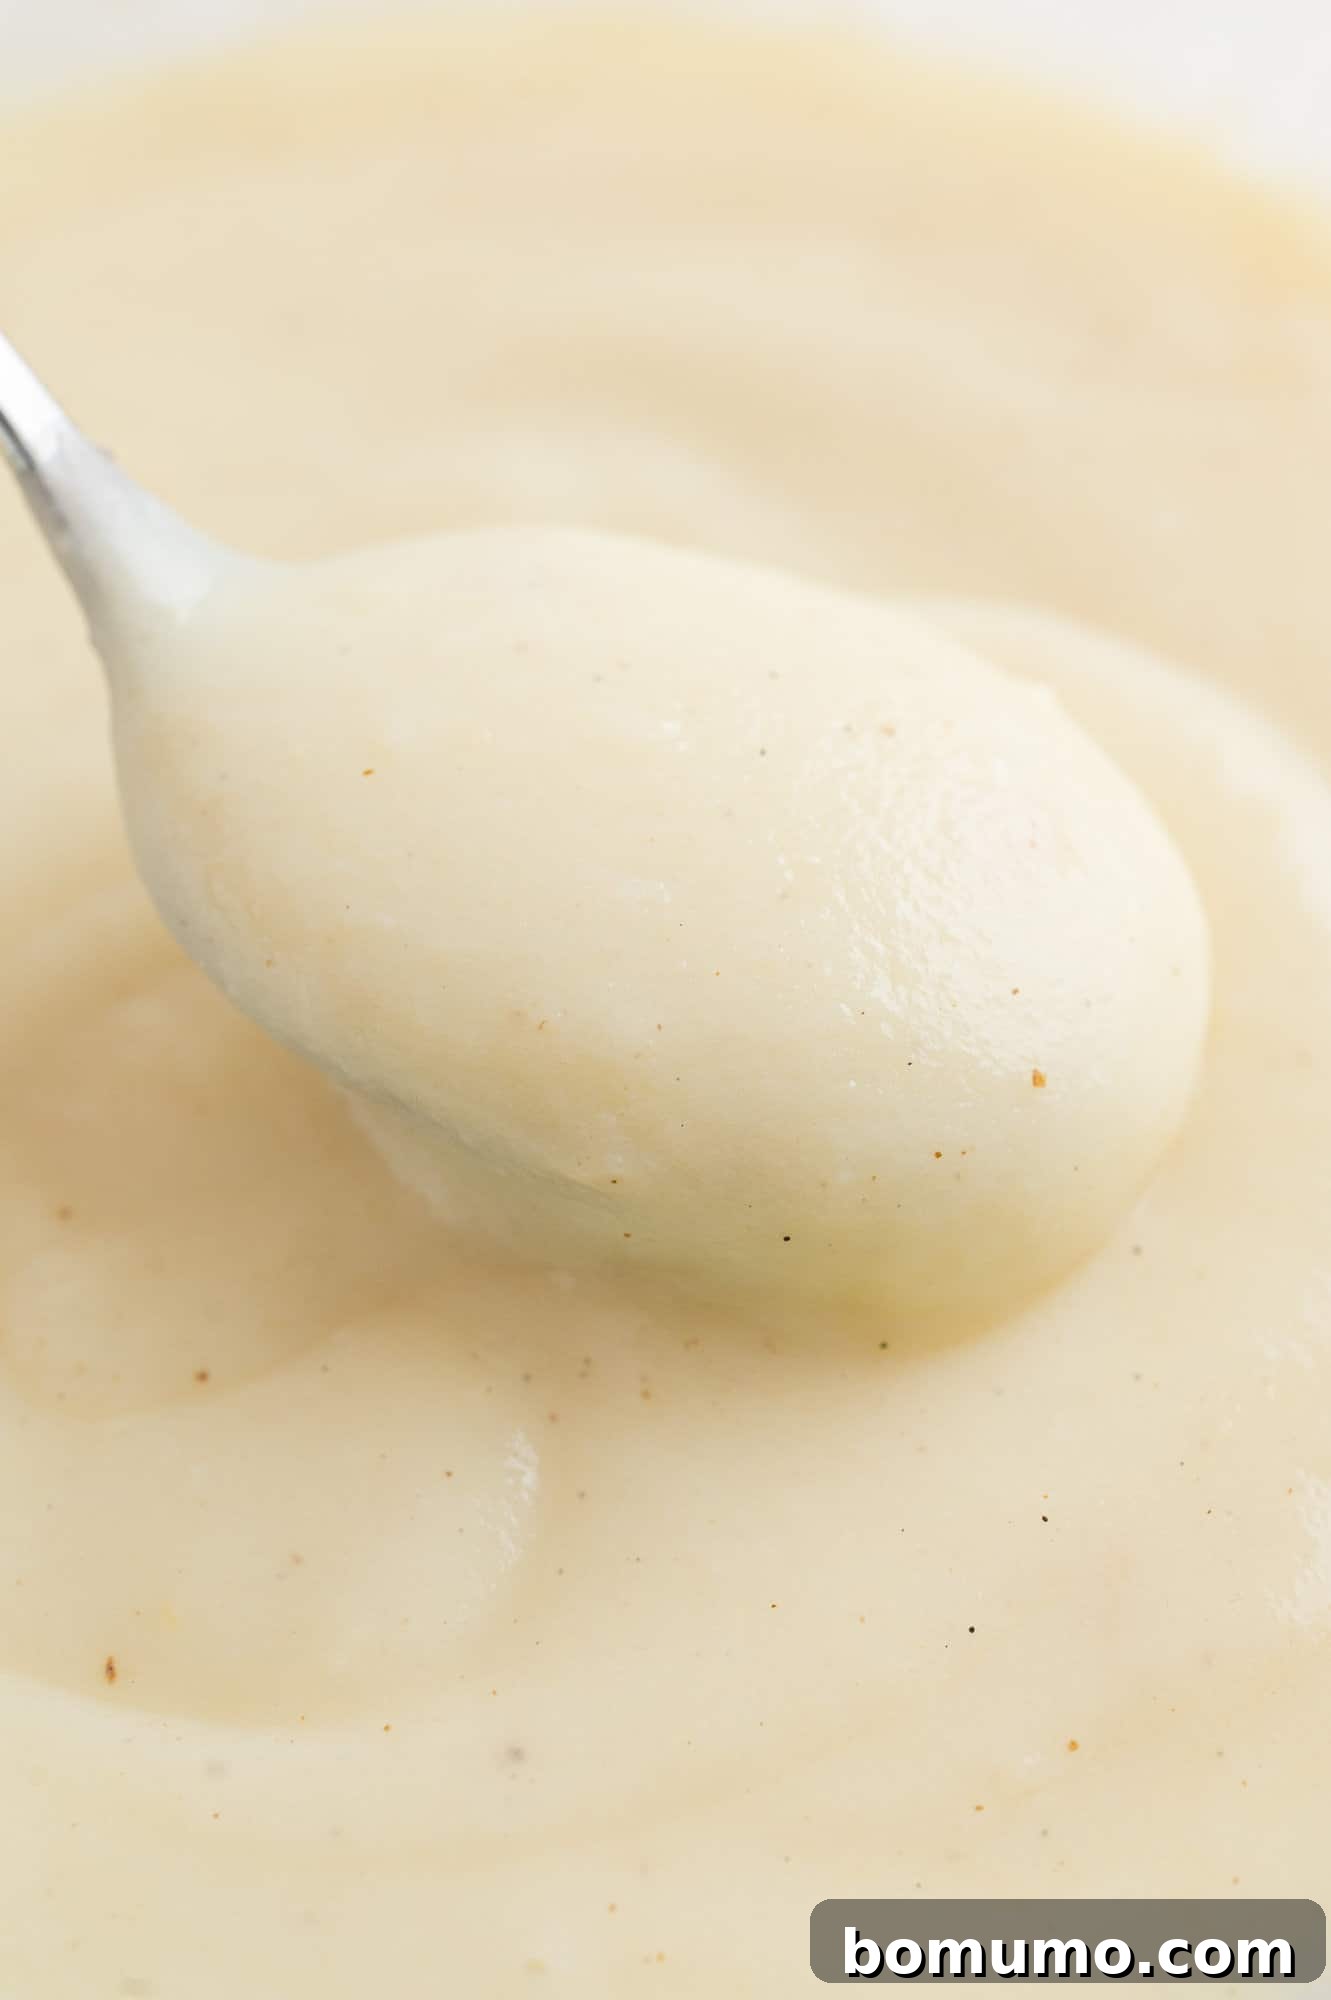
Transform Your Pudding: Delicious Variations and Pudding Pies
One of the many joys of homemade vanilla pudding is its incredible versatility. Beyond serving it in a bowl, it forms the perfect creamy base for a variety of delightful desserts, especially classic pudding pies. Here are some inspiring ideas to transform your basic vanilla pudding into something extraordinary:
Classic Pudding Pies:
- Banana Pudding Pie: This Southern classic is a fan favorite. Start by baking a standard pie shell according to package directions and allowing it to cool completely. Slice two ripe bananas and arrange them in an even layer at the bottom of the cooled pie shell. Pour your freshly made (warm, but not piping hot) vanilla pudding over the bananas. Cover the pie with plastic wrap, pressing it gently onto the surface of the pudding to prevent a skin from forming. Refrigerate for at least 3 hours, or preferably overnight, until the pie is fully set. Before serving, generously top with a cloud of freshly whipped cream and garnish with additional banana slices or a sprinkle of vanilla wafer crumbs.
- Coconut Pudding Pie: For a tropical twist, prepare a baked and cooled pie shell. Stir 1 cup of sweetened shredded coconut directly into your warm vanilla pudding. Pour the coconut-infused pudding into the pie shell, cover with plastic wrap, and refrigerate until fully set (3 hours to overnight). When ready to serve, adorn with whipped cream and, for an extra touch of flavor and texture, sprinkle with toasted coconut flakes. A graham cracker or shortbread crust also pairs wonderfully with this variation.
- Chocolate Pudding Pie: If you’re a chocolate lover, you’ll be thrilled with this rich indulgence. While vanilla pudding can serve as a base, for a truly decadent experience, consider making a dedicated chocolate pudding pie using our homemade chocolate pudding recipe. The deep, intense chocolate flavor creates an unforgettable dessert.
Customizing Your Vanilla Pudding: Flavor Variations and Substitutions
Making homemade vanilla pudding is just the beginning! This recipe is incredibly adaptable, allowing you to easily customize it to your taste or dietary preferences. Here are some fantastic ways to make it your own:
- Brown Butter Variation: This simple technique elevates the pudding to a gourmet level. To brown butter, melt your tablespoon of unsalted butter in a small saucepan or frying pan over medium heat. Continue to simmer, stirring occasionally, until the butter solids at the bottom turn a rich golden-brown and the butter emits a nutty aroma. This usually takes about two minutes. Be careful not to burn it! Remove the pan from the heat immediately and pour the browned butter into a small bowl to stop the cooking process. Stir this deeply flavorful brown butter into your cooked pudding along with the vanilla. The resulting rich, toasty, nutty flavor is truly extraordinary and will make you want to savor every last drop.
- Cornstarch as a Thickener: This recipe traditionally uses all-purpose flour for thickening, which yields a lovely, classic pudding texture. However, if you prefer a pudding made with cornstarch, you can easily make that substitution. Replace the three tablespoons of all-purpose flour with two tablespoons of cornstarch. Cornstarch tends to produce a slightly more translucent and often glossier pudding than flour, and it may thicken more rapidly. Ensure you dissolve the cornstarch in a small amount of cold milk before adding it to the main mixture to prevent lumps.
- Other Flavor Infusions: Don’t limit yourself to just vanilla! Once the pudding is cooked and off the heat, you can experiment with other extracts or additions:
- Almond Extract: Add half a teaspoon of almond extract along with the vanilla for a distinct, delicate nutty flavor.
- Citrus Zest: Stir in a teaspoon of fresh lemon, orange, or lime zest for a bright, refreshing twist.
- Coffee/Espresso Powder: Dissolve half a teaspoon of instant espresso powder in the warm milk for a subtle coffee undertone that pairs beautifully with vanilla.
- Spices: A pinch of cinnamon or nutmeg can add a cozy warmth, especially when served during cooler months.
Make-Ahead Ideas for Effortless Entertaining
Homemade vanilla pudding is an ideal dessert for meal prepping or preparing in advance, making it perfect for entertaining or simply having a comforting treat readily available. It holds up beautifully in the refrigerator, and you can easily add garnishes or dress it up right before serving to give it that freshly prepared look.
Storage Tips to Keep Your Pudding Fresh
To keep your homemade vanilla pudding at its best, ensure it is covered tightly and refrigerated. It will maintain its delicious flavor and creamy texture for up to five days. For optimal freshness and to prevent a “skin” from forming on top, place plastic wrap directly onto the surface of the pudding before refrigerating. While I have not personally tested freezing homemade pudding, some sources suggest it can be frozen. If you choose to experiment with freezing, store it in an airtight freezer-safe container for up to a month and thaw slowly in the refrigerator before serving. Be aware that the texture might change slightly after freezing and thawing.
Discover More Irresistible Pudding Recipes
If you’ve fallen in love with the simplicity and comfort of homemade pudding, there’s a whole world of delicious variations to explore. Each recipe offers a unique flavor profile and experience, from rich chocolate to refreshing lemon. Dive into these other favorites:
- Homemade Chocolate Pudding: Another timeless recipe, reminiscent of childhood and guaranteed to satisfy any chocolate craving – it’s one of my mom’s treasured recipes!
- Lemon Pudding Recipe: Brilliantly tart and incredibly easy to prepare, this bright and zesty pudding is a refreshing dessert option.
- Easy Pumpkin Pudding: A perfect autumnal treat that comes together with only four simple ingredients, offering rich, spiced fall flavors.
- Instant Pot Rice Pudding: Creamy, comforting rice pudding made effortlessly in your Instant Pot, perfect for a quick yet satisfying dessert.
- Chia Seed Pudding or Chocolate Chia Pudding: For a healthier, plant-based alternative, these chia puddings are packed with nutrients and endlessly customizable.
- Blueberry Bread Pudding Recipe: A delightful baked dessert that transforms stale bread into a moist, fruity, and comforting treat.
Explore More Delicious Desserts
Best Chocolate Cake Recipe
Apple Crisp With Ginger – Easy & Delicious!
The Best Banana Cake – seriously!
Chocolate Tart Recipe – NO BAKE – 4 Ingredients!
Homemade Vanilla Pudding Recipe
Rachel Gurk
5
12
17
4 servings
Ingredients
- ½ cup granulated sugar
- 3 tablespoons all-purpose flour
- pinch of salt
- 1 large egg
- 2 cups milk (I recommend whole milk or 2%)
- 1 tablespoon unsalted butter
- 1 teaspoon pure vanilla extract or vanilla bean paste
Instructions
-
In a medium-sized saucepan, whisk together sugar, flour, salt, and egg until blended and smooth.
-
Place on medium heat and slowly add milk, whisking constantly. Continue to heat and whisk until the mixture begins to boil and thicken, which will take about 10 minutes. Cook and stir for 1 additional minute. Remove from heat; stir in the butter and vanilla.
-
Serve warm or cold. If refrigerating, place a piece of plastic wrap directly on the surface of the pudding to prevent a skin from forming. Pudding will thicken further if chilled overnight.
Notes
- Cook time will vary depending on the size of your pan and the cooking temperature.
- Optional garnishes include: mini chocolate chips, fresh or canned fruit, pie filling, granola, graham cracker crumbs, or Oreo cookie crumbs.
- Pudding should be covered and refrigerated. It will keep for up to 5 days.
- Brown butter variation: In a saucepan or frying pan, melt butter over medium heat. Simmer until browned, about two minutes, stirring occasionally. Remove from heat and pour into a small bowl. Stir into the cooked pudding along with the vanilla.
- Recipe updated 5/19/2022.
Video
A video tutorial for making Homemade Vanilla Pudding would go here, demonstrating each step for clarity.
Nutrition
Nutrition information is automatically calculated, so should only be used as an approximation.