
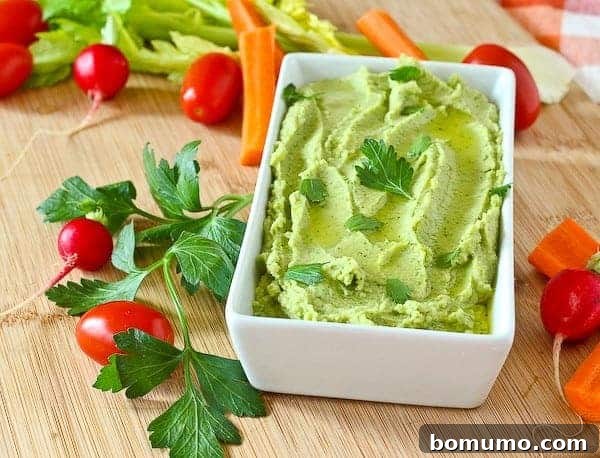
Discover a delightful and healthy bean dip that’s perfect for everyone, especially those avoiding tahini. This vibrant parsley hummus comes together in just 10 minutes, offering a fresh, flavorful alternative for healthy dipping and spreading.
Recipe Overview
Why you’ll love it: Beautifully green, economical, and incredibly nutritious!
How long it takes: 10 minutes
Equipment you’ll need: Food processor
Servings: 10 (2 tablespoons each)
In today’s culinary world, dietary restrictions and personal preferences are increasingly common. For many, ingredients like sesame seeds, a staple in traditional hummus, can pose a challenge due to allergies or simply a dislike of their unique flavor. My own experience with my son N’s sesame allergy brought this challenge to the forefront, inspiring me to create delicious alternatives.
Most people associate hummus with its creamy texture and rich, nutty flavor, often unaware that a significant part of that flavor comes from tahini. Tahini, a paste made from ground sesame seeds, is generally considered one of the core ingredients that defines hummus. Without it, some might argue it’s merely a “bean dip.” However, for those seeking an allergy-friendly or alternative-flavored option, this recipe proudly presents itself as a delightful parsley hummus without tahini.
Understanding tahini is key to appreciating this substitution. Imagine making peanut butter, but instead of peanuts, you use toasted and ground sesame seeds. That’s essentially what tahini is—a paste renowned for its distinctive flavor and consistency, widely used in Middle Eastern and Mediterranean cuisine. Its absence in this recipe opens the door to new flavor profiles and makes hummus accessible to a broader audience, including those with sesame allergies or sensitivities.
Crafting Your Perfect Tahini-Free Parsley Hummus
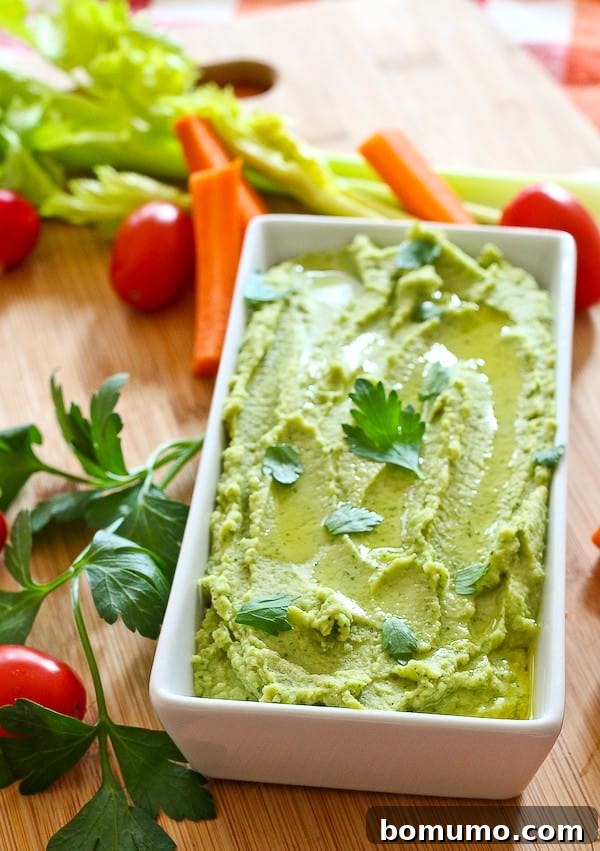
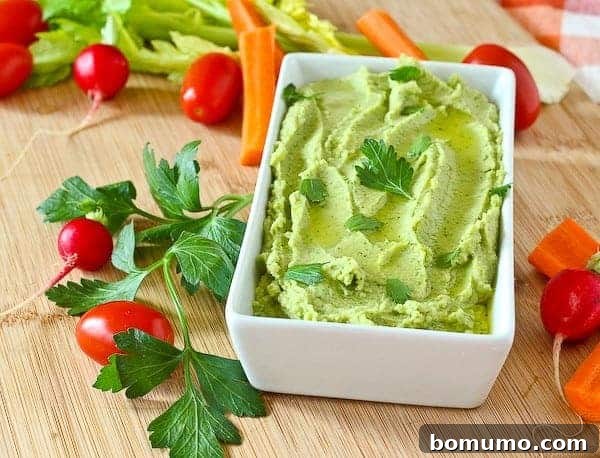
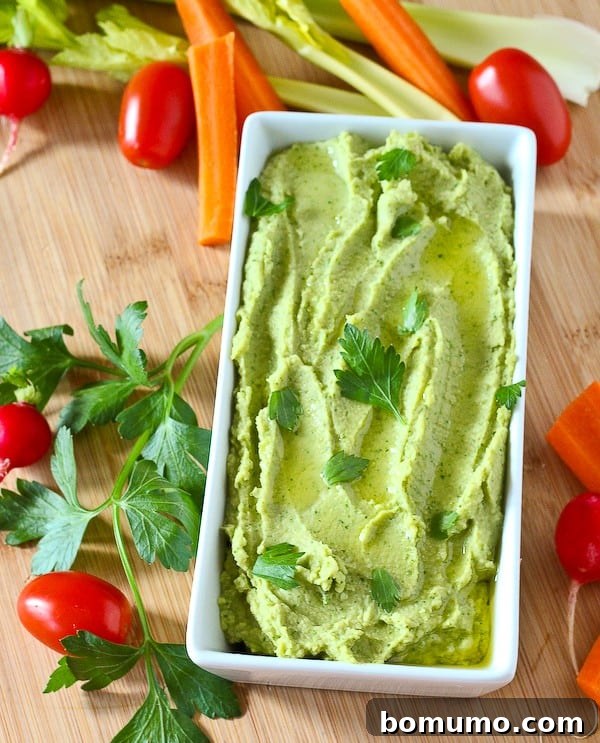
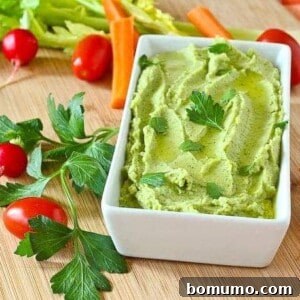
This vibrant dip might not bear the classic beige hue of traditional hummus, and that’s precisely its charm! While you could omit the fresh parsley for a more conventional appearance and milder flavor profile, I wholeheartedly recommend embracing the herb. Parsley infuses this dip with an incredibly fresh, herbaceous taste and a stunning emerald green color that’s far more visually appealing and appetizing than plain hummus. It transforms a simple chickpea dip into a culinary delight that stands out on any platter.
Beyond its aesthetic appeal, this parsley hummus is a powerhouse of nutrition and versatility. It’s a fantastic option for a quick snack, a healthy lunch component, or an impressive appetizer. The absence of tahini makes it not only sesame-free but also naturally nut-free, catering to multiple common dietary restrictions without compromising on flavor or creaminess. It’s a testament to how simple, fresh ingredients can create something truly extraordinary.
Key Ingredients for a Flawless Dip
Making homemade hummus, even without tahini, is surprisingly simple and deeply rewarding. The key lies in using fresh, quality ingredients and a good food processor to achieve that desired smooth, creamy texture. While a blender might work, a food processor typically yields the best results for consistent blending.
- Canned Chickpeas (Garbanzo Beans): These versatile legumes are the foundation of any hummus. For an ultra-smooth consistency, some chefs recommend peeling the chickpeas, but it’s an optional step. A fantastic tip for added creaminess: reserve a couple of tablespoons of the liquid from the can, known as aquafaba. It’s a magical ingredient that can replace the water in this recipe, making your dip even richer. Be sure to rinse and drain your chickpeas thoroughly before use.
- Fresh Garlic: Garlic provides a pungent, aromatic kick that is essential for balanced hummus flavor. Start with one clove, and then adjust to your personal preference. For a milder garlic flavor, you can roast the garlic beforehand, which adds a sweet, nuanced depth.
- Freshly Squeezed Lemon Juice: This is a non-negotiable ingredient. The bright, zesty acidity of fresh lemon juice cuts through the richness of the chickpeas, lifting all the flavors and providing that signature tang. Always use fresh for the best taste.
- High-Quality Olive Oil: The choice of olive oil significantly impacts the final taste. Opt for a good quality extra virgin olive oil. It contributes to the luxurious texture and adds a fruity, peppery note that enriches the overall flavor profile of your hummus.
- Salt: Salt is crucial for enhancing all the other flavors. Since you’re making this hummus at home, you have complete control over the sodium content, allowing you to season it perfectly to your taste. Start with a quarter teaspoon and add more as needed.
- Fresh Parsley: This is the star ingredient that gives our hummus its unique character and beautiful green hue. While Italian flat-leaf parsley is often preferred for its robust flavor, curly parsley also works wonderfully. Parsley not only adds a burst of fresh, earthy flavor but also boosts the nutritional value with vitamins and antioxidants. If you desire a dip that more closely resembles traditional hummus in appearance and primary flavor, you can certainly omit it.
- Water: A small amount of water helps achieve the desired creamy consistency. As mentioned, aquafaba can be an excellent substitute for an even creamier result.
Simple Steps to Homemade Hummus
This recipe is designed for maximum ease and minimal effort, ensuring a delicious outcome every time. Forget complex techniques; it’s incredibly straightforward.
- Simply combine all the listed ingredients—chickpeas, garlic, lemon juice, salt, fresh parsley, olive oil, and water (or aquafaba)—into your food processor.
- Process until the mixture is completely smooth and creamy. You might need to pause occasionally to scrape down the sides of the bowl to ensure everything is thoroughly blended.
- If you find the hummus is too thick for your liking, gradually drizzle in a little more olive oil or water (or aquafaba) until it reaches your preferred consistency. Taste and adjust seasonings as needed, adding more salt or lemon juice if desired.
And just like that, you have a fresh, flavorful, and tahini-free hummus ready to enjoy!
Creative Variations for Your Hummus
One of the joys of homemade dips is the freedom to customize. This tahini-free hummus recipe is a fantastic canvas for experimentation:
- Explore Different Greens and Herbs: Don’t limit yourself to parsley! You can experiment with any tender green or aromatic herb to create a new twist on this vibrant dip. Consider spinach for a milder, earthier flavor, watercress for a peppery kick, baby kale for added nutrients, or cilantro and dill for a more herbaceous, almost Mediterranean or Latin-inspired profile. Chives or green onions can also add a subtle oniony note.
- Substitute the Beans: While chickpeas are traditional, this recipe works beautifully with other white beans. If you’re not a fan of chickpeas or simply want to try something different, substitute them with cannellini beans (white kidney beans), great Northern beans, or navy beans. Each will impart a slightly different texture and flavor, offering endless possibilities.
- Spice It Up: Add a pinch of cumin, smoked paprika, or a dash of red pepper flakes for an extra layer of flavor or a touch of heat.
- Roasted Vegetables: Blend in roasted red peppers, sun-dried tomatoes, or roasted garlic for complex, savory undertones.
Storage Tips
Storage Tips
Proper storage ensures your homemade parsley hummus stays fresh and delicious for as long as possible:
- Refrigerate: Transfer your freshly made hummus to an airtight container. It will keep beautifully in the refrigerator for up to 5 days. A thin layer of olive oil on top can help prevent it from drying out and can add an extra layer of flavor.
- Freeze: Hummus freezes exceptionally well, making it perfect for meal prepping. You can freeze it for up to 6 months. For convenient single-serving portions, freeze it in small, individual containers. These small portions thaw quickly, making them ideal for packing in lunchboxes with pita triangles or fresh vegetables. For larger batches, thaw the hummus overnight in the refrigerator for the best texture and flavor. Stir well after thawing, and you might need to add a splash of water or olive oil to restore its original creaminess.
More Delicious Dip Recipes
Whipped Feta
Edamame Dip
Black Bean Dip Recipe
Mexicali Dip Recipe – IRRESISTIBLE!
Parsley Hummus without Tahini (Sesame & Nut Free)
★
★
★
★
☆
Rachel Gurk
10
10
10 servings
Ingredients
-
1 can (16 oz.) garbanzo beans, rinsed and drained -
1 clove garlic, minced or pressed -
3 tablespoons freshly squeezed lemon juice (from 1 lemon) -
¼ teaspoon salt, or to taste -
½ cup firmly packed fresh parsley leaves (some stems are okay too) -
2 tablespoons olive oil -
2 tablespoons water (or aquafaba from the chickpeas can be used for extra creaminess)
Instructions
-
Add all ingredients (rinsed and drained garbanzo beans, minced garlic, lemon juice, salt, parsley, olive oil, and water) to a food processor. Process until the mixture is completely smooth and creamy. Stop periodically to scrape down the sides of the bowl to ensure all ingredients are incorporated.
-
Taste and adjust seasonings as needed. If the hummus is too thick, add a little more water or olive oil, a tablespoon at a time, until it reaches your desired consistency.
-
Transfer the finished hummus to an airtight container. Store it in the refrigerator for up to 5 days. For longer storage, this hummus can be frozen for up to 6 months; thaw overnight in the fridge before serving.
Notes
- If you prefer a hummus that looks and tastes more like traditional hummus (aside from the tahini), you can omit the fresh parsley. However, the parsley truly enhances the flavor and provides a beautiful bright green color.
- Garbanzo beans and chickpeas are two names for the same legume.
- For an extra creamy texture, use the liquid from canned chickpeas (aquafaba) in place of the plain water.
Nutrition
Calories: 67kcal,
Carbohydrates: 7g,
Protein: 2g,
Fat: 4g,
Saturated Fat: 0.5g,
Polyunsaturated Fat: 1g,
Monounsaturated Fat: 2g,
Sodium: 186mg,
Potassium: 88mg,
Fiber: 2g,
Sugar: 0.1g,
Vitamin A: 260IU,
Vitamin C: 6mg,
Calcium: 21mg,
Iron: 1mg
Nutrition information is automatically calculated, so should only be used as an approximation.
Did You Make This?
Share a comment and rating below! I love hearing what you think!