
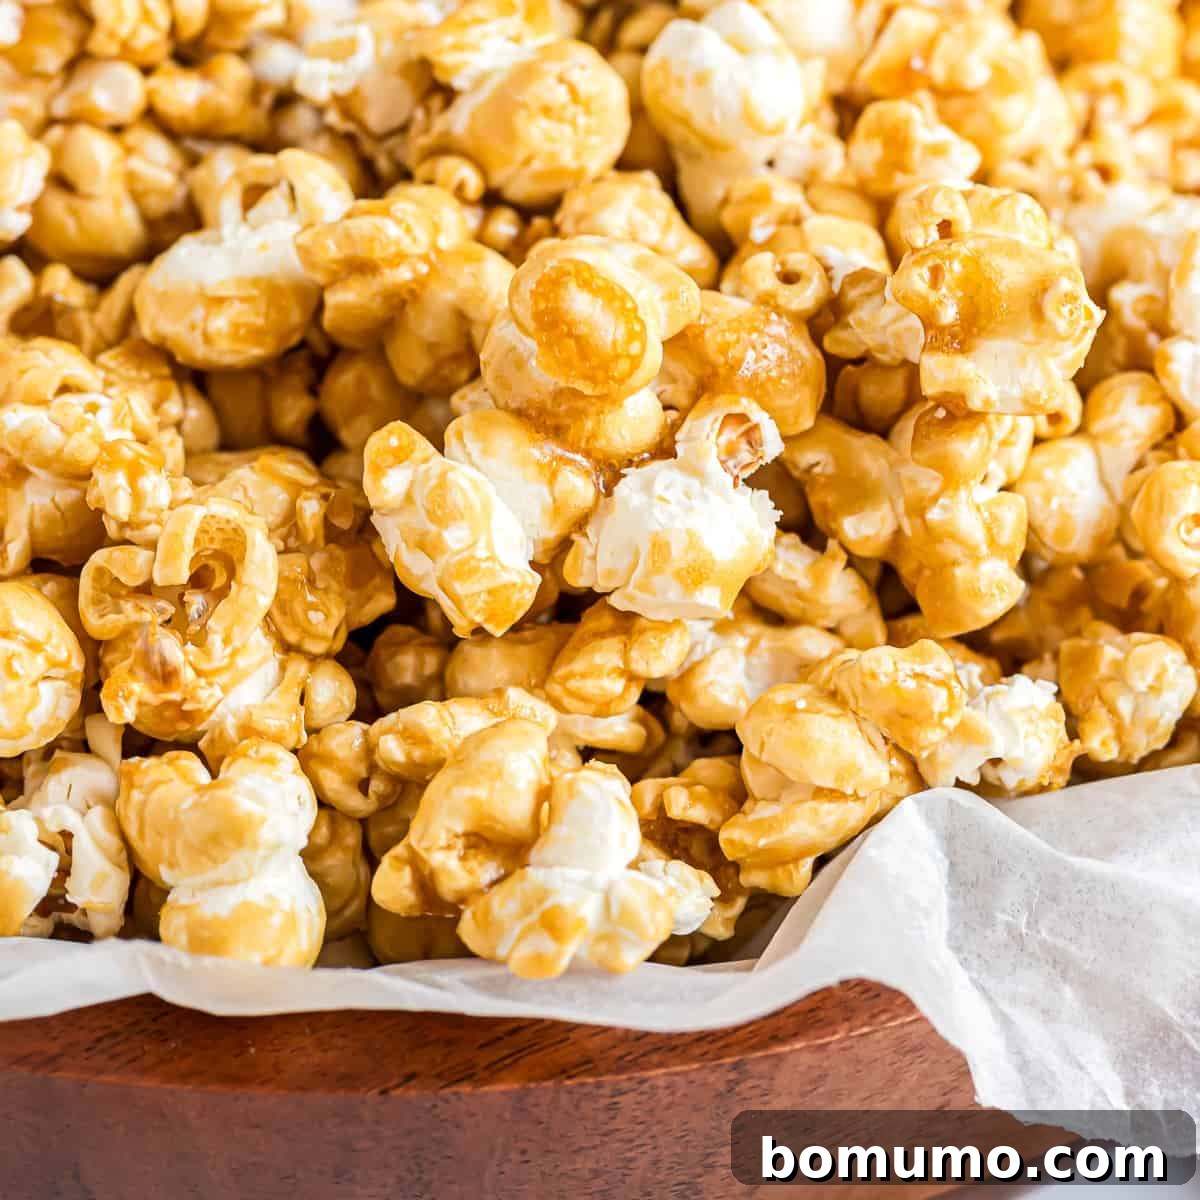
Recipe Overview: Homemade Caramel Corn
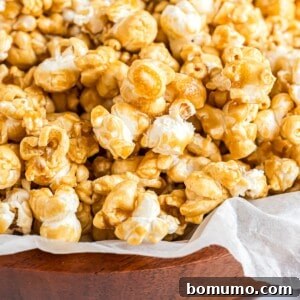
Why You’ll Adore This Recipe: Prepare for an unparalleled snacking experience! This homemade caramel corn delivers the perfect trifecta of crispy, satisfyingly crunchy, and wonderfully sweet flavors that will have you reaching for more all day long. Discover how surprisingly simple it is to craft this beloved treat right in your own kitchen.
Total Time Commitment: Requires a quick 20 minutes for preparation, followed by 1 hour of baking time to achieve that irresistible crunch.
Essential Kitchen Tools: You’ll need a sturdy saucepan for creating the luscious caramel and two large rimmed baking sheets (often called sheet pans) to ensure even baking and cooling.
Yields: This recipe generously makes 16 individual servings, with each serving being approximately 1 cup of delicious caramel corn.
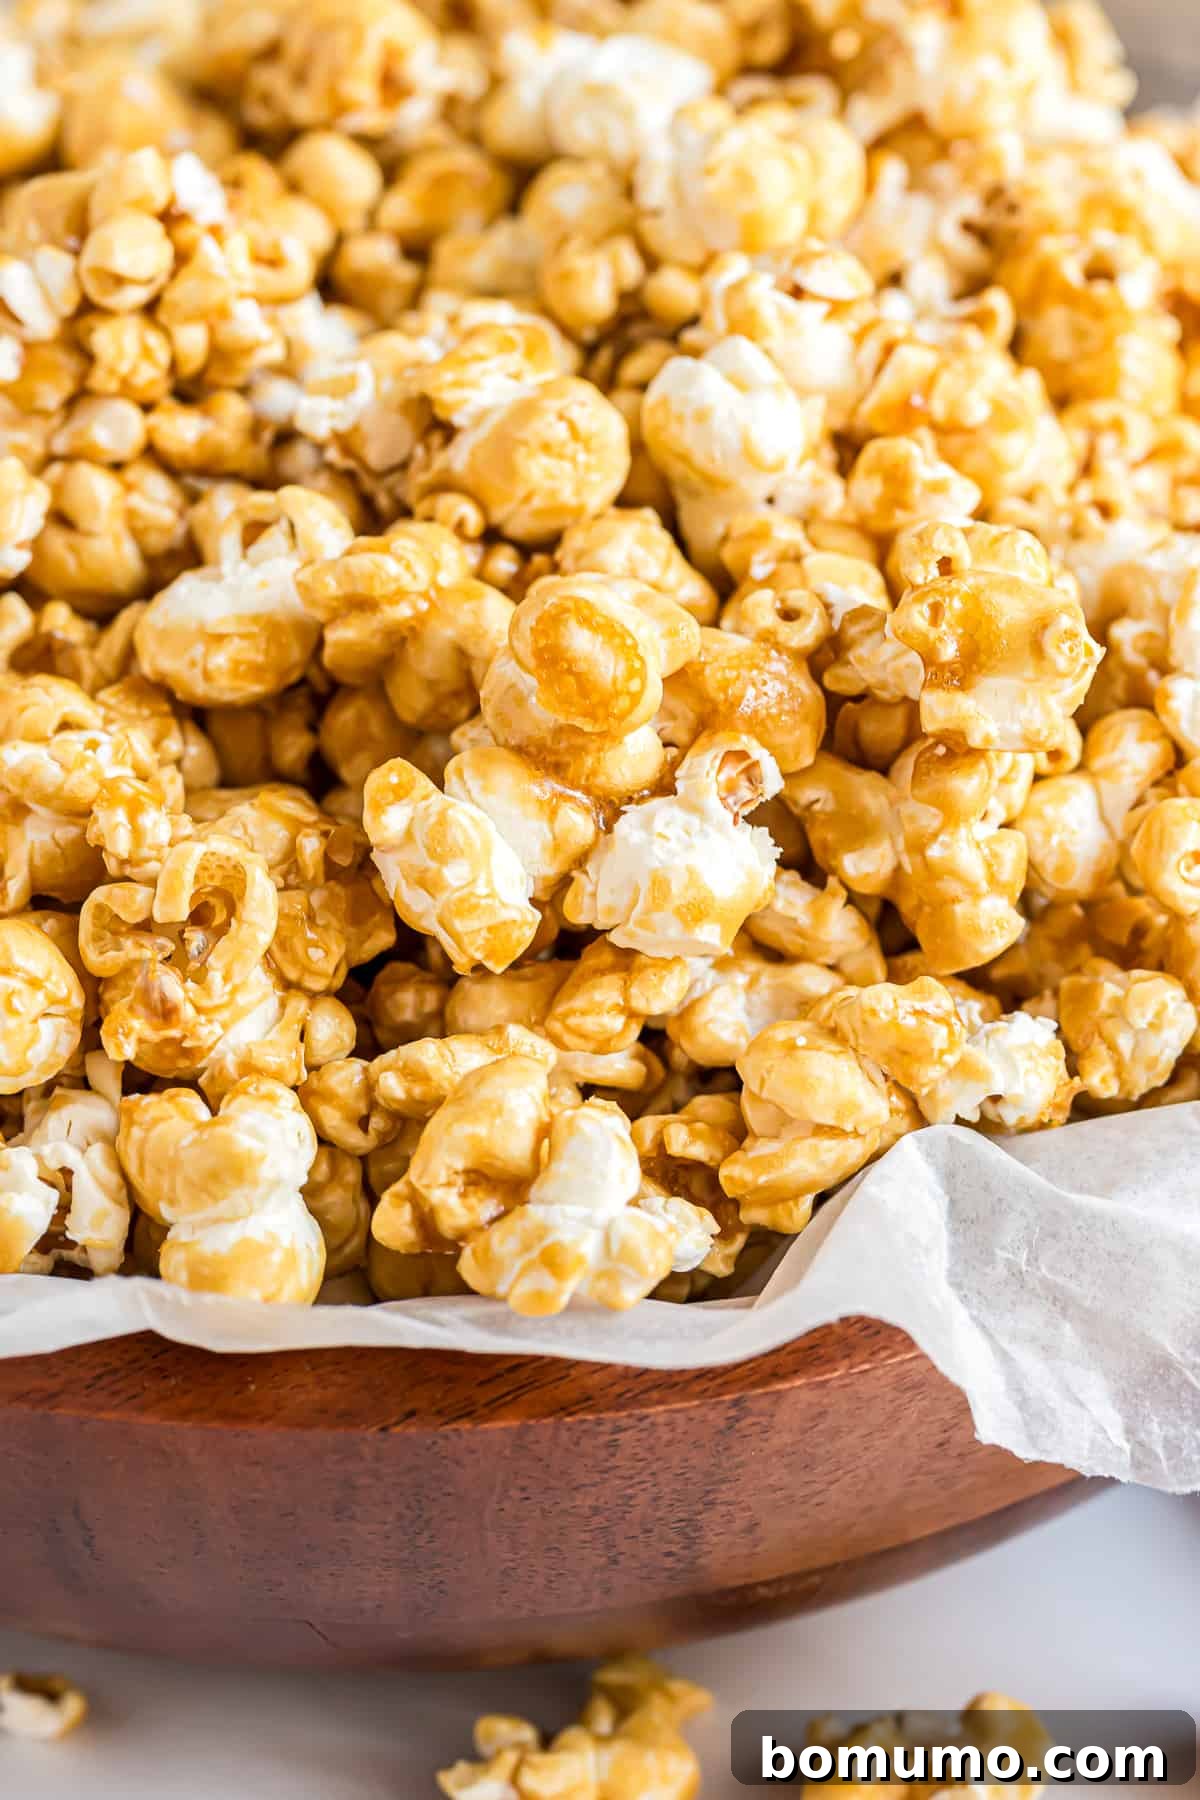
The Ultimate Guide to Crispy Homemade Caramel Corn: Your New Favorite Sweet Snack
As a passionate popcorn enthusiast, my kitchen is often a laboratory for creative popcorn recipes. While delightful concoctions like peanut butter popcorn and whimsical s’mores popcorn certainly hold a special place, there’s nothing quite like the enduring appeal of a truly classic caramel corn. For those seeking the quintessential sweet and crunchy popcorn experience, this homemade caramel corn recipe is simply unparalleled.
Forget everything you thought you knew about caramel corn; this recipe redefines delicious. What makes it stand head and shoulders above the rest? It’s the magic of being homemade! This means you’ll never encounter the disappointment of stale, overly cloying, or crushed-to-bits caramel corn from a bag again. Each batch is made fresh, ensuring maximum crispness and an explosion of flavor.
As an added and much-appreciated bonus, crafting homemade caramel corn is far simpler than you might imagine. After extensive testing and fine-tuning, I’ve perfected a method that completely eliminates the need for a fussy candy thermometer. This means you won’t require any specialized equipment, making this recipe remarkably stress-free and accessible for home cooks of all skill levels. Get ready to impress your family and friends with a treat that tastes gourmet but is incredibly easy to achieve!
Why This Homemade Caramel Corn Will Become a Staple in Your Kitchen
This recipe isn’t just about making caramel corn; it’s about creating a moment of pure snacking bliss. Here’s why this particular homemade version stands out:
Crafted with Care (and Absolutely No Preservatives): When you take control of your ingredients, you ensure a superior product. Making your own caramel corn means saying goodbye to artificial fillers and unnecessary preservatives often found in store-bought varieties. The result is a fresher, intensely flavored, and wonderfully crunchy caramel corn that’s simply more wholesome and delicious.
Remarkably Effortless Process: Don’t let the idea of homemade caramel deter you. This recipe is designed for simplicity. It breaks down into easy, manageable steps: pop your popcorn, quickly prepare the caramel sauce, combine them with a good stir, and then bake until the caramel coating is perfectly dry and crisp. It’s a rewarding process with minimal fuss.
A Culinary Canvas for Delicious Beginnings: While utterly delightful on its own, homemade caramel corn is also an incredibly versatile base for other treats. Transform it into a gourmet snack mix by adding your favorite candies, nuts, or even pretzels. For an indulgent dessert, sprinkle it generously over scoops of vanilla ice cream for a crunchy, sweet sundae topping that elevates any simple treat.
The Ultimate Heartfelt Gift: Homemade gifts carry a special charm, and this caramel popcorn is no exception. Package your freshly made caramel corn in charming bags, tie them with a festive bow, and instantly create thoughtful presents for holidays, appreciative hostess gifts, or delightful party favors that guests will truly cherish. It’s a delicious way to share your culinary talents.
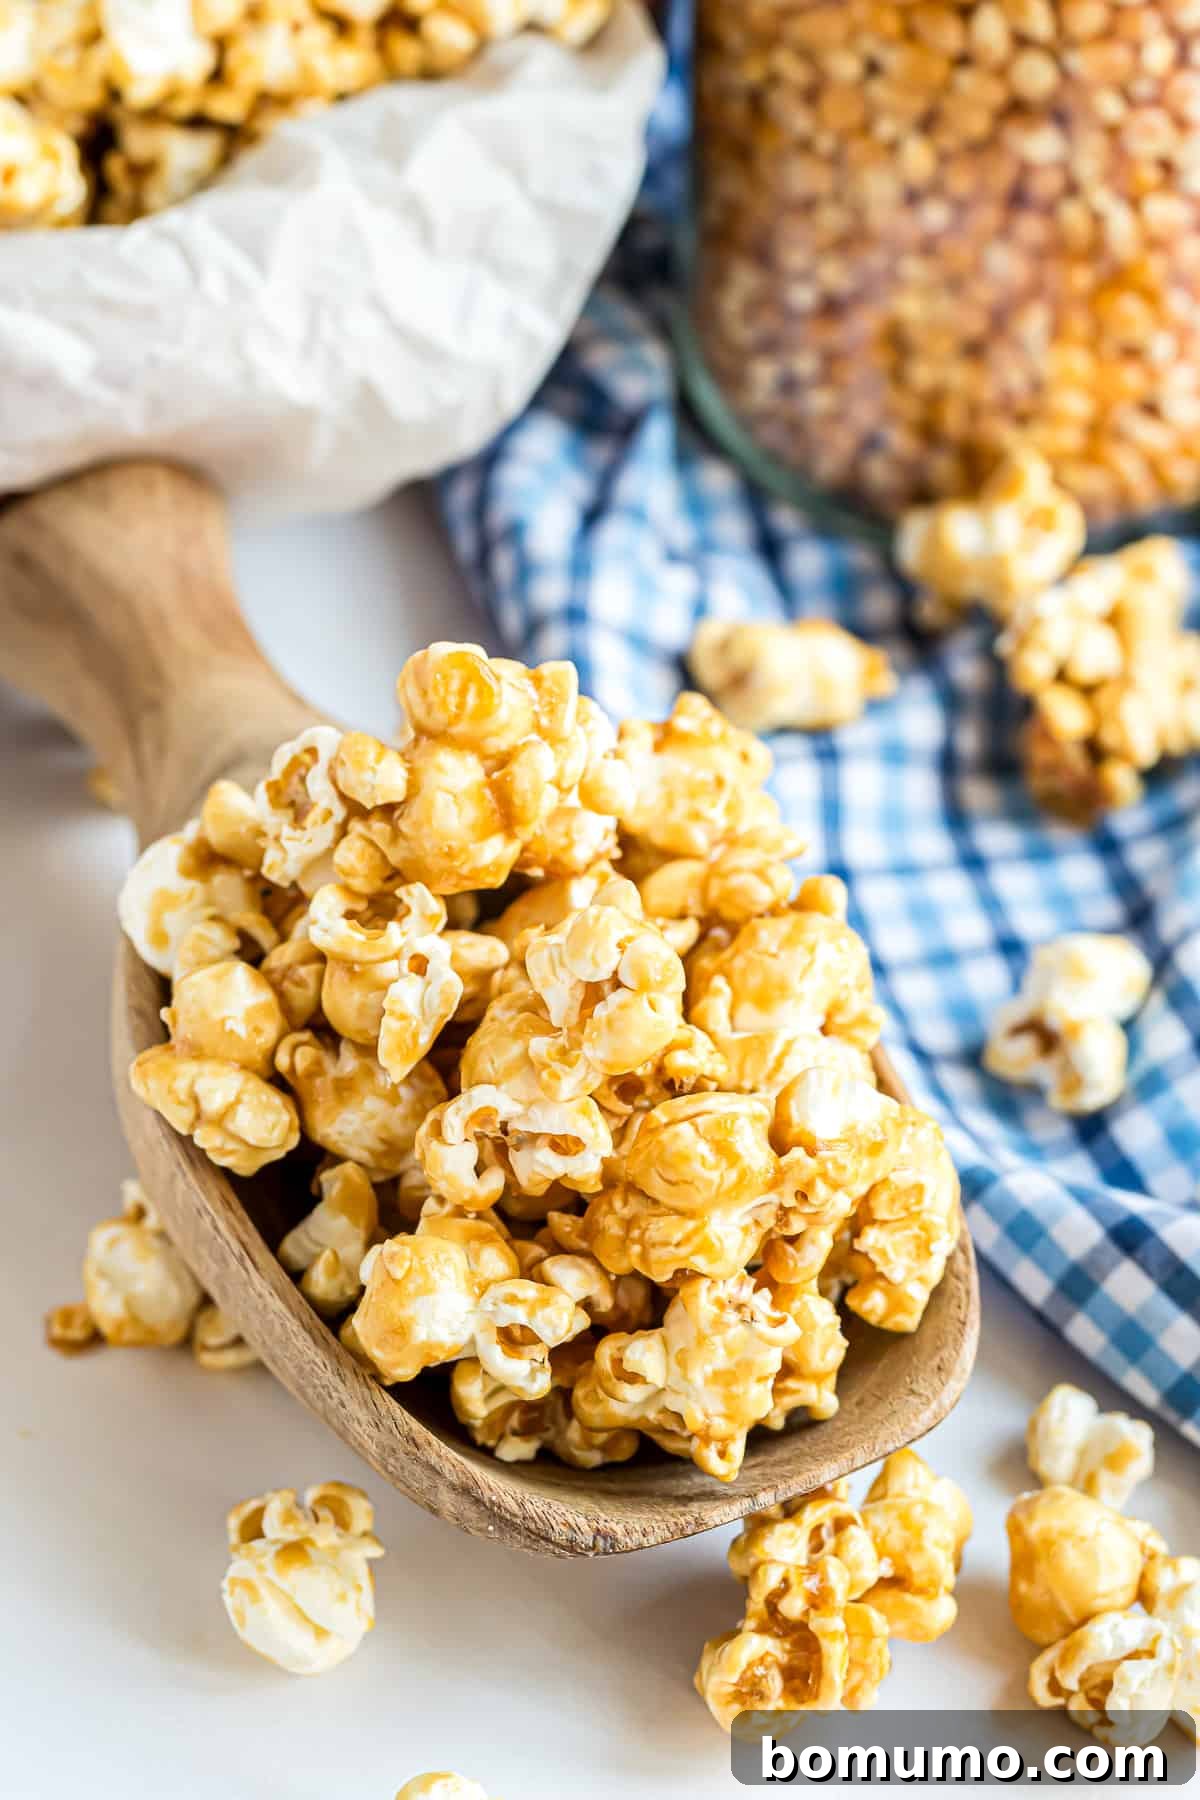
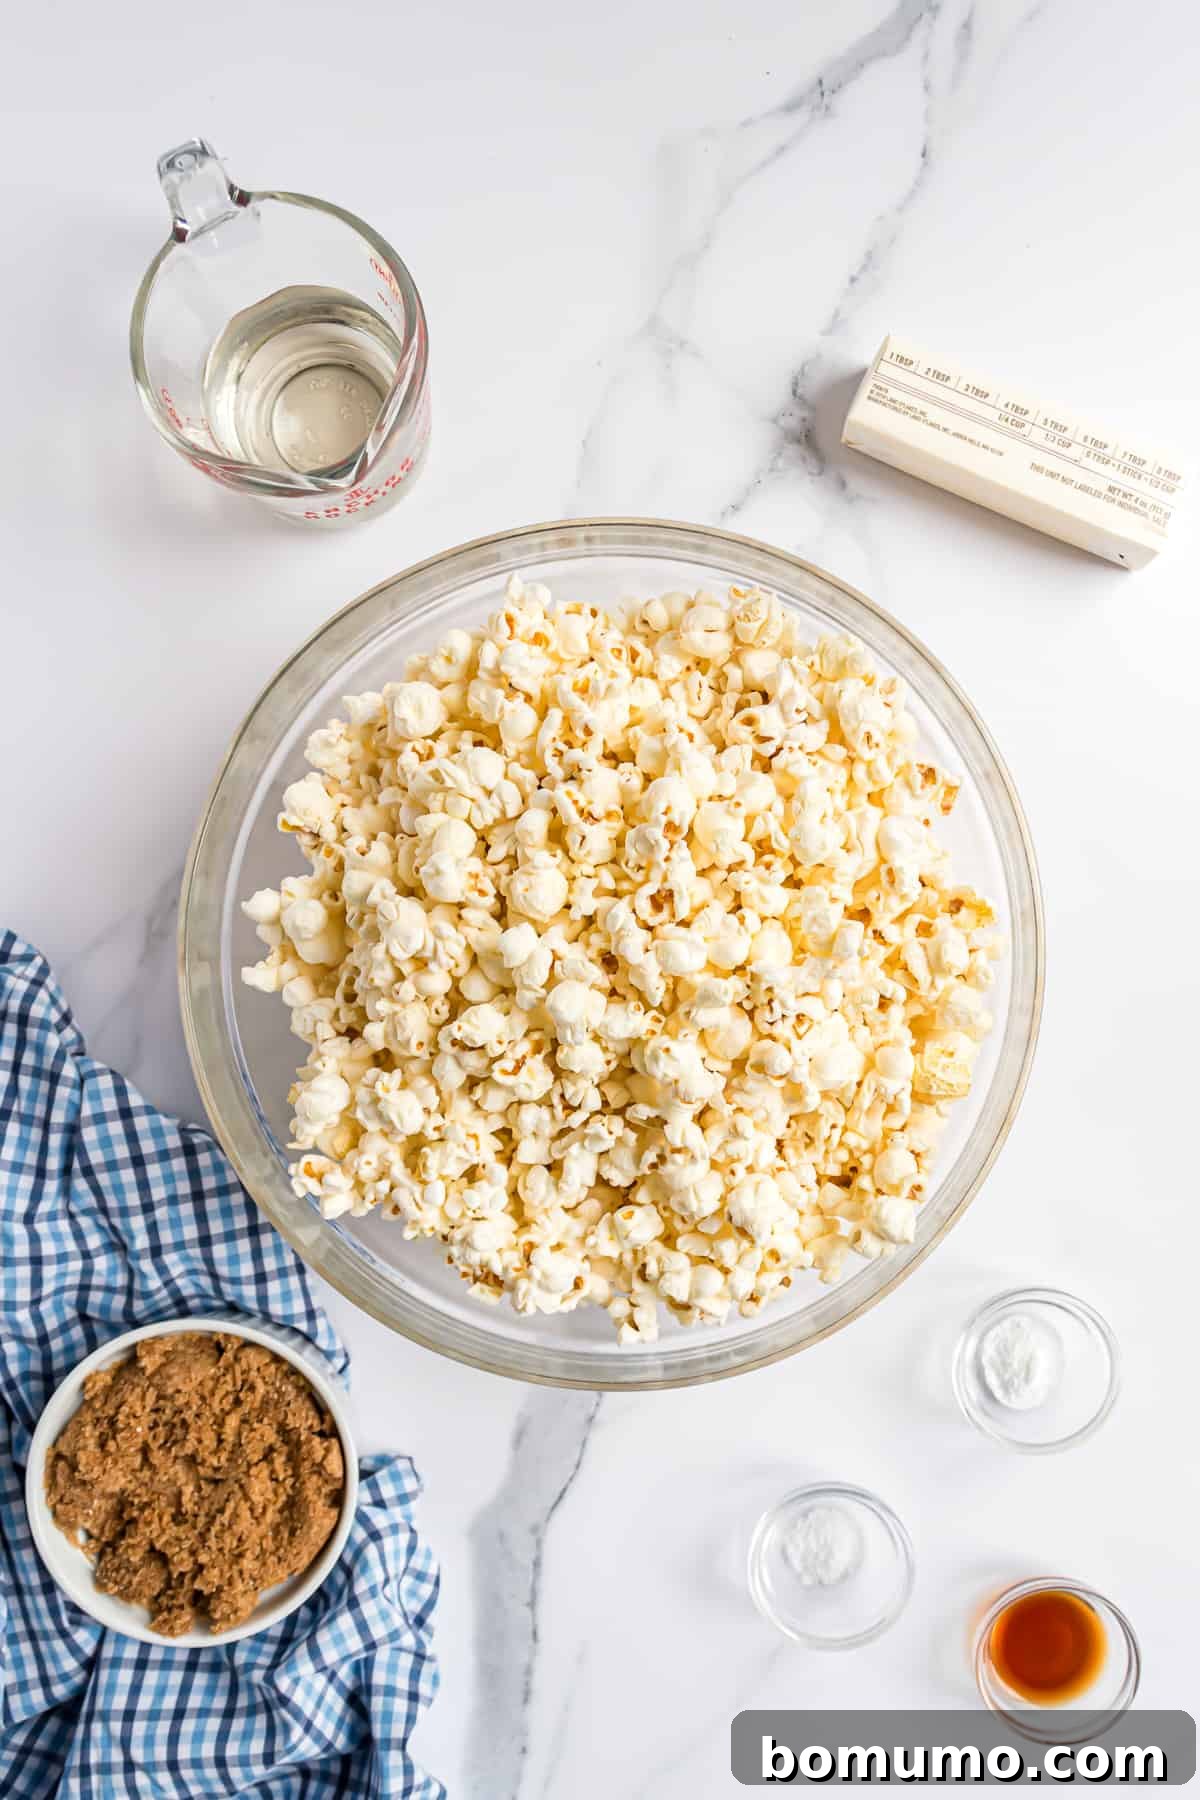
Ingredient Notes for the Perfect Caramel Corn
Every ingredient plays a vital role in achieving that coveted crispy, sweet, and non-sticky texture. Here’s a closer look at what you’ll need and why:
- Popped Popcorn: The foundation of our treat! You’ll want plain, unflavored popcorn. Whether you prefer the control of popping kernels in a hot air popper or on the stovetop, or opt for the convenience of microwave popcorn (ensuring it’s a plain variety), always start with a fresh batch. It’s crucial for the best texture and flavor.
- Unsalted Butter: Using unsalted butter is key to controlling the overall saltiness of your caramel. While a hint of salt is wonderful for balancing the sweetness, too much can overpower. Unsalted butter allows you to add kosher salt separately and precisely. It also contributes to the rich, creamy texture of the caramel.
- Light Brown Sugar: This provides the classic caramel flavor and color. Light brown sugar has a delicate molasses undertone that is ideal for caramel corn, offering a perfectly balanced sweetness without being too intense. Dark brown sugar, with its stronger molasses presence, could alter the desired flavor profile.
- Light Corn Syrup: This is the secret ingredient for preventing sugar crystallization and achieving that incredibly crispy, non-sticky caramel coating. Corn syrup acts as an invert sugar, ensuring a smooth, pliable caramel that coats each kernel beautifully and hardens to a satisfying crunch. Do not skip this!
- Kosher Salt: A pinch of kosher salt is essential. It doesn’t just add saltiness; it brilliantly enhances and balances the sweetness of the caramel, creating a more complex and appealing flavor profile. I prefer kosher salt over table salt as it lacks the metallic aftertaste sometimes associated with finer salts.
- Pure Vanilla Extract: For the most authentic and aromatic caramel flavor, always opt for pure vanilla extract. Its deep, warm notes round out the sweetness and add an irresistible aroma that elevates the entire snack. Imitation vanilla simply can’t compare.
- Baking Soda: This might seem like an unusual addition, but baking soda is a game-changer for caramel corn. When introduced to the hot caramel, it initiates a chemical reaction that creates tiny air bubbles. This aeration is what makes the caramel less dense, preventing it from becoming overly hard and sticky. Instead, it results in a delightfully brittle, crisp, and easily breakable coating.
The Science Behind Baking Soda in Caramel Corn
Adding baking soda to your hot caramel sauce is a crucial step that transforms its texture from sticky and chewy to perfectly crisp and brittle. The baking soda reacts with the acidic components in the brown sugar and corn syrup, producing carbon dioxide gas. These tiny gas bubbles get trapped within the caramel, aerating it and preventing the sugar from recrystallizing into a hard, dense block. This process is key to achieving that signature crispy-crunchy coating that makes homemade caramel corn so utterly irresistible. It also helps to mellow the intense sweetness and ensures the caramel coats the popcorn evenly without becoming unmanageable.
How to Make the Best Homemade Caramel Corn: Step-by-Step
Crafting this delightful snack is a straightforward process when you follow these steps carefully. Precision in caramel making, especially regarding temperature and stirring, is important for the best results.
1. Prepare Your Workspace and Popcorn
Begin by preheating your oven to 250℉ (120°C). This low, slow heat is essential for drying out the caramel and achieving maximum crispness. Line two large, rimmed baking sheets (standard 13×18 inch sheet pans are ideal) with parchment paper. This prevents sticking and makes cleanup a breeze. Next, place your freshly popped popcorn in an extra-large mixing bowl. Gently stir the popcorn; any heavier unpopped kernels or “old maids” will sink to the bottom, making them easy to scoop out and discard. Removing these ensures a pleasant, kernel-free snacking experience!
2. Craft the Irresistible Caramel Sauce
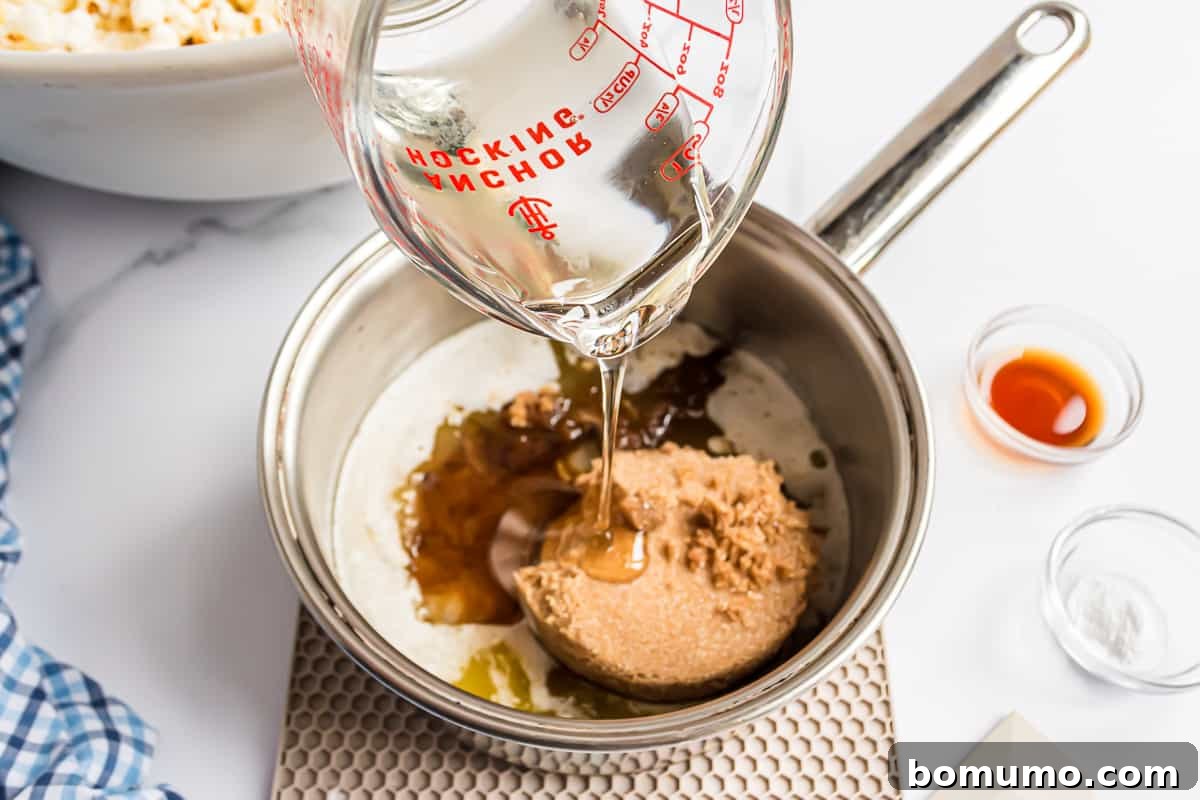
In a heavy-bottomed saucepan, melt the unsalted butter over medium heat. Once melted, add the light brown sugar, light corn syrup, and kosher salt. Stir the mixture gently until the sugar begins to dissolve. Bring this mixture to a full, “rolling boil.”
Understanding a Rolling Boil
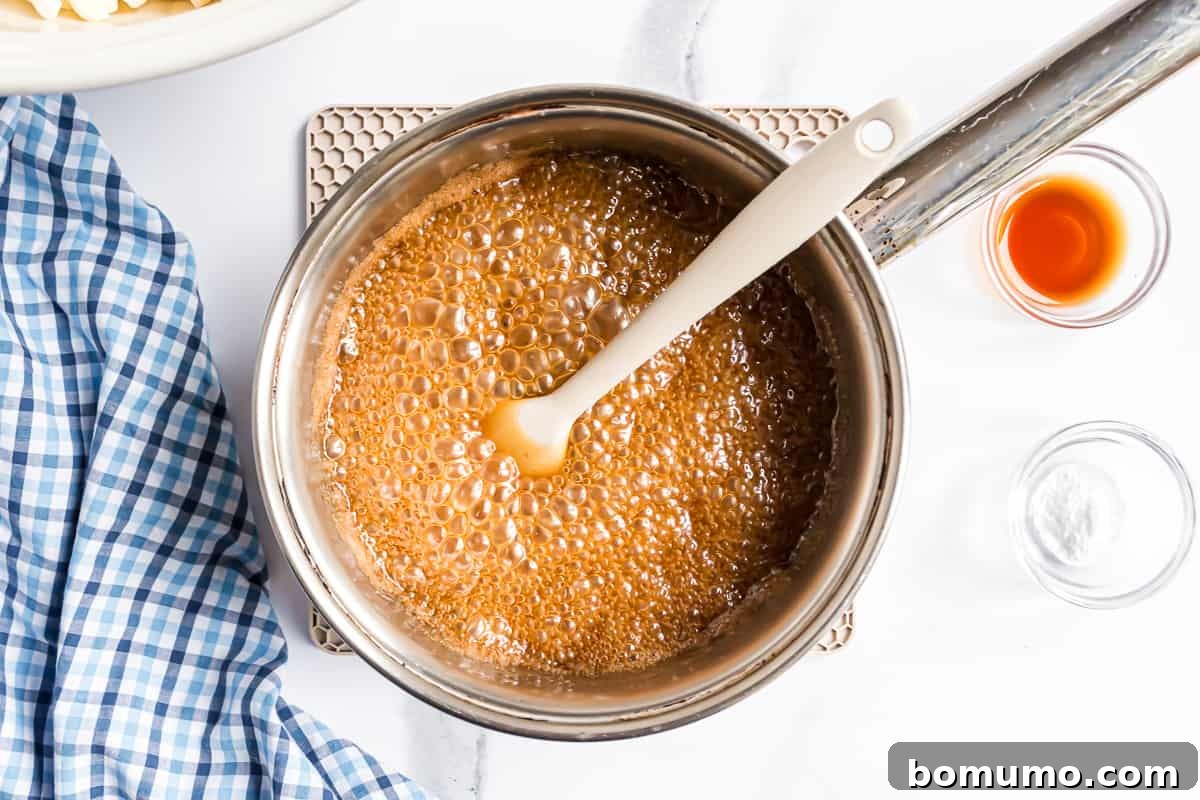
A “rolling boil” means that the entire surface of the caramel sauce is covered in vigorous, continuous bubbles that do not disappear when stirred. Once you observe this intense boiling action across the whole surface, reduce the heat to a gentle simmer and set a timer for precisely 5 minutes. During this crucial simmering stage, it is absolutely vital to resist the urge to stir the mixture. Stirring sugar while it’s boiling can cause sugar crystals to form, leading to a grainy or clumpy caramel instead of a smooth, glossy coating.
Once the mixture reaches that full rolling boil, reduce the heat to a simmer and continue to cook for exactly 5 minutes more. As mentioned, **do not stir** during this simmering period. This prevents crystallization and ensures a smooth, glossy caramel. The sugar needs to cook undisturbed to develop its rich flavor and proper consistency.
3. The Magical Addition of Vanilla and Baking Soda
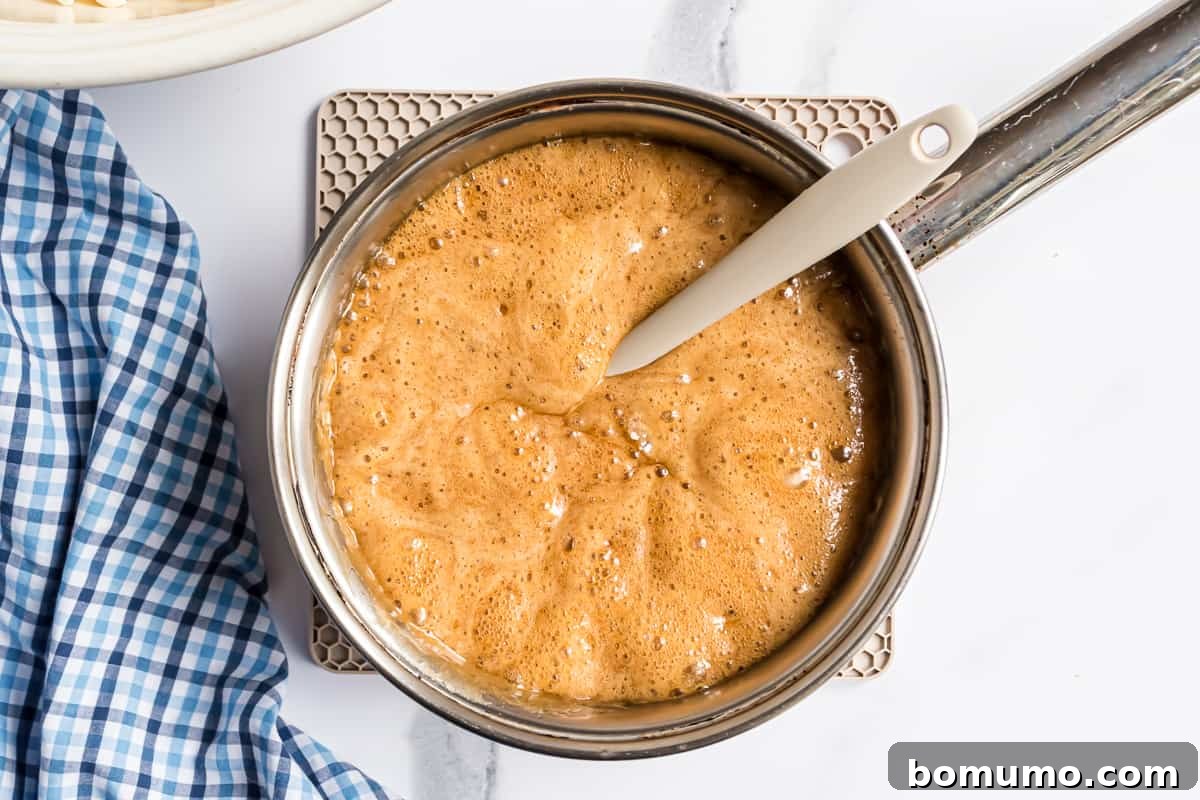
Immediately after the 5-minute simmer, remove the caramel sauce from the heat. Carefully stir in the pure vanilla extract and the baking soda. You will observe a fascinating reaction: the baking soda will cause the hot caramel sauce to foam up and lighten in color. This is perfectly normal and exactly what you want to see! The foaming indicates that the baking soda is working its magic, creating those tiny air bubbles that will make your caramel corn delightfully brittle and crunchy, not hard or sticky.
4. Coat the Popcorn Evenly
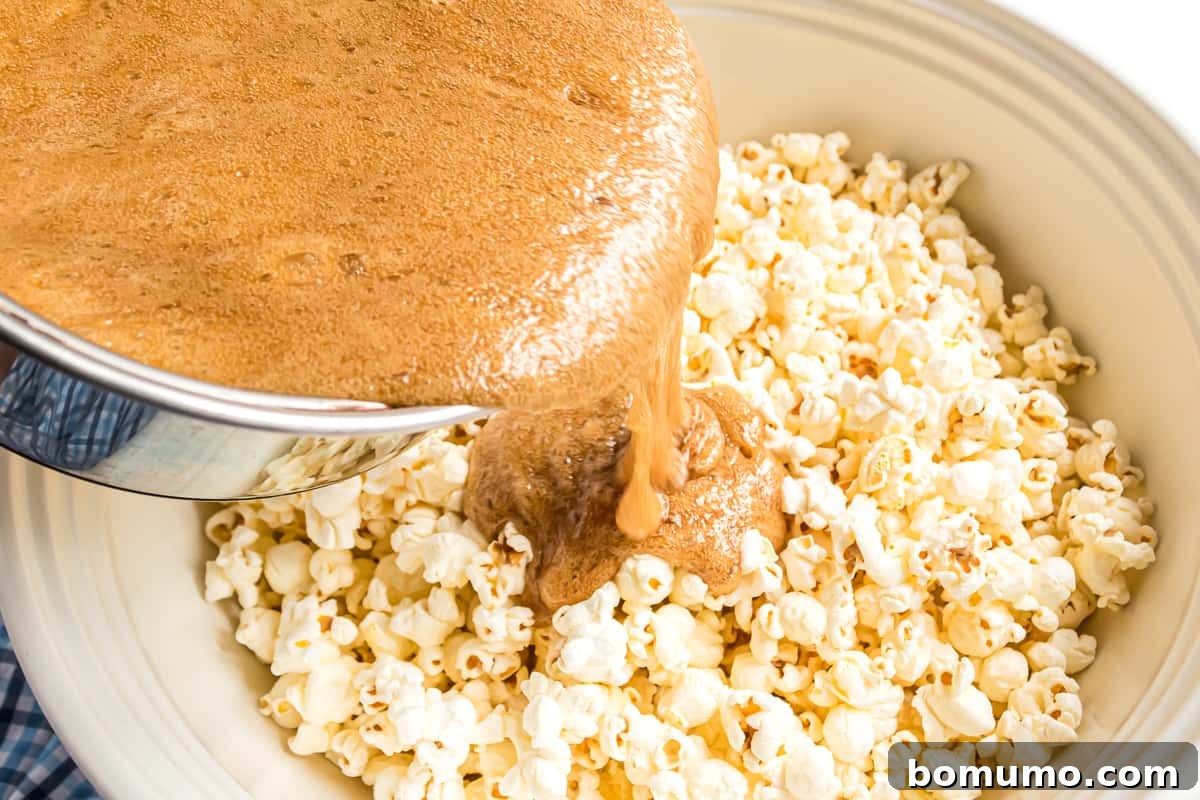
Working quickly, pour the warm, aerated caramel sauce evenly over the prepared popcorn in the large mixing bowl. Using a sturdy spoon or spatula, stir the popcorn gently but thoroughly until every kernel is coated with the glossy caramel. This step ensures a consistent flavor and texture in every bite. Once coated, transfer the caramel corn mixture to your two parchment-lined baking sheets, spreading it out into a single, even layer. This even distribution is crucial for uniform baking and crisping.
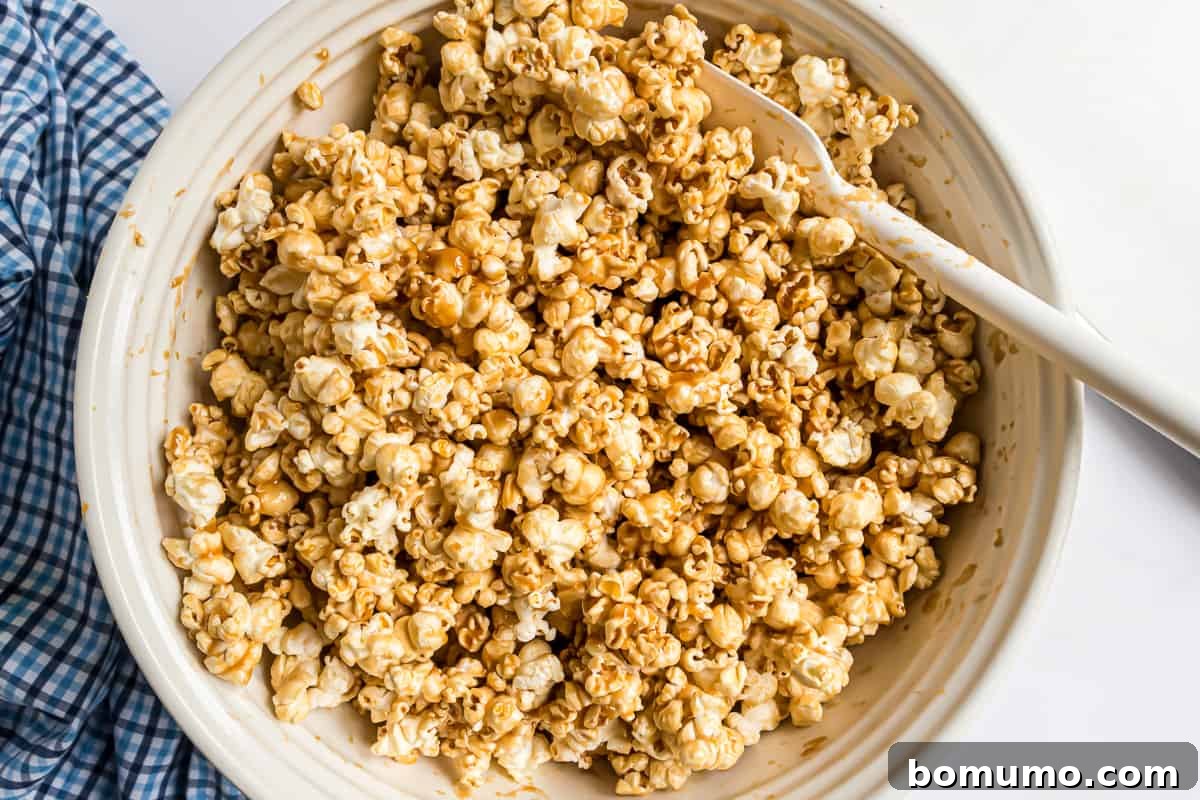
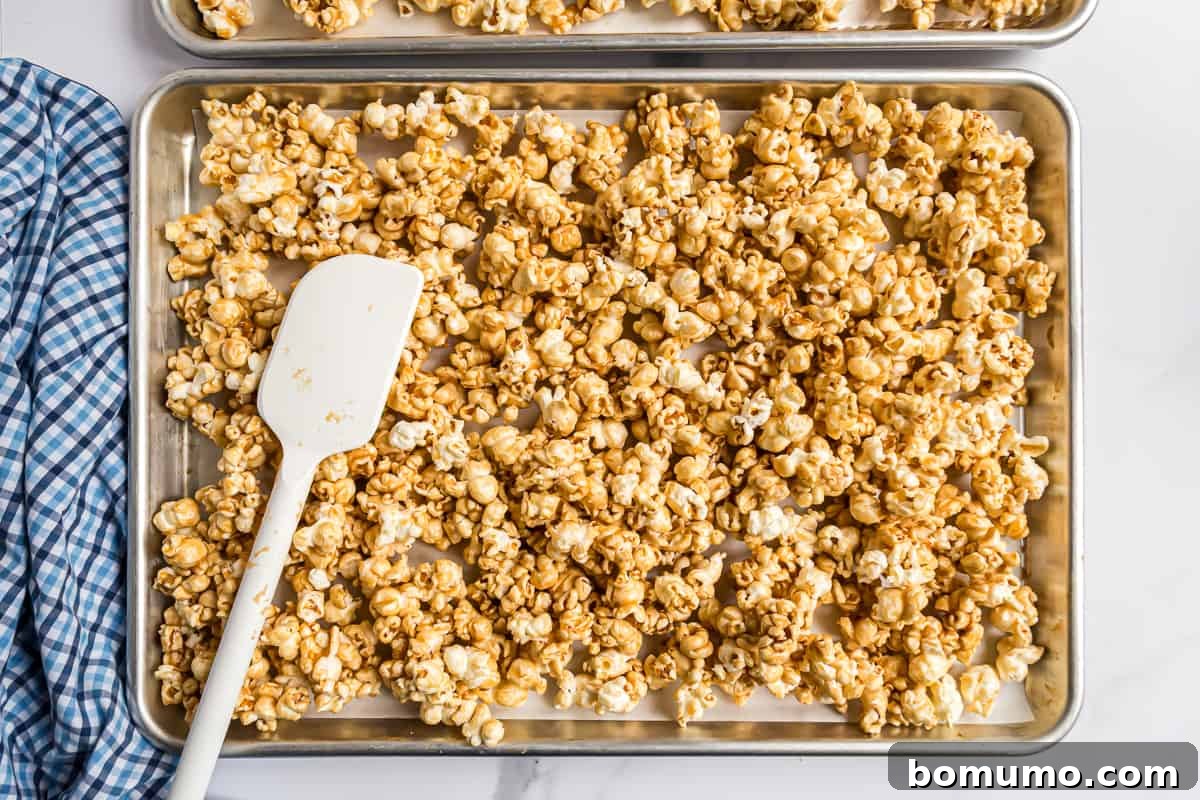
5. Bake to Crispy Perfection
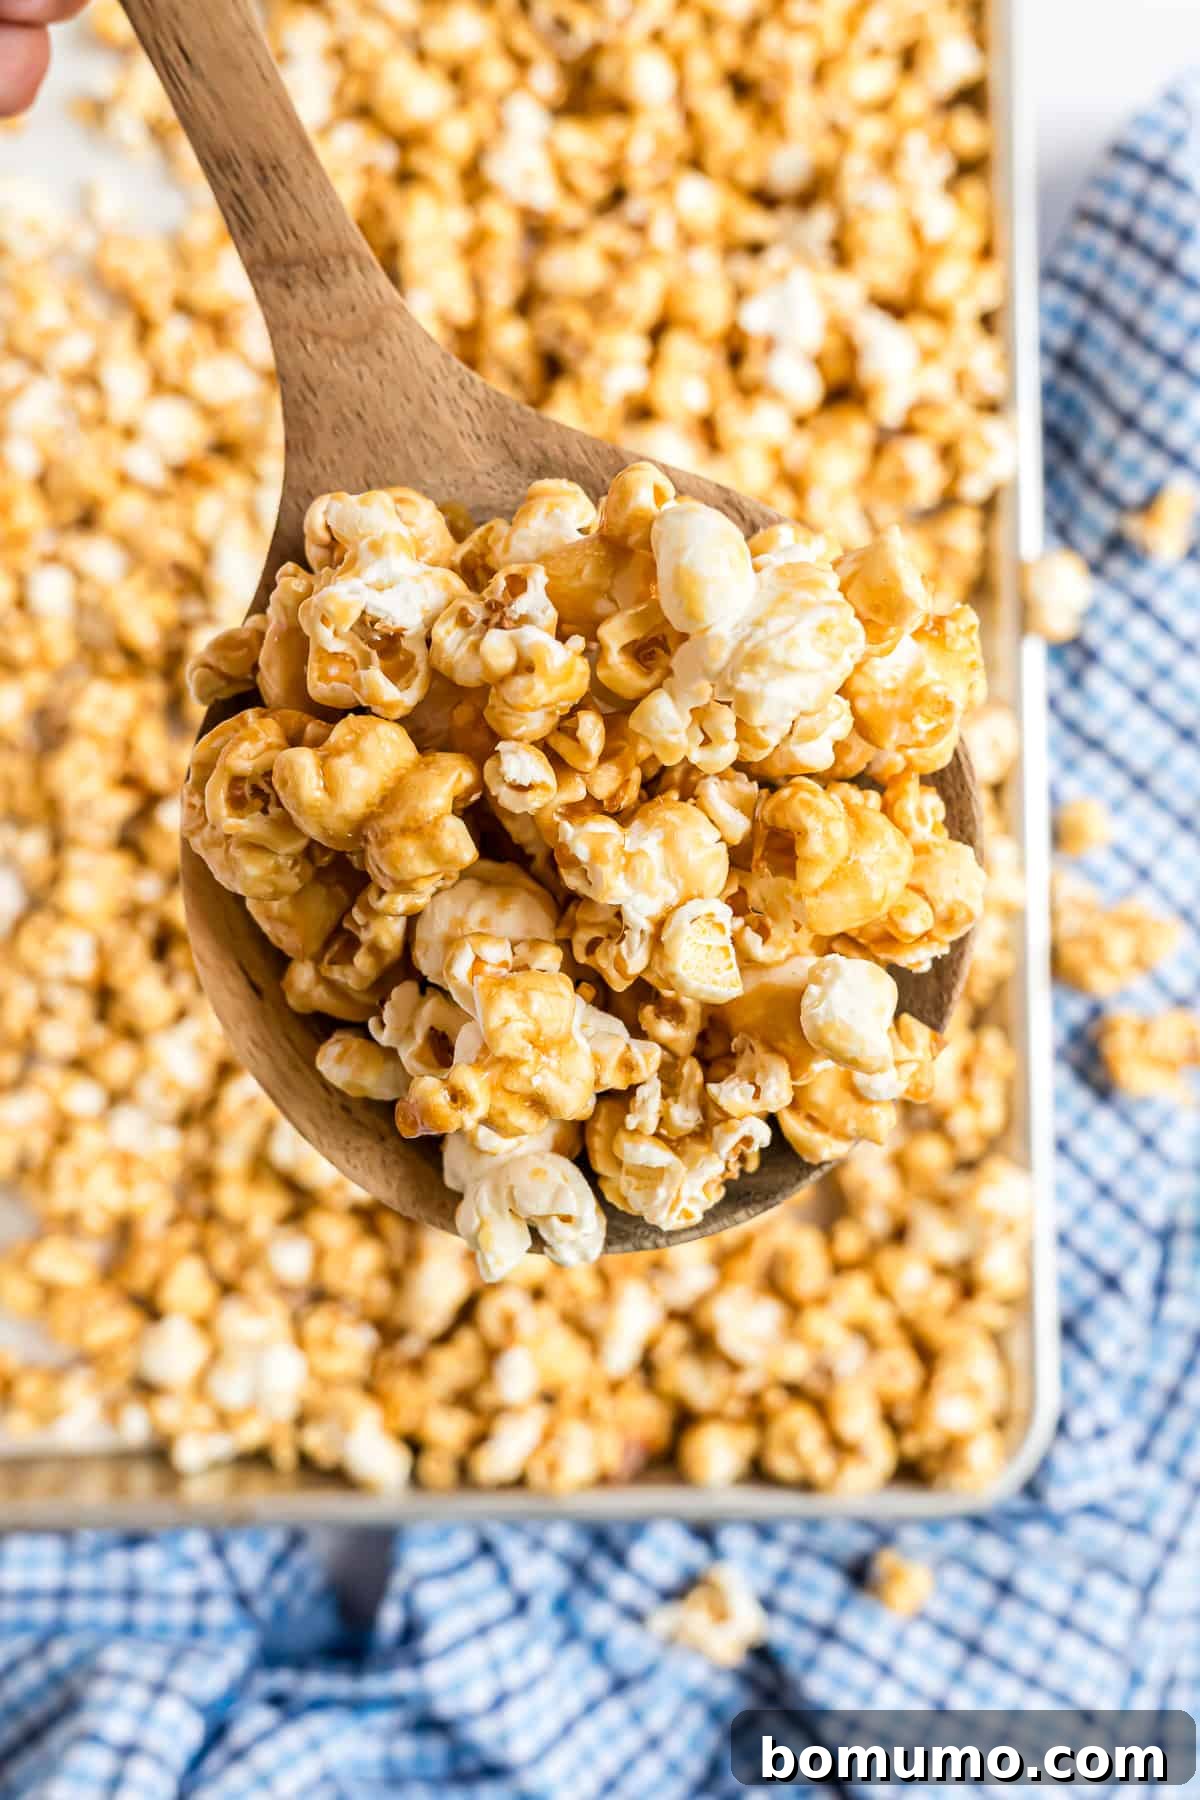
Place the baking sheets into your preheated oven and bake for a total of 1 hour. It’s vital to stir the caramel corn every 15 minutes during this baking period. Stirring ensures that all sides of the popcorn are exposed to the heat, allowing the caramel to dry out evenly and become consistently crisp. This continuous turning also prevents the caramel from pooling in certain areas and sticking to the parchment paper. Once the baking time is complete, remove the caramel corn from the oven and allow it to cool completely on the baking sheets. As it cools, the caramel will harden further. Once fully cooled, break any larger clusters into smaller, snackable pieces before storing.
Troubleshooting Your Caramel Corn
Troubleshooting Your Caramel Corn
Even seasoned bakers encounter hiccups. Here are some common issues and how to address them:
Why is my caramel corn sticky? This is the most common concern. If your homemade caramel corn turns out sticky or chewy instead of crisp, there are a couple of likely culprits:
- Under-baked: The caramel corn may simply need more time in the oven to thoroughly dry out. The low baking temperature isn’t for cooking, but for gently evaporating moisture from the caramel. Give it another 15-30 minutes, stirring every 10-15 minutes, until it feels firm and dry when removed from the oven. It will crisp up further as it cools.
- Under-cooked Caramel: The caramel sauce itself might not have cooked long enough on the stovetop. It’s crucial for the caramel to reach the correct temperature (around 220°F or 104°C, which we achieve with the 5-minute simmer after a rolling boil) to ensure it sets properly. If the caramel isn’t cooked to this stage, it retains too much moisture and will remain sticky.
Why is my caramel corn grainy? This usually happens if the sugar crystallized during the caramel-making process. Ensure you do not stir the caramel once it reaches a rolling boil and is simmering. Also, use a clean saucepan, as any stray sugar crystals can initiate crystallization.
Why is my caramel coating uneven? This could be due to not stirring the popcorn thoroughly when adding the caramel sauce, or not spreading it into an even layer on the baking sheets. Ensure equal distribution of heat and caramel by stirring every 15 minutes during baking.
Choosing the Best Popcorn Options for Your Caramel Corn
The quality of your popped popcorn significantly impacts the final result. Here are your best choices:
- Hot Air Popper or Stovetop: This method provides the freshest, fluffiest popcorn, ideal for caramel corn. For this recipe, a generous ½ cup of unpopped popcorn kernels will yield approximately 15 cups of perfectly popped popcorn. This is often the most cost-effective and flavorful option.
- Store-Bought Bagged Popcorn: For a convenient shortcut, you can purchase pre-popped popcorn. It is essential to select a plain or “sea salt only” variety to avoid unwanted flavors that could clash with your caramel. A standard 5-ounce bag typically contains about 10 to 12 cups of popped popcorn, which should be sufficient for this recipe.
- Microwave Popcorn: If you prefer the ease of microwave popcorn, look for a plain or sea salt variety, avoiding buttered or heavily flavored options. A 3.29-ounce bag will generally produce around 10 cups of popped popcorn, making it another viable quick-prep option.
Storage Tips for Your Delicious Caramel Corn
Storage Tips for Your Delicious Caramel Corn
To keep your homemade caramel corn tasting fresh and crunchy for as long as possible, proper storage is key. Ensure the caramel corn has cooled completely to room temperature before storing. Any residual warmth can create condensation, leading to stickiness and a loss of crispness. Once cool, transfer it to an airtight storage bag or a sealed container. Stored properly at room temperature, it will remain wonderfully delicious for up to 2 weeks. Freezing is not recommended as it can compromise the texture and lead to a softer, less enjoyable product once thawed.
Elevate Your Popcorn: Explore Seasoning Mixes
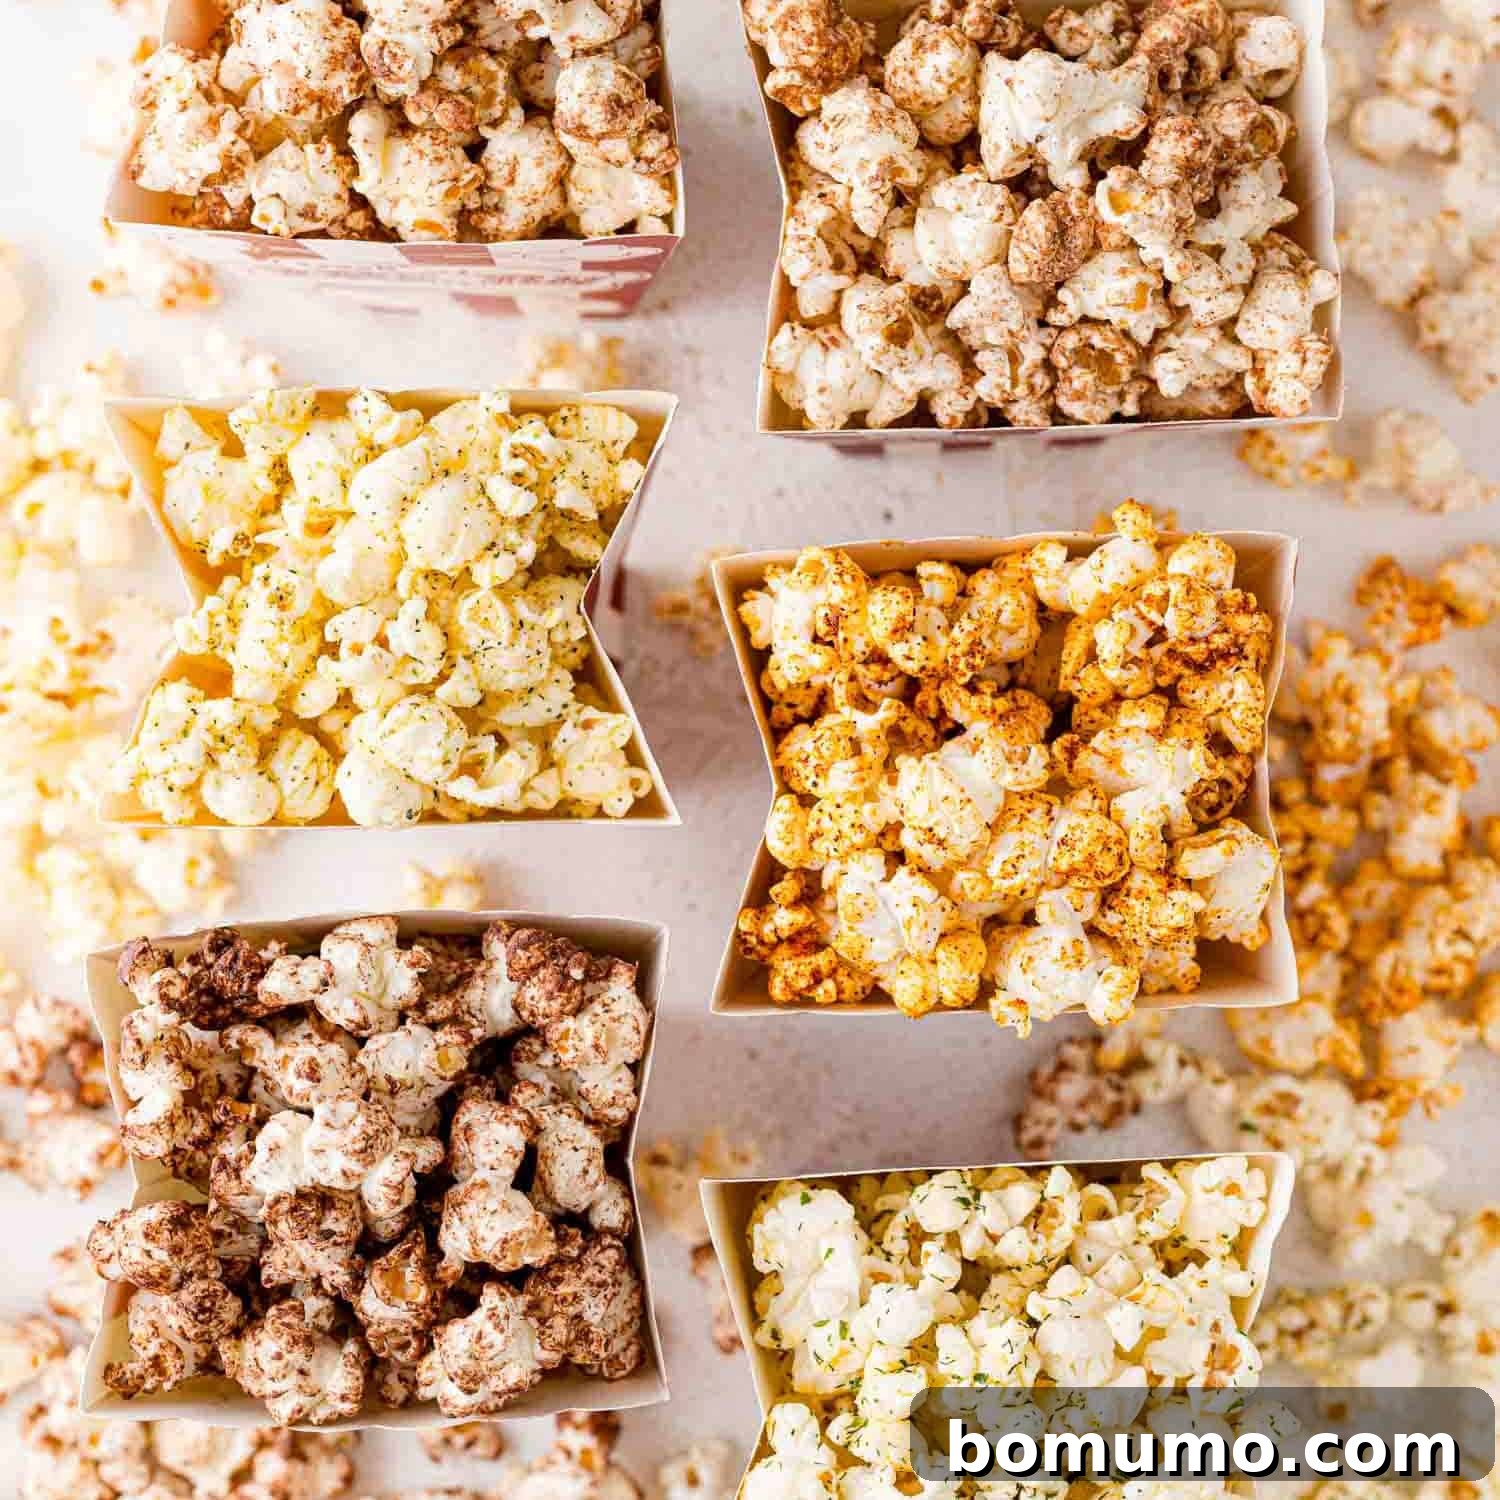
If your love for popcorn extends beyond sweet caramel, you absolutely must try my diverse range of popcorn seasoning mixes. From savory to spicy and even more sweet options, there’s a flavor for every craving. Dive into my collection featuring taco, cinnamon sugar, gingerbread, Italian garlic, zesty ranch, and rich chocolate seasonings. Each one is designed to transform your plain popcorn into an exciting new snack adventure!
More Irresistible Snack Recipes to Explore
Homemade Soft Pretzels
Monster Cookie Energy Balls
Homemade Cheez-Its (Cheddar Cheese Crackers)
Peanut Butter Popcorn
Homemade Caramel Corn
Rachel Gurk
15 minutes
1 hour
5 minutes
1 hour
20 minutes
16
cups
Pin
Ingredients
1x
1x
-
16
cups
popped popcorn
(½ cup unpopped kernels) -
½
cup
unsalted butter
(1 stick, or 4 oz.) -
1
cup
light brown sugar, packed -
½
cup
light corn syrup -
¼
teaspoon
kosher salt
-
1
teaspoon
pure vanilla extract
-
½
teaspoon
baking soda
Instructions
-
Preheat oven to 250℉ (120°C). Line 2 large, rimmed baking sheets (13 x 18 inches) with parchment paper. Set aside.
-
Add popcorn to a large mixing bowl, removing any unpopped kernels. (Lightly stirring the popcorn will cause the heavier unpopped kernels to fall to the bottom of the bowl for easy removal.) Set aside.16 cups popped popcorn
-
Melt butter in a saucepan over medium heat. Add brown sugar, corn syrup, and salt. Bring to a rolling boil (see “Understanding a Rolling Boil” tip above). Reduce heat to simmer for 5 minutes. Do not stir during this time to prevent crystallization.½ cup unsalted butter,
1 cup light brown sugar, packed,
½ cup light corn syrup,
¼ teaspoon kosher salt -
Remove the caramel sauce from the heat and stir in vanilla and baking soda. The mixture will foam, which is the desired reaction.1 teaspoon pure vanilla extract,
½ teaspoon baking soda -
Pour the hot caramel sauce over the popcorn and stir thoroughly to coat evenly. Divide the coated popcorn evenly between the prepared baking sheets and spread it into a single, even layer.
-
Bake for 1 hour, stirring every 15 minutes to ensure even drying and crispness. Let cool completely on the baking sheets. Once cool, break into smaller pieces if necessary before storing.
Notes
- What is a rolling boil? It refers to a vigorous boil where the entire surface of the liquid is covered in large, persistent bubbles that do not subside when stirred. Once you observe this, reduce the heat to a simmer and start your 5-minute timer for cooking the caramel.
- Storage: To maintain optimal crispness, ensure your caramel corn is completely cool before storing. Transfer it to an airtight storage bag or container. It will stay fresh and delicious at room temperature for up to 2 weeks. Freezing is generally not recommended for best texture.
- Popcorn options: For making plain popcorn, you can use your preferred method: a hot air popper or stovetop (½ cup unpopped kernels yields about 15 cups popped). Alternatively, use store-bought pre-popped popcorn as a shortcut; a 5-ounce bag provides 10 to 12 cups. If using microwave popcorn, choose a plain or “sea salt only” variety (a 3.29-ounce bag makes approximately 10 cups of popped popcorn). Avoid any buttered or flavored varieties that could interfere with the caramel’s taste.
Nutrition
Serving:
1
cup
,
Calories:
177
kcal
,
Carbohydrates:
30
g
,
Protein:
1
g
,
Fat:
6
g
,
Saturated Fat:
4
g
,
Polyunsaturated Fat:
0.4
g
,
Monounsaturated Fat:
2
g
,
Trans Fat:
0.2
g
,
Cholesterol:
15
mg
,
Sodium:
83
mg
,
Potassium:
57
mg
,
Fiber:
2
g
,
Sugar:
22
g
,
Vitamin A:
199
IU
,
Calcium:
15
mg
,
Iron:
0.4
mg
Nutrition information is automatically calculated, so should only be used as an approximation.
Did You Make This?
Share a comment and rating below! I love hearing what you think!