
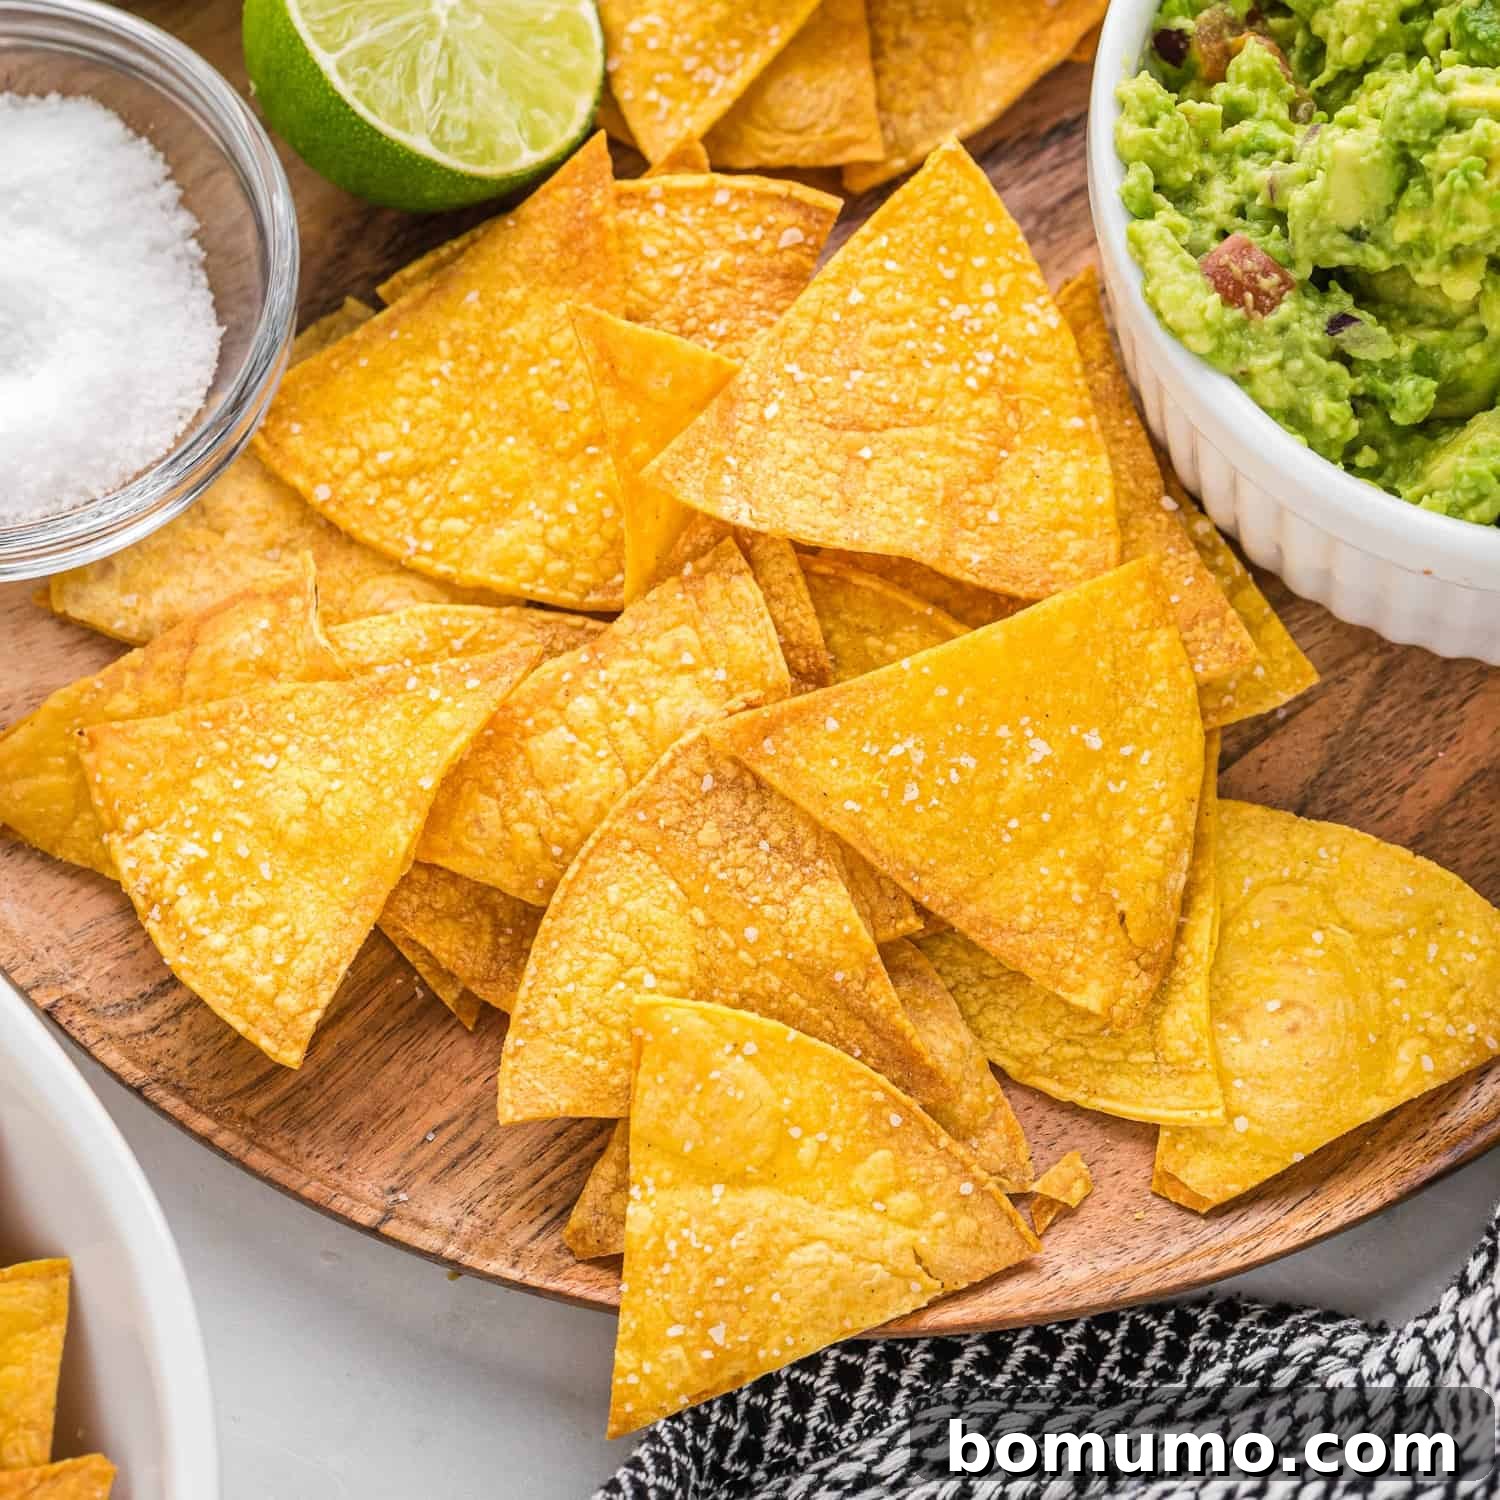
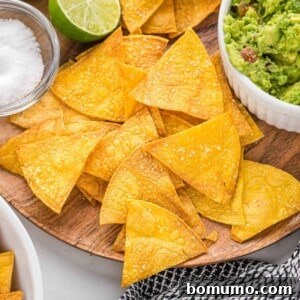
Experience the joy of crafting your own healthy, homemade baked tortilla chips! Achieve that perfect crunchy, salty satisfaction without the excess grease, making them an ideal snack for any occasion.
Recipe Overview: Your Guide to Perfect Homemade Chips
Why you’ll love them: These baked tortilla chips are incredibly easy to make, remarkably healthier than their fried counterparts, and significantly more economical. You’ll quickly discover a new favorite snack that satisfies your cravings without the guilt.
How long it takes: With just 5 minutes of active preparation time and a quick 12-15 minutes in the oven, you can have a fresh batch of crispy chips ready in under 20 minutes.
Equipment you’ll need: All you require are a sturdy sheet pan (or two for larger batches) and a conventional oven. An air fryer is also a fantastic alternative for even quicker results!
Servings: This recipe yields approximately 3 generous servings, but you can easily scale it up or down to create as many or as few chips as your heart desires.
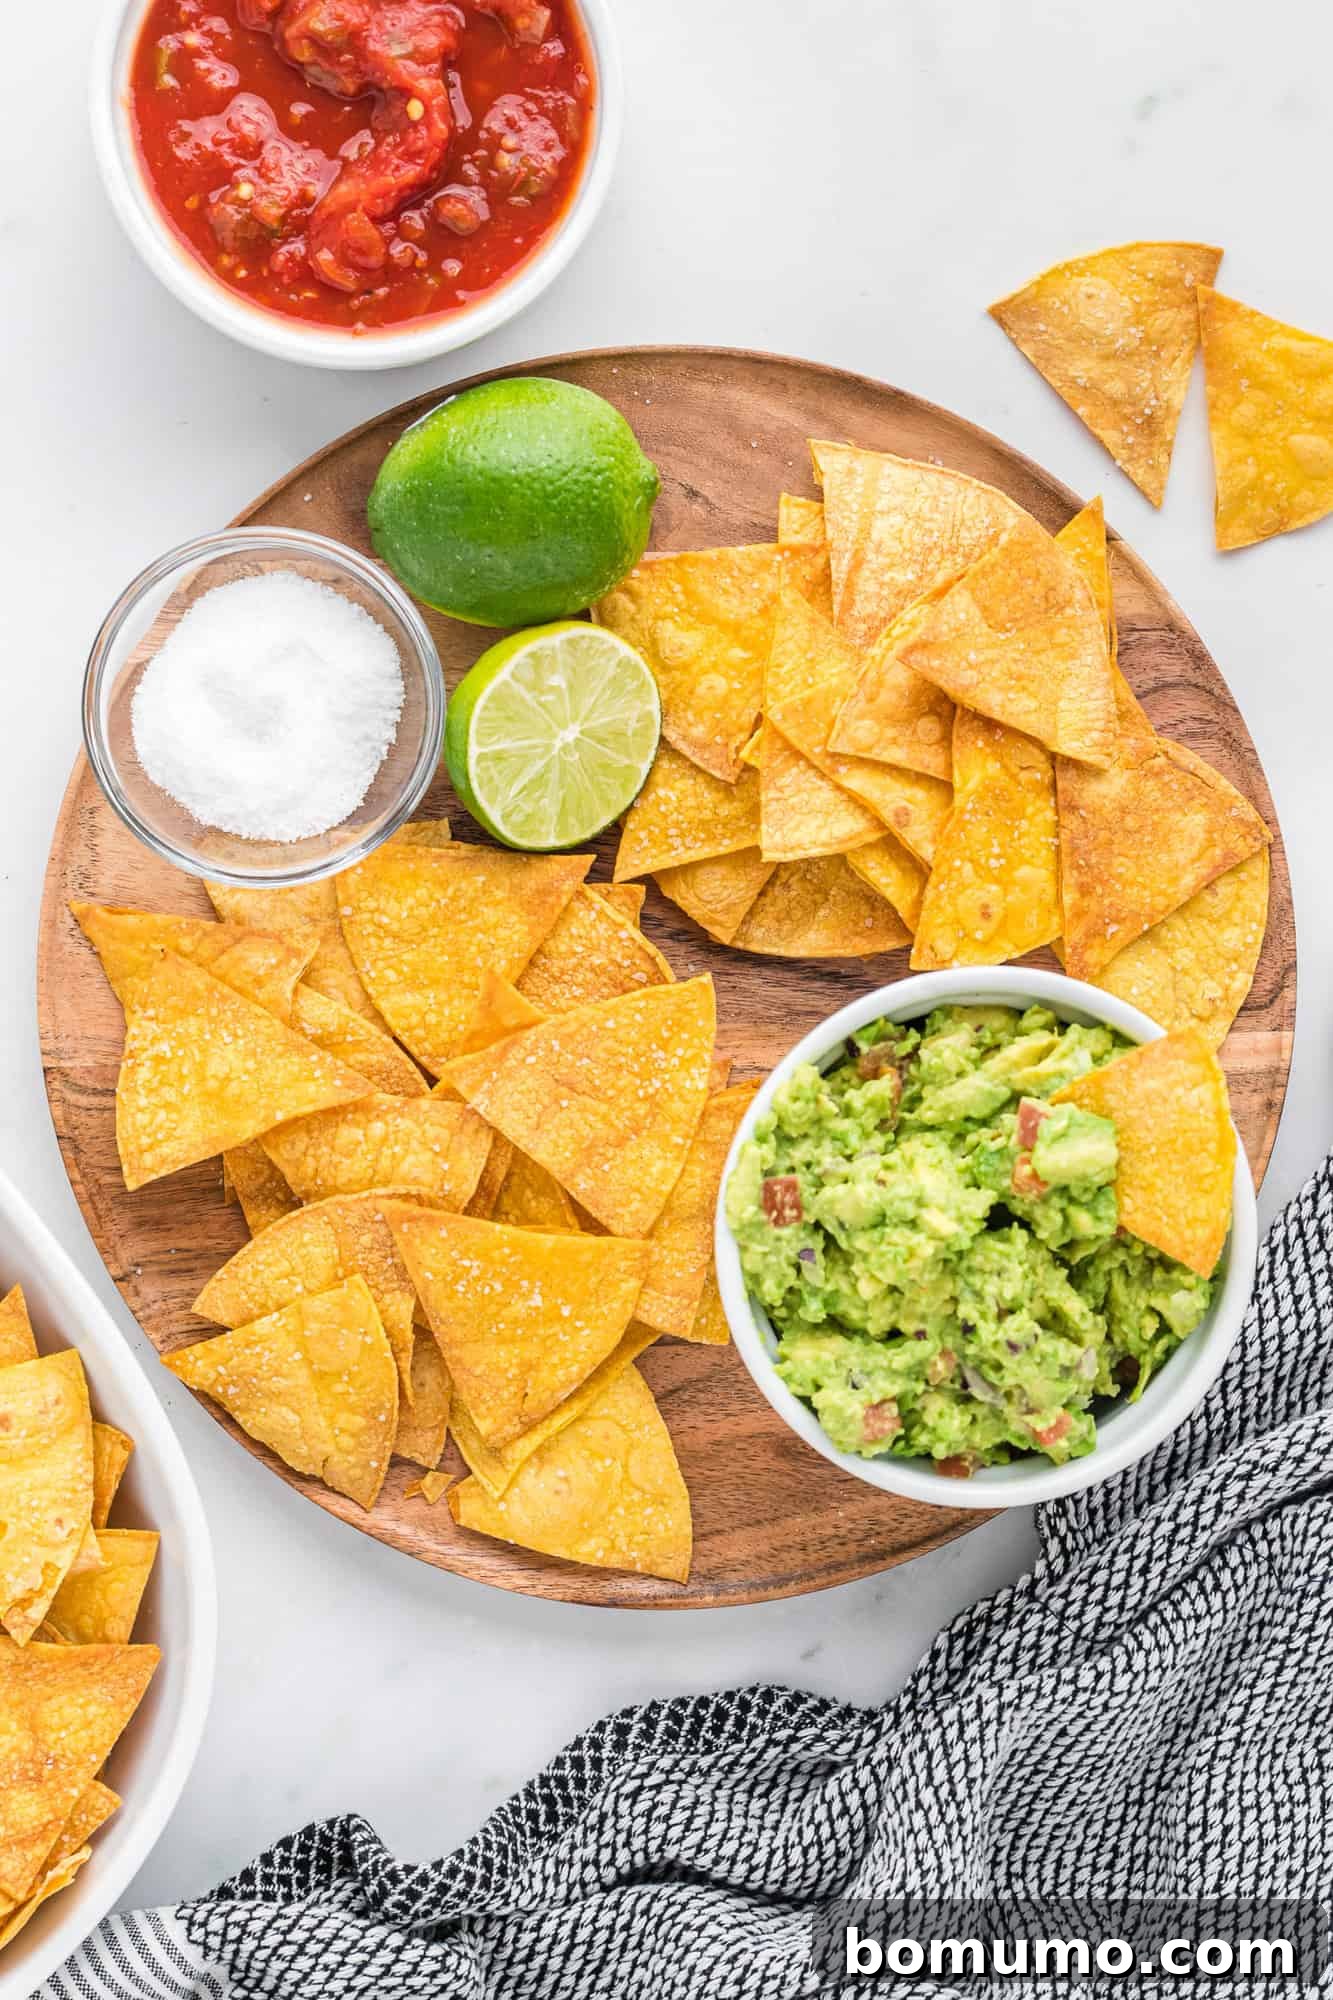
There’s nothing quite like the irresistible appeal of warm, freshly baked tortilla chips, with the authentic, wholesome flavor of corn shining through every crispy bite. Straight from the oven, these homemade delights are so incredibly delicious, you’ll find it nearly impossible to stop at just one handful. Forget the greasy, store-bought bags; these chips offer a superior snacking experience that’s both satisfying and surprisingly simple to achieve.
If you’re anything like me, you often find yourself with a partial package of corn tortillas lingering in the pantry. These versatile staples are perfect for so many delicious dishes, from hearty sheet pan breakfast tostadas and zesty fish tacos to a comforting and healthy Mexican lasagna with Swiss chard. Baking your own tortilla chips is not only a fantastic way to utilize those leftover tortillas, but it also transforms them into a gourmet snack that far surpasses anything you can buy.
Making your own chips is an endeavor so easy, it almost feels like magic, and the results are truly spectacular. I wholeheartedly believe that the combination of warm, homemade tortilla chips and fresh pico de gallo ranks among life’s simplest yet most profound culinary pleasures. Add an ice-cold beer into the mix, and you might just find that you don’t even need a formal dinner. Just the other night, after buying corn tortillas for fajitas but not quite being in the mood, I decided to turn them into chips instead. It was, without a doubt, the best spontaneous decision I’ve made in the kitchen all week!
Why Choose Homemade Baked Tortilla Chips?
The decision to make your own tortilla chips at home offers a multitude of compelling advantages that elevate your snacking game. Here’s why this simple switch is an absolute winner:
- Unbelievably Fun and Simple to Make! This isn’t just a recipe; it’s a culinary hack that’s so straightforward, you’ll be amazed. The process is incredibly simple: a few cuts, a light spray, and a quick bake. Once you try it, making your own chips will seamlessly integrate into your kitchen routine. Imagine casually offering, “Chips, anyone? Just let me toss a fresh batch in the oven!” You’ll feel like a true kitchen wizard, effortlessly conjuring up warm, crispy snacks on demand. It’s a quick, gratifying activity that even the kids can help with.
- Remarkably Economical. Say goodbye to overpriced bags of greasy tortilla chips from the grocery store. A pack of 30 quality corn tortillas can often be purchased for just a couple of dollars. From that single, inexpensive package, you can create a substantial amount of delicious, healthy chips – far more than you’d get from a single bag of store-bought. This is an especially brilliant way to utilize any leftover corn tortillas you might have, ensuring nothing goes to waste and saving you money in the long run.
- Experience Unparalleled Fresh Flavor. Remember that delightful basket of warm, complimentary chips brought to your table at your favorite Mexican restaurant? These baked tortilla chips taste exactly like that – maybe even better! The moment they emerge from your oven, they’re infused with a warmth and freshness that store-bought chips simply cannot replicate. The pure, authentic corn flavor truly shines, unmasked by excessive oil or artificial ingredients.
- A Healthier Snacking Alternative. Traditional fried chips are submerged in hot oil, leading them to absorb a significant amount of fat. Our baked version offers a much lighter, healthier alternative. By lightly misting the tortillas with cooking oil spray, you drastically reduce the fat content, making these chips lower in calories and a more wholesome choice. Plus, you control the ingredients, meaning no undesirable additives or preservatives found in many commercial brands. It’s pure, unadulterated goodness you can feel good about.
- Naturally Gluten-Free. For those with gluten sensitivities or dietary preferences, plain corn tortillas are a fantastic choice, as they are inherently gluten-free. Made simply from ground corn, these chips provide a safe and delicious option for enjoying a classic snack without worry. Always check your tortilla package ingredients to ensure no hidden gluten-containing additives, but most standard corn tortillas are naturally compliant.
Creative Ways to Serve Your Homemade Chips
Once you’ve experienced the superior taste and texture of homemade baked tortilla chips, you’ll want to pair them with everything. Here are some fantastic serving ideas to inspire your next snack or meal:
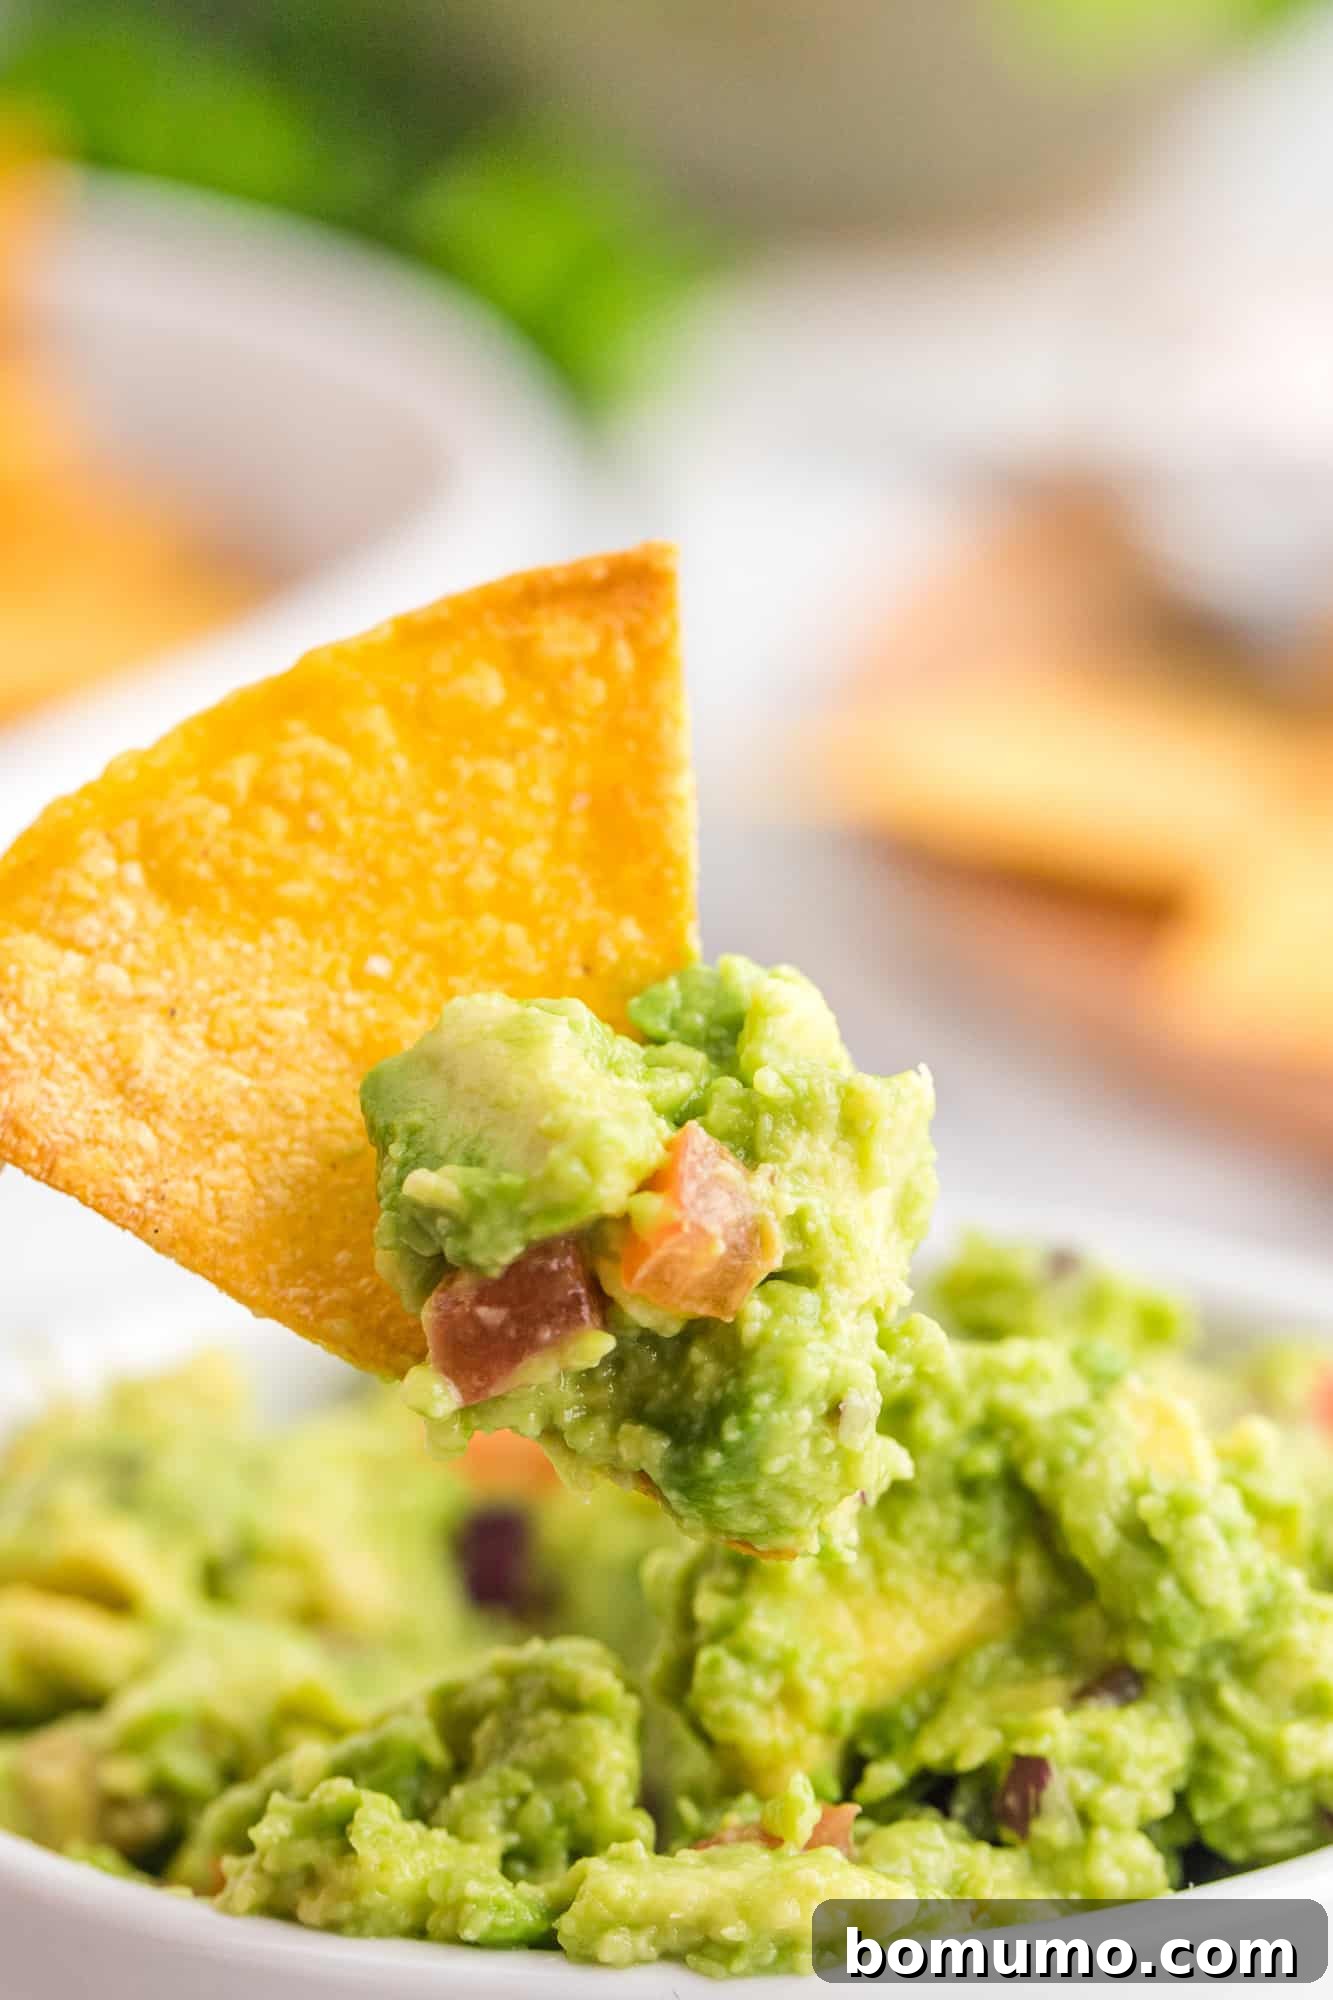
Perfect with Dips. Tortilla chips are the ultimate vehicle for dipping! Pair them with a classic restaurant-style salsa (or explore a smoky chipotle salsa!) or, even better, a rich and creamy homemade guacamole. For heartier options, try them with an easy sausage dip or a comforting, creamy refried bean dip. For a quick, healthy lunch or appetizer, whip up some homemade black bean dip – it’s low-calorie, keeps beautifully in the fridge, and its robust flavor complements these chips wonderfully. Looking for a bean dip with an extra nutritional boost and a secret ingredient? Don’t miss the flavorful Southwestern black bean dip!
An Ideal Side Dish. Elevate any Mexican-inspired meal by serving a fresh batch of homemade chips on the side. They’re a fantastic accompaniment to vibrant southwest salad bowls, a hearty farro salad with roasted poblanos, succulent fajita stuffed chicken breasts, or everyone’s beloved white chicken chili! And for a truly satisfying and easy weeknight dinner, they’re indispensable with slow cooker salsa chicken, affectionately known as “taco slop.”
Crunchy Soup Companion. Break away from traditional crackers and add a delightful crunch to your favorite soups with these crispy tortilla chips. They’re excellent with a nourishing red lentil soup or a comforting smoky roasted tomato soup. For a truly indulgent experience, these chips are absolutely awesome served with creamy queso chili or a wholesome vegetarian quinoa chili.
Essential Ingredient Insights
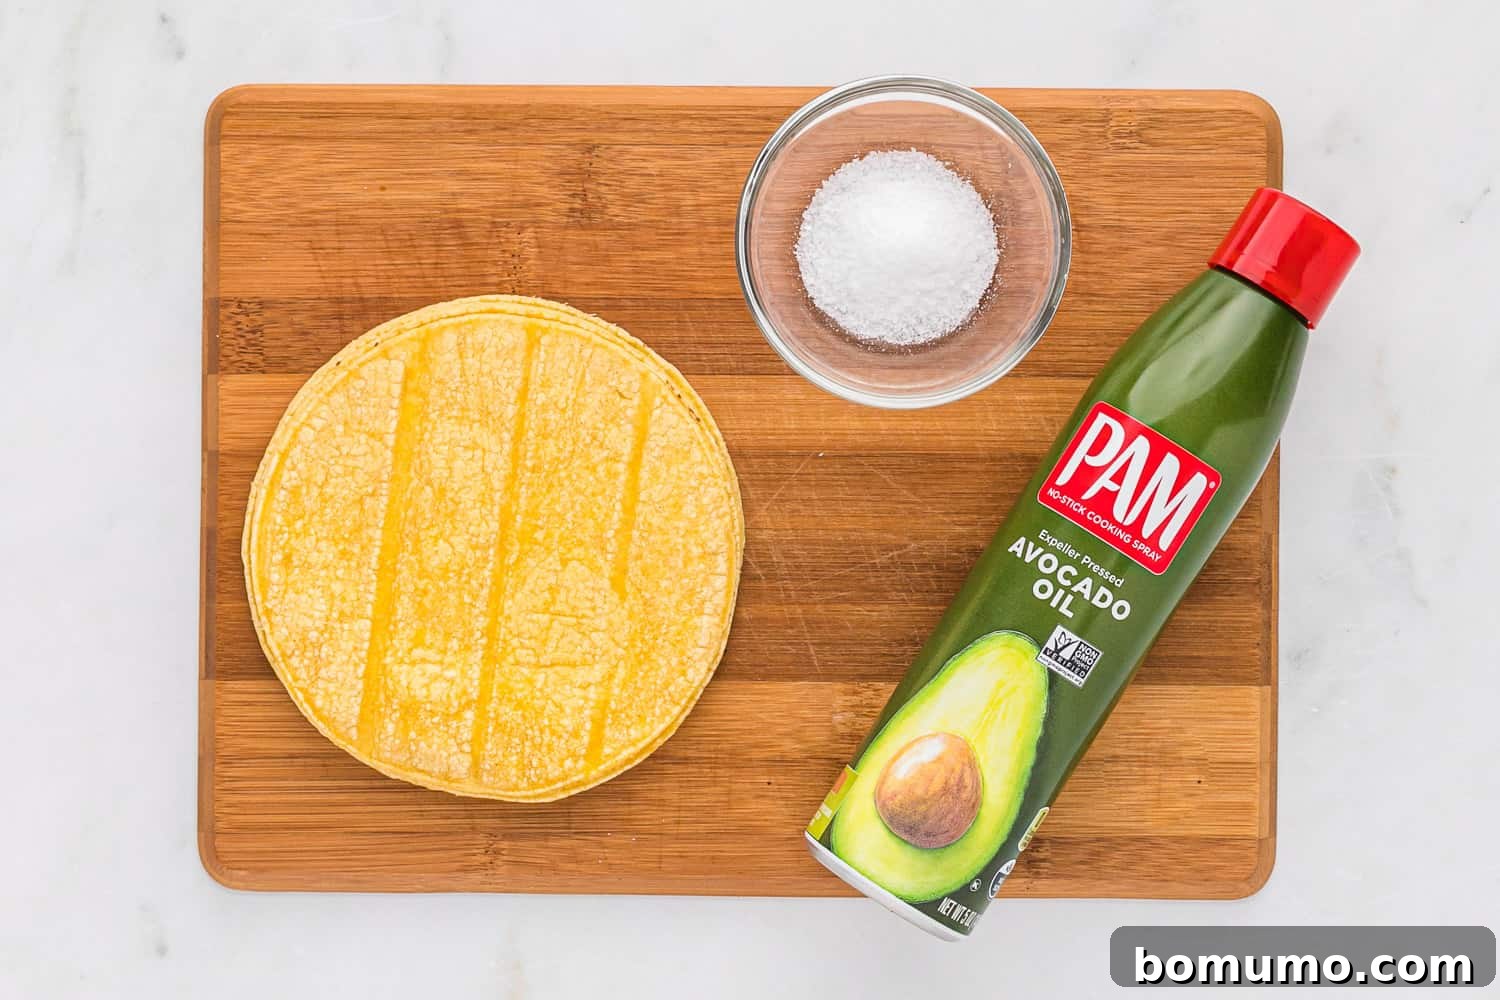
Crafting the perfect baked tortilla chips requires just a few simple ingredients. Here’s a closer look at what you’ll need and why each component is important:
- Corn Tortillas: The foundation of our chips! Opt for plain corn tortillas, typically found in the refrigerated section of your grocery store. While flour tortillas can be used in a pinch, our taste tests consistently show that corn tortillas deliver a far superior, more authentic flavor and a crispier texture once baked. Look for taco-sized (about 6 inches) tortillas for ideal chip proportions. The quality of your tortillas directly impacts the final taste and crunch.
- Cooking Spray: This is our secret weapon for achieving crispiness without excessive oil. Avocado oil spray or olive oil spray are highly recommended for their neutral flavor and high smoke point, ensuring your chips taste fresh and not burnt. If you prefer not to use aerosol sprays, a light brushing of regular olive or avocado oil applied with a pastry brush works equally well (see variations below). The goal is a fine, even coating of oil to facilitate browning and crisping.
- Kosher Salt: For the most straightforward yet incredibly satisfying seasoning, kosher salt is unbeatable. Its larger crystals adhere well to the tortillas and provide a pleasant burst of saltiness with each bite, without being overly concentrated. You can always add more to taste after baking. Beyond simple salt, there are many exciting ways to season your chips, which we’ll explore in the variations section.
Your Step-by-Step Guide to Perfect Baked Tortilla Chips
Making homemade tortilla chips is a breeze! Follow these simple steps for perfectly crispy results every time:
1. Prepare Your Baking Pan and Preheat the Oven. Begin by preheating your oven to 350°F (175°C). Next, grab a large sheet pan or a cookie sheet. I highly recommend using a pan with a rim, as this prevents the tortilla pieces from sliding off and creating a messy situation in your oven. If you’re planning a larger batch, don’t hesitate to prepare two pans simultaneously – it’s just as easy! For easier cleanup, you can line your pans with parchment paper. However, for maximum crispiness, I’ve found that baking the chips directly on a lightly greased pan often yields the best texture. Regardless of whether you use parchment, give your pan(s) a light spray with cooking oil.
2. Expertly Cut Your Tortillas. Stack a few tortillas on top of each other – typically 4-6 works best for easy handling. Using a sharp knife, cut the stack into small triangles. A simple method is to cut the stack in half, then cut each half into three wedges, creating six uniform chips from each tortilla. Of course, feel free to get creative with other shapes like strips or squares if you prefer a different look!

3. Arrange on the Baking Pan. Spread the cut tortilla pieces across your prepared baking pan in a single, even layer. This step is crucial! It’s important to avoid overlapping the pieces, as any areas where they overlap will result in softer, chewier spots on your chips, rather than the desired uniform crispness. Giving each chip its own space ensures even baking and maximum crunch.
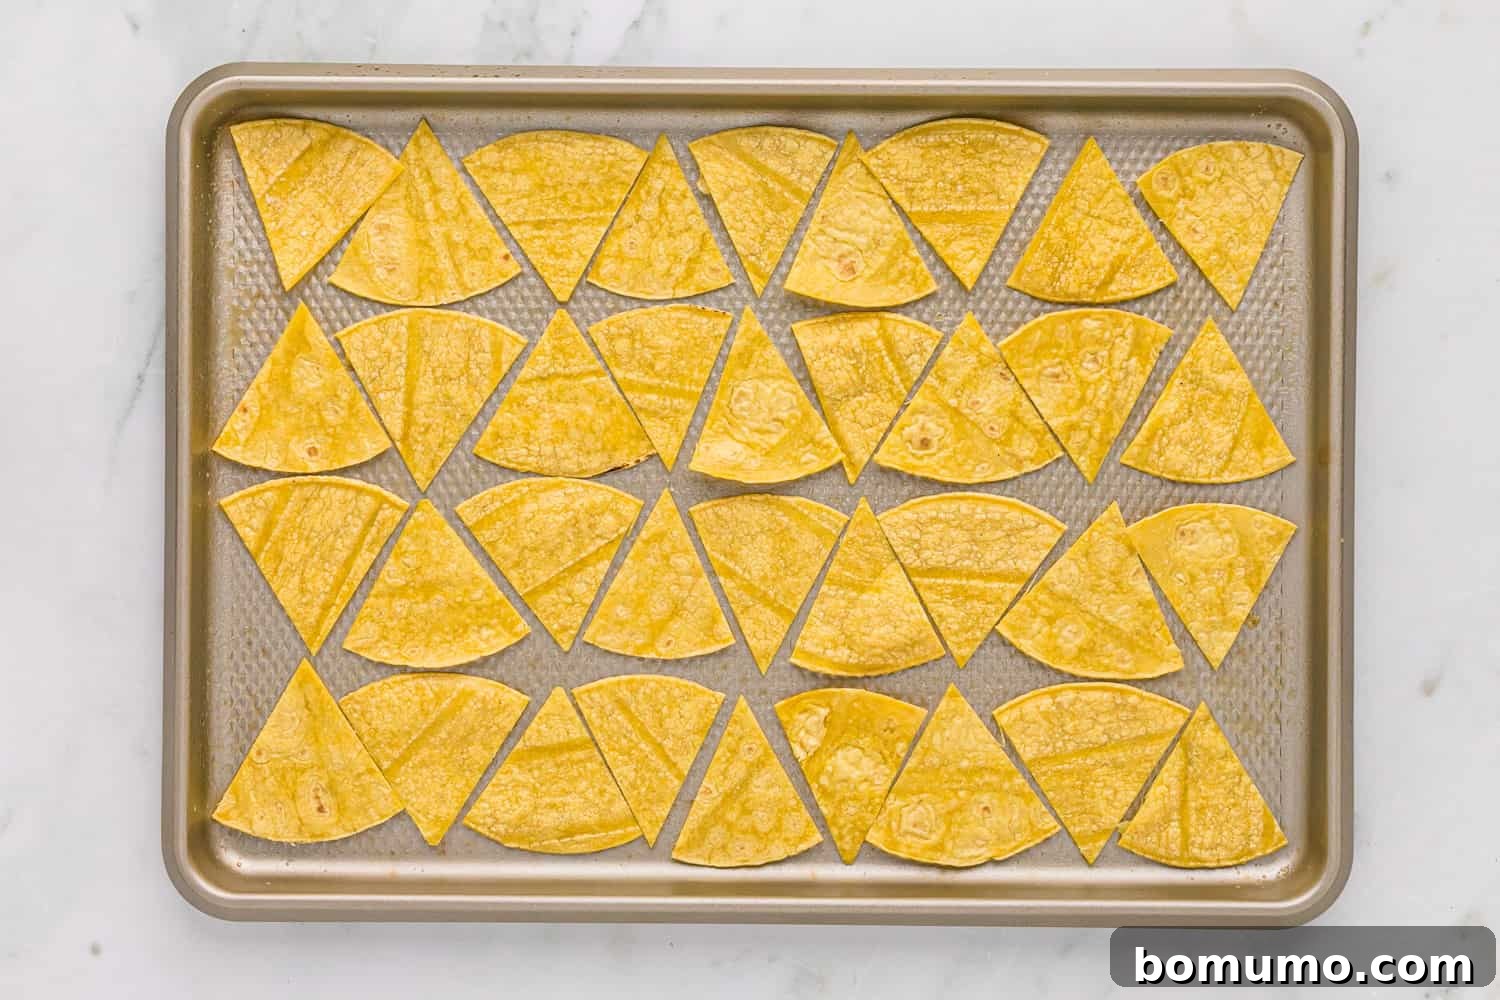
4. Lightly Spray and Season. Once arranged, lightly coat the tortilla wedges with your chosen oil spray. A fine, even mist is all you need to help them crisp up and allow the salt to adhere. Immediately after spraying, sprinkle them generously with kosher salt. Don’t be shy – a good amount of salt is key for that classic chip flavor. Now, they’re ready for the oven!
Pro Tip for Oiling Tortillas
Some cooks find it easier and more consistent to spray or brush the whole tortillas with oil on both sides *before* cutting them into wedges. This can ensure a more even coating, especially if you’re using a pastry brush. Experiment with both methods to see which one you prefer – the key is a light, even application of oil to encourage crisping.
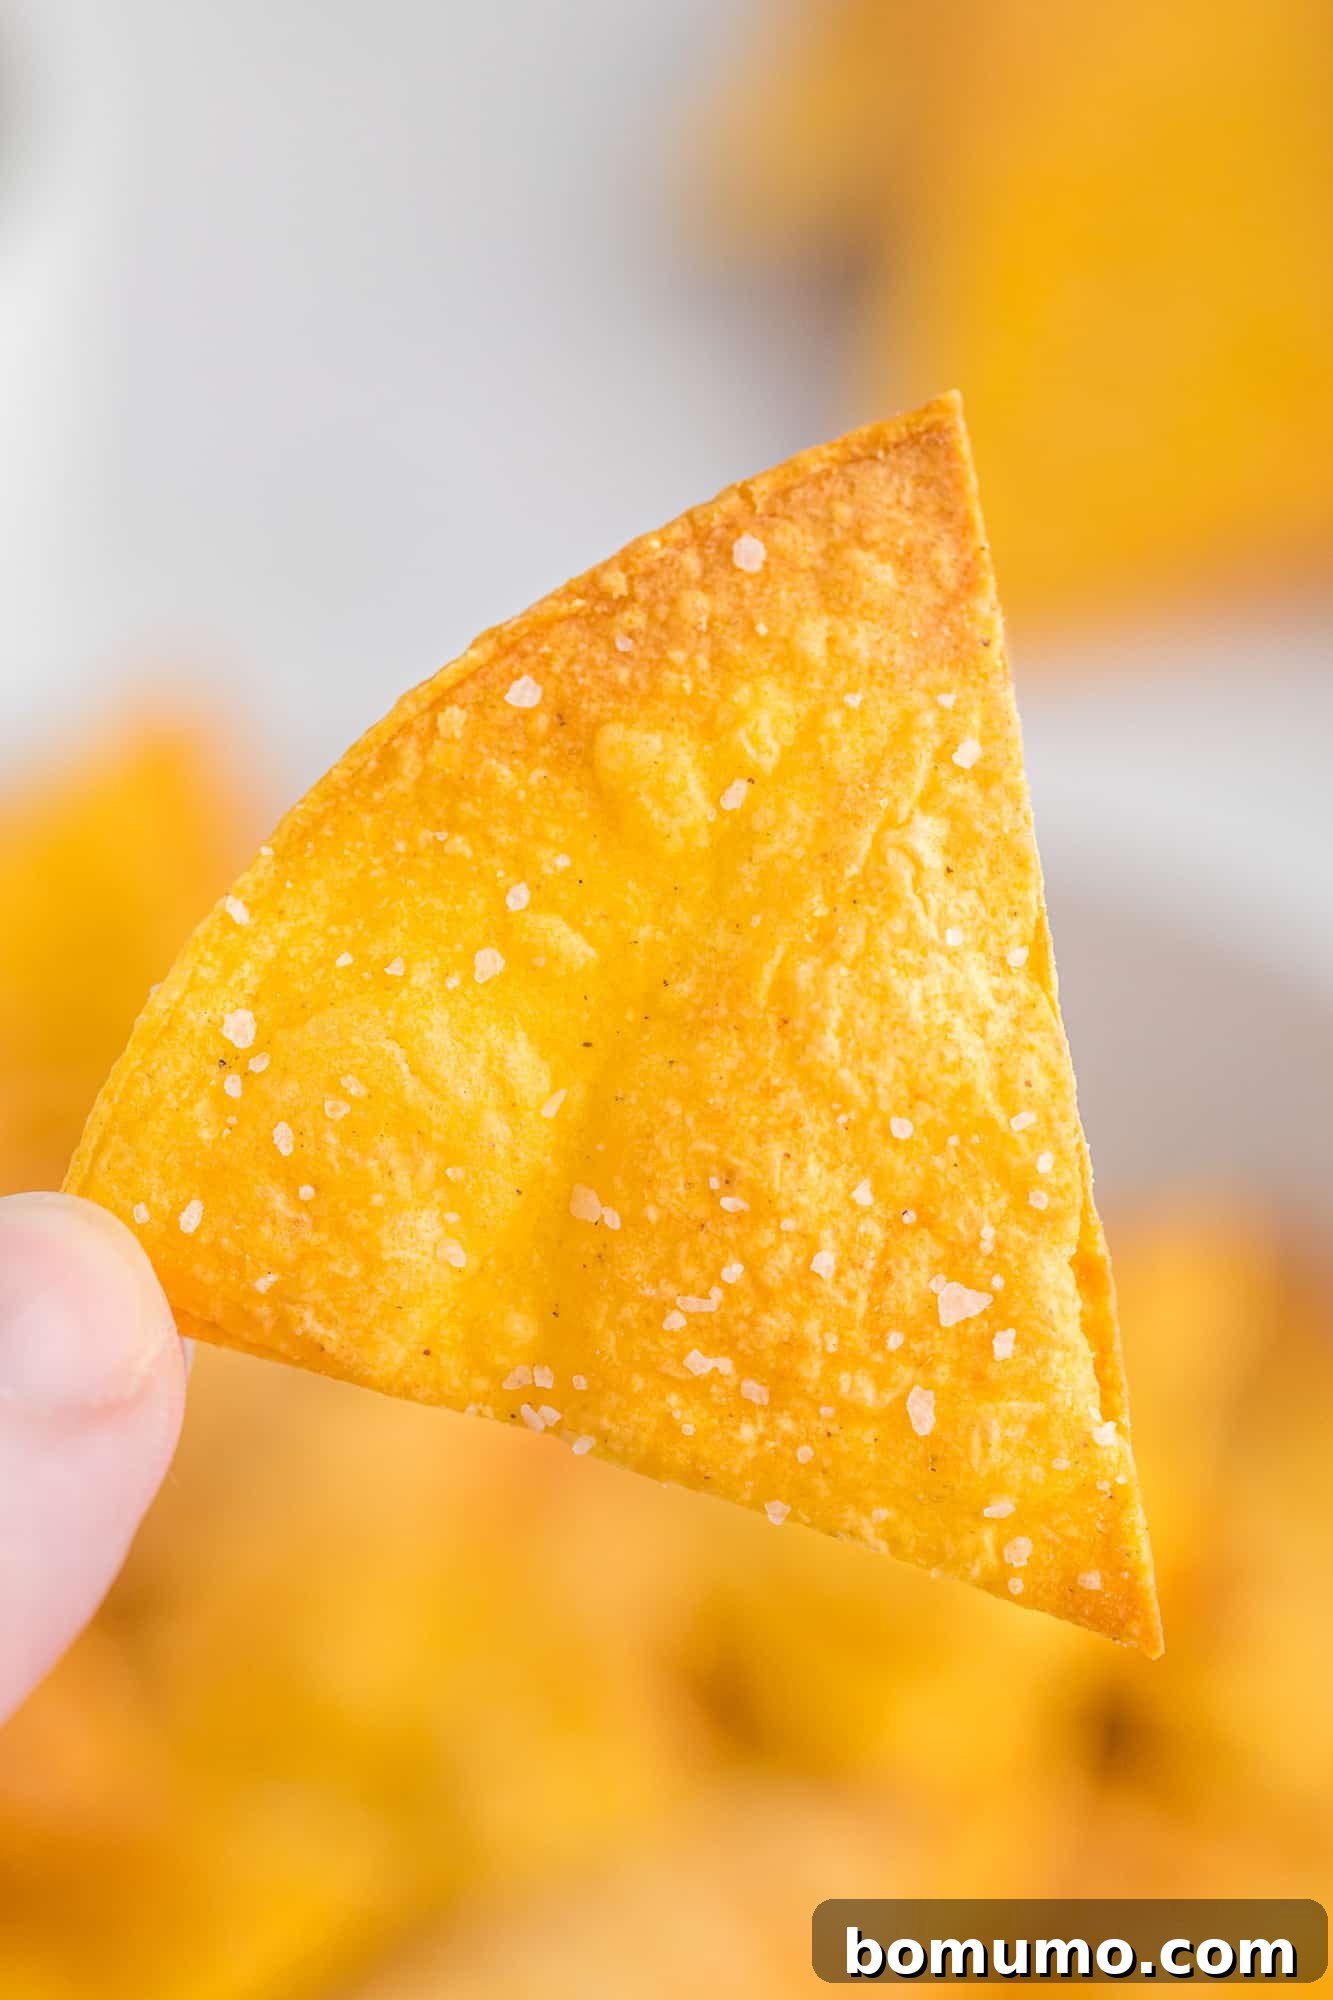
5. Bake to Golden Perfection. Place your sheet pan in the preheated oven and bake for approximately 12 to 15 minutes. About halfway through the baking time, around the 6-minute mark, rotate the pan to ensure the chips brown evenly across the entire surface. Crucially, after the initial 12 minutes, remain vigilant! Chips can transition very rapidly from perfectly golden brown to burnt. Check them every minute or so, pulling them out as soon as they reach a dark golden-brown hue. Don’t be afraid if they look quite brown; this deep color is the secret to their ultimate crispiness and delicious, slightly toasted corn flavor.
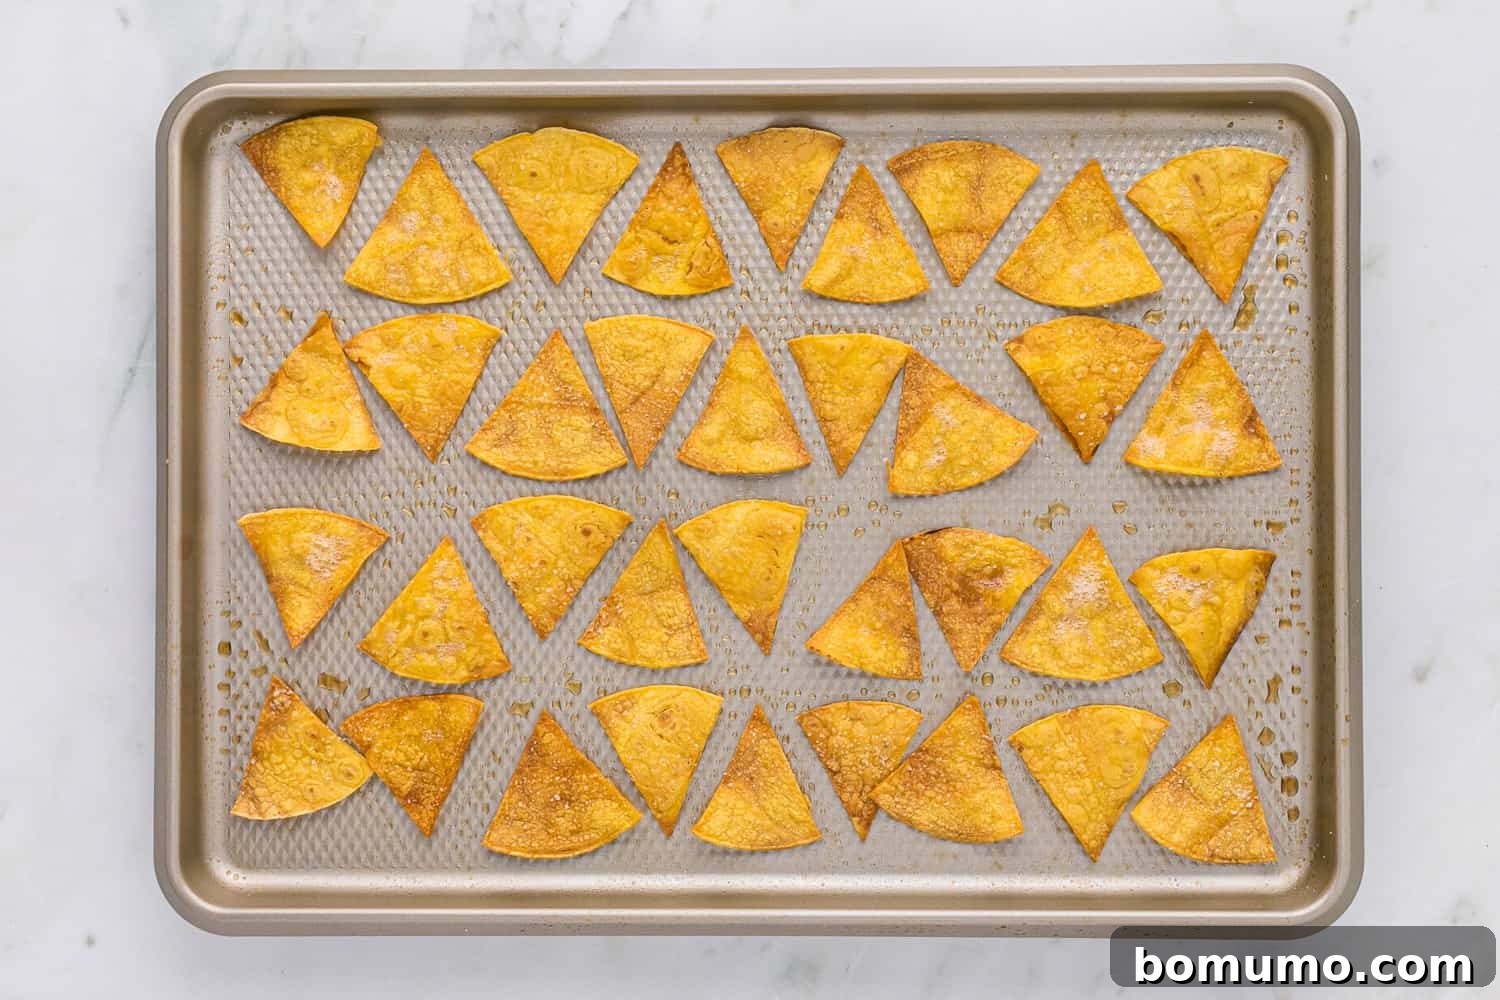
Serve your homemade baked tortilla chips immediately while they are still warm for the best experience, or allow them to cool completely before storing them in an airtight container for later enjoyment. Their fresh taste and satisfying crunch are truly unmatched!
Common Questions & Troubleshooting for Crispy Chips
Even with a simple recipe, sometimes questions arise. Here are solutions to common issues when making homemade tortilla chips:
Why are my baked tortilla chips chewy instead of crispy? The most common reason for chewy chips is insufficient baking time. To achieve that satisfying crispness, it’s essential to bake the chips long enough until they turn a distinct dark golden brown. Don’t pull them out too early when they are just lightly colored, as this often results in a bendy, chewy texture. The moisture needs to be fully evaporated for them to become truly crisp. If you’re not planning to eat the chips immediately, ensure they are cooled completely on a wire rack before storing them. Storing warm chips in an airtight container will trap steam, leading to condensation and a soft, chewy texture.
How can I refresh stale tortilla chips and bring back their crispness? Don’t toss those slightly soft chips! It’s incredibly easy to revive them and restore their freshly baked flavor and crunch. Simply arrange a single layer of chips on a plate and microwave them in short 5-second intervals until they are warm and crisp again. Alternatively, you can briefly reheat them in a warm oven (around 300°F/150°C) for a few minutes, or use an air fryer set to about 350°F (175°C) for 1-2 minutes, shaking the basket halfway through. This quick reheating process effectively drives out any absorbed moisture, bringing them back to life.
Exciting Recipe Variations to Customize Your Chips
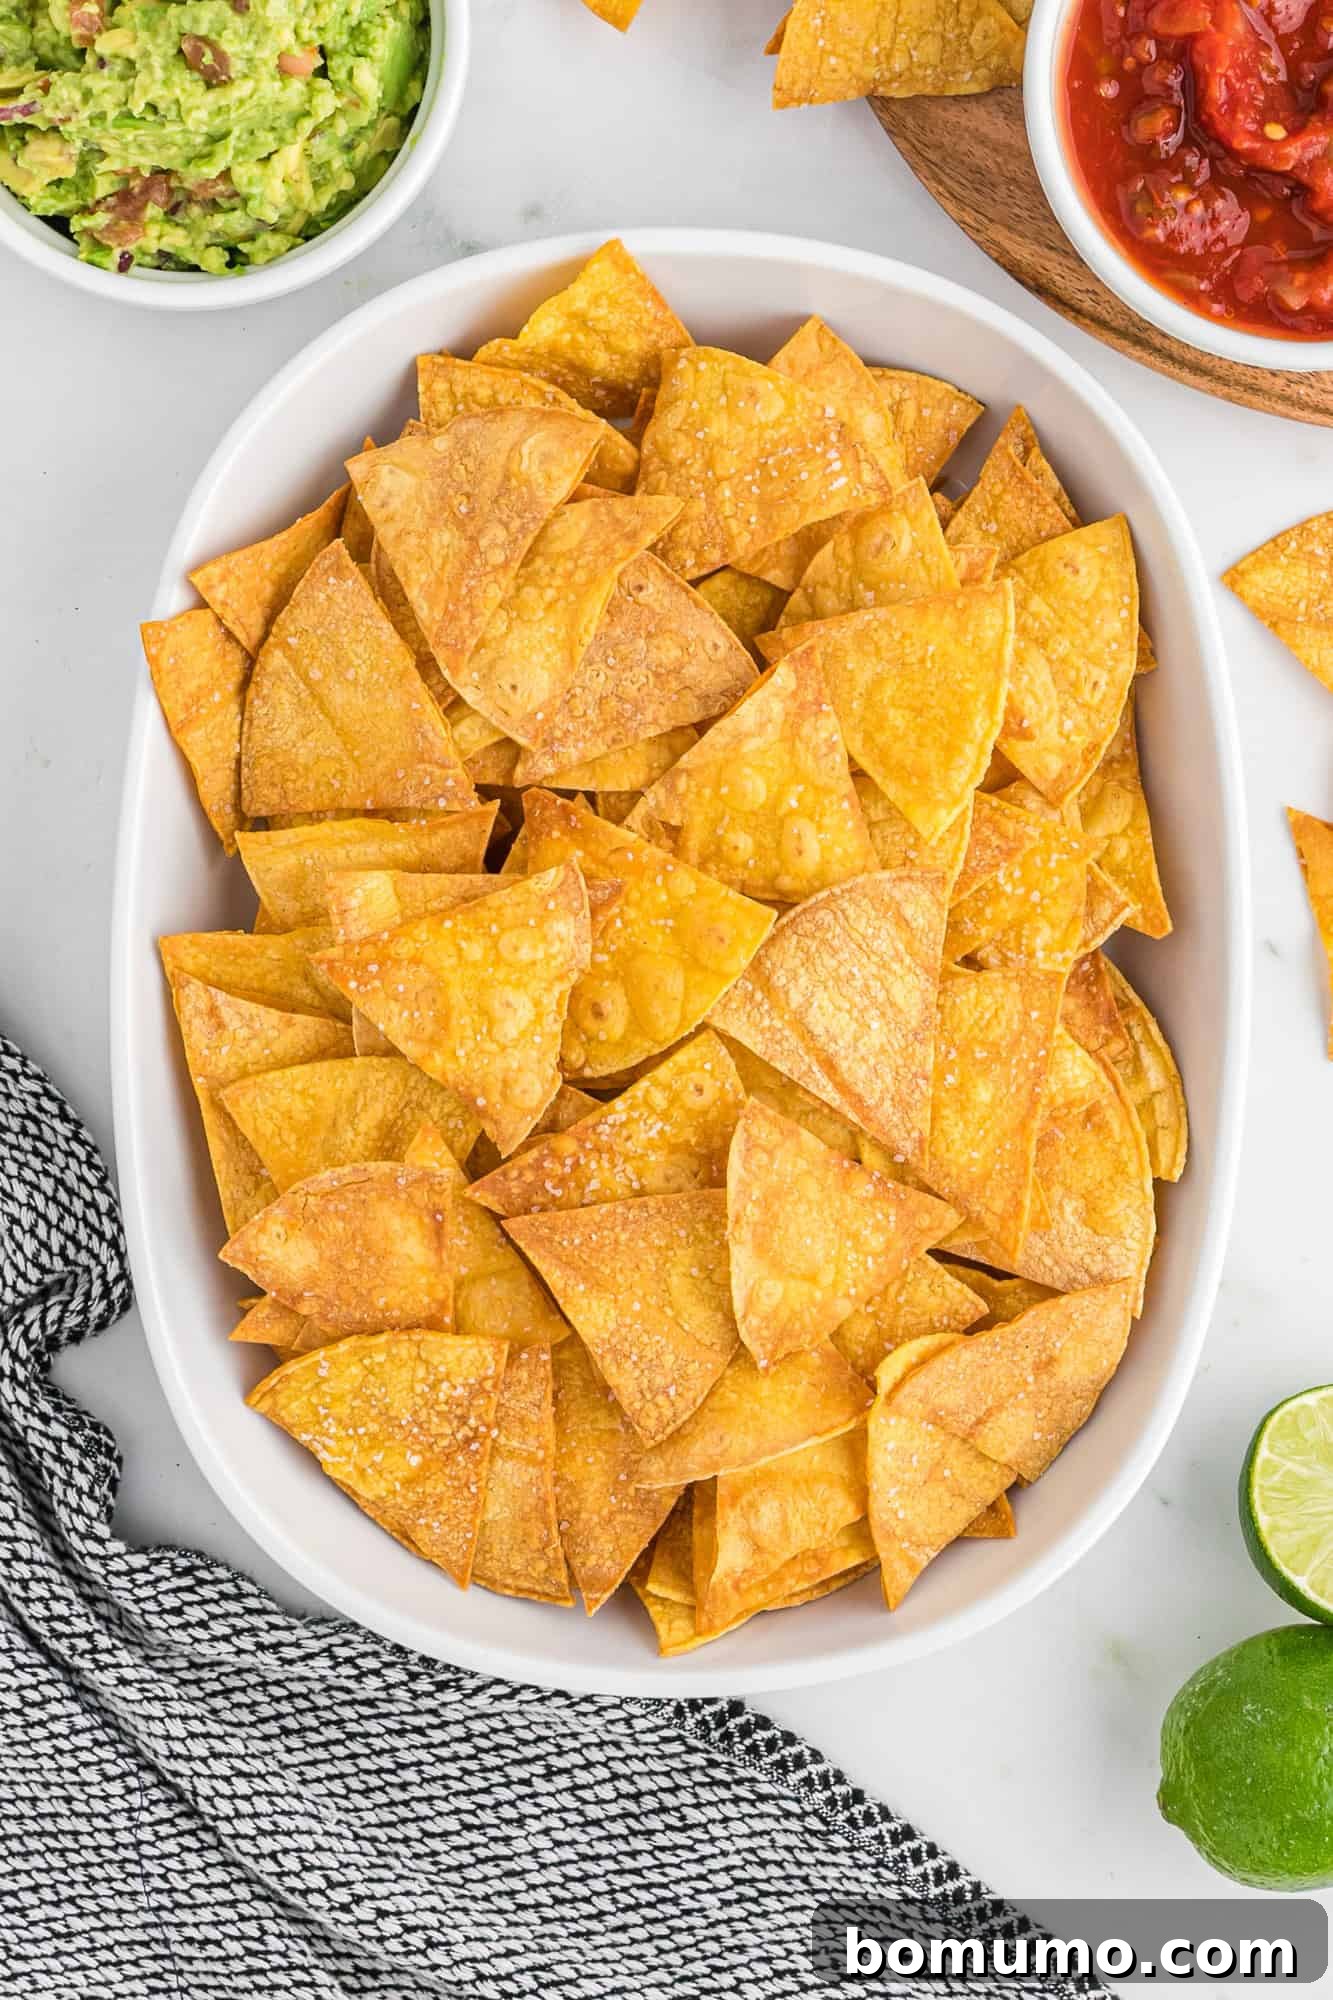
While classic salted baked tortilla chips are delicious, don’t hesitate to experiment with these simple variations to tailor them to your taste:
- Using Liquid Oil Instead of Spray: If you prefer not to use aerosol cooking sprays, you can easily substitute with regular liquid oil. Simply pour a small amount of olive oil, avocado oil, or even a neutral vegetable oil into a shallow dish. Use a pastry brush to lightly spread a thin, even layer of oil on both sides of each tortilla. This is often easiest to do before cutting the tortillas into wedges. Modern oil sprays often contain no additives, so check labels if this is a concern, but the brush method offers complete control.
- Spice Things Up with Seasoning: Elevate the flavor profile of your chips by adding different seasonings. After lightly spraying the tortillas with oil, sprinkle them with chili powder for a mild kick, ground cumin for an earthy depth, or a pre-made taco seasoning blend for a full-bodied Tex-Mex flavor. Other delicious options include garlic powder, onion powder, smoked paprika, or a vibrant chili-lime seasoning. Start with a light dusting and adjust to your preference for a truly custom snack.
- Master Them in Your Air Fryer: For an even quicker and often crispier result, try making air fryer tortilla chips. The principles are much the same – cut, spray, season – but the concentrated heat of the air fryer cooks them faster and often more evenly. They typically take less time than oven baking, making them perfect for a last-minute snack attack.
Storage & Reheating Tips
Storage & Reheating Tips
Homemade baked tortilla chips are always at their absolute best when enjoyed fresh, still warm from the oven. However, if you find yourself with a few (or many!) leftover chips, proper storage is key to maintaining their deliciousness. Allow them to cool completely to room temperature on a wire rack before transferring them to an airtight container. Stored this way, they will retain their crispness for up to a week on your kitchen counter. If they lose a bit of their crunch over time, simply refer to our troubleshooting tips above for easy reheating methods to bring them back to their former glory!
More Easy & Delicious Snack Ideas
Air Fryer French Fries
Easy Potato Skins (with a clever no-waste method!)
Air Fryer Chickpeas – Achieve Perfect Crispiness Every Time!
The Best Cauliflower Nachos You’ll Ever Make
Baked Tortilla Chips
Rachel Gurk
5 minutes
15 minutes
20 minutes
3
servings
Ingredients
1x
2x
3x
2x
3x
-
6
small corn tortillas
(taco size, about 6 inches) -
Avocado or olive oil spray
(or liquid oil for brushing) -
⅛
teaspoon
kosher salt, more to taste
Instructions
-
Preheat your oven to 350°F (175°C).
-
Stack your tortillas and cut each one into 6 uniform wedges using a sharp knife.6 small corn tortillas
-
Lightly spray a large baking sheet with oil spray (see the “Pro Tip” in the main post for more details). Arrange the tortilla wedges on the baking sheet in a single, non-overlapping layer – this is crucial for crispiness! Lightly spray the cut tortillas again and generously sprinkle them with kosher salt.Avocado or olive oil spray,
⅛ teaspoon kosher salt, more to taste -
Bake for 12 to 15 minutes. Make sure to rotate the pan once halfway through to ensure even browning. Keep a very close eye on them after the 12-minute mark (checking every minute or so), as they can quickly go from perfectly golden to burnt. Remove them from the oven when they achieve a rich, dark golden-brown color for the ultimate crisp texture (refer to the notes for more details on ideal doneness).
Notes
- Some cooks prefer to spray or brush the tortillas with oil on both sides before cutting them. Feel free to use whichever method you find easiest for an even coating.
- For truly crispy chips, they need to reach a deep golden brown color. If they are removed too early, they may be chewy. Don’t be concerned if they look quite done; that’s when they’re at their best!
- To refresh any leftover chips that have lost their crunch, simply arrange them on a plate and microwave in 5-second intervals until warm and crisp. Alternatively, you can briefly warm them in a warm oven, an air fryer, or a toaster oven.
- For an extra flavor boost, consider sprinkling chili powder, taco seasoning, garlic powder, or cumin along with the salt before baking.
- While corn tortillas are recommended for their superior flavor and texture, flour tortillas can be substituted if that’s what you have on hand.
Video Tutorial
Nutrition Information
Serving:
12
chips
,
Calories:
113
kcal
,
Carbohydrates:
23
g
,
Protein:
3
g
,
Fat:
1
g
,
Saturated Fat:
1
g
,
Polyunsaturated Fat:
1
g
,
Monounsaturated Fat:
1
g
,
Sodium:
120
mg
,
Potassium:
97
mg
,
Fiber:
3
g
,
Sugar:
1
g
,
Vitamin A:
1
IU
,
Calcium:
42
mg
,
Iron:
1
mg
Nutrition information is automatically calculated and provided for informational purposes only. It should be used as an approximation.
Did You Make This Recipe?
Share your thoughts and a rating below! I always love hearing what you think of my recipes!