

Homemade Pudding Pops: A Timeless Frozen Treat
Why you’ll adore these: Dive into a wave of nostalgia with these incredibly easy homemade pudding pops! No need to hunt them down at the grocery store anymore. With just two simple ingredients, you can whip up these creamy, dreamy frozen desserts right in your own kitchen. The best part? You have total control over the flavors – choose your absolute favorite for a personalized icy delight!
Effortless Preparation: Only 5 minutes of active prep time, plus a minimum of 3 hours for freezing to perfection.
Essential Tools: A mixing bowl and a set of quality popsicle molds are all you need.
Yield: This recipe typically makes 4 delicious pudding pops, though the exact number can vary based on the size and shape of your molds.

For anyone who grew up in the vibrant era of the 1980s, the mention of pudding pops likely conjures up a flood of delightful childhood memories. Those iconic boxes, typically offering a trio of chocolate, marble, and vanilla flavors, were a staple in freezers across the nation. If you were anything like my family, the rich chocolate and intriguing marble varieties were always the first to disappear, leaving a lonely vanilla or two behind, signaling it was time for another grocery run. It’s a bittersweet truth that these beloved frozen treats are no longer widely available in stores.
However, don’t let that dampen your spirits! We’re here to share a fantastic secret: crafting your own homemade pudding pops is not only incredibly simple but also immensely satisfying. This recipe requires just two basic ingredients, coming together in a matter of minutes to create a wonderfully creamy and refreshing dessert. The ultimate bonus? When you take the DIY route, every single one of your pudding pops can be your favorite flavor – imagine a whole batch of decadent chocolate, just for you!
If you’re drawing a blank on pudding pops, think of them as a delightful cousin to the more common fudgsicles or fudge pops you might still find in stores today. They boast that same irresistible creamy texture that melts perfectly in your mouth, but with the added benefit of being free from artificial flavors and colors often found in commercial versions. These homemade pudding pops offer a wholesome and customizable alternative that’s sure to bring a smile to everyone’s face, whether you’re reliving childhood joys or creating new sweet memories.
Unlock the Joy of Frosty Homemade Pudding Pops
Making your own pudding pops isn’t just about creating a delicious treat; it’s an experience in itself. Here’s why these frosty delights are a must-try:
A Delightful Activity for All Ages: Involve the whole family in the kitchen fun! Older children can take the lead in preparing these simple pudding pops, while younger kids can eagerly assist with whisking and pouring. Even if you end up doing most of the work yourself, the sheer joy on their faces as they savor these homemade creations will be your ultimate reward. It’s a fantastic way to bond and create lasting family memories around a shared sweet indulgence.
Unleash Your Inner Flavor Alchemist: The beauty of homemade pudding pops lies in their unparalleled customization. By simply choosing different instant pudding mixes, you can create virtually any flavor your heart desires. Ever dreamt of a batch of exotic pistachio pudding pops? Or perhaps a vibrant strawberry or a classic banana cream? The possibilities are endless, allowing you to cater to every craving and preference. This flexibility makes them perfect for parties, gatherings, or just stocking your freezer with a variety of exciting options.
The Ultimate Summer Cool-Down: When the temperatures soar and you’re craving something sweet and refreshing, homemade pudding pops are the perfect answer. Their icy, creamy texture offers an instant reprieve from the heat, making them an ideal treat for pool days, backyard BBQs, or simply unwinding on a warm afternoon. Beyond this recipe, you might also enjoy exploring other refreshing frozen desserts like these funfetti pudding pops or delightful banana popsicles for even more summer bliss.

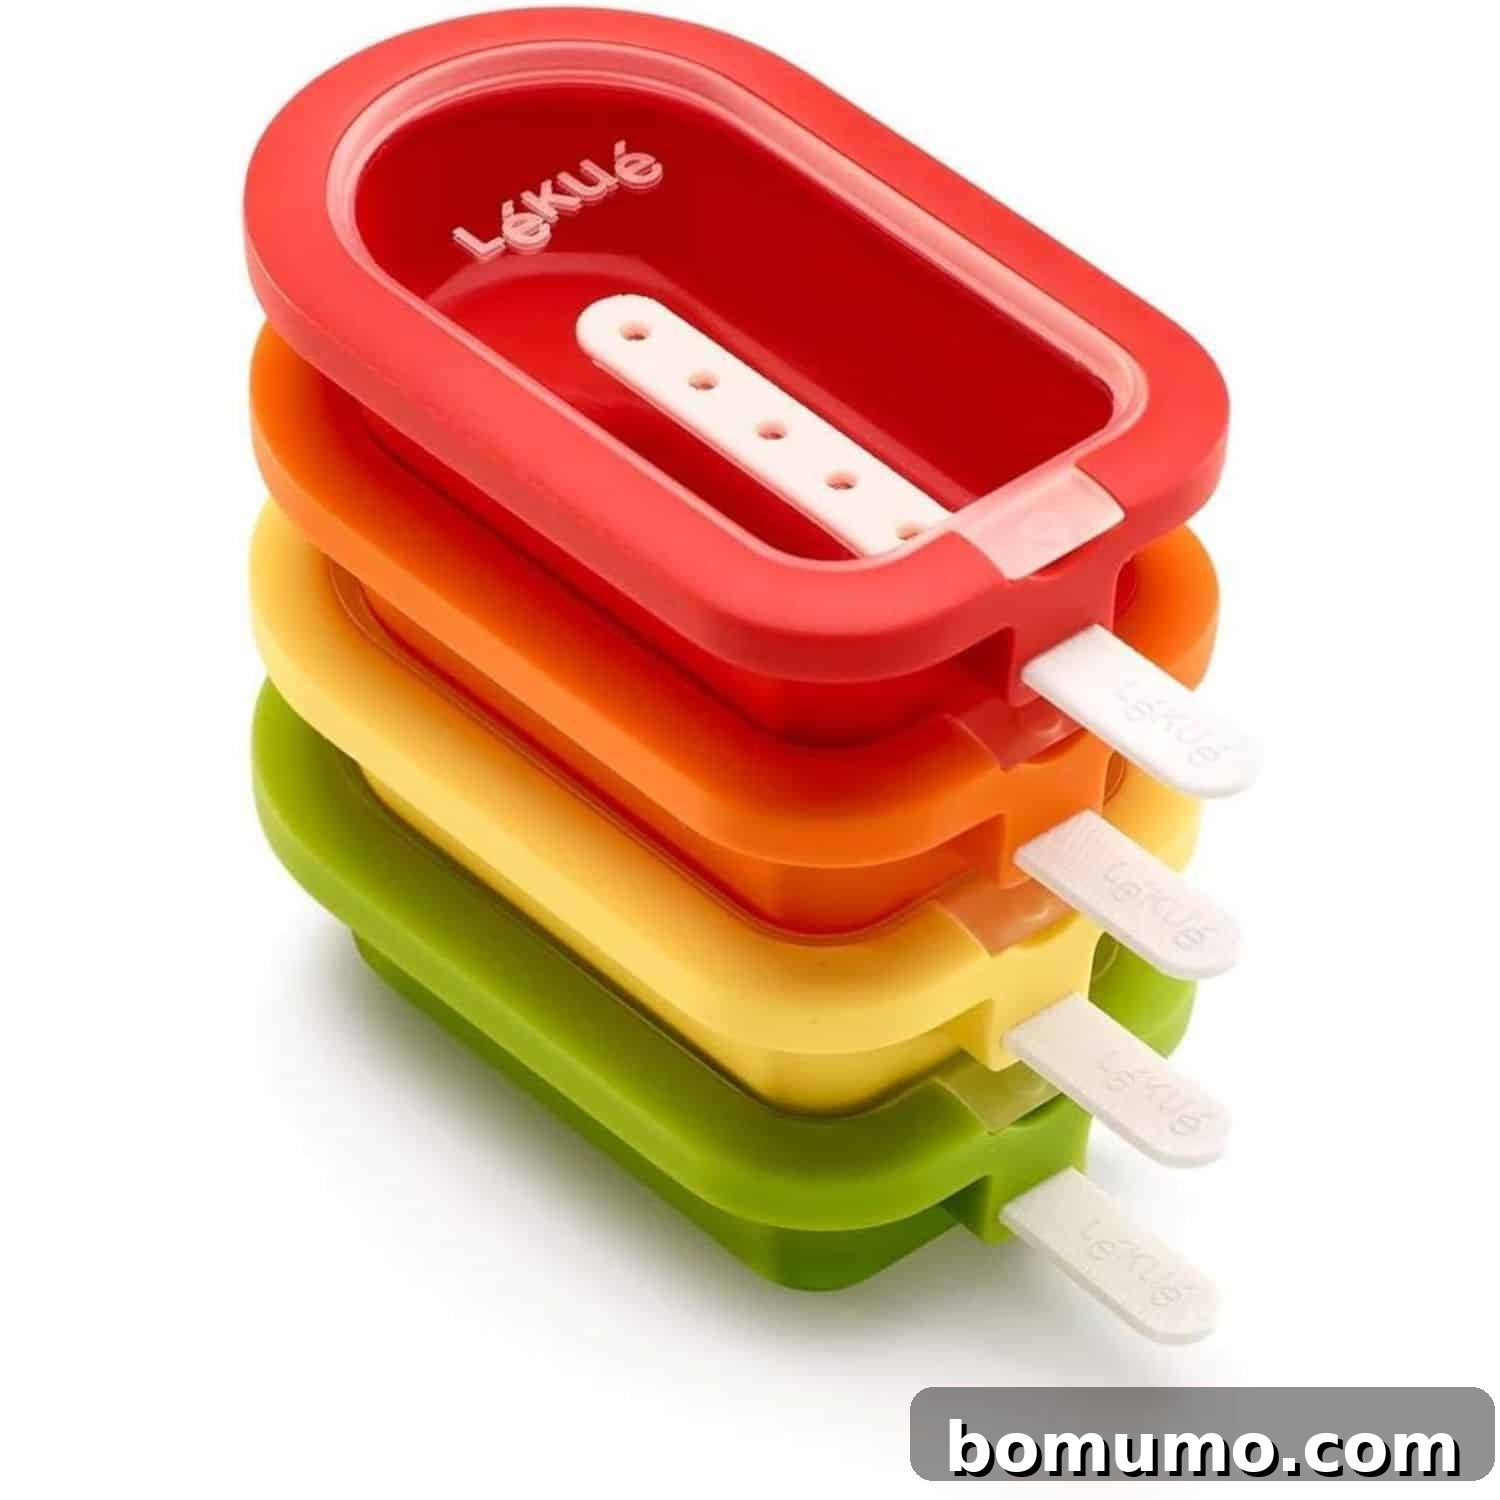
Essential Popsicle Molds
Investing in a good set of popsicle molds will make your pudding pop-making journey even more enjoyable. There are numerous affordable and highly effective options available. I personally use these specific popsicle molds, and they consistently deliver perfect results. Their design makes them incredibly easy to store in my freezer without taking up too much space, which is a huge plus for any home cook.
No Popsicle Molds? No Problem!
No Popsicle Molds? No Problem!
Even if you don’t have dedicated popsicle molds, you can still enjoy these delightful homemade pudding pops. A clever workaround involves using small 3 oz. beverage cups (such as paper or plastic party cups). Simply pour your pudding mixture into these cups, then cover the top of each cup tightly with aluminum foil. Carefully insert a wooden popsicle stick through the foil into the center of the pudding mixture. The foil will act as a stabilizer, holding the popsicle stick upright and in place as the pudding freezes solid. This simple trick ensures perfectly formed pops even without specialized equipment.
Key Ingredients for Perfect Pudding Pops
- Instant Pudding Mix: This is the heart of your pudding pops. You’ll find instant pudding mixes in various sizes, typically ranging from 3.4 to 3.9 ounces. Either size will work beautifully for this recipe. The most crucial detail is to ensure you select *instant* pudding, not the cook-and-serve variety, as instant pudding sets quickly without heat. The flavor possibilities are truly endless! Jell-O alone offers a vast array of options, including classic butterscotch, rich cheesecake, decadent chocolate (including chocolate fudge and milk chocolate), bright lemon, nutty pistachio, comforting vanilla, sweet banana cream, tropical coconut cream, sophisticated French vanilla, seasonal pumpkin spice, elegant white chocolate, and even fun cookies & cream. Don’t hesitate to experiment with different brands and seasonal flavors to discover your favorites.
- Milk or Half & Half: The choice of dairy significantly impacts the final creaminess of your pudding pops. For the richest, most luxurious texture, opt for milk with a higher fat content, such as whole milk or half & half (which is a blend of milk and cream). These higher-fat options contribute to a smoother, more indulgent mouthfeel. However, if you have dietary restrictions or preferences, most nondairy milks like almond milk, soy milk, or oat milk can also be used. Keep in mind that the texture may be slightly less creamy with lower-fat or nondairy alternatives, but they will still produce delicious frozen treats.
Crafting Your Homemade Pudding Pops: A Simple Guide
Get ready to create these delightful frozen treats with minimal effort. Here’s a step-by-step breakdown:
Step 1: Whisk to Combine. Begin by emptying the contents of your instant pudding mix into a large mixing bowl. Gradually add the milk, then whisk vigorously for about two minutes, or until the mixture is smooth and fully combined. A large measuring cup with a pouring spout or a batter bowl can be particularly helpful during this stage, making the subsequent pouring process much cleaner and easier to manage. Ensure there are no dry lumps of pudding mix remaining for a perfectly smooth base.
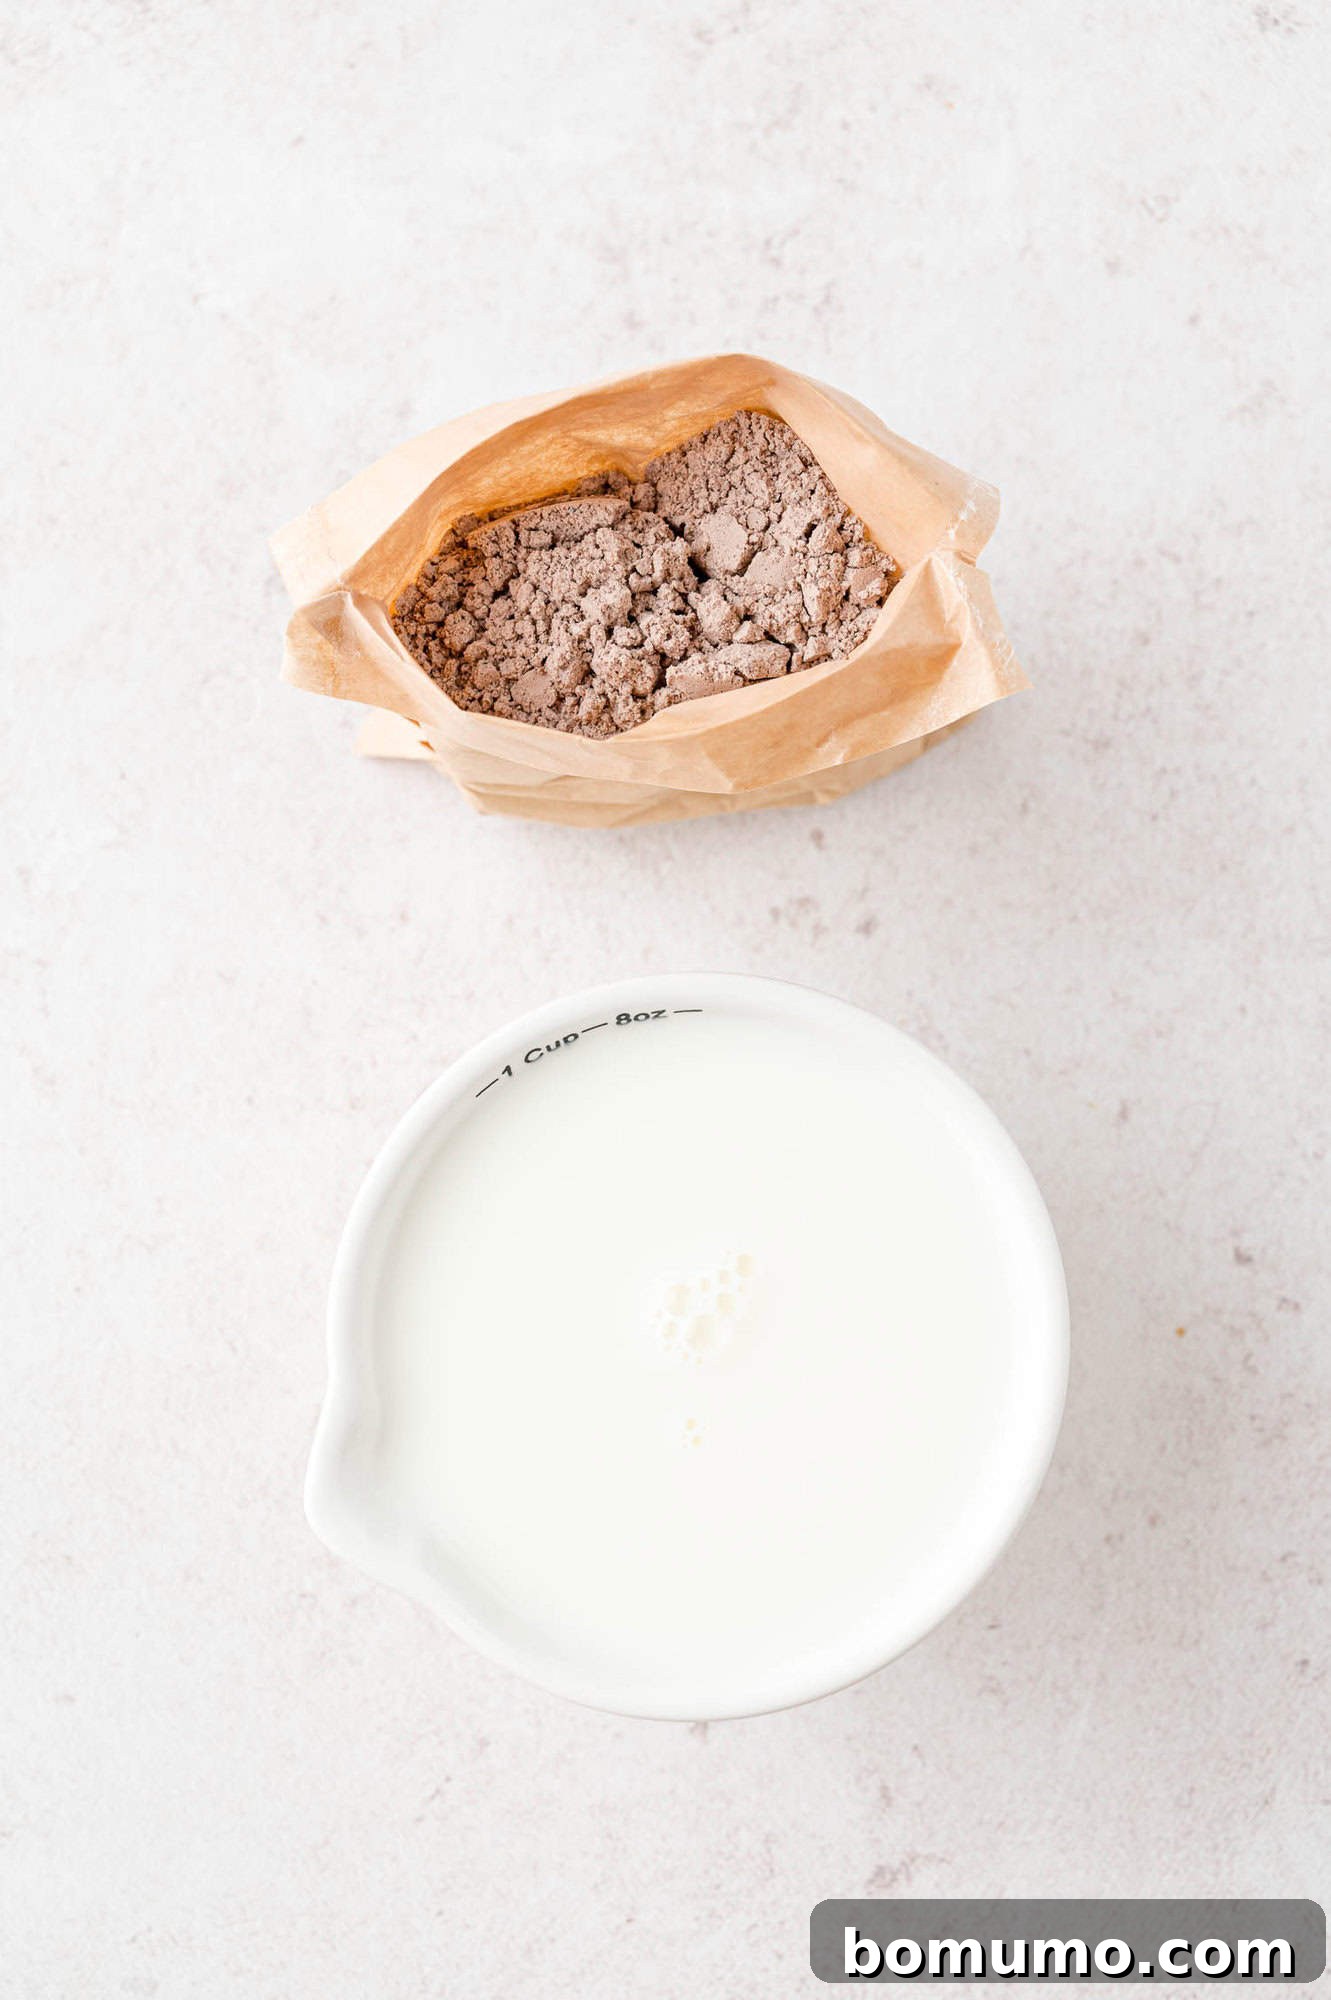
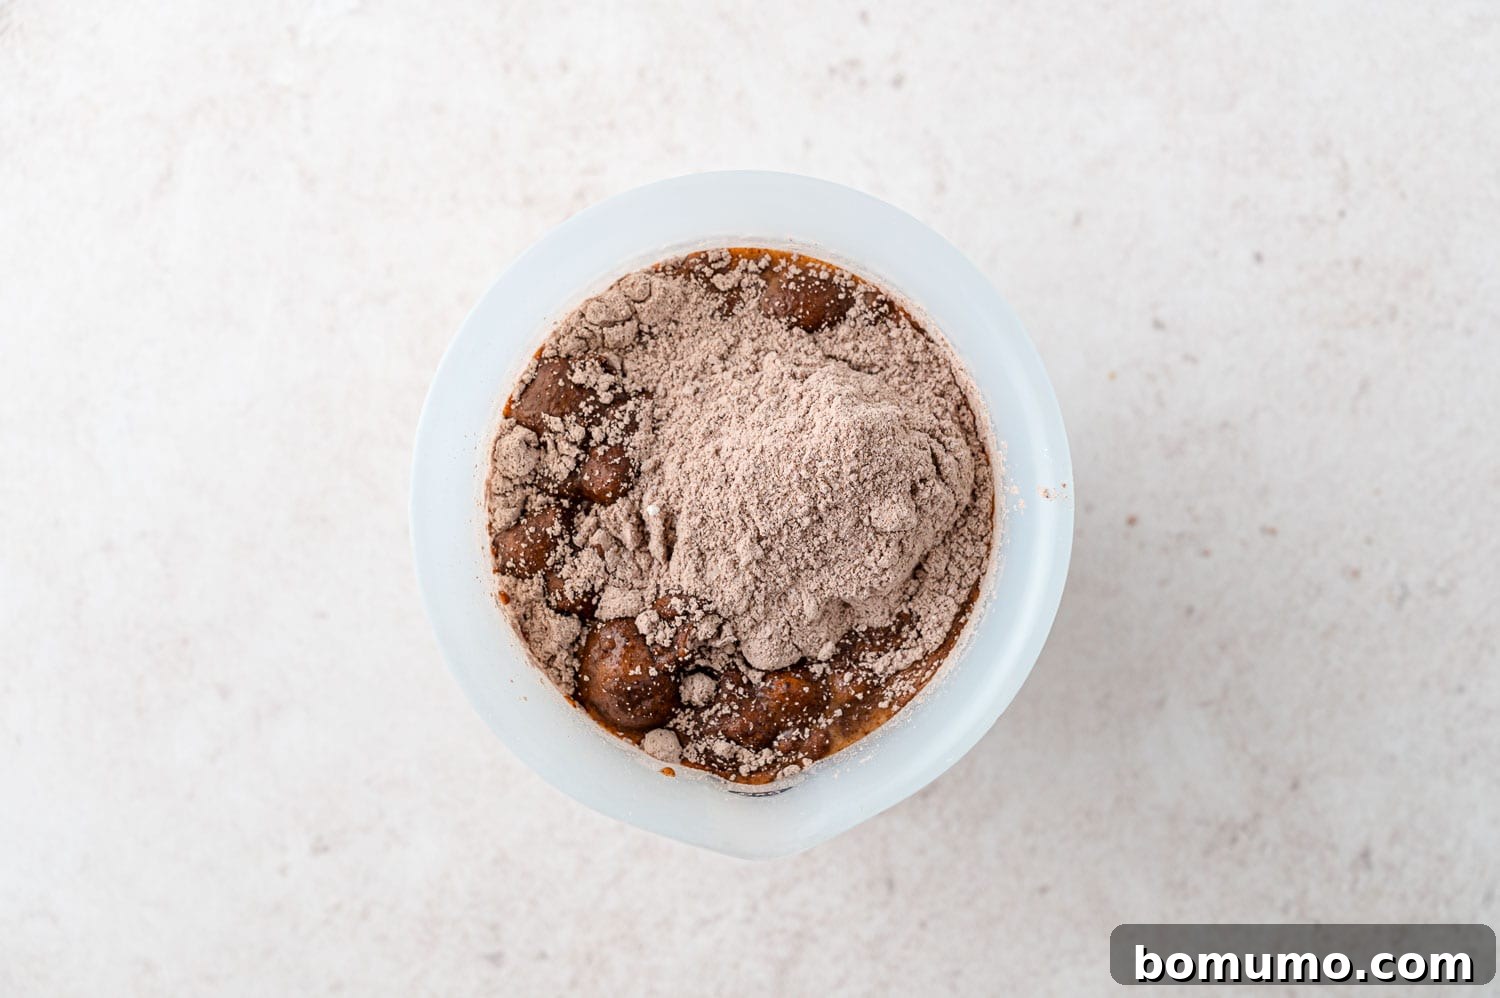
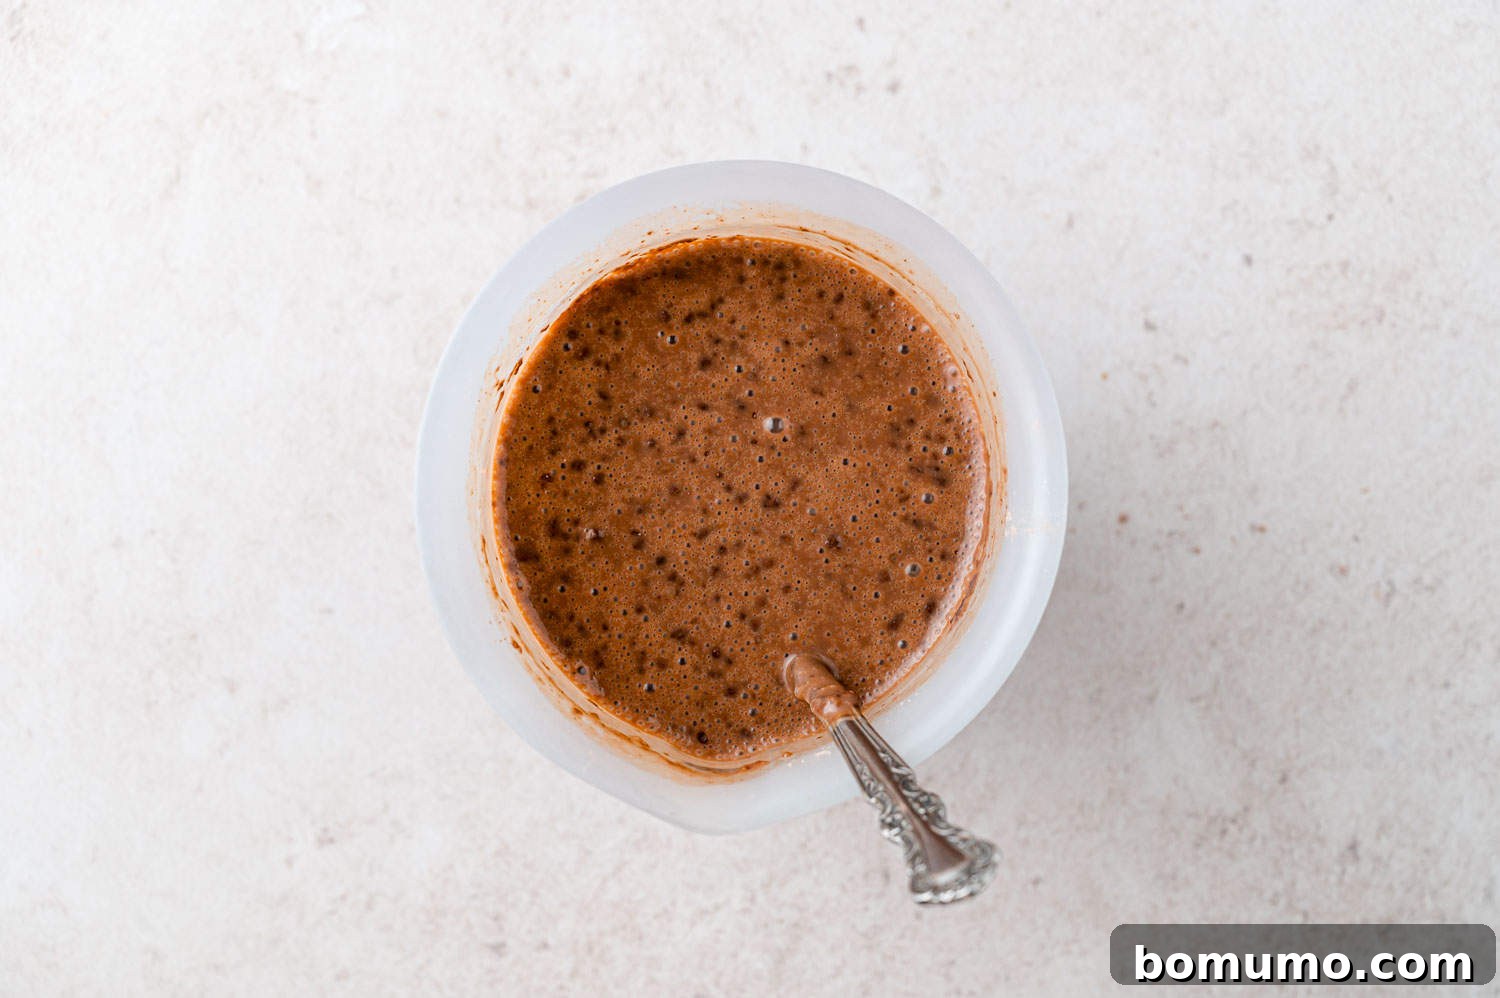
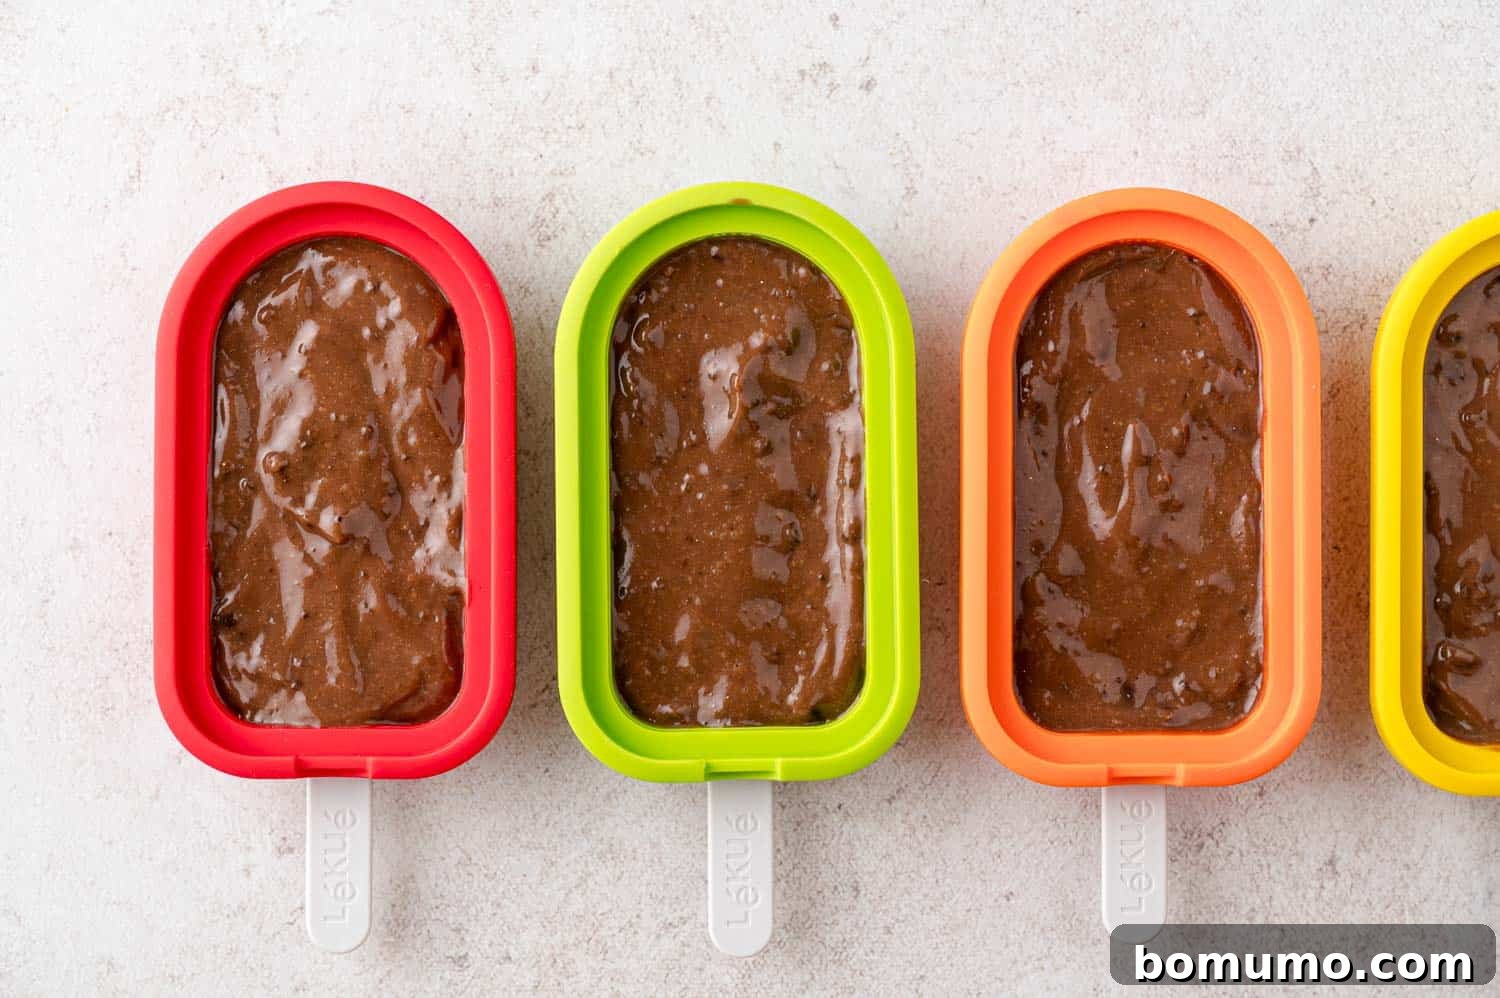
Step 2: Swiftly Pour into Molds. Once your pudding mixture is smooth, act quickly! The instant pudding will begin to thicken as it sits, making it progressively harder to pour. Carefully and evenly distribute the pudding into your chosen popsicle molds. Fill each mold to just below the rim to allow for slight expansion during freezing and to ensure a neat finish.
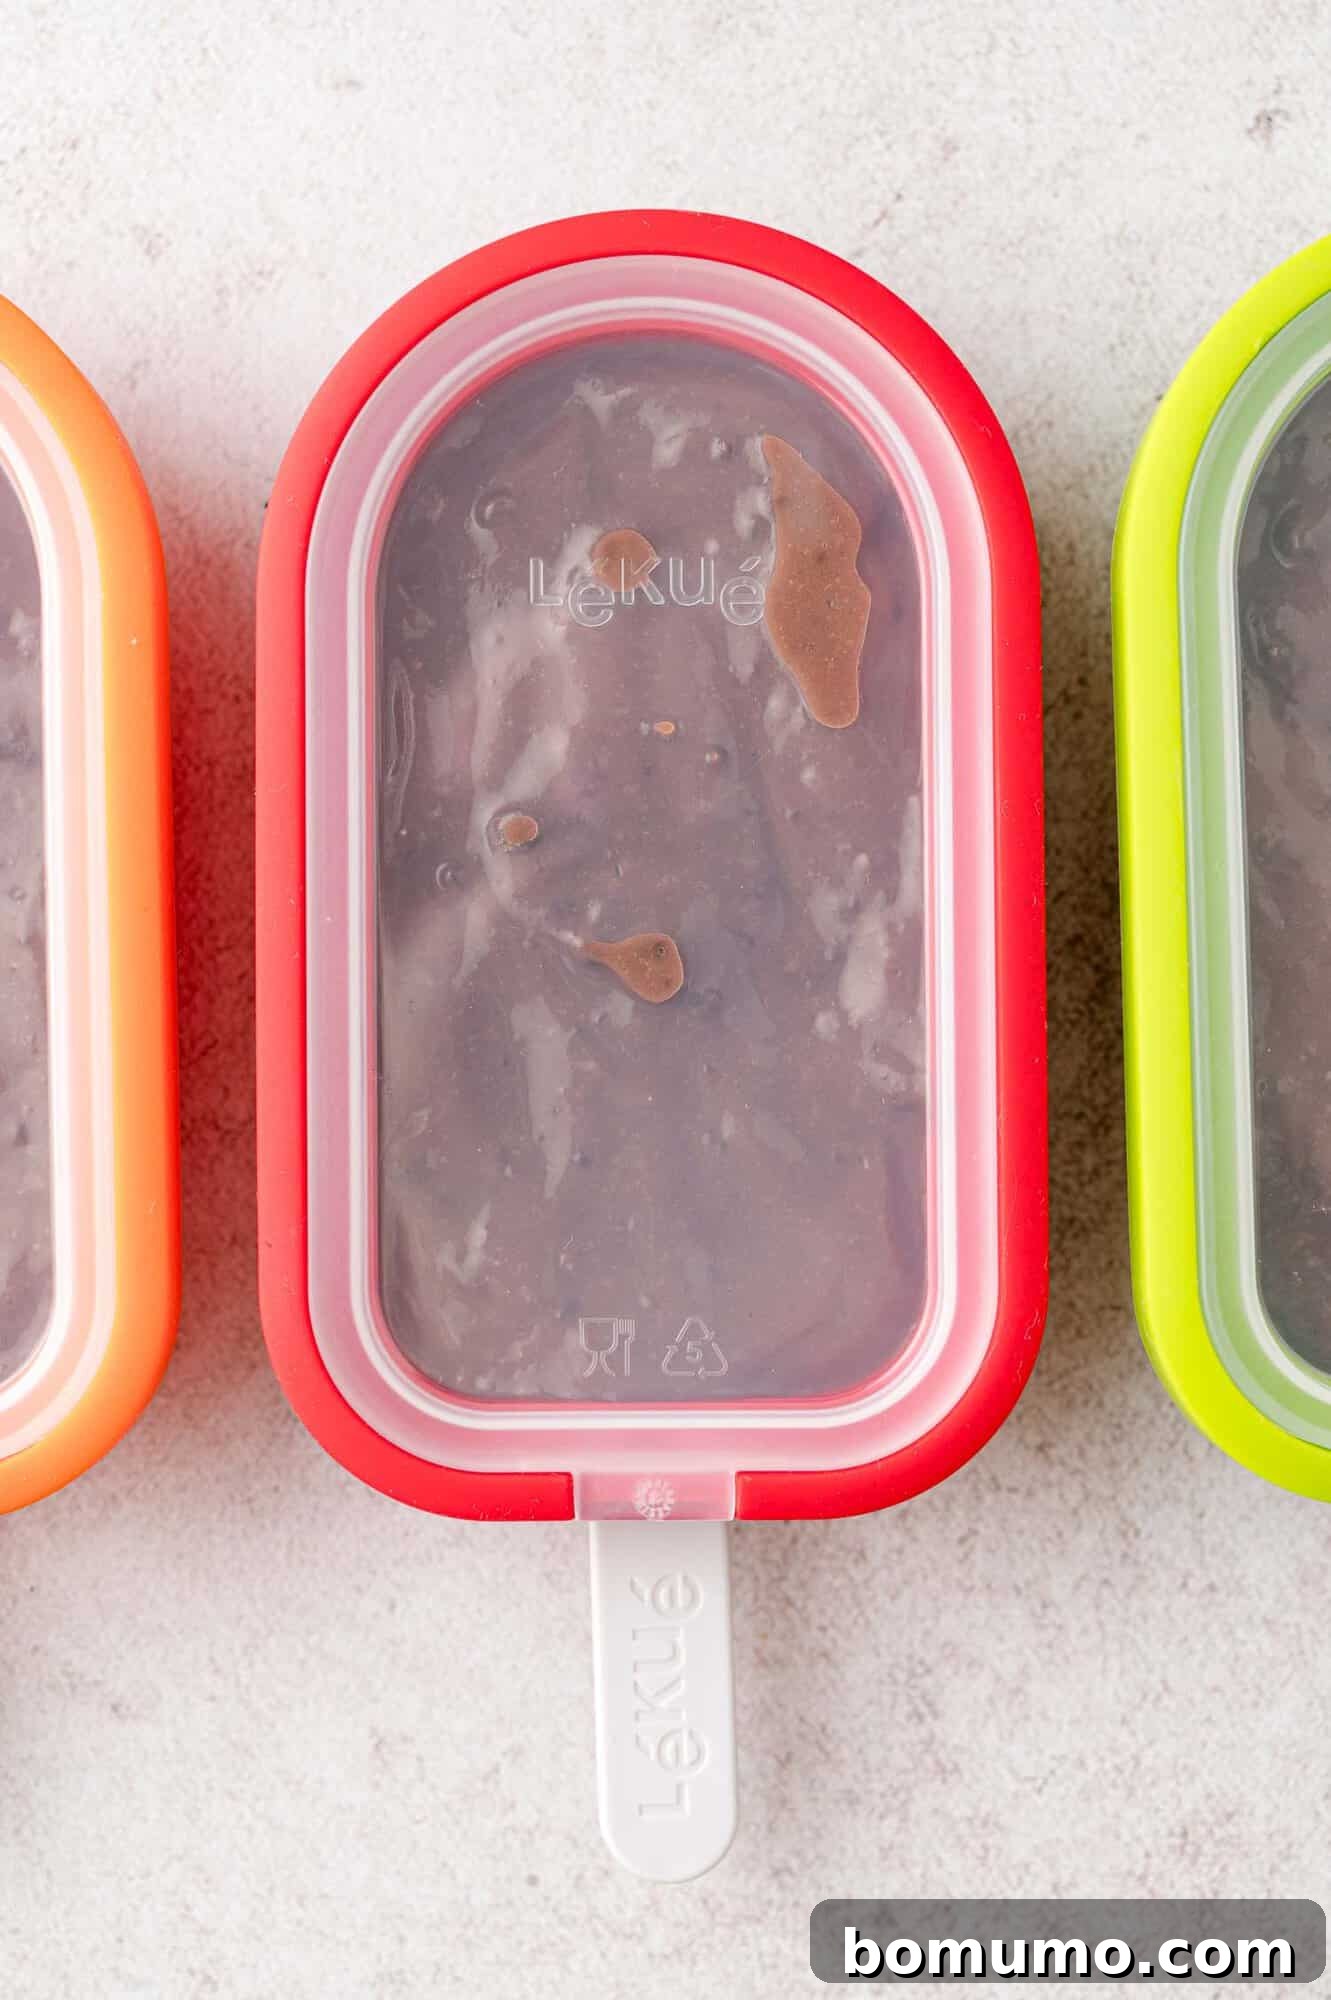
Step 3: Freeze Until Firm. Insert the popsicle sticks or covers into the filled molds. Then, transfer the molds to your freezer. The freezing time will vary depending on the size and shape of your molds, but generally, they should be solid and ready to enjoy in 3 to 4 hours. For the best, most solid results, freezing them overnight is highly recommended.

Pro Tips for Perfect Pudding Pops
- Optimal Freezing for Best Results: While your pudding pops can be firm enough to eat after 3 hours, for the absolute best texture and to ensure they are completely frozen through, it’s highly recommended to let them freeze overnight. This extra time guarantees a perfectly solid and less likely to melt-too-quickly treat.
- Effortless Removal from Molds: Sometimes, frozen treats can be a bit stubborn when it comes to demolding. If you encounter any resistance, simply run the outside of the popsicle molds under warm tap water for a few seconds. This gentle warmth will loosen the edges of the pops just enough for them to slide out smoothly, without causing them to melt significantly.
- Preventing Freezer Burn: To maintain the quality and flavor of your homemade pudding pops, especially if you plan to store them for more than a few days, consider wrapping each individual pop in plastic wrap once it’s frozen solid. This extra layer of protection helps prevent freezer burn, which can compromise both taste and texture.
- Clean Pouring Technique: As mentioned, instant pudding thickens quickly. To ensure a mess-free process, consider using a squeeze bottle or a funnel if your molds have narrow openings. This can help guide the pudding precisely and prevent spills as the mixture sets.
Exciting Variations for Your Pudding Pops
- Explore Alternative Milks (Nondairy Options): While dairy milk, especially rich half & half or whole milk, will yield the creamiest and most luxurious pudding pops, don’t let dietary restrictions limit your enjoyment. Plant-based milks such as almond, soy, oat, or coconut milk can be excellent substitutes. Keep in mind that the texture might be slightly less creamy, but the flavor will still be delightful. Experiment to find your preferred nondairy blend!
- Create Sugar-Free Pudding Pops: For those managing sugar intake, many brands, like Jell-O, offer “Zero Sugar” instant pudding mixes. These are typically sweetened with aspartame or other artificial sweeteners and work just as effectively in this recipe. Enjoy a guilt-free frozen treat without compromising on flavor.
- Get Creative with Mix-Ins: Elevate your pudding pops with exciting additions! Before pouring the pudding mixture into the molds, stir in a handful of finely chopped nuts (like pecans or walnuts), mini chocolate chips for an extra cocoa burst, colorful sprinkles for a festive touch, or small pieces of fruit such as raspberries or blueberries. For inspiration, check out our vibrant funfetti pudding pops!
- Indulge in Dipped and Coated Pops: Once your pudding pops are completely frozen and removed from their molds, take them to the next level by dipping them! Melted chocolate, whether dark, milk, or white, creates a satisfying shell. You could also try a homemade magic shell for a fun, retro crunch. After dipping, quickly roll them in crushed nuts, more sprinkles, or shredded coconut for added texture and visual appeal.
- Layered Flavor Combinations: For a more gourmet touch, try layering different pudding flavors within the same mold. For instance, pour a layer of chocolate pudding, freeze it partially, then add a layer of vanilla, and finally a third flavor like butterscotch. This creates a beautiful and multi-dimensional taste experience.
Smart Storage for Freshness
Smart Storage for Freshness
To keep your homemade pudding pops tasting their best, proper storage is key. For immediate enjoyment or short-term storage, leaving them in their molds in the freezer is perfectly fine. However, if you’ve made a larger batch or want to free up your molds, you can carefully remove the frozen pops. Once removed, store them in a single layer in an airtight, freezer-safe container, or individually wrap each pop in plastic wrap before placing them in a resealable freezer bag. This prevents freezer burn, maintains their creamy texture, and preserves their delicious flavor. When stored correctly, these delightful treats can be enjoyed for up to a month, ensuring you always have a frosty indulgence on hand.
Explore More Frozen Dessert Recipes
Strawberry Sorbet with Mint (2 Ingredients, 5 Minutes!)
Cinnamon Ice Cream (No Churn)
Ice Cream Terrine with Roasted Strawberries
Homemade Vanilla Ice Cream
Pin this now to find it later
Pin It
Classic 2-Ingredient Homemade Pudding Pops
Rachel Gurk
5 minutes
3 hours
3 hours
5 minutes
4
pudding pops
Saved
Pin
Ingredients
-
1
box
(3.4 to 3.9 ounce) instant pudding
(any flavor) -
2
cups
milk or half & half
(see note)
Instructions
-
In a large mixing bowl, thoroughly whisk together the instant pudding mix and milk until just combined and smooth. Avoid overmixing.1 box (3.4 to 3.9 ounce) instant pudding,
2 cups milk or half & half -
Working quickly before the pudding thickens, evenly pour the mixture into your popsicle molds, filling them almost to the top.
-
Place the filled molds in the freezer and allow them to freeze until firm, for at least 3 hours. For best results, freeze overnight.
Notes
- Milk: The higher the fat content of the milk (e.g., whole milk or half & half), the creamier and more indulgent your pudding pops will be. Nondairy milks can be used as a substitute, but the texture may vary slightly.
- Sugar-Free: To make a sugar-free version, simply substitute with a Zero Sugar Instant Pudding Mix, which is typically sweetened with aspartame or other sugar alternatives.
- Yield: The exact number of pudding pops this recipe yields depends on the specific capacity of your popsicle molds. The pudding mixture makes approximately 2 cups. For example, if your molds hold ½ cup each, you will get 4 pudding pops from this recipe.
- Nutrition information provided is an approximation and is calculated using whole milk.
Video Tutorial
Nutrition Information
Serving:
1
pudding pop
,
Calories:
164
kcal
,
Carbohydrates:
28
g
,
Protein:
4
g
,
Fat:
4
g
,
Saturated Fat:
2
g
,
Polyunsaturated Fat:
0.2
g
,
Monounsaturated Fat:
1
g
,
Cholesterol:
15
mg
,
Sodium:
199
mg
,
Potassium:
188
mg
,
Fiber:
0.1
g
,
Sugar:
25
g
,
Vitamin A:
198
IU
,
Calcium:
151
mg
,
Iron:
0.02
mg
Nutrition information is automatically calculated, so should only be used as an approximation.
Did You Make This?
Share a comment and rating below! I love hearing what you think!